TGDaily HDR Tutorial
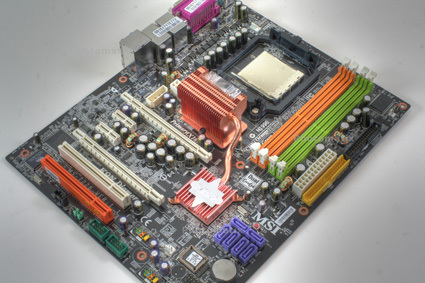
An example of an high dynamic range (HDR) picture taken at the Tom's Hardware Guide labs in Culver City. A Canon Digital Rebel XT was used with a Canon 35mm 1.4L lens. Five exposures were taken. The HDR image was created with Photomatix software from H
An example of an high dynamic range (HDR) picture taken at the Tom’s Hardware Guide labs in Culver City. A Canon Digital Rebel XT was used with a Canon 35mm 1.4L lens. Five exposures were taken. The HDR image was created with Photomatix software from H
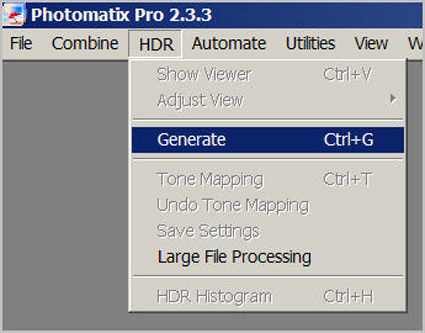
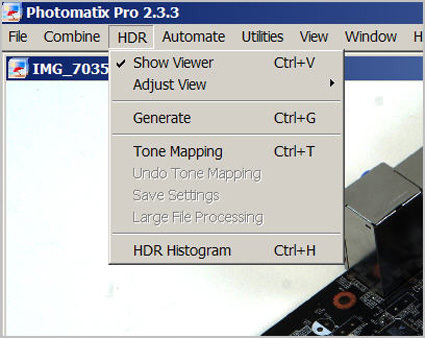
Creating HDR pictures with Photomatix is a two-step process. After the pictures are taken, open up Photomatix and then go to HDR and then Generate.
Creating HDR pictures with Photomatix is a two-step process. After the pictures are taken, open up Photomatix and then go to HDR and then Generate.
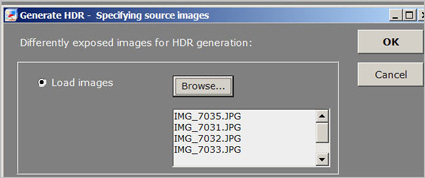
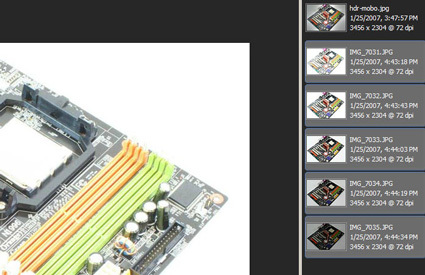
Browse and select all the pictures.
Browse and select all the pictures.
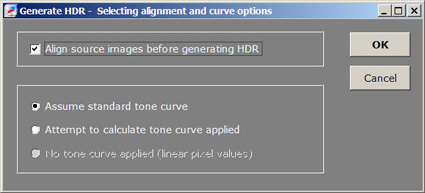
If you didn't use a tripod to take the pictures, you should click on "Align source images before generating HDR".
If you didn’t use a tripod to take the pictures, you should click on "Align source images before generating HDR".
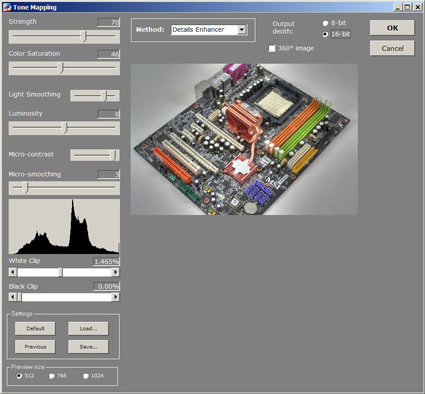
Now click on "Tone Mapping"
Now click on "Tone Mapping"
Here you can change different settings like strength, color saturation or contrast.
Here you can change different settings like strength, color saturation or contrast.
You can also make HDR pictures in Adobe CS2's Bridge program. Here just select all the pictures.
You can also make HDR pictures in Adobe CS2’s Bridge program. Here just select all the pictures.
Get Tom's Hardware's best news and in-depth reviews, straight to your inbox.
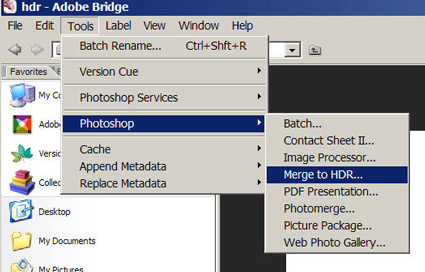
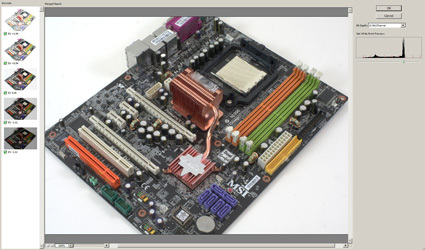
Now click on Tools/Photoshop/Merge to HDR. Photoshop will open up and start processing.
Now click on Tools/Photoshop/Merge to HDR. Photoshop will open up and start processing.
Set the white-point on the right side and you are done.
Set the white-point on the right side and you are done.
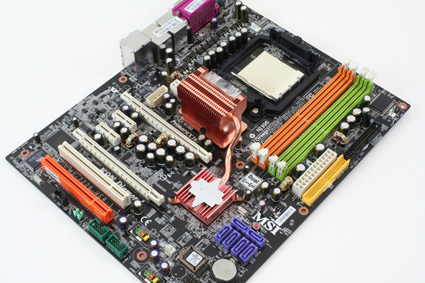
HDR image created with Photoshop CS2. We added about 60% sharpening in the unsharp mask filter. Click here for the 1024-pixel wide image.
HDR image created with Photoshop CS2. We added about 60% sharpening in the unsharp mask filter. Click here for the 1024-pixel wide image.
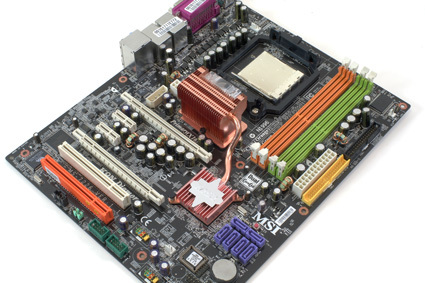
This is the original motherboard shot shot at neutral exposure settings and no Photoshop processing (other than cropping). Click here for the 1024-pixel wide image.
This is the original motherboard shot shot at neutral exposure settings and no Photoshop processing (other than cropping). Click here for the 1024-pixel wide image.
Tom's Hardware is the leading destination for hardcore computer enthusiasts. We cover everything from processors to 3D printers, single-board computers, SSDs and high-end gaming rigs, empowering readers to make the most of the tech they love, keep up on the latest developments and buy the right gear. Our staff has more than 100 years of combined experience covering news, solving tech problems and reviewing components and systems.
