ASRock Z390 Taichi ATX Motherboard Review: i9 With More Power
Why you can trust Tom's Hardware
Software & Firmware
ASRock's A-Tuning utility still relies on firmware hooks to enable its Auto Tuning algorithm. But we found that setting our own manual overclock caused the A-Tuning utility to instead reduce our 4.9 GHz frequency to 4.3 GHz. That’s not optimal, but for a board that has no inbuilt “EZ OC” profiles for the Core i9-9900K, it’s a start. Hopefully firmware updates will improve the utility.
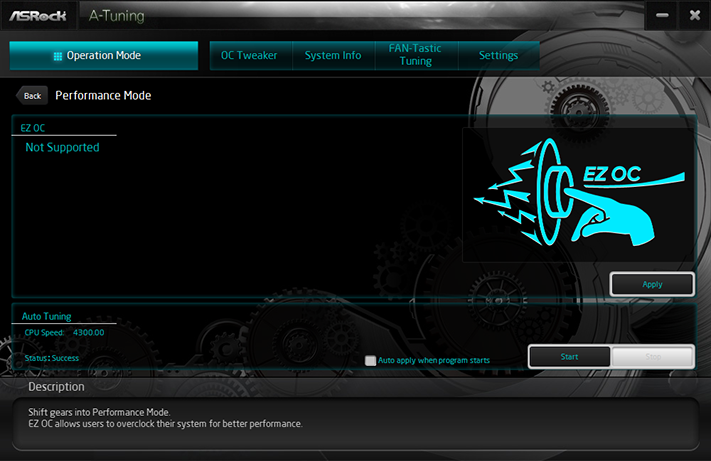
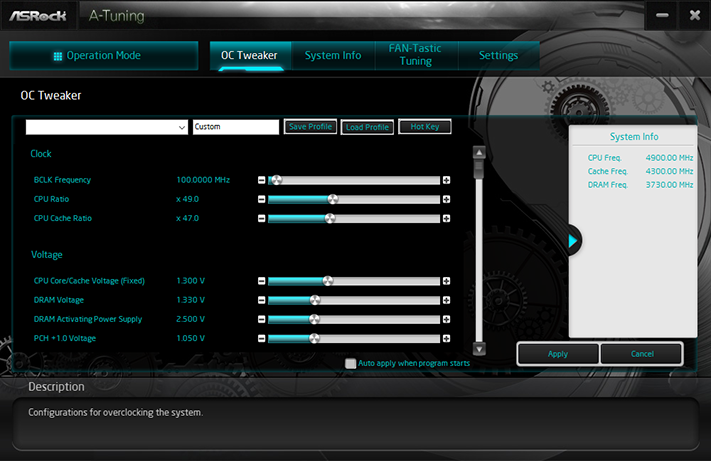
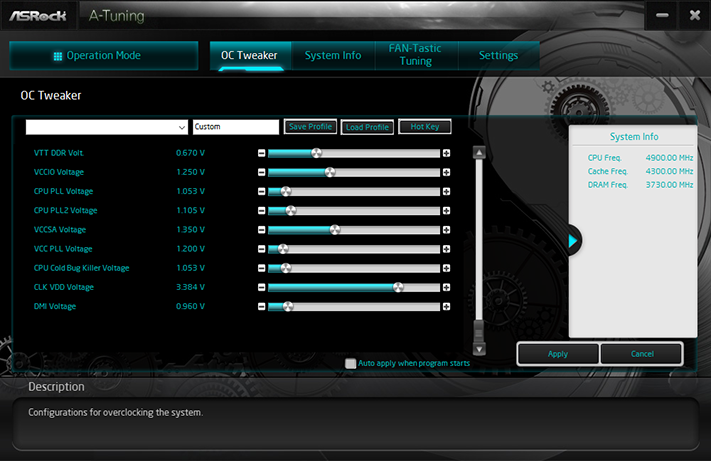
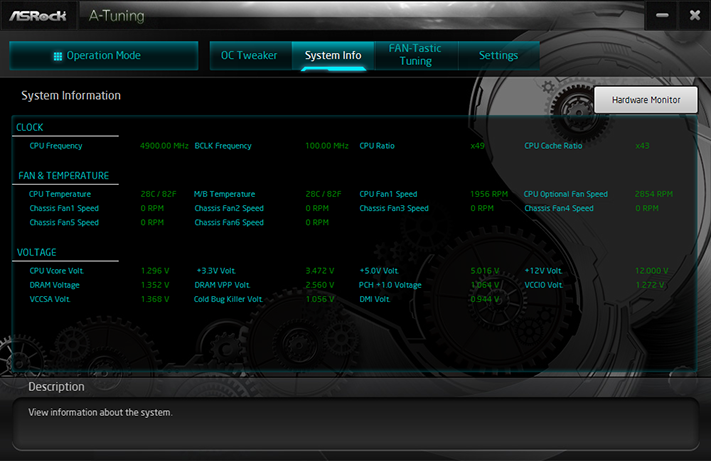
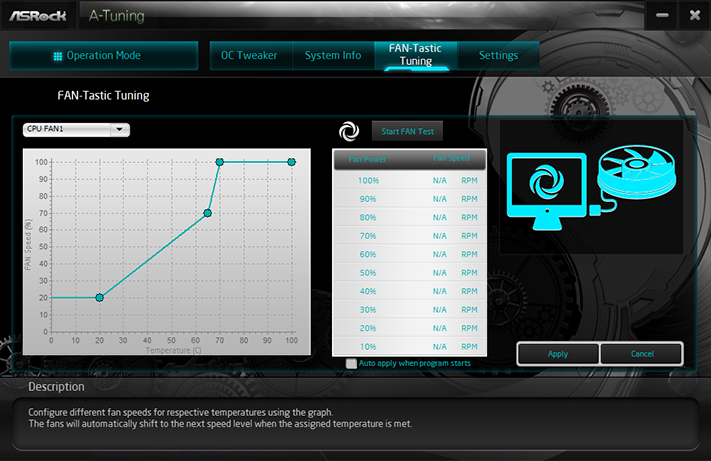
Manual tuning is also a functional option, and the System Info tab appears to do a fine job of tracking temperatures and voltage levels. Fan-Tastic tuning gives users the option to run an automatic optimization algorithm or set custom temperature-to-RPM curves.
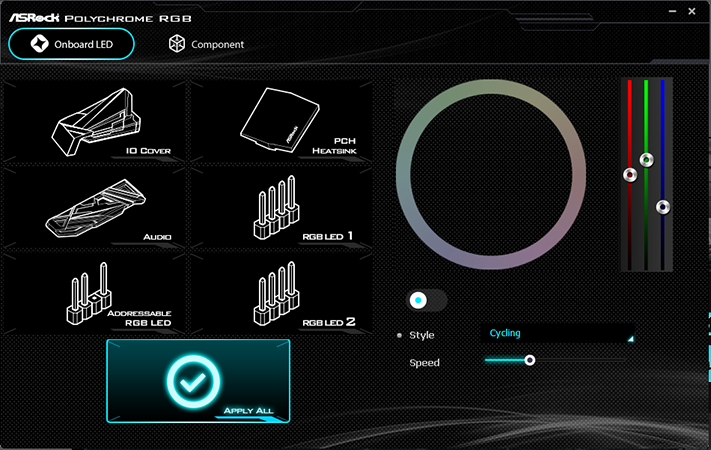
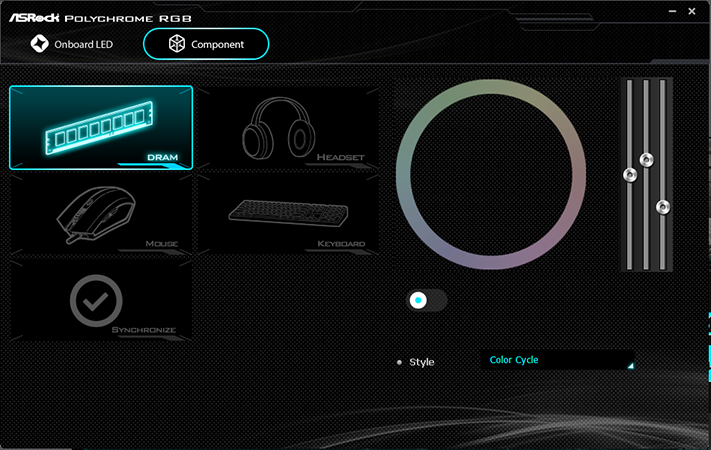
ASRock's Polychrome RGB functioned normally with all onboard lighting and our DRAM, but it couldn’t set any advanced patterns such as color chasing from DRAM to onboard lighting or vice versa.
Firmware
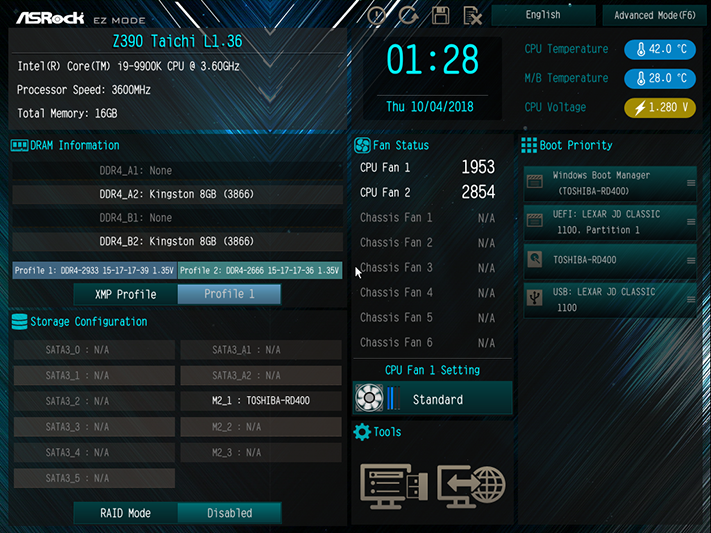
Z390 Taichi firmware opens to its EZ Mode interface, which allows users to enable XMP mode, change boot order, and select a fan profile. It also has quick access to ASRock’s firmware update utility. Keying the F6 function passes users to its Advanced Mode.
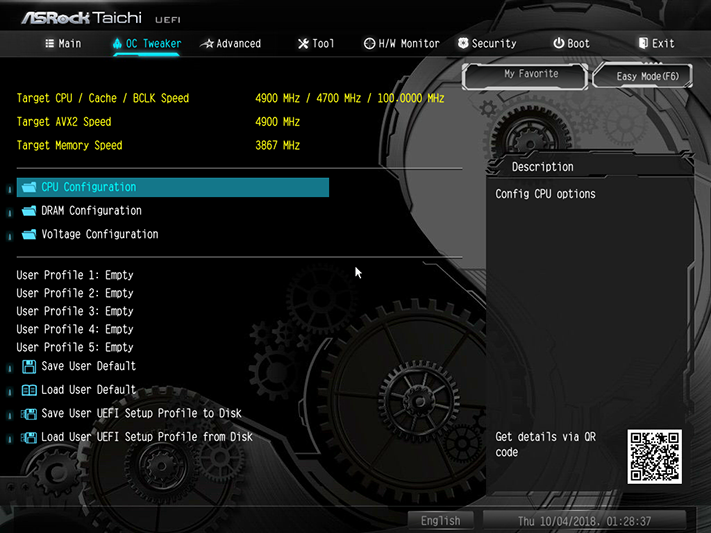
From Advanced Mode, the OC Tweaker menu shows basic stats, provides overclocking submenus, storage for five custom setting configurations as user profiles, and the ability to import and export those profiles to a USB drive.
The Z390 Taichi pushed our Core i9-9900K to 4.90 GHz at 1.30V. While that’s less than the default Intel Turbo Boost ratio for two cores, it also comes without the looser voltage limits that two cores can use without causing CPU thermal issues. By loading all eight cores and 16 threads, Prime95 small FFTs causes our CPU to pull over 330W at these settings.
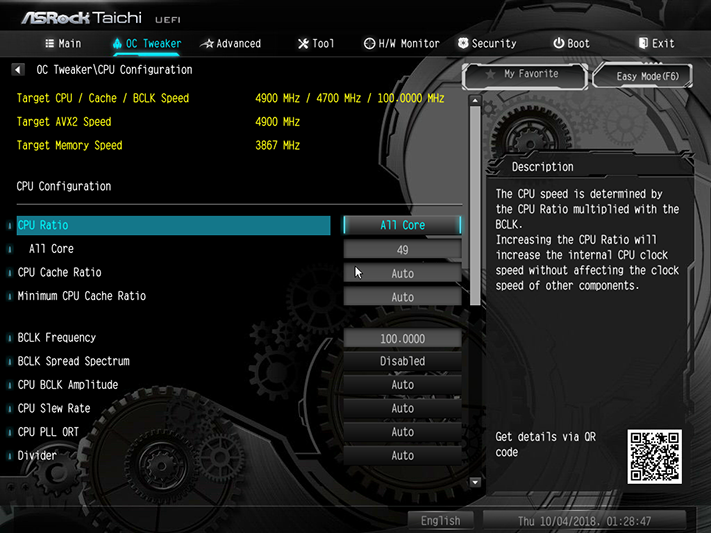
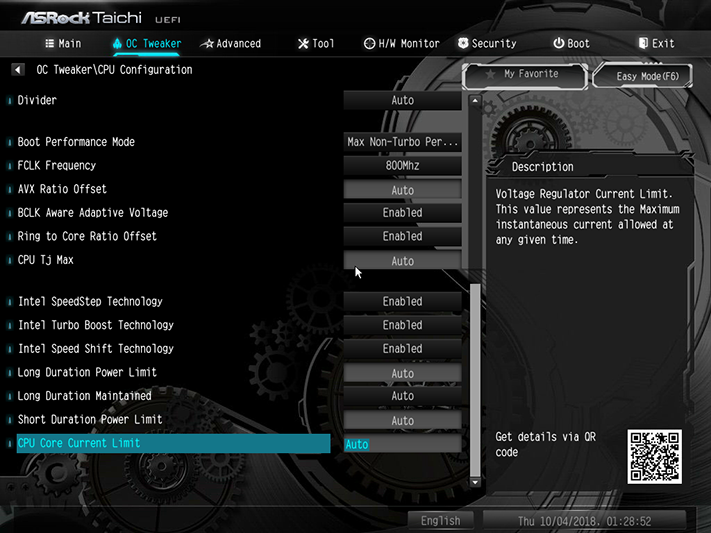
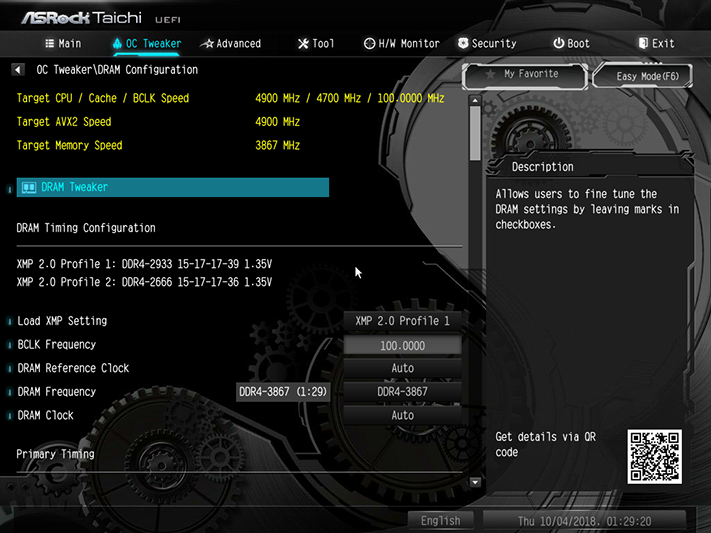
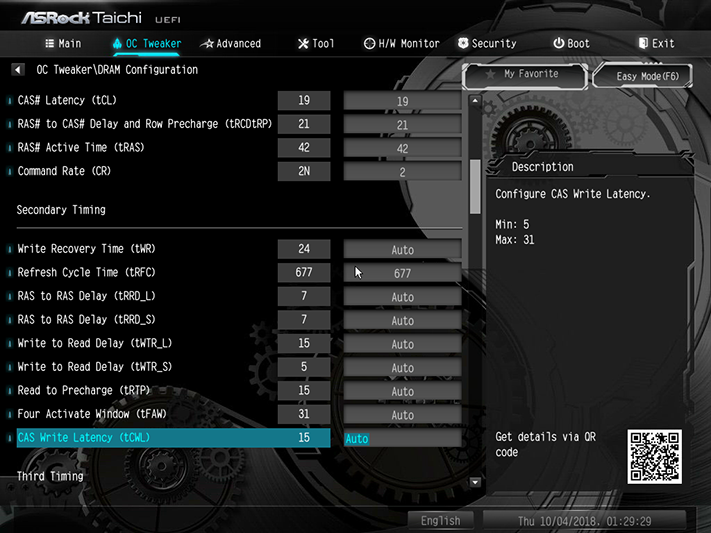
While the Z390 Taichi came up 49MHz short of our CPU goal (the other two Z390 boards we tested pushed our Core i9 to 4949 MHz), it exceeded other models in DRAM overclocking. We reached DDR4-3867 with all four DDR4-2933 DIMMs installed, which is only slightly less than the same memory’s record on an older, more mature Z370/8700K combo.
Get Tom's Hardware's best news and in-depth reviews, straight to your inbox.
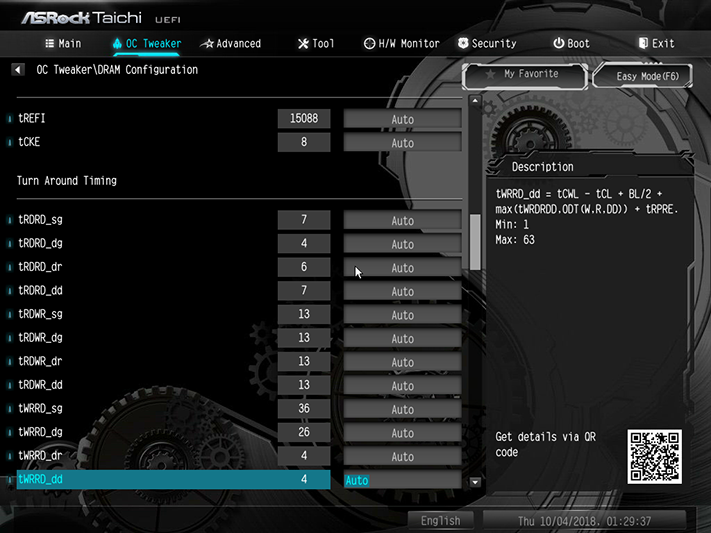
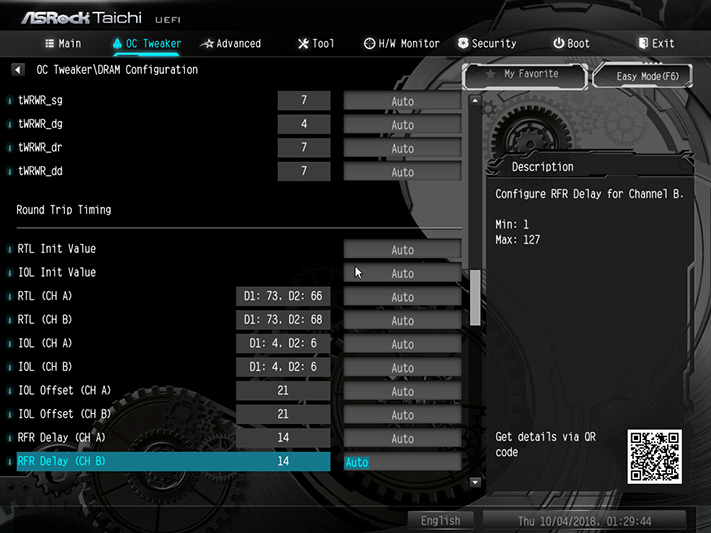
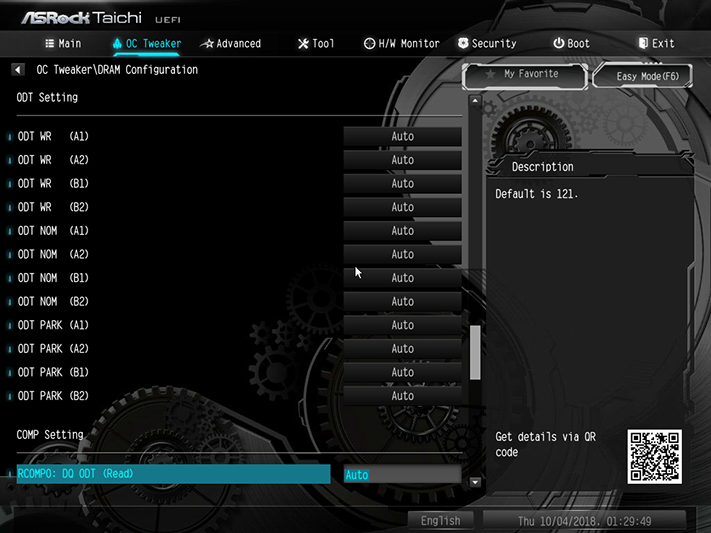
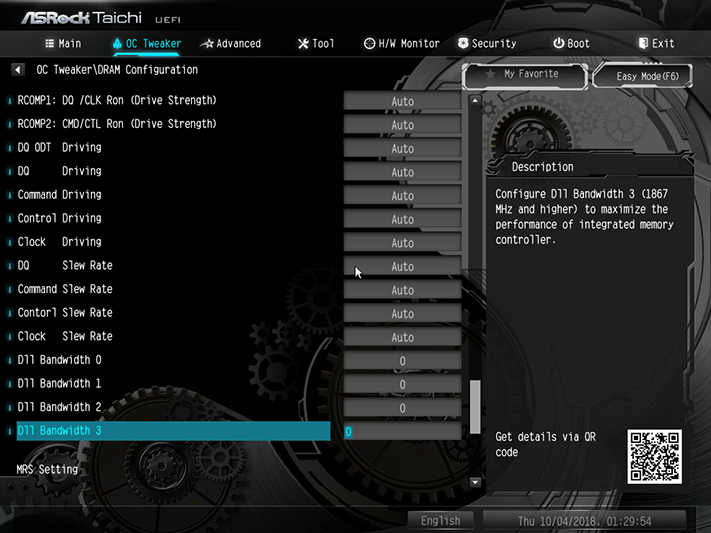
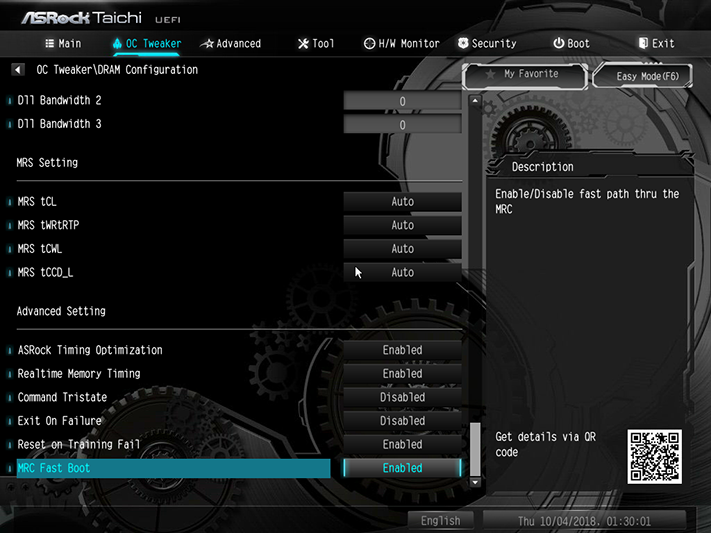
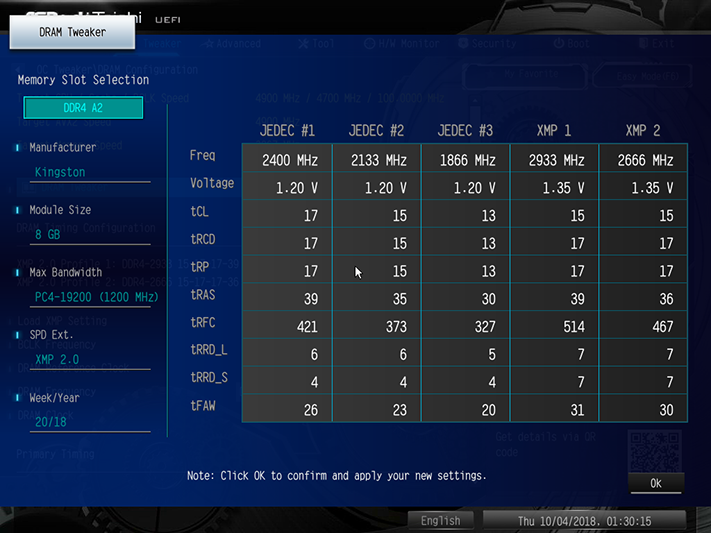
CPU Load-Line Calibration compensates for voltage sag under load by boosting the voltage setting. At a CPU VCore setting of 1.30V, Level 2 pushed the CPU core past 1.312V, while Level 3 allowed it to sag to 1.20V. The best way to get the CPU to remain at 1.30V at full overclock under Prime95 was to choose 1.290V CPU core with Level 2 Load-Line Calibration.
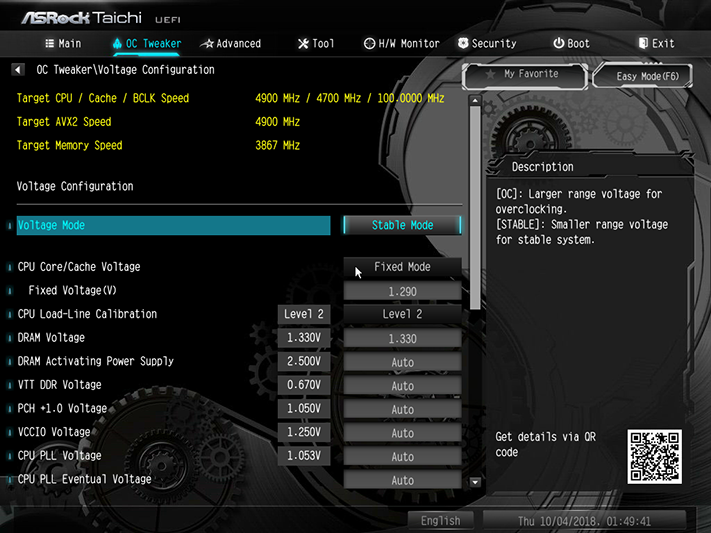
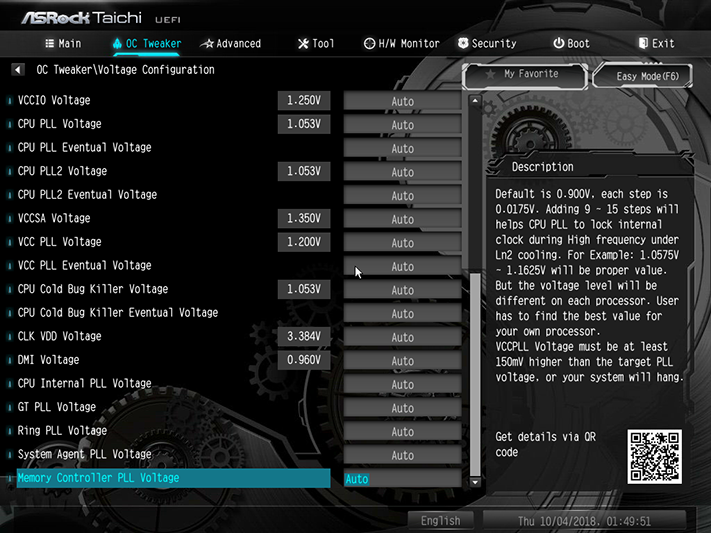
It has become normal practice for motherboard manufacturers to push around 20mV more DRAM voltage than the user chooses, and our voltmeter shows that the Z390 Taichi follows this trend with up to 24mV over-voltage. After measuring it at the slot and making the necessary adjustment, we were happy to find that the board’s H/W monitor report was within 2mV of our voltmeter reading. In the past, some manufacturers have skewed their firmware readings to hide their hardware manipulations.
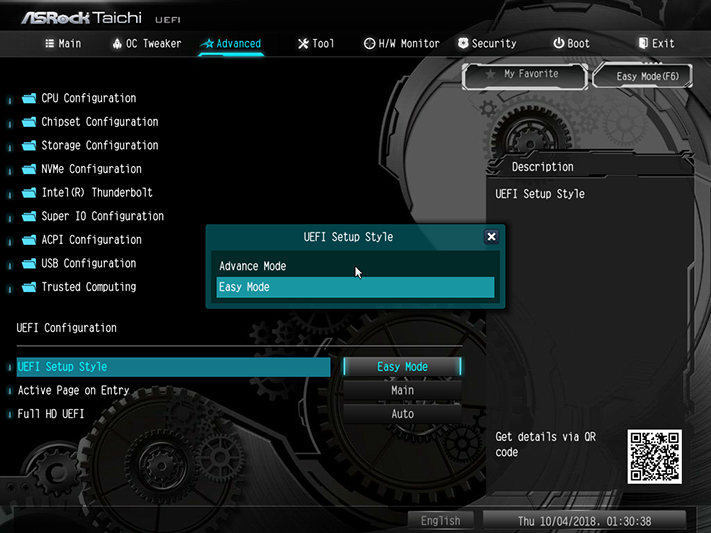
Overclockers who don’t want to hit “F6” at every firmware entry can change the UEFI default GUI to “Advance Mode” from the Advanced menu of Advanced mode. In practice, that's at least slightly less confusing than it sounds.
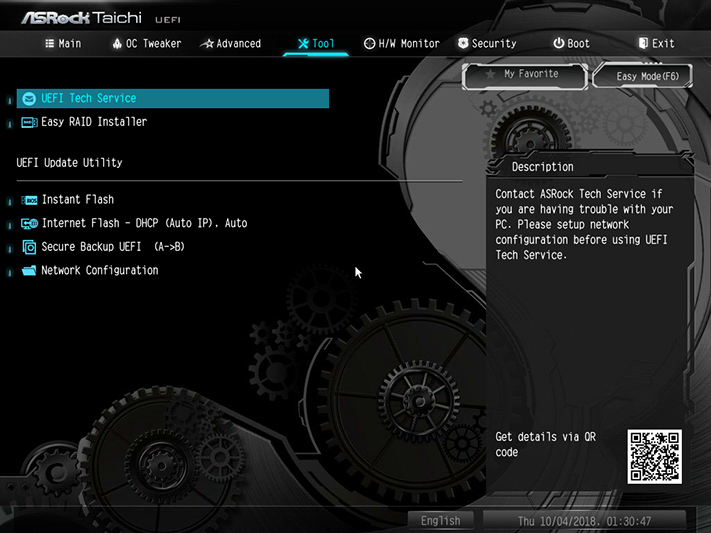
ASRock’s Internet Flash feature normally polls its servers for firmware and either proceeds with a download or, under normal circumstances, reports that no update is available. On the Z390 Taichi, it simply exited after poling, without reporting that no update was available. This is likely caused by this model’s download folder not yet being set up on the server, but ASRock wouldn’t confirm this when asked.
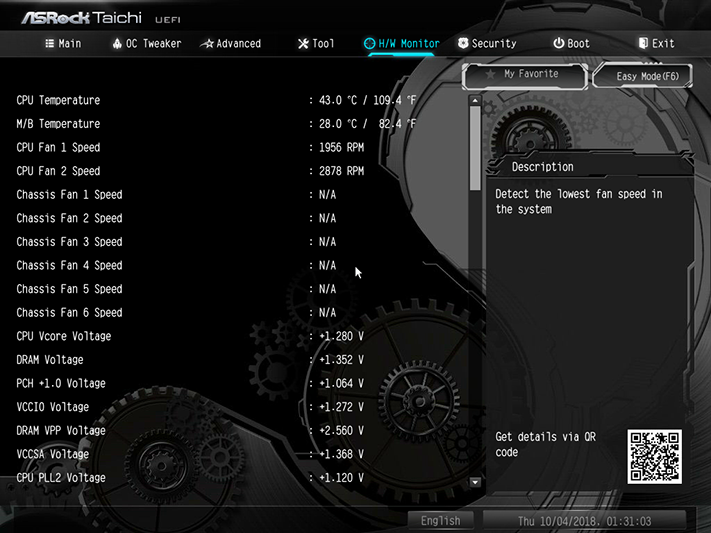
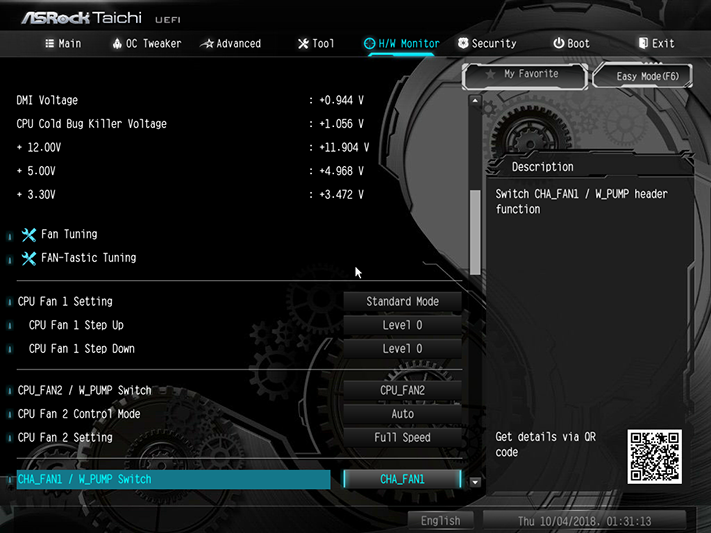
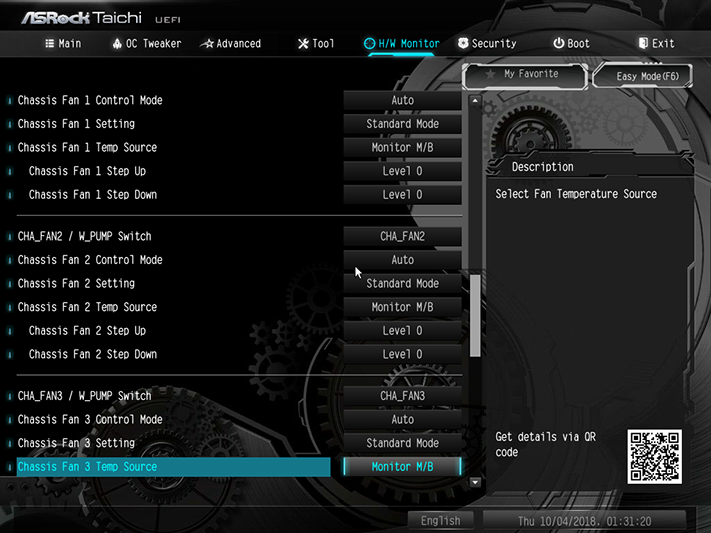
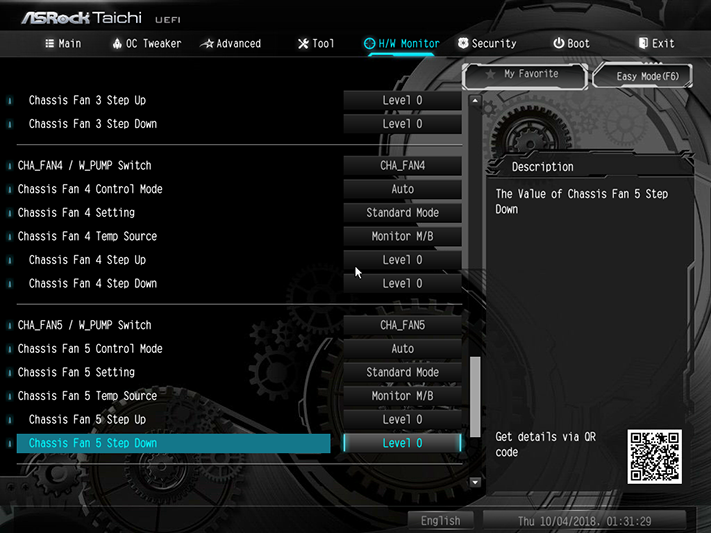
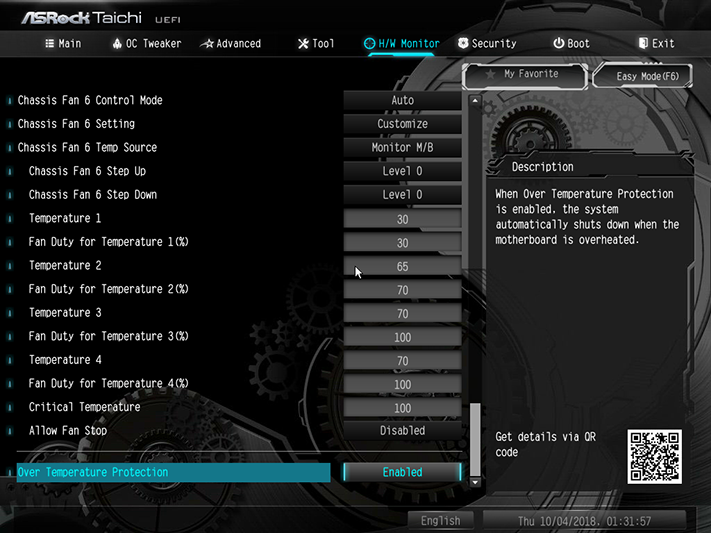
The main CPU fan header is PWM-only, but remaining headers are selectable between PWM and voltage-based RPM control mode. The “Auto” setting allows the board to switch based on the presence or absense of the fourth fan lead wire.
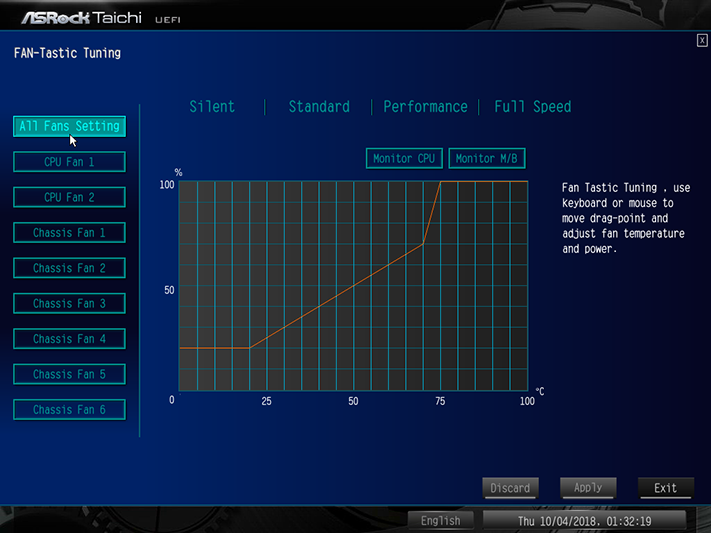
In addition to configuration tables, users can set fans using a graph from the Fan-Tastic Tuning sub-menu.
MORE: Best Motherboards
MORE: How To Choose A Motherboard
MORE: All Motherboard Content
-
xxxlun4icexxx Will you be reviewing the Tacihi Ultimate as well? That is the board I purchased and I am wondering how much of a difference there is between the regular and the ulti!Reply -
Crashman Reply
Yes. You could even see it as ASRock's second bite at the apple, since it has the same voltage regulator and will be tested with newer firmware.21414831 said:Will you be reviewing the Tacihi Ultimate as well? That is the board I purchased and I am wondering how much of a difference there is between the regular and the ulti!
-
xxxlun4icexxx Reply21414838 said:
Yes. You could even see it as ASRock's second bite at the apple, since it has the same voltage regulator and will be tested with newer firmware.21414831 said:Will you be reviewing the Tacihi Ultimate as well? That is the board I purchased and I am wondering how much of a difference there is between the regular and the ulti!
Thanks!
Do you recommend when I first install my mobo/cpu that I check for board bios updates, or just ride it out for a while until everyone gets settled with the new cpus? -
Crashman Reply
Thus far they're only advertising better 3DMark performance, and if that's the case I'd wait for one that gives it better voltage control for greater efficiency and overclocking.21414851 said:21414838 said:
Yes. You could even see it as ASRock's second bite at the apple, since it has the same voltage regulator and will be tested with newer firmware.21414831 said:Will you be reviewing the Tacihi Ultimate as well? That is the board I purchased and I am wondering how much of a difference there is between the regular and the ulti!
Thanks!
Do you recommend when I first install my mobo/cpu that I check for board bios updates, or just ride it out for a while until everyone gets settled with the new cpus?
-
xxxlun4icexxx Reply21414928 said:
Thus far they're only advertising better 3DMark performance, and if that's the case I'd wait for one that gives it better voltage control for greater efficiency and overclocking.21414851 said:21414838 said:
Yes. You could even see it as ASRock's second bite at the apple, since it has the same voltage regulator and will be tested with newer firmware.21414831 said:Will you be reviewing the Tacihi Ultimate as well? That is the board I purchased and I am wondering how much of a difference there is between the regular and the ulti!
Thanks!
Do you recommend when I first install my mobo/cpu that I check for board bios updates, or just ride it out for a while until everyone gets settled with the new cpus?
Thanks Crashman, I appreciate the info.
-
mlee 2500 Thanks for the review, like the other poster I look forward to the Taichi Z390 Ultimate review, as that is the board I'm inclined towards from a feature set perspective, and perhaps it will show improvement with newer firmware.Reply
At of today, it looks like ASRock has made a 1.38 version BIOS available as a "Beta" release. I"m going to sit tight and track their BIOS releases before building with the i9-9900K. I'm a little surprised there hasn't already been more evolution as the vendor has had these boards and CPU's to test with for quite some time now.
The Tachi Z390/i9-9900K power draw, combined with a single newer RTX 2080 GPU, isn't going to leave allot of head room for a 650W power supply.
A couple other more minor details for ASRock (and all mobo manufacturers) to consider:
(1) Please make the integrated USB type A connectors color coded to reflect their version. They're all blue, which means you look back there to plug something in and then have to grab the manual or pull up a PDF to see which is 3.1, 3.0, and so forth. That's the last thing you want to do.
(2) Also, a couple "dummy" SATA plugs which the consumer could plug into SATA headers which are disabled when using M.2 drives might save people allot of grief, and possibly even prevent some support calls.
(3) Thank You ASRock for including DTS Connect! Allot of us have nice high end surround speakers you can't or wouldn't want to drive directly from the mobo, and connecting a monitor at greater than 60Hz (or via DisplayPort) makes HDMI audio pass-through to a home theater receiver a non-starter. DTS connect (or Dobly Digital Live) should be a standard feature from every mobo vendors mid-tier or better products. -
rantoc They say its SLI capable but yet have the same "stupid" 3 slots spacing resulting in the typical air starvation of the main card since it will be obstructed by the second card. Todays big custom air cooled cards are 2.5 to 3 pcie slots wide, not the old typical 2 pcie - When will the MB makers "evolve" to the new width of the cards for multigpu and who will be the first?Reply -
Crashman Reply
Even the founder's edition cards are only two slots, and most of the oversized cards are 2.5 slots. A 3-slot cooling design is a defective design, and such cards should be called out for that. We're already putting the top x16 slot in the case's 2nd slot hole to make space for oversized CPU coolers, voltage regulators and DIMM cooling, and there's a scarcity of 8-slot cases, so two three-slot cards at 4-slot spacing doesn't even make sense. For those reseaons, if I review a board with the 2nd x16 slot aligned to the case's 6th card hole, I'll probably just write it off as a bad idea.21416967 said:They say its SLI capable but yet have the same "stupid" 3 slots spacing resulting in the typical air starvation of the main card since it will be obstructed by the second card. Todays big custom air cooled cards are 2.5 to 3 pcie slots wide, not the old typical 2 pcie - When will the MB makers "evolve" to the new width of the cards for multigpu and who will be the first?
