Asus TUF H310M Plus Gaming Motherboard Review: The Basics, Plus RGB
Why you can trust Tom's Hardware
Software and Firmware
Software
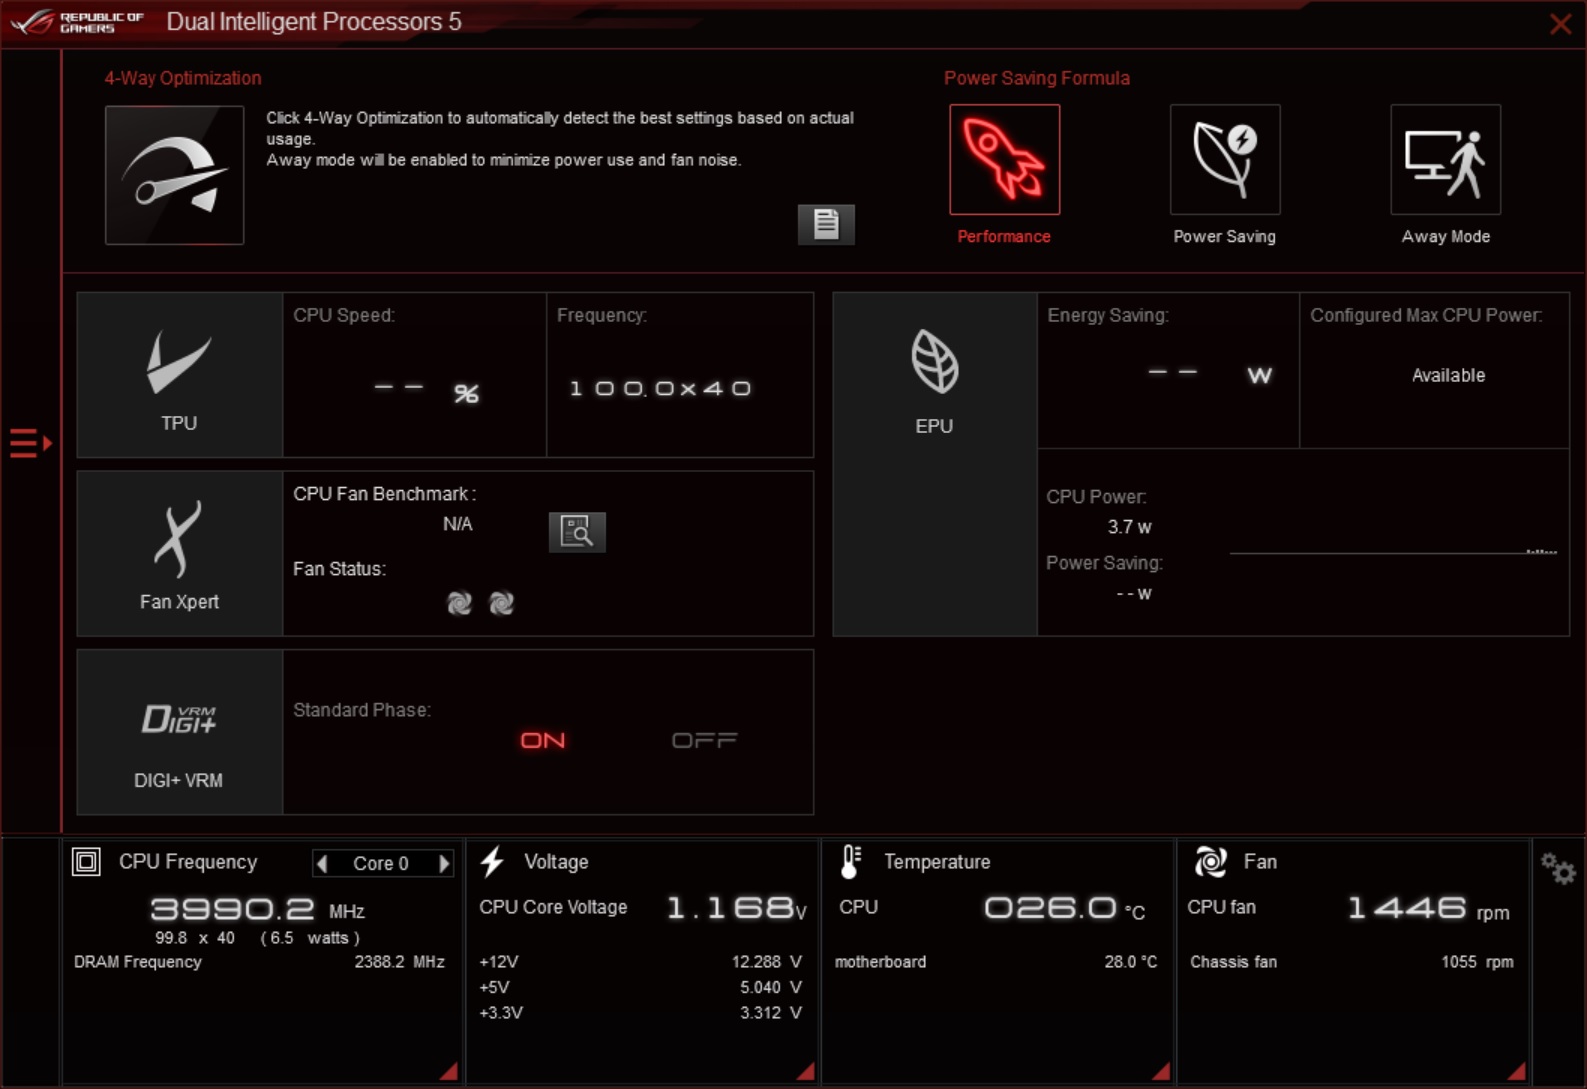
Asus’ main software is AI Suite 3. This all-encompassing software program includes functionality to control the CPU and memory, power states, fans, and more. The main page, labeled Dual Intelligent Processors 5, is more of a summary/dashboard which displays information about the power saving mode, fan status, along with CPU frequency, voltage, temperatures and fan state on the bottom.
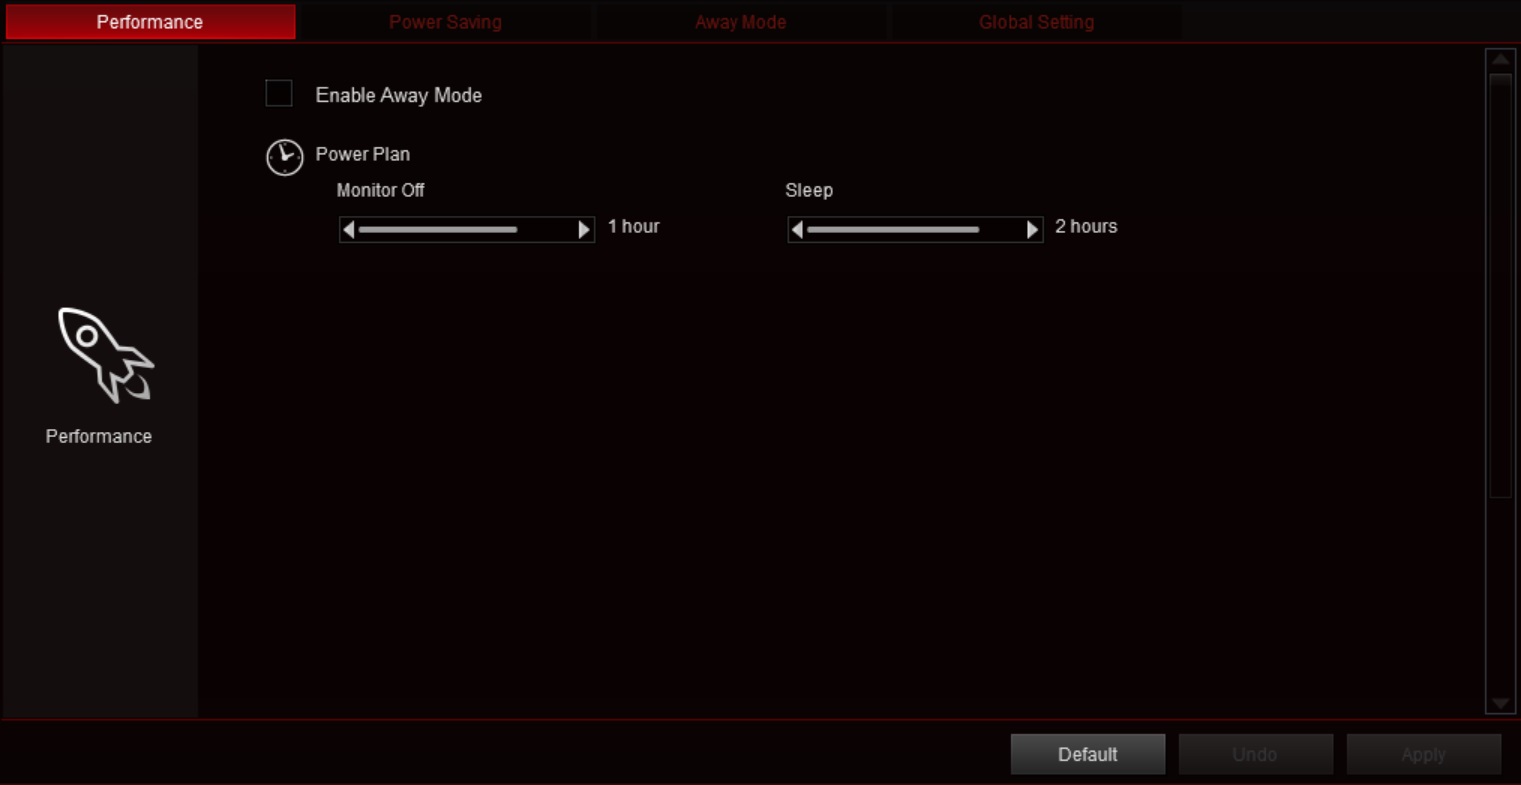
The EPU section within AI Suite 3 is used to adjust the active power plan and how it is supposed to respond. You can also adjust when the monitor shuts off and system sleep times here.
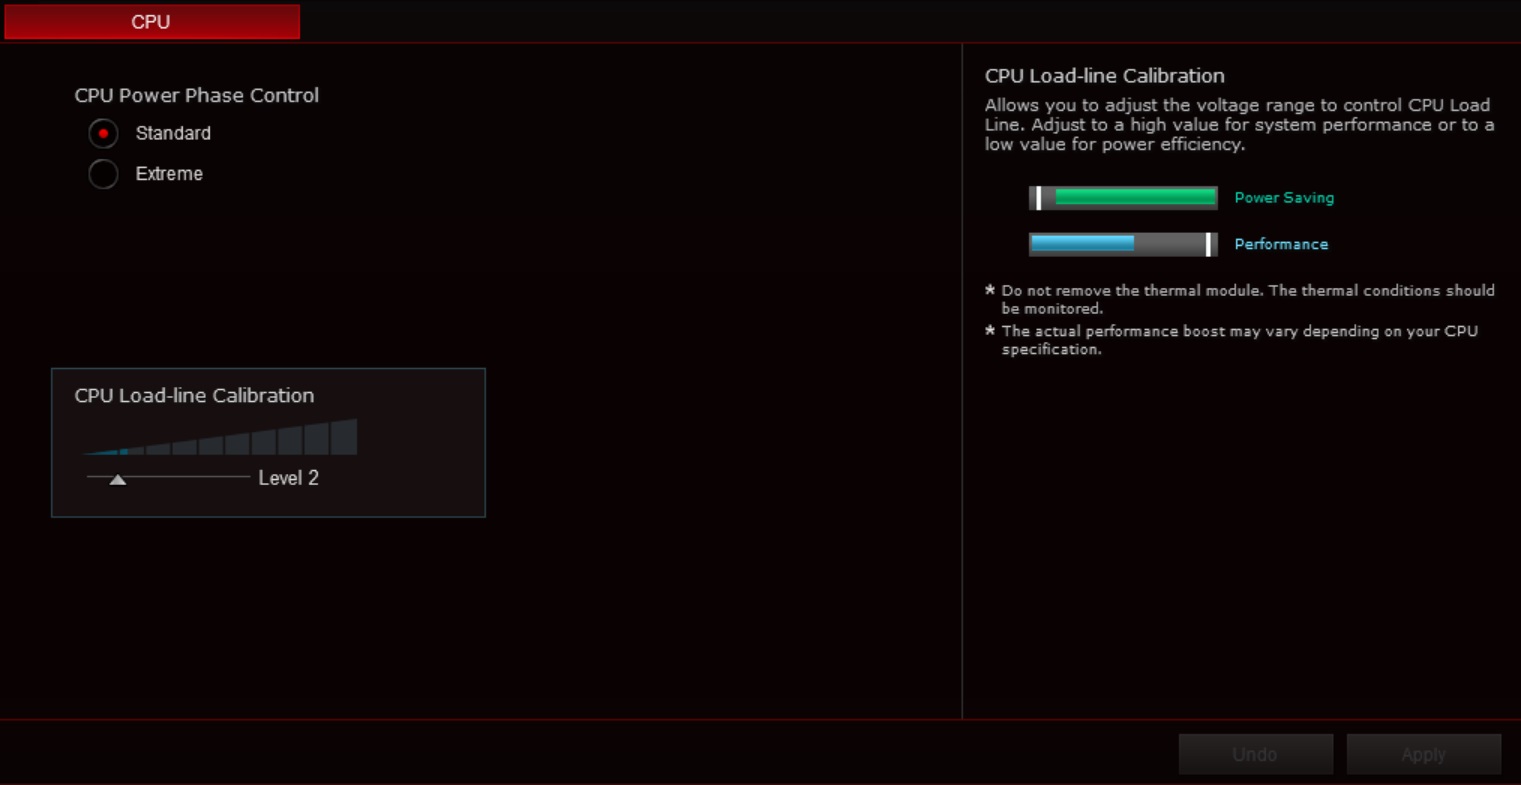
The DIGI-VRM section is where adjustments to the VRM phase control and CPU Load-line calibration levels are found. Seeing as how this platform doesn’t overclock this won’t help much.But on a board / platform and CPU which does allow for overclocking, these features are handy to have control over to make on-the-fly adjustments.
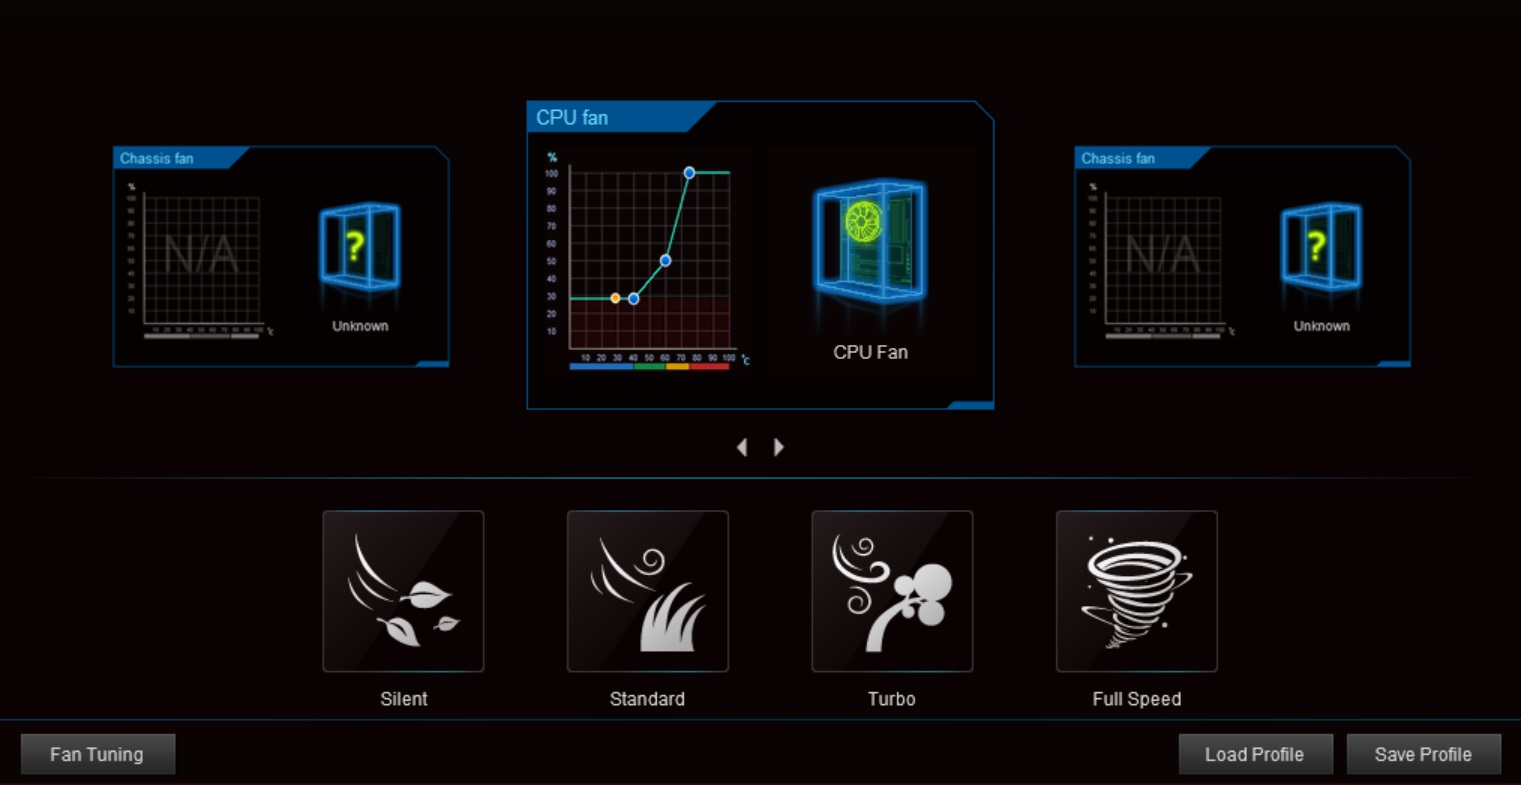
In order to adjust fans through AI Suite 3, you will have to enter the Fan Expert section. Here one can choose from four pre-set speeds (silent, standard, turbo, full-speed) for all fans. Individual spinner control is also possible by selecting the fan in the top portion and setting up the curves manually.
Overall, Ai Suite 3 includes useful functionality and monitoring capabilities. But when using the suite on an H310 based board like this one, it will mostly be used for monitoring and fan control, which worked without issue in my short time with the board.
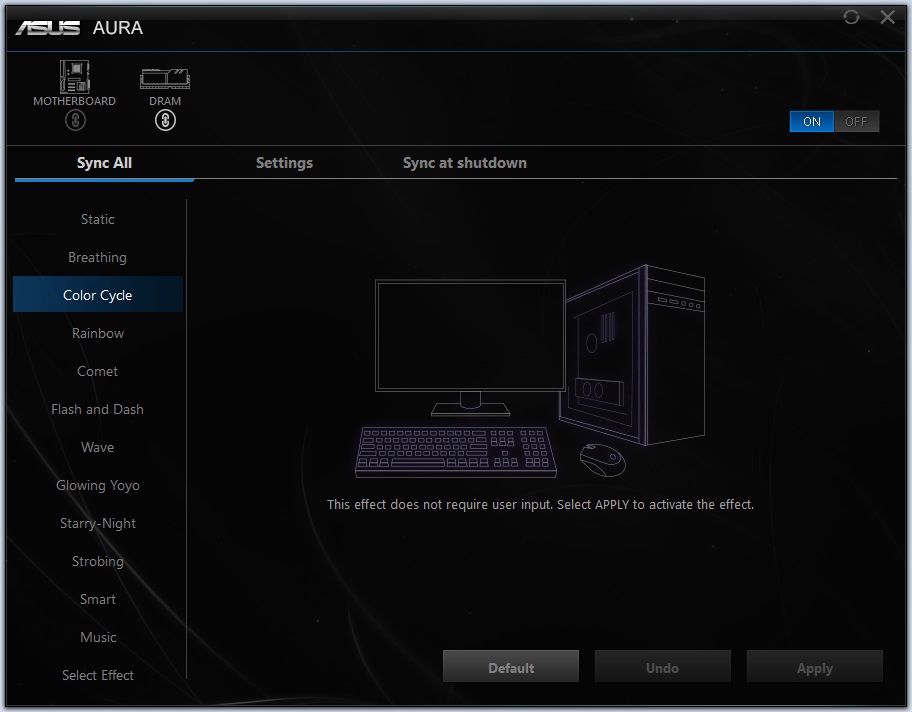
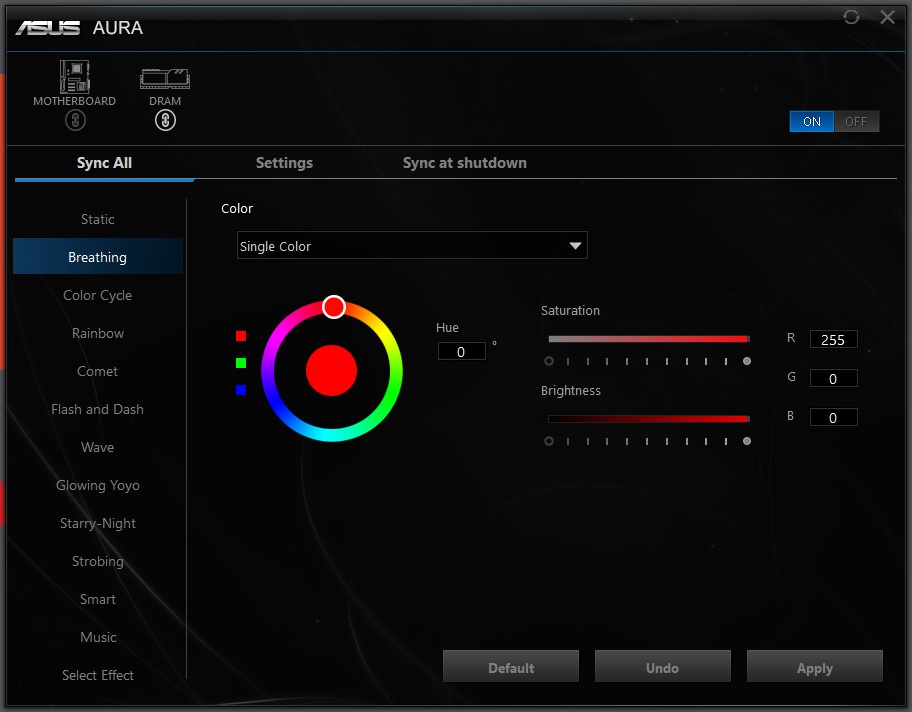
Asus’ Aura software controls the integrated RGB lighting on board and includes 13 different patterns for customizing your RGB situation. Aura can also customize each of those options in some way, including color selection, brightness, saturation and speed.
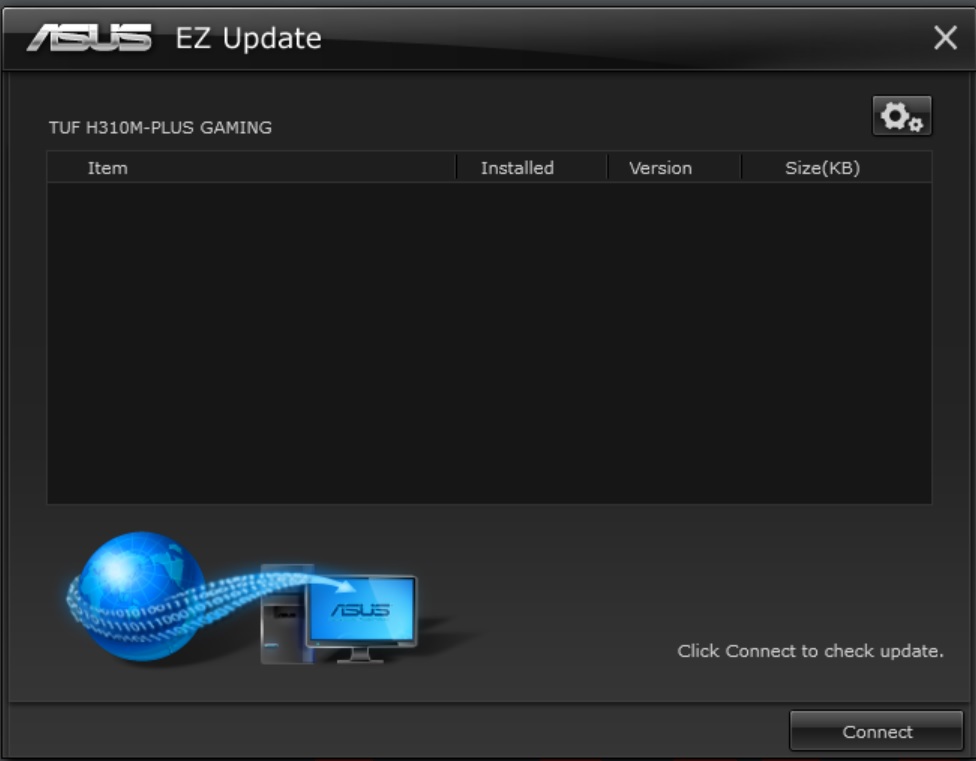
Updating software and drivers can be a pain to manage, so Asus also offers up its EZ Update software. This small-footprint app installs and runs in the system tray and periodically checks for updates. If it finds any, it will notify you. In this case, I installed the latest version of the software found on the website, so the image below doesn’t show anything that needs to be updated.
Get Tom's Hardware's best news and in-depth reviews, straight to your inbox.
Firmware
Now we’ll dig into the UEFI / BIOS controlling all the hardware. The Asus BIOS on the H310M-Plus Gaming, like most other boards, has an EZ Mode and Advanced mode which show different levels of information and allowable adjustments. The overall color scheme in the BIOS is black with some blue accents, different than the company’s ROG-themed boards, which has a black-and-red BIOS. Otherwise, the layouts are the same.
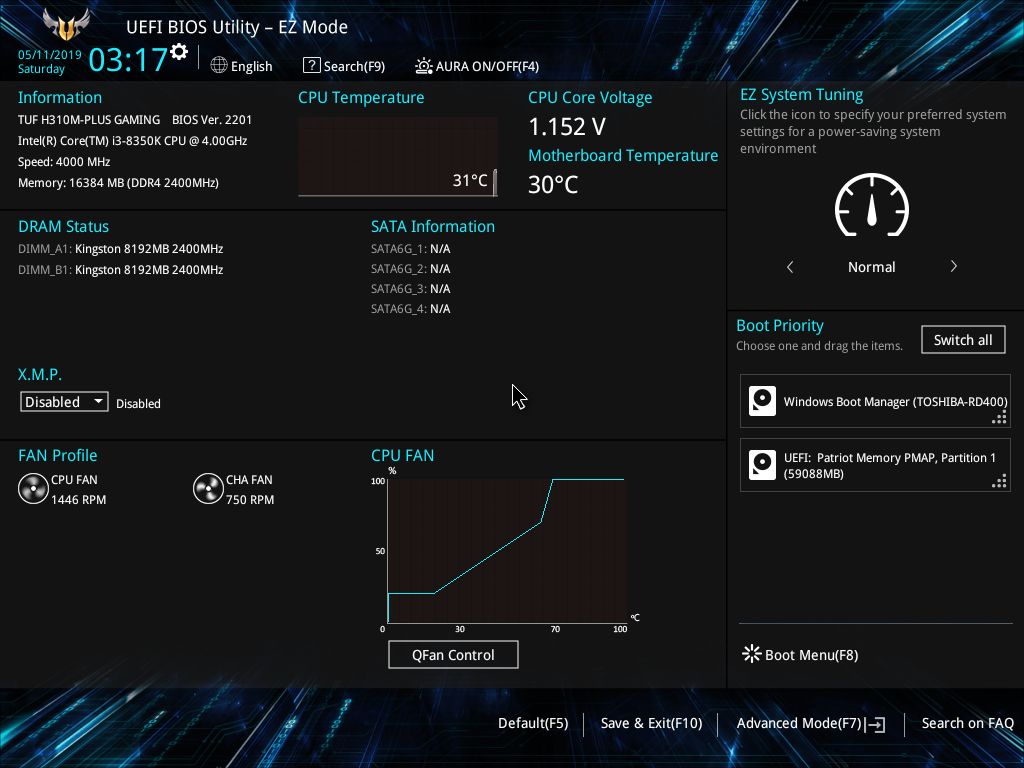
Asus’ EZ Mode is a more informational display, covering system status including CPU and motherboard temperatures, core voltage, DRAM status, SATA status information as well as fan profiles and details. It also includes an option to adjust boot priority as well as the ability to enable XMP memory profiles. Any other adjustments will be handled in the advanced portion of the BIOS.
Inside the Advanced section is where most of the tweaking will be done--not that you can do a whole lot on this locked-down platform. Across the top are a few function key shortcuts to access favorites, QFan control, and to quickly enable/disable RGB lighting. The headers across the top have multiple subsections underneath, corresponding to different functionality. The headers from left to right are My Favorites, Main, Ai Tweaker, Advanced, Monitor, Boot, Tool, and Exit.
The My Favorites section is a customizable BIOS page which allows you to place specific functionality all on the same page for easy access without switching headings or drilling down to reach some other settings. This section is especially useful if you’re overclocking or you make frequent adjustments of the same things and would just like it all on one page.
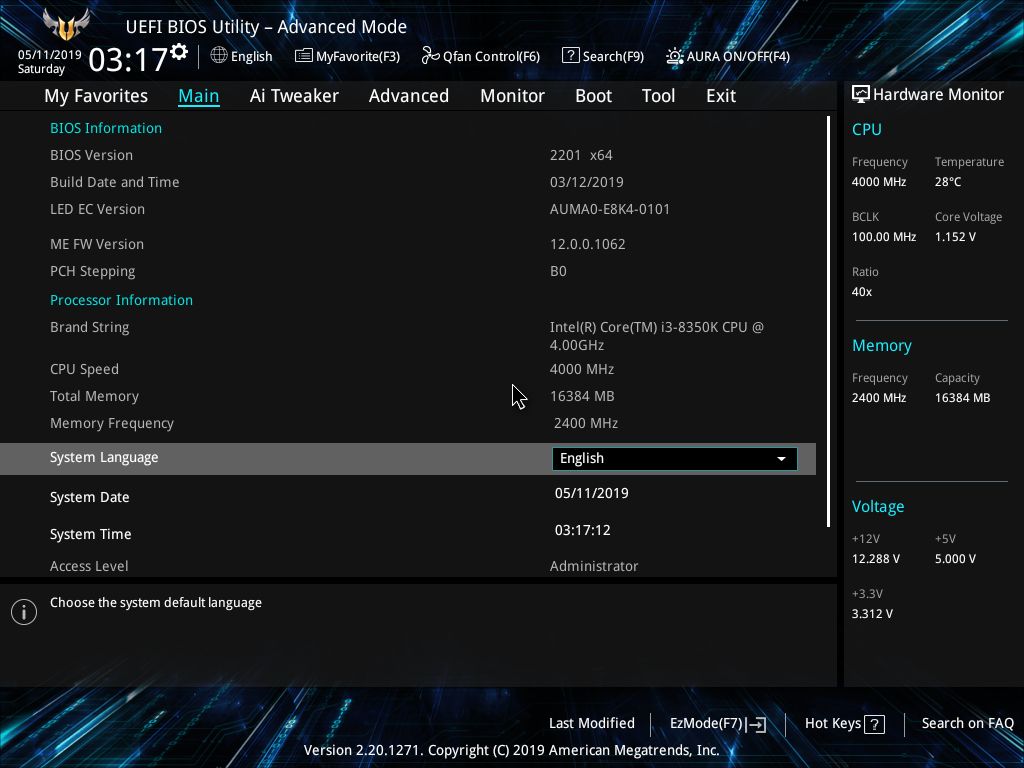
The Main header is informational, detailing bits about the BIOS and CPU, as well as letting you set the system date and time. You can also set the language the BIOS presents here as well.
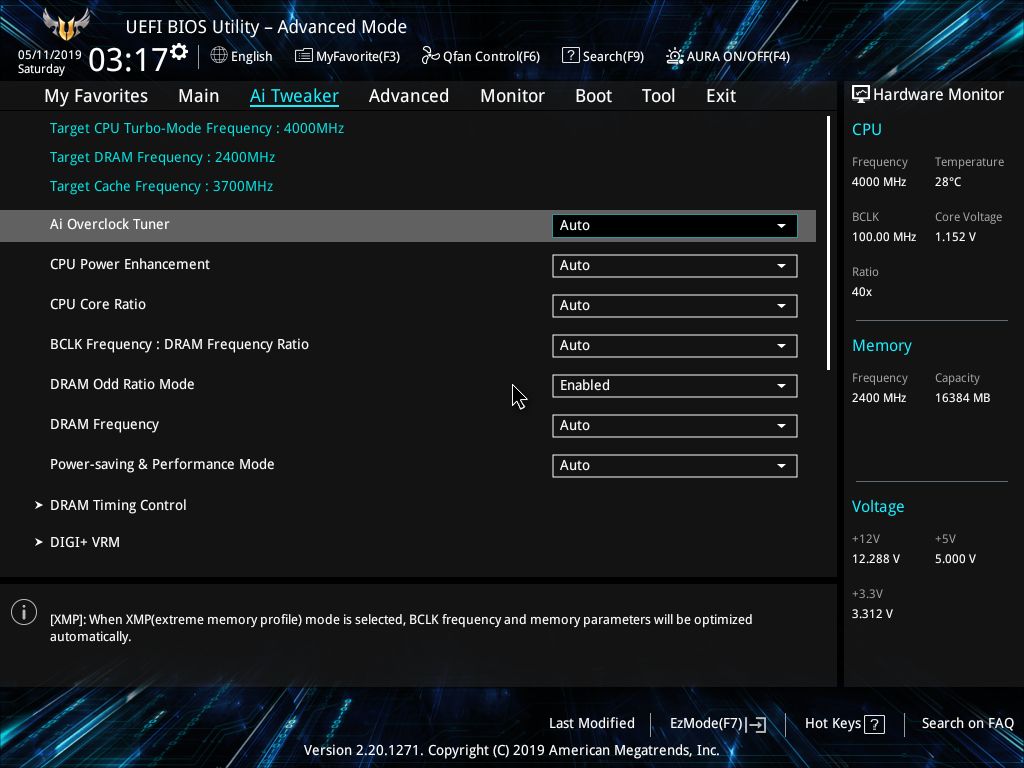
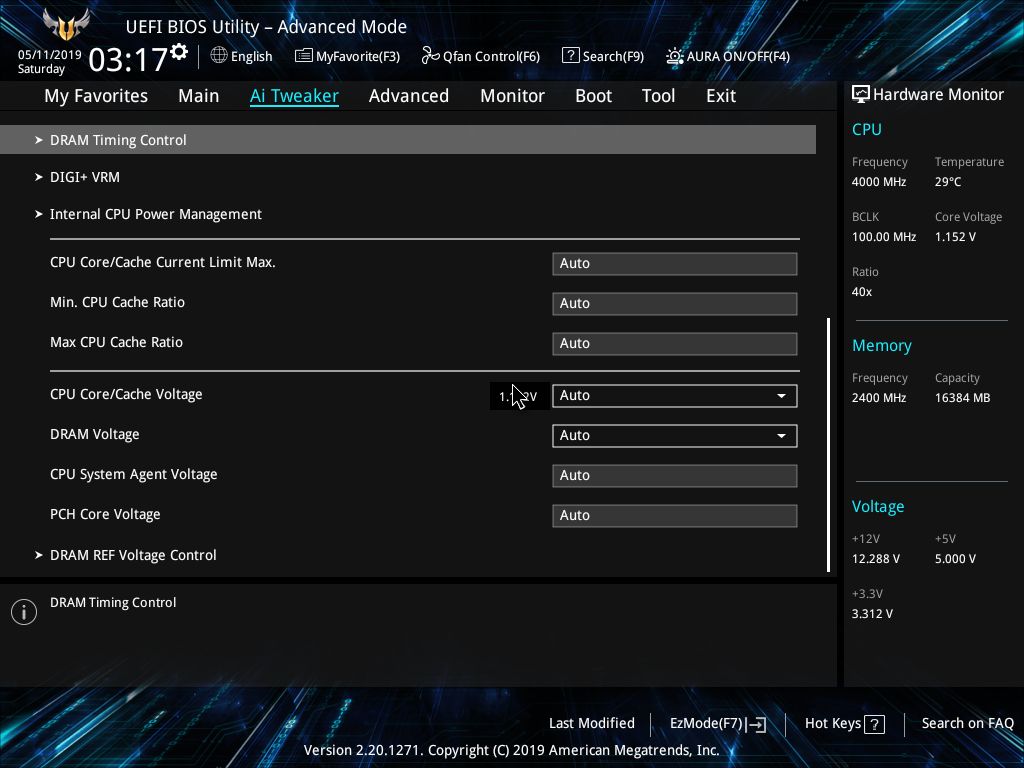
The Ai Tweaker section is where most of the voltage and CPU tweaks are found, including DRAM timings, DIGI+VRM for controlling the power delivery bits, Cache ratios and other voltages. Remember, overclocking is not possible with this chipset, so this section will be used to adjust voltages and RAM timing adjustments, if you choose.
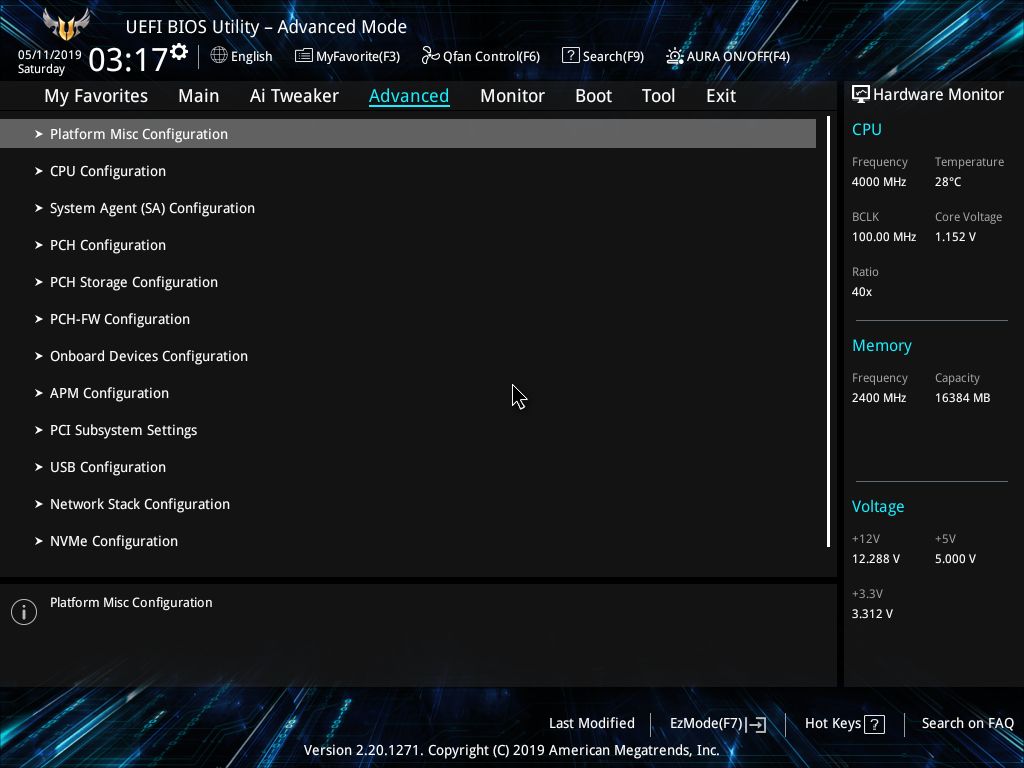
Within the Advanced section you can adjust additional CPU parameters including USB, NVMe, PCH, System Agent, and onboard device configuration as well as other PCI subsystem settings.
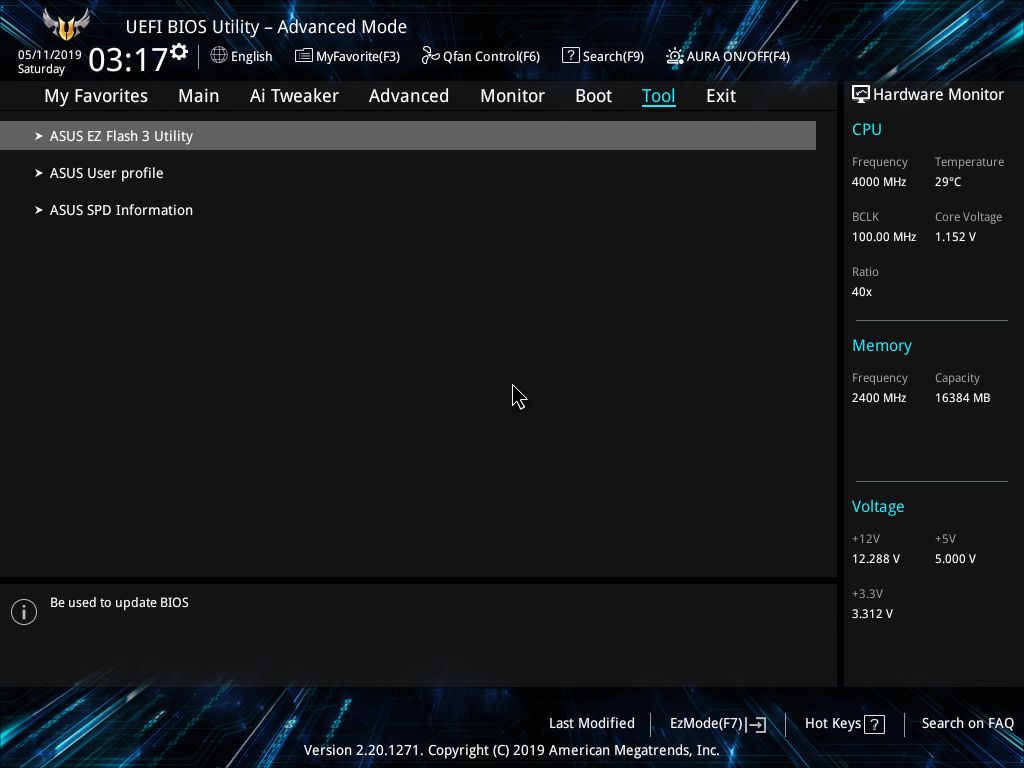
Moving on to the tool section, we find access to the Asus EZ Flash 3 utility used to update the BIOS, Asus User Profile for storing your BIOS configurations, as well as SPD information from the memory.
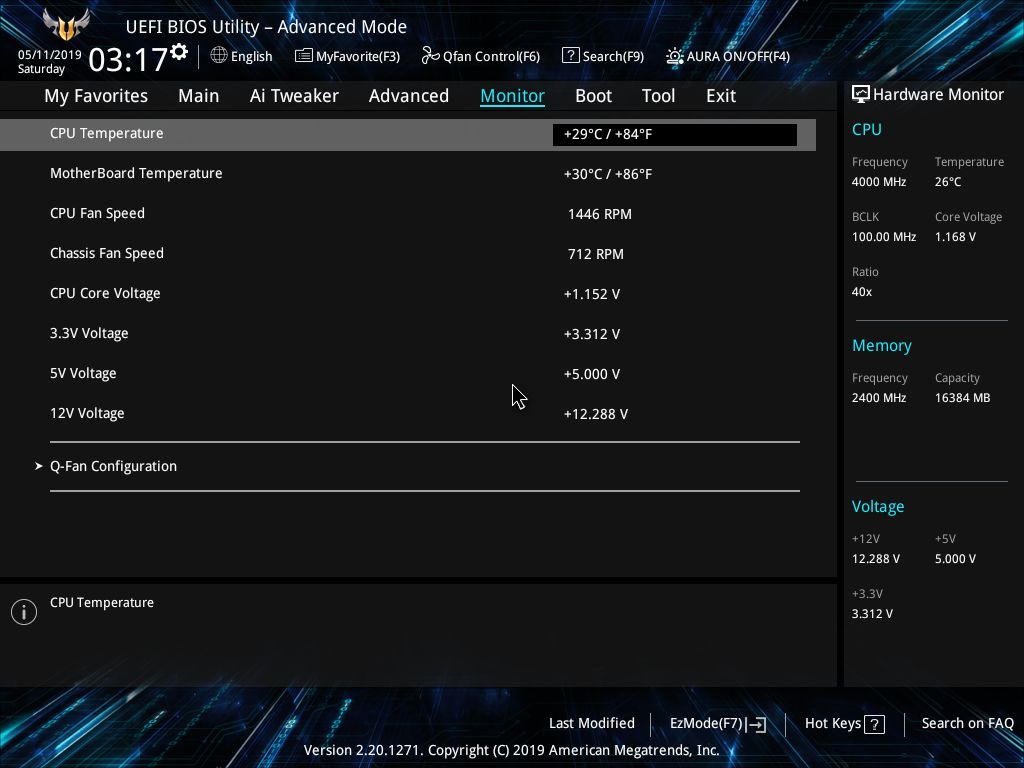
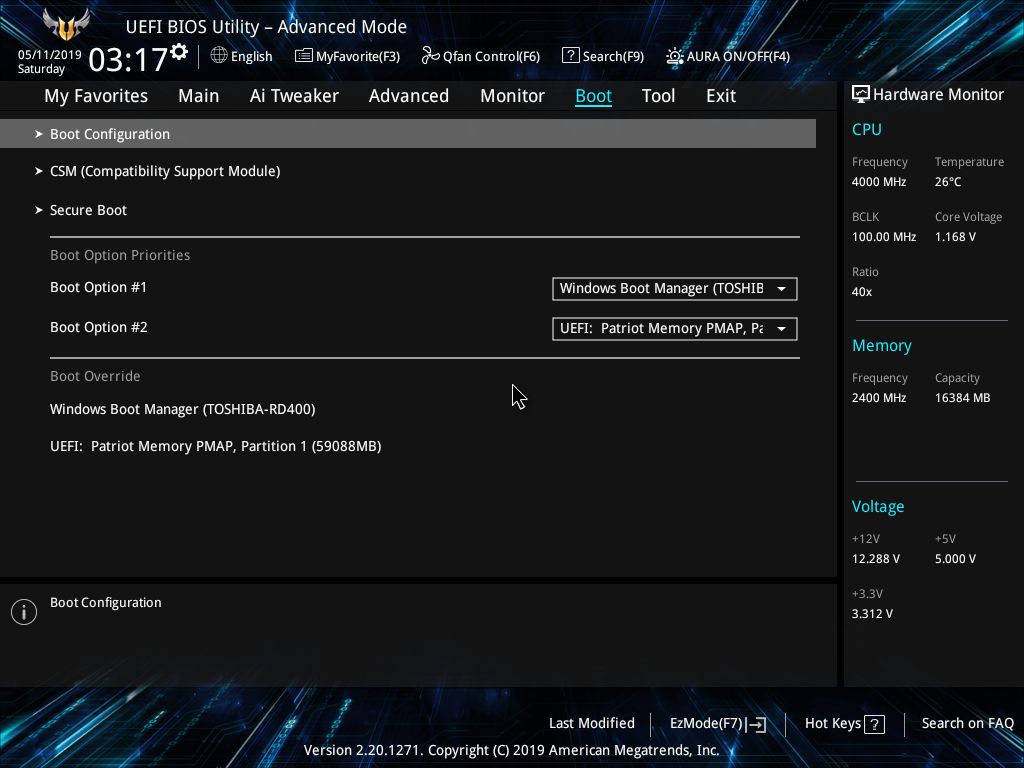
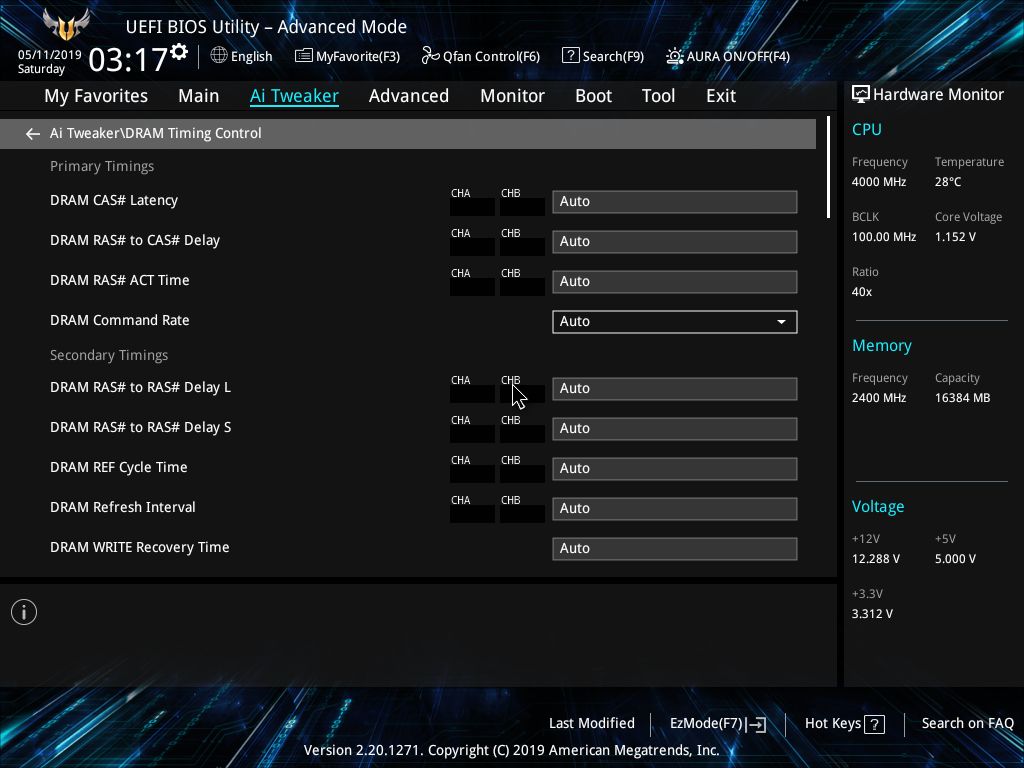
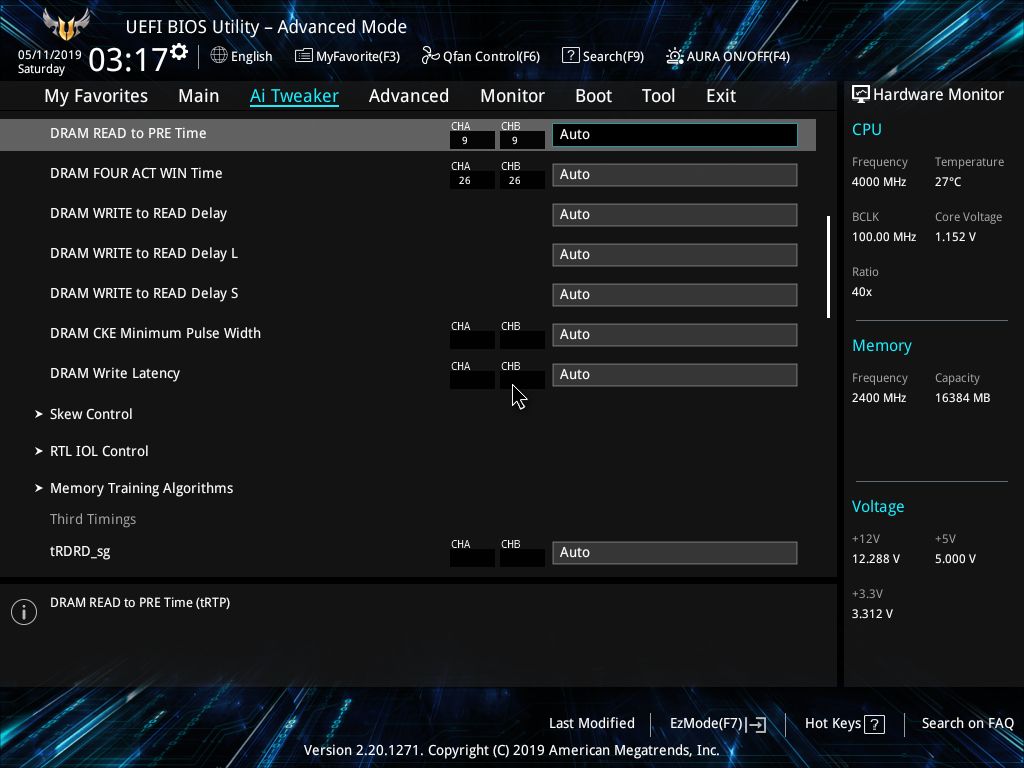
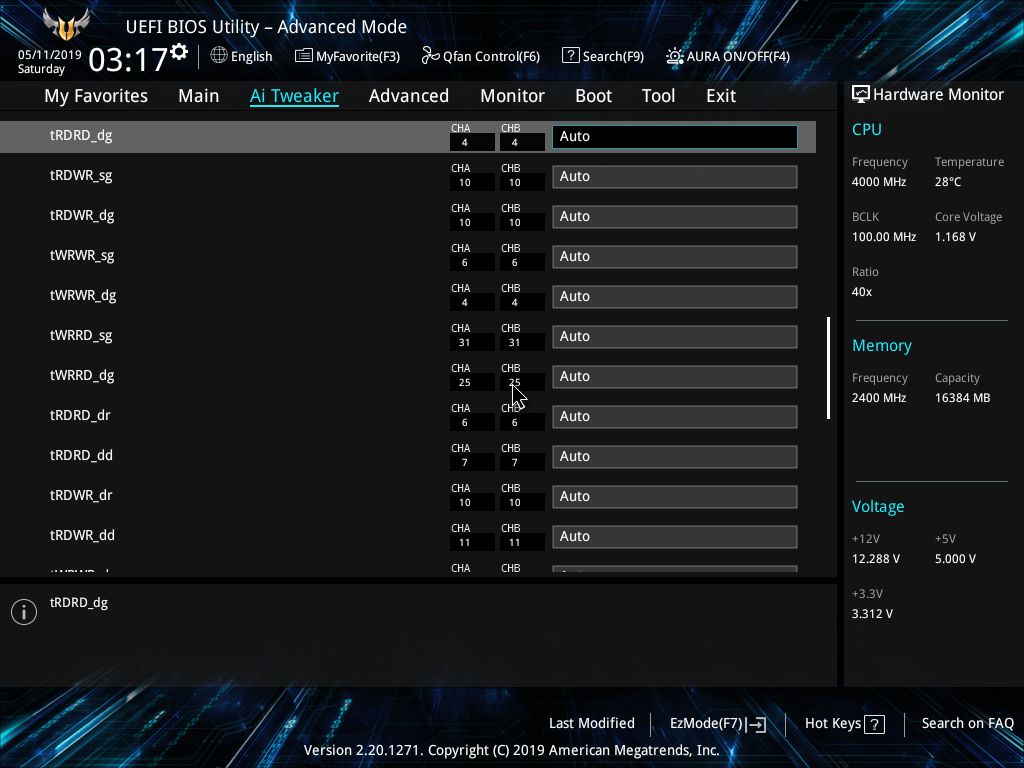
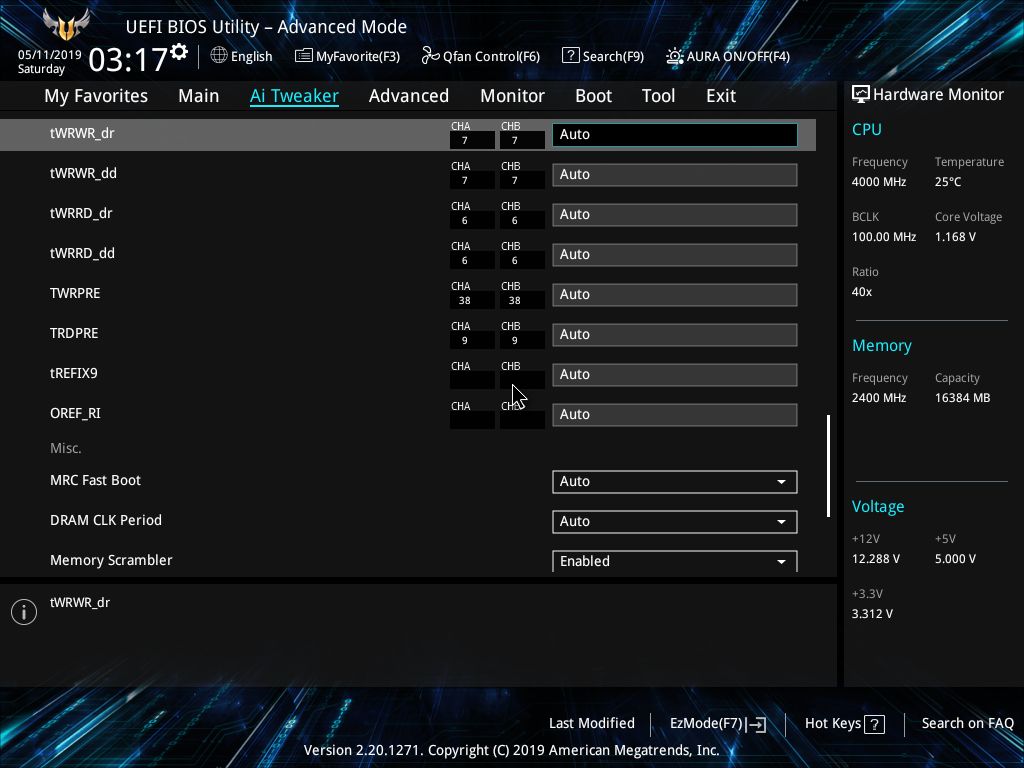
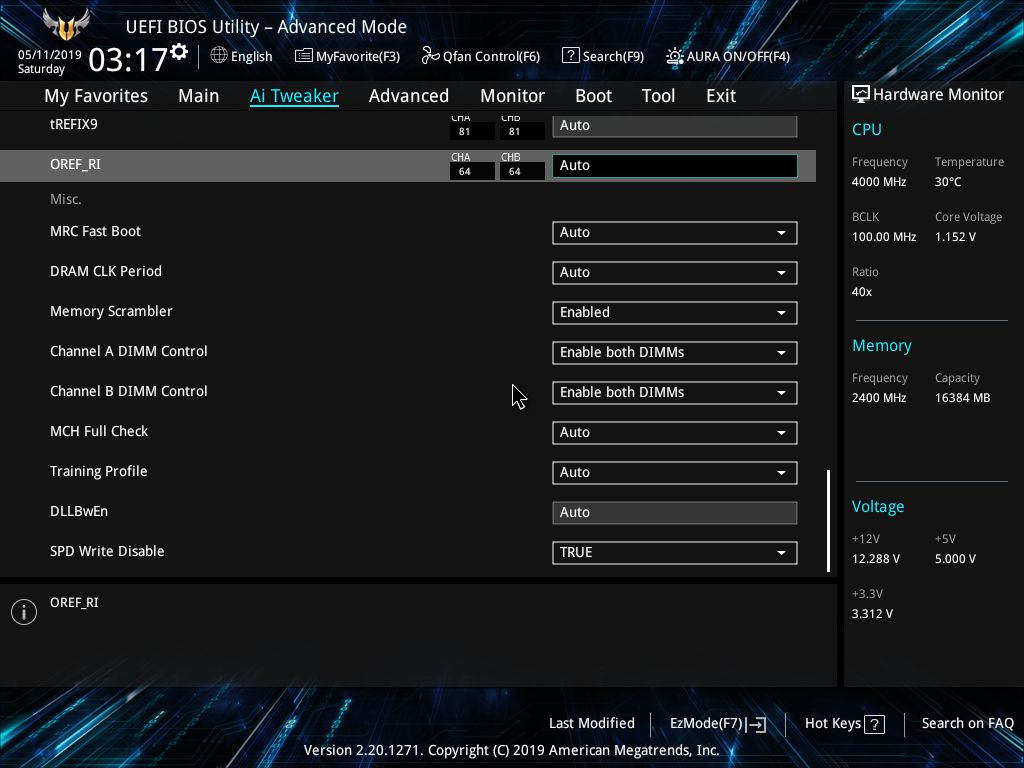
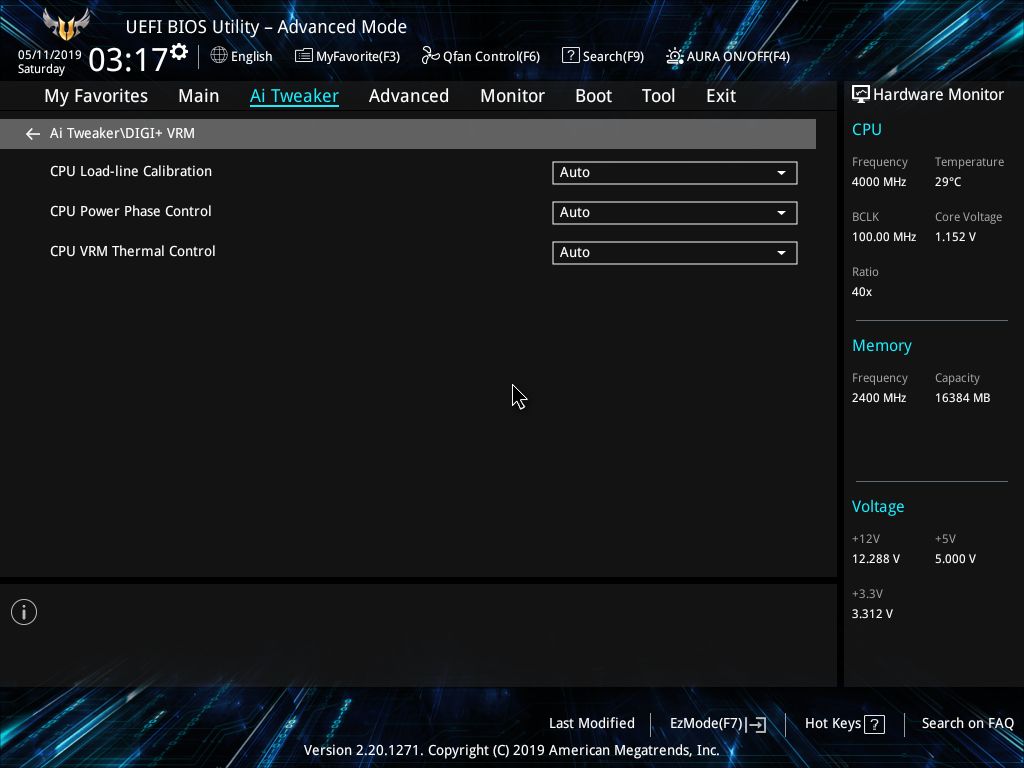
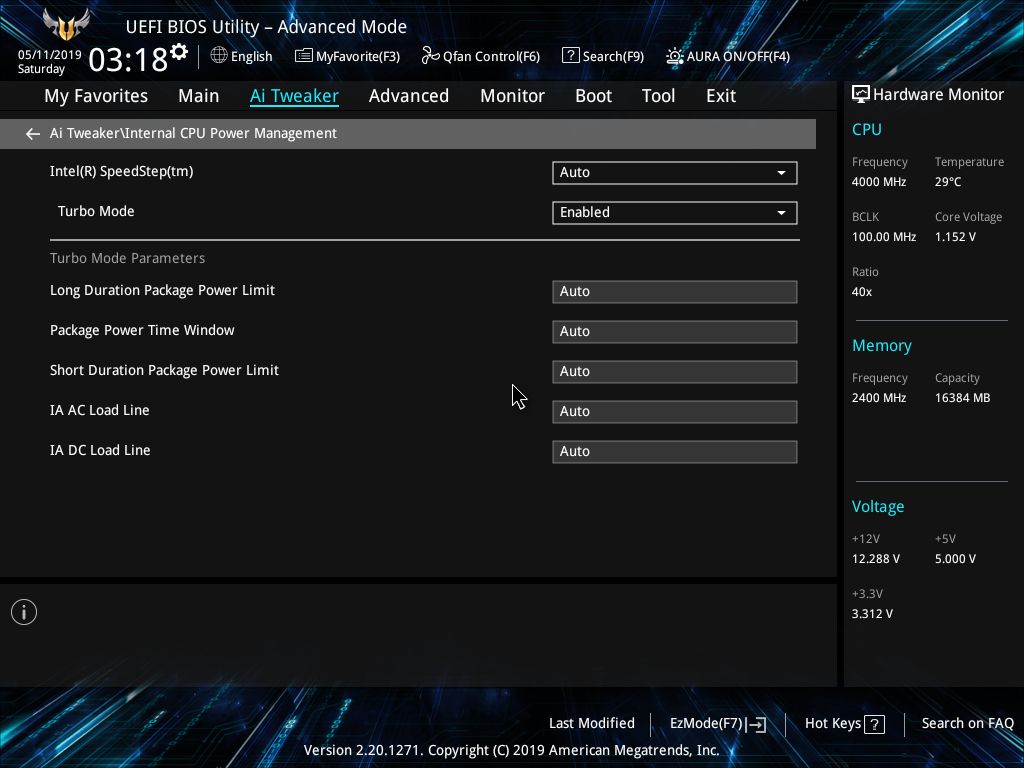
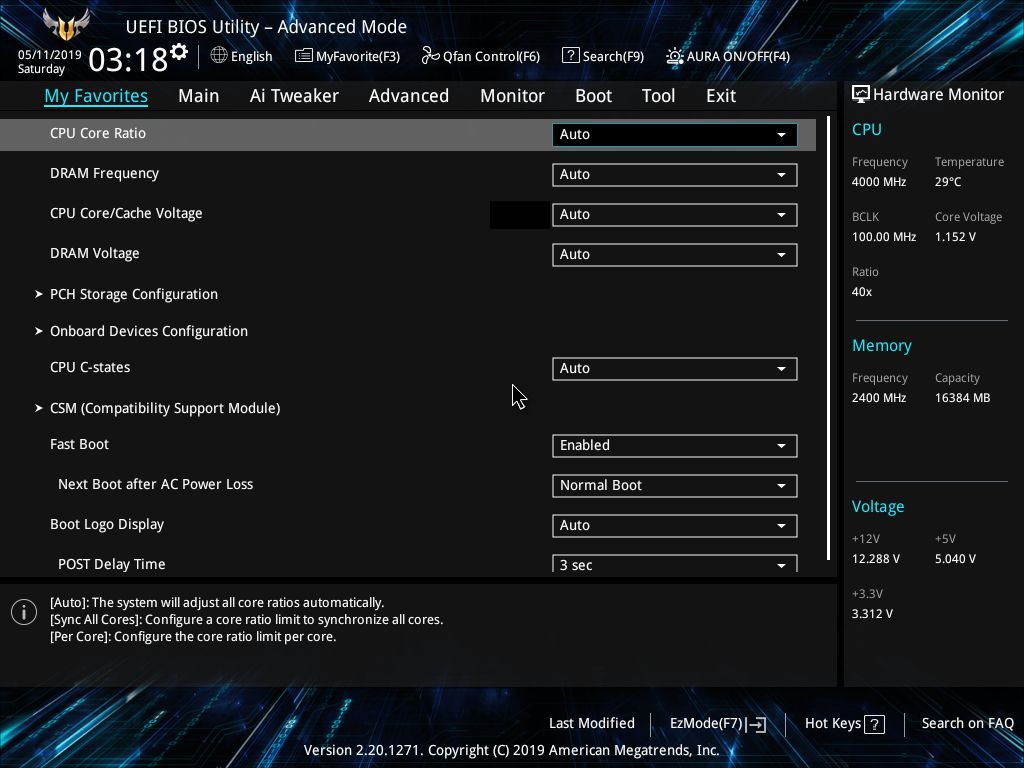
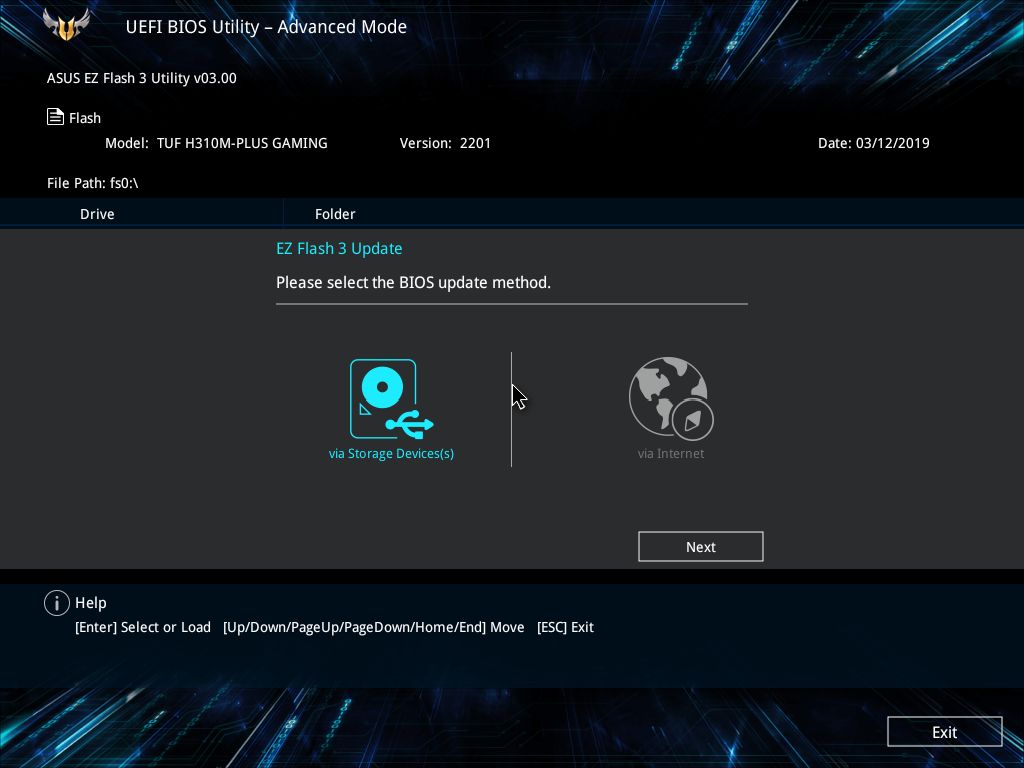
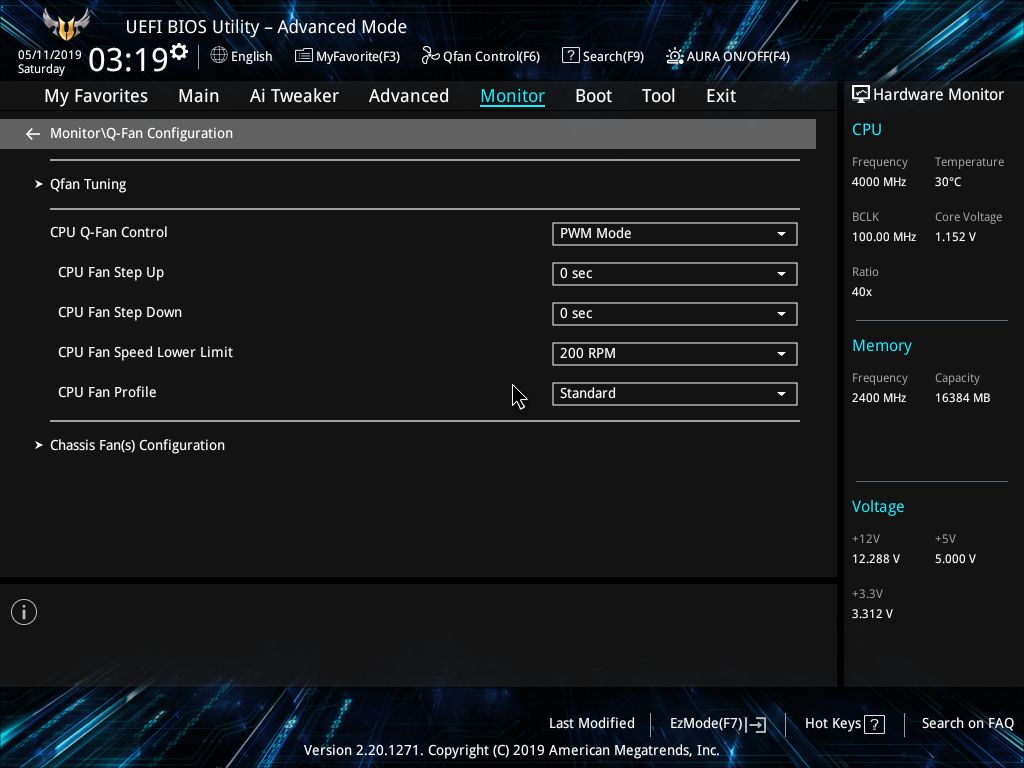
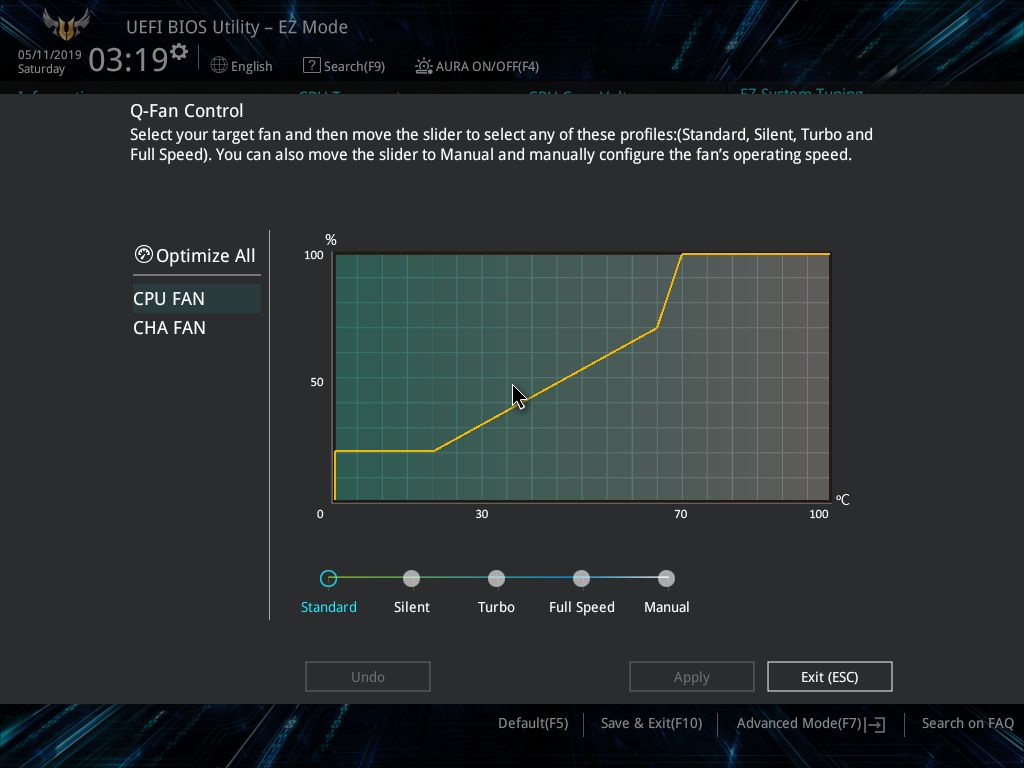
Jumping into the monitoring section, here CPU and motherboard temperatures are displayed, along with any connected fans and the speed they are spinning. Also listed is the CPU Core voltage as well as the primary 12V power supply rails. This section also houses the Q-Fan configuration. It’s here in the BIOS where you are able to set up the fan speeds as well as create custom fan curves for the two fans that this board supports via its headers.
Overall, much as we’ve seen in our reviews of competing boards, the ASUS BIOS is easy to navigate, with everything in a logical place and not buried in menus.
MORE: Best Motherboards
MORE: How To Choose A Motherboard
MORE: All Motherboard Content

Joe Shields is a staff writer at Tom’s Hardware. He reviews motherboards and PC components.
-
mdd1963 These boards ought to be compared using the 8700 or 9400F....; I doubt the 4c/4t 8350K is on anyone's 'must buy' starter gaming rig build specs...; especially with the 9400F costing $30 less than the 8350K...Reply
