Compact Mini-ITX Case Round-Up
Today we're putting three compact Mini-ITX cases to the test: Cougar's QBX, ID-Cooling's T60-SFX and Lian Li's PC-Q10.
Cougar QBX
Why you can trust Tom's Hardware
The QBX chassis claims superior expandability and cooling capabilities, including the ability to fit a full-length graphics card and several case fans, along with support for water-cooling. However, the QBX's heavy focus on cooling leaves us a bit worried that it might be one of the louder cases we've tested.
Exterior
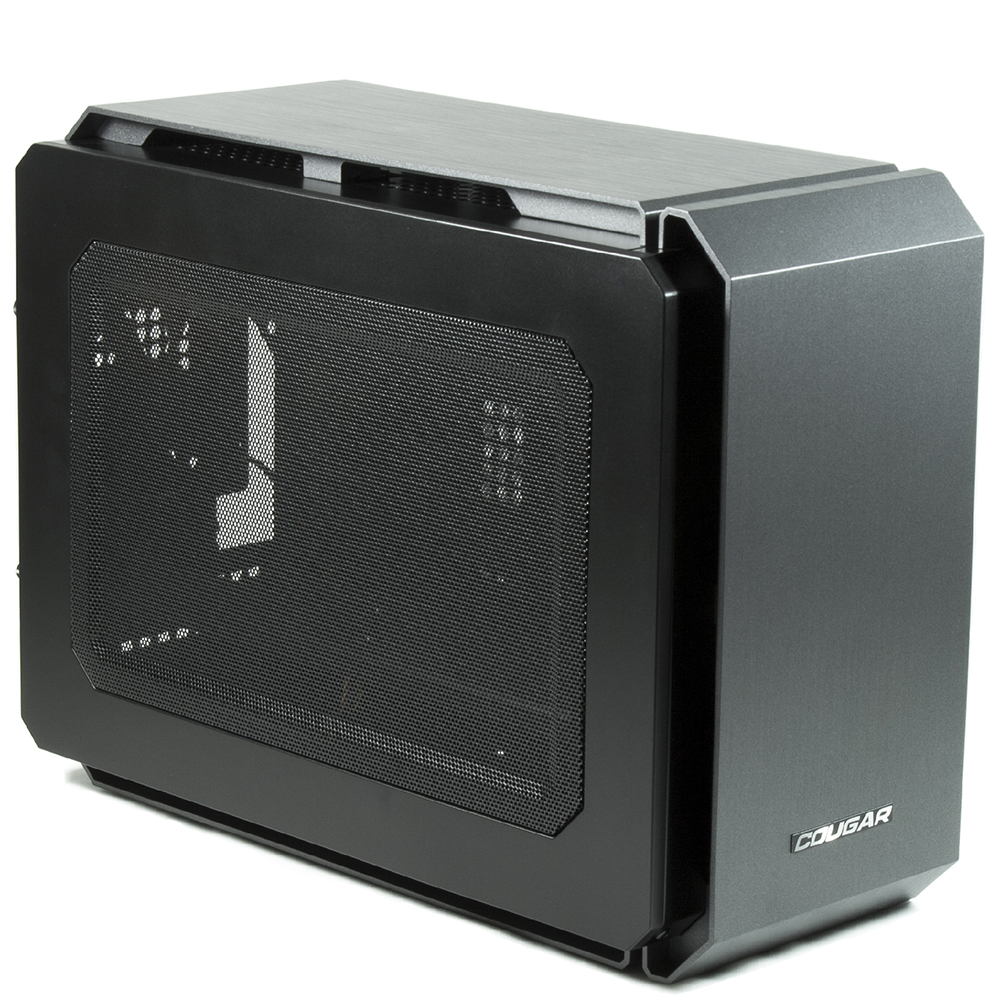
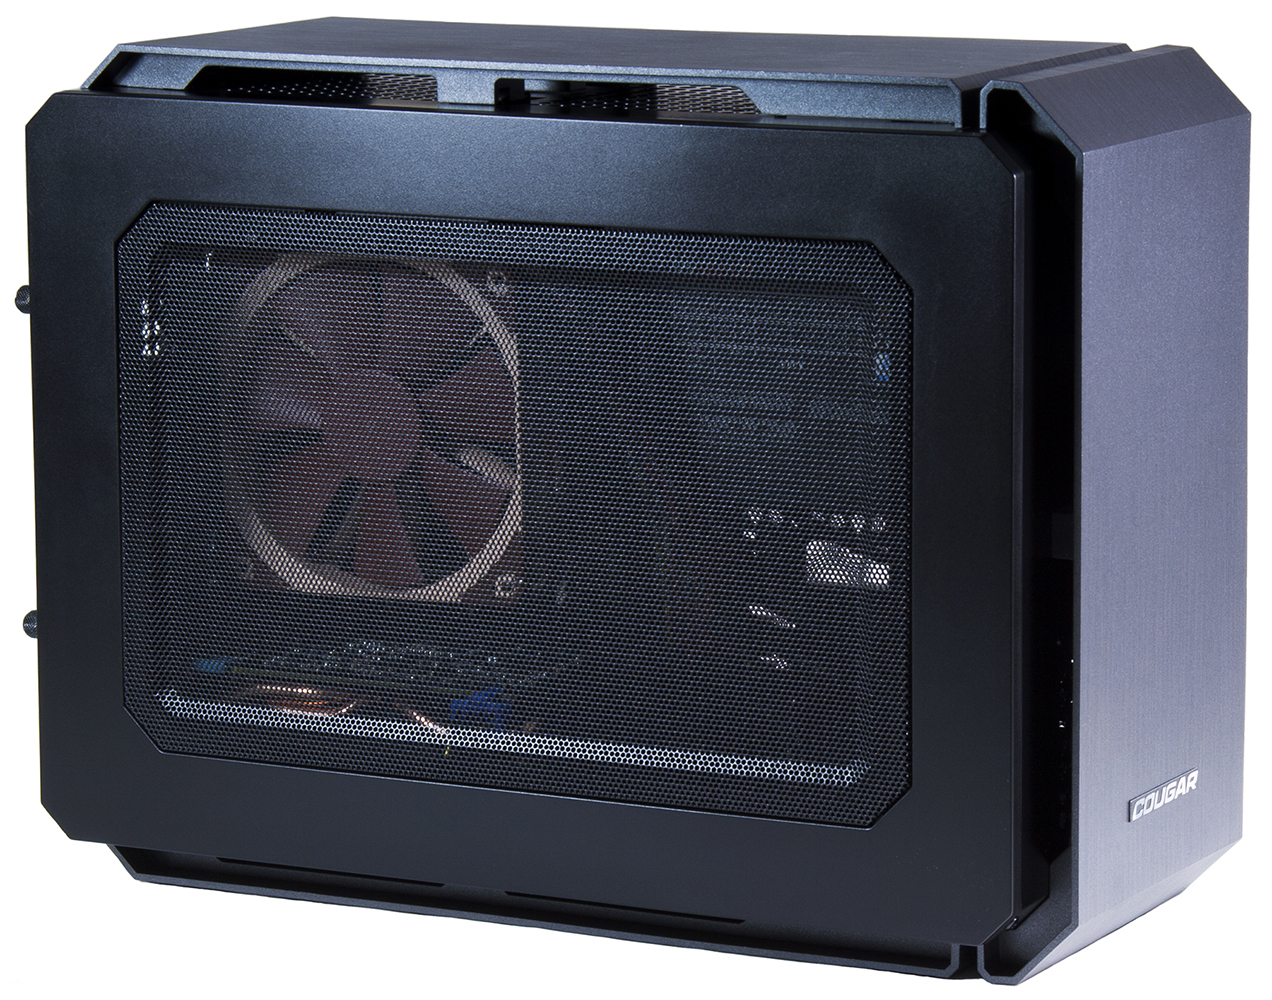
At first glance, the QBX sports a sleek and simple design. The front, top and bottom panels are made of plastic that resembles brushed aluminum, while the left and right side panels include mesh windows. The panel material is thick and of reasonable quality given the case's price. Except for Cougar's logo on the front, and the usual set of ports on the right side, the outside of the QBX is mostly devoid of anything that breaks up the flow of the outer panels. The QBX lacks support of any kind for external 3.5-inch and 5.25-inch drive bays, but users can install a slim, slot-loading optical drive in the front of the case and feed discs in through the gap between the top and front panels. When there is no optical drive installed, the QBX features a rubber seal to fill the hole and help keep dust out.
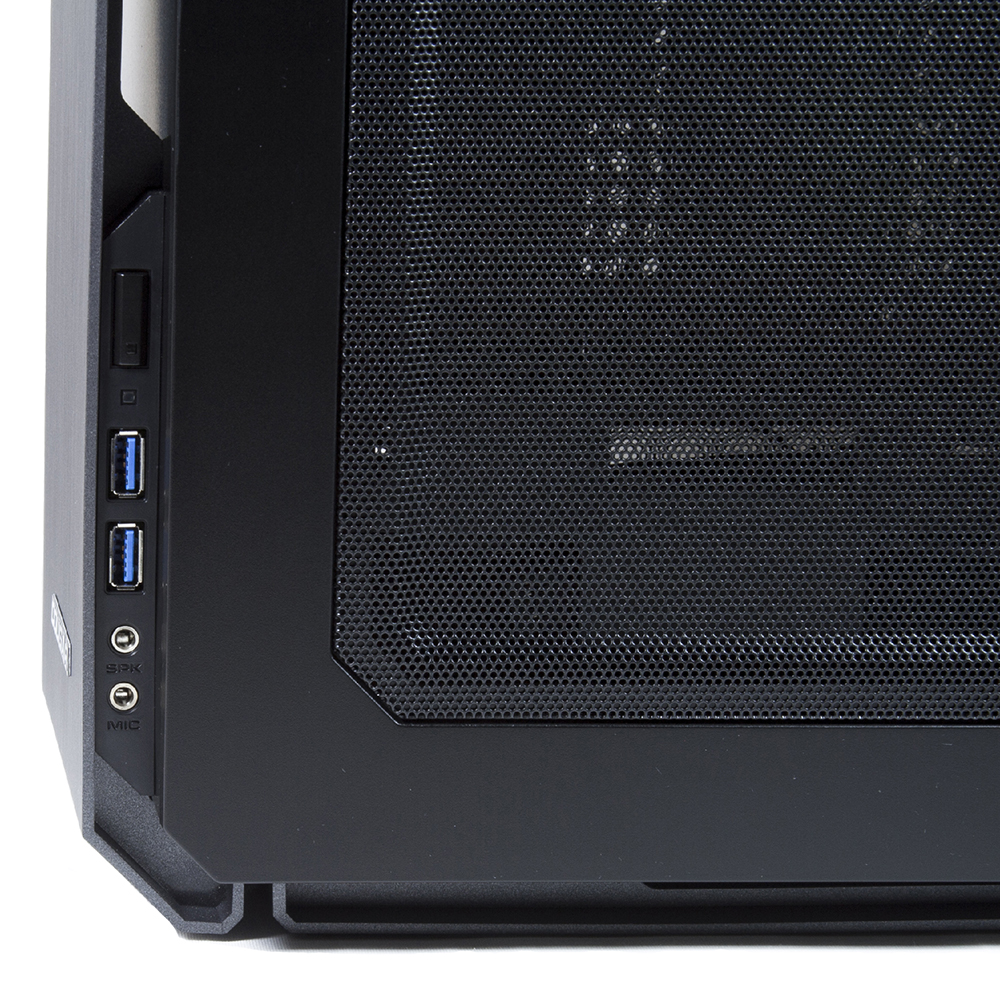
The power button/light, HDD activity light and front panel ports for the QBX are hidden away along the case's right side. Why Cougar chose to put the ports on that side of the case is a bit hard to understand, as most users would presumably want them on or near the side of the case that has the best view of the internal components. The case does away with legacy USB 2.0 ports, featuring only a pair of USB 3.0 ports and a standard set of HD audio inputs. Some users might find it hard to fit certain types of USB devices into the front set of ports, as there's limited clearance between the frame and the lip of the front panel.
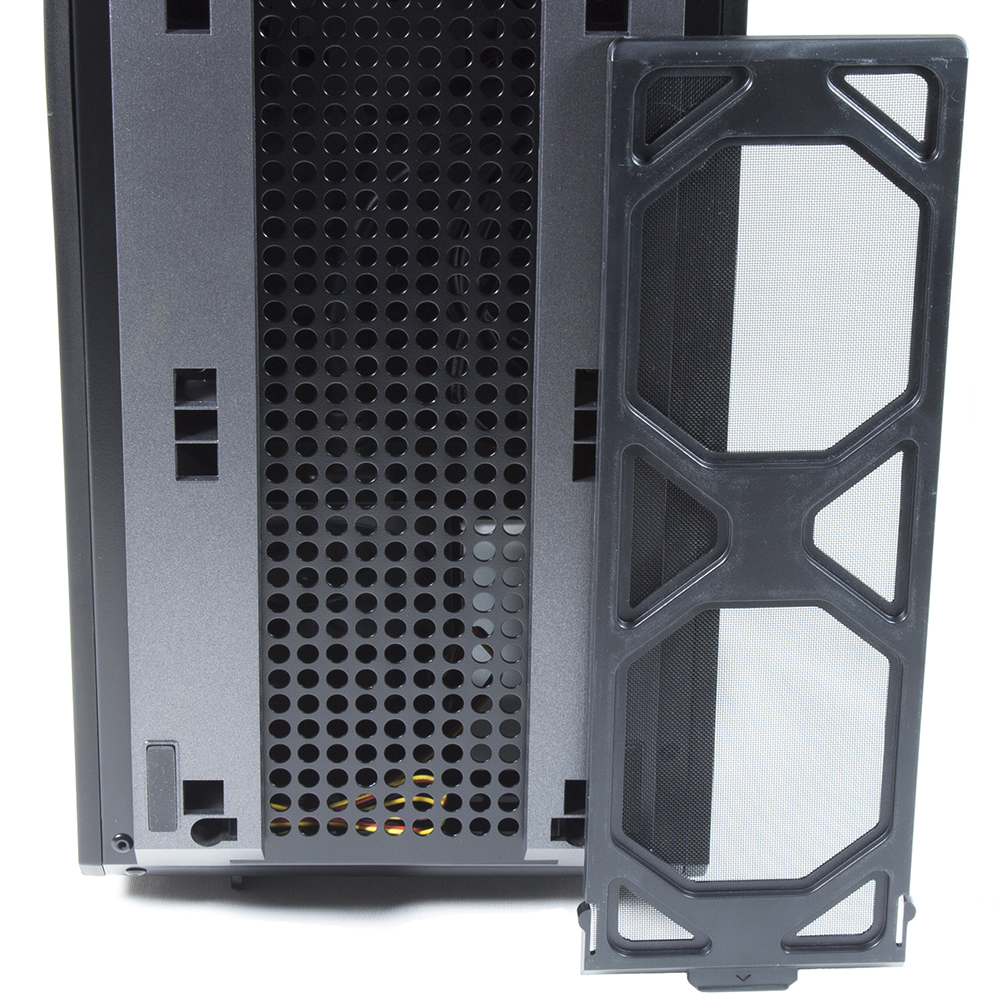
The QBX supports mounting two 120mm fans in the bottom of the case, and it includes a removable dust filter. The filter itself, which seems very sturdy, simply slides out toward the rear of the case for easy maintenance. When it's time the reinstall the filter, it locks in place with a firm click.
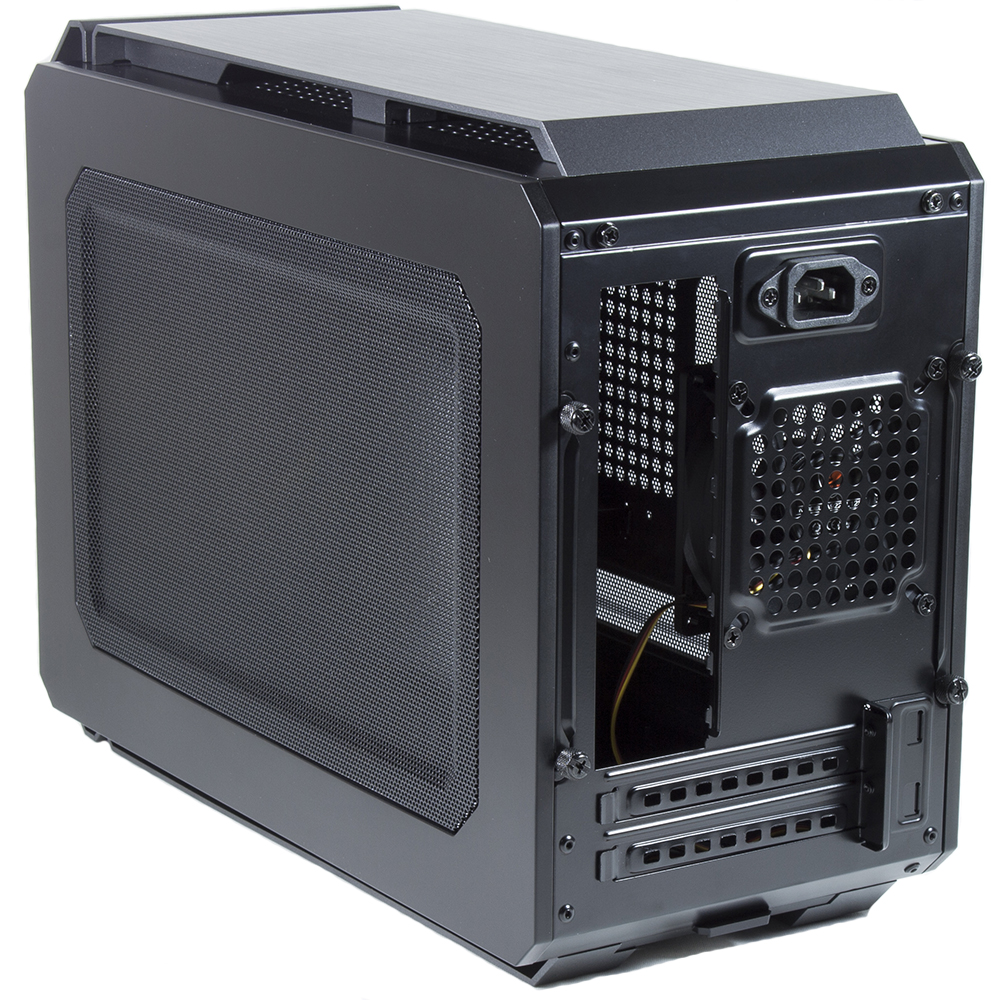
The back of the case features a 90mm 3-pin exhaust fan, the quality of which is reflected in the price of the case. The fan isn't terribly loud at full speed, but at lower speeds it emits a grinding noise — most likely from a cheap bearing. The QBX features two full-size expansion slots, which enable users to install a wider range of graphics cards than most other mini-ITX cases.
Given the price of the case and the number of expansion slots, it's interesting to see that the expansion slot covers are replaceable, rather than their cheaper, non-replaceable break-out counterparts. The expansion slots also feature a guard that mounts on top of the covers and locks into the case to help secure heavier graphics cards. Finally, there's a removable power plug mounted to the back of the case, which feeds an extension cable leading to the power supply mounted near the front.
Interior
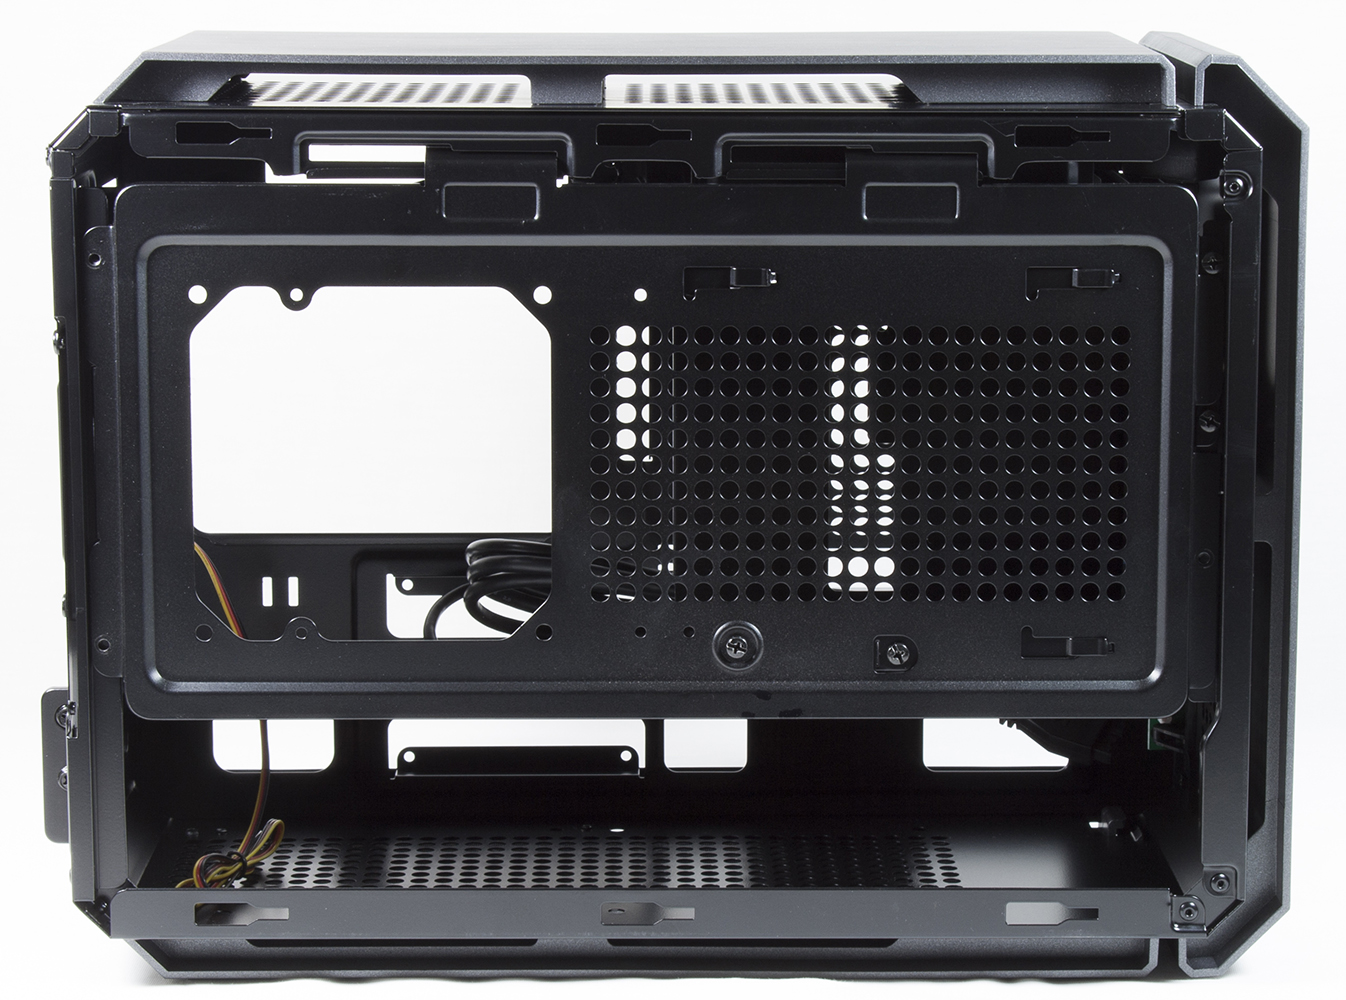
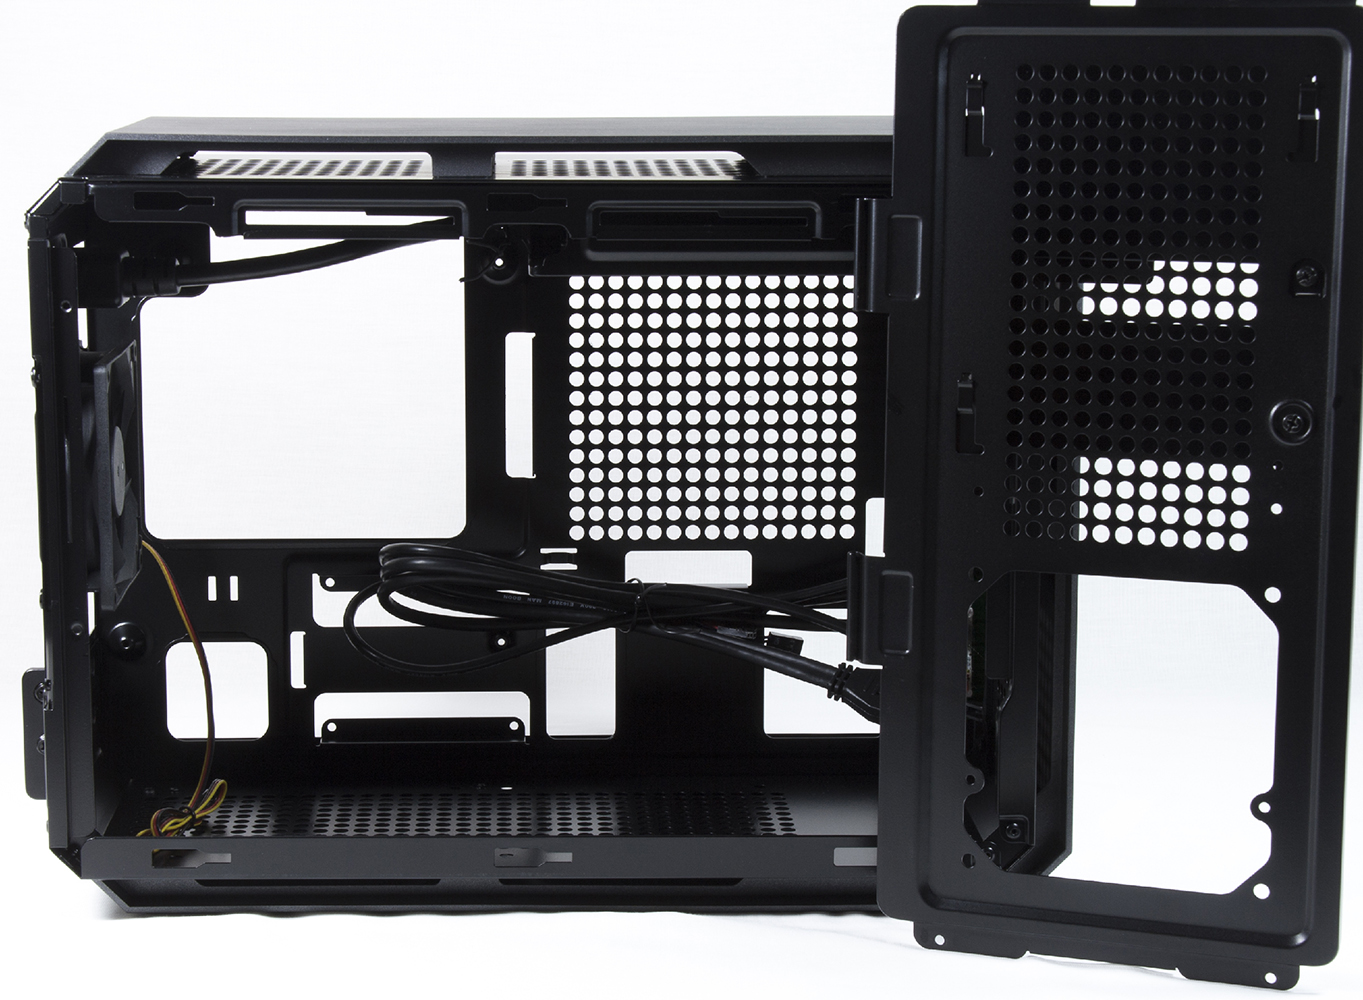
The QBX offers quite a bit in the cooling department, including water-cooling support — something not often found in a mini-ITX case. It features support for both 120mm and 240mm water-cooling radiators, although only a single 120mm fan is supported for the 240mm option. The radiators mount to a removable side panel that is directly behind the left exterior side panel. The same panel that the radiators mount to also includes a bay for a single 3.5-inch hard drive, which can be removed so that a 240mm radiator can be installed.
For those who have no plans on using a 3.5-inch hard drive, or employing the space on the radiator mount for a fan or water-cooling solution, the entire panel flips up and can be removed from the case to save on weight and provide better airflow.
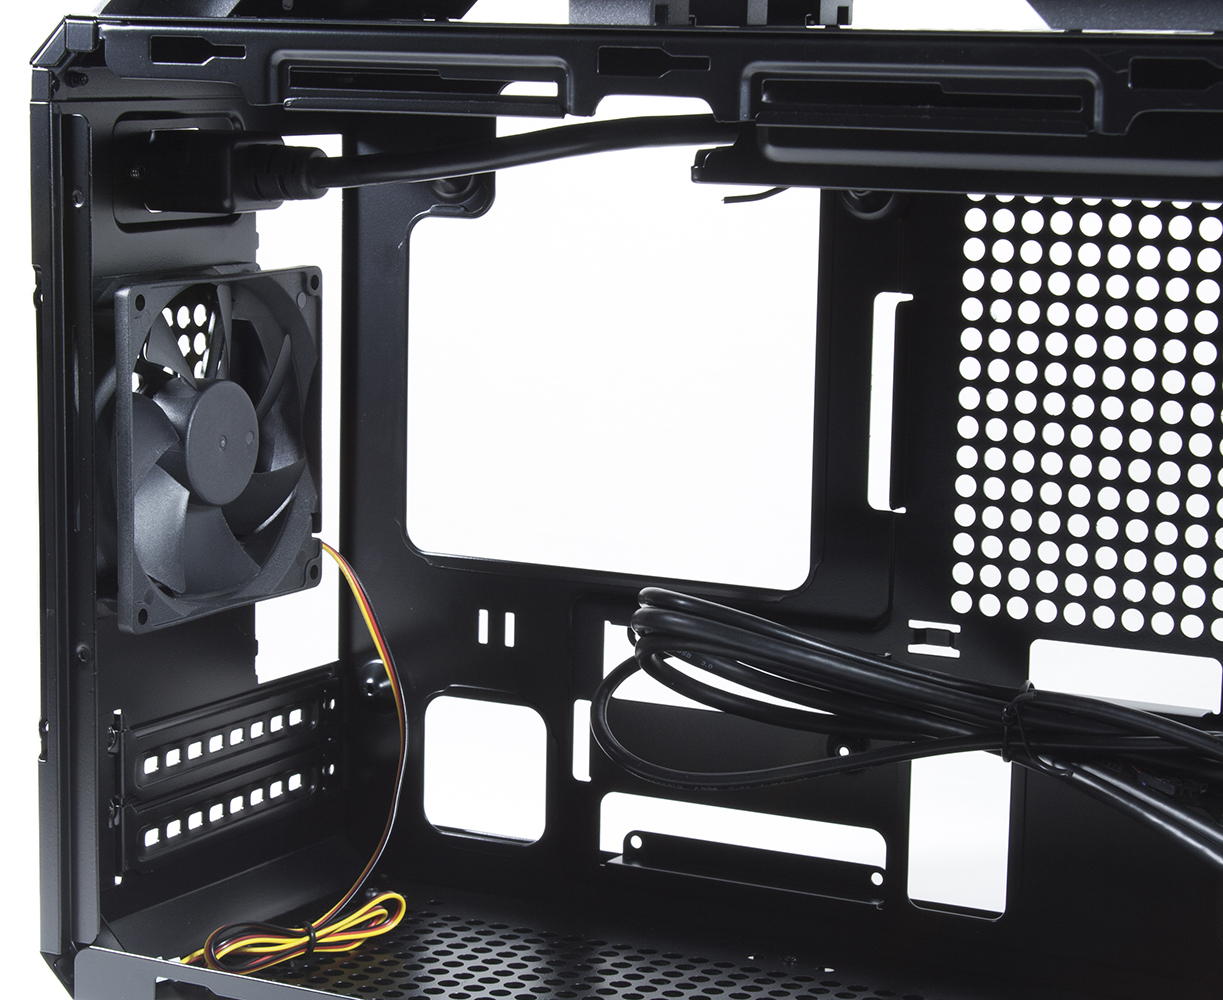
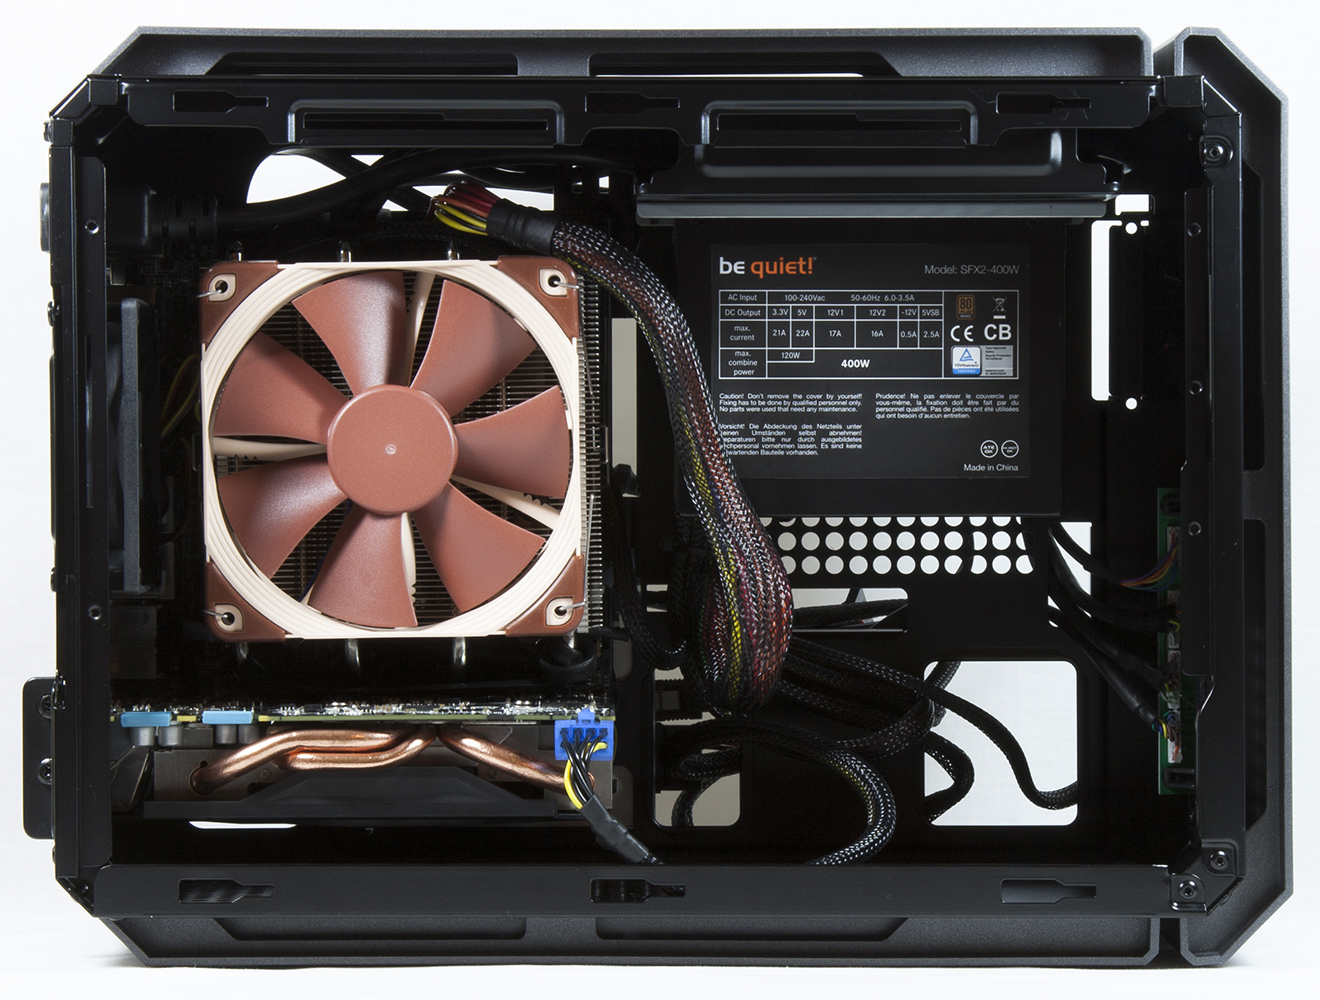
A look inside the front portion of the case reveals a removable bay for a single 2.5-inch slim hard drive or SSD and a place to mount an 80mm case fan for better airflow. Additionally, to the right of the motherboard cutout is the air intake for the case's power supply, which mounts to and exhausts air through the top of the case. The supporting electronics and cabling for the front panel ports can be seen in the photo below as well.
A quick glance at the back of the case shows the included 90mm fan as well as a good-size motherboard cutout, and numerous cutouts around the motherboard for cable management.
Finally, the top panel of the case is also removable, allowing users to install up to two 120mm case fans. It's worth noting that there isn't much room between the top of the motherboard and the top of the case. Additionally, the extension cable that feeds power from the back of the case to the front-mounted power supply also routes along the top of the case. Taking both of those things into account, depending on the depth of the case fans it might be difficult to actually install both 120mm fans on the top of the case and still be able to get the top panel on.
The Build
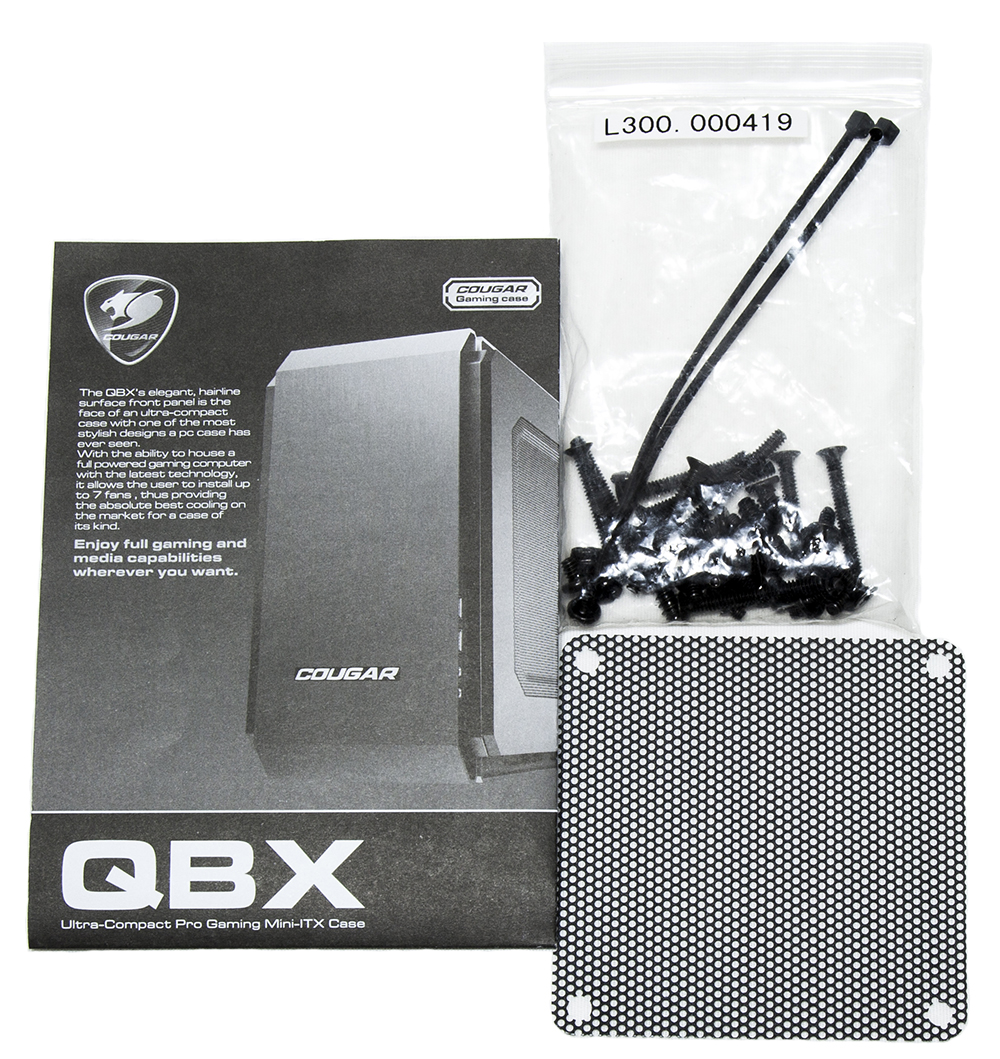
The QBX comes with a small booklet that isn't really as much of a manual as it is a guide detailing the features found inside the case. That might be a problem for some individuals who are new to building their own computers. Fortunately, the design and features of the case are straightforward enough to mostly mitigate that issue. The QBX also comes with the standard pack of screws, zip ties and a filter for the optional front fan, which, honestly, may be too coarse to help very much.
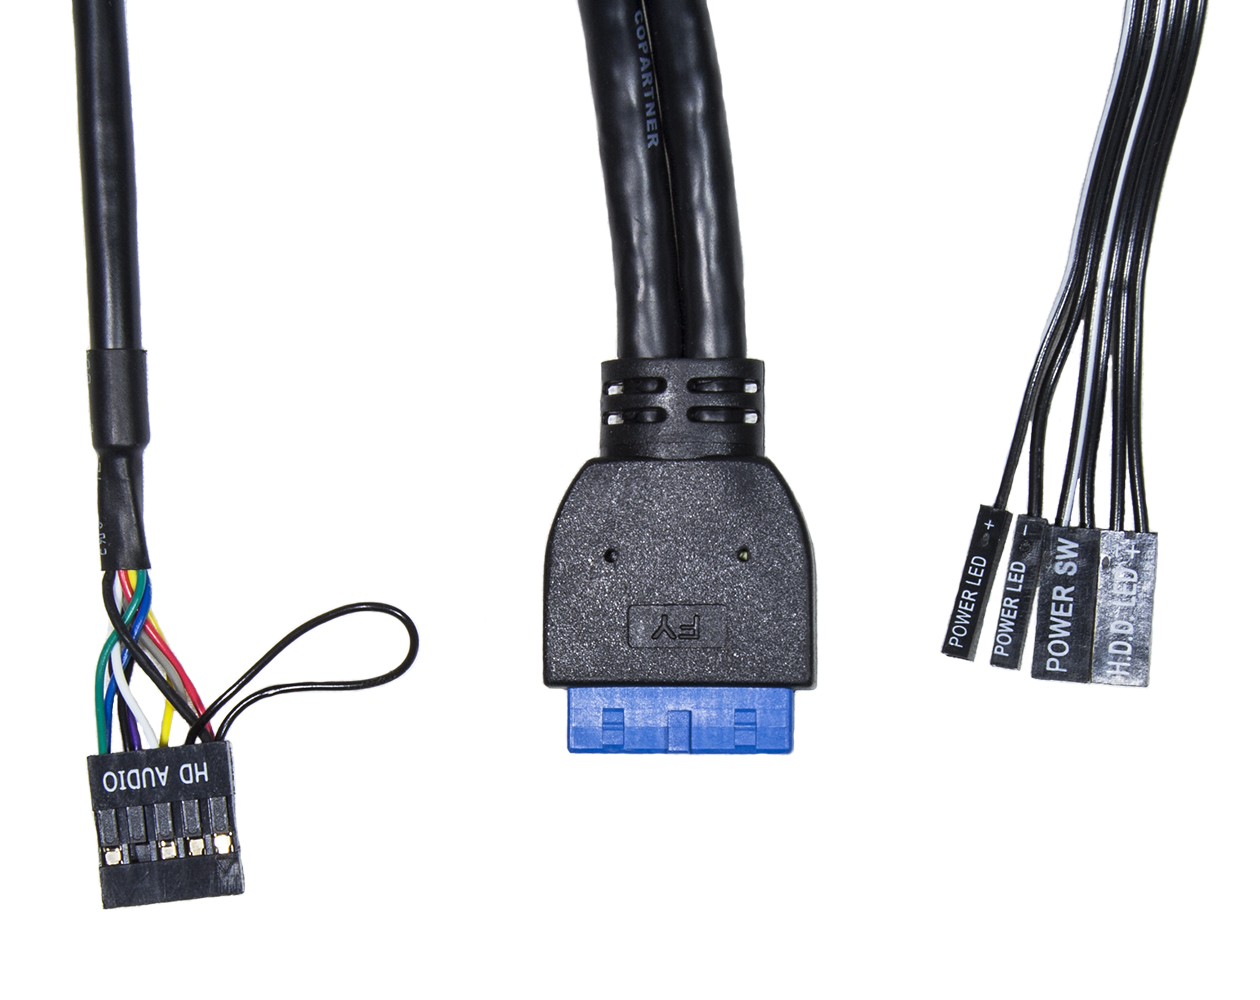
The cable selection for the case is pretty much what one would expect given the case's features. Included in the assortment are a USB 3.0 cable, an HD audio cable and a standard set of front panel connections with a split LED cable for compatibility with both ASUS and standard motherboards. Note that the case lacks legacy audio and USB 2.0 connections, which seems to be the direction most modern cases are headed these days.
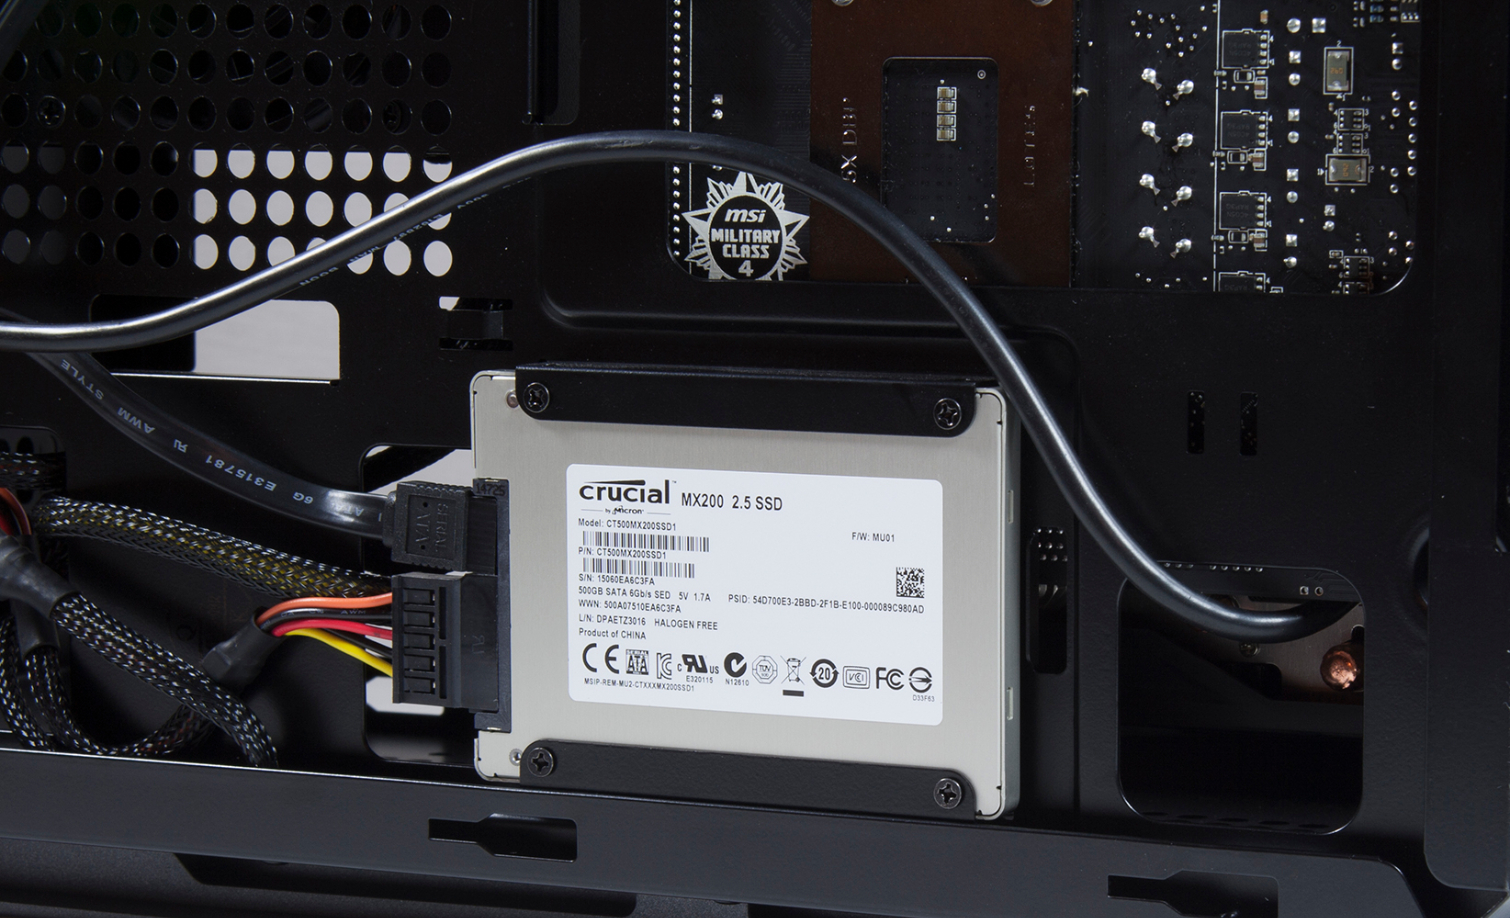
Our 2.5-inch SSD for this build attaches with screws to the backside of the motherboard tray. Unlike other cases we've reviewed, the QBX allows us to use the mounting holes on the bottom of the SSD to secure it to the case. This orientation makes it much easier to install, plus there is plenty of space between the motherboard tray and side panel of the case for routing and stowing extra cables.
After we installed the SSD and moved on to the rest of the case, the build started to get somewhat tricky. For a Mini-ITX case, the QBX has quite a bit of room to offer, but things can still get tight. Later on in the build, after the major components were installed, it got to the point where having large hands was a disadvantage. In all, despite the lack of hand room toward the end, the QBX is actually a moderately easy case to build in. With everything installed, there's still plenty of room for airflow. We could have even gone with an ATX power supply and full-length graphics card, and still had room for some extra SSDs or case fans.
Speaking of the power supply, it's worth noting that the QBX doesn't actually support the use of SFX power supplies due to their small size. We managed to get ours to fit by using an SFX to PS/2 adapter plate. Neither the power supply nor the case came with the adapter, but it would've been nice for Cougar supply one in the box, as they're not that expensive and one would go great with this case.
With the last side panel on, everything comes together quite well. Users wanting a better view of the internals might be a bit disappointed as the mesh on the left side panel does obstruct the view a bit (but with the benefit of better ventilation). Still, it would be nice if Cougar were to release a version of this case that includes the option of replacing the mesh on that panel with a window for those of us who enjoying having an unobstructed view of a build's innards.
Get Tom's Hardware's best news and in-depth reviews, straight to your inbox.
-
Onus Honestly I cannot say I liked this one. Yes, it provides good information on three specific cases, but is missing too much information to be useful as a "Round-Up." I would like to have seen a few more case styles tested, such as one of the InWin BP655 series, a Prodigy or Neutron, and one of the small cheap "breadbox" cases.Reply
Also, I know time is limited, but another fifteen minutes to install an additional fan in the QBX and test the author's otherwise reasonable supposition would have significantly increased the value of the information provided about that case. -
jtd871 If the 970 card that you used is that loud and/or annoying, I wonder why you didn't select a larger (although still within standard PCIe dimensions) dual-fan card, instead. Additionally, these cases are relatively large compared to the volume of the components, which is going to make airflow really challenging. The beauty of *really* small cases is that there is less extra volume for hot air to accumulate inside the case (but there needs to be lots of available ventilation for each of the components).Reply
I didn't read the write-up on the individual cases, but did you try setting the PSU as an exhaust to improve airflow? -
JasonL265 Was this an older article that was just publish today. They kept on complaining about Lian Li's more expensive price tag and even listed it as a con for the case. But the ID case is like $30 bucks more, and instead they say the ID case has a "decent" priceReply -
jjb8675309 Would have been nice to see more budget oriented cases geared towards bottom dollar (apu) mini-itx builds.Reply -
cmiconi ReplyWas this an older article that was just publish today. They kept on complaining about Lian Li's more expensive price tag and even listed it as a con for the case. But the ID case is like $30 bucks more, and instead they say the ID case has a "decent" price
The ID-Cooling case was selling for just above its MSRP of $79.99 back when the article was written. Since then the price has doubled on Newegg for some reason. Additionally, the charts in the article were made with the case's MSRP and not its current selling price. -
cmiconi I also wanted to clarify some of the questions.Reply
The case selection of the round-up was intended to compare cases of a similar size. When we put out our call for cases, we got almost a dozen cases in two weeks, in all sorts of different designs (and more are still on their way). One thing we didn't get a lot of was budget cases. Once we get through reviewing most of the cases that came in, we might put together another round-up of 3-5 budget mini-ITX cases.
The mini GTX 970 was chosen so that we didn't have to worry about the graphics card not fitting into any of the cases that we received. We did get some cases in which a regular size card won't fit. So, instead of testing with two different graphics cards, we can use a single card which helps to keep a consistent baseline for the test results across all of the cases. -
2Be_or_Not2Be What, no Silverstone cases? They have a good range of mini-ITX cases. The SG05 and the SG13 go for $30-45 USD on Newegg. Surely that's a nicely-priced budget case.Reply -
kyle382 I have been waiting so long for SFF case reviews from toms. Thank you! I didn't even know about the ID cooling brand until I read this.Reply -
kyle382 Reply16937276 said:What, no Silverstone cases? They have a good range of mini-ITX cases. The SG05 and the SG13 go for $30-45 USD on Newegg. Surely that's a nicely-priced budget case.
calm down there buddy...more will coming.
".. from various vendors including Corsair, Cougar, Deep Cool, ID Cooling, Lian Li and more."
-
jjb8675309 Reply16937054 said:Once we get through reviewing most of the cases that came in, we might put together another round-up of 3-5 budget mini-ITX cases.
That would be awesome. Looking for a $40-60 budget case right now.
