Tom's Hardware Verdict
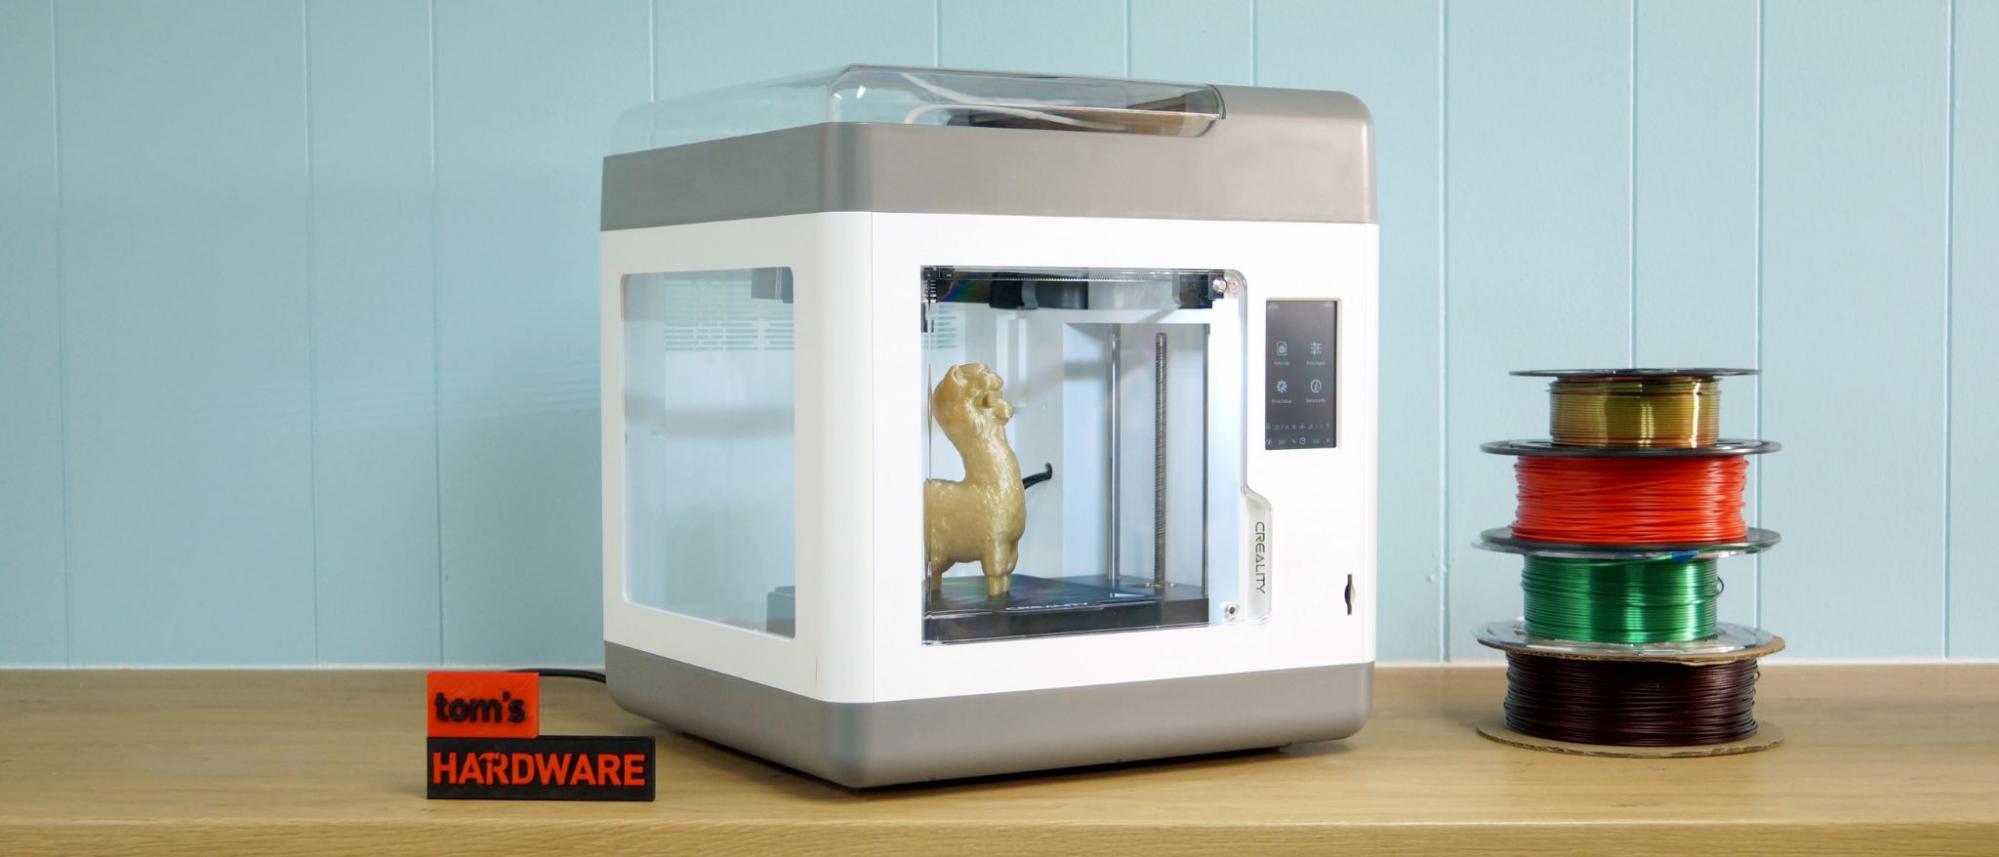
The Creality Sermoon V1 Pro is a fully enclosed printer with a small build volume that’s 100% plug and play.
Pros
- +
Plug and play
- +
Factory leveled bed
- +
Direct drive
- +
Quality prints
- +
Built-in camera
Cons
- -
Tiny build size
- -
WiFi has to use Creality Cloud
Why you can trust Tom's Hardware
People who say 3D printers can’t be “plug and play” have never met the Creality Sermoon V1 Pro. This printer slides out of the box ready to go. Literally, you unpack it and plug it in. It’s even factory leveled.
The Sermoon is a small printer with a 175 x 175 x 165 mm build volume, but unlike the super compact Ender 2 Pro, this is fully enclosed and sports a lightweight direct drive. It’s also a Core XY printer, meaning the bed moves up and down, while the X and Y action are belt driven at the top of the machine.
Retailing at $539 on Creality’s website, this is not a budget printer, but it is our pick for Best 3D Printer for Kids. It's a great machine for STEM labs, classrooms and homes where young makers might use it. It’s loaded with features well suited for use around curious kids, such as easy filament loading, clear menus, and a pause function that activates when the door opens.
I had the Sermoon V1 Pro out of the box and printing in 15 minutes.
Specifications: Sermoon V1 Pro
| Machine Footprint | 400 x 380 x 430 mm (15.7 x 14.9 x 16.9 inches) |
| Build Volume | 175 x 175 x 165 mm (6.8 x 6.8 x 6.5 inches) |
| Material | PLA/PETG/TPU |
| Extruder Type | Direct Drive |
| Nozzle | .4mm (Interchangeable) |
| Build Platform | PC Coated Steel Flex Sheet, heated |
| Filament Runout Sensor | Yes |
| Bed Leveling | Auto |
| Connectivity | SD card, WiFi |
| Interface | Color Touch Screen |
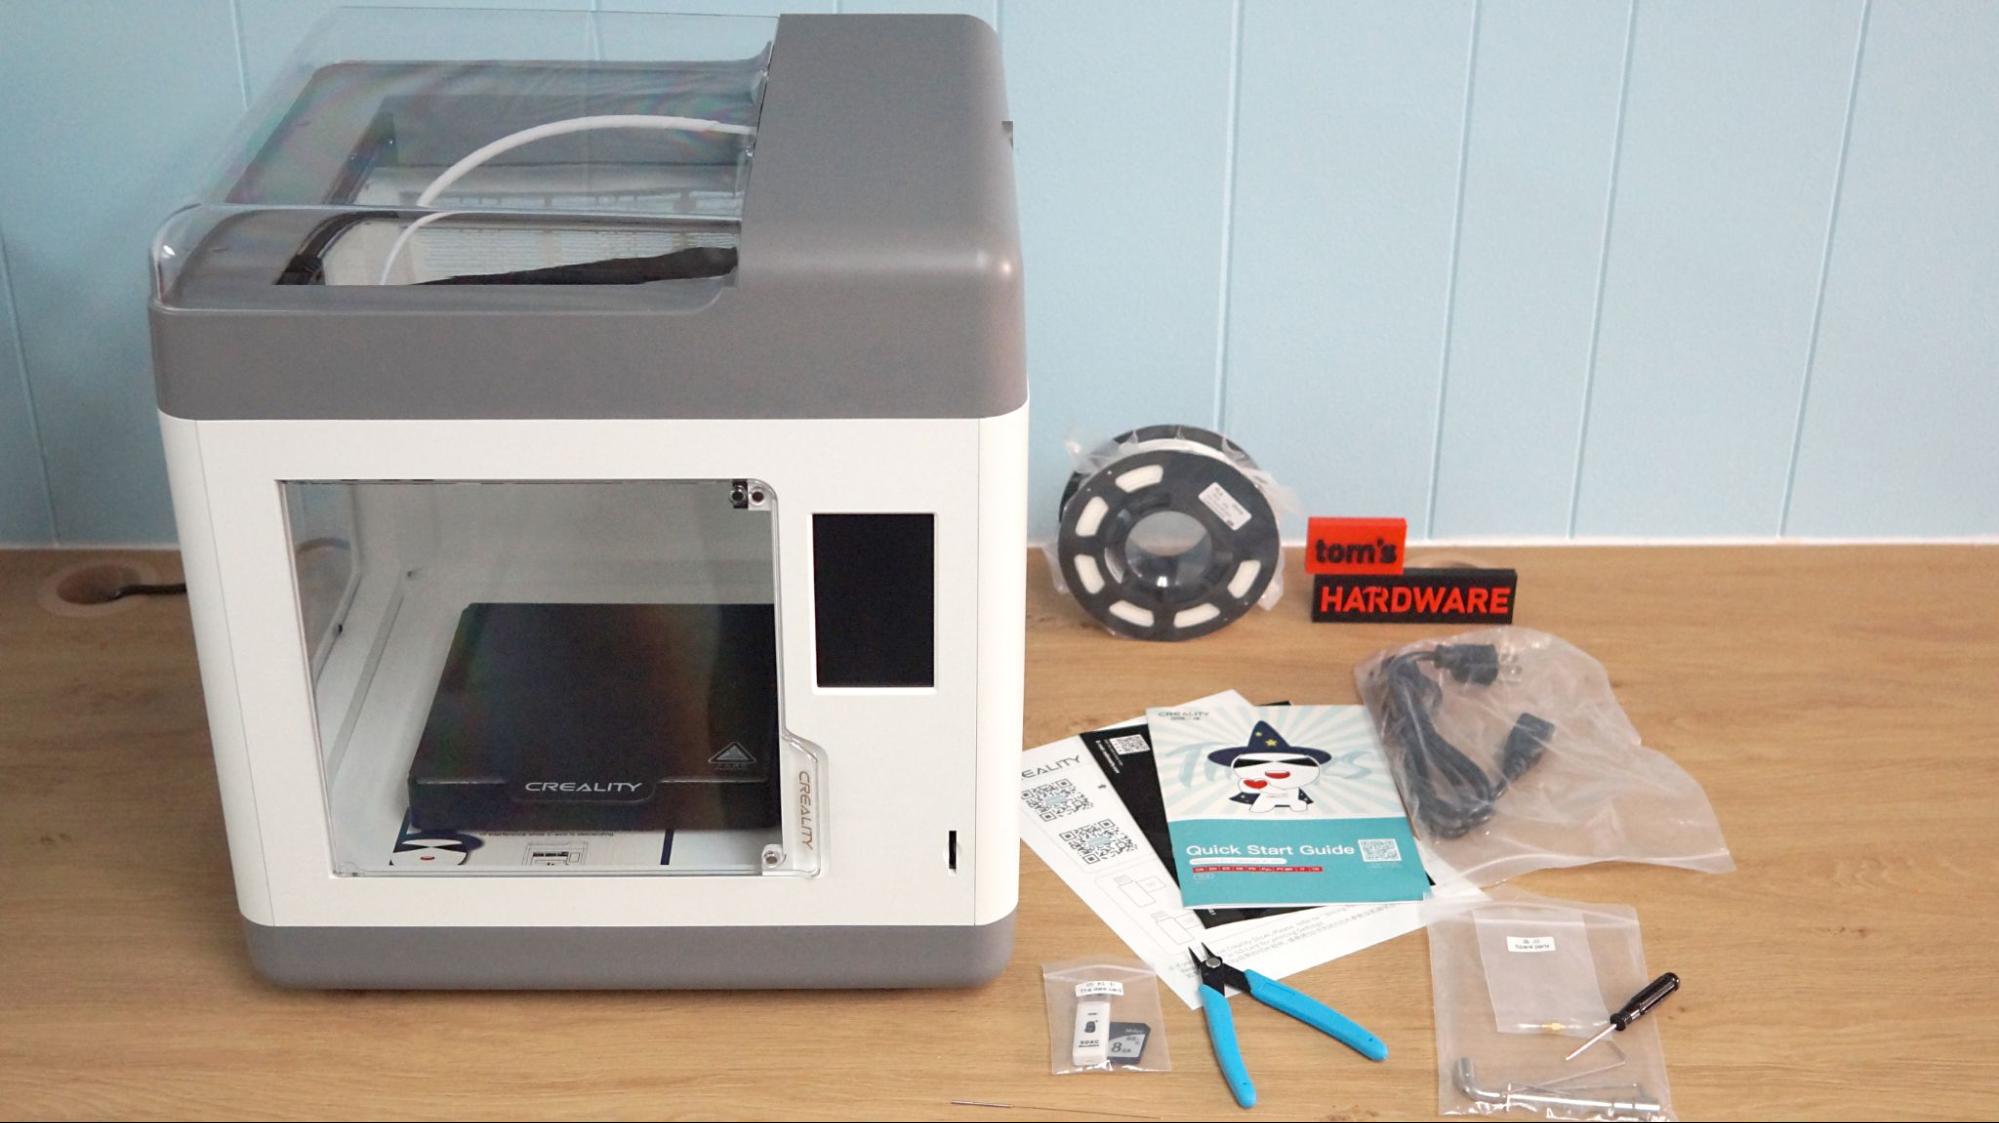
Sermoon V1 Pro: Included in the box
The Sermoon V1 Pro comes with everything you need to get your printer set up. You get tools to maintain the printer, side cutters, a nozzle cleaner, a spare nozzle, a glue stick and leveling card. There’s also a full sized SD card with a USB adapter and a small spool of white PLA to print your first model.
The SD card has a short unboxing and operation video. You also get a copy of Creality Slicer, six sample models, the manual and three short videos on assembling the printer, using the auto level and how to do a manual level.
Design of the Sermoon V1 Pro
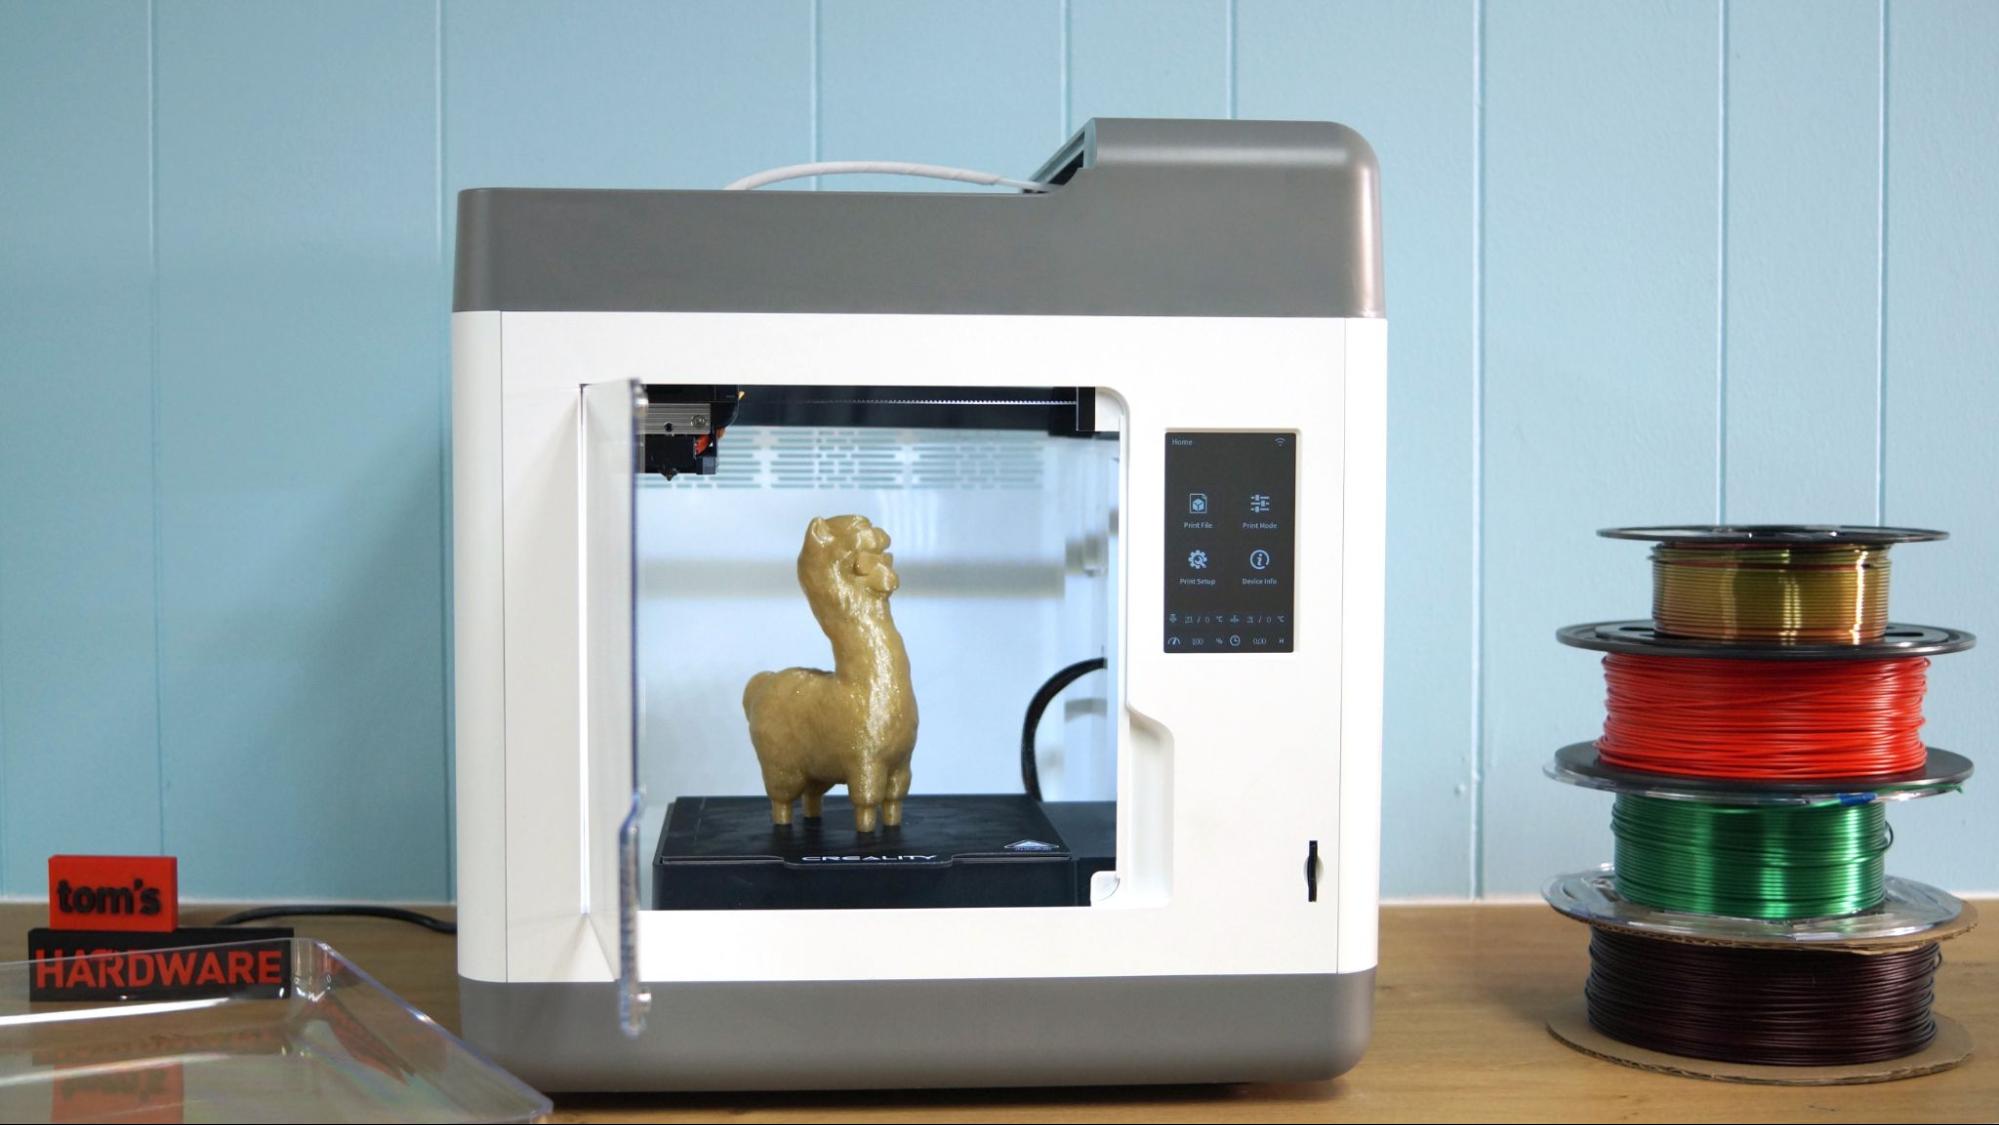
The Sermoon V1 Pro is a small, fully enclosed printer that looks a bit like a microwave. It's wrapped in white plastic with clear windows on the top and side. A clear door on the front has a magnet closure and sensor, allowing the printer to know when the door is open and stop printing if it’s set to do that.
Get Tom's Hardware's best news and in-depth reviews, straight to your inbox.
The enclosure has a case fan, lights and a camera you can access with a phone app. The top of the case is removable so you can access the extruder for changing filament, maintenance or just to keep it cool during printing.
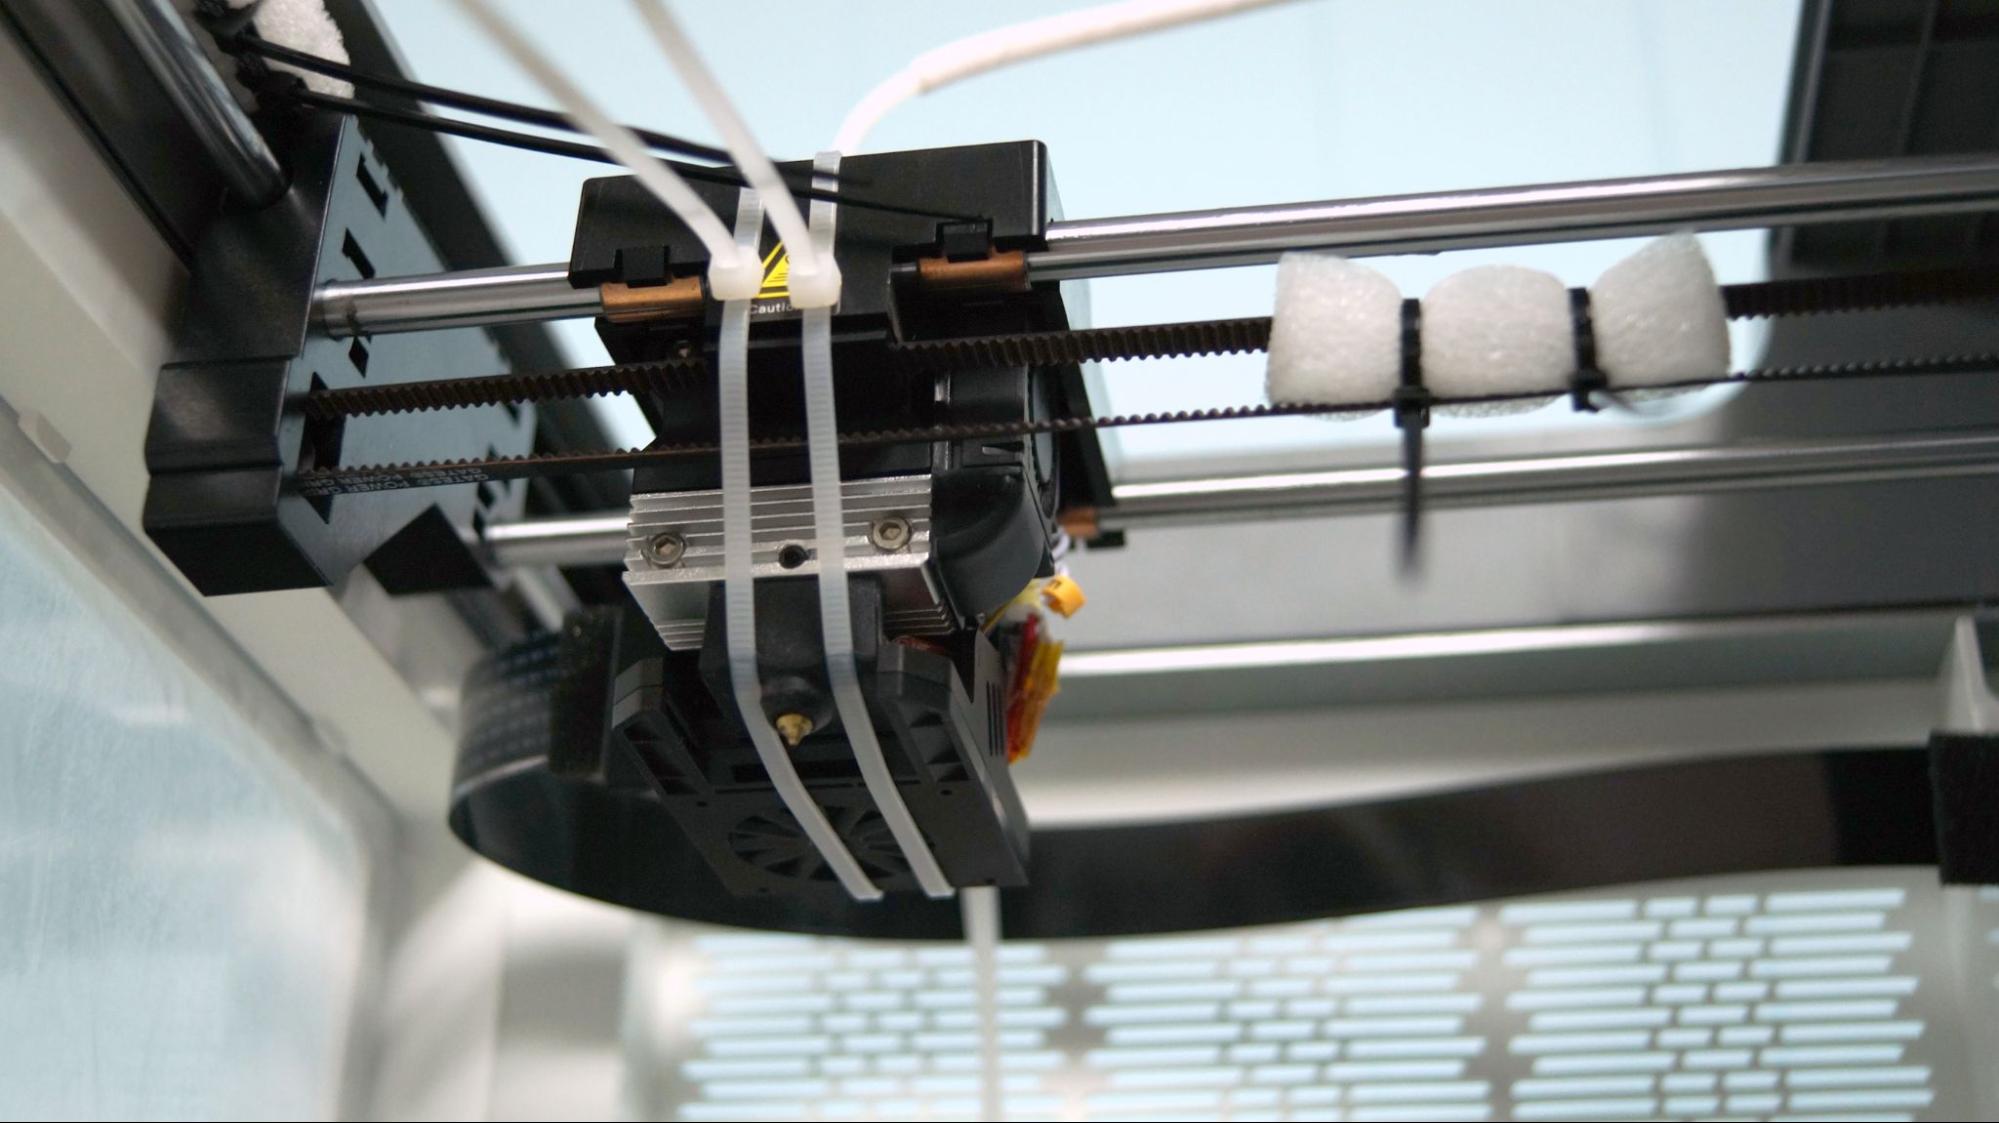
This is a Core XY printer, with a bed that moves up and down. The X and Y axis remain at the top, sliding on rods driven by belts and a single stepper motor. This limits motion on the bed and keeps the print more stable for super smooth prints.
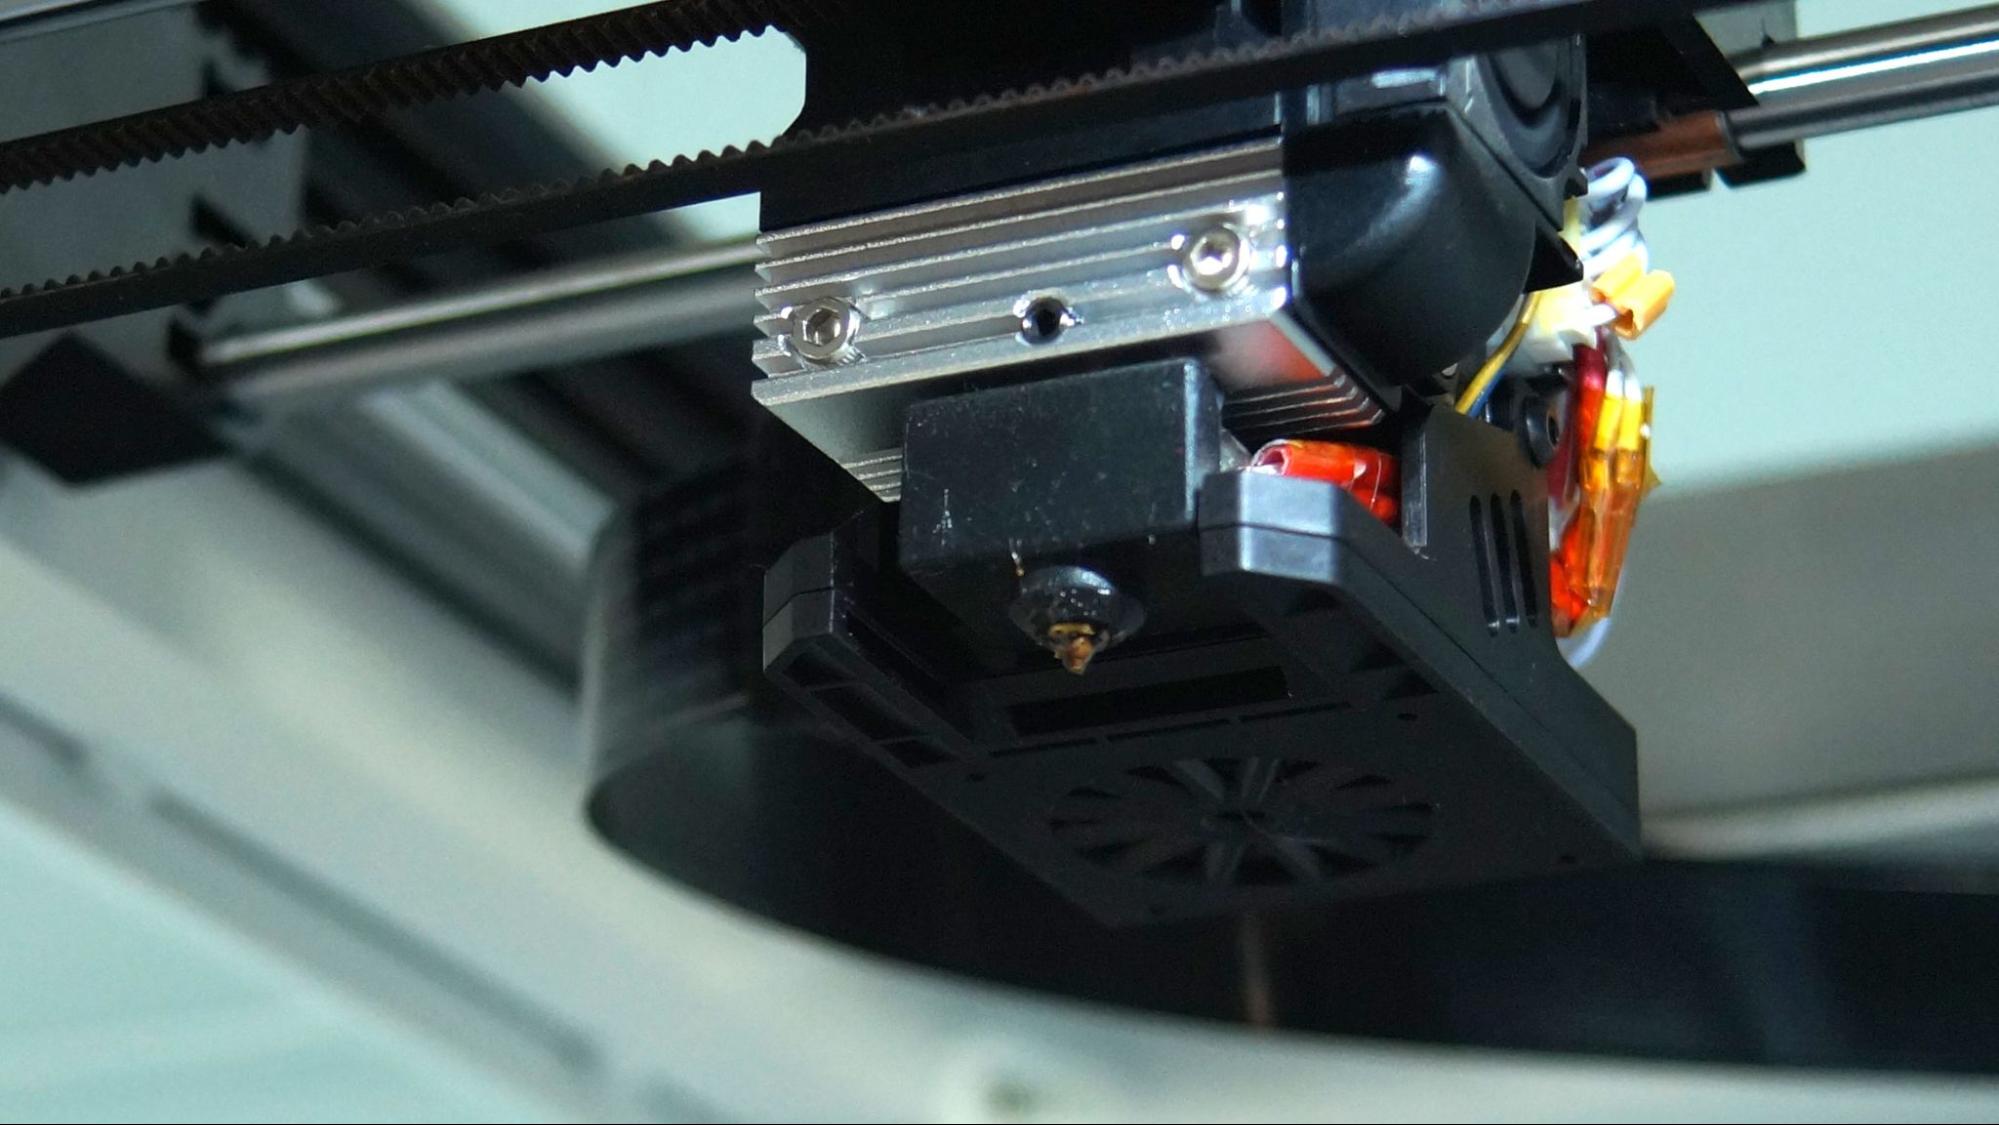
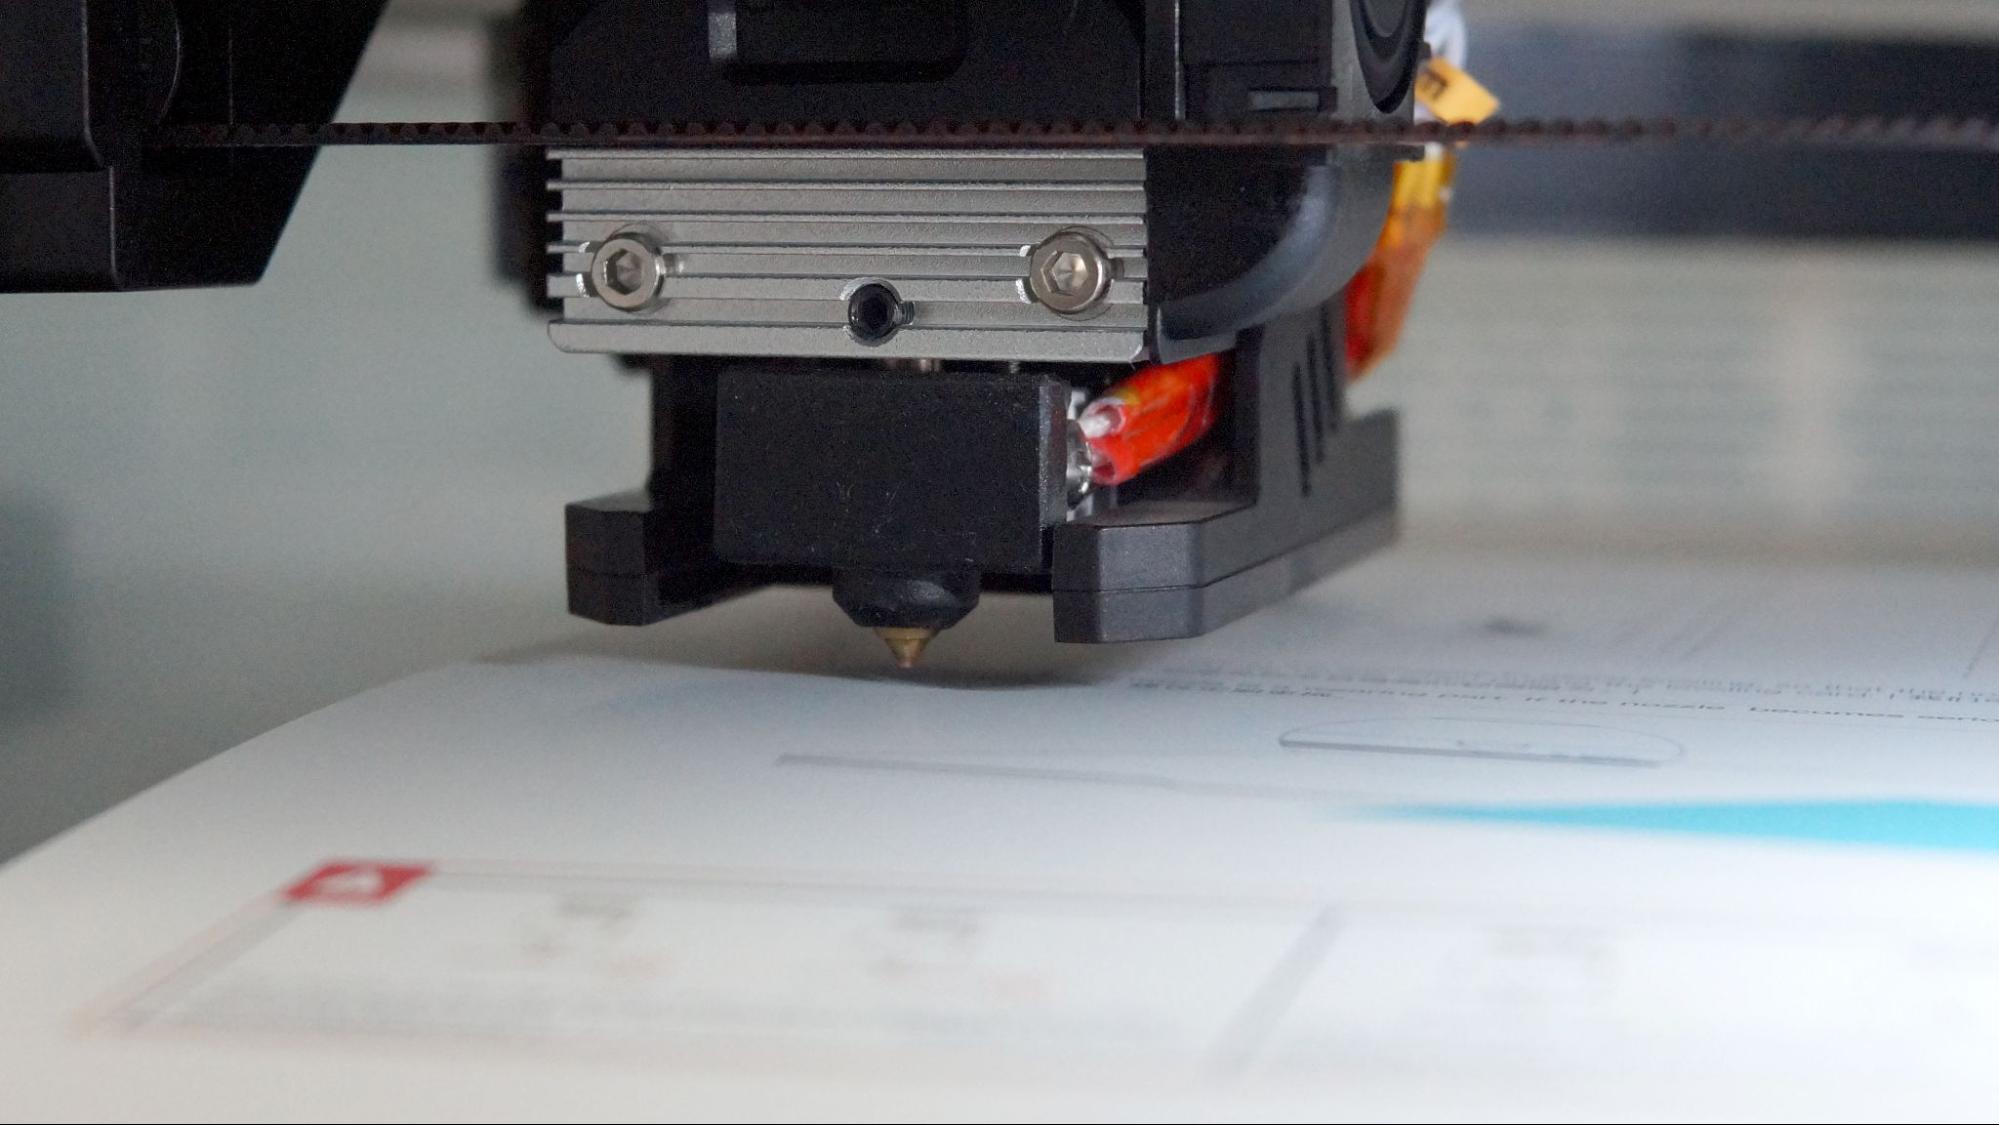
It’s equipped with a light weight, dual gear Creality Sprite direct drive. There’s still a Bowden tube, as the filament needs to travel from a spool mounted on the outside of the box, across the X and Y axis rods and into the extruder. Unlike other Bowden tube printers, this one is pulling the filament, rather than pushing it. It also doesn’t reach the heated part of the direct drive, so there’s no need to worry about it wearing out.
The hotend reaches 250 degrees, allowing it to comfortably print PLA, TPU and PETG. The bed only reaches 80 degrees, too low for ABS. And though it’s in an enclosure, it’s not exactly the kind of vented enclosure you’d really want to clear away ABS fumes.
The cooling fan looks rather small, which is probably why Creality recommends printing at lower speeds. I’ve printed beautiful things with this machine at 65mms, the normal speed I’d run on an Ender 3 S1 Pro, which also has the direct drive Sprite.
The build plate is a coated flexible steel sheet with a magnet sticker. The PC coating is not my favorite, and even Crealtiy knows it’s bad, as they’ve included a glue stick to make it work.
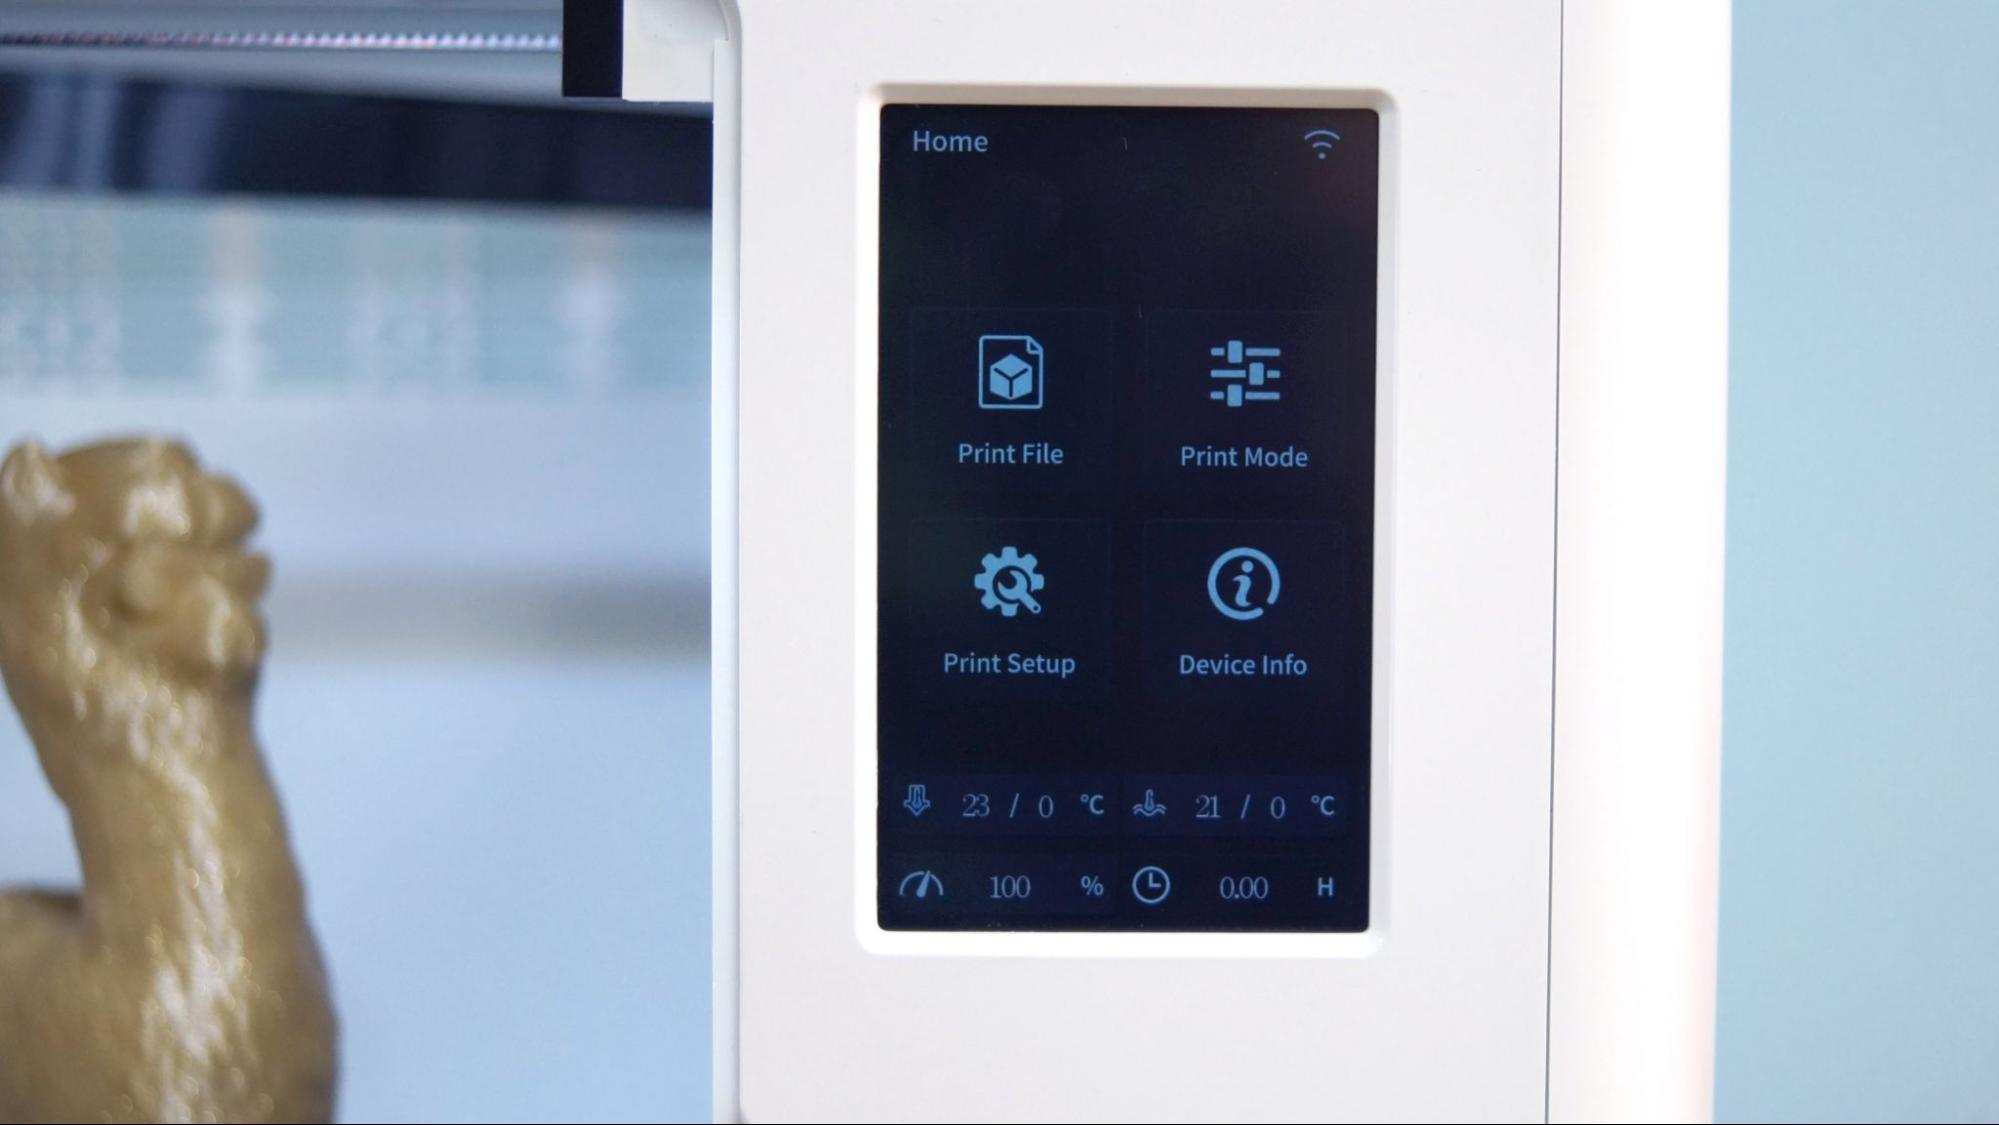
The touch screen is built into the wall of the printer and is customized to the Sermoon V1 Pro. It’s very simple, without many options. While this is perfect for someone using the printer in a STEM lab, it might be frustrating for seasoned pros looking for advanced options.
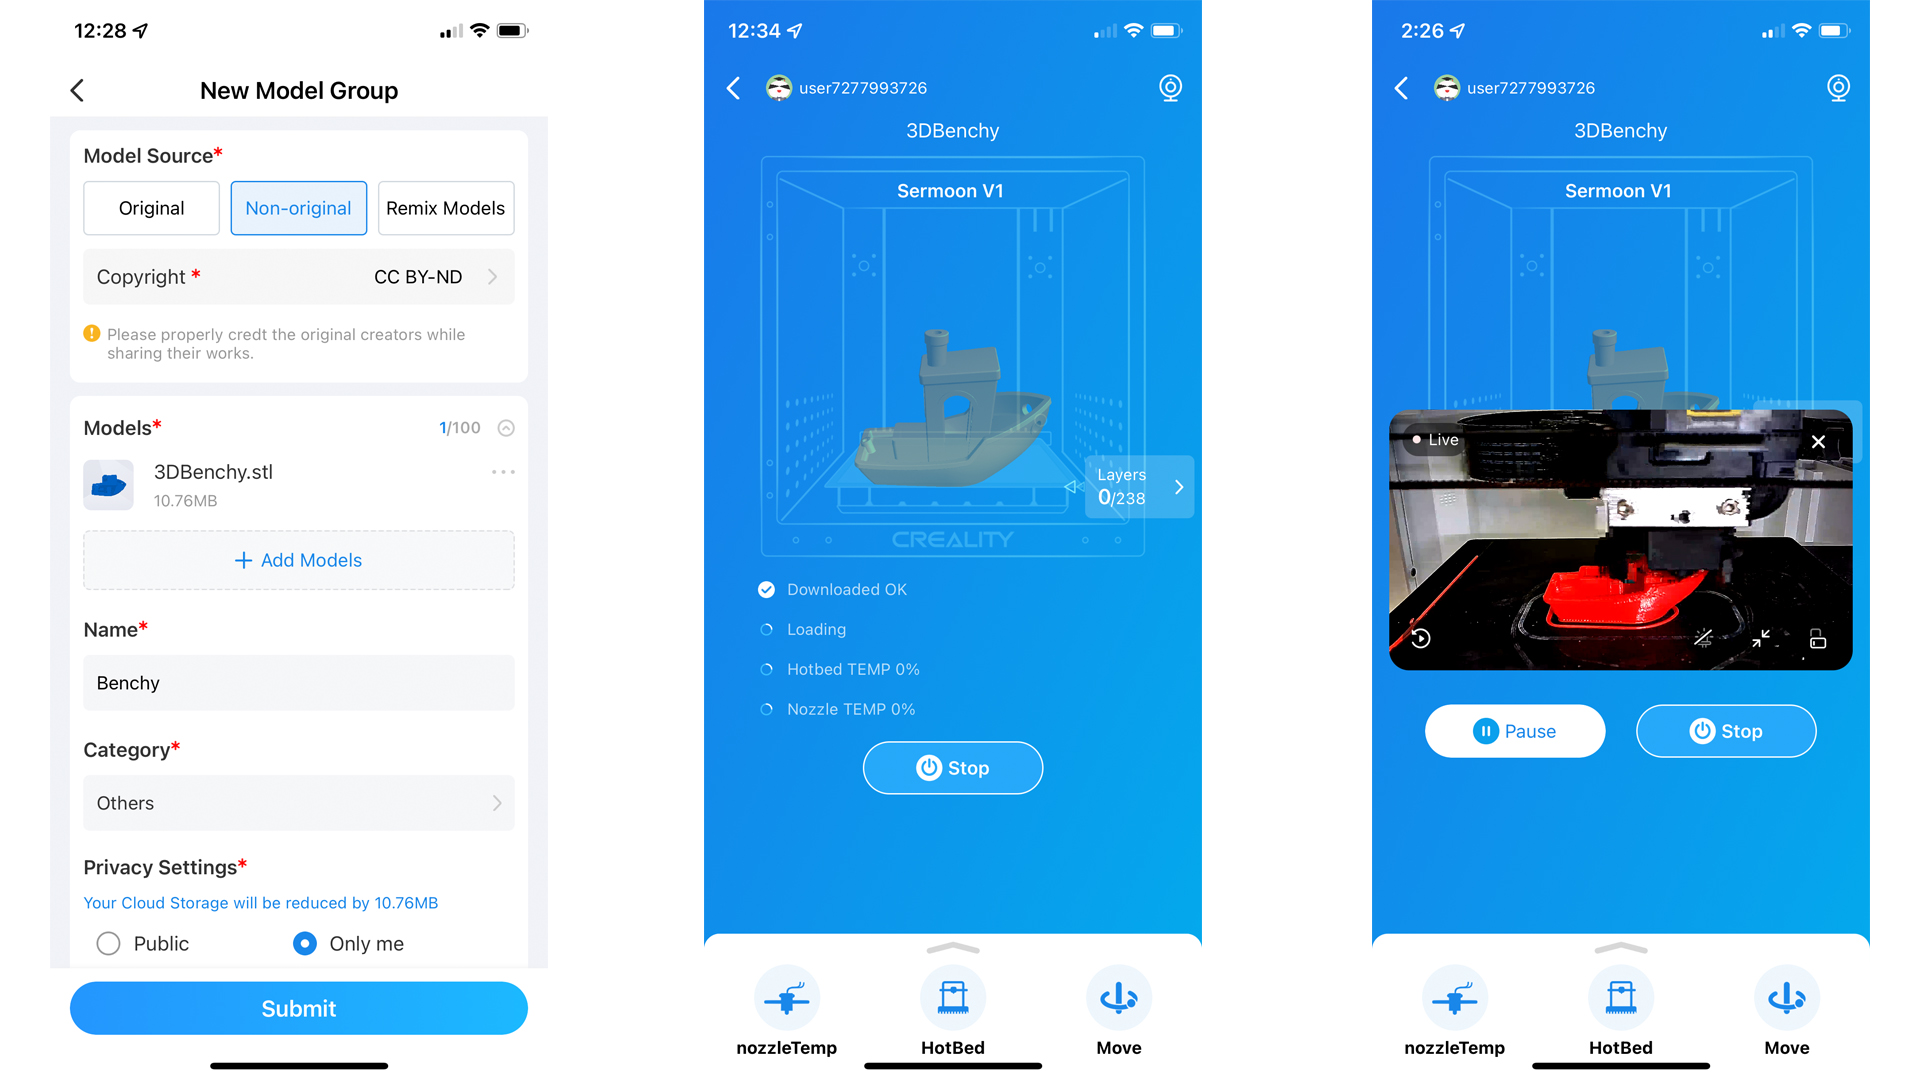
The has WiFi capability of a sort though the Creality Cloud App. I downloaded the Creality Cloud app to check it out. This app is cluttered, and it looks like Creality is trying to create a Facebook plus Thingiverse hybrid. While I had it on my phone, Creality kept inviting me to enter contests and post my makes.
It also doesn’t send files directly to your printer, but instead uploads them to their cloud server and beams it back down to your printer. Files can be sliced on your phone in the app, or on Cura with the help of a plugin and internet access. Though I’m disappointed I couldn’t access the camera, I don’t think I need another file sharing service. Placing the files on an SD card and walking them to the printer is safe, secure – and it works.
Assembling the Creality Sermoon V1 Pro
Sermoon V1 Pro is fully assembled out of the box. You will need to remove some packing material, clip a few cable ties, and remove protective stickers from the clear plastic parts. The spool holder is on a hinge on the right side and just needs to be opened.
Once you’ve checked that voltage is switched to the correct setting (115 for US households) you’re done.
The machine is factory-leveled, something I didn’t believe until I saw it myself. Now I’d like to know why more 3D printers don’t arrive like this.
Leveling the Creality Sermoon V1 Pro
Leveling the Sermoon is something of a mystery – it arrives level from the factory. The heated bed is mounted to a tray attached to the Z axis with thumb screws underneath. They seem to be quite tight, so I don’t know how much printing you’d need to do to vibrate the machine out of level.
There’s a leveling routine in the setup menu, in case the machine ever needs recalibration. Honestly, you better hope that it never does – there’s no probe for auto leveling and this is one of the weirdest semi-manual leveling routines I’ve seen.
On the main menu, press Print Setup → Auto leveling. The machine will verify that you want to level it and it will delete the previous settings. Next, it will home, bring the bed to the top of the machine. Slide the leveling card (the quick setup sheet) onto the bed.
The Sermoon will place the bed a few millimeters from the nozzle. Tap the up and down arrows until the paper is lightly gripped between the bed and the nozzle. Click Save. It will now move to each corner and let you set the height.
Here’s the kicker: it only goes around the bed once, and if you don’t think you set it properly, you have to start over from scratch. When I manually level a print bed, I go around 3 or 4 times, not just because the bed needs so much attention but because I’m making sure each nozzle is just right.
Loading Filament on the Creality Sermoon V1 Pro
The Sermoon wants to make things easy for you, so filament loading & unloading is only handled through one menu setting.
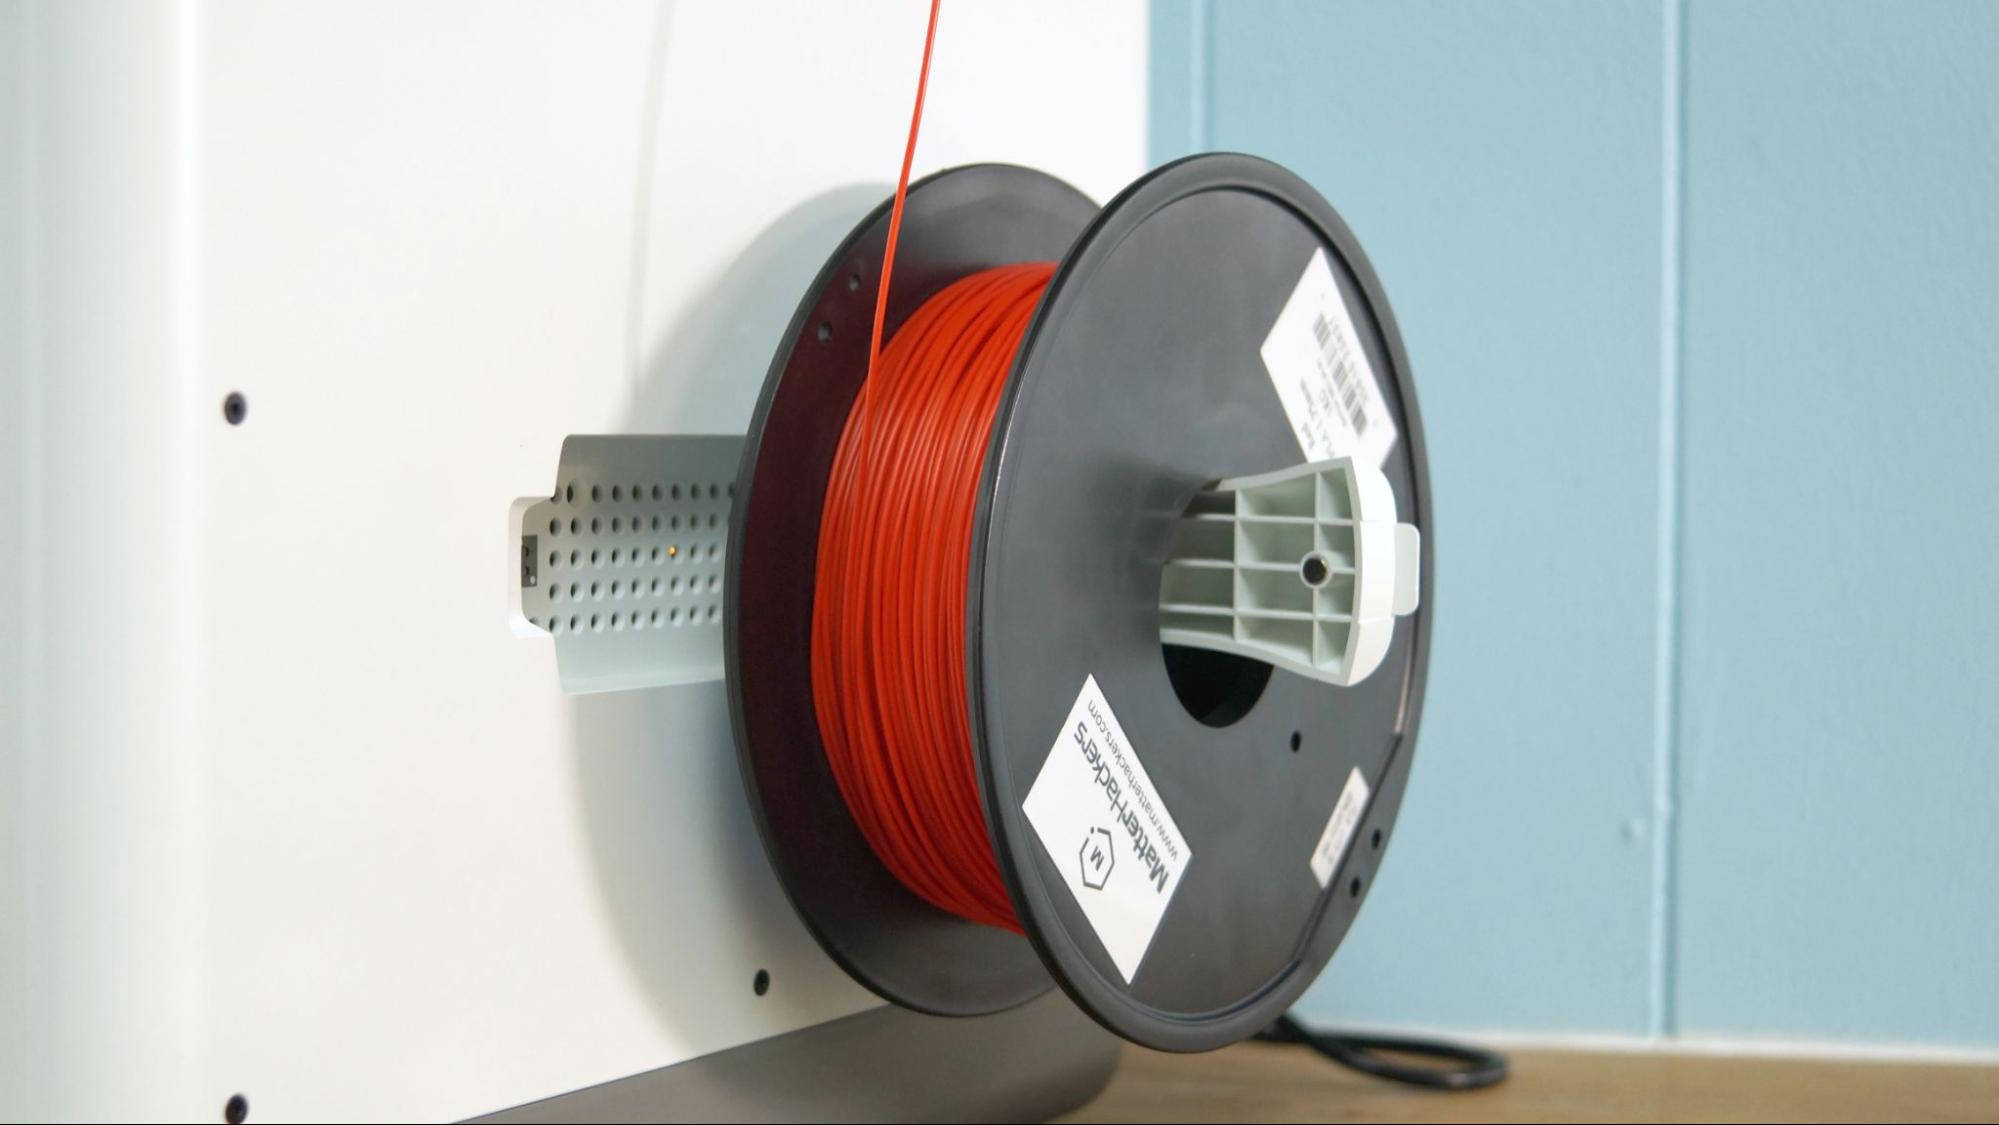
You hang filament on a folding spool rack attached to the side of the printer. There’s a small hole near the top to feed the filament, which has to be pushed through a length of Bowden tube.
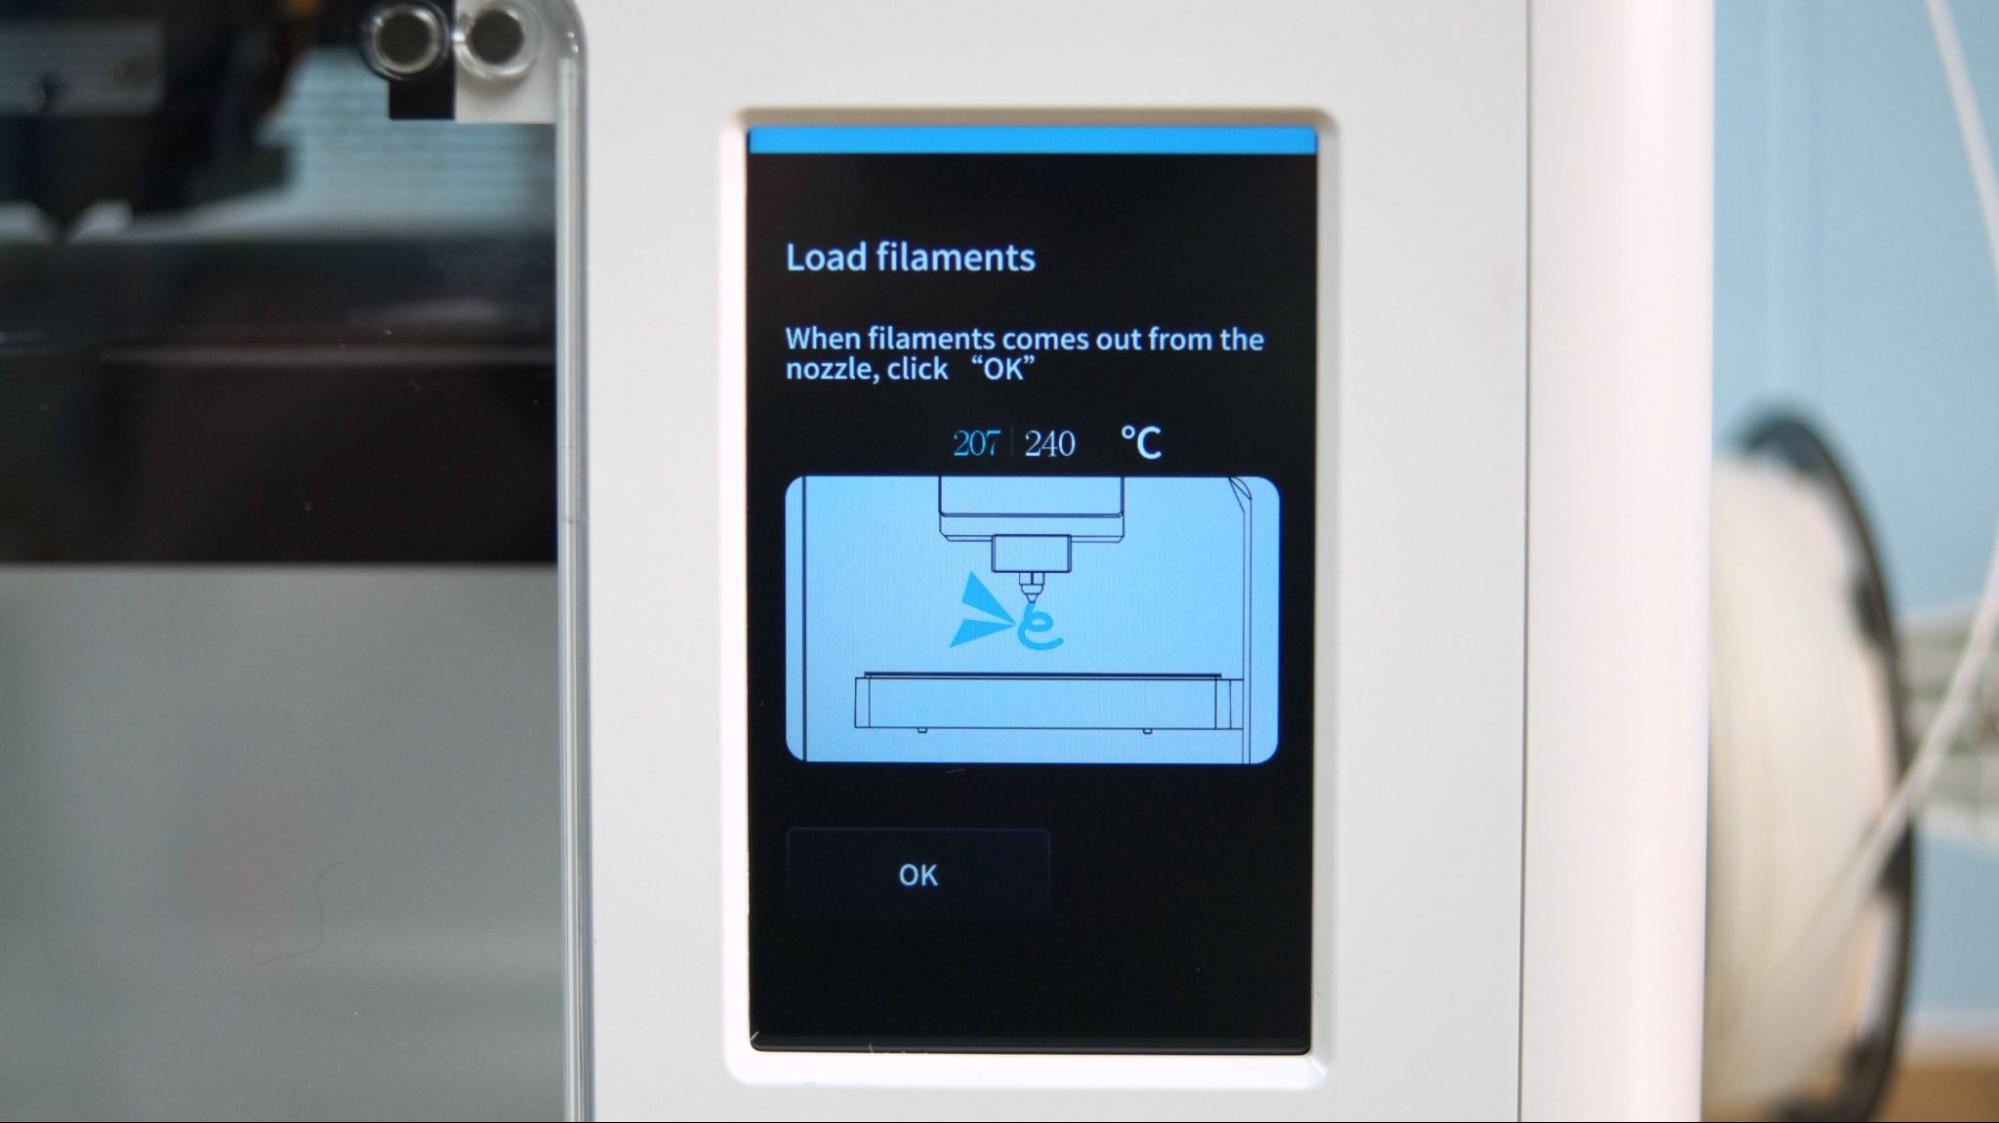
To load filament, tap Print Mode on the main menu, then Feed/Retreat. Click the icon for “feed” for loading, or “retreat” for unloading. The printer will warm up and display an illustration to show where the filament needs to go. Press the release lever on top of the direct drive and pull out or put in filament.
Press the OK button and the Sermoon will pull the filament through. Stay nearby, because you’ll need to tell it to stop loading, too.
One important fact about changing filament: you need access to the top of the machine to get to the extruder. If the machine is going to be operated by shorter persons, verify that they can reach the extruder. As a short adult, I had a hard time seeing inside the top of the machine when it was placed on a tall shelf.
The top lid can be difficult to remove and requires two hands. This works as a mild deterrent if you’re trying to keep kids OUT of the machine, but could cause havoc if a child is determined to access the top panel without permission.
Preparing Files / Software for Creality Sermoon V1 Pro
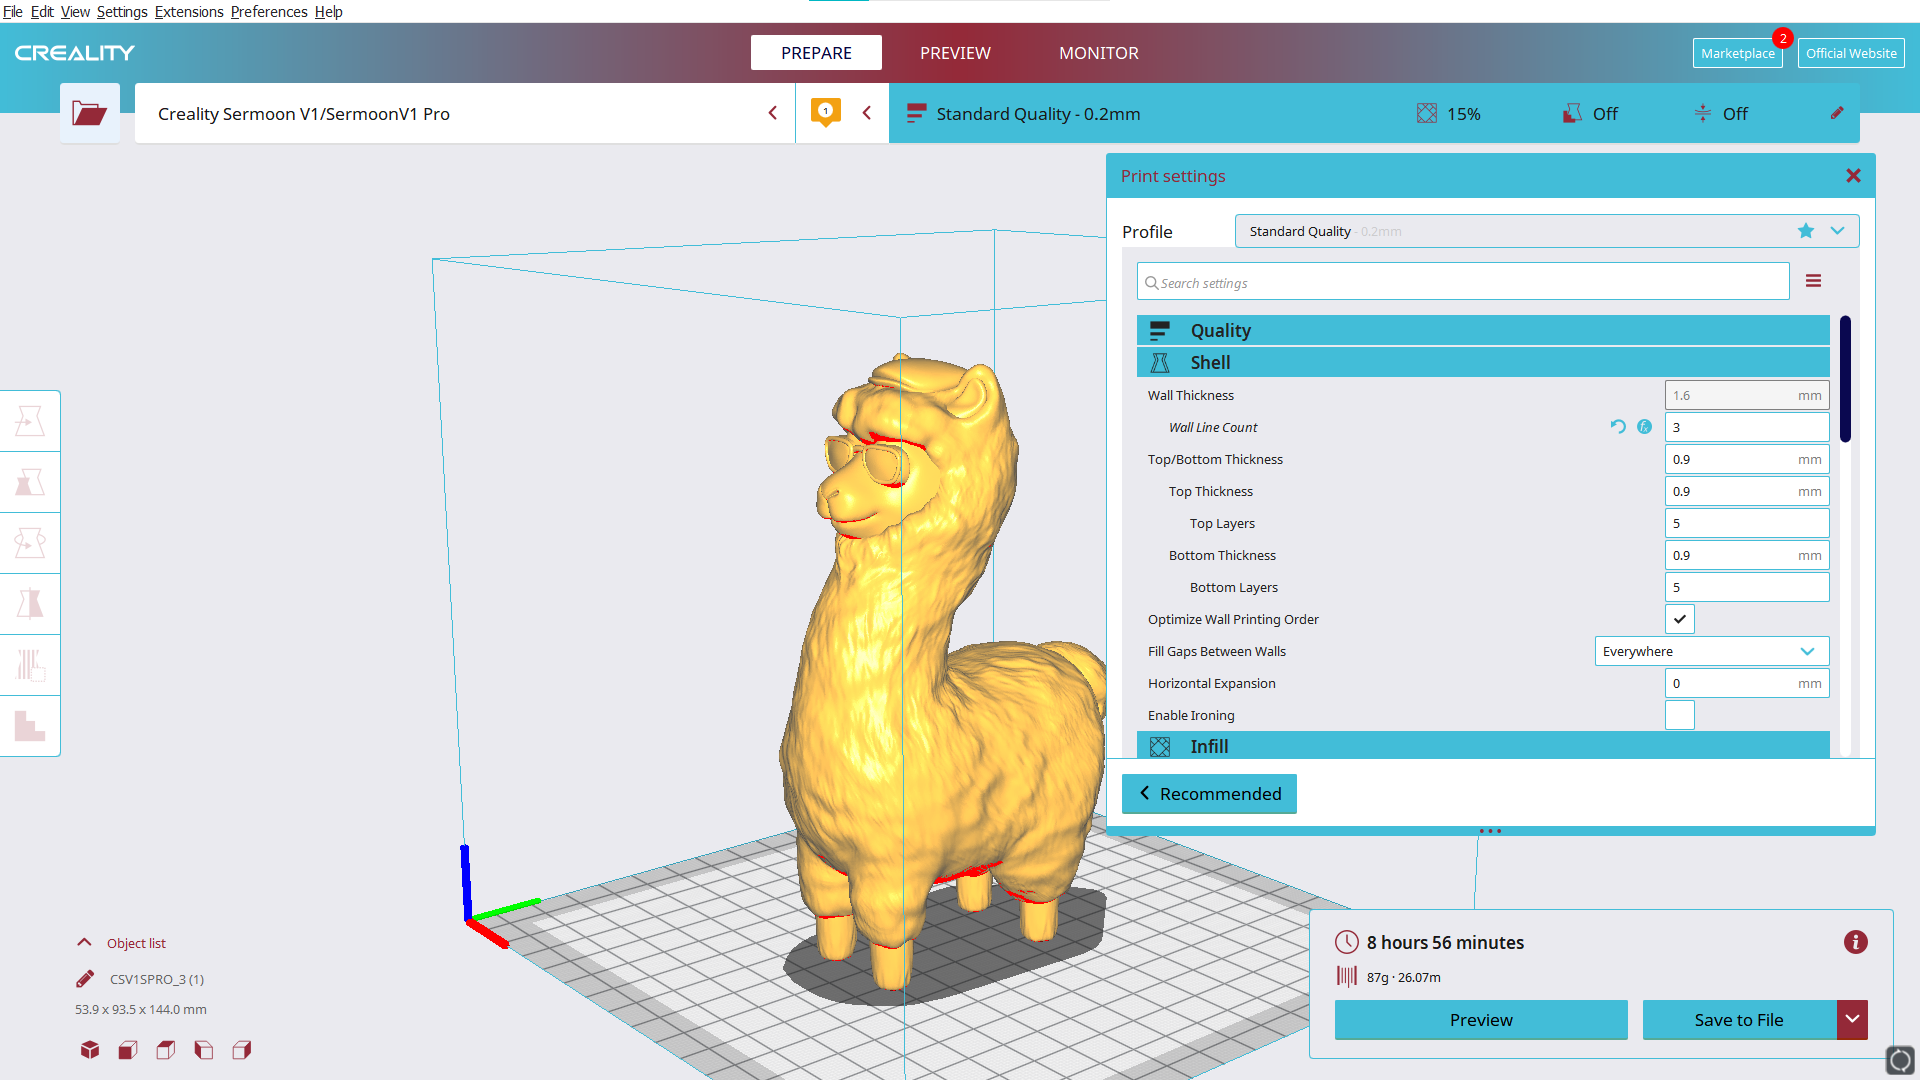
The Sermoon V1 Pro comes with a copy of Creality Slicer 4.8, which has a pre-loaded profile for this printer. Creality Slicer is just a rebranded copy of Cura, which is available for free download. You can also use PrusaSlicer, which is another popular and easy to use free slicer. However, neither Cura nor PrusaSlicer have built-in profiles, so you will need to set one up yourself. The easiest way to do this would be to pick an Ender 3 Pro and reduce the build volume to 175 x 175 x 165 mm.
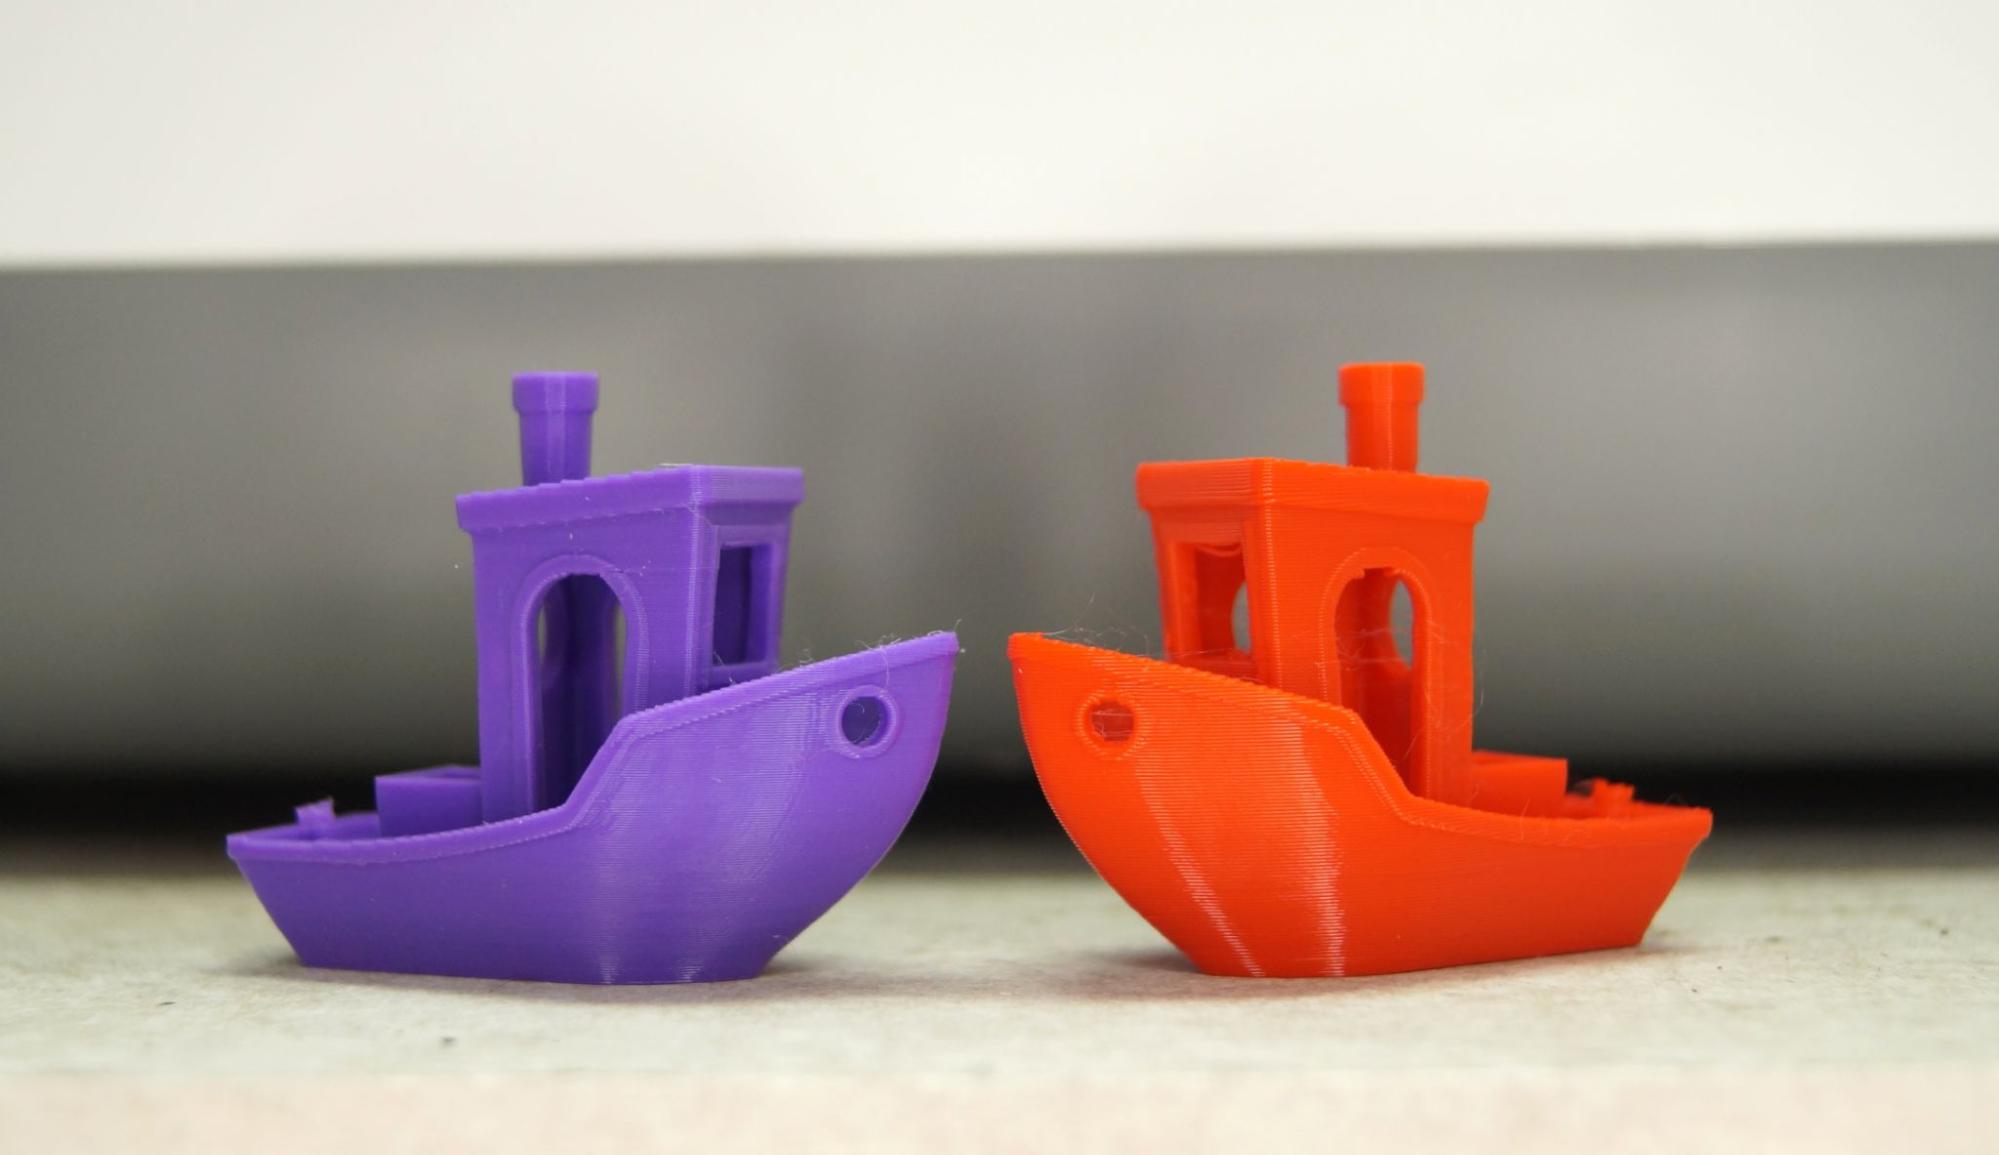
Creality set its native slicer profile to a snail-like wall speed of 20mms. This adds a little extra print time, but is it needed? As it turns out, not so much. Here’s two Benchy’s, both printed with a .2mm layer height. The Printerior Purple Benchy is using Creality Slicer’s default 50mms profile with the 20mms wall speed, and the Matterhackers Build Series Red is using Cura 5.0 and a modified Ender profile with a brisk 75mms speed and 37mms wall speed. You can see that the red boat is a little rough around the doors and windows, but just as smooth on the layer lines and hull. The purple boat took 2 hours and 4 minutes to print, while the red took 1 hour and 32 minutes.
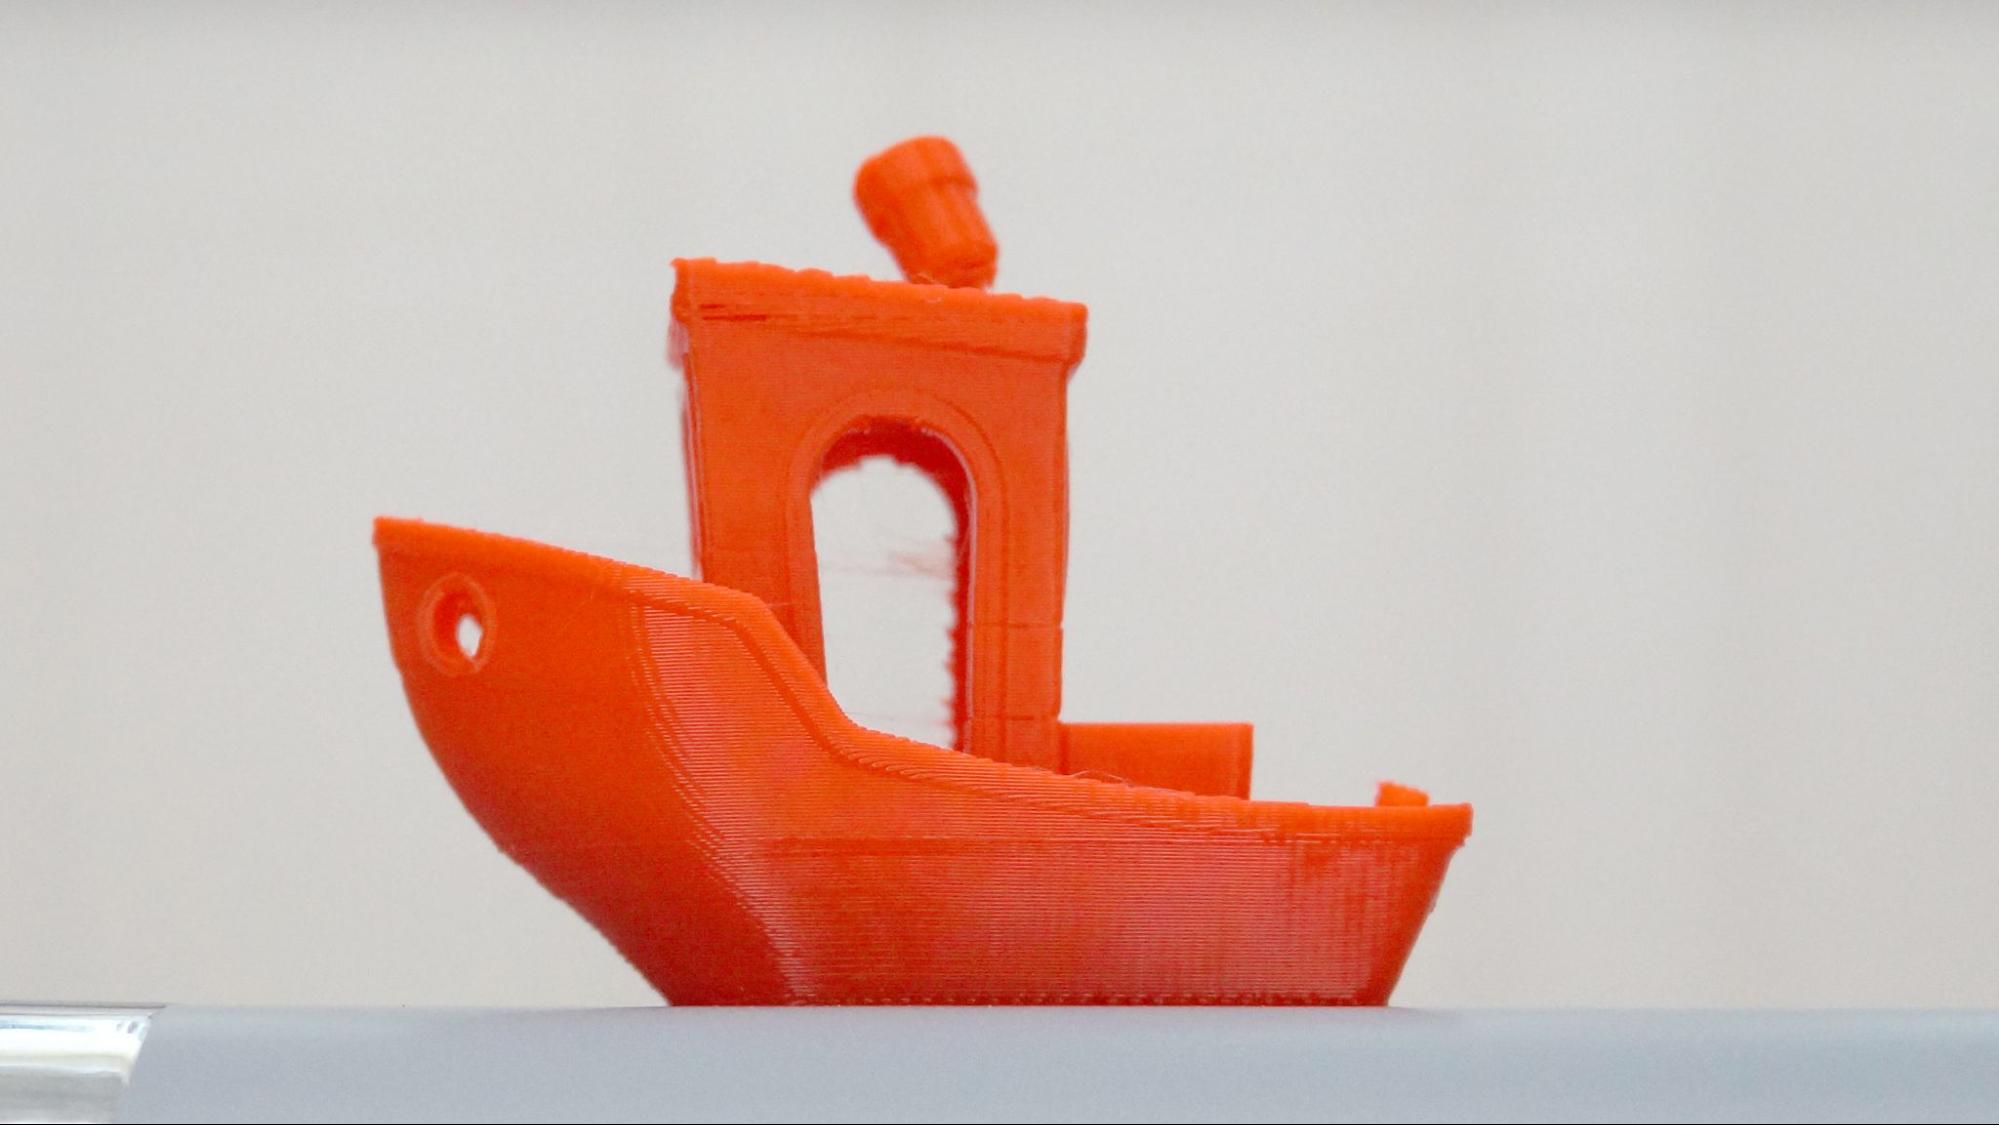
The Sermoon has WiFi capabilities, which means it can use Creality new mobile app and slicer, Creality Cloud. The mobile slicer isn’t that good, at least not when paired up with the Sermoon. This app-sliced Benchy looks pretty horrible with under extrusion gaps, stringing, a visible hull line plus a smoke stack that fell right off.
Fortunately, you can slice and send files with Cura 4.13 with the help of a plugin called Creality Cloud Integration. You’ll need to sign in to your Creality Cloud account, then upload sliced files to the Creality servers. Once that’s done, you can send the file to your 3D printer using the phone app. It’s a bit of a hassle, and would be more user-friendly if files could move through your local network from PC to printer.
Once files are loaded into the printer, through either the app or an SD card, you can use your phone to watch the Sermoon’s built-in camera.
I can’t say I’m a big fan of the Creality Cloud app, which is trying to be an all-in-one social network, print library, slicer and print monitor. The app is cluttered with game like missions to earn free “Cuvacoins”. These coins can be redeemed for models, Amazon gift cards, Creality printers and accessories. Unfortunately, the reward system has encouraged users to abuse the system by uploading stolen models.
Printing on the Creality Sermoon V1 Pro
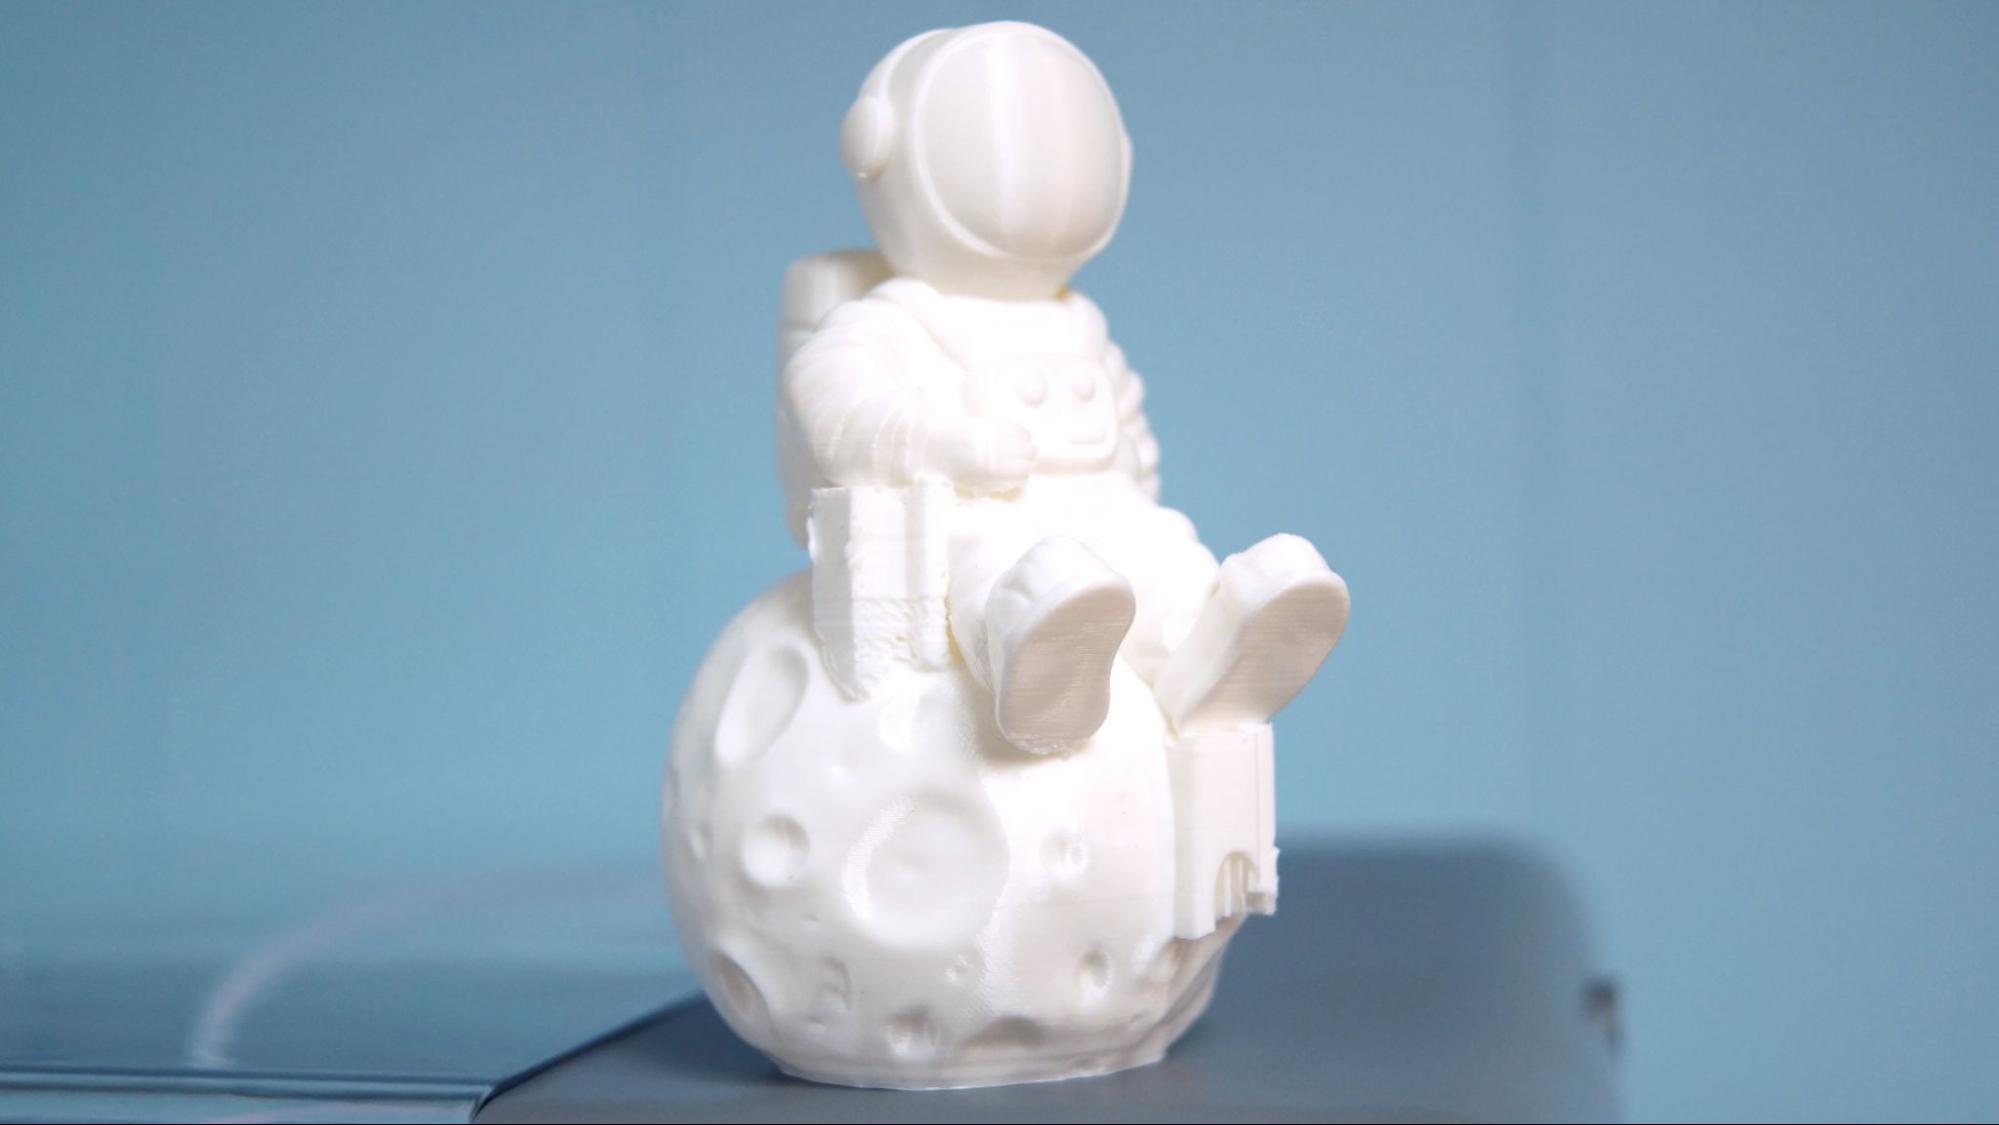
Creality gives you six sample prints, both sliced and unsliced, on the SD Card. I ran this presliced Spaceman model for the Sermoon’s first print. I have issues with this as a test print – it’s sliced at a .16mm layer height, taking well over 18 hours. Though it looks impressive, the supports were welded onto the print.
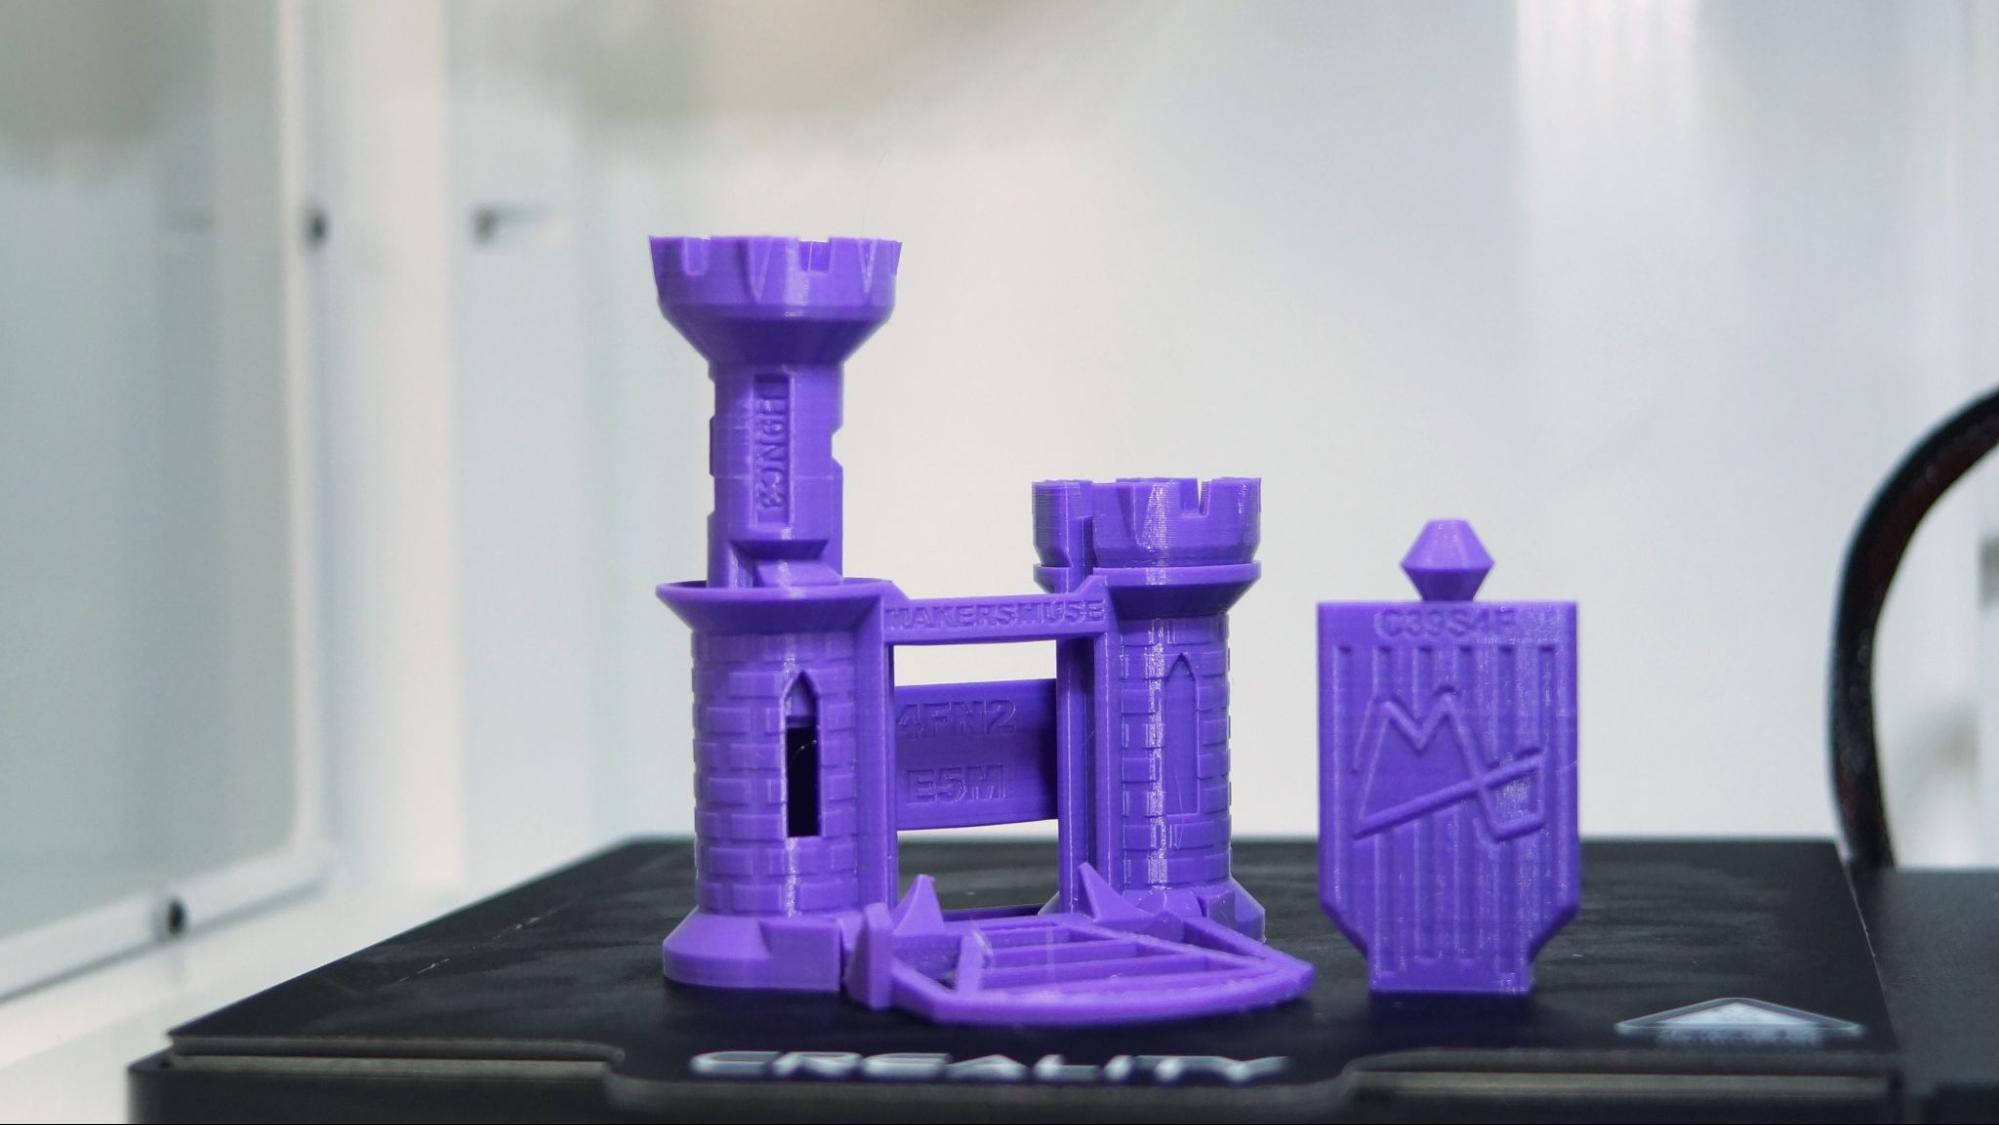
The Sermoon tackled a Maker’s Muse Calibration Castle with ease, and all the print in place parts worked as they should. Printed at .16 layer height in Printerior Purple PLA, this took about 7 hours and 17 minutes.
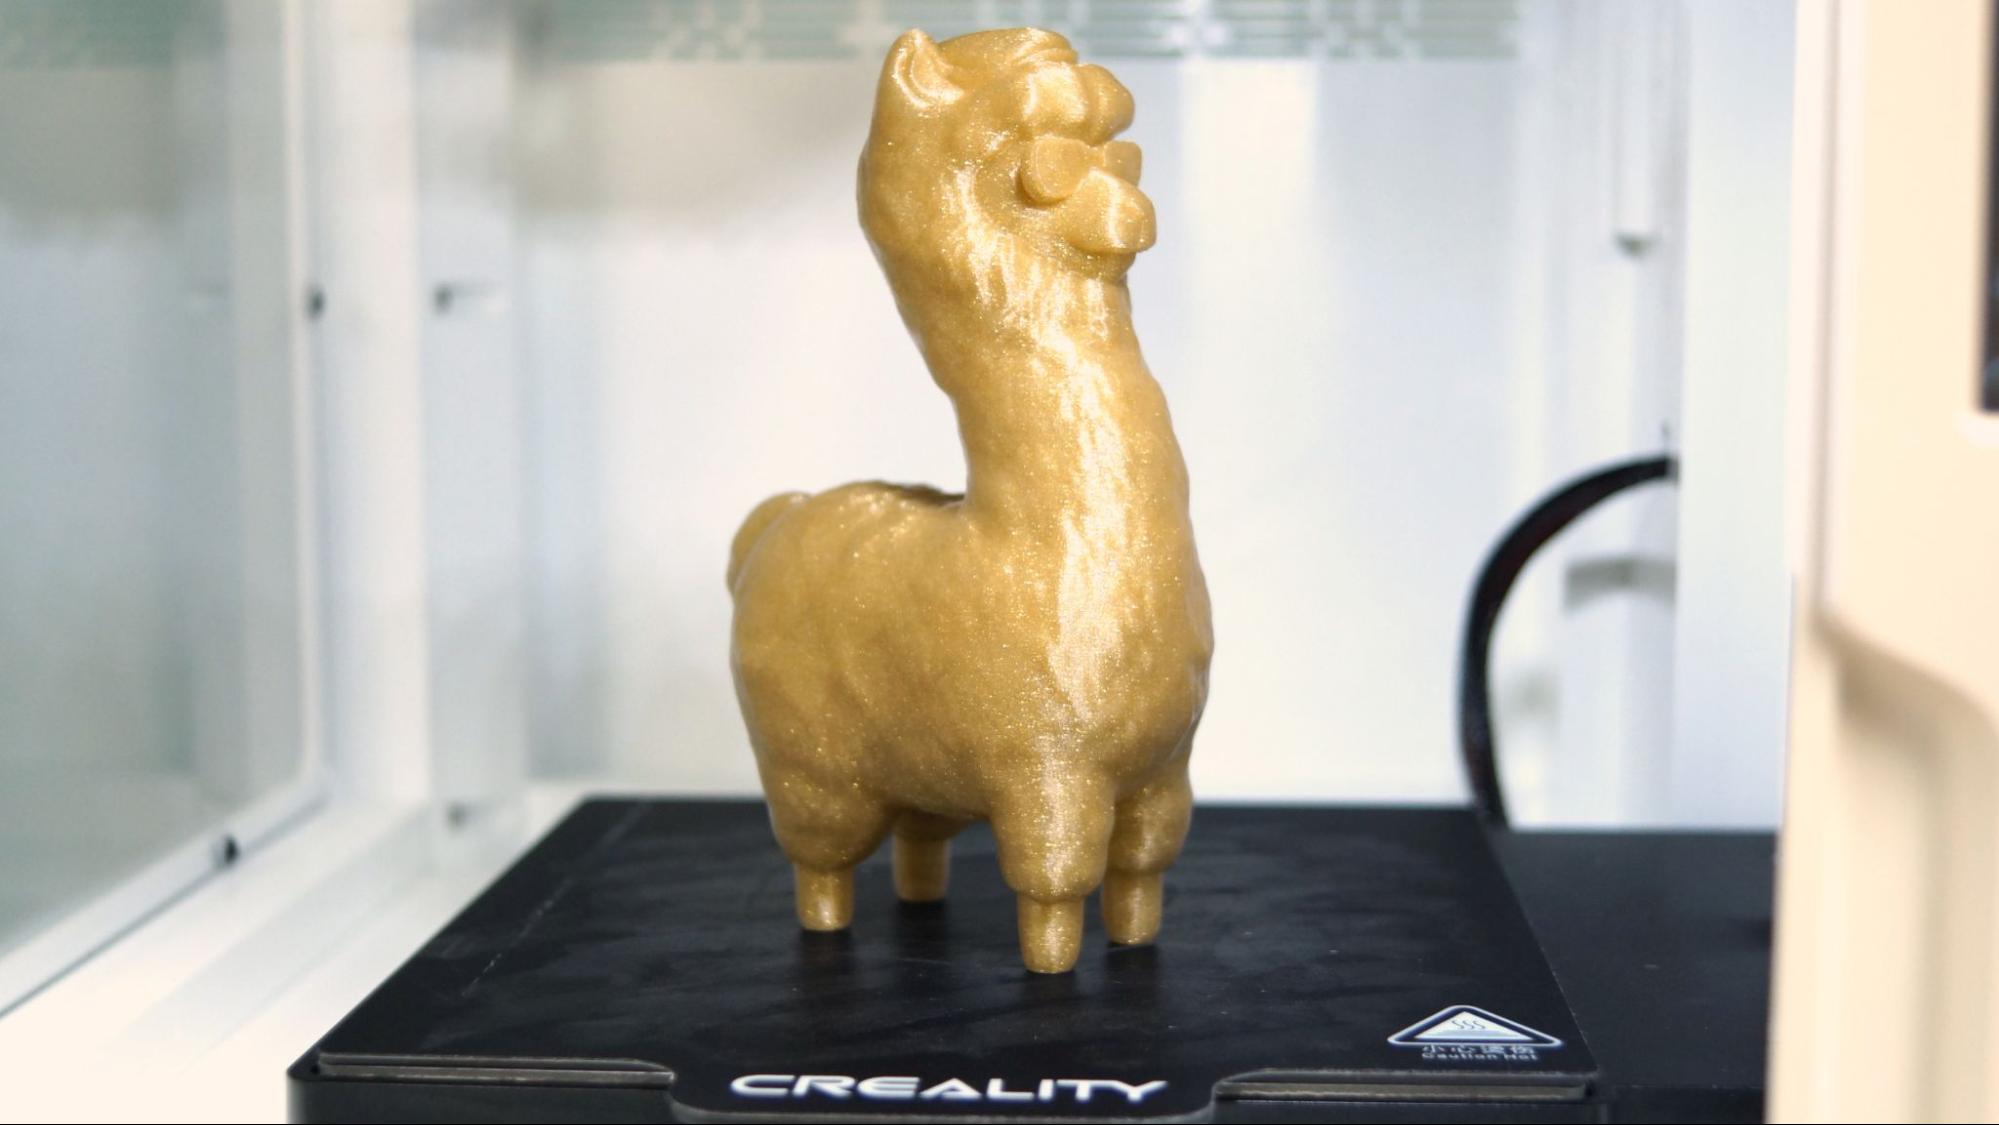
The model shown below is a Wekster Alpaca, available for free on Printables.com. This is a stellar, super smooth print with no visible layer lines. It’s printed in Protopasta Gold Dust Translucent HTPLA, with a .16mm layer height at 65mms. It took 8 hours and 56 minutes to print.
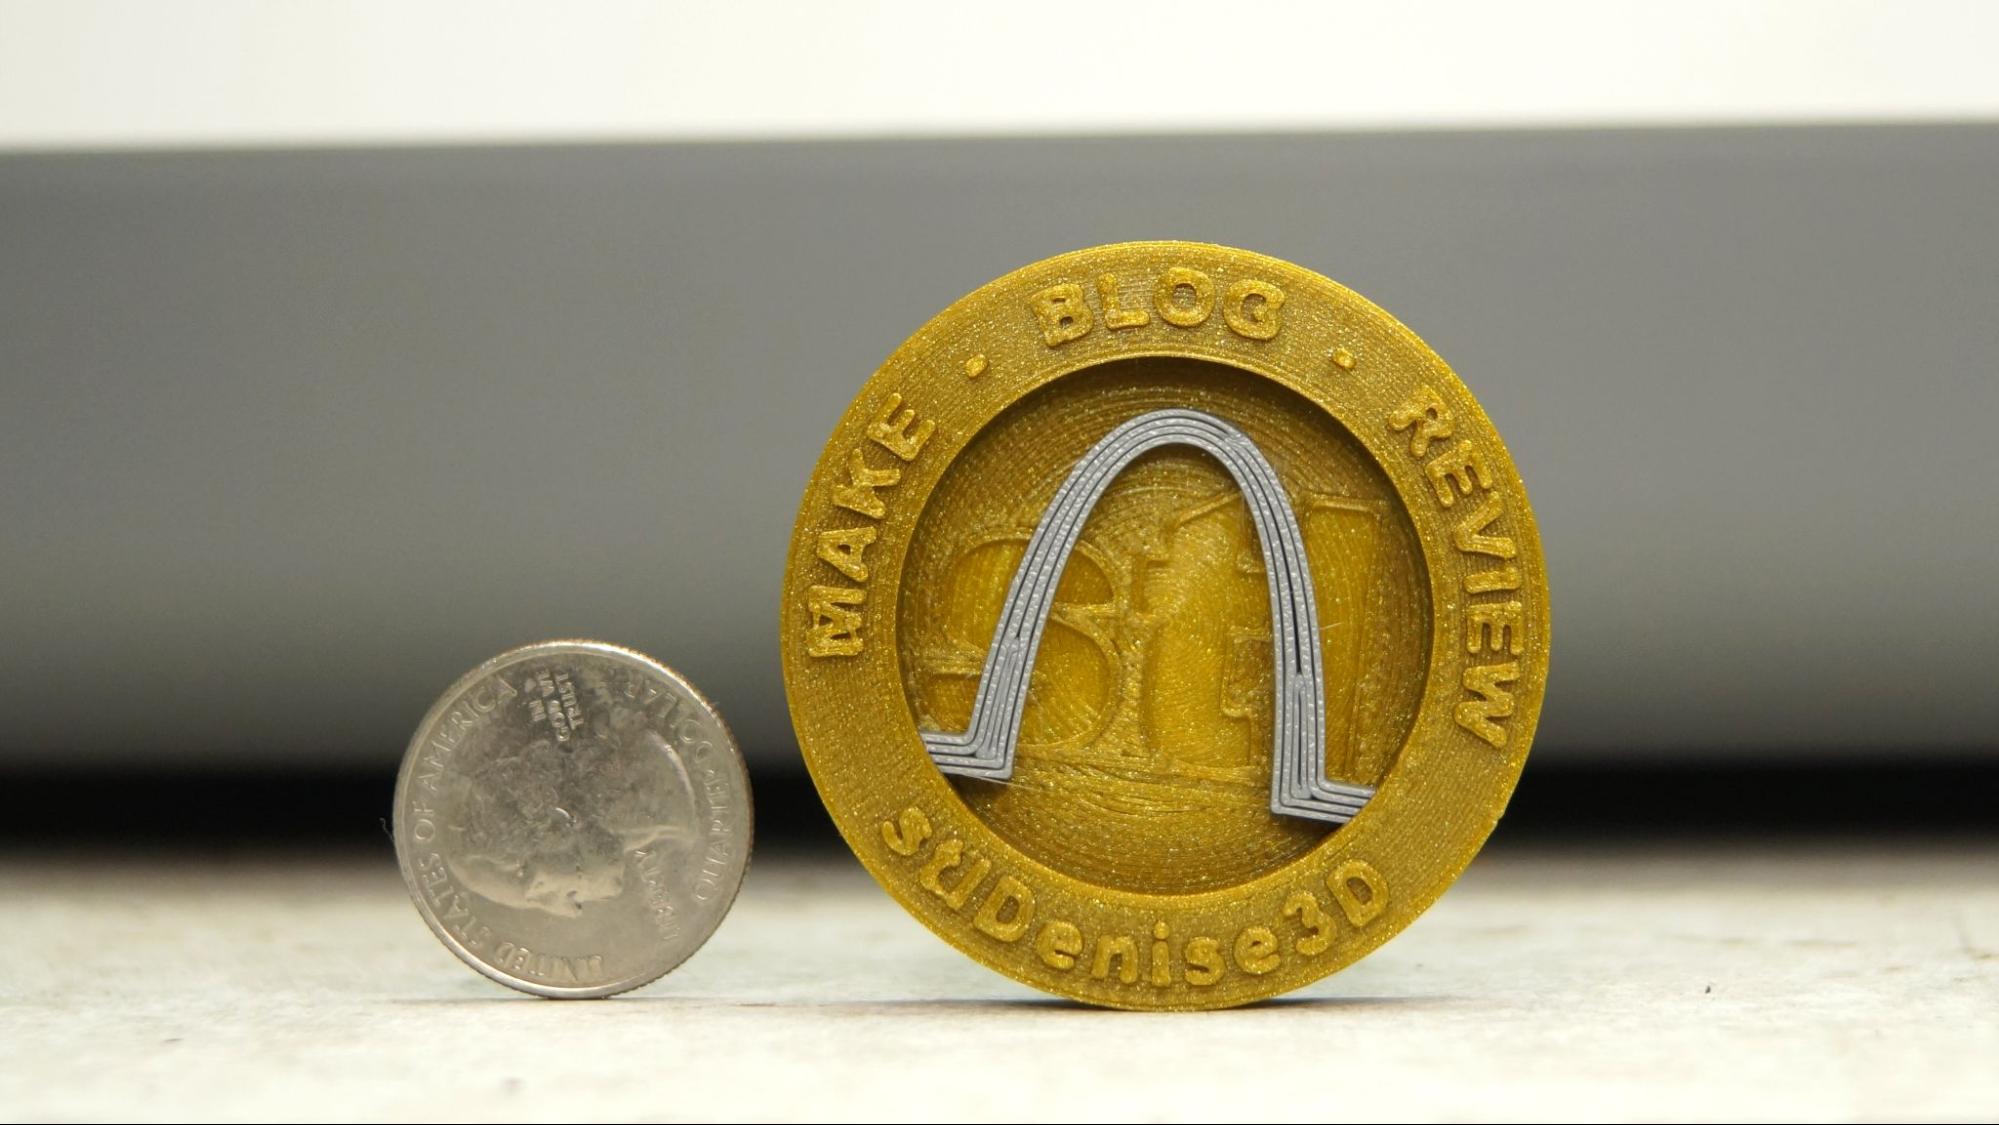
I printed tons of Maker Coins for my trip to the Midwest RepRap Festival. This is something I designed in Tinkercad with lots of layers and text. It turned out very smooth even though it was printed flat. The silver Arch was printed separately. Each coin took 57 minutes to print at .2mm and 65mms.
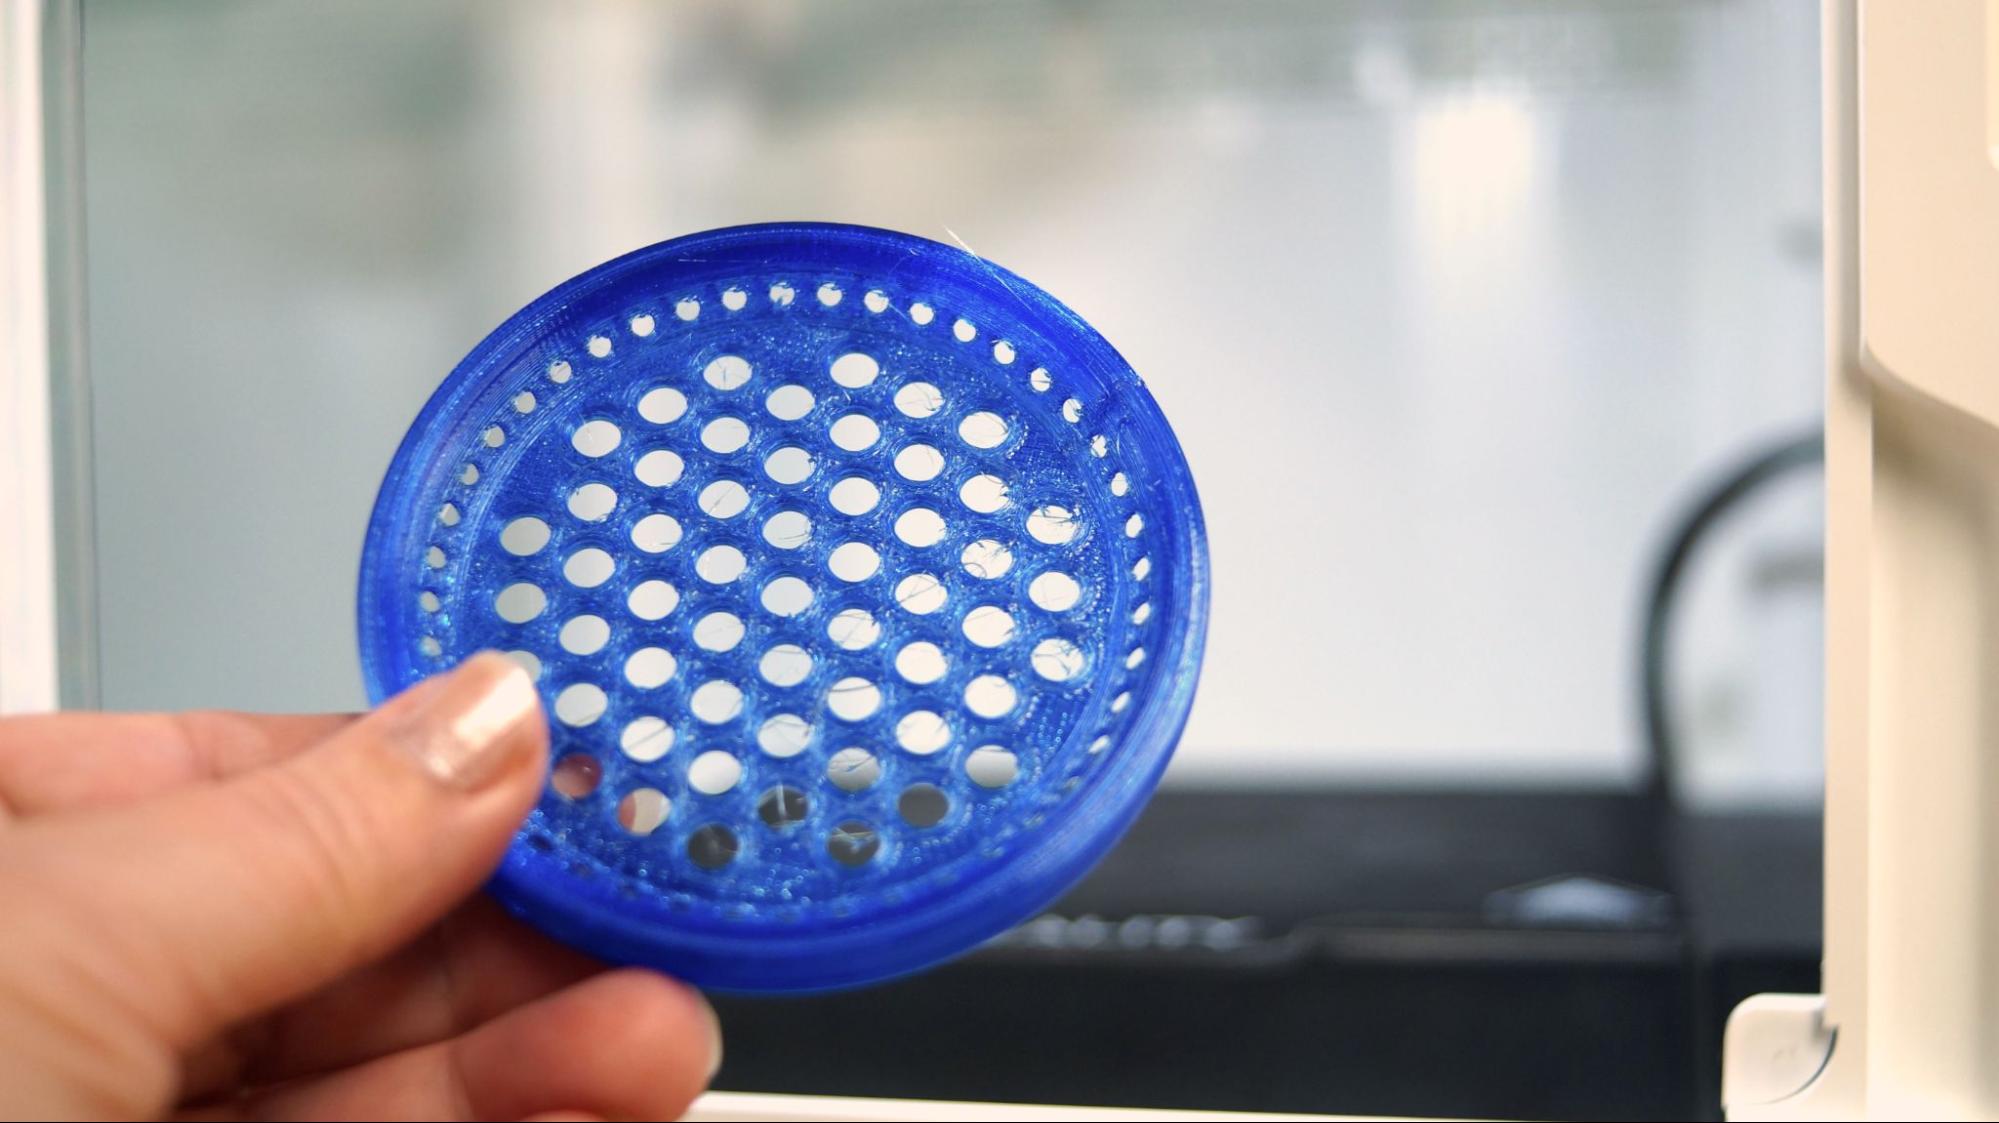
PETG was a little stringy, but still good. I ran this can strainer, a practical print from LEMicher. It was printed in Matterhackers Transparent Blue at a .2mm layer height at 50mms and took 1 hour and 43 minutes.
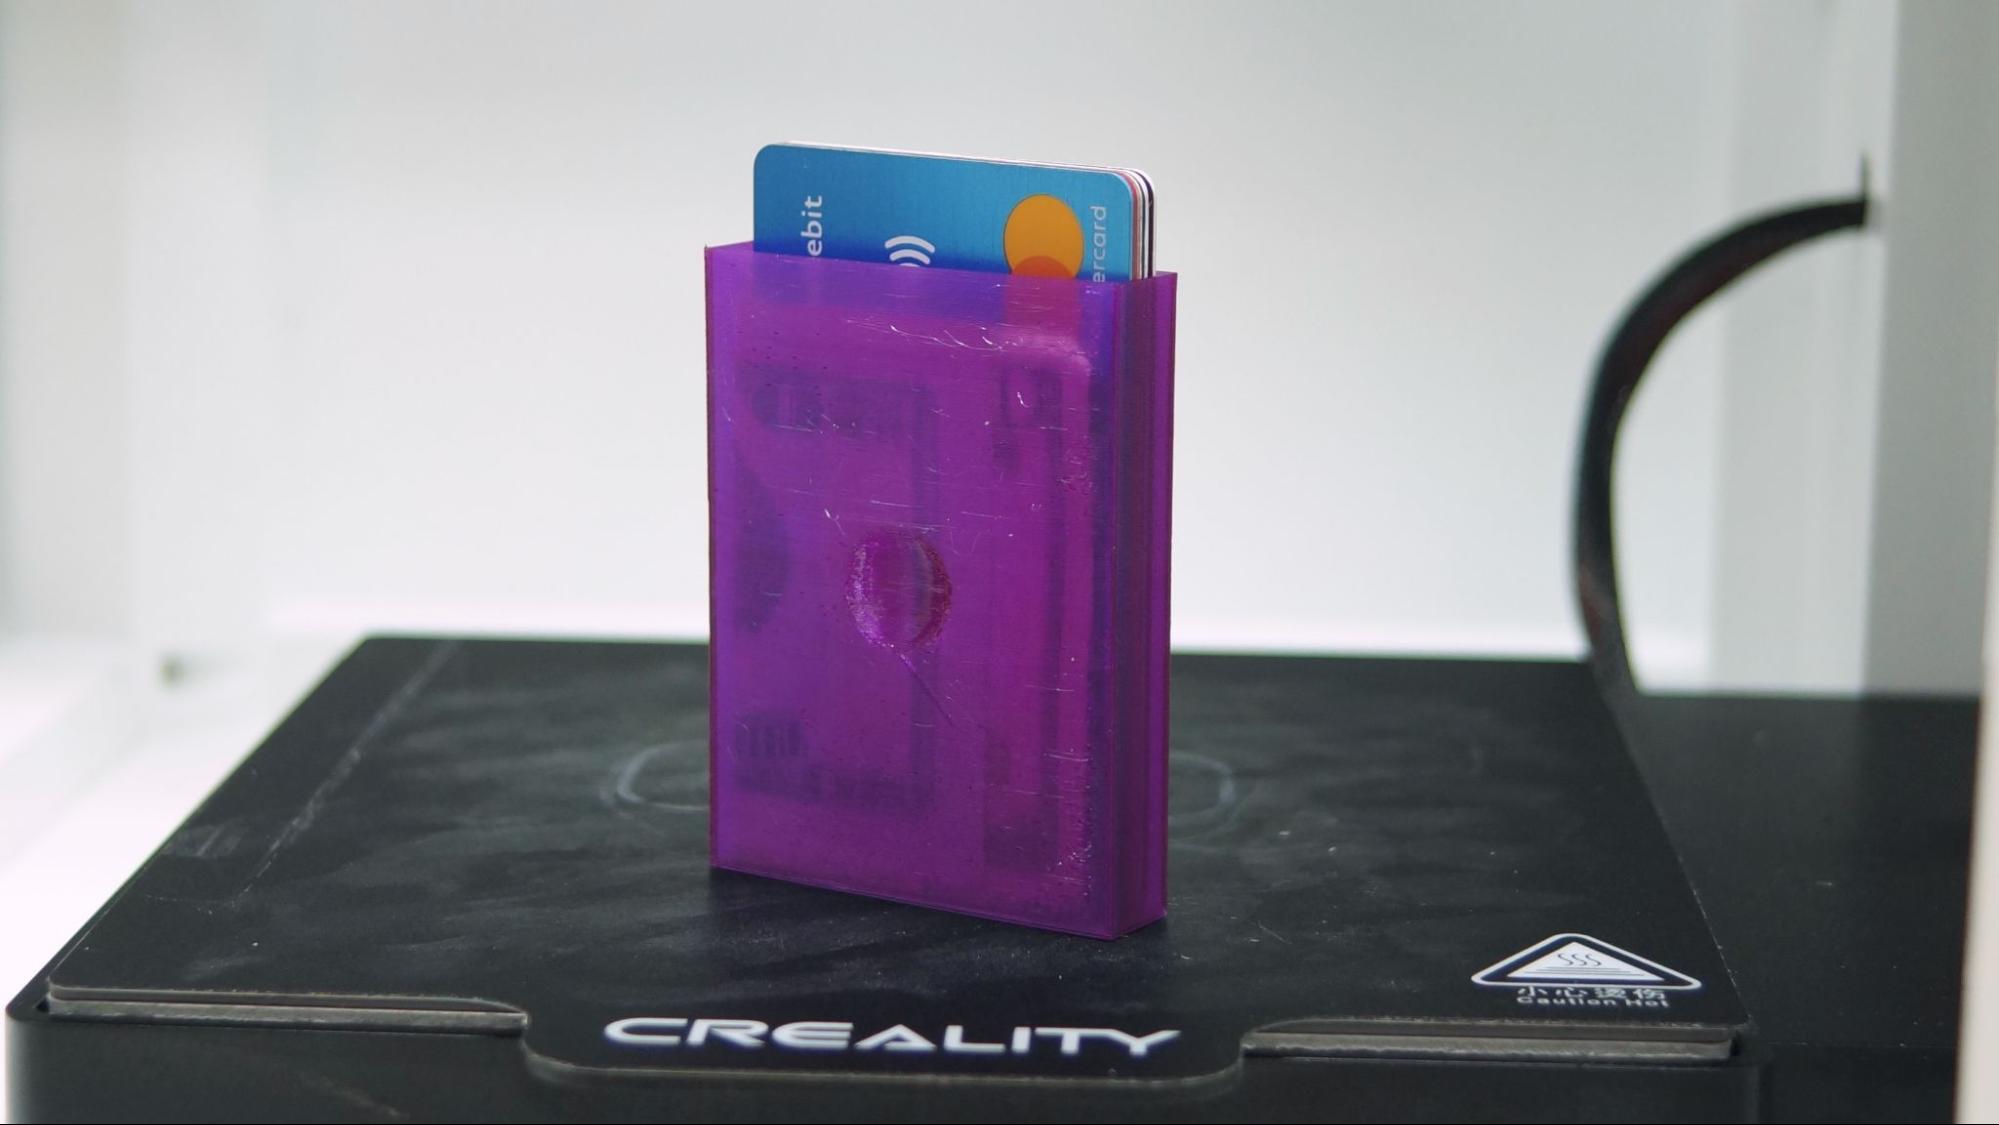
TPU ran fine with the Sermoon’s Sprite direct drive. There are some tiny wisps, but these are less noticeable in person. The print I chose – another practical one – was zzzy’s TPU Wallet printed in Matterhackers Build Series Translucent Purple TPU. It ran in 1 hours and 32 minutes with a .2mm layer height and 40 mms speed.
Bottom Line
The Sermoon V1 Pro is just about as good as it gets, especially when you have a young maker learning how to run a 3D printer. It’s not only for youngsters – it’s great for anyone who wants a well working, fuss free printer that takes up little space.
3D printers aimed at kids are often no better than toys – so worried about safety that they lose functionality. This is a real printer, with an excellent direct drive and a heated bed. The door sensor can pause the printer when it’s open to keep little fingers out of the moving parts, which is a great bonus when working around children. The magnetic bed lets you pull pieces out of the machine for removal without being near a hot nozzle.
Retailing at $539, the Sermoon V1 Pro is not the cheapest printer on the block. But it’s a quality machine that requires no mechanical skills to set up. If you're looking for a small, portable printer at a lesser price point, check out the $169 Ender 2 Pro, our pick for Best Compact Printer. If you want a great beginner’s printer with more build space for less money, check out the Anycubic Kobra. Priced at $319, it’s an Editor’s Choice and our pick for Best Printer for Beginners.

Denise Bertacchi is a Contributing Writer for Tom’s Hardware US, covering 3D printing. Denise has been crafting with PCs since she discovered Print Shop had clip art on her Apple IIe. She loves reviewing 3D printers because she can mix all her passions: printing, photography, and writing.
