Tom's Hardware Verdict
A great choice for kids or beginners due to its safety features, Wi-Fi and ease-of-use, the Flashforge Adventurer 3 Lite offers great prints out of the box.
Pros
- +
+ Built-in Wi-Fi
- +
+ Heated flexible build platform locks prints down
- +
+ Enclosed build area is safe for kids
Cons
- -
Integrated spool holder doesn’t fit standard 1 kg spools
- -
150mm² build volume doesn’t leave much room to grow
- -
Proprietary nozzle assembly is on the pricey side
Why you can trust Tom's Hardware
The Flashforge Adventurer 3 Lite, contrary to its name, is a feature-packed 3D printer that outperforms many printers in the sub-$300 price range. The less-expensive sibling to the Adventurer 3, the Adventurer 3 Lite offers essentially the same list of features with the exception of a filament run-out sensor and integrated webcam for remotely monitoring prints. One of the best budget 3D printers, The Adventurer 3 Lite is designed with a simple unboxing and setup process in mind, making it an ideal solution for high school teachers or students or anyone that wants to get started quickly and without a hassle.
Specifications
| Machine Footprint | 15.3 x 13.4 x 15.9 inches (38.8cm x 34.0cm x 40.5cm) |
| Build Volume | 5.9 x 5.9 x 5.9 inches (150mm x 150mm x 150mm) |
| Material | 1.75mm PLA, PLA+, ABS |
| Nozzle | .4mm |
| Build Platform | Heated Removable Flexible Platform |
| Connectivity | USB, Wi-Fi, Ethernet |
| Interface | 2.8" Touchscreen LCD |
Unpacking the Flashforge Adventurer 3 Lite
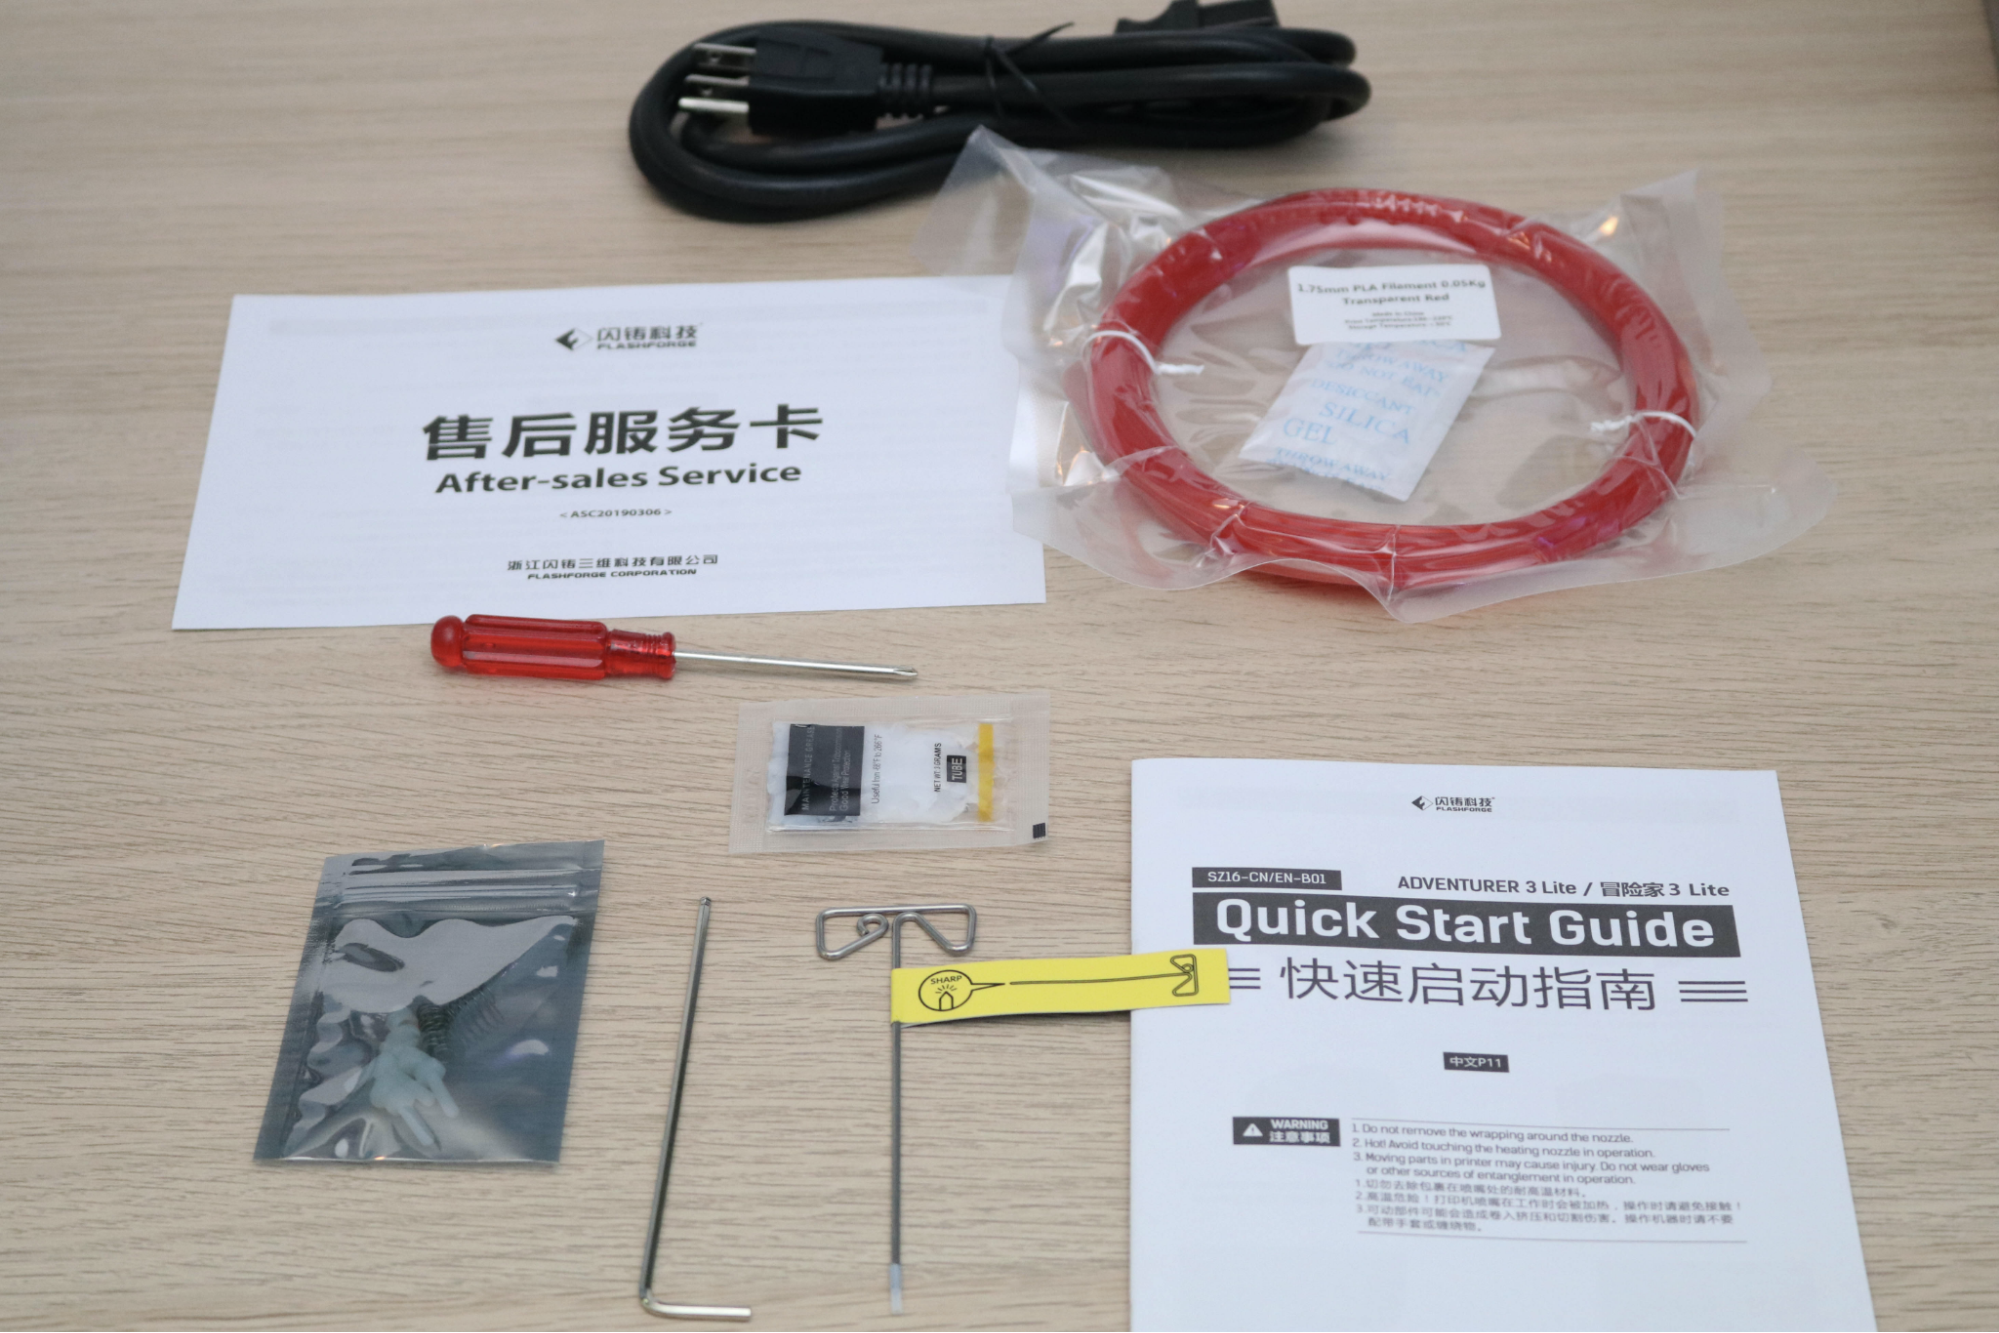
Included in the box with the The Flashforge Adventurer 3 Lite is a Quick Start Guide, a power cord, a sample spool of filament, and a few tools for adjusting various points on the printer. Notably absent from the box is any form of SD card or USB drive, which reinforces the expectation that this machine is primarily designed for printing via WiFi. The lack of an included storage drive meant I had to download the latest manual, printer software, and firmware from the Flashforge site.
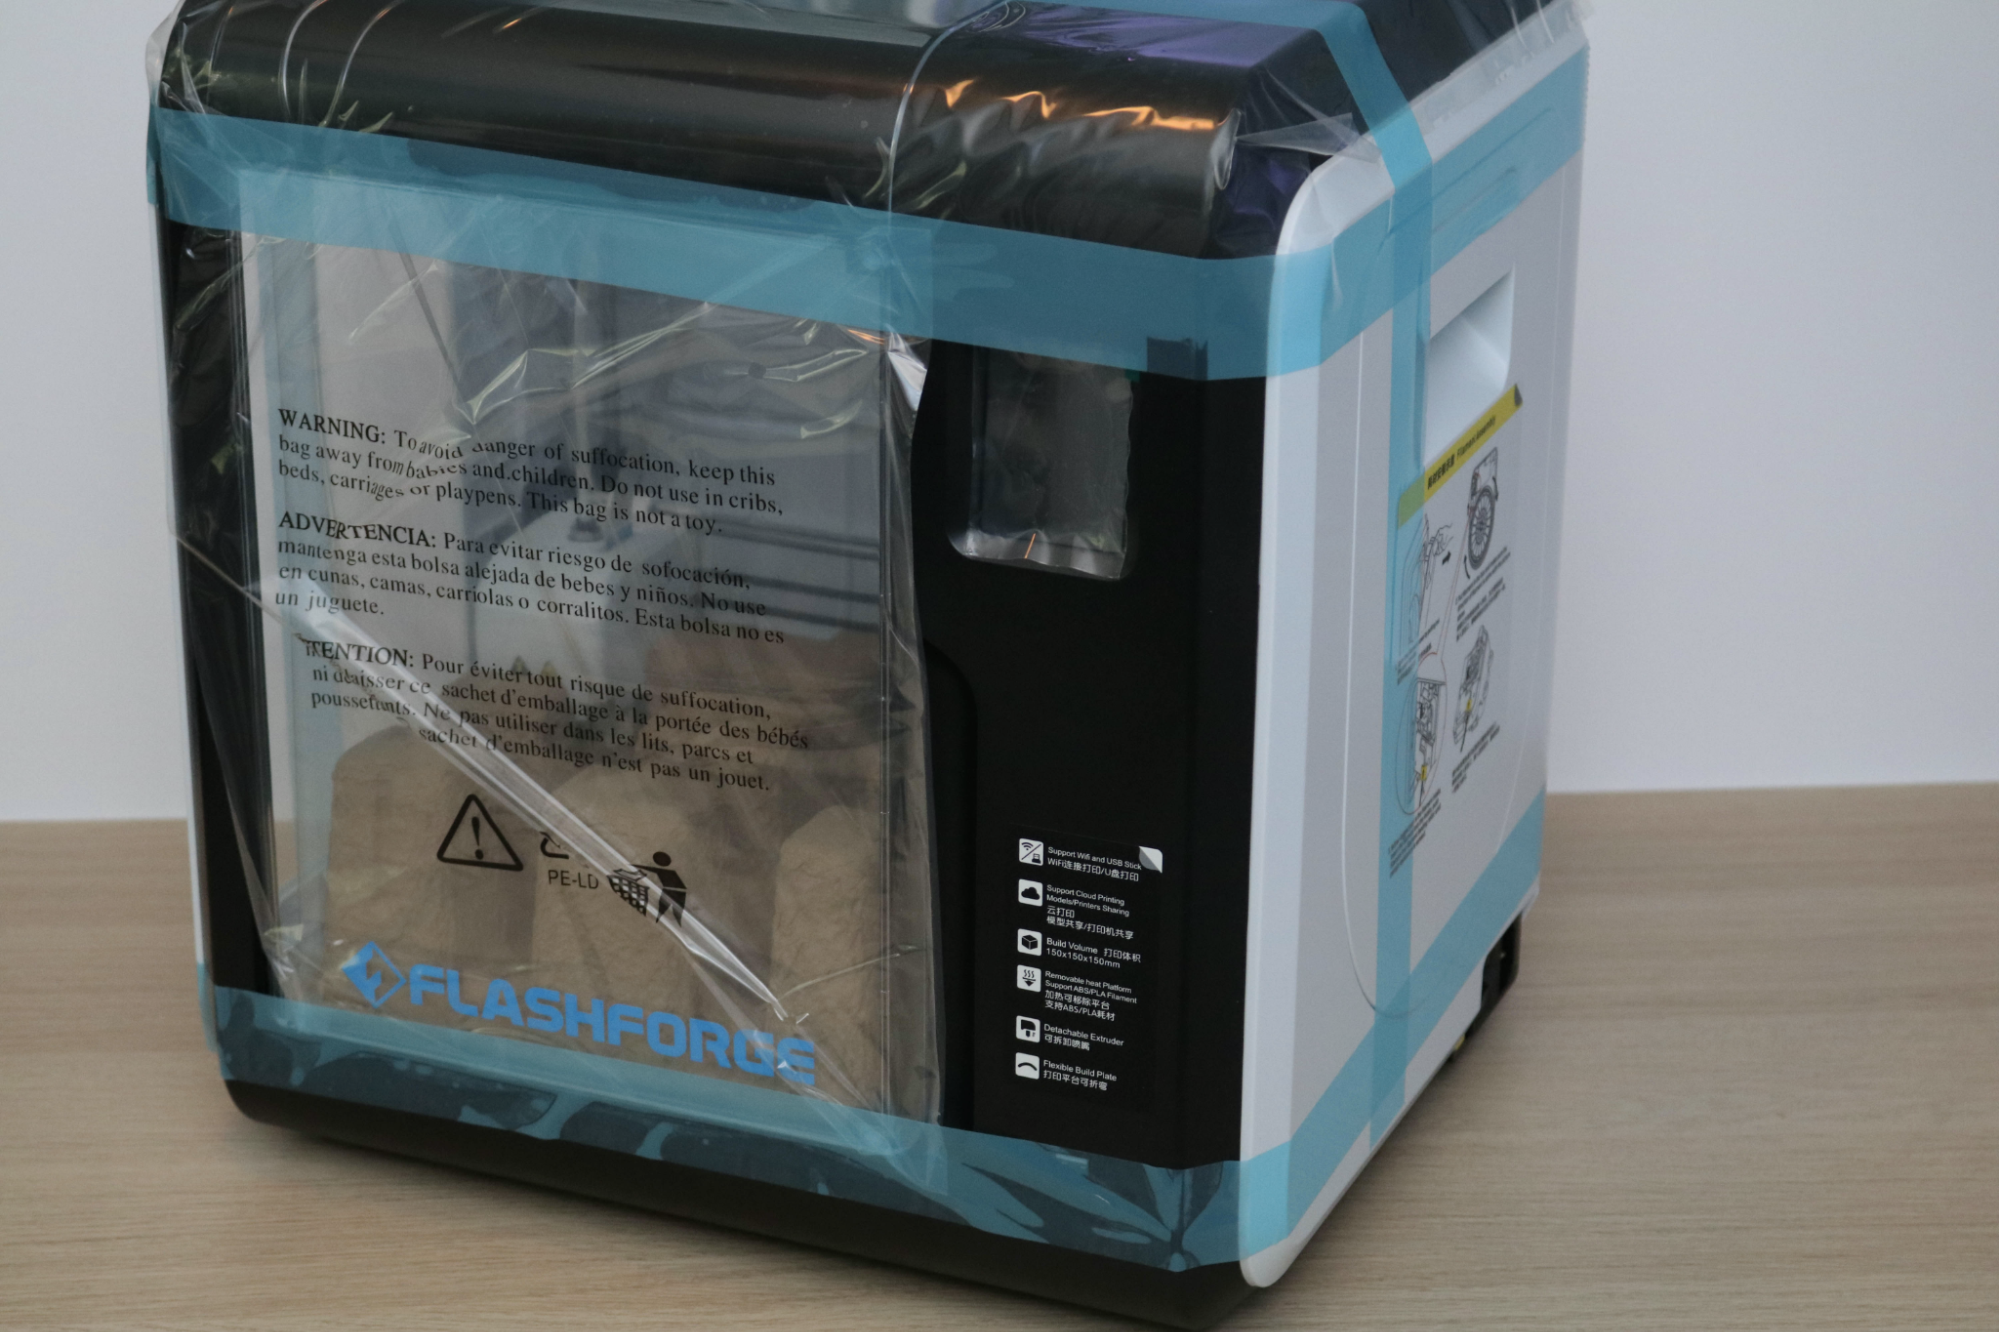
The Adventurer 3 Lite is securely packaged, with easily-removable tape holding the doors closed and a piece of molded pulp packaging securing the extruder and motion system to prevent any movement during shipping. In addition, a thin layer of protective plastic keeps the transparent windows from getting scratched or dusty during transit.
Setting up the FlashForge Adventurer 3 Lite
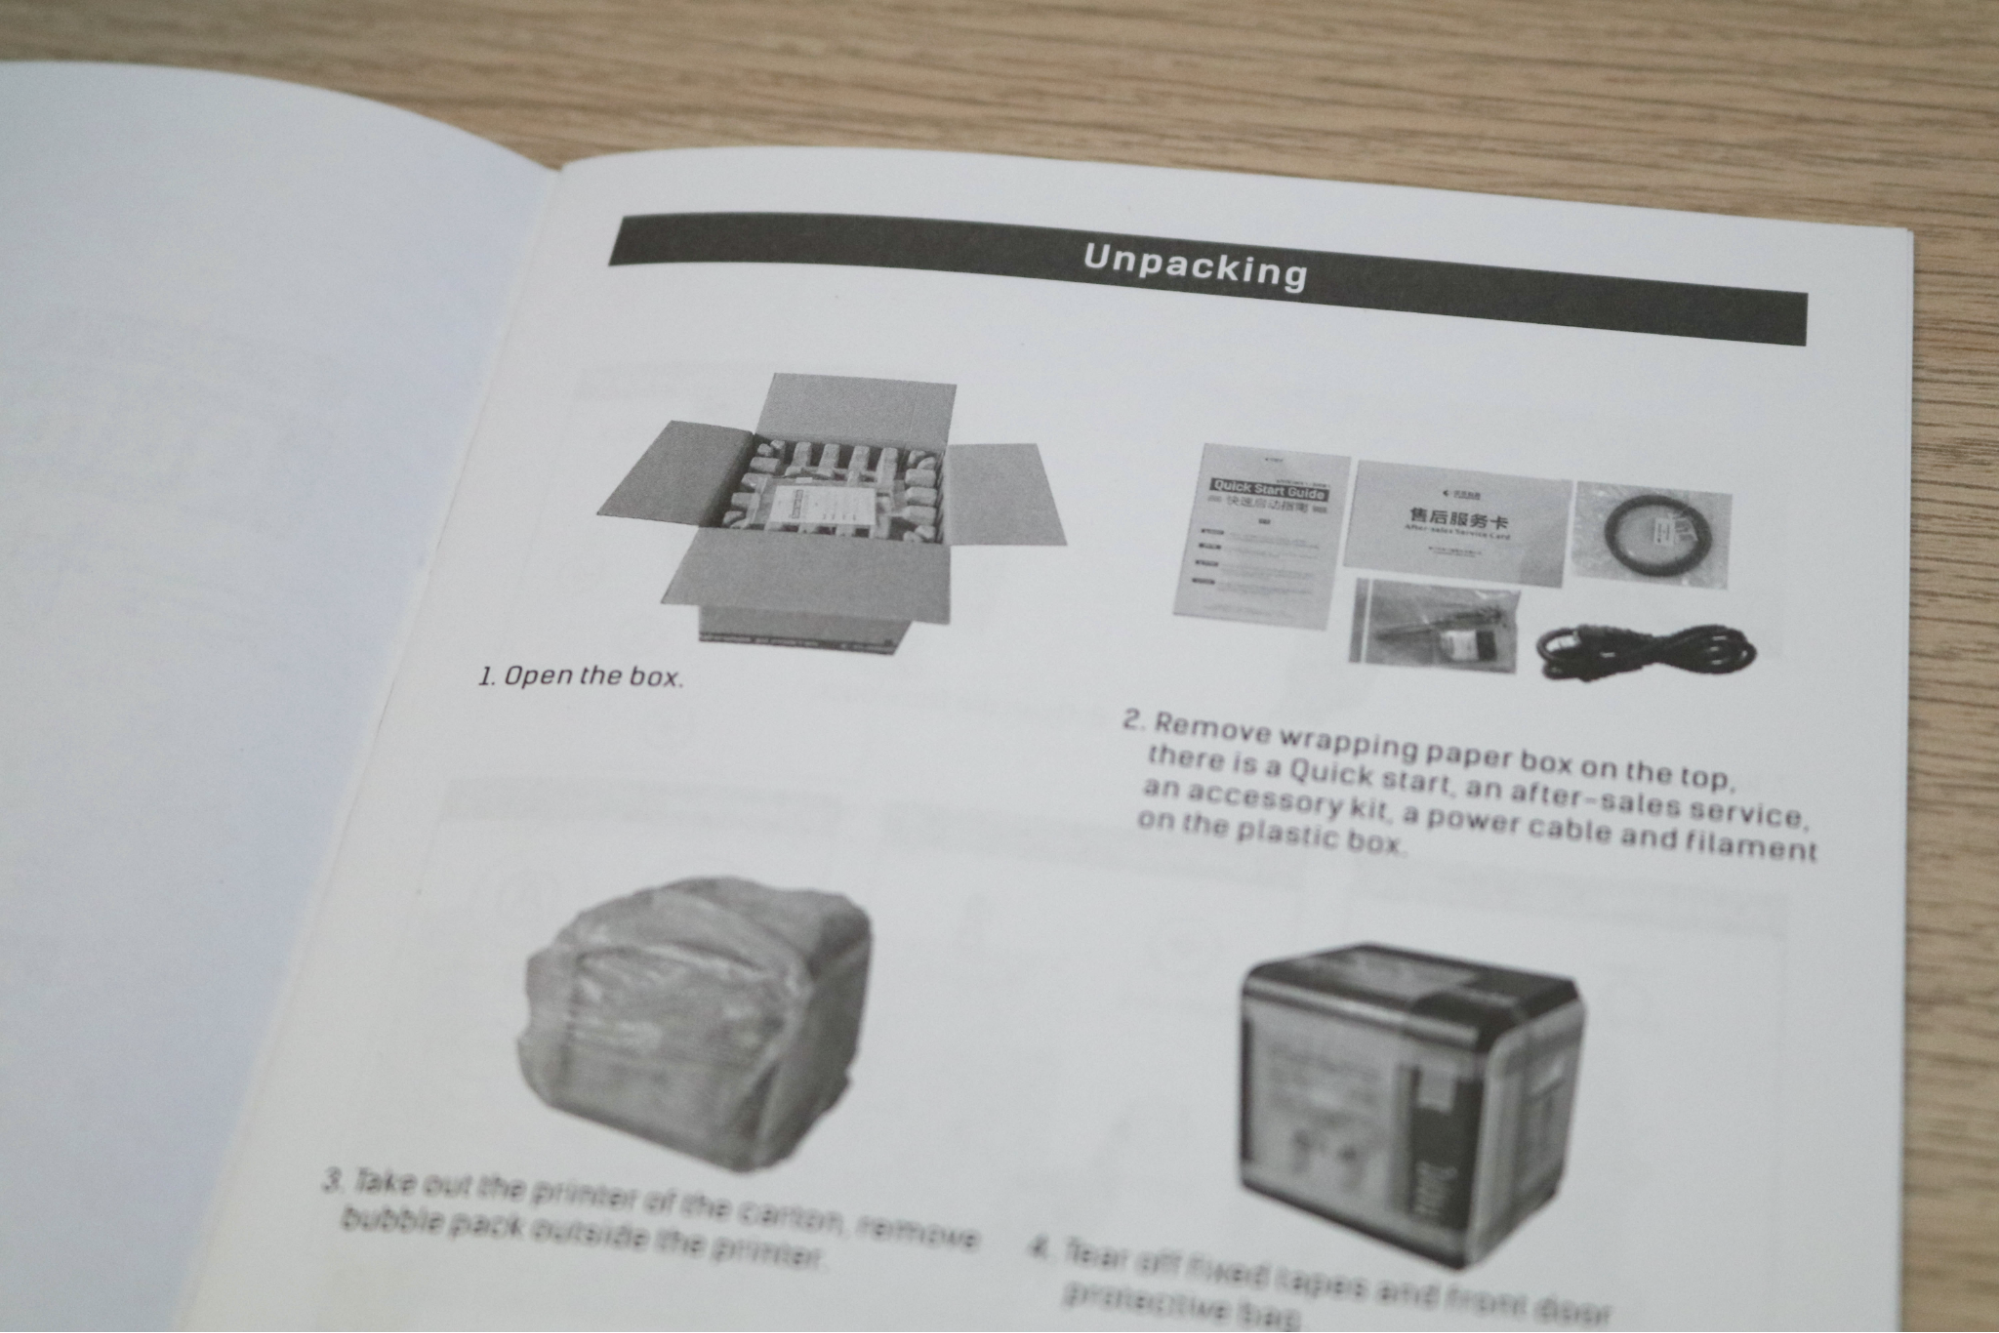
The included Quick Start Guide contains a section on unpacking the FlashForge Adventurer 3 Lite, and it took me about 40 minutes from start to finish to unbox the machine and get it prepped for 3D printing. The printer doesn’t really require any assembly, and the setup is limited to calibrating the machine, loading the filament, and connecting to a wireless network.
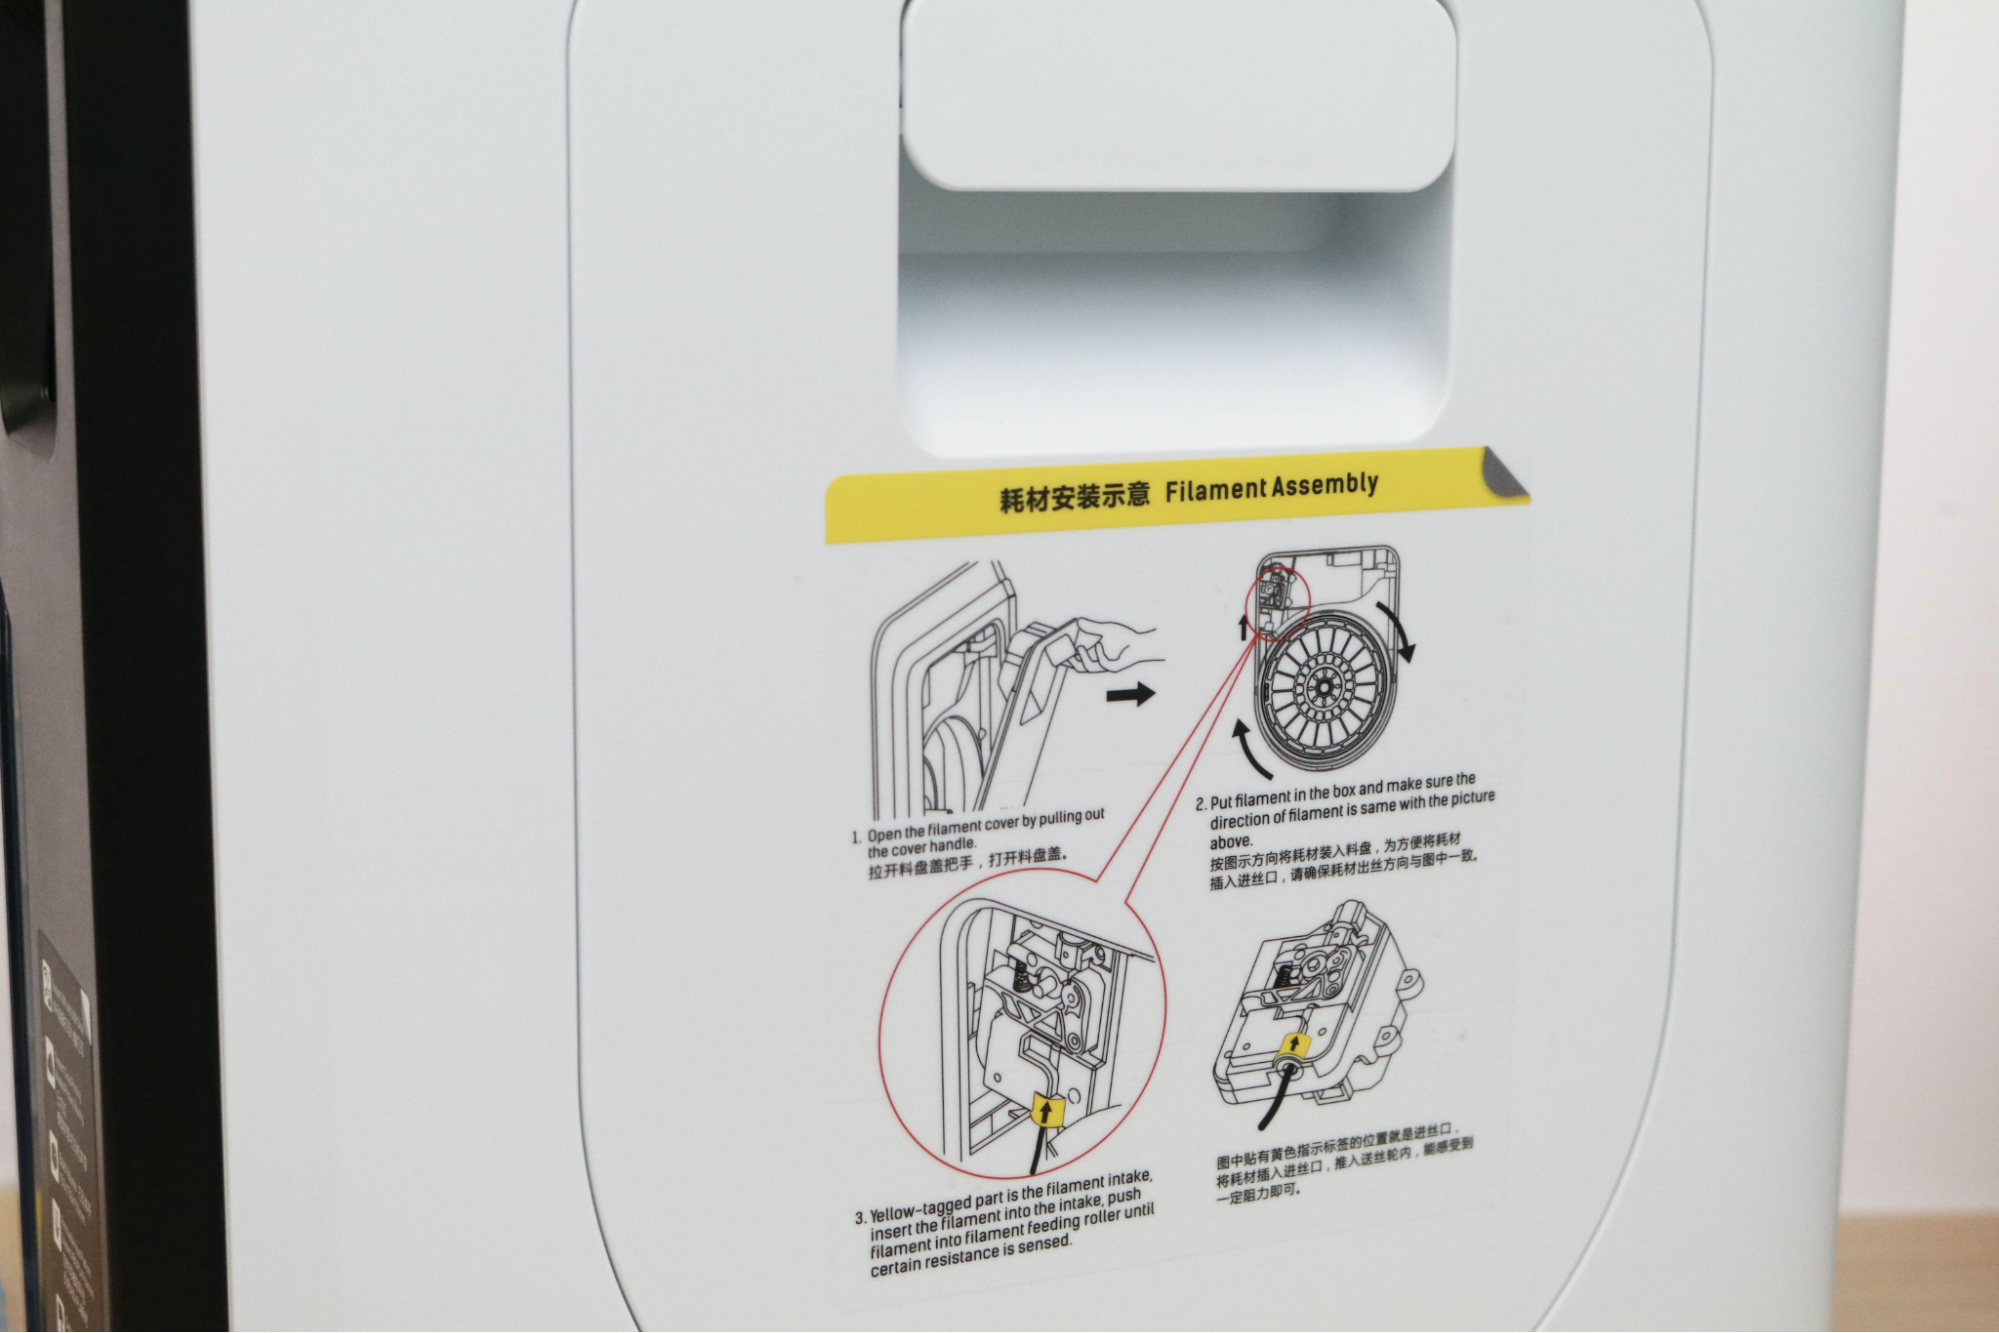
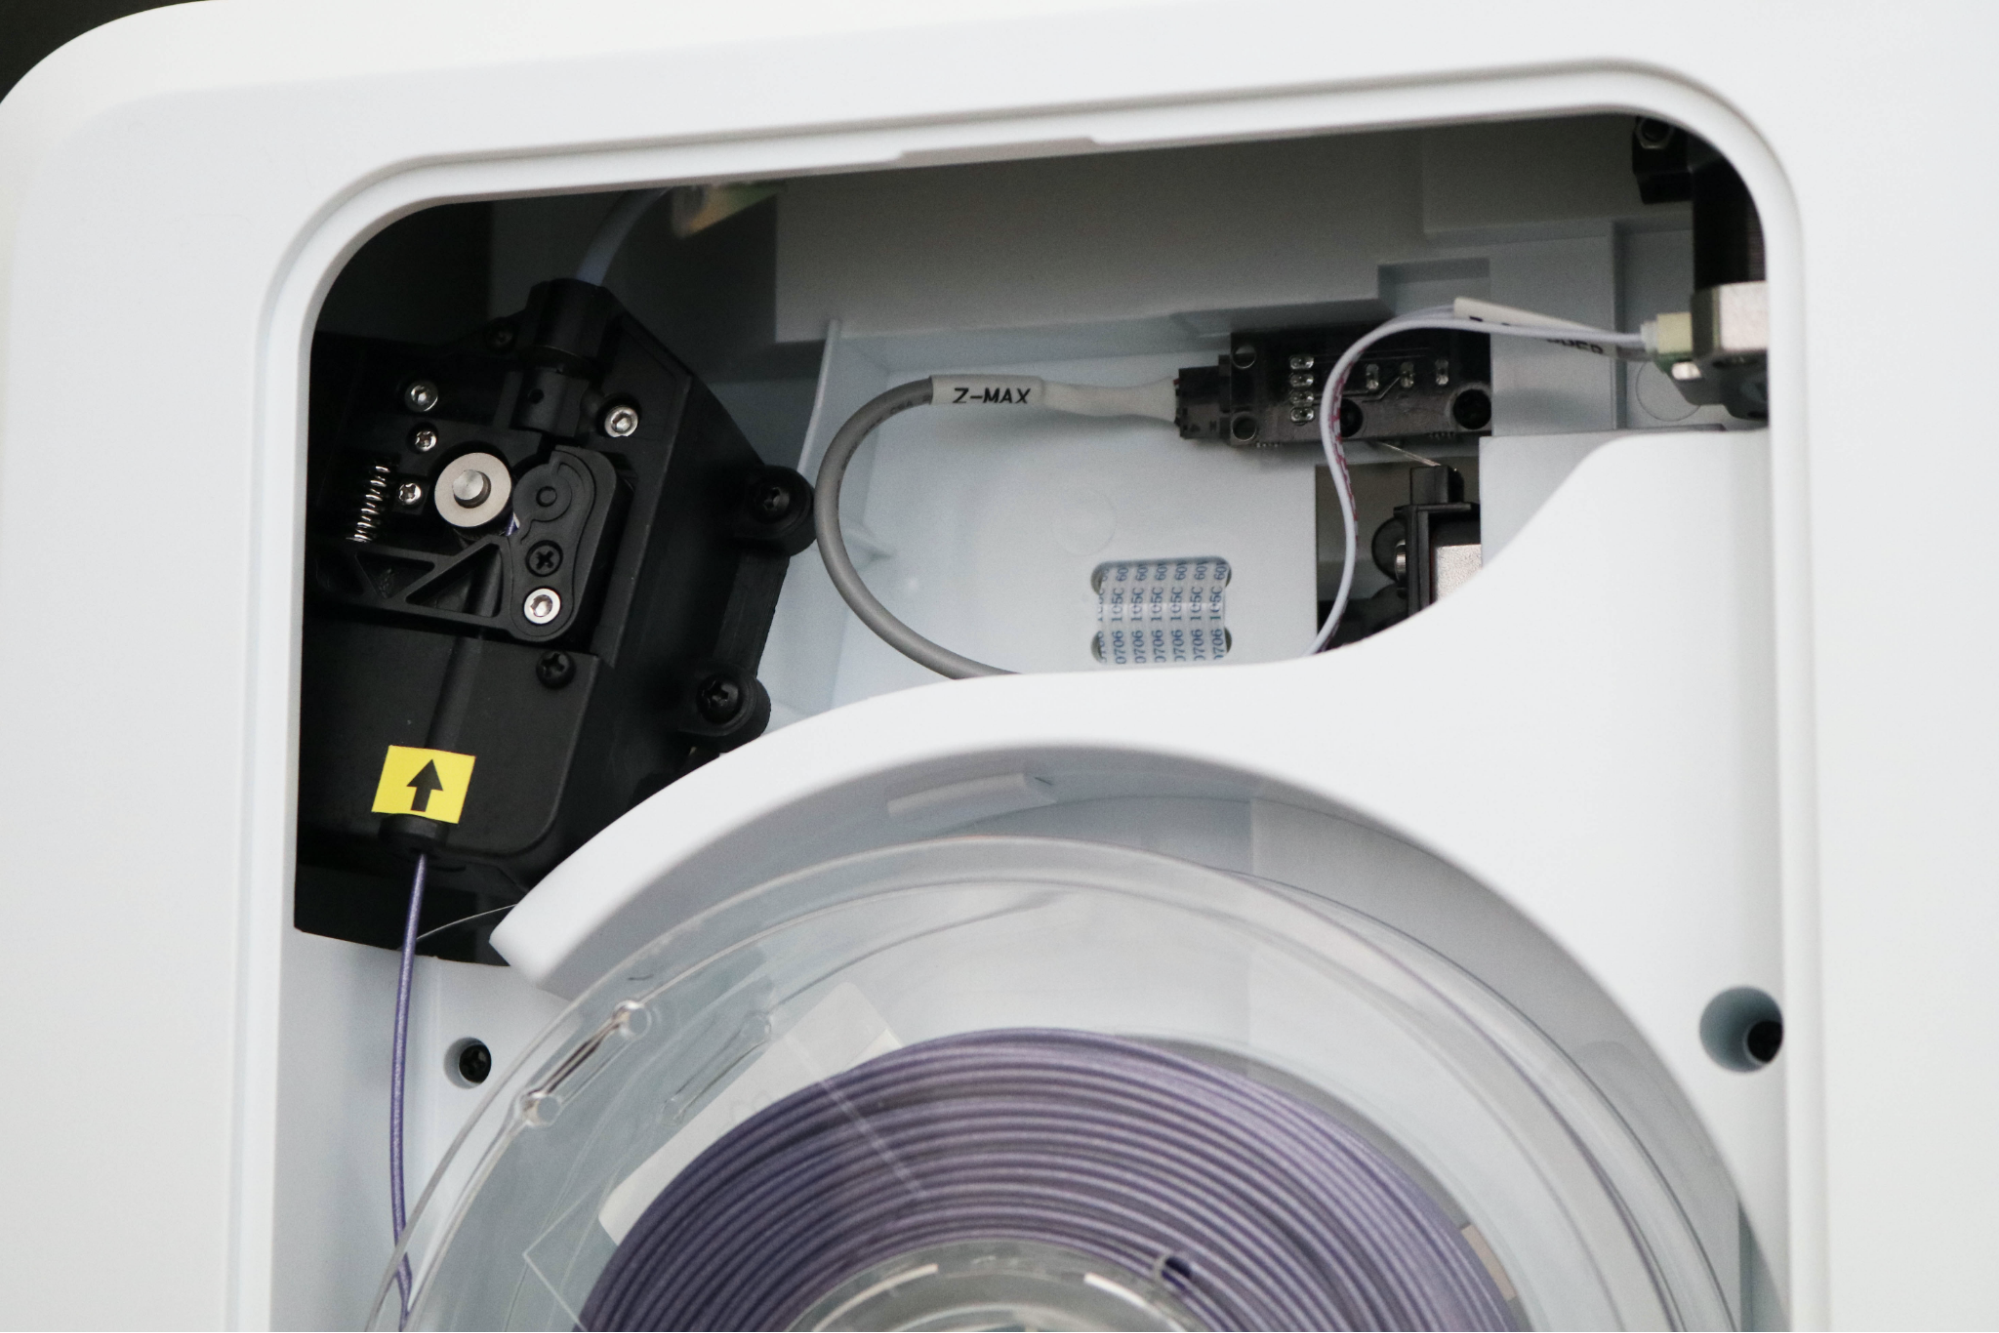
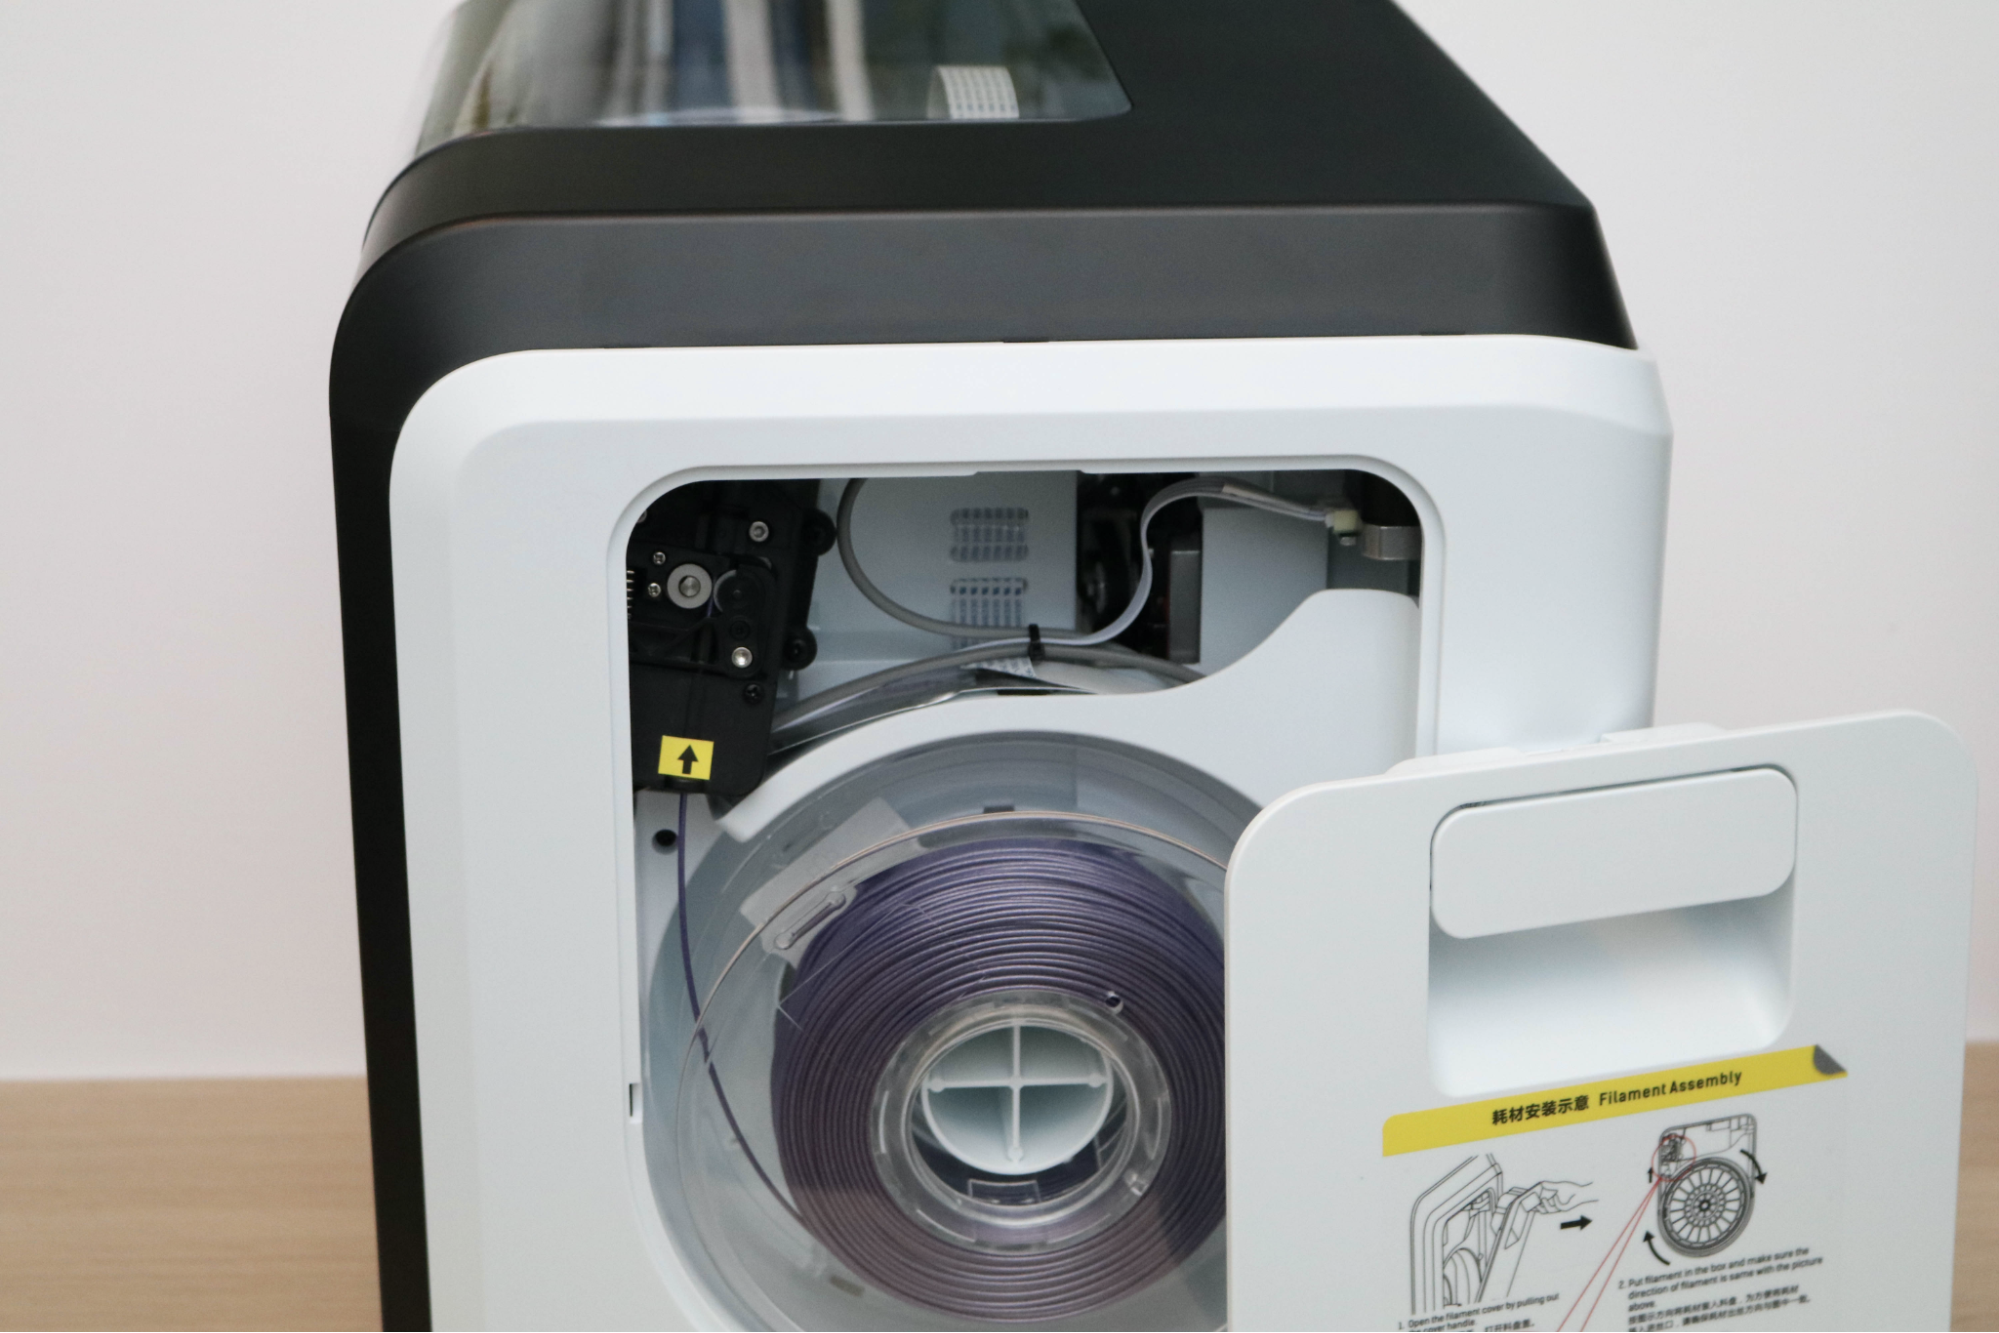
The filament spool holder is integrated into the Adventurer 3 Lite, and can be accessed by removing a panel on the side of the printer. Unfortunately, the cavity on the inside is just slightly too small to fit most standard 1 kg spools of filament. Out of nine different brands that I tried, not one of them was able to fit into the cavity.
However, 500g and 250g spools fit easily and rotated freely, so you’ll want to consider this when looking at filament to use with this printer. External spool holders can be built, printed, or bought and offer a solution to this problem if you want to continue using 1 kg spools.
User Interface on Flashforge Adventurer 3 Lite
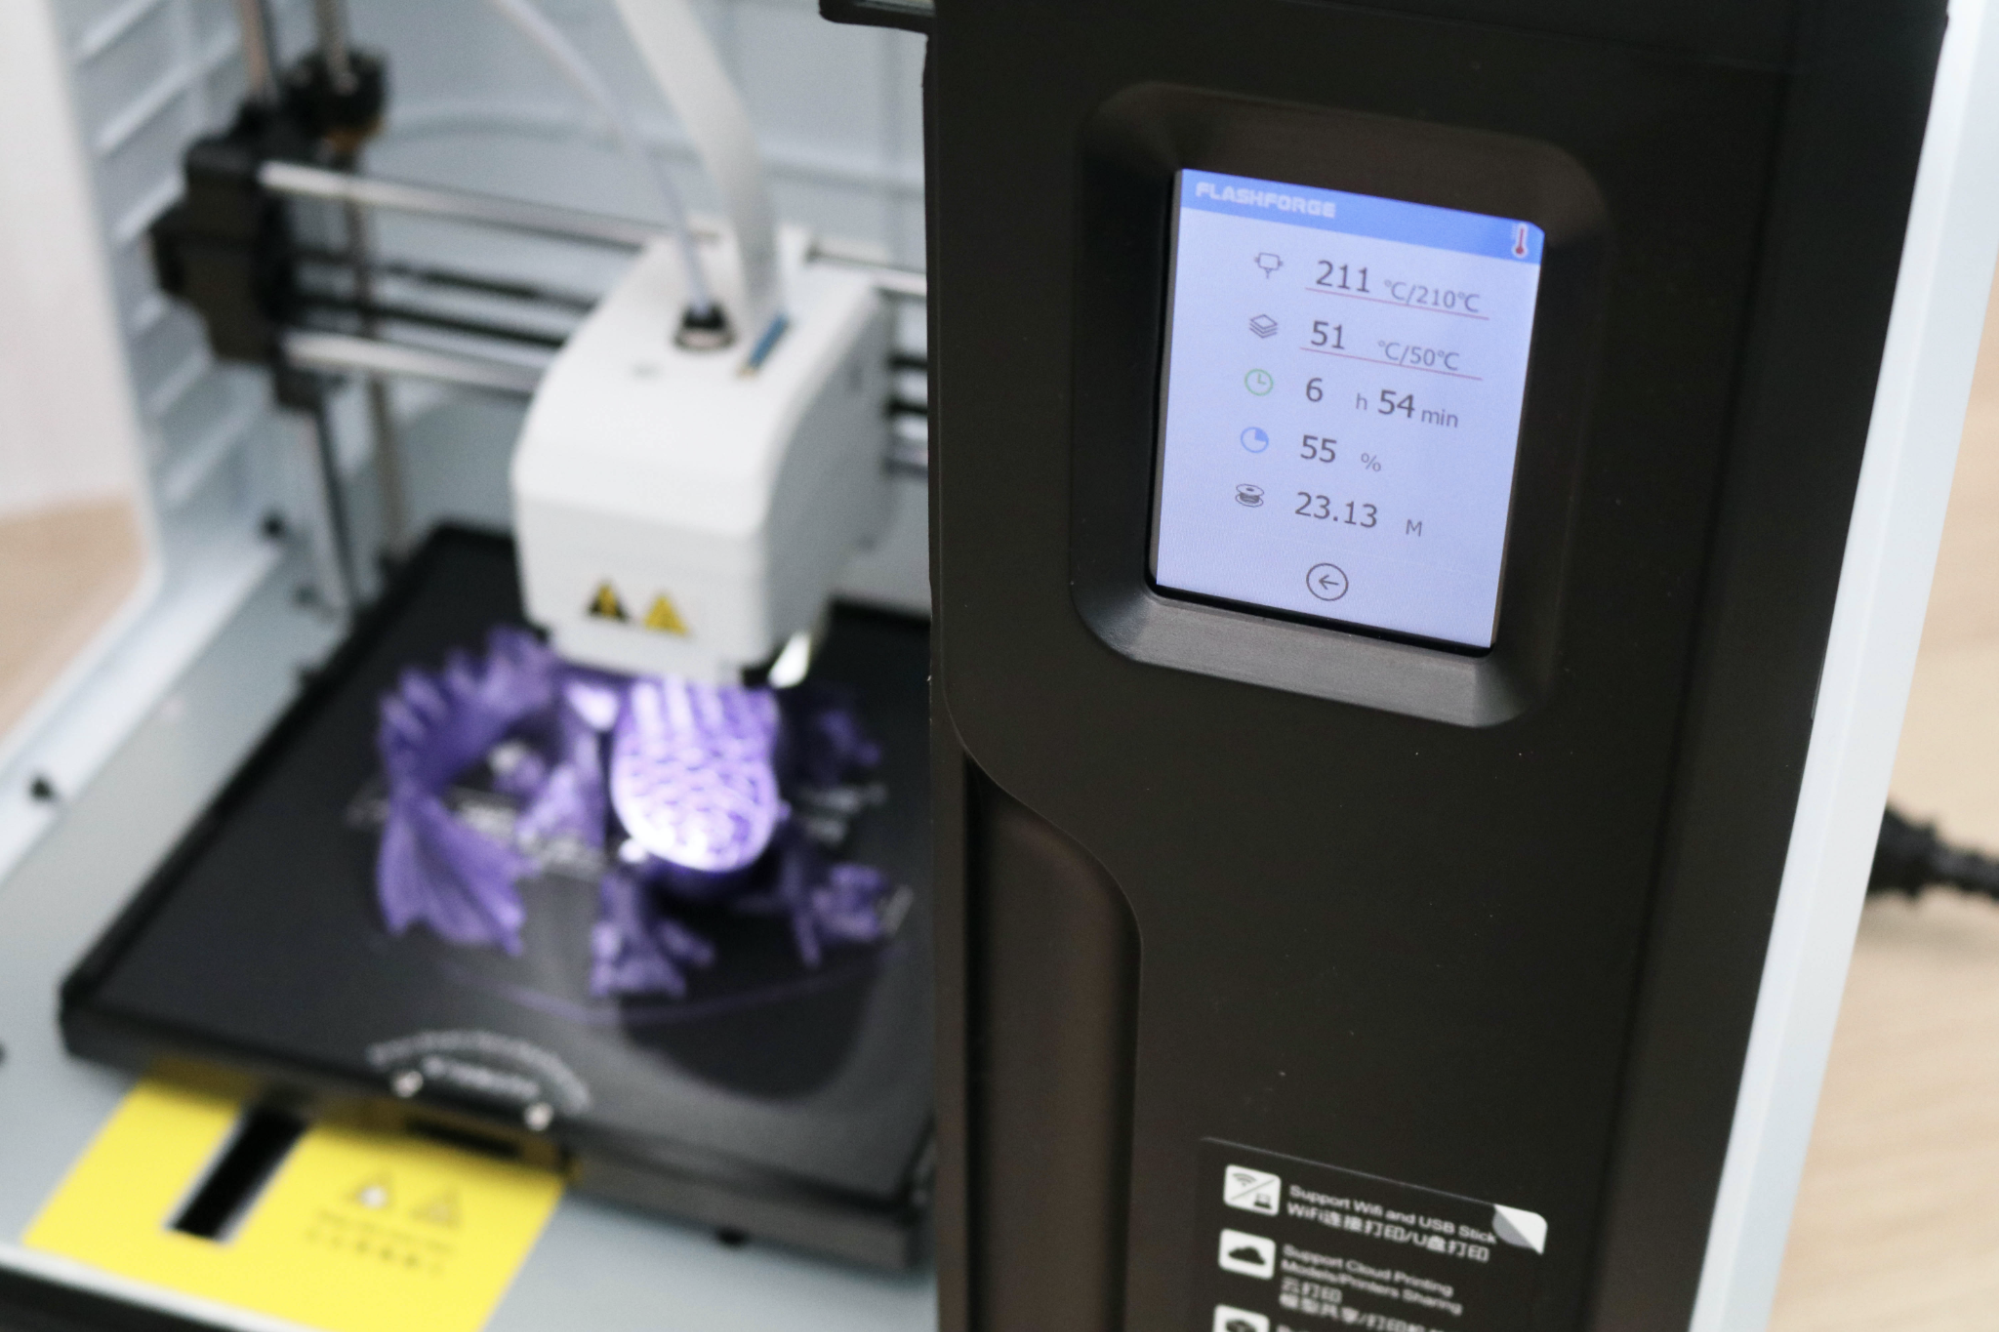
The 2.8-inch touchscreen LCD is the primary interface for the FlashForge Adventurer 3 Lite and I found it to be bright, responsive, and easy to read. Through the touchscreen, I was able to initiate filament loading, calibrate the bed of the printer, connect to a wireless network, and monitor real-time statistics as the printer was running.
Get Tom's Hardware's best news and in-depth reviews, straight to your inbox.
Design of FlashForge Adventurer 3 Lite
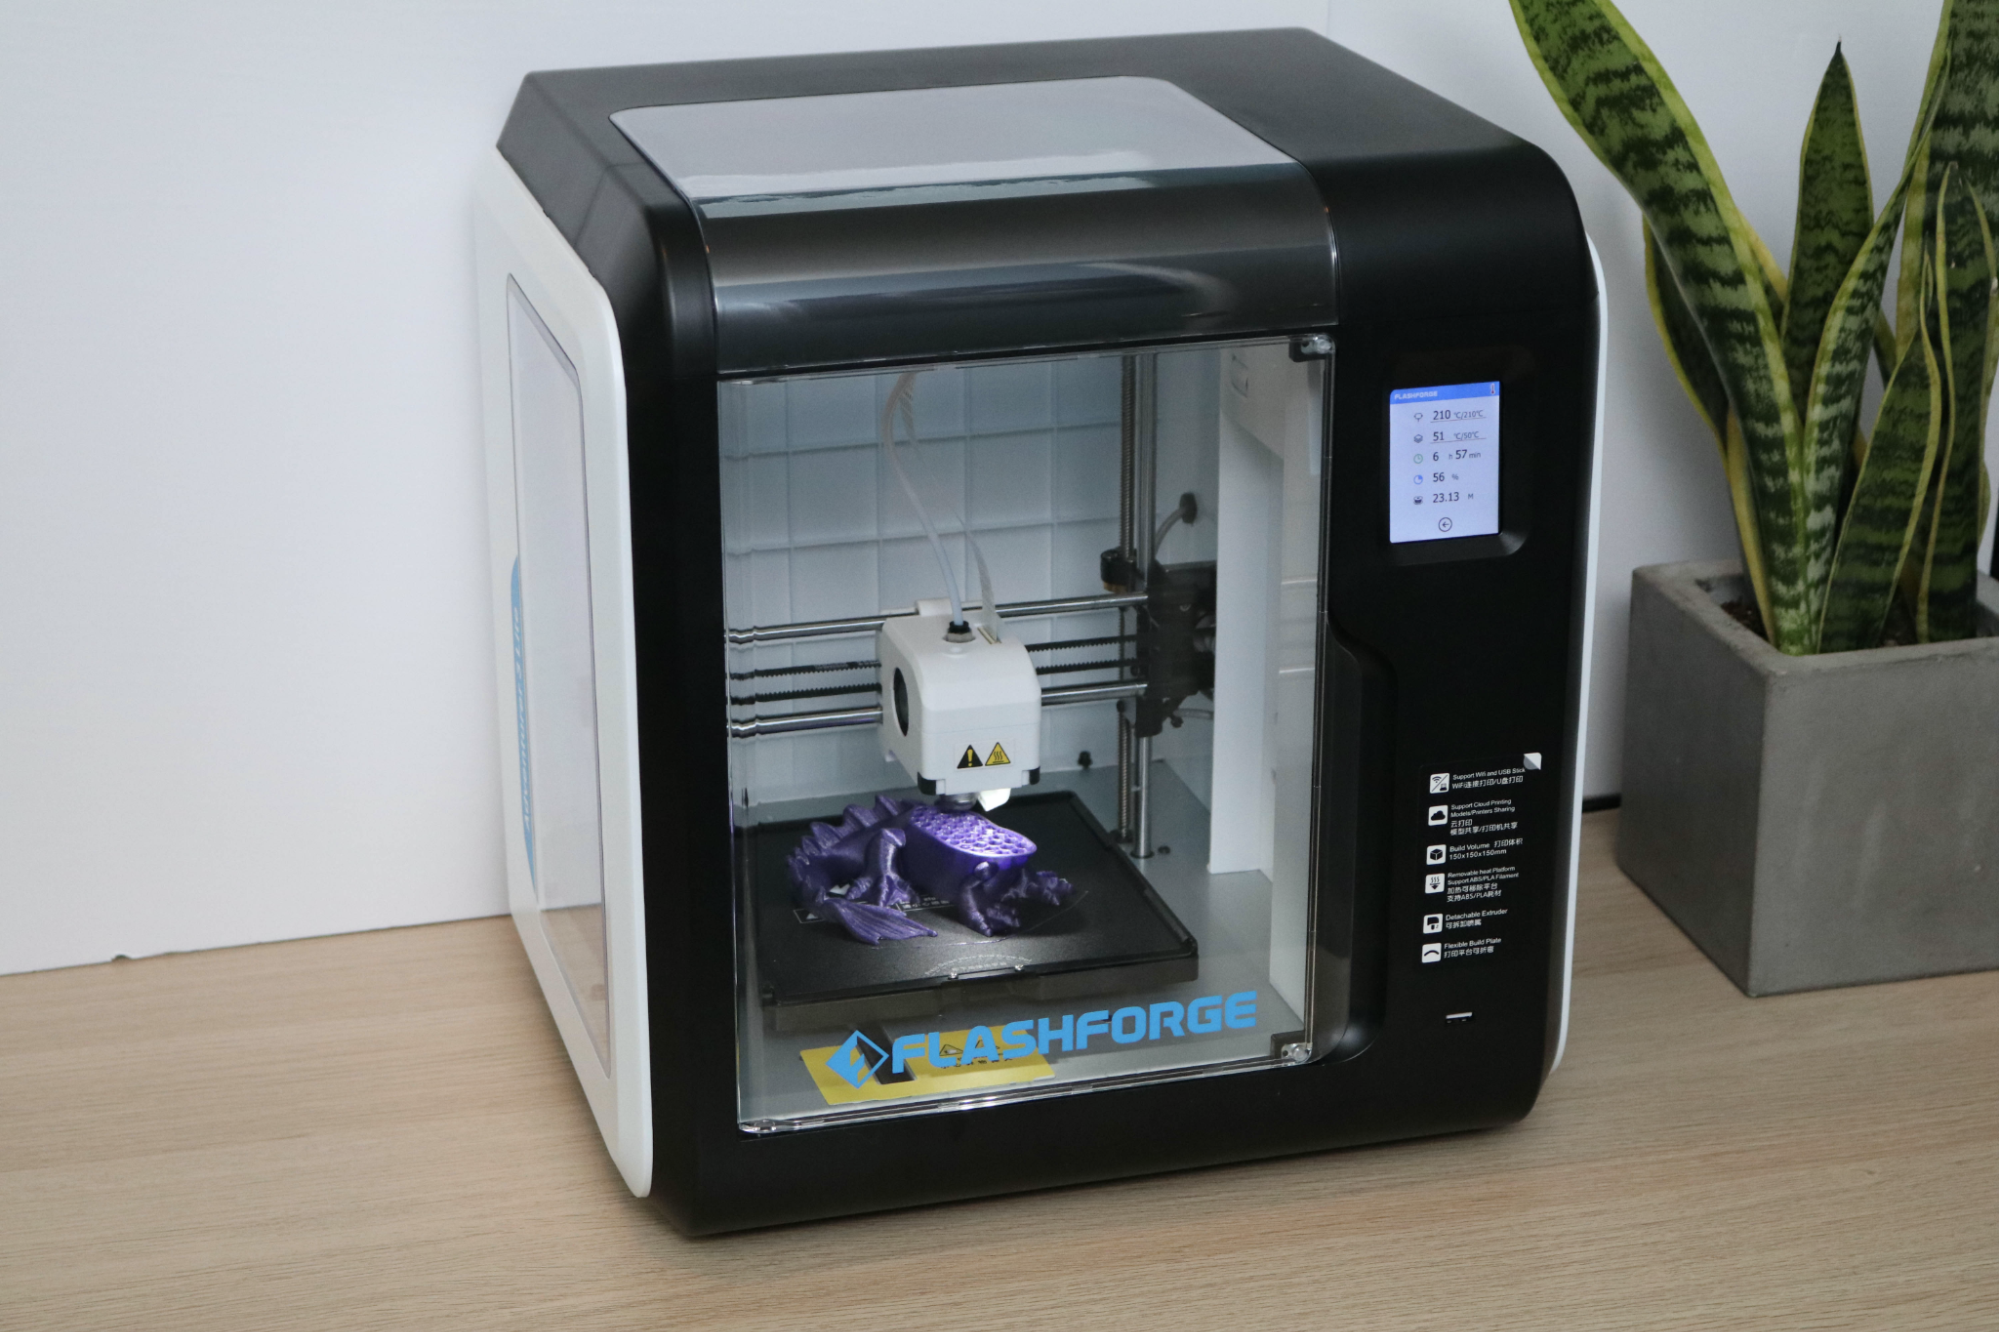
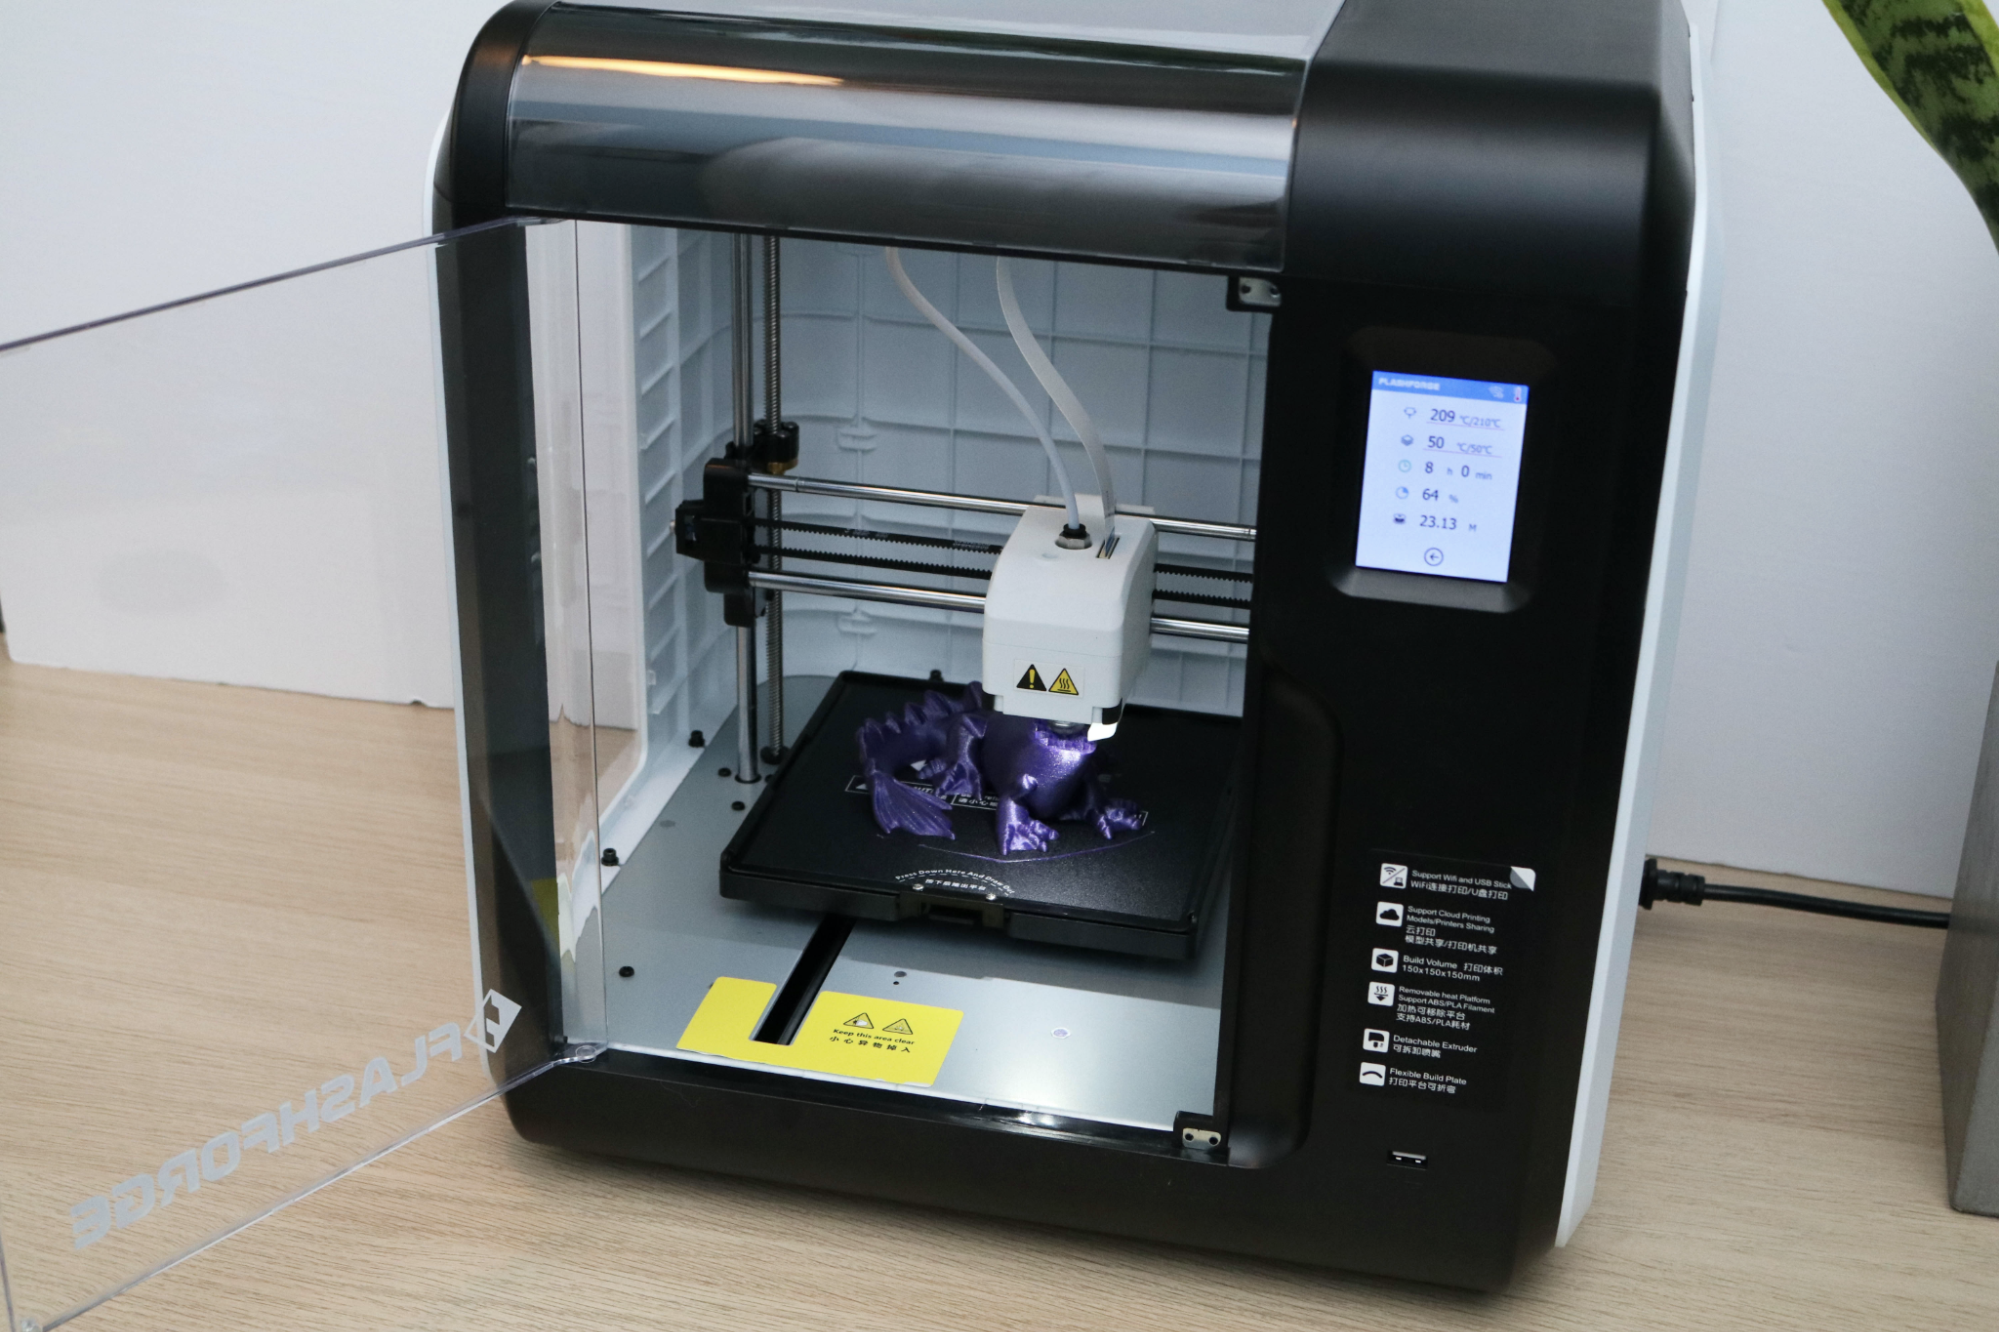
The FlashForge Adventurer 3 Lite is a fully-enclosed 3D printer with transparent acrylic panels on the side, top, and front of the machine. Unlike the acrylic panels on the Makerbot Mini (a printer notorious for the jarringly loud rattling caused by loose fitting panels), the panels of the Adventurer 3 Lite are firmly held together with a combination of snap-fit components and firmly secured bolts.
The full build area of the printer is enclosed with a single fan on the rear of the machine acting as an exhaust. During my testing, I didn’t, at any point, notice any of the odor typically associated with 3D printing PLA, and the enclosure seemed to reduce both the overall amount of noise as well as the fumes from the printing process.
The front panel swings open to allow access to the printed part inside, and is held closed by two magnets placed at the top and bottom of the panel. These magnets hold the door closed tightly while printing, but it can still be opened during operation without disrupting the printer. This is a feature that can really go both ways; it’s nice to be able to access the build area during a print in case something needs to be adjusted, but it also negates the safety aspect by not pausing or stopping the print when the door is opened.
The Adventurer 3 Lite uses a Bowden extruder, which pushes the material through a long tube before reaching the hot end. This style of extruder allows for faster movement of the print head due to its decreased weight attributable to not having a stepper motor mounted to it. However, this can also result in stringing due to material oozing. I didn’t have any major issues with stringing while using the Adventurer 3 Lite, and the extruder module didn’t require any adjustment.
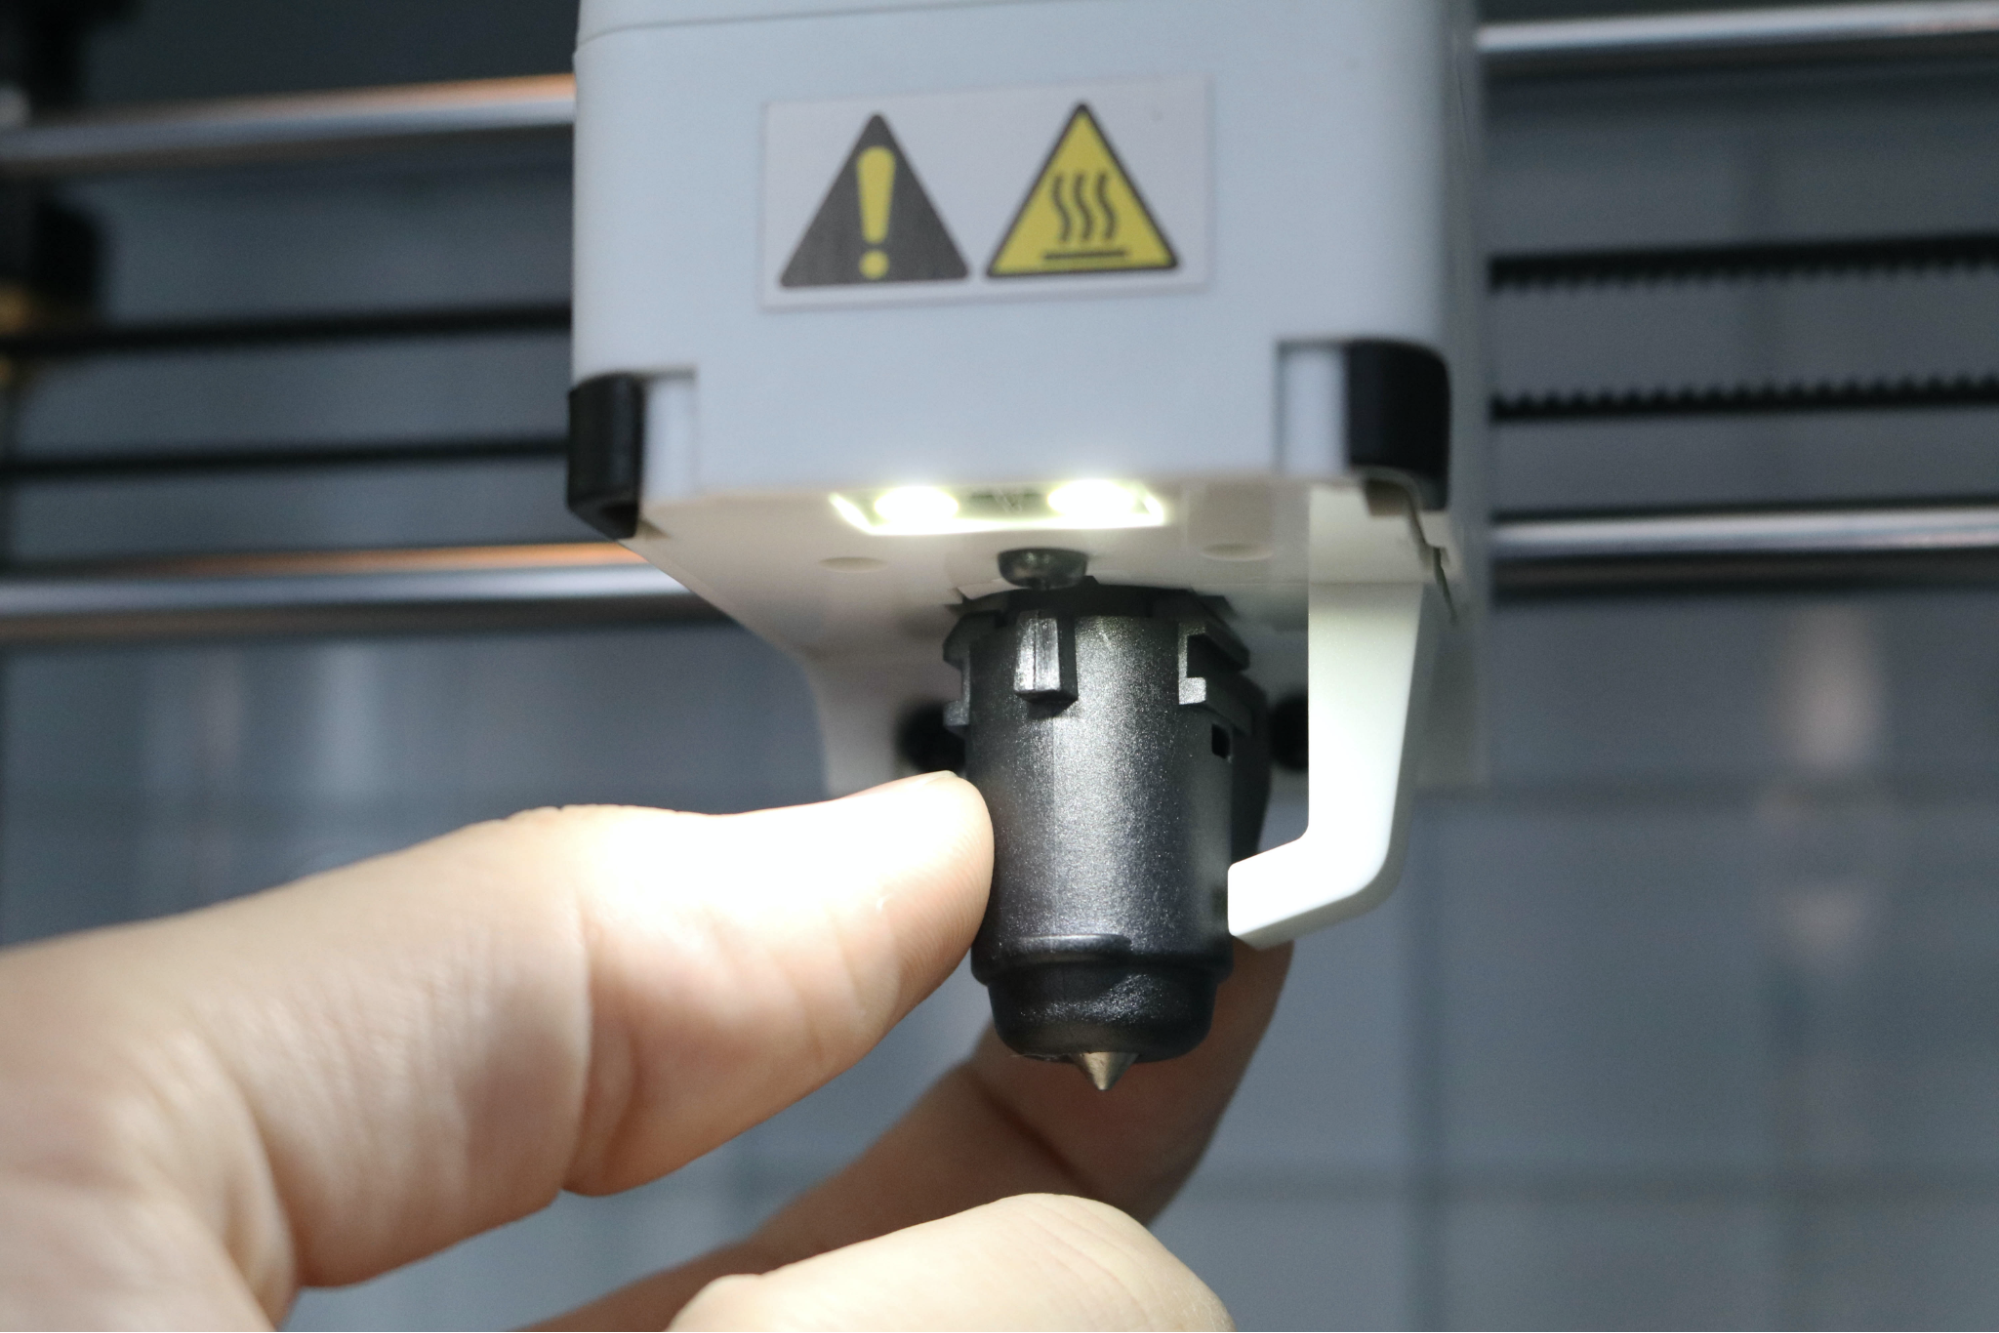
An interesting feature of the Adventurer 3 Lite is the removable nozzle assembly. On most 3D printers such as the Creality Ender 3 Pro, the nozzle is an inexpensive ($1-$15) component that can be removed with a pair of wrenches and a little bit of practice. FlashForge has simplified the process by creating an interchangeable nozzle assembly on the Adventurer 3 Lite that can easily be removed by squeezing two spring-loaded buttons and pulling the assembly out.
I was able to quickly and easily remove the nozzle, and noted that the quick-change system is well-designed and executed. The nozzle has a powerful part cooling fan for printing PLA, and two downward facing LED lights make it easy to see what you’re printing.
On one hand, it’s great that users who are uncomfortable with taking a printer apart can still quickly remove and replace the nozzle. On the other hand, this directly translates into a higher cost: the nozzle assembly is $24 on the FlashForge site, and the complete hot end assembly is $85. There is also the potential for FlashForge to stop manufacturing this particular assembly. This unique assembly may be a benefit or a drawback depending on your specific situation.
Calibrating the Flashforge Adventurer 3 Lite
The Flashforge Adventurer 3 Lite requires semi-manual calibration to set the offset between the nozzle and the heated build platform. Some 3D printers (like the Monoprice Cadet and Prusa MK3S) use an inductive probe or other sensor to automatically set the offset, and others like the Creality Ender 3 Pro use a manual process that involves turning thumbscrews at the corners of the bed to adjust the offset.
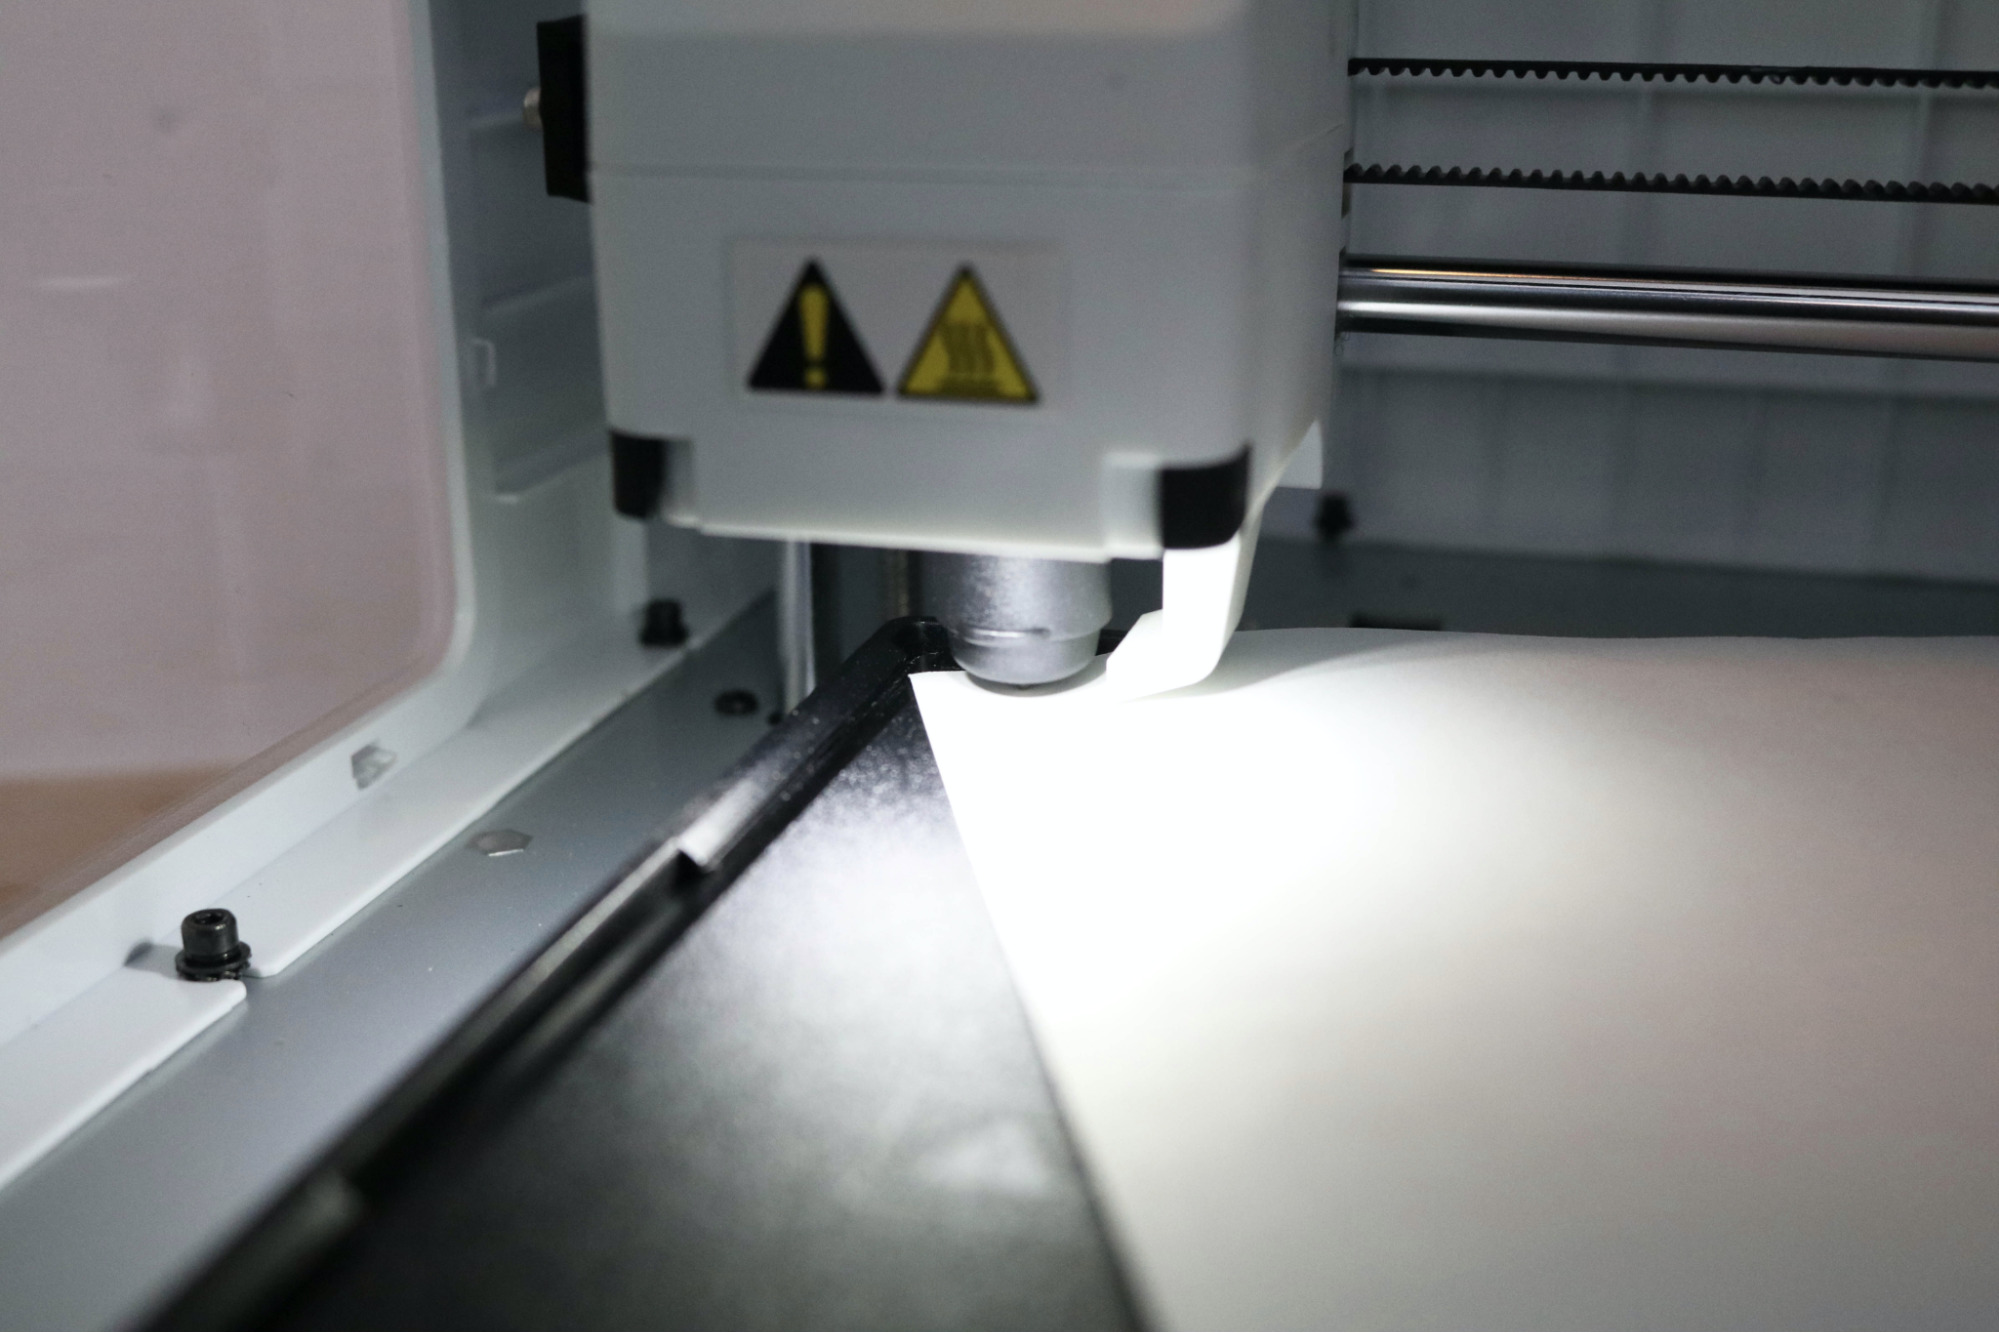
The Adventurer 3 Lite has a built-in calibration assistant which automatically homes the X, Y, and Z axes and then moves the nozzle to five different points on the bed. At each point, the printer will prompt you to use a piece of paper between the nozzle and platform as a feeler gauge to set the offset, and the LCD touchscreen allows you to increase or decrease the offset distance. I prefer this process to manually leveling, as it saves some time when tramming the extruder across the bed to level it, but it is still not quite as fast or efficient as automatically leveling the bed.
Build Platform on Flashforge Adventurer 3 Lite
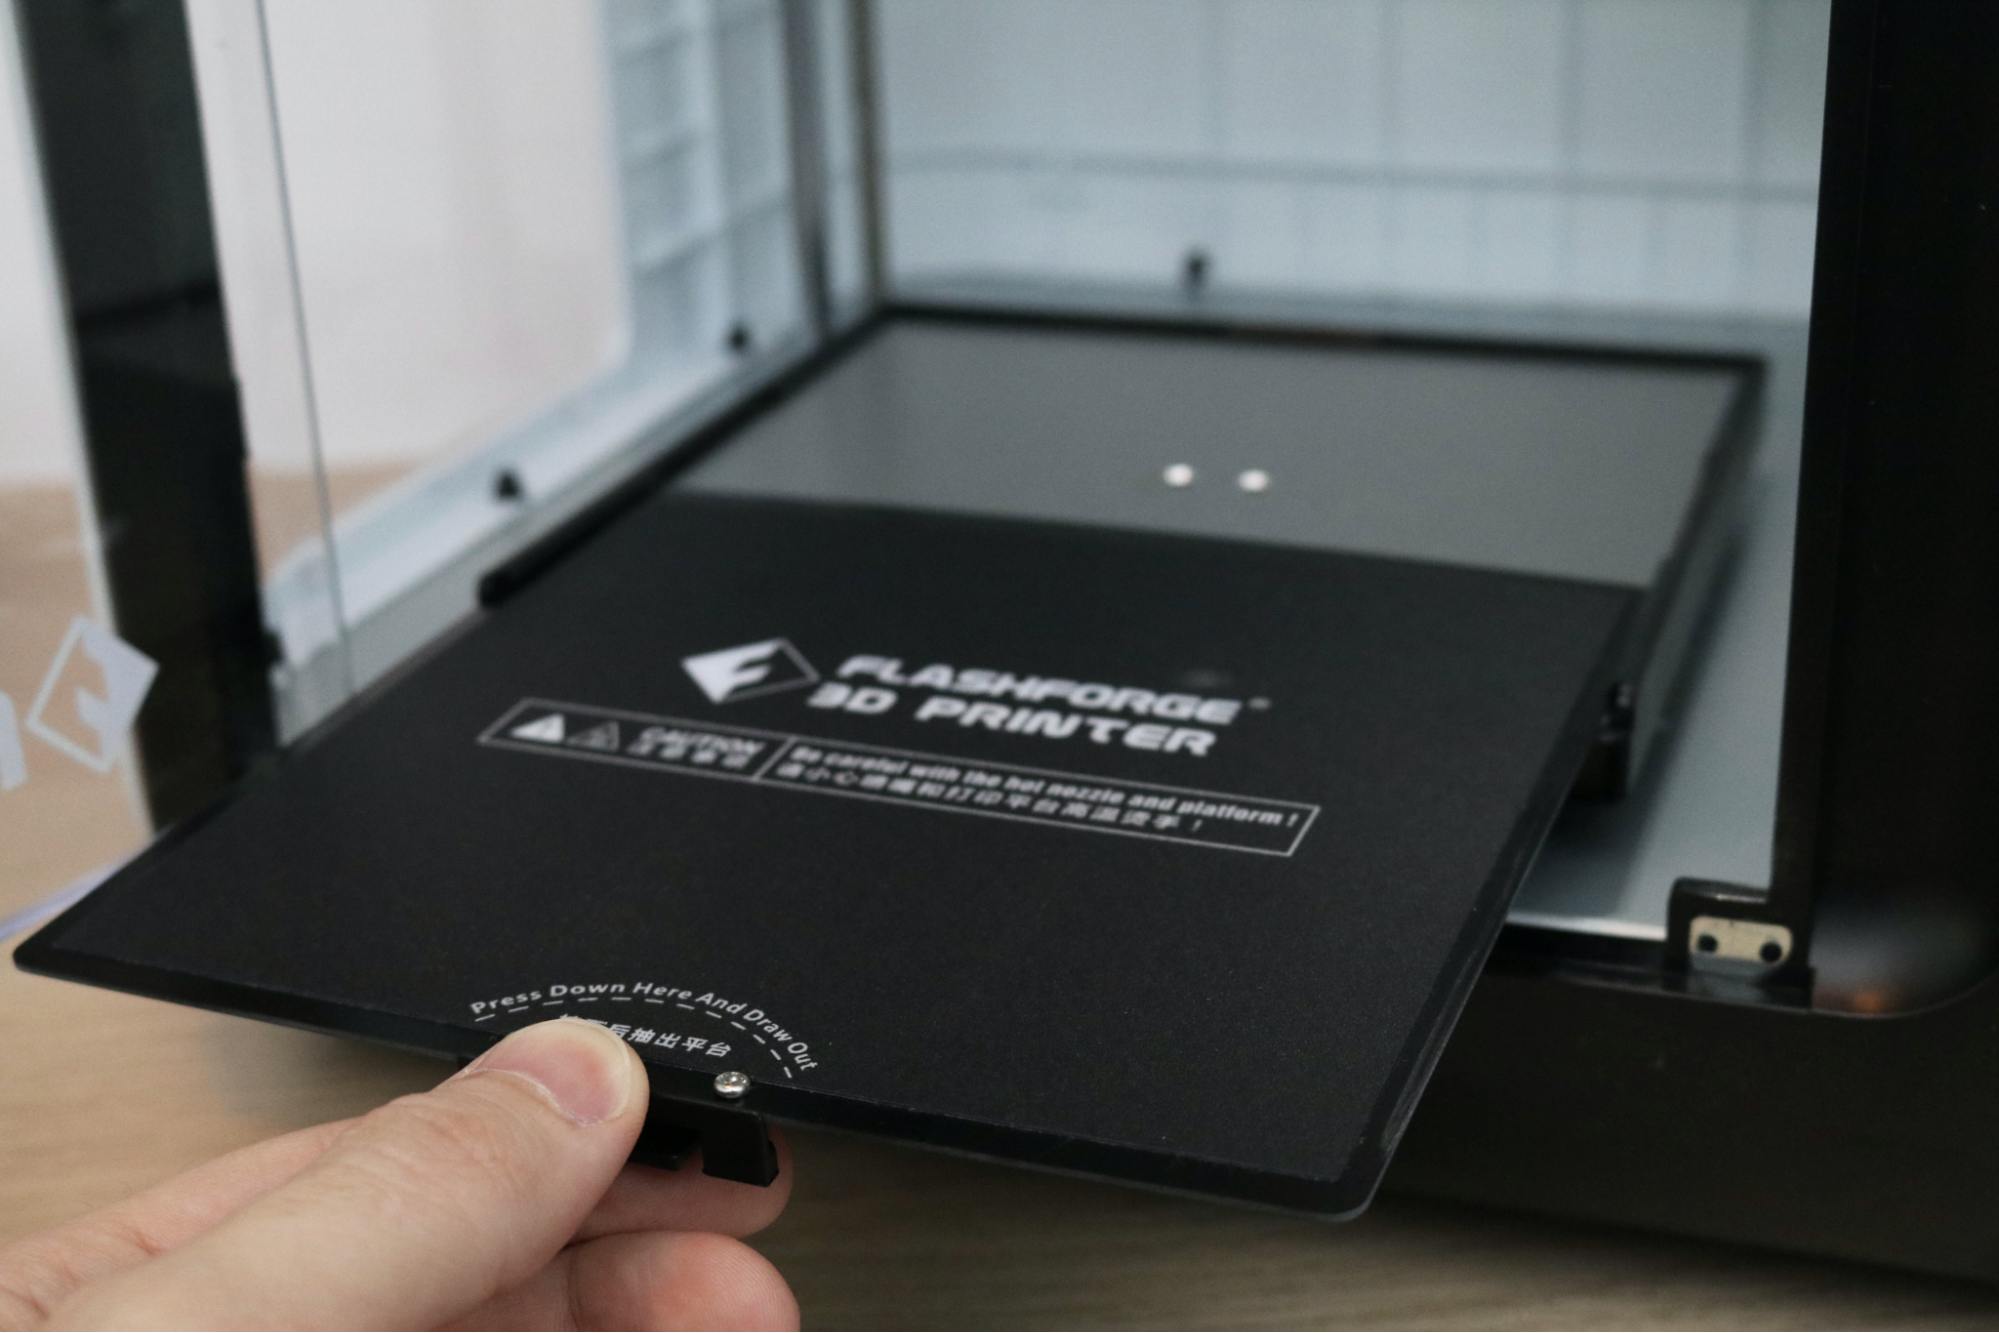
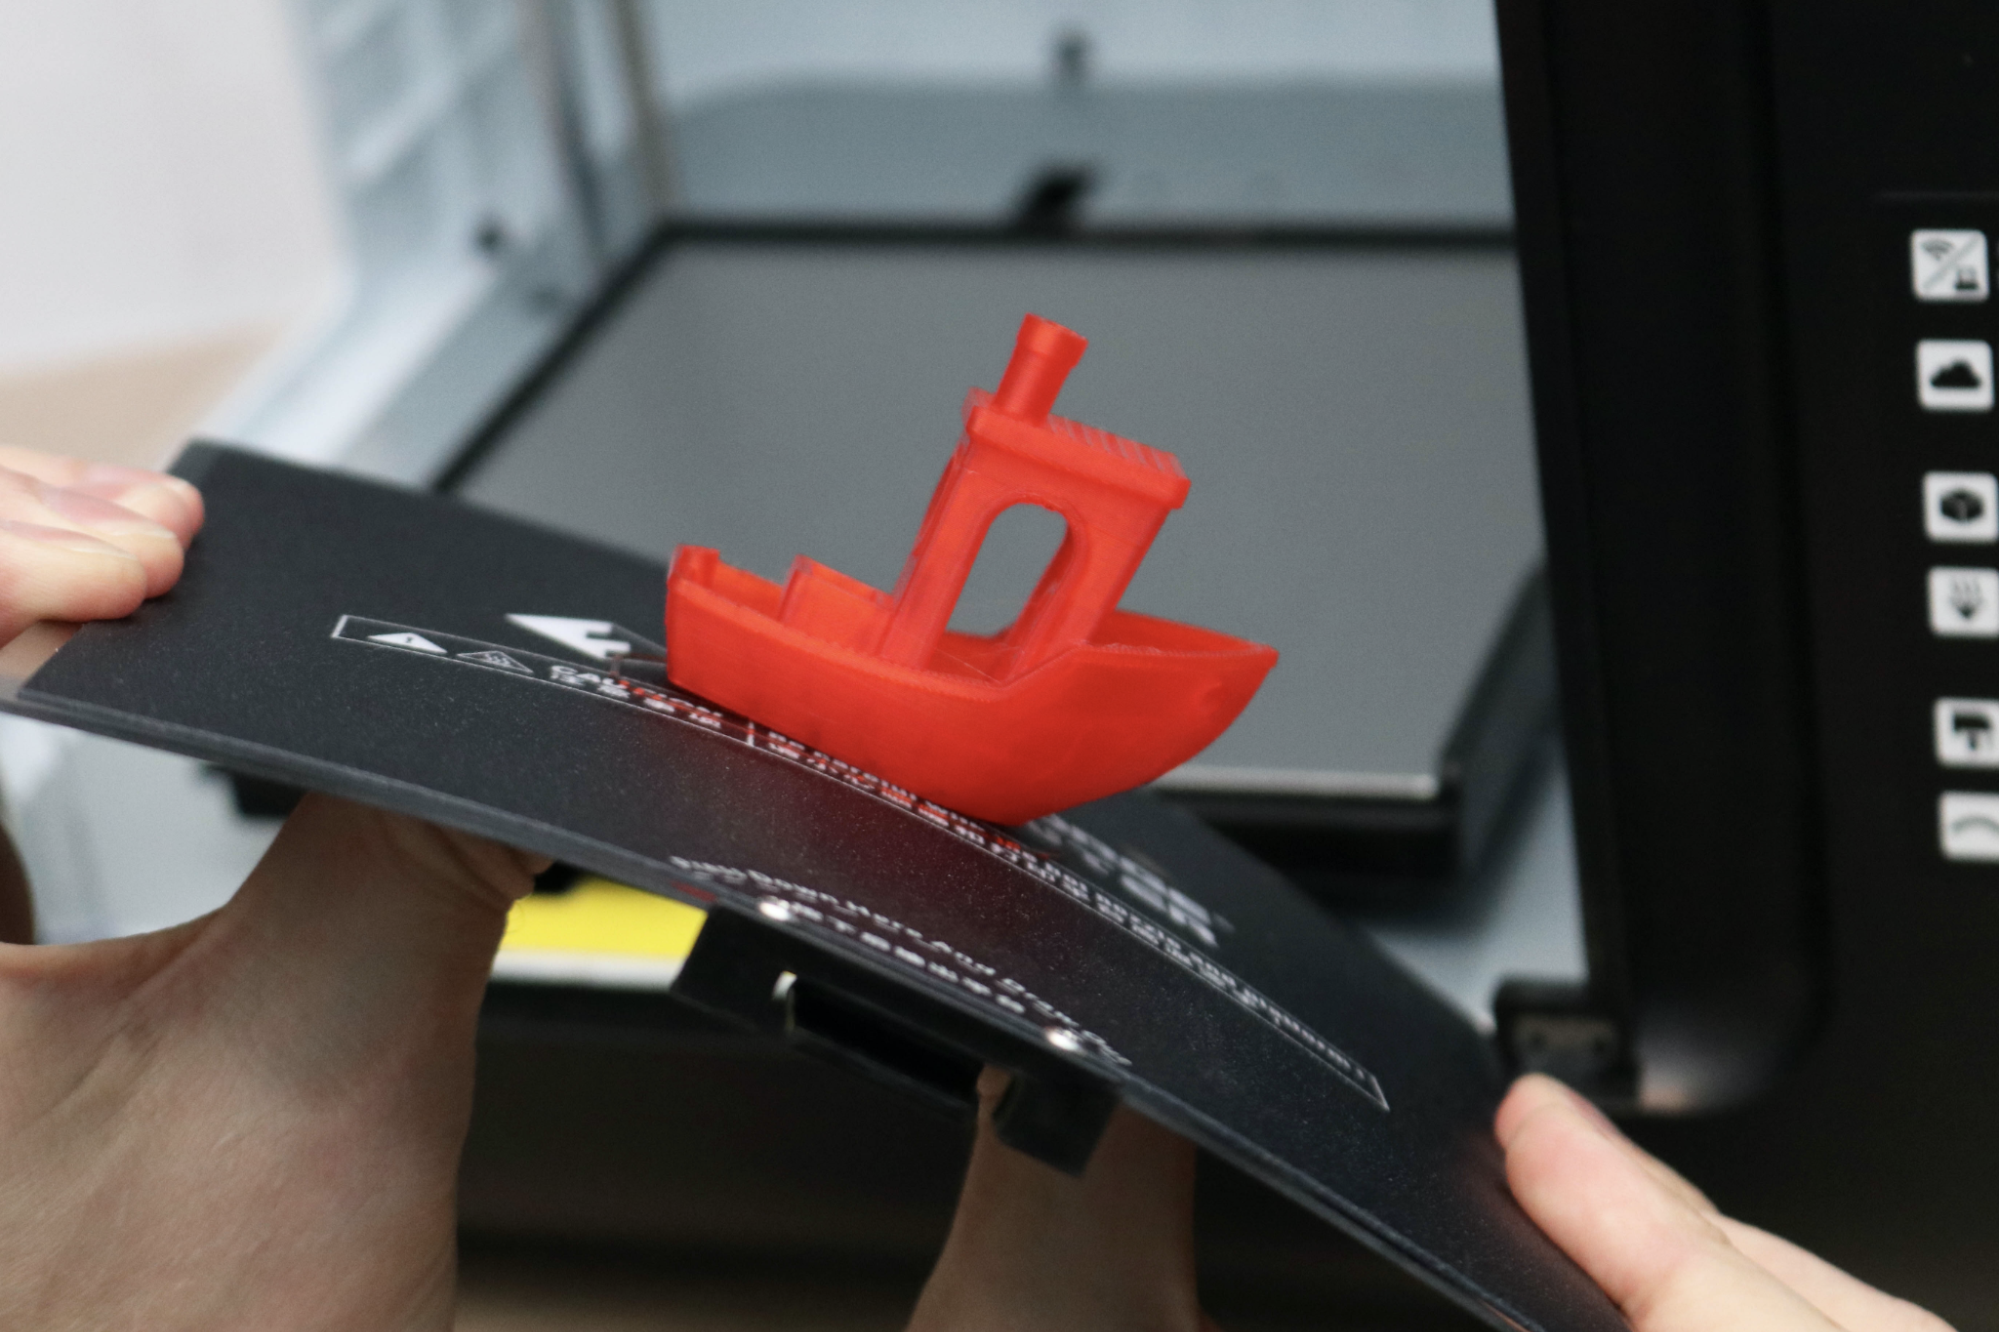
The FlashForge Adventurer 3 Lite has a removable build platform with a gritty texture that parts can be easily removed from. This build platform is very thin and flexible, which I found to be very helpful when removing parts. You can remove prints from the platform without tools, which makes the printer safer than machines that require a scraper or blade to remove, like the Lulzbot Taz 6.
The Adventurer 3 Lite has a heating element underneath the removable platform, so printed parts don’t curl or delaminate during printing due to uneven cooling. In addition, the enclosure of the printer keeps the heat inside the print envelope which further benefits the quality of the printed part. The total build area of the printer is 150 x 150 x 150mm, which is adequate for printing one or a few parts simultaneously, but printing larger batches of parts or large individual parts will require a large platform (like the 220 x 220 x 250mm volume of the Creality Ender 3 Pro).
Printing on the Flashforge Adventurer 3 Lite
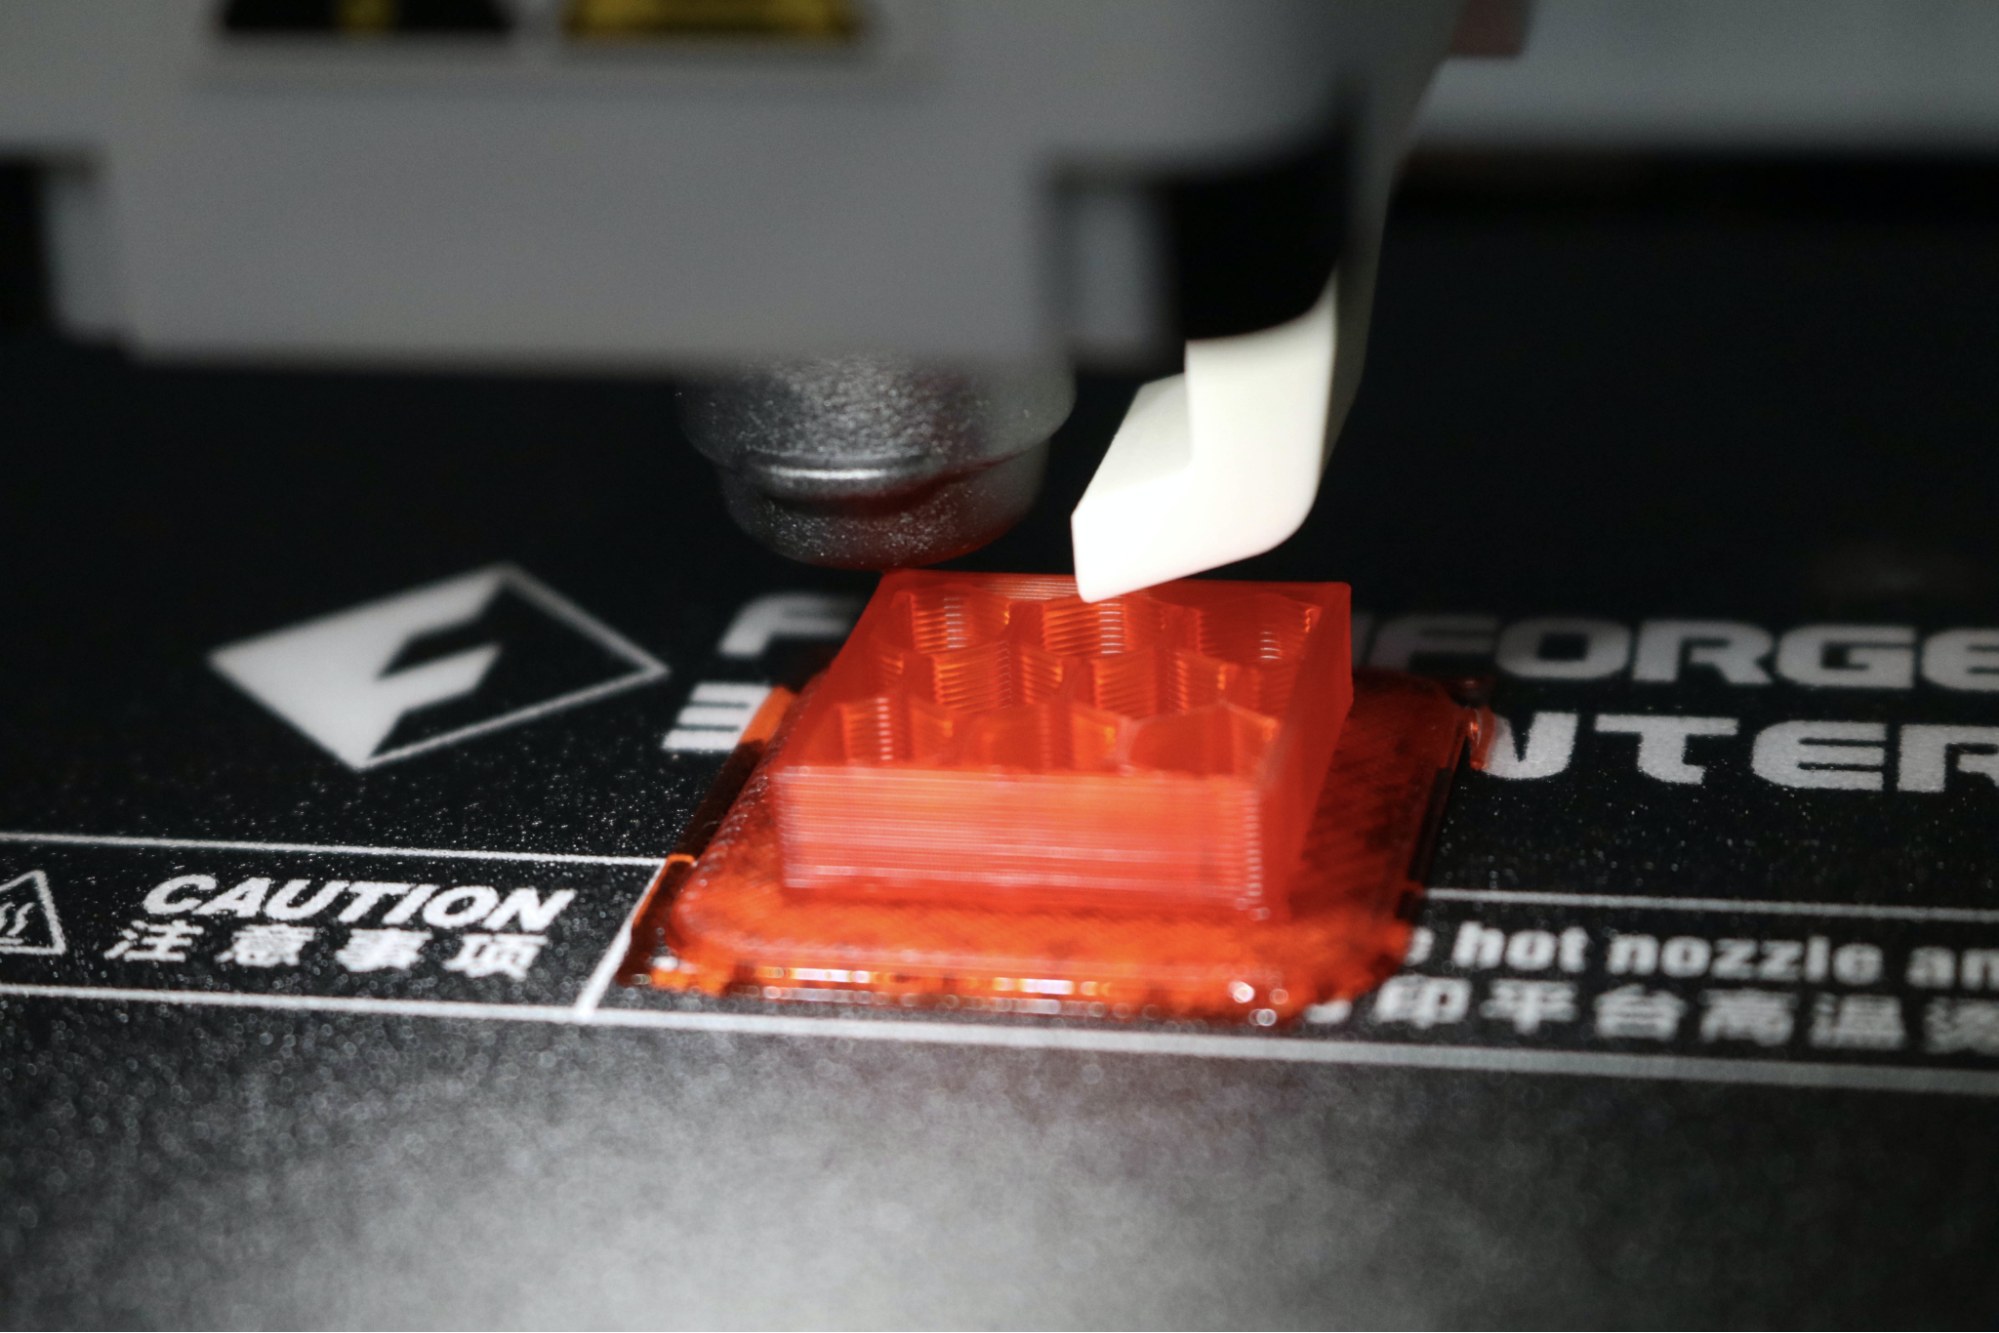
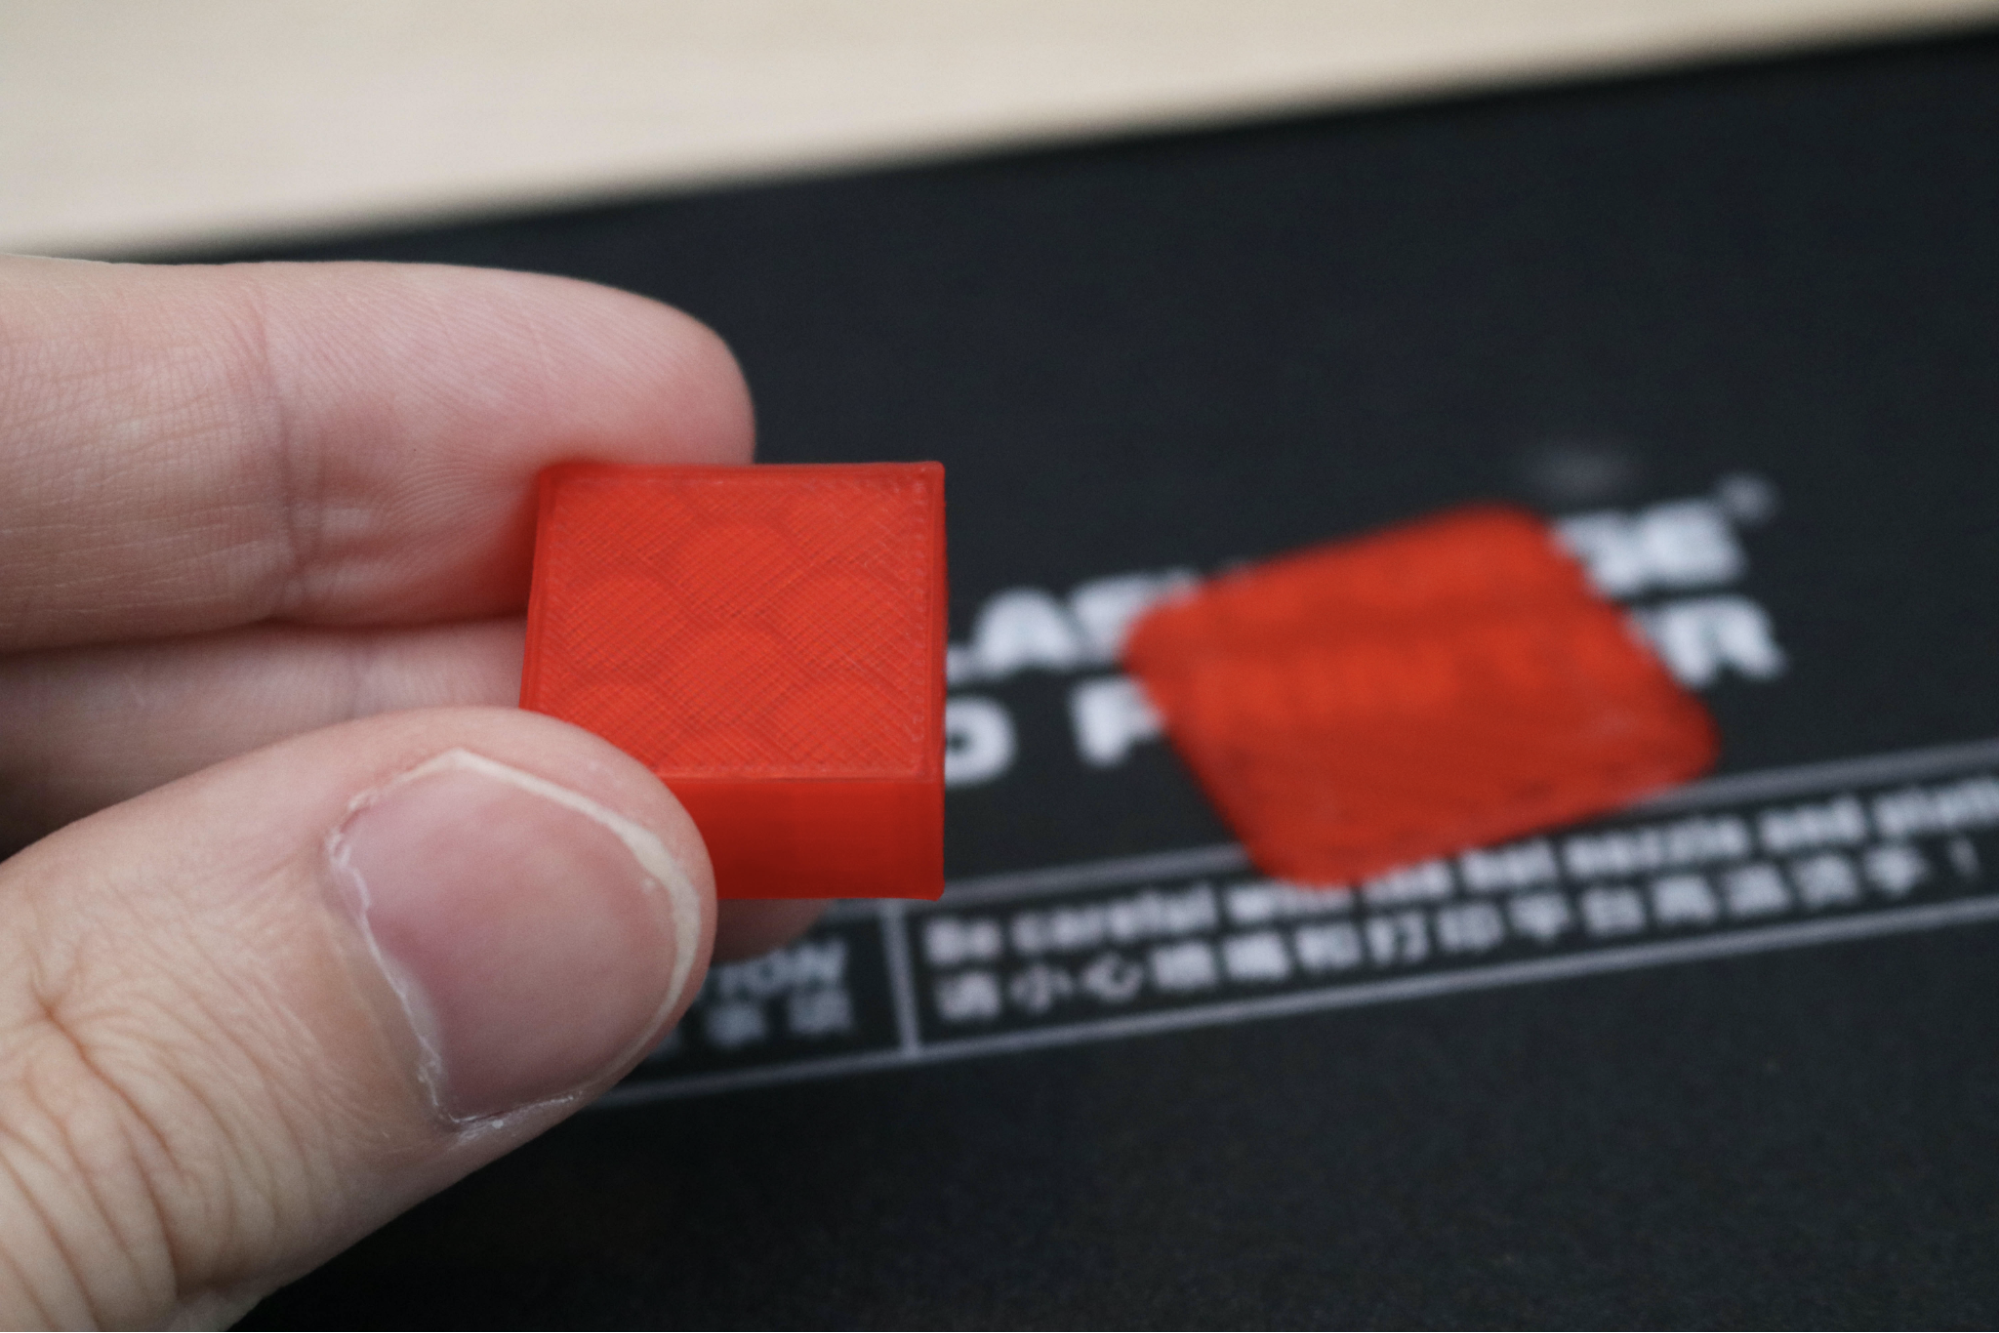
The lack of an included SD card or USB drive means that the only sample print for the Flashforge Adventurer 3 Lite is a model built into the machine; a 20 x 20 x 10mm cube that prints in under 15 minutes. I’ll admit, while I’m put off by 19-hour demo prints, this tiny cube seems to veer a little too far in the other direction. It’s not a particularly technically ambitious model, but it does serve to verify the functionality of the machine and test the Bowden extruder and filament feeding system.
The Adventurer 3 Lite printed the cube model without any hiccups, and the part measured within the stated +/- .02mm tolerance state on the Flashforge site. The included transparent red PLA filament sample printed evenly and without any voids or moisture-related issues.
Printing with Wi-Fi on the FlashForge Adventurer 3 Lite
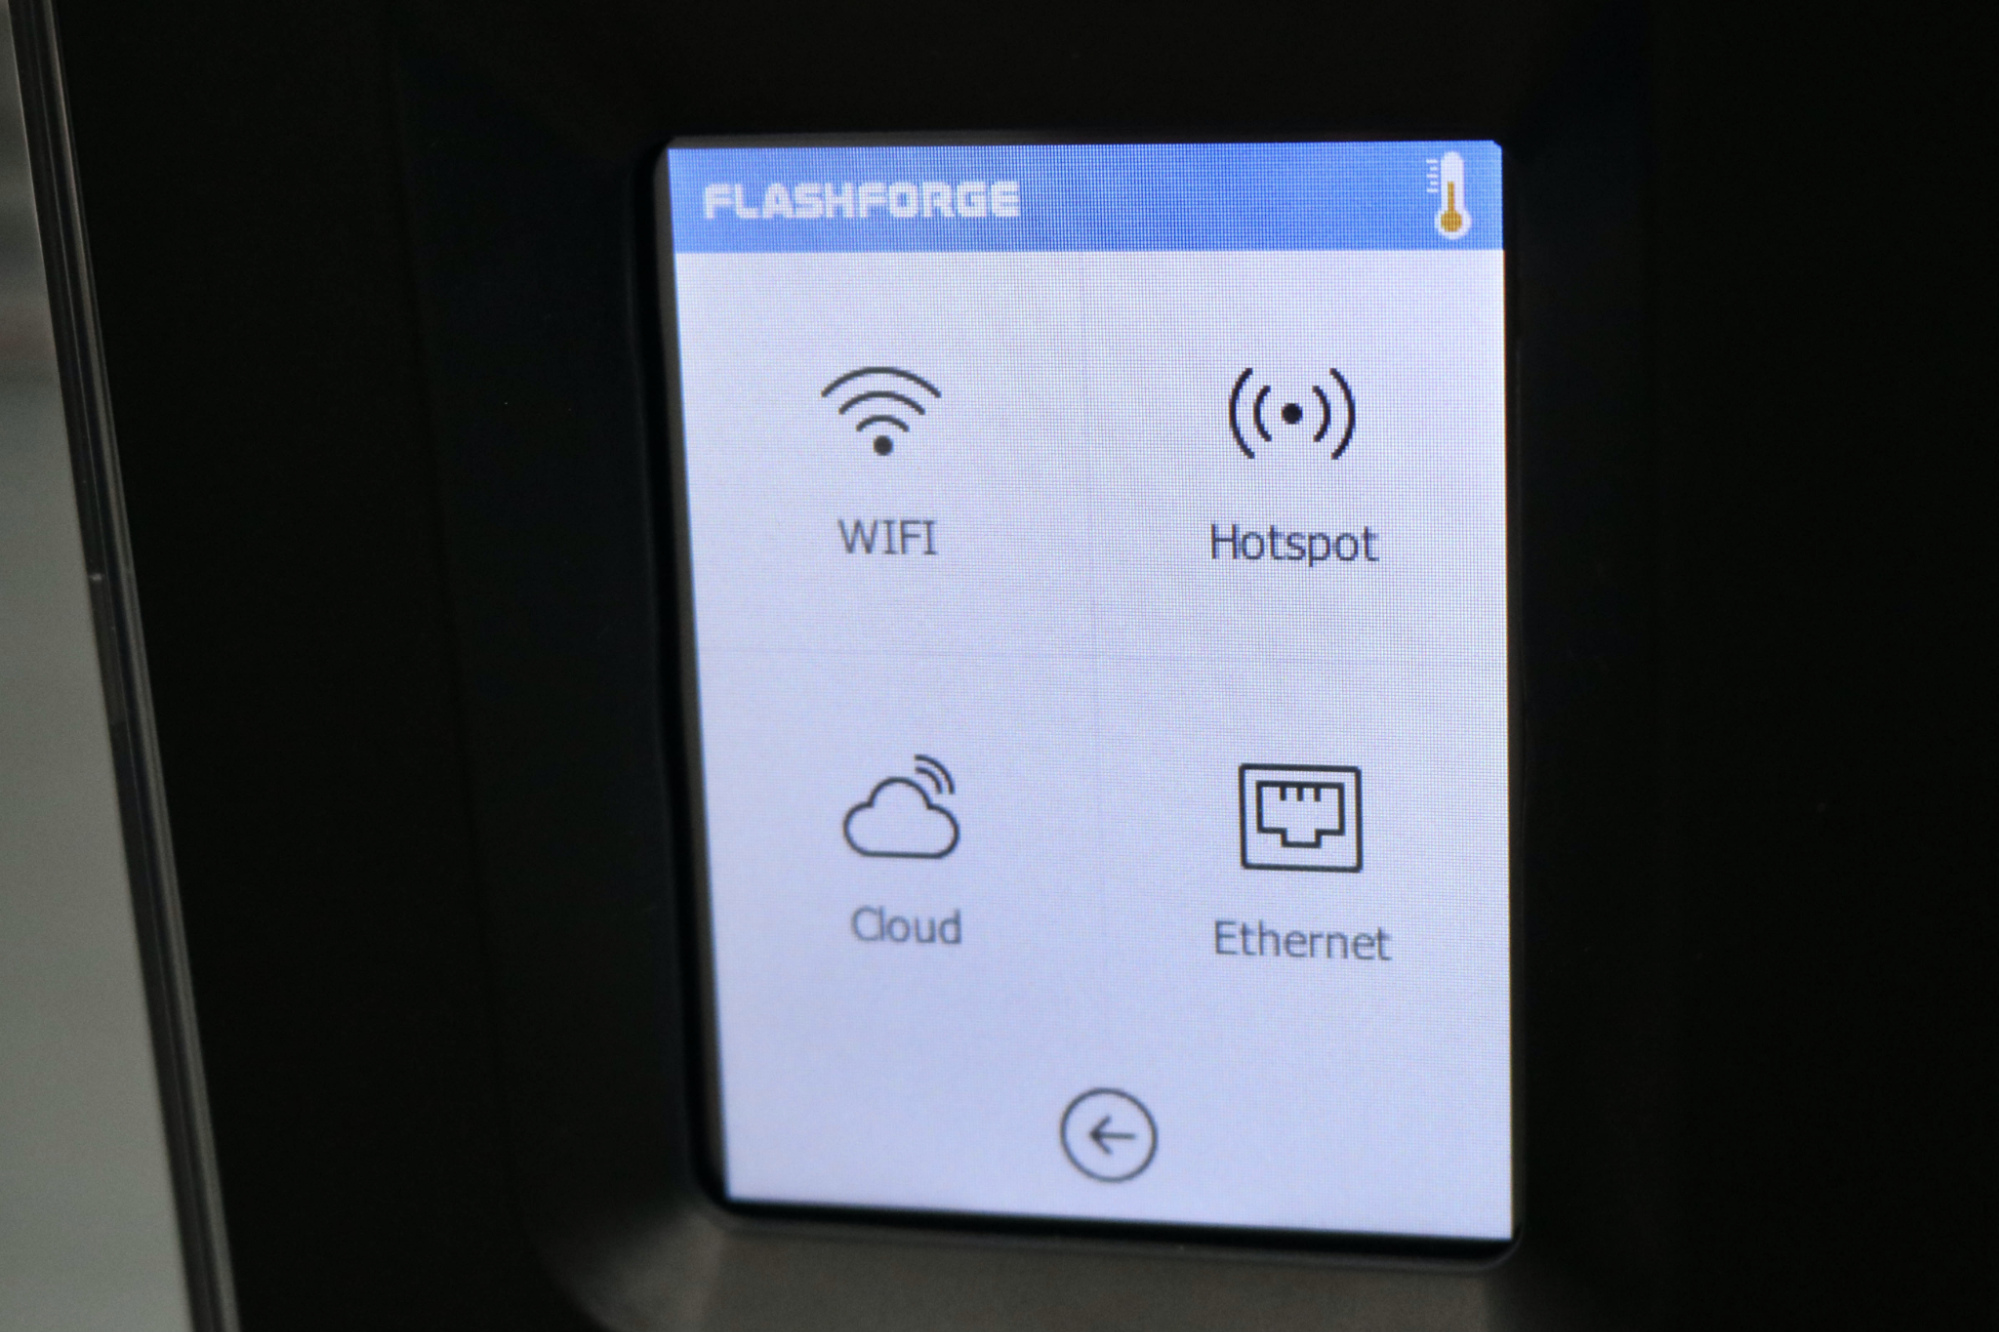
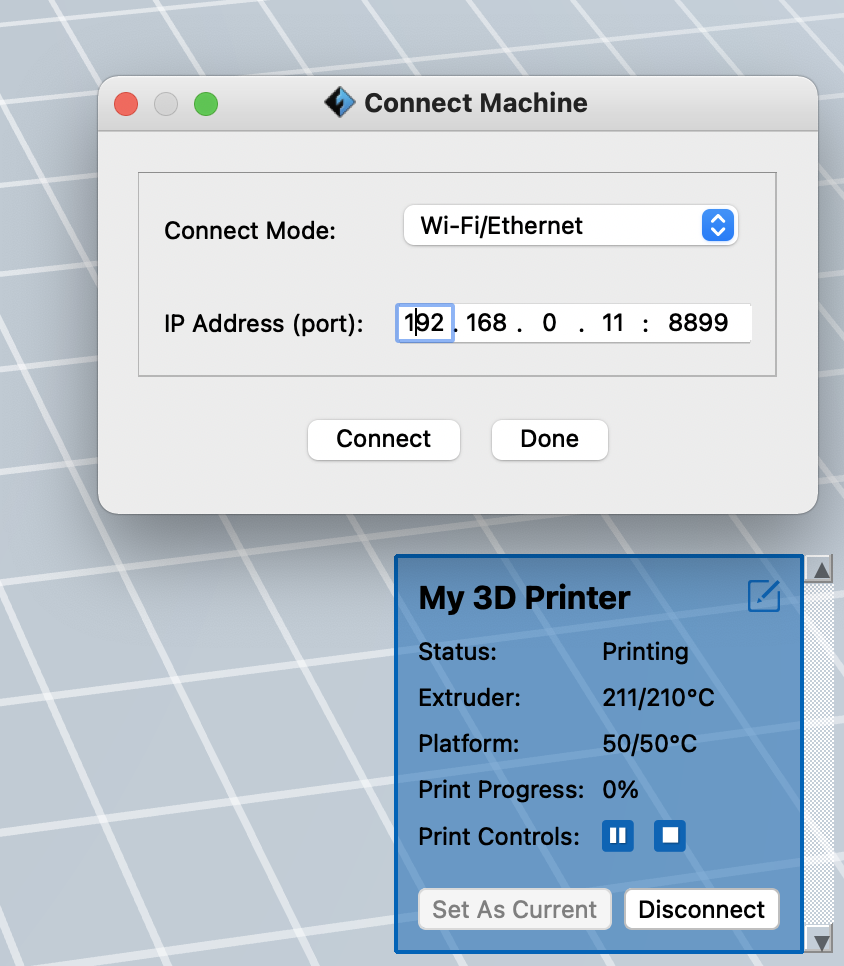
The Flashforge Adventurer 3 Lite offers Wi-Fi printing through the FlashPrint app and the built-in wireless adapter on the 3D printer. This feature lets you send a print directly from your computer to the printer without needing to get out of your chair. Unlike the Monoprice Cadet, which used an unfortunately buggy app for connection, FlashForge has integrated the wireless connection directly into its software which completely removes the need for an additional app.
After connecting to my home network on the Adventurer 3 Lite, I used the IP address assigned to the 3D printer to connect via the FlashPrint app. I didn’t have any issues connecting, and I was pleasantly surprised with how well-designed the entire experience was. Connecting a 3D printer over a Wi-Fi connection is typically about as difficult as connecting a 2D printer (I have to restart both my computer and HP 2D printer every time I want to use it), so the quick connection process was a relief.
The Adventurer 3 Lite also has a USB input on the front of the machine for manually transferring prints, but the speed of file transfer over Wi-Fi (under a minute for all files I tested) meant that it was actually easier just to use the wireless connection. For users who are unable to use a wireless network, the USB input is a good feature to have.
Slicing Software for the Flashforge Adventurer 3 Lite
The Flashforge Adventurer 3 Lite uses FlashPrint, a slicing software designed by Flashforge for their FDM printers including the Adventurer 3 Lite, the Creator, the Finder, the Dreamer and more. FlashPrint is a surprisingly robust slicing software which includes the ability to connect to and control a 3D printer over WiFi, modify a 3D file by cutting, scaling, or rotating it and more.
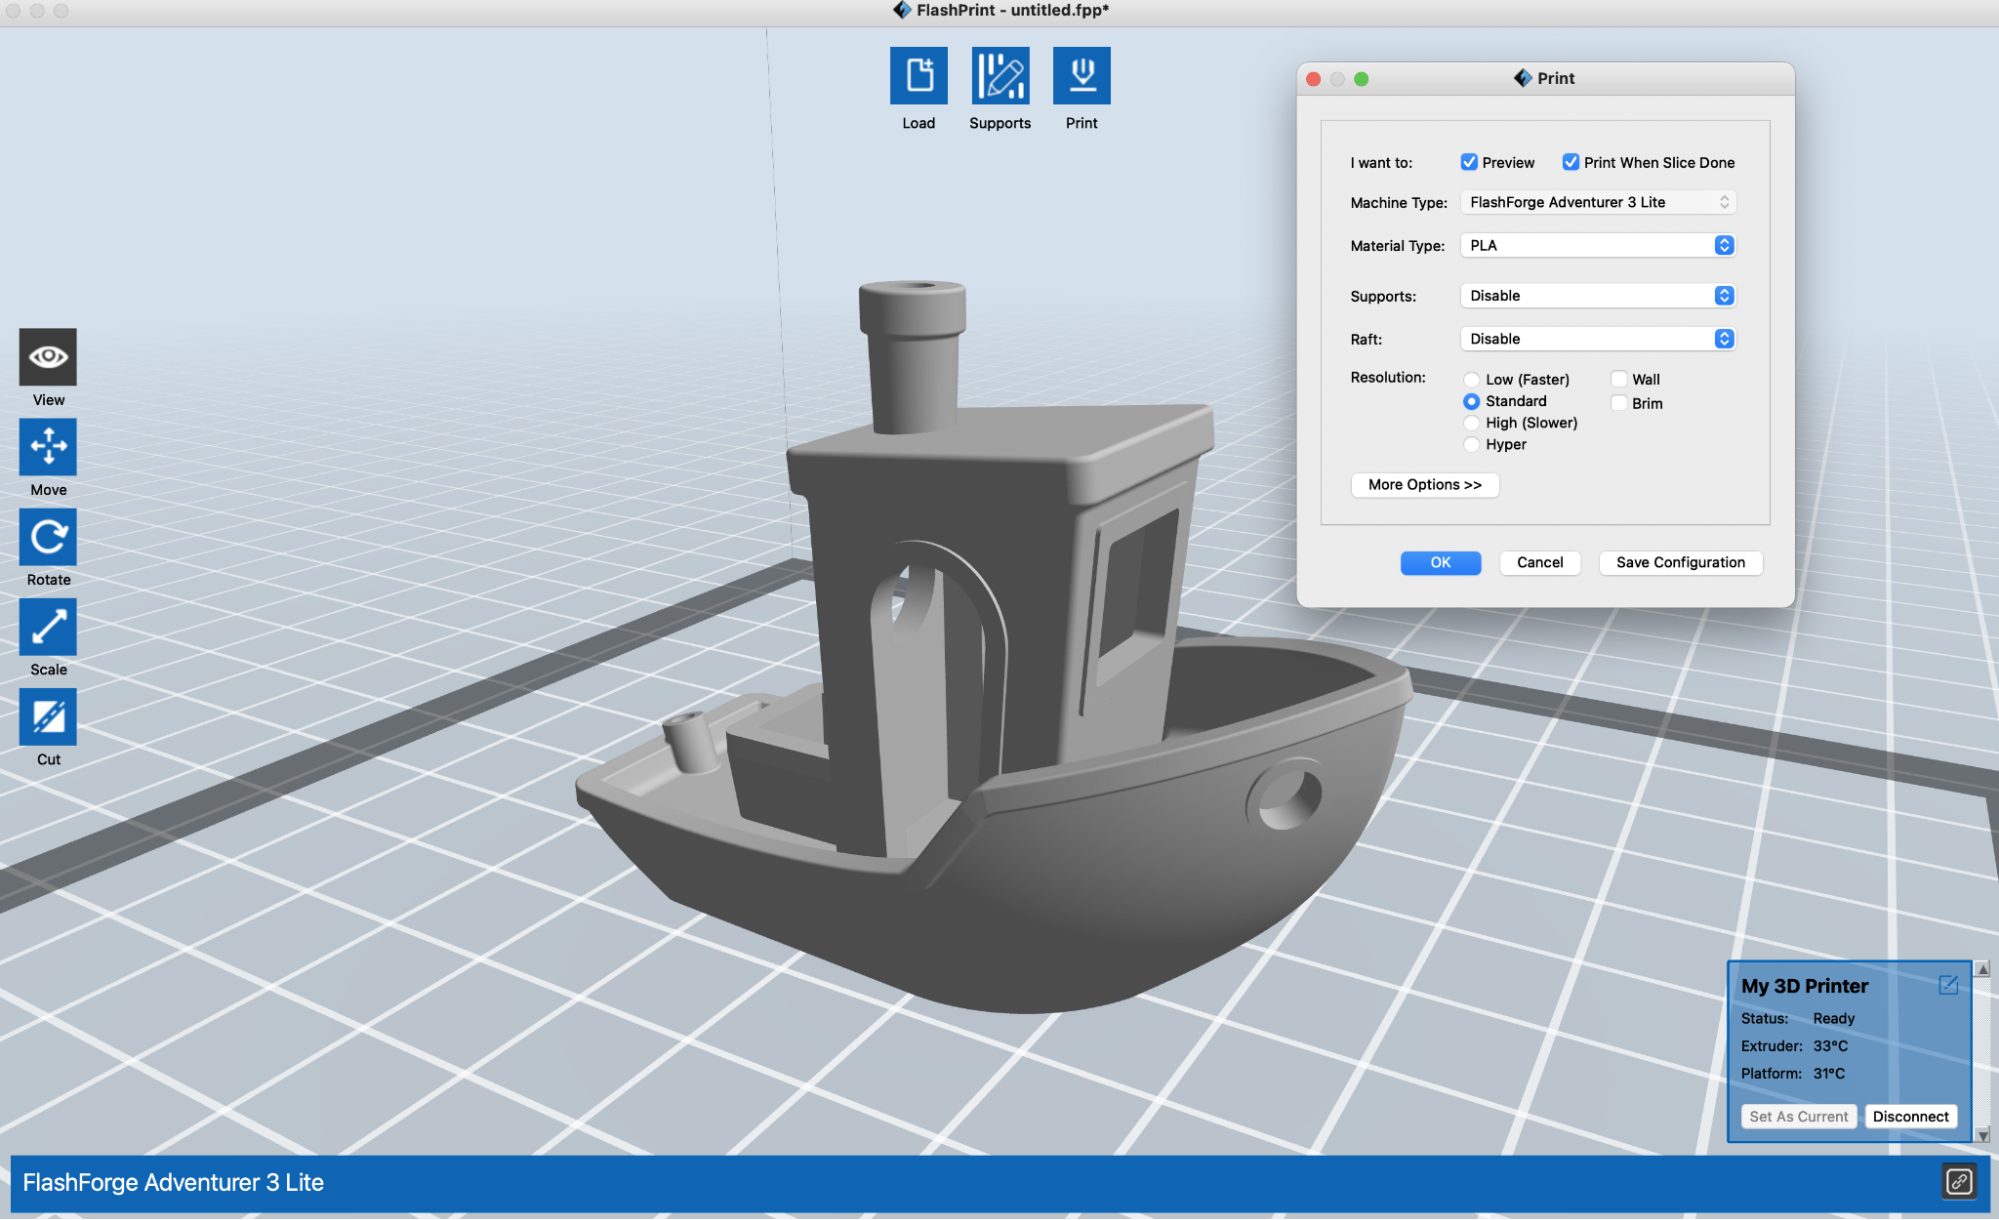
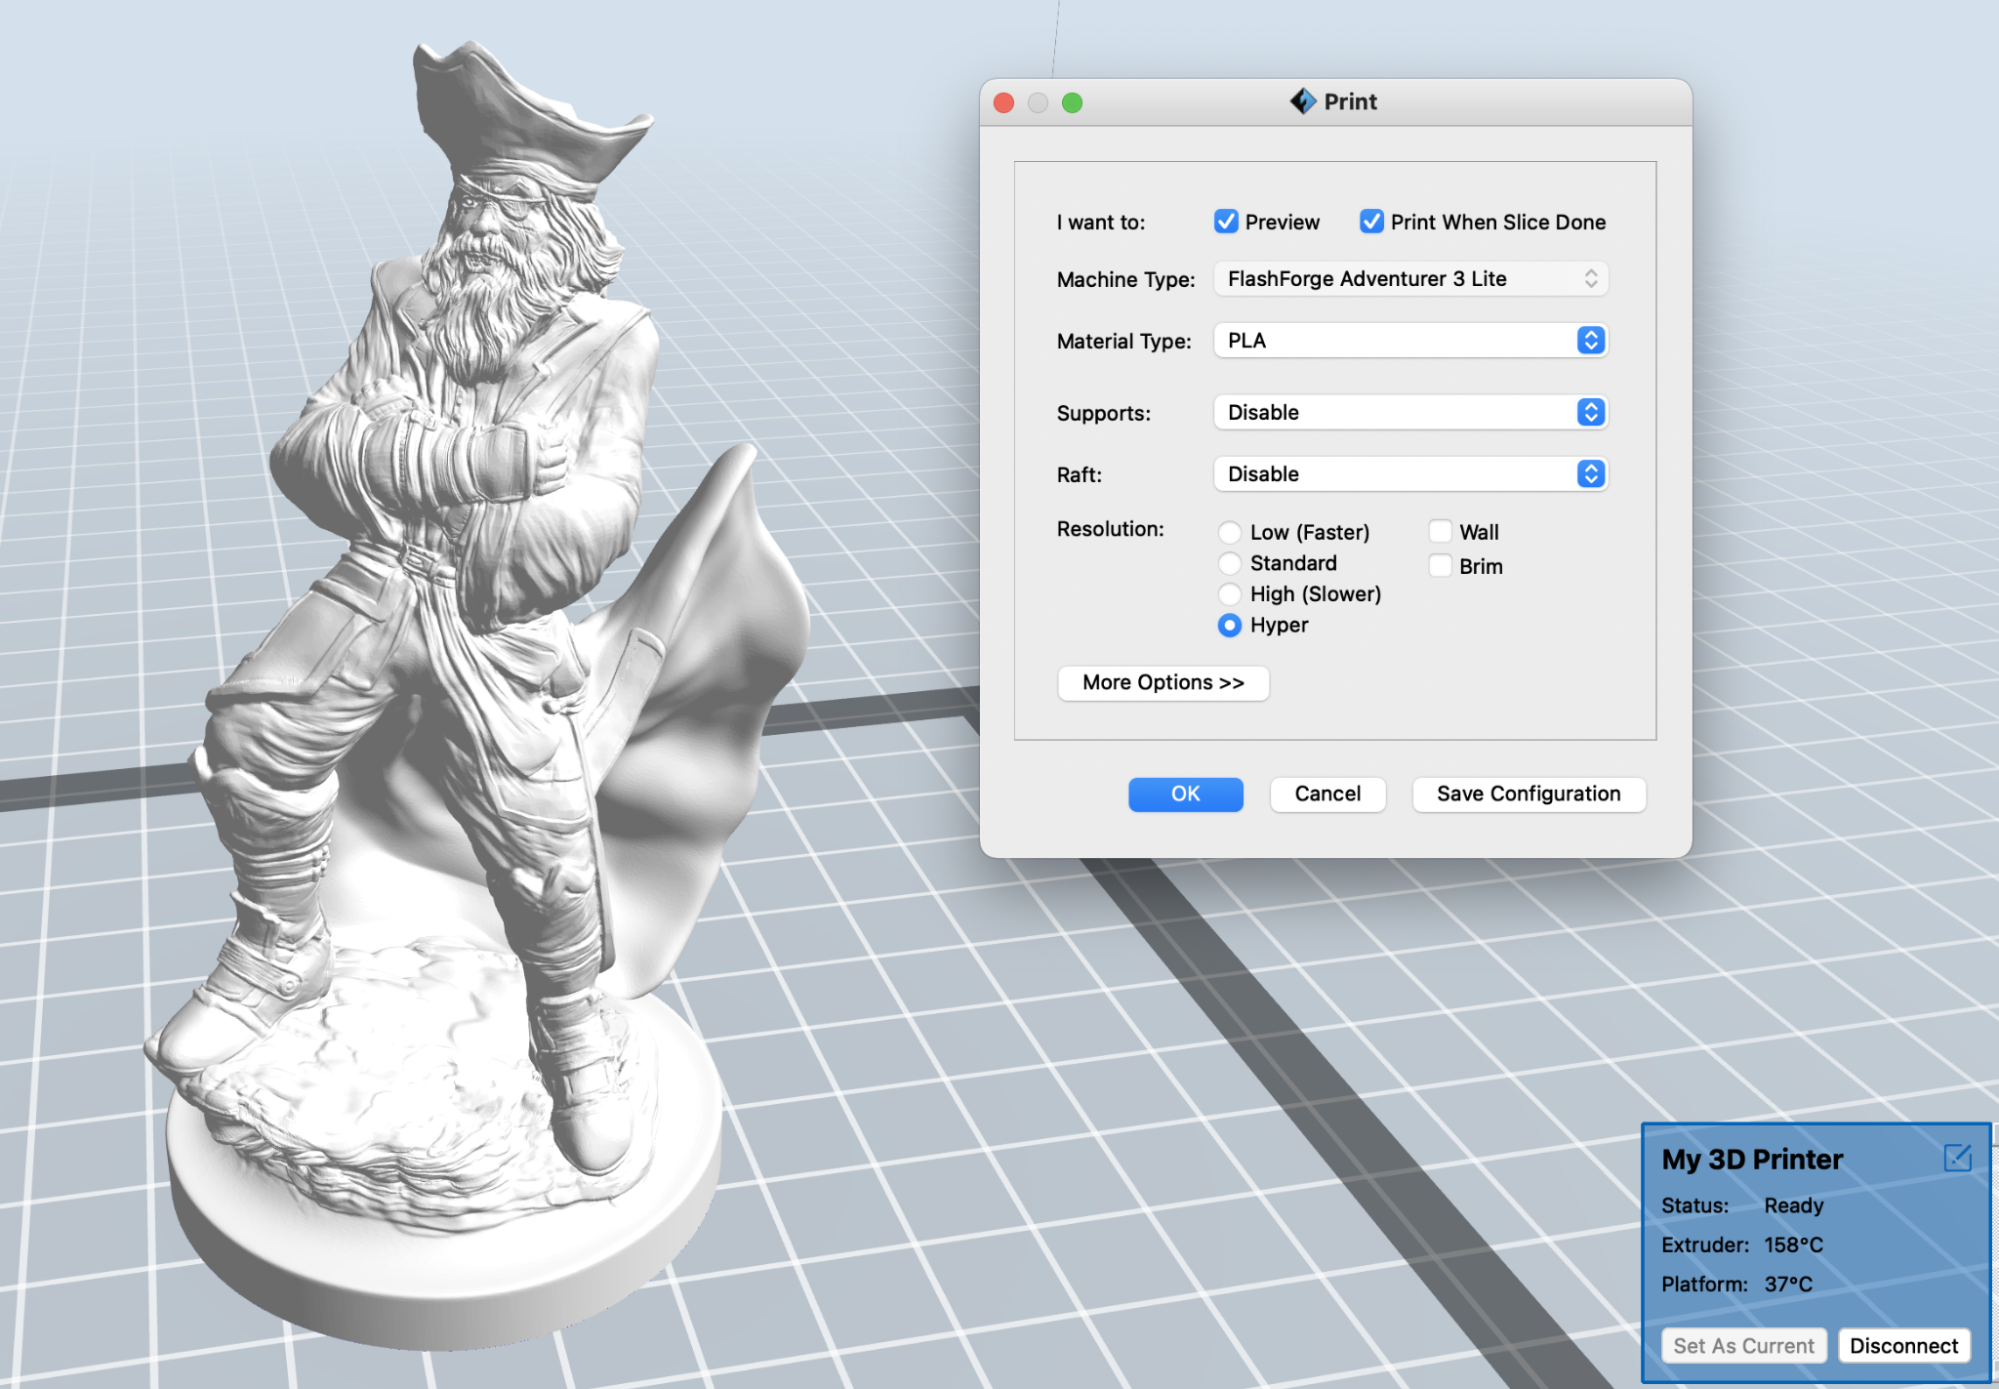
FlashPrint offers a basic slicing mode which can process a model with only a few clicks as well as a more advanced mode for fine-tuning specific settings on a print. By default, the ‘Resolution’ selection (Low, Standard, High, and Hyper) will automatically adjust the layer height, number of perimeters, infill density, speed, and more. From the basic setting, you can also toggle material type, support structures, and raft settings.
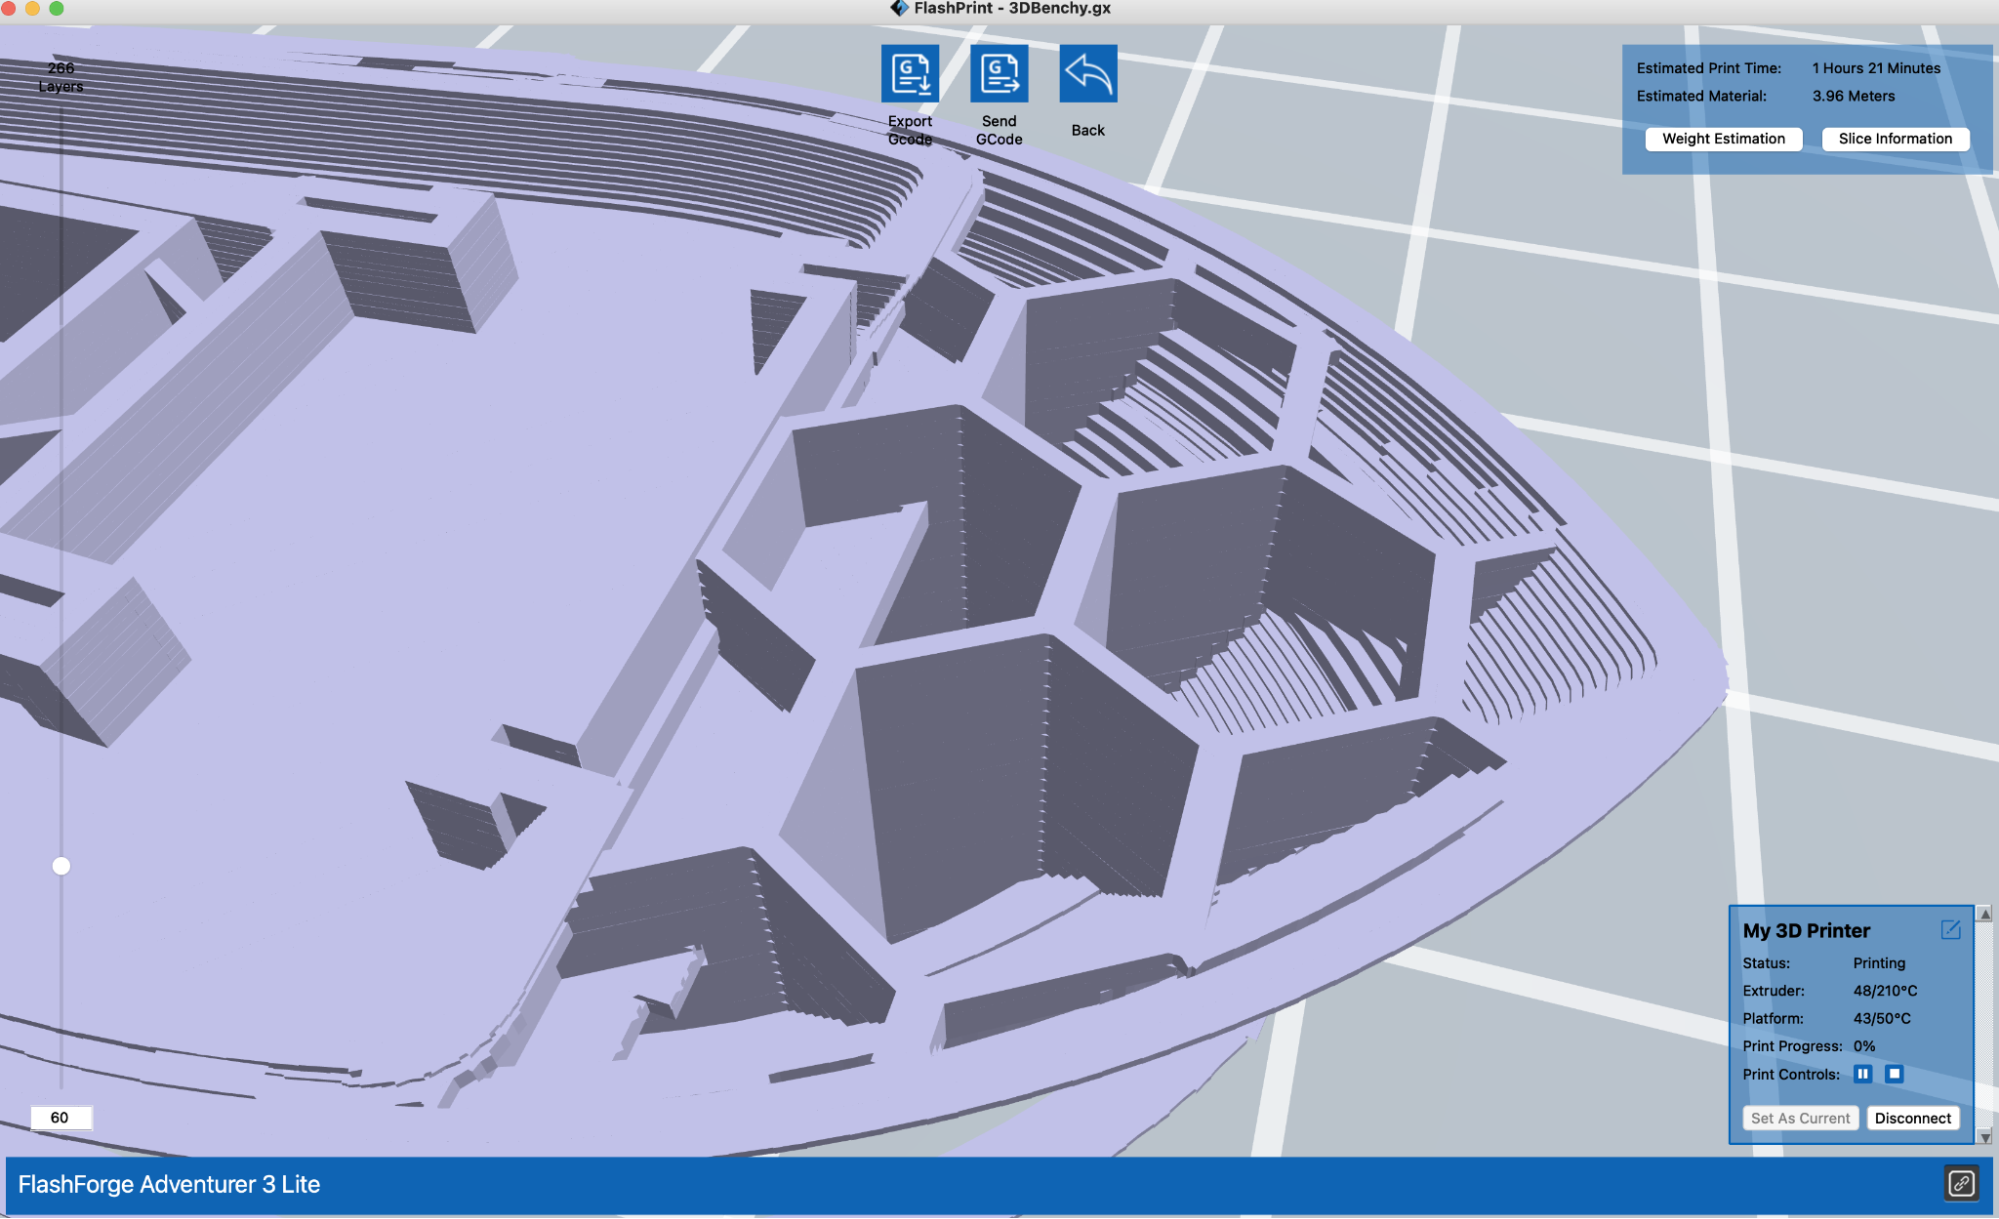
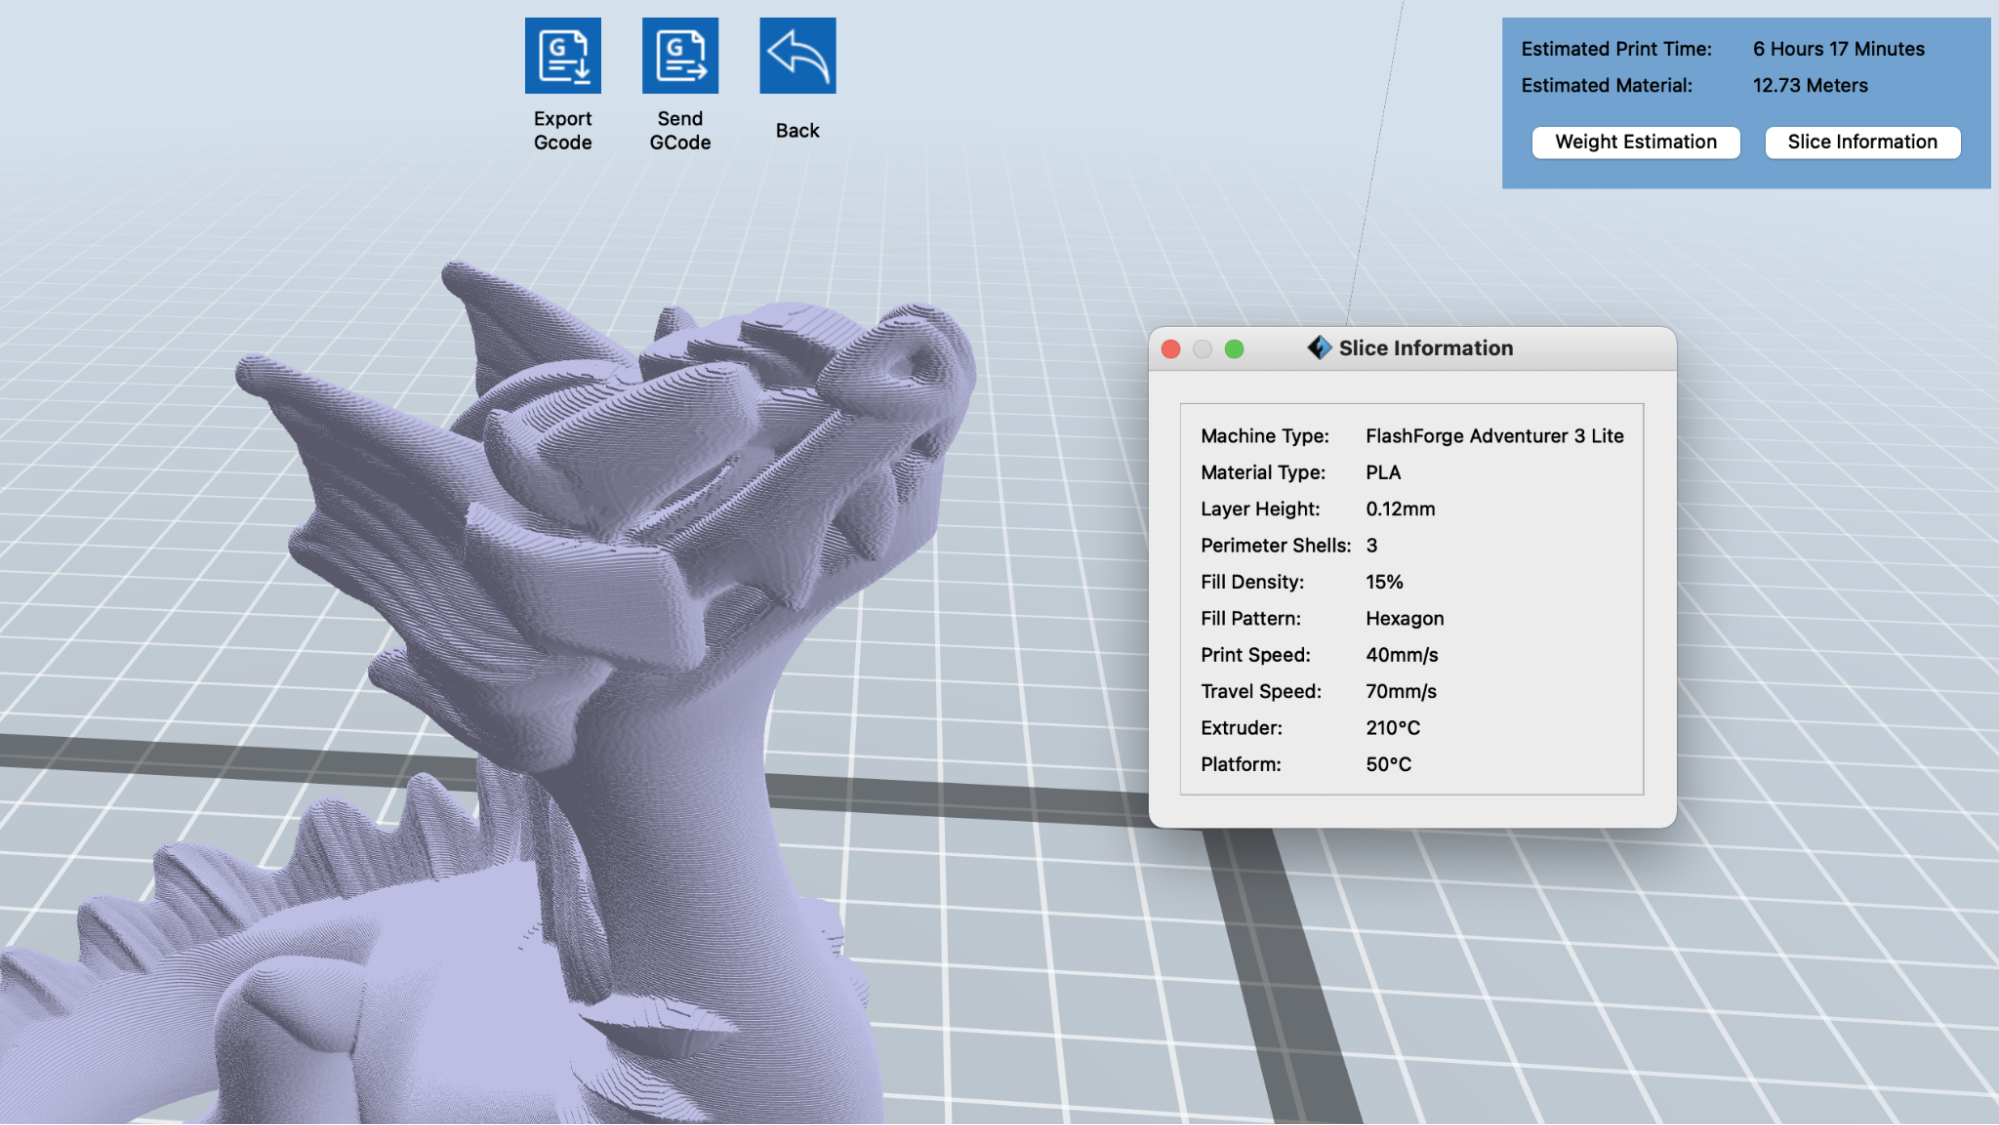
After importing and slicing the 3DBenchy FDM 3D printer test model, I used FlashPrint to scroll through the layers and examine the toolpathing. FlashPrint displays slice information (Print time, estimated material usage, and full print parameter settings) so I knew how long the print would take before sending it to the printer. Using the ‘Standard’ profile with supports and raft disabled, I sent the sliced model to the printer wirelessly using the Wi-Fi connectivity in FlashPrint.
FlashPrint Standard Settings for the Flashforge Adventurer 3 Lite
| Layer Height | 0.18 mm |
| Infill Percentage | 15%, Hexagonal |
| Print Speed | 60mm/second |
| Extruder Temperature | 210 degrees Celsius (410 degrees Fahrenheit) |
| Heated Bed Temp | 50 degrees Celsius (122 degrees Fahrenheit) |
| Print Time | 1 Hour, 21 Minutes |
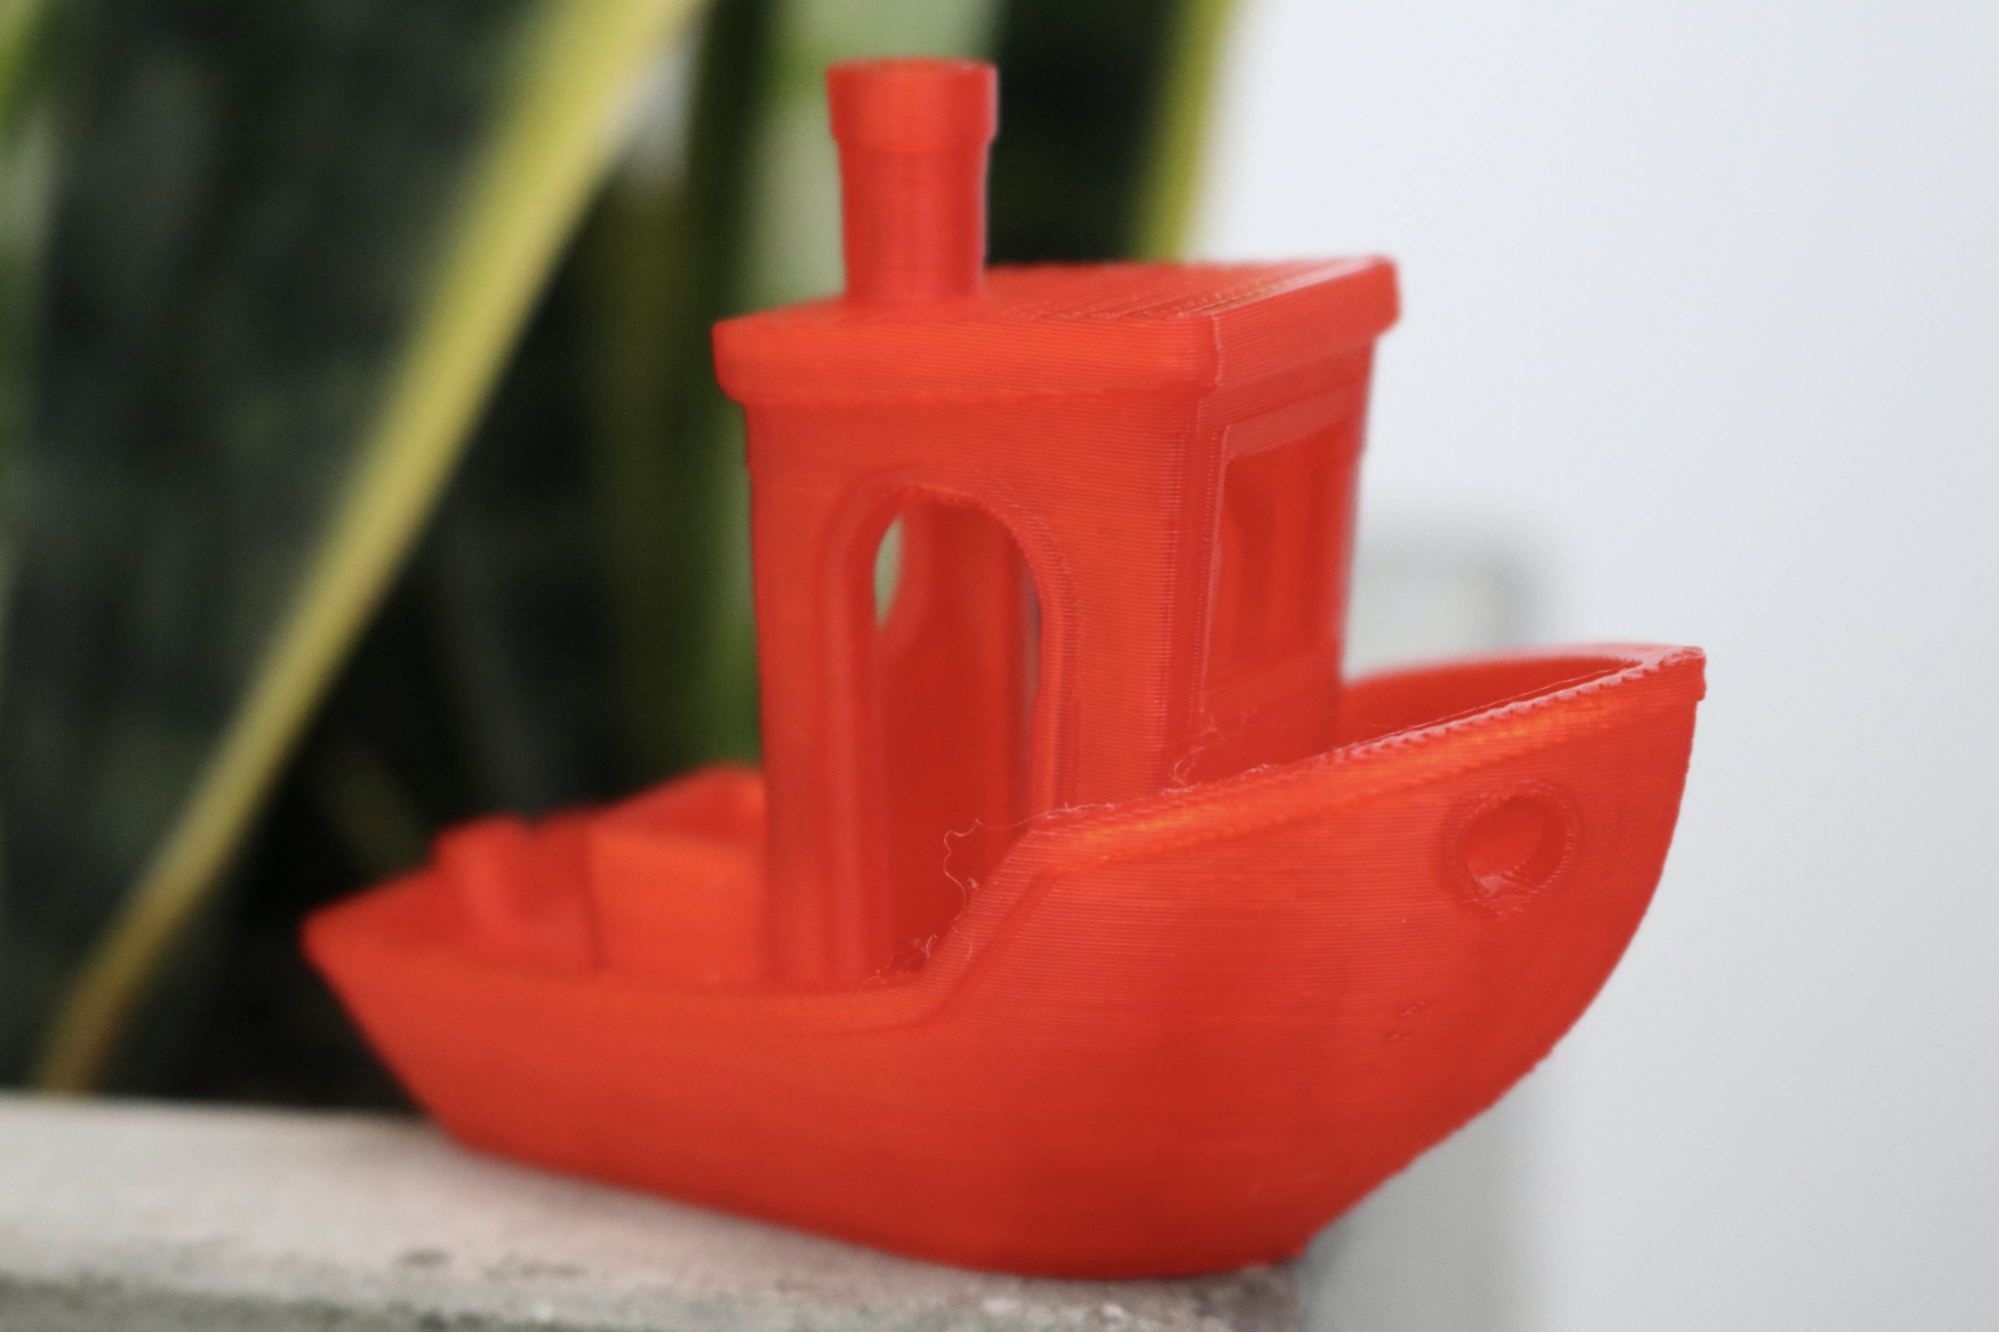
Using the Standard profile, the Benchy model printed without any noticeable banding or sagging on the cabin overhangs. There was some light wispy stringing on the model, which is typical for Bowden extruder printers as the material drive gear is mounted separately from the extruder, so retracting the filament and pushing it back to the extruder can take quite a bit of calibration to dial in. However, the most notable issue I ran into while printing was not with the model itself, but with the included filament sample.
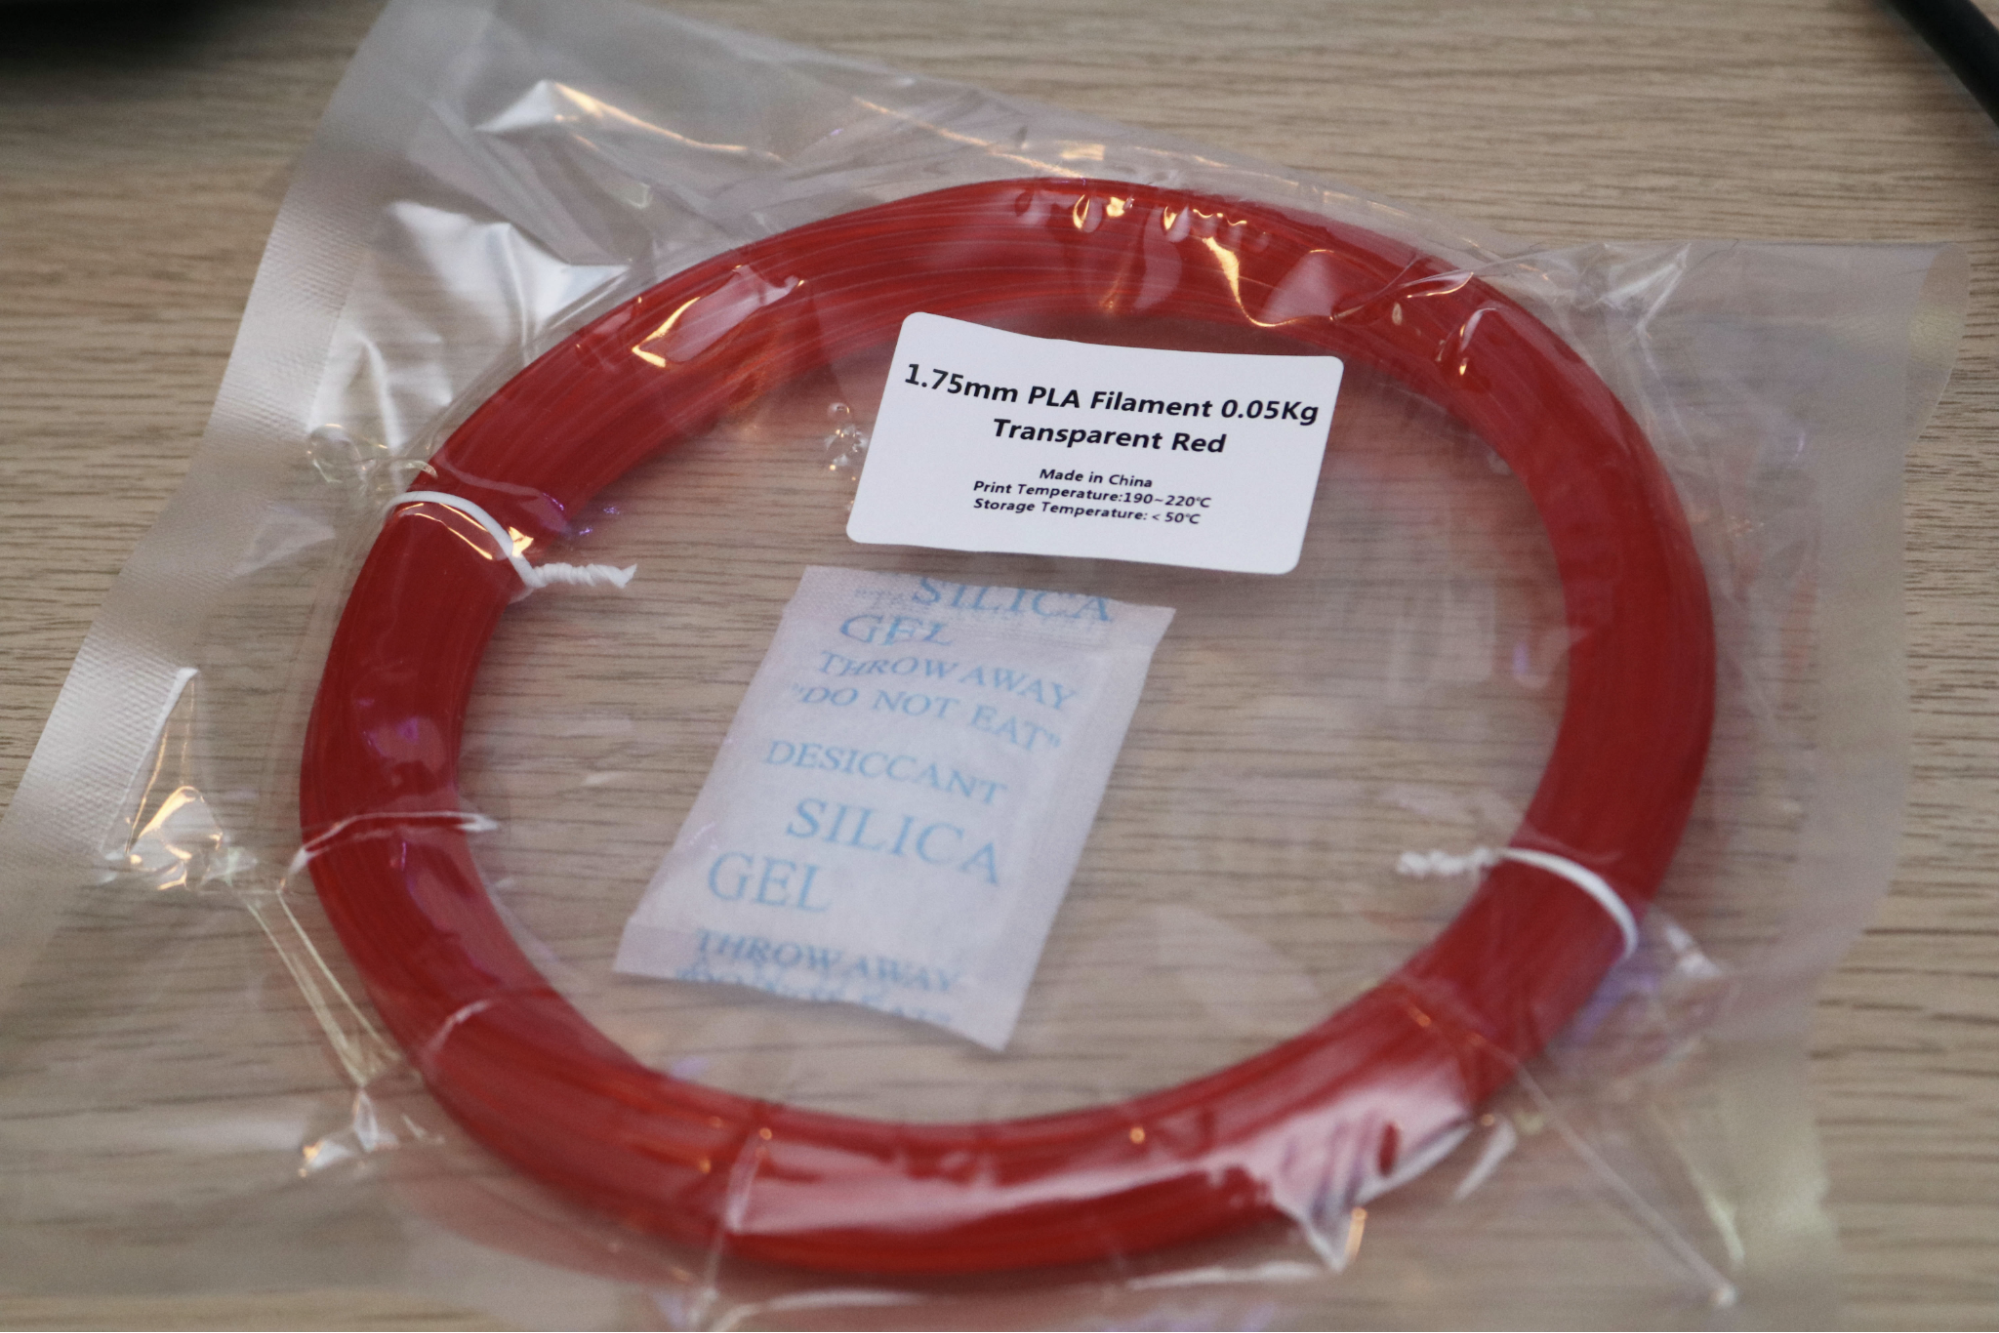
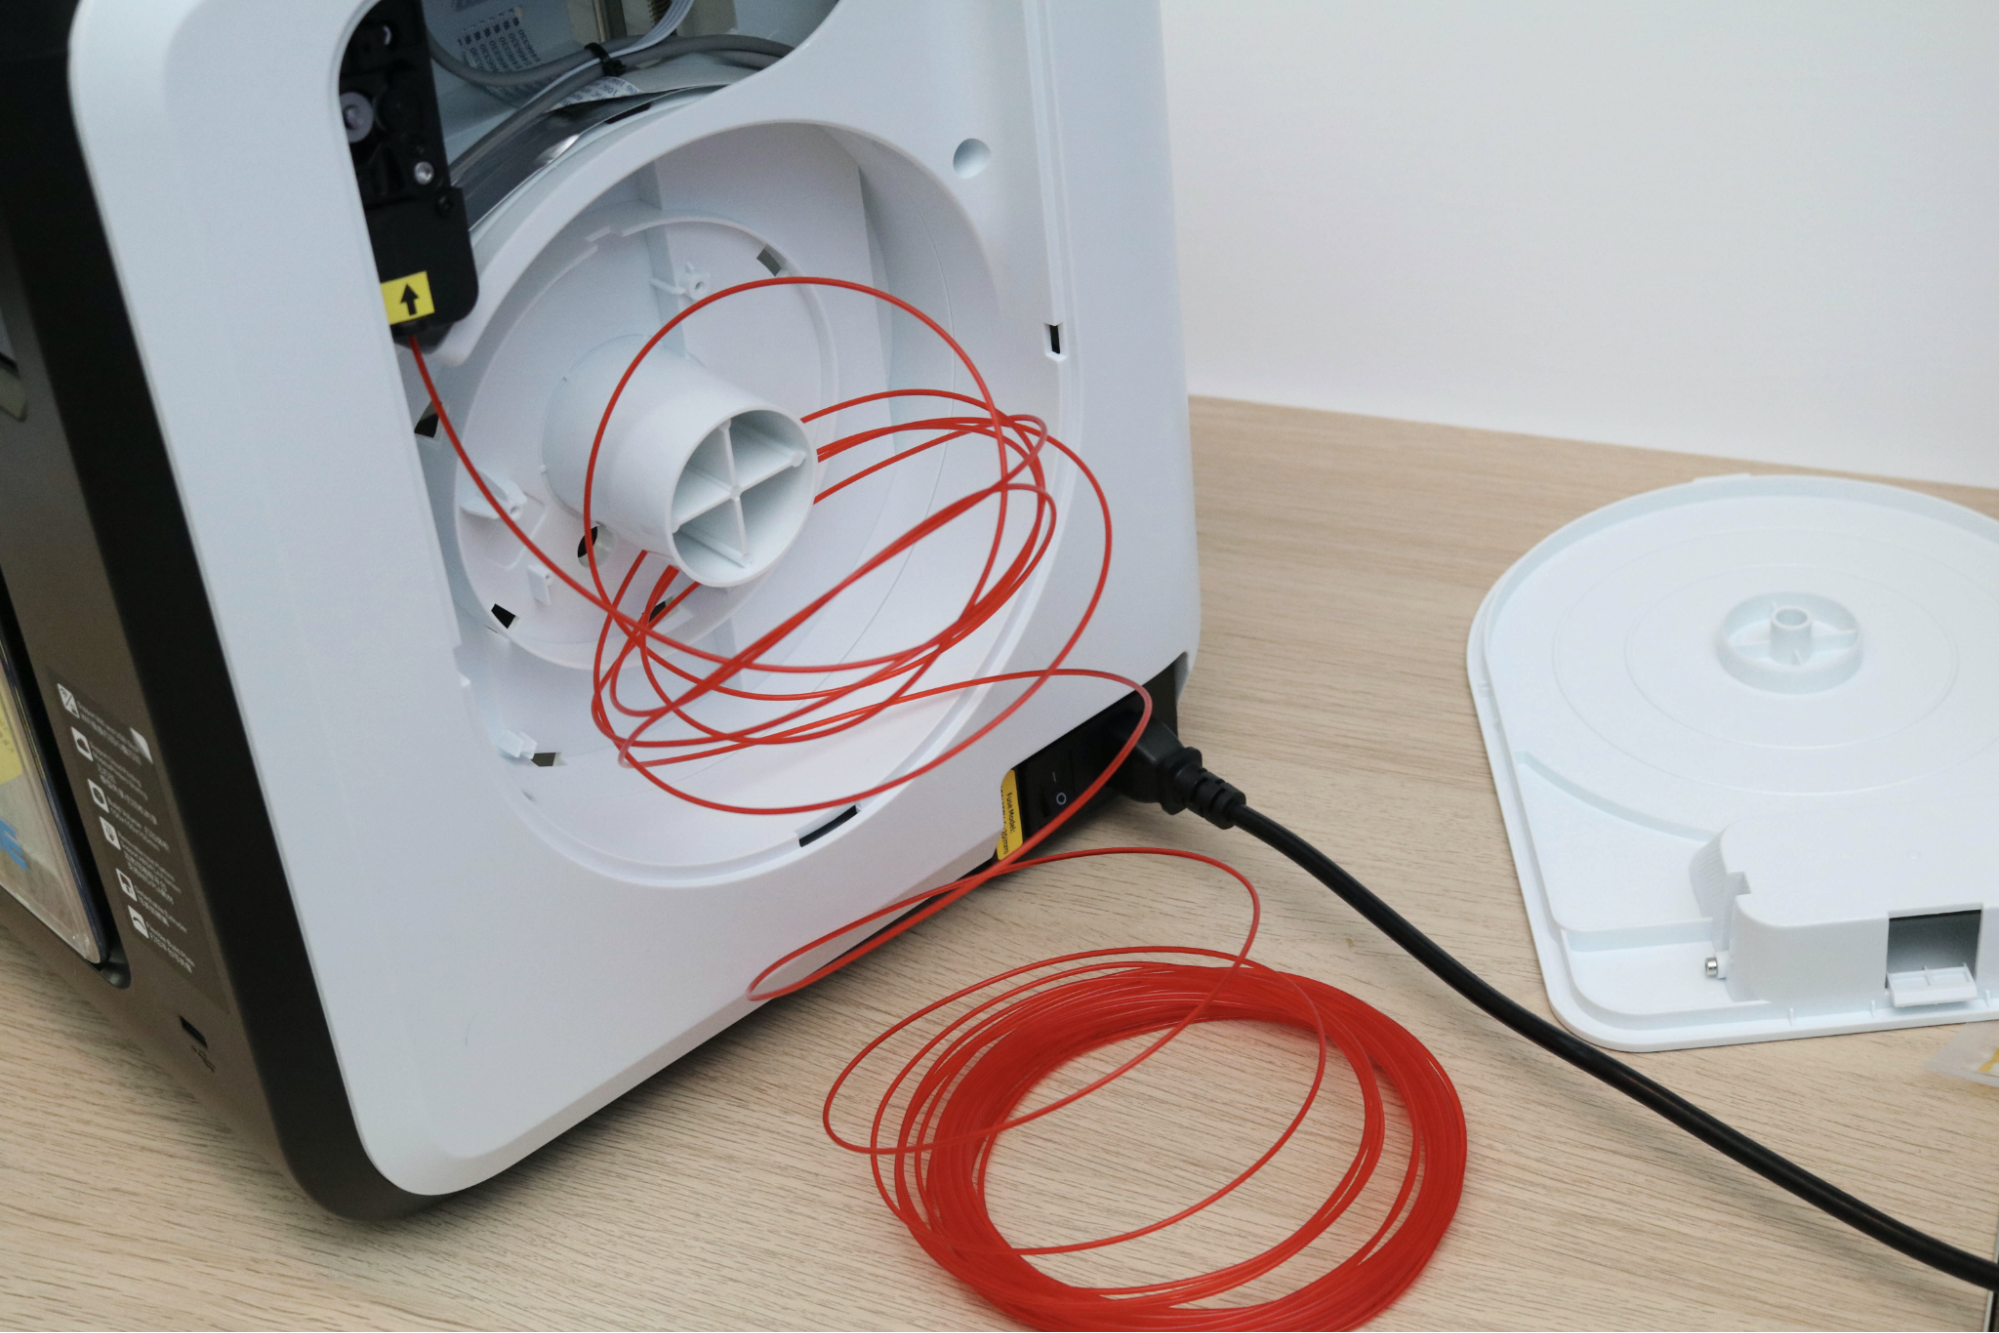
The included filament sample is a .05kg coil of transparent red PLA material held together with a few twist ties, and shipped in a sealed bag with desiccant. Coils of filament like this are notoriously difficult to print with, as they often arrive tangled and are very difficult to respool properly.
I normally don’t use filament coils like this, but I thought I’d give this one a try because I liked the color. What ensued was a nail-biting experience wherein the coil immediately became tangled after being fed into the printer and had to be manually untangled every 10 minutes for the duration of the one hour and 21 minute print of the Benchy. I would recommend skipping the filament coil and ordering a spool of material to use while you get comfortable with the machine.
FlashPrint High Settings for the Flashforge Adventurer 3 Lite
| Layer Height | 0.12mm |
| Infill Percentage | 15%, Hexagonal |
| Print Speed | 40mm/second |
| Extruder Temperature | 210 degrees Celsius (410 degrees Fahrenheit) |
| Heated Bed Temp | 50 degrees Celsius (122 degrees Fahrenheit) |
| Print Time | 6 Hours, 17 Minutes |
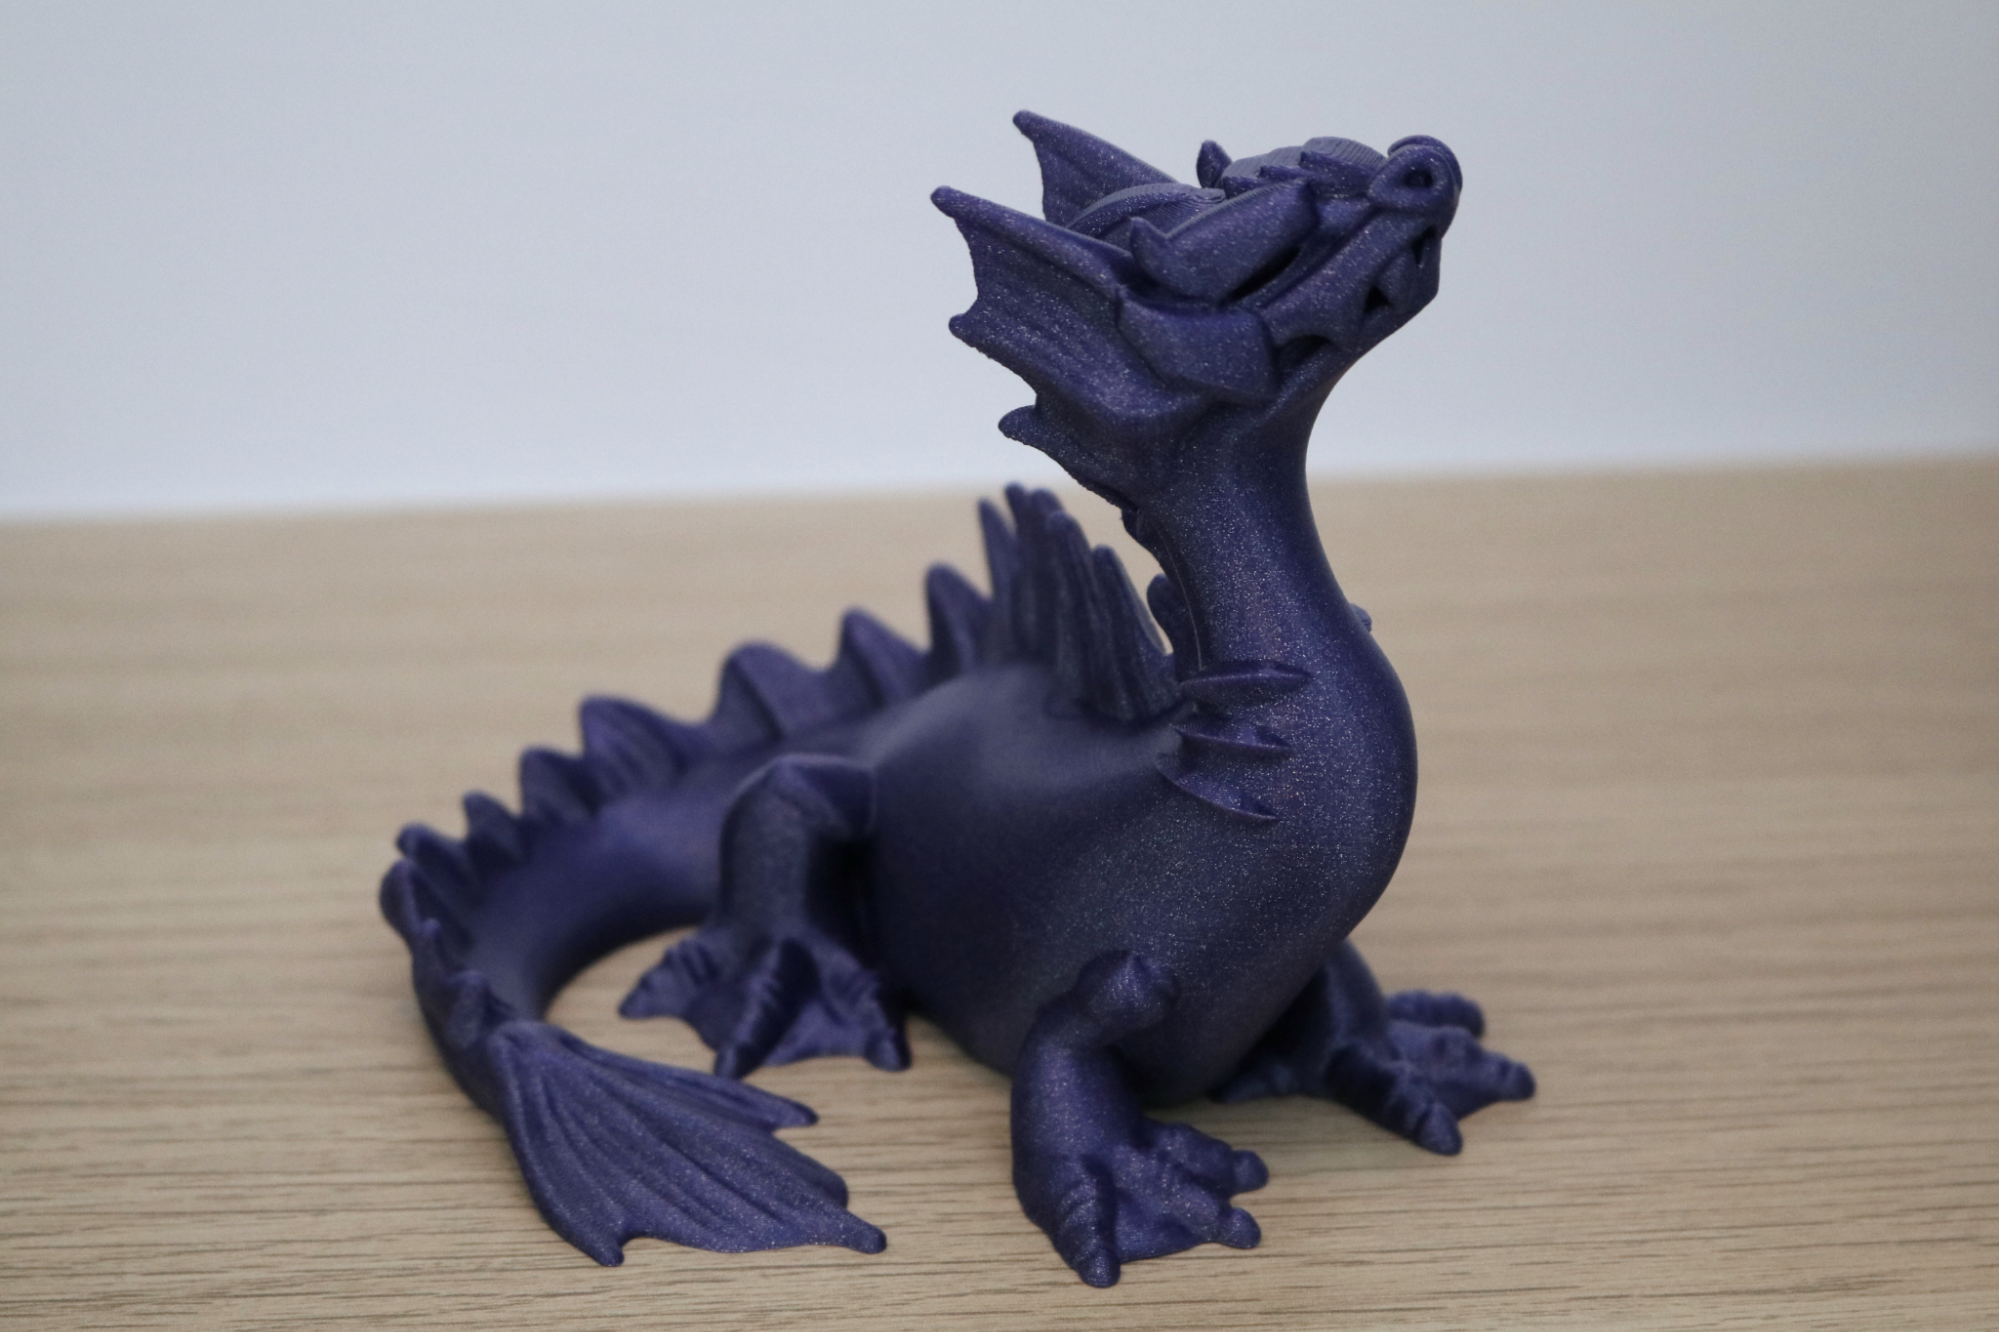
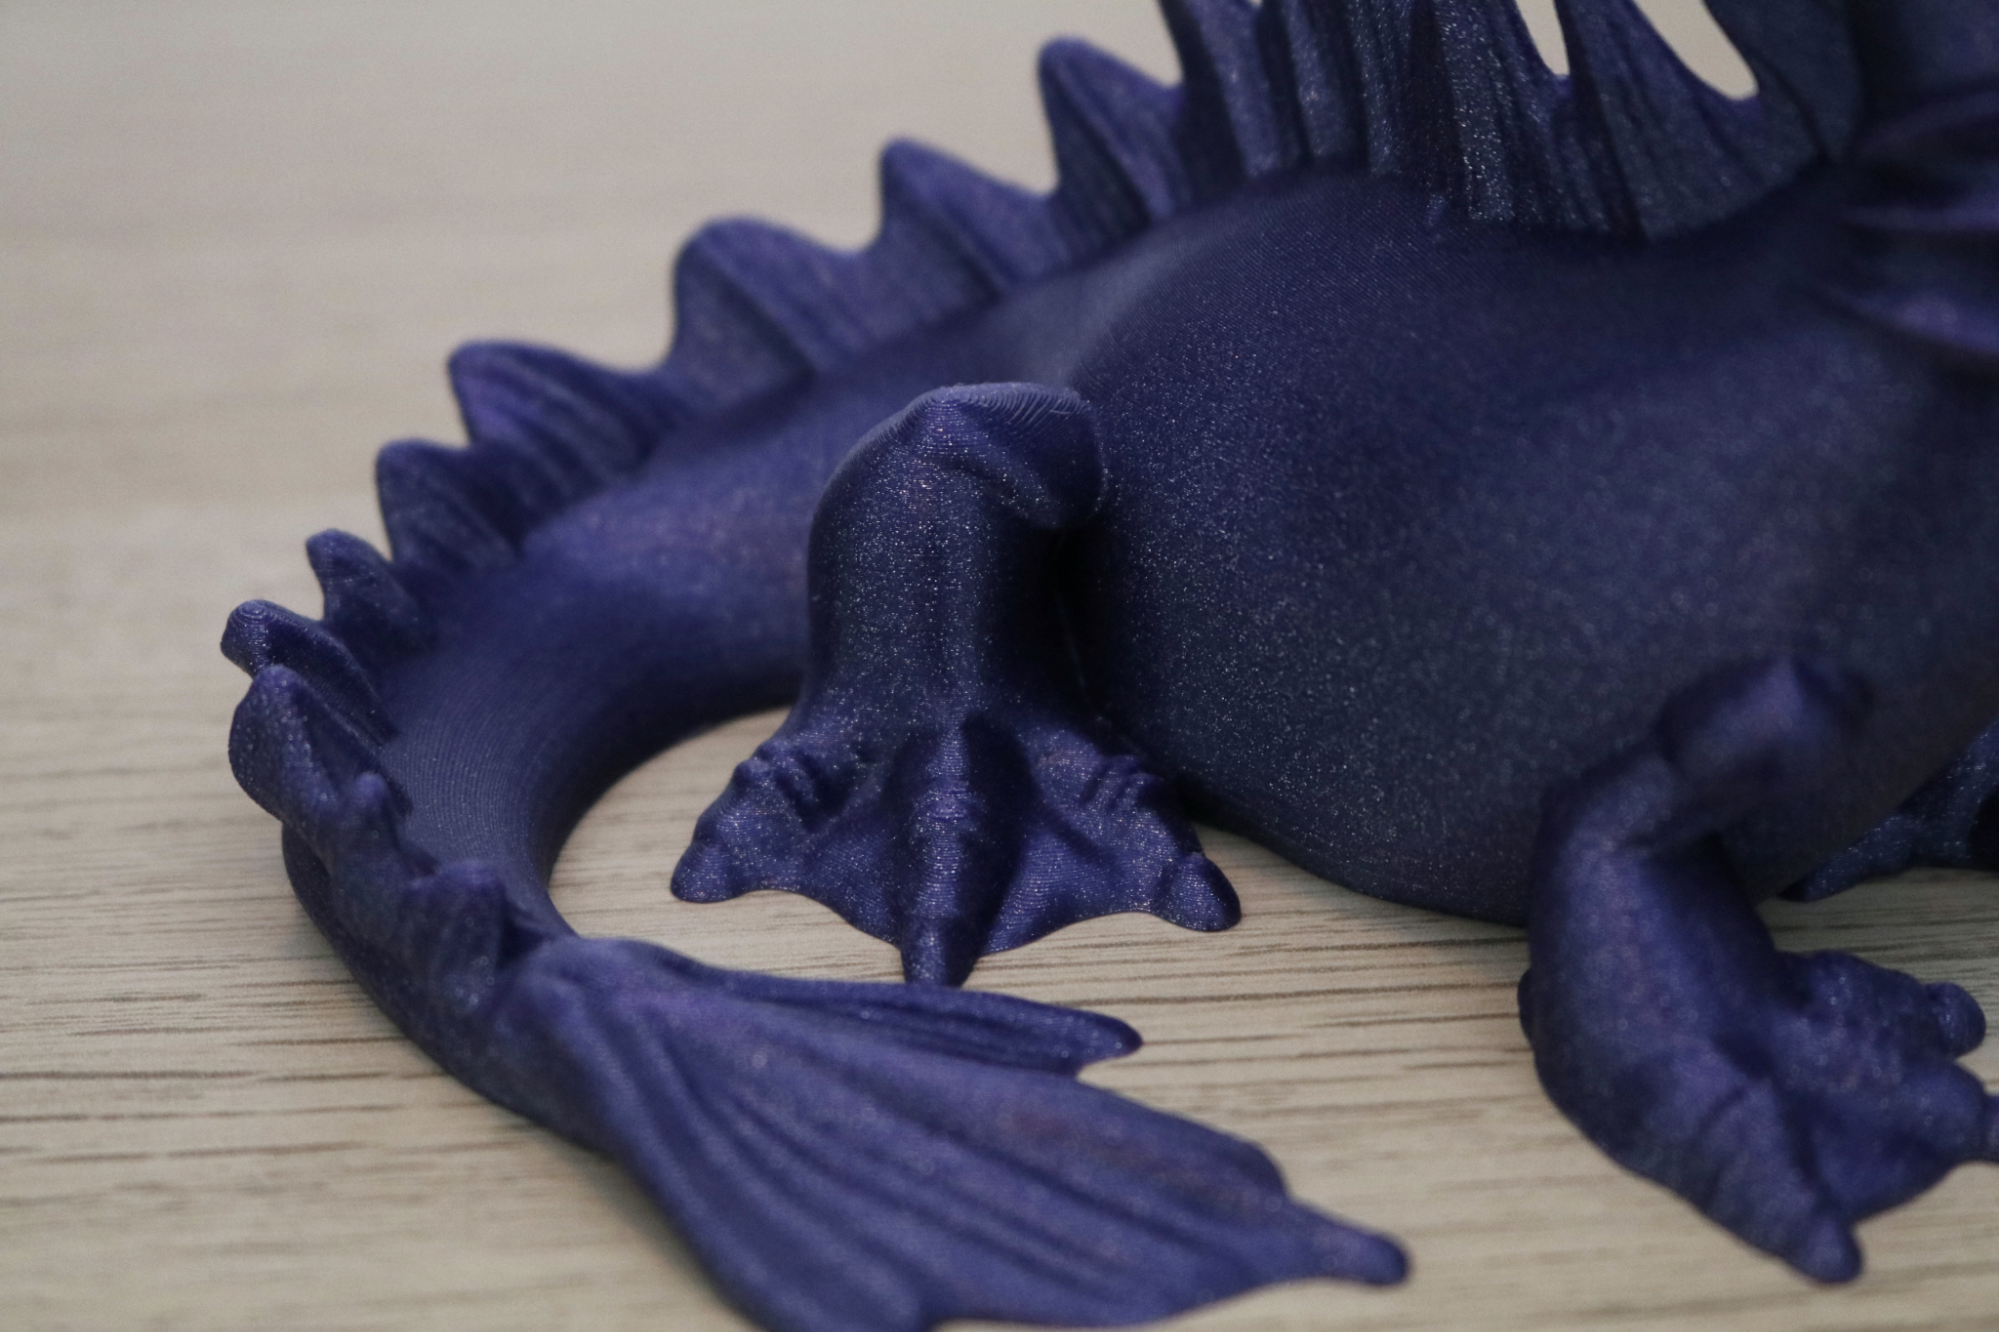
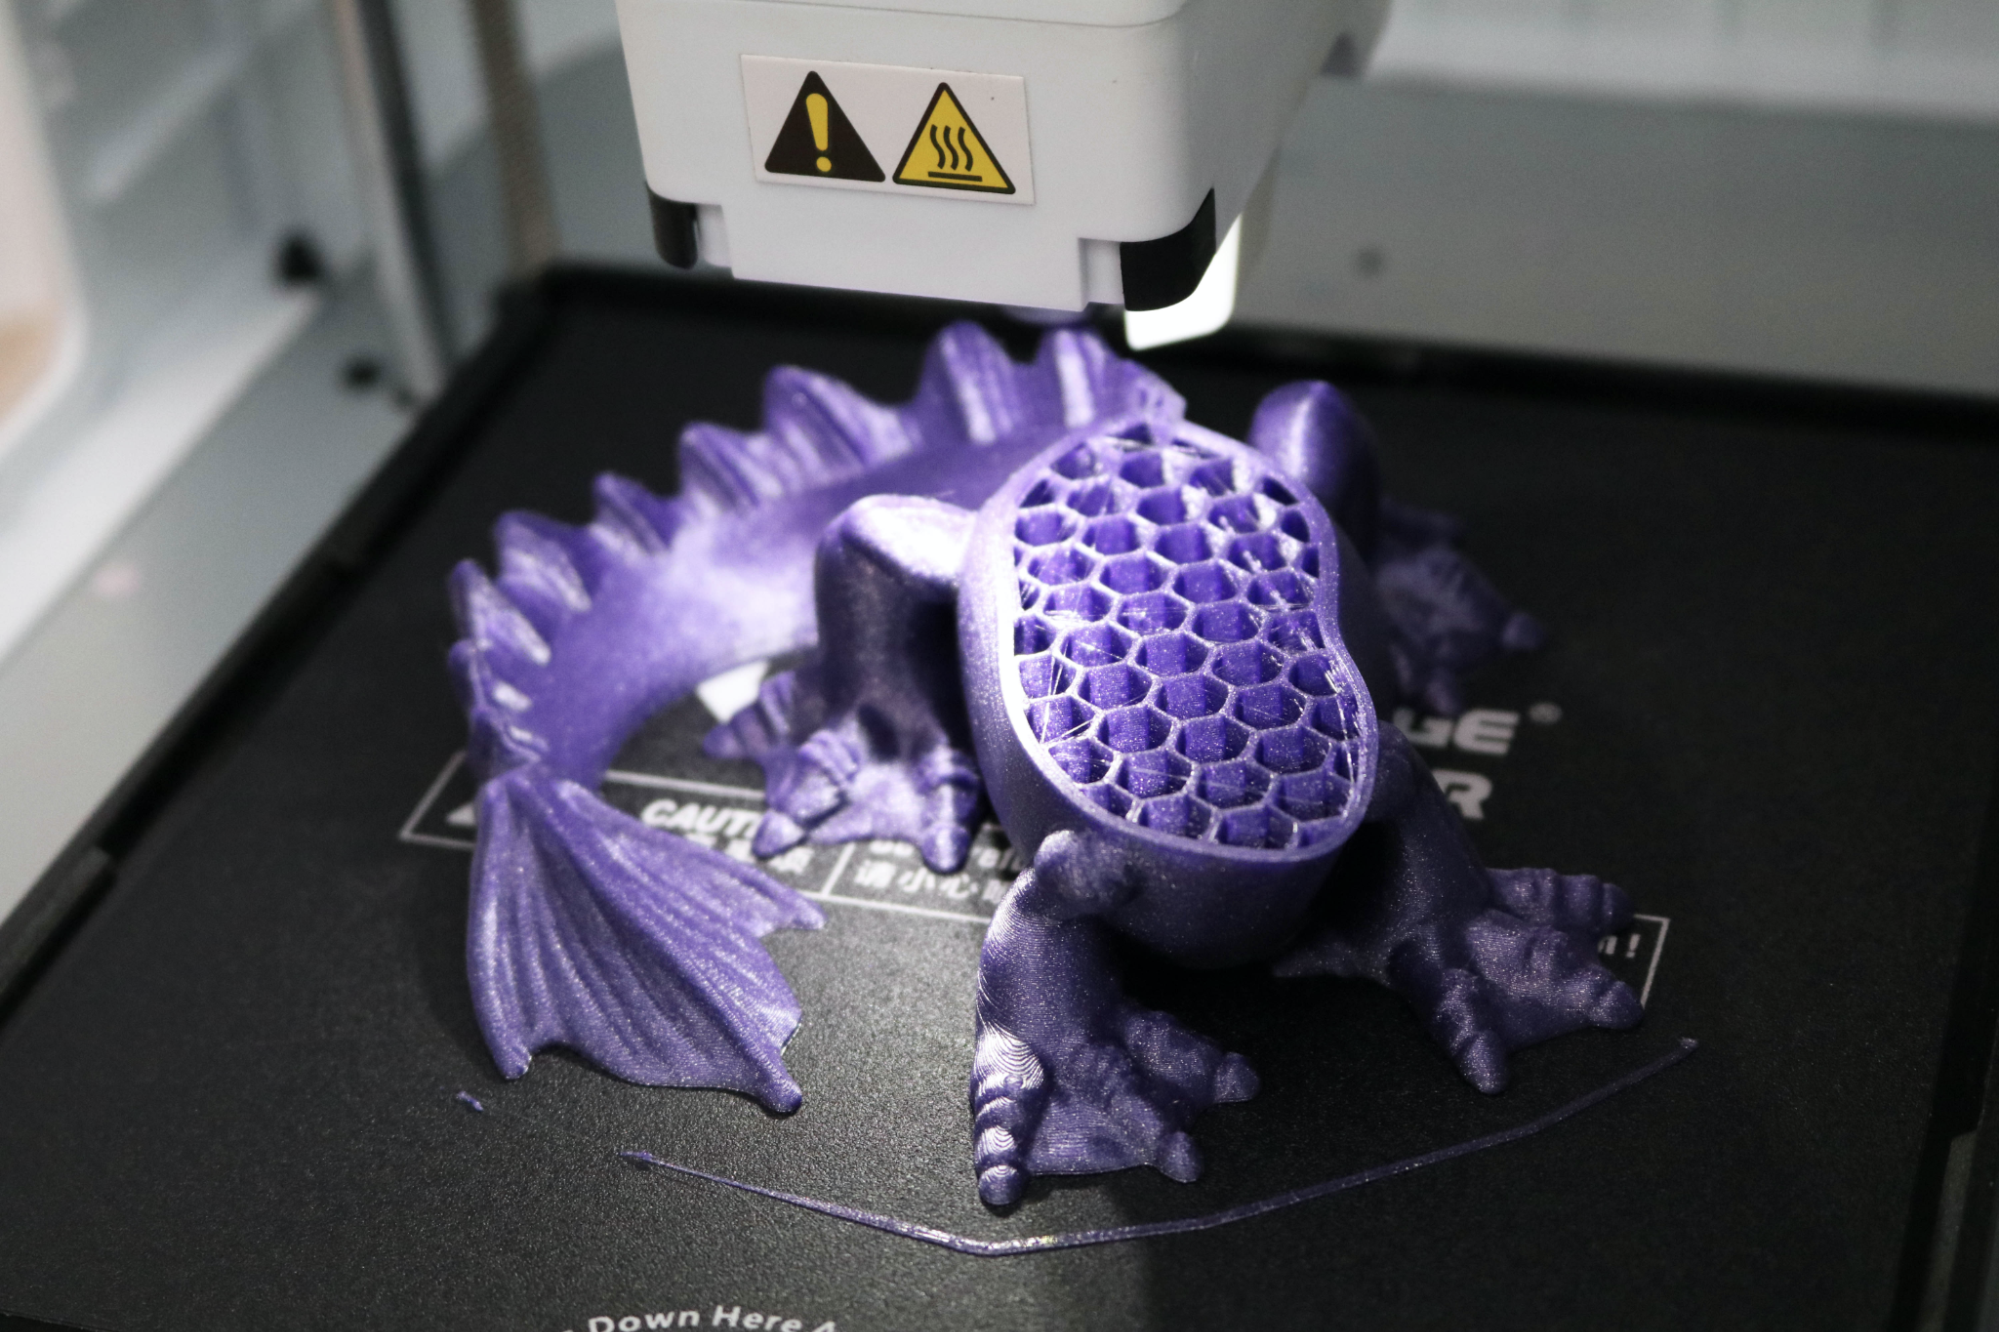
I was satisfied with the quality of the Benchy using the Standard print settings and was curious to see the results I could get from using the High resolution setting. I’m using the Aquaticus dragon model created by Makerbot; a detailed model with organic curves and a larger footprint than the Benchy. For this print, I used Begonova Rose S Galaxy Purple PLA because it ships on a 500g spool that fits into the integrated spool holder on the side of the machine.
The result is a 3D printed object with nearly invisible layer lines. The glitter additive in the Begonova filament helps to give the model an even texture, and the .12mm layers are fine enough to give the organic curves a smooth appearance. In fact, the only areas on the model with visible layer lines are on upward facing curved surfaces such as the top of the head and knees. I’m really impressed with this print, and the $299 price of the machine makes the results all the more impressive.
FlashPrint Hyper Settings for the Flashforge Adventurer 3 Lite
| Layer Height | 0.08mm |
| Infill Percentage | 15%, Hexagonal |
| Print Speed | 40mm/second |
| Extruder Temperature | 210 degrees Celsius (410 degrees Fahrenheit) |
| Heated Bed Temp | 50 degrees Celsius (122 degrees Fahrenheit) |
| Print Time | 10 Hours, 4 Minutes |
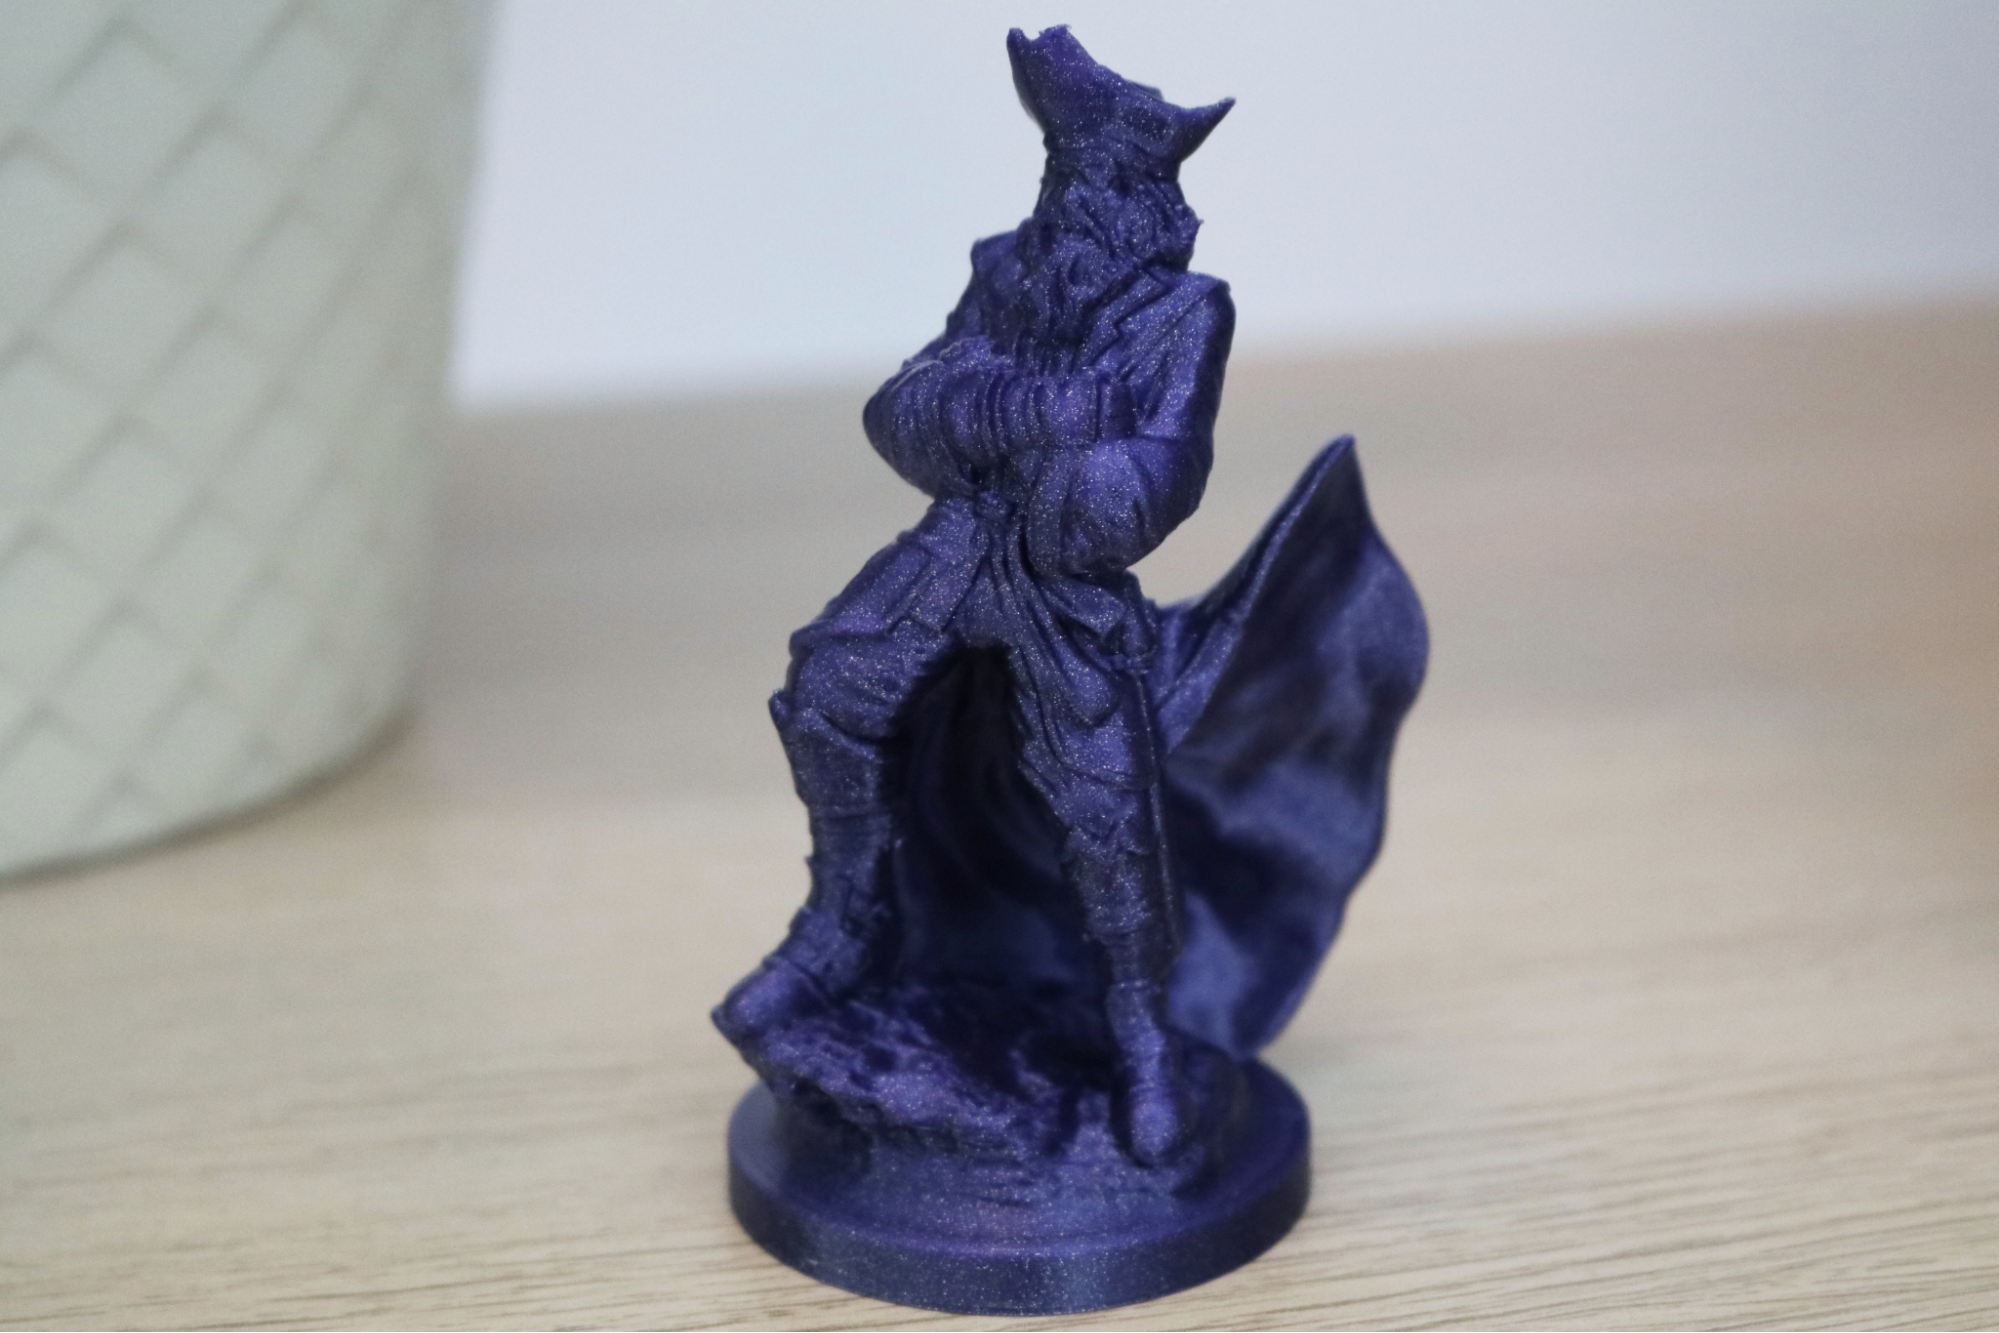
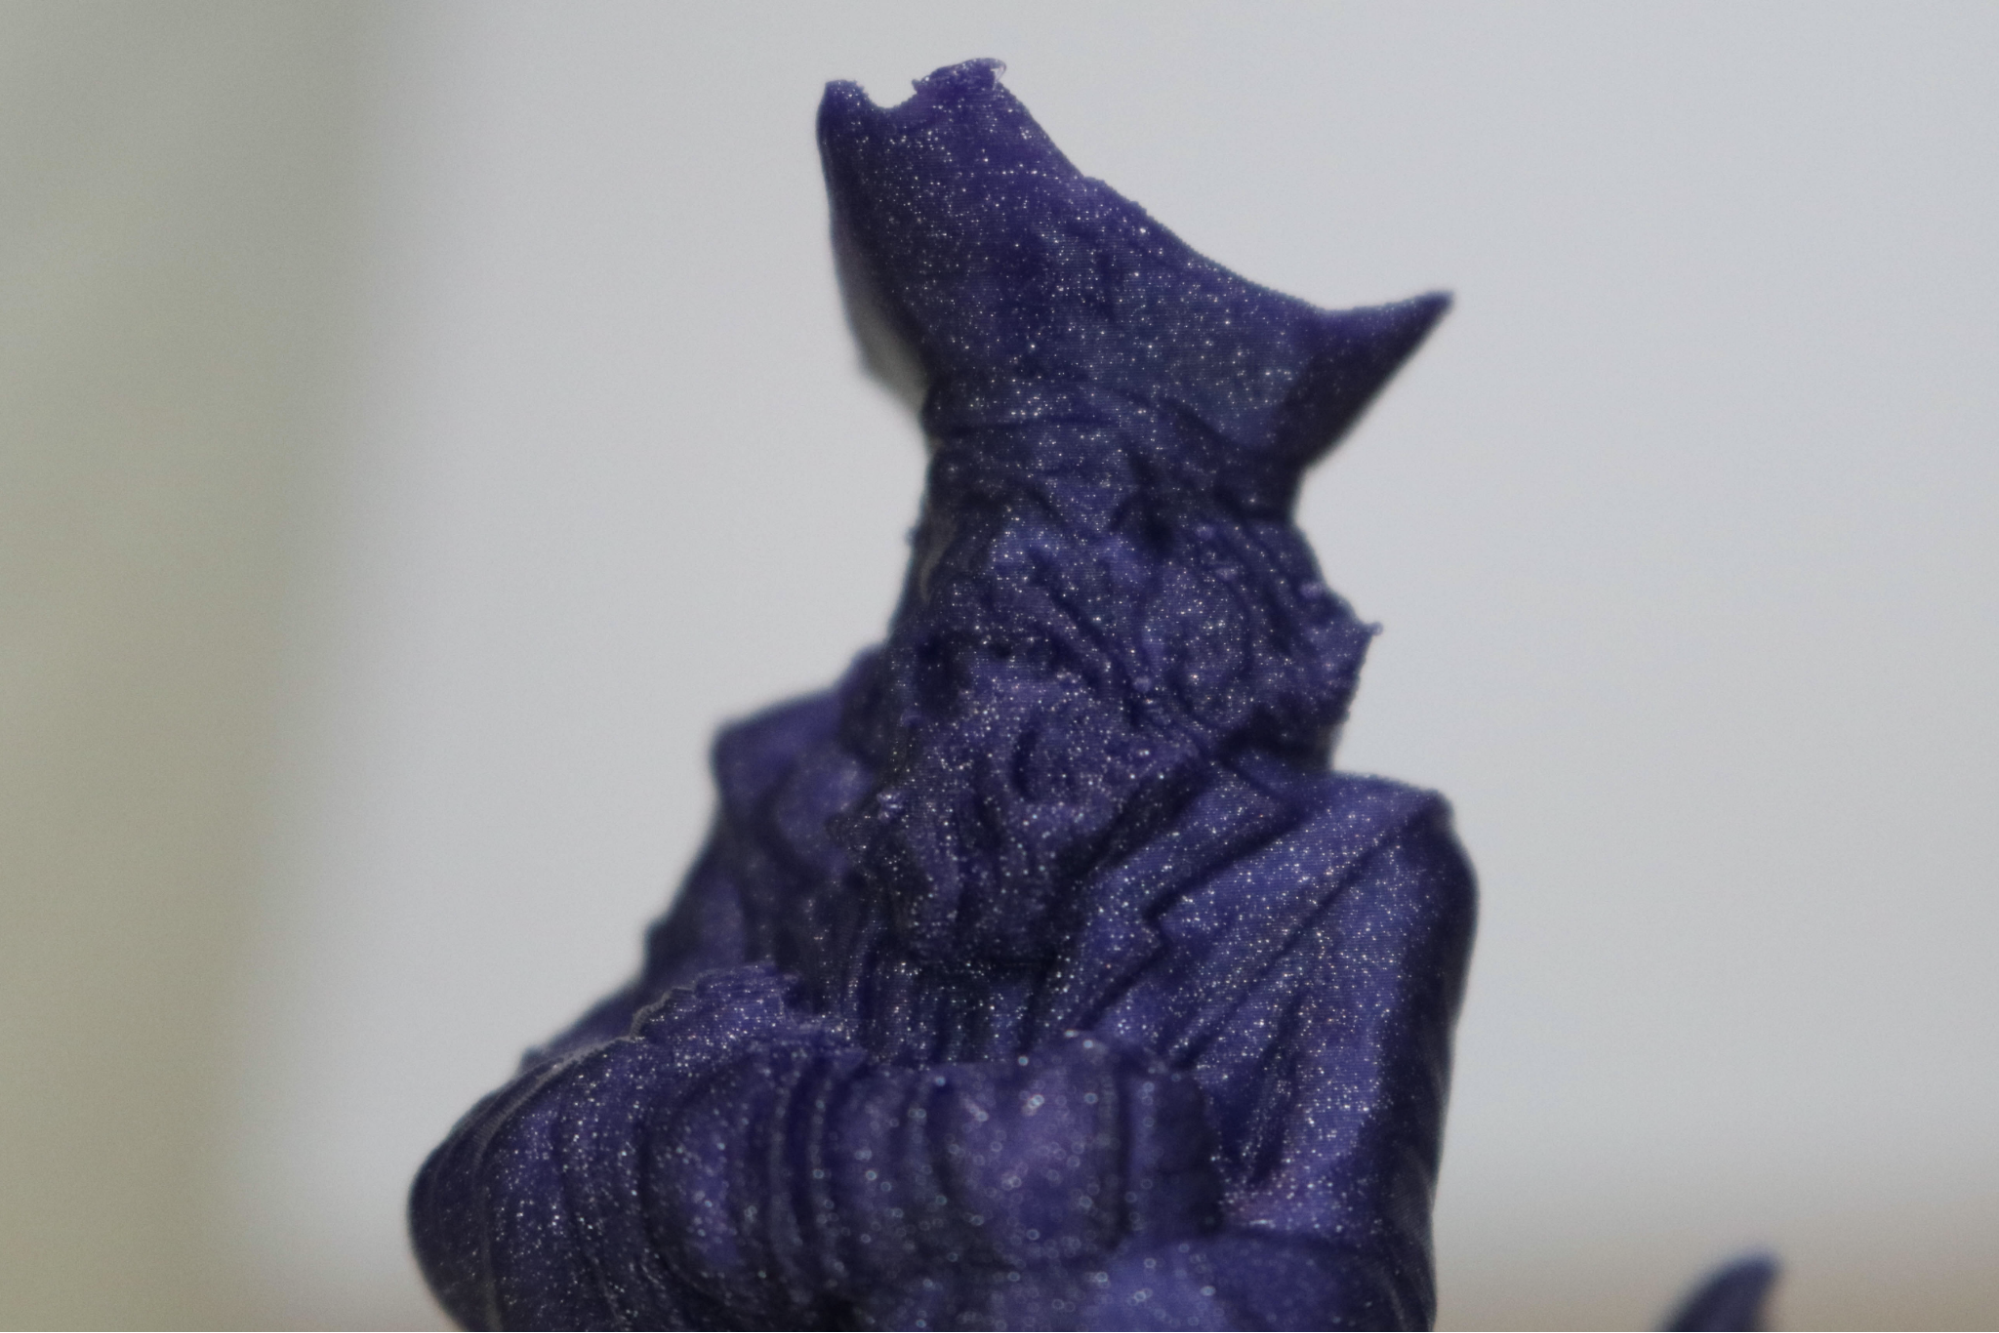
The FlashPrint slicer software for Flashforge Adventurer 3 Lite offers a ‘Hyper’ resolution mode which prints at 0.08mm layer height, very close to the 0.05mm (or 50 micron) layer height used as a standard by most resin MSLA 3D printers. To test out this mode, I imported and sliced the Plunderbuss Pete 3D model by digital sculptor Ben Dansie using the Hyper resolution settings. Despite the relatively small size of the model (about 92mm in height with a 46mm diameter base), it took over 10 hours to print due to the extremely fine layer resolution.
At this scale, the layers on the model are virtually imperceptible on all but the shallowest of curves on the base. The .08mm layer height, while time-consuming, results in a model that has a superior amount of detail even at a small scale. For instance, the eye-patch on Plunderbuss Pete is clearly visible, and the string wrapping it around his head is pronounced despite only being less than half a millimeter in thickness.
Bottom Line
The out-of-the-box experience offered by the Flashforge Adventurer 3 Lite will appeal to time-strapped teachers who are interested in providing a 3D printer for their classrooms that doesn’t require an extensive setup or complicated assembly process. The Monoprice Cadet offers a similar setup experience, but its small build volume and hit-or-miss Wi-Fi mean that most high school students will quickly outgrow it in search of a more capable machine. If you’re looking for one of the best 3D printers with a larger build volume and more room for growth, the Creality Ender 3 would be a good choice due to its modular design and large number of available upgrades.
The Adventurer 3 Lite checks a lot of boxes, but the slightly-undersized integrated spool holder could be a consistently frustrating experience for users hoping for instant compatibility with universal spool sizes. The proprietary nozzle assembly is another potential headache, with a nozzle jam leading to a costly or time-consuming replacement. Despite these issues, the Adventurer 3 Lite offers a reliable 3D printing experience in a safe enclosure that can be easily set up without prior 3D printing experience. I’m impressed with the Flashforge Adventurer 3 Lite, and would recommend it without hesitation as an excellent choice for the home or classroom.
MORE: Best 3D Printers
MORE: Best Budget 3D Printers
MORE: Best Resin 3D Printers

Andrew Sink first used a 3D printer in 2012, and has been enthusiastically involved in the 3D printing industry ever since. Having printed everything from a scan of his own brain to a peanut butter and jelly sandwich, he continues to dive ever more deeply into the endless applications of additive technology. He is always working on new experiments, designs, and reviews and sharing his results on Tom's Hardware, YouTube, and more.
