Gigabyte X570-I Aorus Pro Wi-Fi Review: Ryzen 3 ITX on the Cheap
Why you can trust Tom's Hardware
Software and Firmware
Software
Moving on to software, Gigabyte offers users a plethora of applications, including RGB control, system monitoring and overclocking, bios updates, and more. Organizing all these applications is a program called App Shop, which is a single interface with links to the other Gigabyte software, Windows settings, as well as some third-party software.
The App Shop loads into the tray and when needed, clicking on the icon brings up the screens seen below, allowing easy access to whatever board-related settings or controls you need. If you do not like a bunch of icons on the desktop, this can certainly help.
I downloaded and installed a couple of applications that I find useful to look at a App Shop bit deeper. In this case, we have @BIOS, Easy Tune, RGB Fusion 2.0, and SIV.
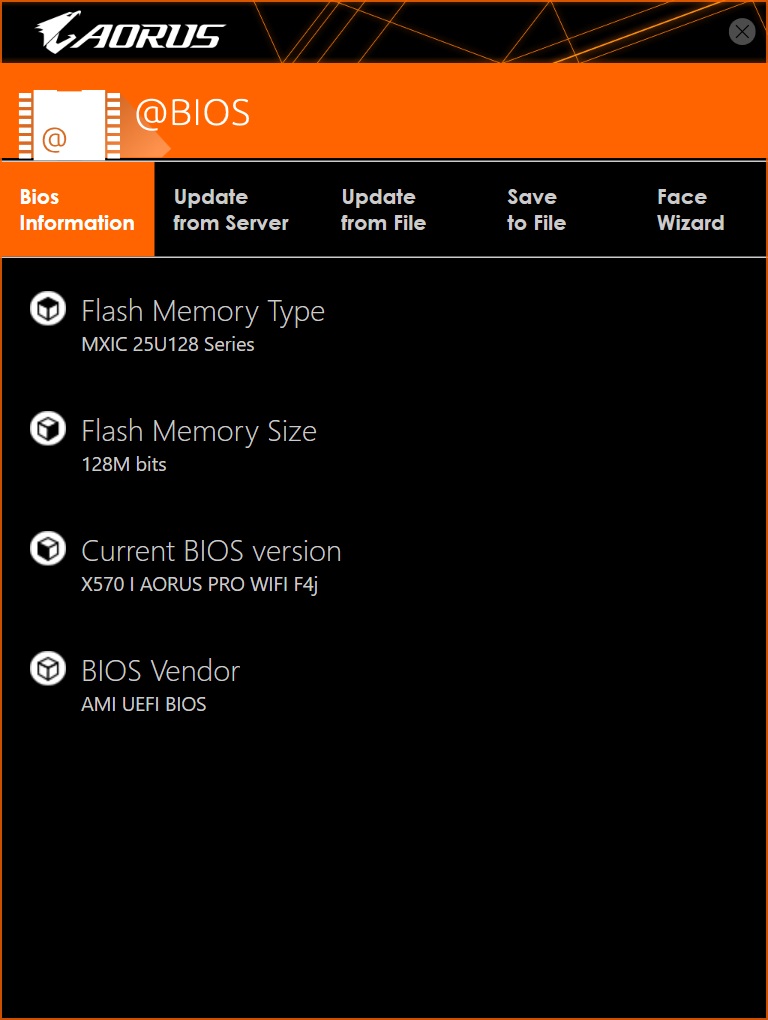
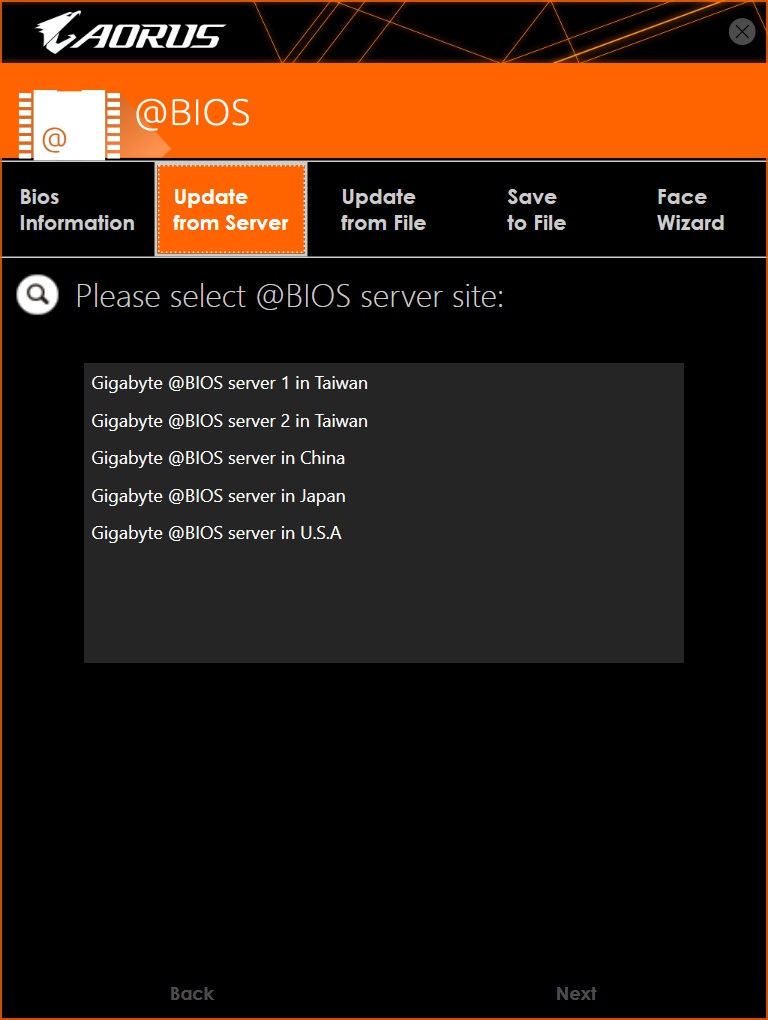
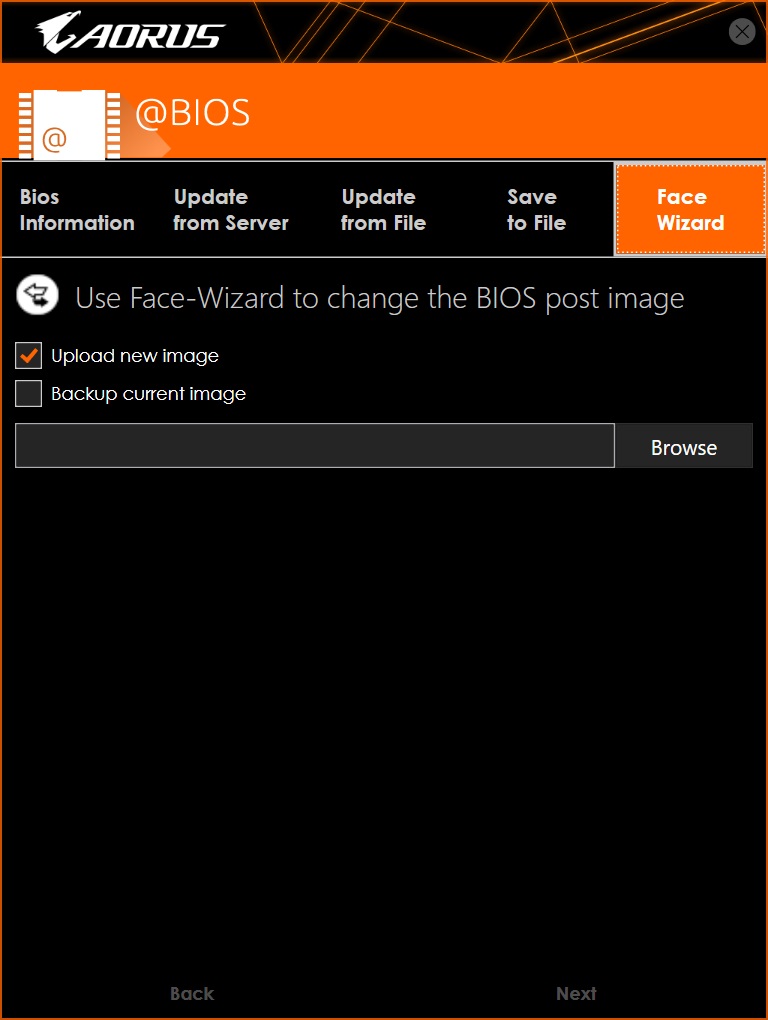
@BIOS is a simple Windows-based application designed to update the BIOS. It displays information about the BIOS flash memory size and type along with the current version. Users can update from Gigabyte servers or from a file located on your PC.
One really unique feature of this software is the Face Wizard section, where you can upload your own image to be used instead of the BIOS splash screen, taking system customization to another level.
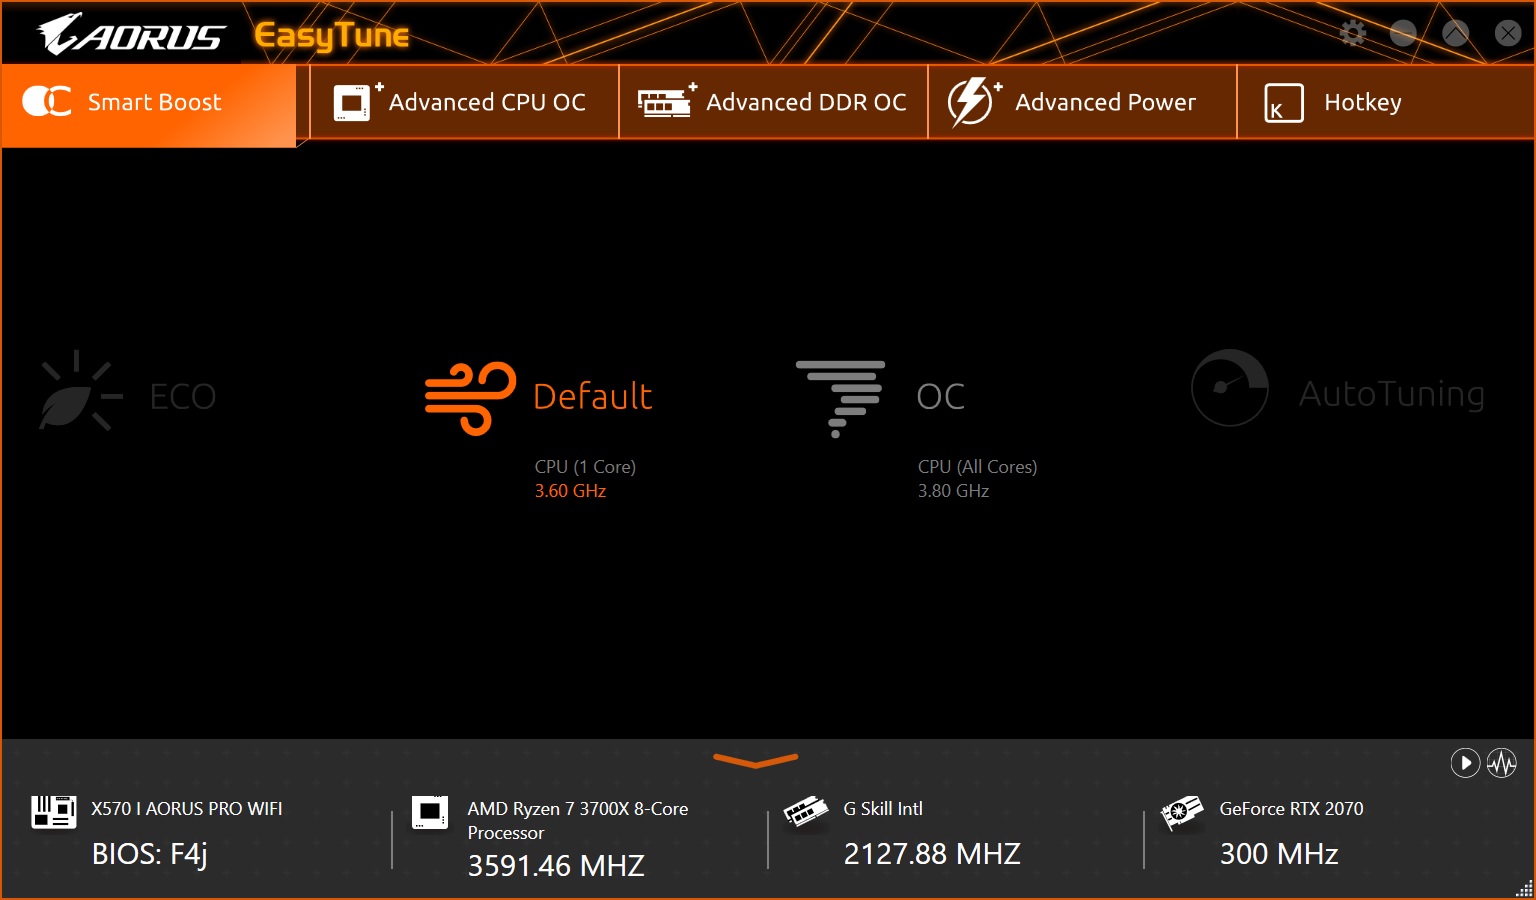
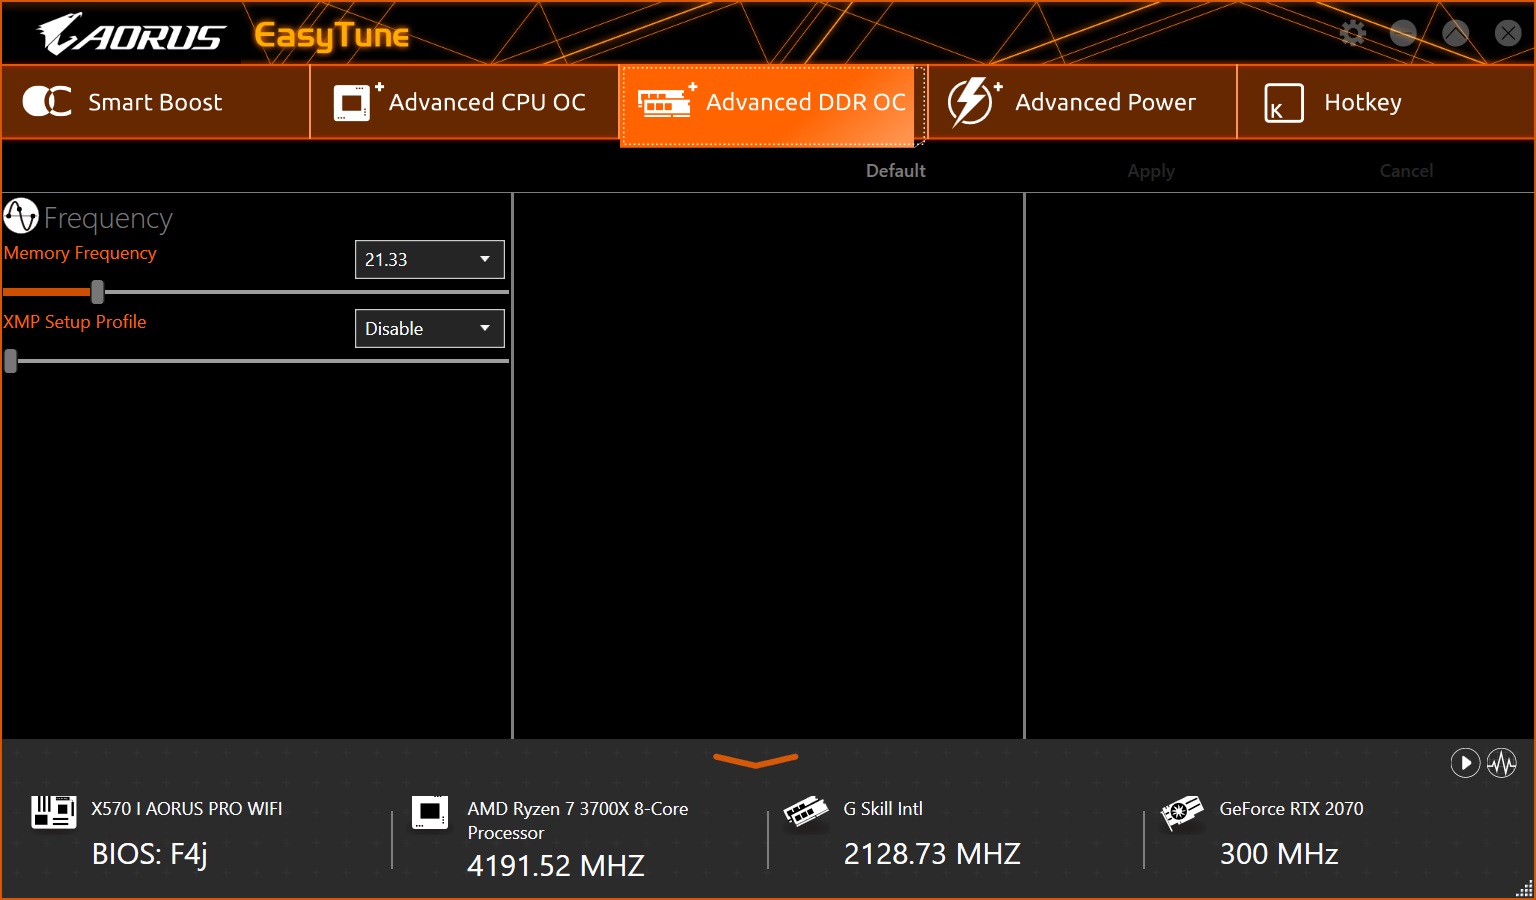
The Easy Tune application is where users are able to see a sort of state of the union of the system, including CPU and memory speeds, along with temperature and voltages. Although it is informational, there is also plenty of functionality that comes along with Easy Tune.
The first section is labeled Smart Boost and gives basic canned settings of “Default,” where the CPU has one core at 3.6 GHz, and “OC” where all cores are boosted to 3.8 GHz. While this works, it’s better to use PBO or manual overclocking and customize from there.
Get Tom's Hardware's best news and in-depth reviews, straight to your inbox.
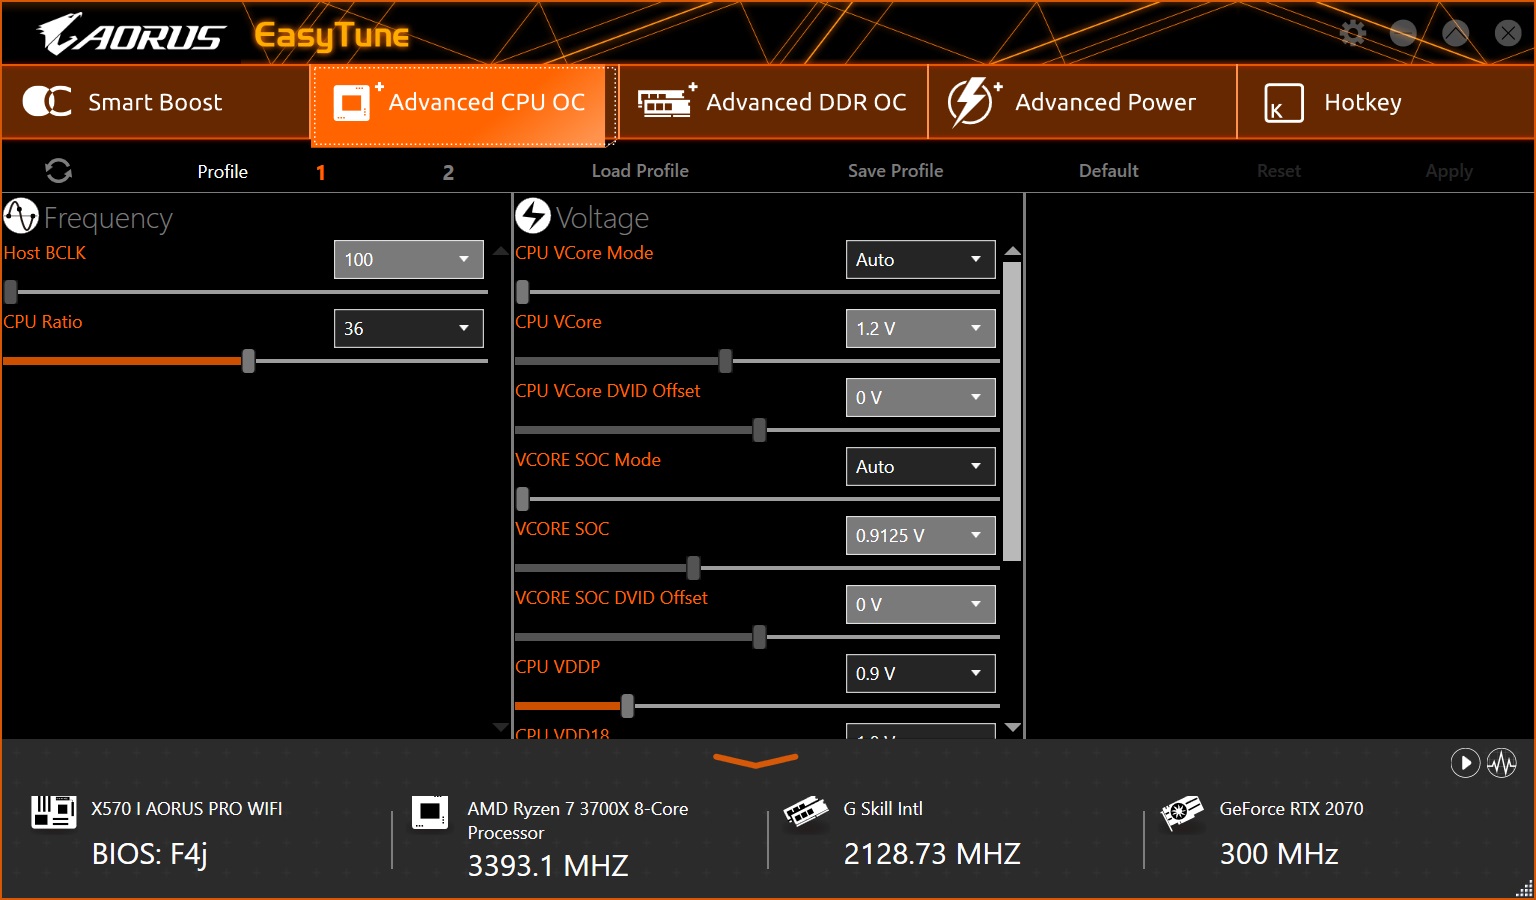
For overclocking, we would use the Advanced CPU OC section. This section contains both CPU ratio and BCLK values, which can be edited. There are several voltage options to change as well, including CPU Vcore and SOC, DRAM, VDDP and VDD18, which are all important when pushing your CPU or memory overclocks.
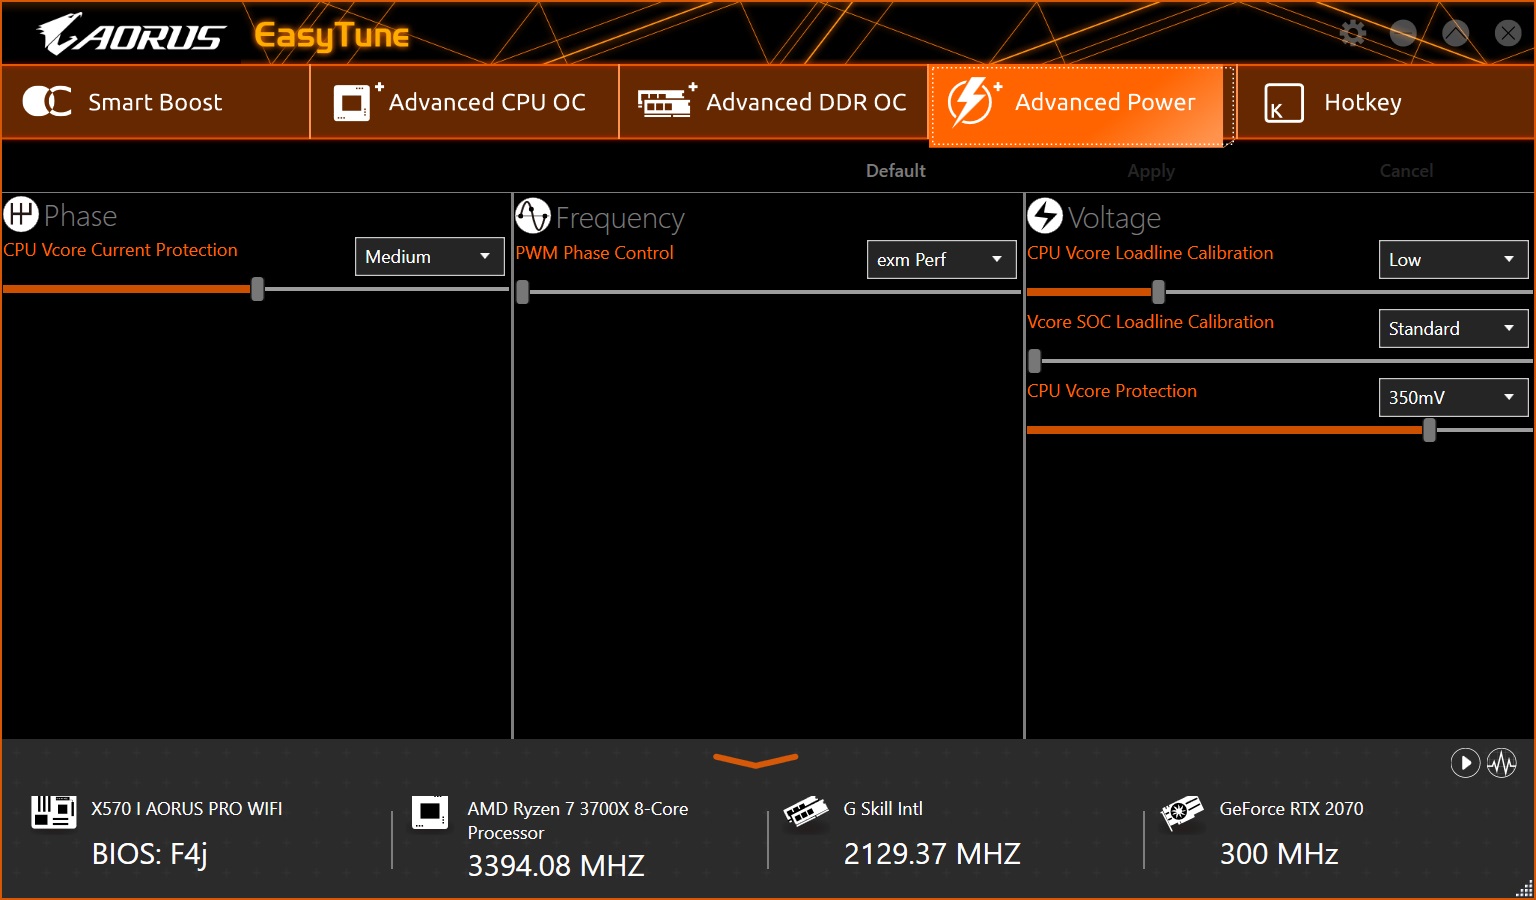
The Advanced DDR OC is where you adjust memory frequency or enable XMP profiles. There isn’t much going on in the memory section, but that’s best edited from the BIOS anyway. The last section, Advanced Power, is where to change VCore current protections, PWM phase control, as well as CPU and SOC Loadline Calibration values.
All in all, Easy Tune works as described. I was able to push the overclock a bit on the CPU from within Windows, preventing any time wasted from rebooting in the BIOS. But the memory functions do require a reboot for proper memory training.
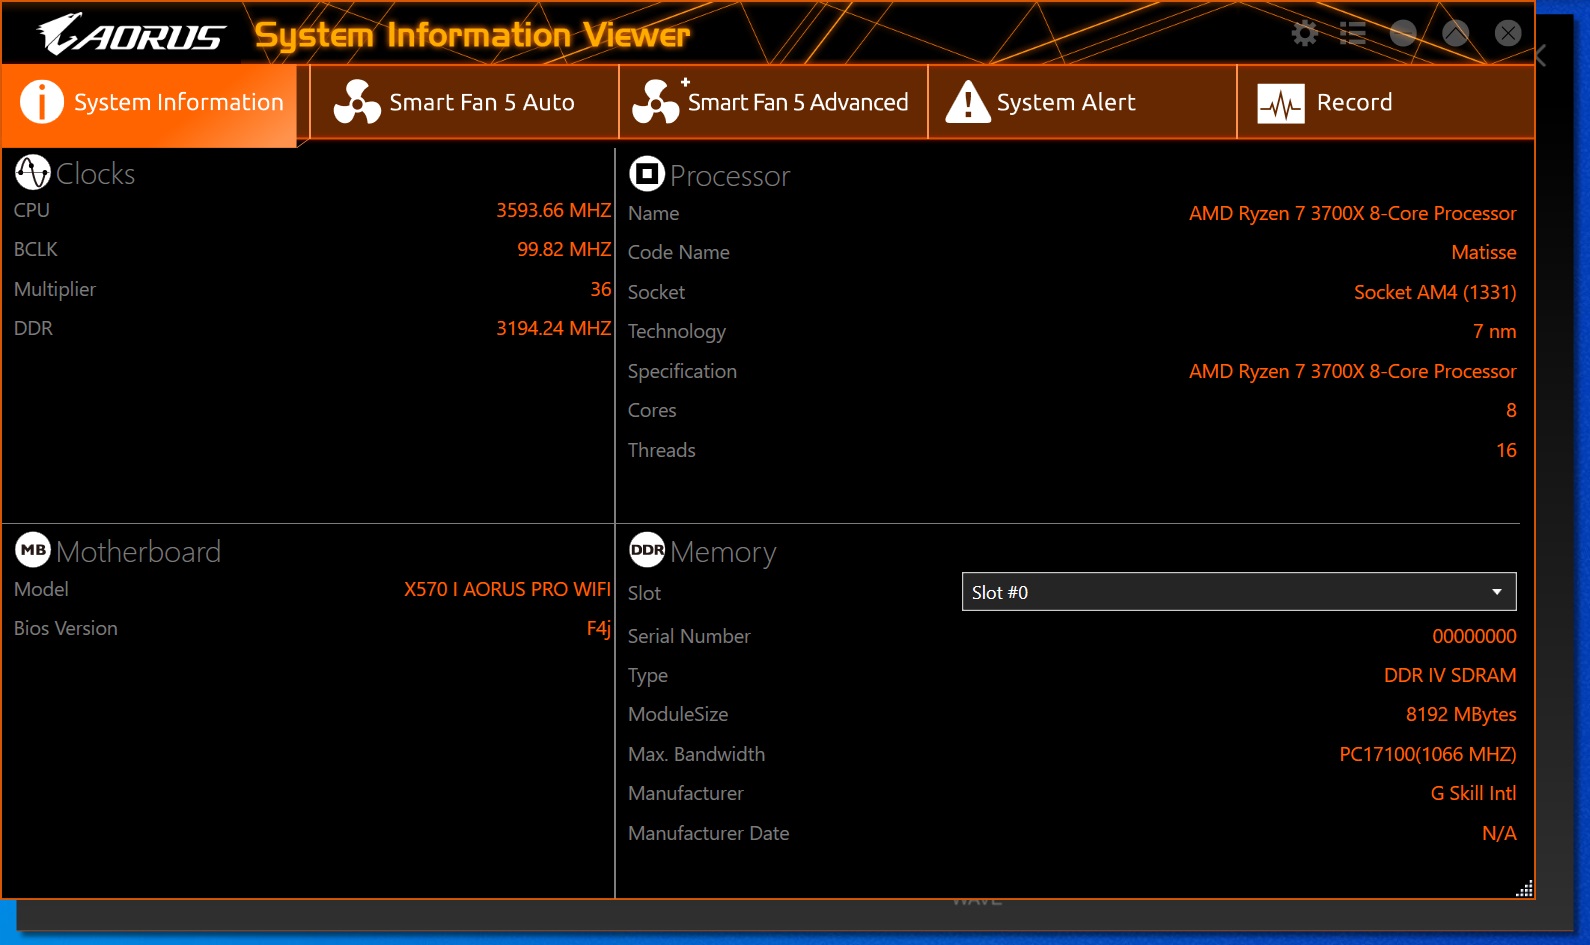
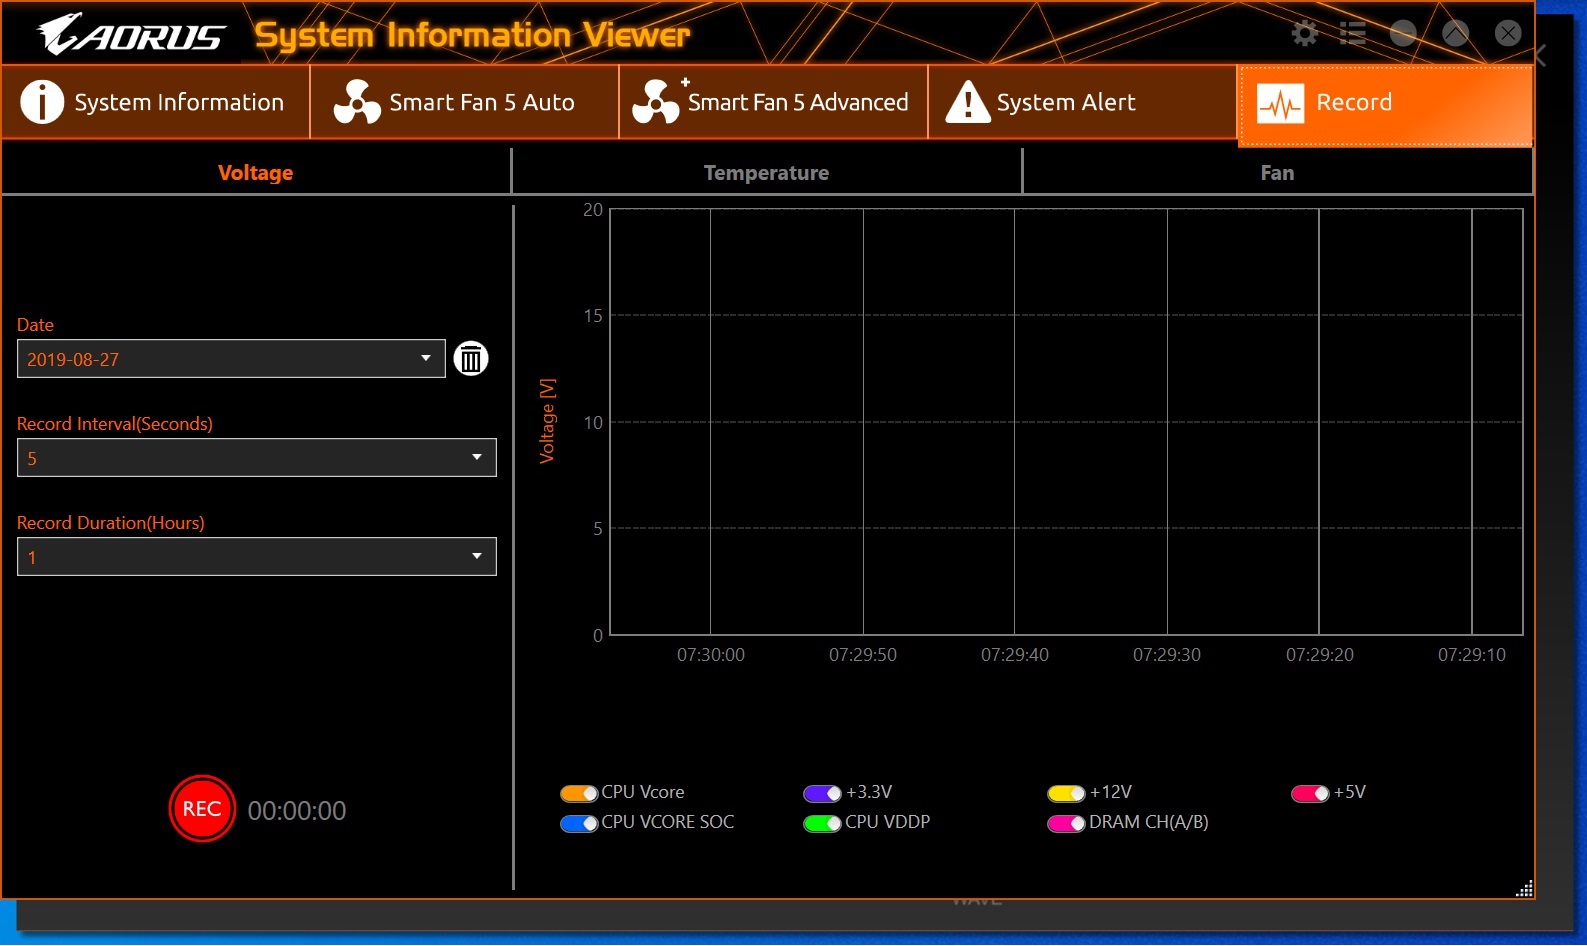
Next up is the SIV (System Information Viewer) application. This tiny app displays detailed information about the clock domains, CPU, Motherboard, and Memory.
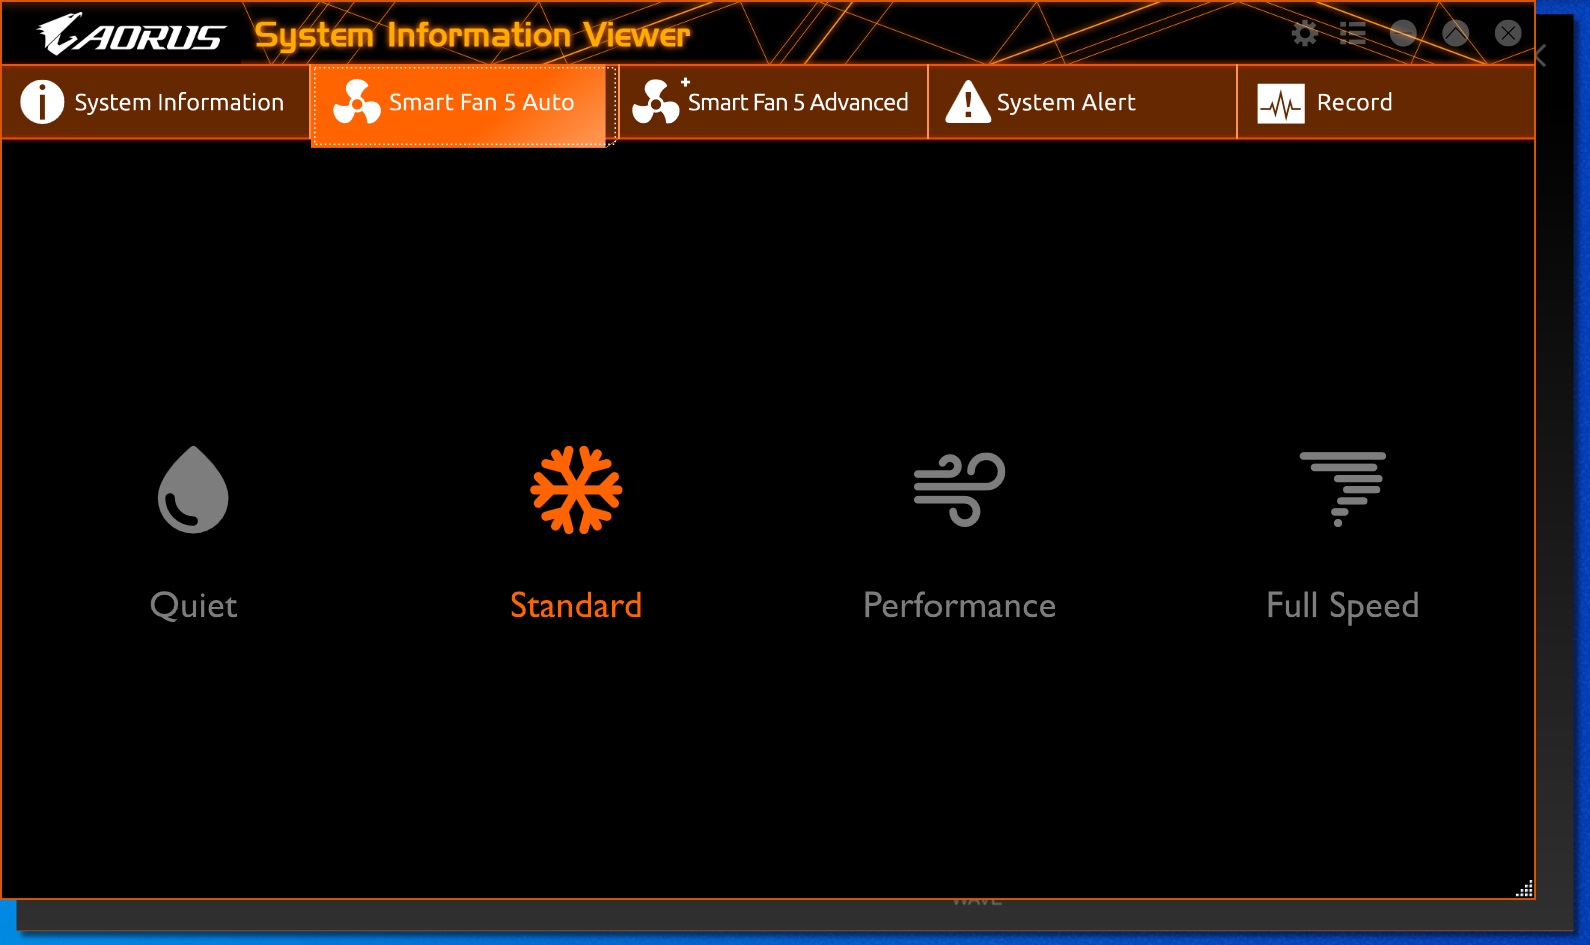
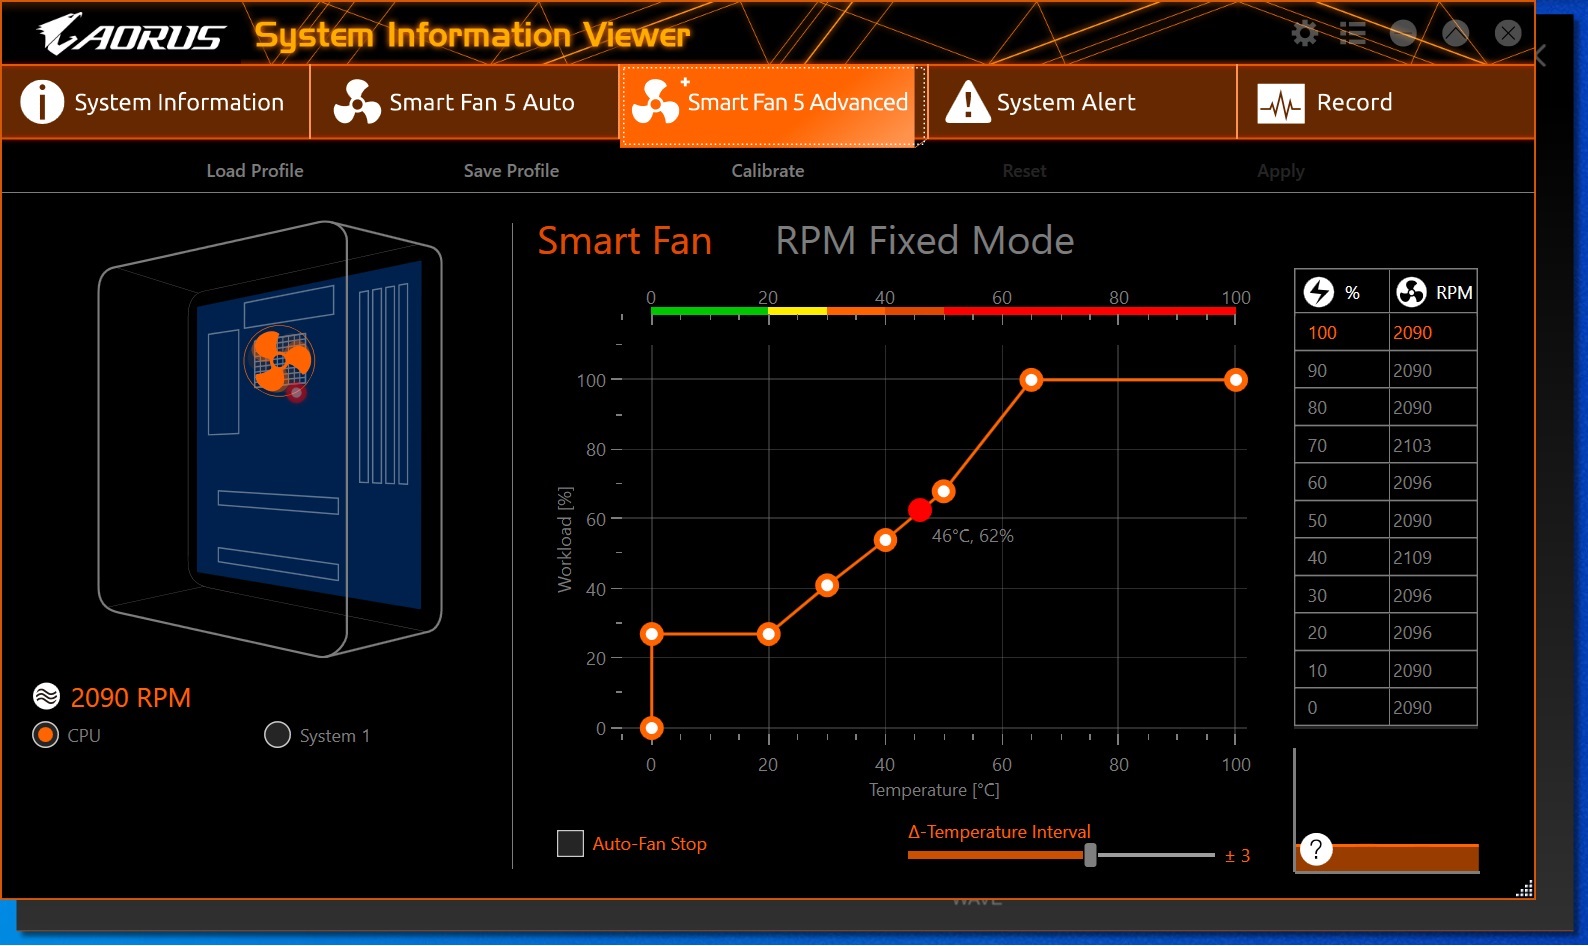
SIV also incorporates Smart Fan 5, controlling the system fans. The auto section shows four preset fan modes (quiet, standard, performance, and full speed) while the advanced section is where custom curves are set. It also sports a hysteresis setting to minimize a fan ramping up or down if the temperature is on the bubble.
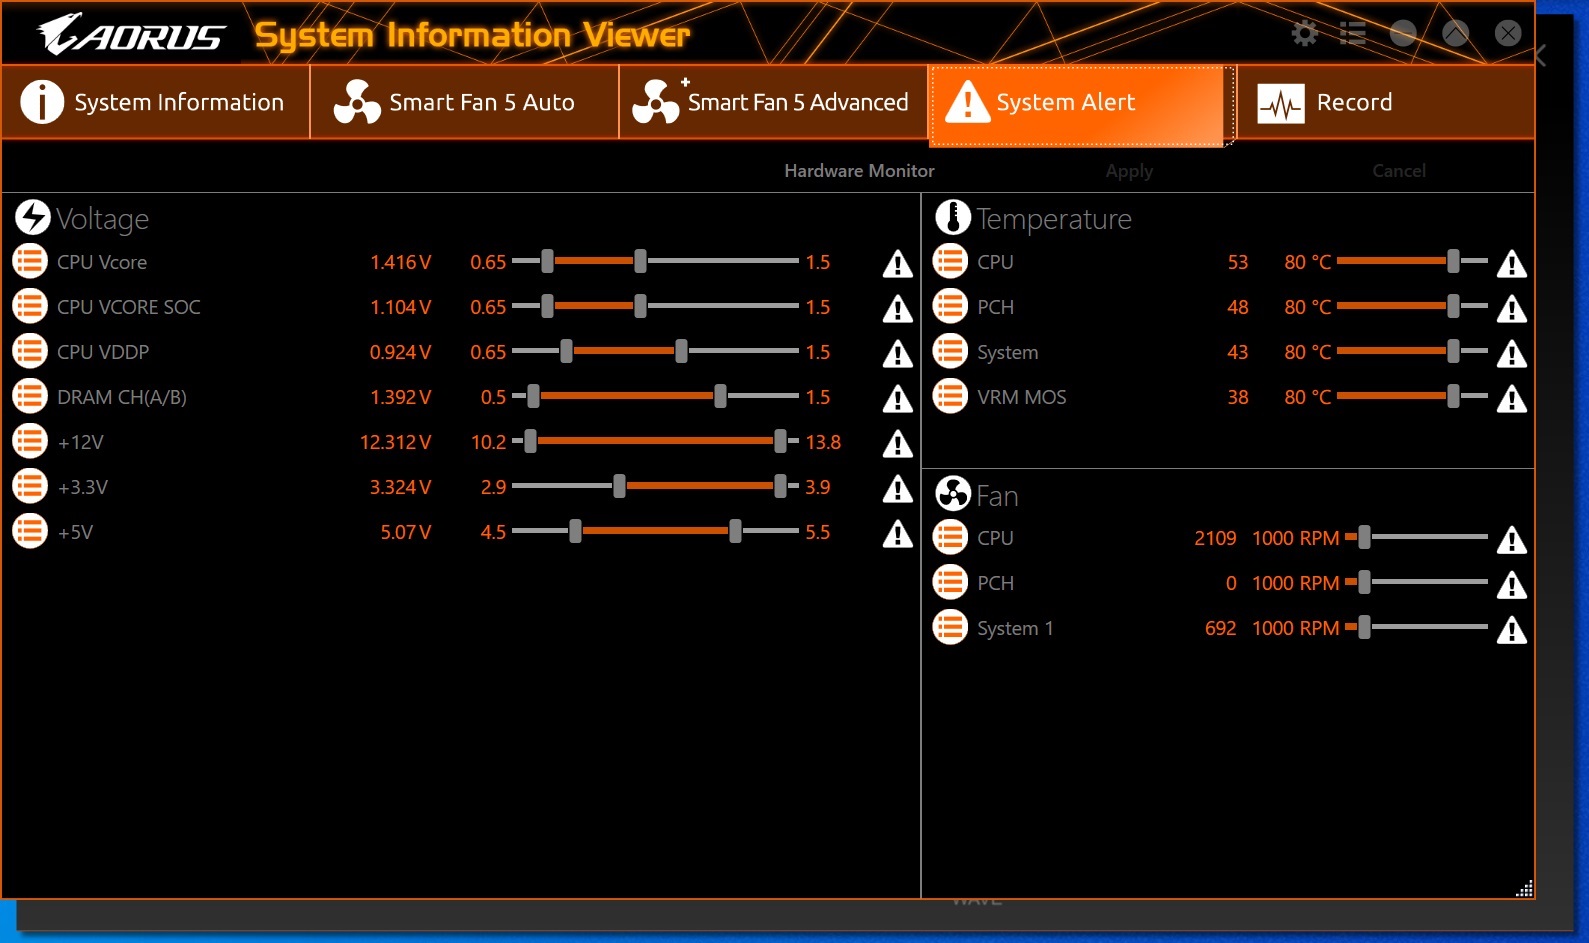
In the System Alert tab, SIV is able to send the user alerts as well, if thresholds are crossed. And there are several, from PSU voltages to CPU and motherboard voltage, along with more familiar temperatures such as CPU, chipset, or VRMs. If monitoring things down to that level is how you roll, the X570-I Aorus Pro Wi-Fi has you covered.
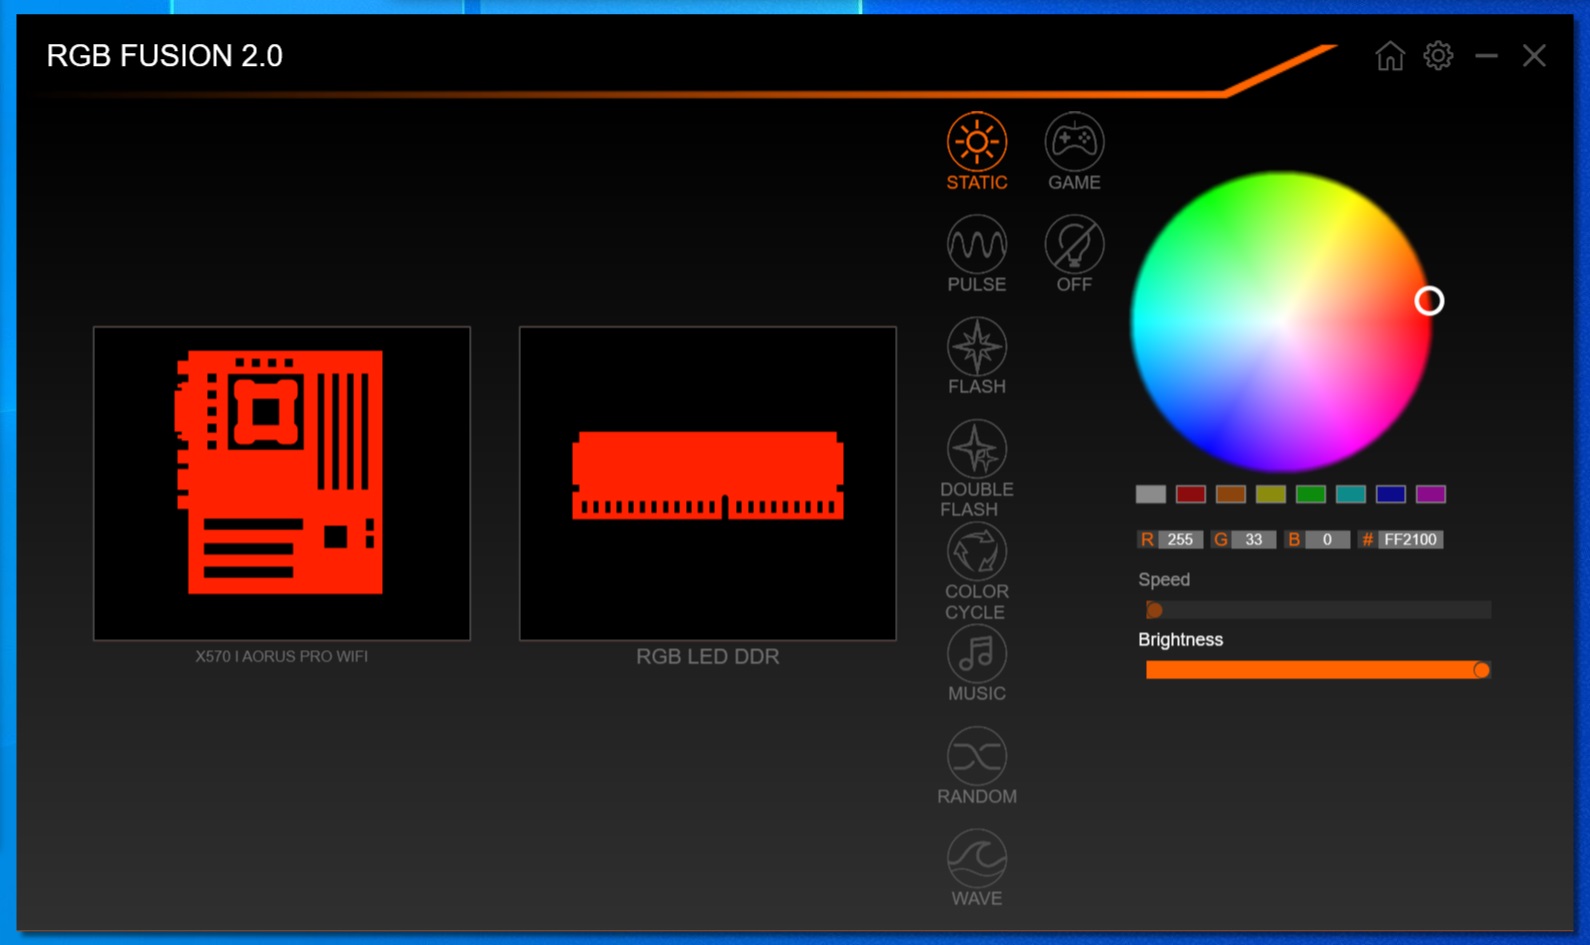
Gigabyte’s weapon of choice for RGB illumination control is arena is RGB Fusion 2.0. This lightweight application is able to control the integrated RGB LEDs, as well as any compatible 5050 RGB LED strips when connected to the two onboard headers.
The application allows you to choose which device(s) to change, and displays 10 different patterns including static, game, pulse, flash, double flash, color cycle, music, random, wave, and the all-important off setting. Within many of these, we’re able to change the color, speed and brightness of the patterns.
Firmware
Moving on to the firmware, we’ve seen in previous X570 Gigabyte boards that the company has improved the overall look and feel. Gigabyte has seemingly consolidated items to make the BIOS a bit more ergonomic and user-friendly, by grouping like items together. Being an Aorus SKU, there is a black background with orange accents on the top and bottom, with the lettering in white and quite legible.
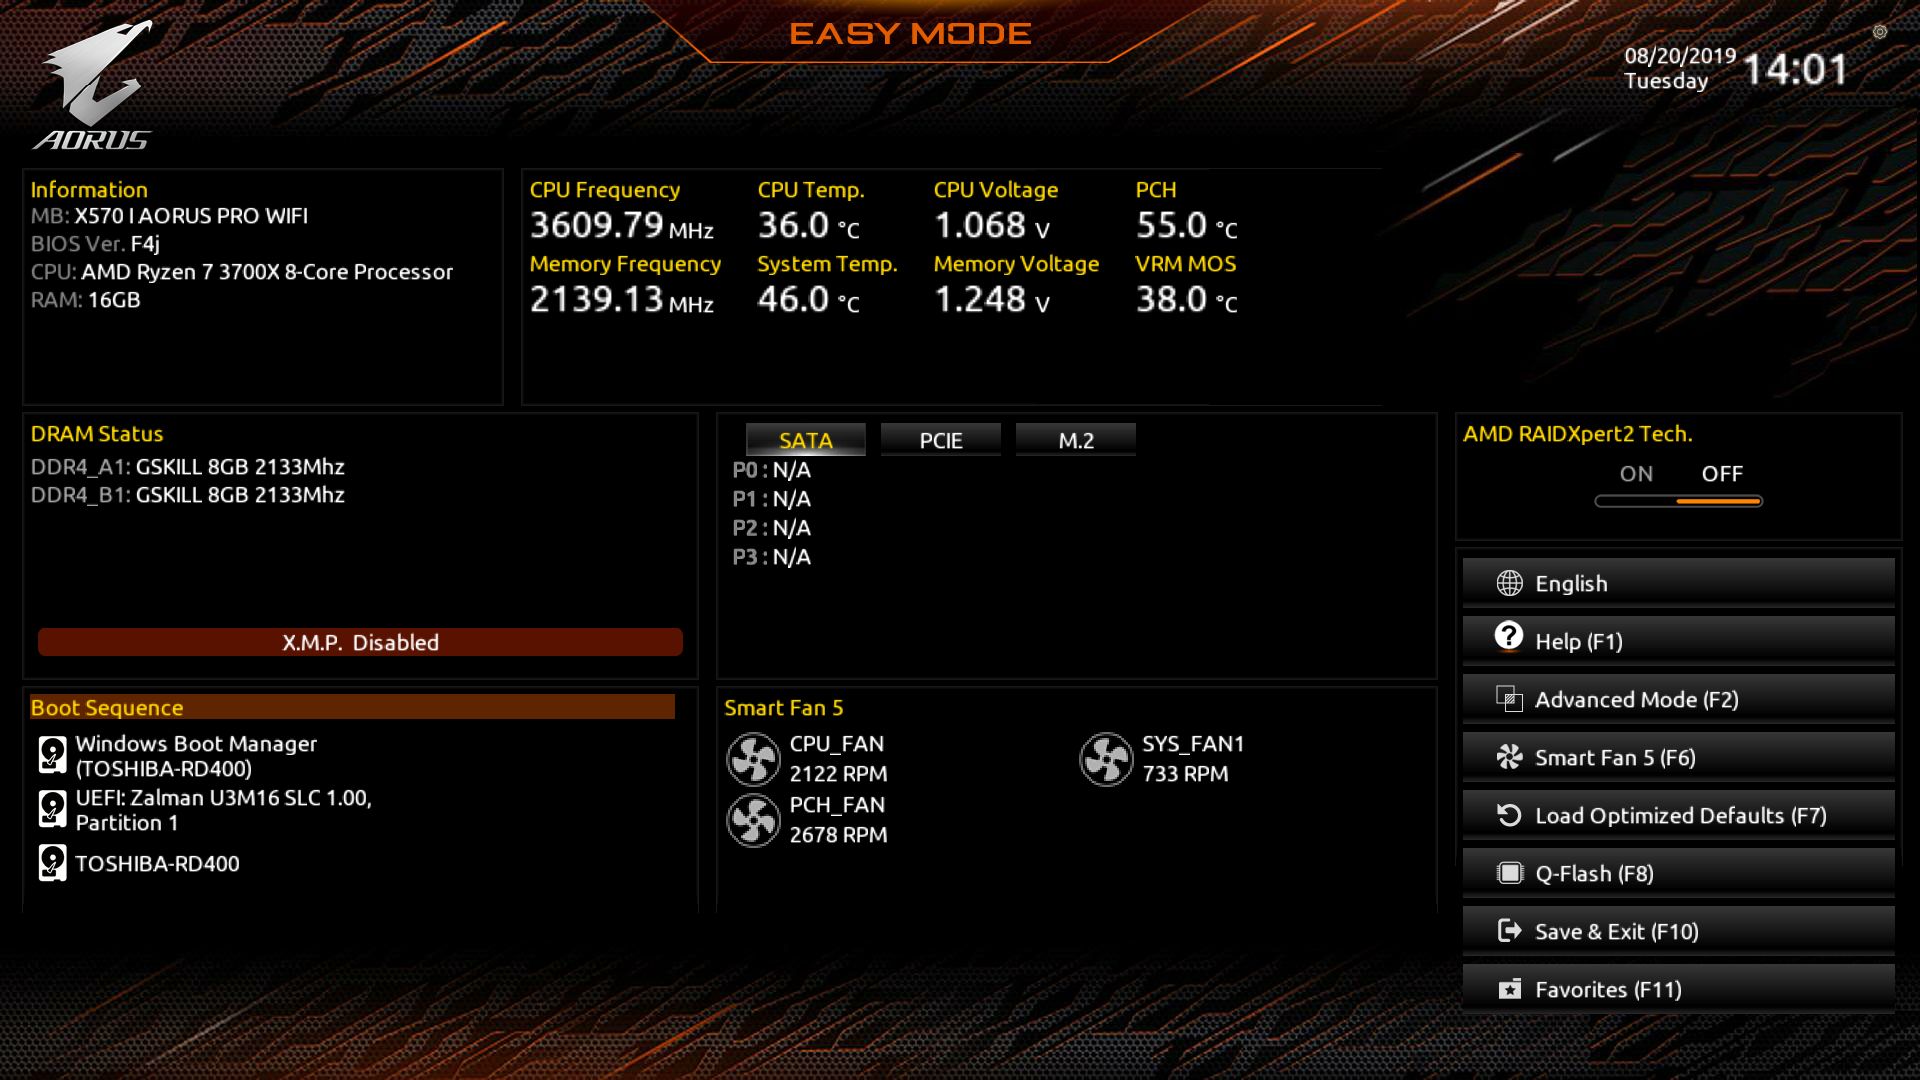
By default (after a fresh install of the latest UEFI), we are greeted by the Easy Mode version of the BIOS. Easy Mode is both informational as well as offering a bit of functionality. It displays details on the motherboard and the installed BIOS, the CPU and RAM, as well as a SATA/PCIe/M.2 modules. Easy Mode also covers CPU speed, temperatures and voltage, along with memory frequency and voltage, system/PCH/VRM temperatures as well. The boot sequence is also able to be changed from this screen.
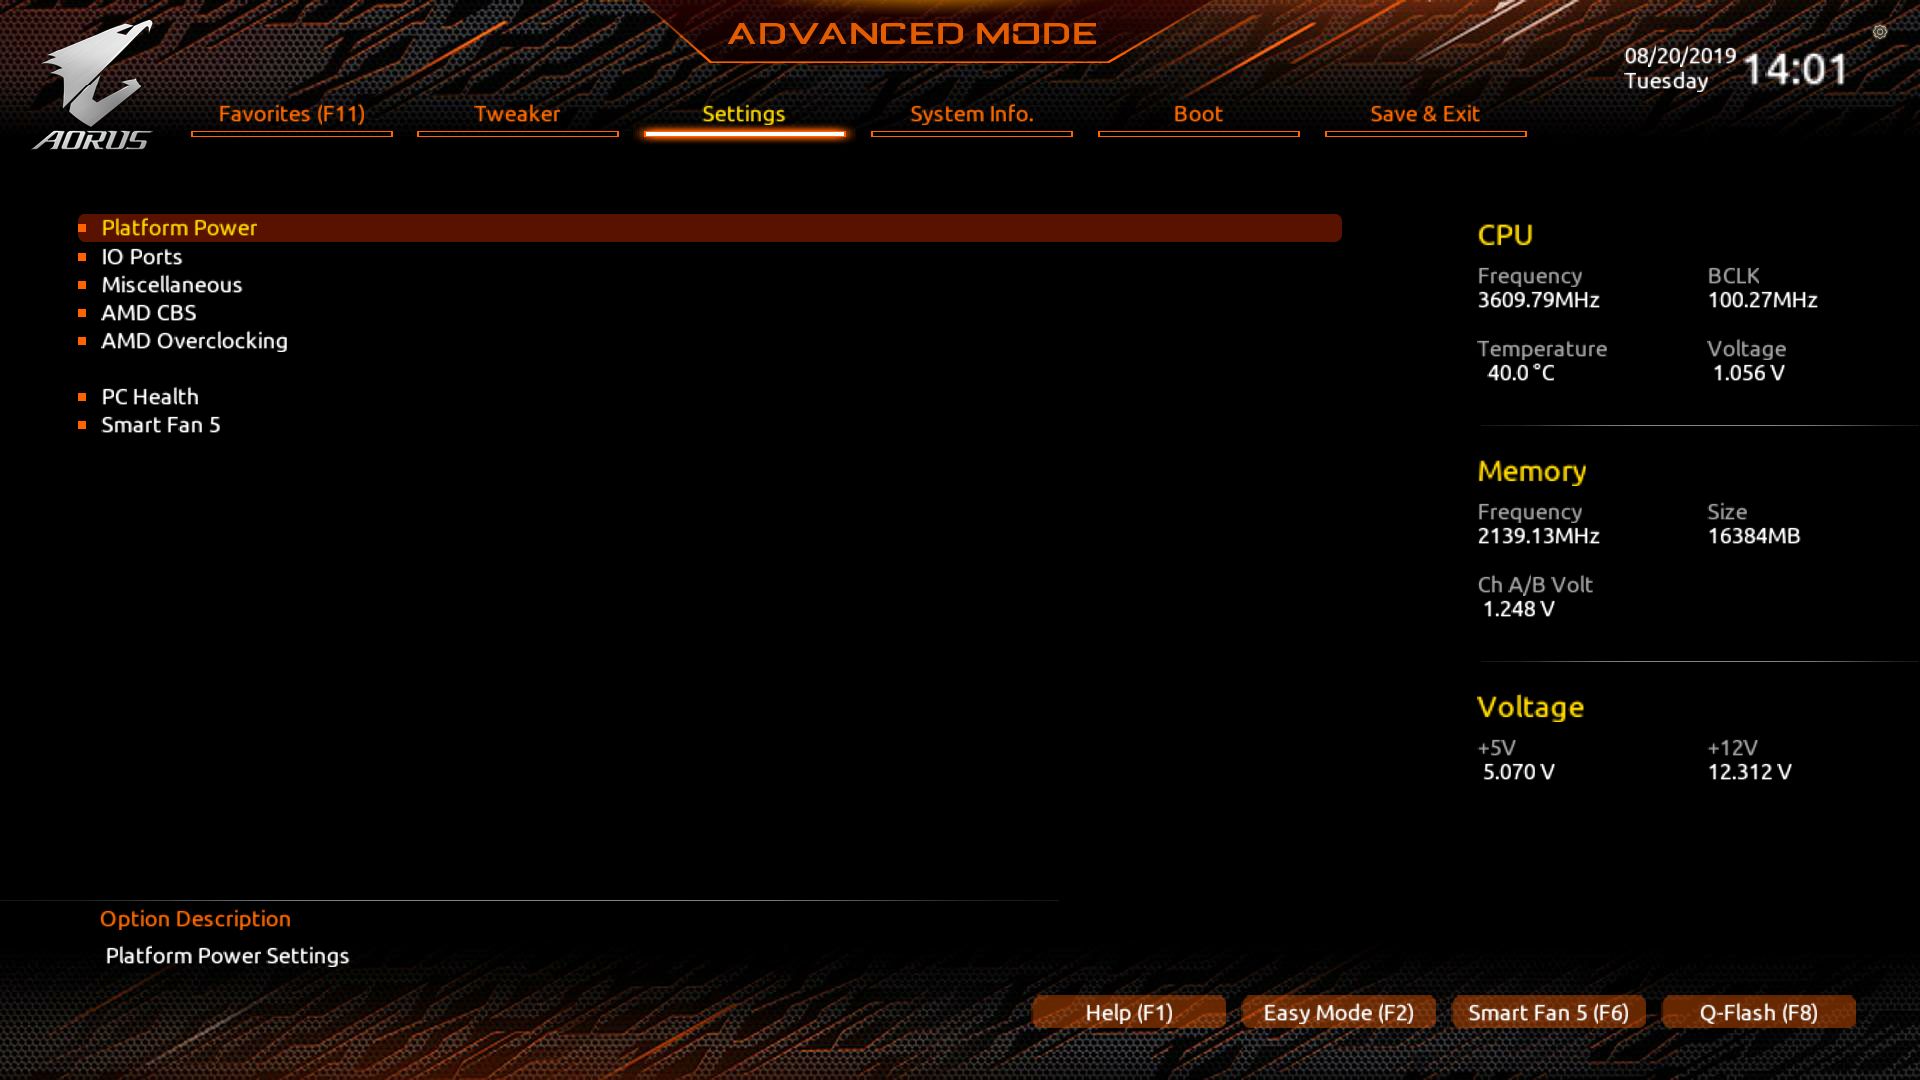
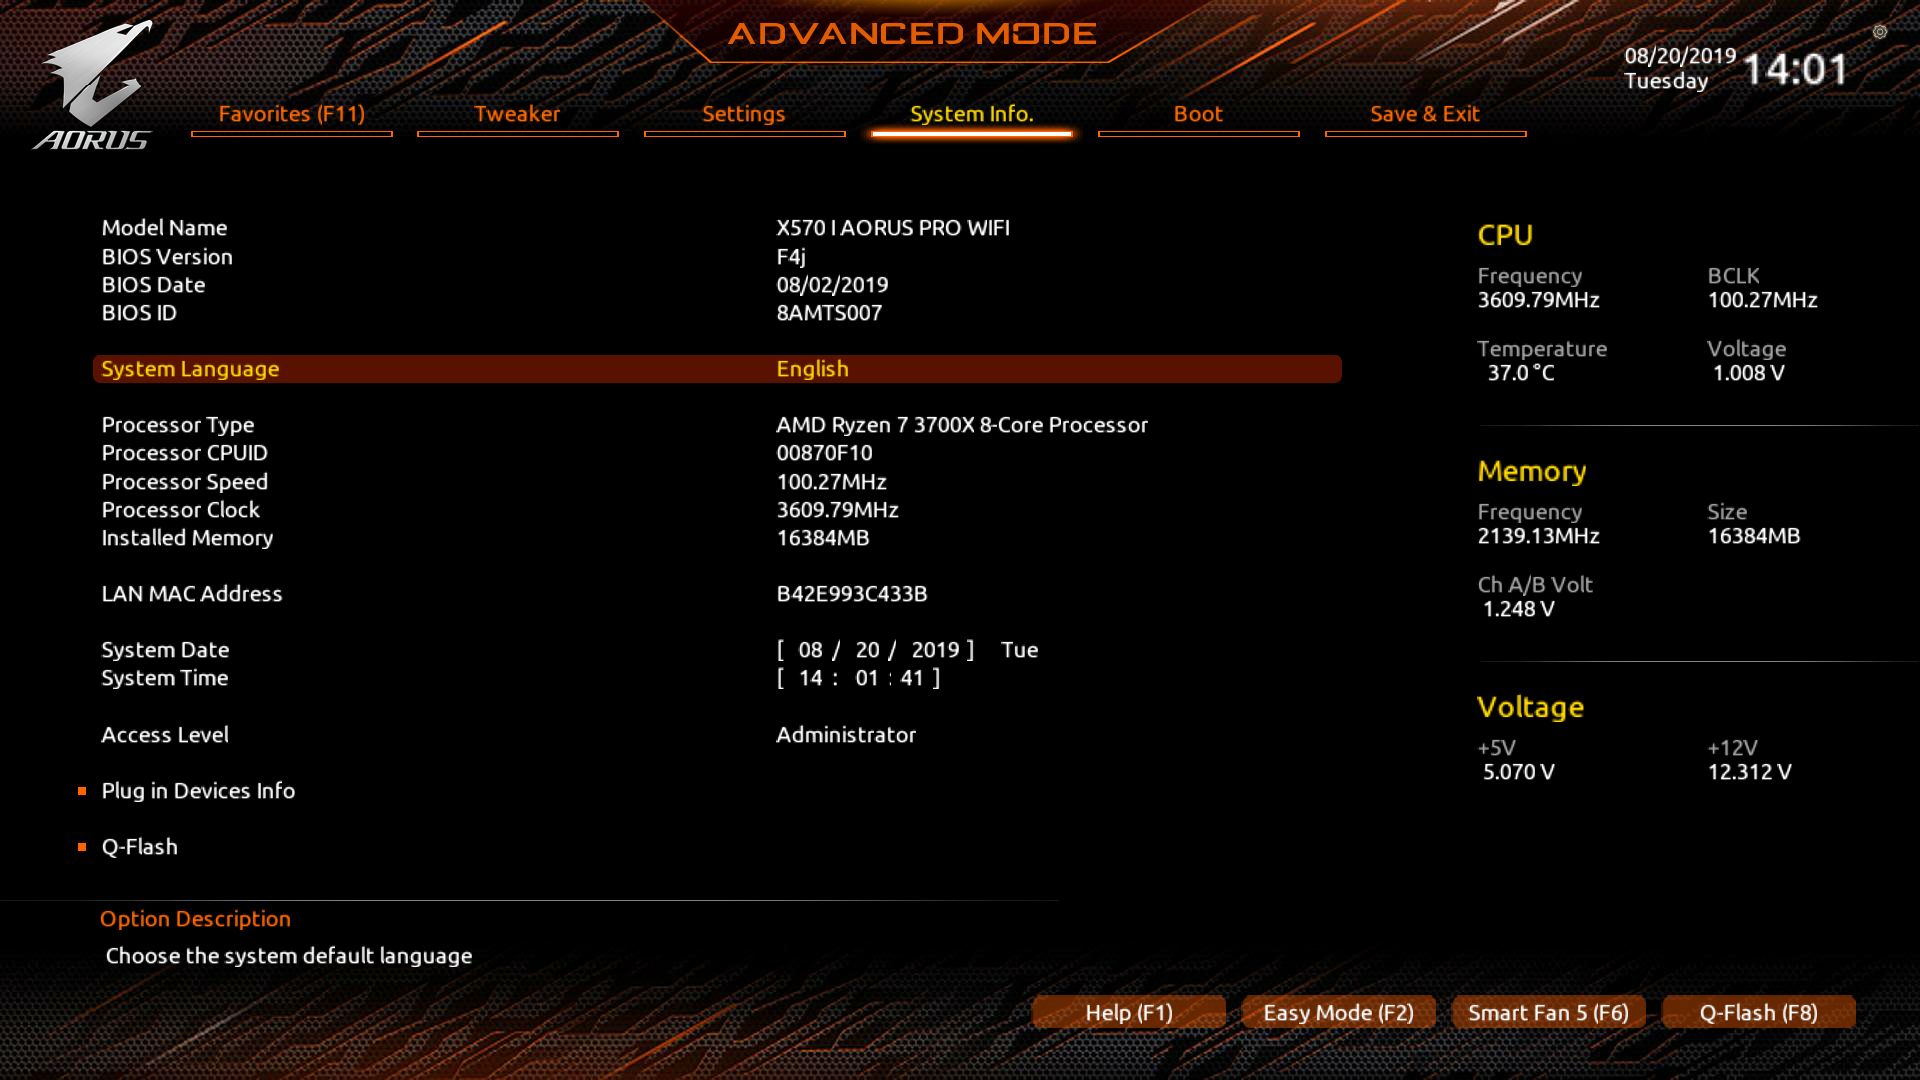
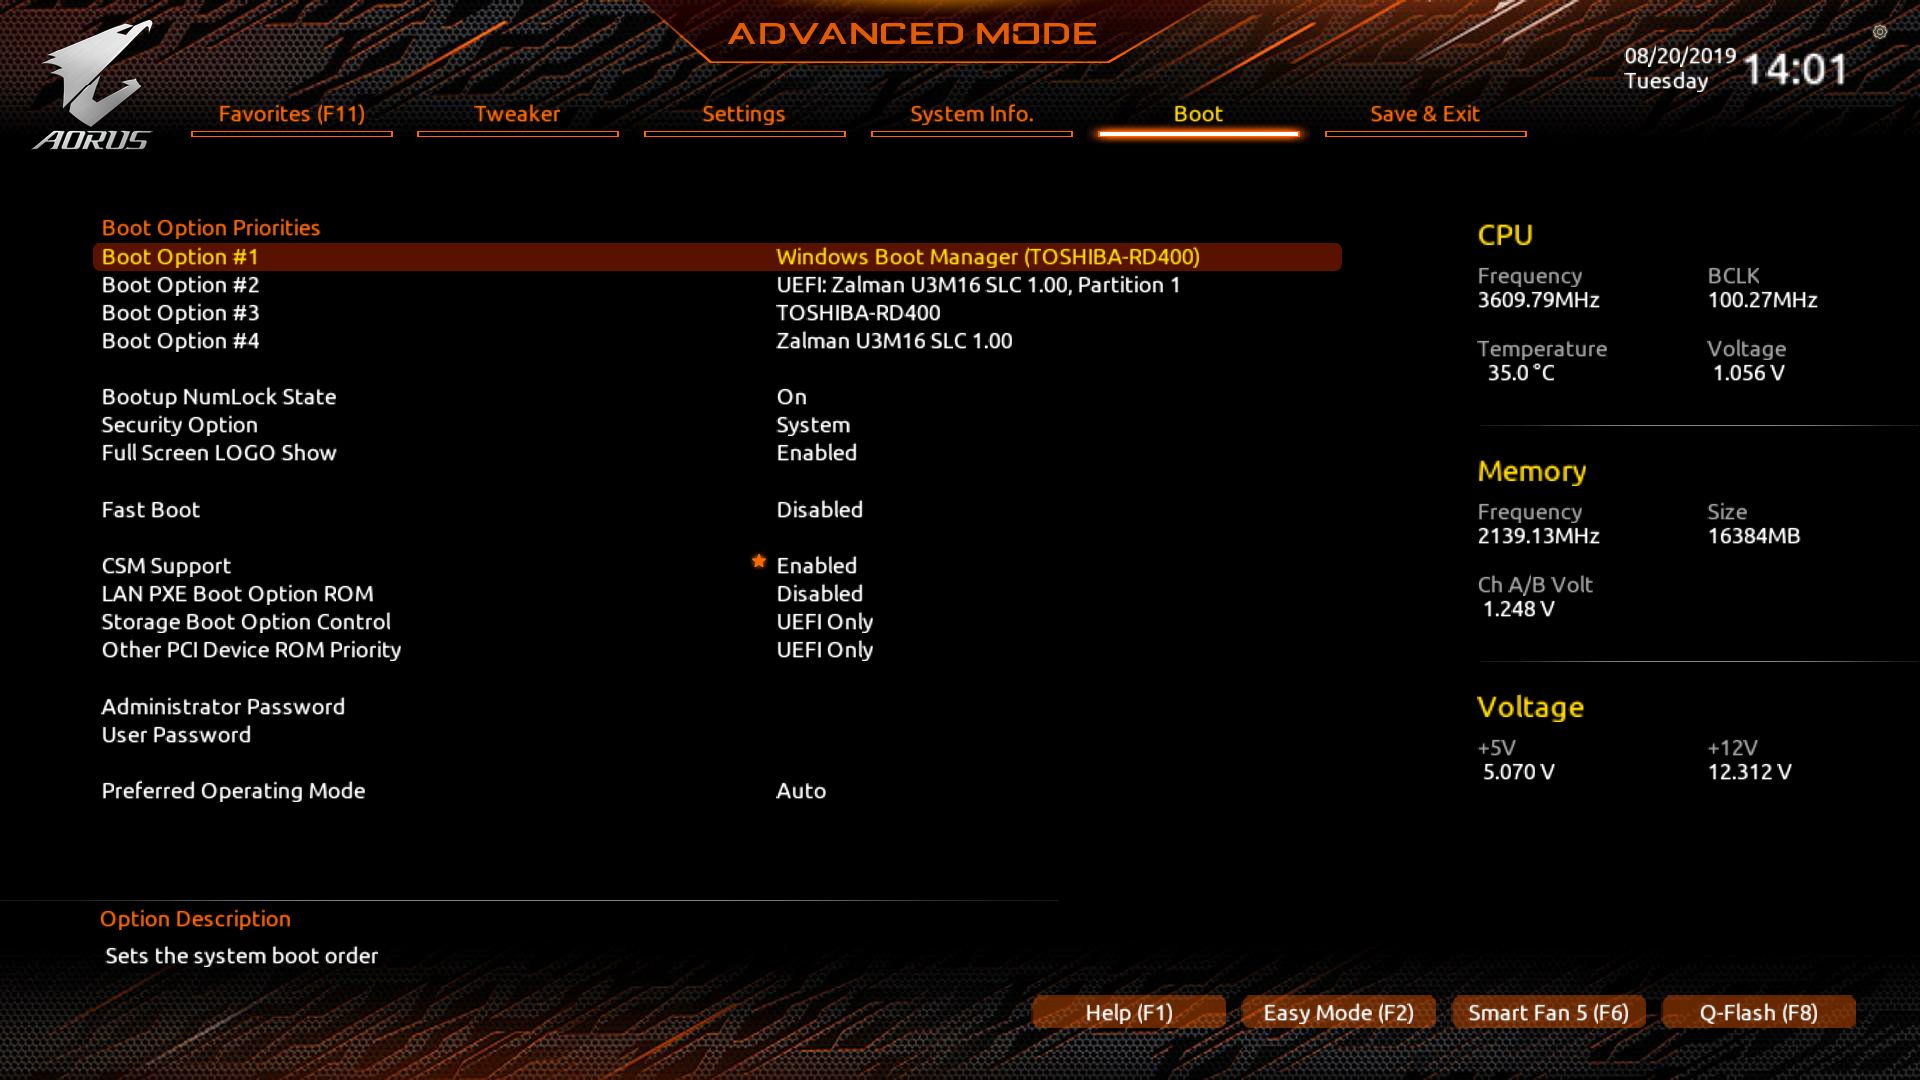
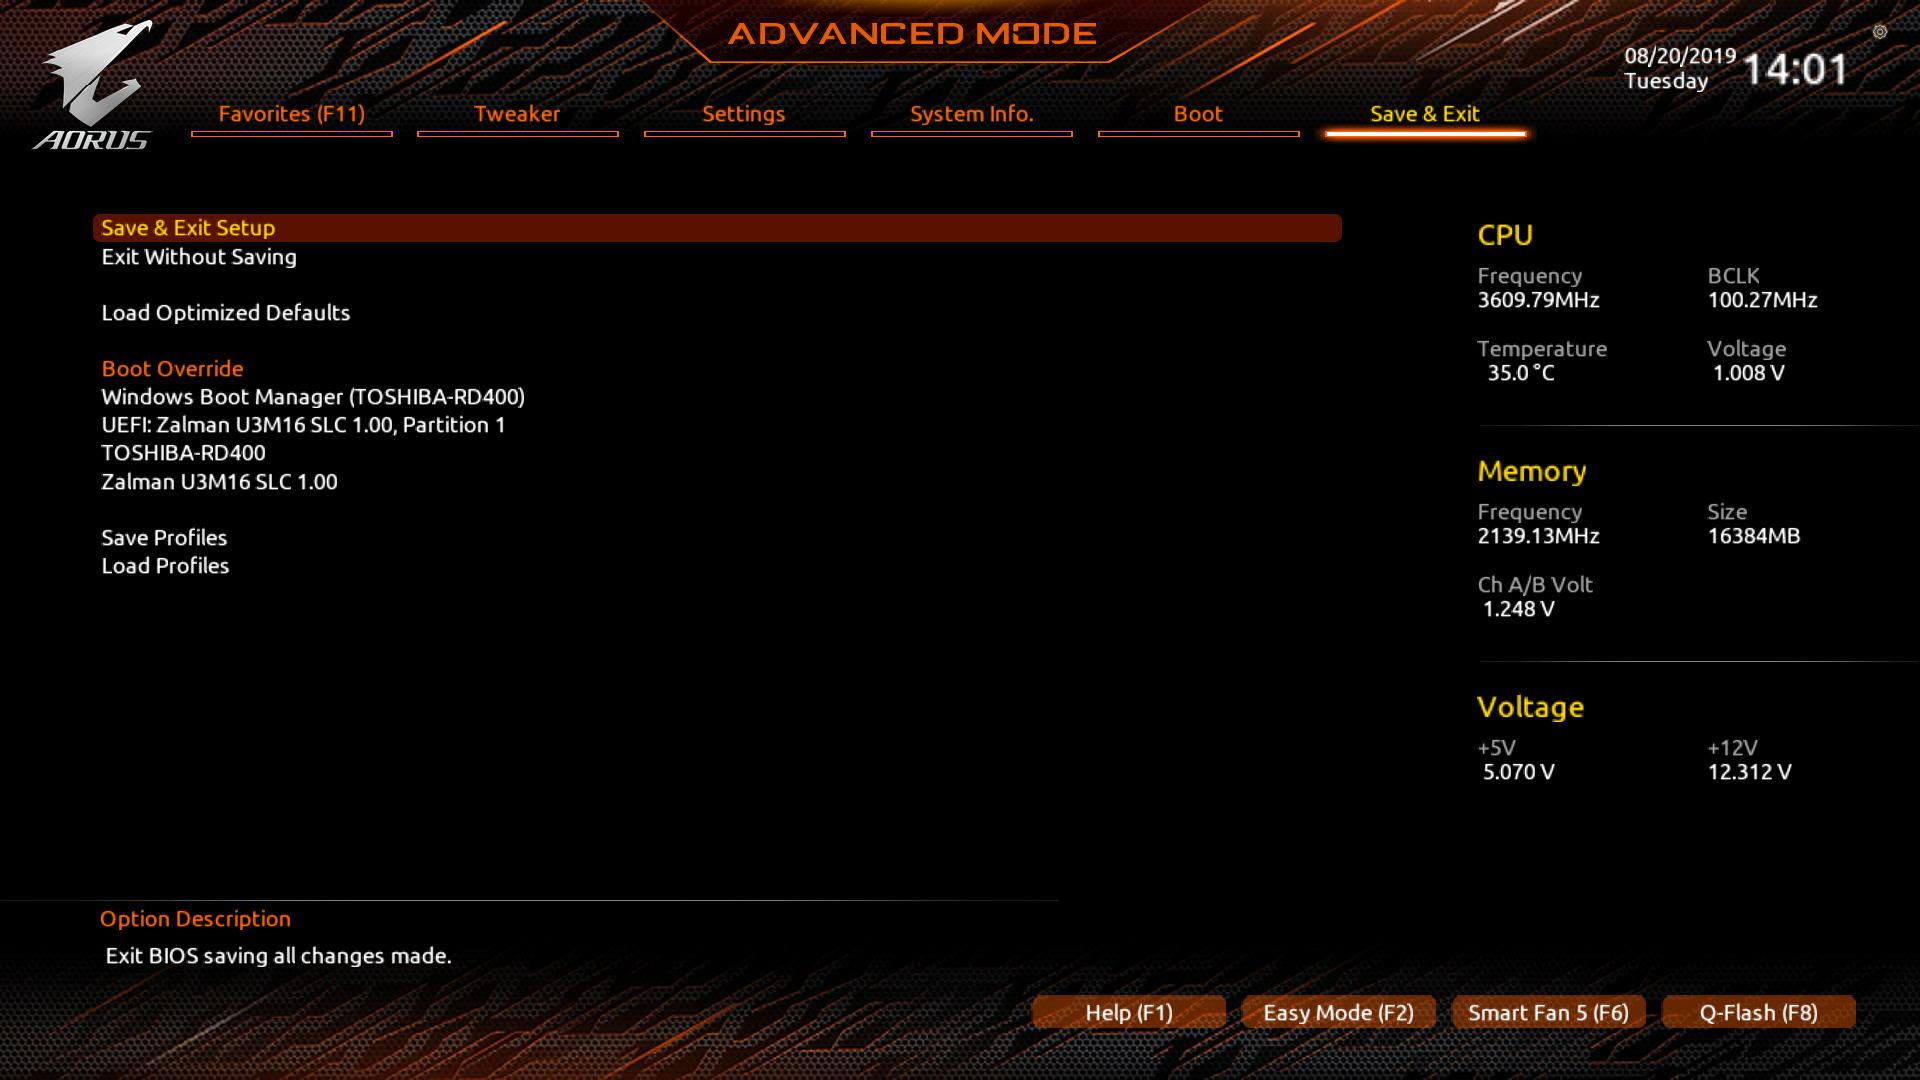
Inside Advanced Mode, we see the more typical style, with headings across the top and the information/editable fields below. Across the top are Favorites, Tweaker, Settings, System Info, Boot, and Save and Exit.
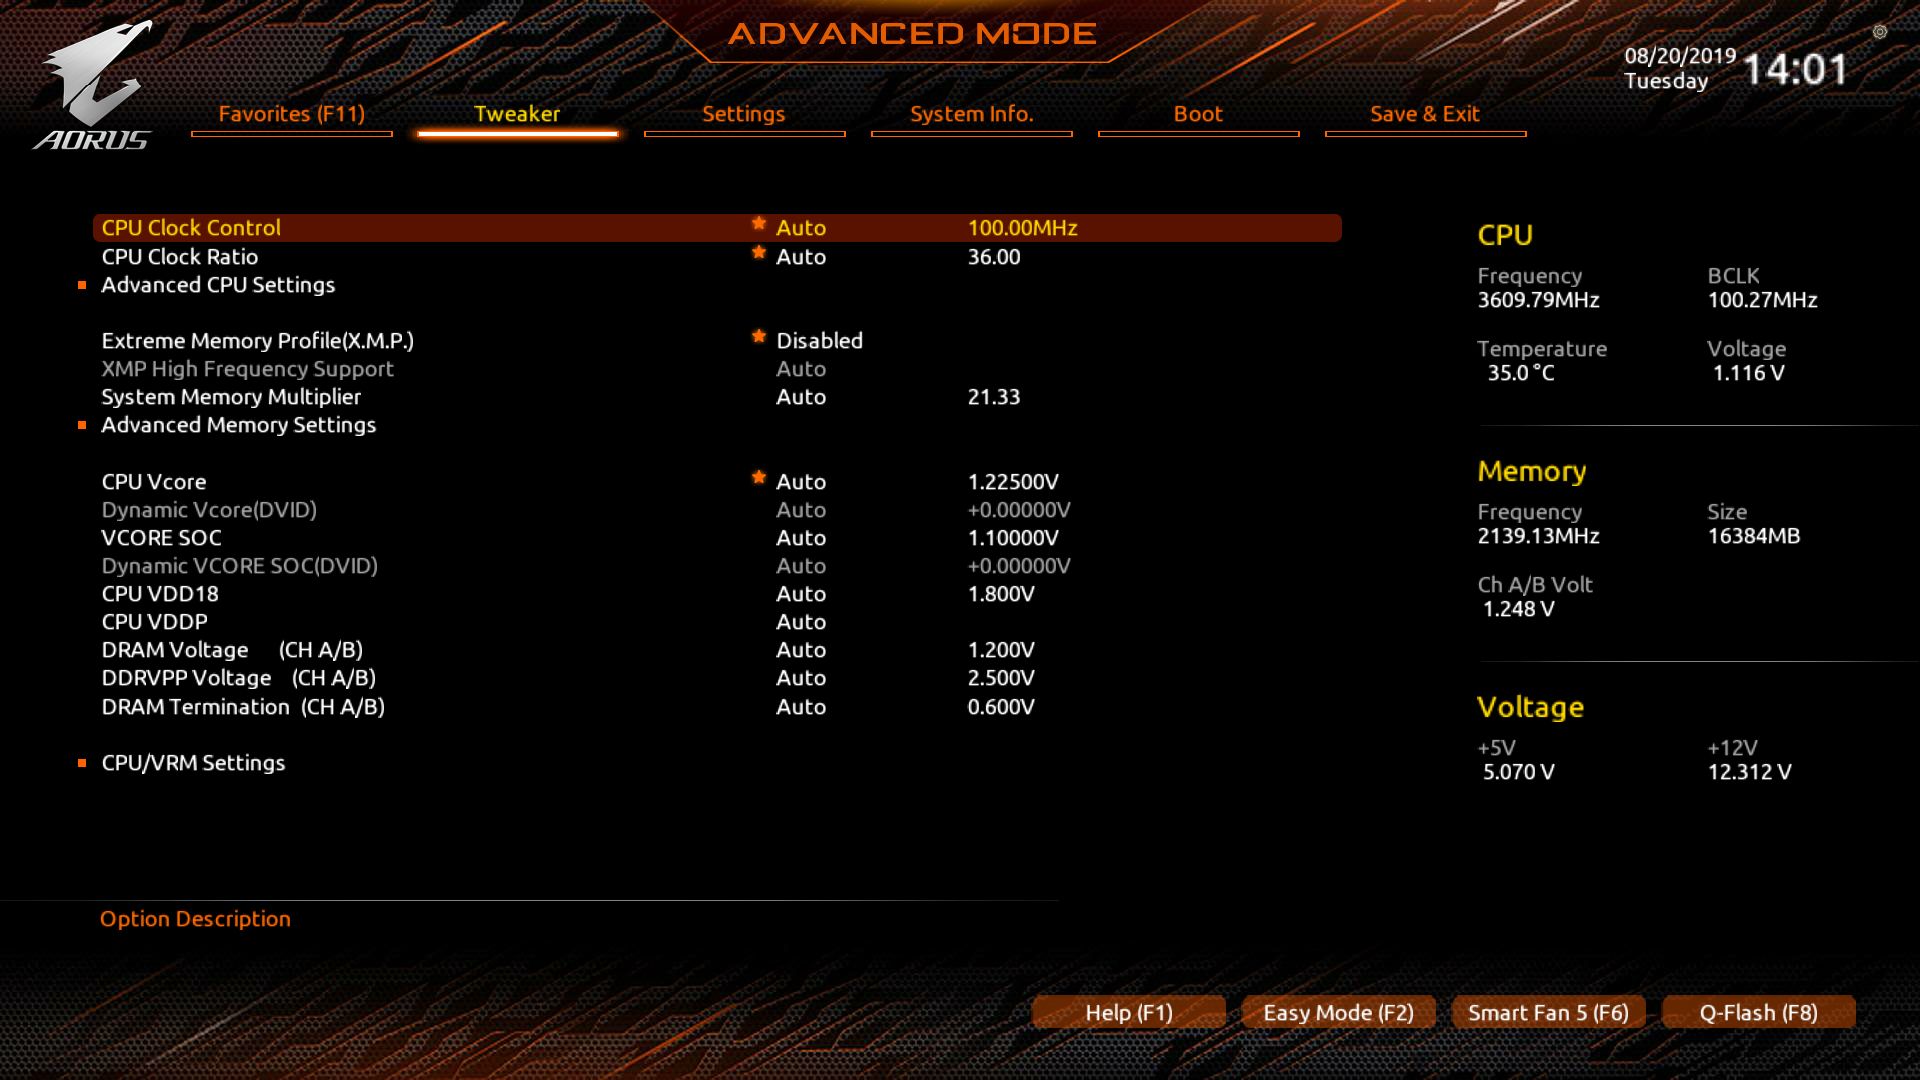
The Tweaker section is where the overclocking magic happens. Most (if not all) of the settings you need to push these CPUs to the limit, are found in this section and within a sub-heading or two. You’ll find CPU overclocking options such as clock ratio and BCLK, Memory settings including XMP and a manual section for individual timing control as well as all the necessary voltages.
Sliding to the right, the Settings section is where adjustments can be made to platform power, IO ports, AMD CBS, as well as AMD’s own overclocking section that the company injects into board partner UEFIs. In addition to these options, here is where you’ll find PC Health as well as Smart Fan 5 for the BIOS.
When looking at the System Information section, you’ll find it’s mostly informational, covering the BVIO, processor, LAN MAC address and other system information. Q-Flash Plus can also be accessed from this section as well.
Boot, along with Save and Exit, are pretty self-explanatory.
Overall, I do like how Gigabyte lays out its BIOS, making it easy to read and efficient. Most everything needed is organized where you’d expect it, making using the BIOS a pleasant experience.
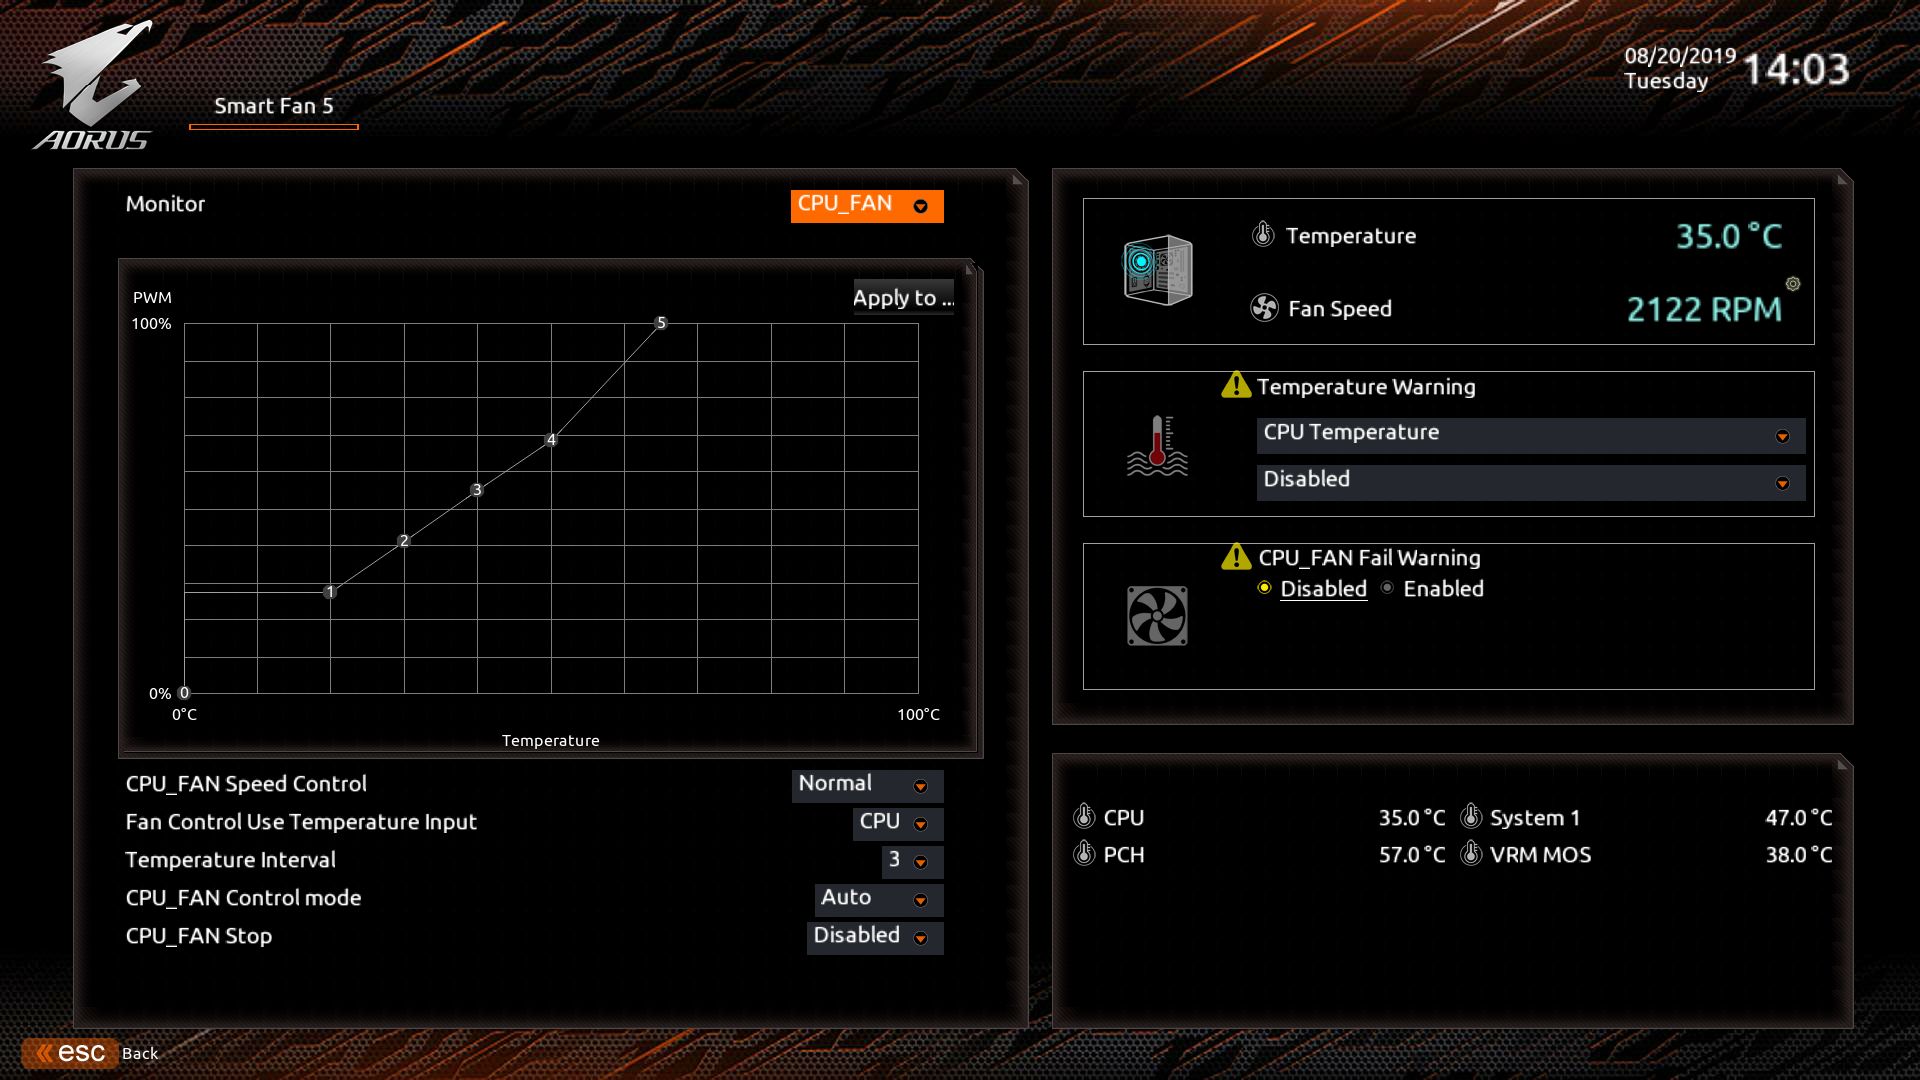
Last but not least is Smart Fan 5 from the BIOS. The differences from the Windows version aren’t substantial. In addition to being able to set custom fan curves, you are able to set the temperature input (what sensor is used to speed up/slow down the fan) and a fan stop mode, which is good for when silence is paramount.
MORE: Best Motherboards
MORE: How To Choose A Motherboard
MORE: All Motherboard Content

Joe Shields is a staff writer at Tom’s Hardware. He reviews motherboards and PC components.
-
logainofhades I have been using this board, with a 3700x, pretty much since launch week. No complaints here.Reply -
Jyeung0690 I’m going to be building and I’m stuck on if I need an ARGB splitter or just an RGB splitter 3pin or 4pin. I’m assuming I’m going to need a splitter for sure but trying to figure out how to make all the ARGB to work.Reply -
SonoraTechnical This board was perfect, until it didn't have SPDIF / Optical Audio Out. Bummer!Reply
