Modifying An Asus A7V Motherboard For Duron-Overclocking
Features
By
Frank Völkel
published
Add us as a preferred source on Google
In Depth: Modifying The Asus A7V
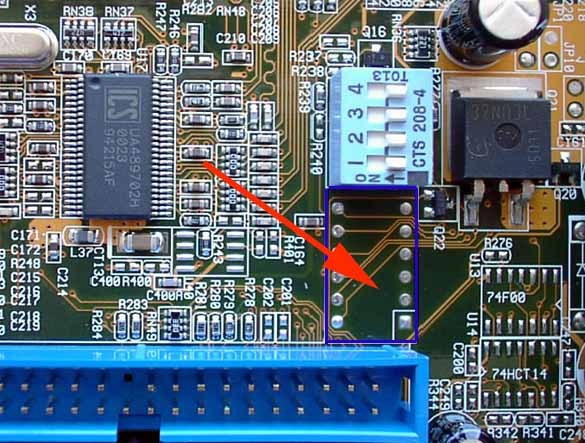
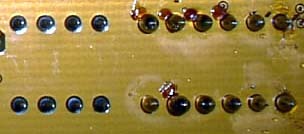
First the DIP switch is soldered next to the switch that is installed already. Make sure that the necessary contacts are arranged in the first layer of the circuit board. The lowest fourth layer only is only for attaching the DIP-switch and does not function as a contact.
The DIP switch for the multiplier adjustment is inserted in this free spot.
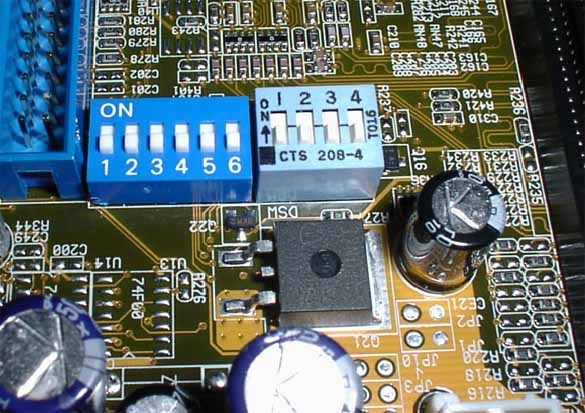
This picture shows the added DIP block. Now everything is ready for the coding of the multiplier.
Precision work is an absolute must for successful overclocking. Important: Cold-soldering connections should definitely be avoided.
Stay On the Cutting Edge: Get the Tom's Hardware Newsletter
Get Tom's Hardware's best news and in-depth reviews, straight to your inbox.
Current page: In Depth: Modifying The Asus A7V
Prev Page Modifications For Less Than 3 Dollars Next Page Tricky: Installation Of The SMD Components
No comments yet
Comment from the forums


