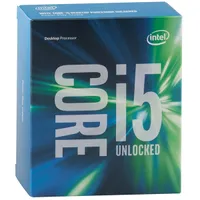
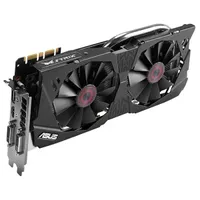
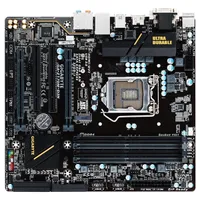
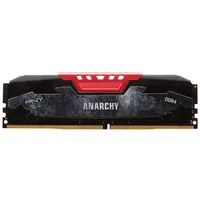
System Builder Marathon Q4 2015: $1055 Prosumer PC
Unhappy with last quarters builds, we completely uncapped our budgets with the goal of fixing performance shortcomings.
Component Selection & The Build
System Builder Marathon Q4 2015
Here are links to each of the five articles in this quarter’s System Builder Marathon (we’ll update them as each story is published). And remember, these systems are all being given away at the end of the marathon.
To enter the giveaway, please fill out this SurveyGizmo form, and be sure to read the complete rules before entering!
- $1184 Gaming PC
- $1055 Prosumer PC
- $895 LAN Box PC
- System Value Compared
- $912 AMD LAN Box PC
$1055 Prosumer PC
Should I apologize for last quarter’s vast value victory, given that my greater System Builder Marathon experience might be seen as an unfair advantage? Equal budgets provided the perfect opportunity for a completely unbiased win, but my actual task would be to own a couple of newbs. However, these weren’t just any new competitors, as I had personally snagged one of them from our community forums. Yet community members have always been first to shred the logic of my component choices, so I cranked my efforts up to 11 in rebuttal.
All apologies were instead reserved for Prosumer builders. Users who run professional programs out of their home office or den (and occasionally take a break to game) usually need a little more memory and graphics than I could cram into an $800 budget. And then there’s the problem of seconds that feel like hours when users are waiting for a project to load off a mechanical hard disk drive. I also added a couple personal misgivings, since I’d abandoned a MicroATX configuration that lacked any optical drive bay, and instead spent an extra $2 on the ATX case in order to save $5 on an optical drive. Would any real-world builder go so far as to change form factors to save $3? Would a real professional application user give up half their RAM to save $35? The consensus of readers is a resounding “no”.
The rules for this quarter’s machines were simple: Build what you should have built the first time. Knowing that people would save twice as long if they really needed twice the budget, we also lifted the budget cap completely. The goal of value-score improvement was the only thing that kept us from buying the best of everything.
The Build
- Platform Cost: $915
- Total Hardware Cost: $935
- Complete System Price: $1055
The majority of readers who mentioned the optical drives of previous System Builder Marathons did so in protest, often claiming that they never use them. Never is a strong word, but we’re certain that most users rarely need an optical drive, and that many already have an external drive for their notebook, or a second system with an optical drive. The one holdup was the OS, since we didn’t want to subject everyone to downloading their OS. For an extra $20, Windows 10 comes on USB. Those who called optical drives a waste of money should be reminded that $20 is what we used to spend on DVD burners.
And now for the hard choices:
Get Tom's Hardware's best news and in-depth reviews, straight to your inbox.
Component Selection
Assembly
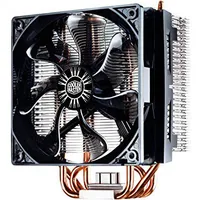
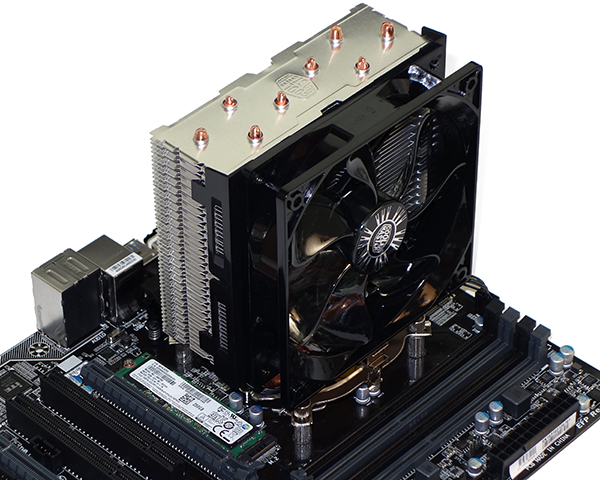
As detailed in my previous Prosumer PC, Cooler Master’s Hyper T4 includes an X-shaped support plate that fits all three of Intel’s bracket-less LGAs (775, 1156/1155/1151, 1366). Pins on that support plate slide into position on slots, are pushed through the board, and are topped with standoffs (right side of image), then cross brackets (upper half of image), and then nuts (top of image).
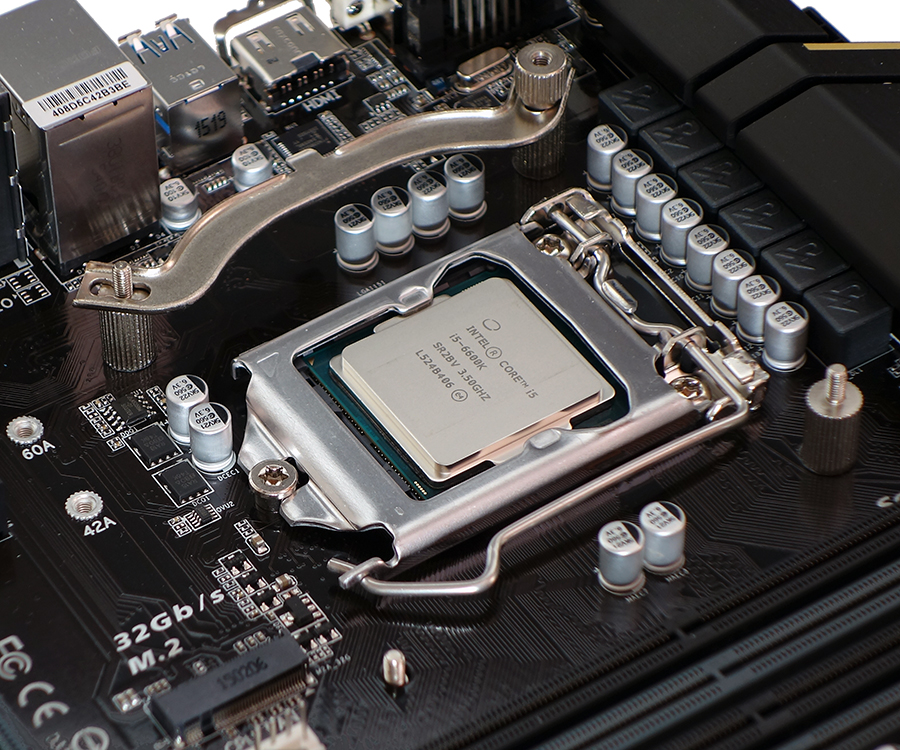

After removing the protective sticker from the cooler’s base, I shoved a little thermal compound into the crevices between the heat pipes and base before applying five small dabs of paste in an X-shape. The silvery plate built onto the CPU is called a heat spreader, and pressure from the cooler’s clip distributes the paste evenly across the base and CPU heat spreader.
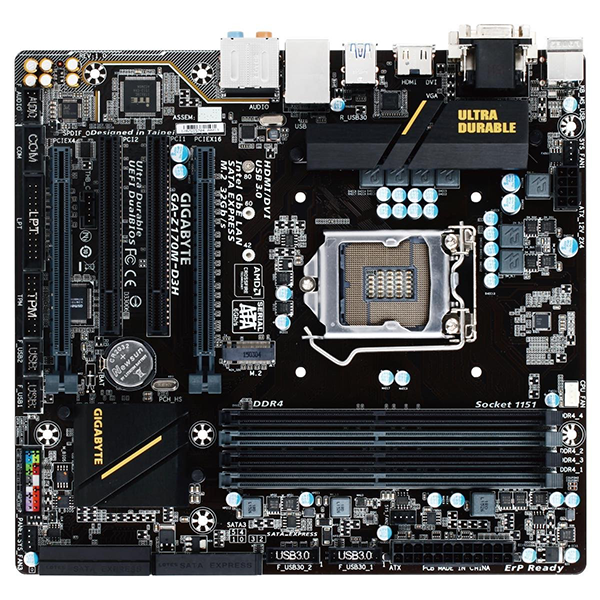
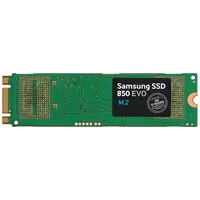
A single photo illustrates many words, such as the M.2 SSD being held by a single screw and the CPU cooler being attached to the cross brackets of its mounting kit with a clip. The clip itself has a lever to lock it down, which is behind the cooler in this installation. DDR4 SDRAM generally works best when installed into the last slot of each channel, which are the two grey slots on this motherboard.
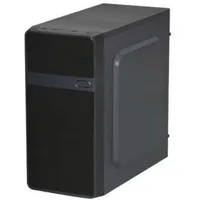
Prior to final assembly, I prepped the case by pulling off the face panel and re-routing the front-panel leads through an access hole above the optical bay, and twisted out the top two slot covers to make room for the graphics card.
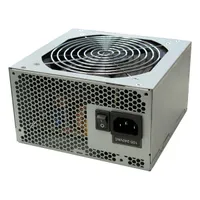
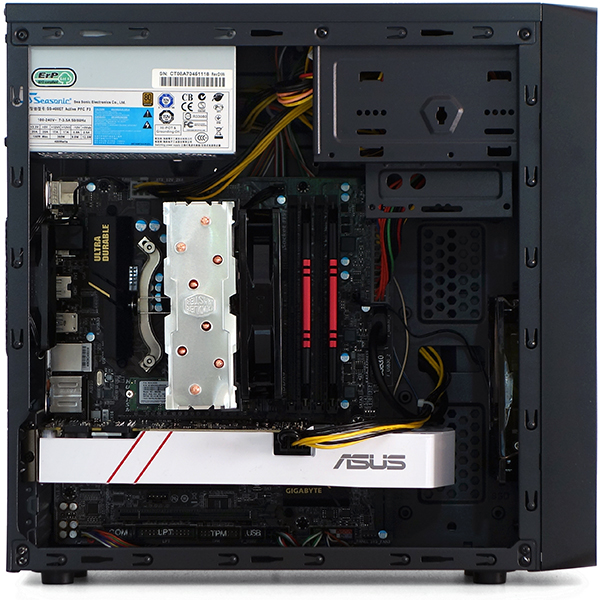
Without a bunch of drives to install, I simply pressed the motherboard’s I/O shield into the corresponding hole in the back of the case, screwed the motherboard onto factory-installed standoffs, pushed the graphics card into its slot, screwed the power supply onto its mount, and connected all the power cables. Leftover power cables are stashed in the optical drive bay, and there’s enough space remaining to shove them above an optical drive if one is ever required. Except for USB 3.0, front panel leads are pulled behind the motherboard and wrapped around the motherboard’s bottom edge. The DIYPC MA01-G case has a little space behind the motherboard tray for cables, so I used it for the graphics power and USB 3.0 cables.
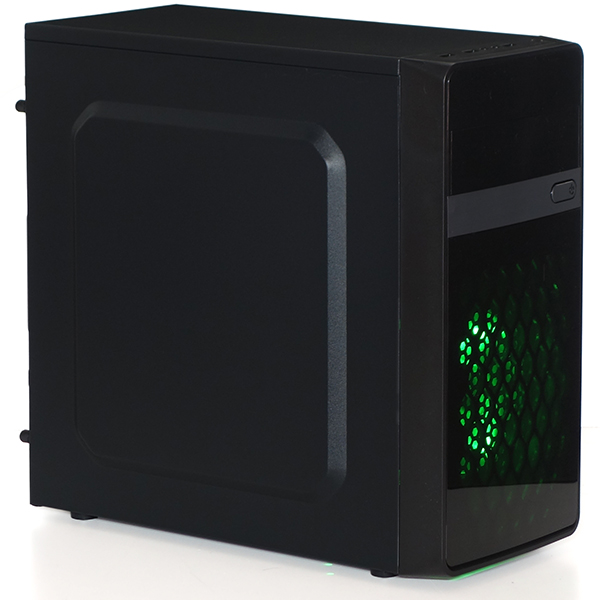
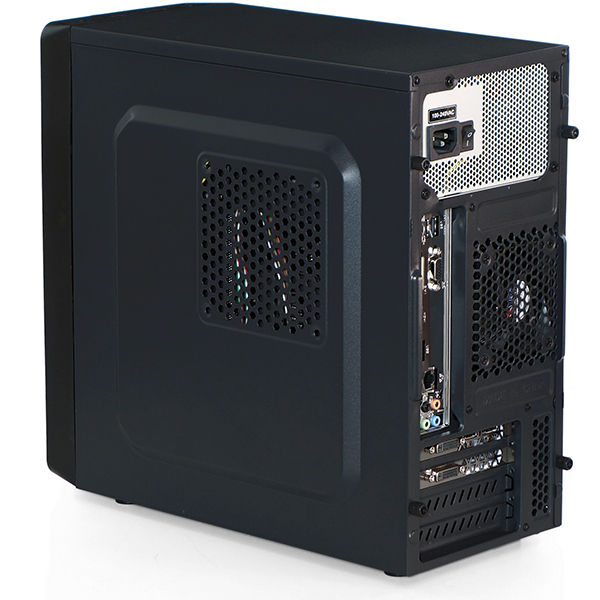
You may have noticed that the lead photo showed no fan grill on the left side panel. The panels are swappable, and that gaping hole would have altered front-to-rear airflow while also allowing more fan noise to escape. With the hole on the other side it’s now behind the CPU socket, and anyone would like to cool the back of the LGA will find that it has enough room to install a fan.
-
3ogdy Great build! Asus has mistakenly named their card "Asus GTX 970-OC-4GD5". It's actually an "Asus GTX 970-OC-3.5GD5". Let's not (edited) around.Reply
The only thing I see affecting this build's usability (it's a prosumer config after all) is the lack of storage. 200GB (overprovisioning included) is too little by any standards. This build definitely needs a 2TB+ HDD. -
Crashman Reply
Have you not heard of the cloud? Yeh, I said that tongue-in-cheek in the article as well, I really just wanted to build it cable-free.17207601 said:Great build! Asus has mistakenly named their card "Asus GTX 970-OC-4GD5". It's actually an "Asus GTX 970-OC-3.5GD5". Let's not fruck around.
The only thing I see affecting this build's usability (it's a prosumer config after all) is the lack of storage. 200GB (overprovisioning included) is too little by any standards. This build definitely needs a 2TB+ HDD.
The guys who said they do everything over the internet (to convince us to drop the optical drive) did give me a convenient excuse to go cable free though, thanks guys!
-
3ogdy Never giving my data to other companies regardless of what the trends are like. I also retain access to my data without the need for a network connection.Reply
My data is mine, unless of course there's a company like Seagate selling semi-faulty drives and then asking $1000+ for a recovery.
The cable free approach is definitely welcome. In my mind a prosumer needs more than 250GB locally, but most likely times are changing. I'll stick to my old ways though. -
James Mason I don't think this build being capable of OCing is worth all the drawbacks it has.Reply
And since you can BCLK OC the locked Skylakes now, the extra money saved with a non K chip would have made this build less misguided, and still given the "option" of OCing. -
firefoxx04 Put data on the cloud? How exactly is one supposed to store 2TB of data and actively use it without decent Internet connection (Gbit)Reply
For over $1000, I don't like the lack of case features, storage, power supply.
It's like putting a formula one engine into a cheep old van and trying to run it on pump gas. Cool at first but it's still a van. -
3ogdy Reply17209135 said:Put data on the cloud? How exactly is one supposed to store 2TB of data and actively use it without decent Internet connection (Gbit)
For over $1000, I don't like the lack of case features, storage, power supply.
It's like putting a formula one engine into a cheep old van and trying to run it on pump gas. Cool at first but it's still a van.
The same way people over at Microsoft are increasing prices while cutting storage for OneDrive.
http://www.anandtech.com/show/9759/microsoft-slashes-onedrive-storage-allotments
$24 a year for 50GB. What a poor joke. What a poor joke!!! Even my software kits occupy multiple times that.
Oh wait, it's just for photos and personal videos, right? Which ones? The ones taken with 2MP cameras? Even elderly relatives of mine can fill a 32GB microSD in a couple days of travelling and you offer 50GB a month for that money? Right....flash is cheaper than that, external HDDs are cheaper than that....and most importantly no idiot has access to them, including cops, Facebook or hackers searching for fame.
-
James Mason Reply17209209 said:17209135 said:Put data on the cloud? How exactly is one supposed to store 2TB of data and actively use it without decent Internet connection (Gbit)
For over $1000, I don't like the lack of case features, storage, power supply.
It's like putting a formula one engine into a cheep old van and trying to run it on pump gas. Cool at first but it's still a van.
The same way people over at Microsoft are increasing prices while cutting storage for OneDrive.
http://www.anandtech.com/show/9759/microsoft-slashes-onedrive-storage-allotments
$24 a year for 50GB. What a poor joke. What a poor joke!!! Even my software kits occupy multiple times that.
Oh wait, it's just for photos and personal videos, right? Which ones? The ones taken with 2MP cameras? Even elderly relatives of mine can fill a 32GB microSD in a couple days of travelling and you offer 50GB a month for that money? Right....flash is cheaper than that, external HDDs are cheaper than that....and most importantly no idiot has access to them, including cops, Facebook or hackers searching for fame.
Eh, you get 1 TB free with an office 365 subscription.
One Drive is great/best used for documents really, but with a whole terabyte I could keep photos there... If I were the type who keeps photos digitally as opposed to physically. -
killerofall Cloud is still not viable for large amounts of storage due to cost. I can buy a 3TB HDD for less than $100 but to store that online it would cost at least $50 a year. Online storage is only great for backups at this time and good enough for only your most important data (~15GB or less). Using large amounts of online storage also requires a better than average internet connection. If you live out in the middle of nowhere then just forget even trying to use it.Reply
You can not simply call this a "Prosumer PC" with the lack of local storage. If the budget was around $500 then maybe I could understand the lack of storage, but not at $800+. The only way I could recommend this system is if someone already has another PC or NAS in the house to augment the storage. Even simply adding a 1TB HDD for ~$50 would have been acceptable. -
killerchickens Where I live trying to use the cloud would be a joke not everywhere has fast internet. Next you will tell us to drive to frys to buy our parts.Reply -
thor220 Rather have a R9 290 or 390 in a prosumer build. Many applications are able to take advantage of the compute power of these cards and with the money saved one could easily buy a power supply where you don't have to questions whether or not it'll fry.Reply
The 970 is what I'd recommend if you were going to do serious overclocking. No way on a 400w unit.


