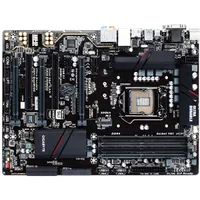
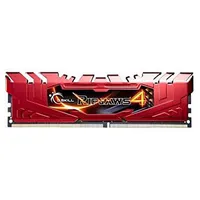
System Builder Marathon Q4 2015: $1184 Gaming PC
Can loose budgets help tighten the course on high-performance, mid-priced gaming? We put aside several of last-quarter's compromises to find out.
Component Selection & The Build
System Builder Marathon Q4 2015
Here are links to each of the five articles in this quarter’s System Builder Marathon (we’ll update them as each story is published). And remember, these systems are all being given away at the end of the marathon.
To enter the giveaway, please fill out this SurveyGizmo form, and be sure to read the complete rules before entering!
- $1184 Gaming PC
- $1055 Prosumer PC
- $895 LAN Box PC
- System Value Compared
- $912 AMD LAN Box PC
$1184 Gaming PC
Although it managed to come in second-best in overall value, last quarter's build ended up being a good general "compromise" build, rather than a good gaming or workstation build. As it turns out, it's much harder than you'd think to build something that's good at everything when you're saddled with a budget that forces you to make tough choices. In the end, each of us walked away regretting some of our choices in one way or another. However, all is not lost, as the three of us are getting a shot at redemption this quarter.
One of the biggest issues with last quarter's budget is that it forced each one of us to stick to a hard $800 limit, which in turn lead to having to make some unrealistic choices instead of exceeding the budget by a small margin. Well, this quarter we've taken that annoying budget and effectively thrown it out the window. With a $2600 spending limit in hand, the objective is to go back and fix everything we wish we could have fixed back then, while also still trying to achieve the best performance-per-dollar ratio possible.
Regarding the various value benchmarks for the System Builder Marathon, some of us like to ride a fine line when it comes to picking some of the cheapest parts in order to end up with the absolute best value overall. While there's nothing intrinsically wrong with that, it does sometimes lead to part choices that don't always align with the spirit of the build, or with what any self-respecting person would pick. That said, my main focus is solely going to be on the platform value benchmark, which in a way, will allow me to spend a little extra money on some of the non-performance parts and stay true to the gaming spirit of my build.
The Build
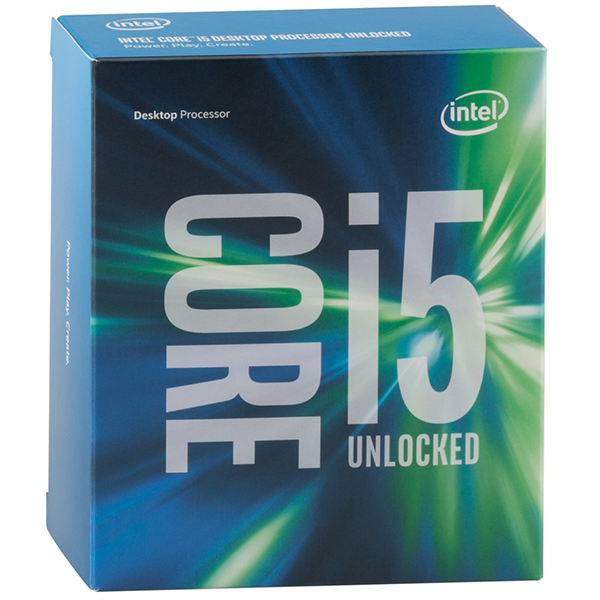
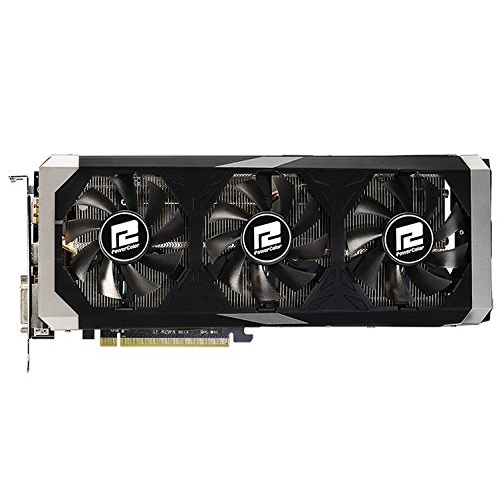
- Platform Cost: $926
- Total Hardware Cost: $1064
- Complete System Price: $1184
There is one last thing that I should probably mention: one of the nice things about the 4th Quarter System Builder Marathon is that Newegg is usually offering some pretty hefty discounts on many of its computer parts. I chose to take advantage of many of those discounts, so the prices in the table above are going to be a bit lower than what you would normally pay.
Get Tom's Hardware's best news and in-depth reviews, straight to your inbox.
Component Selection
Assembly
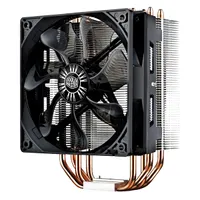
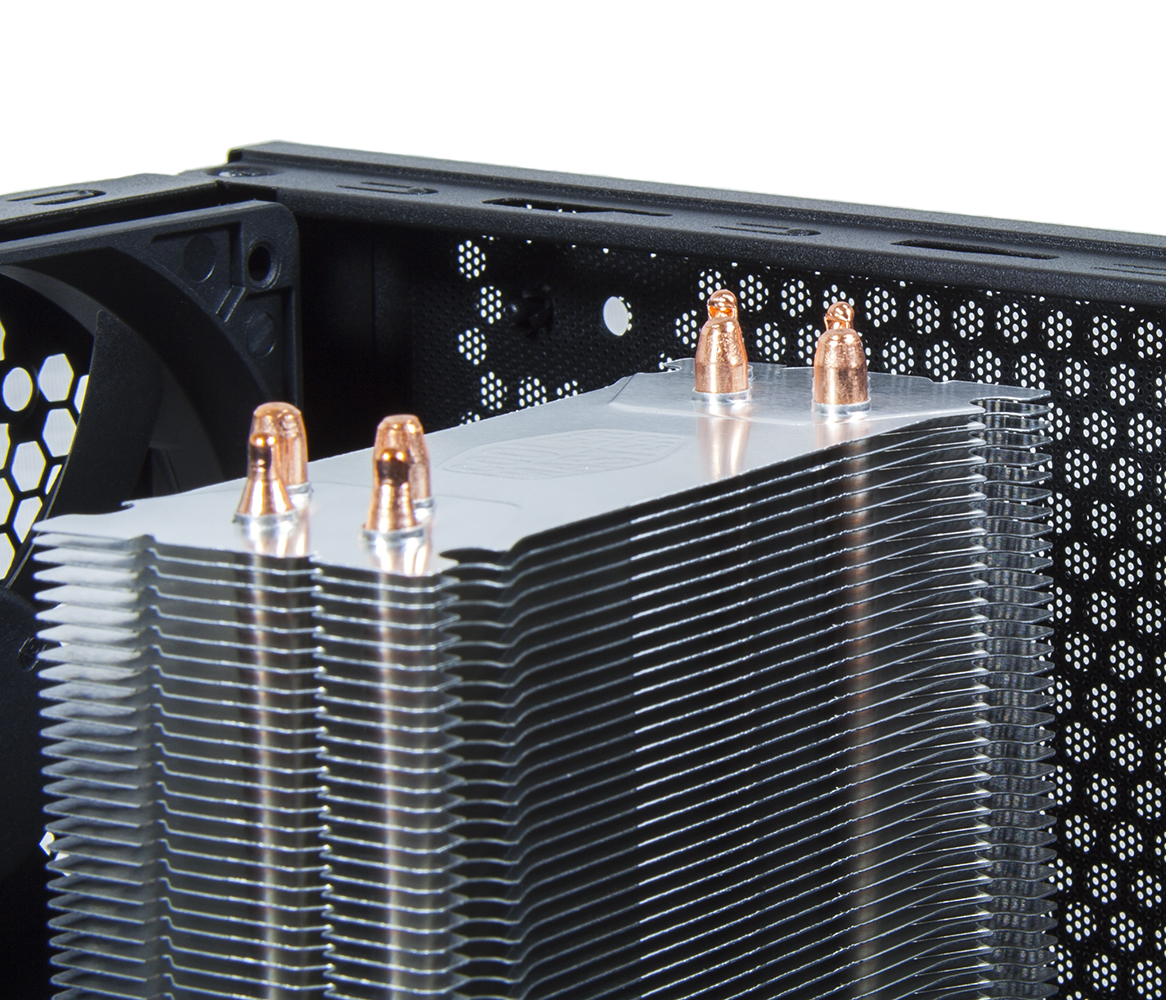
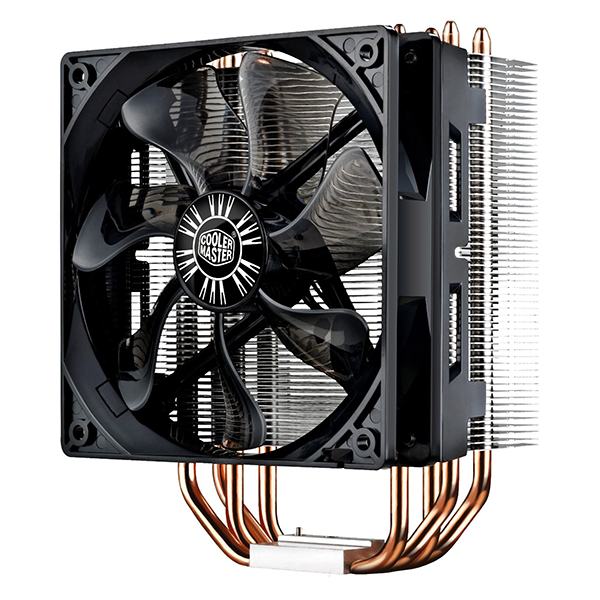
Unlike the Cooler Master Hyper T4 that Thomas is using, the Hyper 212 Evo attaches to the motherboard a bit of a differently. The 212 Evo includes a similar support plate and pins for the same sockets as the T4 (LGA 775, 115x and 1366) but the cross-bracket mounts to the top of the base of the cooler's heatsink. The whole thing is then placed on top of the CPU and four screws are used to tighten the entire assembly.
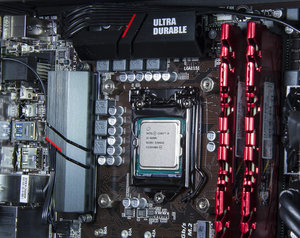
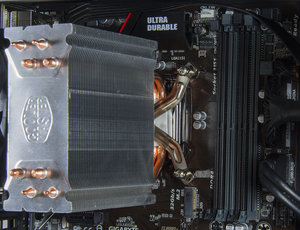
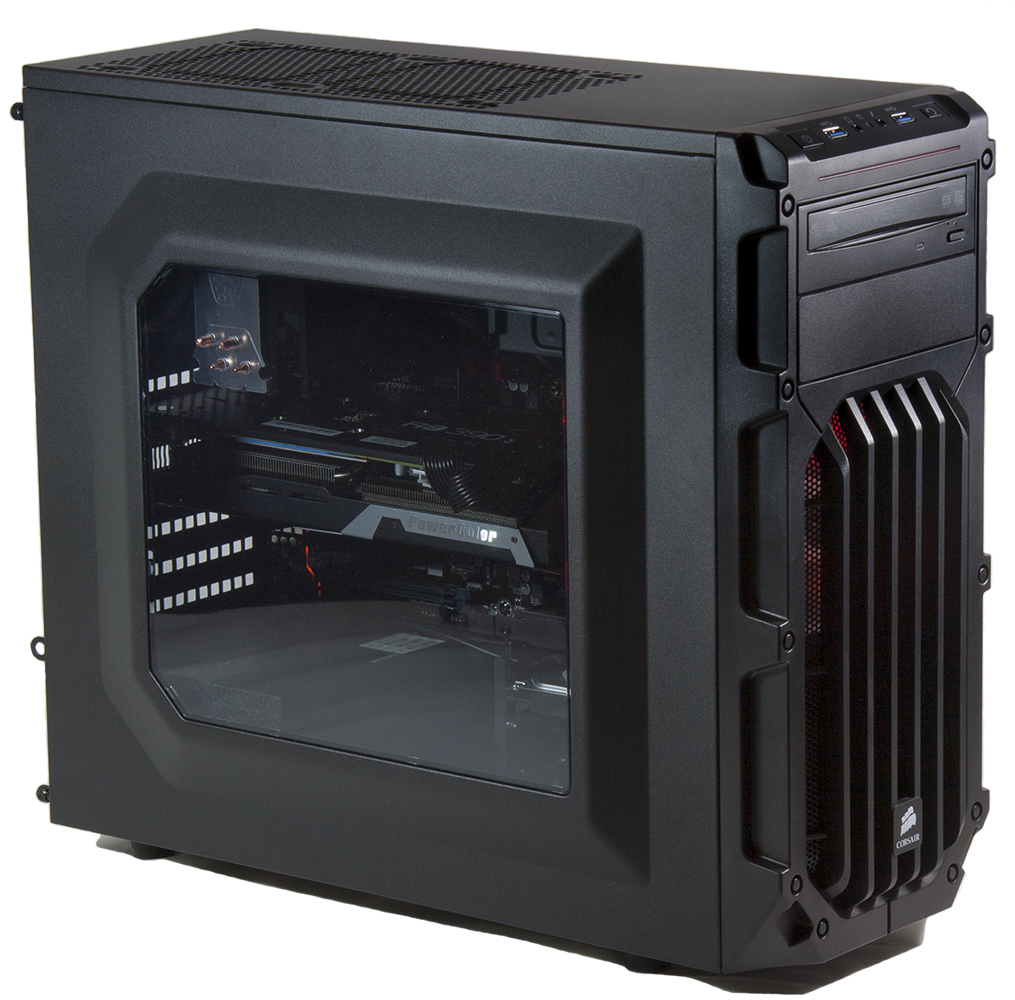
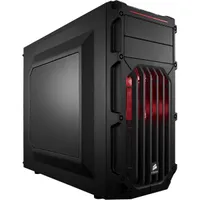
As I mentioned earlier, there was a bit of a concern as to whether the Hyper 212 Evo would fit in my choice of case, since its height is approximately 159mm and the maximum cooler height for the Carbide SPEC-03 is 157mm. I did some quick online research to see if I could make this work and there happened to be several individuals that used this particular cooler/case combination without issue. In the end, everything worked out well, albeit with no room to spare.
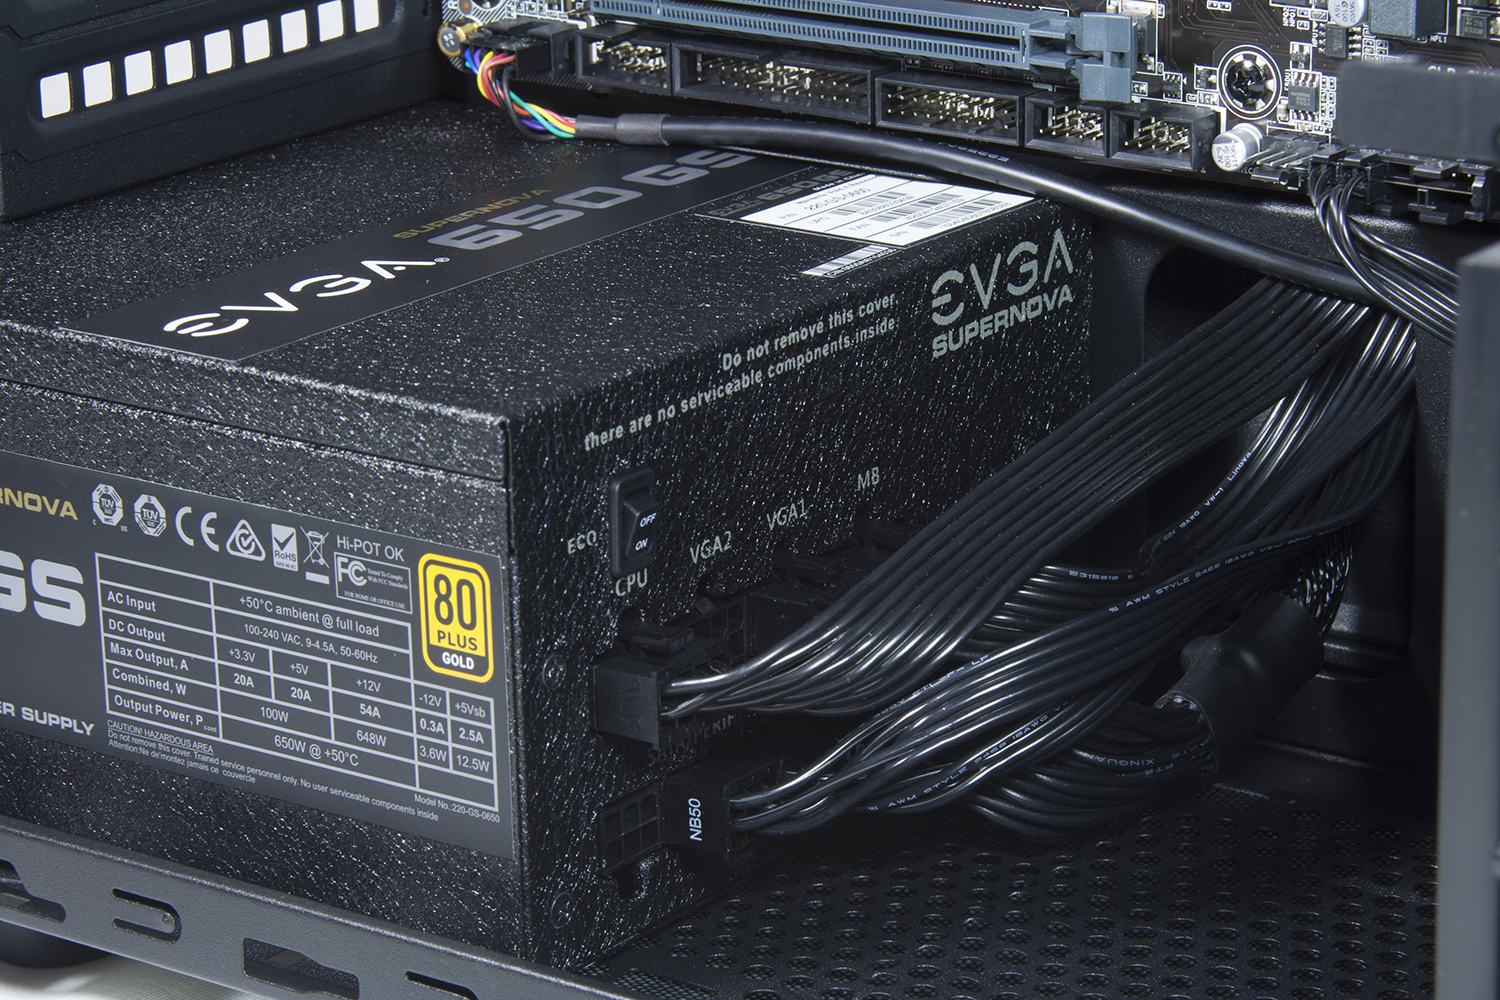
I'm not sure if it's just me, but almost every computer that I've built recently seems to suffer from a single power cable that's so short that it almost won't run the distance from the PSU to the motherboard. Usually it's the 4/8 pin CPU power connection, but I've also experienced this issue with the 24-pin ATX power cable. I'm not sure if it's some change motherboard manufactures have made, or if the PSU manufactures are just including shorter cables. If it were any other part it wouldn't be an issue, since I could just move it to a different spot in the case, but you can't exactly relocate the motherboard at will.
In this particular build, it happened to be the 8-pin CPU cable, that had enough room to run the distance, but no more. While I could have just bought some sort of extension cable, it would be nice if this weren't an issue in the first place.
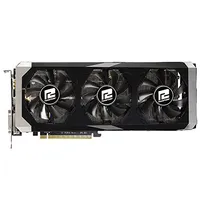
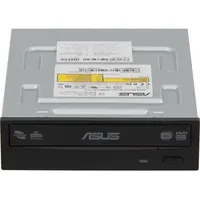
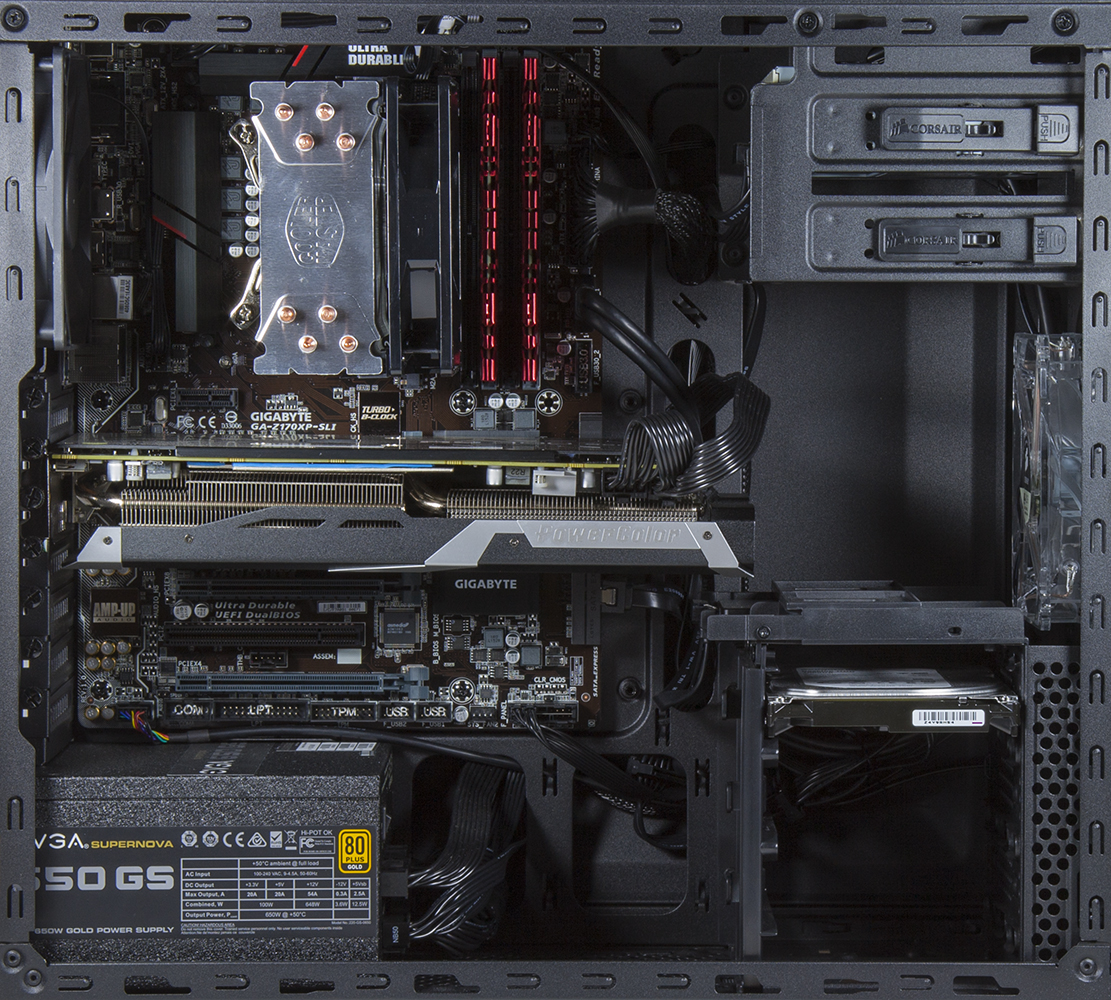
After installing the motherboard, CPU/cooler and PSU, I moved on to the rest of the case. The optical drive, SSD and hard drive all mount in tool-less drive bays, making them a breeze to just slide in to their respective places. Next, after quickly retrieving a screwdriver I unscrewed the over-torqued thumbscrews that were holding the expansion slot covers in place and installed the graphics card. Finally, after a bit of quick cable management to get everything fitting behind the motherboard tray, I put the right panel back on the case and ended up with smooth, clean build.
-
envy14tpe Awesome. Nice to see the 390 performing as a killer. It's a great GPU that is overlooked.Reply
Check out the Q4 $1184 Arma 3 Ultra Quality graph. The 4800x900 of the non overclocked is much higher than the overclocked one. -
cst1992 Isn't the CRYORIG R7 Universal CPU cooler mainstream yet? I hear it doesn't have the clearance issues of the 212 Evo, has the same price and also performs better.Reply -
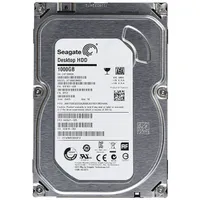
3ogdy It's a nice build. Except the overclocked 290 with 8GB and the Seagate HDD with unbelievably high failure rates. The company charges about $1000 for a recovery, in which case the final price for this build is $2184, as the HDD is nearly guaranteed to fail. Windows 10 Home? So no Group Policy editor by default, and no control over updates being forced on you by Microsh!t? No, thanks.Reply
Other than that, it's an OK build, especially for featuring USB 3.1 and Type-C. -
cst1992 What proof do you have that Seagate drives are guaranteed to fail? Technically every drive is, but that's a different matter.Reply
Don't point to Newegg reviews, please. Nobody bothers to comment about a working hard drive. Once one fails, everyone's clamoring to report it. It's just the high volume of Seagate drives.
I have two HDDs from Seagate working perfectly well, and it's been years. I am also happy about the performance. -
clonazepam Excellent read. Excellent build!Reply
I scratched my head briefly when reading about price vs performance comparison in the RAM section and then again about the case. They're at odds but what build doesn't have a little give and take. :D -
Crashman Reply
Comments section at the bottom of the article is working for you? It's been missing all day for me, gone offline probably some time this morning.17204914 said:Excellent read. Excellent build!
I scratched my head briefly when reading about price vs performance comparison in the RAM section and then again about the case. They're at odds but what build doesn't have a little give and take. :D -
clonazepam Reply17204957 said:
Comments section at the bottom of the article is working for you? It's been missing all day for me, gone offline probably some time this morning.17204914 said:Excellent read. Excellent build!
I scratched my head briefly when reading about price vs performance comparison in the RAM section and then again about the case. They're at odds but what build doesn't have a little give and take. :D
No, it's missing but I was determined to comment anyway. -
Nuckles_56 I noticed a problem with the comparison table, as it says that the Q4 build has an i7 6600K in itReply -
cst1992 Reply17204957 said:Comments section at the bottom of the article is working for you? It's been missing all day for me, gone offline probably some time this morning.
I thought it was just me, but it seems others are having the problem too. -
Crashman I added a link at the end of the article that we can use until the webpage bug is sorted.Reply
