Why you can trust Tom's Hardware
We are using the following system for today’s system:
| CPU | Intel Core i5-9600K |
| Motherboard | ASRock Z390 Phantom Gaming-ITX/ac |
| Memory | Corsair Vengeance LPX 3200 MHz, 16 GB (2x 8GB) |
| Graphics | Nvidia GeForce RTX 2070 Super Founder’s Edition |
| CPU Cooling | Corsair H100i Elite Capellix |
| Storage | Corsair Force Series MP600 NVMe SSD, 500GB |
| Power Supply | Corsair SF600 |
Step 1: Installing the PSU
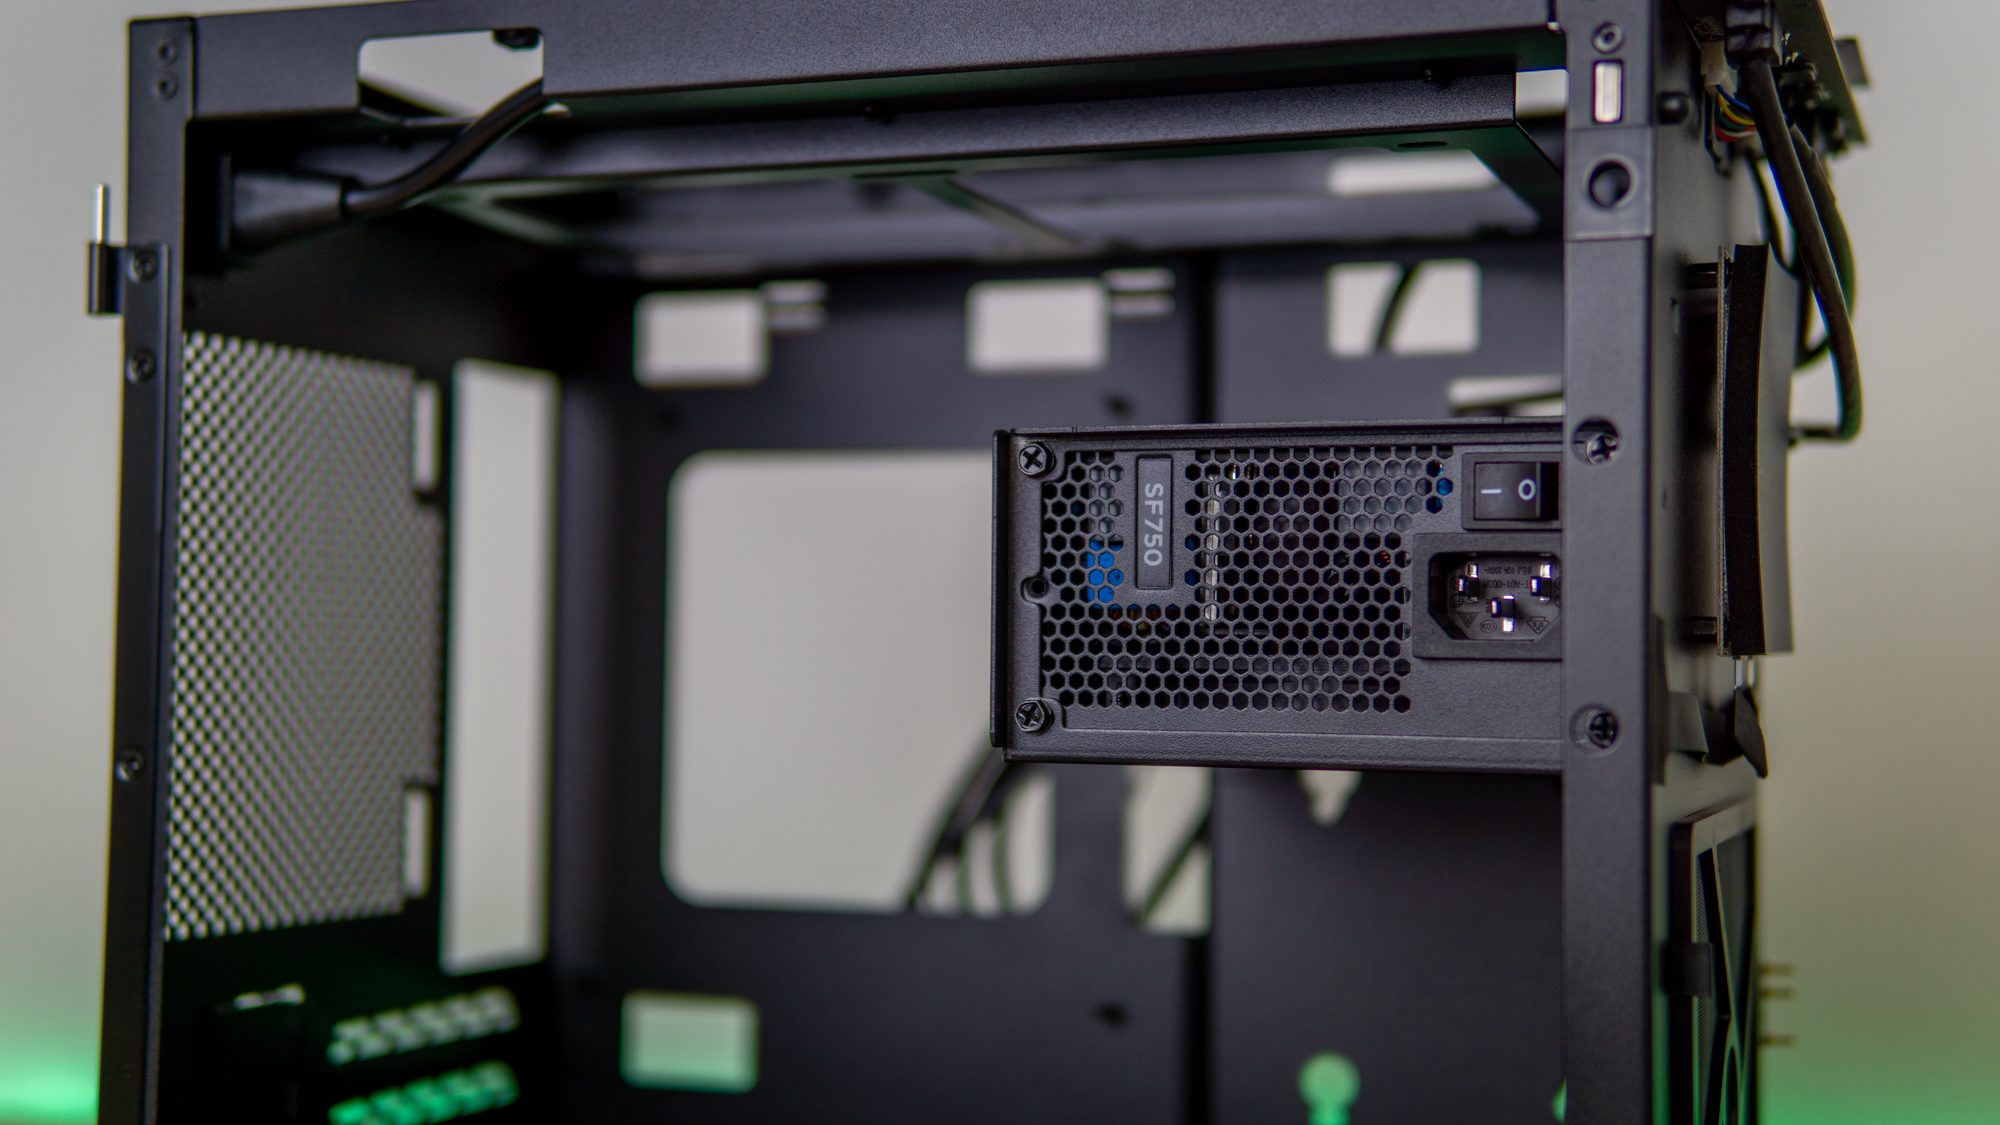
After stripping the case down, I started off with installing the power supply. It sits at the front of the case. I installed it with the fan facing down, but you can also opt to install it the other way around if you get in trouble with the cable connector – which as you see can become a tight fit in this configuration.
Step 2: Motherboard Installation
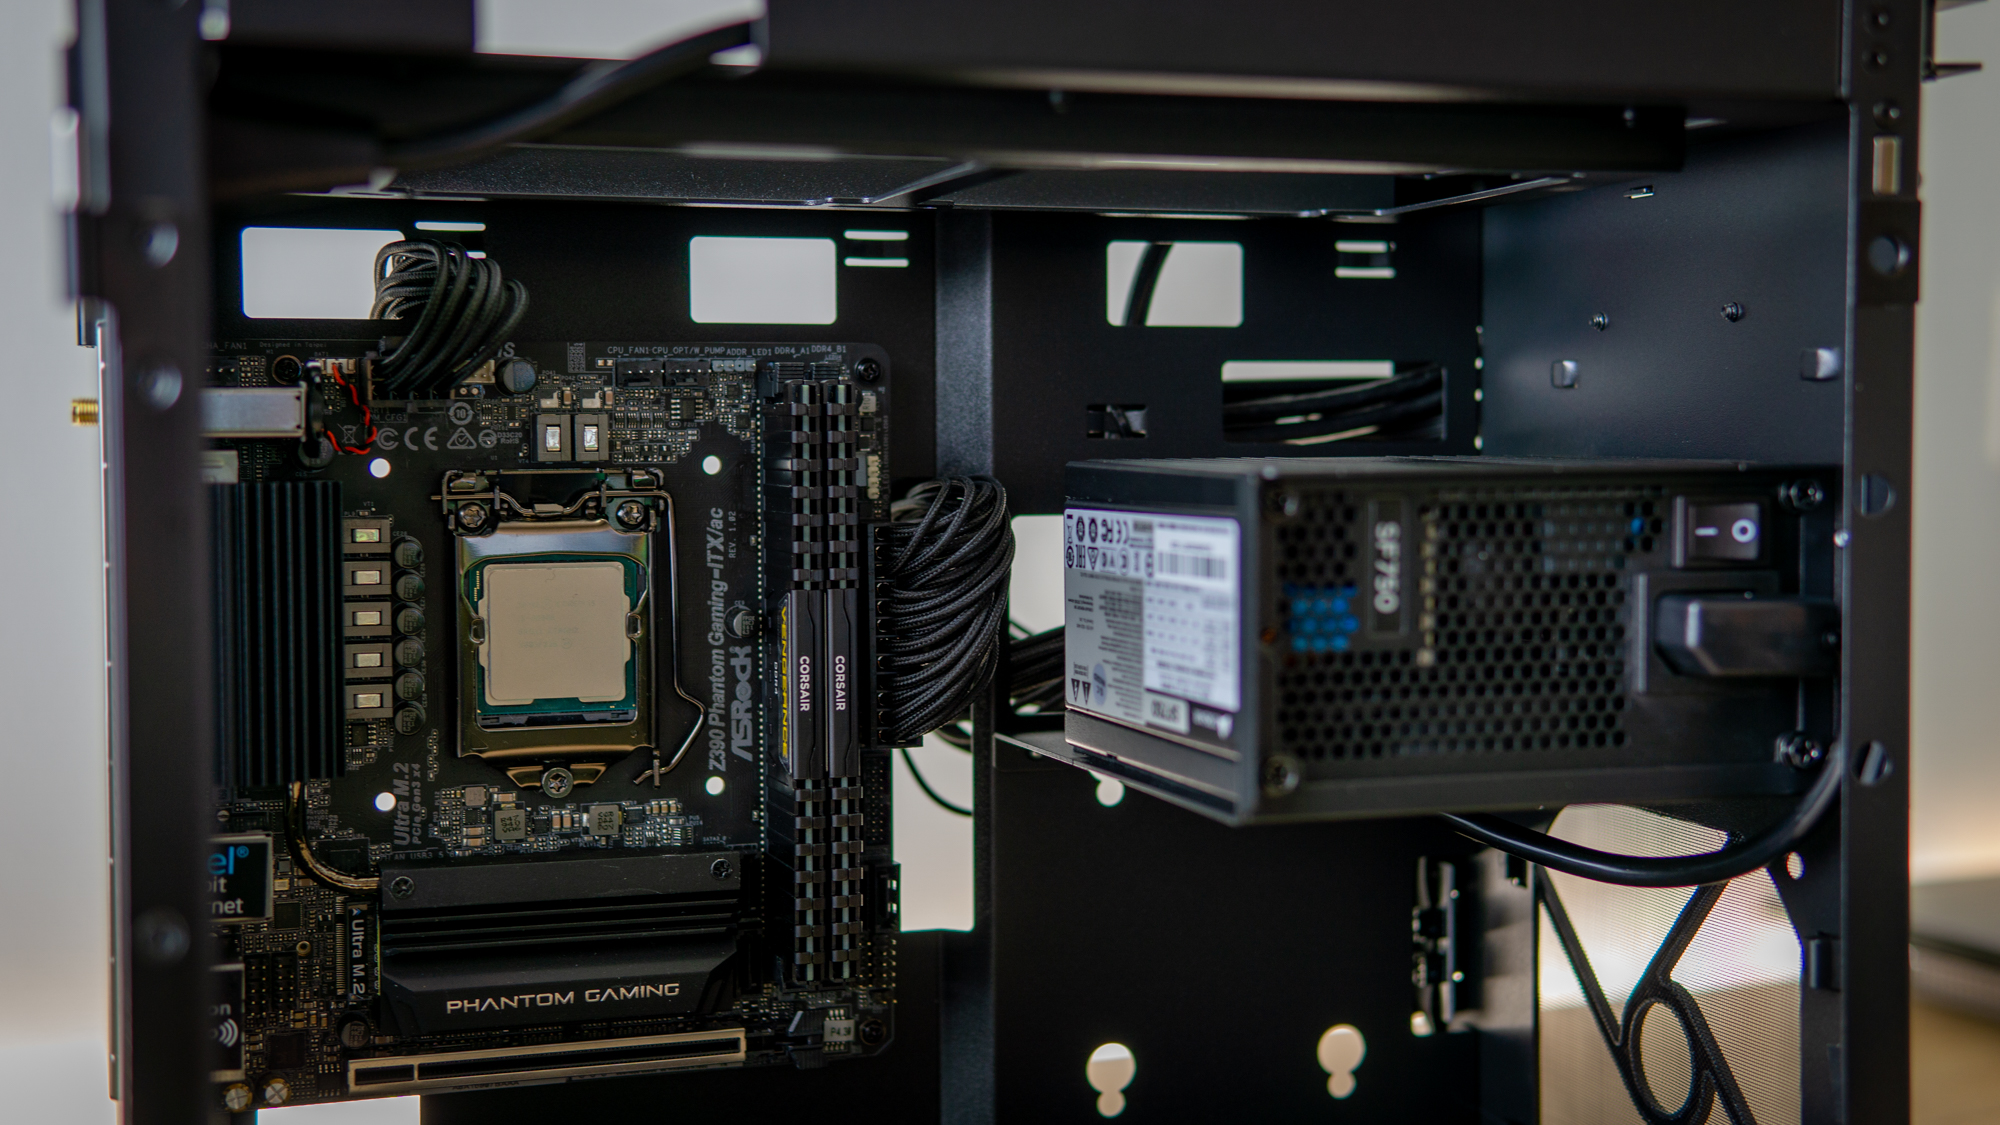
I then dropped in the motherboard by laying the case on its side and sliding it in. With four screws, installation was swift. I also took the opportunity to plug in a few cables. Of course, we had already pre-installed the SSD, memory, and CPU as this is our usual Mini-ITX test setup.
Step 3: AIO Installation
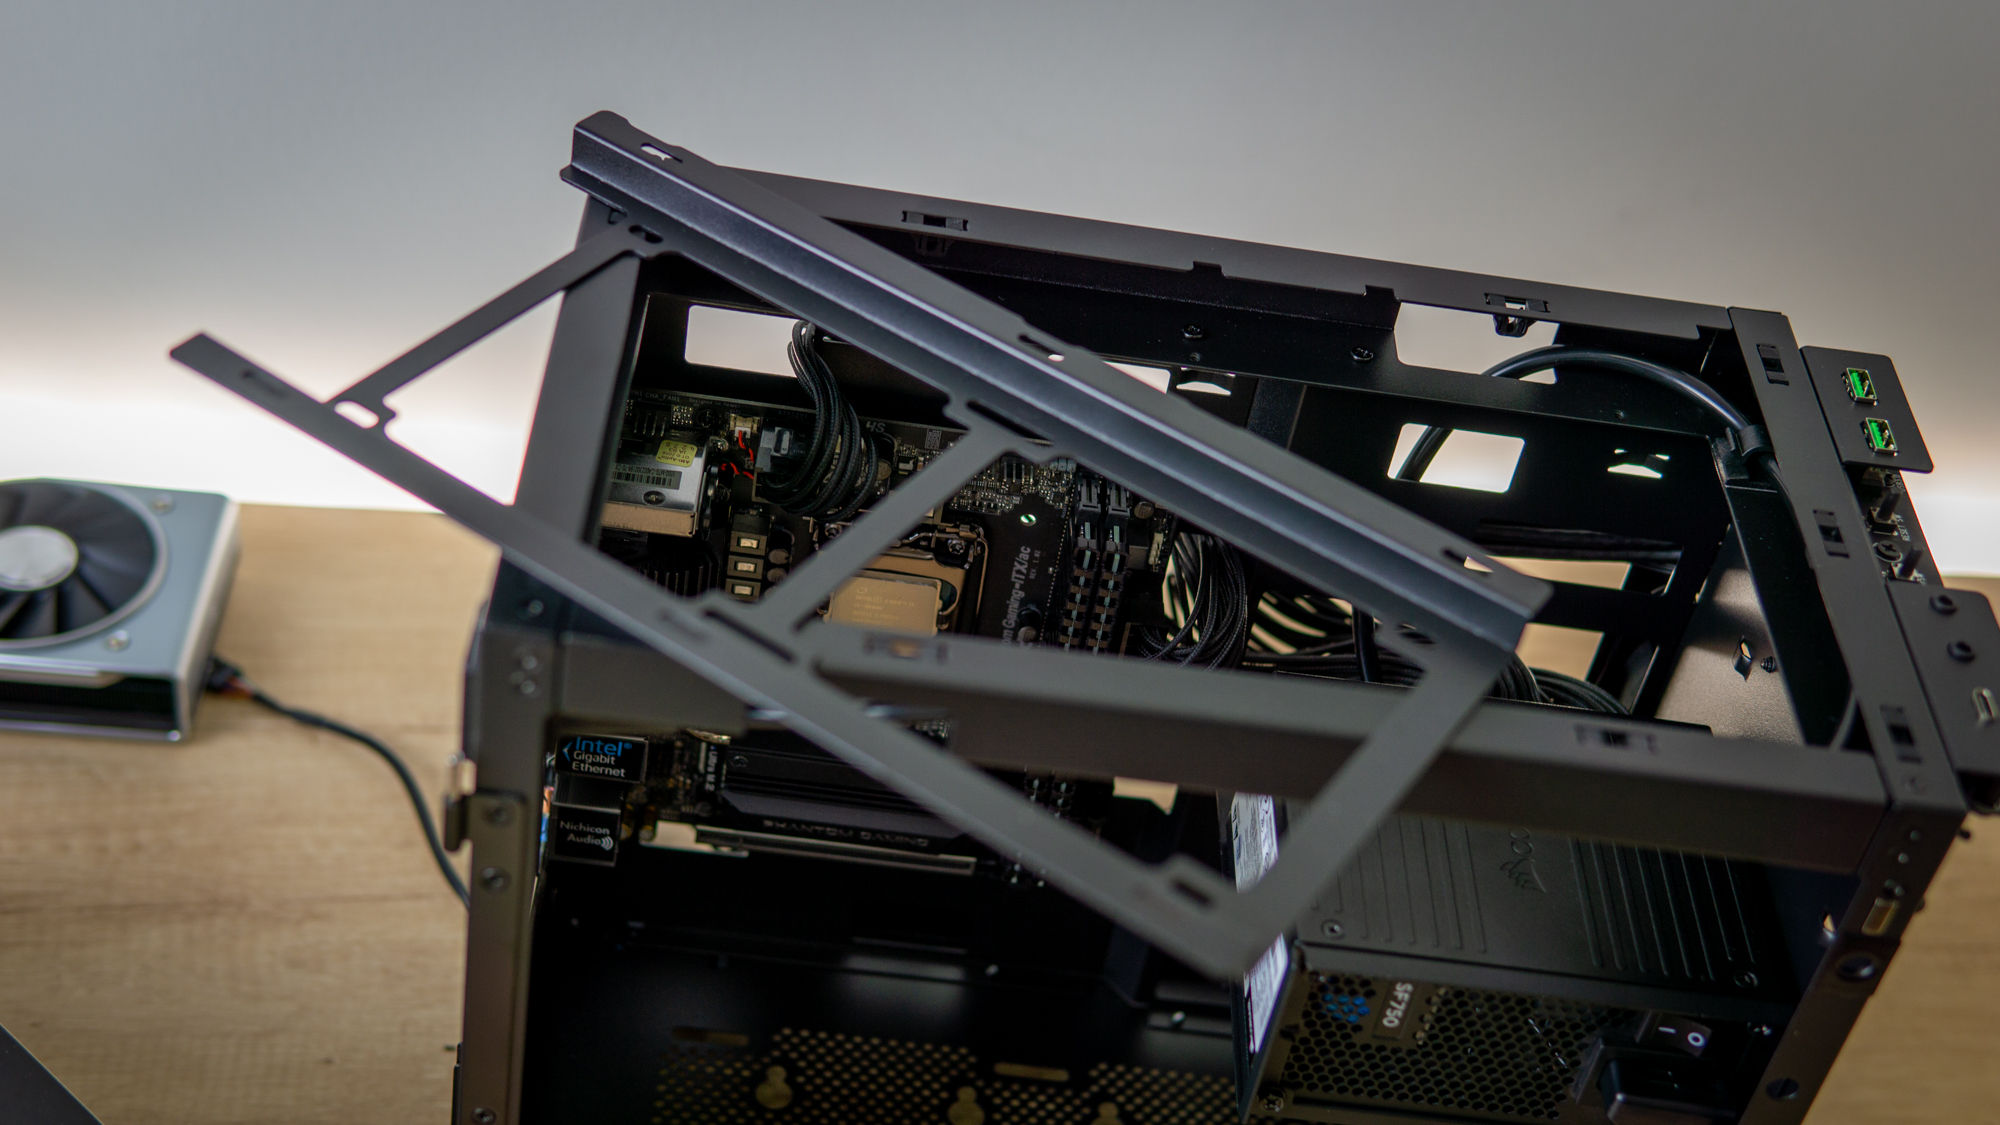
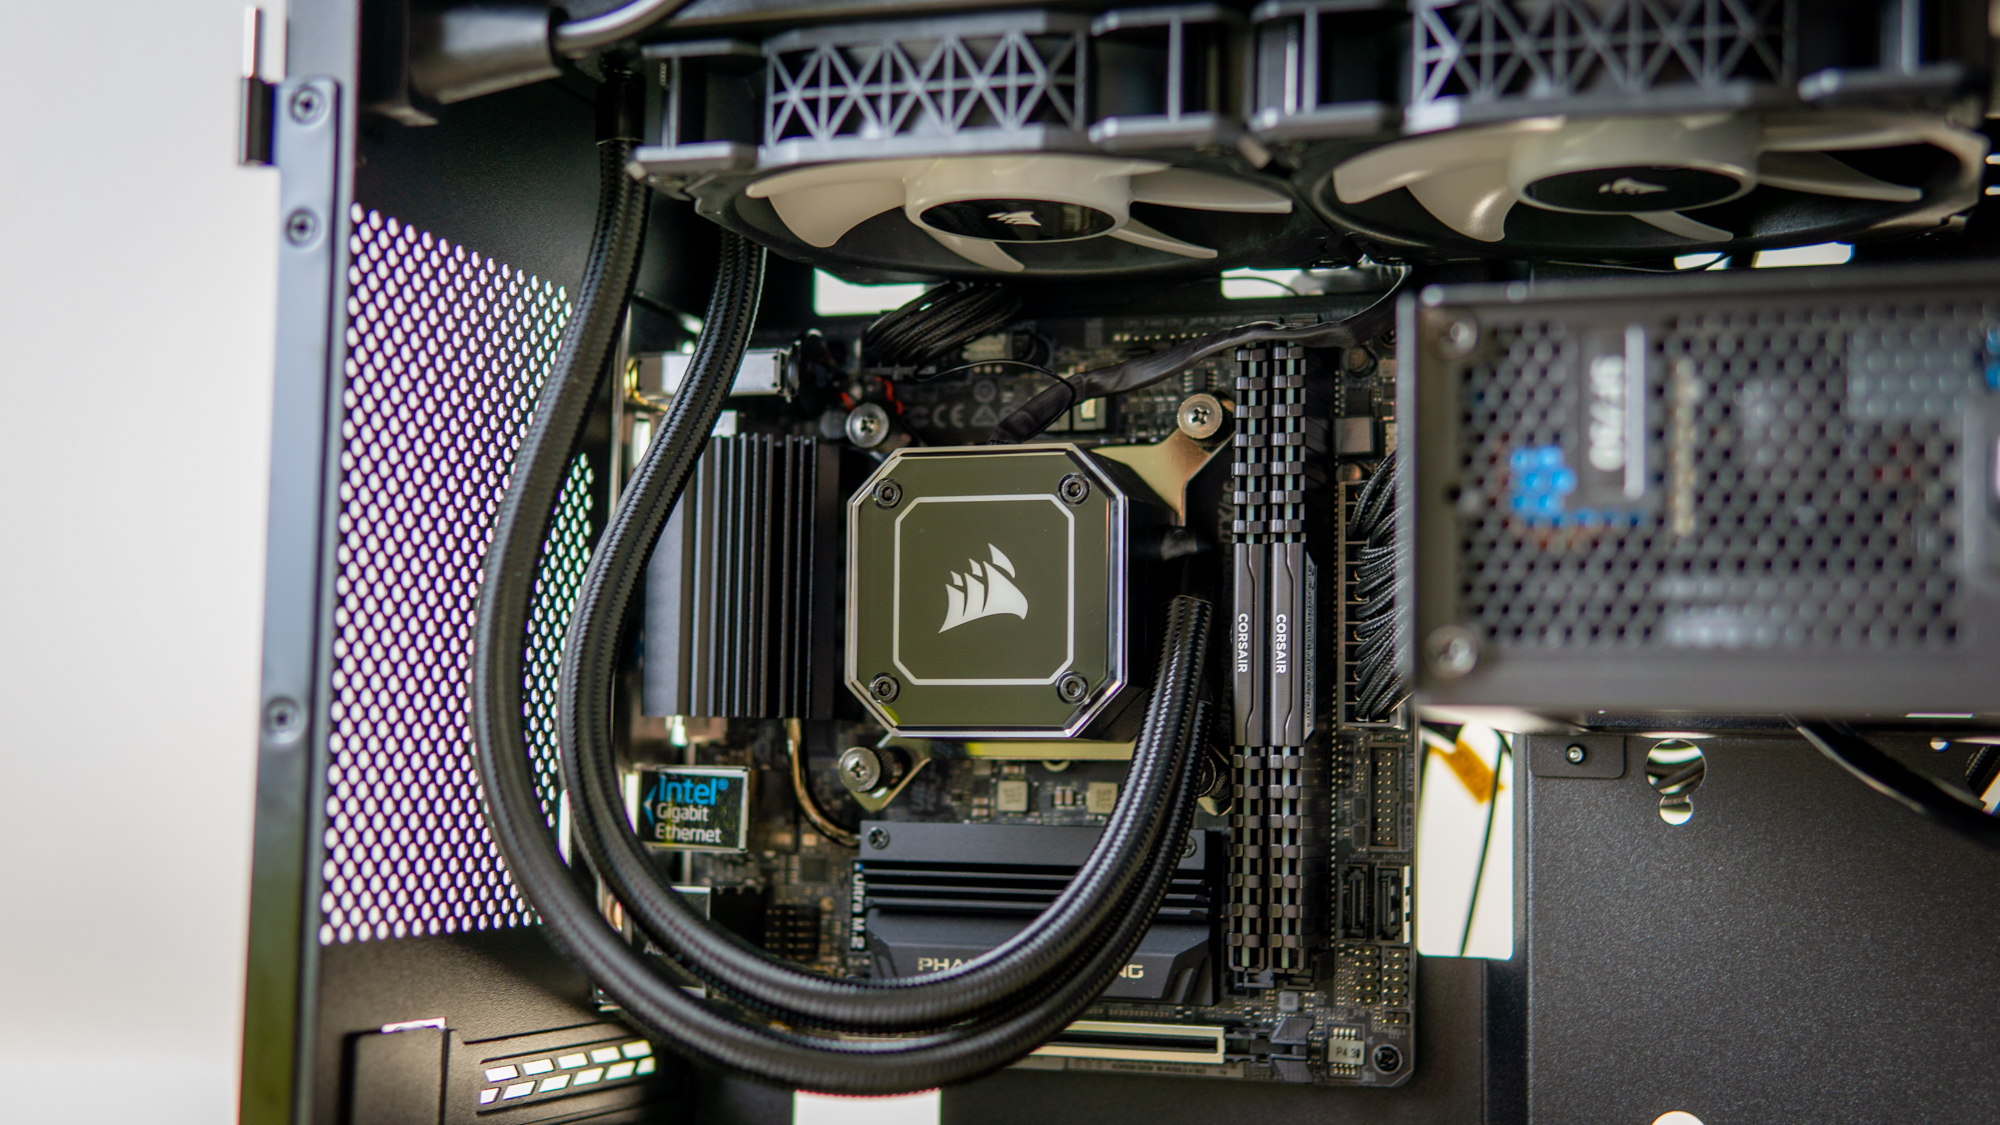
The case has a bracket that is extremely useful for installing the AIO. You simply install the radiator and fans onto it, and then easily drop it into place from the top of the case and secure it with six screws. This is much easier than holding the radiator and fans up and praying that you can get the screw to line up while you attempt to hold up the construction.
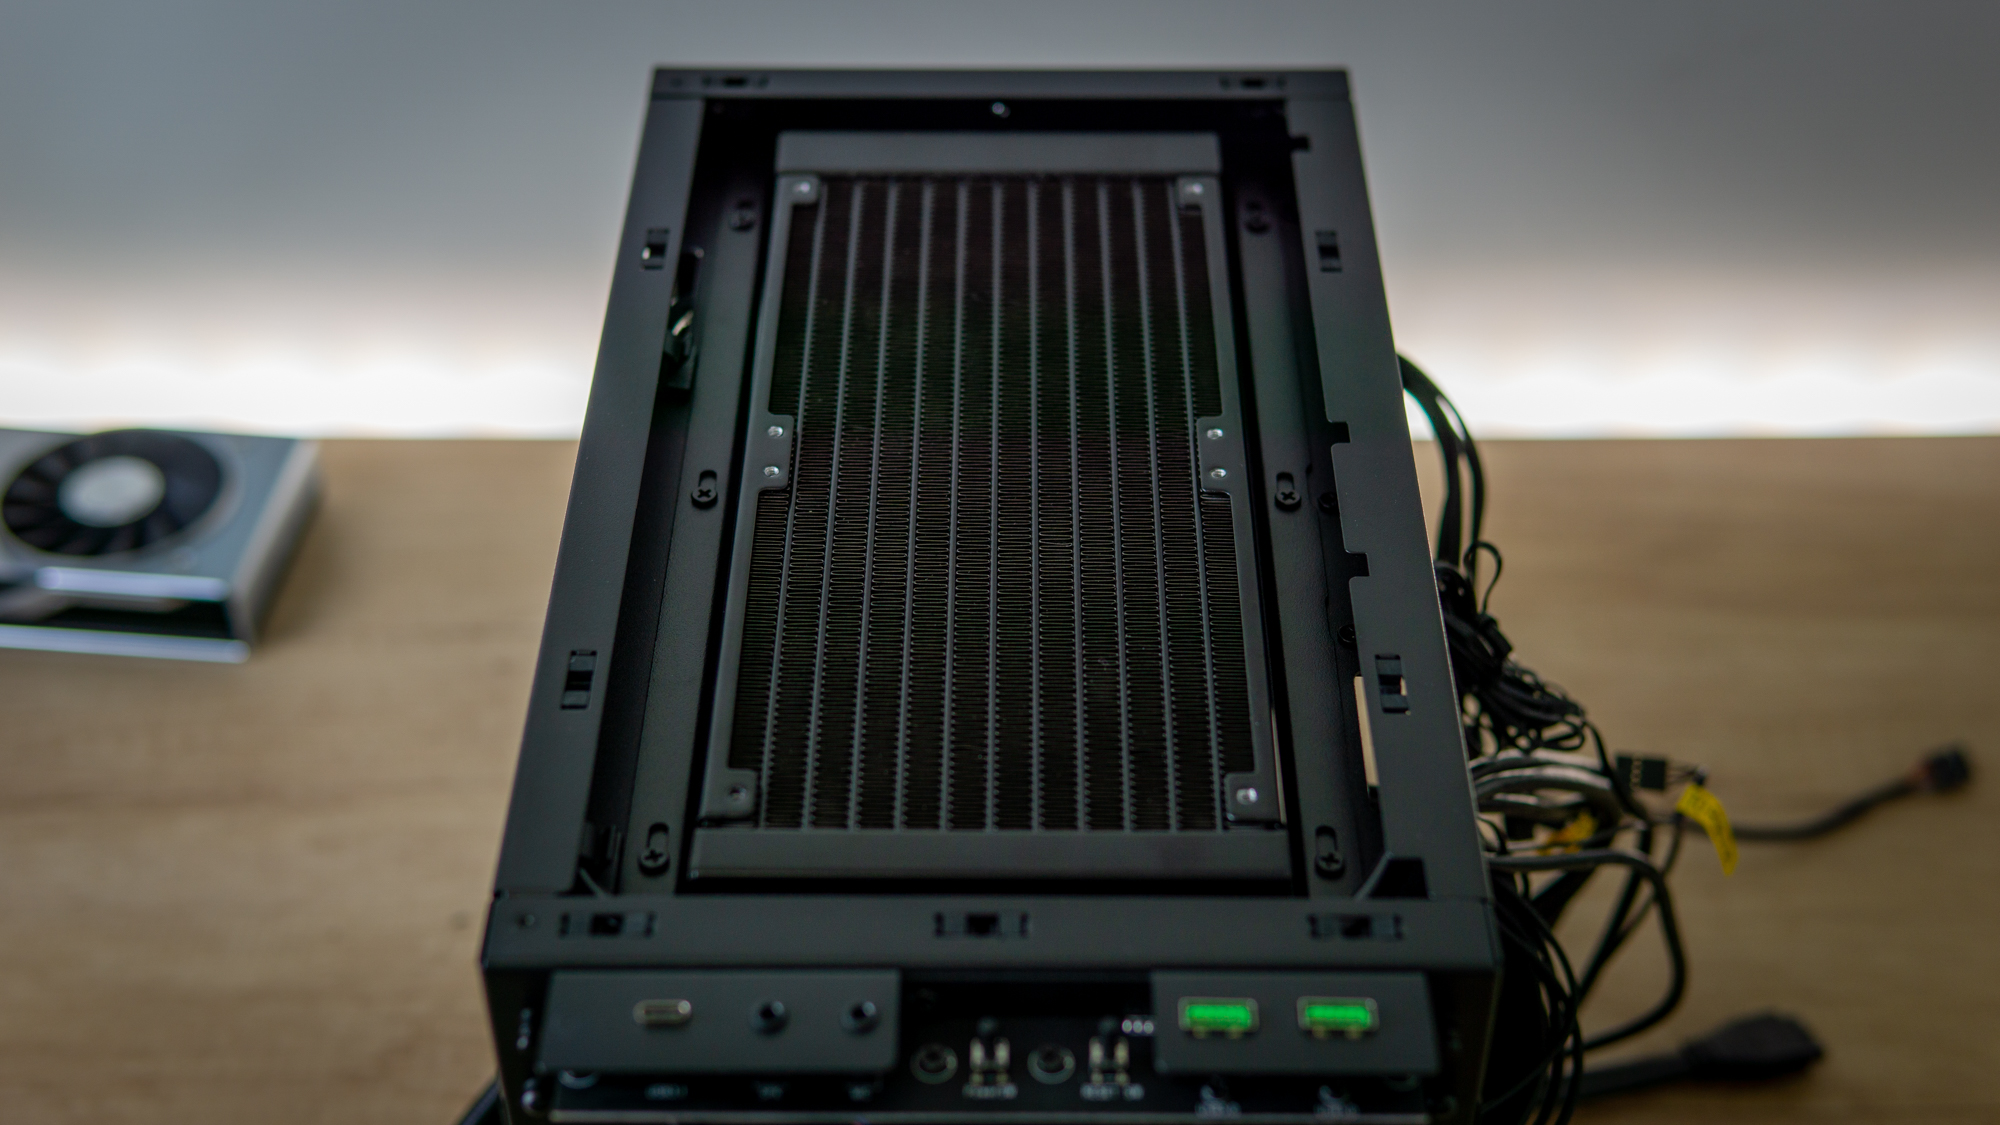
After installing it, the radiator sat beautifully at the top of the chassis.
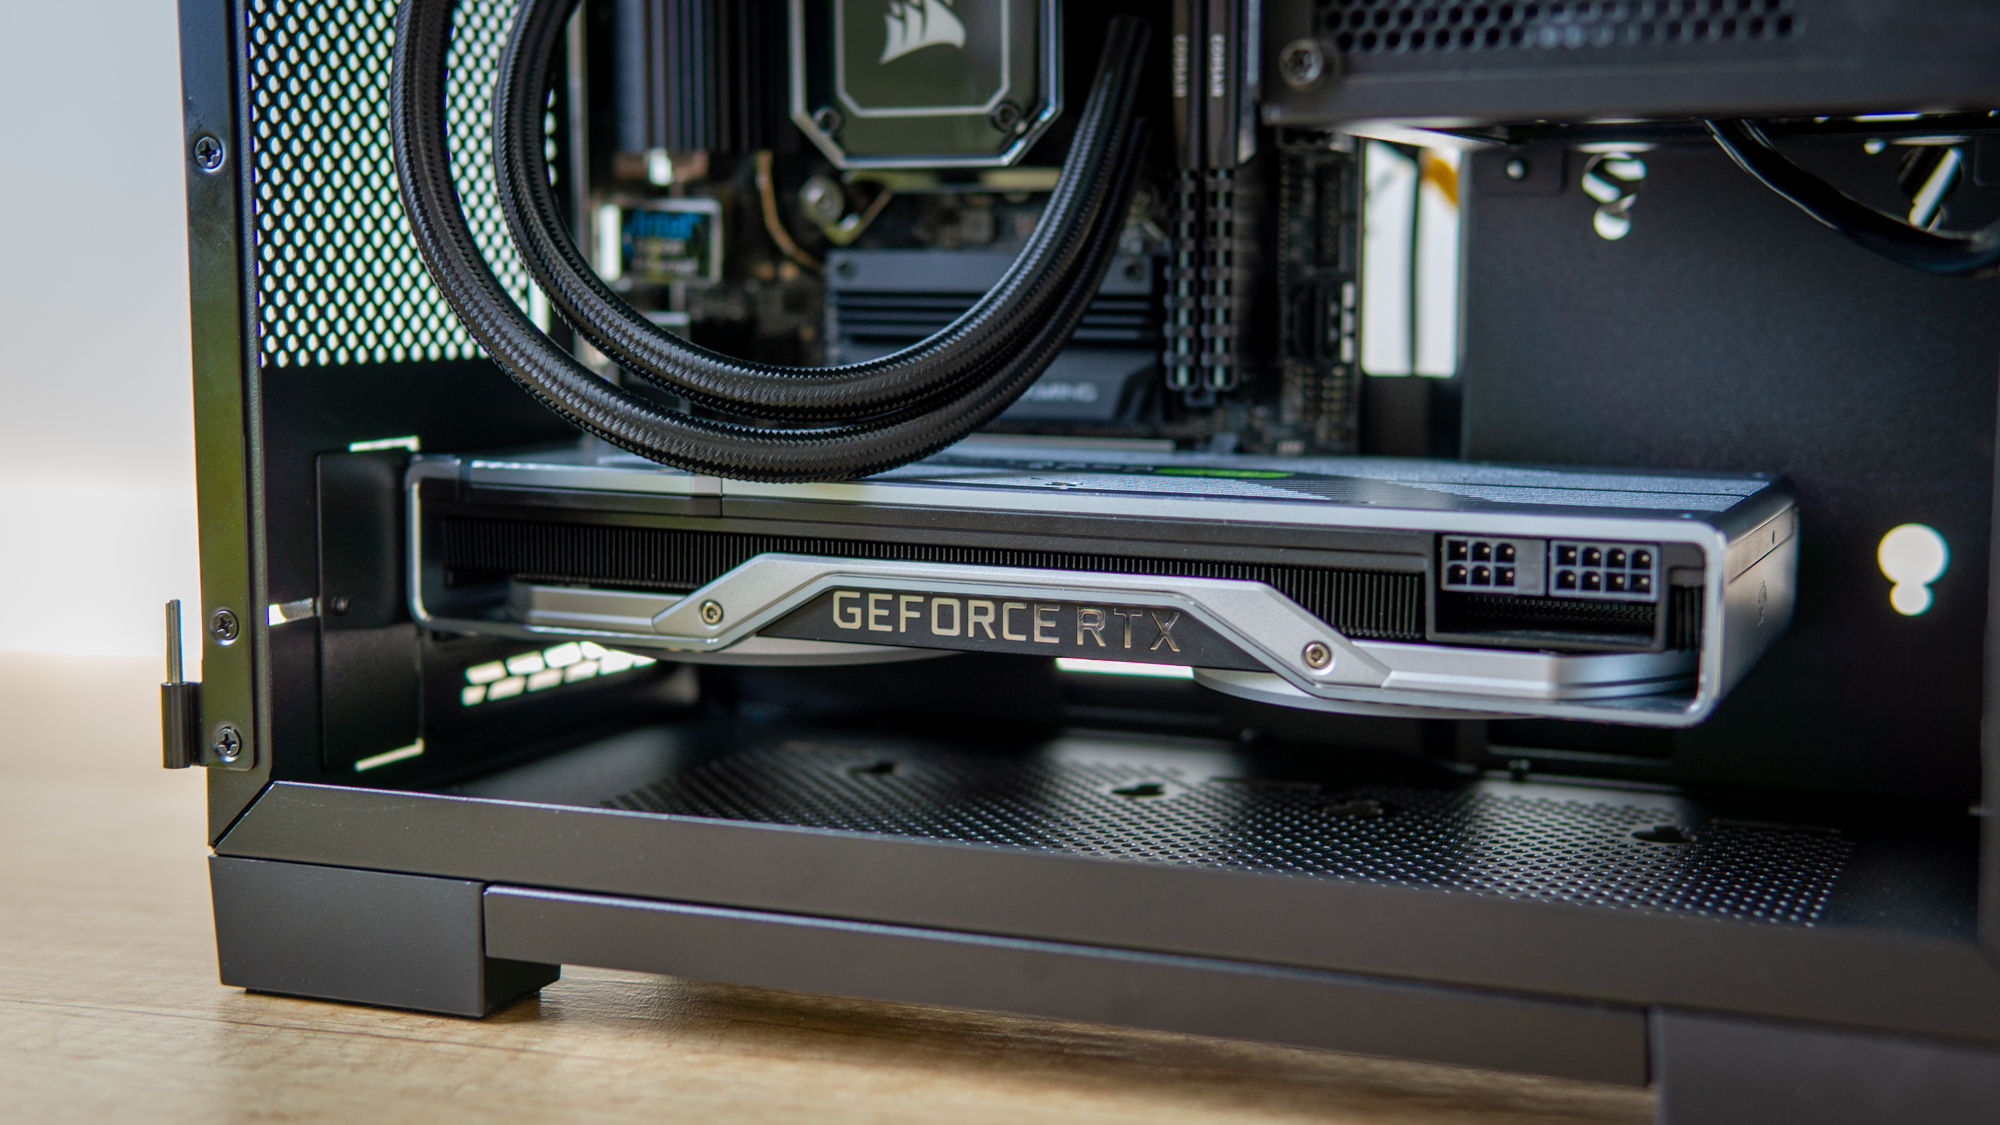
Step 4: GPU Install
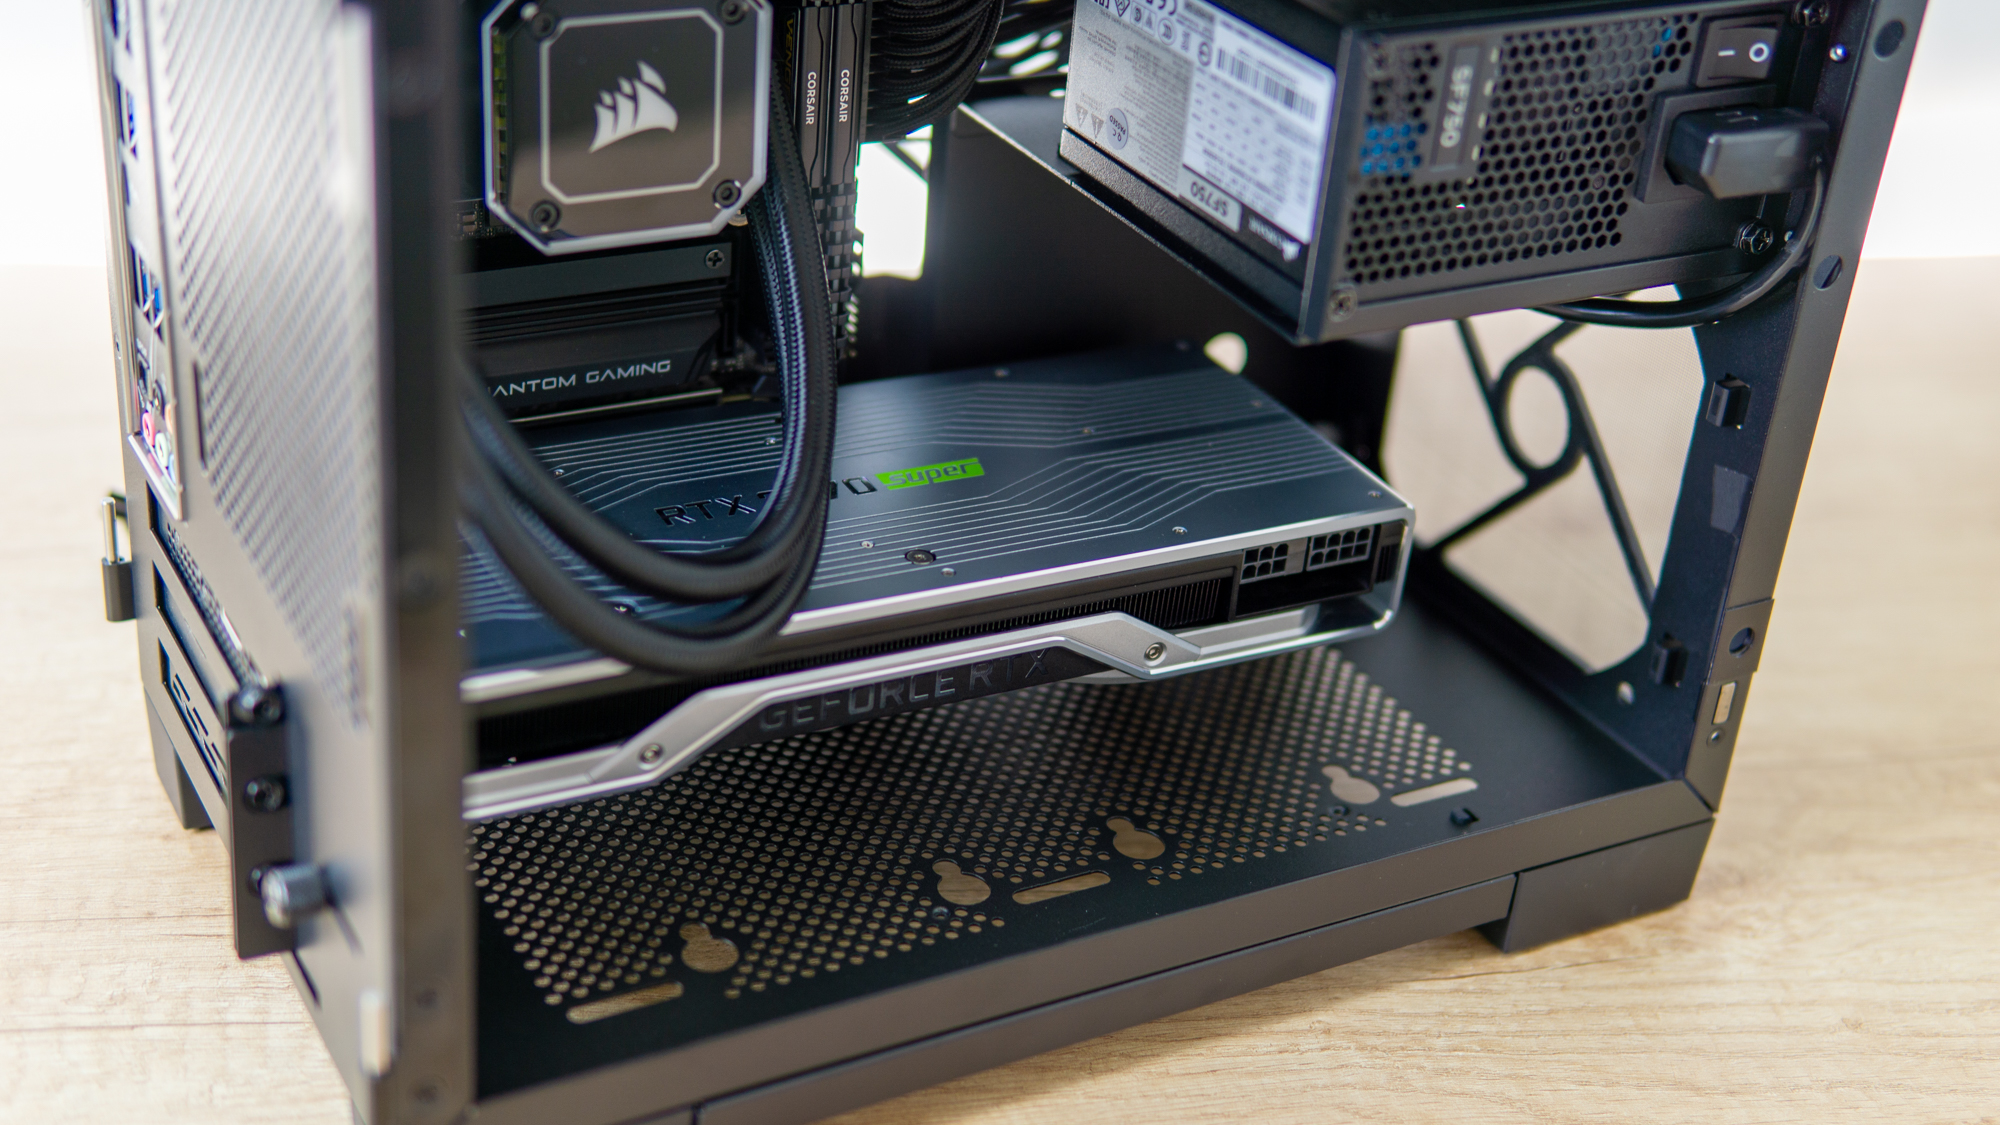
With plenty of space, our 20270 GPU dropped right into place without any fuss. You can see that without a front fan installed, there is plenty of space for bigger cards.
Step 5: Adding Fans
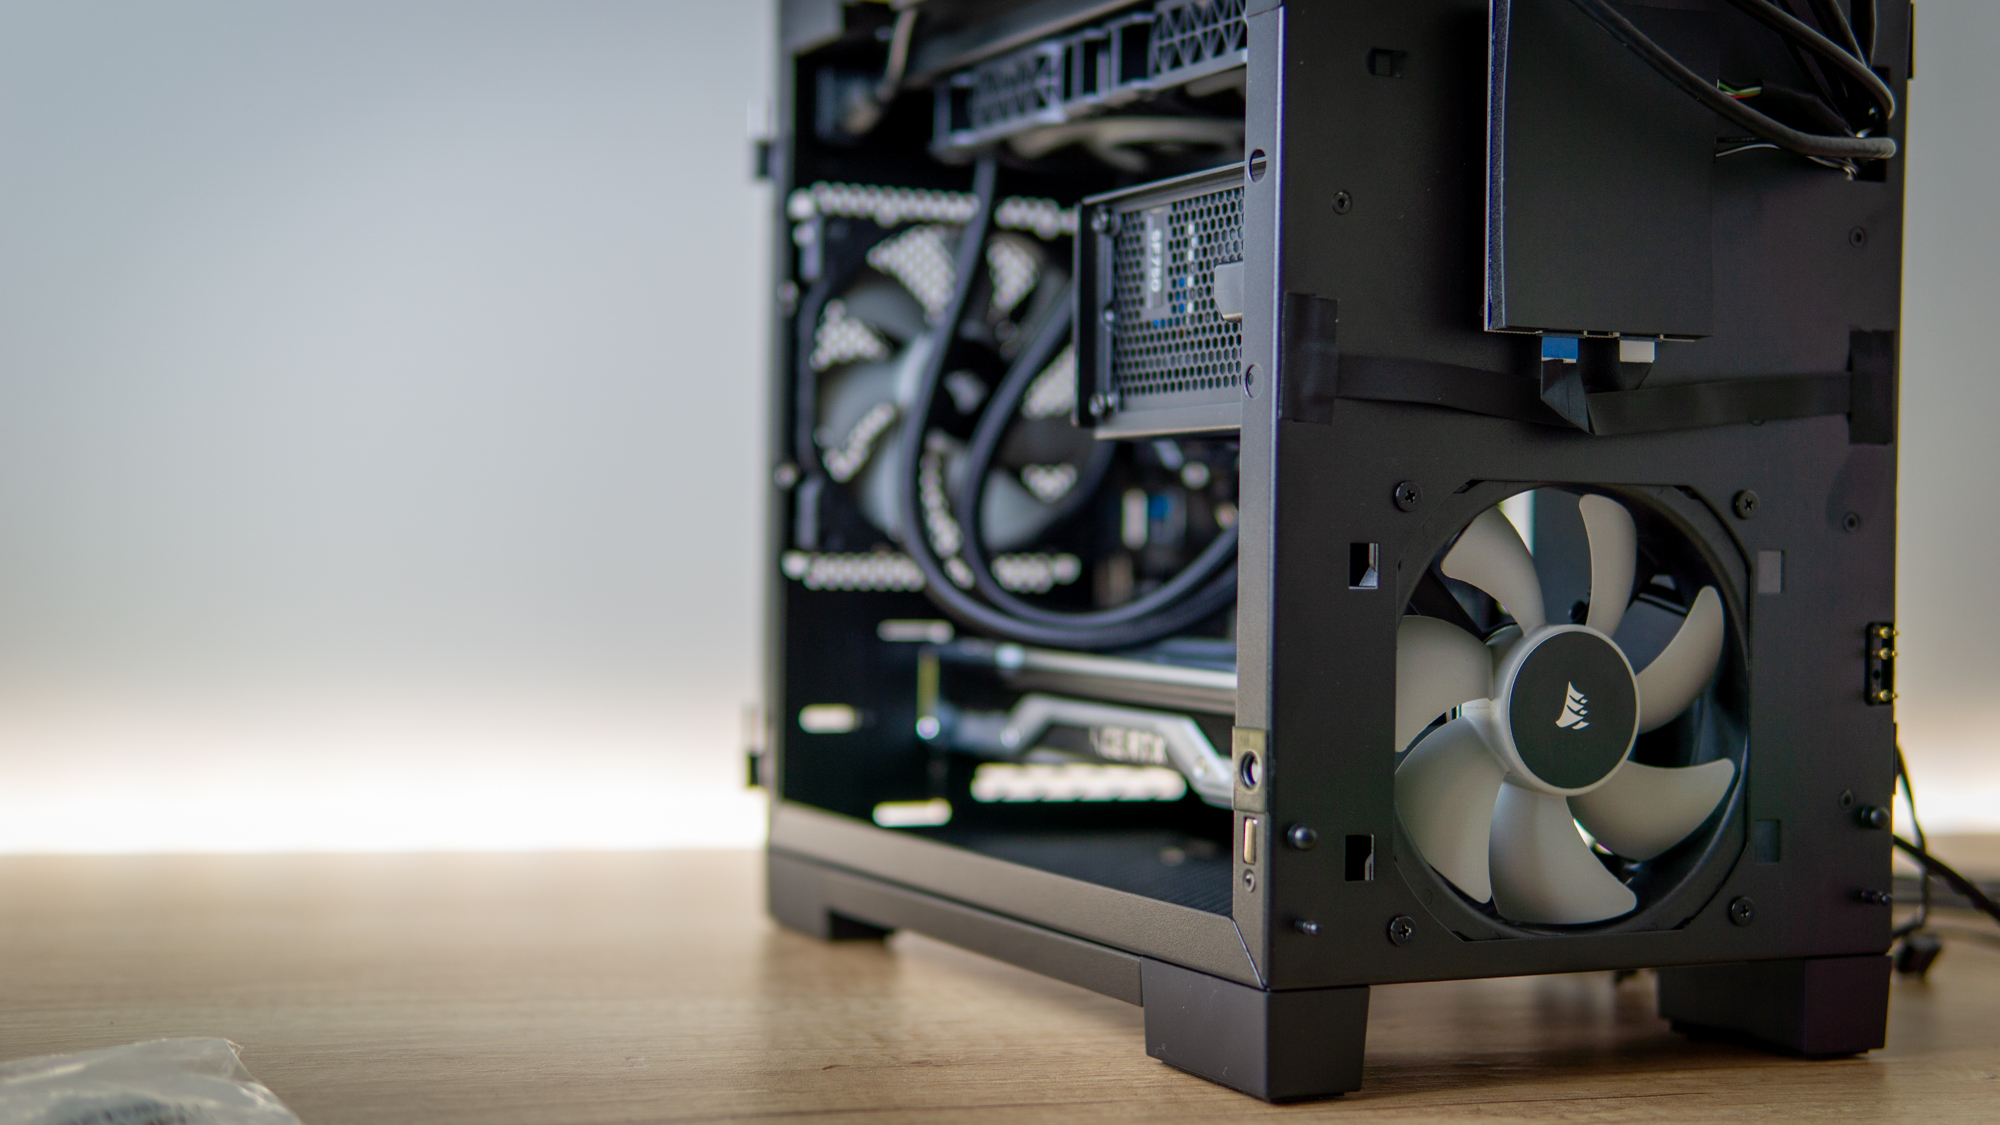
As the Tomahawk ITX doesn’t ship with any fans, and I don’t have faith in only the AIO supplying the system with enough fresh air, I decided to install two extra fans. The GPU could draw air from the open bottom of the case, so I installed one Corsair ML120 fan at the rear exhaust and another at the front intake.
Get Tom's Hardware's best news and in-depth reviews, straight to your inbox.
Step 6: The Dreaded Cable Management
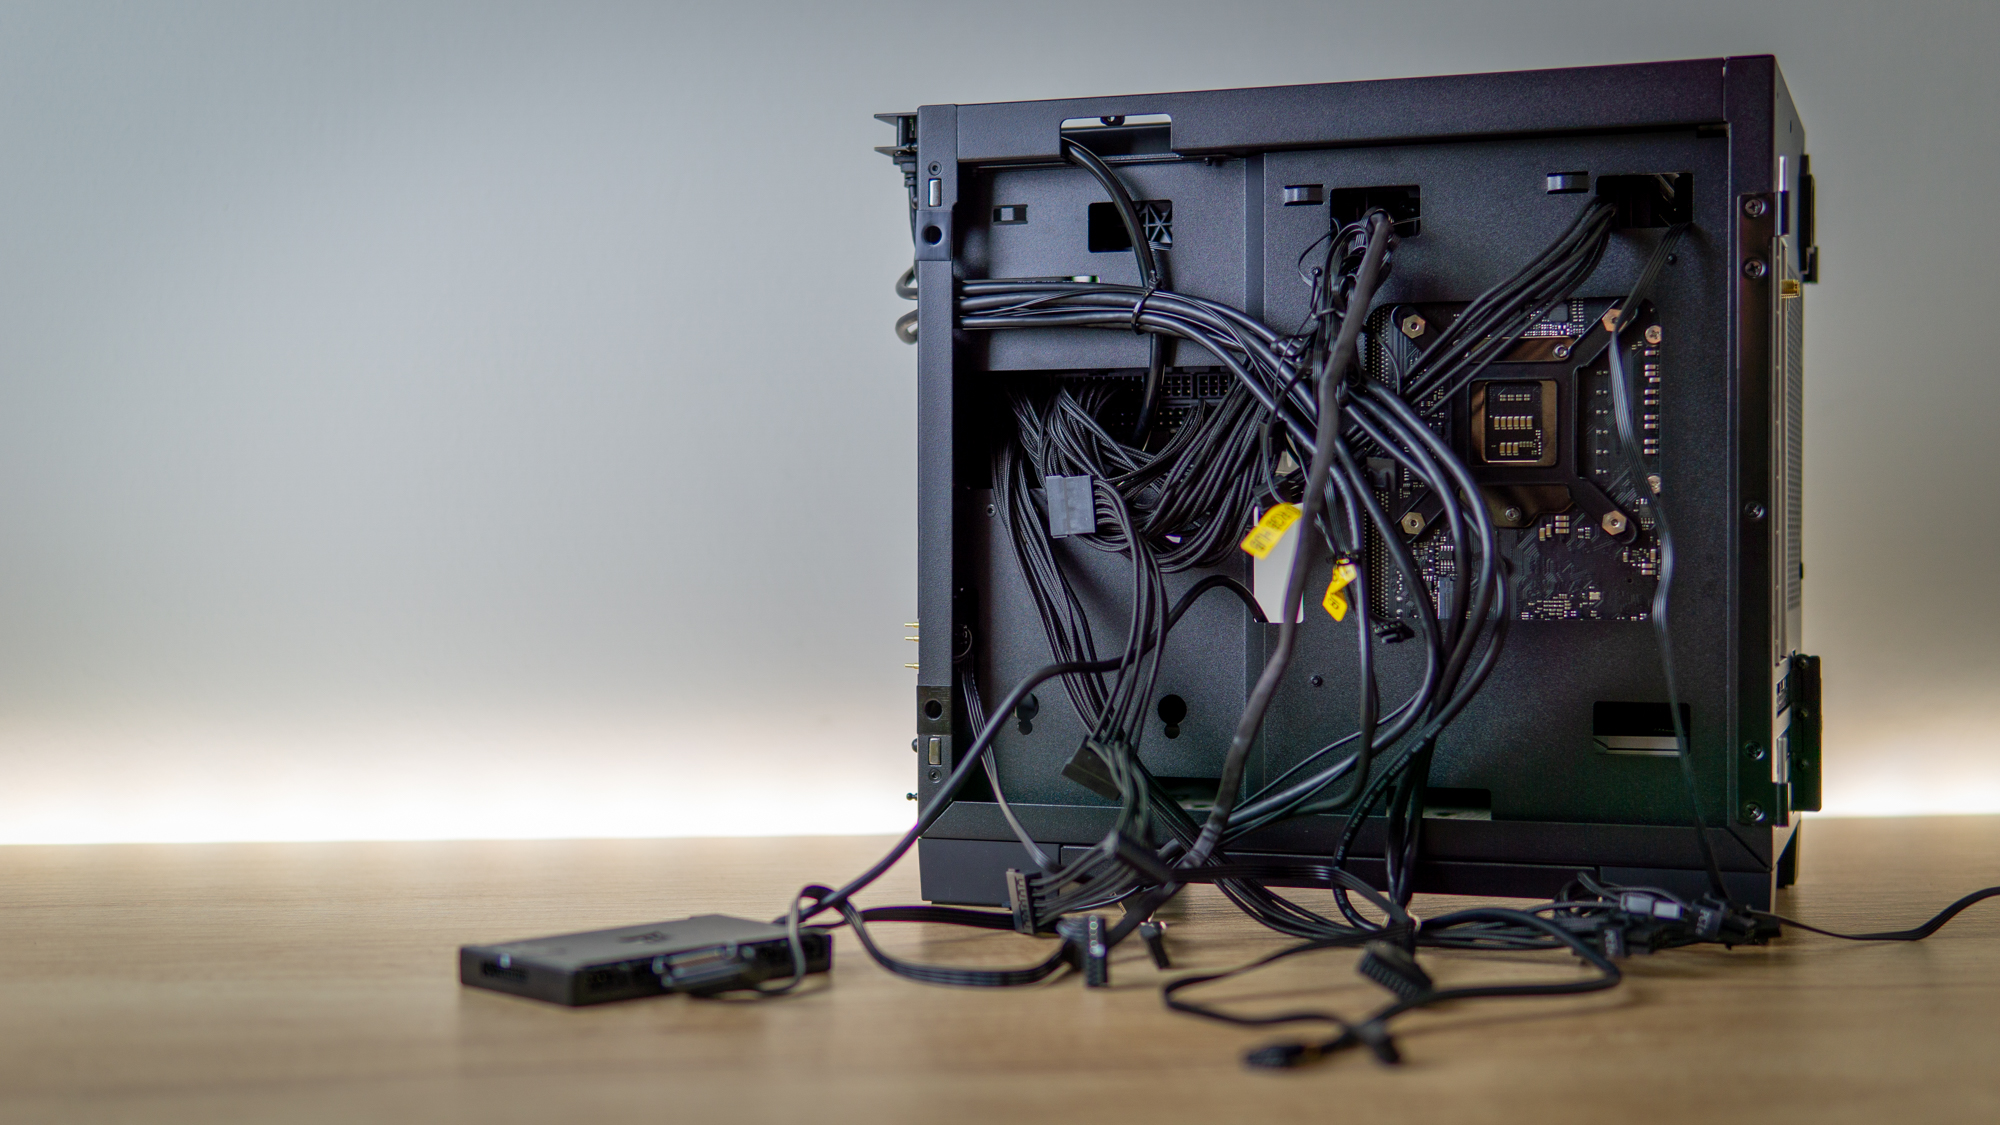
The image above was after I plugged most of the cables in, but before tidying the bunch up. Without much space, cable management wasn’t very easy. After about 20-30 minutes of messing around in the area, disconnecting and re-connecting wires, I eventually decided that it didn’t need to be very tidy for the purpose of this test – the panel only needed to close and stay closed.
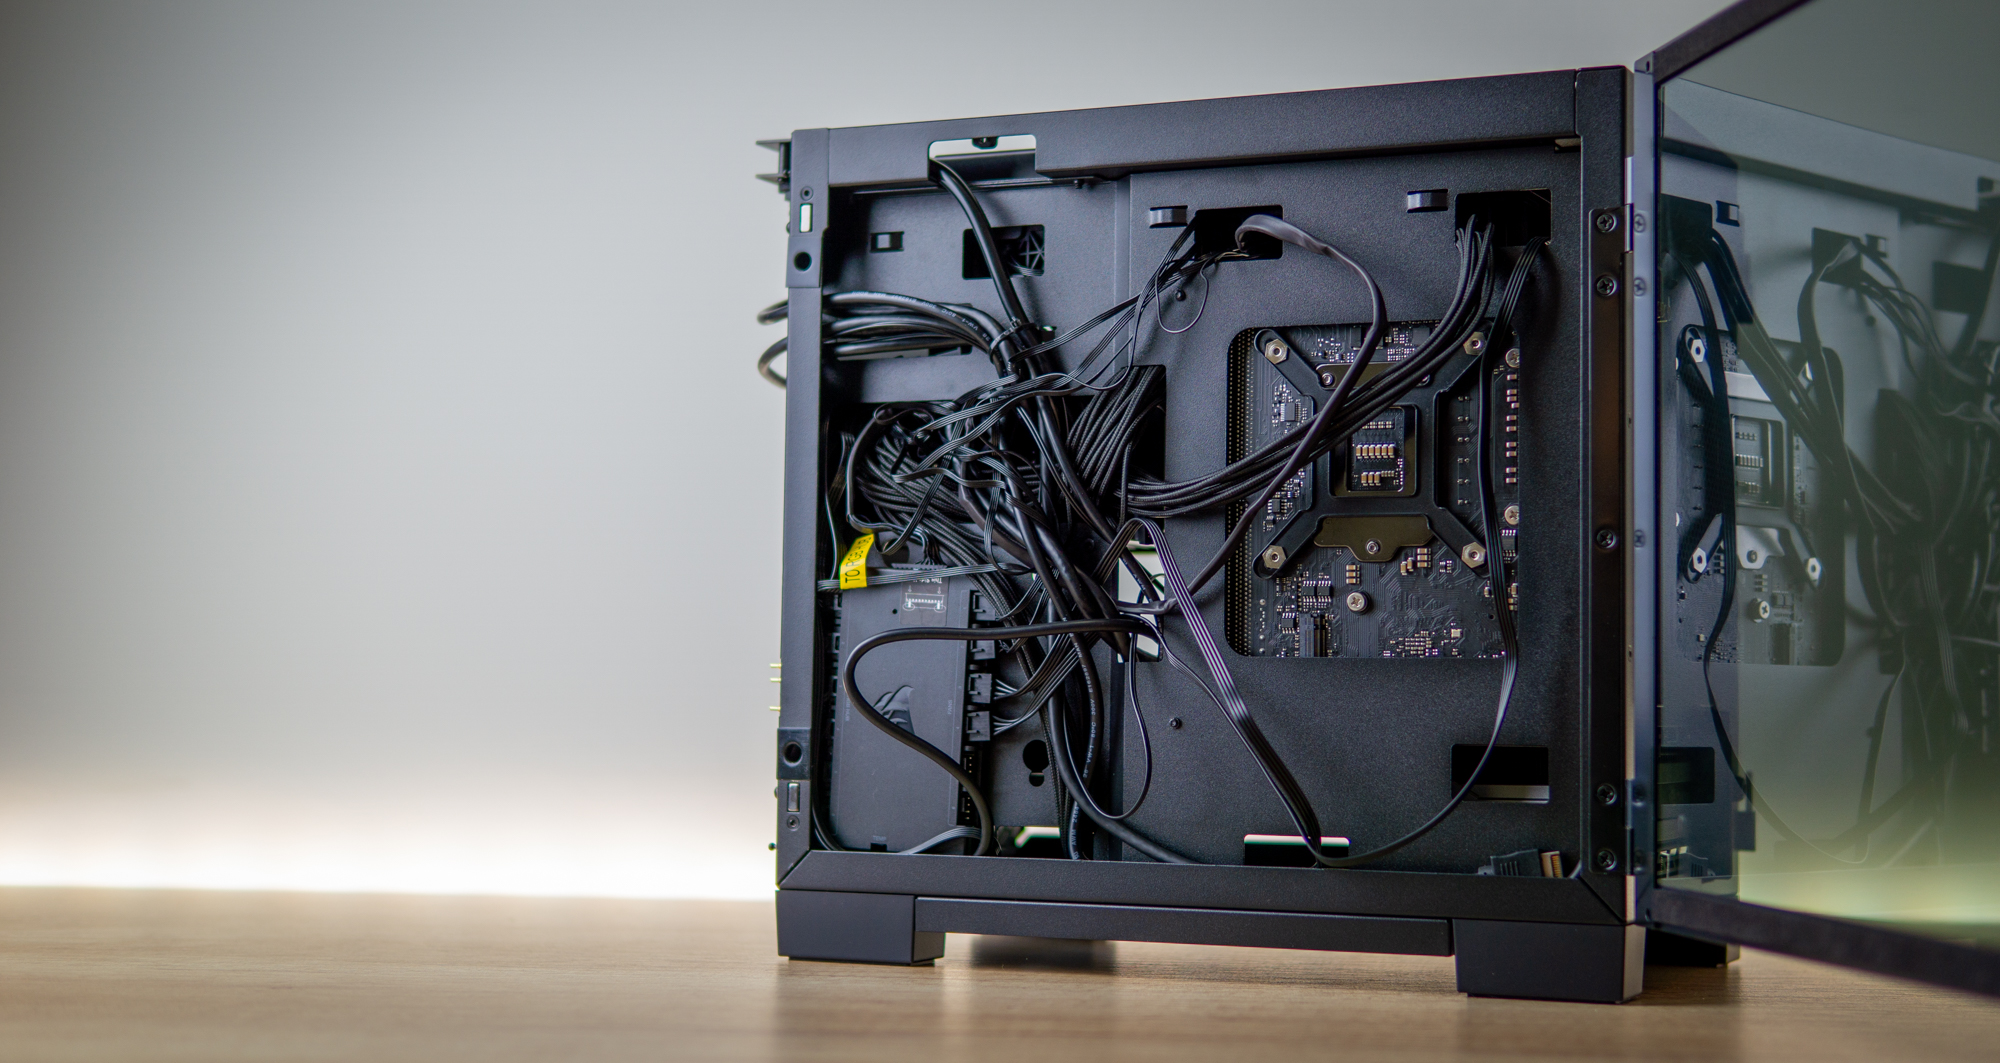
One of the issues I ran into is that the ASRock motherboard only has one internal USB 2.0 header, and both the case’s Chroma RGB controller and Corsair hub both needed it. As a result, the thermal testing below is done only with the Corsair Commander hub connected and the RGB disabled.
Of course, I’m making my life extra-challenging by using the Corsair Commander RGB & fan hub that’s included with this AIO – there simply isn’t any space for it. I squeezed it into a corner, but if I could make a recommendation: don’t get this AIO for Mini-ITX builds.
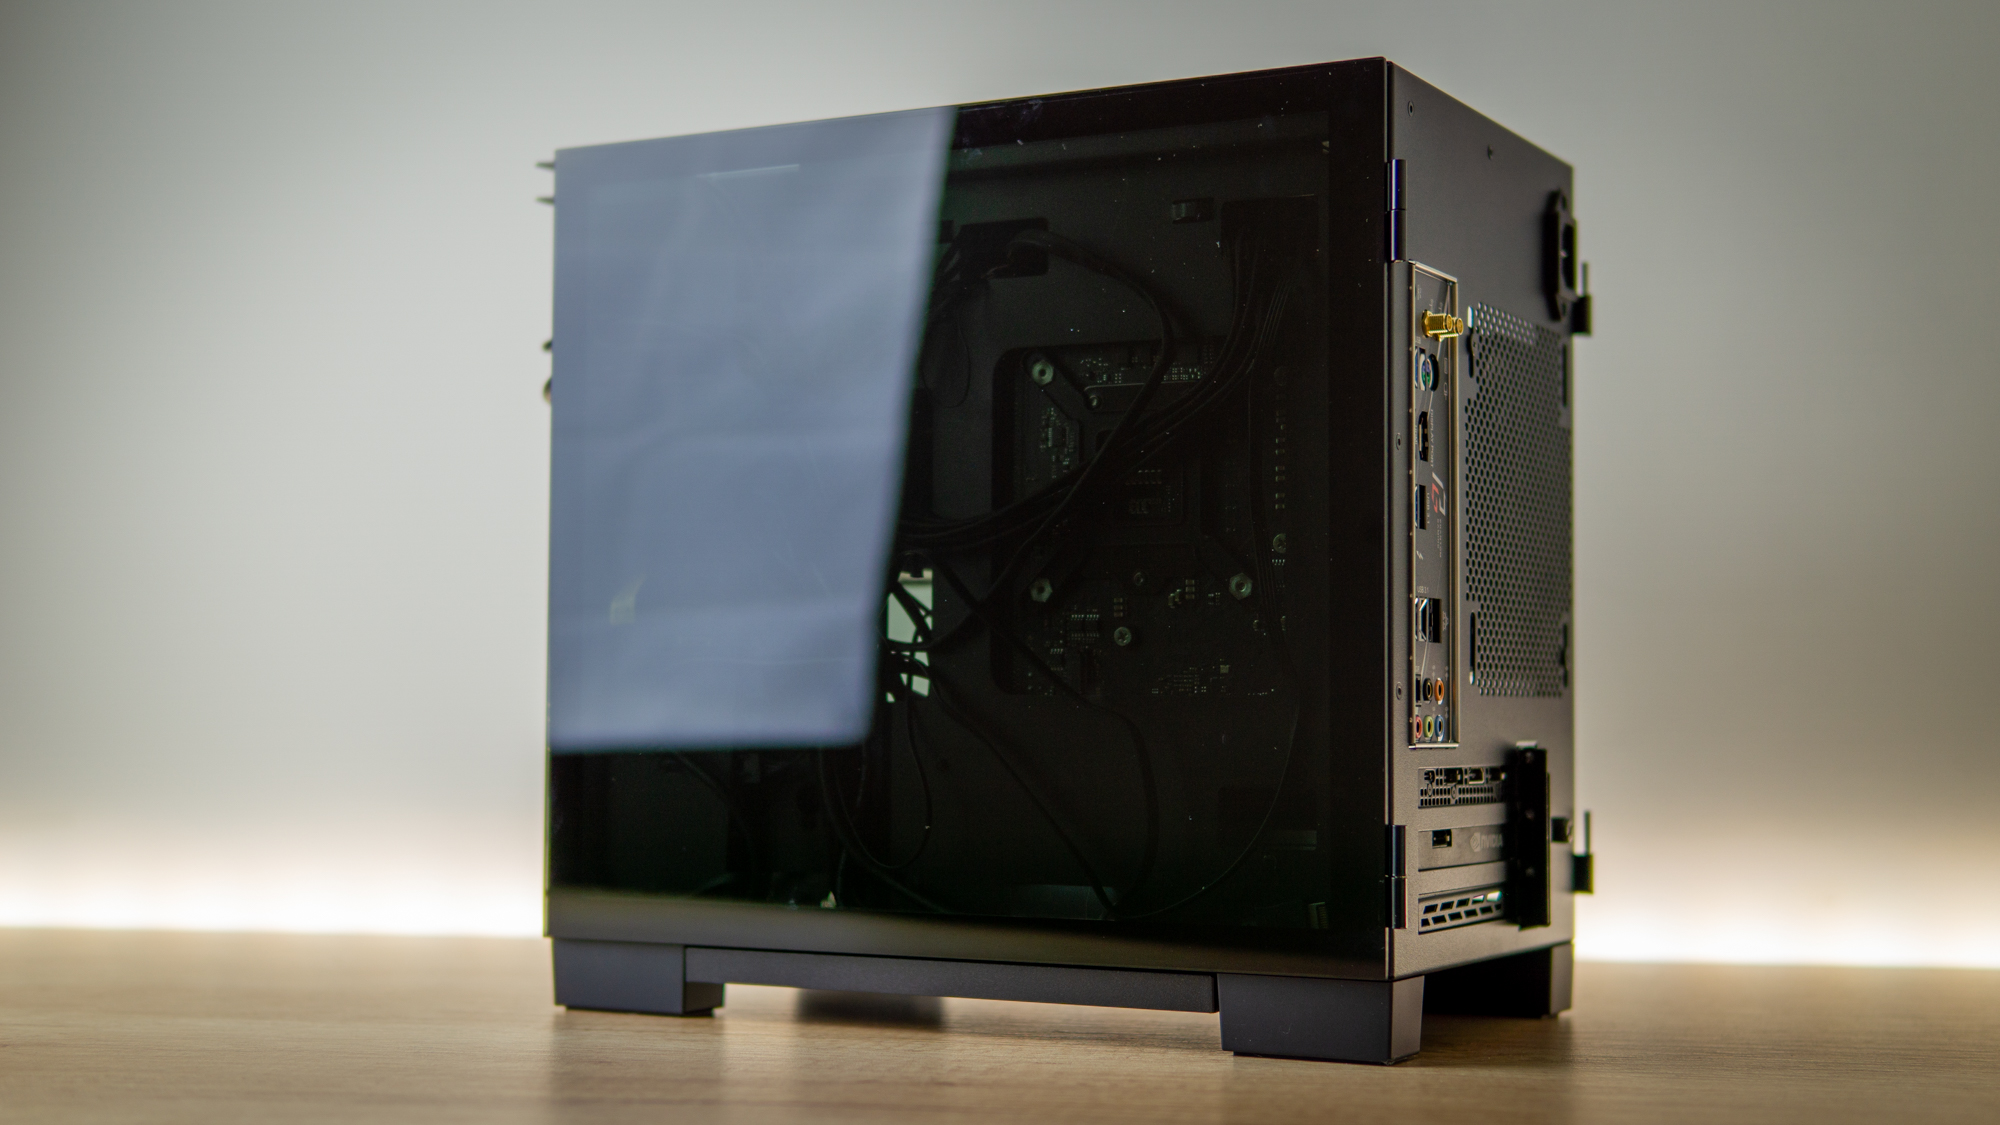
Fortunately, the AIO’s pump, fans, and lighting does all run when only SATA power is connected to the hub, so it was safe to disconnect the hub and connect the Chroma RGB for photos.
Step 7: At Last, The Build is Complete.
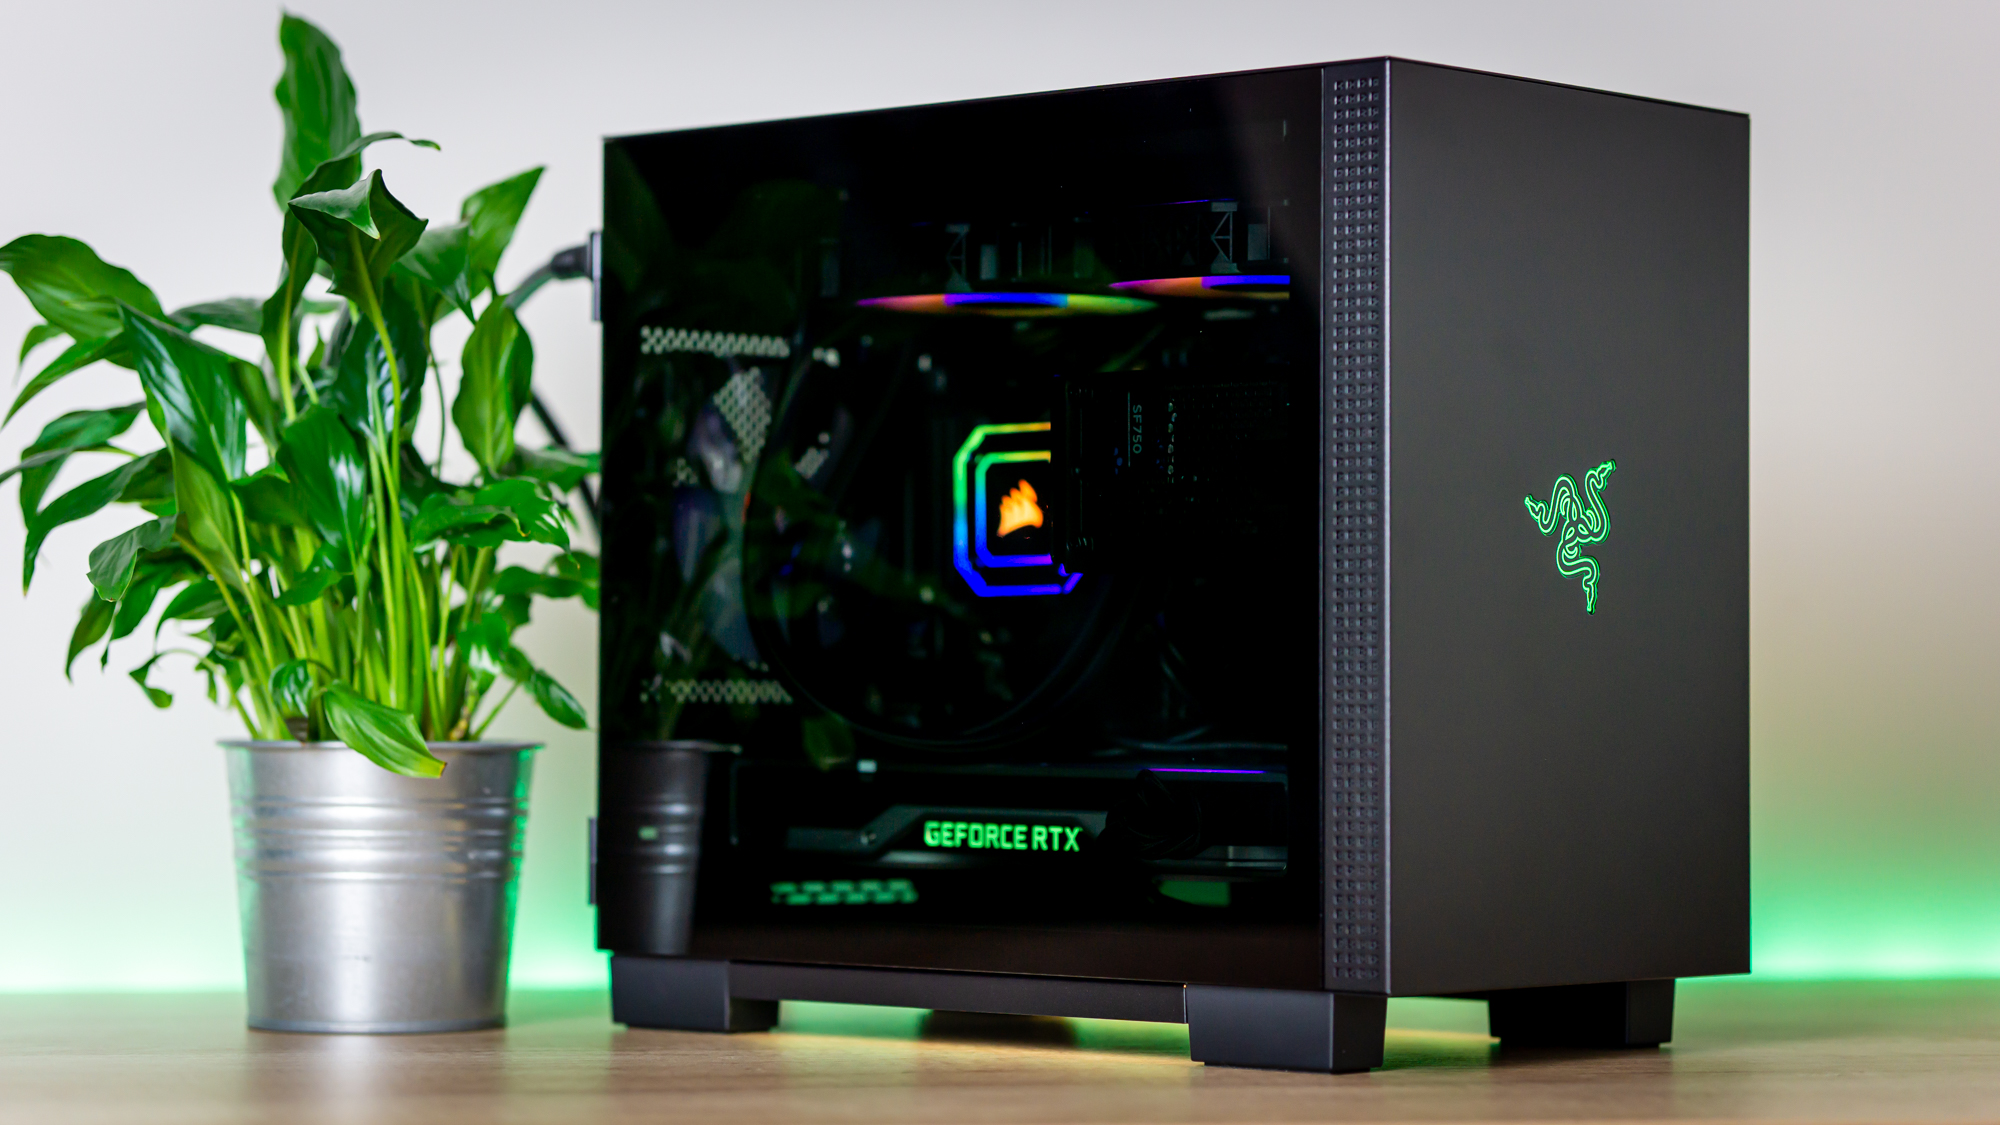
Nobody said building an ITX system was going to be easy. But that respect, the Tomahawk ITX is one of the easier cases to build in. The layout is dead-obvious. The radiator bracket makes AIO installation a breeze, and the GPU fits without issue. The only real complaint I have is that there is very little space for cable management, and if you want to do a better job than I did (which you probably do, my only goal was to have the panel stay shut), you probably need to spend at least an hour carefully routing all the cables – and even then, it will likely take multiple attempts.
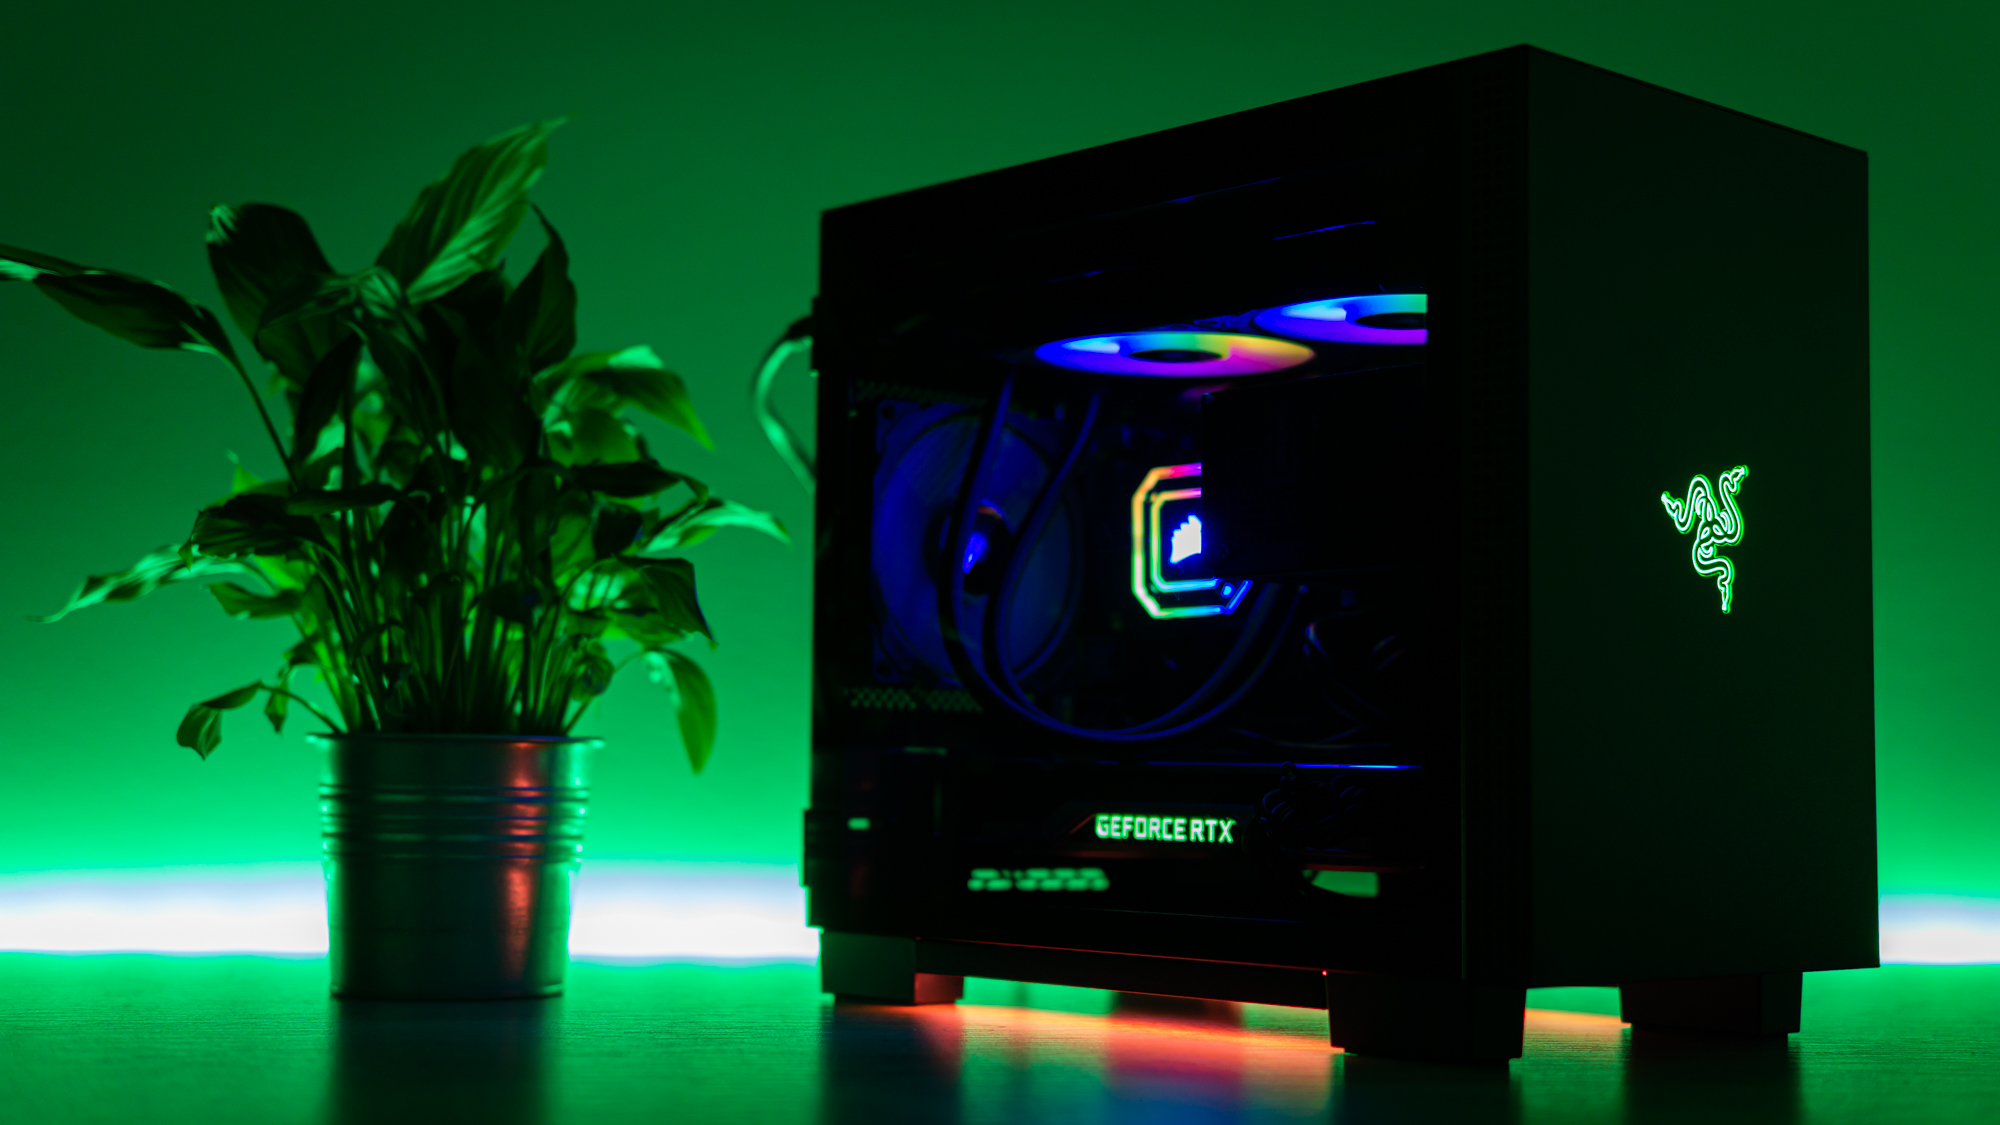
But in the end, you are left with a nice, simple and clean-looking system that indeed, produces some nice diffuse Chroma RGB lighting underglow. Just note that the Razer logo at the front will only have white backlighting through the translucent green plastic -- it isn’t RGB-capable.
Current page: Hardware Installation
Prev Page Specifications and Features Next Page Testing & ConclusionNiels Broekhuijsen is a Contributing Writer for Tom's Hardware US. He reviews cases, water cooling and pc builds.
