Why you can trust Tom's Hardware
We are using the following system for our case test bed:
| CPU | Intel Core i9-9900K |
| Motherboard | Asus Maximus XI Hero WiFi |
| Memory | Corsair Vengeance LPX 3000 MHz, 16 GB (2x 8GB) |
| Graphics | Nvidia GeForce RTX 2070 Super Founder’s Edition |
| CPU Cooling | Noctua NH-U12S Chromax.Black |
| Row 5 - Cell 0 | Noctua NT-H2 Thermal Paste |
| Storage | Corsair Force Series MP510 NVMe SSD, 480GB |
| Power Supply | Corsair HX750i |
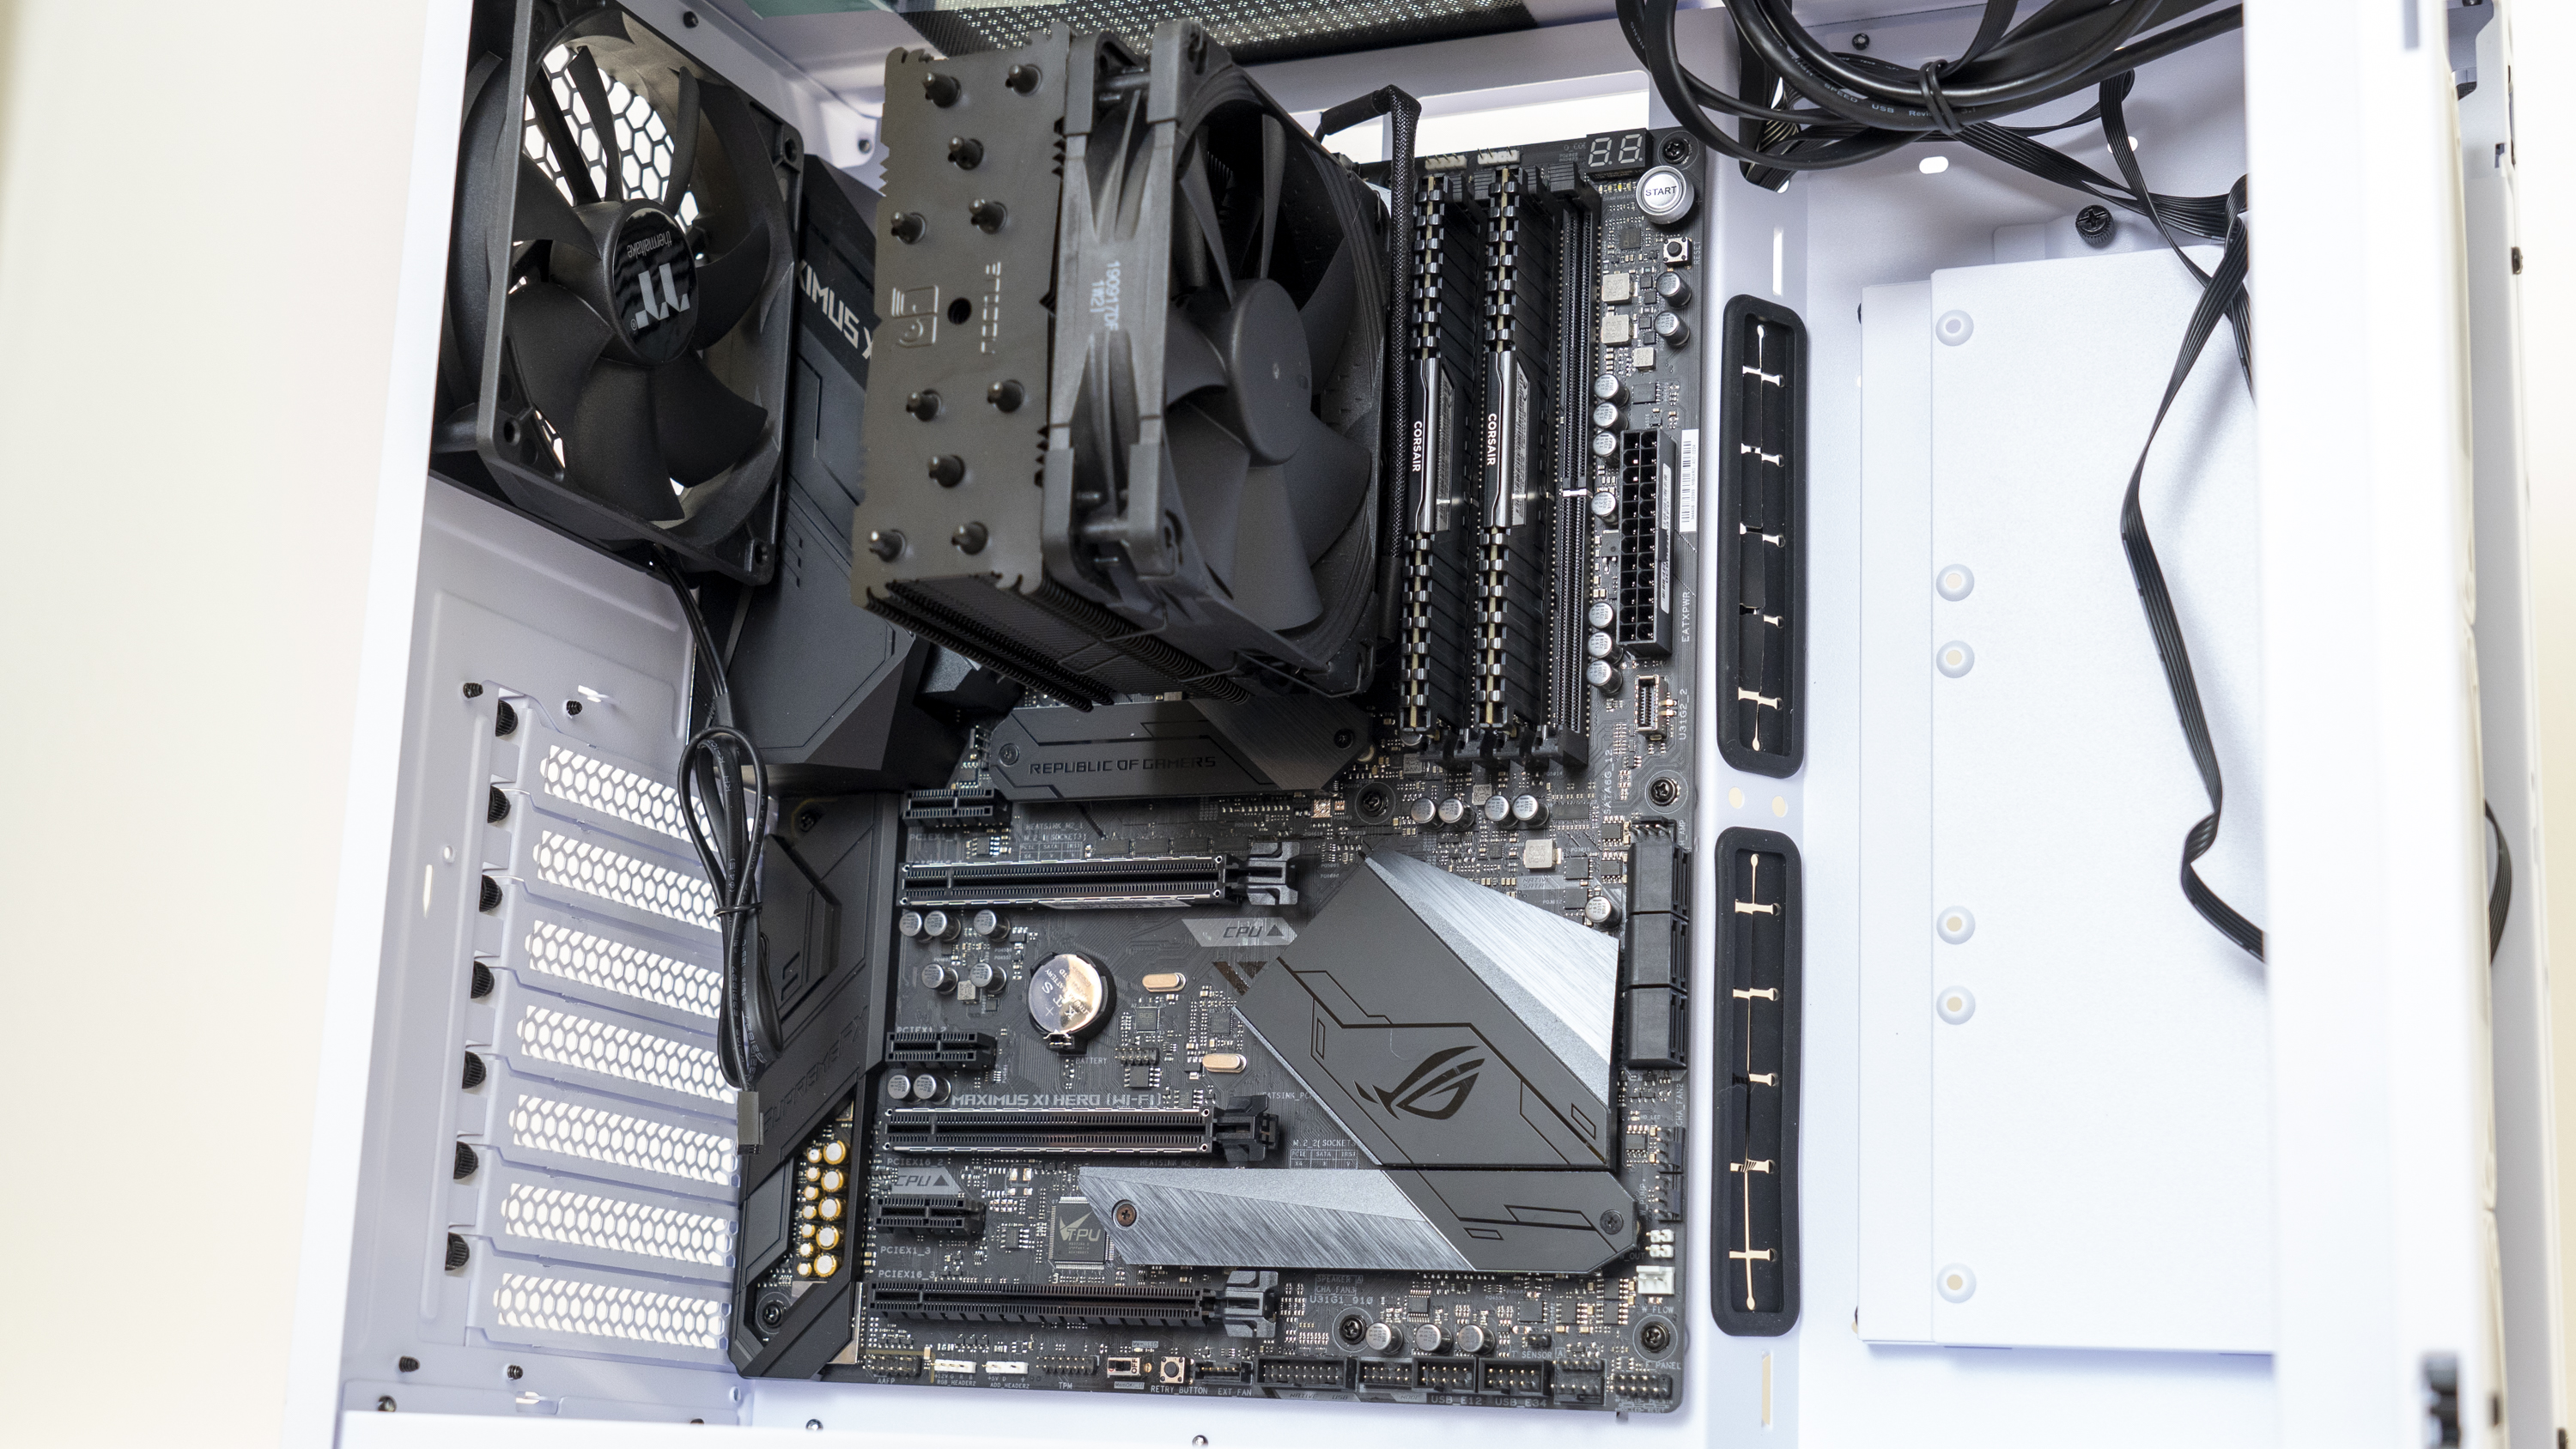
To install a system, we started off by dropping the motherboard into place. As there was no central anchoring standoff, we needed to lay the case on its side to secure the motherboard.
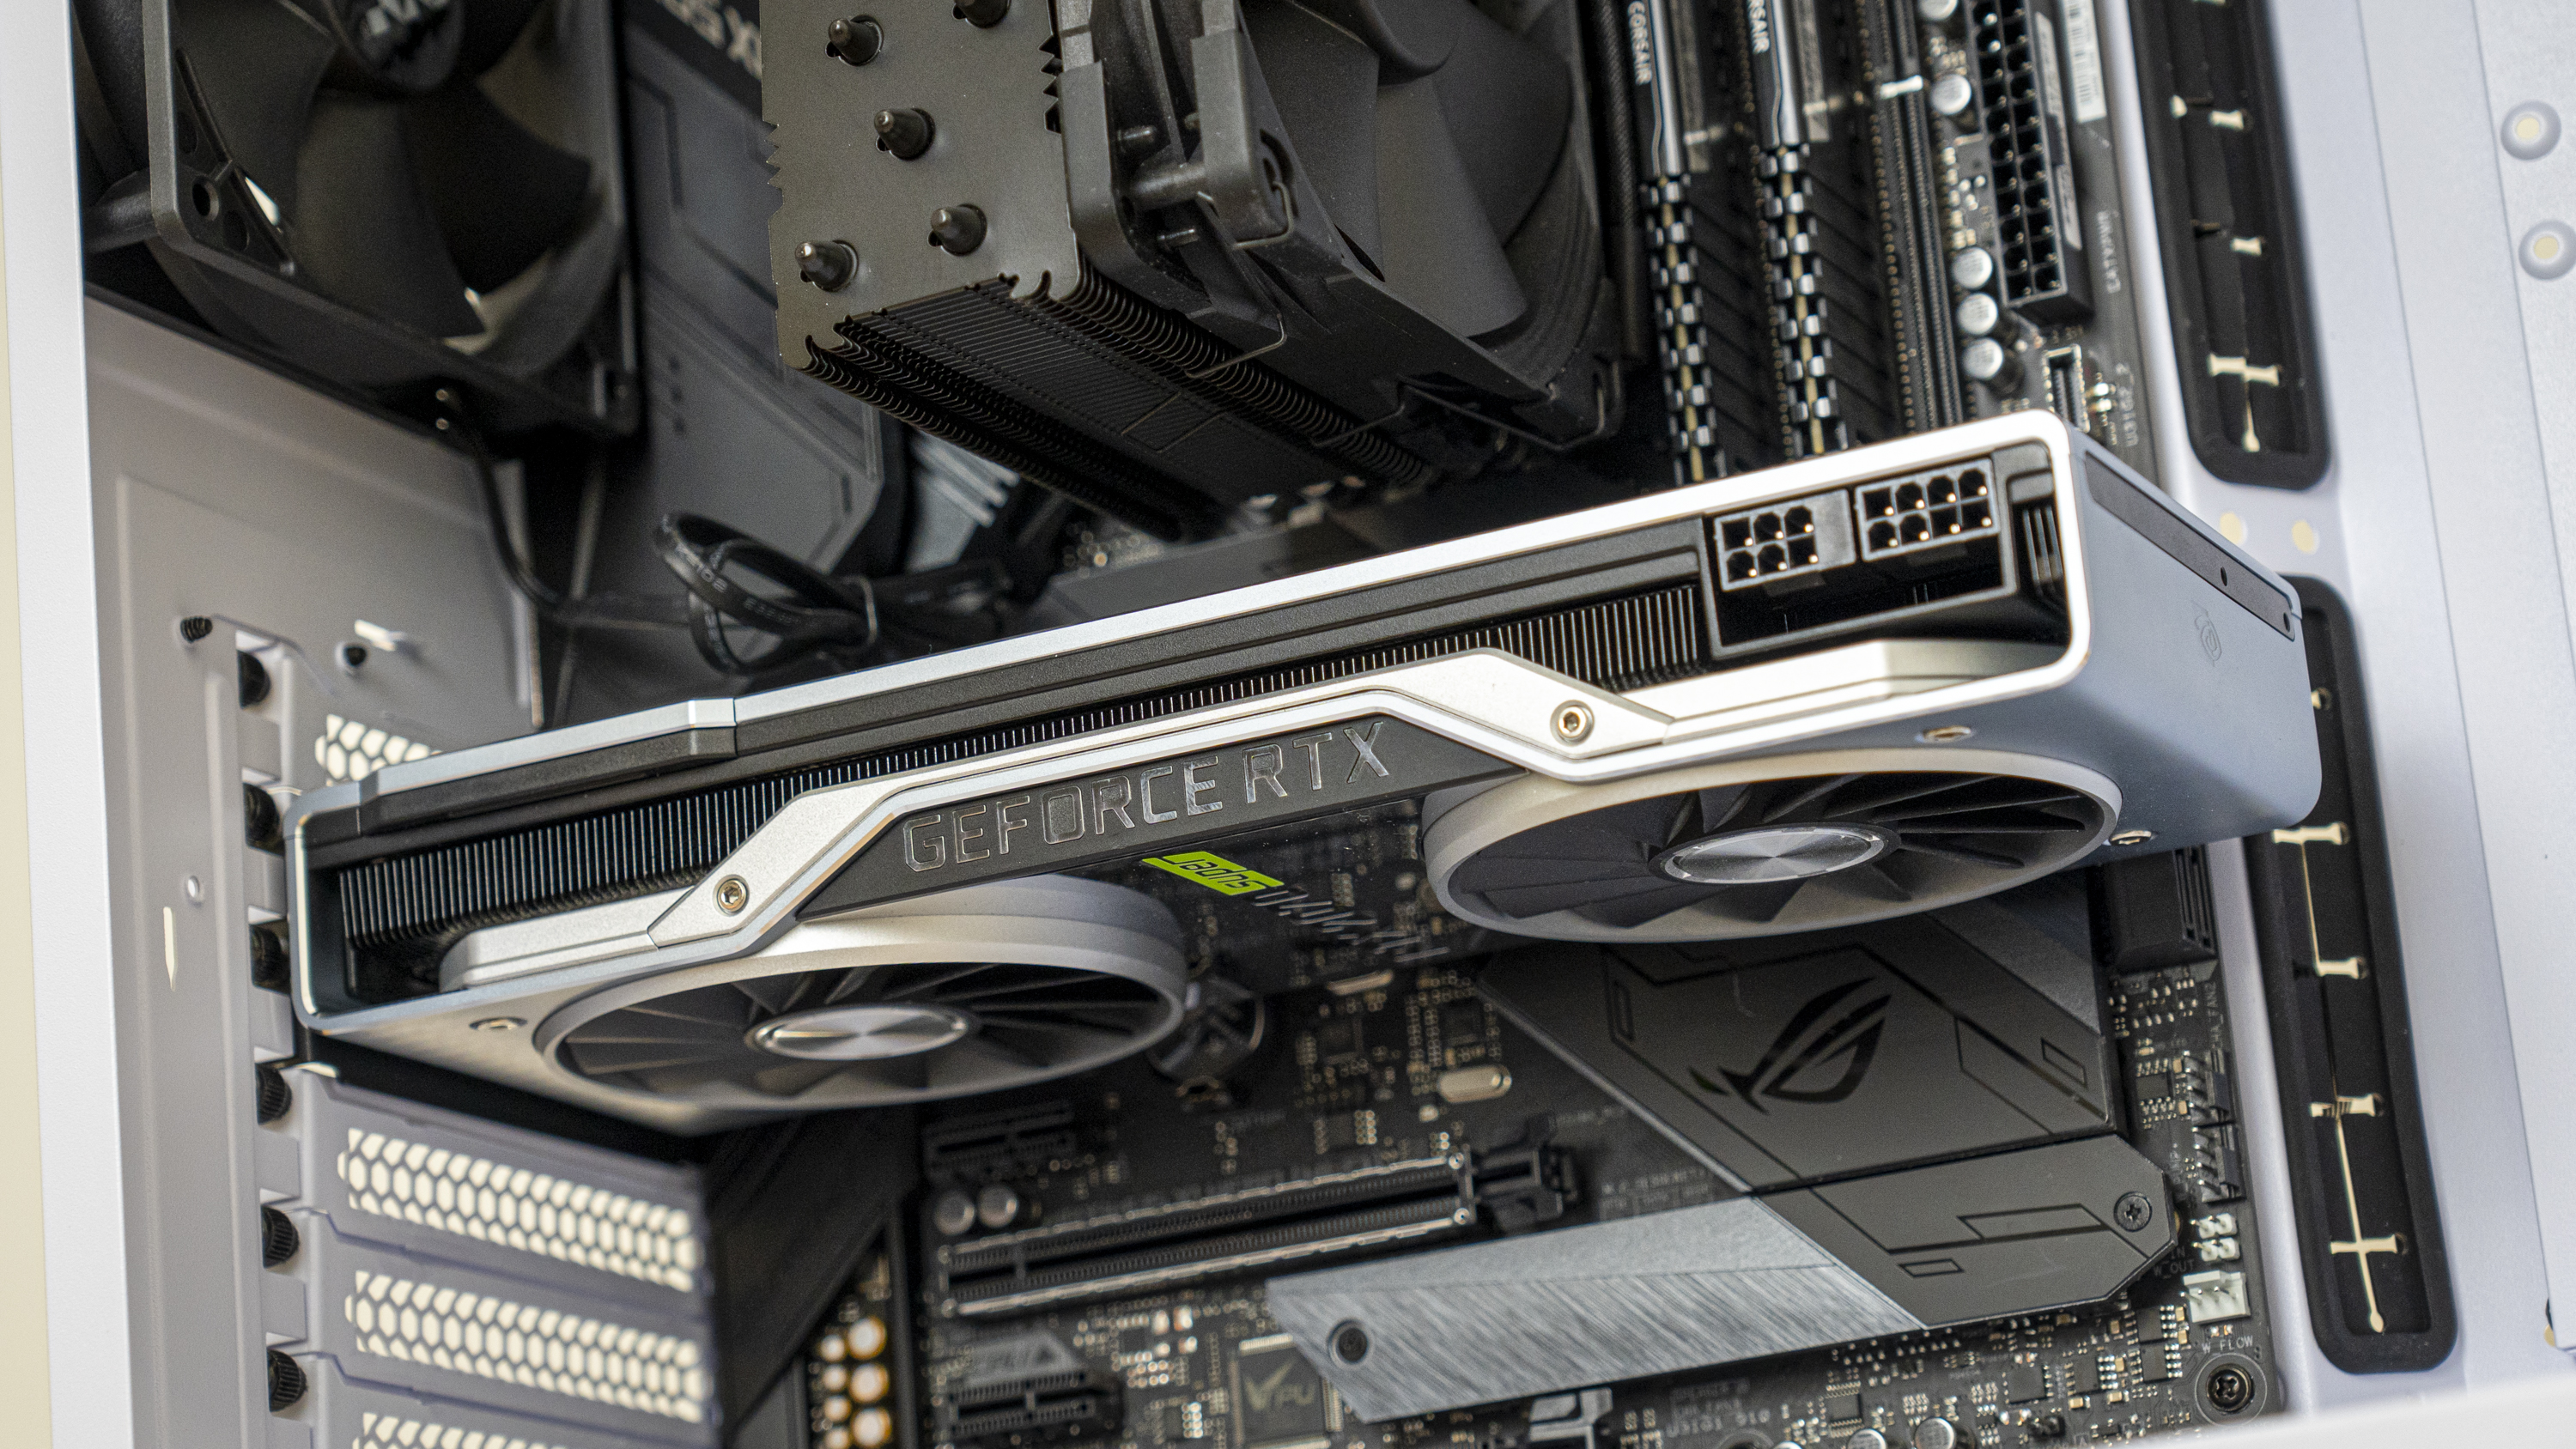
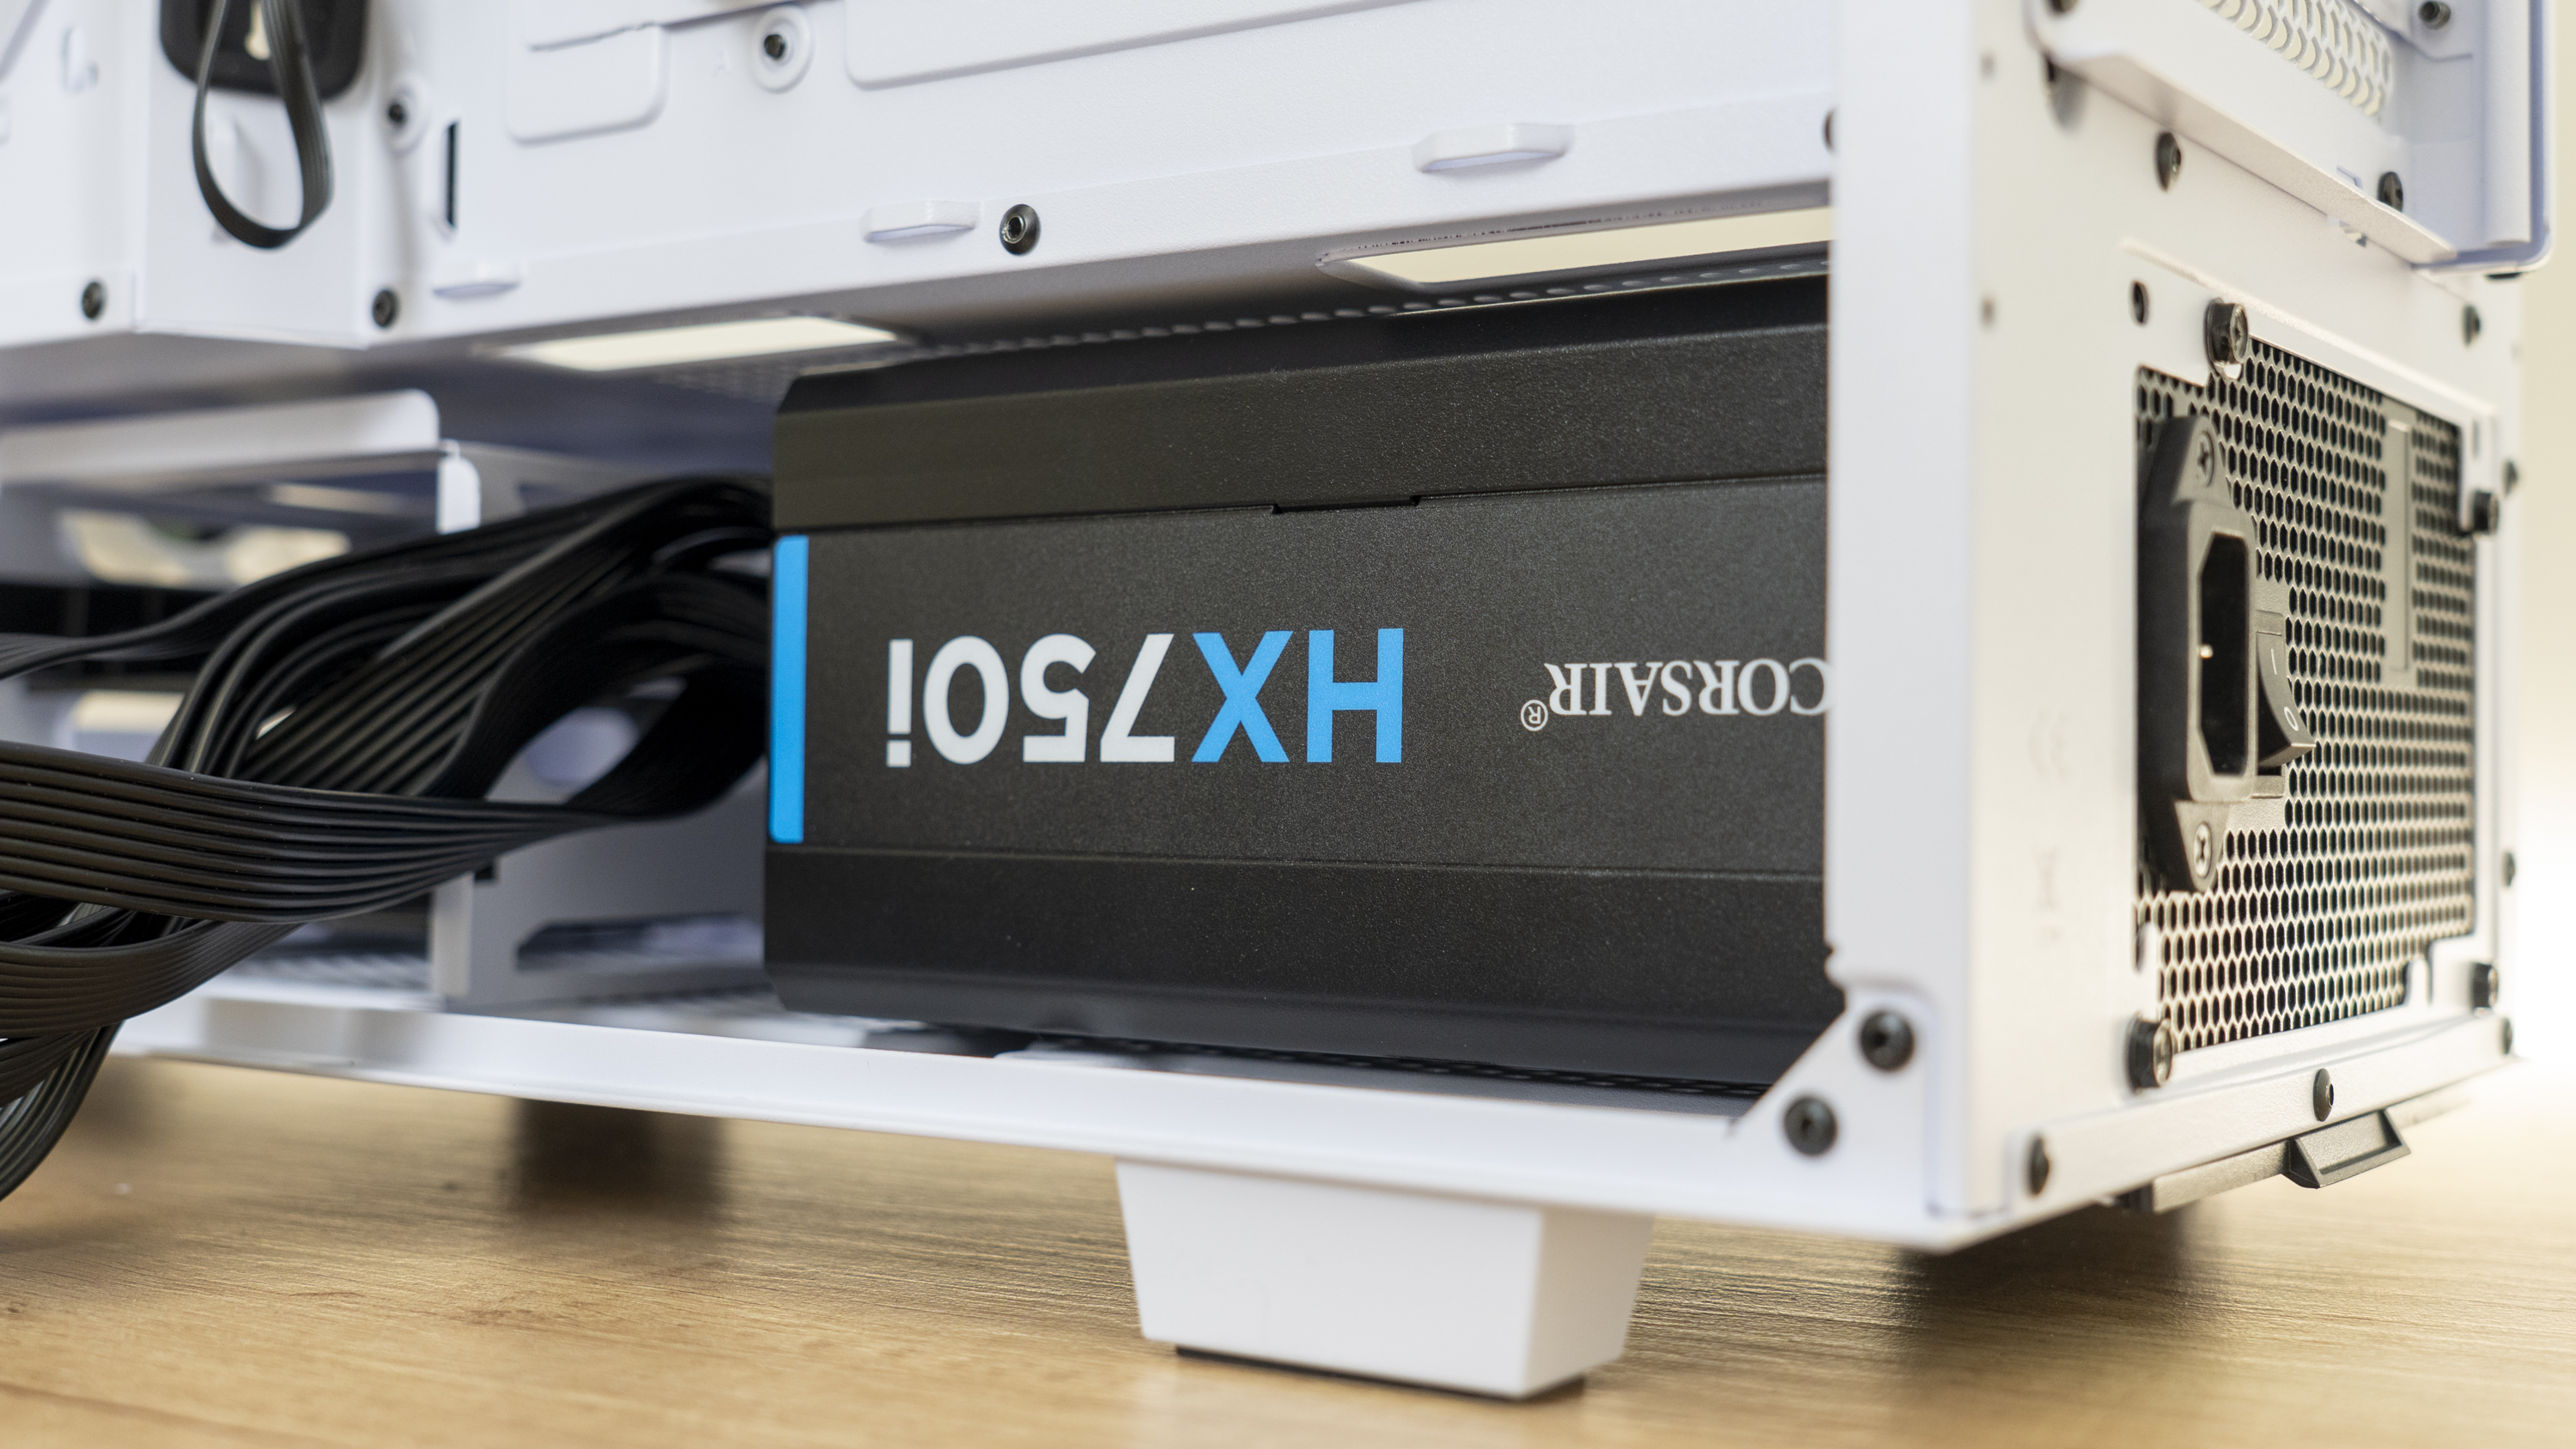
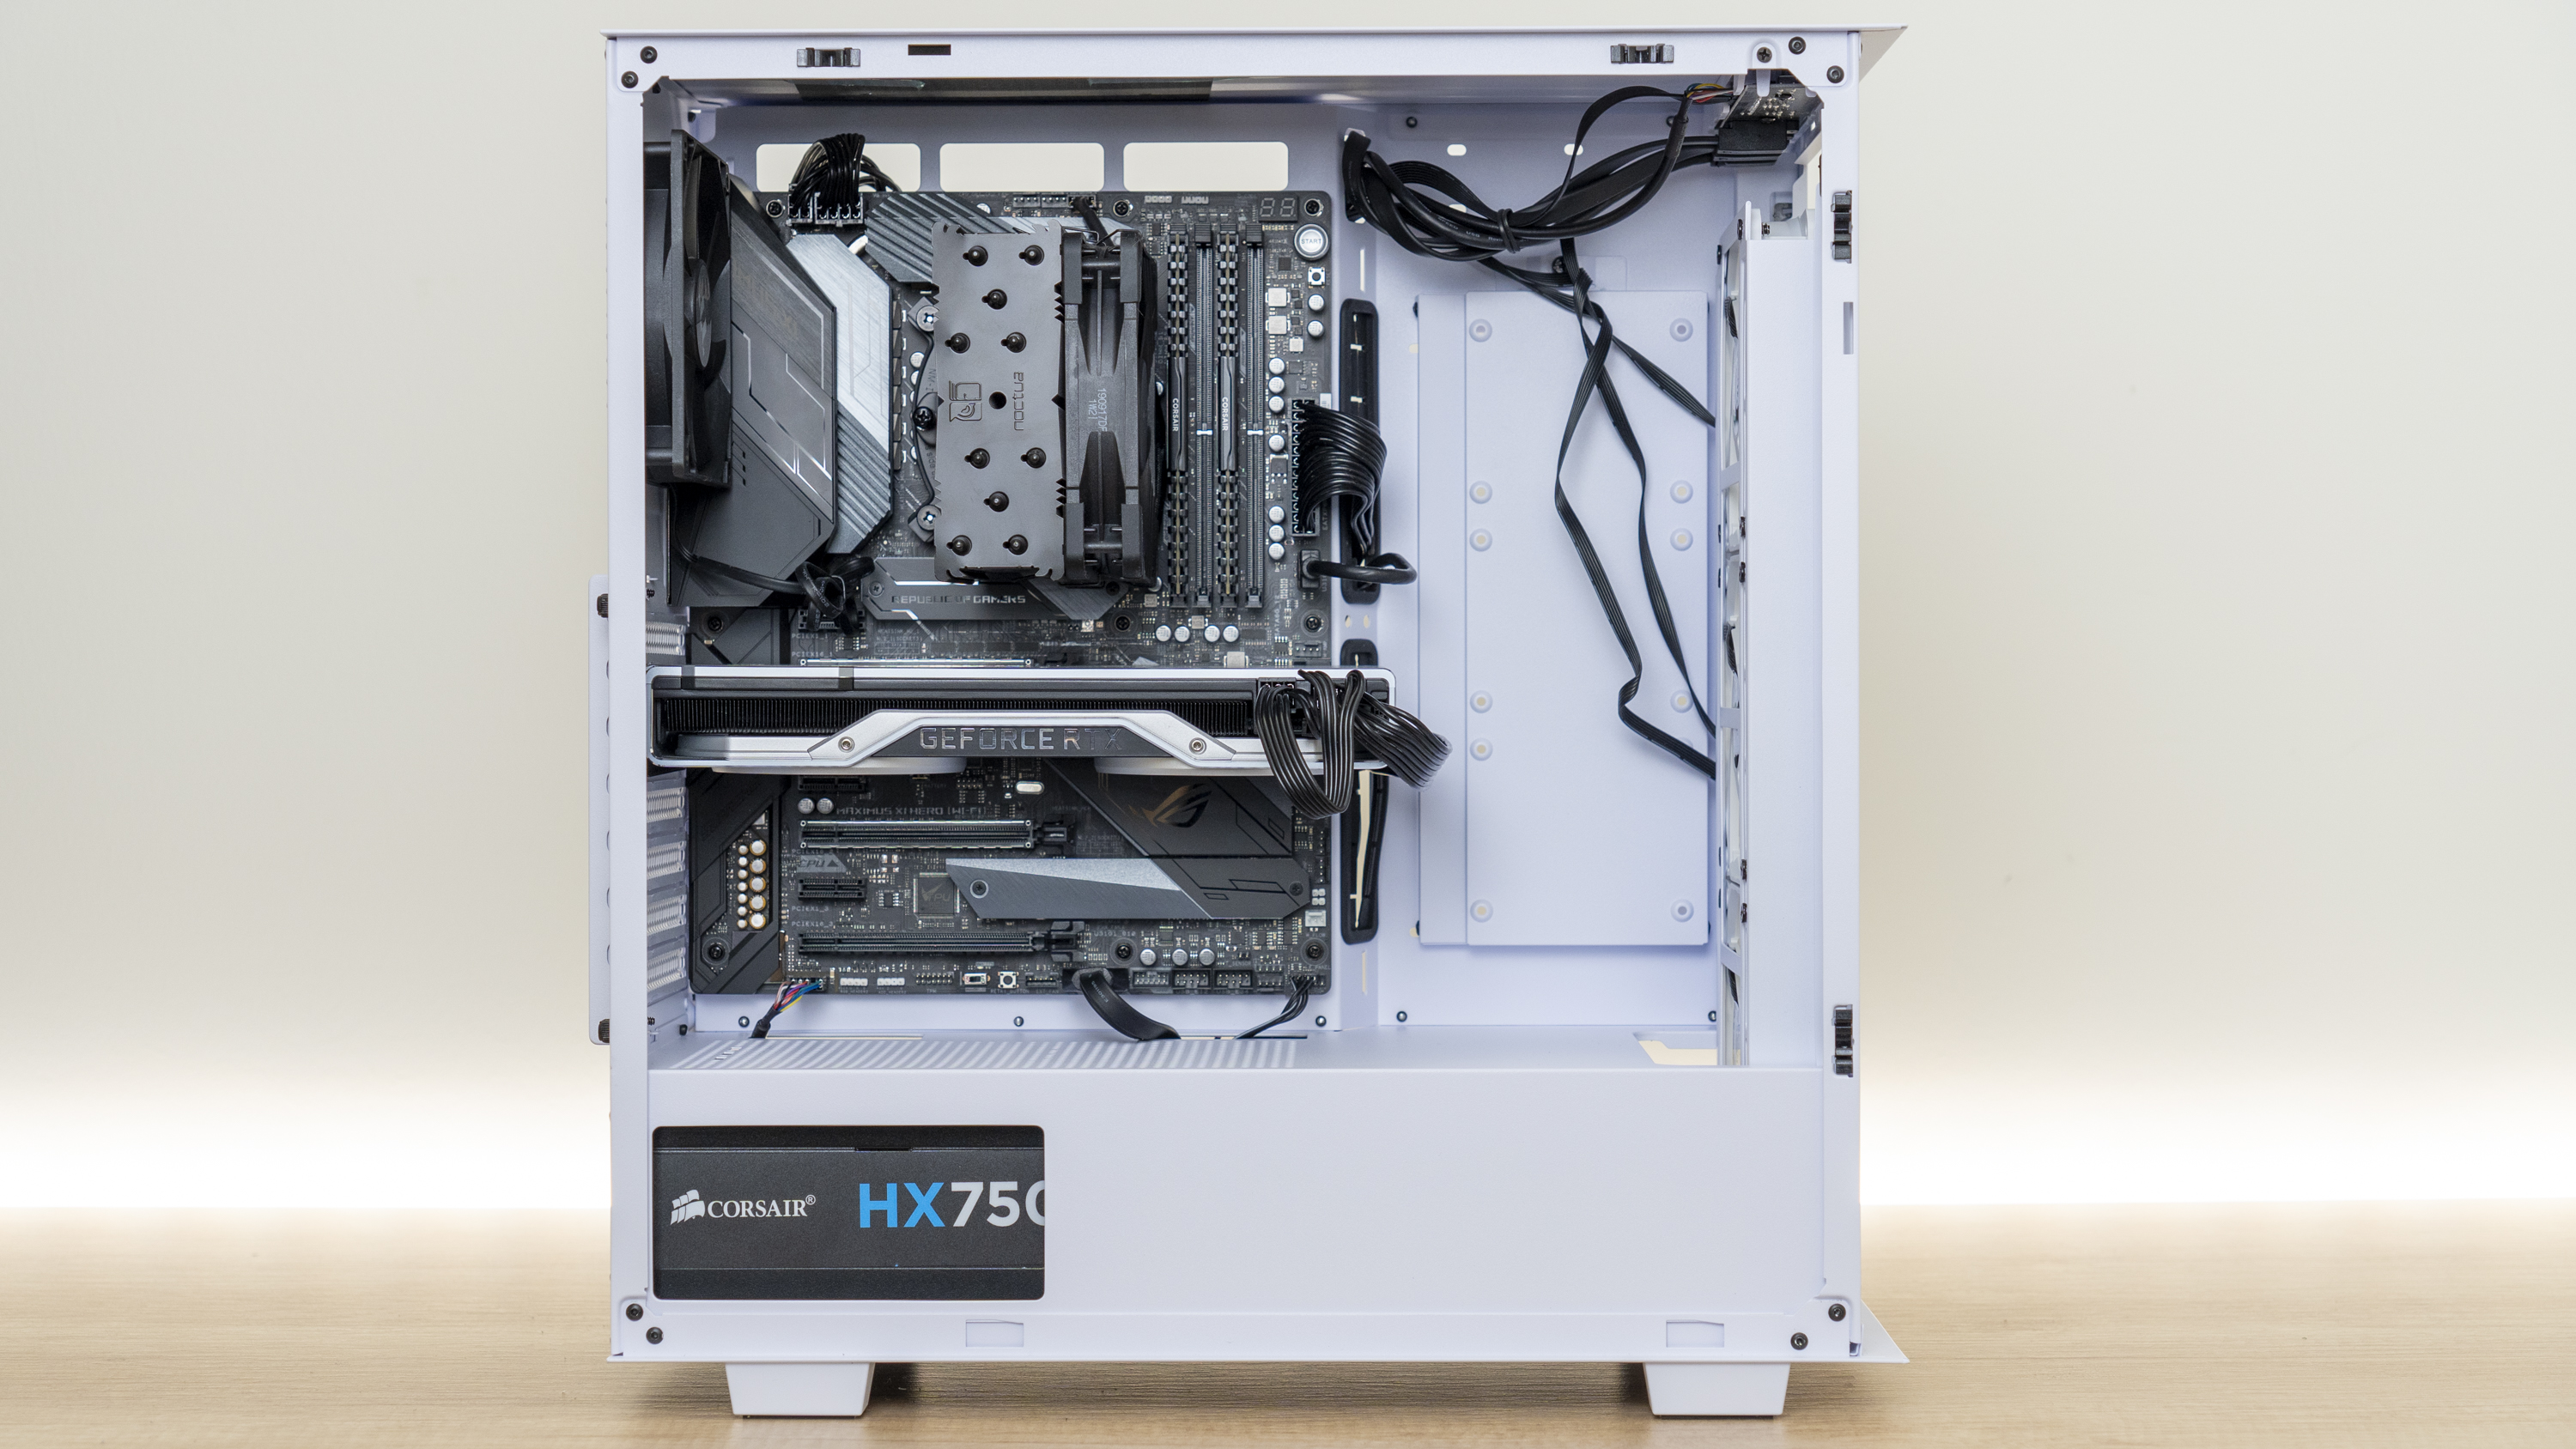
After this, the GPU dropped into place with ease, as did our large Corsair HX750i power supply, though the thumbscrews were difficult to remove, and upon re-inserting, we easily spun through one of the threads.
Thermaltake Divider 300TG Cable Management
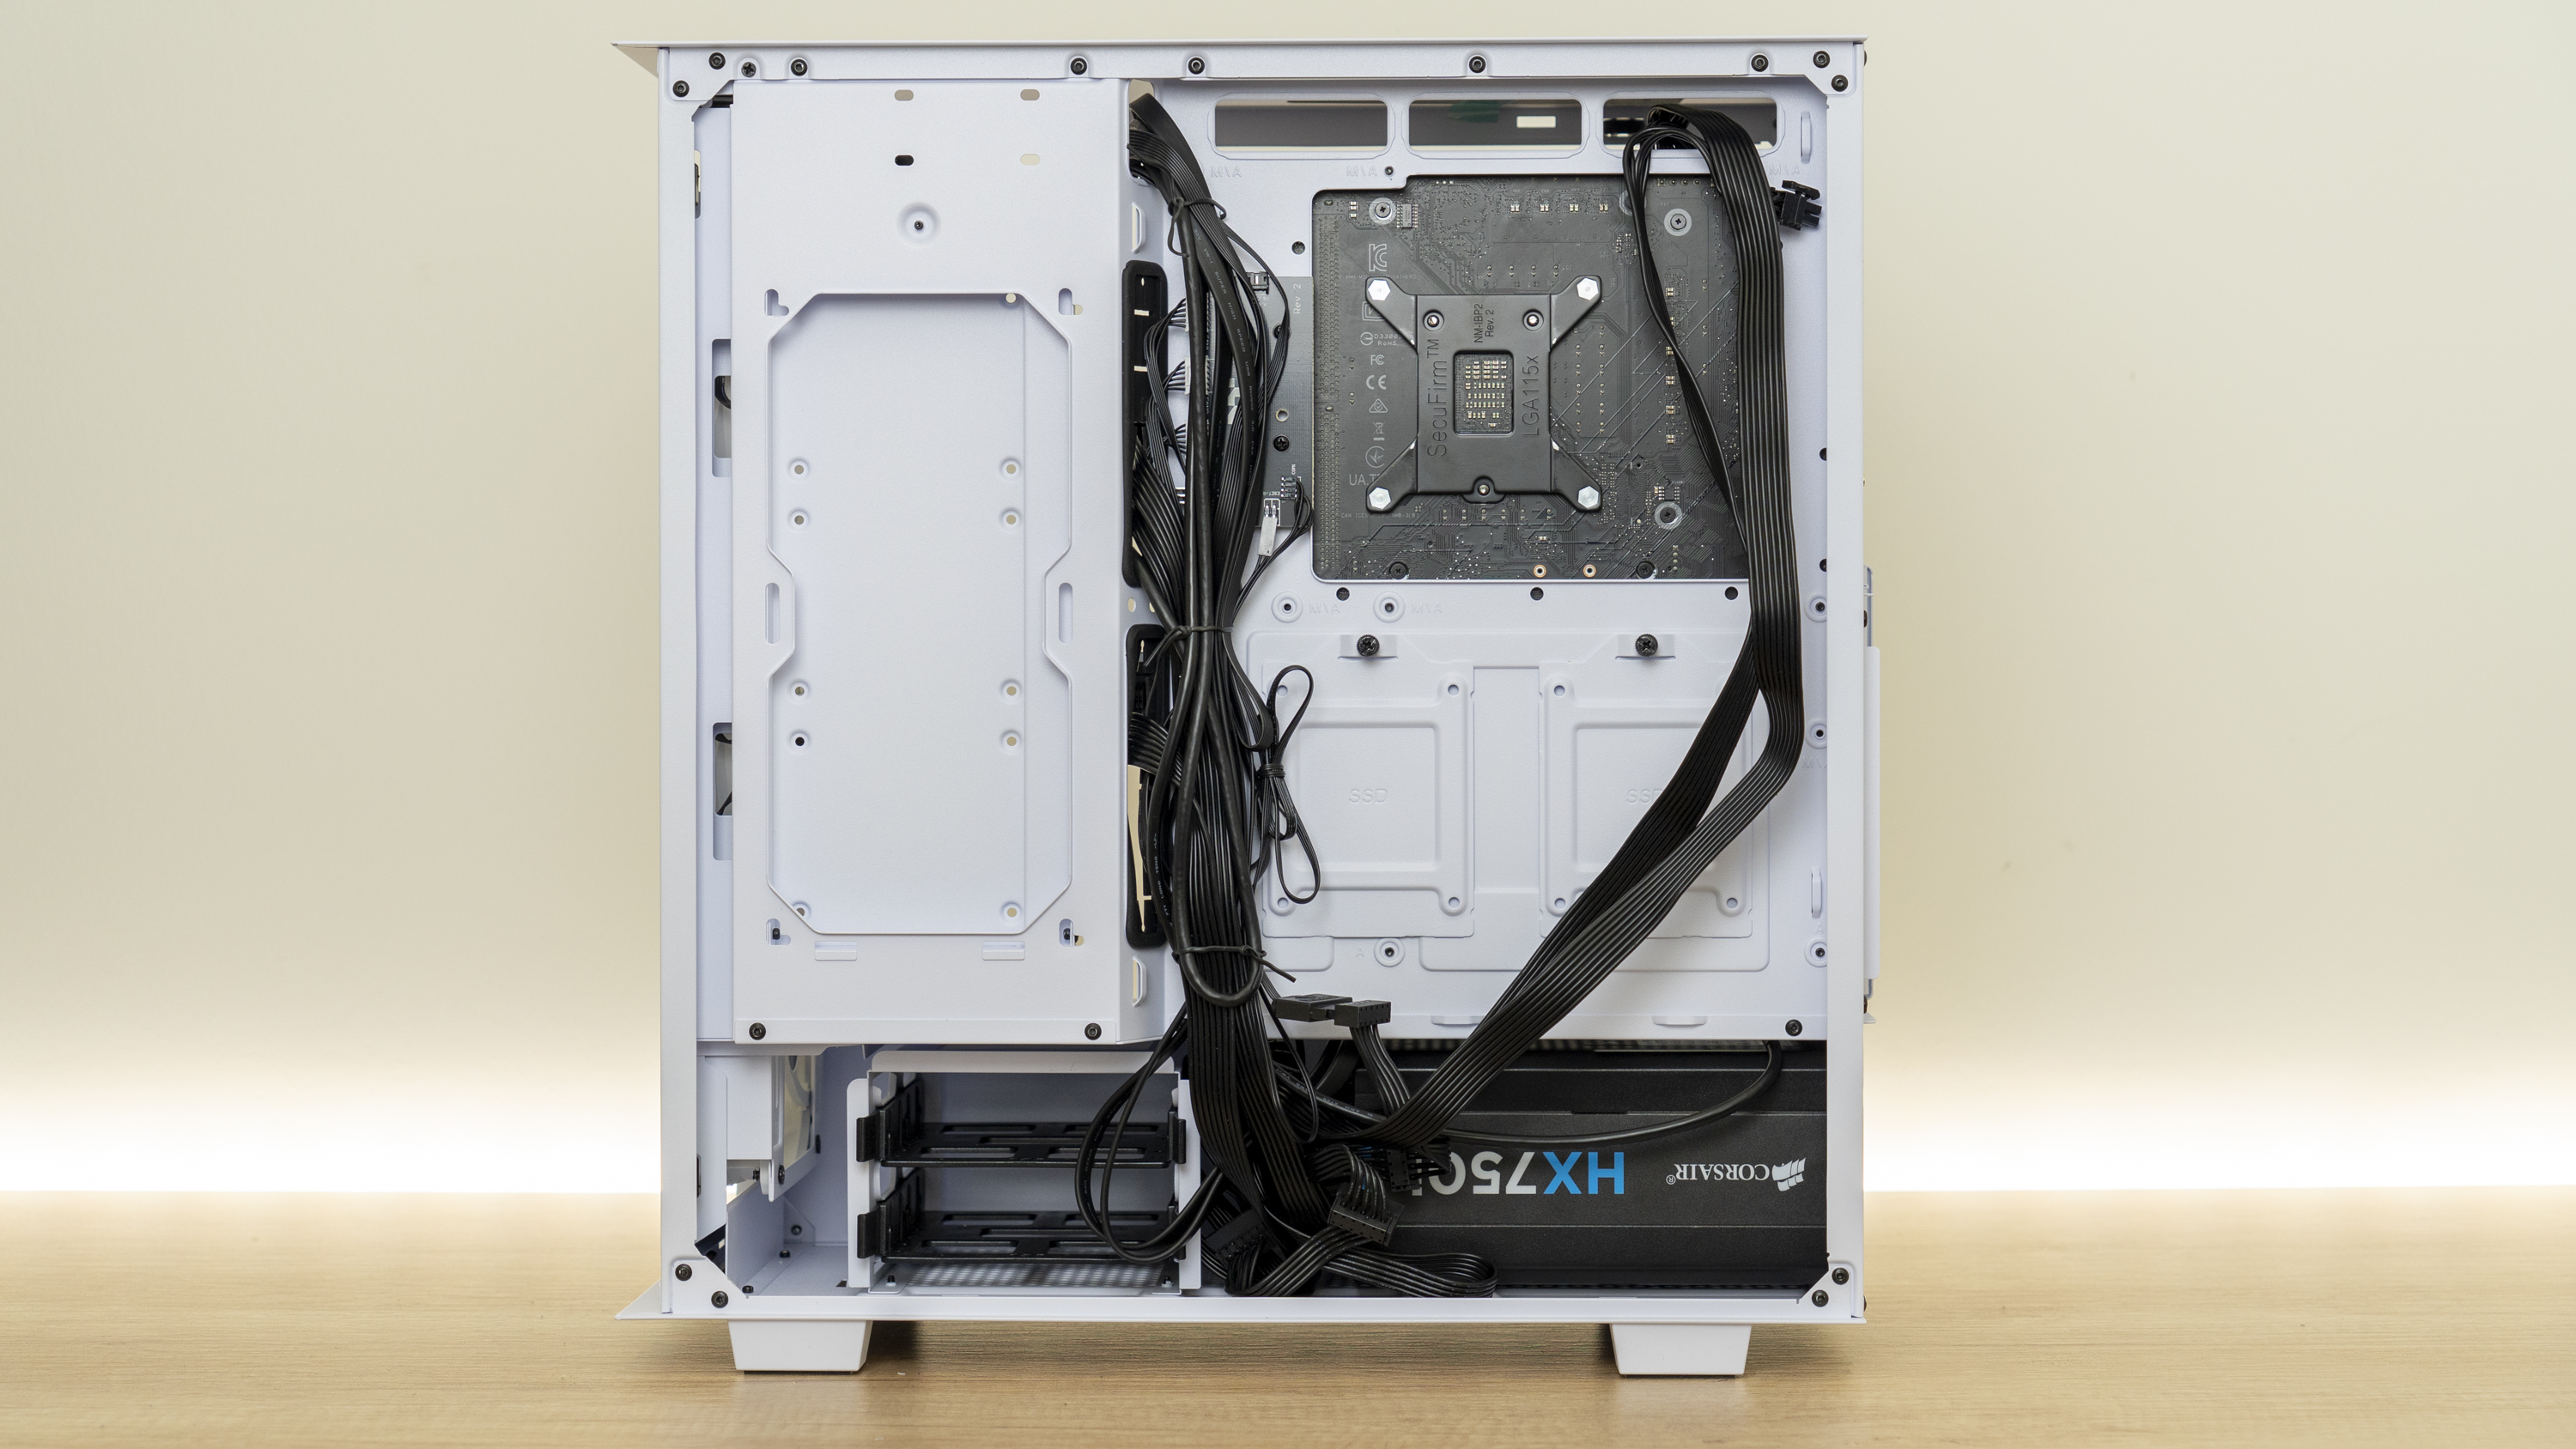
Then, we proceeded to tidy up the cables. Unfortunately, no Velcro straps are provided with this case, though there are plenty of tie-down points. A few zip-ties and tie-wraps are included, and there is plenty of space. The rubber grommets between the motherboard compartment and cable management space are also appreciated to hide the cable clutter behind, as otherwise the black cables would look quite contrasting on the white finish.
At the main compartment side, the cables we added to the system tidied up nicely. But where there was a way to get our work finished nicely, the fan and front IO cables that Thermaltake installs from the factory messily drag through the front of the case to their own cutout. These can be routed another way for a tidier result, but will still remain largely visible and you would expect better when the rest of the cable management system allows you to hide cables well.
Build Complete
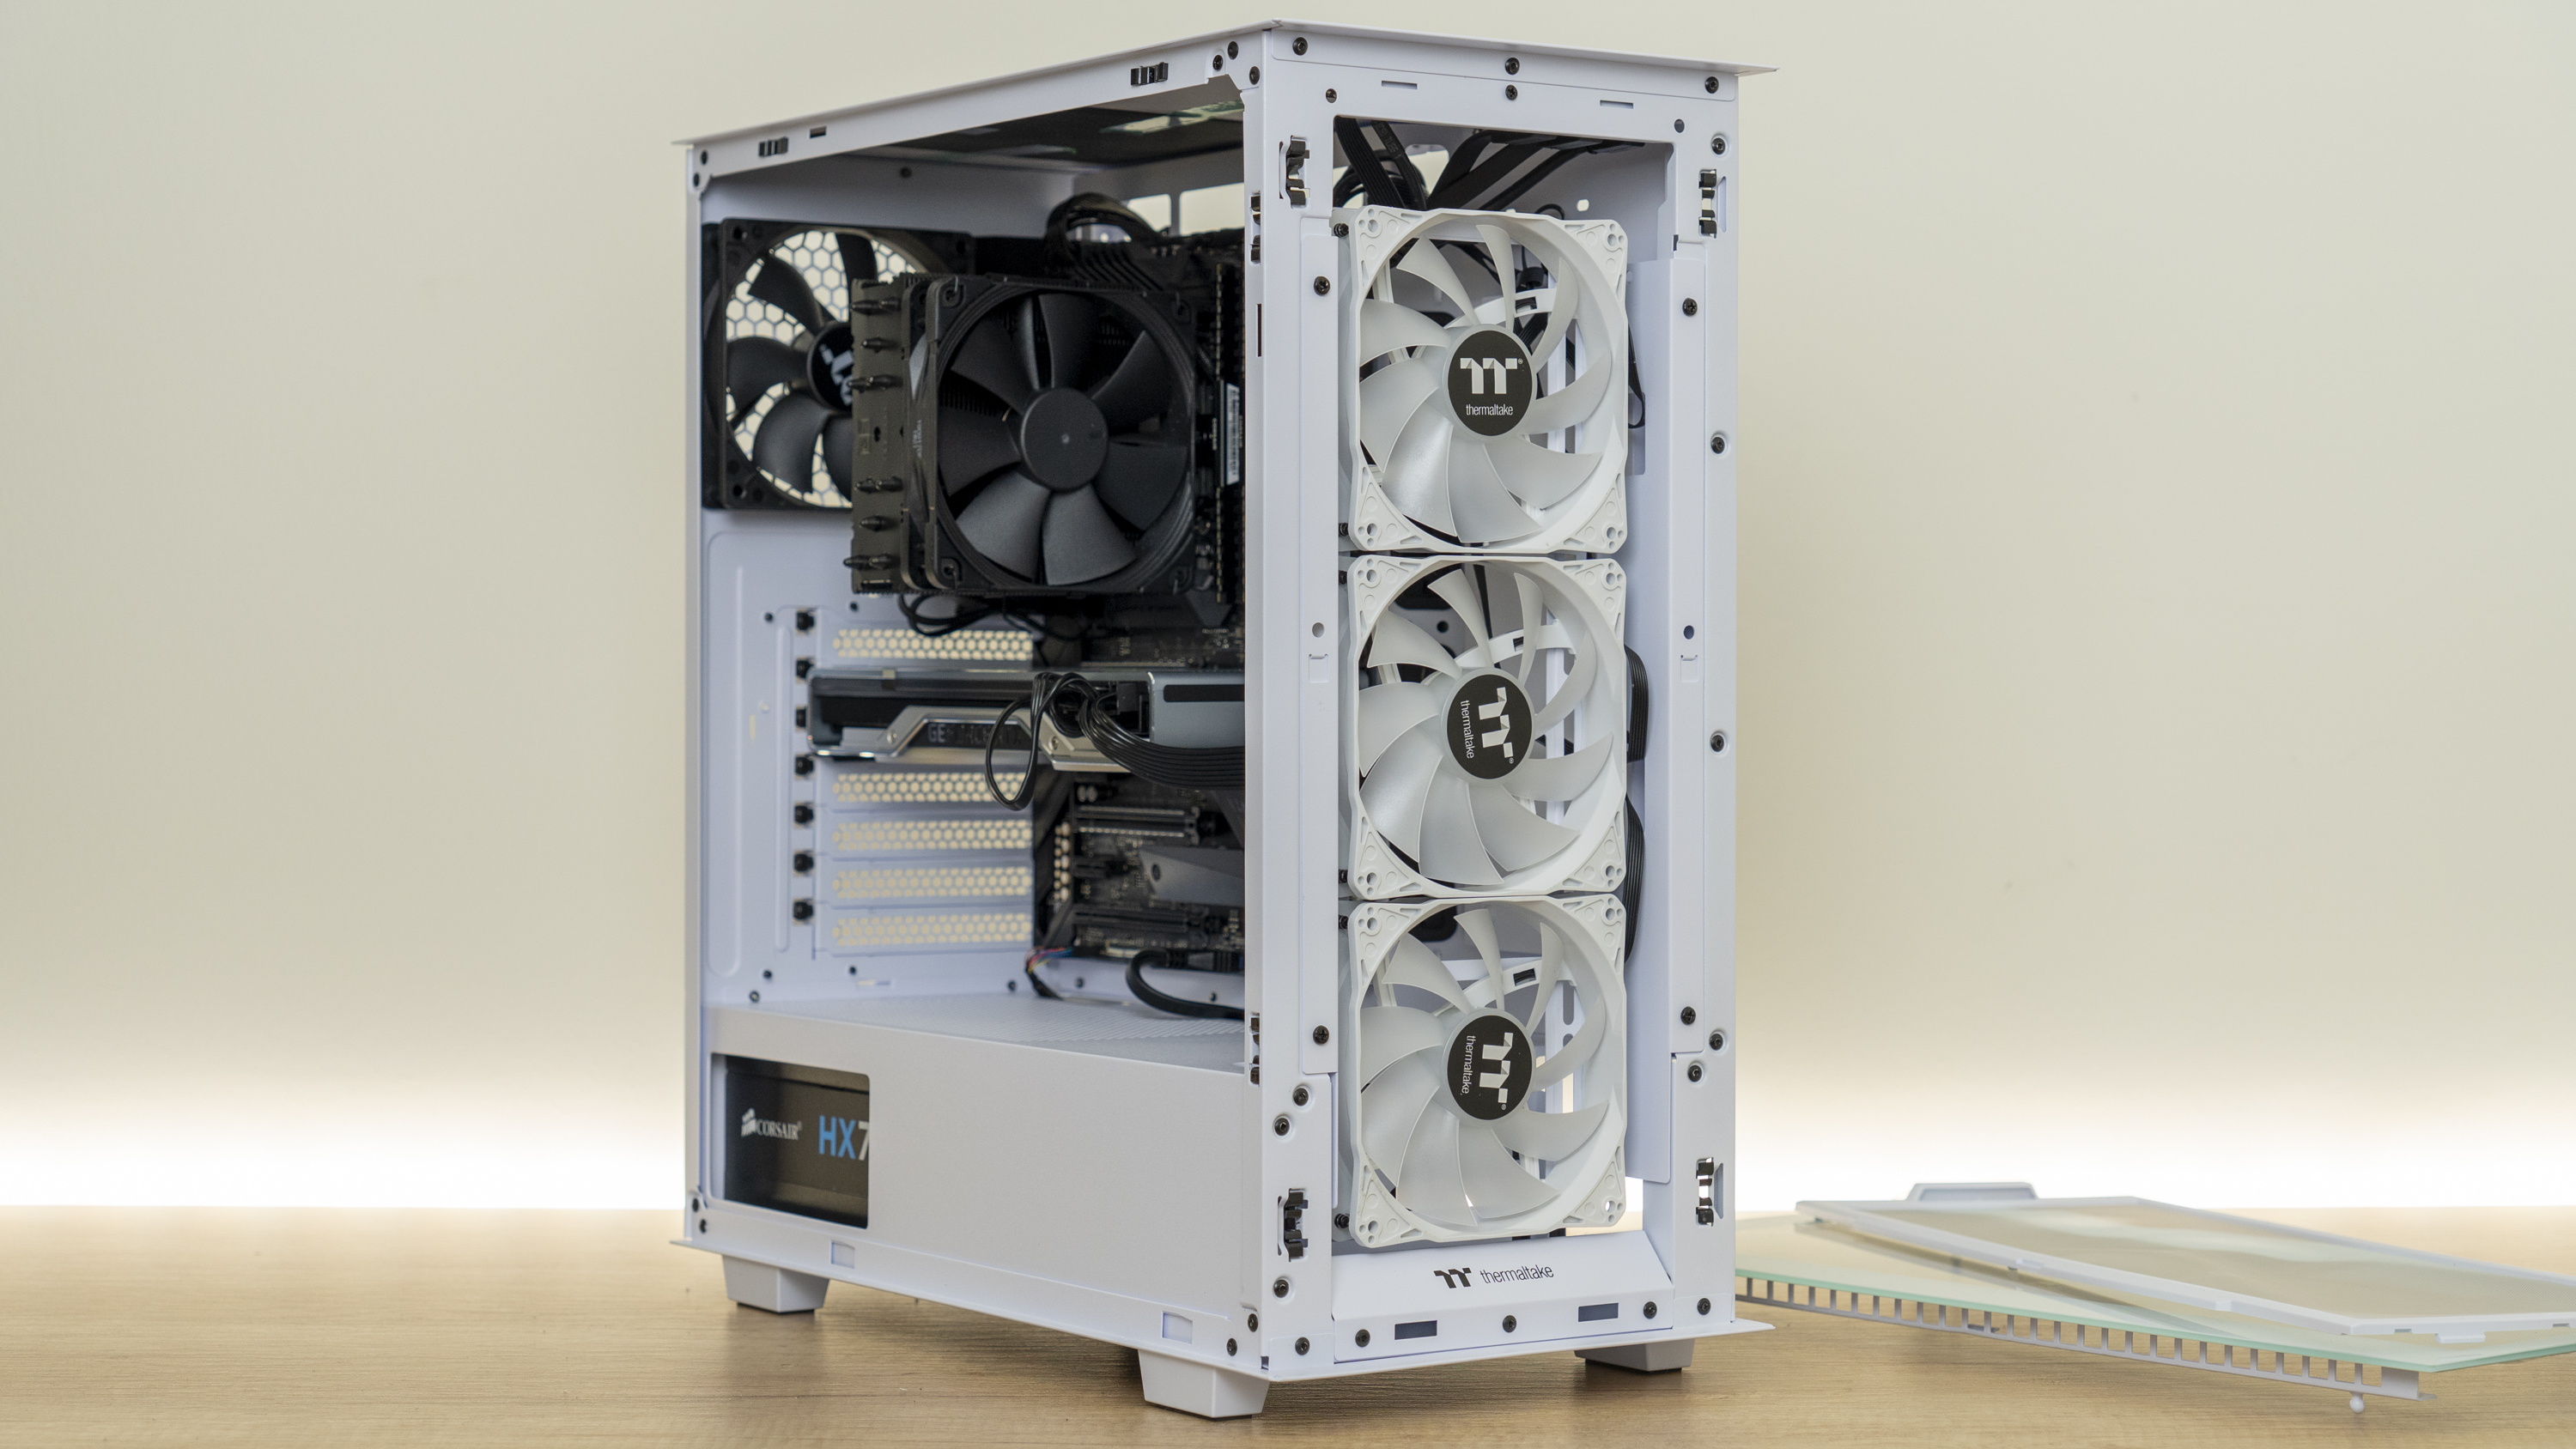
At this point, the build was pretty much complete, so I grabbed all the panels, removed their plastic and stuck them on. I also tried to remove the warning stickers on the tempered glass, but without success – they’re not the kind of stickers that come off easily.
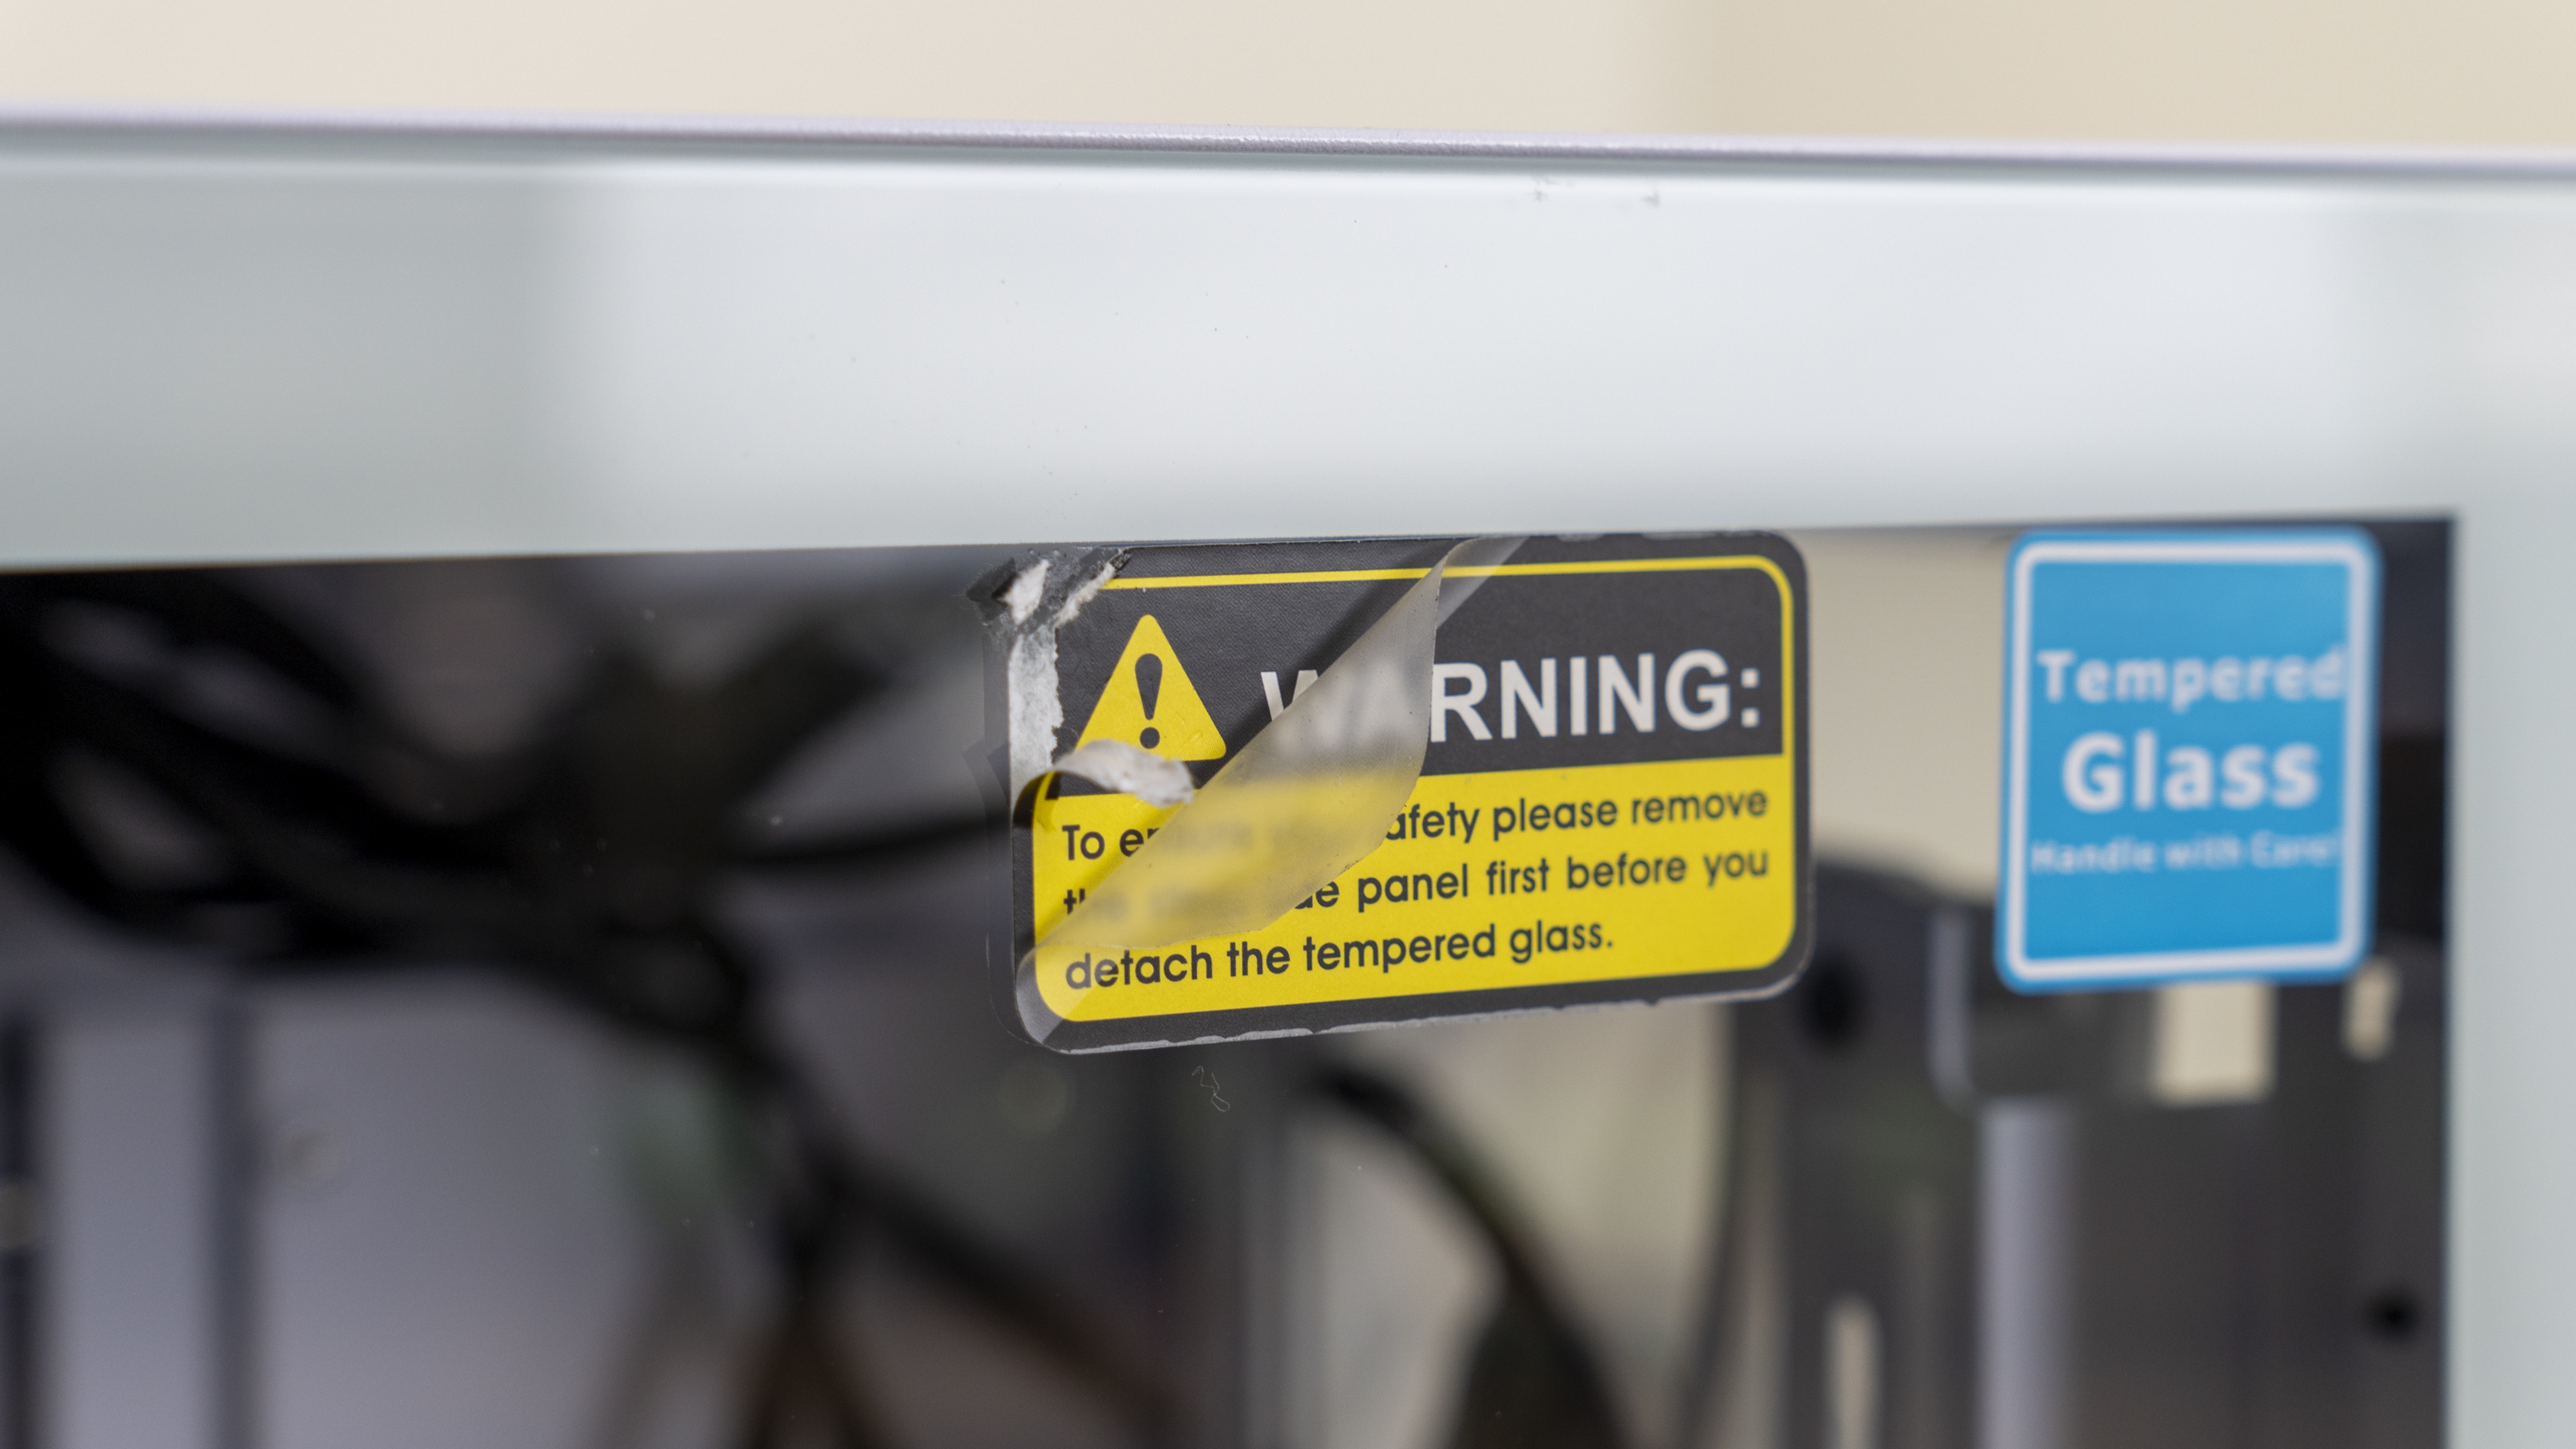
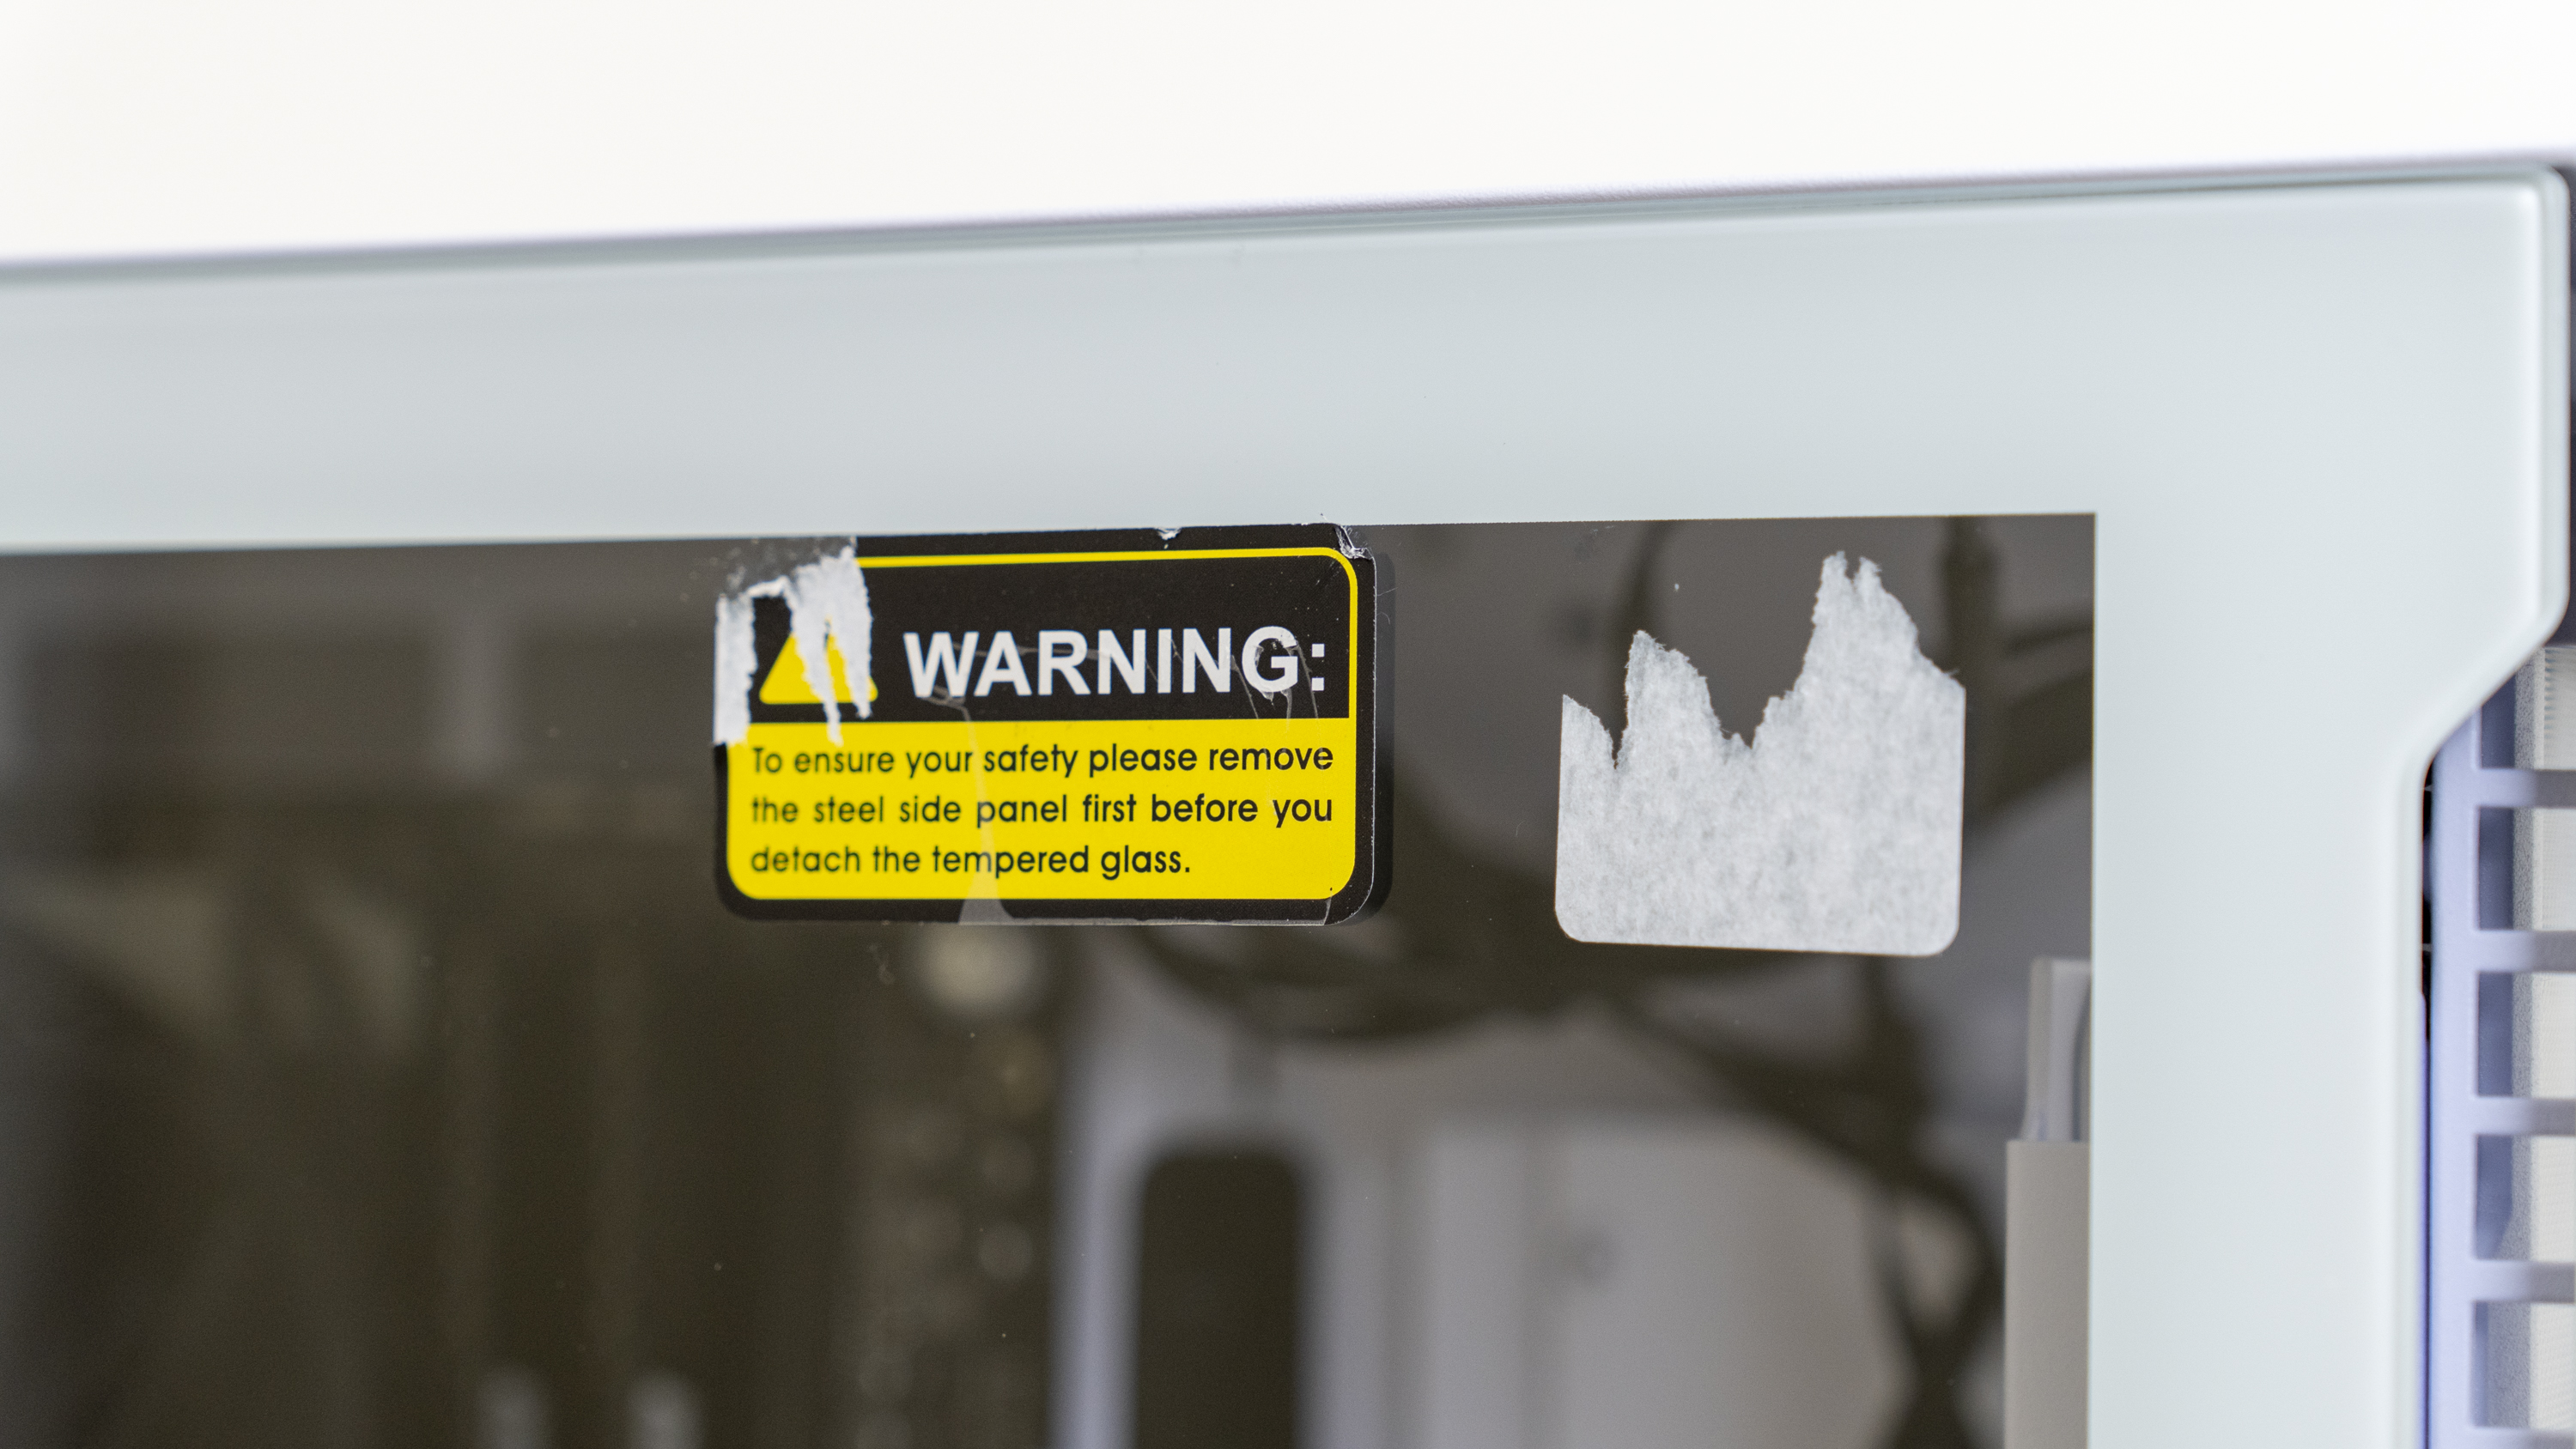
This is a bit annoying as generally, the point of the protective plastic is so that you can peel it off when you’re done with the system and have a perfectly clean result, without needing to clean the panel. Alas, by the time you have these stickers off, however you go about it, you’ll have to clean the panel anyway.
Get Tom's Hardware's best news and in-depth reviews, straight to your inbox.
But as I have neither the time or patience to do this, I left the stickers half-removed and moved on to testing.
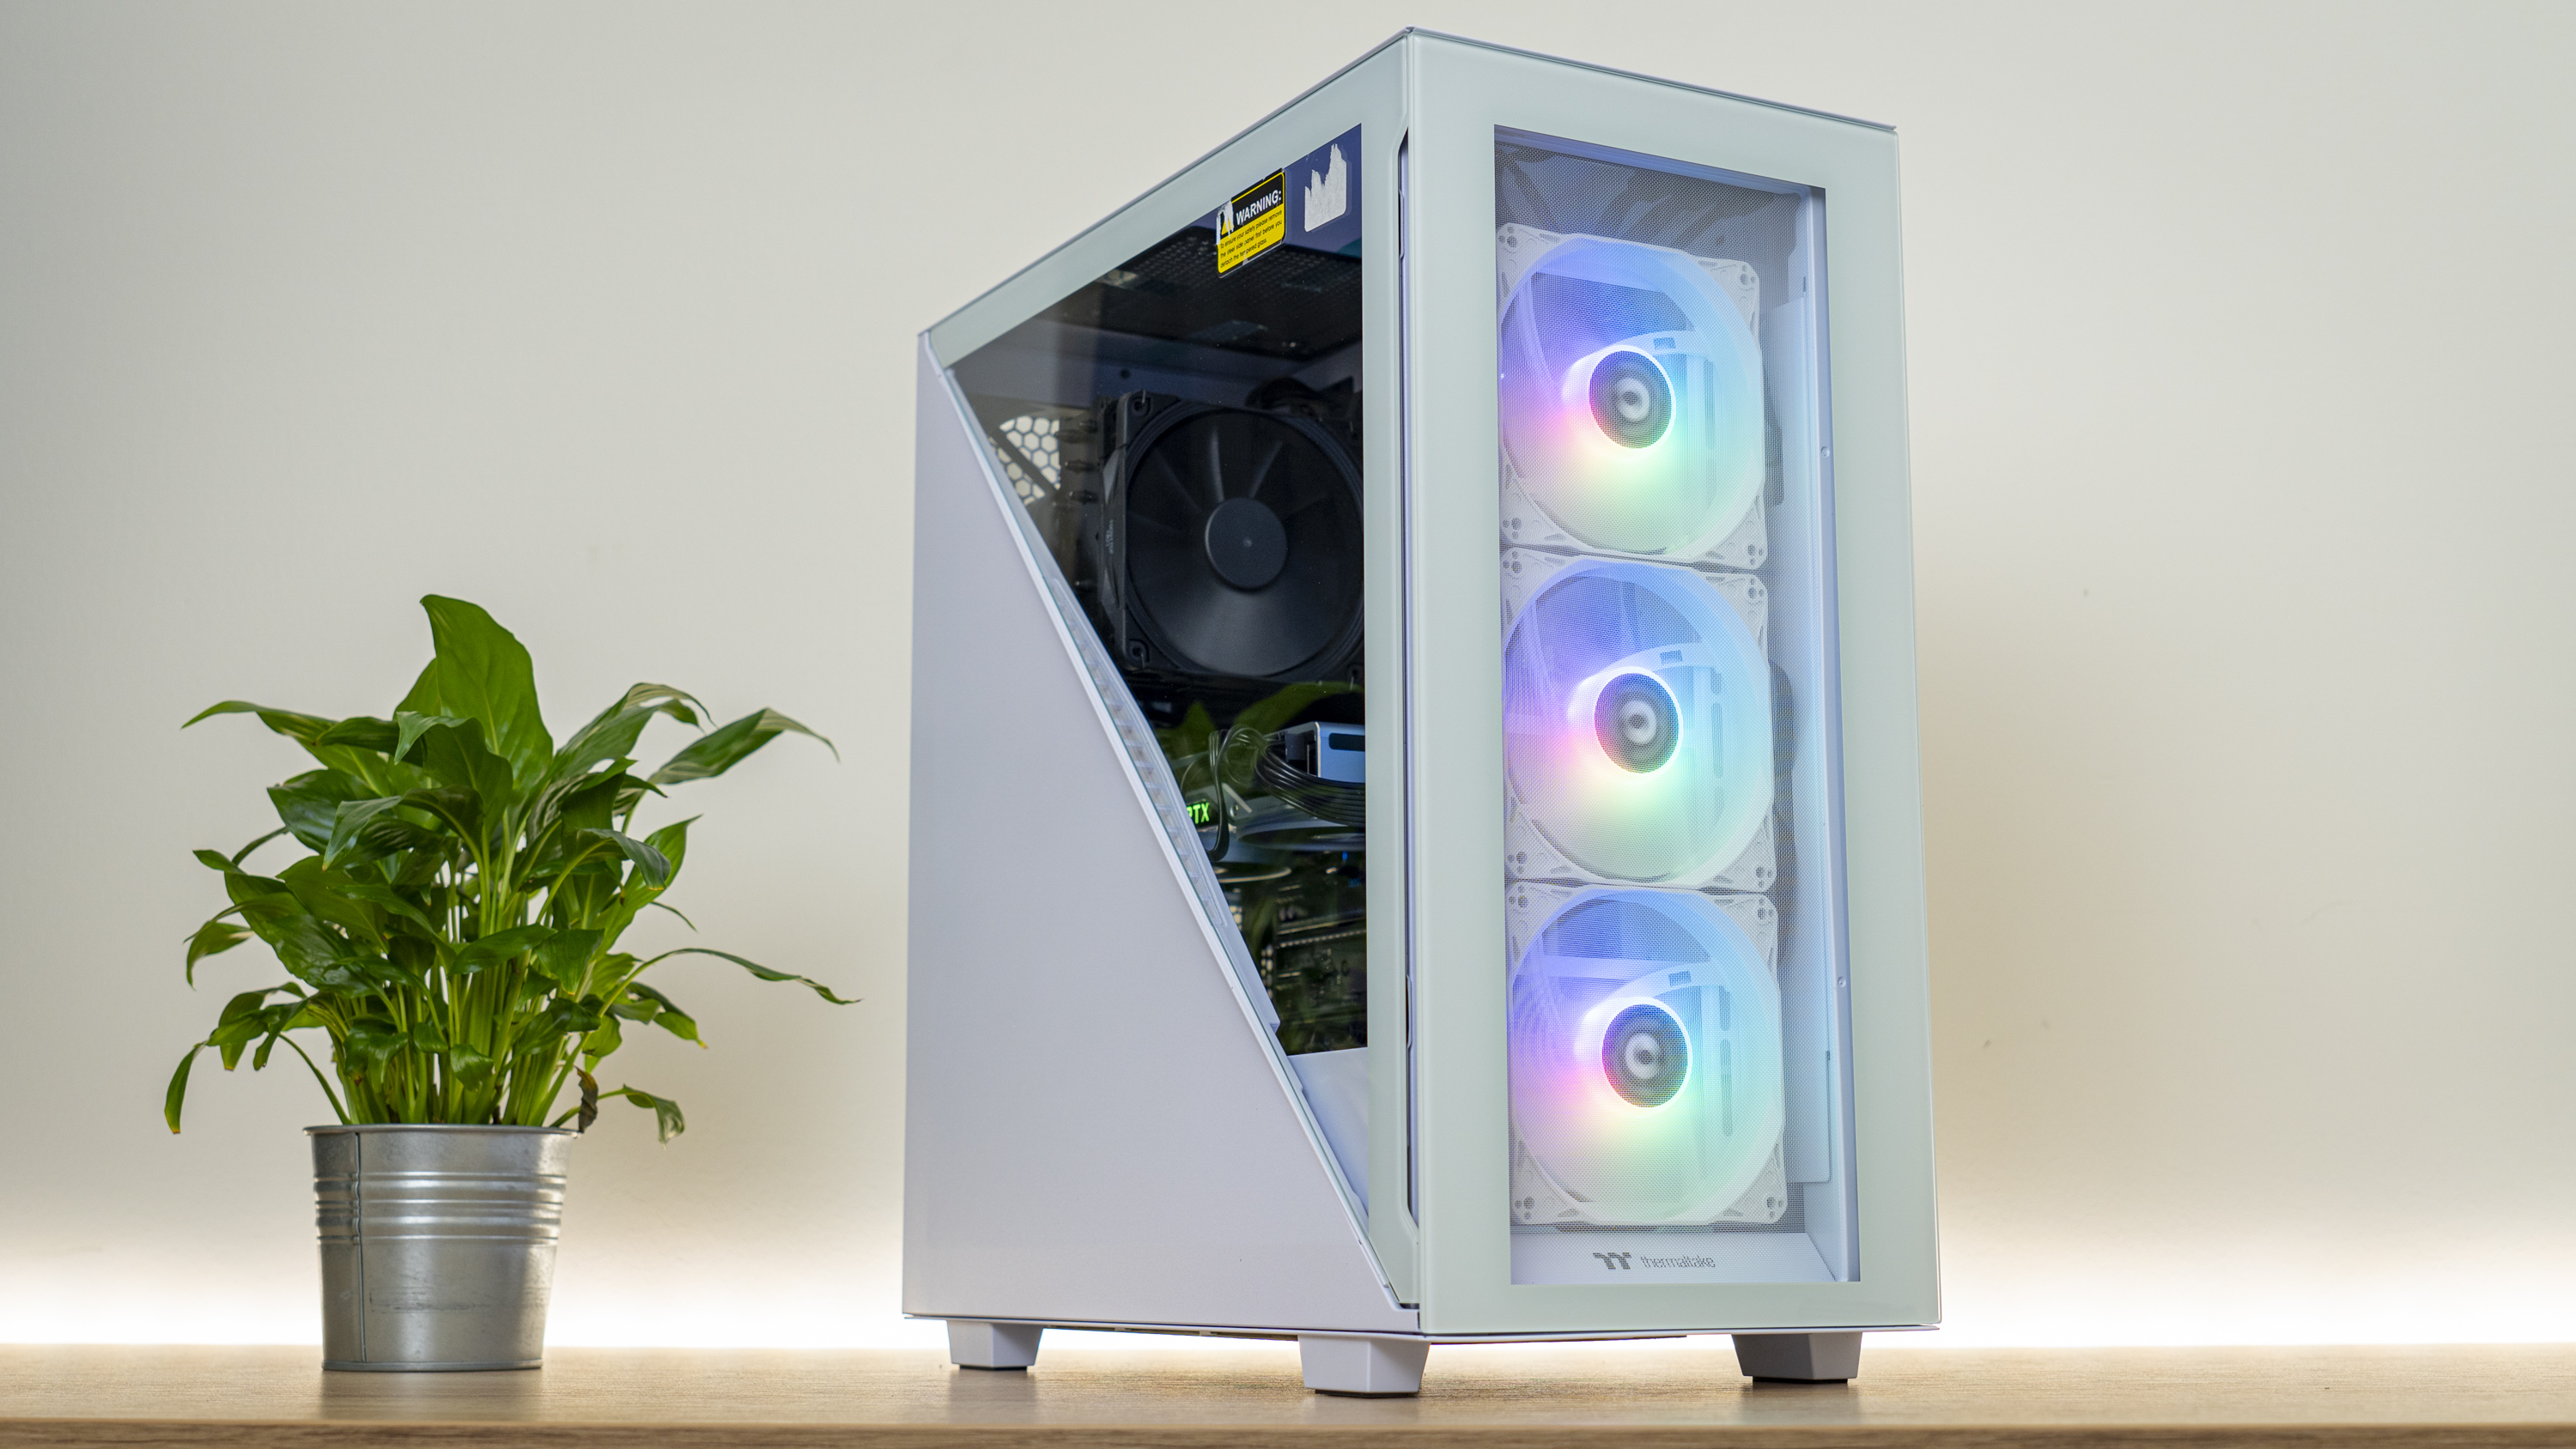
I have to say though, all things considered, while the 300TG isn’t an exceptionally pleasant chassis to work in, there is something to the look. That’s especially the case in white like this, with some RGB, the half-hidden interior has a bit of mystery to it, and it helps the system look fuller, even when it isn’t.
Current page: Hardware Installation
Prev Page Features and Specifications Next Page Testing and ConclusionNiels Broekhuijsen is a Contributing Writer for Tom's Hardware US. He reviews cases, water cooling and pc builds.
-
Lord-Xanthor Reply
When it comes to thermal take cases, I tend to pass them up. I used to follow the old addage, you get what you pay for. With their cases, this sadly hasn't been the case with me. No pun intended lol.Admin said:Thermaltake’s Divider 300TG is attractive, but lacks the quality and performance needed to stand out in today’s market.
Thermaltake Divider 300TG Review: Dividing Opinions : Read more
First stimulus, built three new Pentium 7 systems using their $350 glass cases. I'll get the models later. I'm writing this by phone.
At this price one would expect quality. This fell far short. Was advertised toolless. Meaning no looking for screw driver's or torch tools. Only part that was toolless was the 4 drive bays and the thumb screws for played glass. Half the rubber washers missing on all 3 cases and non extra with supplies. The bays were double, each one taking 4 screws and all 3 cases, bottom one was found not connected, as if just thrown in. Took me seconds to see the screw holes were never threaded.
One thing I always test before installing a motherboard is to make sure all risers are secure. My last Thermal take case taught me that lesson. That's when you find out too late as you try tightening the screws, the posts turn due to bad weld or punch. I'm short tempered so I just drilled it out and spot welded in my own.
Fans wired incorrectly. Pin removal tool fixed that. Not all mind you. Just 2. No speaker. Seller took off $200 if I kept them.
I am building a 4th system now and this case looks very similar to the above but no issues and all is tool free. Shocking thing, plated glass case here was only $136.
I love the reviews here. The above one falling short is no surprise to me. yeah they can blame the pandemic on this, but these issues were being experienced long before that ship sailed.
