Tom's Hardware Verdict
Thermaltake’s Divider 300TG is attractive, but lacks the quality and performance needed to stand out in today’s market. It didn’t perform well thermally or acoustically in our testing, making it tough to recommend.
Pros
- +
+ Unusual, but fresh design
- +
+ Complete front IO
Cons
- -
Thermally disappointing
- -
Intake fans have little effect on temps, are noisy, and speed cannot be controlled
- -
Material quality lacking
- -
Glass frame is closer to turquoise than white
- -
5.7-inch max CPU cooler height
- -
Difficult to remove sticker on glass side panel
- -
Frustrating side panel installation
- -
No support for top-mounted radiators
Why you can trust Tom's Hardware
The vast majority of new ATX cases these days come with large slabs of tempered glass as side panels. The alternative seems to be a solid steel panel, but what if you want something in the middle?
That’s the idea behind Thermaltake’s Divider 300TG. Specifically, today on our test bench is the Divider 300TG ARGB Snow Edition. This chassis has both tempered glass and steel for its side panel, creatively slicing both in half for a fresh look. Pricing is set at $115 for this Snow Edition (or about $5 less for the black model) with all the bells and whistles, which sets expectations high.
So without further ado, let’s dig in to find out whether it’s worthy of a spot on our Best PC Cases list.
Thermaltake Divider 300TG Specifications
| Type | Mid-Tower ATX |
| Motherboard Support | Mini-ITX, Micro-ATX, ATX |
| Dimensions (HxWxD) | 18.7 x 8.7 x 18.1 inches (475 x 220 x 461 mm) |
| Max GPU Length | 15.4 inches, 14.2 with front radiator (360 mm, 390 mm without front radiator) |
| CPU Cooler Height | 5.7 inches (145 mm) |
| Max PSU Length | 7.1 inches, 8.7 inches without HDD cage (180 mm, 220 mm) |
| External Bays | ✗ |
| Internal Bays | 2x 3.5-inch |
| Row 8 - Cell 0 | 5x 2.5-inch |
| Expansion Slots | 7x |
| Front I/O | 2x USB 3.0, USB-C, 3.5 mm Audio + Mic |
| Other | 2x Tempered Glass Panel, Fan/RGB Controller |
| Front Fans | 3x 120 mm (Up to 3x 120mm) |
| Rear Fans | 1x 120mm (Up to 1x 120mm) |
| Top Fans | None (Up to 1x 120mm) |
| Bottom Fans | None |
| Side Fans | Up to 2x 120mm |
| RGB | Yes |
| Damping | No |
| Warranty | 3 Years (2 years for fans) |
Thermaltake Divider 300TG Features
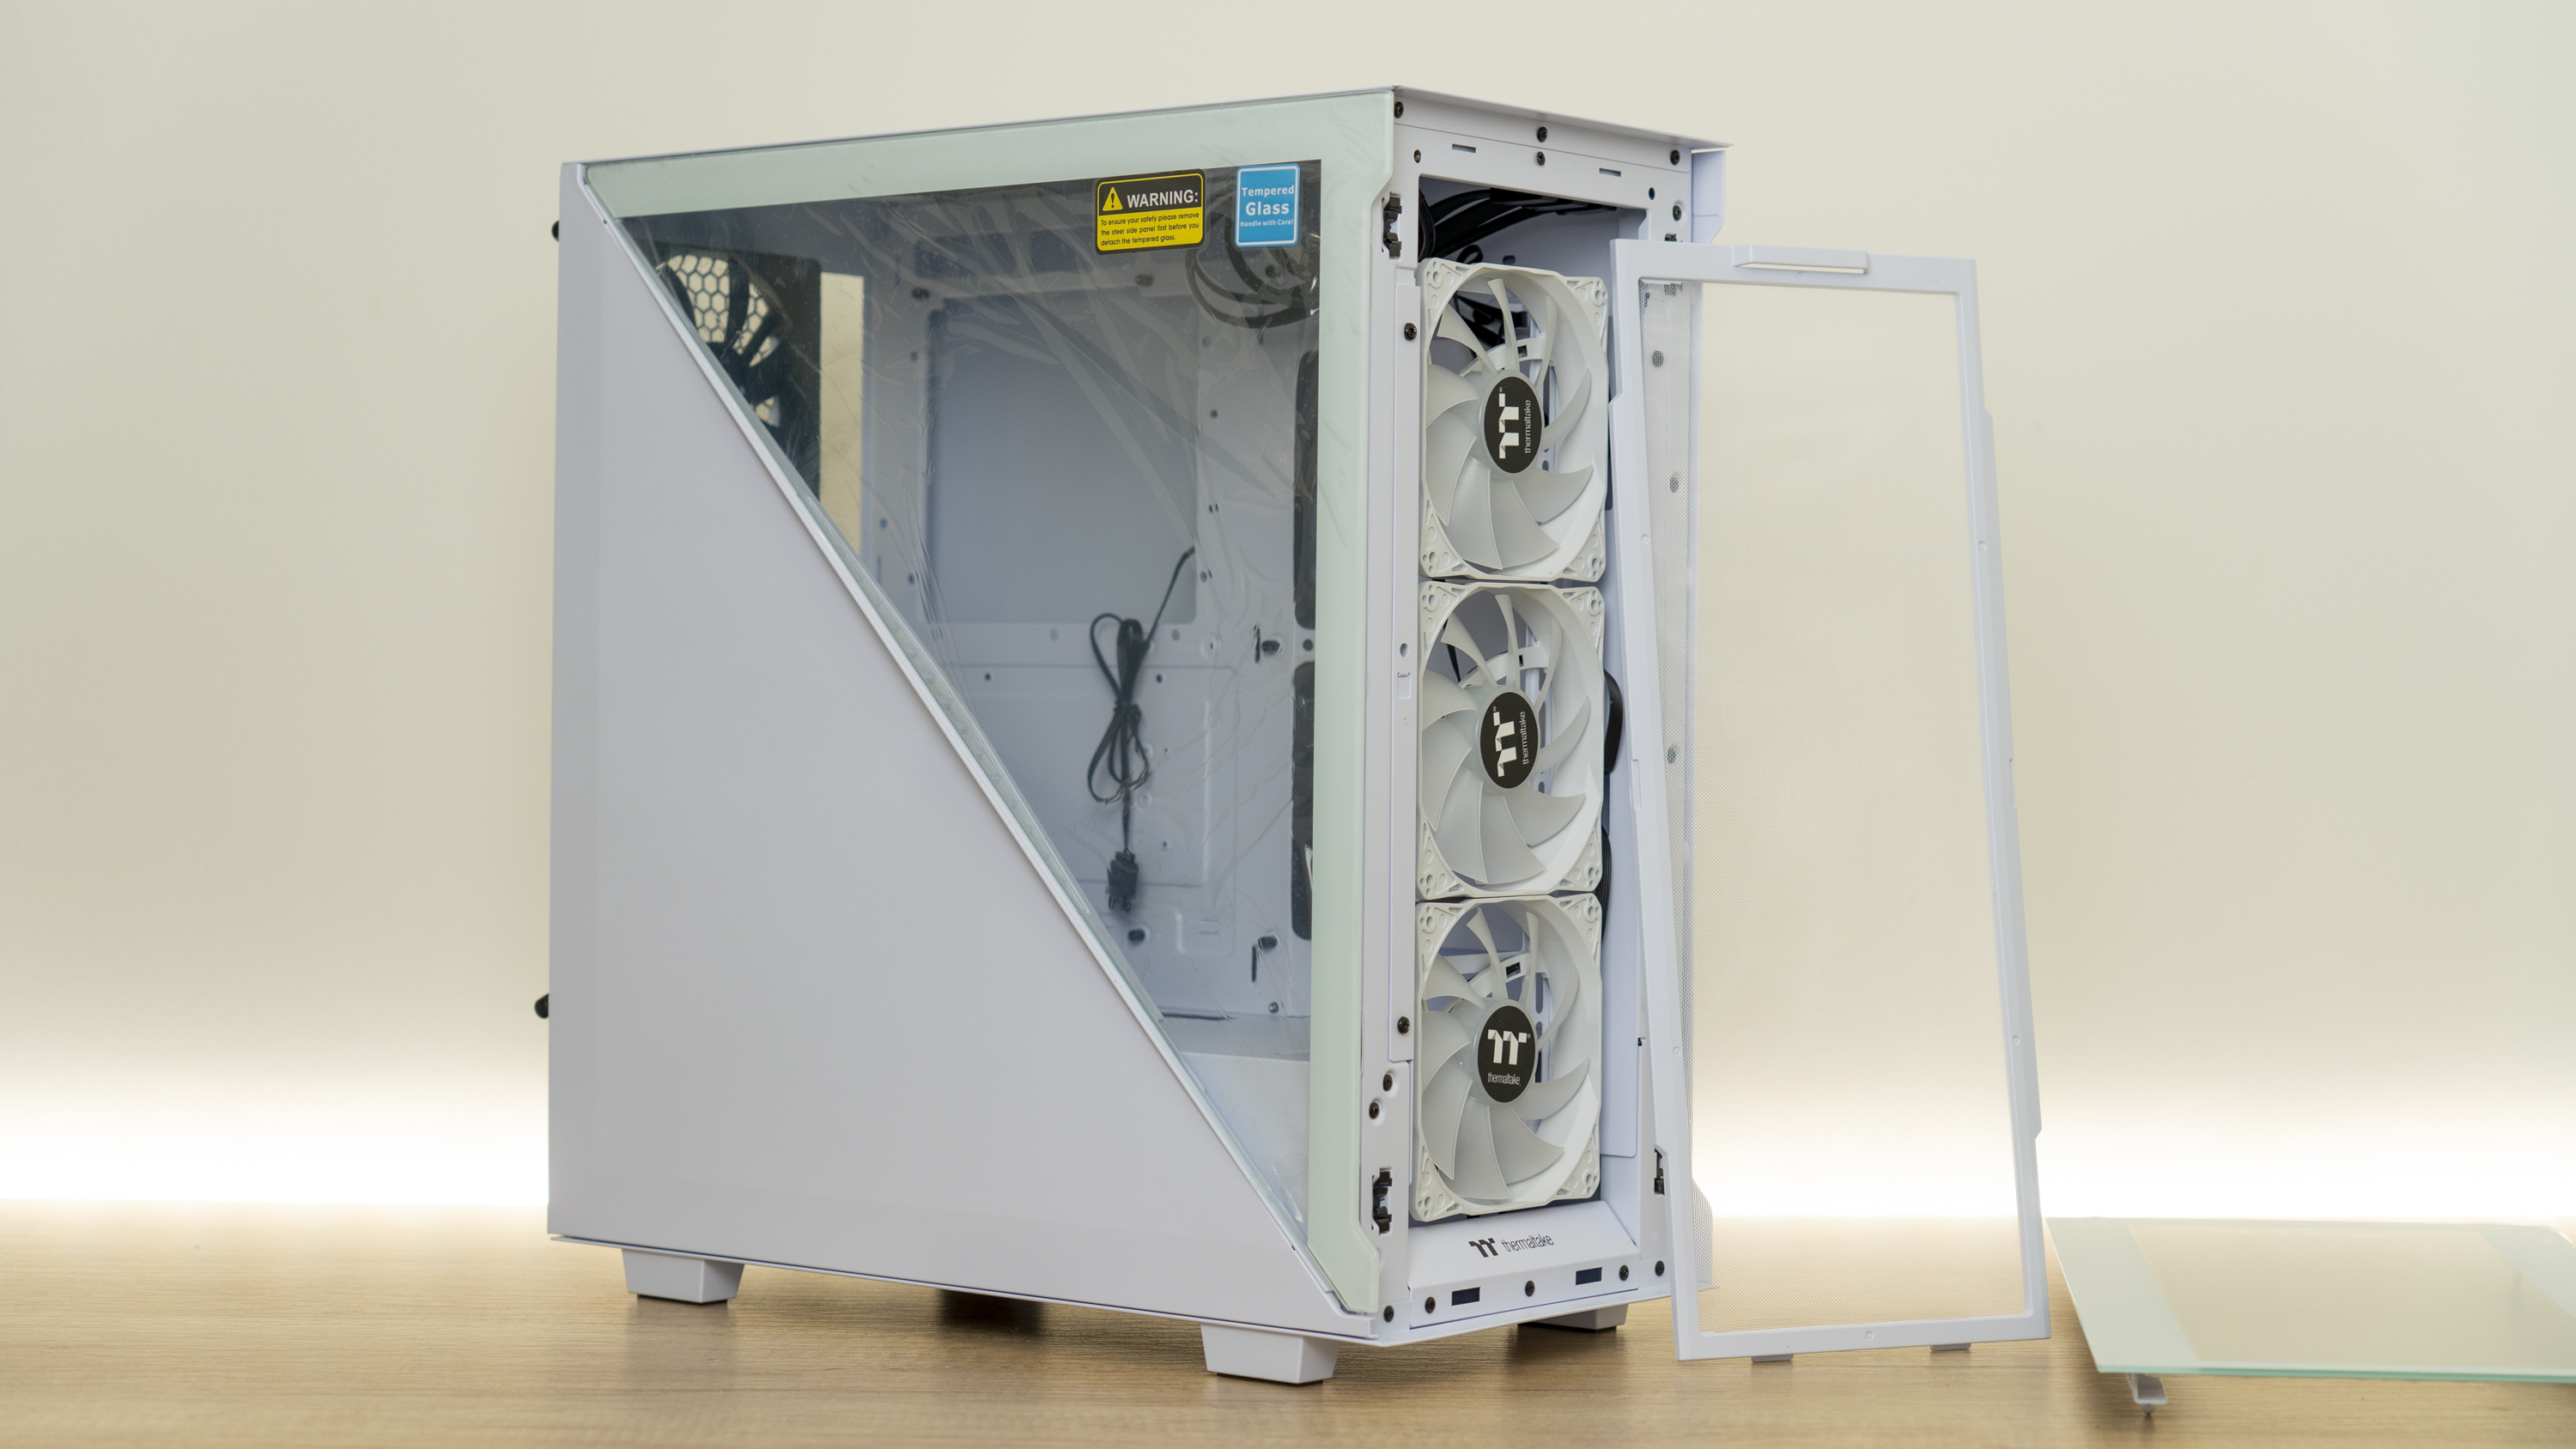
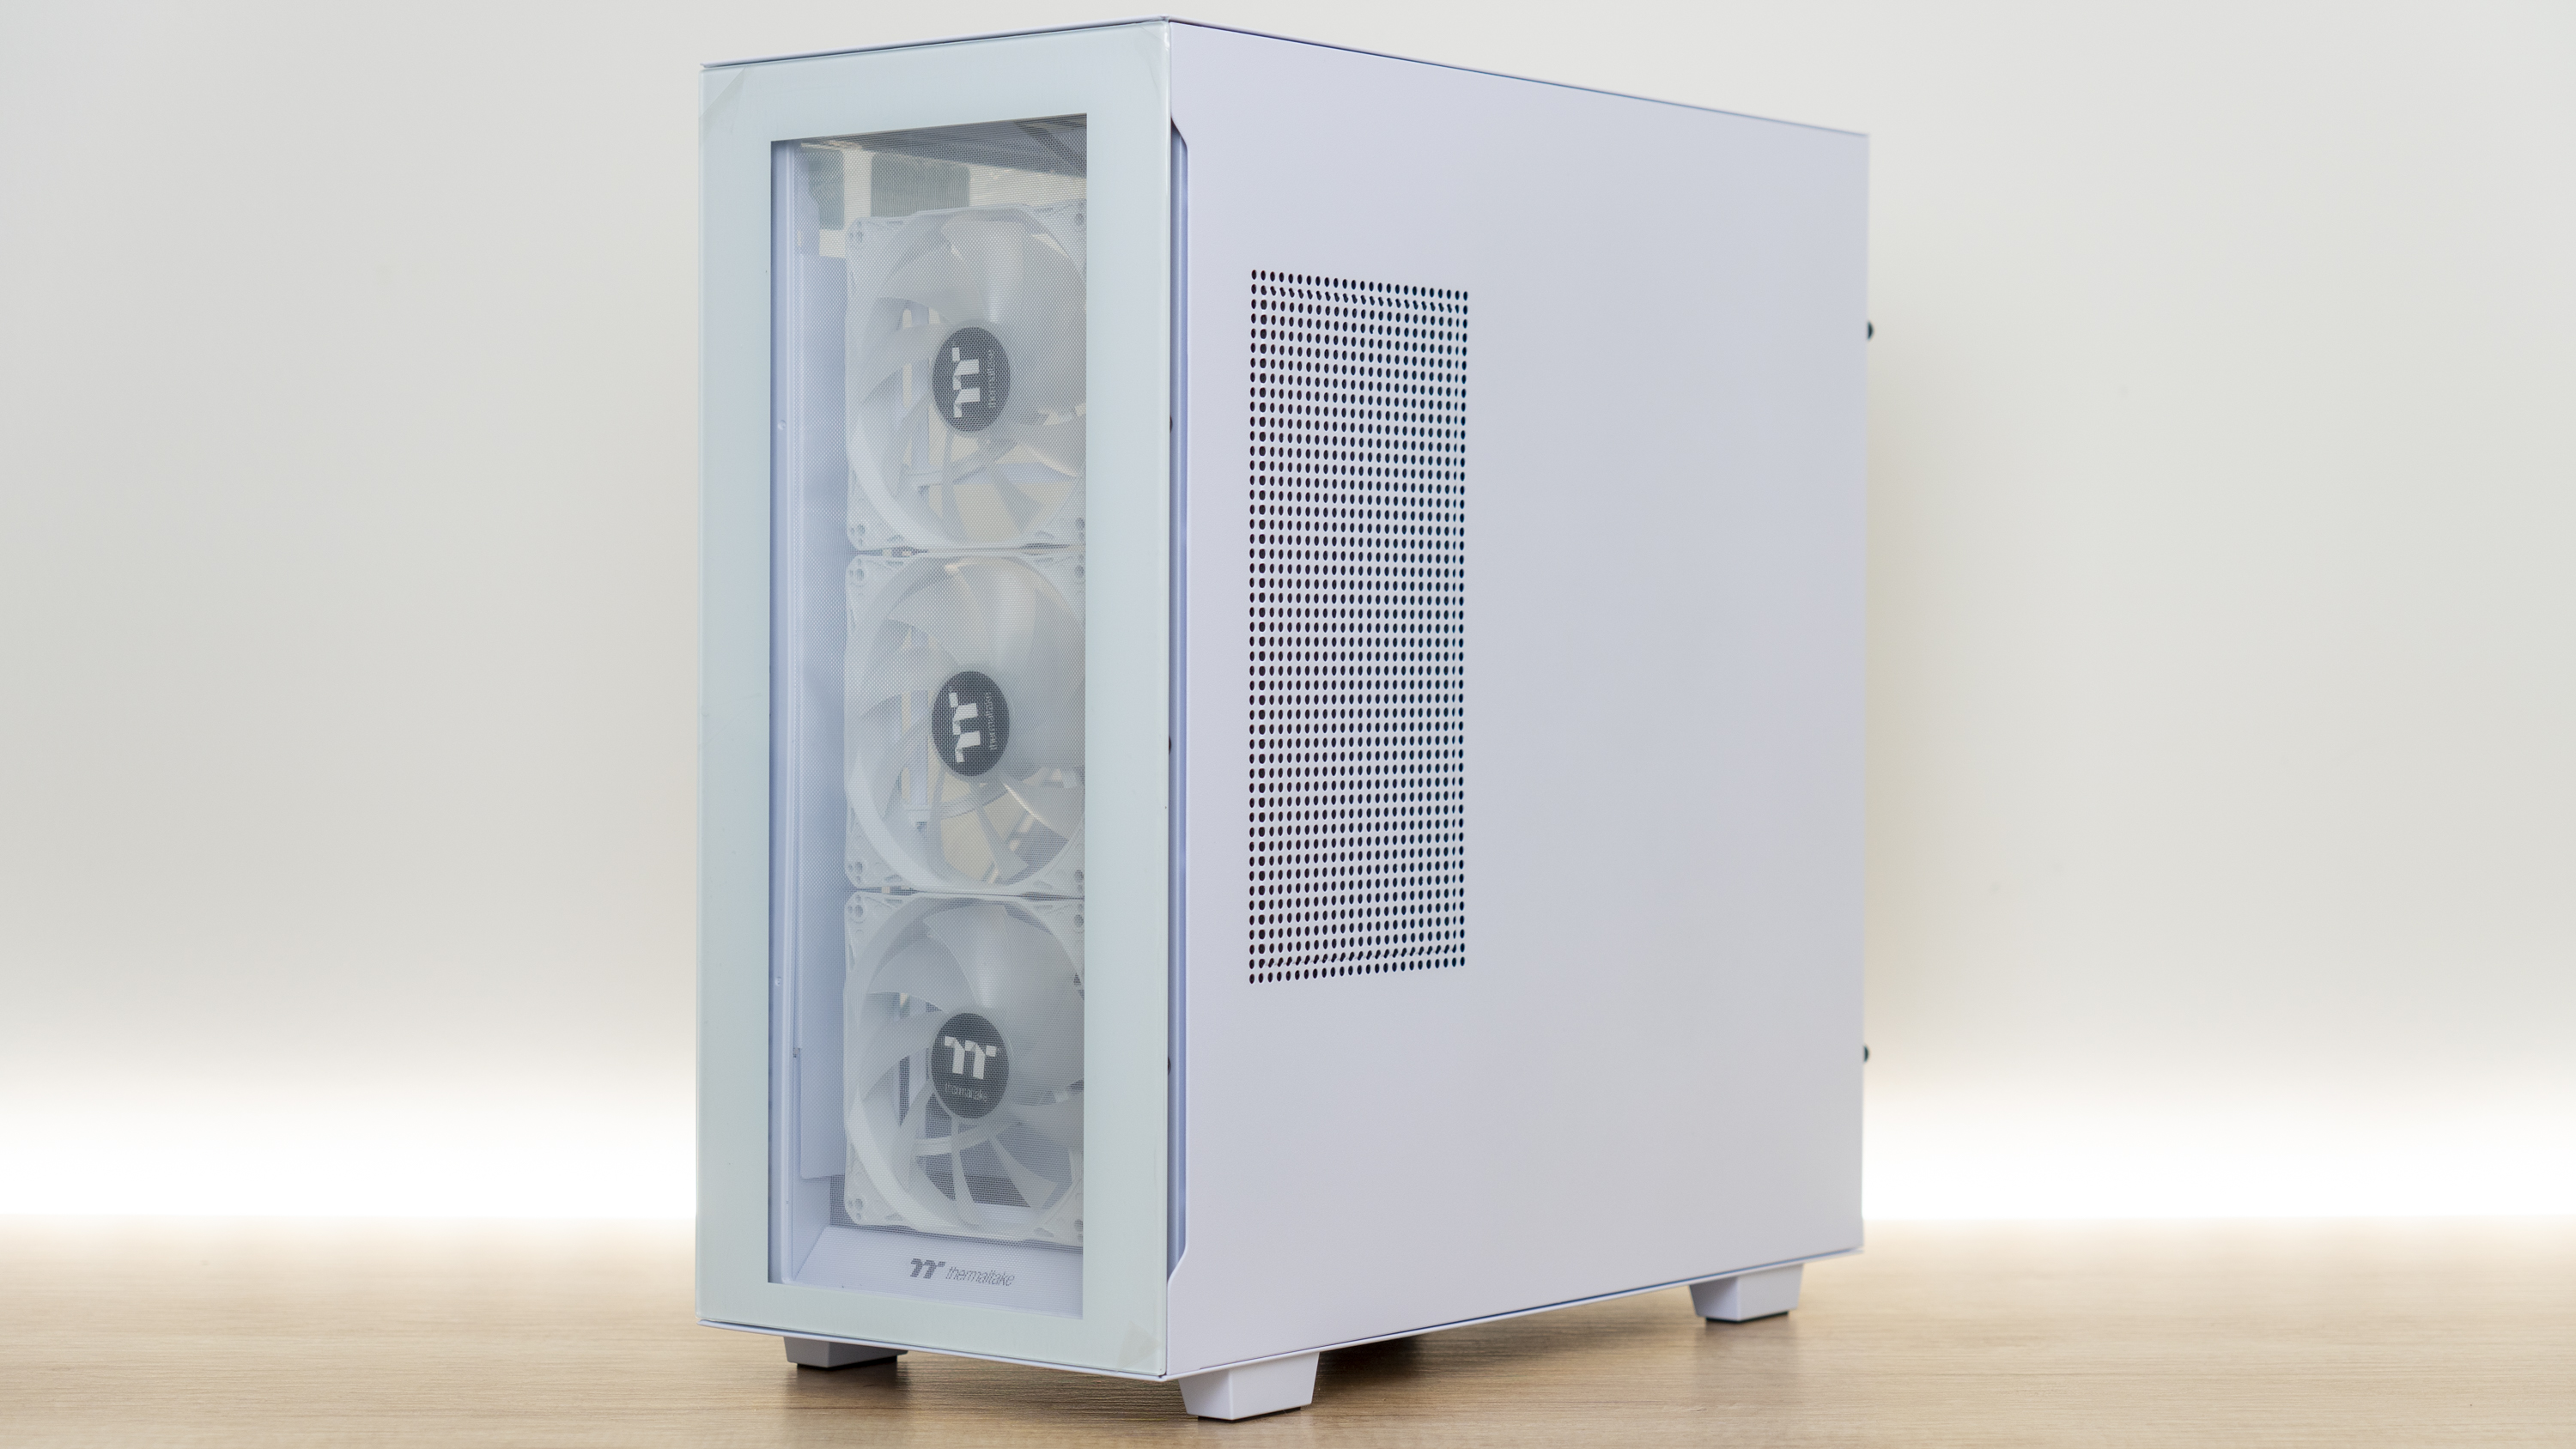
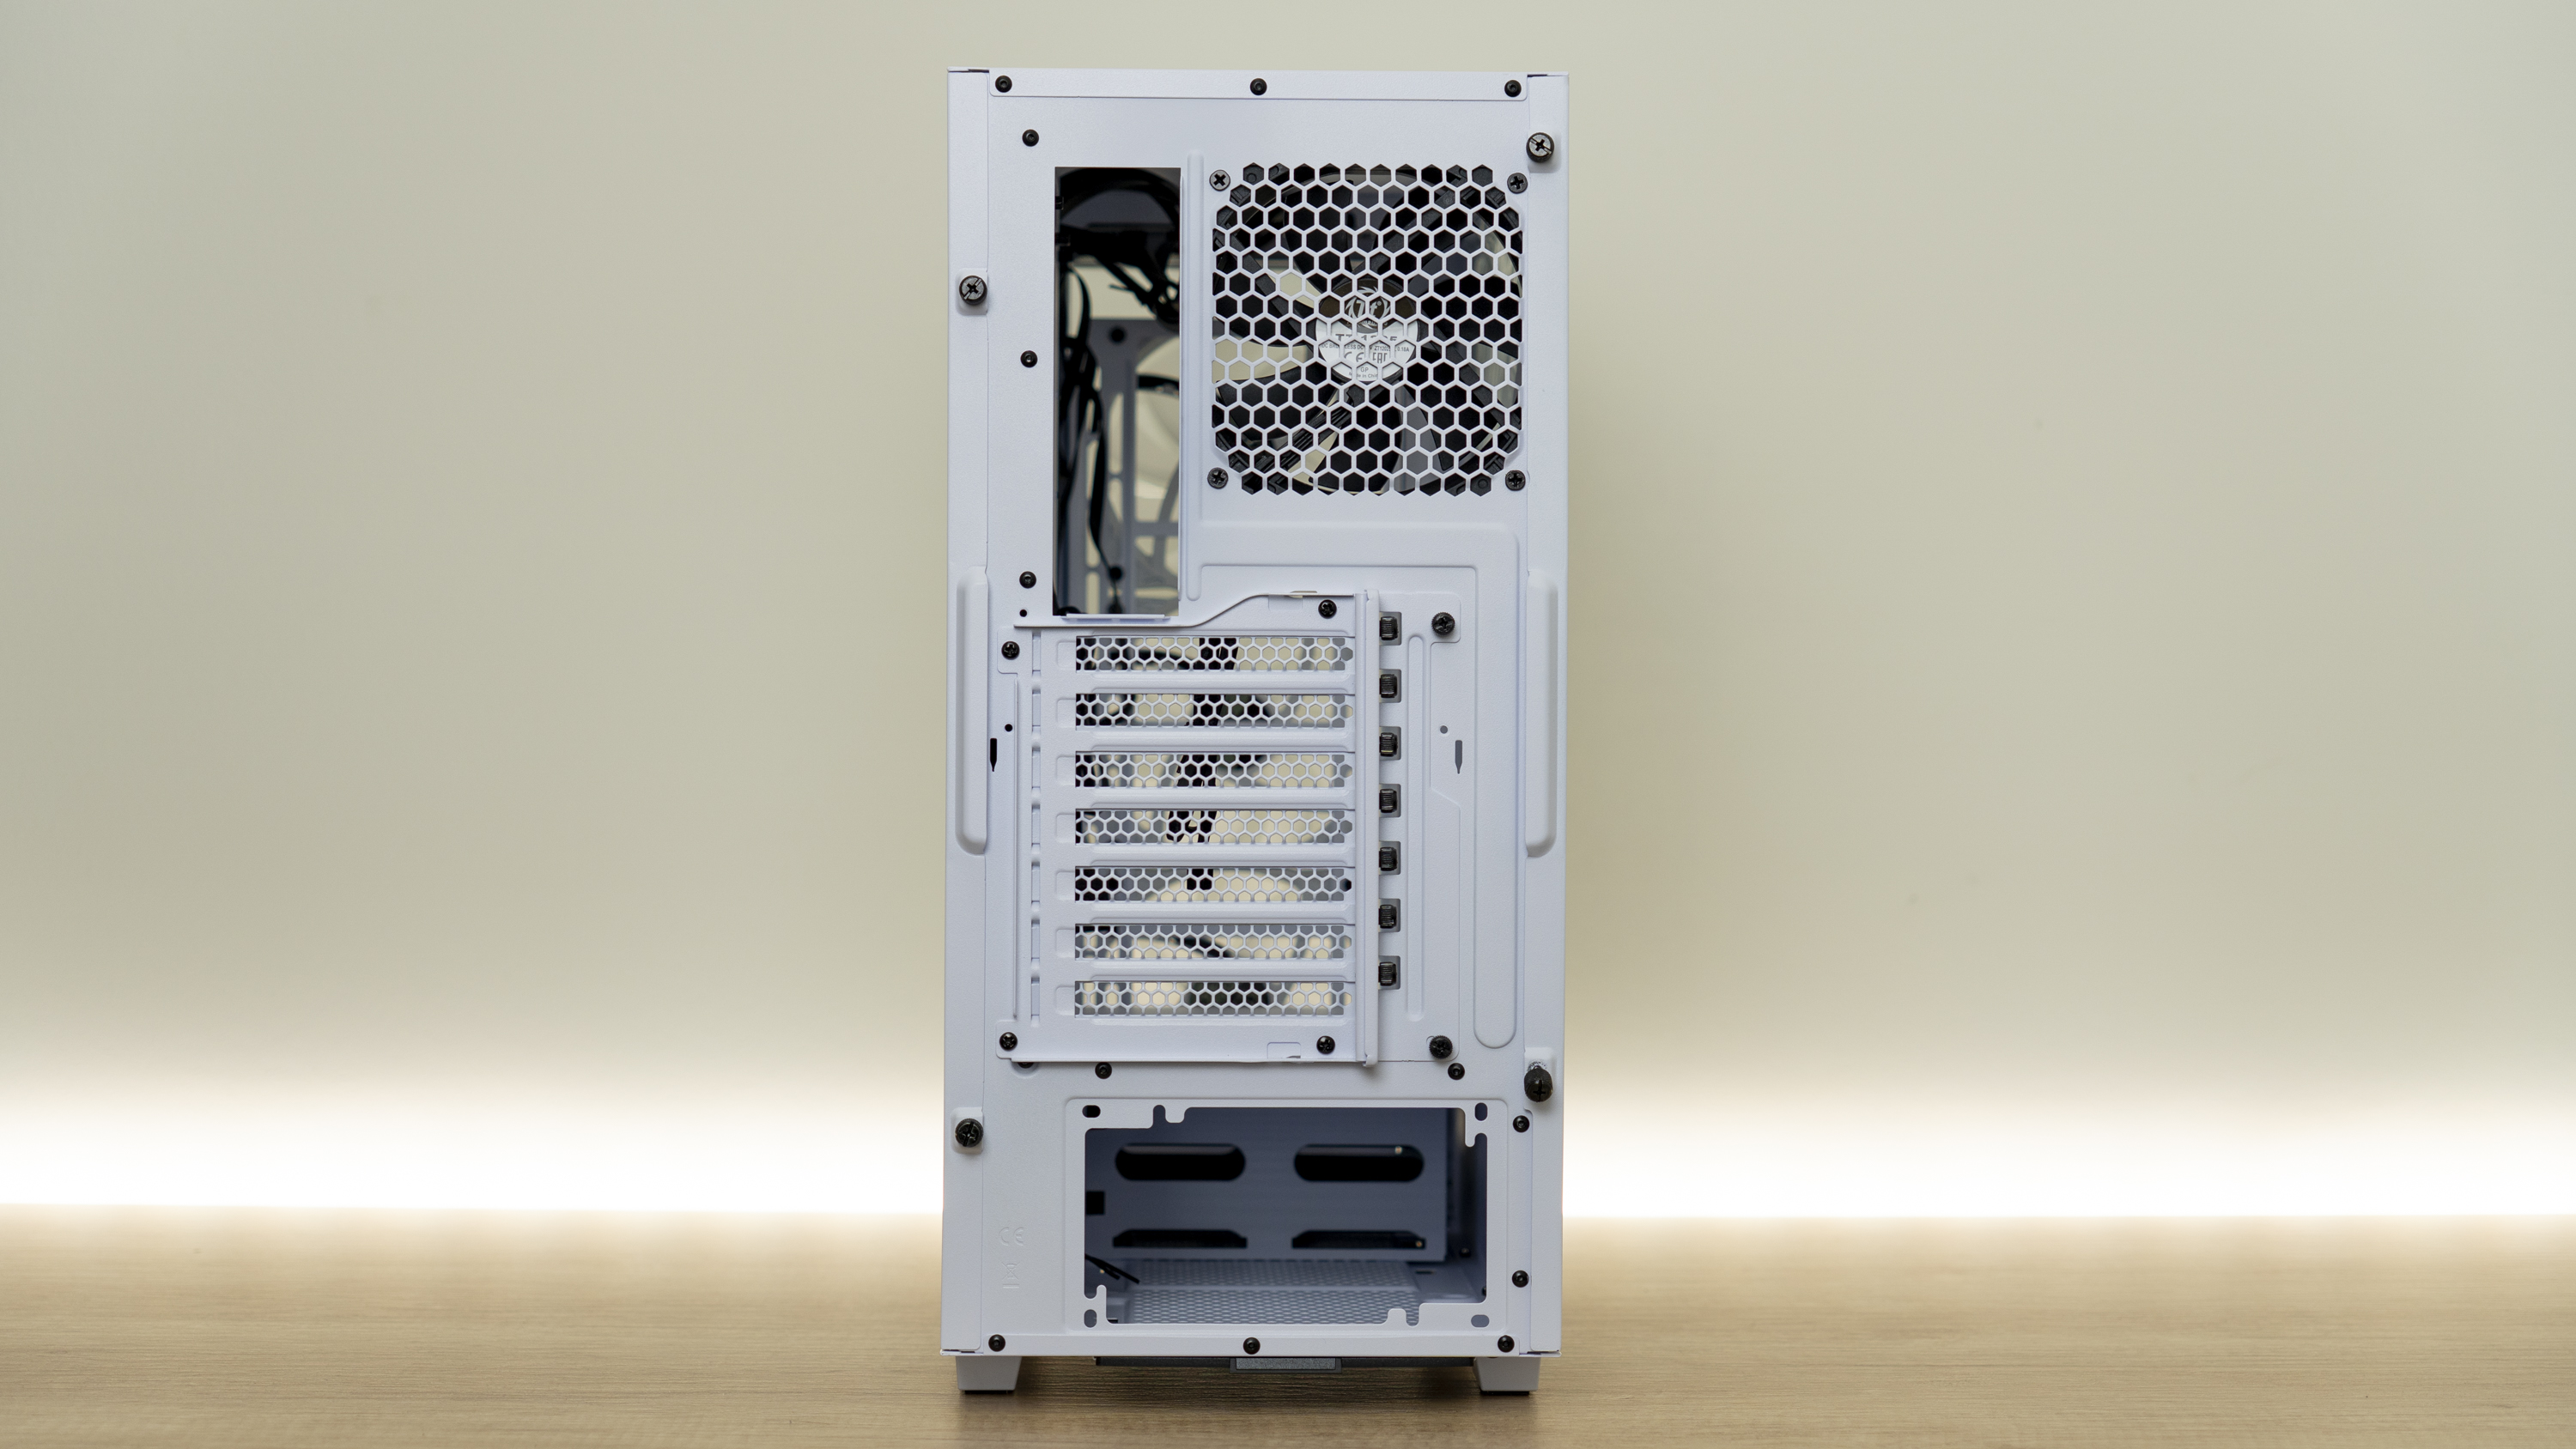
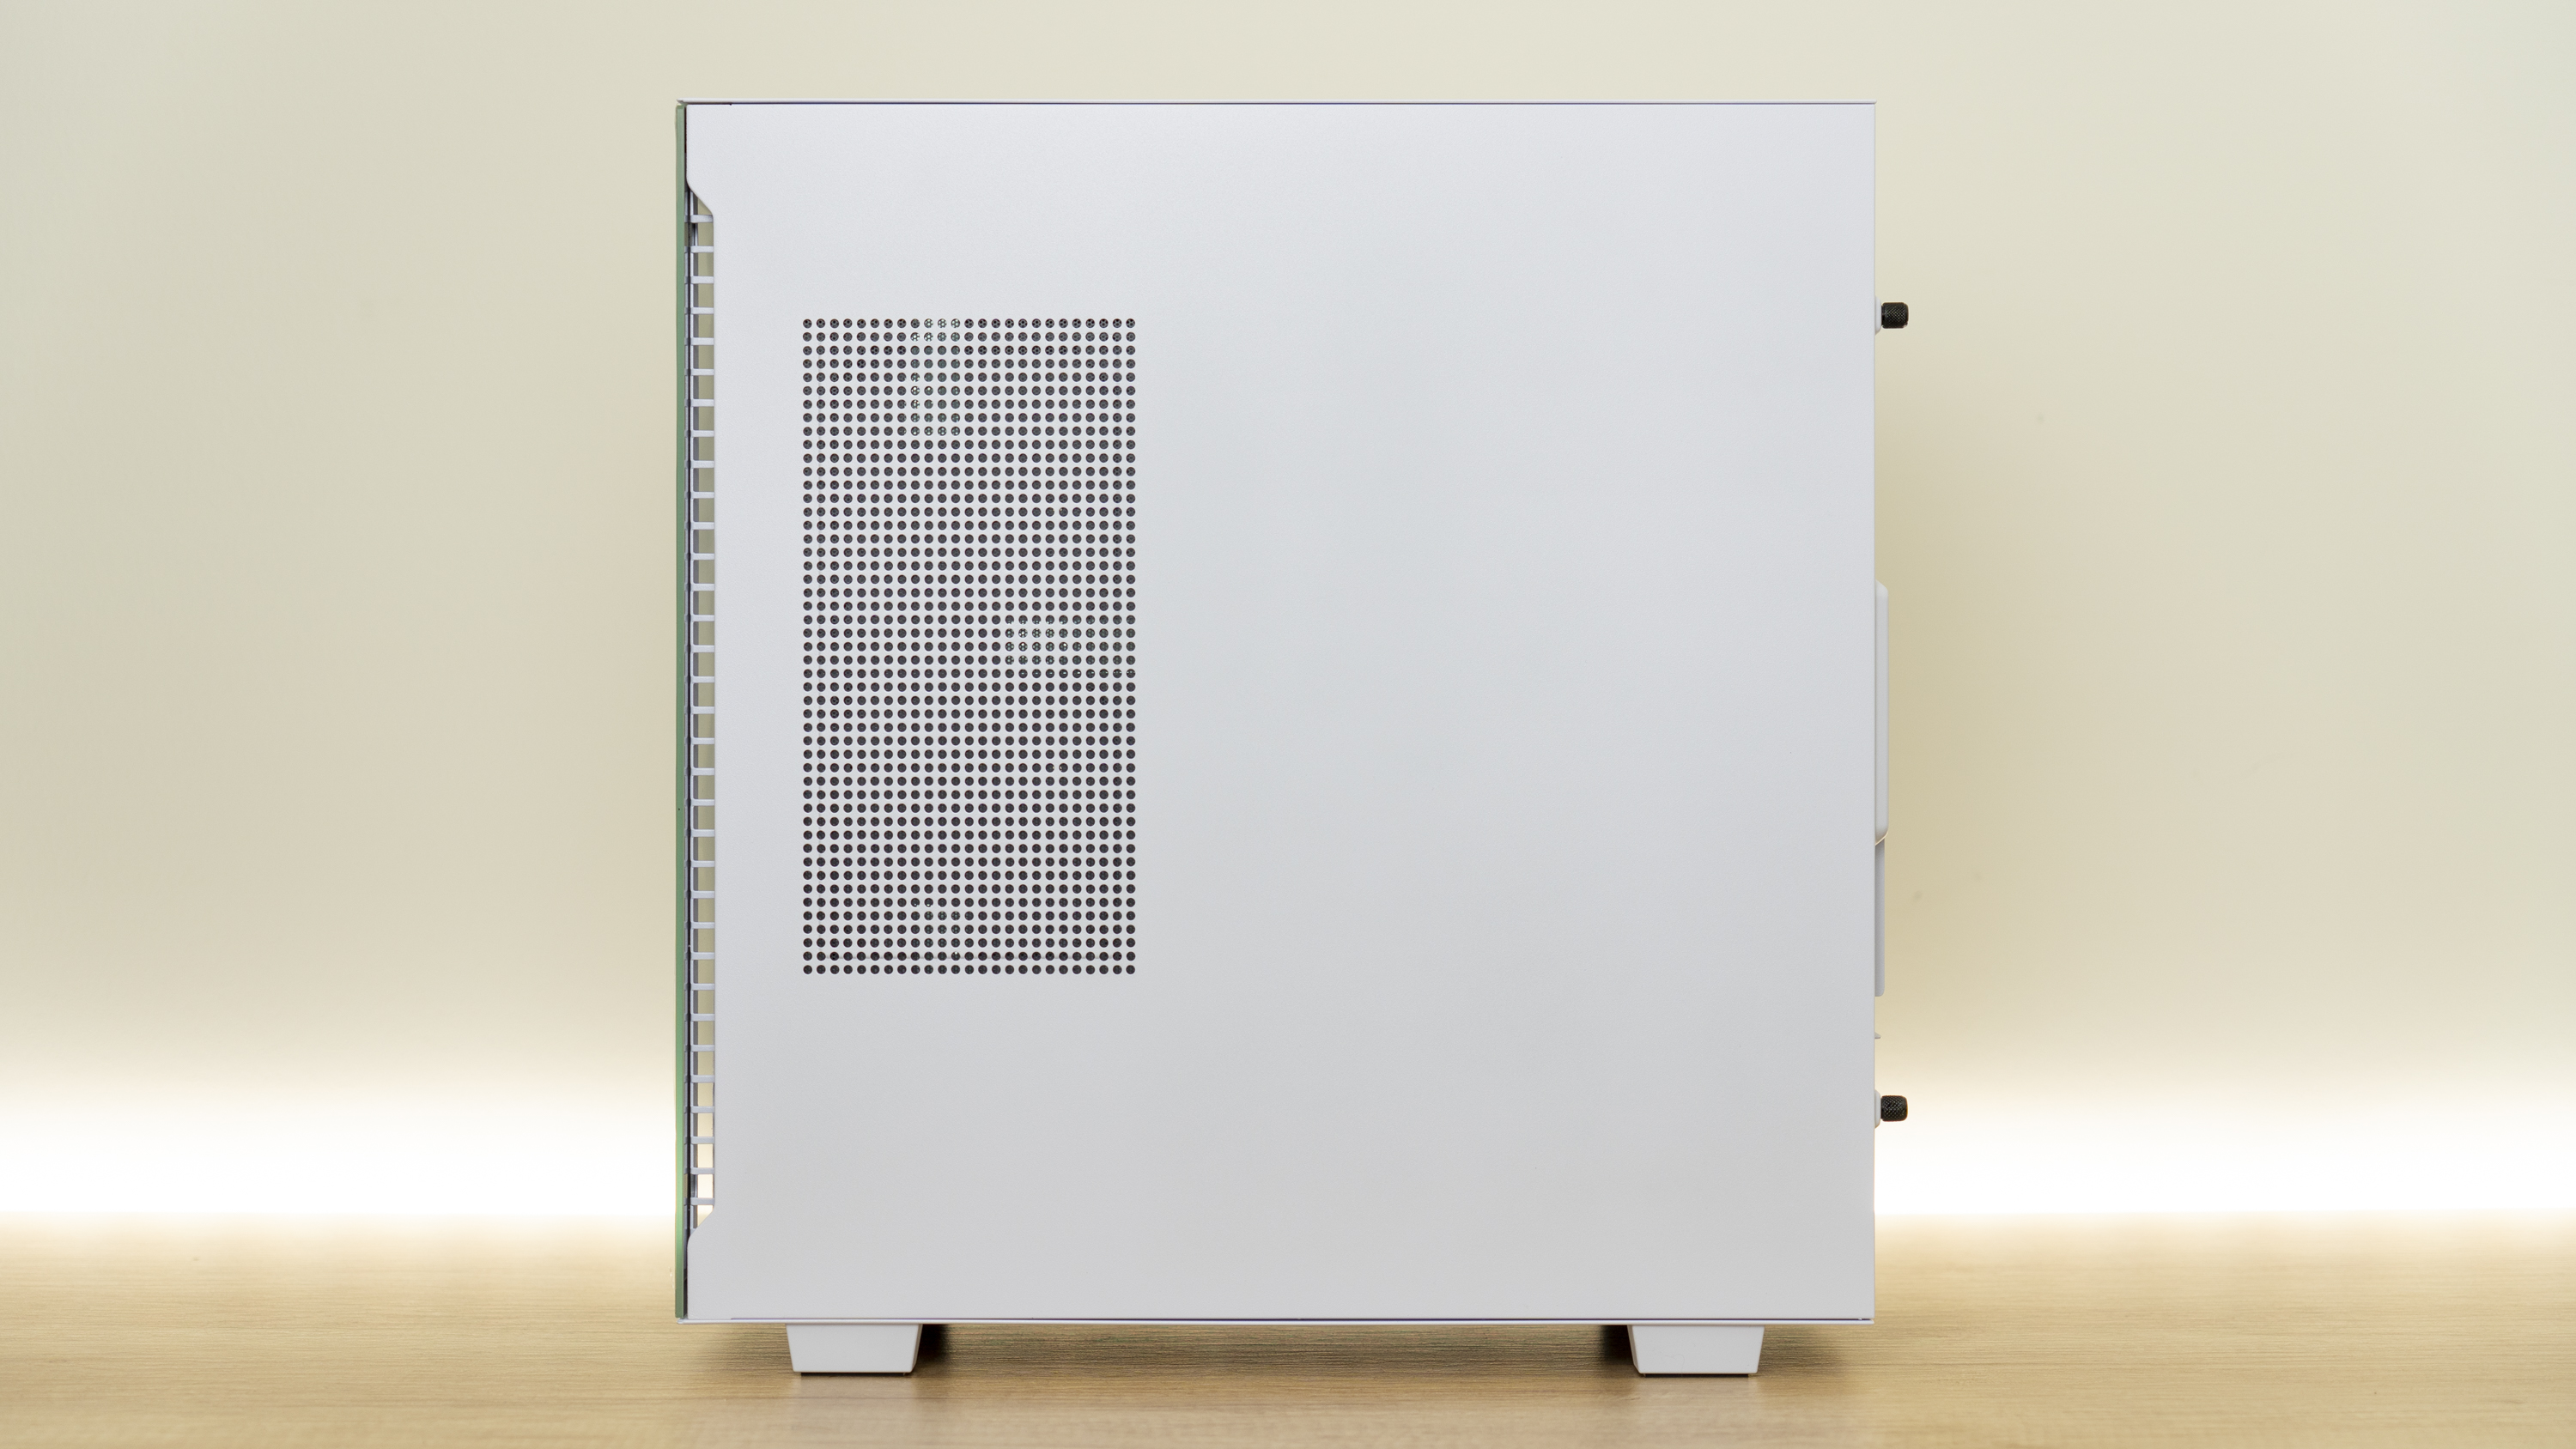
Touring around the outside of the chassis, two things immediately stand out: One is of course the slashed side panel, but on the other side you’ll spot an air intake. As we’ll see later, you can mount two extra 120mm fans here or mount an all-in-one liquid cooler.
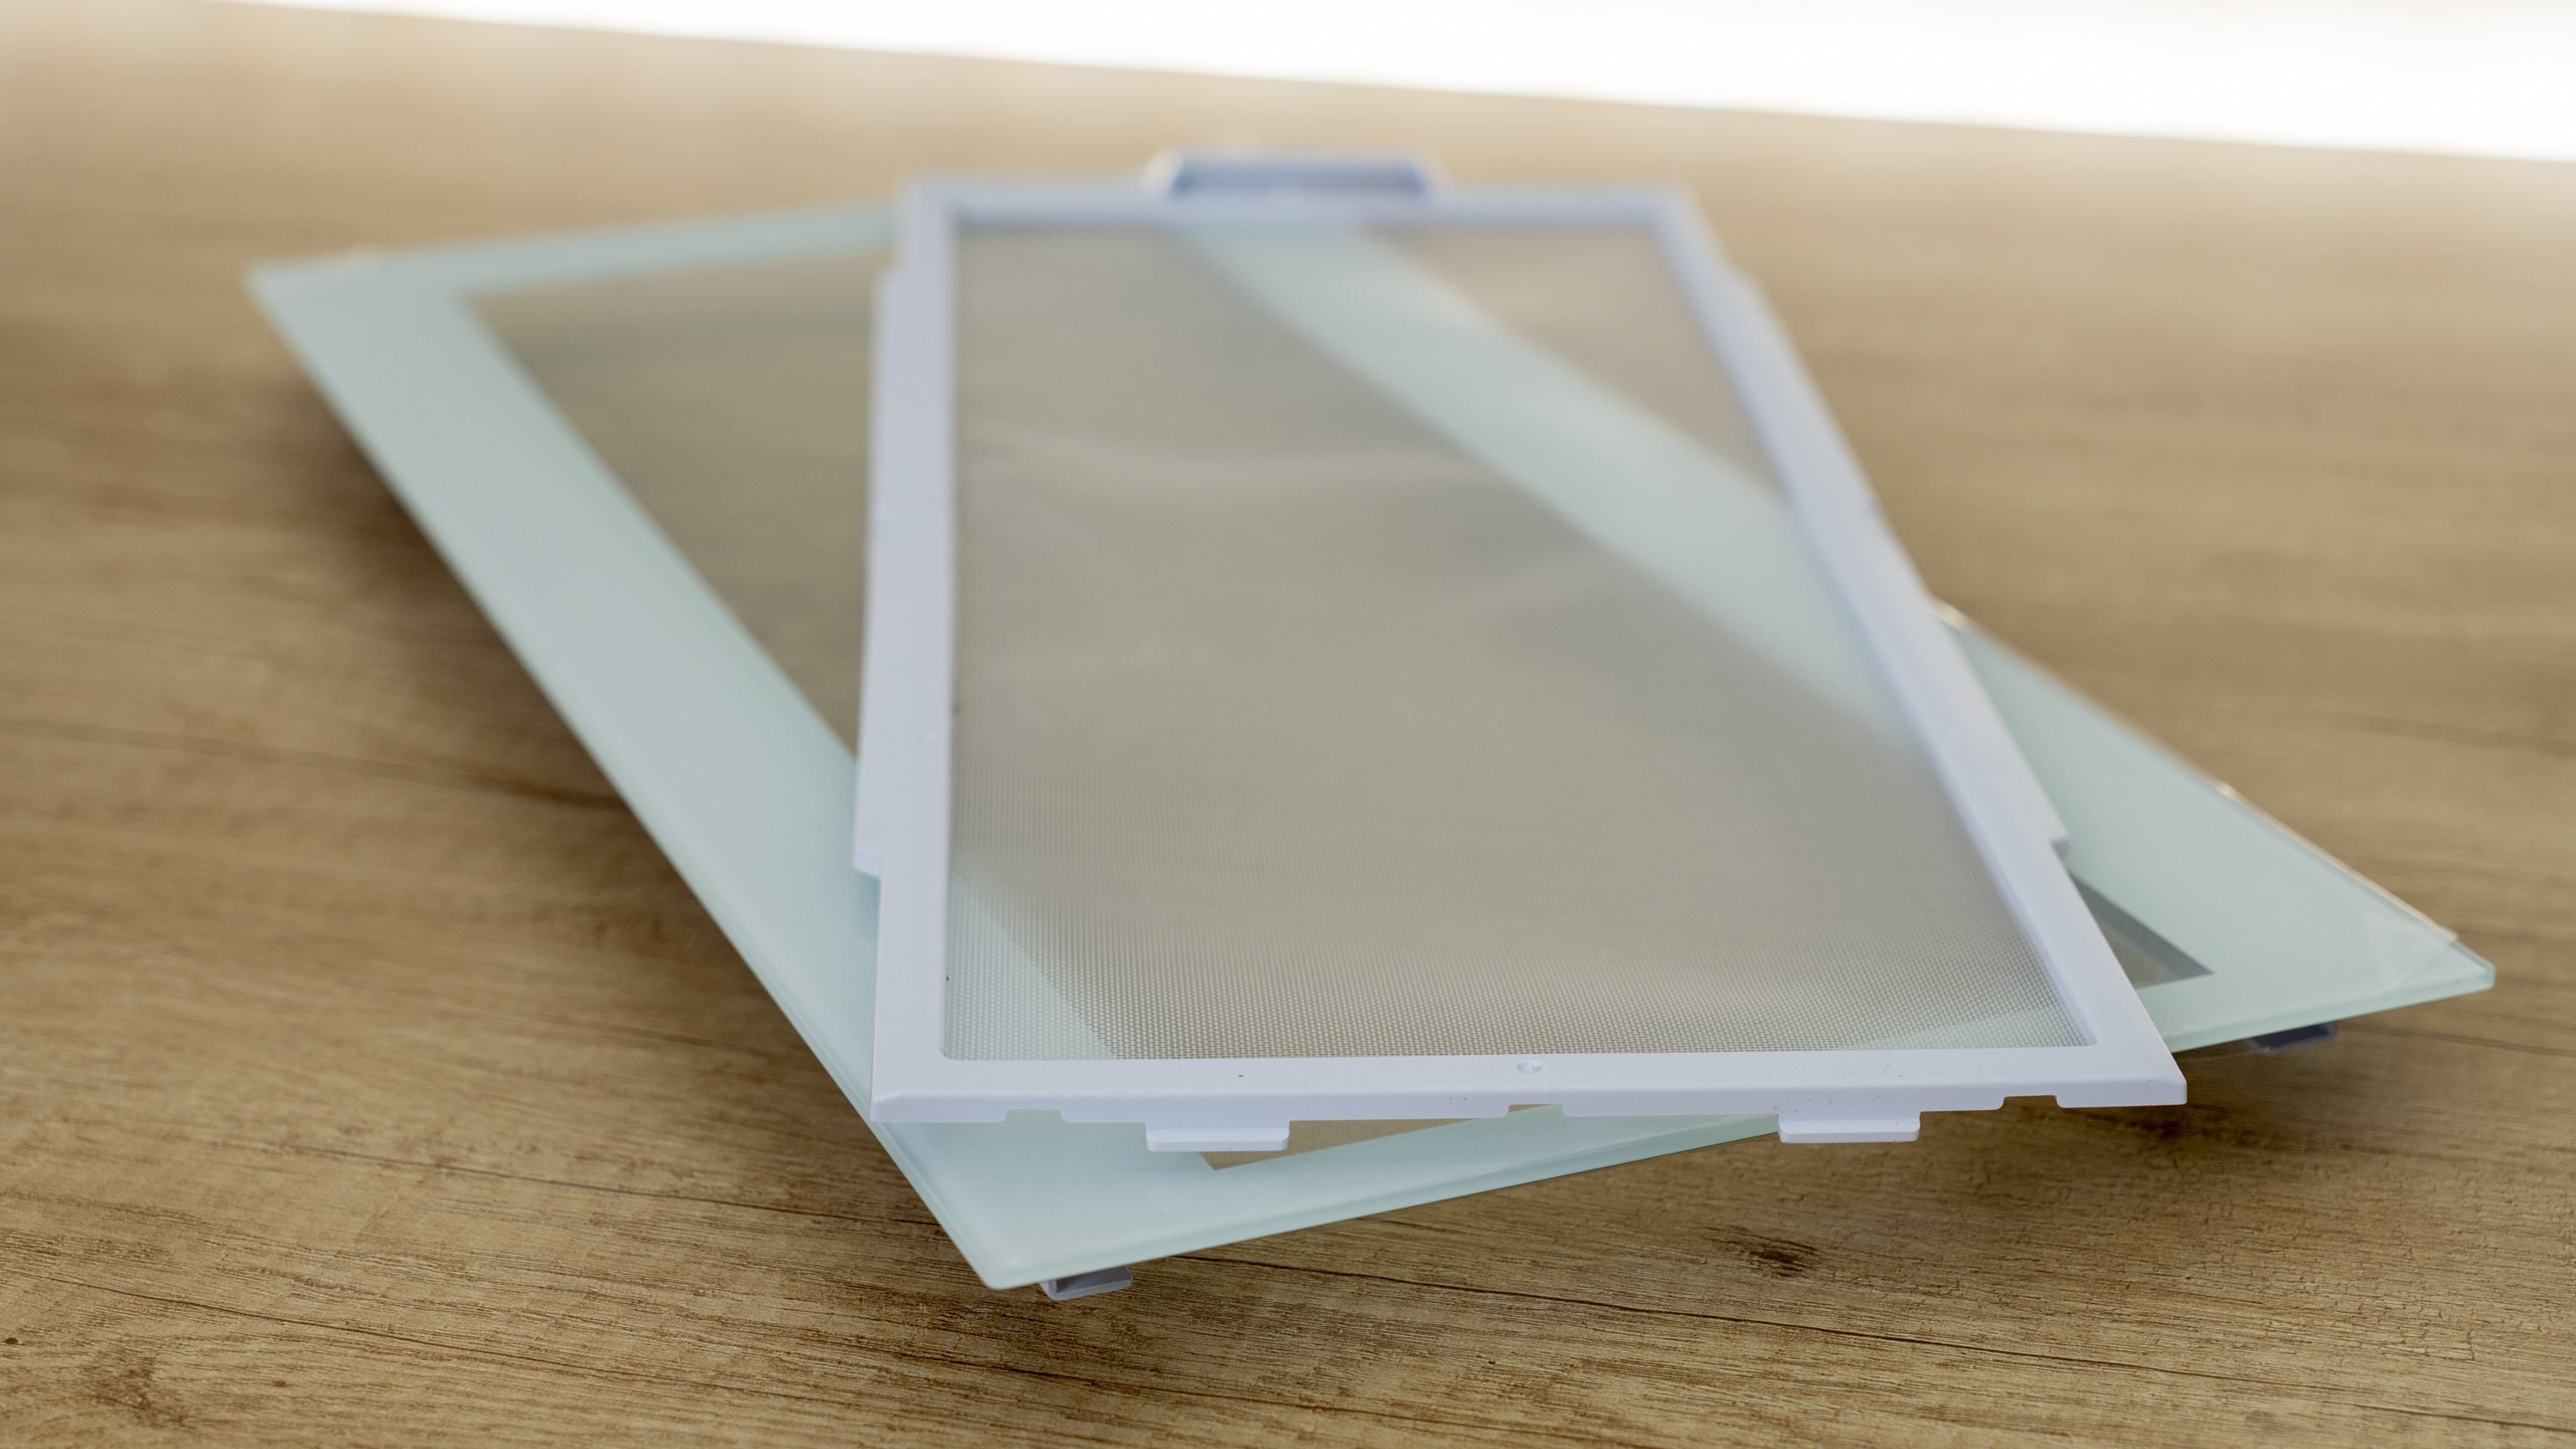
However, while all may look okay in the photos, the quality of the materials is quite disappointing. The sheet metal is thin, and the glass’s frame isn’t actually white – it’s closer to turquoise, which is a bit odd given that the chassis is named ‘snow edition,’ and it’s not a great look contrasting with the actual white of the rest of the chassis.
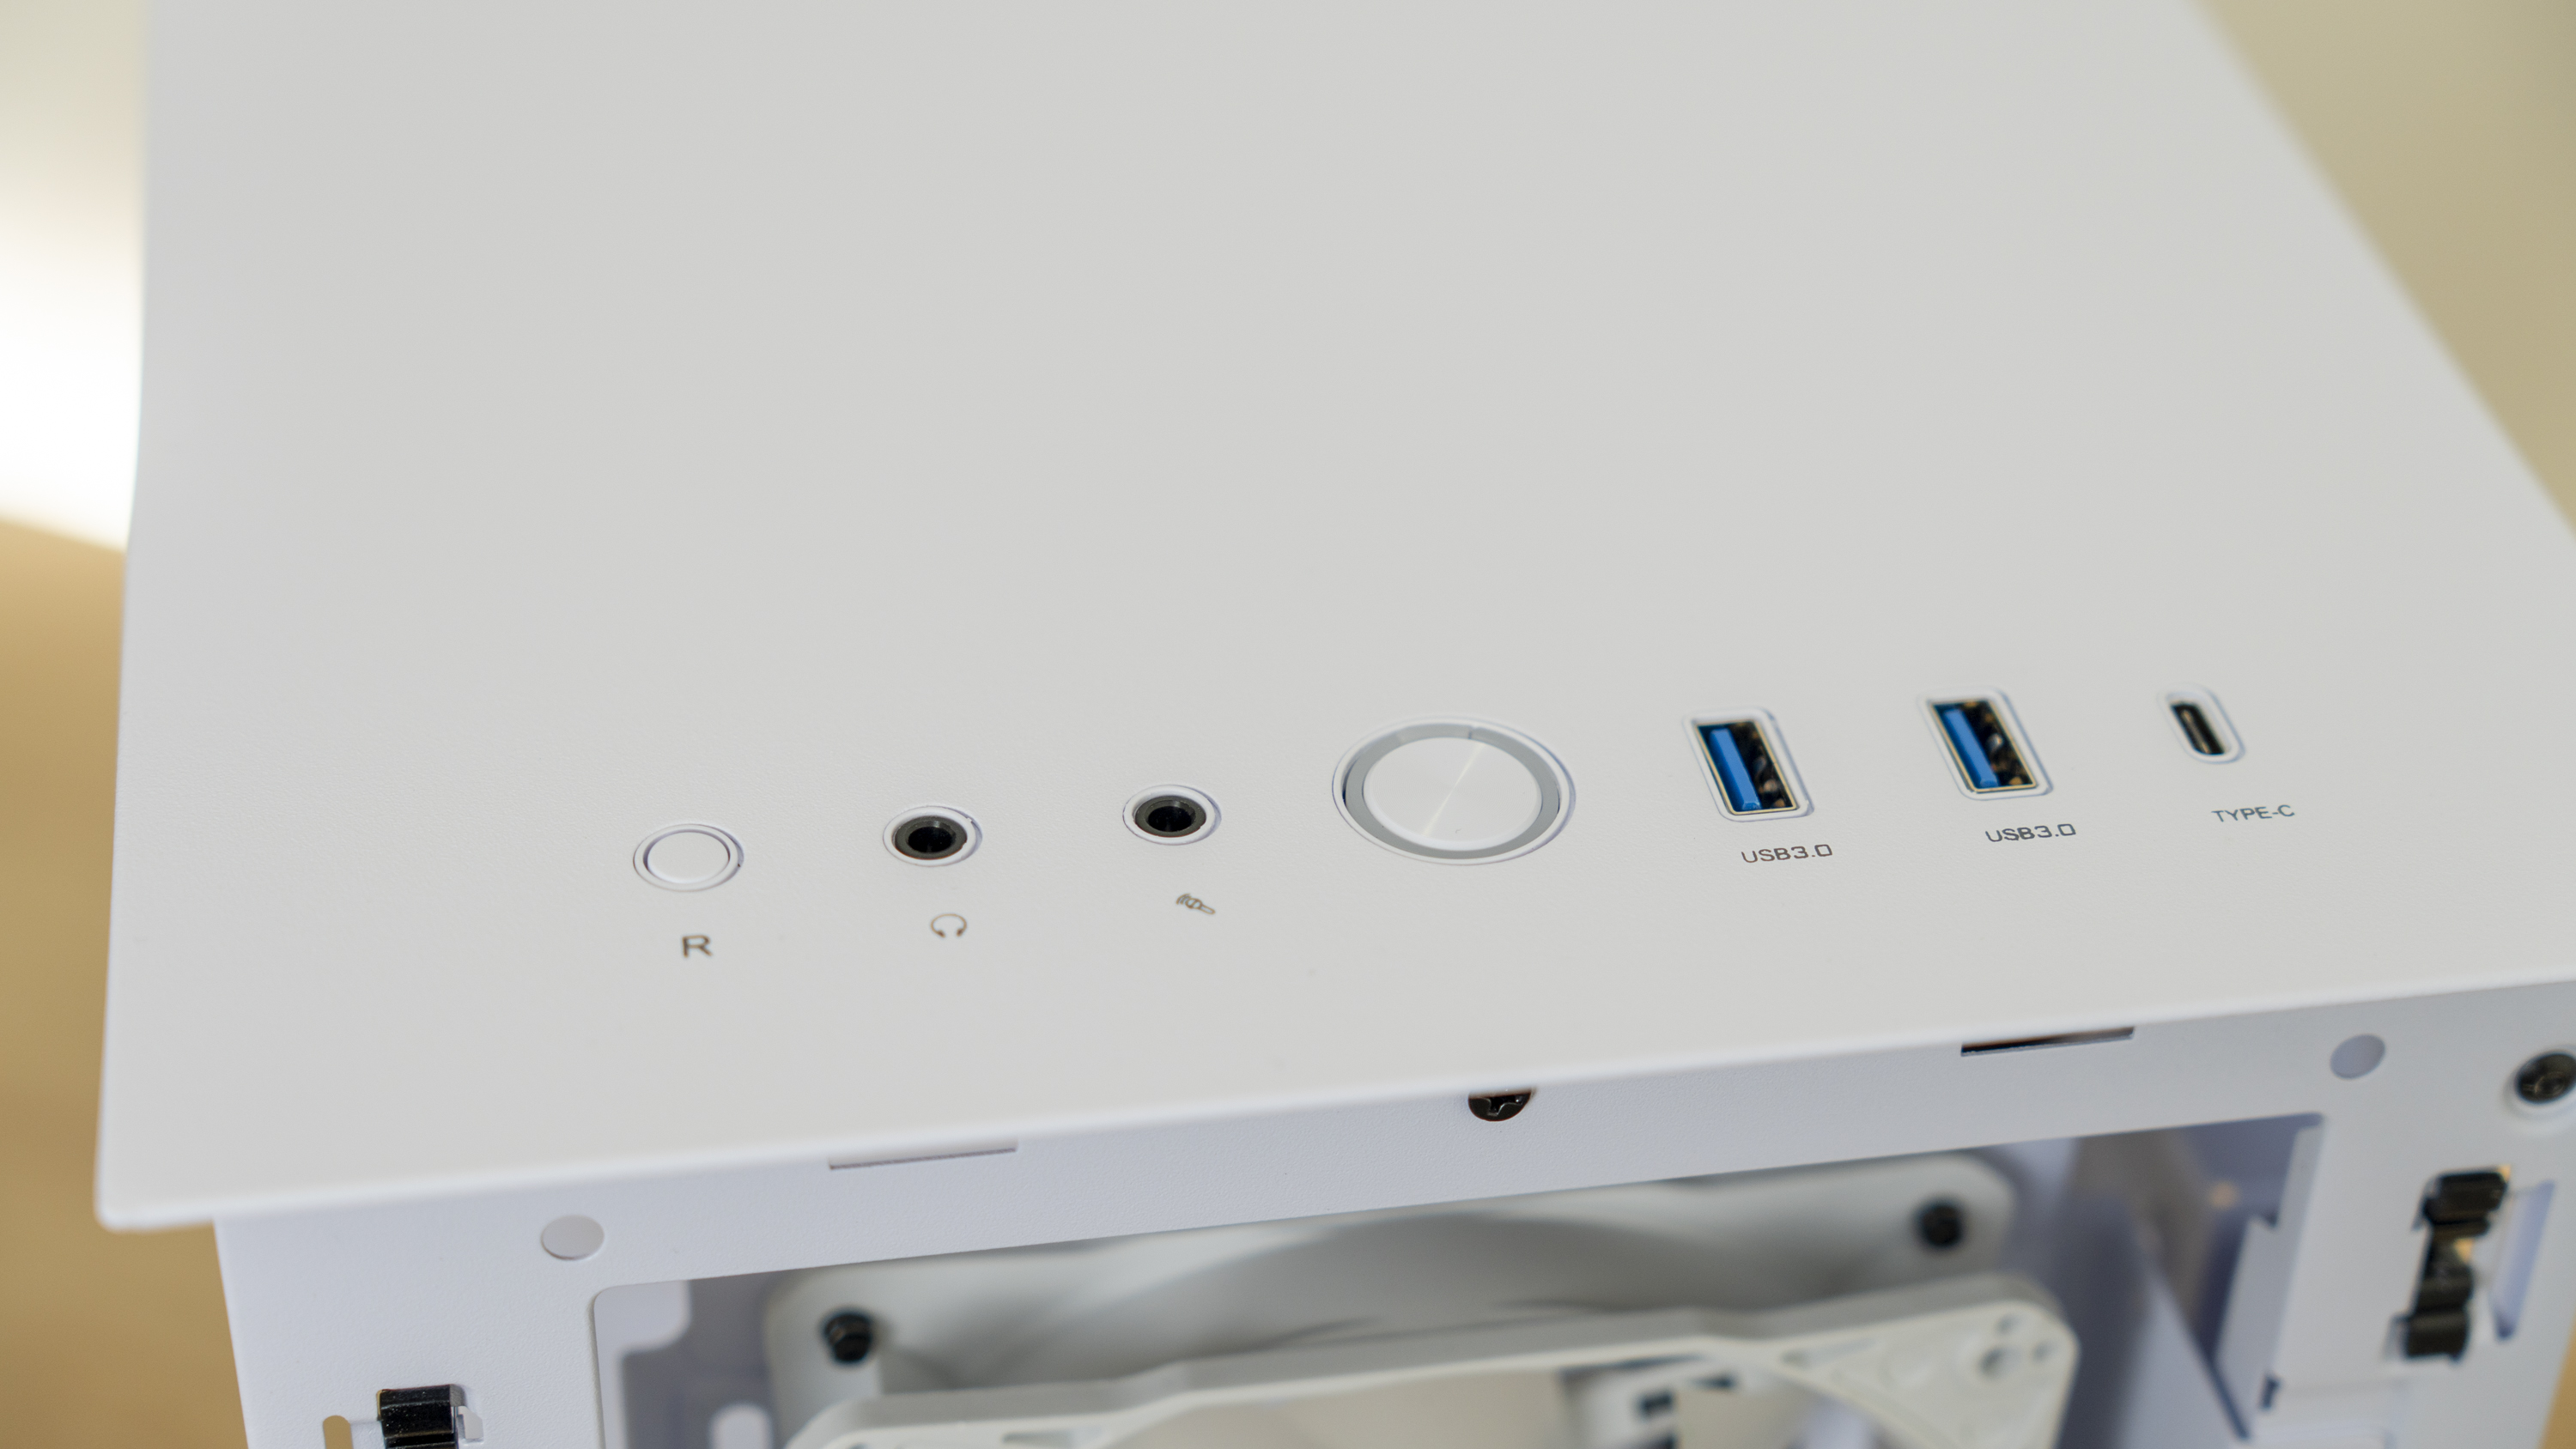
The case’s IO resides at the top, cut through the steel panel. Here you’ll spot two USB 3.0 ports, a USB Type-C port, and discrete microphone and headphone jacks – a complete set that’s much appreciated. You’ll also spot the power and reset switches. But as we’ll find out later, the reset switch doesn’t serve as a reset button.
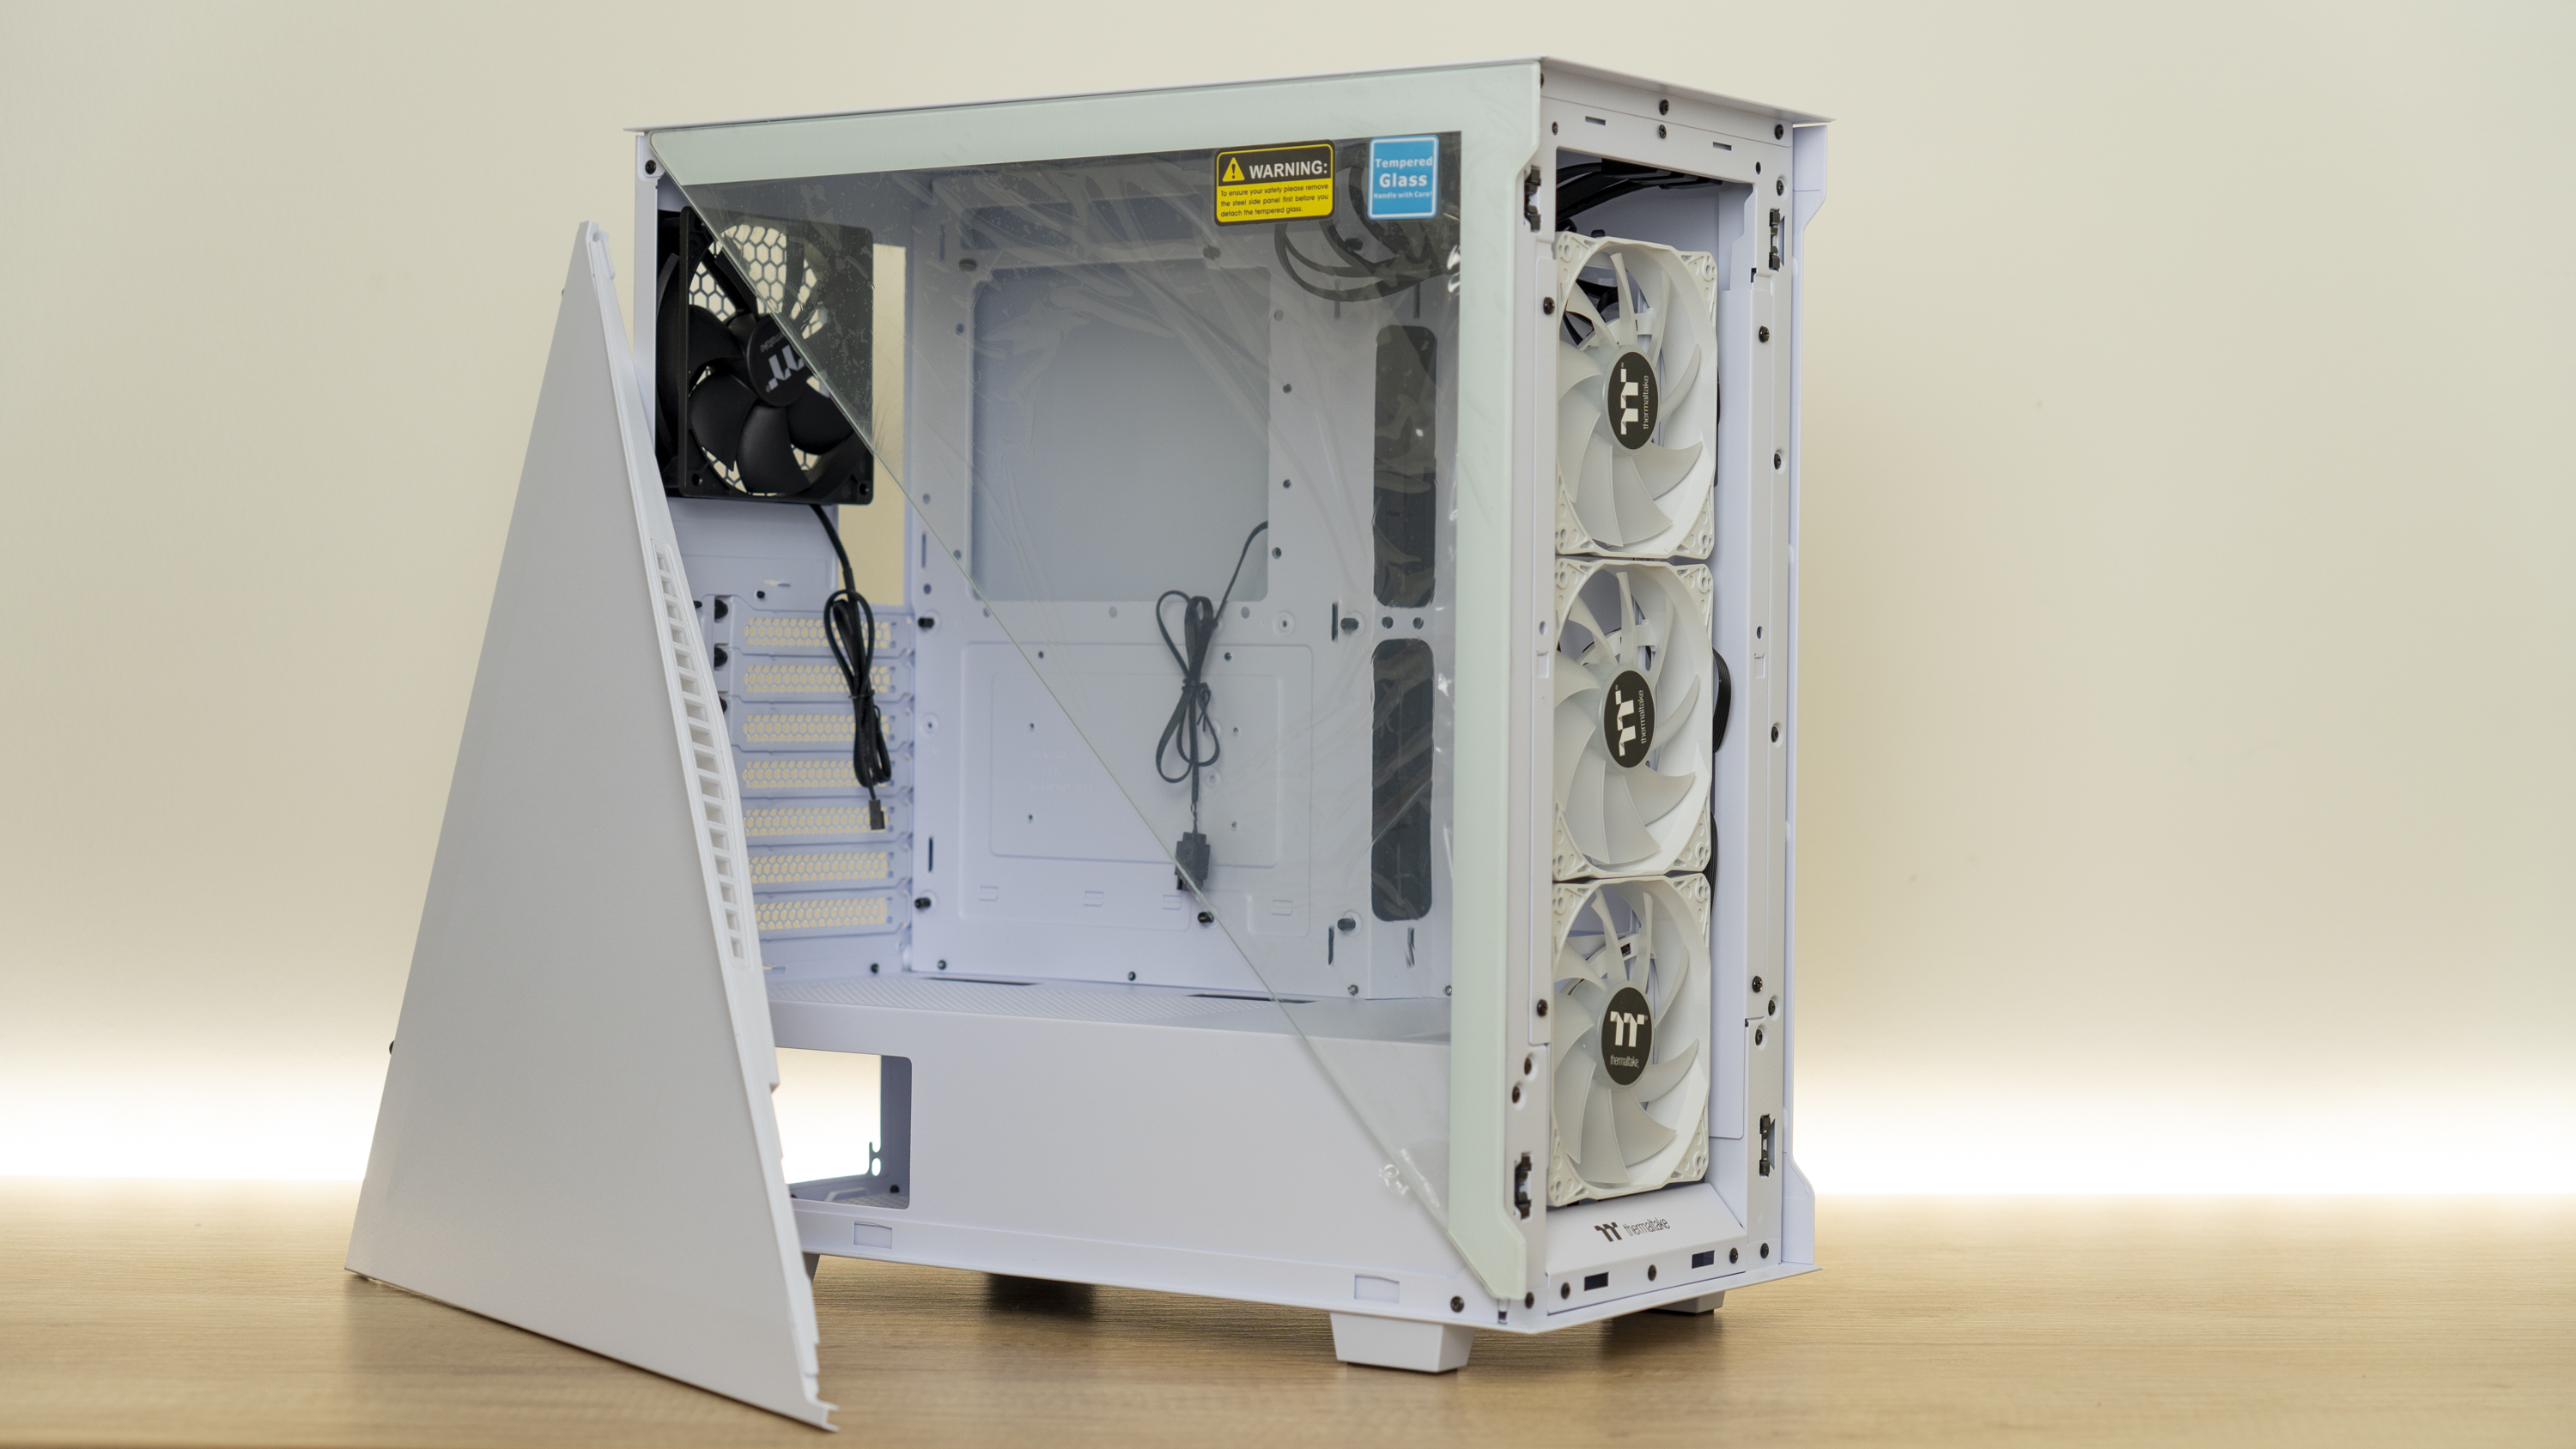

To remove the case’s paneling, you first remove the steel part of the slashed side panel, and then the glass. The steel part is removed by undoing two thumbscrews at the back, after which it awkwardly falls out of place. The same goes for the side panel on the other side; undo two screws and it falls out of the chassis – and re-installation is just as clunky, as the screws don’t line up nicely with the threads. The glass panels are clamped in place by a handful of push-pins, so de-installation and re-installation is as easy as pulling the panels off or pushing them back into place.
Get Tom's Hardware's best news and in-depth reviews, straight to your inbox.
Thermaltake Divider 300TG Internal Layout
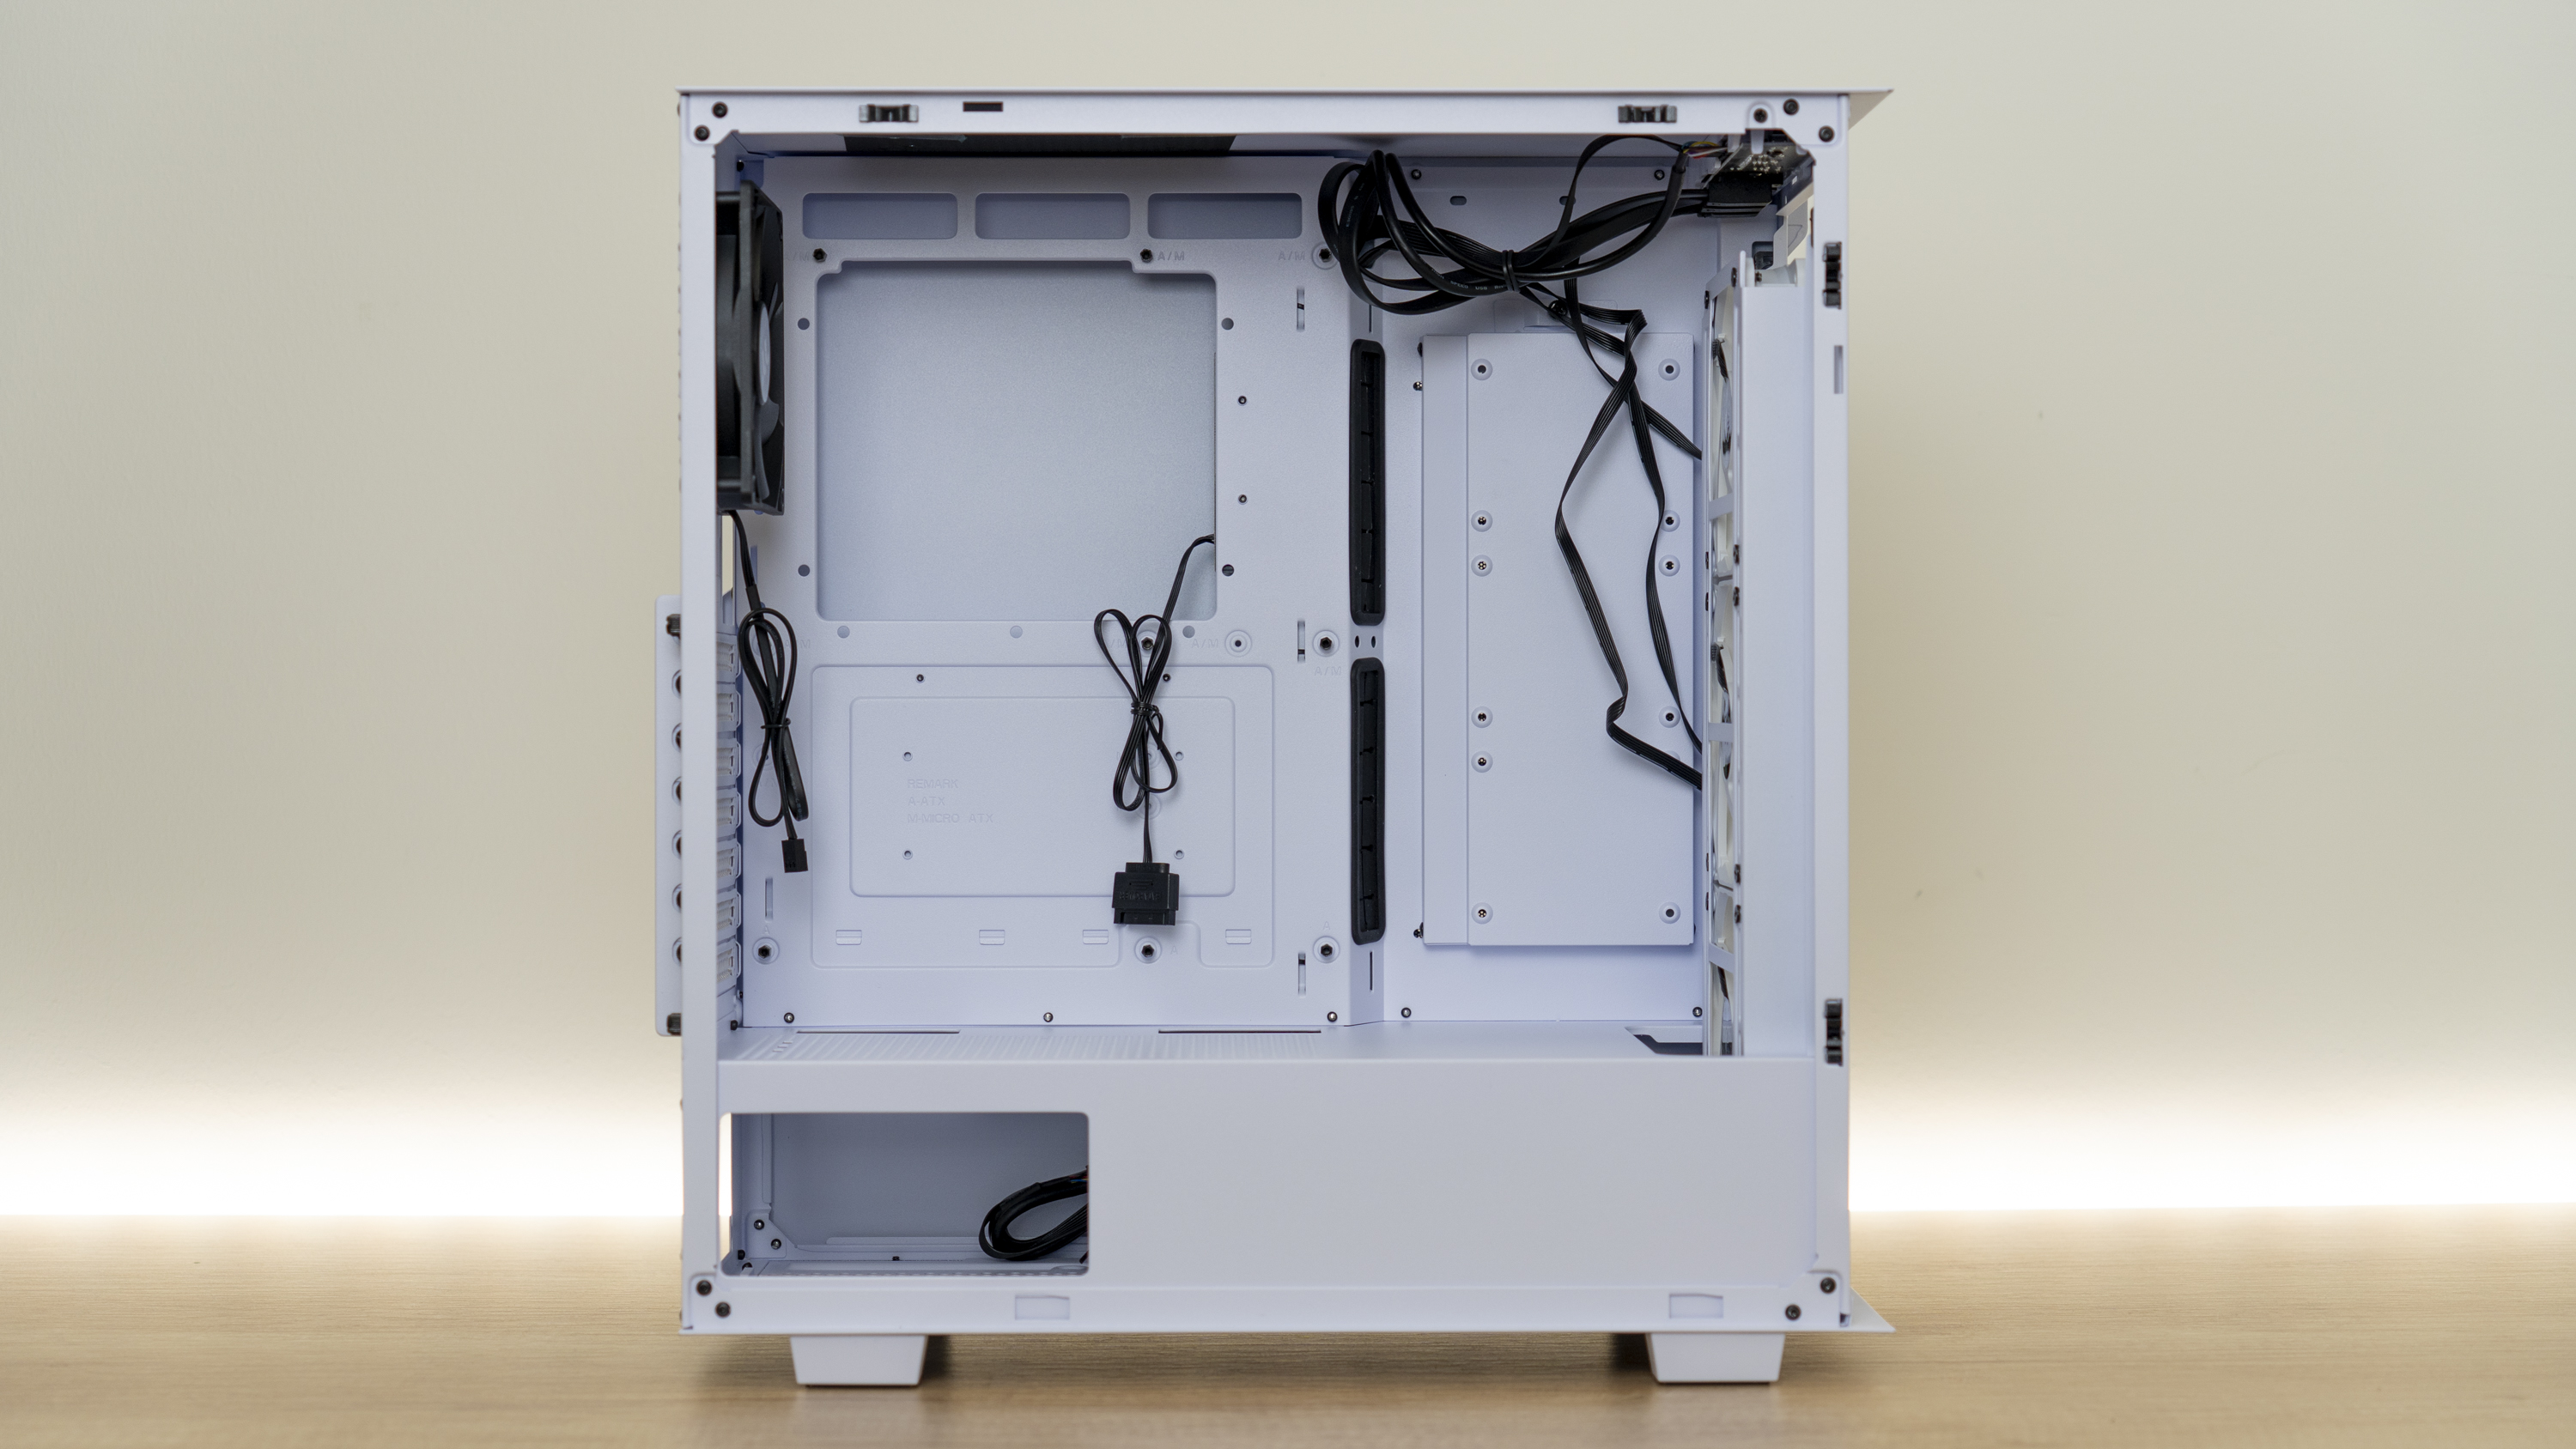
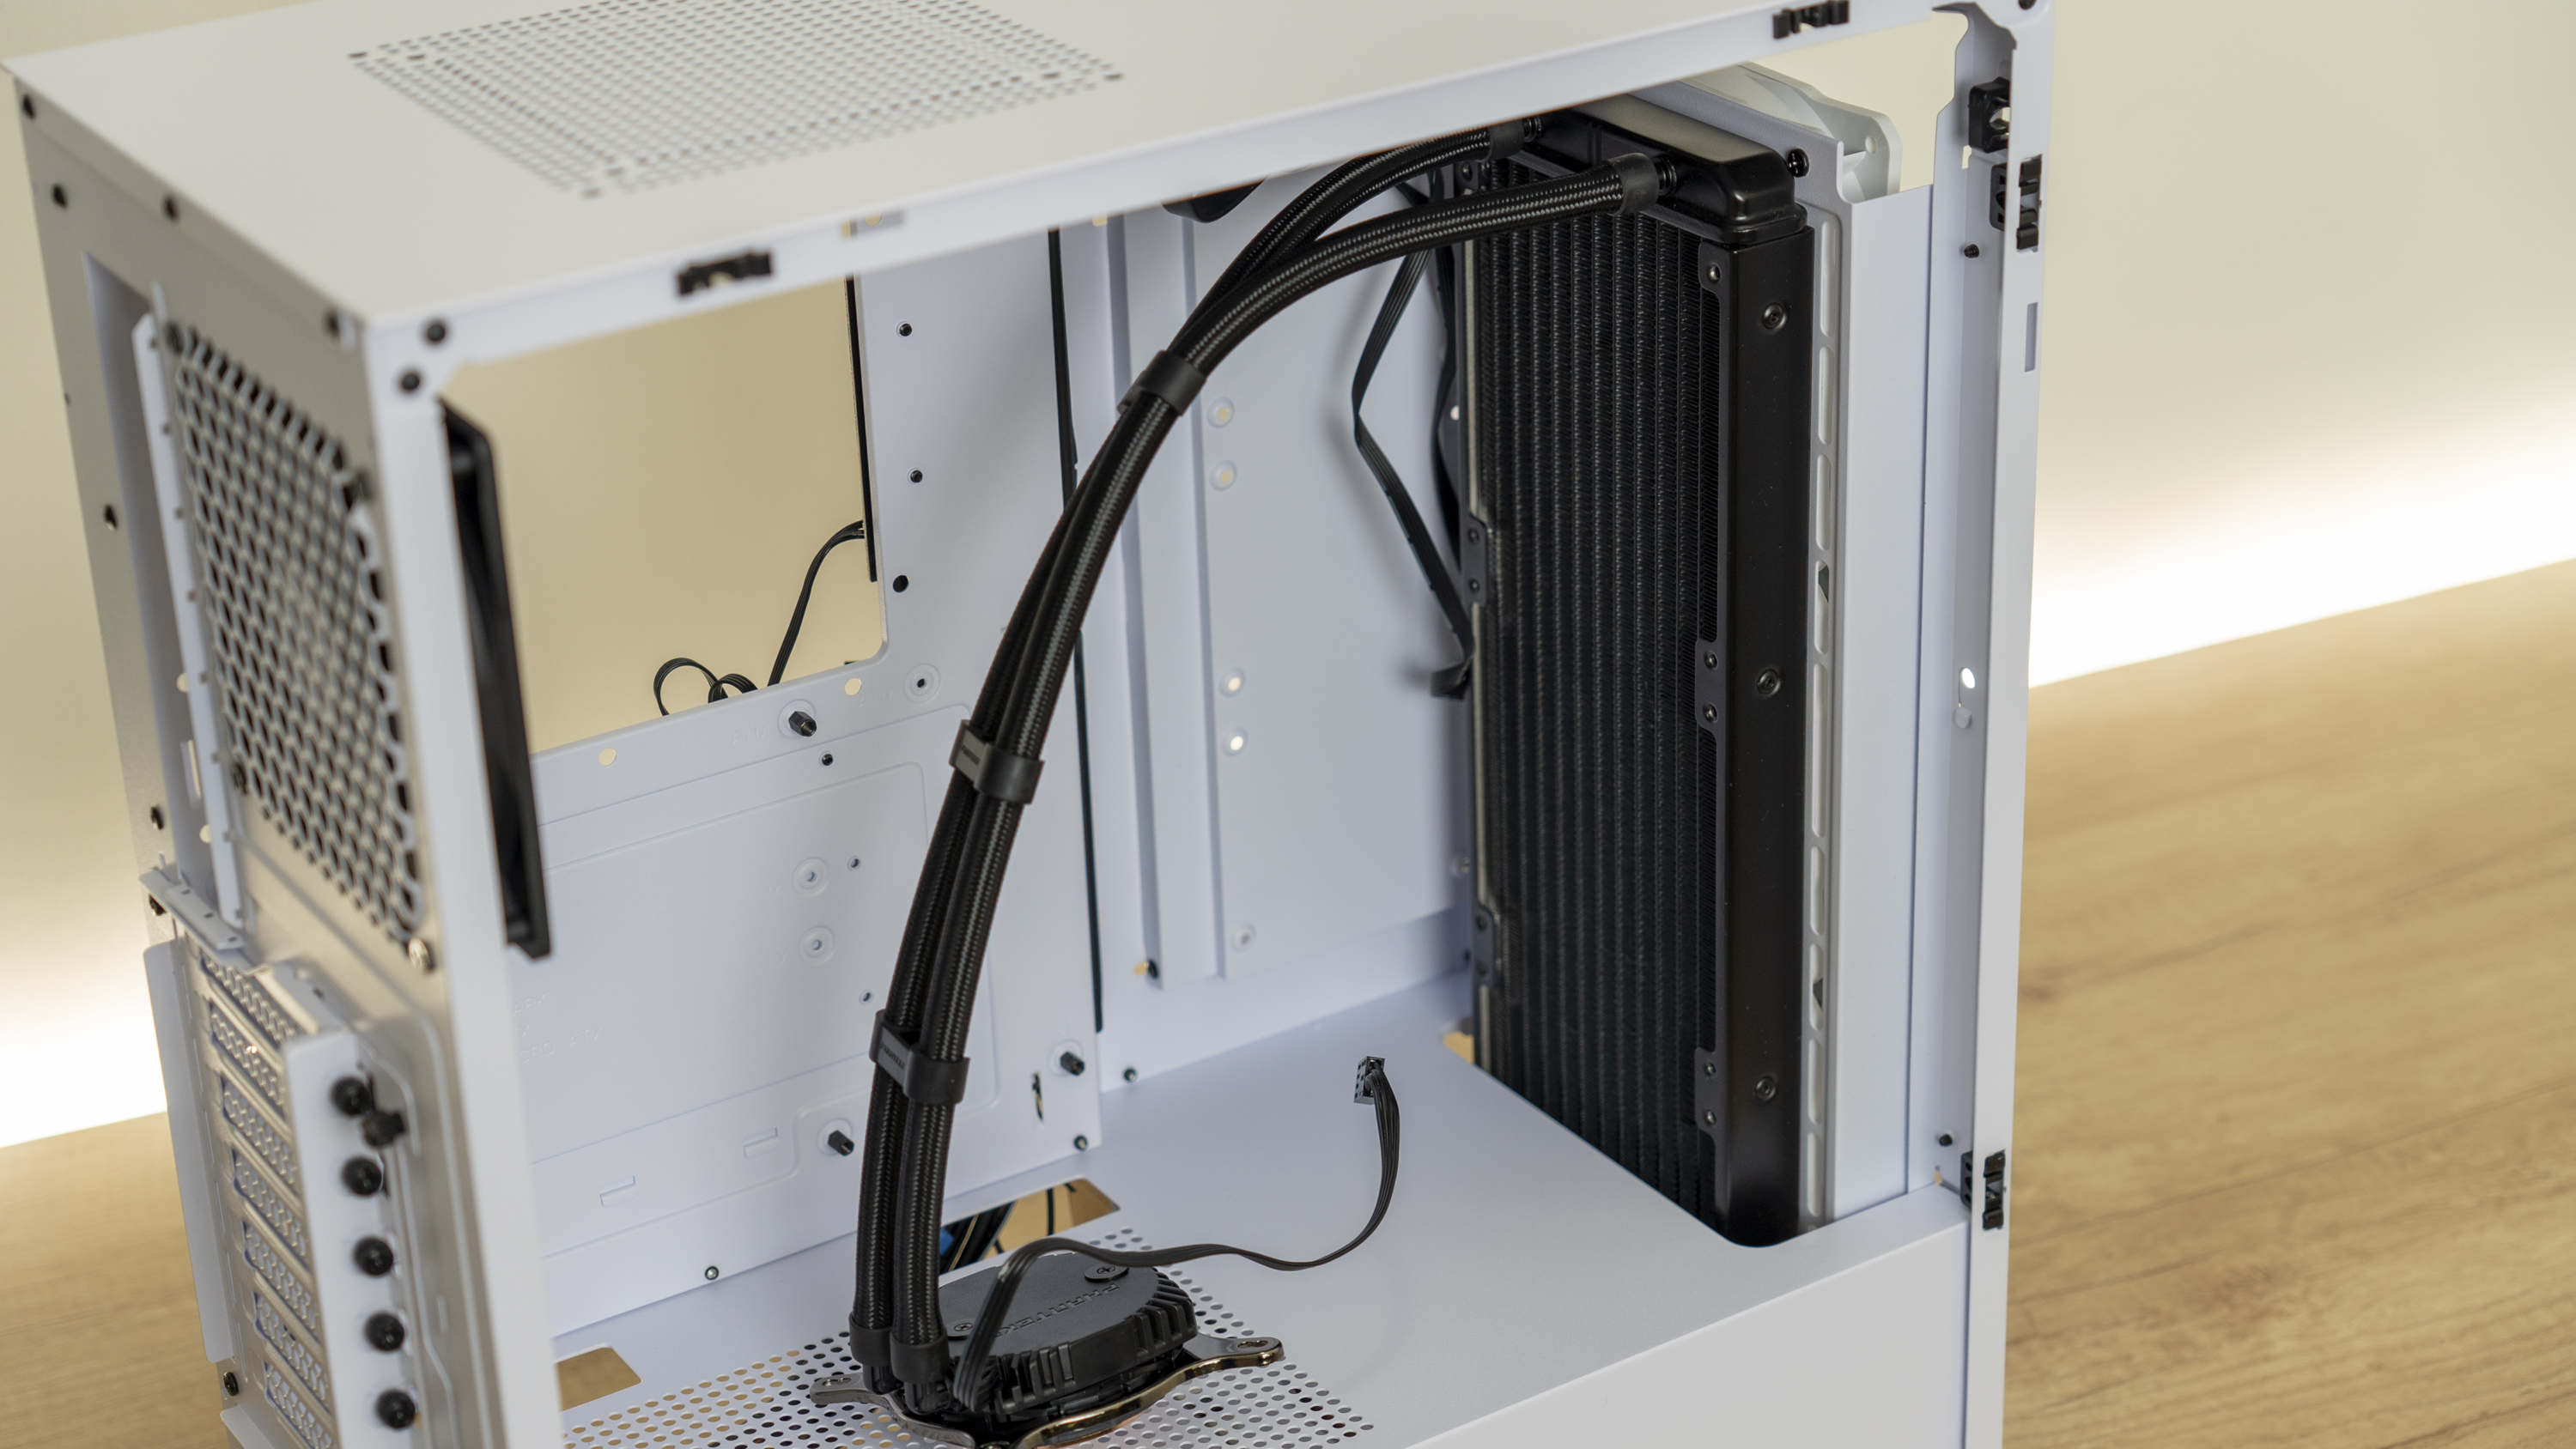
With the chassis stripped down, you’ll spot a fairly standard layout with room for up to an ATX-size motherboard. The only unusual thing about the main compartment is the cover on the right, which either houses three 2.5-inch drives or can be removed to make space for two extra intake fans and an AIO.
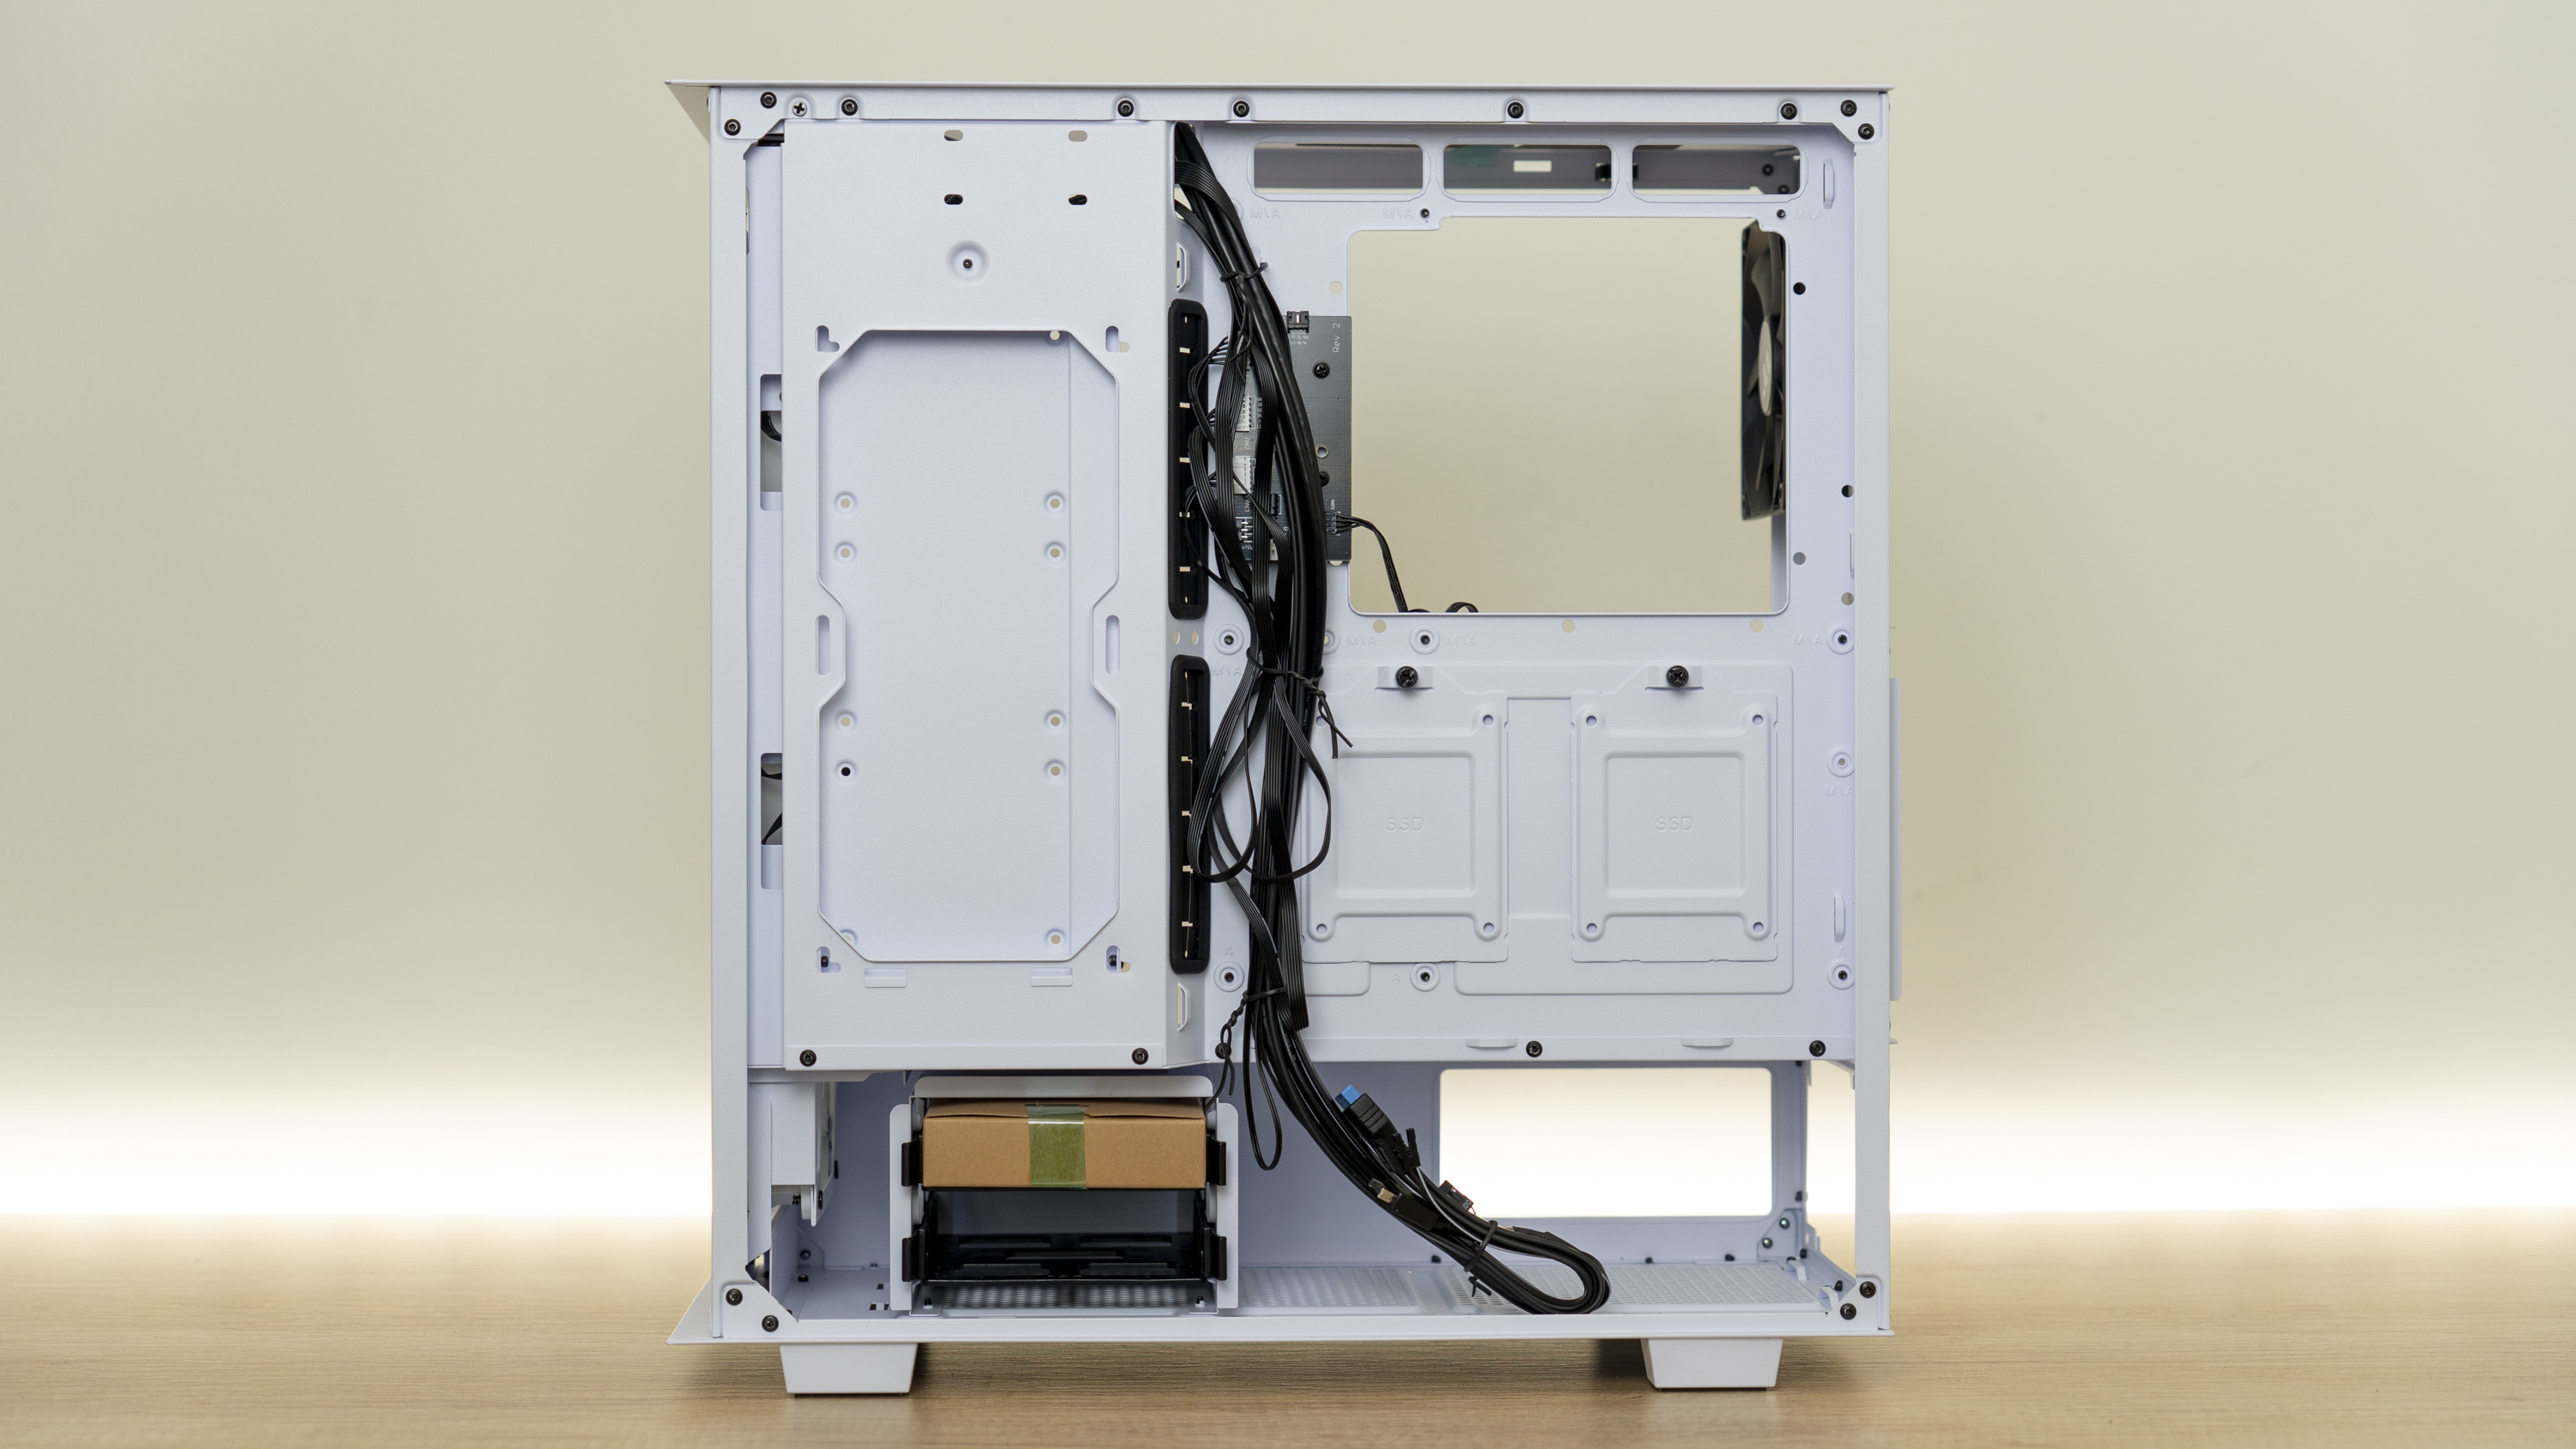
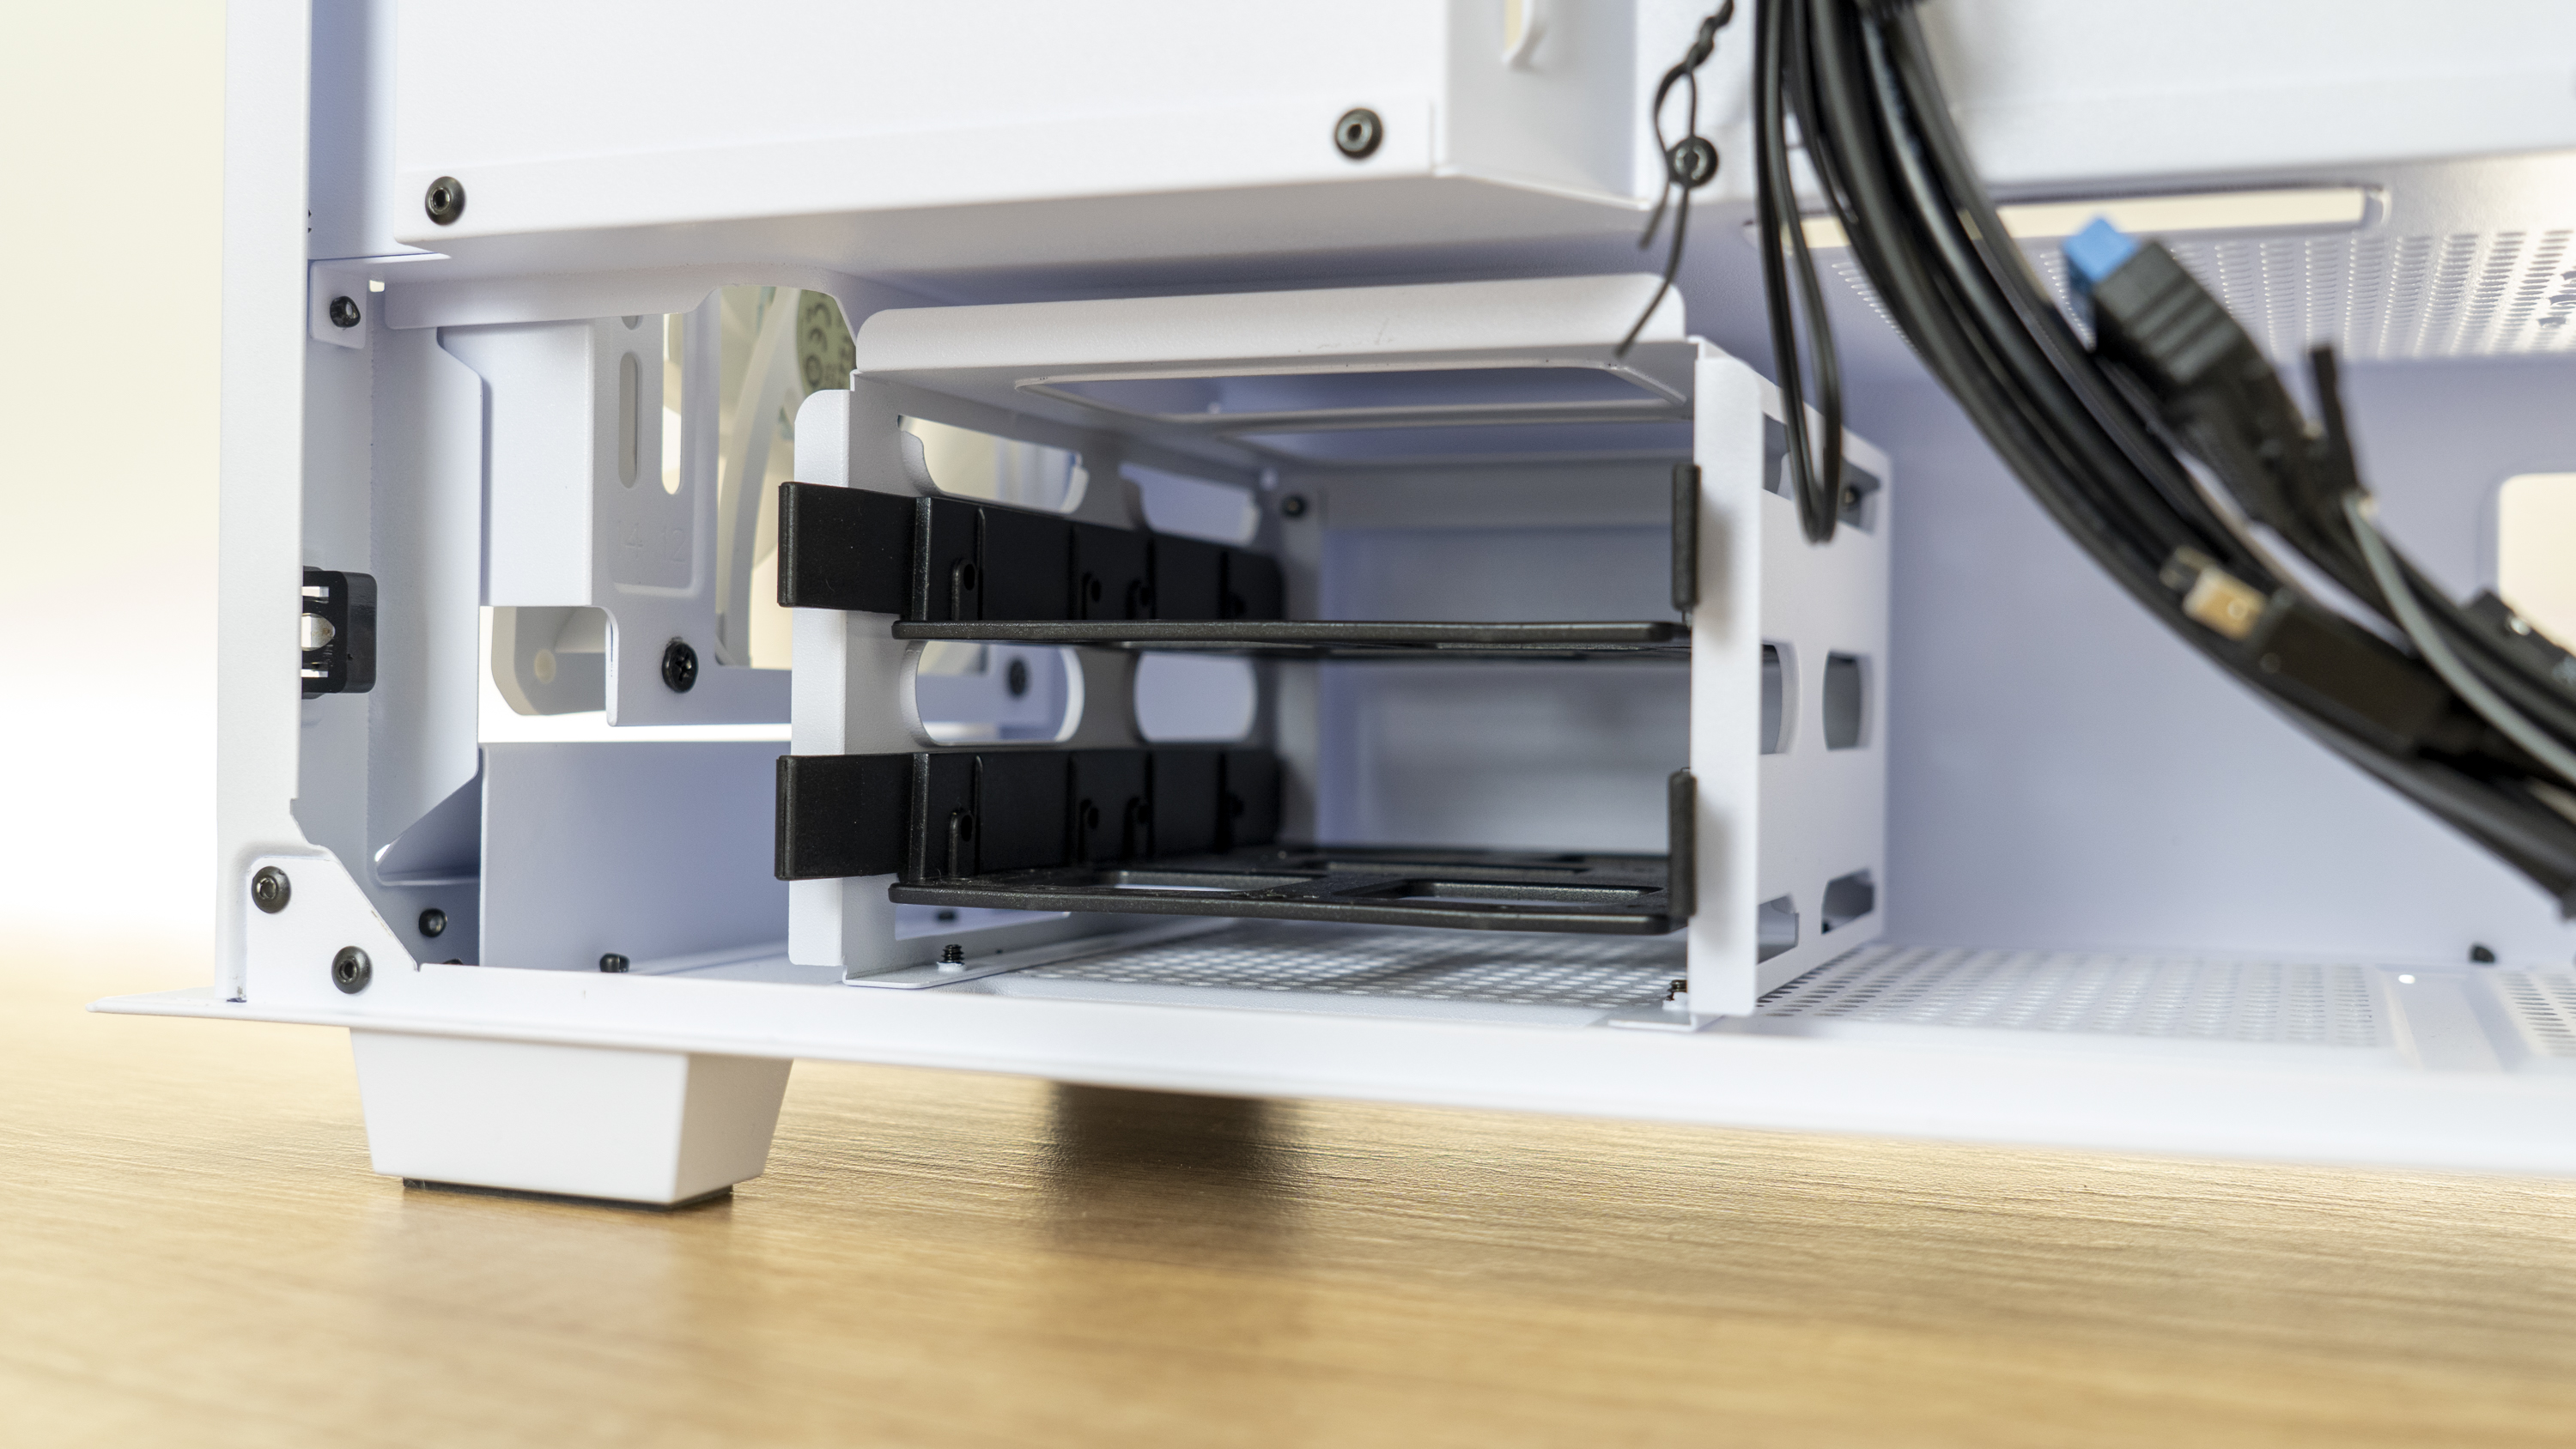
Switch to the other side of the chassis, and you’ll spot the fan bracket we spoke of, along with two 2.5-inch SSD mounts behind the motherboard tray. In the PSU area there is also room for two 3.5-inch drives.
Thermaltake Divider 300TG Cooling
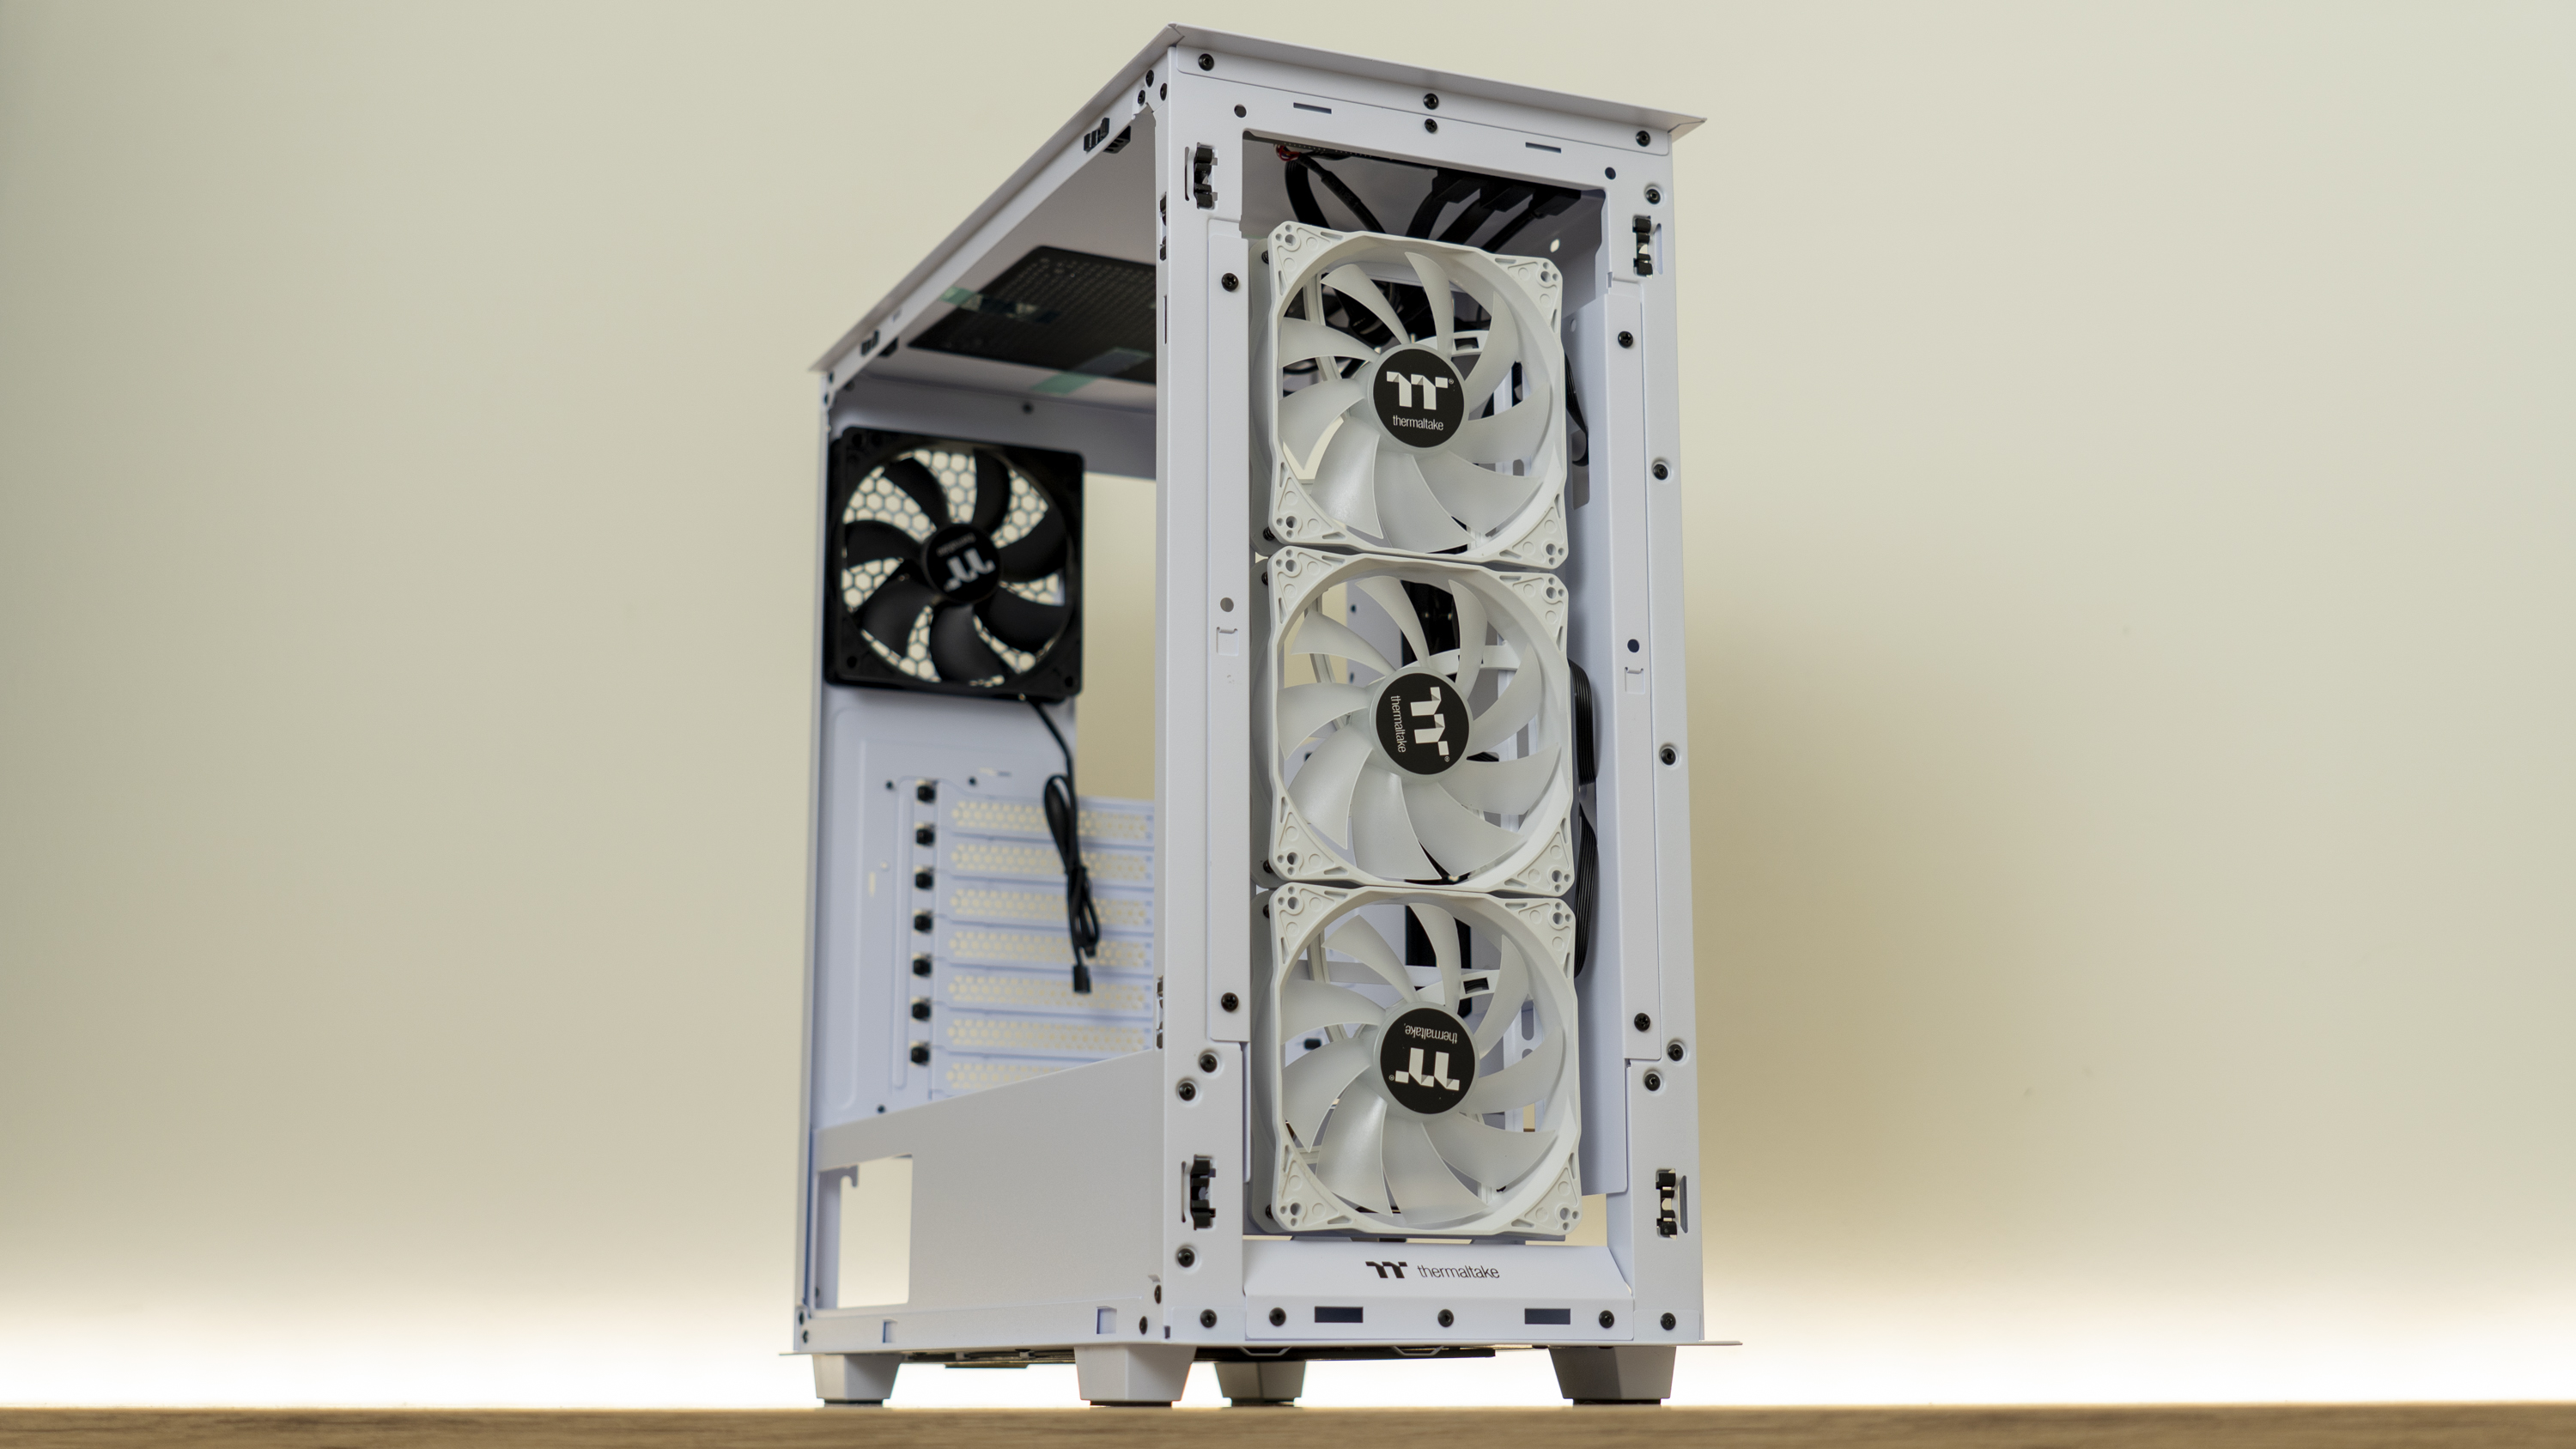
While there wasn’t much to talk about regarding the case’s general features, there is plenty to discuss when it comes to cooling. From the factory, the chassis comes with a total of four fans installed, which seems quite lavish. The front intake fans are three 120mm RGB spinners, while the rear exhaust fan is a simple 3-pin spinner without any lighting features.
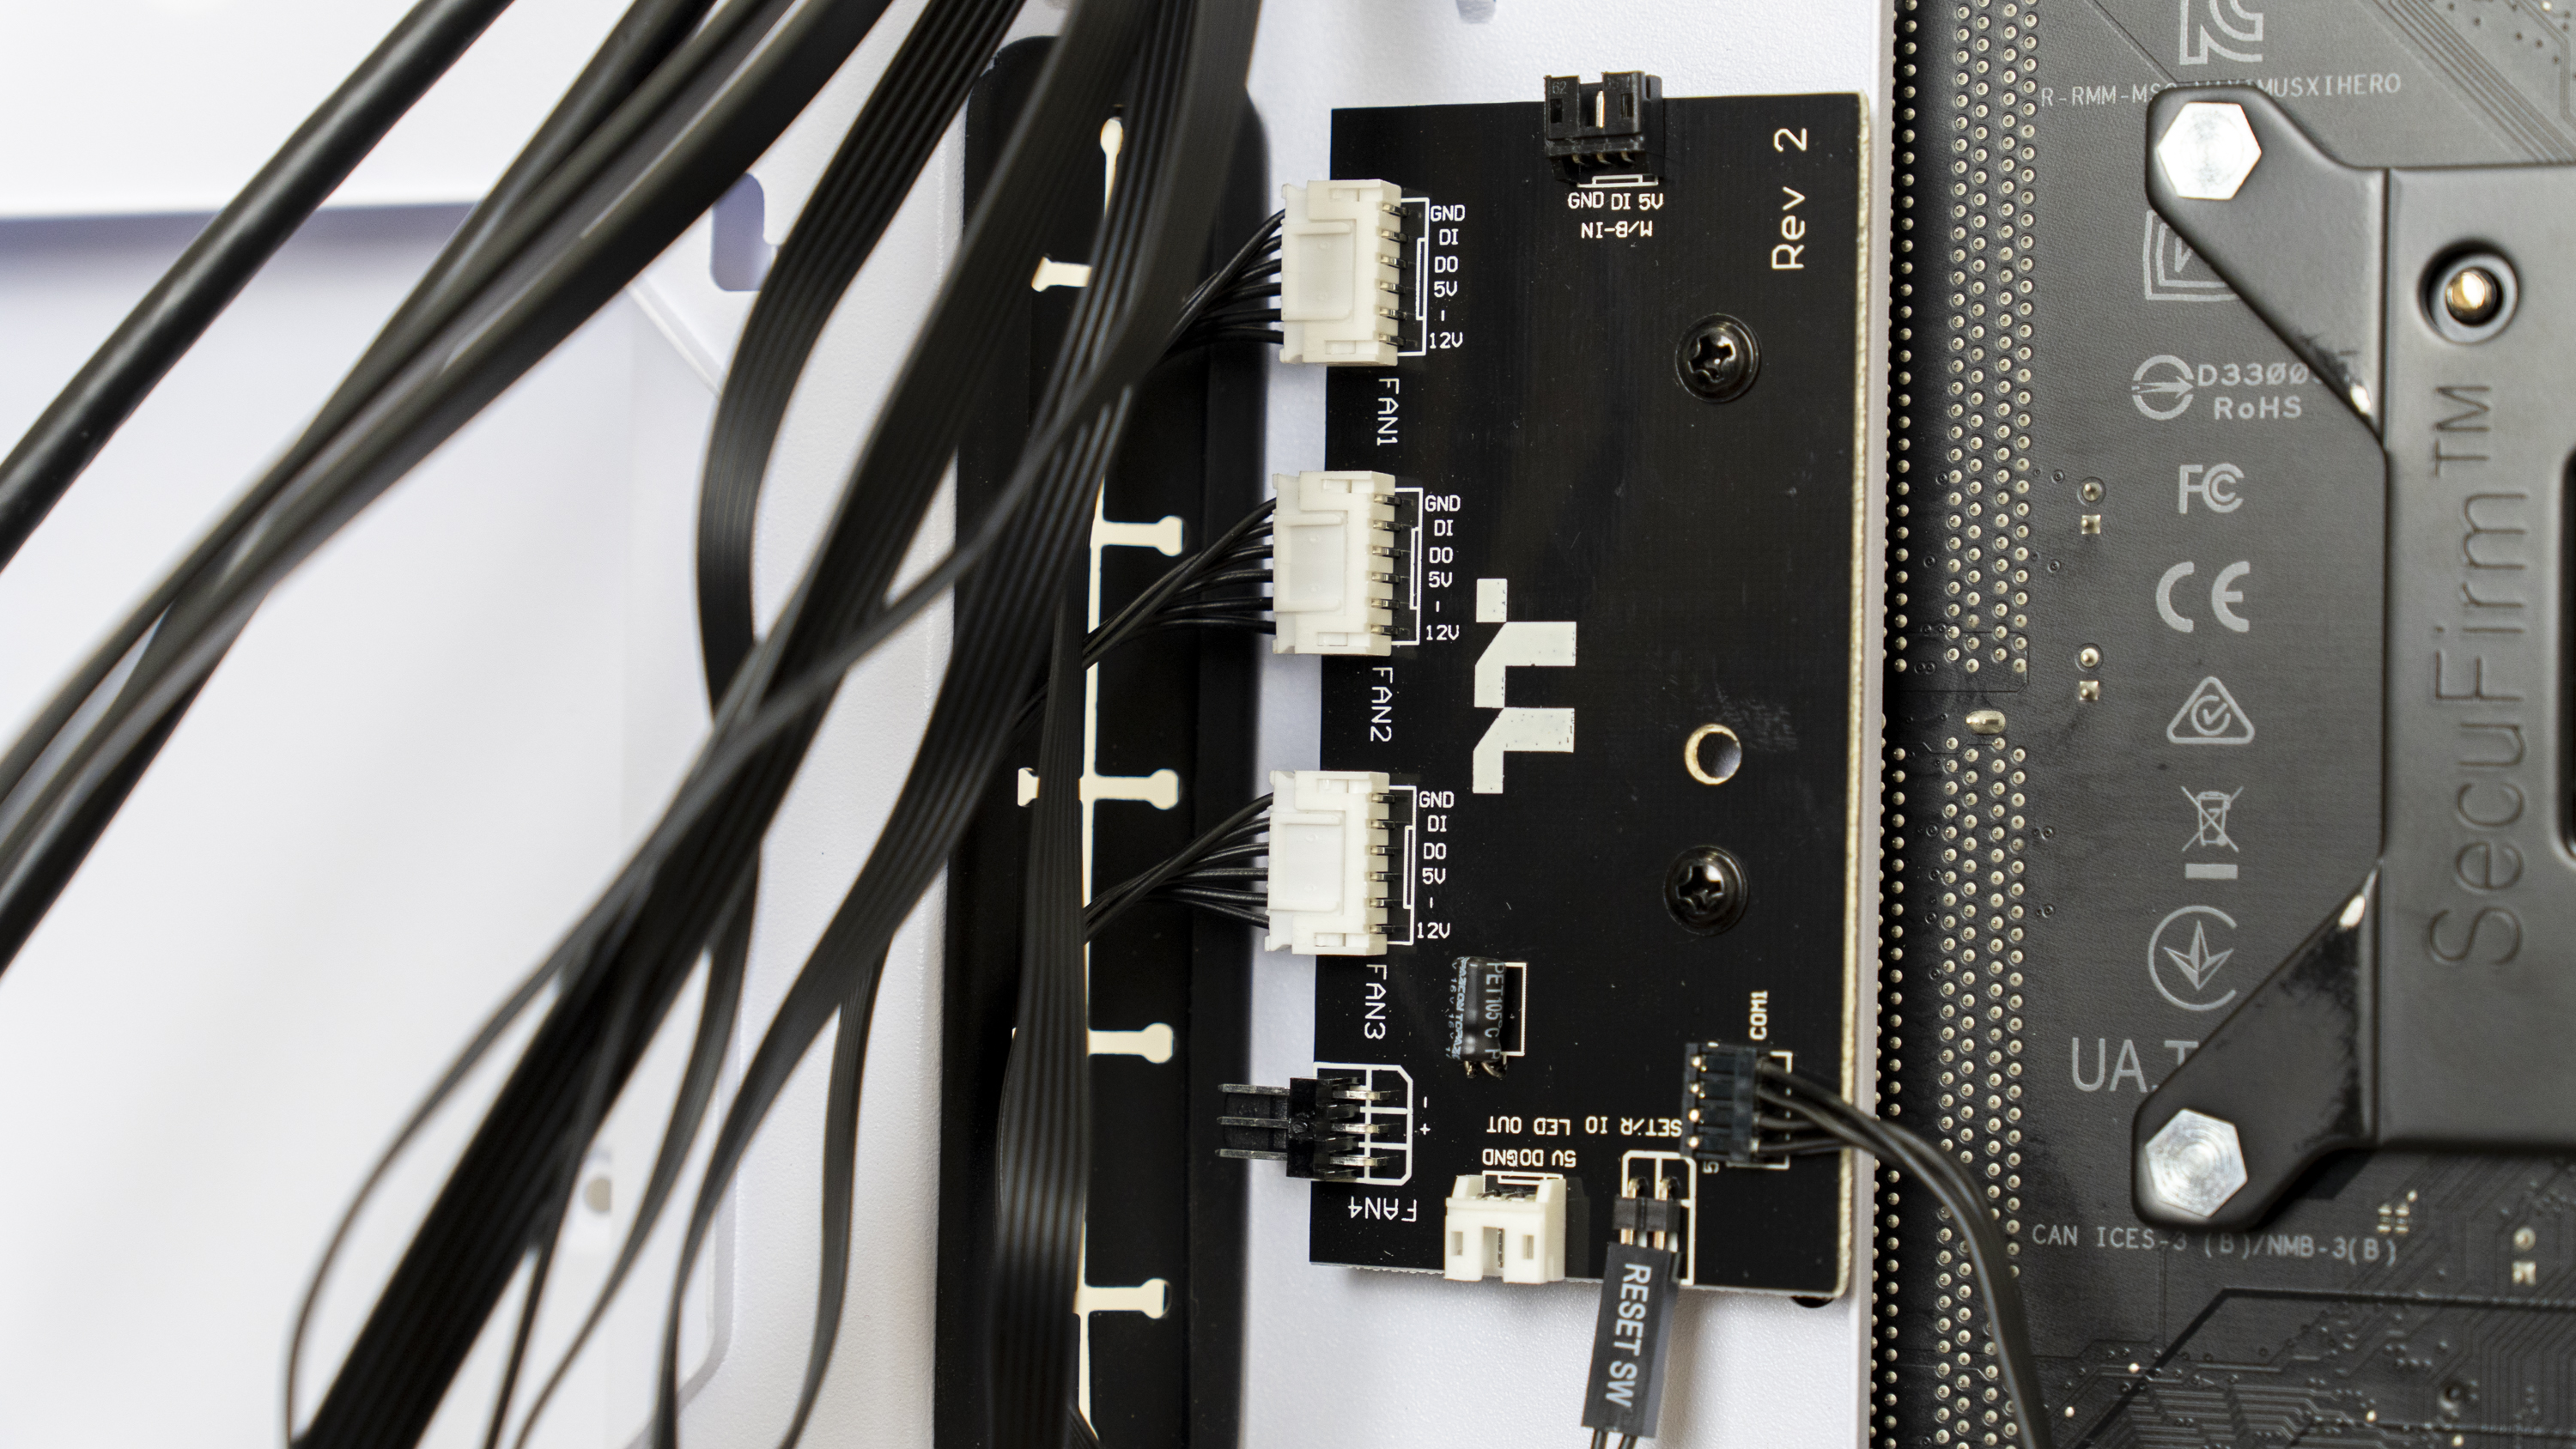
But, behind the motherboard tray there is also a fan controller hub, where you can spot the reset switch header plugging in at the bottom. All four fans can be plugged into this hub, though the front trio come plugged in from the factory with very unusual connectors. As we’ll detail further on later, the RGB is controlled through the reset switch, and the fans offer no speed control.
The hub is powered by SATA power. There is an LED-out header on the hub, and an M/B-in header for connecting the RGB up to your motherboard with the included cable. The RGB effects included with the chassis' controller are quite jumpy with infrequent changes, so it's nice to see it tie into your motherboard's control system.
The exhaust fan can be plugged into the motherboard, as it’s a 3-pin spinner but other than that, it’s safe to say that the chassis’ intake fan speeds cannot be controlled, which is a real let-down as they're quite noisy.
Graphics cards can be up to 14.2 inches (360mm long), or 15.4 inches (390 mm) without a front radiator in place. This is plenty, but the space isn’t very wide: CPU coolers can only be up to 5.7 inches (145 mm) tall due to the side panel design, which isn’t much. Our Noctua cooler barely fit, so you’ll want to be careful with wide GPUs and tall CPU coolers.
For liquid cooling, it’s tight, but there is space for a front-mounted 360mm radiator or a side-mounted 240 mm radiator–but you’ll have to pick between one or the other. Also, be careful with side-mounted radiators, as they’ll likely bump into long GPUs. Most standard-length GPUs shouldn’t have an issue here, but if you’re using a bigger GPU, you’re probably better off using the front mount, as counterintuitive as that might seem.
Niels Broekhuijsen is a Contributing Writer for Tom's Hardware US. He reviews cases, water cooling and pc builds.
-
Lord-Xanthor Reply
When it comes to thermal take cases, I tend to pass them up. I used to follow the old addage, you get what you pay for. With their cases, this sadly hasn't been the case with me. No pun intended lol.Admin said:Thermaltake’s Divider 300TG is attractive, but lacks the quality and performance needed to stand out in today’s market.
Thermaltake Divider 300TG Review: Dividing Opinions : Read more
First stimulus, built three new Pentium 7 systems using their $350 glass cases. I'll get the models later. I'm writing this by phone.
At this price one would expect quality. This fell far short. Was advertised toolless. Meaning no looking for screw driver's or torch tools. Only part that was toolless was the 4 drive bays and the thumb screws for played glass. Half the rubber washers missing on all 3 cases and non extra with supplies. The bays were double, each one taking 4 screws and all 3 cases, bottom one was found not connected, as if just thrown in. Took me seconds to see the screw holes were never threaded.
One thing I always test before installing a motherboard is to make sure all risers are secure. My last Thermal take case taught me that lesson. That's when you find out too late as you try tightening the screws, the posts turn due to bad weld or punch. I'm short tempered so I just drilled it out and spot welded in my own.
Fans wired incorrectly. Pin removal tool fixed that. Not all mind you. Just 2. No speaker. Seller took off $200 if I kept them.
I am building a 4th system now and this case looks very similar to the above but no issues and all is tool free. Shocking thing, plated glass case here was only $136.
I love the reviews here. The above one falling short is no surprise to me. yeah they can blame the pandemic on this, but these issues were being experienced long before that ship sailed.
