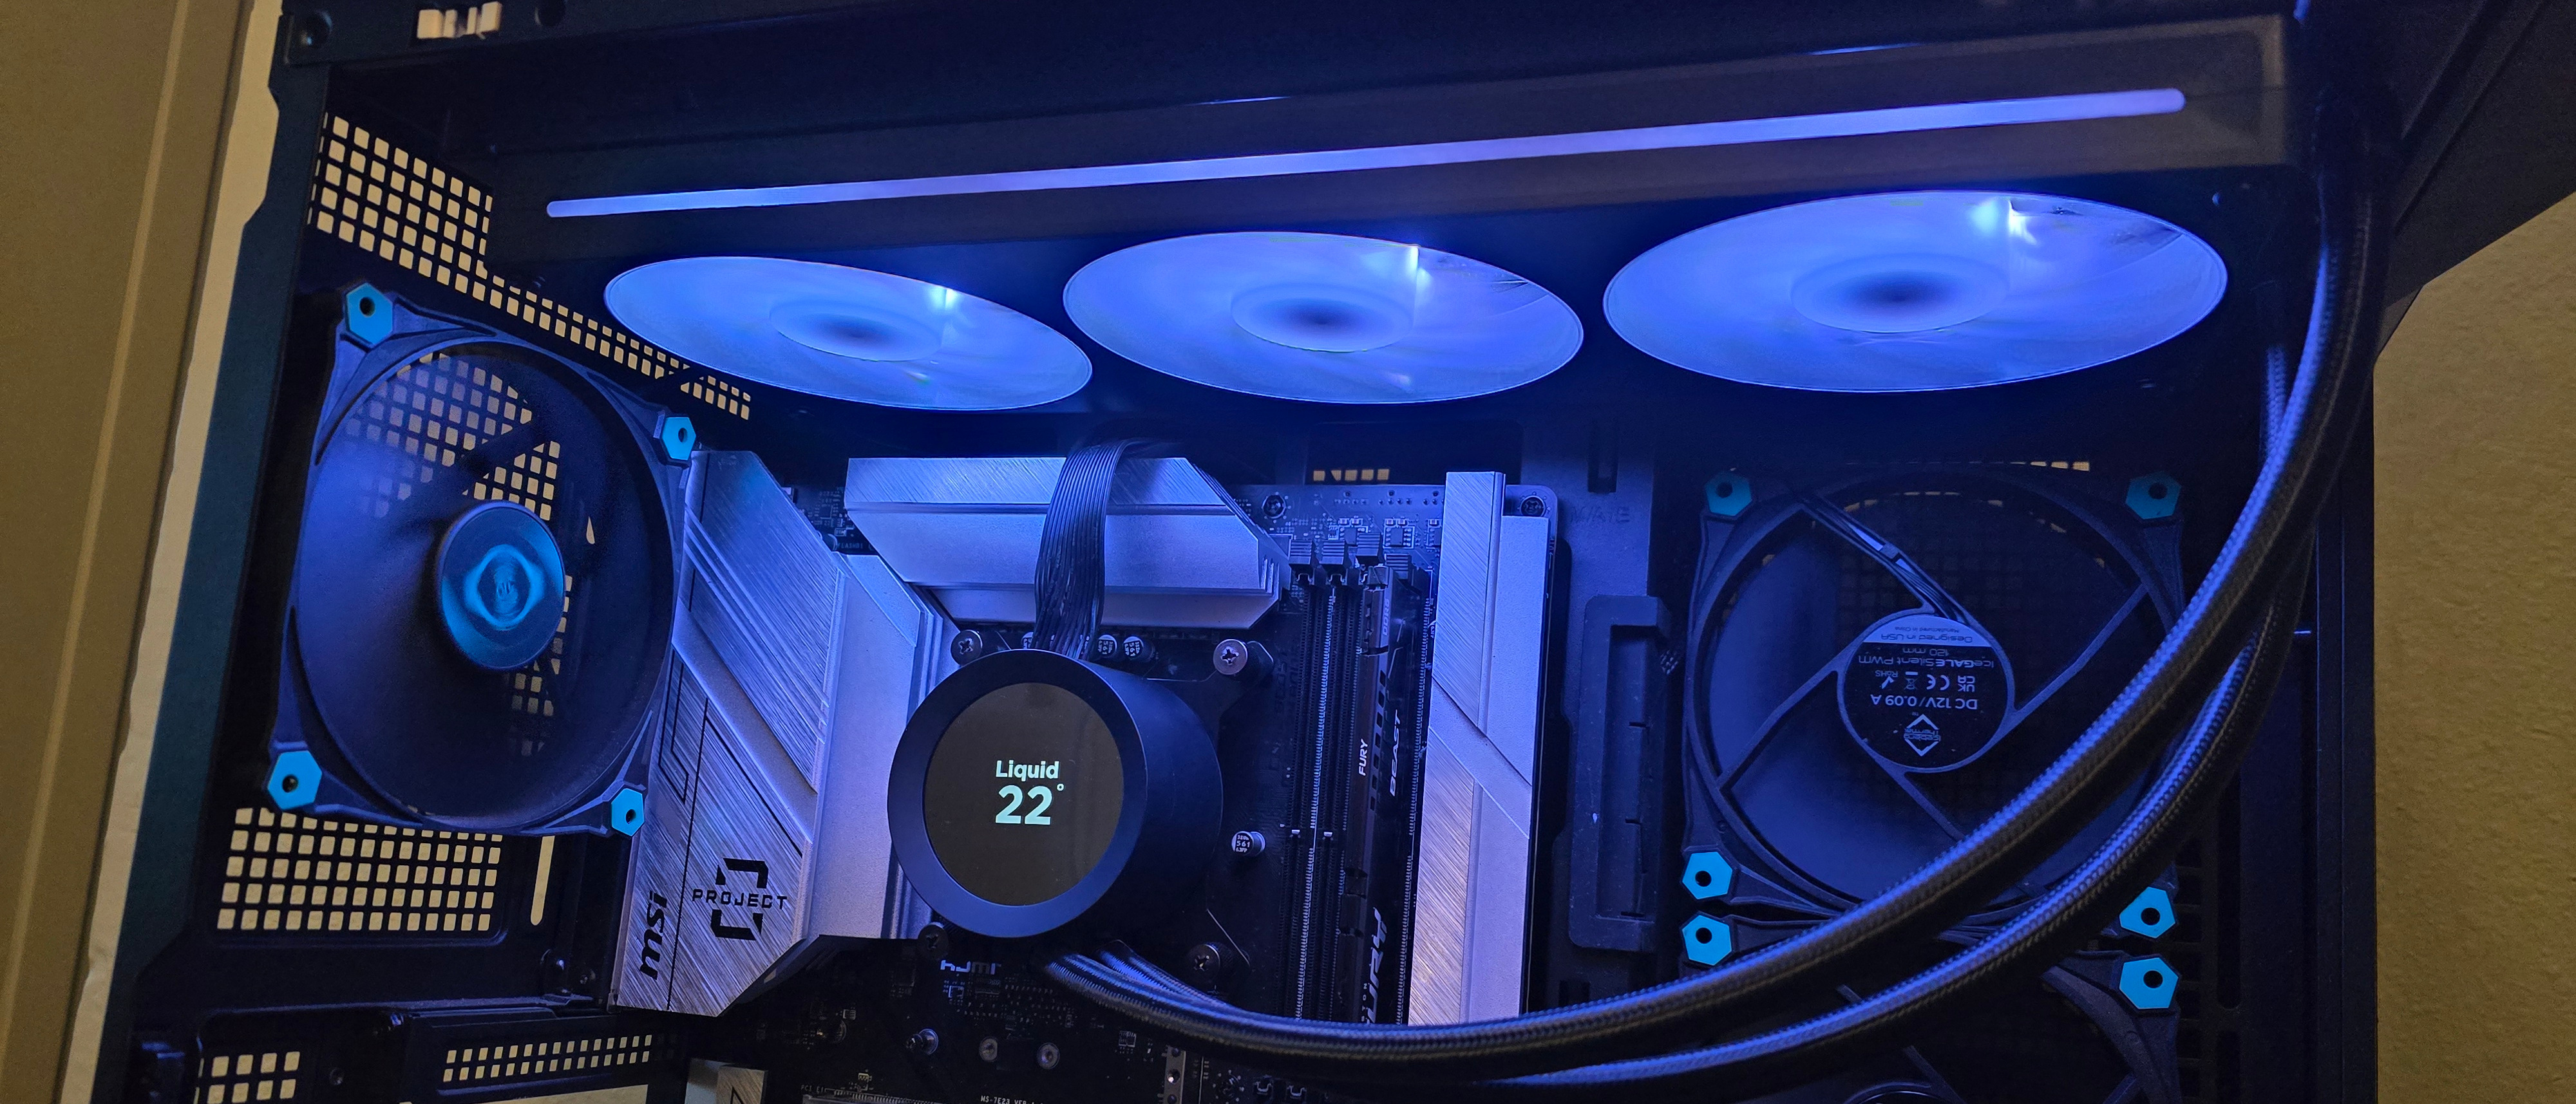
Tom's Hardware Verdict
NZXT’s Kraken Plus 360 RGB can operate as a silent assassin, delivering essential cooling performance while running quieter than my noise meter can measure. Or you can unleash its power by letting it run noisily, and its thermal performance will dominate competitors.
Pros
- +
Exceptional noise-normalized performance
- +
Impressive thermals at full speed
- +
Operates silently by default
- +
Six-year warranty
Cons
- -
Customization of fan speeds requires software
- -
Small LCD
Why you can trust Tom's Hardware
NZXT’s Kraken line of liquid coolers dates back more than a decade. And along with its long line of PC cases, motherboards, and PSUs, the company has plenty of experience dealing with PC heat dissipation. Today, we’re looking at the company’s latest flagship AIO, the Kraken Plus 360 RGB.
What sets this cooler apart from competitors is its ability to excel in two scenarios: By default, it operates stealthily, delivering essential thermal performance. Most users will prefer this mode of operation. However, for those who want to win overclocking competitions or simply just want the best possible temperatures, unlocking the fan speeds results in total thermal domination, at the cost of noise levels.
Let’s take a quick look at the Kraken Plus 360 RGB’s specifications, then we’ll dive into its features and our benchmark testing.
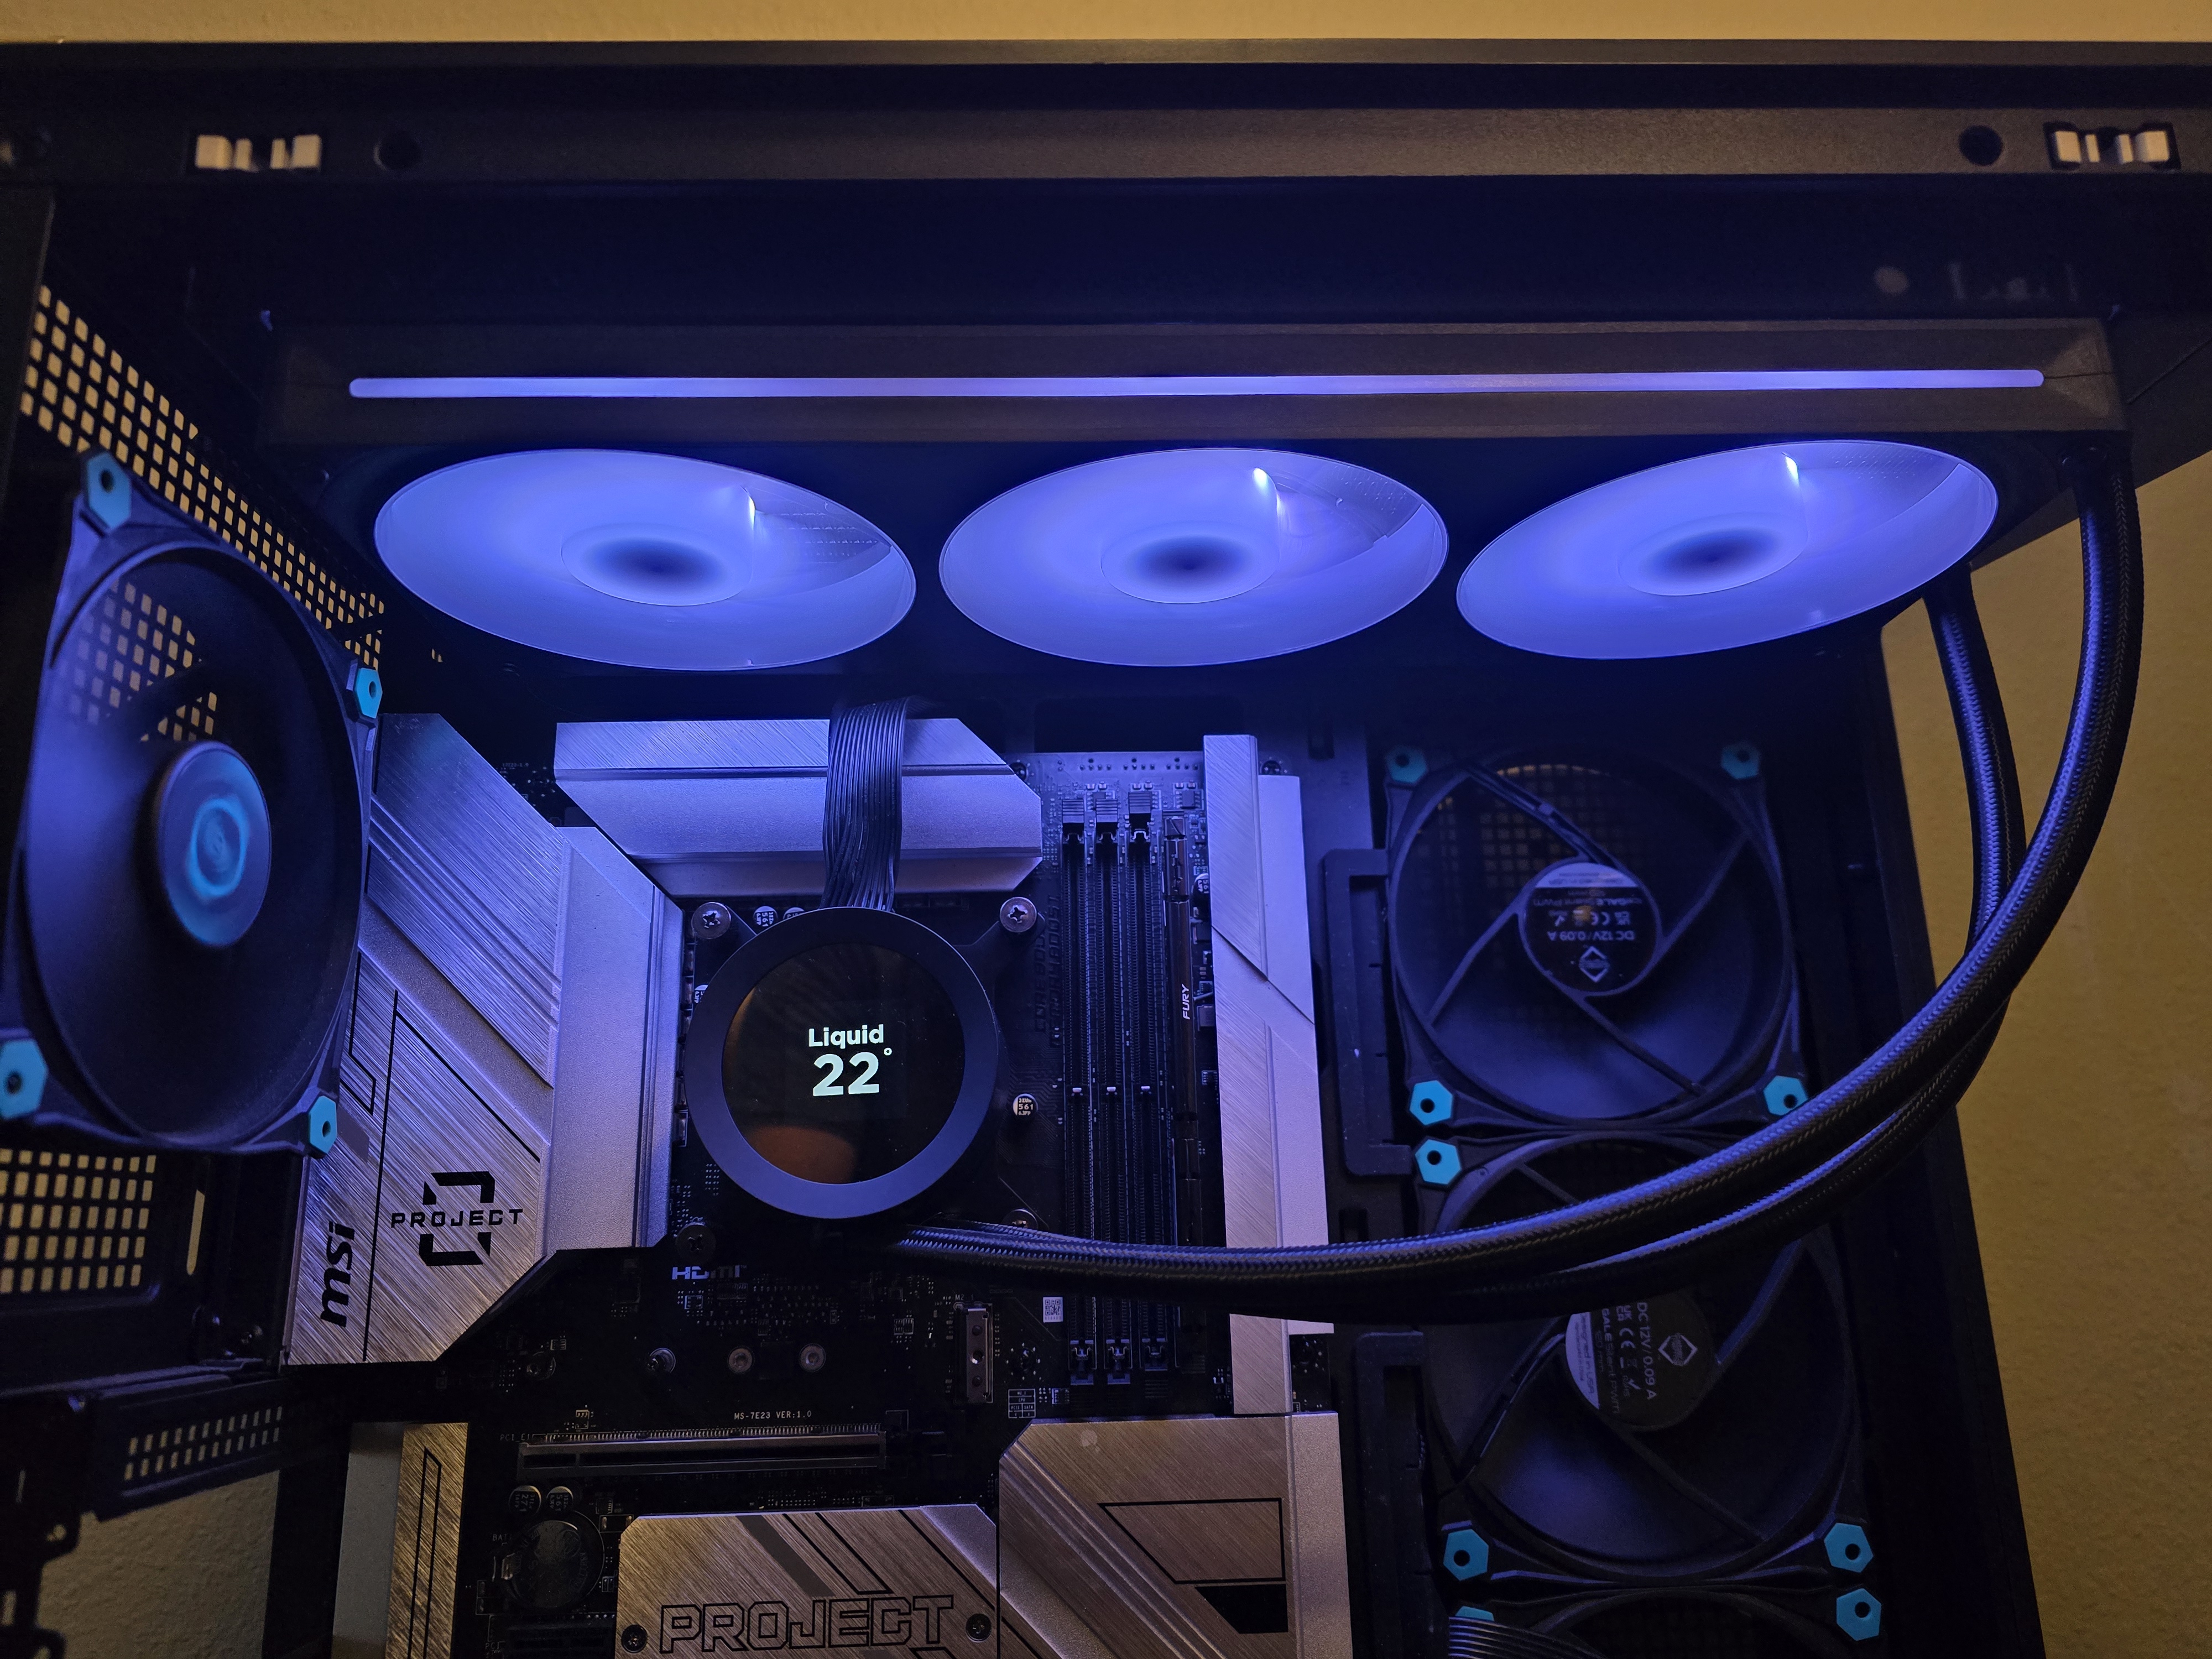
Cooler specifications
Cooler | NZXT Kraken Plus 360 RGB |
Colors | Black |
MSRP | $219.99 |
Radiator Material | Aluminum |
Lighting | RGB |
Warranty | 6 years |
Socket Compatibility | Intel Socket LGA 1851/1700/1200/115x AMD AM5 / AM4 |
Unit Dimensions (including fans) | 401 (L) x 120 (W) x 53mm (H) |
Maximum TDP (Our Testing) | >260W with Core i7-14700K and AMD’s Ryzen 9 9950X3D |
Packing and included contents
The packaging for the cooler is the typical cardboard, showcasing the product on the outside.
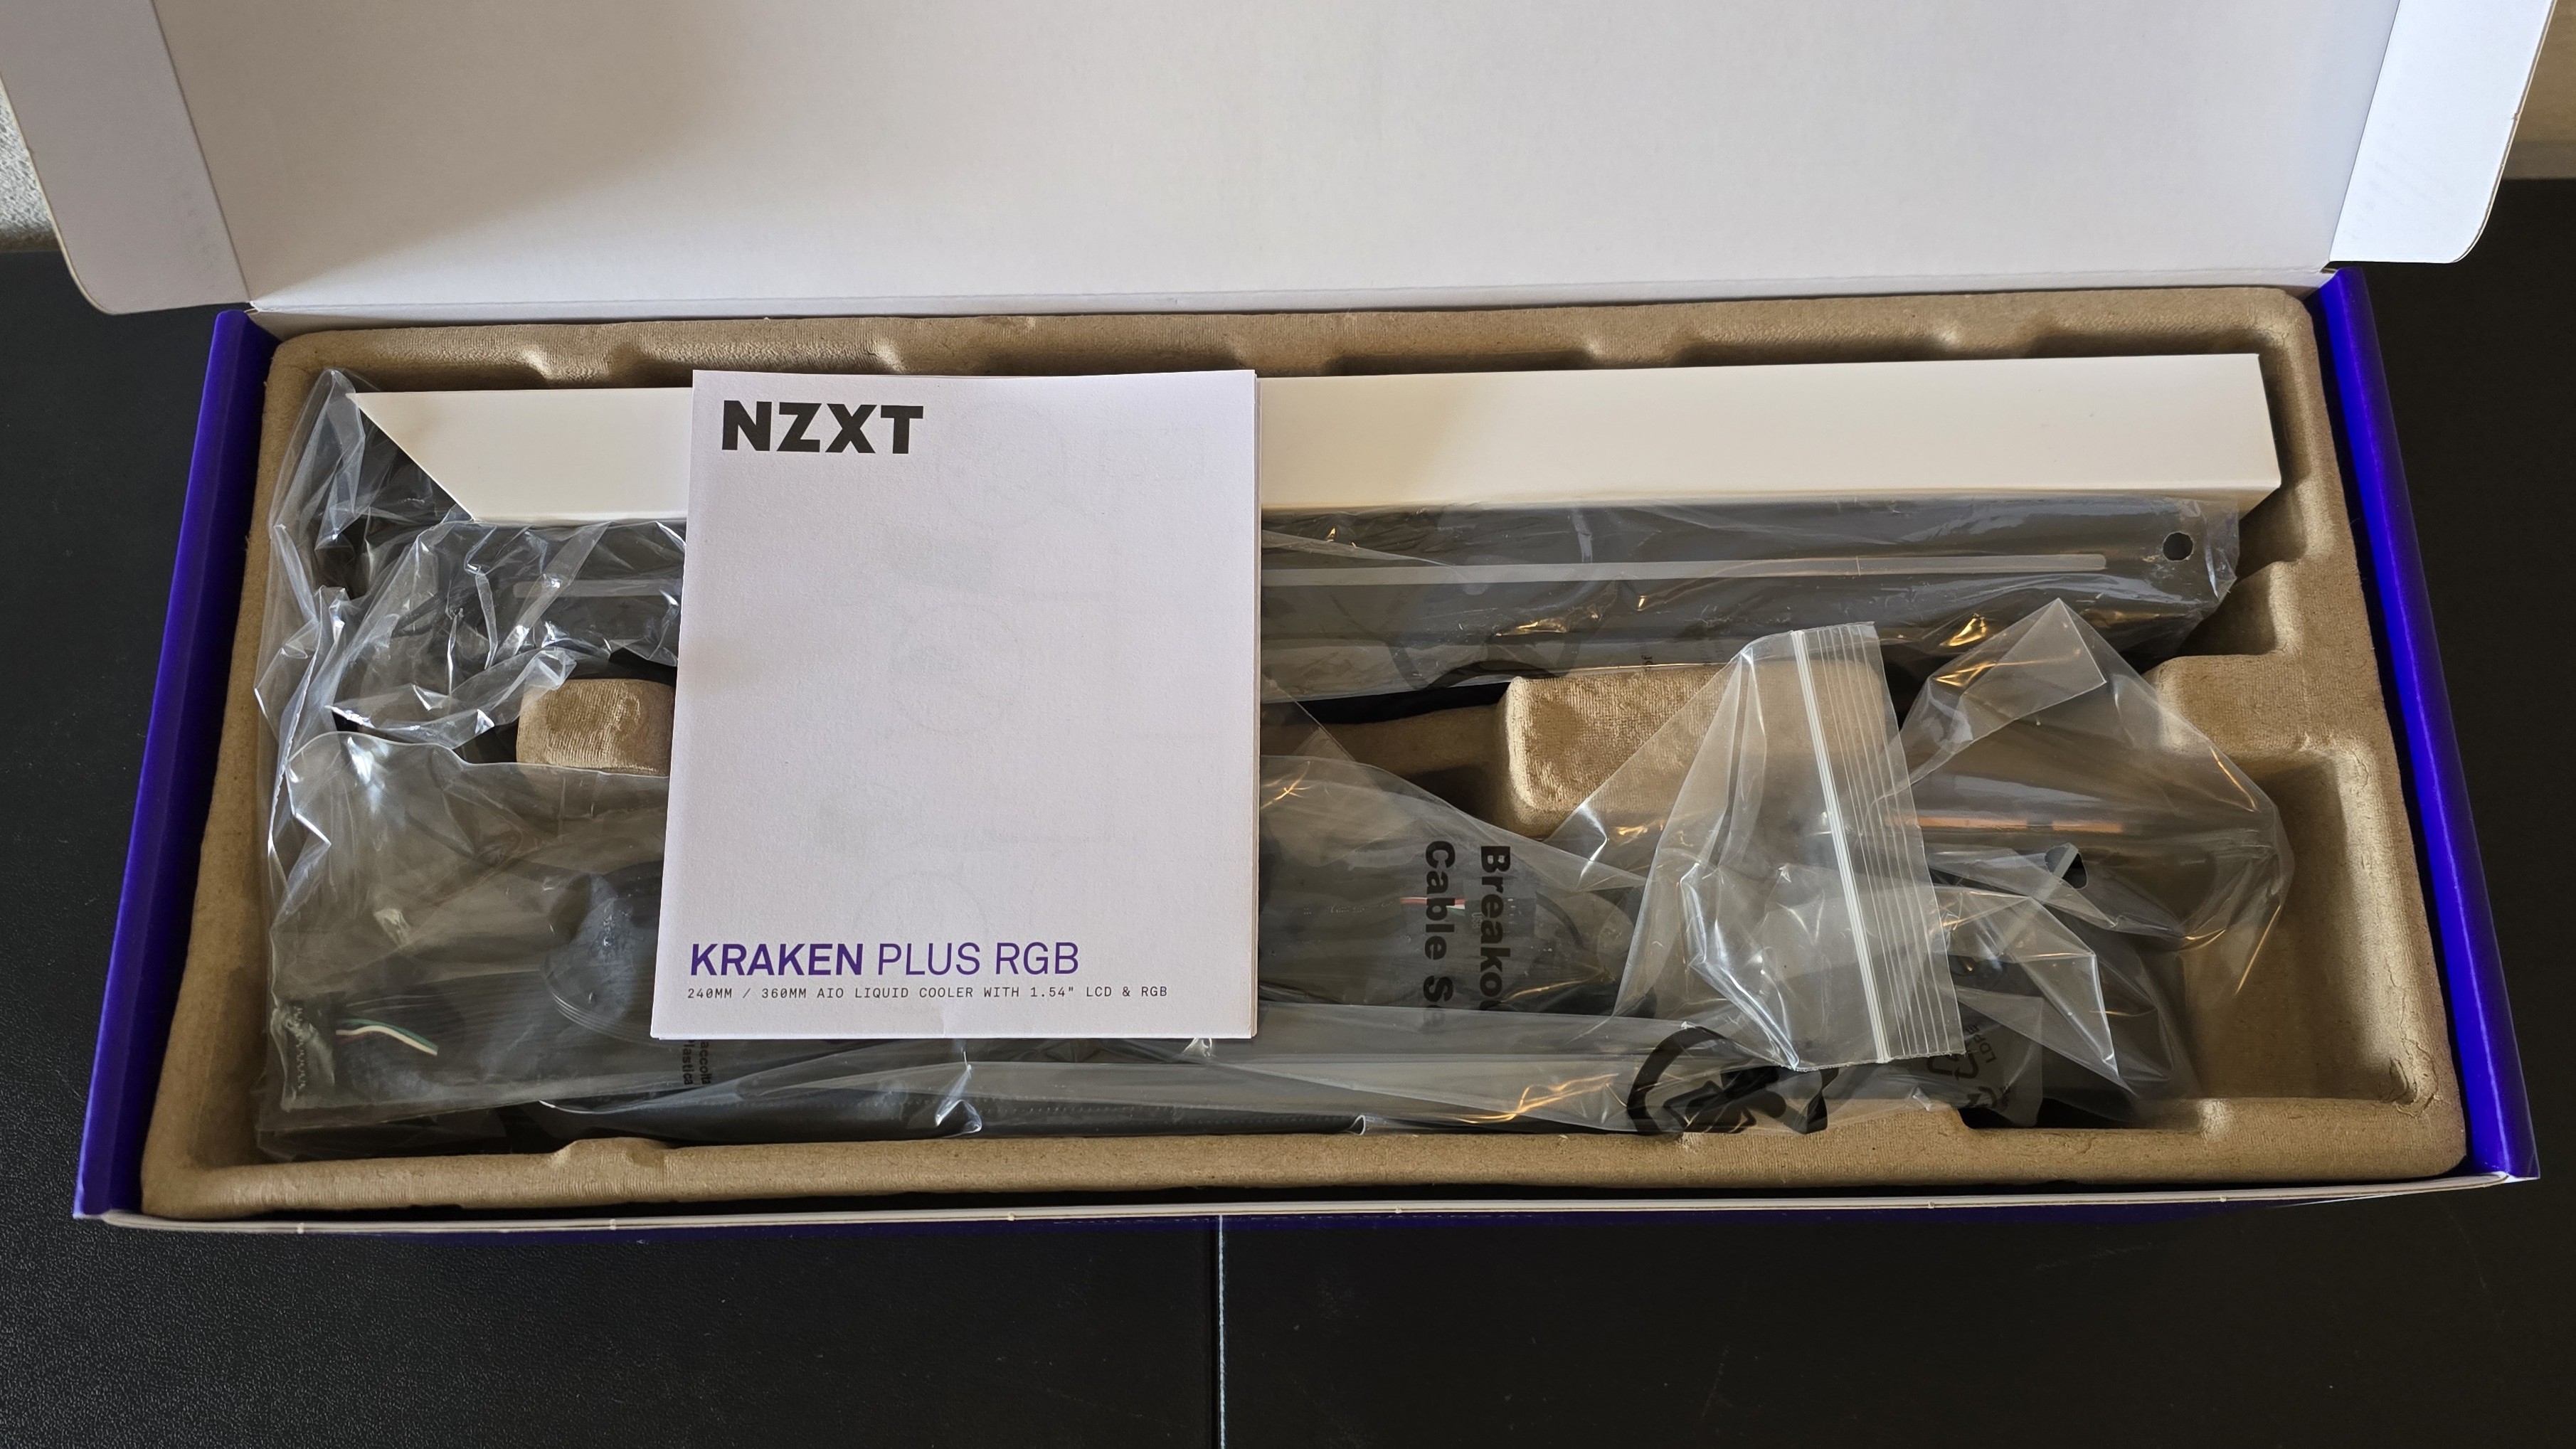
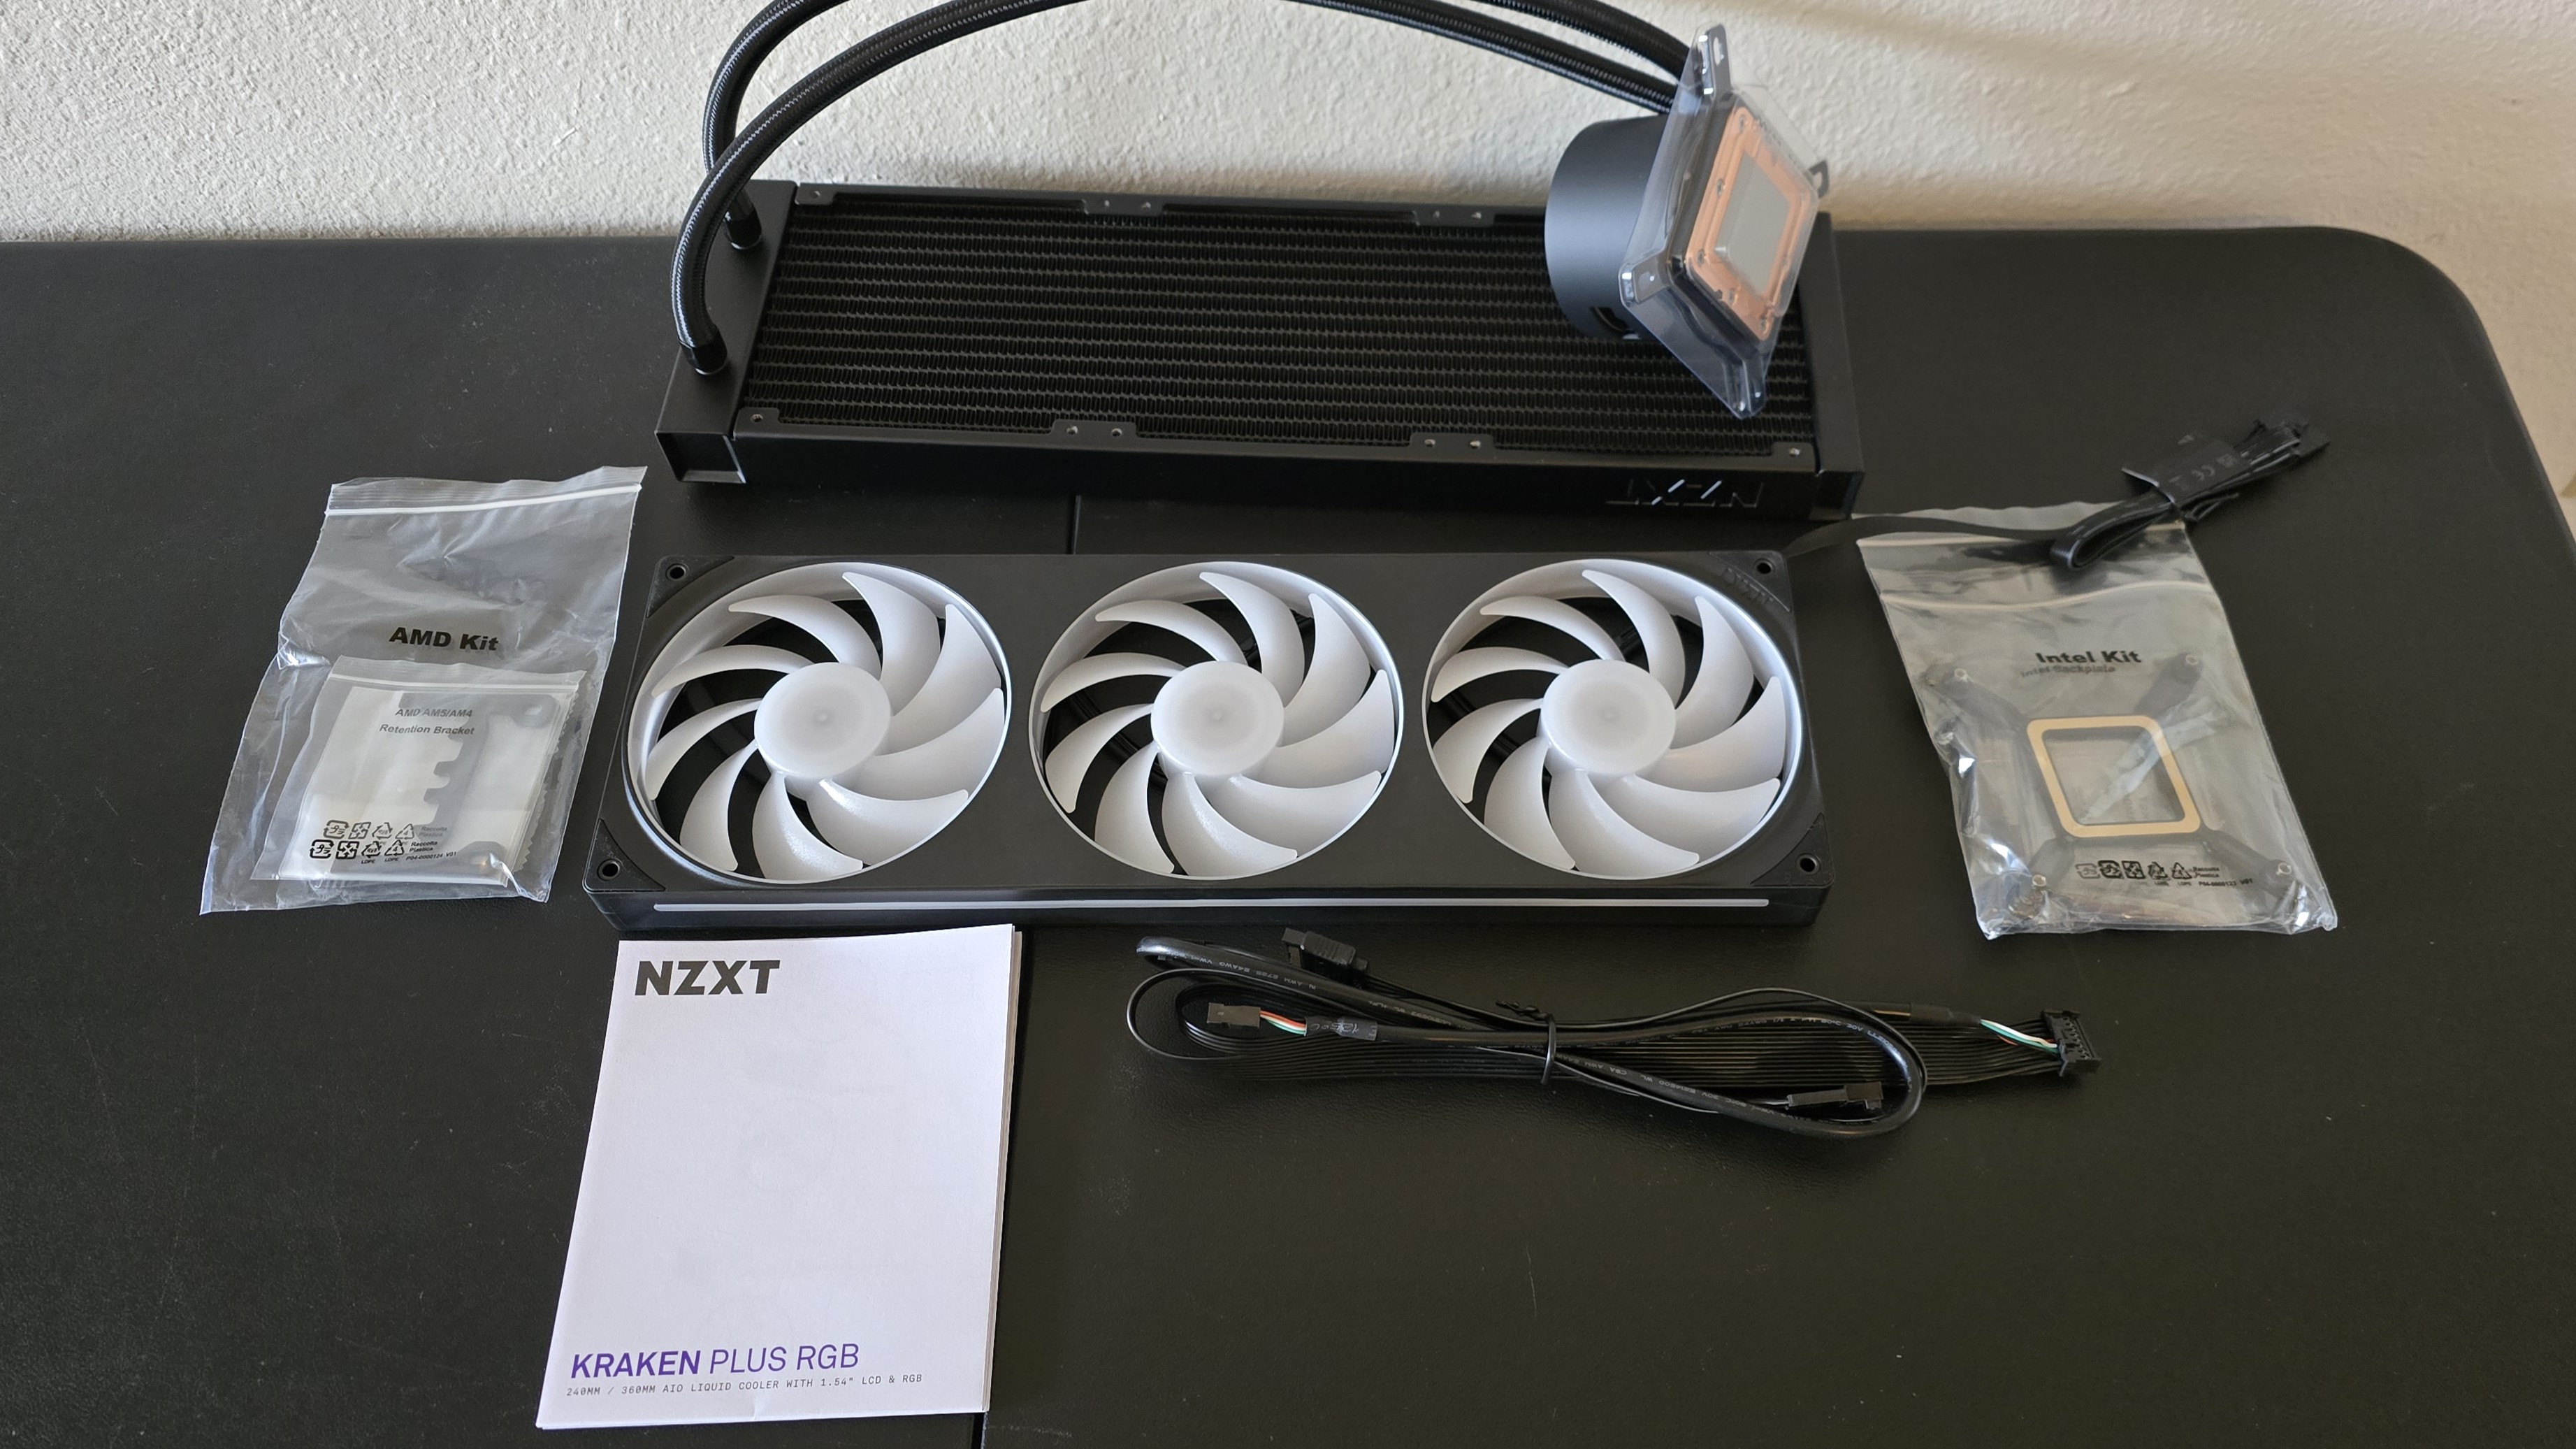
Included in the box are the following:
- F360 RGB Core Fan
- 360mm radiator
- Mounting accessories for modern AMD and Intel platforms
- Installation manual
- Connection cables
- 1.54-inch 240x240 LCD Screen
Features of NZXT’s Kraken Plus 360 RGB
▶ Heatsink and Fan design
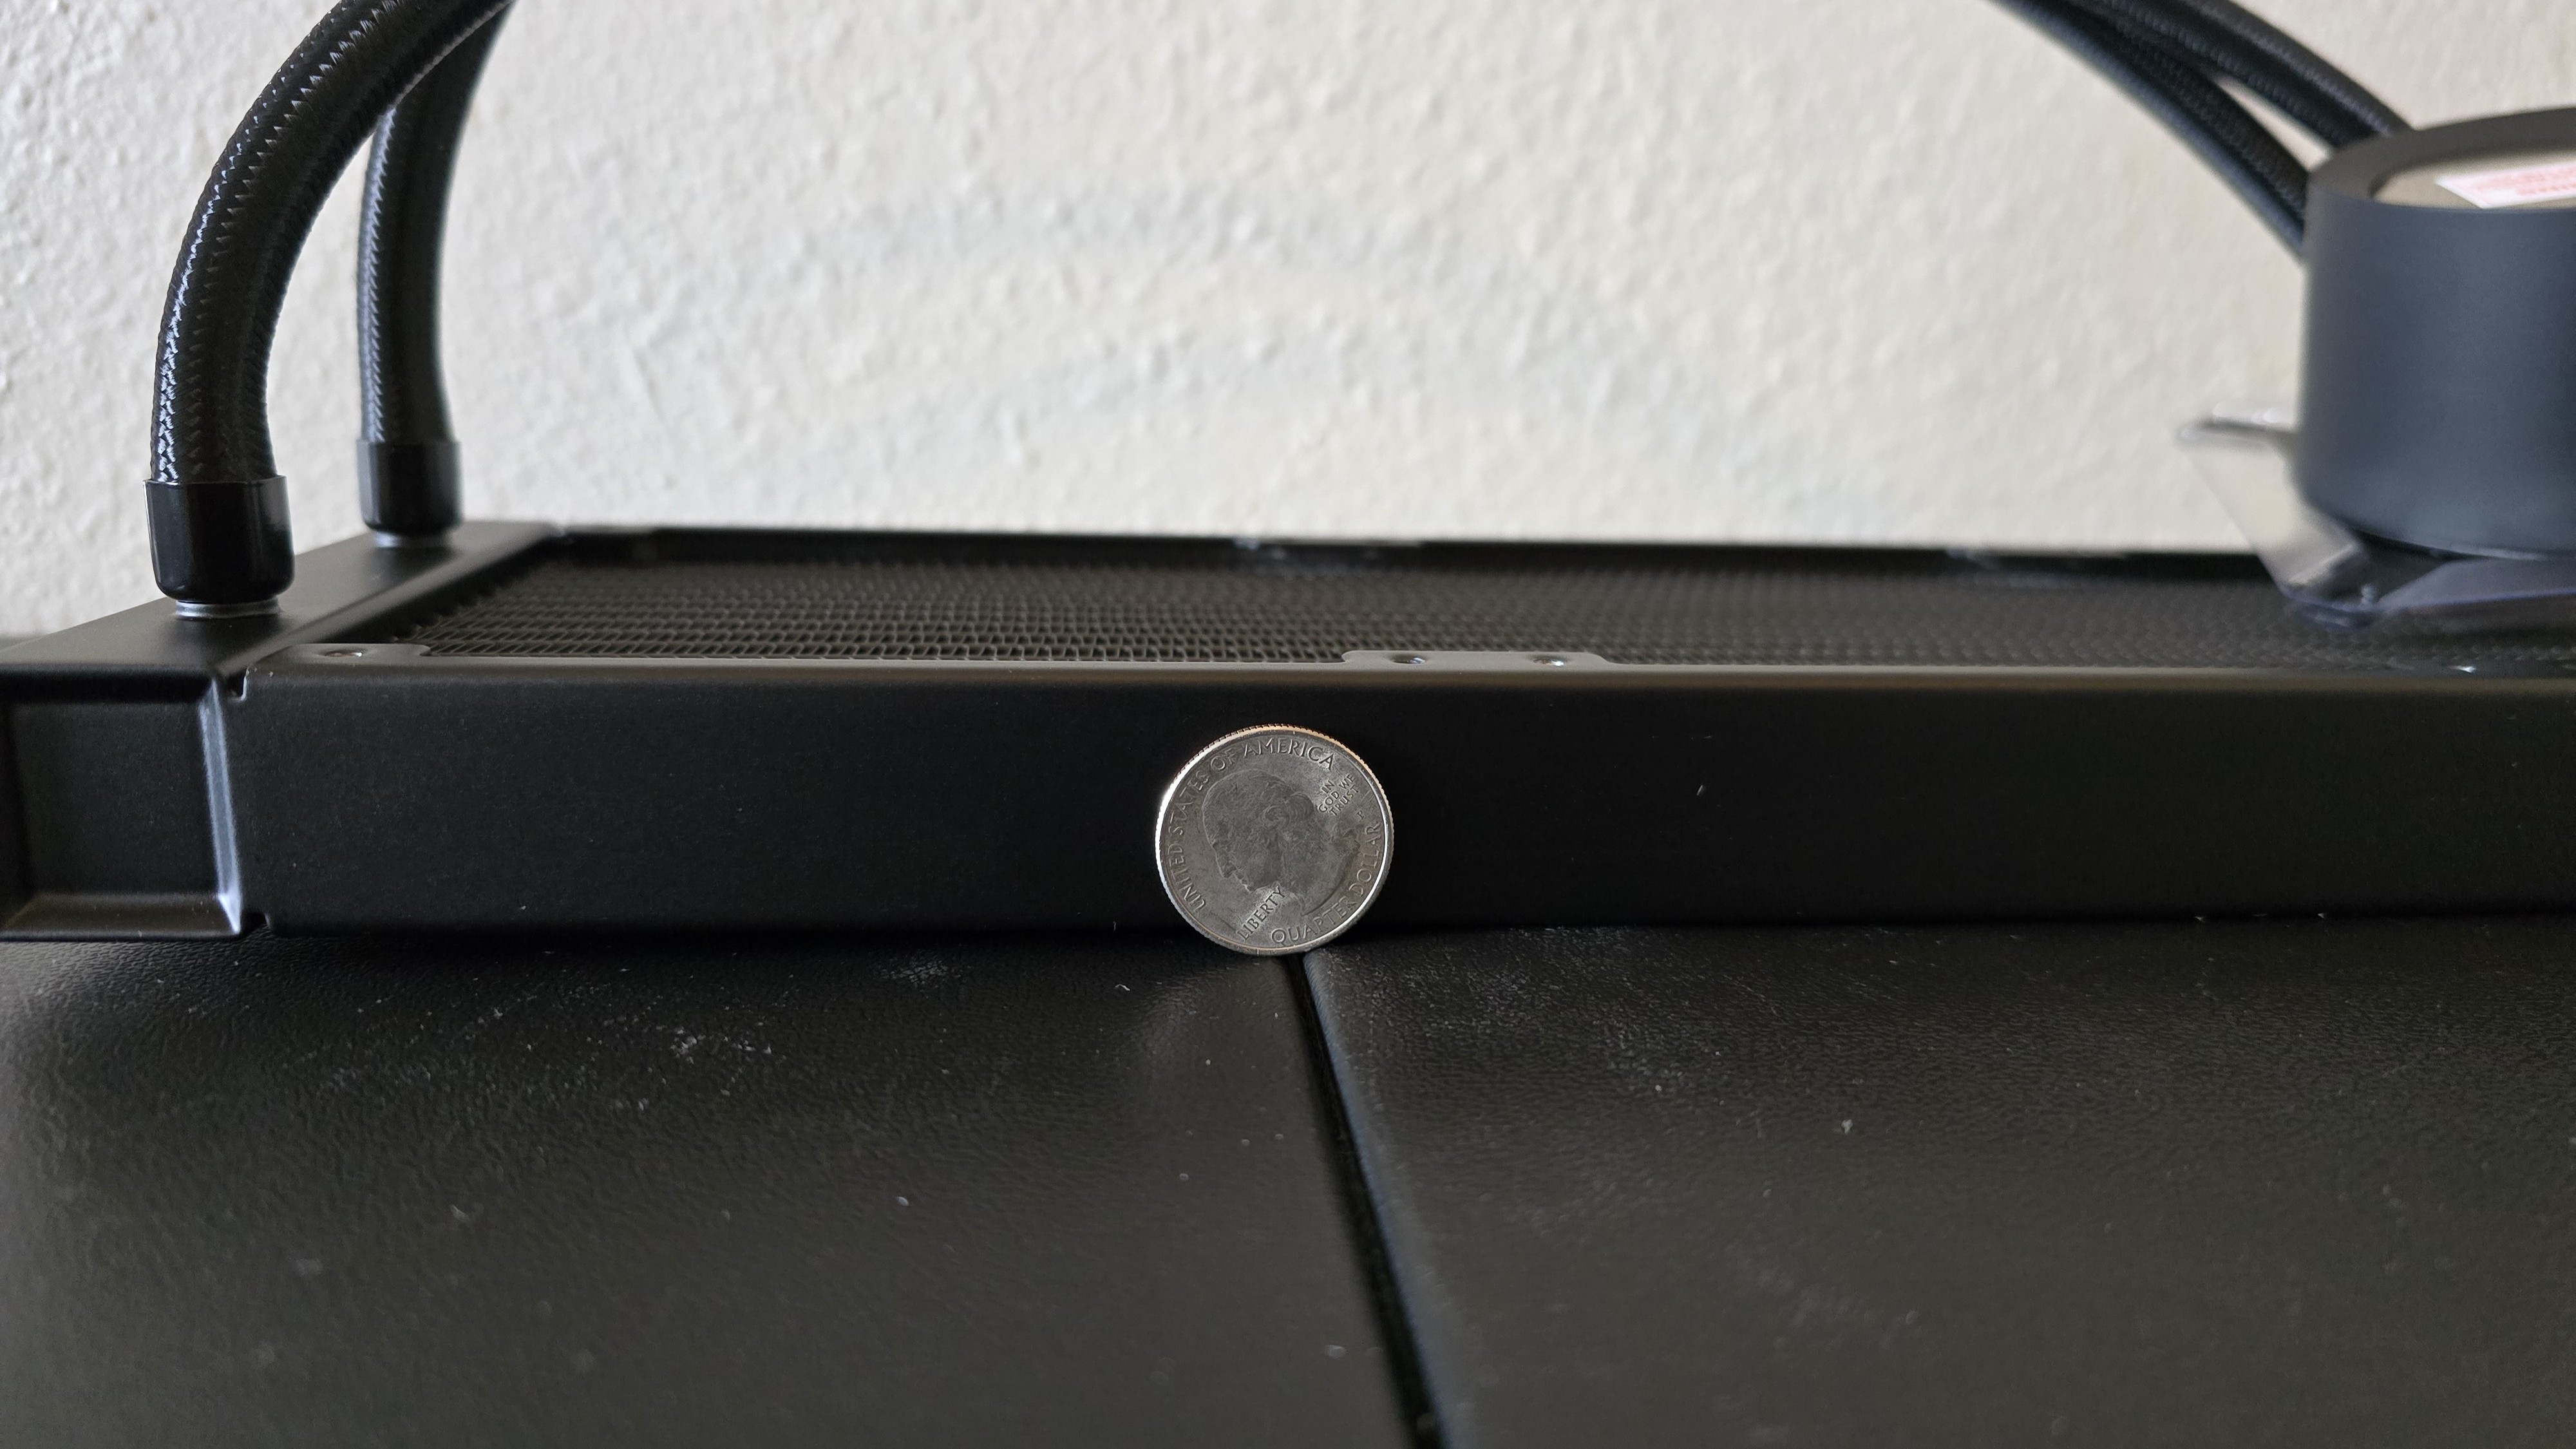
The design of the radiator seems fairly normal, with a standard-sized 27 mm-thick radiator.
Get Tom's Hardware's best news and in-depth reviews, straight to your inbox.
The main obvious difference in this unit’s design versus competitors is the inclusion of a unified fan, the F360 RGB Core.
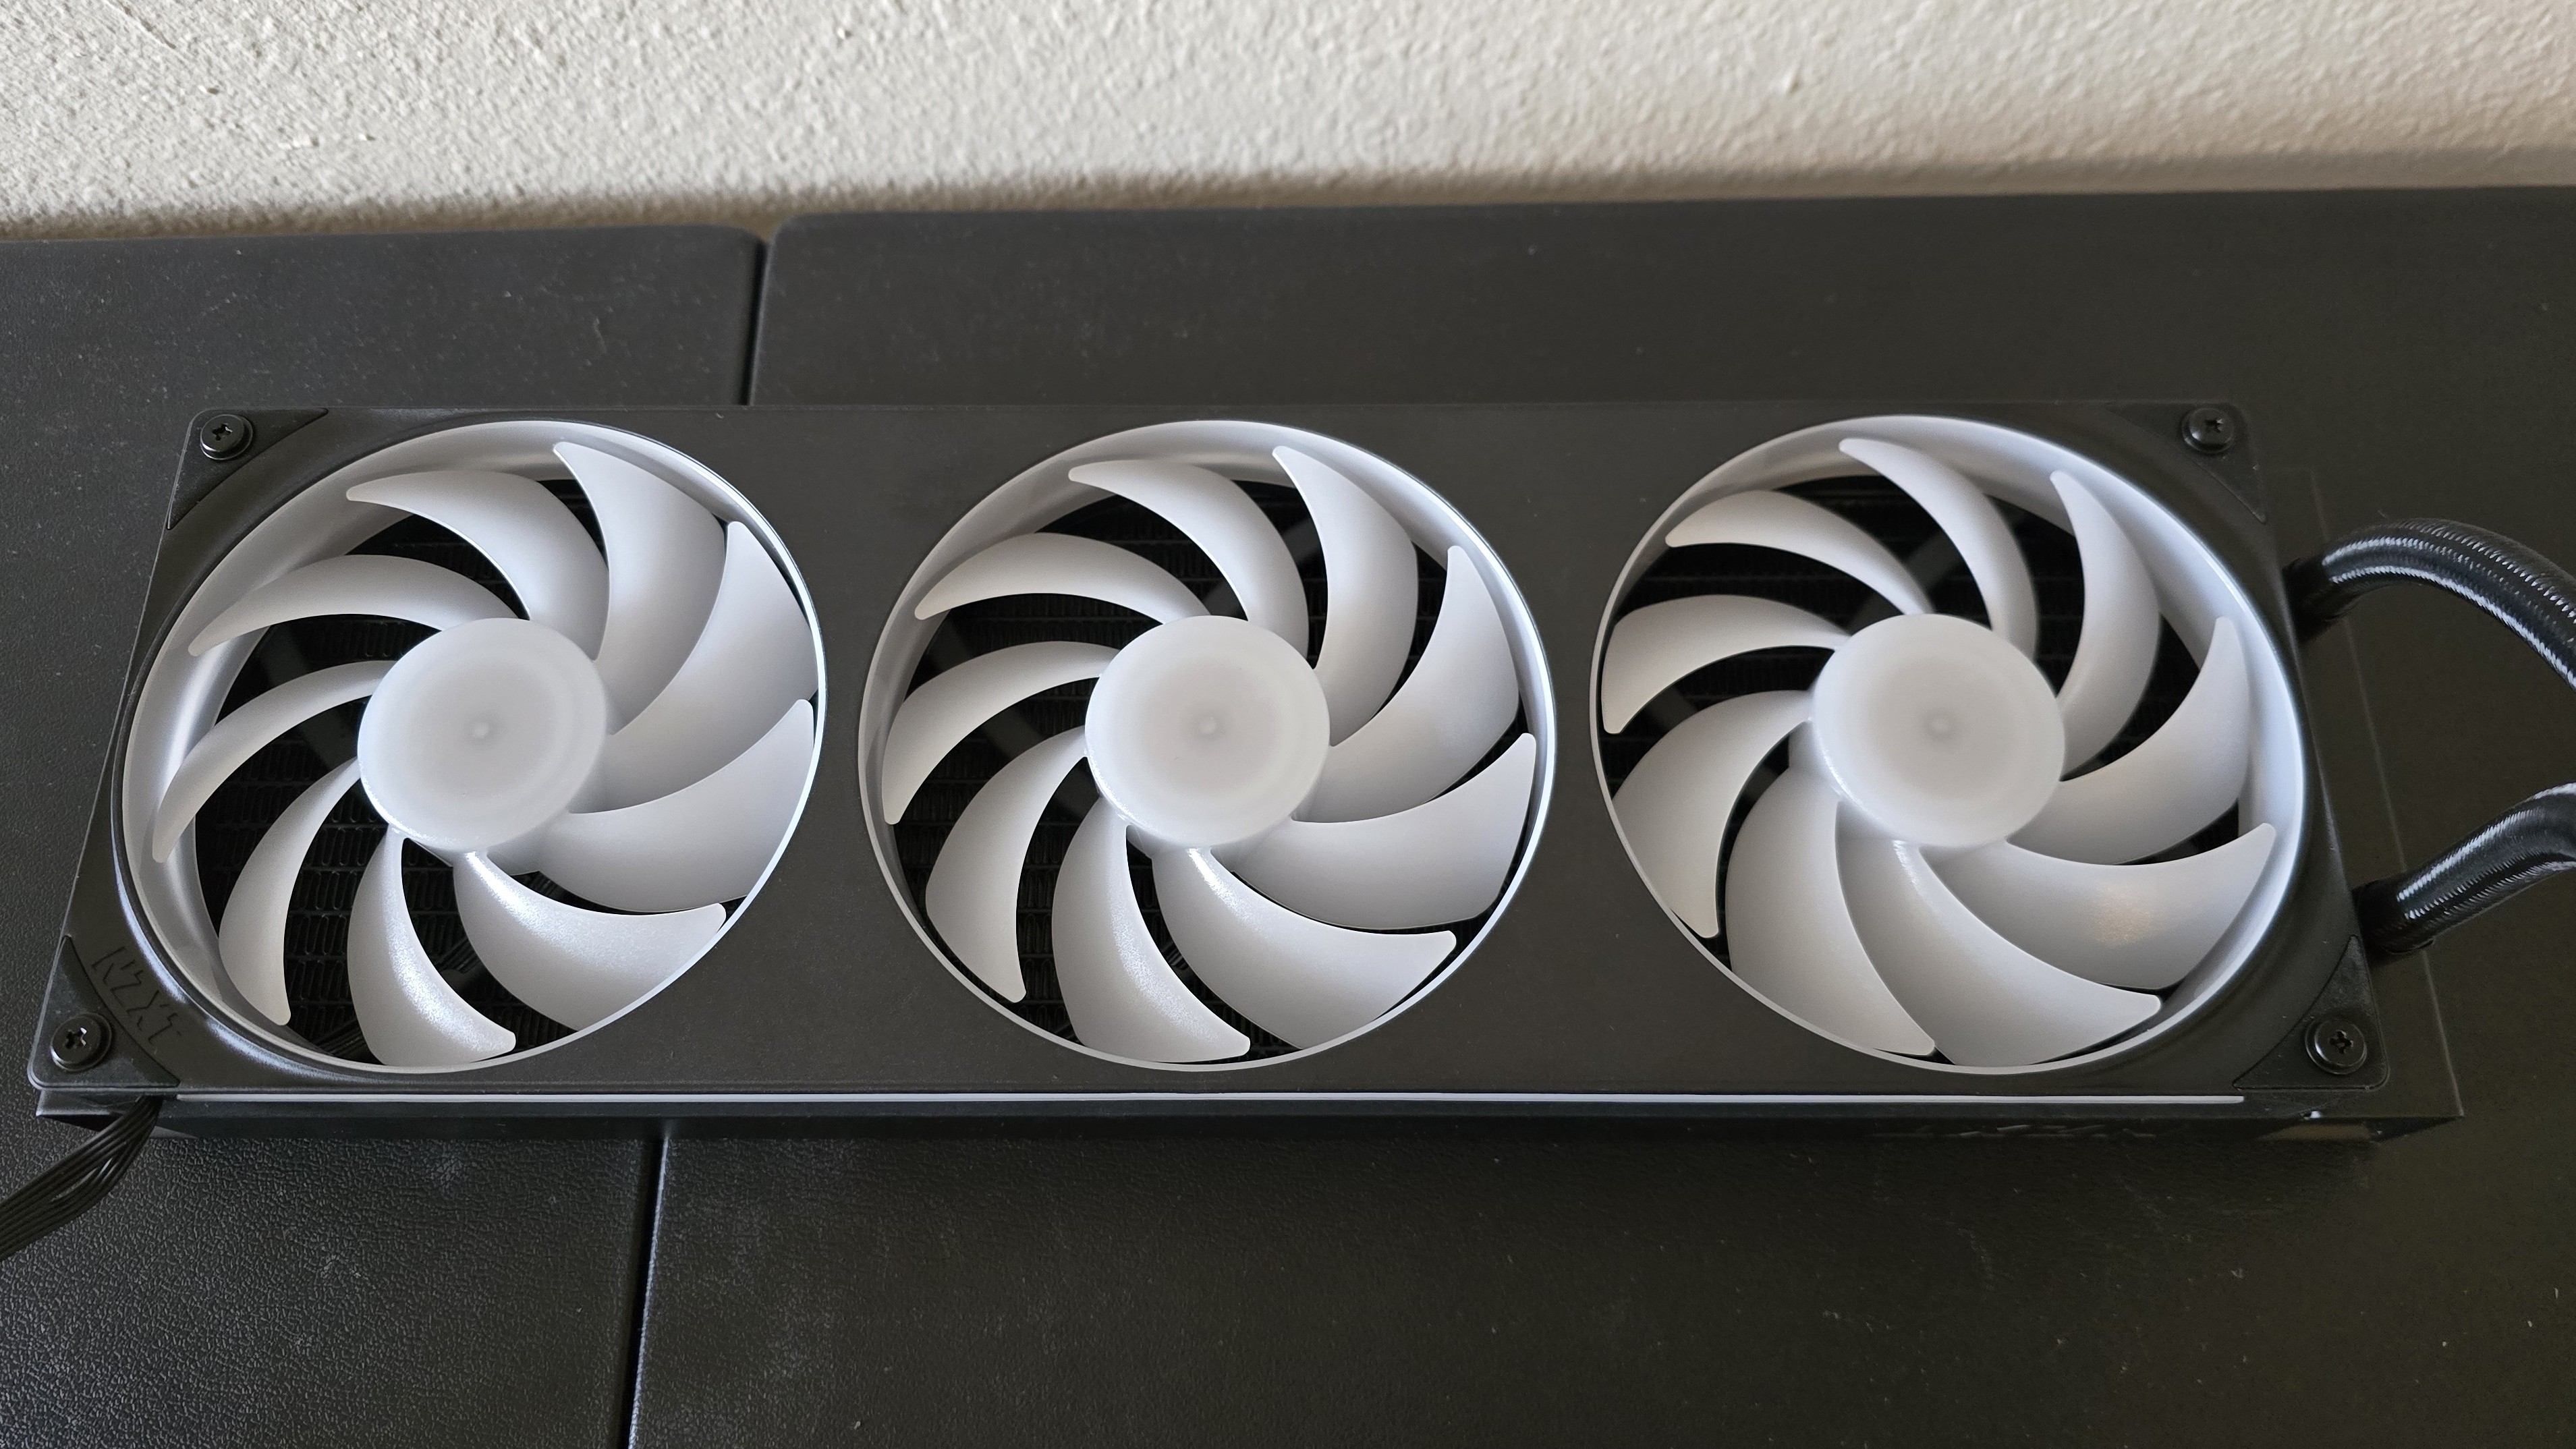
This choice has the advantage of a cleaner look and simpler installation. But the downside is in the theoretical situation where one motor might fail, forcing you to replace it with a new unified fan or three separate new spinners.
These fans support ARGB lighting with 8 LEDs each, controlled by NZXT’s CAM software. They’re just a little thicker than traditional fans, at 26 mm. Airflow is rated at 77 CFM per fan, with a maximum of 3.07 mm H20 static pressure per fan. Fan speeds are rated at 500-2400 RPMs, +-10%.
▶ Pre-installed thermal paste, large copper cold plate
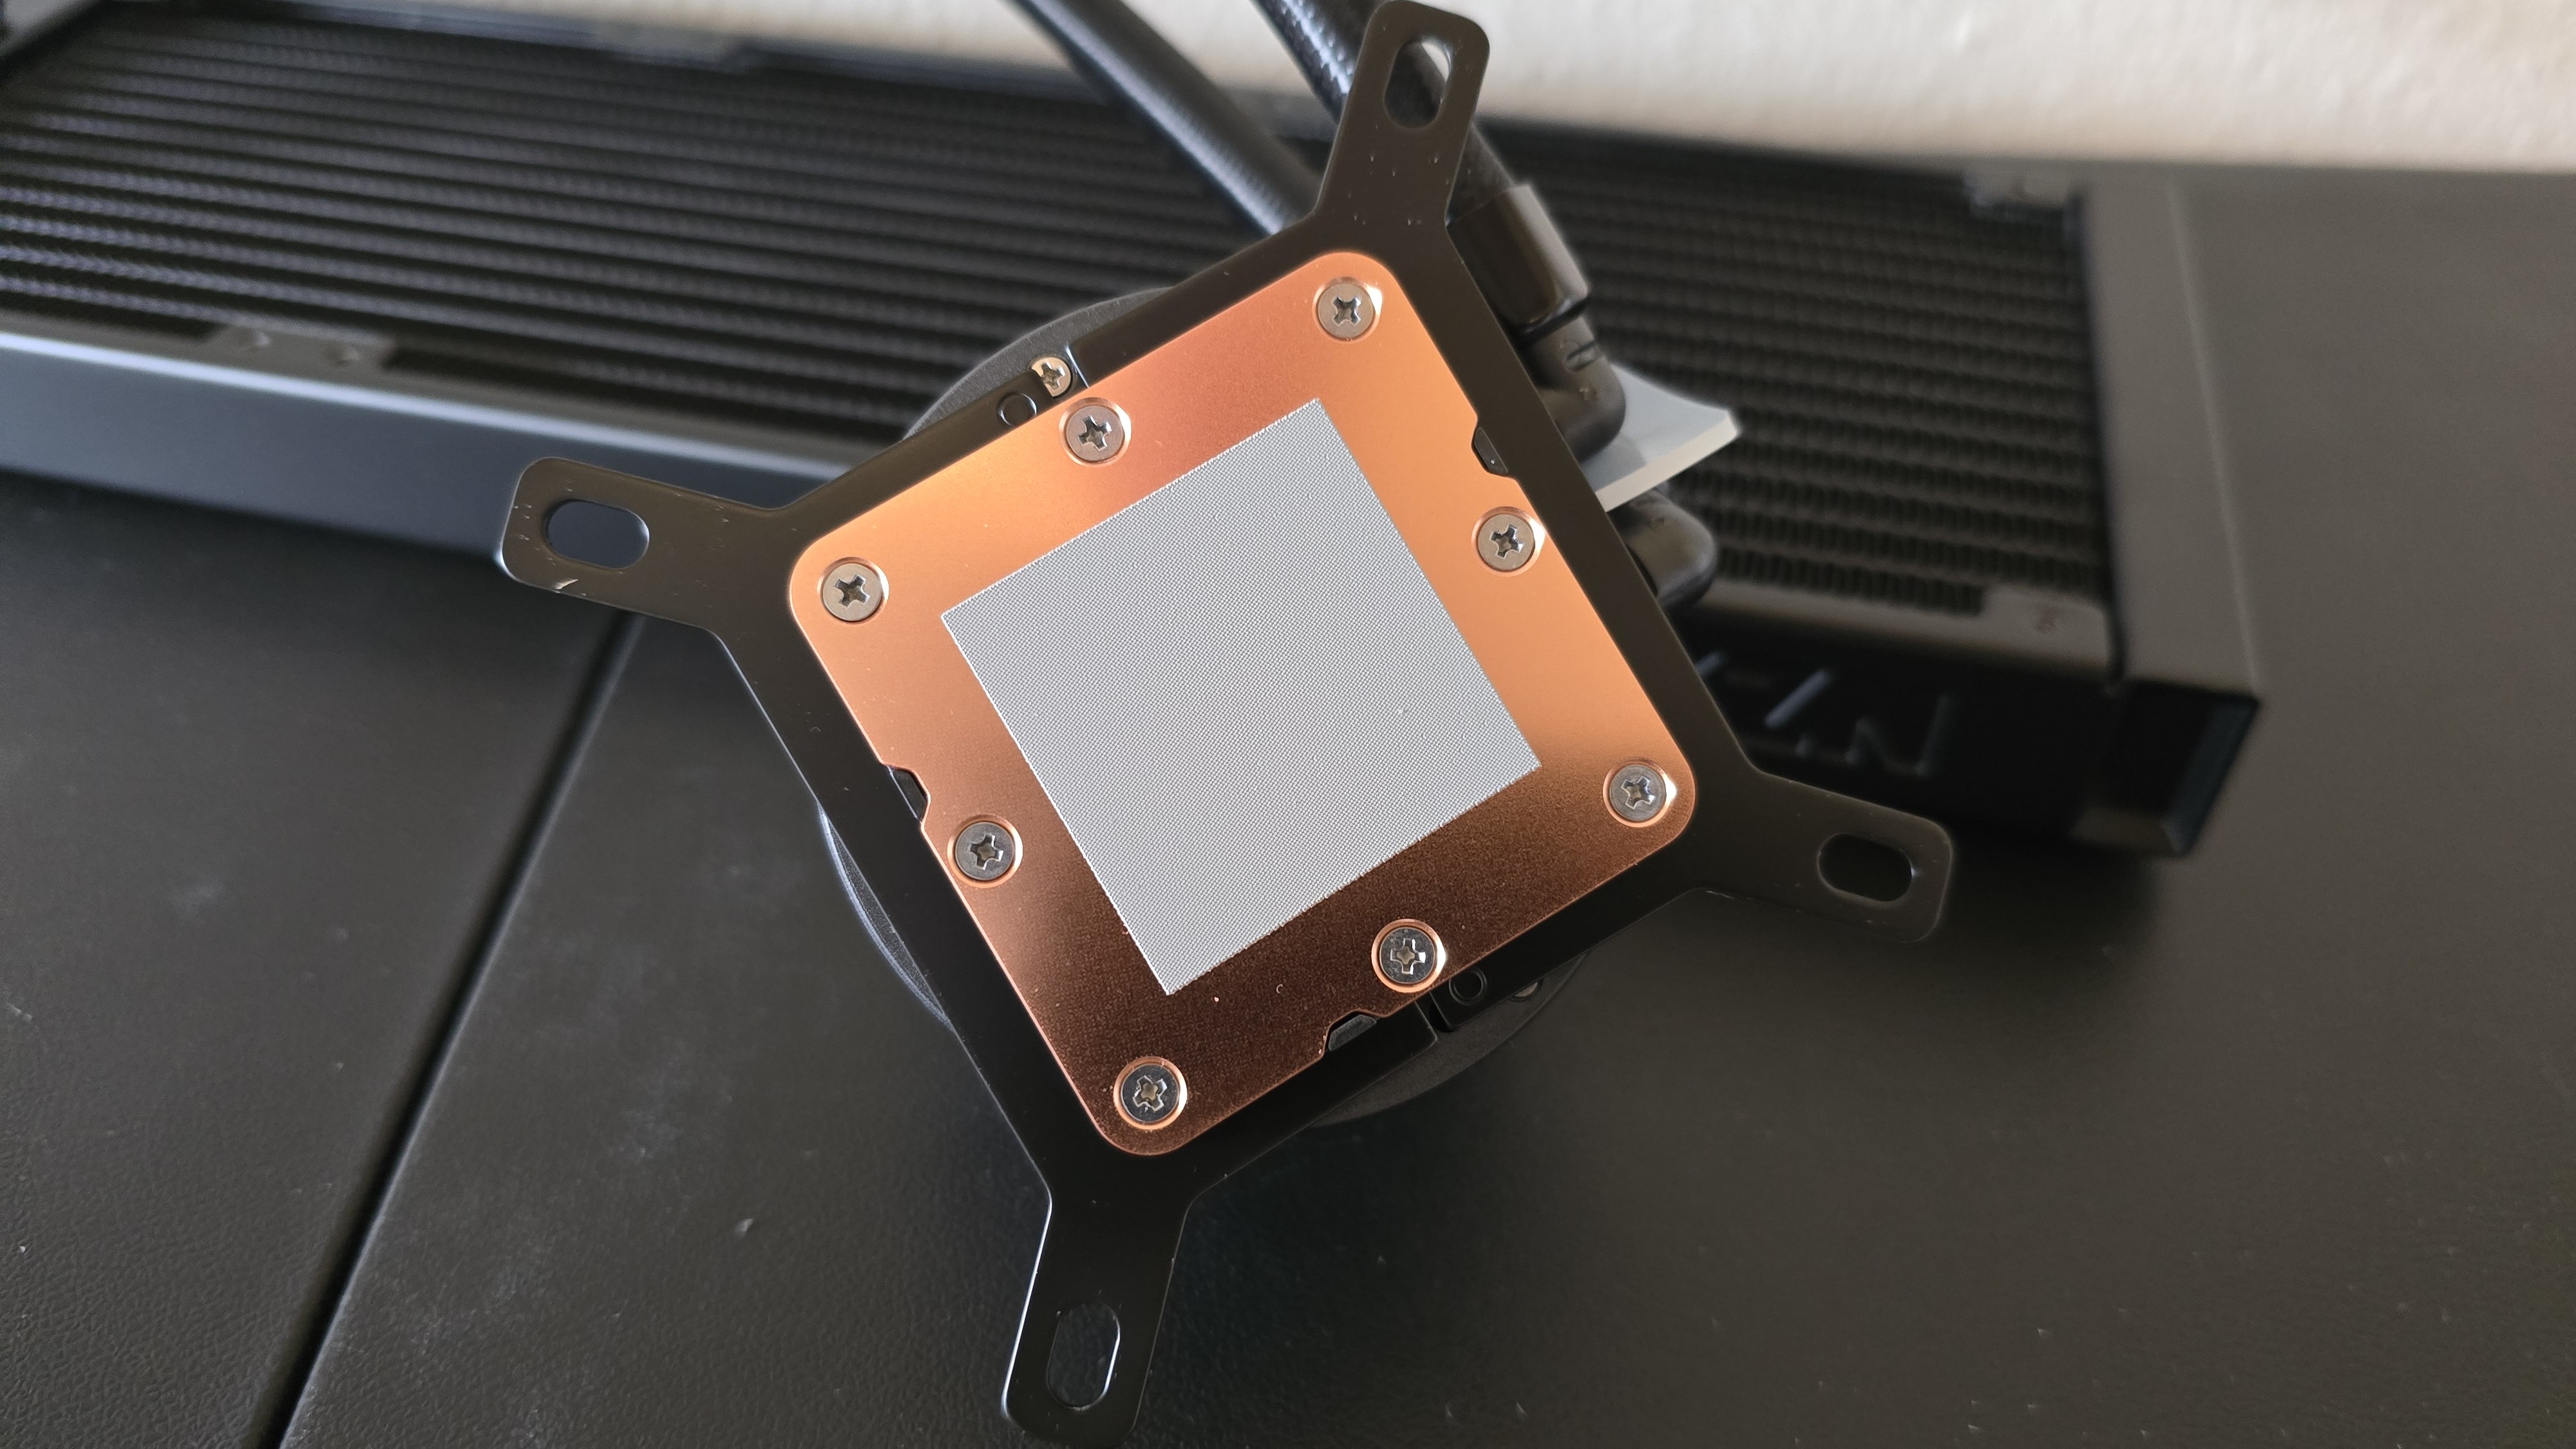
The AIO arrives with pre-installed thermal paste applied to a large copper cold plate. But make sure you get the installation right on the first try, because there’s no extra paste included.
▶ 1.5-inch LCD Display
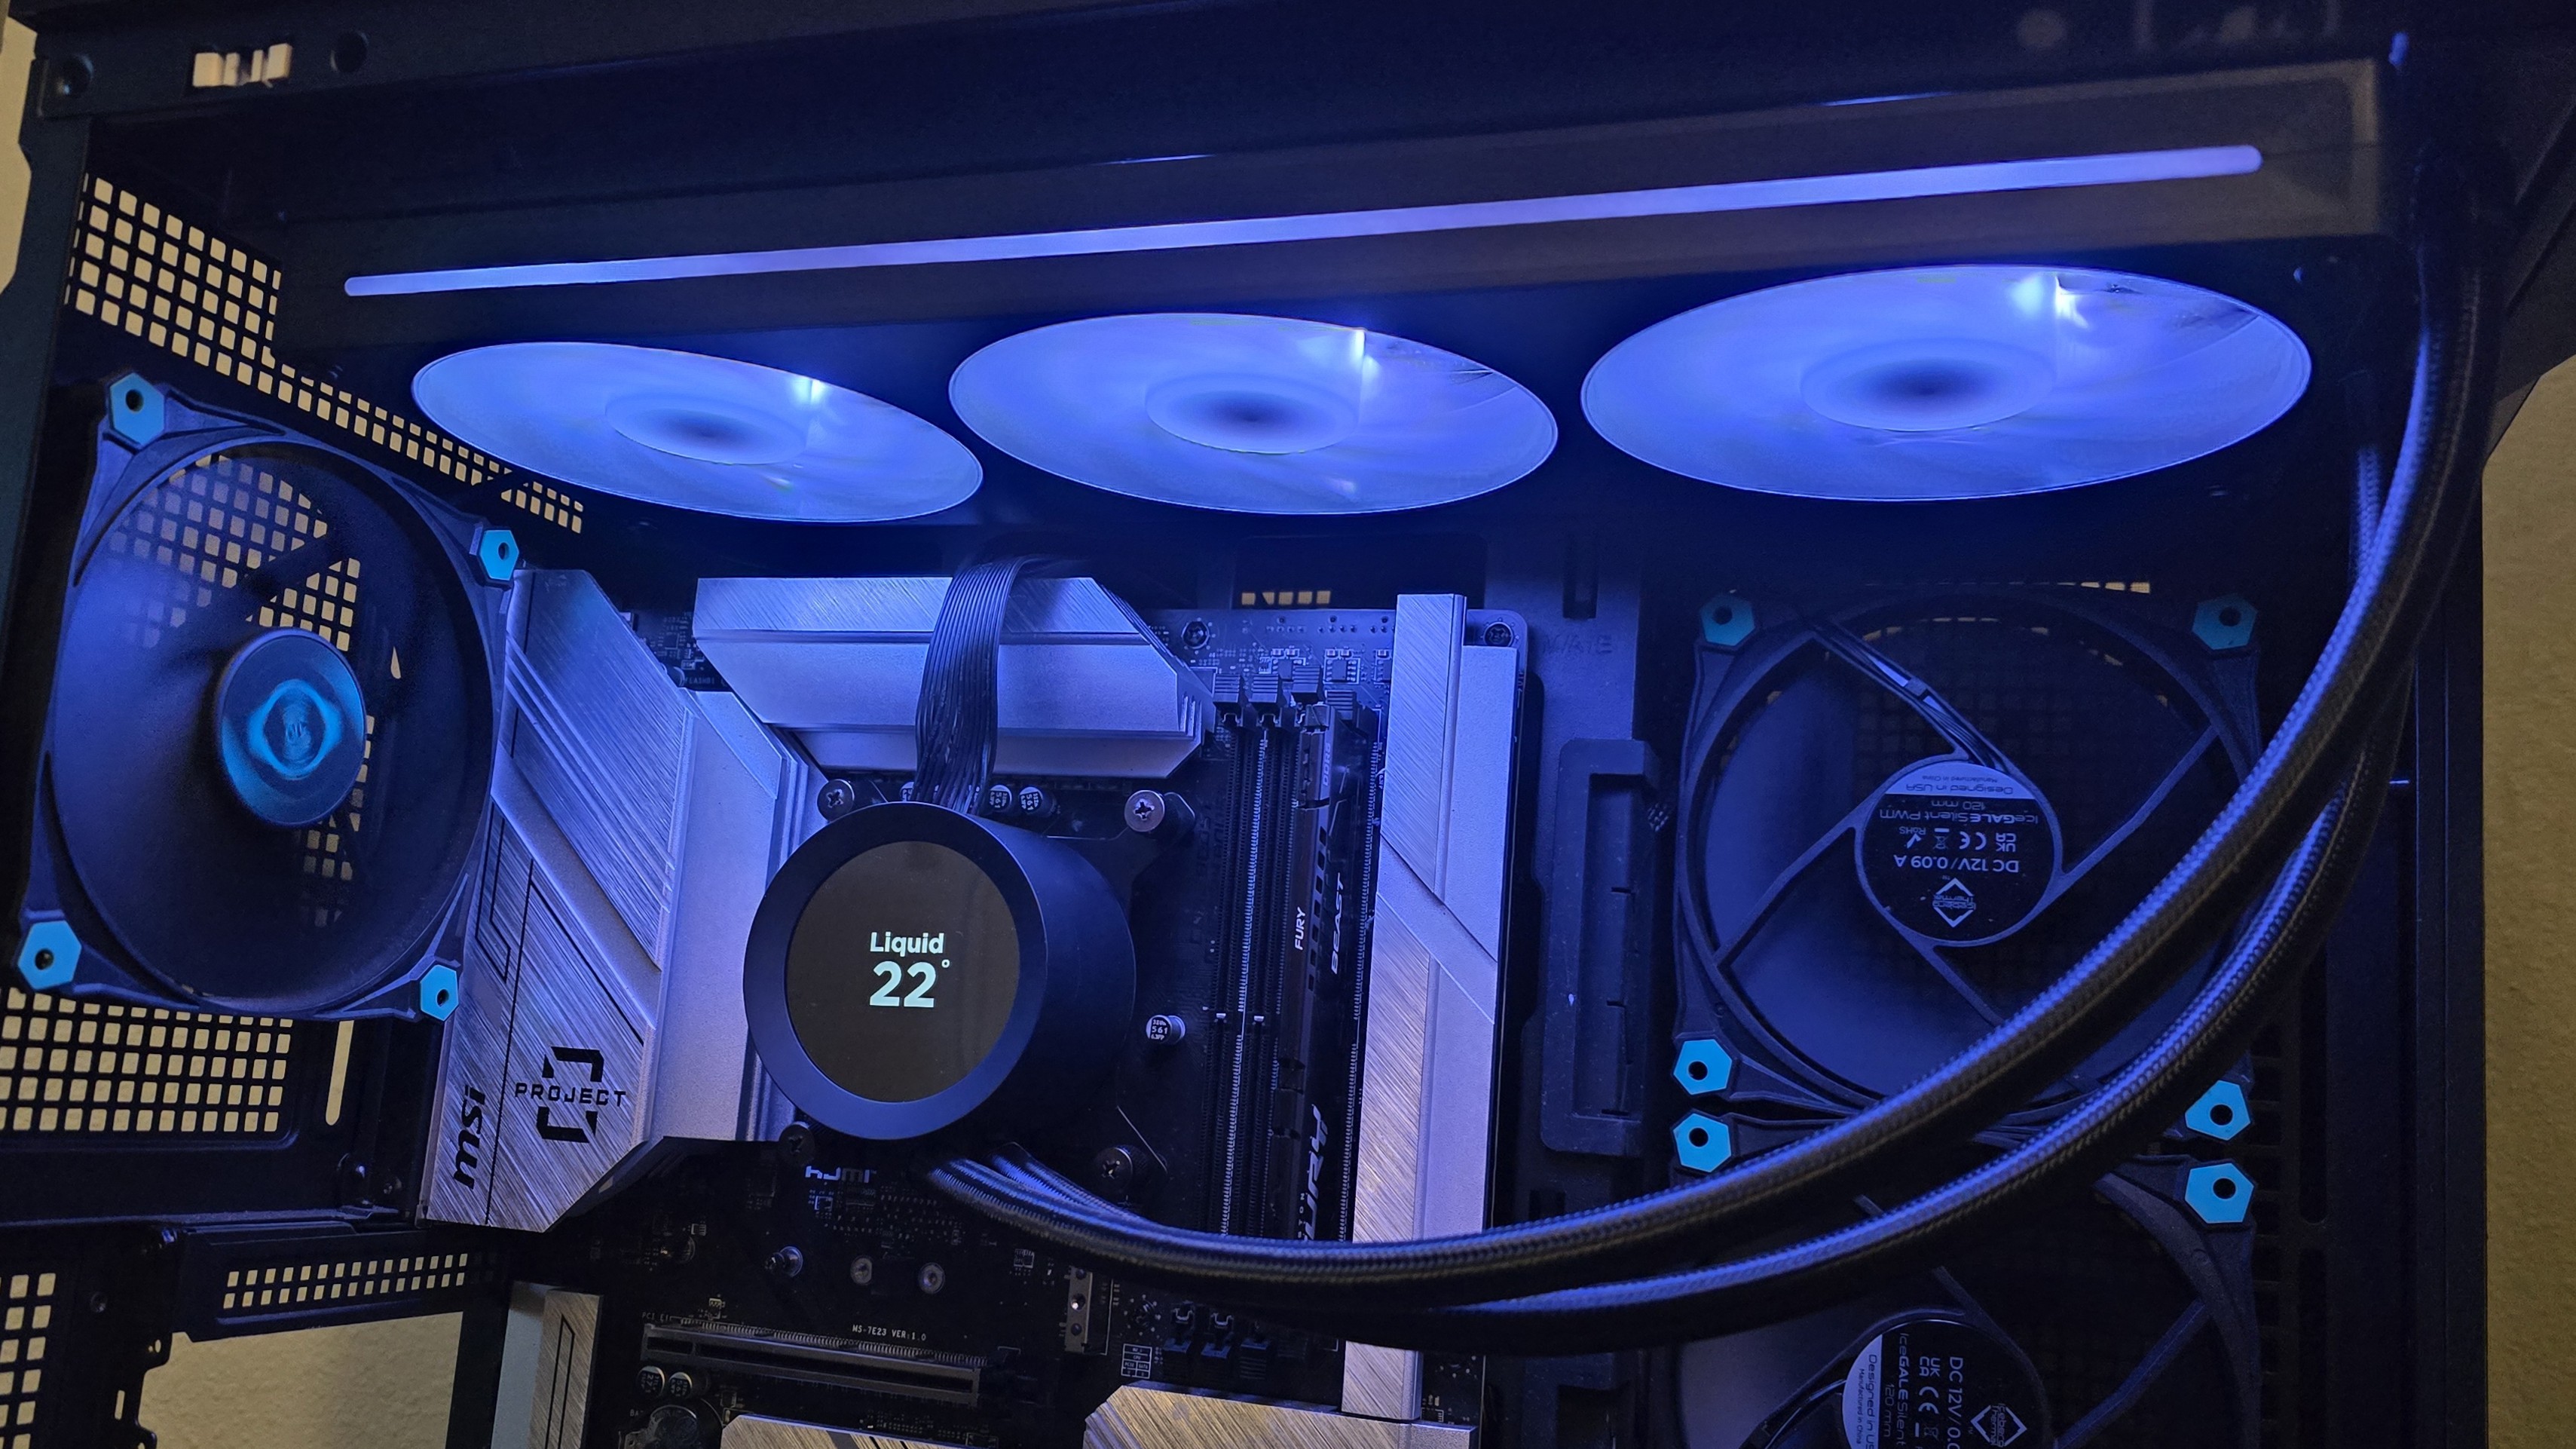
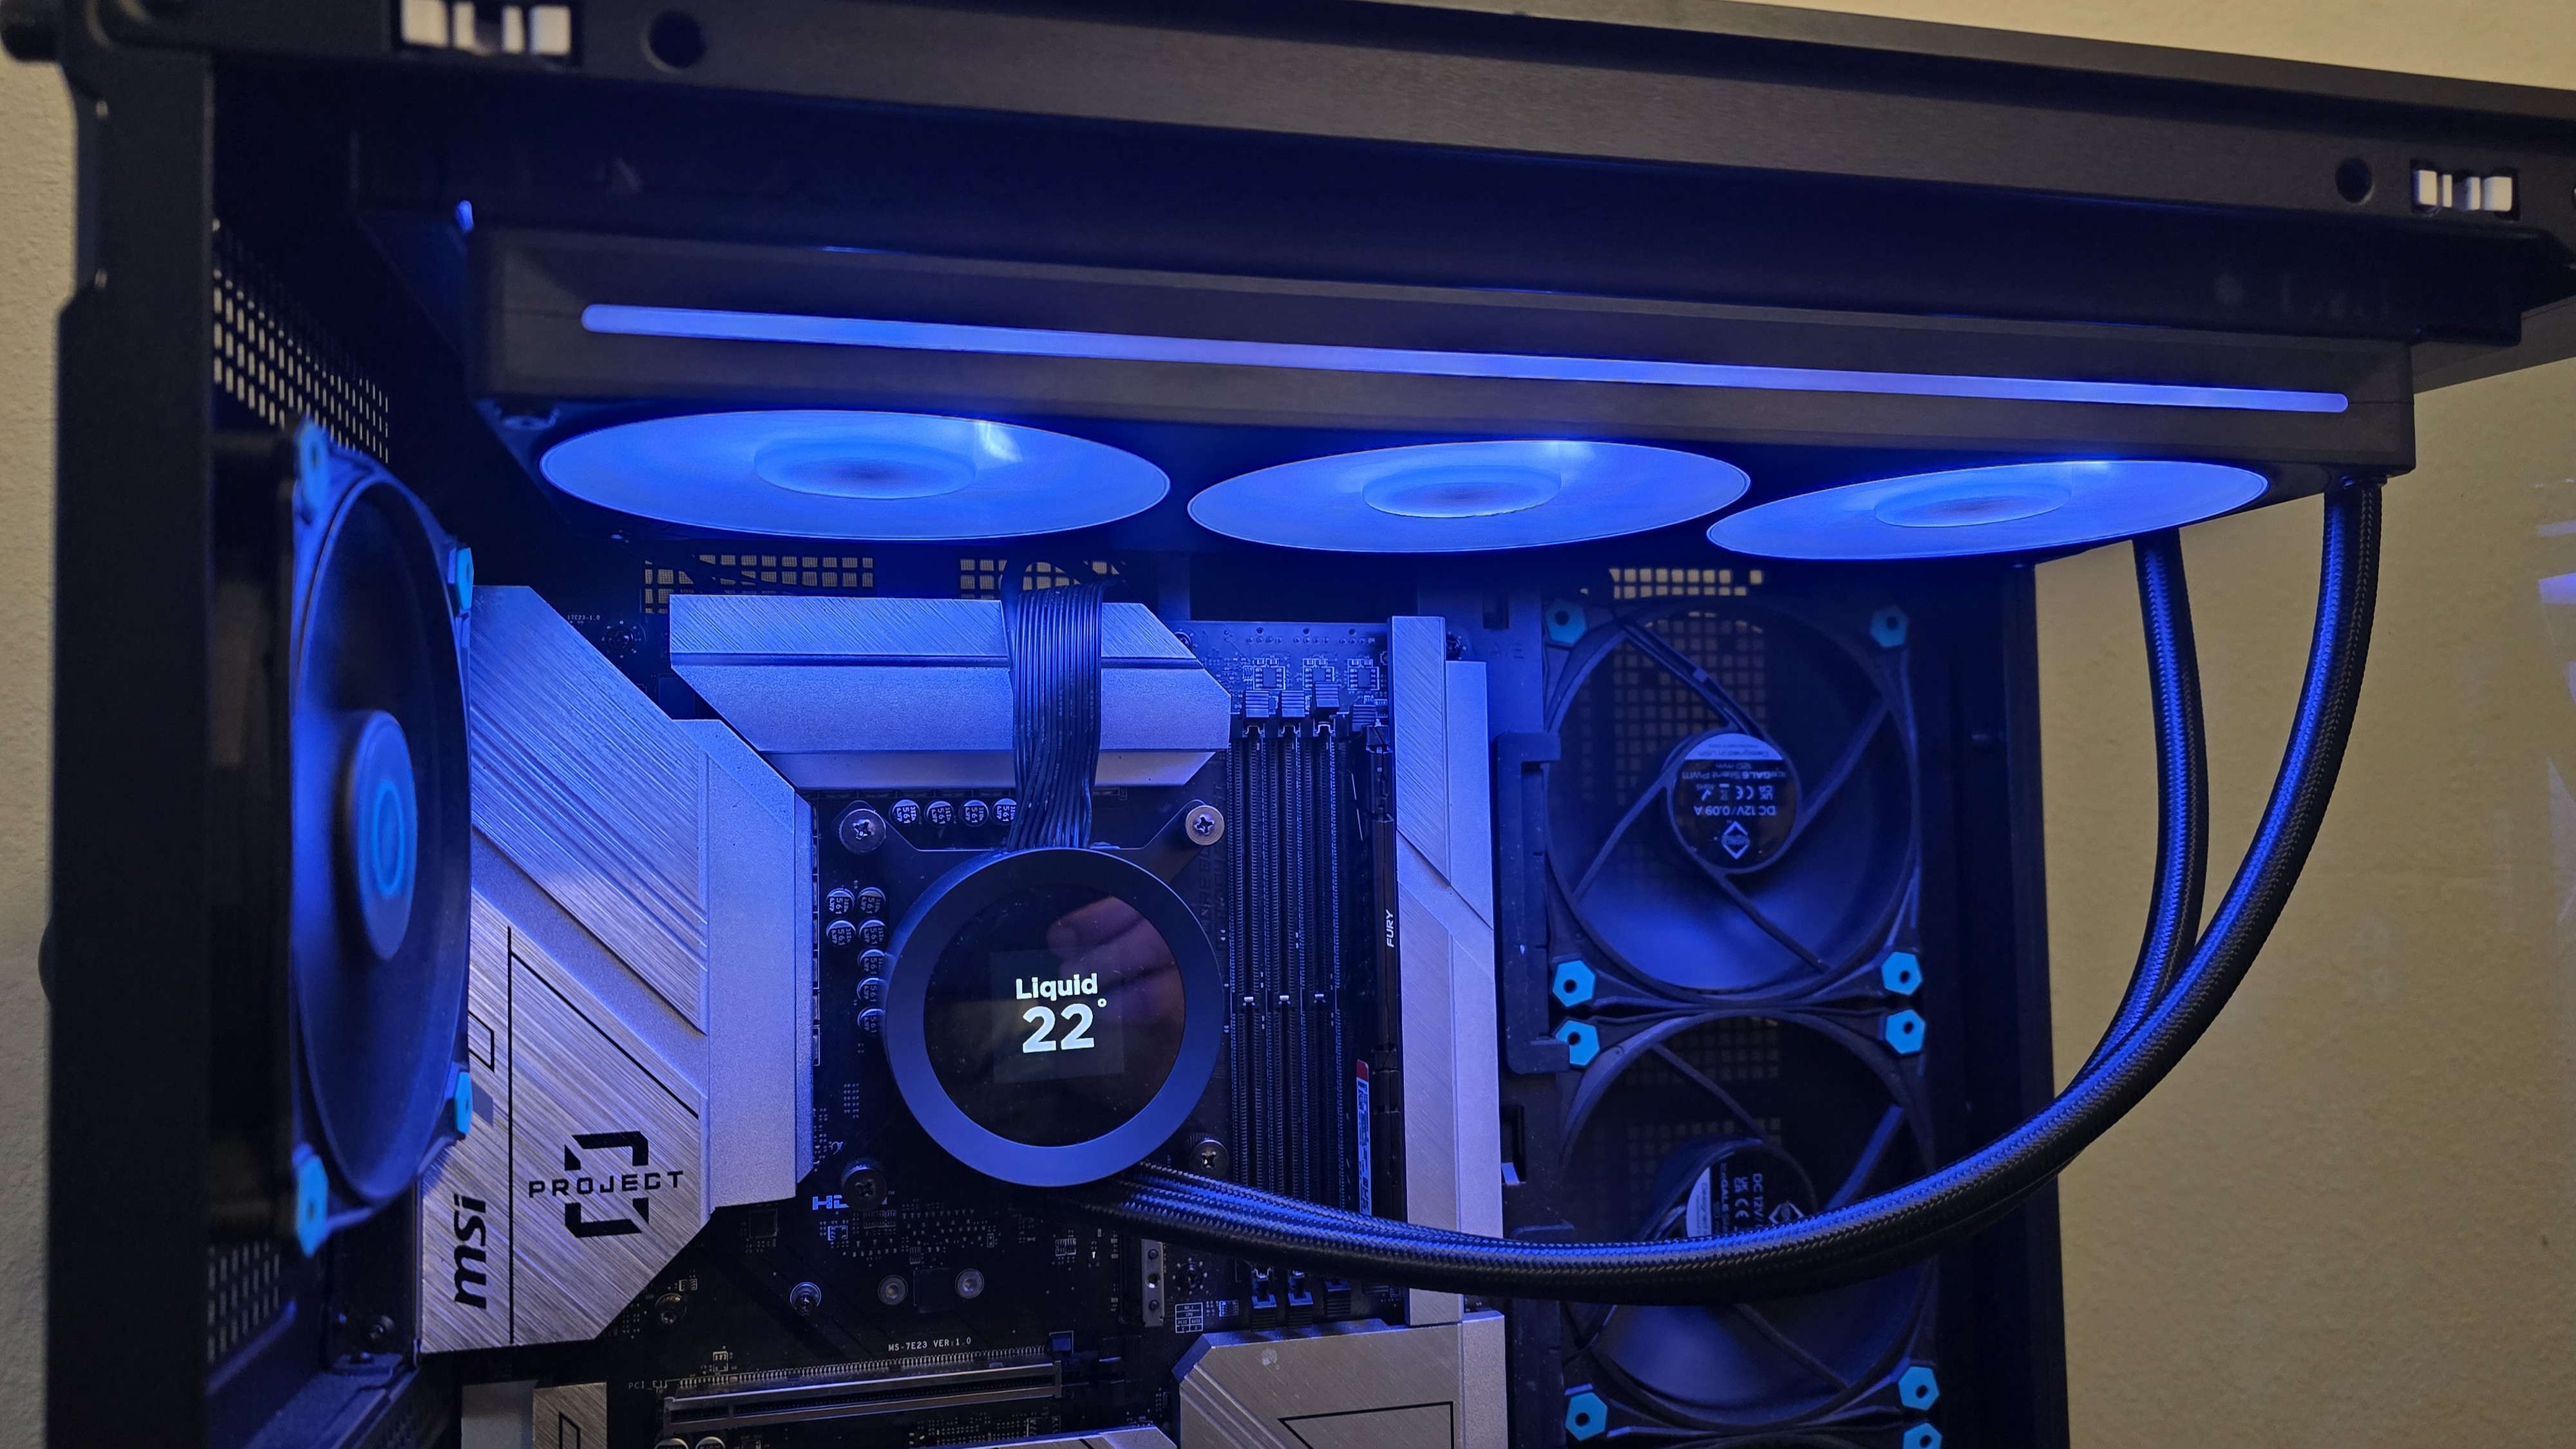
On top of the CPU block is a 1.5” LCD with a 240x240 resolution. While this is useful, I’d like the screen to be larger. Most high-end AIO competitors incorporate a 2.5-inch or larger screen and 480x480 resolution (or higher) into their AIOs.
▶ CAM Software
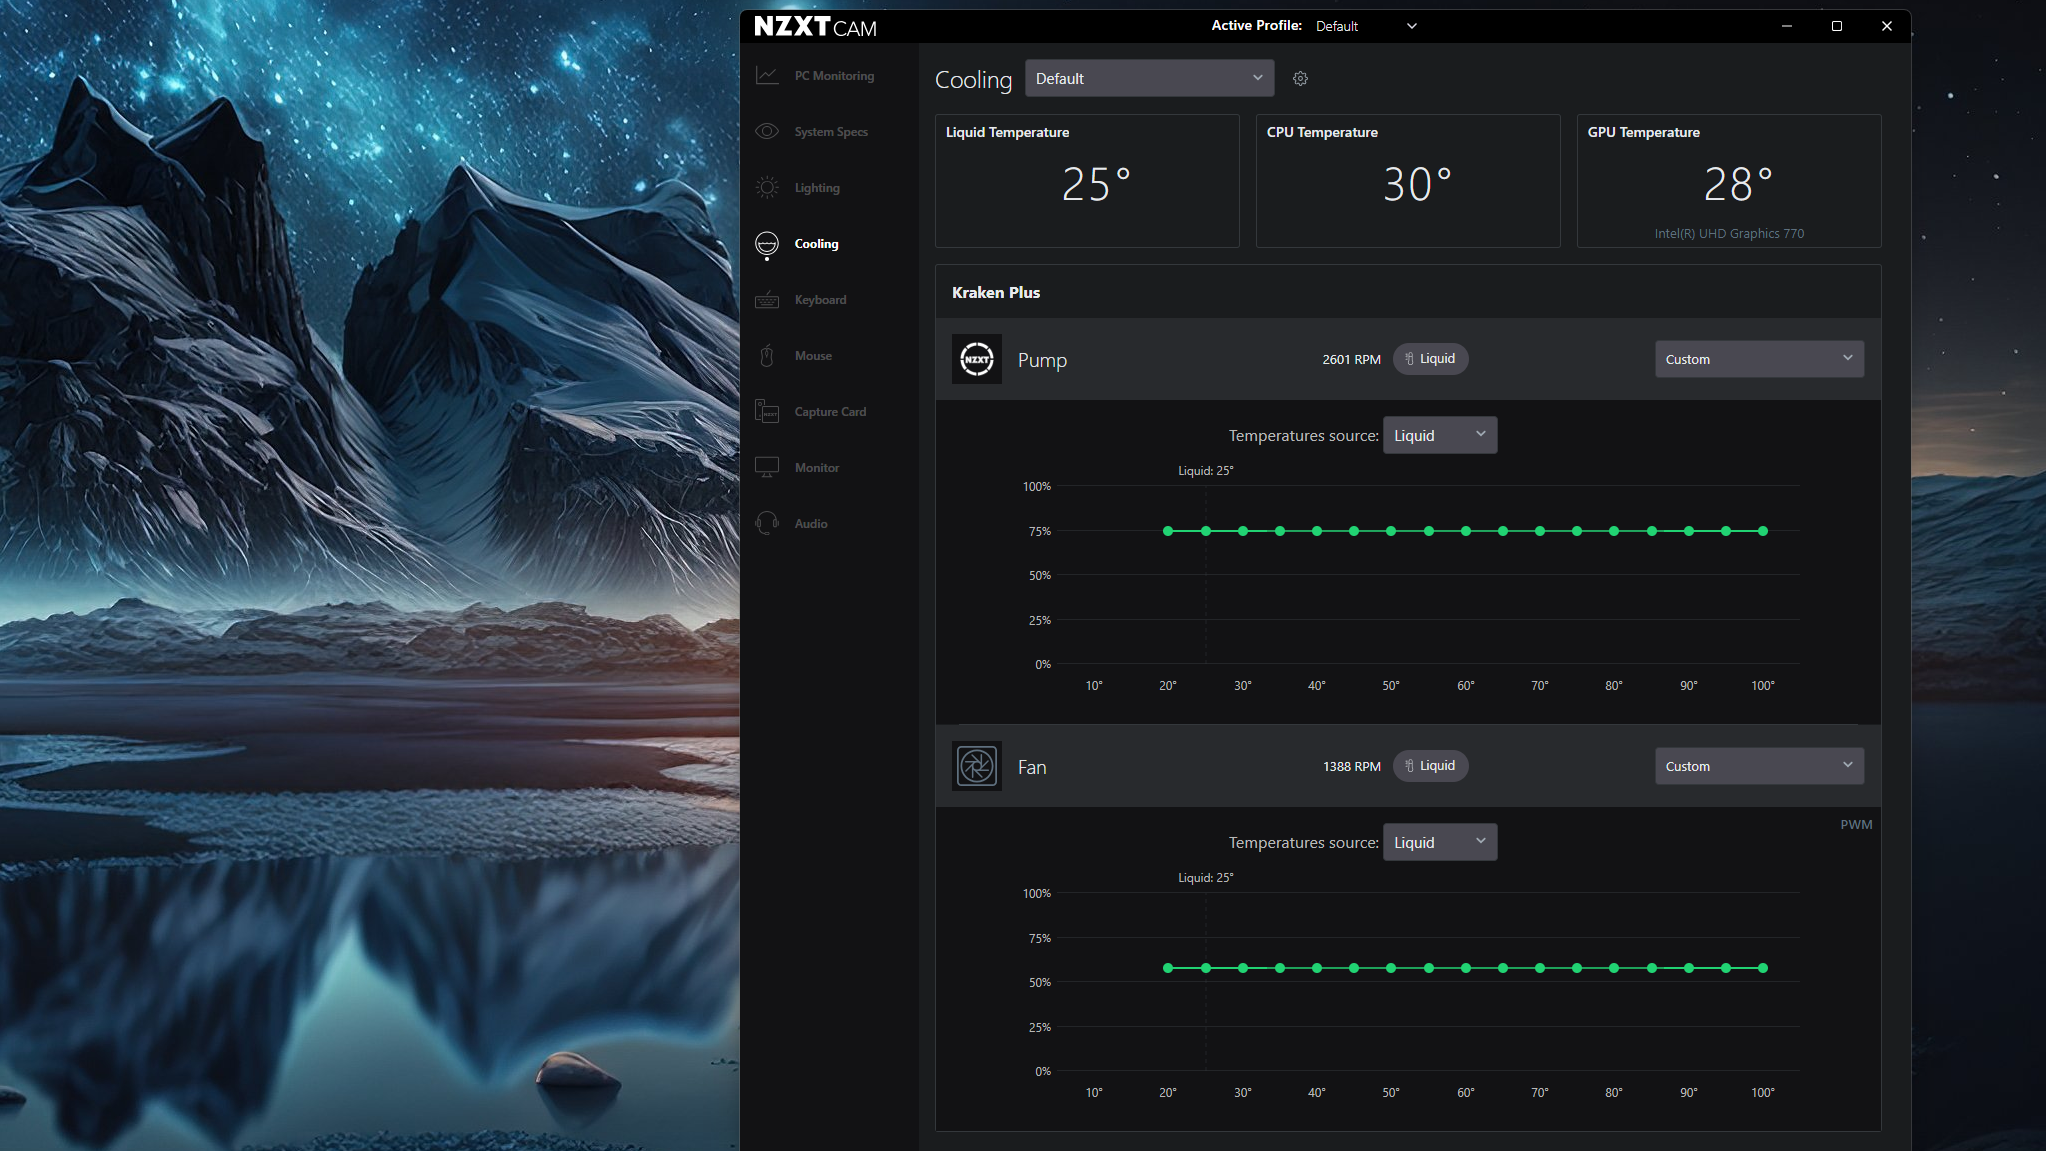
To control and customize this AIO, you’ll need to download NZXT’s CAM software. By default, the AIO operates based on the temperature of its liquids. You can change this to respond to the CPU's temperature, or another sensor, if you so desire.
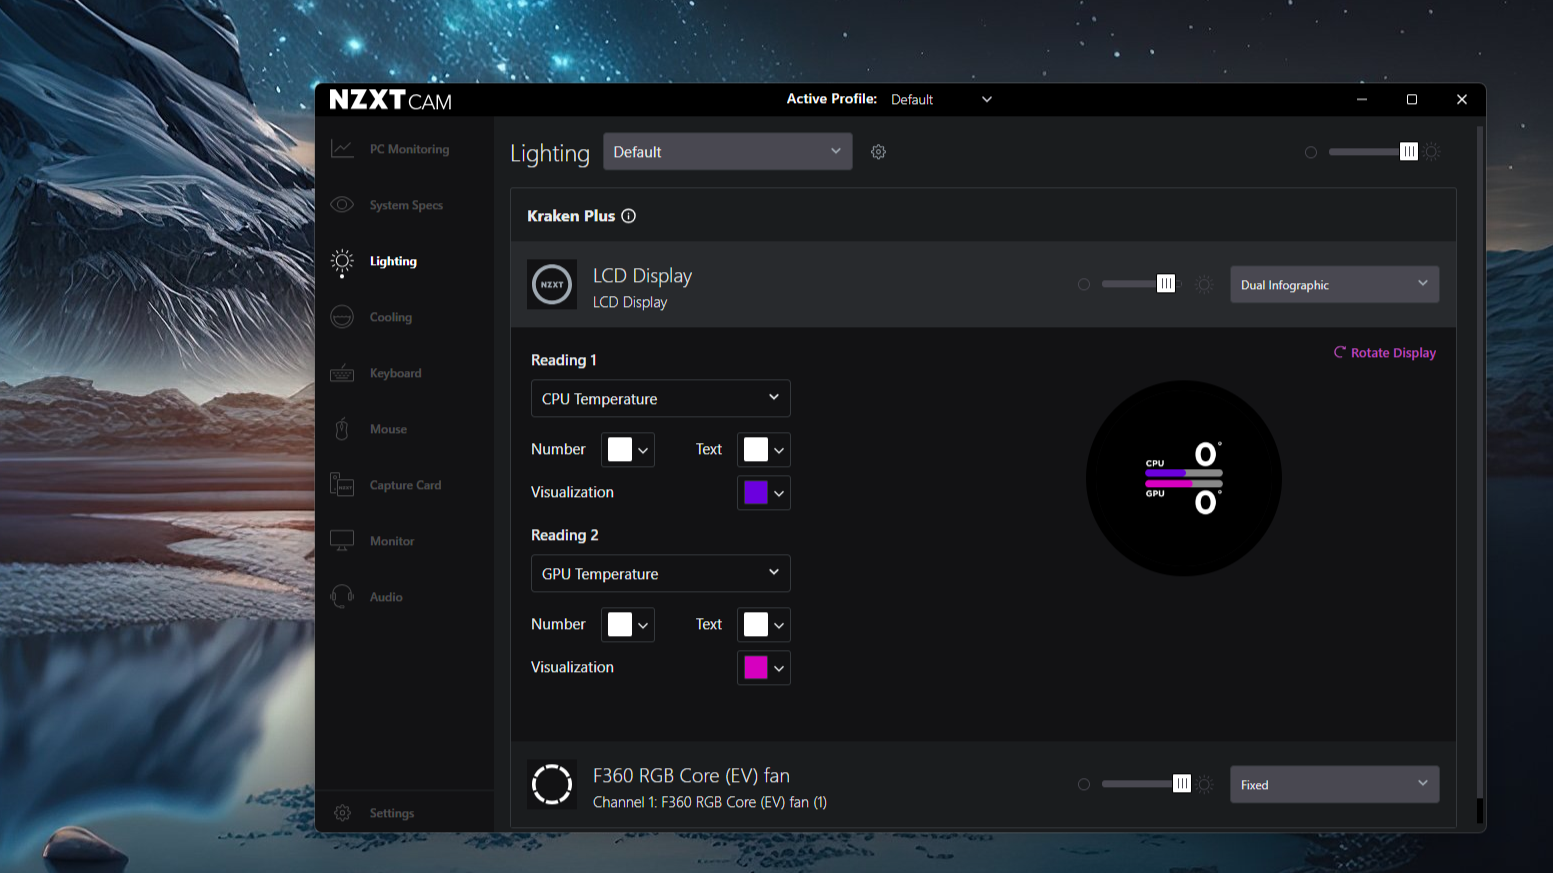
There are a few different options for customizing the AIO’s small display. You can display up to two separate temperature sensors.
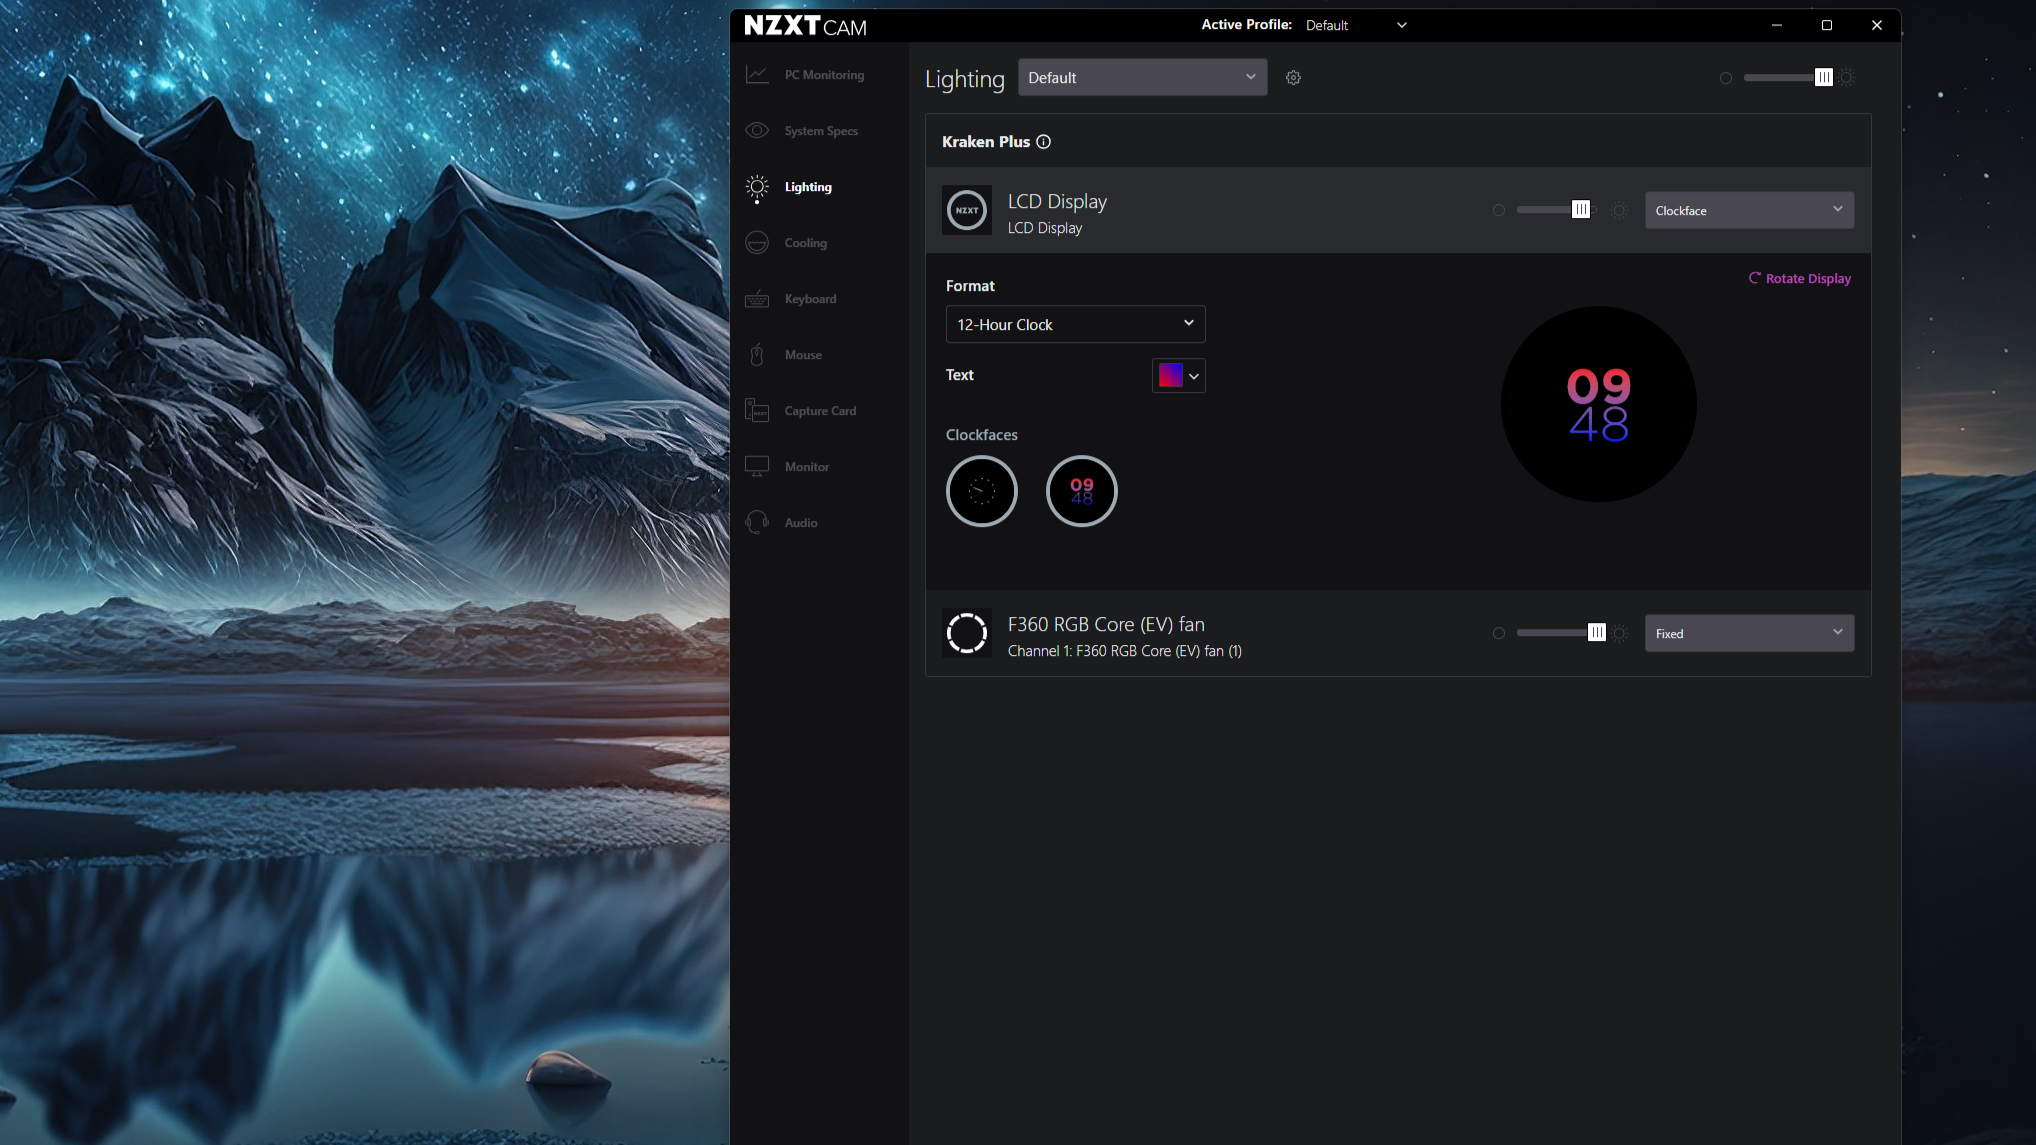
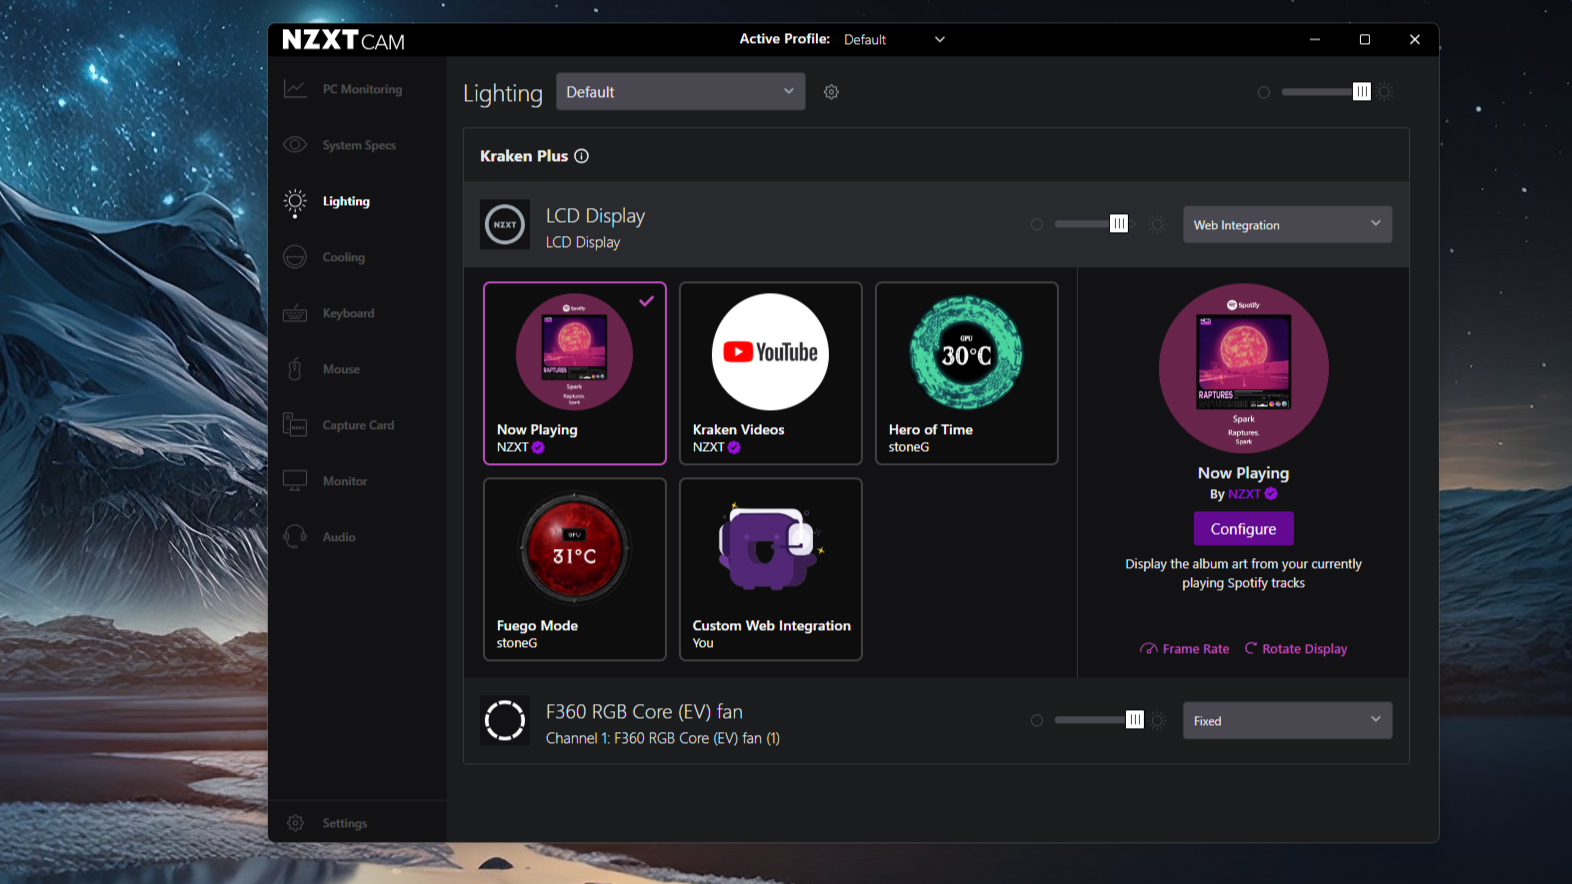
Alternatively, you can set the display to a clock face – or use it to play videos from YouTube.
▶ Complete RAM Compatibility, no matter the size of DDR5
As is typical with most AIO liquid coolers, NZXT’s Kraken Plus 360 RGB does not interfere or overhang RAM DIMMs, allowing for full compatibility, no matter how tall (or short) your DDR4 or DDR5 is.
Real world testing configuration – Intel LGA1700 and AMD AM5 platform
My results may differ from others because I emphasize results that are comparable to real-world use. This means that I test CPU coolers inside a closed desktop case, which increases cooling difficulty compared to other testing methods.
Many will test CPU coolers outside of a case, on an open test bench. Open benches have lowered ambient temperatures, which makes weak coolers appear stronger than they are. Some publications have also used generic thermal plates to test cooling solutions. I reject both of these methods because they don’t accurately reflect the real-world conditions where a CPU cooler is typically used.
CPU | Intel Core i7-14700K |
GPU | ASRock Steel Legend Radeon 7900 GRE |
Motherboard | MSI Z790 Project Zero |
Case | MSI Pano 100L PZ Black |
System Fans | Iceberg Thermal IceGale Silent |
My previous reviews have tested Intel’s latest platform, using the Core Ultra 9 285K Arrow Lake CPU. But we’re retiring this from our testing suite. Between BIOS changes and Windows updates, Arrow Lake’s thermal characteristics have changed in some scenarios, rendering much of our previous testing data useless.
With today’s review, we’re also testing AMD’s Ryzen 9 9950X3D. This is a beast of a CPU, providing the best gaming and multithreaded performance on the market. It can prove quite challenging thermally when PBO is enabled for overclocking.
CPU | AMD Ryzen 9 9950X3D |
GPU | MSI Ventus 3X RTX 4070Ti Super |
Motherboard | MSI X870E Carbon Wifi |
Case | MSI MAG Pano 100R PZ |
AM5 and 1851 installation
The installation of this cooler is simple for both Intel and AMD CPUs.
1. You’ll first need to apply the included backplate if you’re using an Intel CPU. AMD users will remove the default mounting mechanism.
2. Next, you’ll need to install the standoffs against the mounting holes.
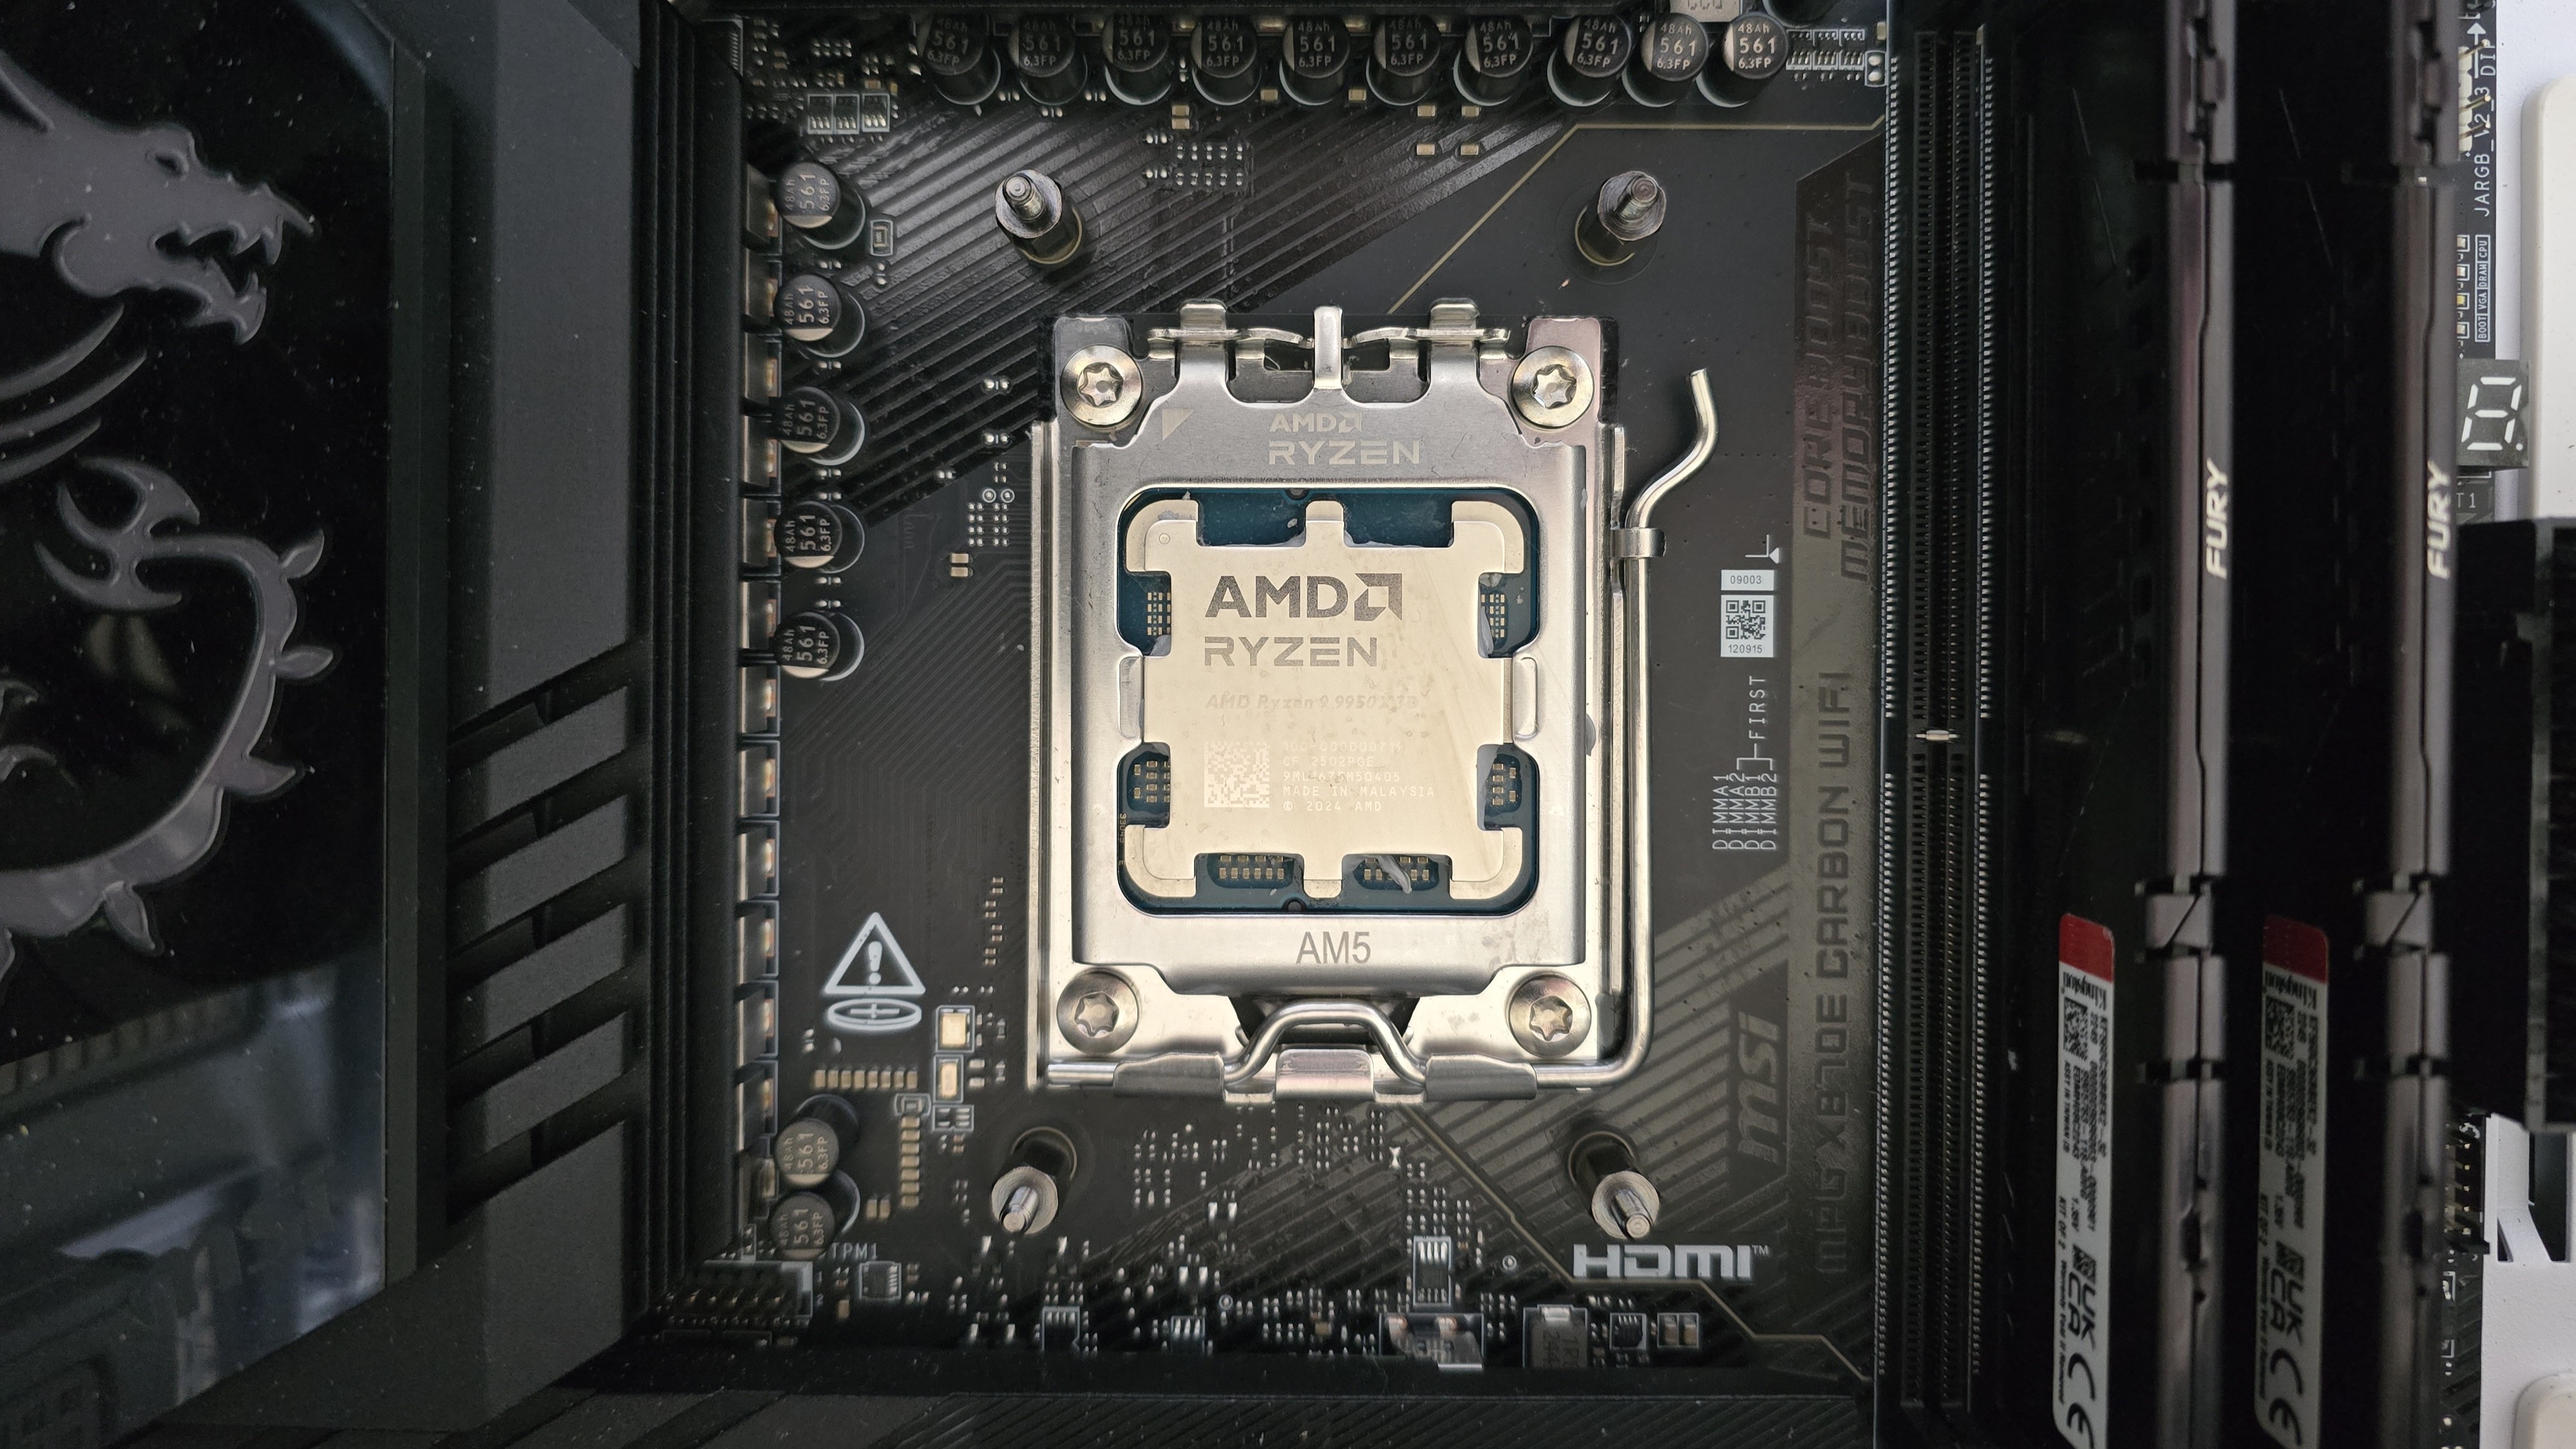
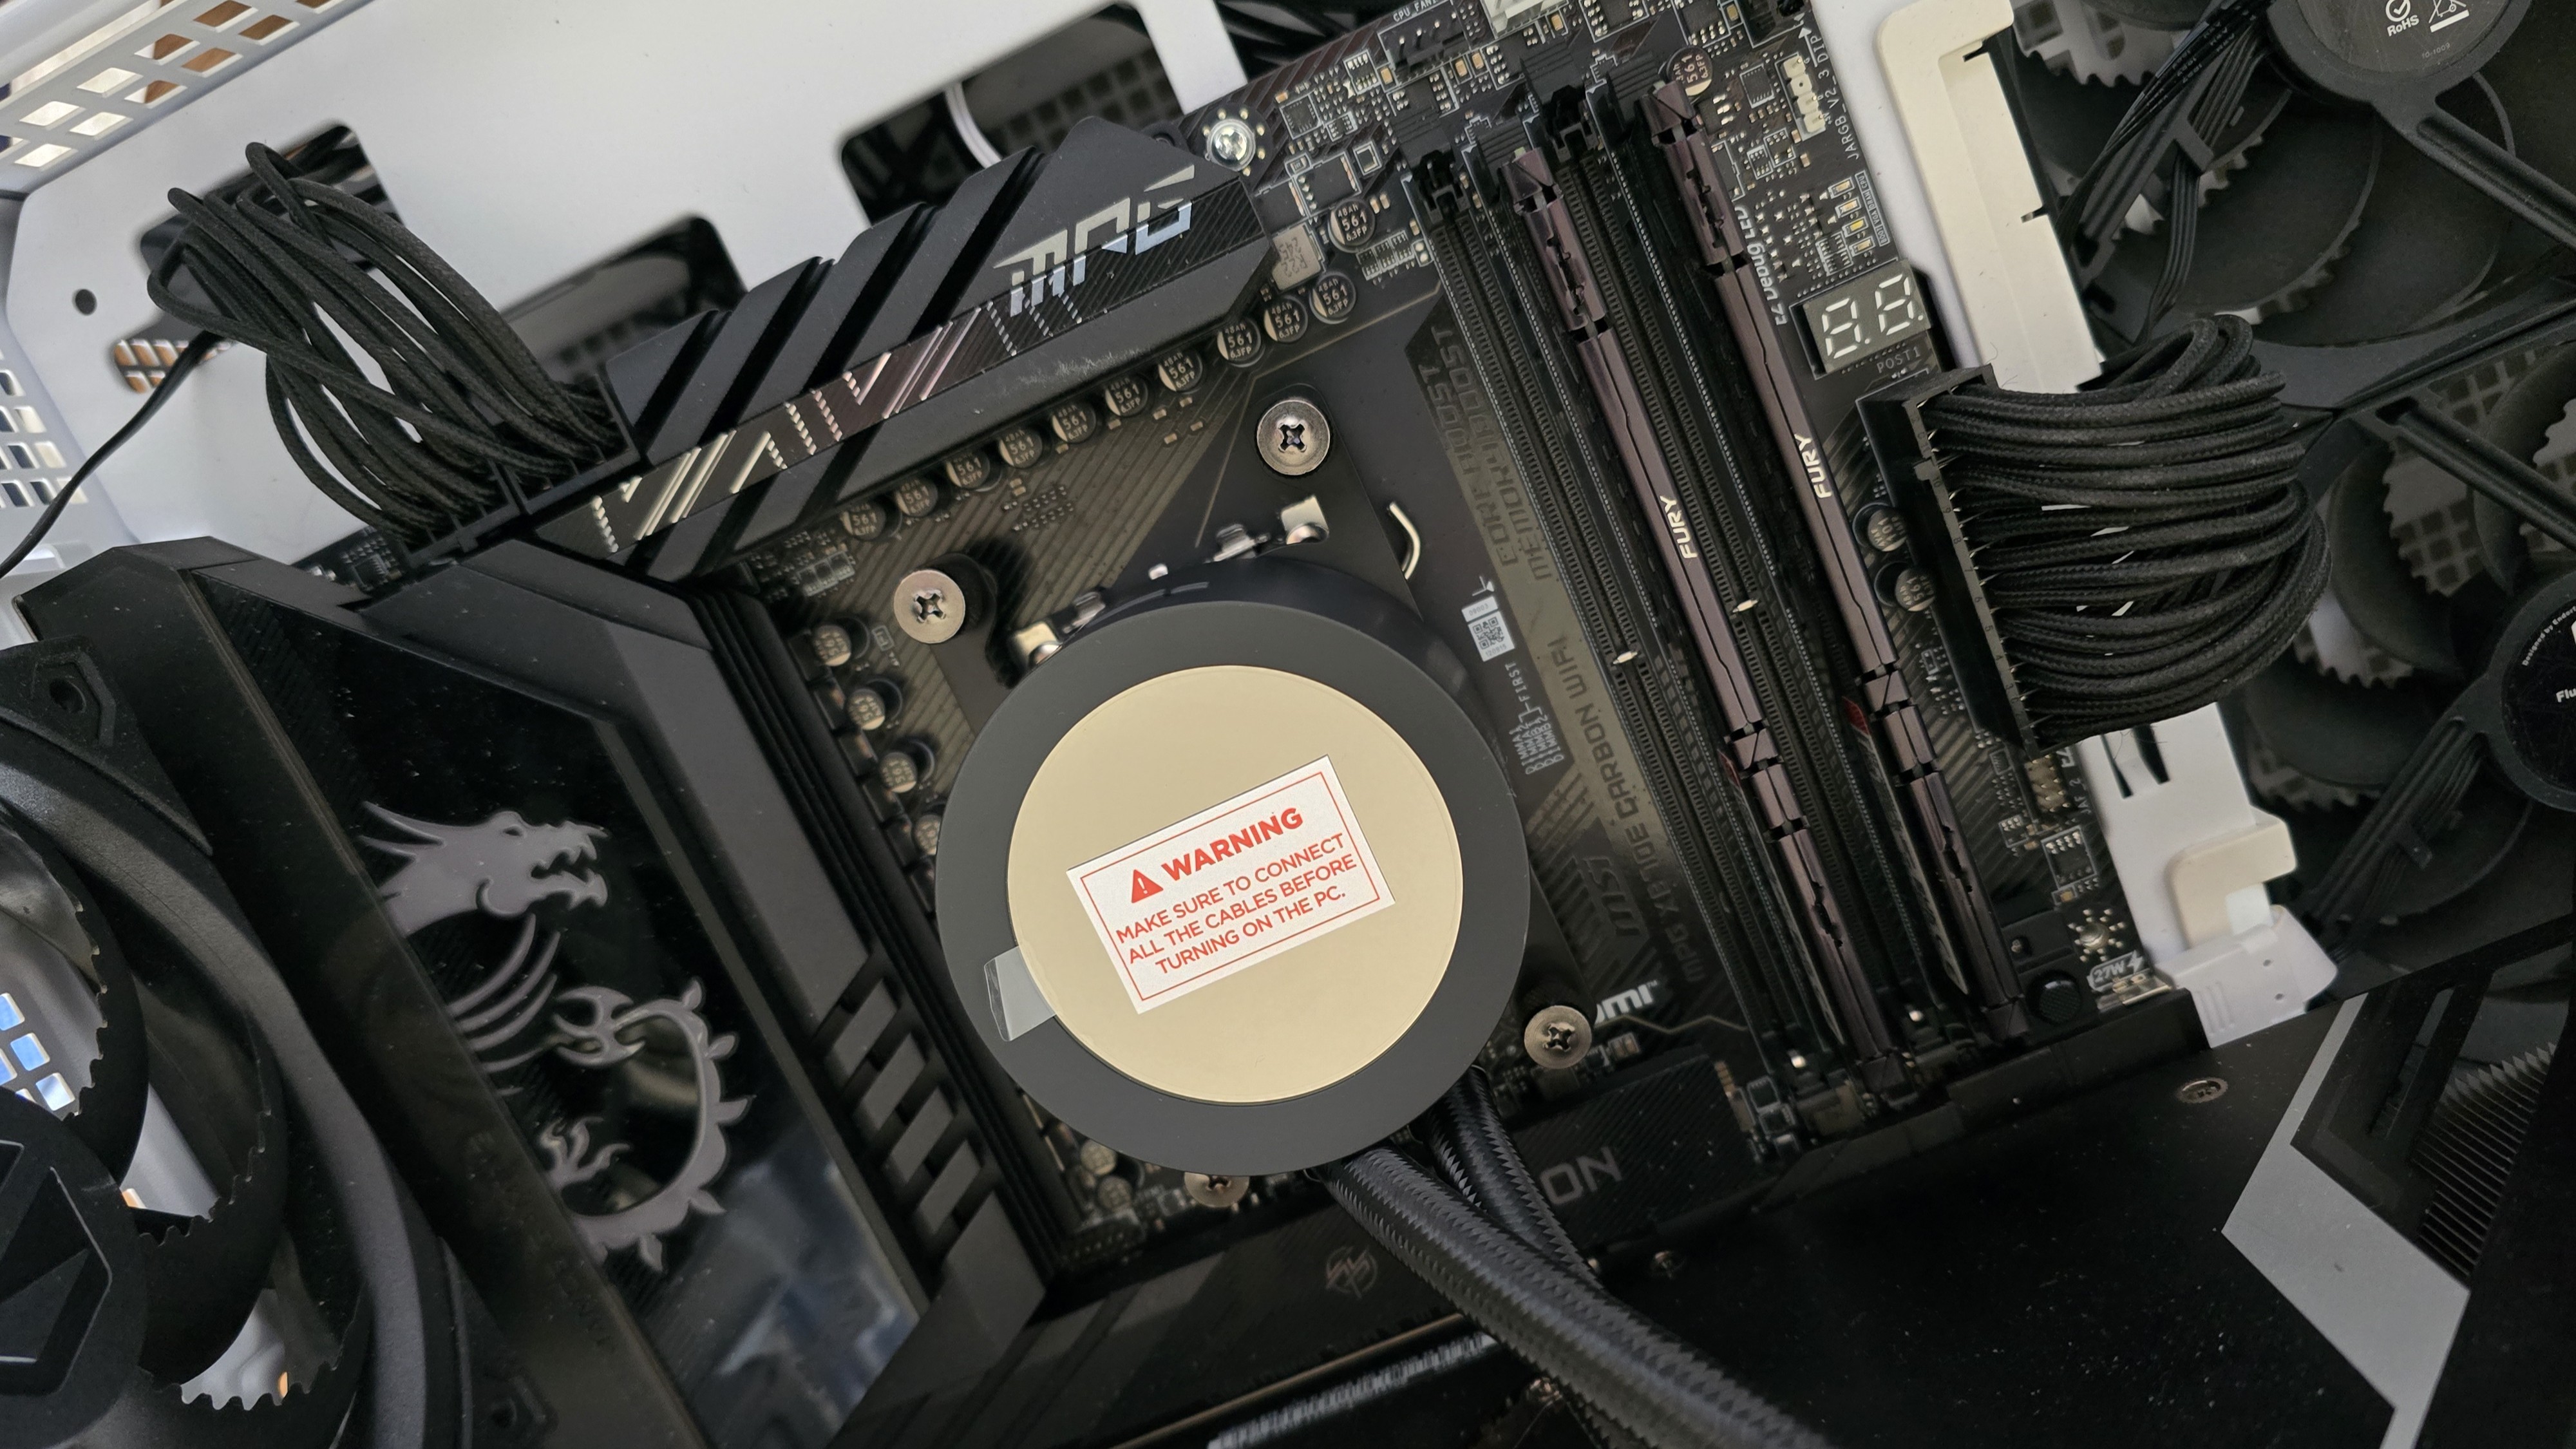
3. This cooler does not need mounting bars, but has them built into the CPU block. If you’re using AMD, you’ll need to remove the default Intel brackets and replace them with the AMD supporting ones. Press the CPU block against the standoffs, and secure it with the included thumb screws.
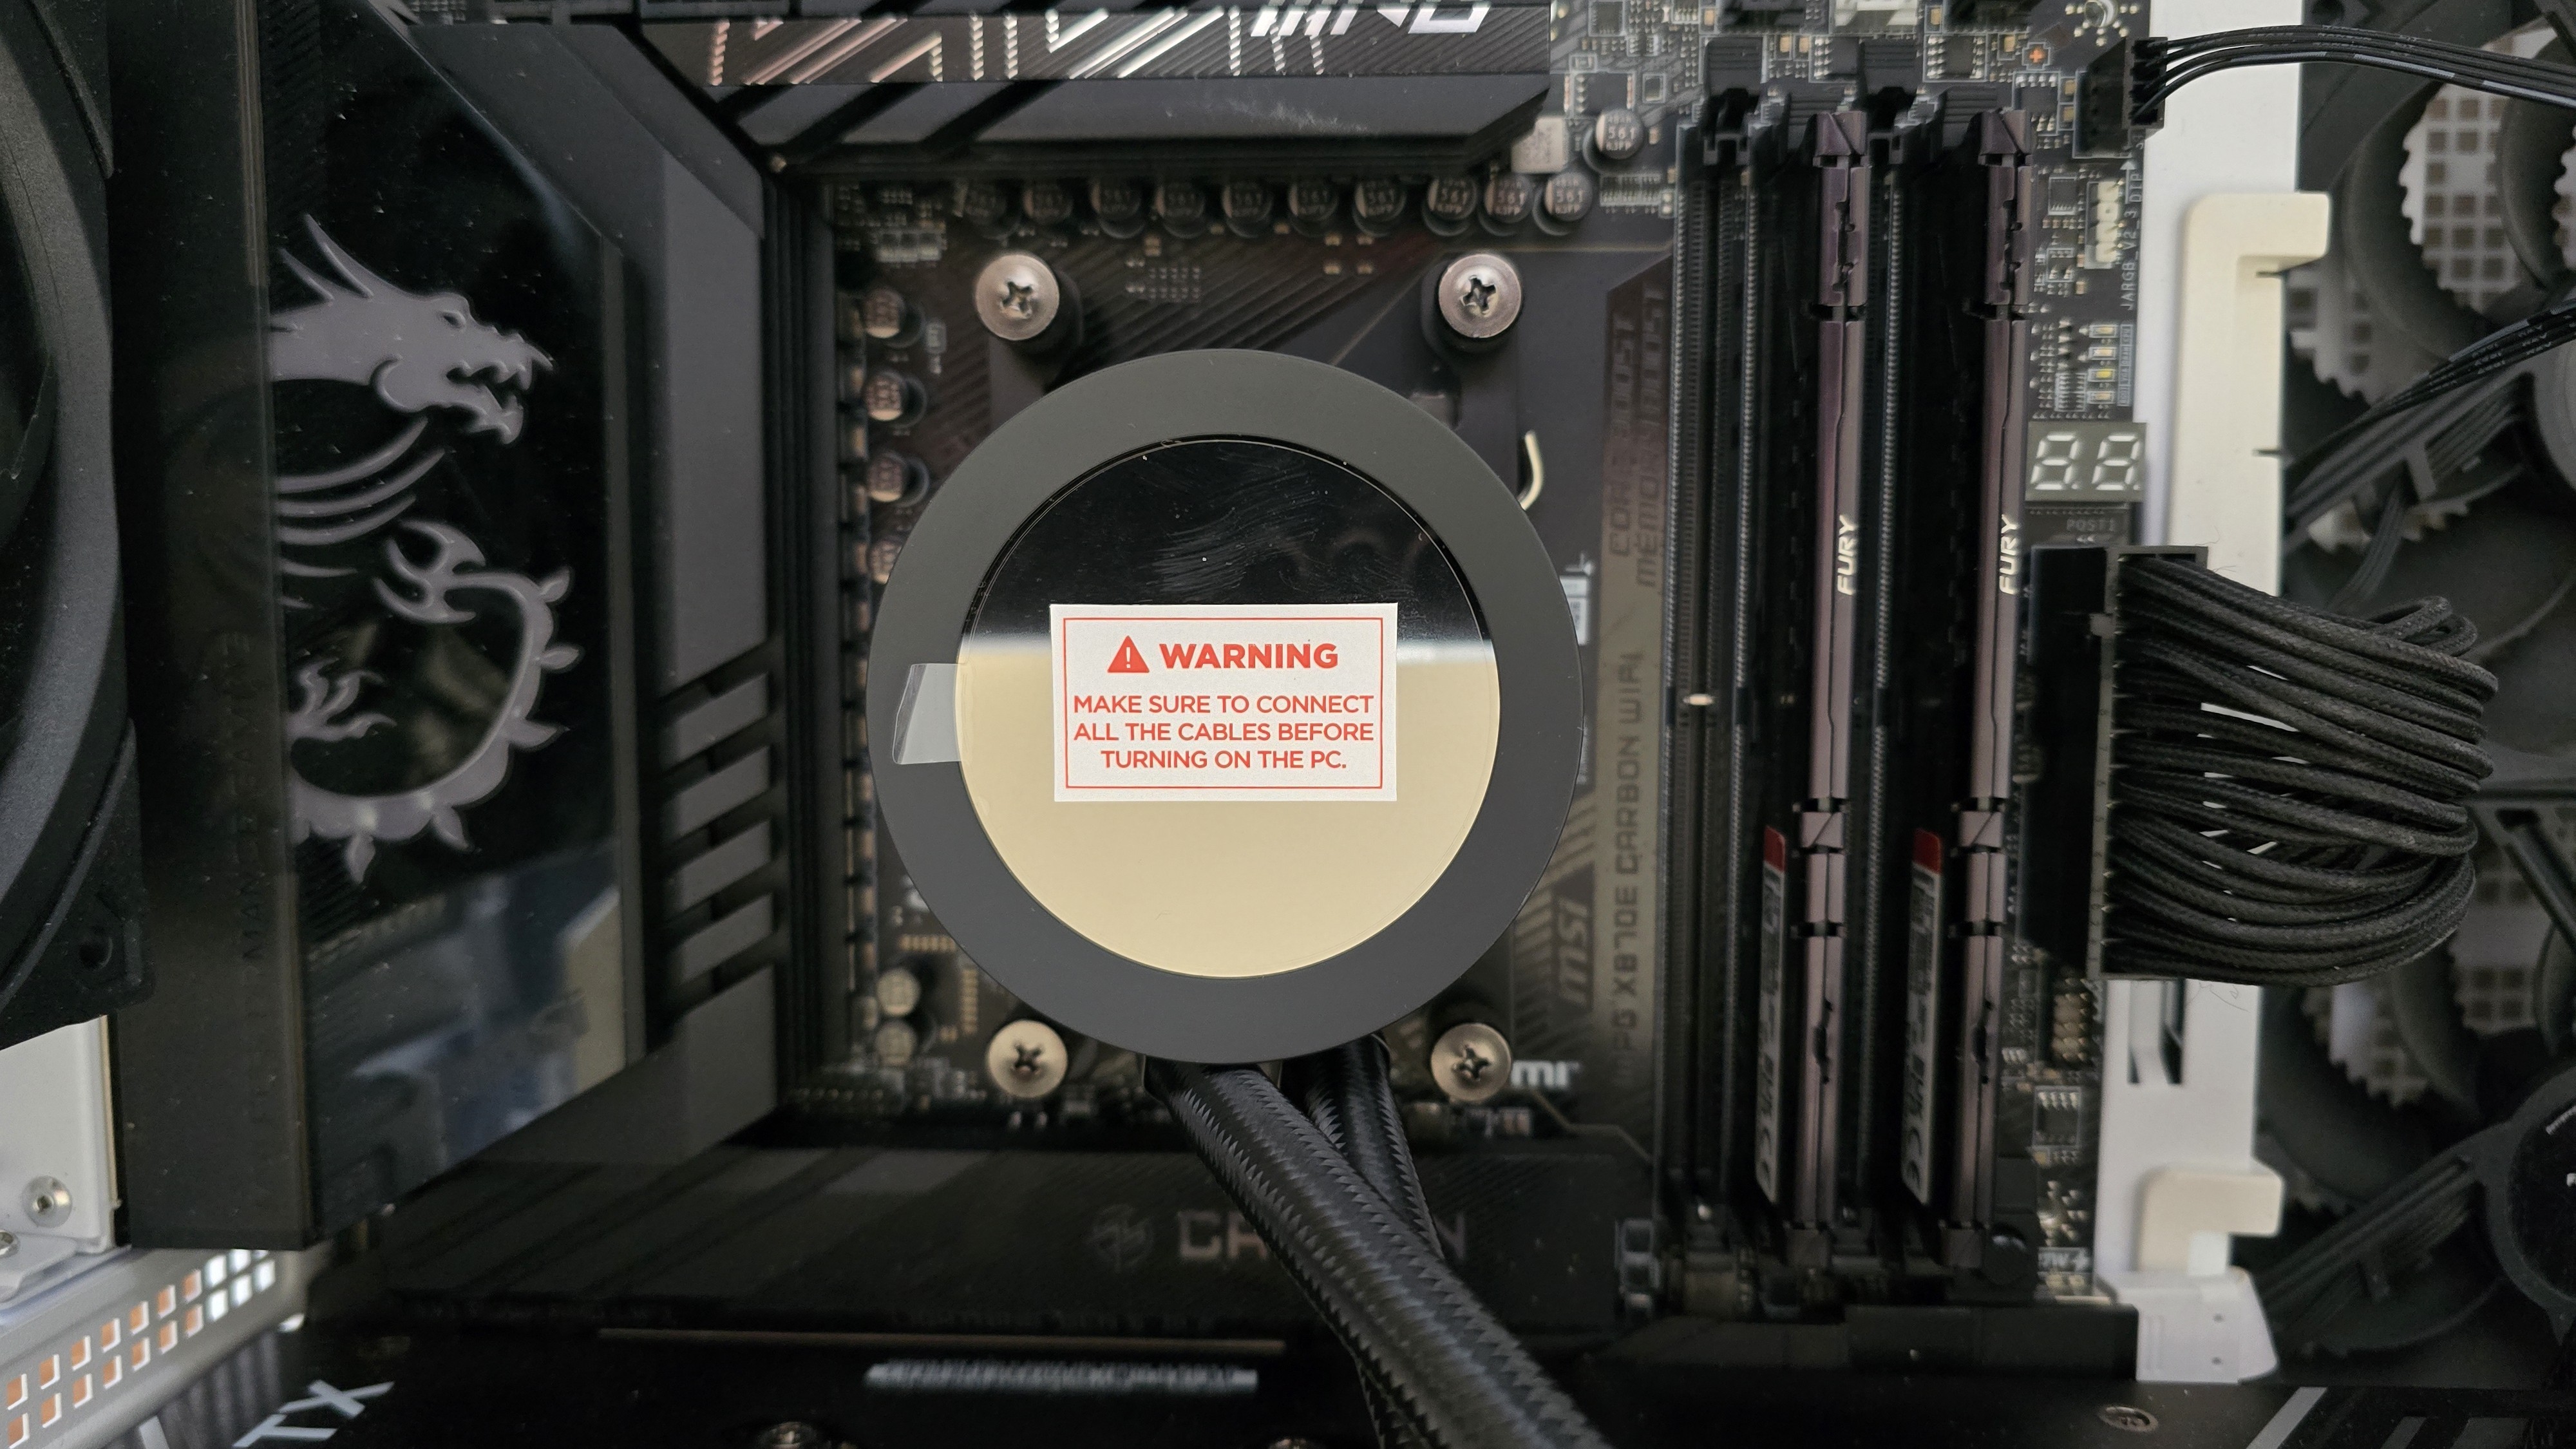
4. Next, you’ll need to connect the fan and CPU block wires, which have a few connections: PWM, SATA, and others that connect to the AIO and fans.
5. Once complete, turn on your computer. You’ll see that despite the extra cabling, the AIO has a very clean look and won’t cause the appearance of cable clutter!

Albert Thomas is a contributor for Tom’s Hardware, primarily covering CPU cooling reviews.
-
thestryker The quiet operation is nice, but the price premium to get it seems pretty high. Given the value options available it seems like NZXT, Corsair and Asus really capitalize on branding to push these expensive AIOs.Reply -
Albert.Thomas Reply
I agree. I'm simply happy to see better and more powerful cooling options hit the market. Sometimes it's been easy to think "we've hit peak cooling" but the reality is engineers continue to find ways to improve thermal performance and I think over the next year or two we'll find the market becomes more competitive than ever before!thestryker said:The quiet operation is nice, but the price premium to get it seems pretty high. Given the value options available it seems like NZXT, Corsair and Asus really capitalize on branding to push these expensive AIOs. -
thestryker Reply
Absolutely! That's why I'm really curious about the Thermalright Frost Vortex with the one larger heatpipe. Cooler Master has their 3D heatpipes coming with an additional 6mm pipe attached to an otherwise normal 8mm one. Hyte hopefully will have more of those double thickness radiator AIOs (I've heard the first set of the 360 is going to be a money loser for them due to delays and tariffs). Montech is getting into air cooling hoping to fill the Deepcool void in NA.Albert.Thomas said:Sometimes it's been easy to think "we've hit peak cooling" but the reality is engineers continue to find ways to improve thermal performance
I'm also hoping for more DRAM cooling options and am rather disappointed Team Group didn't release the one they showed last year. Thermalright seemed to have at least a prototype DRAM cooler that GN showed but it was just a quick flash on video. Cooler Master is joining the VRM fan on AIO club, but I'd still rather see more like Silverstone's IceMyst as I don't really think any of these would be good enough for DRAM cooling. Team Group has more of the AIO CPU + SSD coolers, but they should really do a CPU + DRAM version. -
Albert.Thomas Reply
I don't know exactly how feasible - or expensive - this would be, but with those upcoming motherboards with CAMM2 RAM, I'd like to see fatter air coolers that don't have to worry about RAM blocking their path. I would imagine that a properly designed extra large air cooler might actually work just as well as any current existing 360mm AIO!thestryker said:Absolutely! That's why I'm really curious about the Thermalright Frost Vortex with the one larger heatpipe. Cooler Master has their 3D heatpipes coming with an additional 6mm pipe attached to an otherwise normal 8mm one. Hyte hopefully will have more of those double thickness radiator AIOs (I've heard the first set of the 360 is going to be a money loser for them due to delays and tariffs). Montech is getting into air cooling hoping to fill the Deepcool void in NA.
I'm also hoping for more DRAM cooling options and am rather disappointed Team Group didn't release the one they showed last year. Thermalright seemed to have at least a prototype DRAM cooler that GN showed but it was just a quick flash on video. Cooler Master is joining the VRM fan on AIO club, but I'd still rather see more like Silverstone's IceMyst as I don't really think any of these would be good enough for DRAM cooling. Team Group has more of the AIO CPU + SSD coolers, but they should really do a CPU + DRAM version. -
wussupi83 Im curious if you were able to achieve a higher overclock on the 9950x with the cooler temps.Reply -
Albert.Thomas Reply
You might be able to, but as I'm using this CPU for cooler testing I don't want to delve into overclocking too much and accidentally damage it - I do not have the financial resources to replace an expensive CPU at the moment.wussupi83 said:Im curious if you were able to achieve a higher overclock on the 9950x with the cooler temps. -
lazerguyct Reply
Oh, NZXT the company with predatory pc rental scams and bait and switches. I get it. To me you can't seperate that from anything NZXT tries to sell. Lack of ethics is lack of ethicsAdmin said:NZXT’s Kraken Plus 360 RGB is a silent cooling assassin! We went hands-on, testing it with AMD’s Ryzen 9 9950X3D and Intel’s Core i7-14700K CPUs.
NZXT Kraken Plus 360 RGB Review: silent heat assassin : Read more -
Albert.Thomas Reply
Wait until you find out about the labor practices involved with making your cell phone.lazerguyct said:Oh, NZXT the company with predatory pc rental scams and bait and switches. I get it. To me you can't seperate that from anything NZXT tries to sell. Lack of ethics is lack of ethics
