Tom's Hardware Verdict
A stripped down diode laser with insane power, but lacks thorough instructions. Good for an advanced user who has some experience under their belt.
Pros
- +
Easy assembly
- +
Massive power
- +
Large cutting area
Cons
- -
Important safety features are extra
- -
No Wi-Fi
- -
Hard to aim
- -
Tool head’s attachment point is janky
Why you can trust Tom's Hardware
Laser cutters are getting faster, more powerful and a bit more dangerous for the uninitiated. The Wizmaker L1 36 Watt laser engraver and cutter is a prime example of a powerful machine that could use a bit more instruction and a few more features.
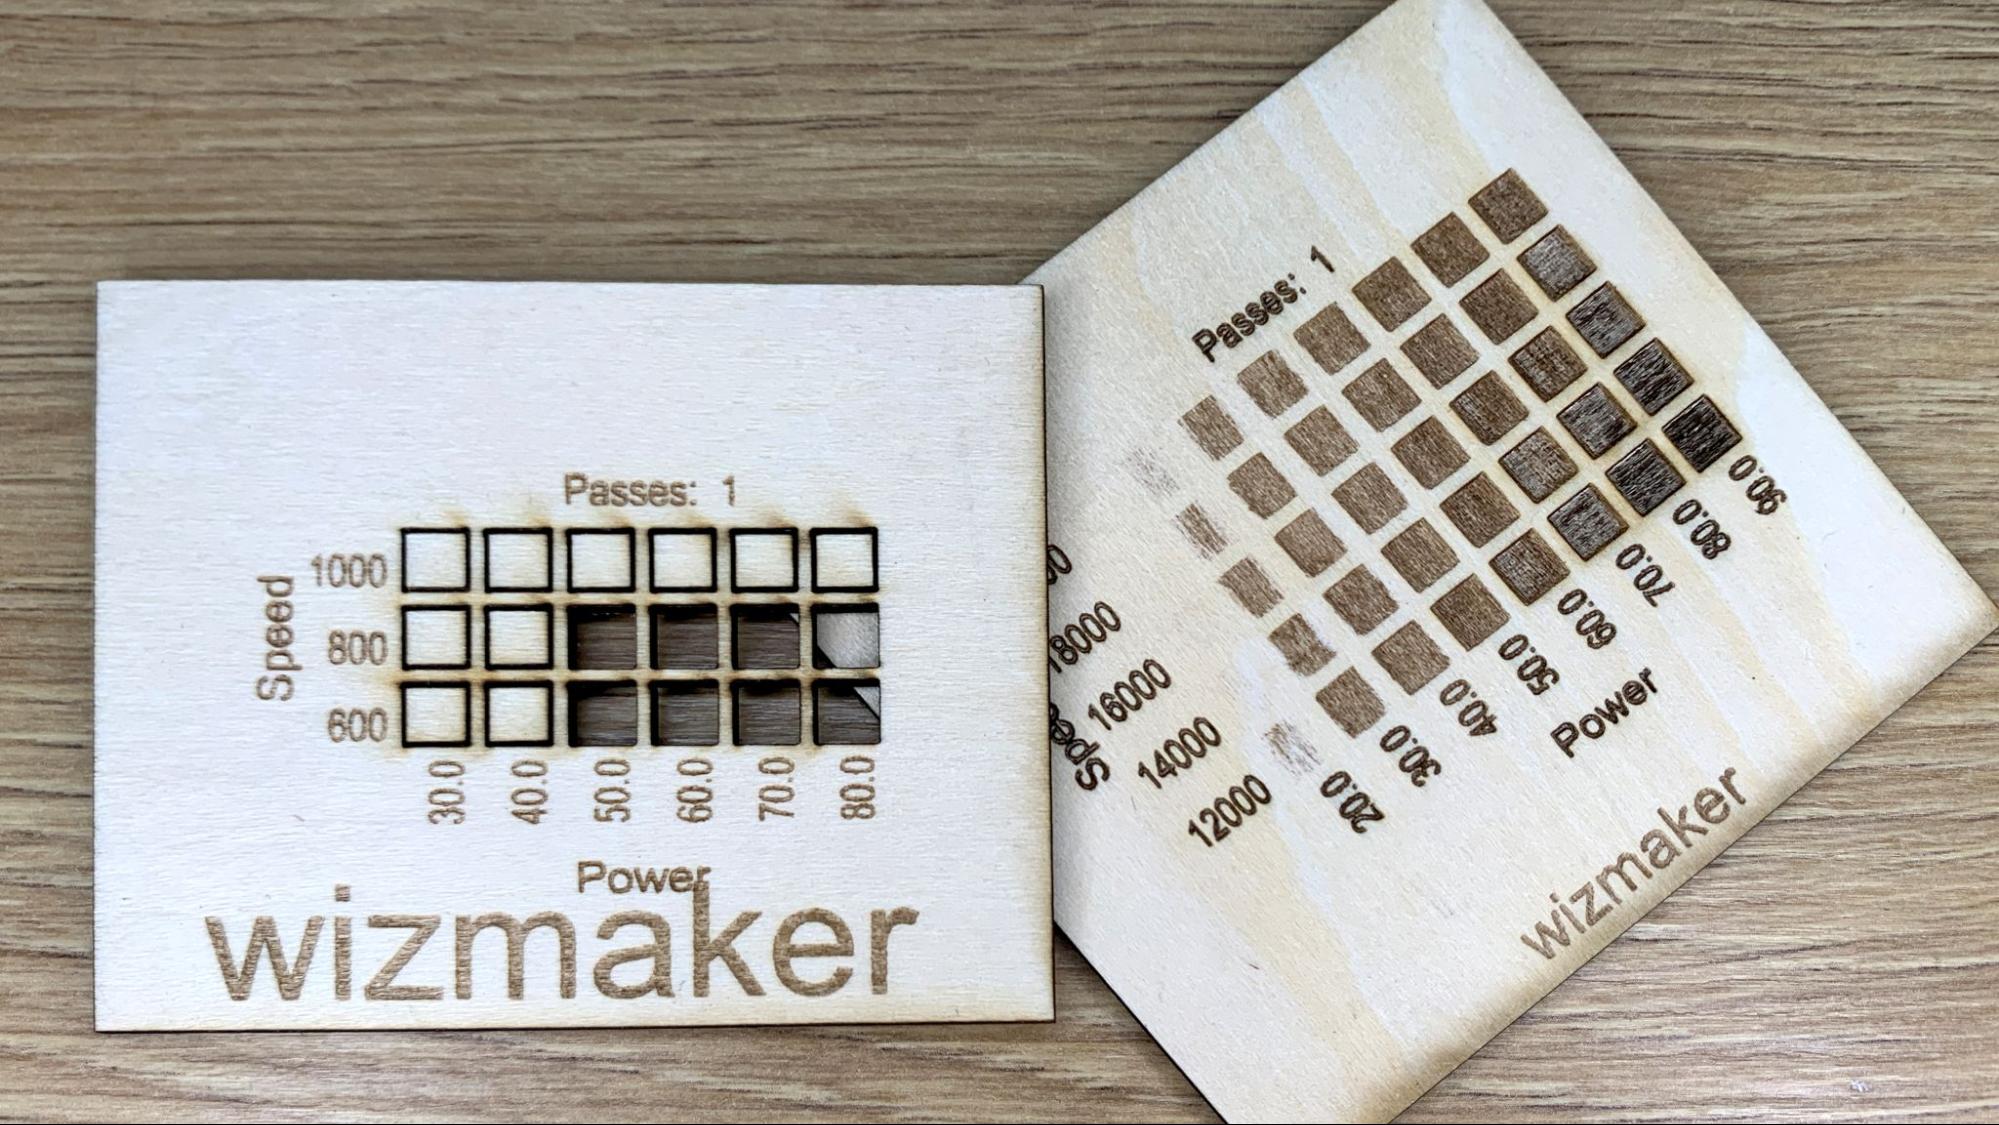
Wizmaker does not offer software of its own to operate the laser, so your best bet is LightBurn, a premium third party application that’s $60 to download. The PDF setting guide that Wizmaker made available on its website, at least at the time of our testing, appears to be cribbed from Atomstack, another laser manufacturer. Though it offered a starting point, I found the setting to be inadequate, causing me to scorch most of the samples that came with the laser. In the end I had to create my own test burns and experiment a lot to find proper settings.
This is not to say that the product is faulty – it’s an excellent, high-powered laser that produces crisp engravings and burns through thick materials in a single pass. The lack of tutorials and accurate material guide puts this laser in the “expert” category, and would be a great tool in the hands of someone who knows what they’re doing. The laser retails at $1,499 on Amazon and $1,199 on the Wizmaker website, making quite a bargain compared to similar lasers of this power.
Specifications: Wizmaker L1 36W
| Machine Footprint | 647.7 x 711.2mm (25.5 x 28in) |
| Engraving Size | 400 x 400 mm (15.75 x 15.75 inches) |
| Material | Cardboard, wood, bamboo, rubber, leather, stone, metal, painted glass, opaque acrylic |
| Laser Type | Diode |
| Laser Power | 36W |
| Laser Wave Length | 455 nm |
| Engraving Accuracy | 0.06*0.08mm |
| Cutting Platform | Additional Cost |
| Connectivity | USB |
| Interface | None |
Wizmaker L1 36W: Included in the Box
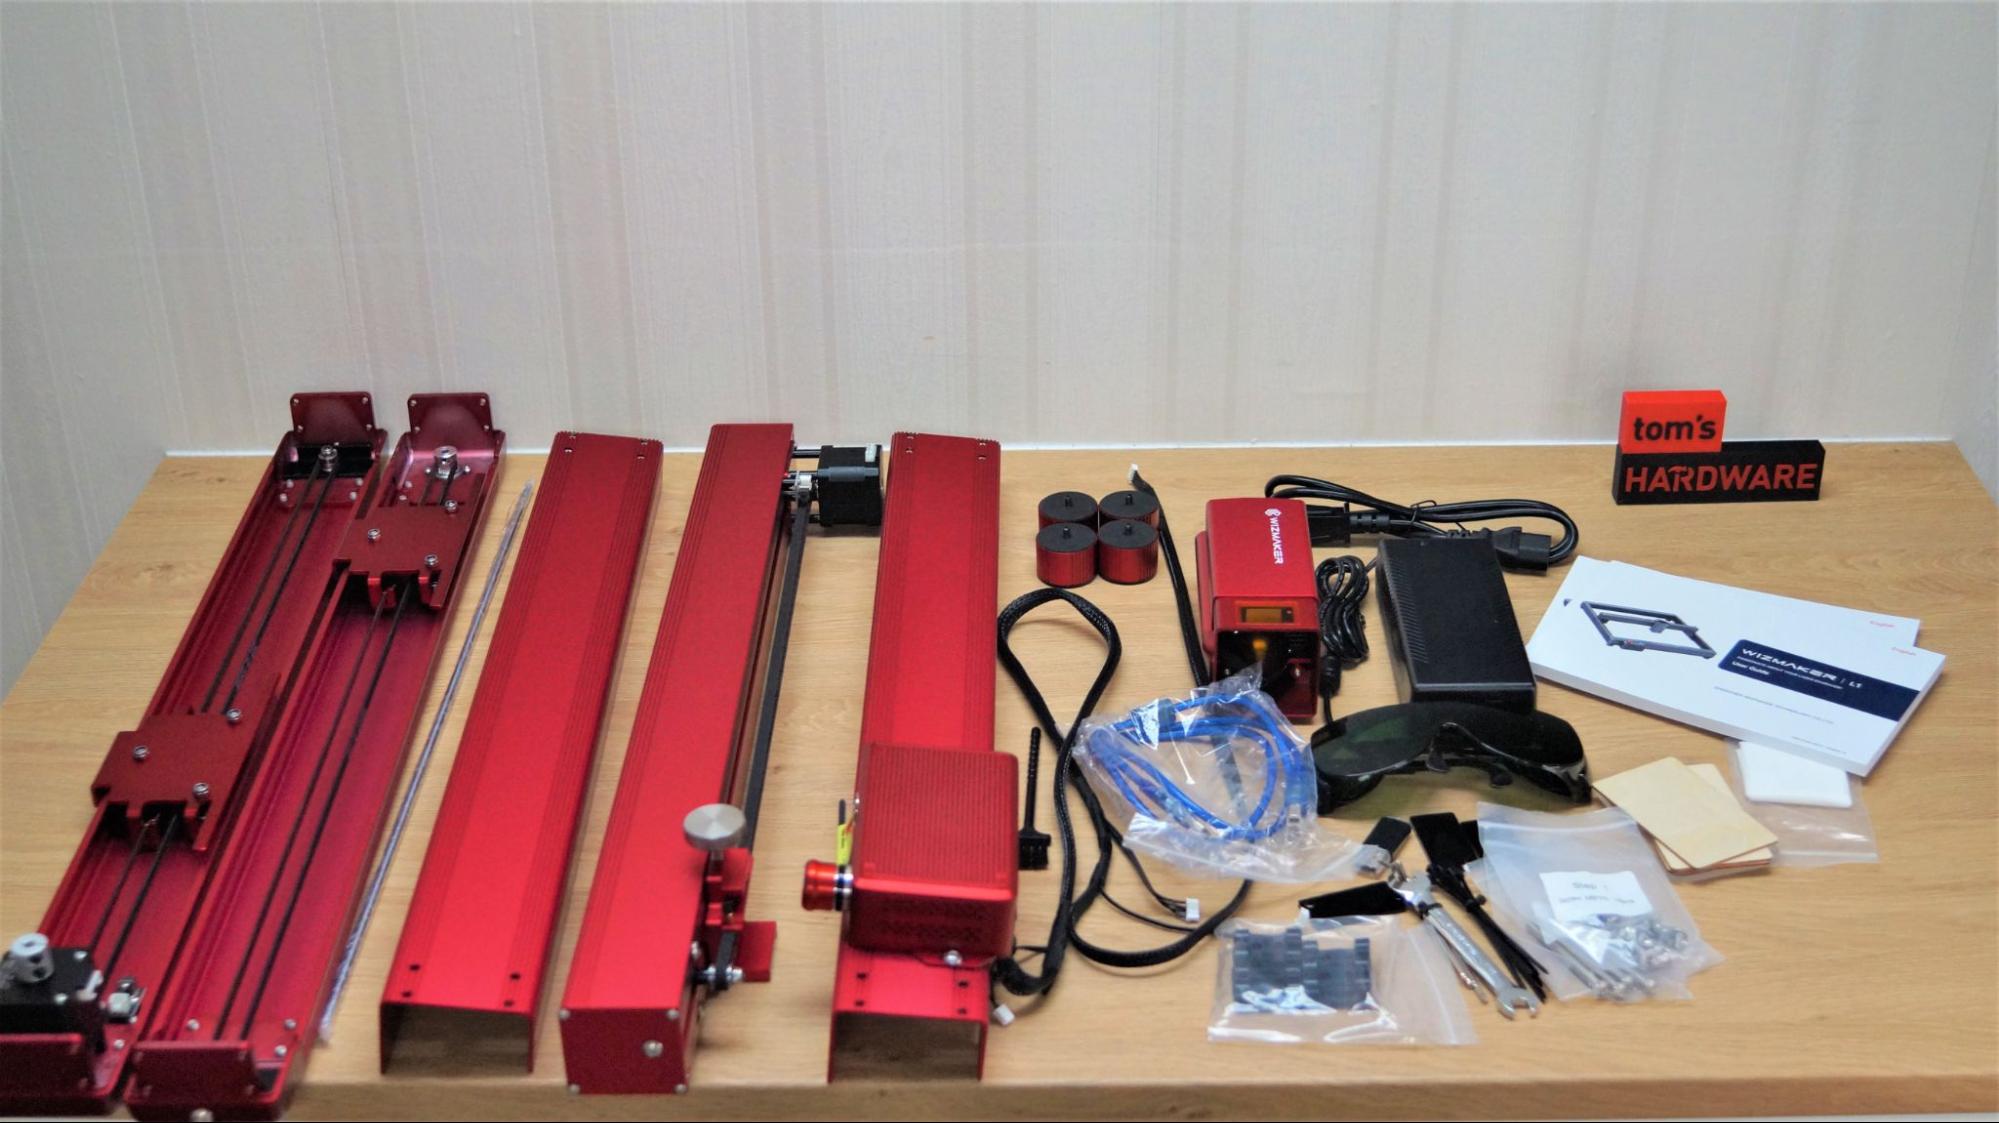
The Wizmaker L1 comes with everything you need to build the laser, a pair of laser safety glasses and a few small samples of wood and acrylic.
Design of the Wizmaker L1 36W
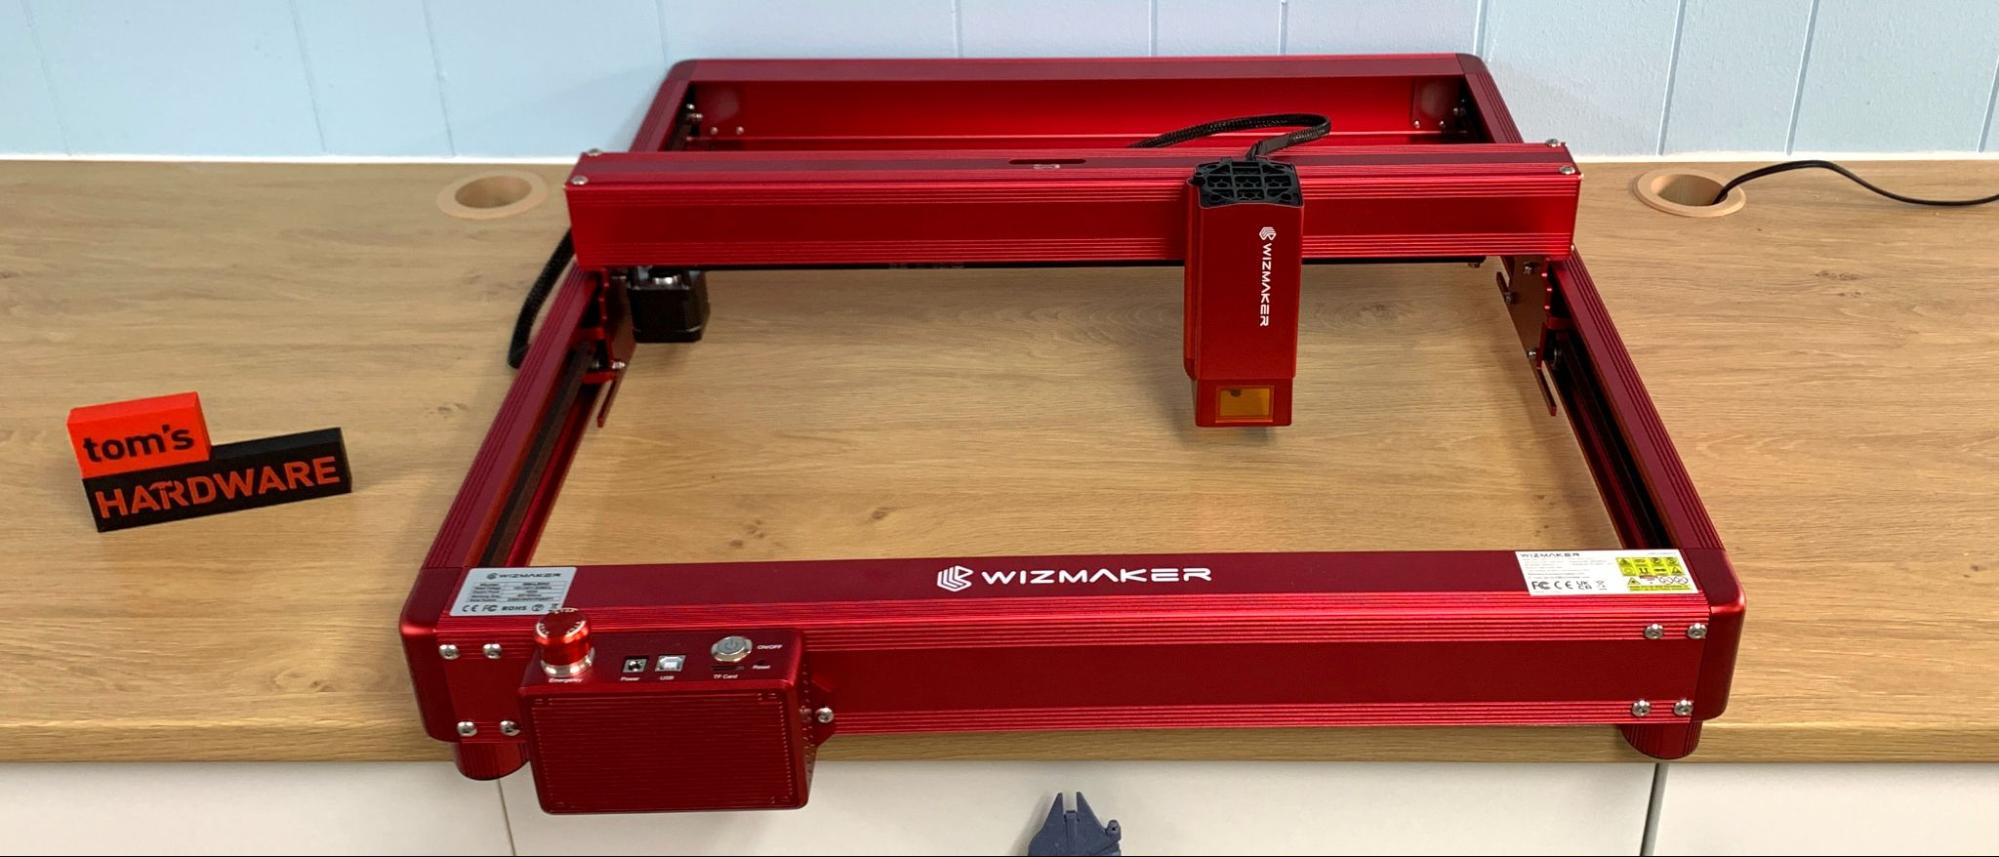
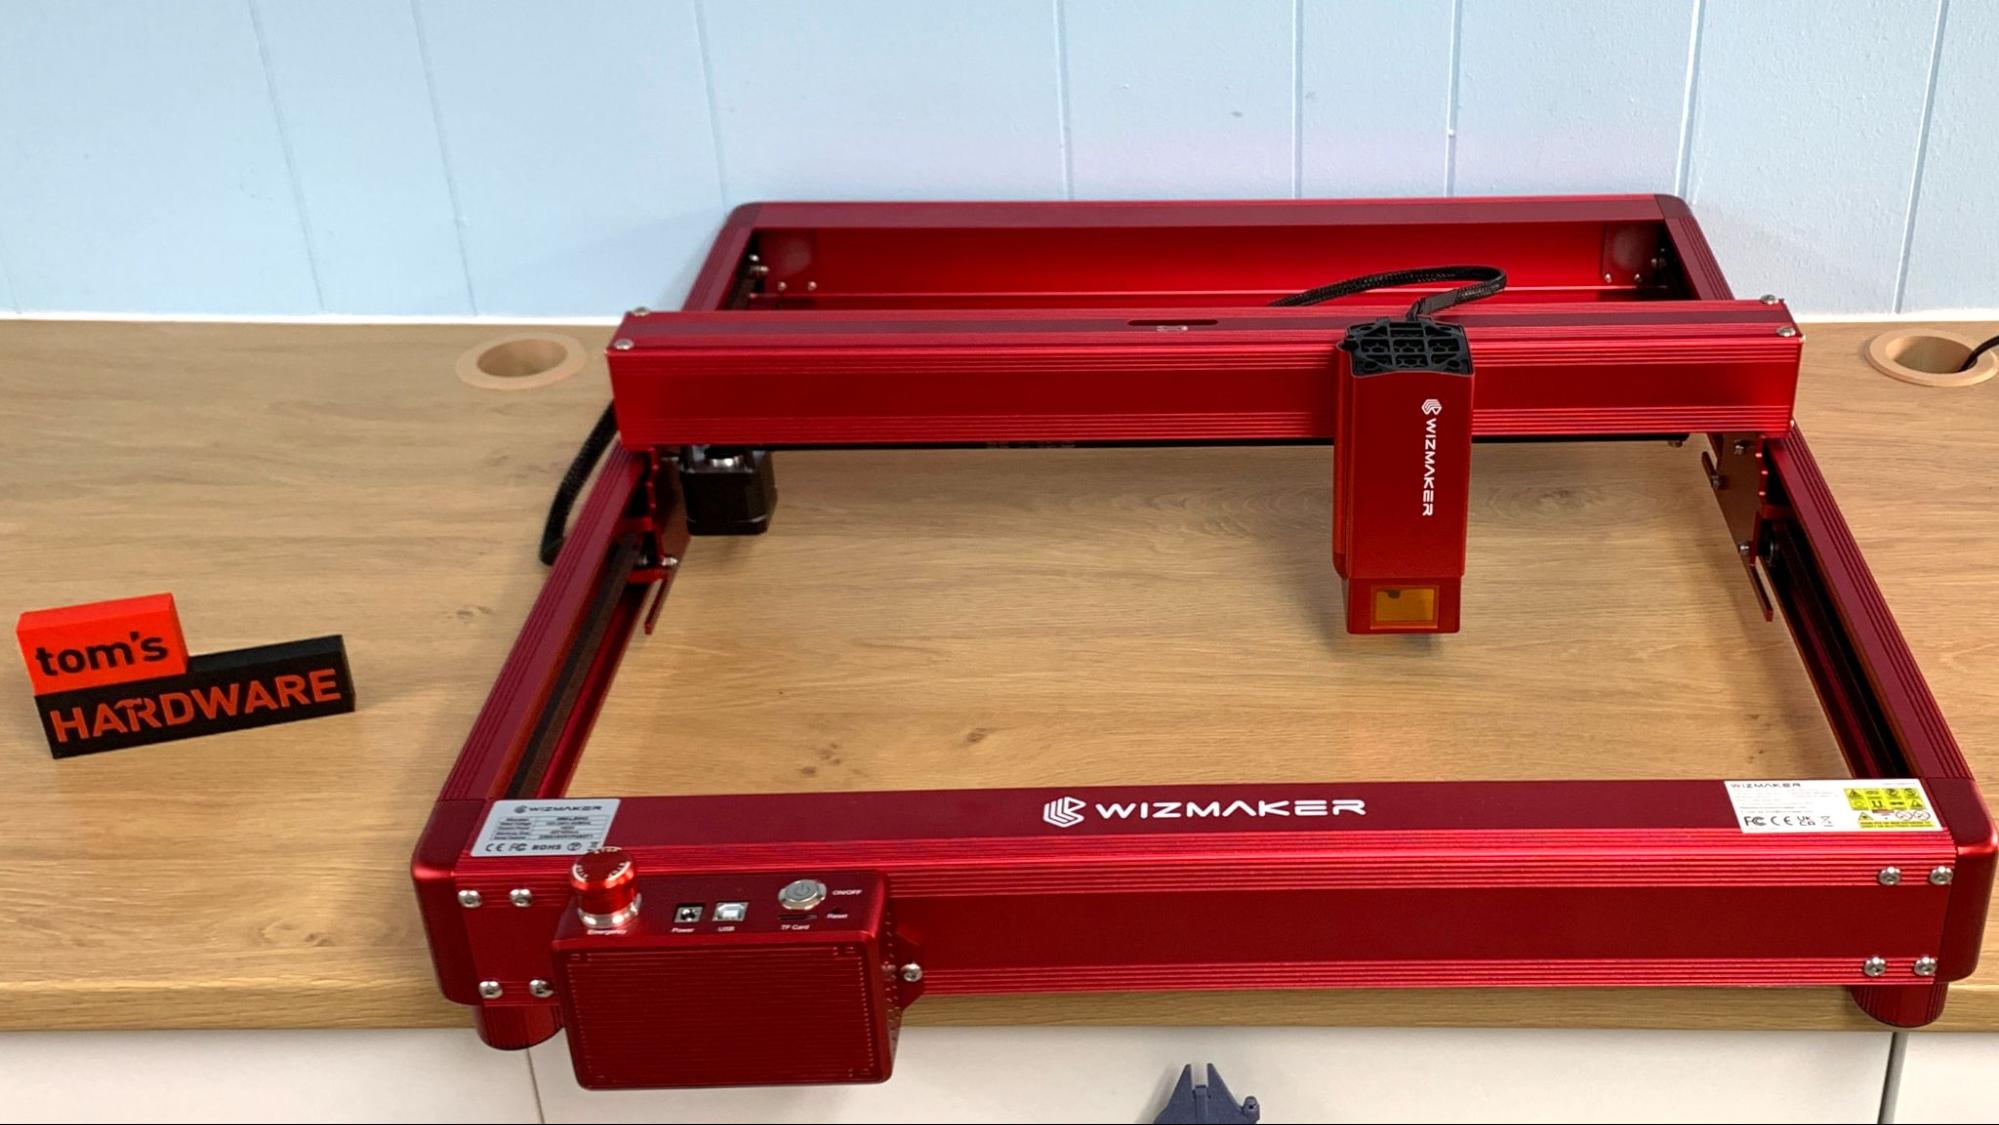
The Wizmaker L1 is an open frame laser, consisting of an aluminum frame and X-axis gantry with no screen. It’s a nice red color with cables hidden inside the frame for a professional look. It comes with rubber bottom feet to lift it away from your table.
The Wizmaker L1 has a 32 bit motherboard for speedy processing and a fine .06mm laser point for accuracy. The gantry rolls on the same v-slot wheels as inexpensive 3D printers. There’s no screen, but a port is included if you want to purchase one as an upgrade.
The laser can only operate while tethered to a computer as there is no Wi-Fi radio or SD card reader. This means that you’ll need to have a laptop you can bring to your workshop and place it within cord’s reach. I have LightBurn installed on both my laptop and desktop, so I was able to design patterns on the PC and share them with the laptop for burning.
Get Tom's Hardware's best news and in-depth reviews, straight to your inbox.
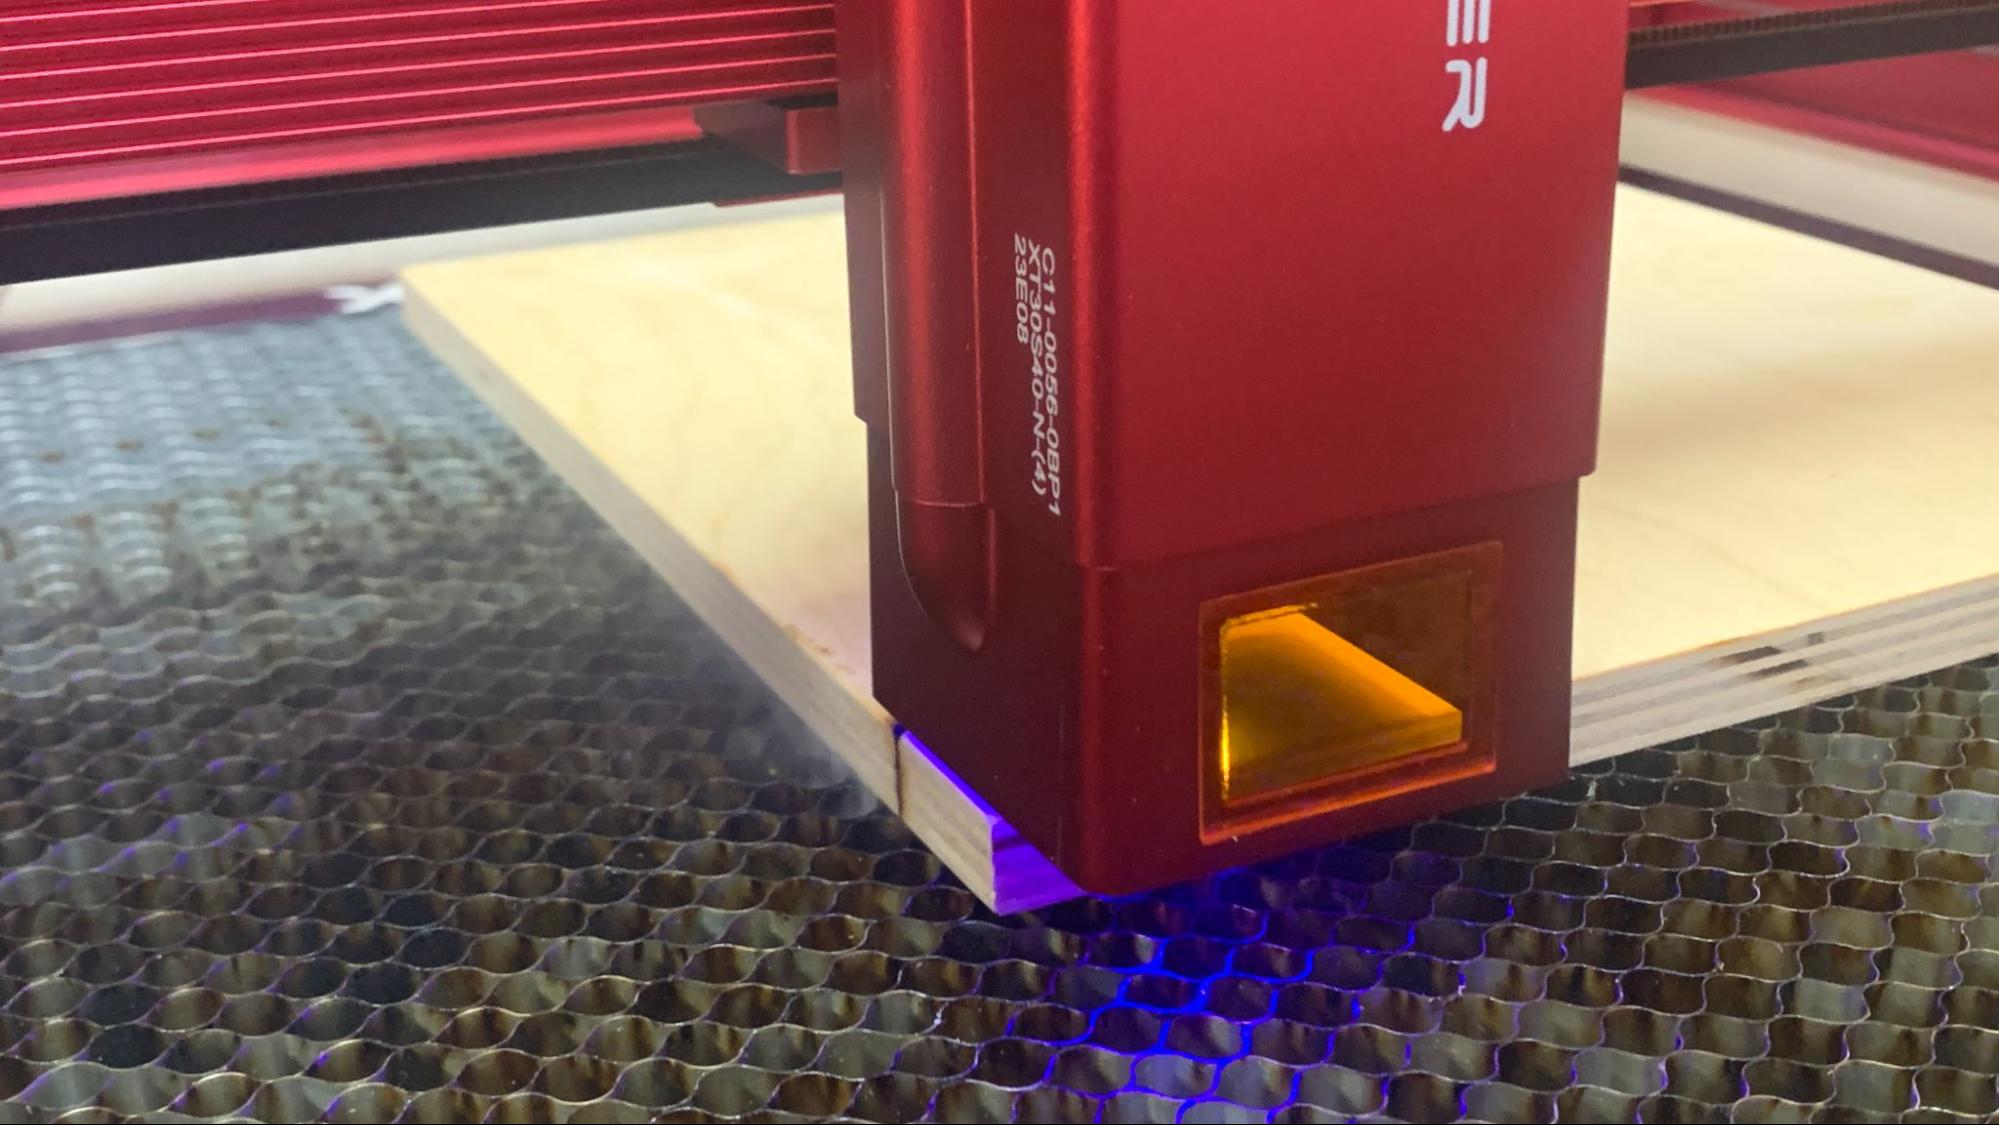
The laser is hooded for safety, with a single laser safe window on the front to examine the beam. There’s still a small gap between the bottom of the hood and your materials, so you’ll still want to wear the safety goggles provided.
Focusing the laser is simple – perhaps a little too simple. A single screw on the gantry holds the tool head in place. There’s no rubber to increase the grip and if you don’t get it tight enough, it will slip. A slab of clear acrylic comes with the laser, which is placed on the material you wish to engrave. You place the tool head on the acrylic and tighten the screw. This method is simple and effective, but you’ll have to make sure you don’t lose the acrylic slab.
There’s no targeting beam, so lining up the laser will need to be done by eyeball or with a jig and accurate calculations.
The machine doesn’t include anything to protect your work surface, though a metal panel is available for $60. I used a cement board from the hardware store, combined with a honeycomb plate I had from a smaller machine. The same goes for an enclosure, which is sold for $189, and an air assist for $119. These accessories greatly enhance both the quality of your project as well as the breathability of your room.
I should note that the laser’s frame size of 25.5 x 28 inches is too big to fit on a standard countertop. I had to place the laser sideways on my studio’s IKEA counter, which made operating the laser somewhat awkward. I would highly recommend measuring your work surface first to make sure you have a large enough space.
Assembling the Wizmaker L1 36W
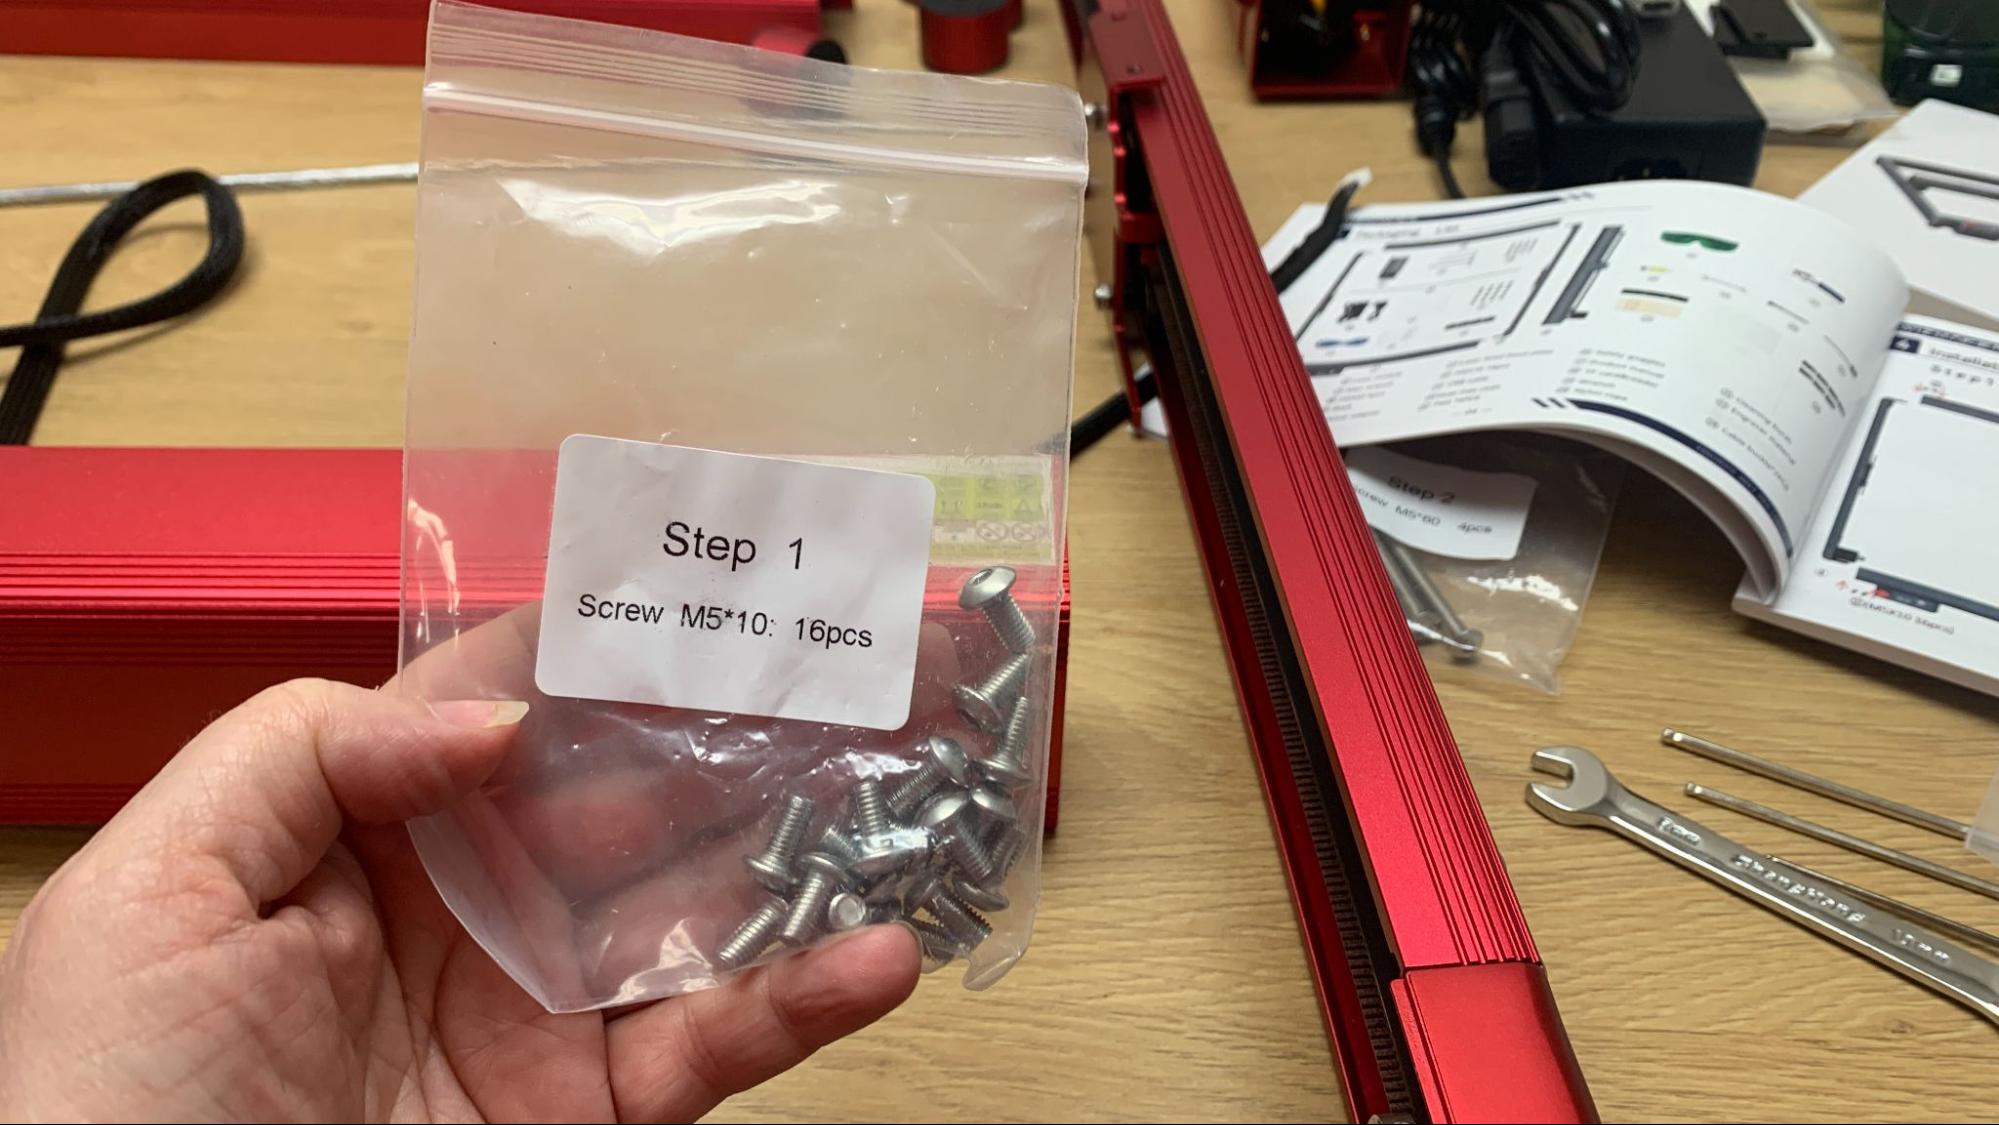
The Wizmaker arrives in kit form and is very easy to put together, with the X-axis module preassembled, the belts already threaded into channels on the Y-axis. The wiring harness is easy to sort out and just plugs into a few obvious connections. It took me about 30 minutes to set up.
Safety Precautions for the Wizmaker L1 36W
The Wizmaker is a Class 4 laser that can damage your eyes and burn skin. It also produces smoke and fumes while engraving or cutting materials. You must take precautions to operate the machine safely. Use this and any other laser at your own risk.
The Wizmaker is equipped with a safety shield over the laser module. However, there is a slight gap between the shield and the material. Because of this gap, you must always wear safety glasses that protect you from the 455 nm (blue) wavelength light. A pair is provided with the machine.
The optional enclosure is well worth the extra cost, as it completely seals the laser from view. It also helps control smoke emitted from the materials that you’re burning. A small fan is included to help pull the air through a hose, which you can then hook up to a vent or other purification system.
Prevent pets and other people from observing the laser while in use.
Since the laser is literally burning material, never allow it to operate unattended and have a fire extinguisher handy just in case.
This is an open-frame device and does not come with anything to protect your work surface. Wizmaker also makes a honeycomb work panel specifically for diode lasers that protect your table while also preventing your pieces from becoming charred.
Some materials should not be burned with a laser due to their chemical makeup – they could melt, catch fire or produce toxic fumes. Dallas Maker Space has published a list of safe and hazardous materials to use with their laser. The list of no-nos includes plastics, fiberglass and certain foams.
The laser lens can get dirty from smoke and fumes. You will need to wipe it clean – while unplugged – before each laser session. If it’s allowed to become dirty, the laser will lose some of its capability.
Software for Wizmaker L1 36W
Wizmaker doesn’t provide any software for the laser, but does direct you toward the free and open source LaserGRBL and premium LightBurn software. The laser comes with a profile for each app.
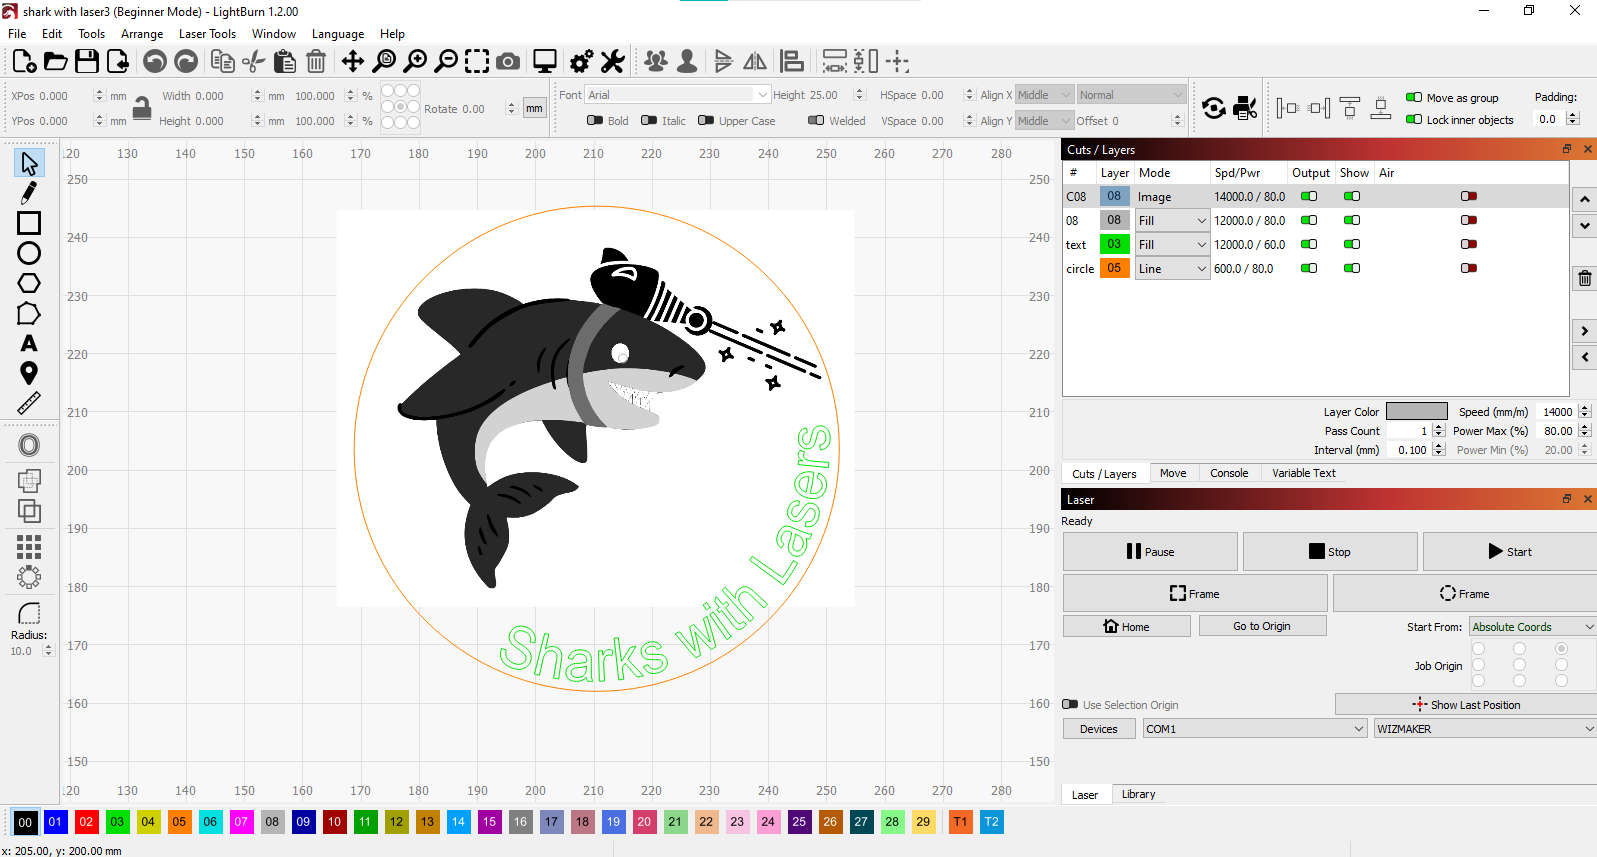
I used LightBurn and clip art from Canva for these tests.
Engraving / Cutting with the Wizmaker L1 36W
The ability to cut or engrave materials is determined by the speed and power settings of the laser. The Wizmaker is a high power, 36-watt laser, and cuts through most materials up to 18mm with ease. Thicker materials may require several slow passes at higher power.
The laser came with a PDF sheet of suggested settings for a wide assortment of materials, but I found them to be wildly inaccurate. I had to run my own tests to dial in the machine’s settings, which is generally a good idea anyway.
The Wizmaker doesn’t have a camera to help line up your project, nor does it have a targeting crosshair. I had to line up projects by eyeball or with a jig.
Because the Wizmaker has a powerful 36-watt laser you can both engrave and cut many materials such as wood, acrylic, metal and stone. A long list of materials and suggested settings is located on Wizmaker’s website. These settings are not very accurate and should only be used as a starting point. You’ll still want to run your own tests.
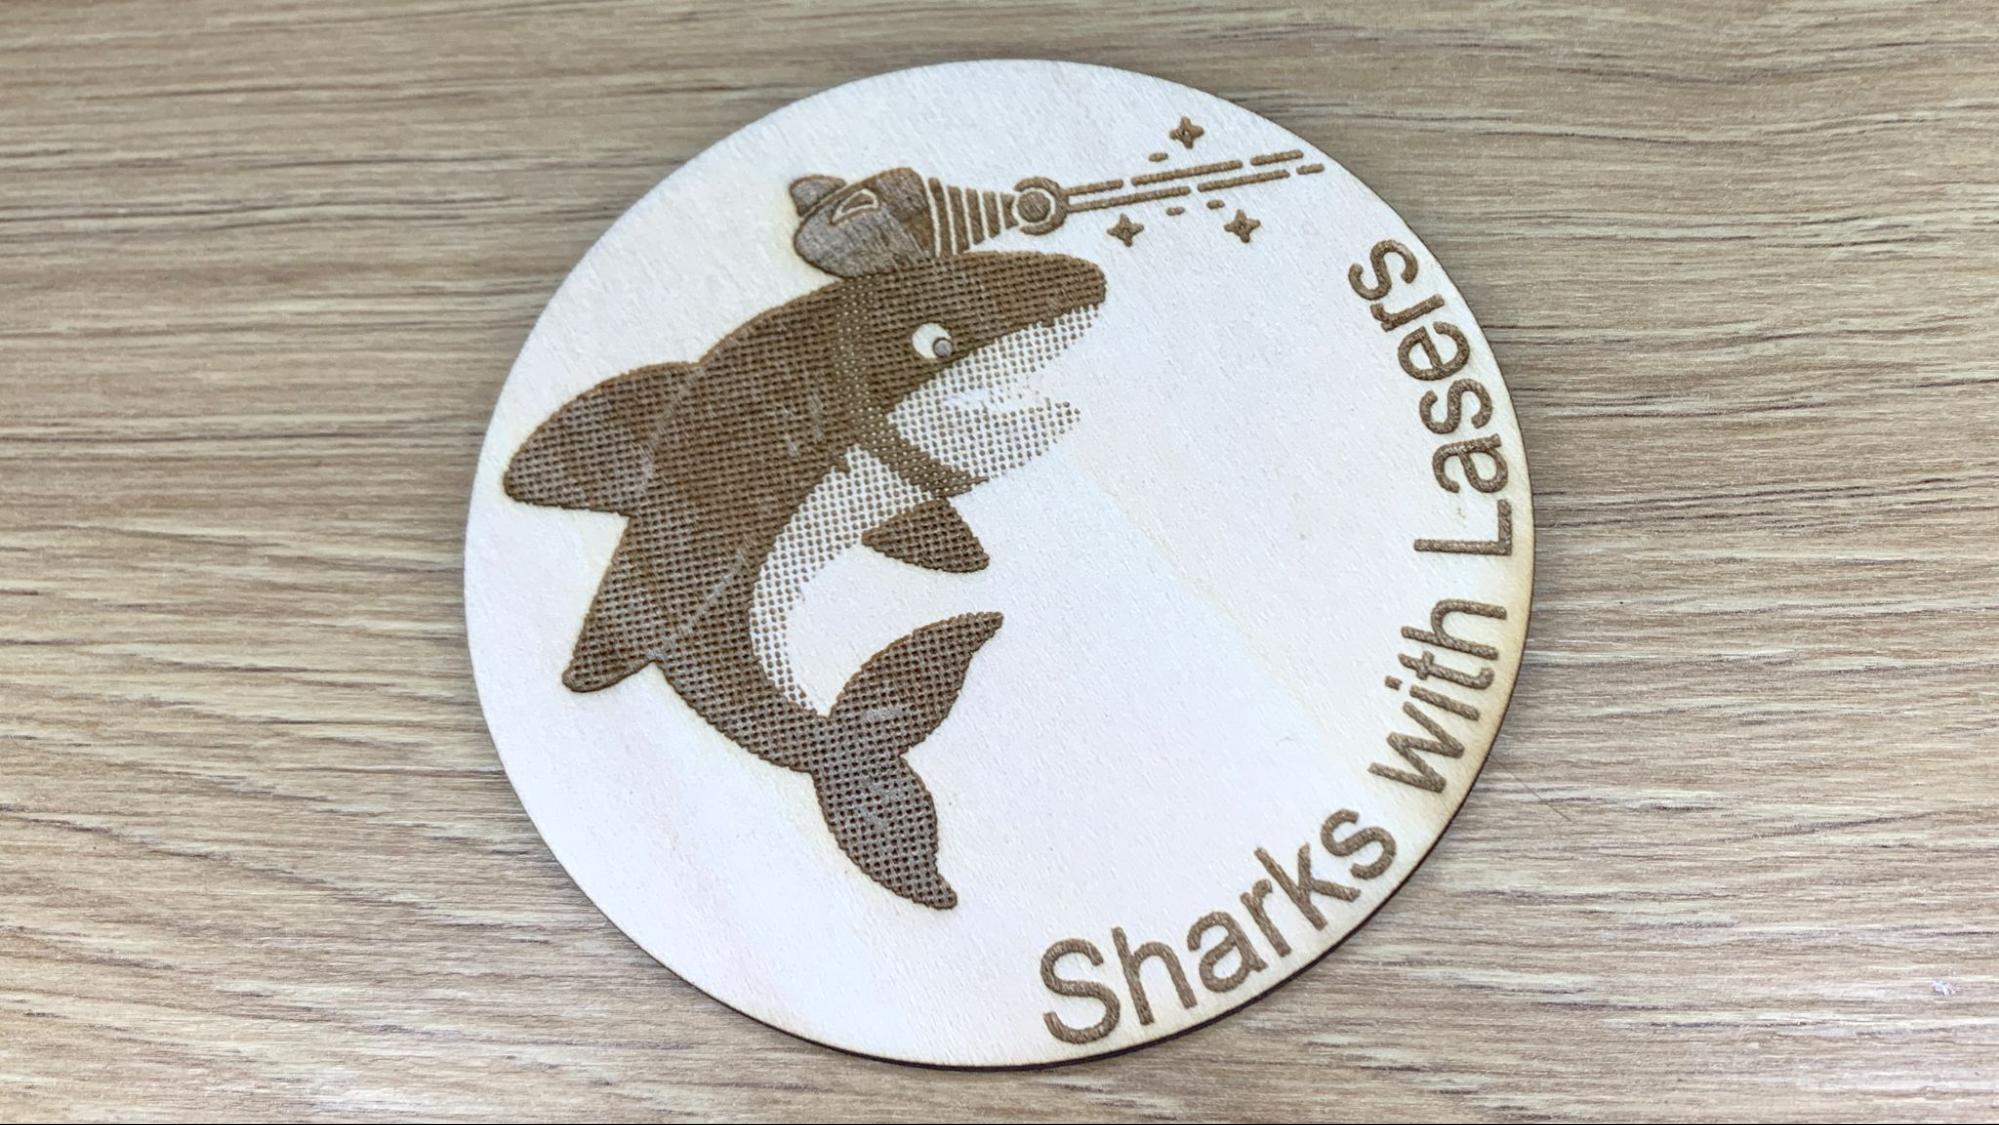
The first thing I tested was my laser shark clip art that I made on the design app Canva. I used a 3mm thick basswood sheet I picked up at Micro Center. This took a couple attempts to get an image mode and power that looked clean, though there are still some discolorations at the edge. It printed quickly with deeply set, sharp details, taking about four minutes and 7 seconds to burn. The image is set to halftone, and both it and the text ran at 12000 mm/minute with 80% power. The circle was cut out at 600 mm/minute at 80% power.
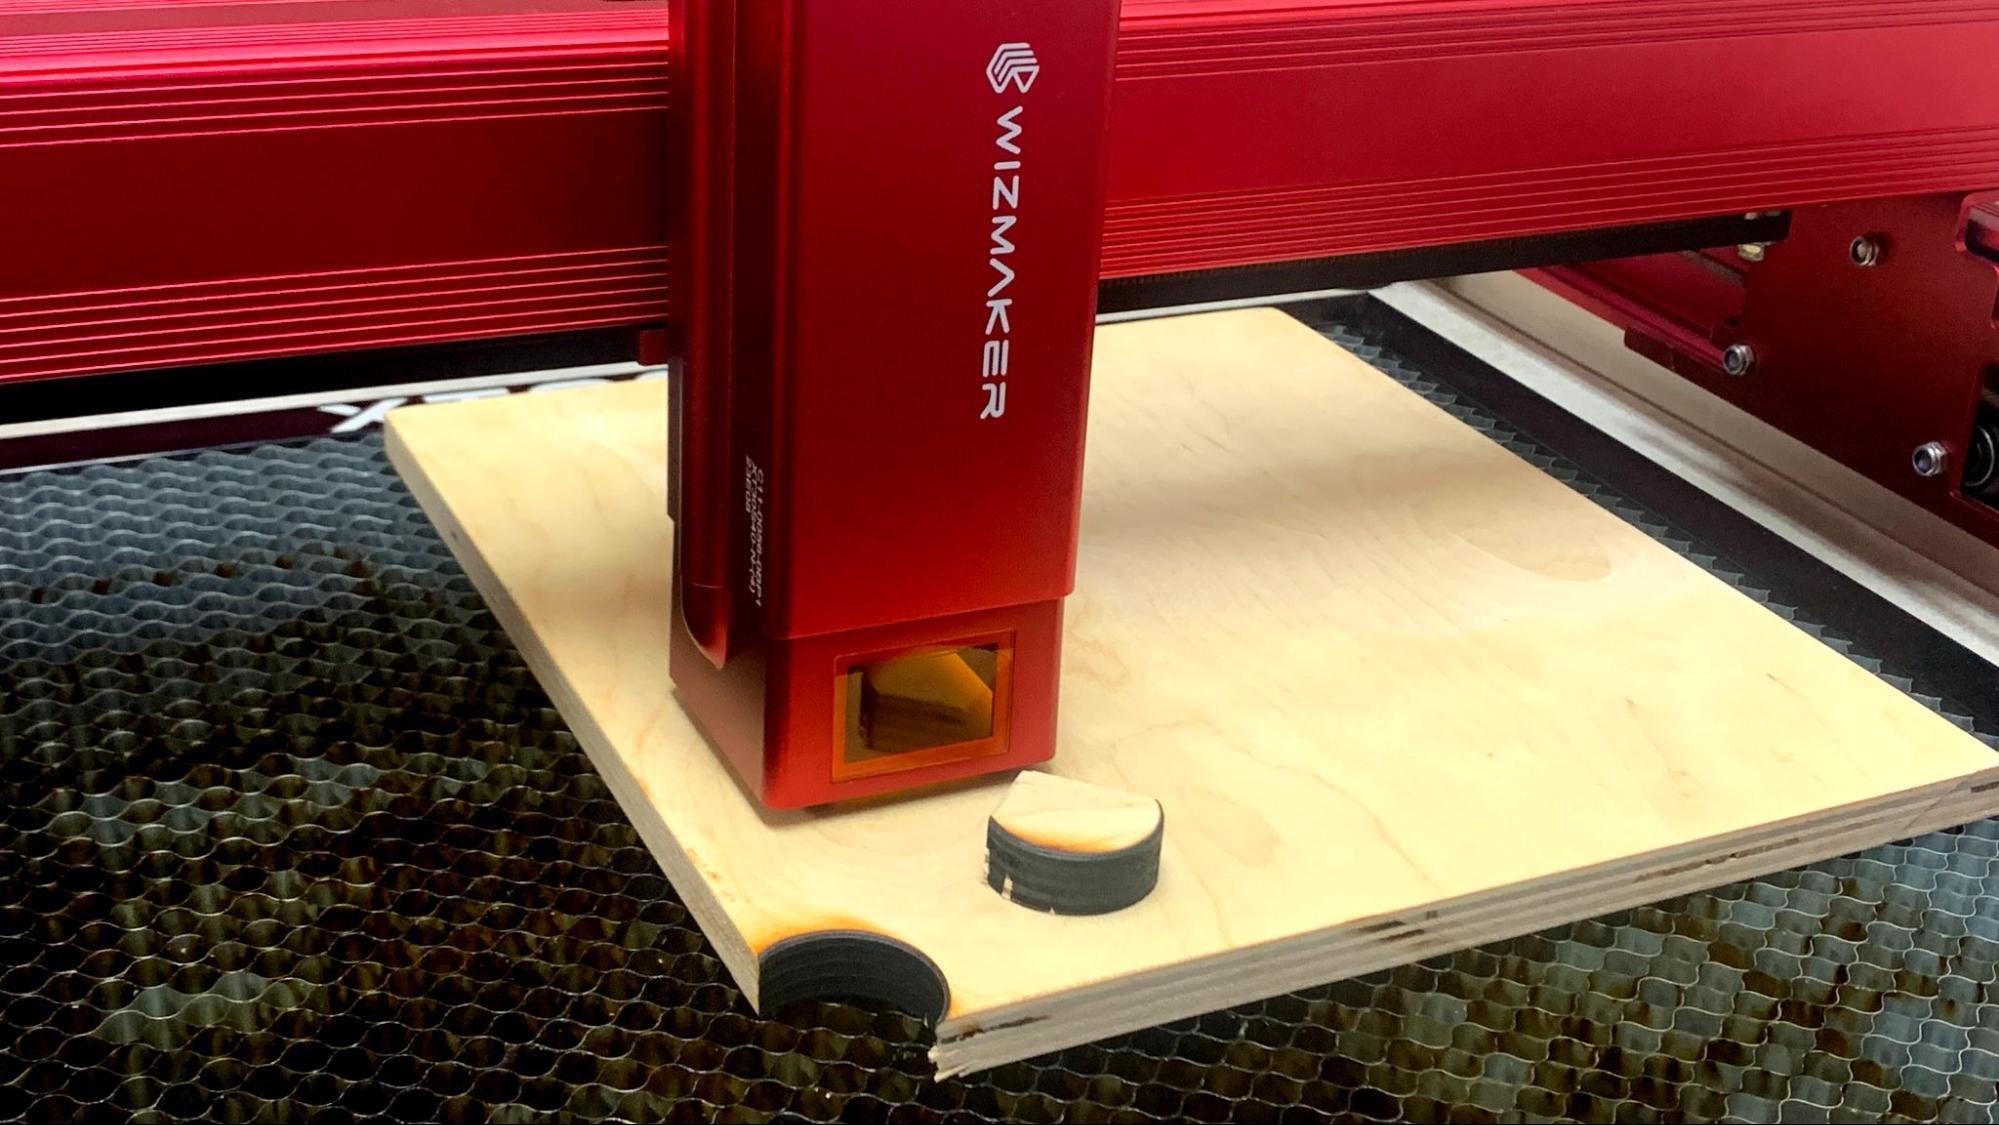
To test the power of the Wizmaker, I sliced a chunk off this ¾ inch plywood board. Running at 100 mm/minute and 80% power, the laser sliced through in one pass, taking just 58 seconds. The edges are well charred, but it had no problems.
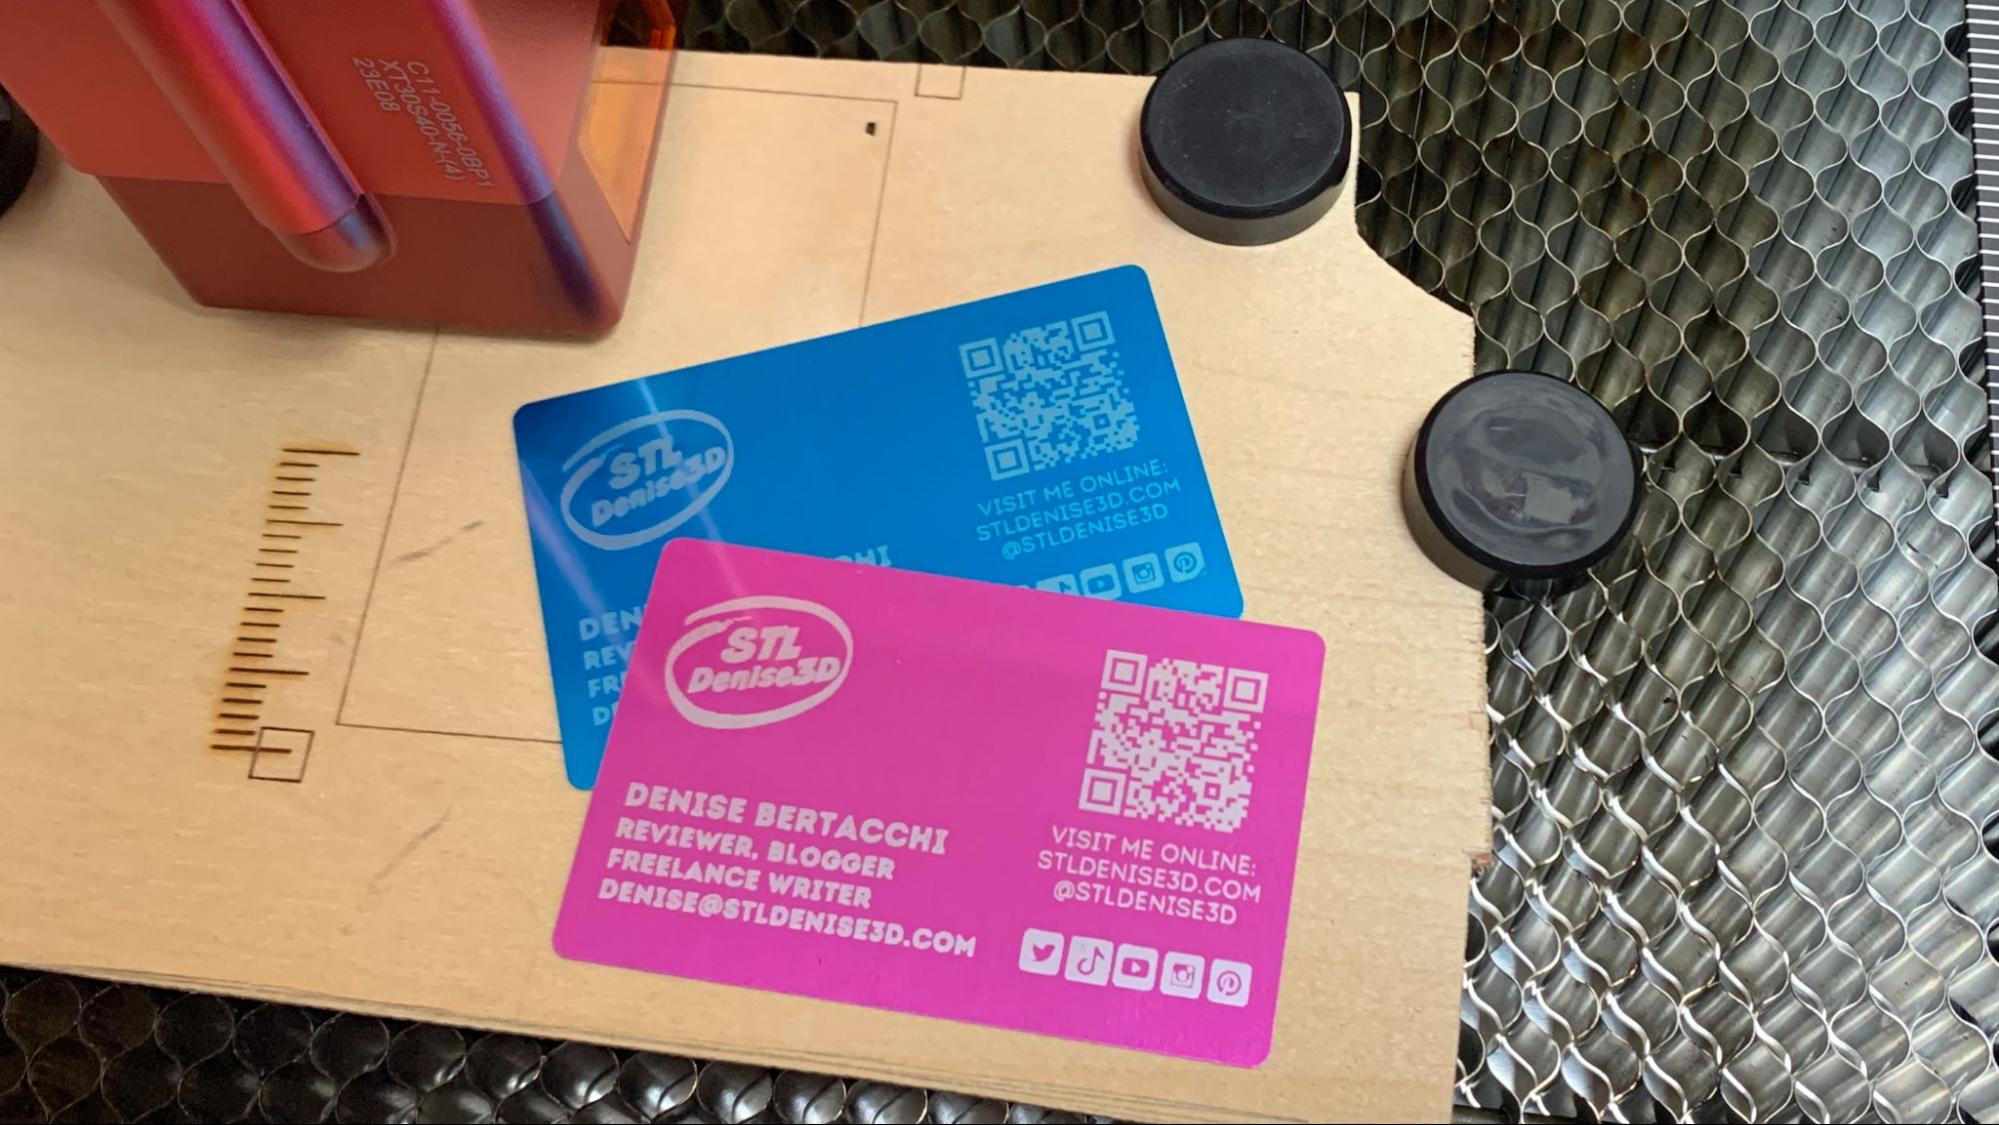
The Wizmaker didn’t come with any metal to test, so I grabbed a couple aluminum alloy business cards from my stash and burned them. The cards needed to be taped to a jig I whipped up on a piece of scrap board for both placement and to prevent them from blowing away from the tool head’s cooling fan.
This business card was set up in Canva, imported into LightBurn where it was then traced. The cards were engraved 15,000 mm/minute at 80% power and took one minute and 54 seconds each. The text is clean and legible and the QR Code works when scanned.
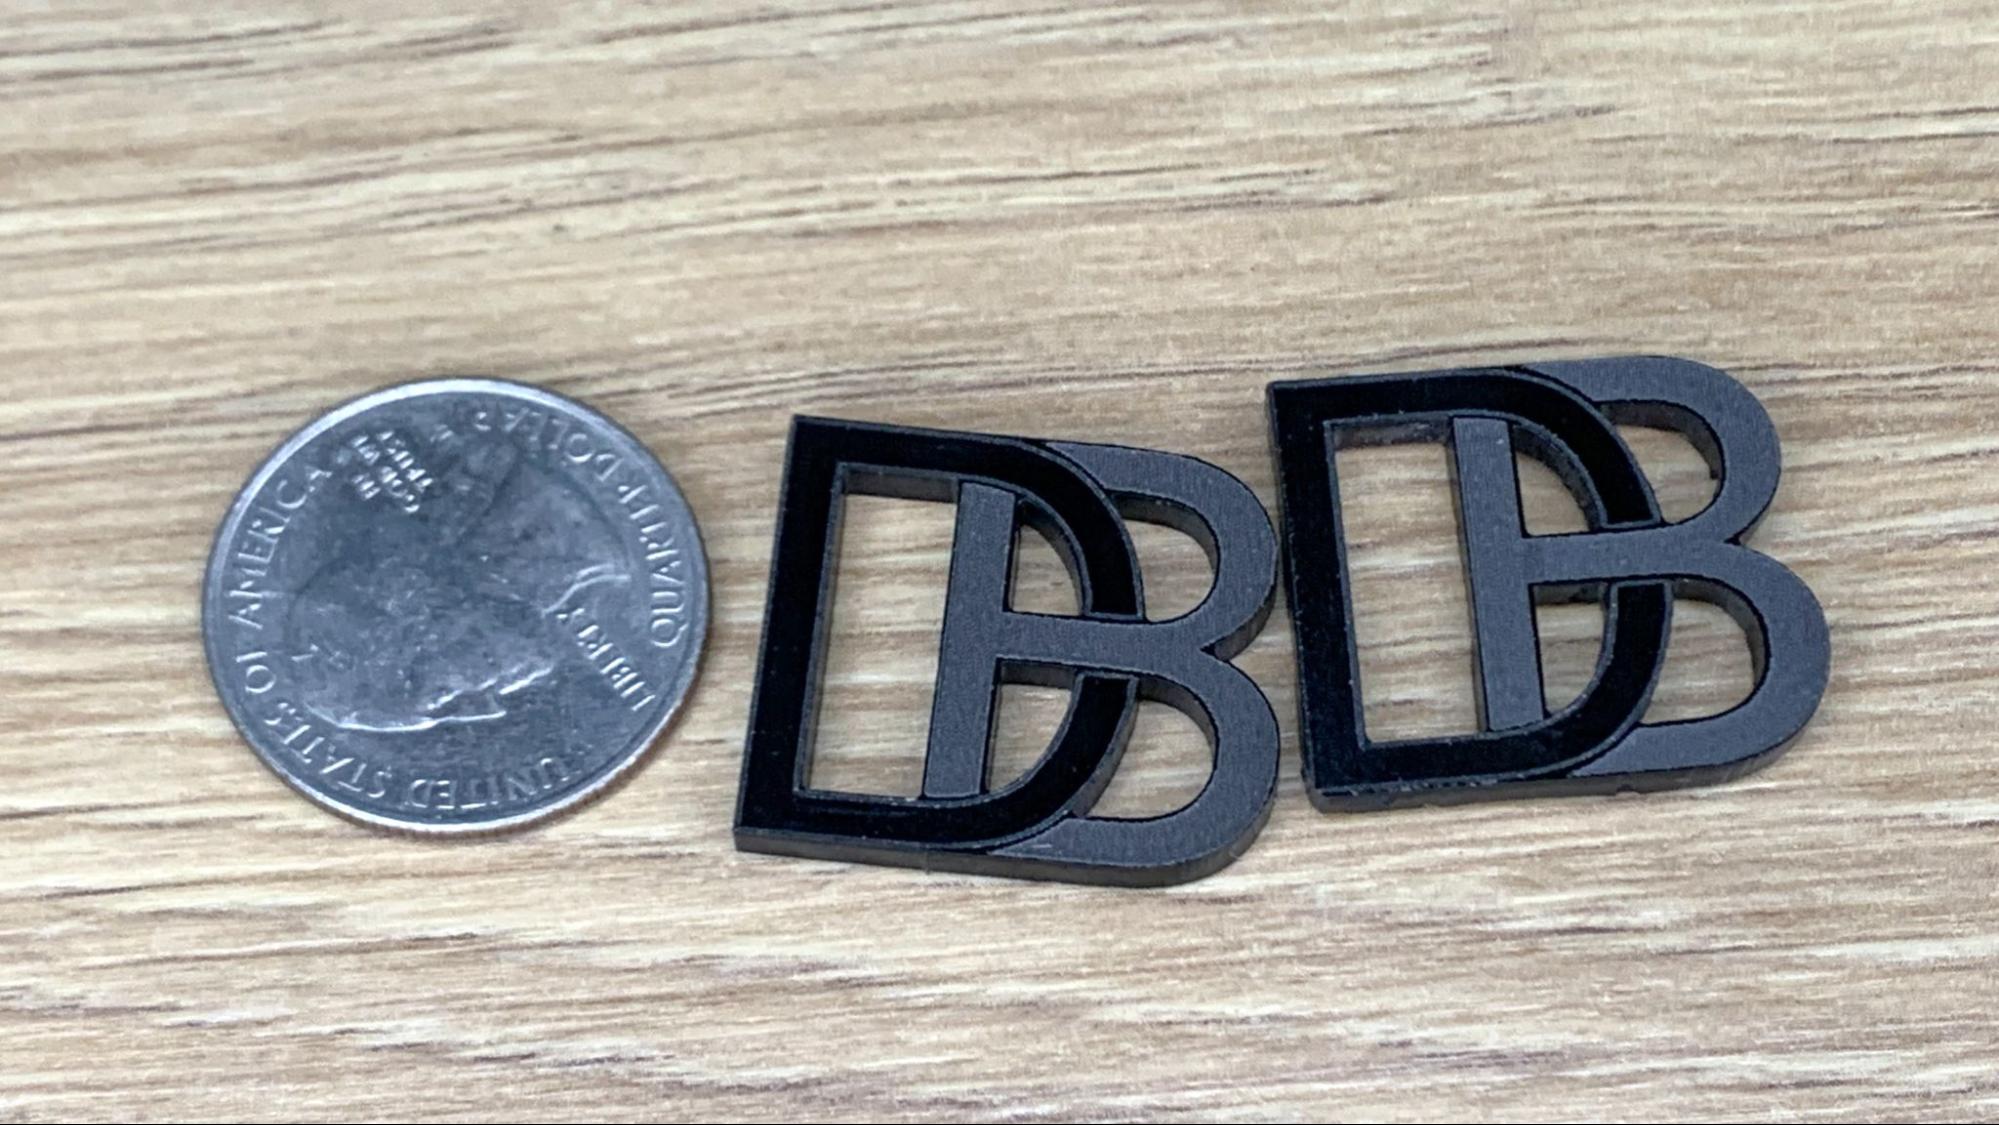
The Wizmaker came with a couple black acrylic tags to tests, so I sliced them up into my initials. This was when I ran into serious problems with the material sheet, which listed “acrylic” without colors, and only gave settings for 20mm and 5mm sheets, while the sample tag was 1.5mm. Again, this is not a fault on the machine itself, which sliced through the acrylic like butter. The problem was lack of guidance from the manufacturer, which should have included proper settings at least for the sample materials provided.
The first sample was nearly melted using the suggested 100 mm/minute speed at 80%. I upped the speed to 300mm/minute and reduced the power to 50%, which turned out better, but still warped on the back. The final attempt ran at 600mm/minute and 50% power and is fairly good, but the backside is still a bit messed up. The letter B was engraved at 6000 mm/minute and 20% power. The attempts all took about 2 minutes to burn.
Bottom Line
The Wizmaker L1 36W is a fast and powerful diode laser more suited to experts that have experience with laser cutting and engraving. The $1,199 price tag is less than what you’d pay for comparable lasers, but that doesn’t include much needed extras like a honeycomb work surface, air assist and enclosure.
The Wizmaker can cut through wood up to 18 mm thick and also engrave wood, card stock, leather, acrylic, metal and more. It’s a powerful machine, but the lack of documentation
This laser cutter and engraver requires a dedicated laptop or other computer to be tethered to it while operating, which I find somewhat tedious. Furthermore, the lack of a targeting dot makes setting up jobs frustrating for someone who doesn’t know all the ins and outs of jigs and laser hacks. Wizmaker offers two metal work surfaces at extra cost, one of which is too small at 381x283mm and the other too big at 460 x 425mm. The optional screen – for which there is a port – is also not available. This mishmash of accessories, combined with a lack of instructions keeps the Wizmaker off our list of best laser cutters.
If you’re not ready to invest big bucks in an open frame laser, the 10 watt Creality CR-Laser Falcon is a much better starting point at $439. And if you’re looking for a full feature diode laser to kick off your Etsy shop ambitions, you should check out the simple to use Xtool D1 Pro for $1399, a 20watt laser with excellent support.

Denise Bertacchi is a Contributing Writer for Tom’s Hardware US, covering 3D printing. Denise has been crafting with PCs since she discovered Print Shop had clip art on her Apple IIe. She loves reviewing 3D printers because she can mix all her passions: printing, photography, and writing.
-
hotaru251 ReplyImportant safety features are extra
should straight up be illegal.
safety should be the default. -
Kridian Safety!?Reply
bah! We had the Gilbert Atomic Energy Lab kit with real uranium!
https://images2.minutemediacdn.com/image/upload/c_crop,w_3278,h_3278,x_200,y_0/c_fill,w_720,ar_1:1,f_auto,q_auto,g_auto/images/voltaxMediaLibrary/mmsport/mentalfloss/01h0609dp4r0h9e41zkz.jpg
