Migrating From Windows To Linux, Part 2: Installation
Desktop Usability
After the installation process, Linux may or may not look that much different than Windows. If you picked a graphical login, you will see a nice colorful window asking for your username and password. If you picked a text login, then you will be dumped into the text-based "shell". A blinking cursor and some text will ask you to enter a user and password. As a beginner, you don't want to stay in the shell too long, so type startx and then enter to start the Graphical desktop. Some veterans dislike the Graphical desktop, and prefer to stay in the shell.
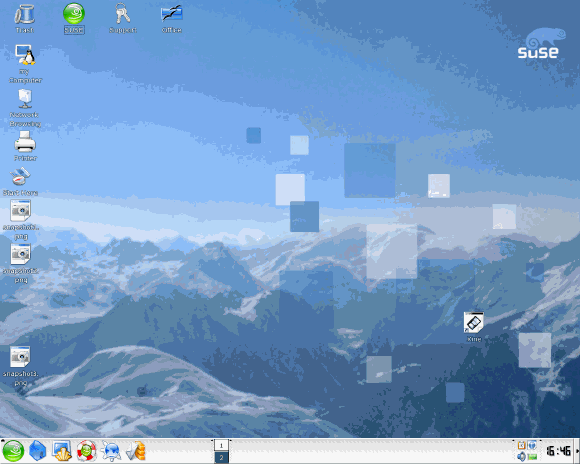
The layout of the Linux desktop is similar to Windows. You have a "taskbar" on the bottom of your screen, with program icons. On the desktop are some icons (different depending on your distribution) and probably a recycle bin icon.
Linux handles partitions and external media much differently than Windows. Almost everything has to be "mounted", before it can be accessed. In Windows, you magically see all your drives, so you don't have to think about mounting. In Linux, you have to issue the mount command to "attach" the drive/partition to Linux. After you are done, you type unmount to unattach the drive. Confused? Don't be, because we have another training video for you, which will explain everything.
Download the desktop training video:
Migrating Documents
If you have followed Part I of Migrating from Windows to Linux, you either have a CD/DVD or a second hard-drive with your old files. Let's take a look at how you transfer your files to your new Linux operating system. A helpful training video is included, if you get lost.
Transferring the files from the migration CD/DVD or the second hard-drive is very simple. You can either do it through the graphical user interface, or you can use the command line interface (shell). In either case, you must make a directory first, and then copy the files to the new directory.
Download the Migrating documents training video:
Get Tom's Hardware's best news and in-depth reviews, straight to your inbox.
Humphrey Cheung was a senior editor at Tom's Hardware, covering a range of topics on computing and consumer electronics. You can find more of his work in many major publications, including CNN and FOX, to name a few.
