Migrating From Windows To Linux, Part 2: Installation
Get Tom's Hardware's best news and in-depth reviews, straight to your inbox.
You are now subscribed
Your newsletter sign-up was successful
Installation
All Linux distributions have similar installation procedures, but they look very different from each other. We will run through an entire installation of Redhat Linux 9. Don't worry if the installation screens are vastly different than what you see here, as the concepts are the same. All installs have these steps.
- Hardware detection;
- Partitioning;
- Package Installation;
- Final Configuration.
Setting your CD to boot
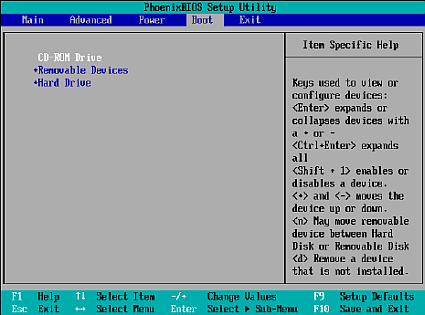
First we have to boot with the first CD of your Linux distribution. You will need to enter your motherboard BIOS (Basic Input/Output System) and set your CD to be the first boot device. Usually this is accomplished by hitting delete as the computer starts. Afterwards, the Linux CD should automatically start and go into install mode.
Linux will do some basic hardware detection, such as recognizing the mouse and keyboard, and then ask you how you want to partition your hard-drive(s). Since you are wiping out Windows, it's fairly simple. Most distributions give you the option between automatic or manual partitioning. The automatic partitioning is recommended for the beginner. Manual partition is better if you are a veteran or are building a server.
Every Linux installation must have at least two partitions. The first is called the root partition or the / partition. This is like the C: in Windows. The second partition is called the SWAP partition, which holds the SWAP file. The SWAP file is an overload area that tricks your computer into thinking it has lots of RAM. In Windows the swap file is usually embedded inside of a regular partition (generally the C: drive).
Get Tom's Hardware's best news and in-depth reviews, straight to your inbox.
Humphrey Cheung was a senior editor at Tom's Hardware, covering a range of topics on computing and consumer electronics. You can find more of his work in many major publications, including CNN and FOX, to name a few.
