Building Project A.R.E.S: My Award-Winning Sci-Fi Case Mod
In a galaxy far, far away… what? Wrong quote? Okay, let me start over.
Time to get to work on the hardware mountings.
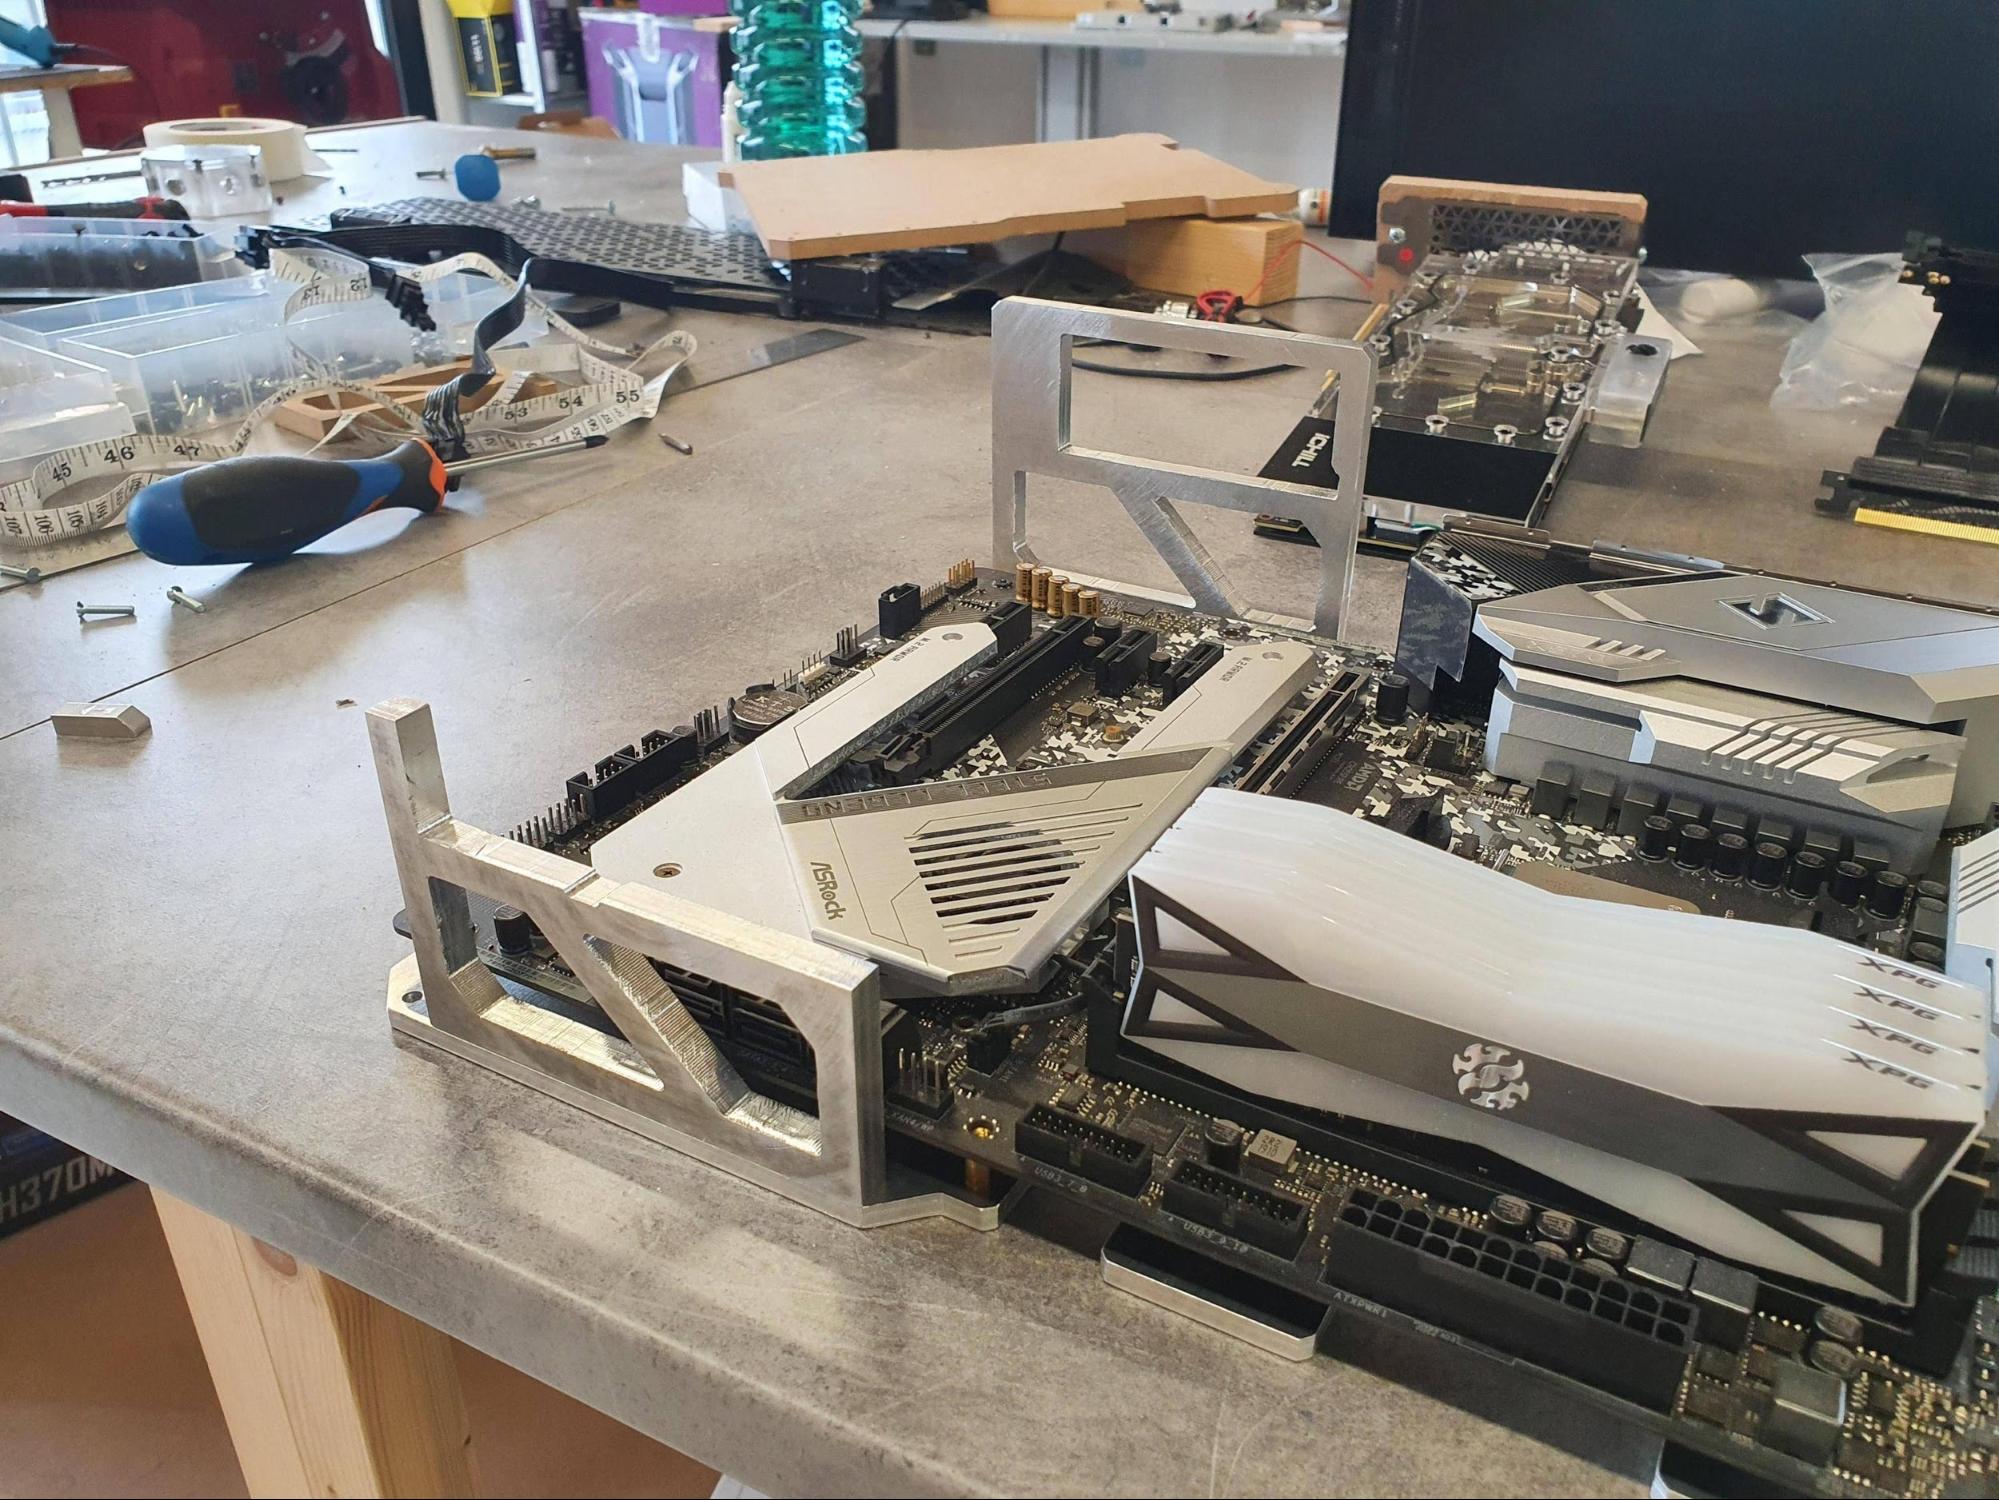
First I made an MDF prototype of the motherboard/GPU tray, which will be a separate part from the central acrylic piece for easier maintenance and setup.
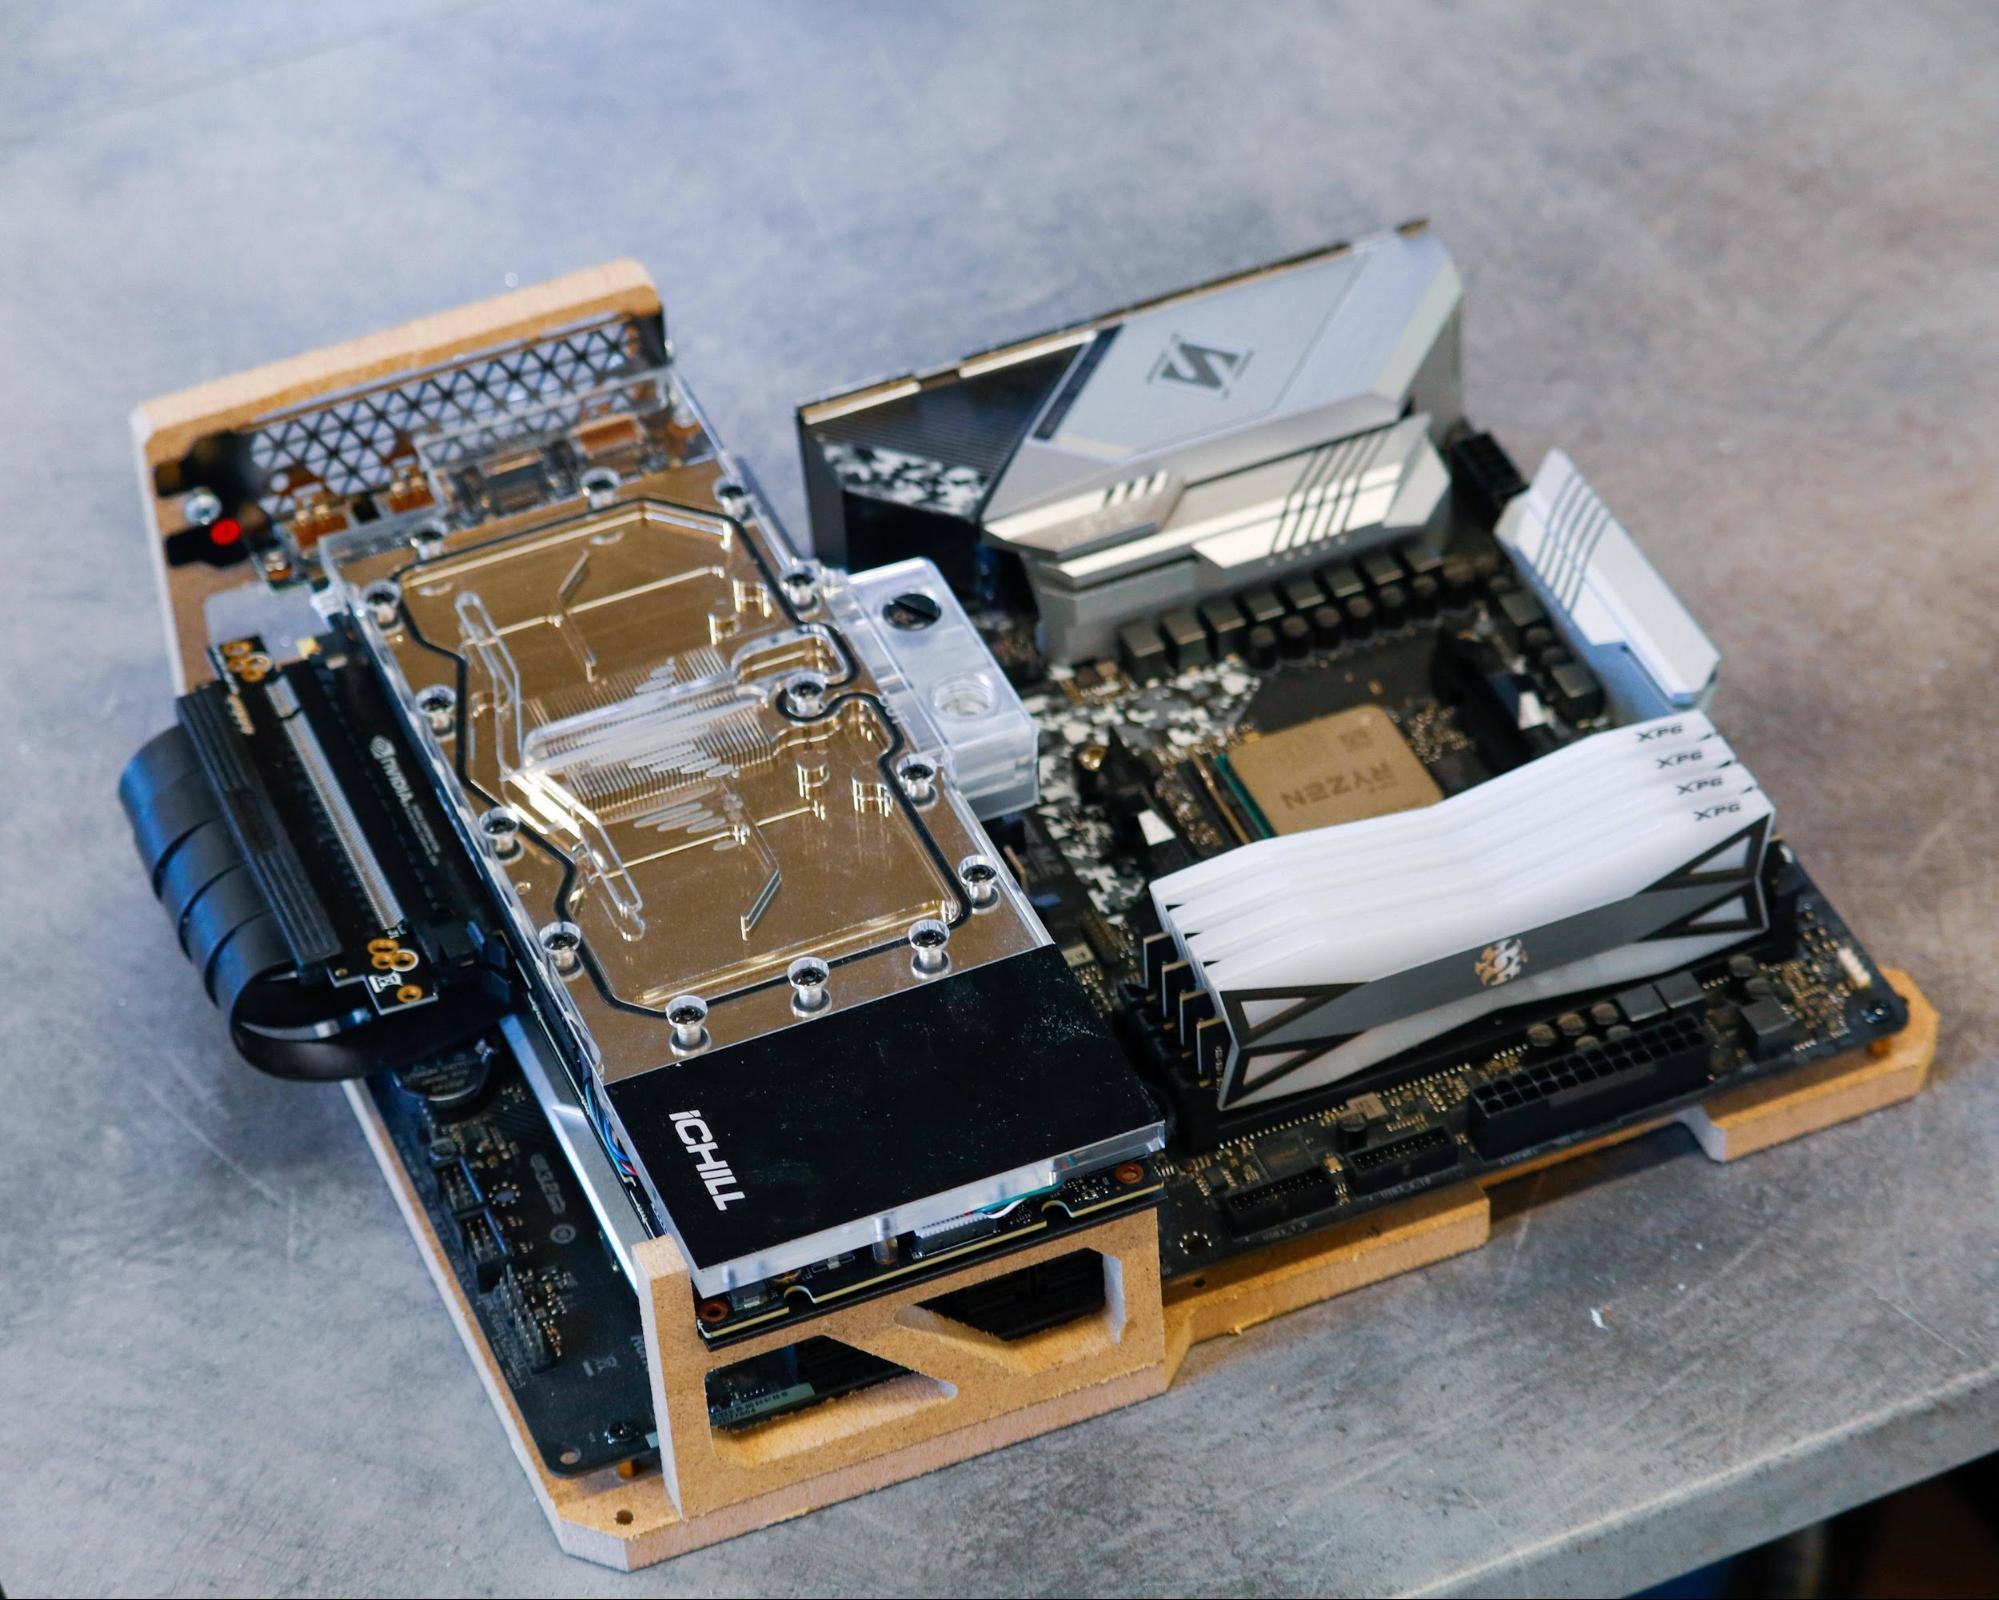
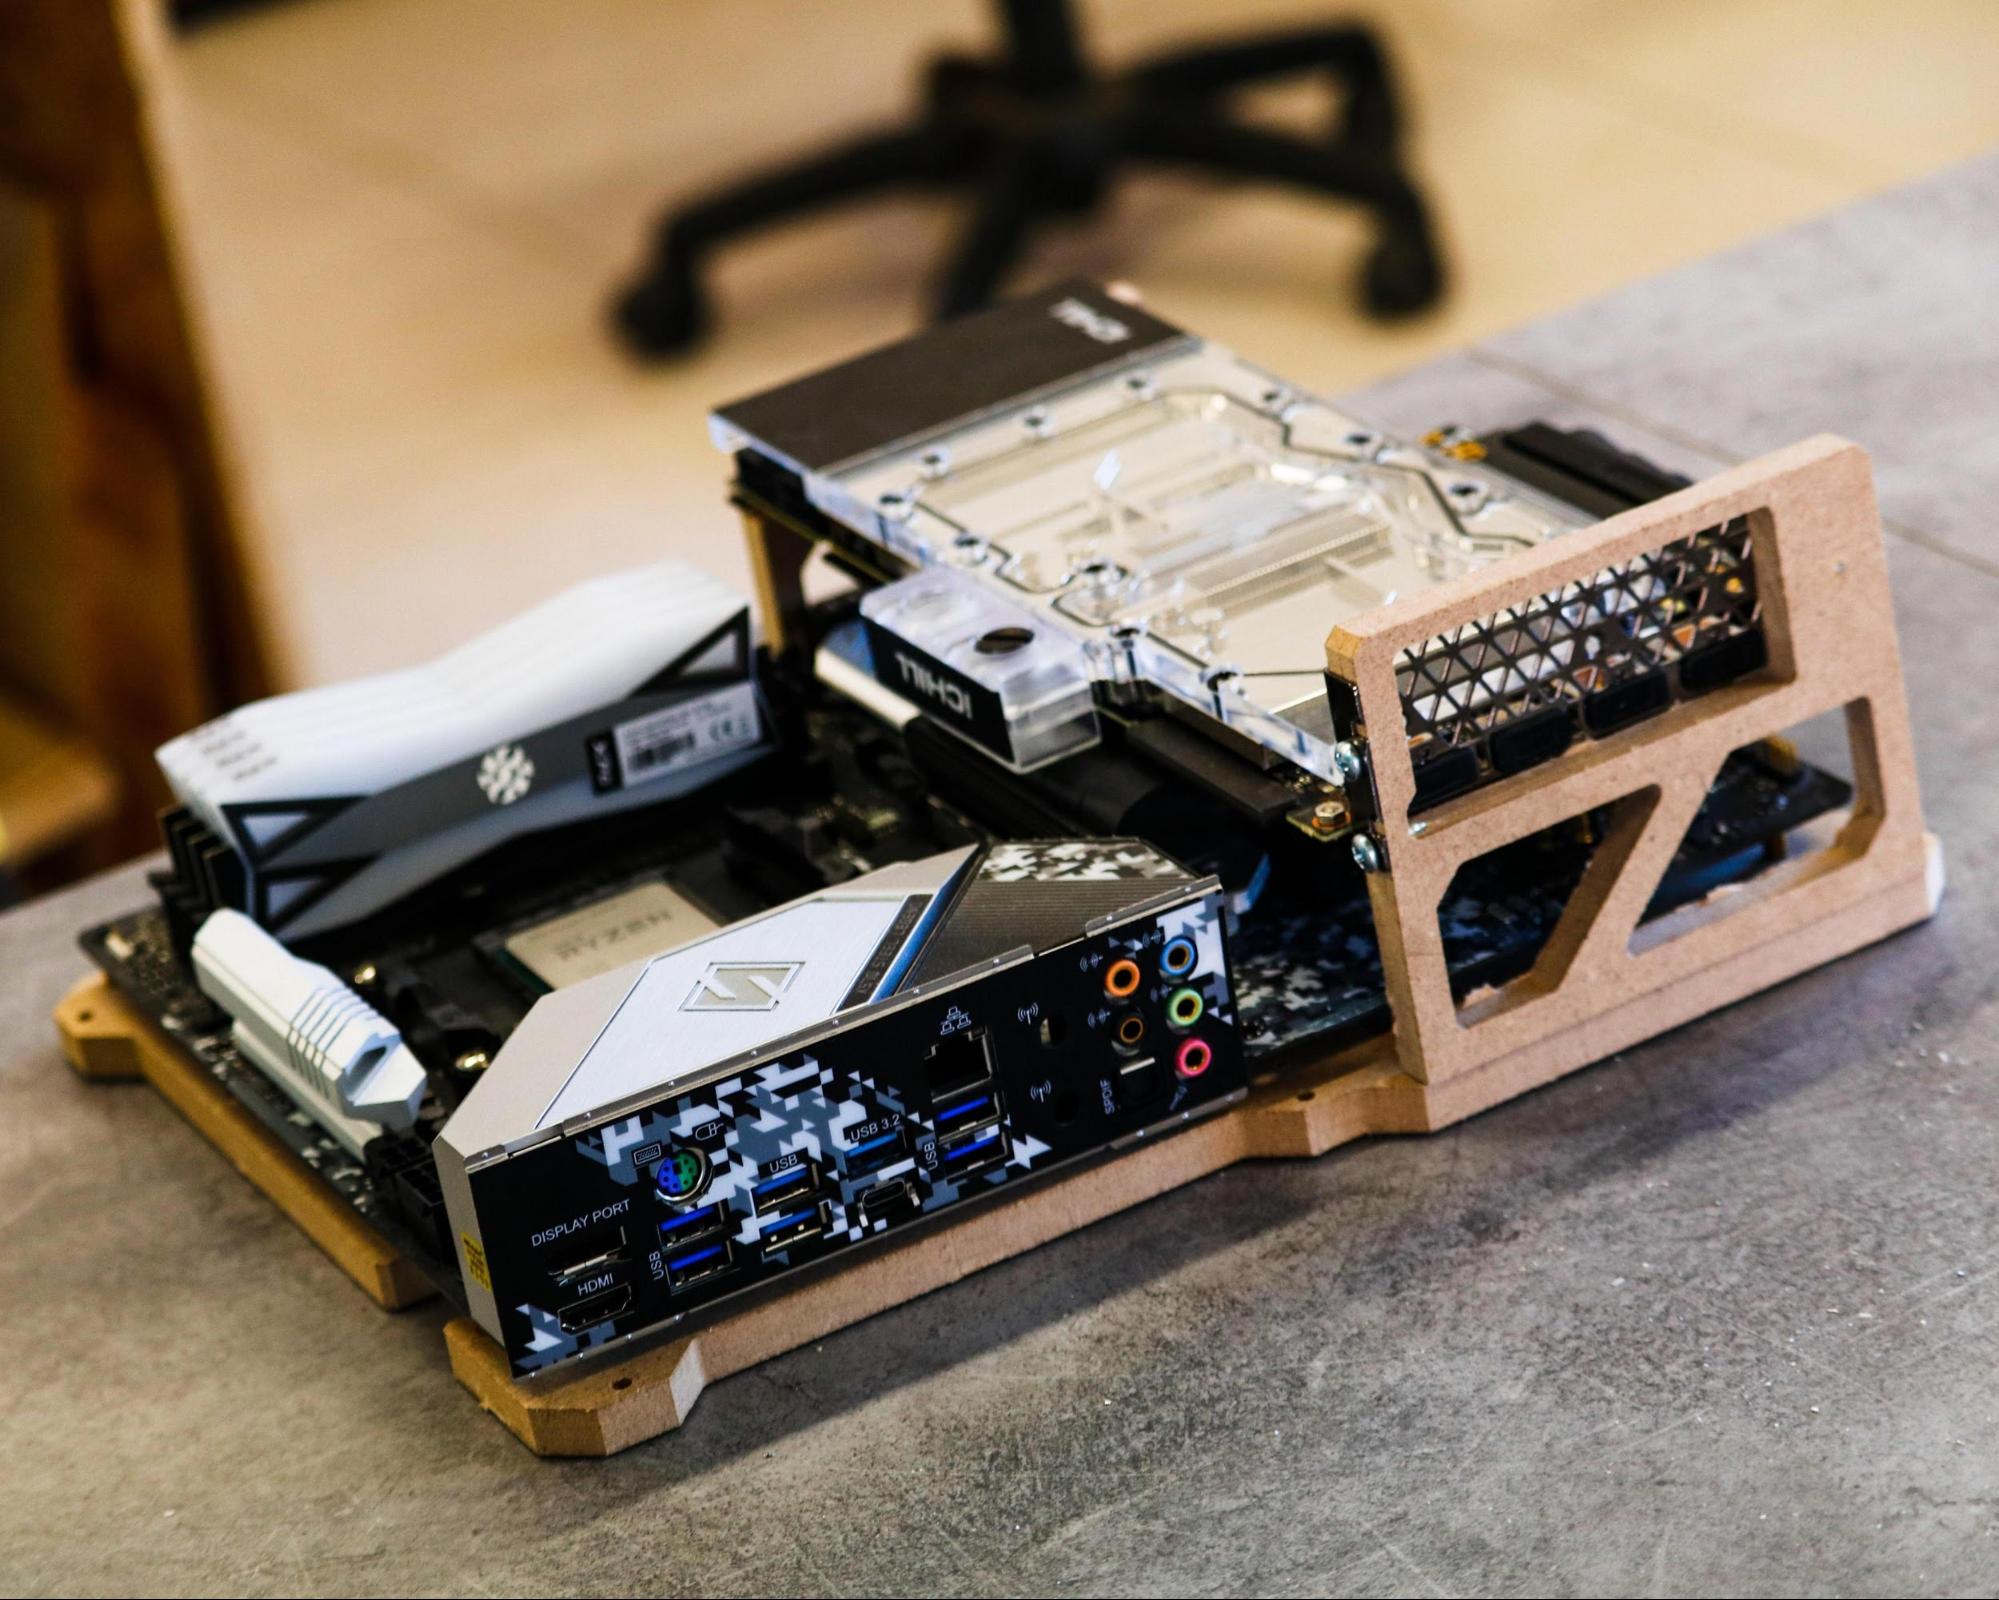
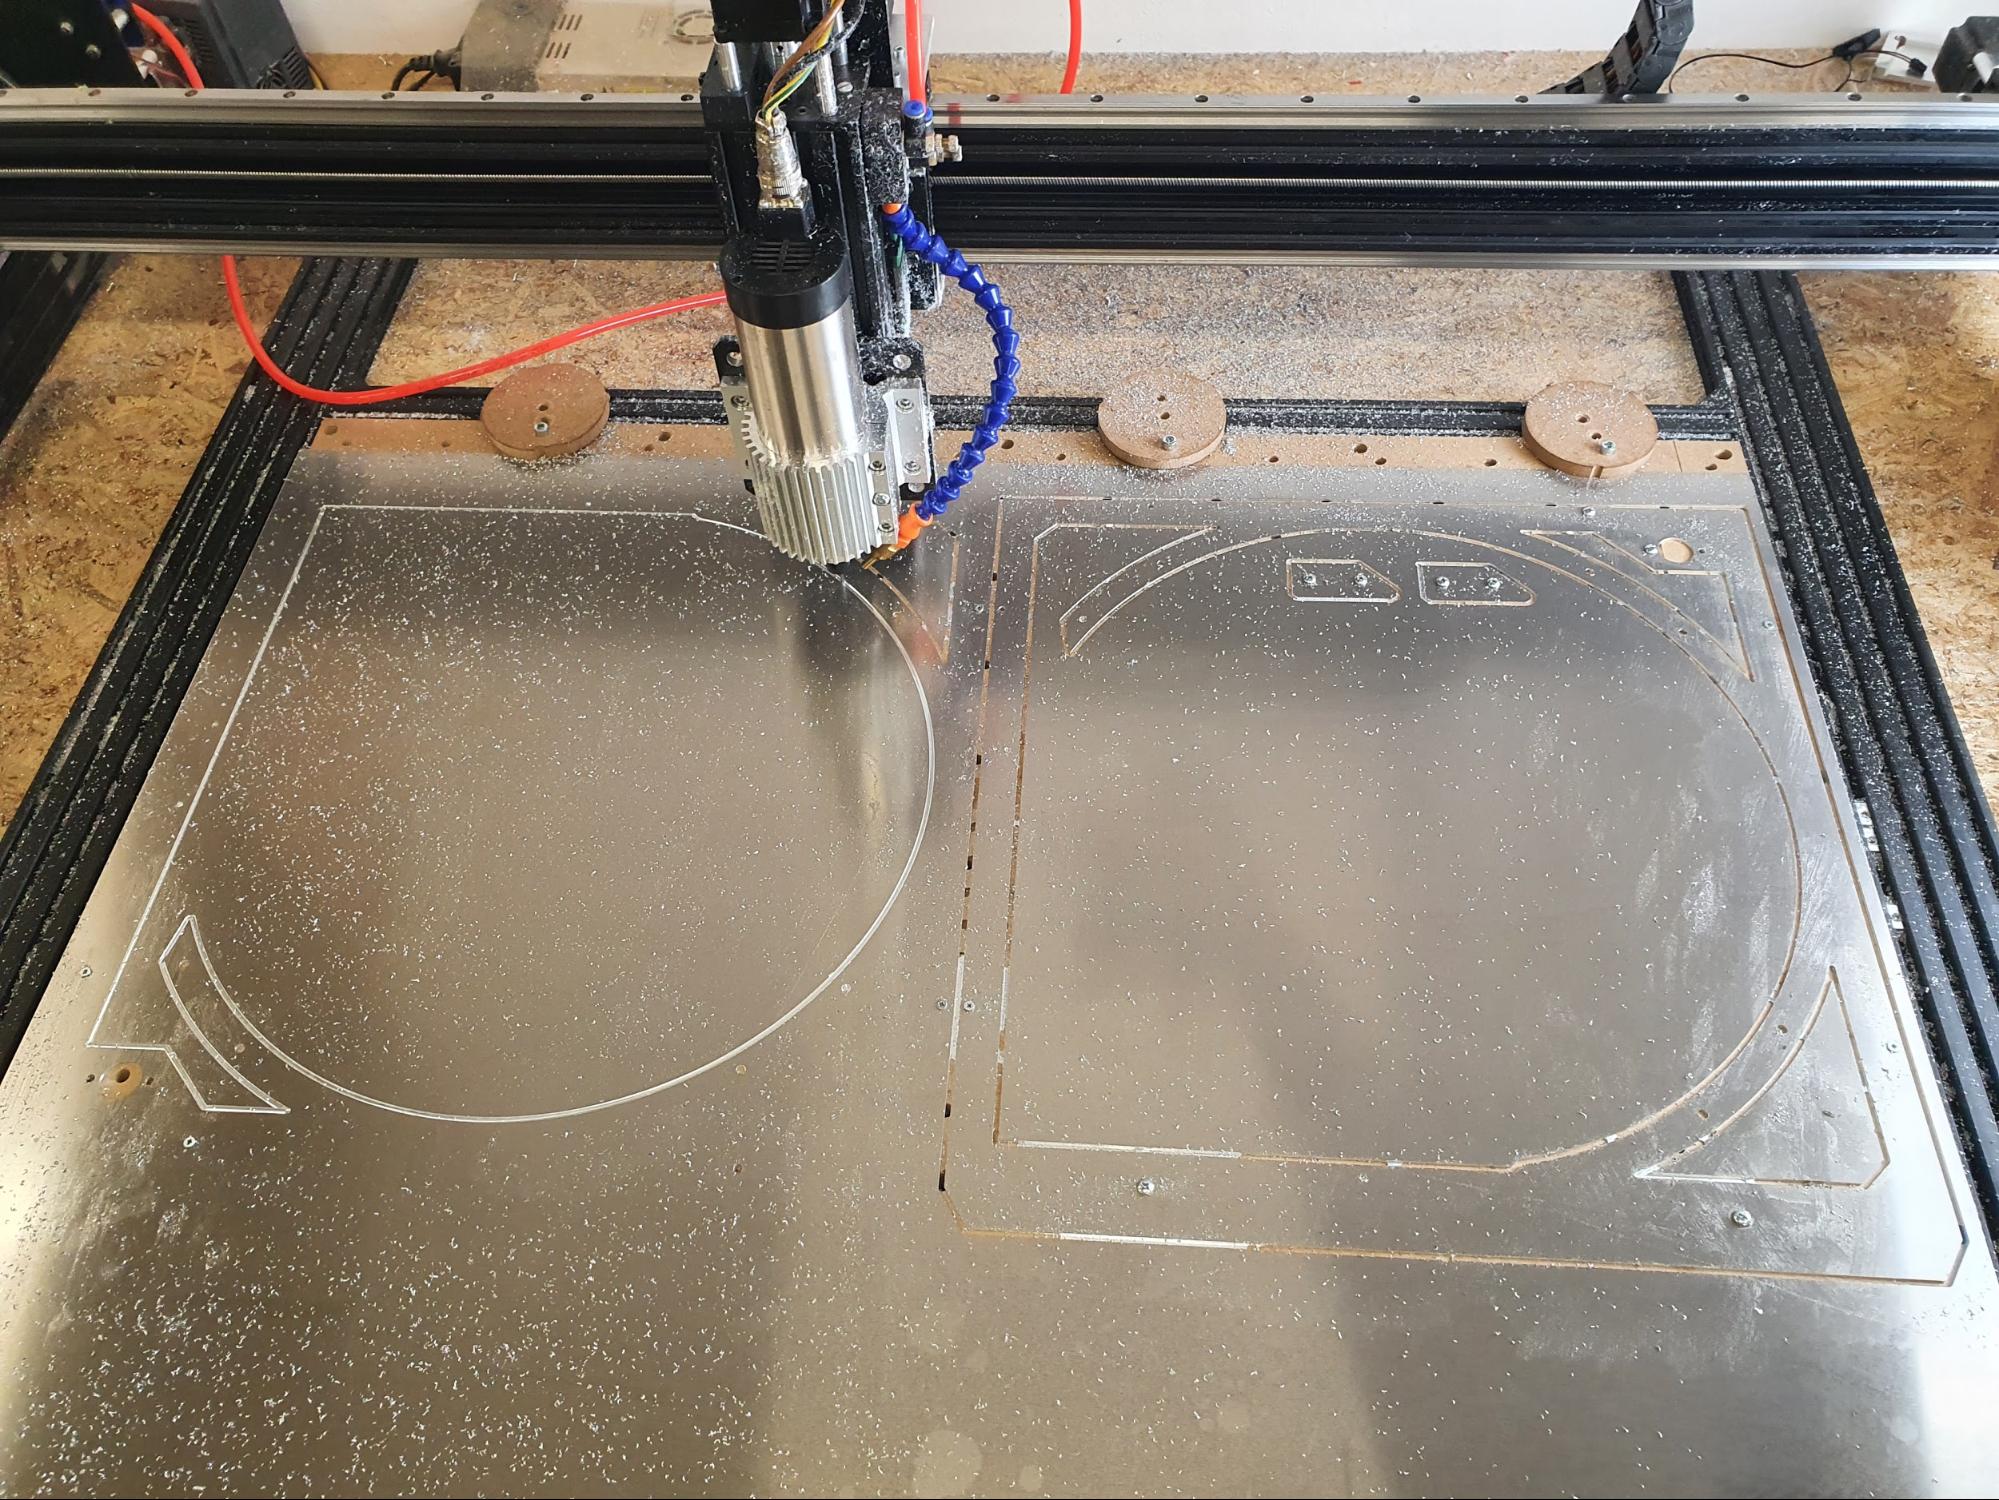
The prototype allowed me to fix a couple issues with my design. Then, I proceeded to cut the three pieces out of 5mm aluminum.
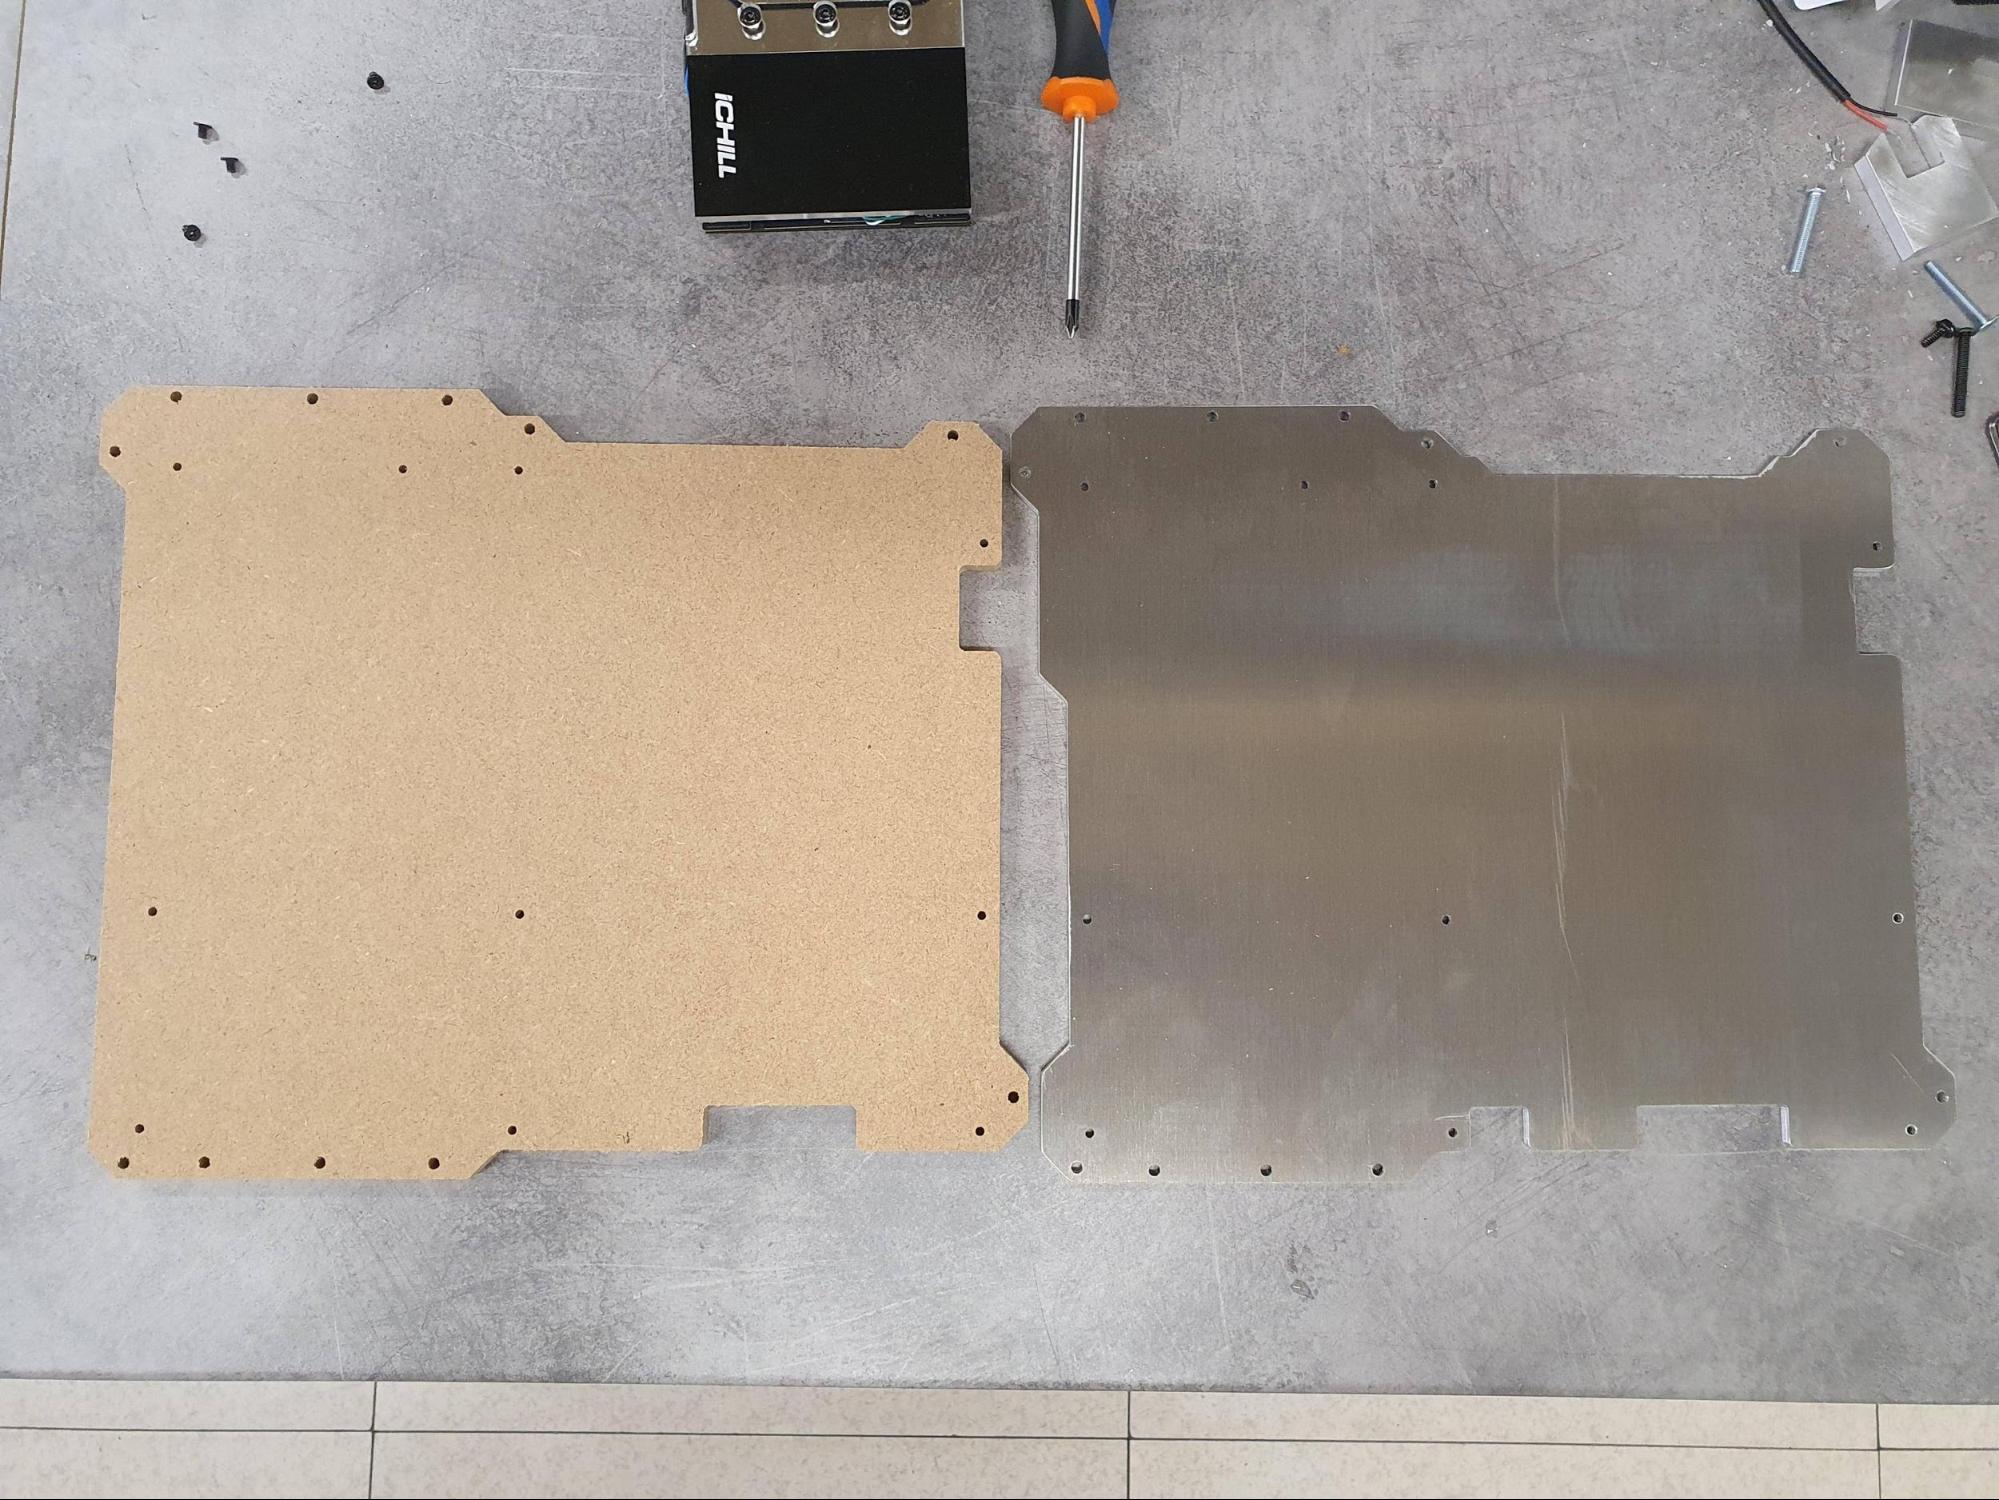
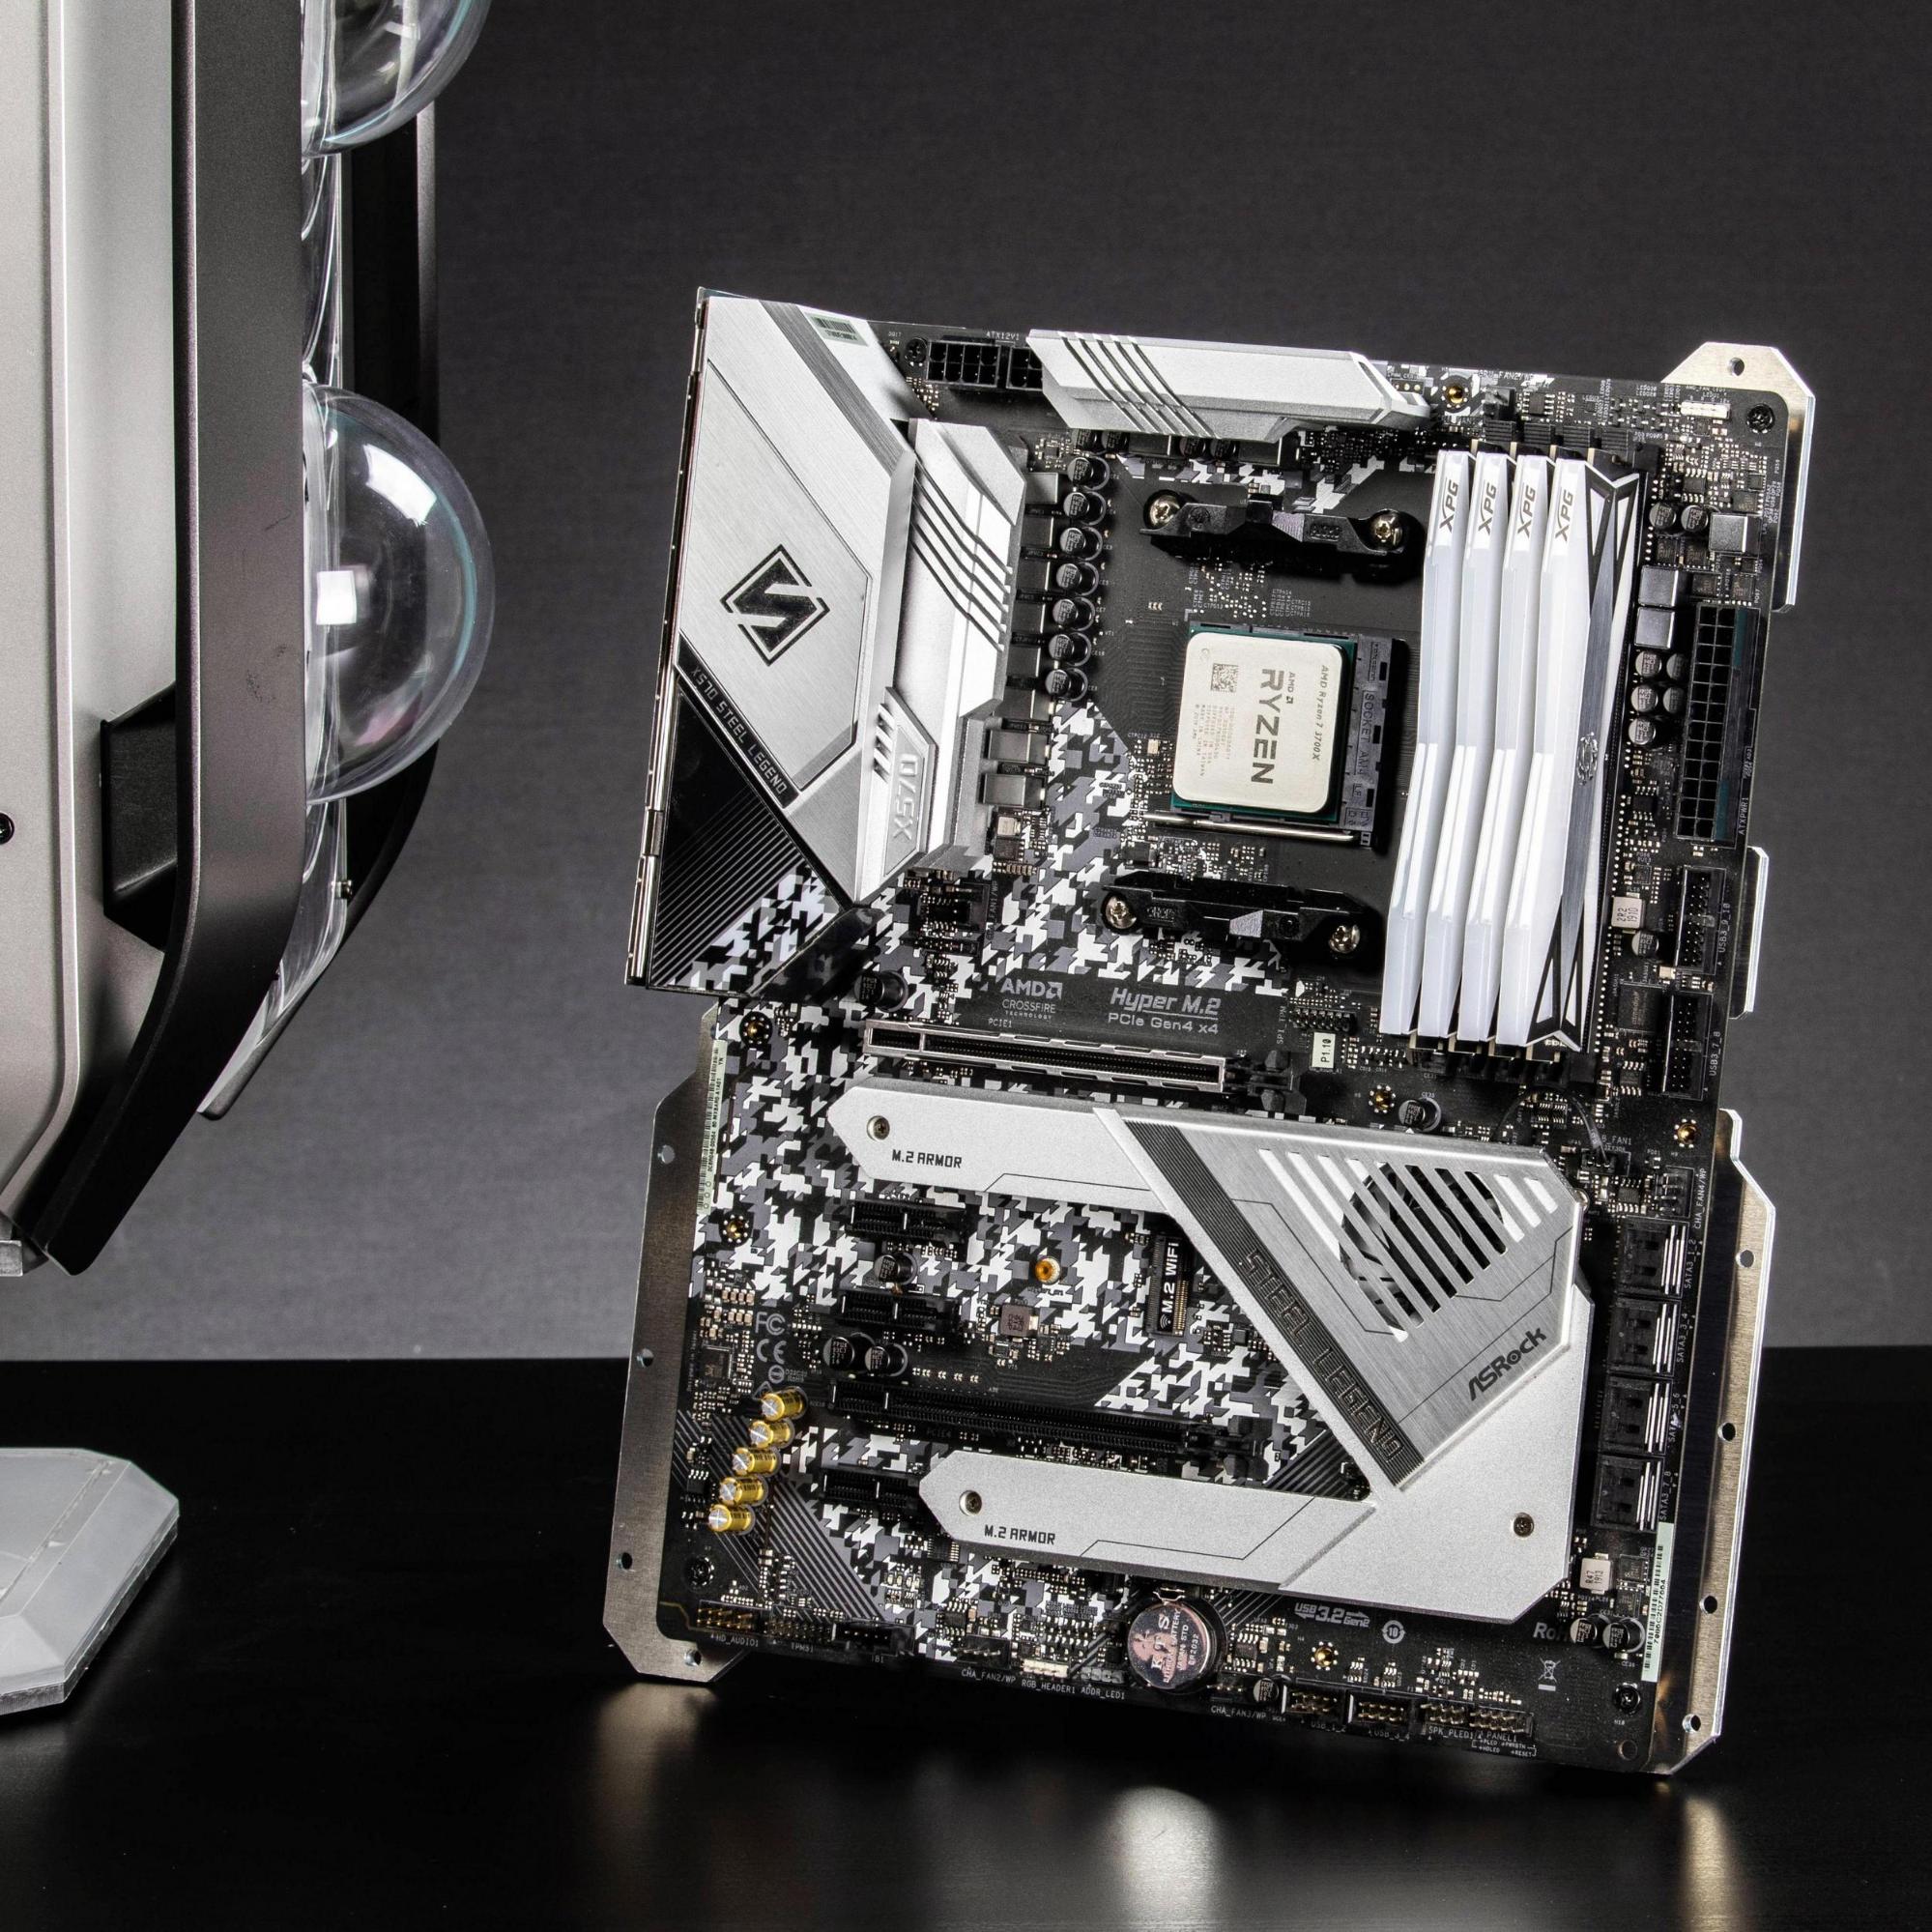
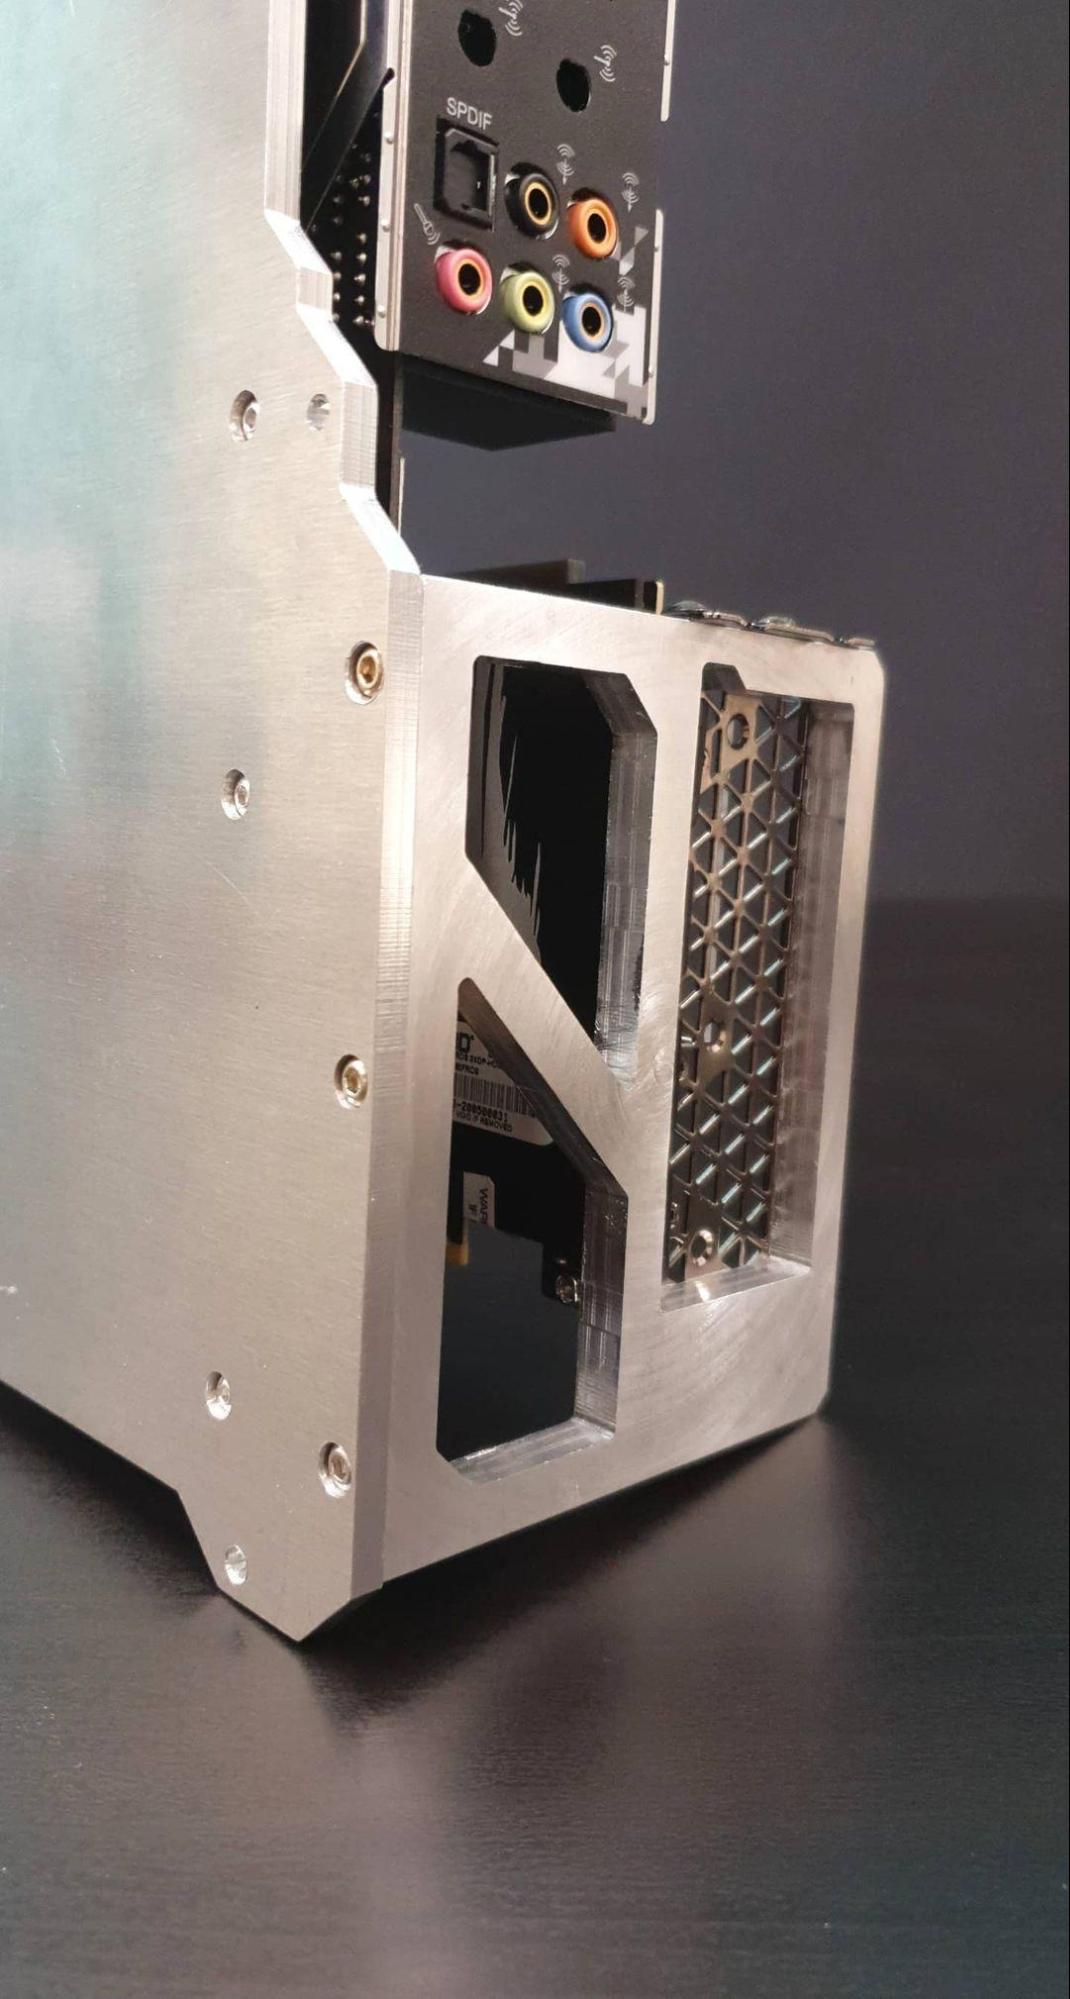
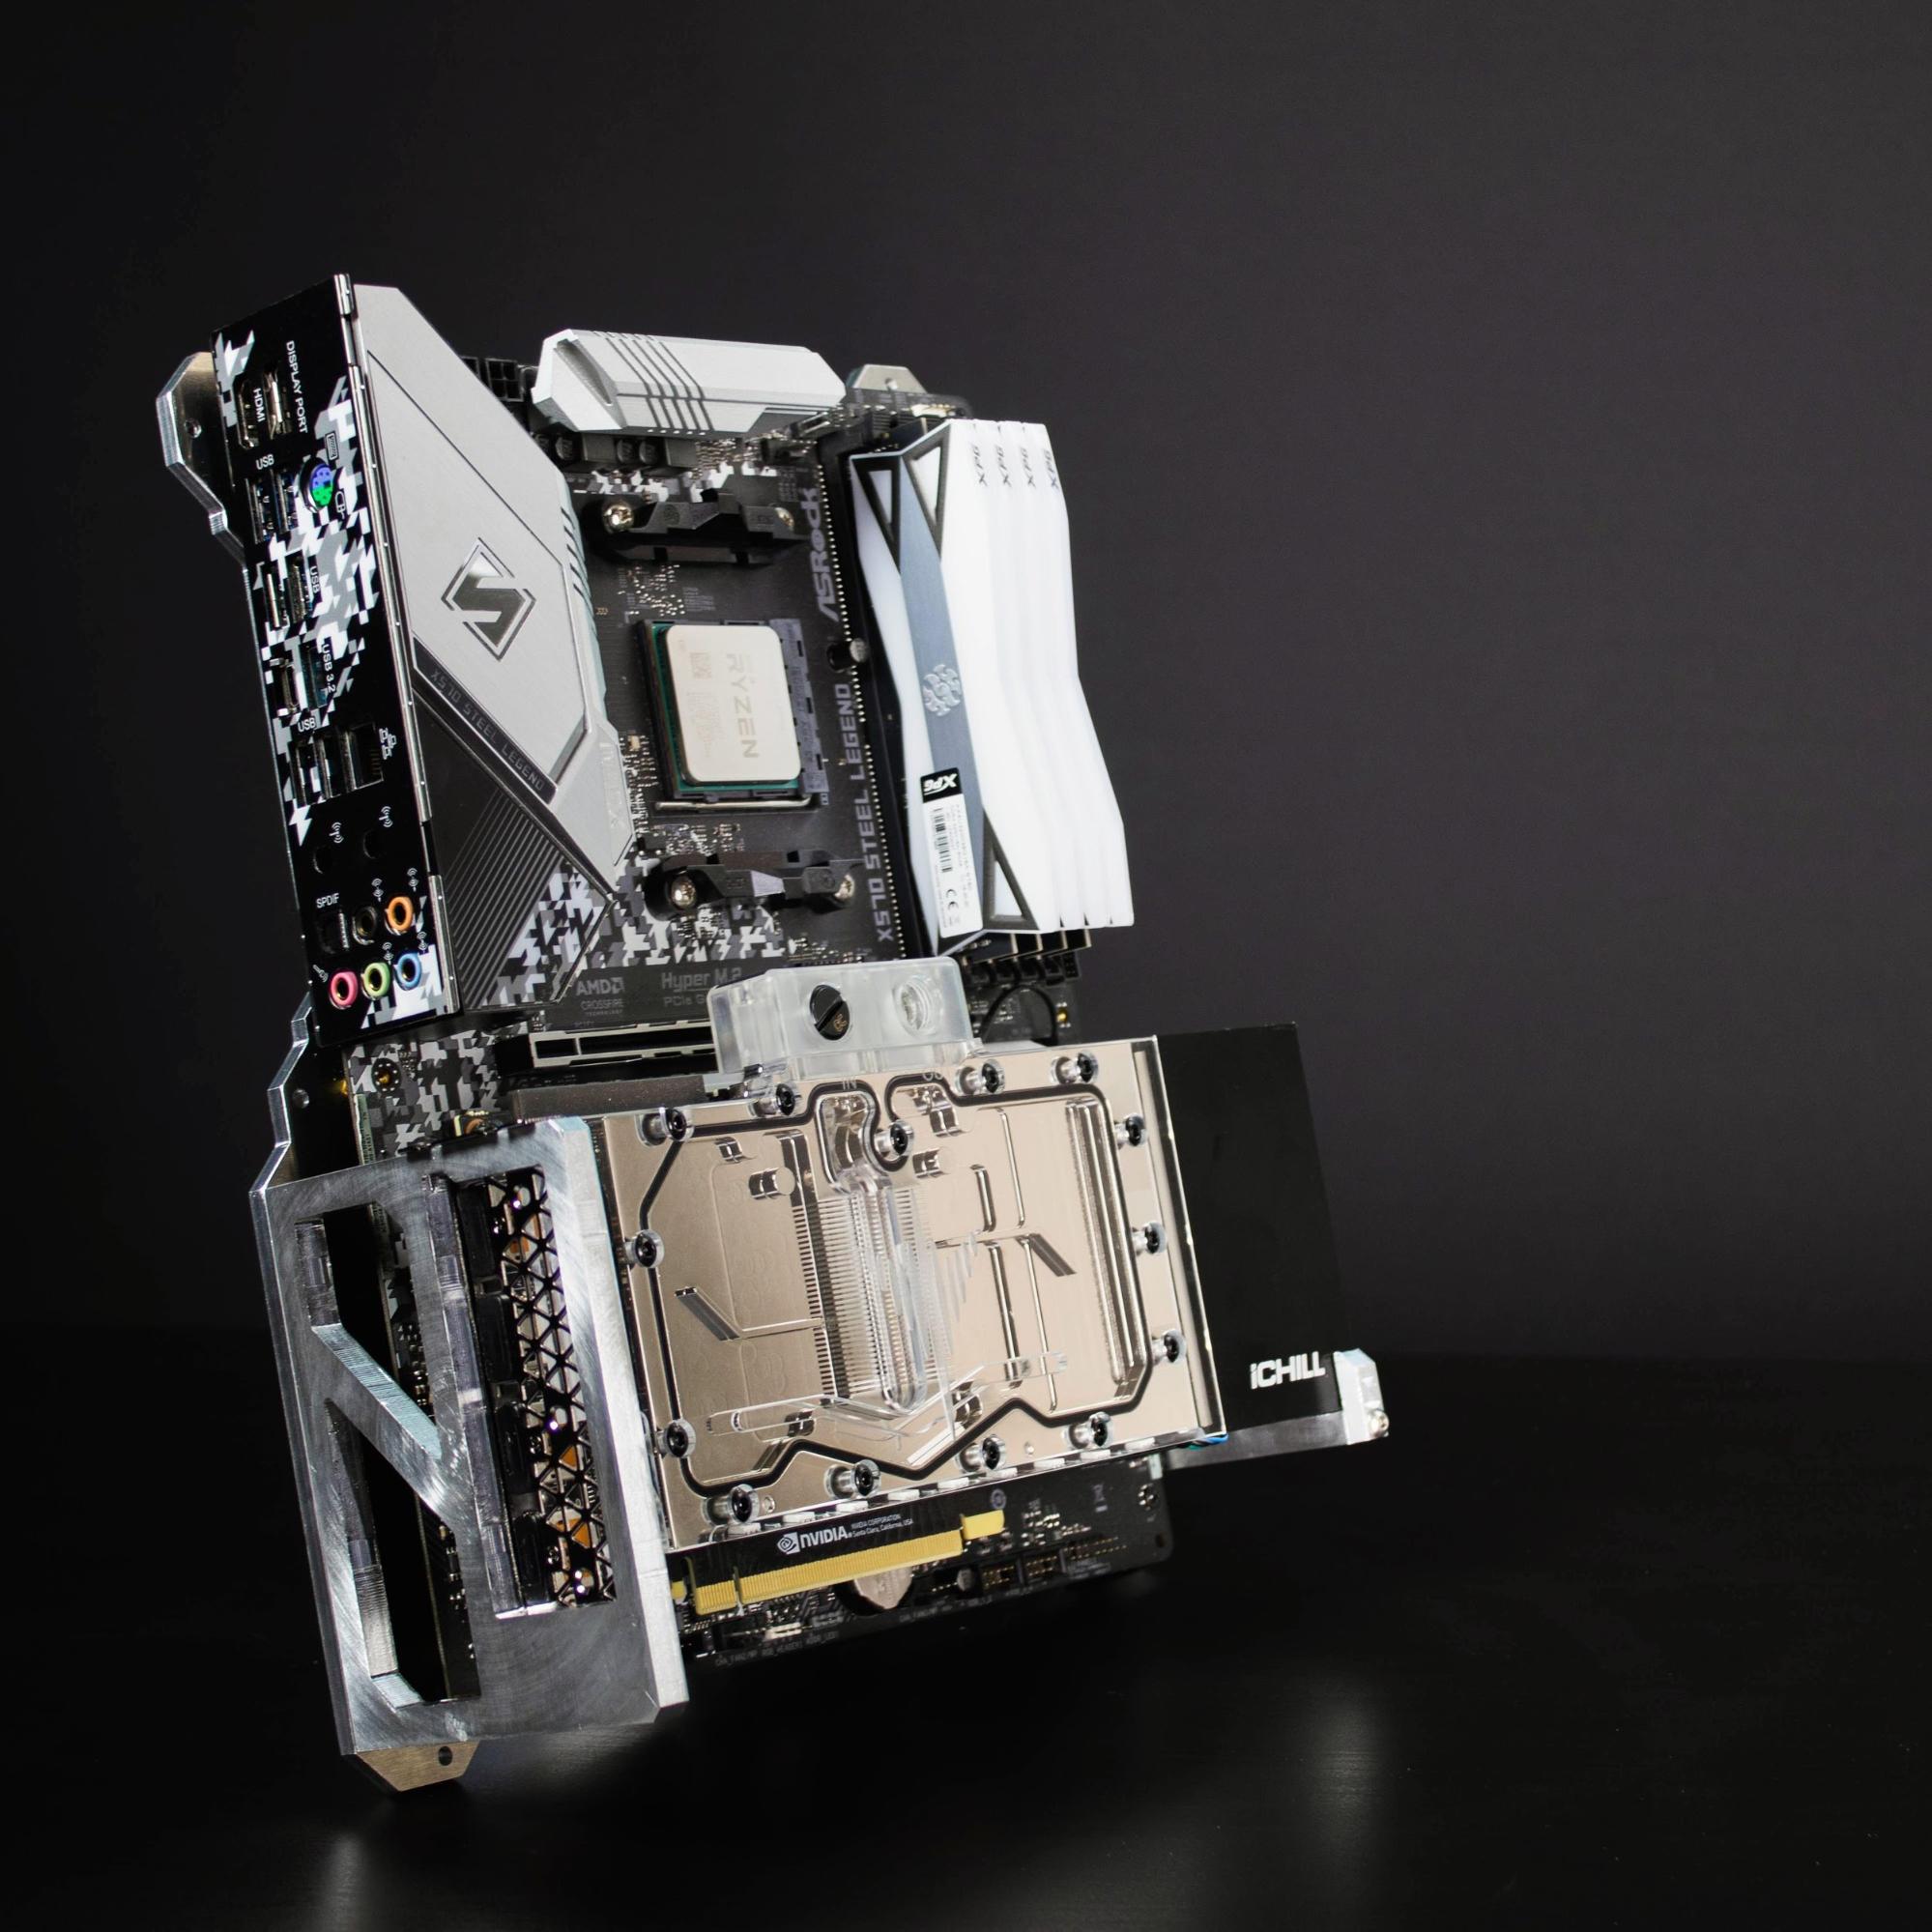
I fixed the GPU brackets to the motherboard tray by drilling threaded holes on the edges with a drill press. Here, the focus was keeping things standard, so that hardware could be easily upgraded if needed. This ste[ isn’t as obvious as it may seem. Many extreme PC modding projects feature custom mountings because they’re easier to implement. But those custom mountings are, naturally, tailored to the specific components used for that mod, making upgrades really difficult without further custom work.
Picky PSU Placement
Finding a placement for the power supply , even if it’s one of the best power supplies, is always a big issue for me because, to be honest, no one wants to look at a plain metal box. PSUs also take up a lot of space, so it’s hard to find the right place for one in a custom mod. When it comes to Project A.R.E.S., the rotating hardware panel makes this even more complicated because all cable management has to go on the actual rotating part.
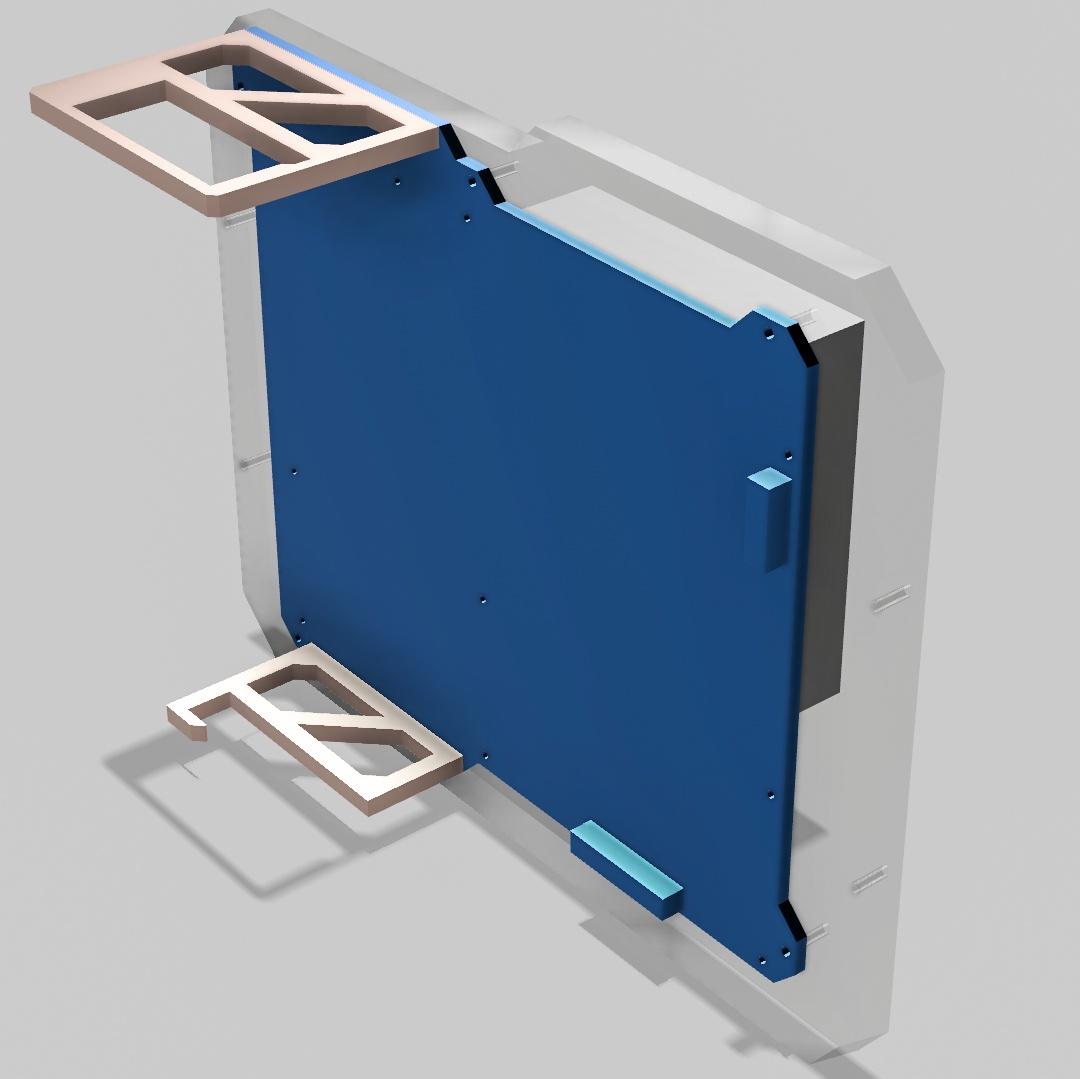
I eventually decided to make custom mountings and covers to fix the PSU to the back of the rotating panel and add cable channels to the acrylic. Below are the 3D models (the shape of the channels changed in the final product).
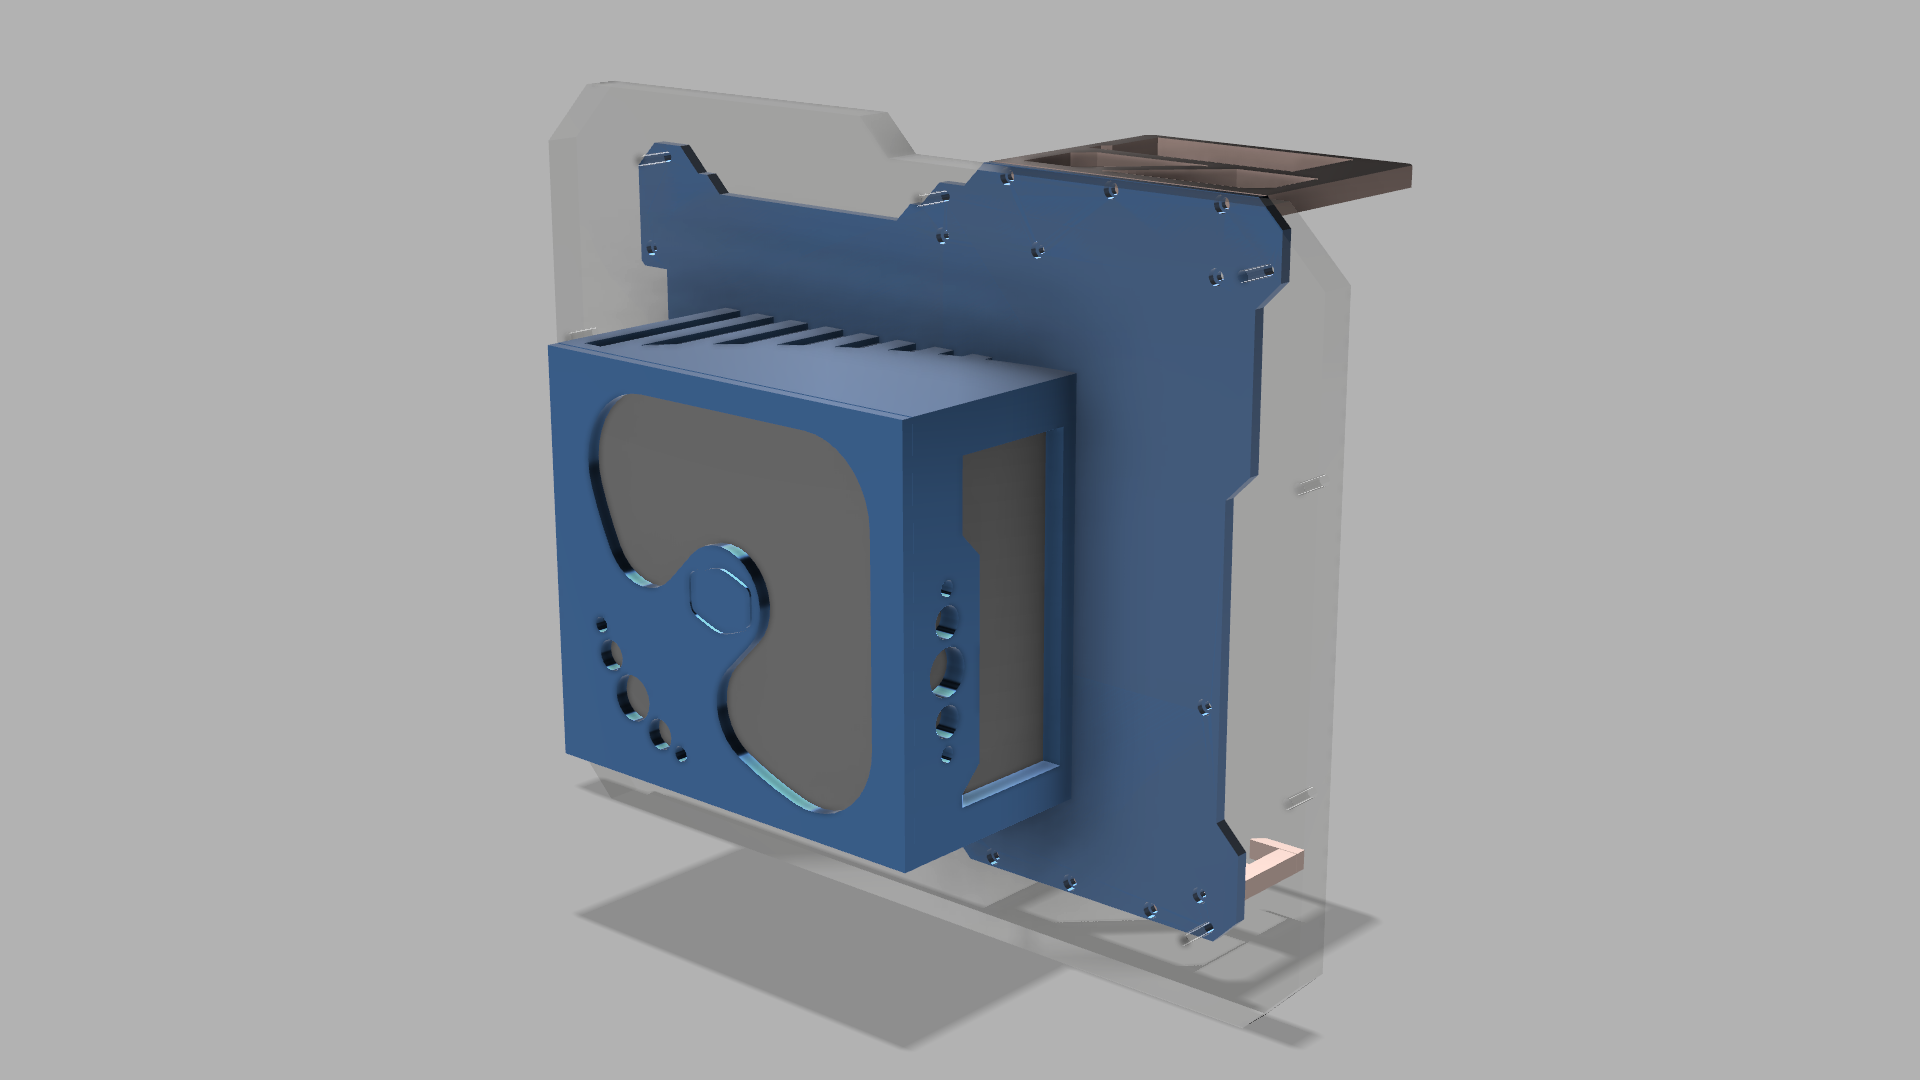
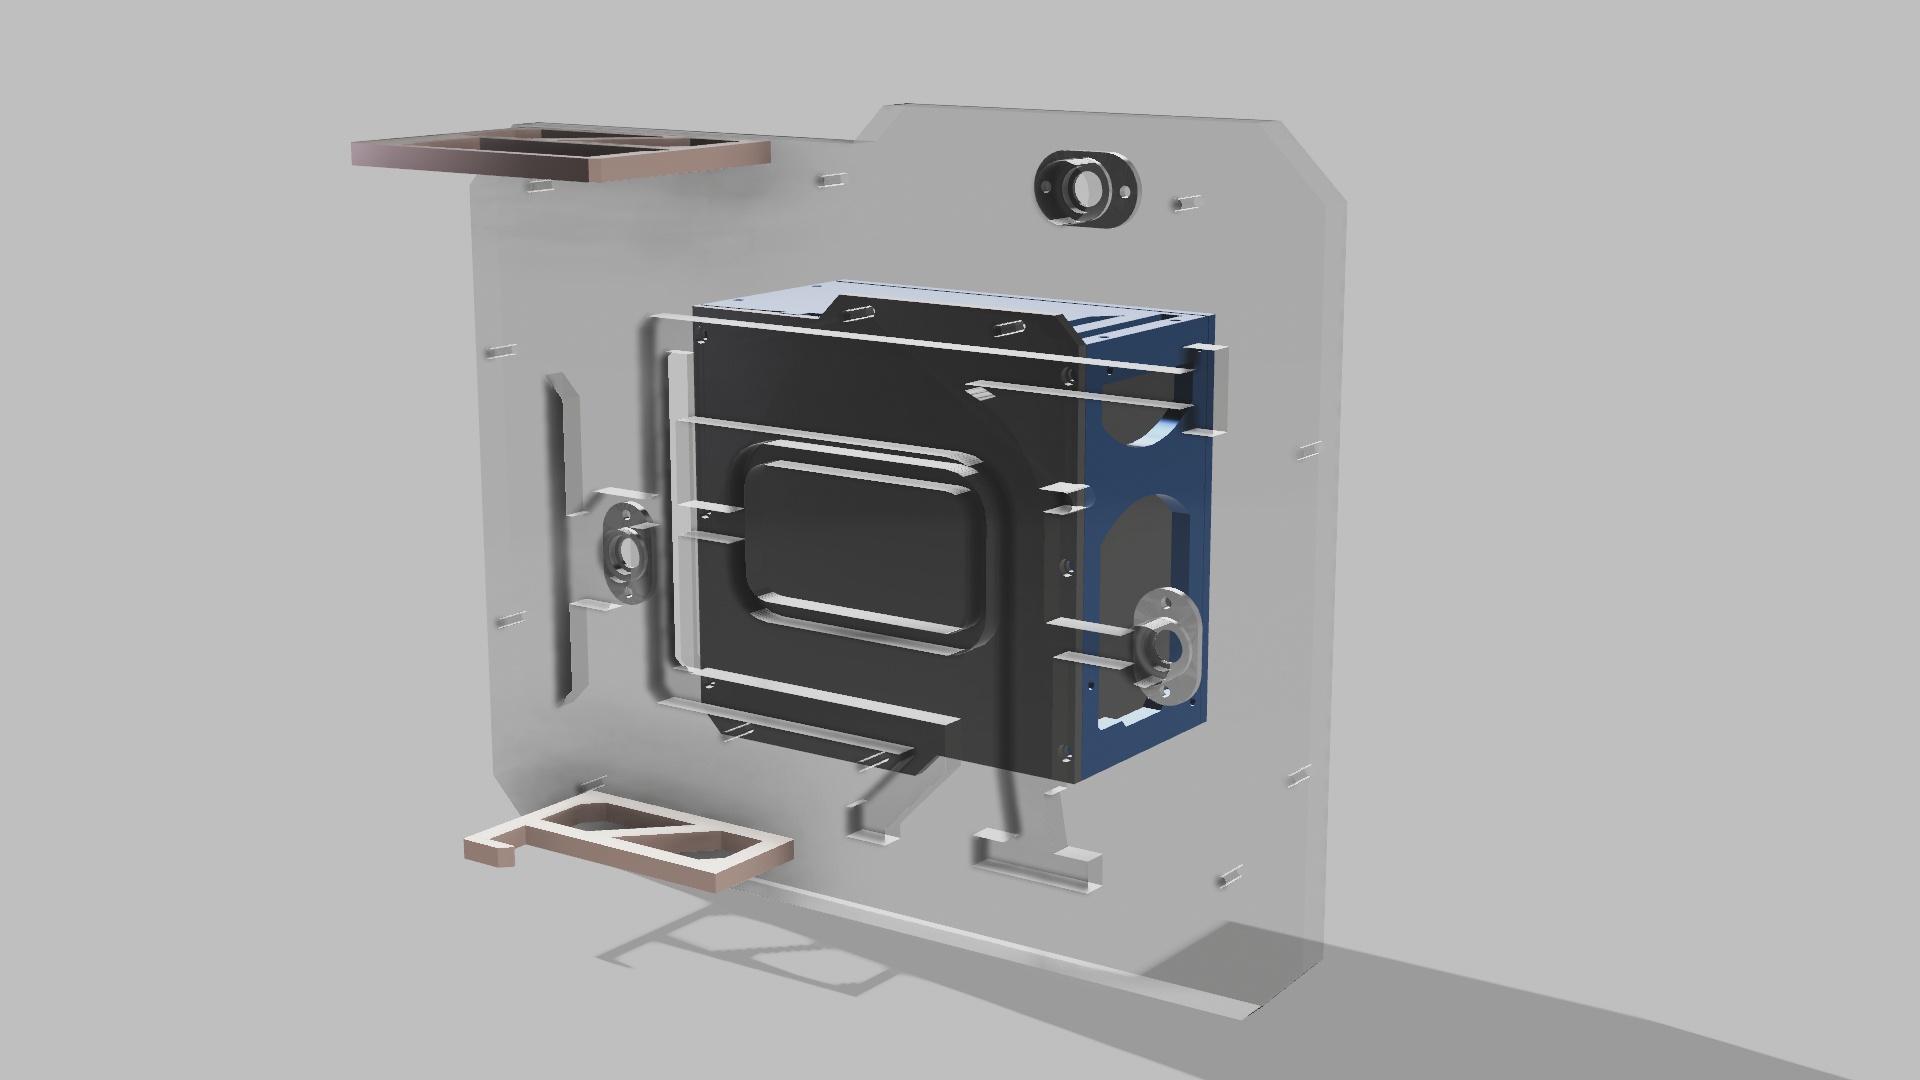
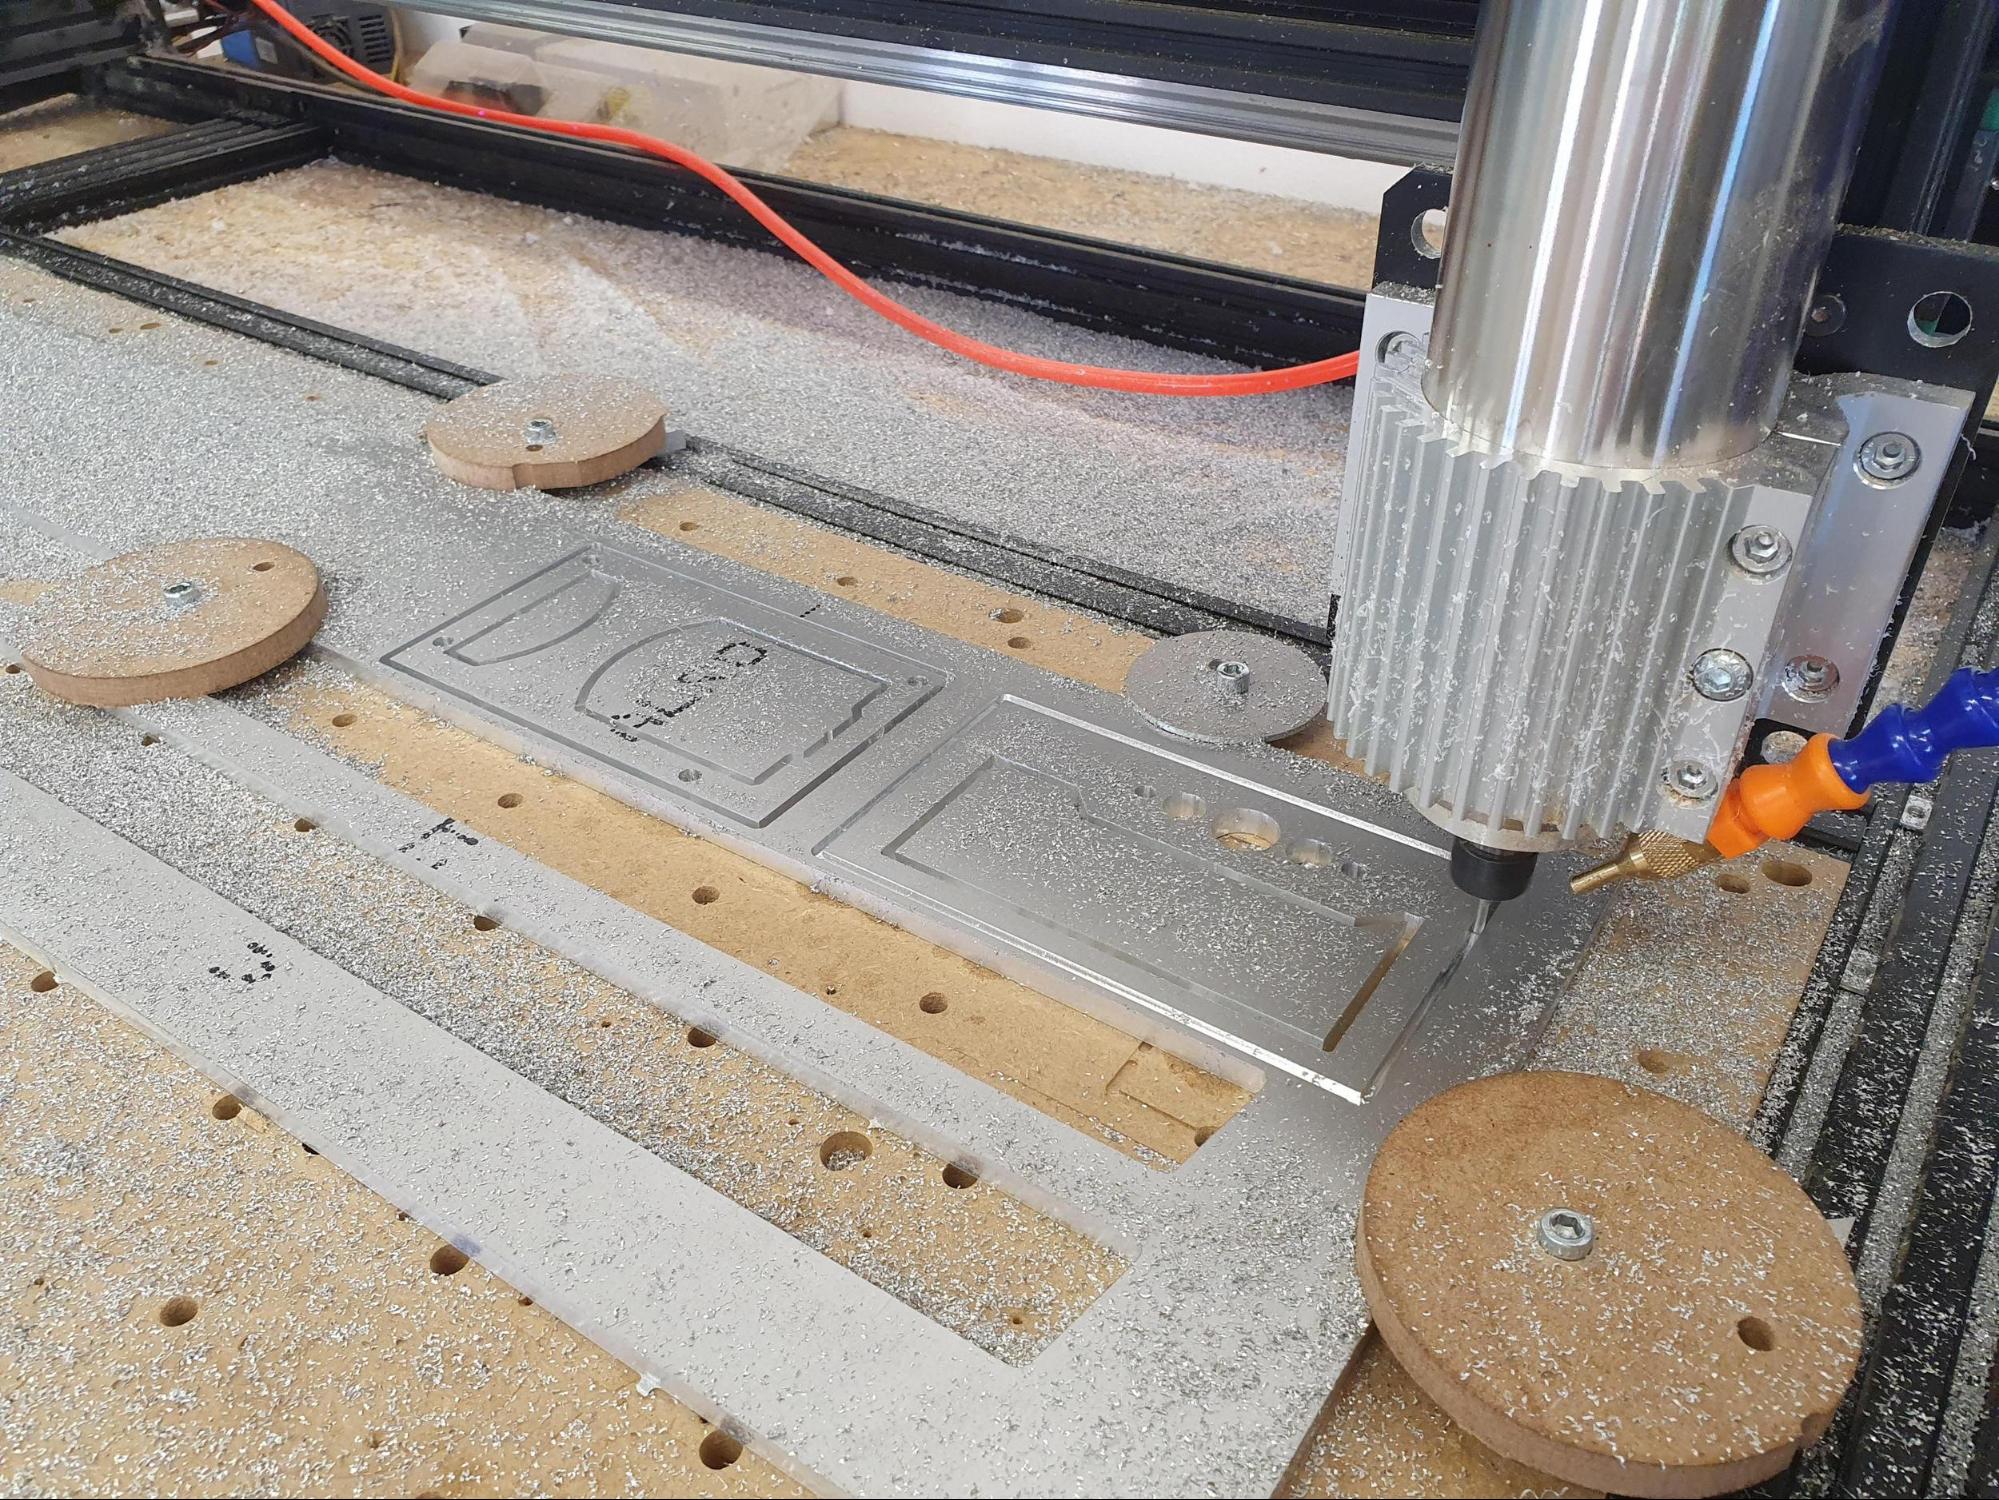
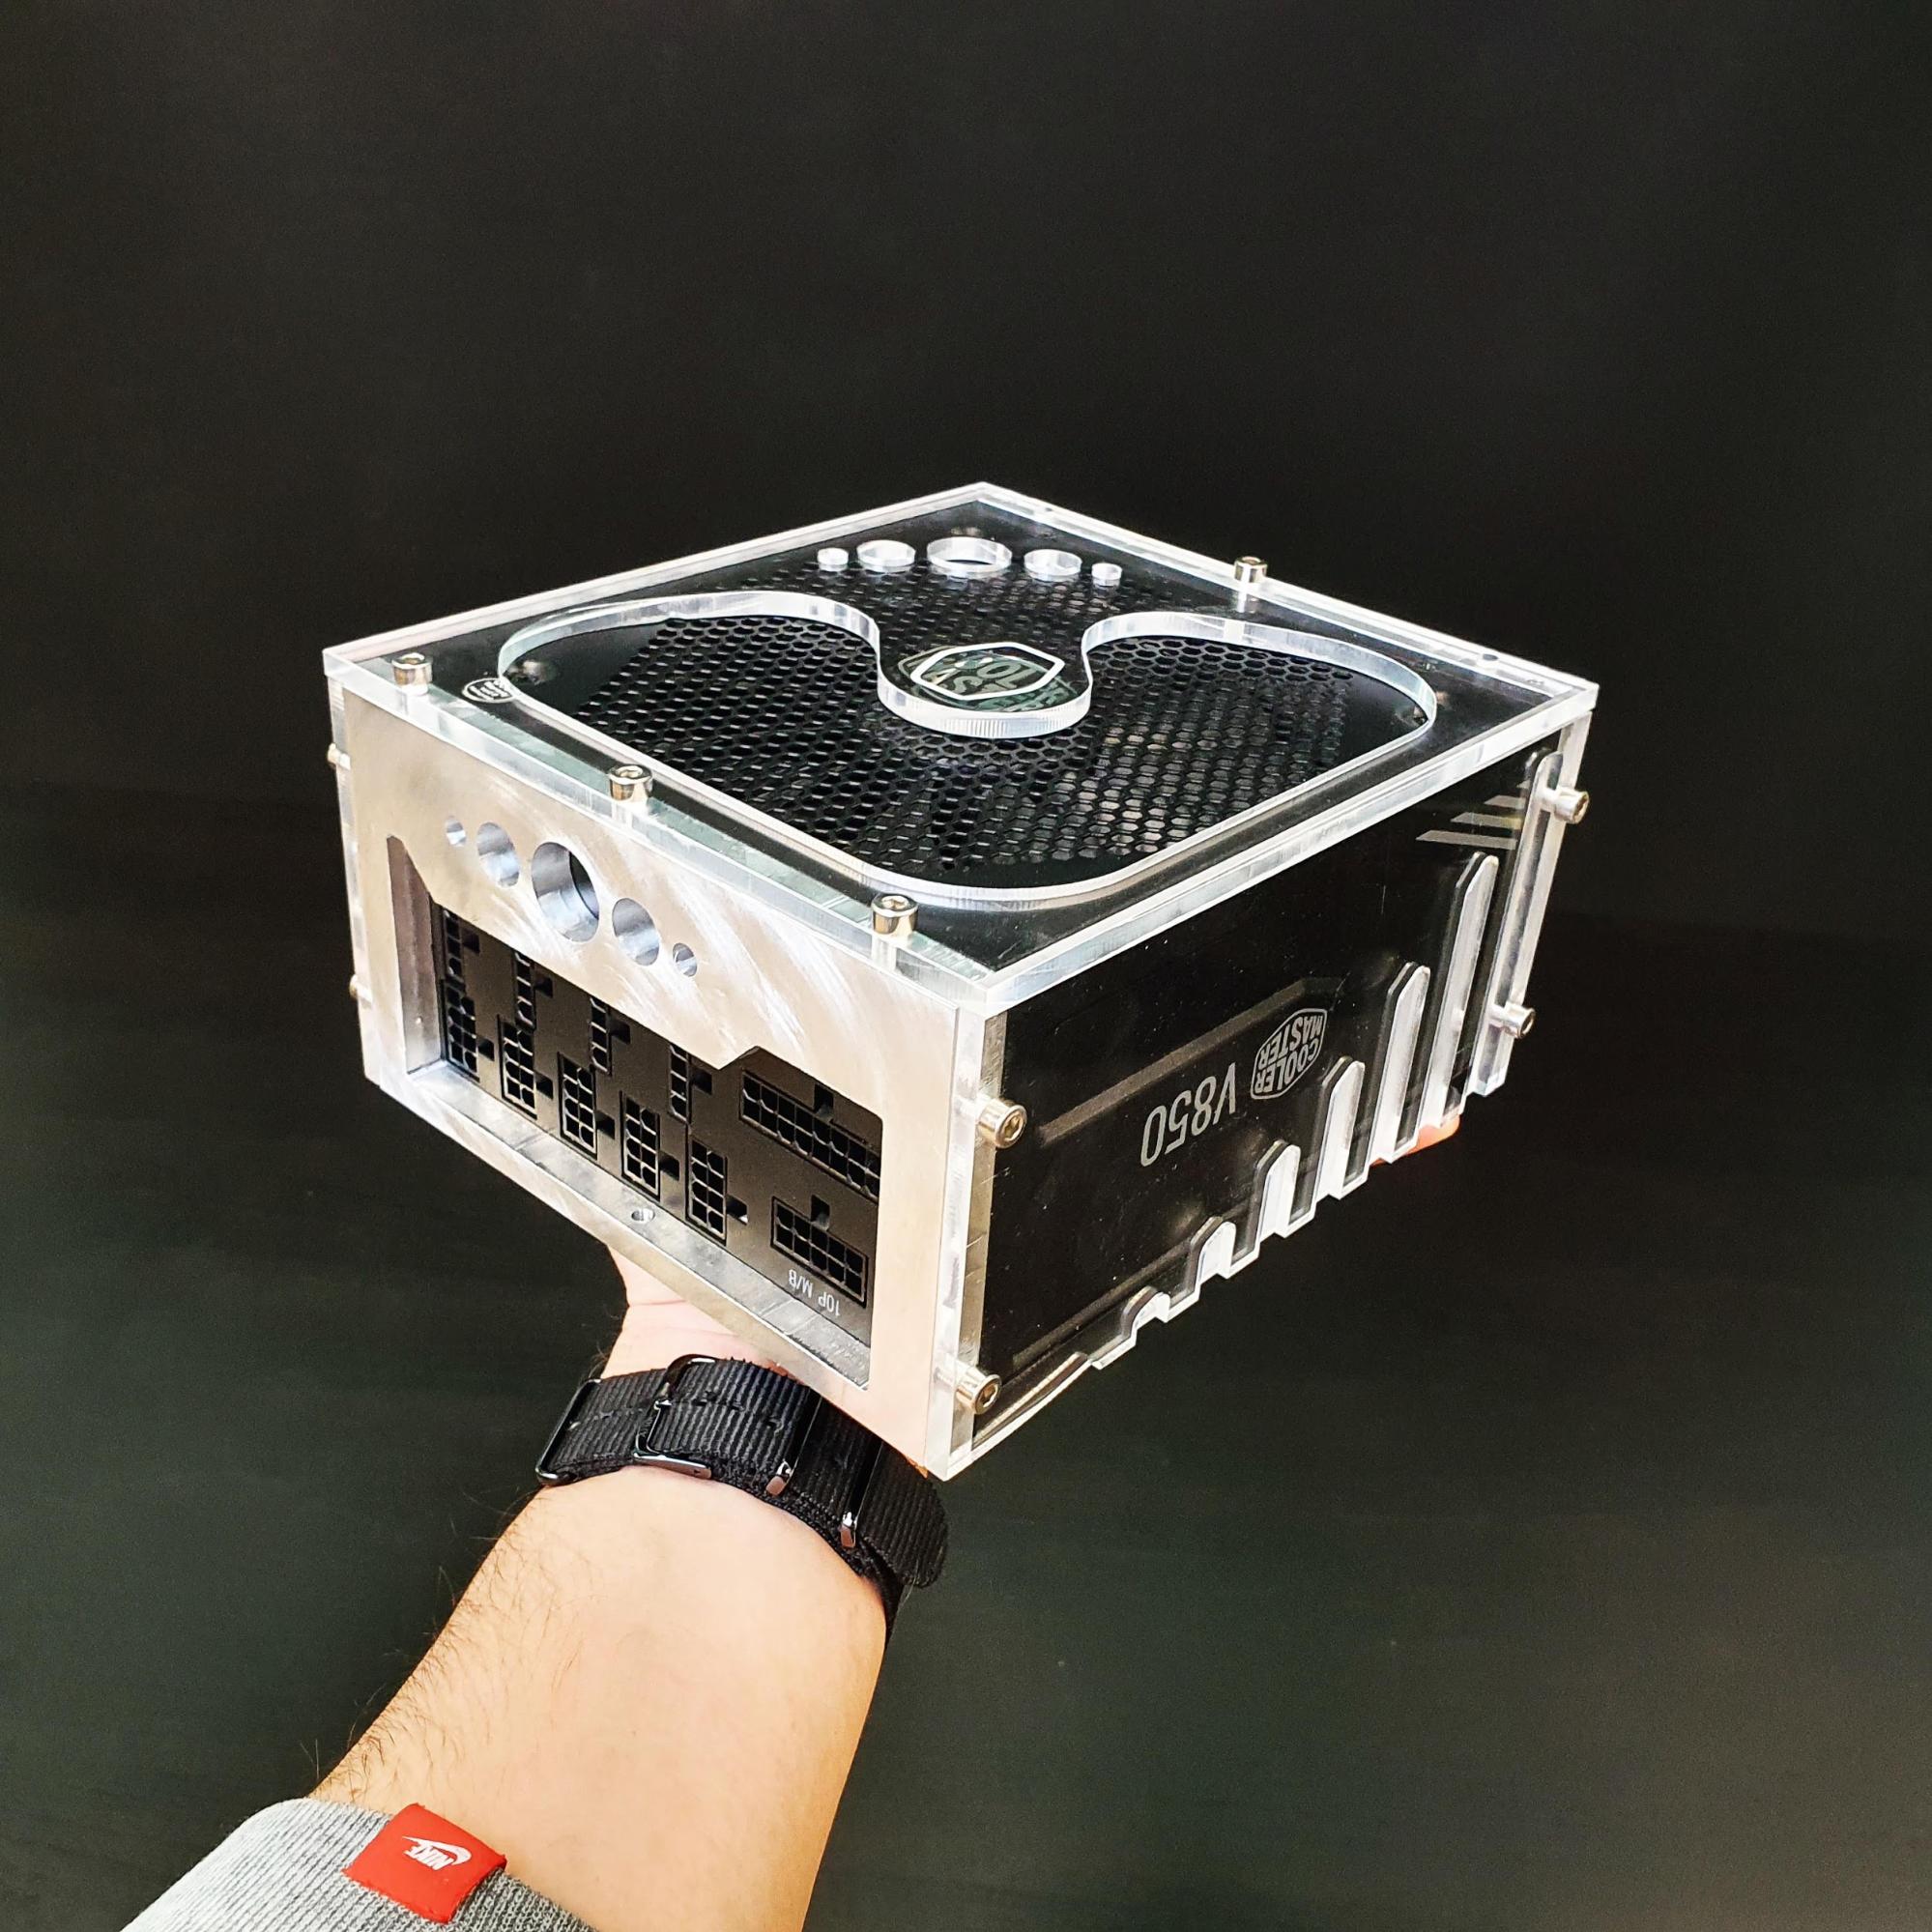
I made “armor” for the PSU using 5mm acrylic (front, top, bottom sides), 8mm aluminum (left and right, with threaded holes on all the edges to fix the other plates) and 5mm aluminum (for the back plate that was also used to fix everything to the rotating panel).
Get Tom's Hardware's best news and in-depth reviews, straight to your inbox.
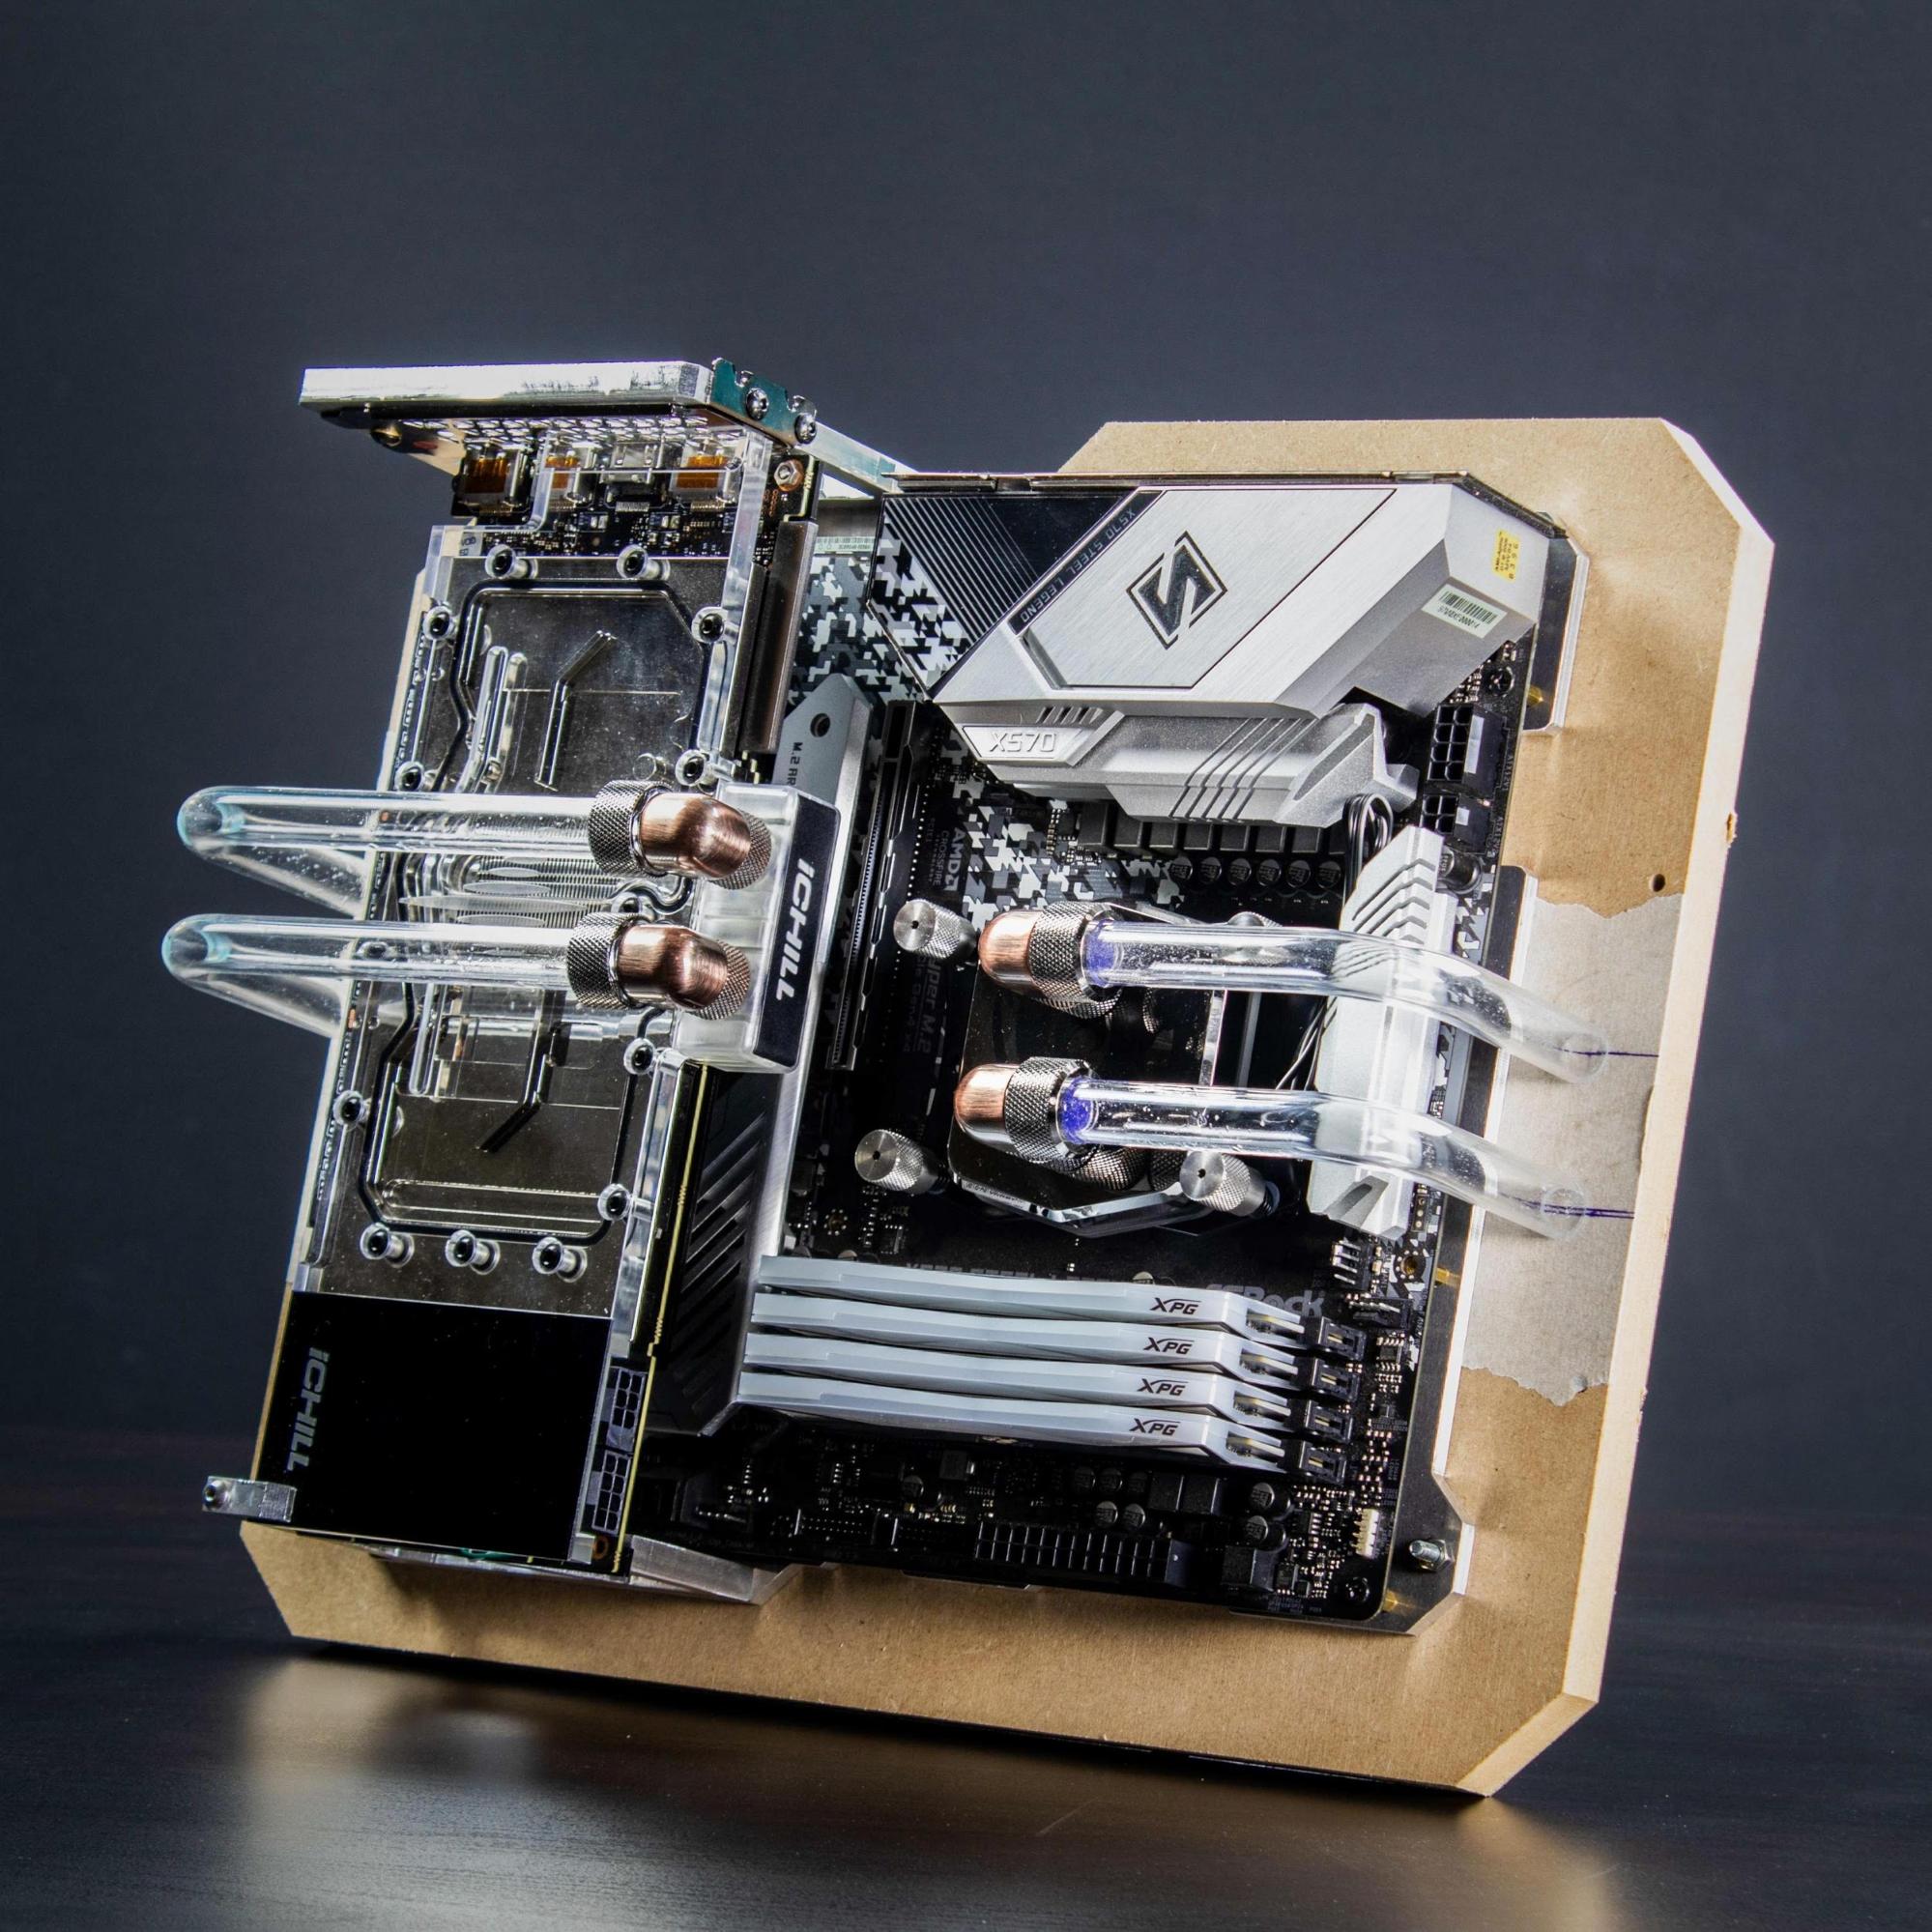
I then cut an MDF prototype of the central acrylic panel to trace down the placement for the tubing pass-through holes. I played with a couple of ideas regarding the way to route the tubing, which was parallel and kind of X-shaped. Eventually, I ran with parallel runs, which always look super nice.
Chugging Along
Quick backtrack to the rotating hardware panel. At this point, I looked to mount this central piece and make sure it’d work as planned.
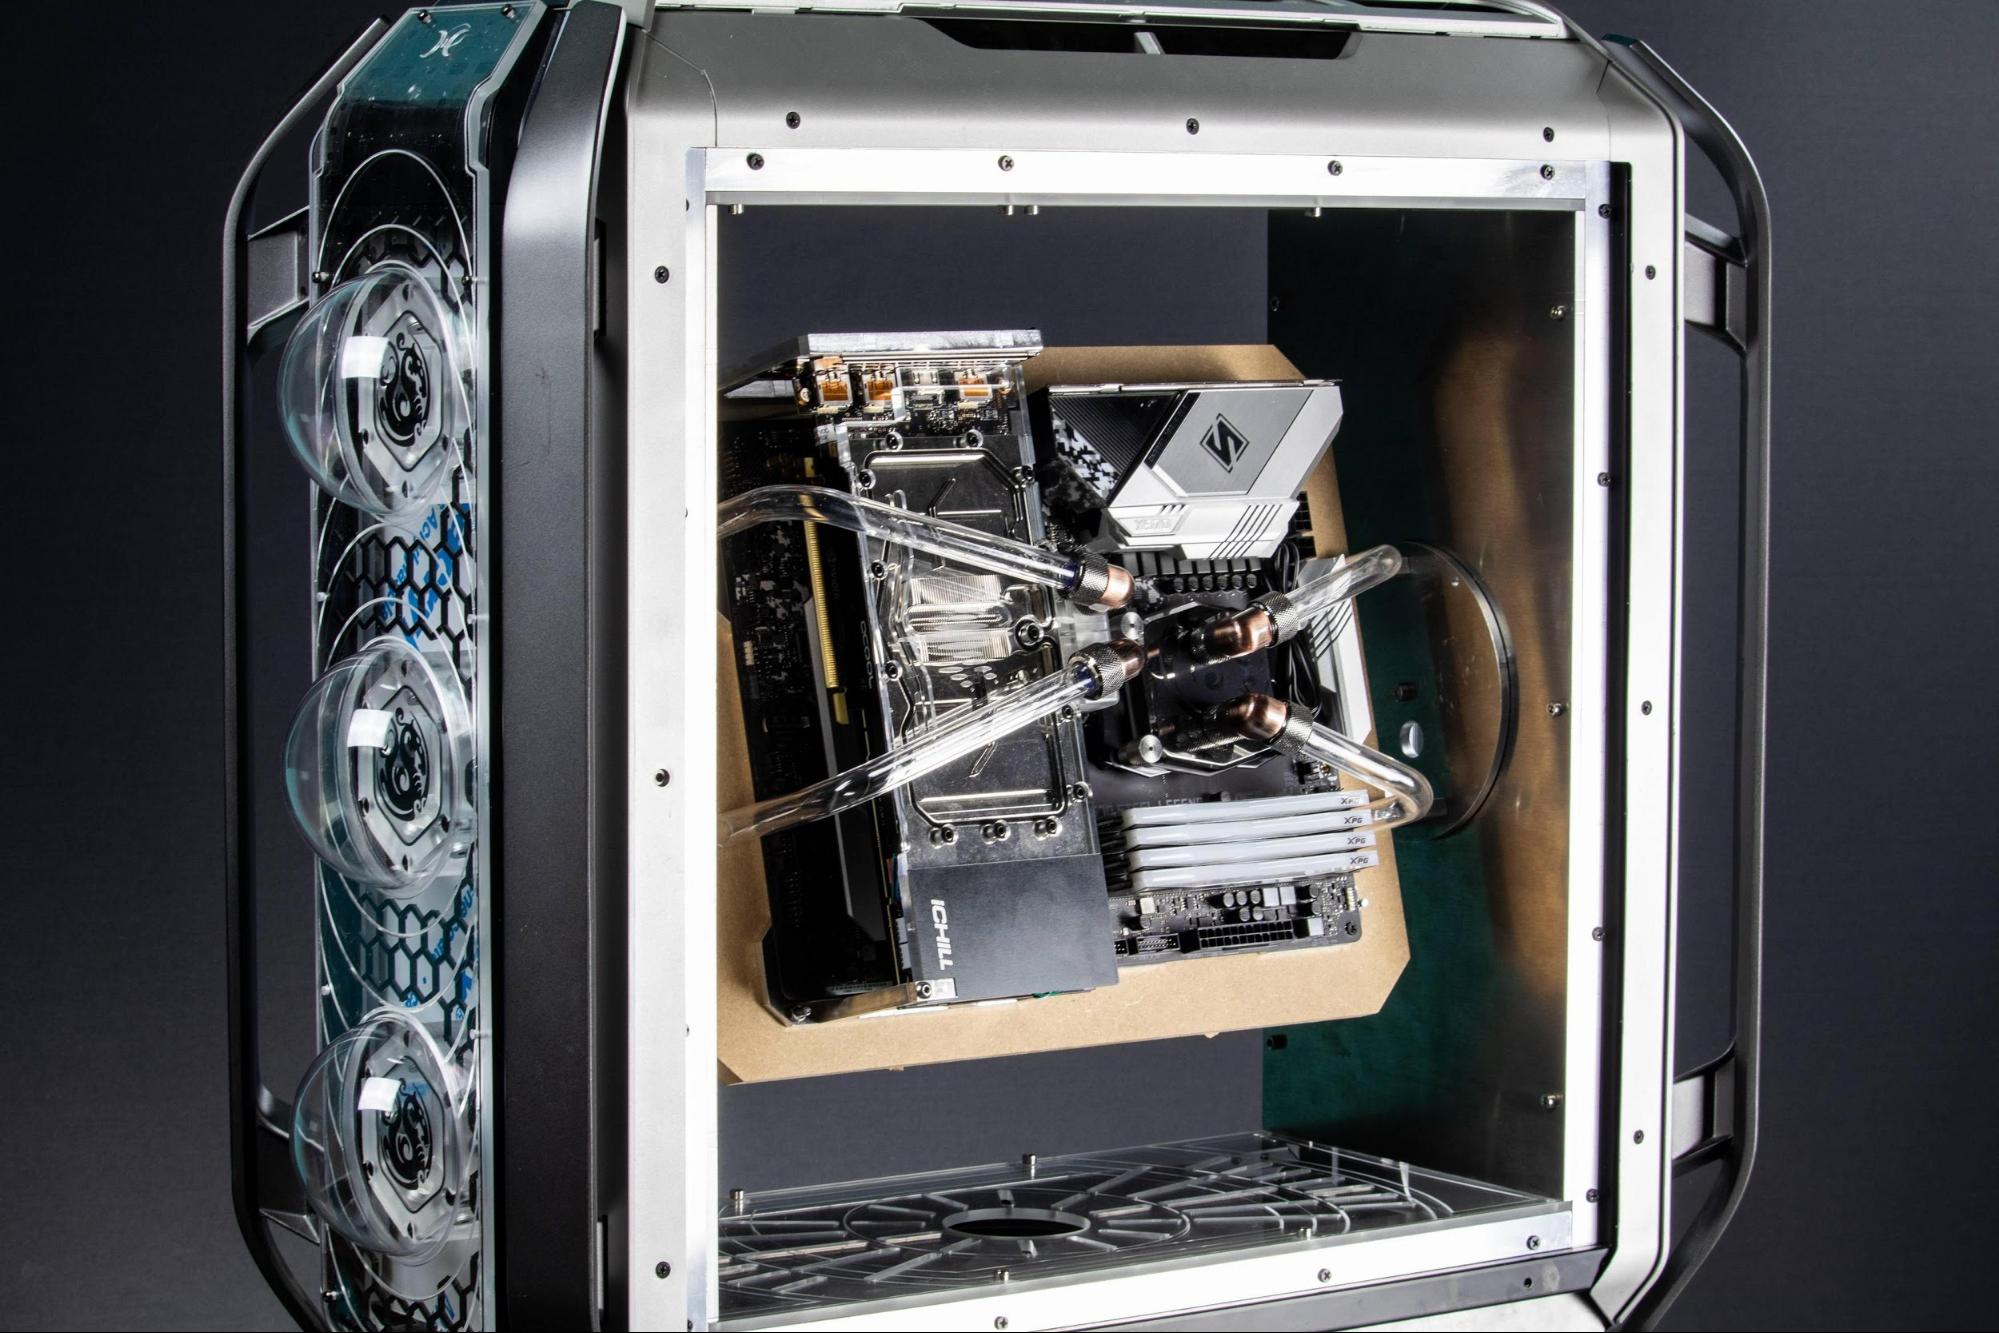
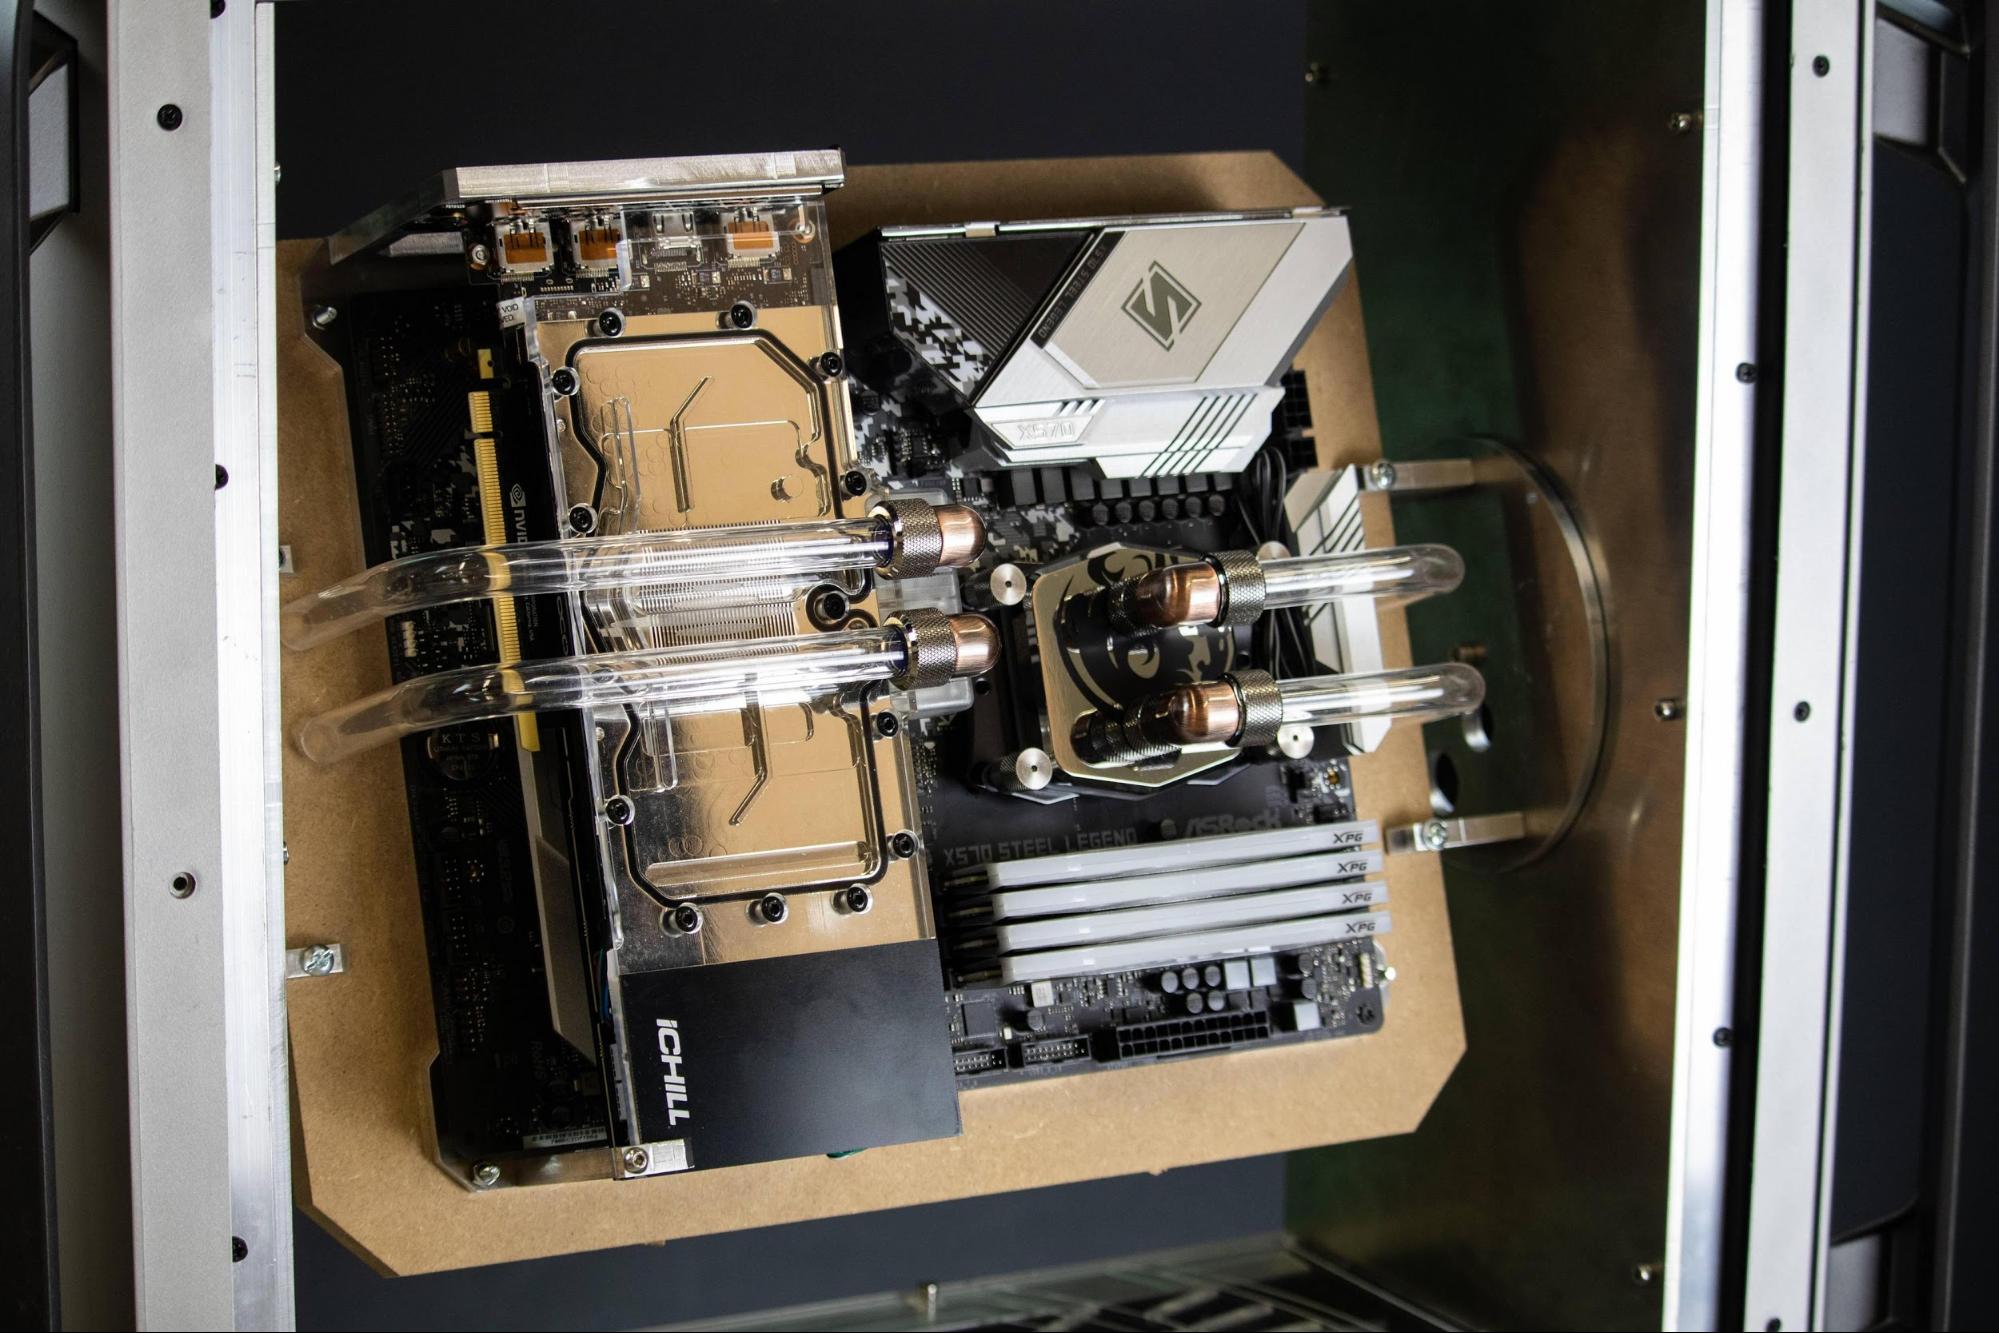
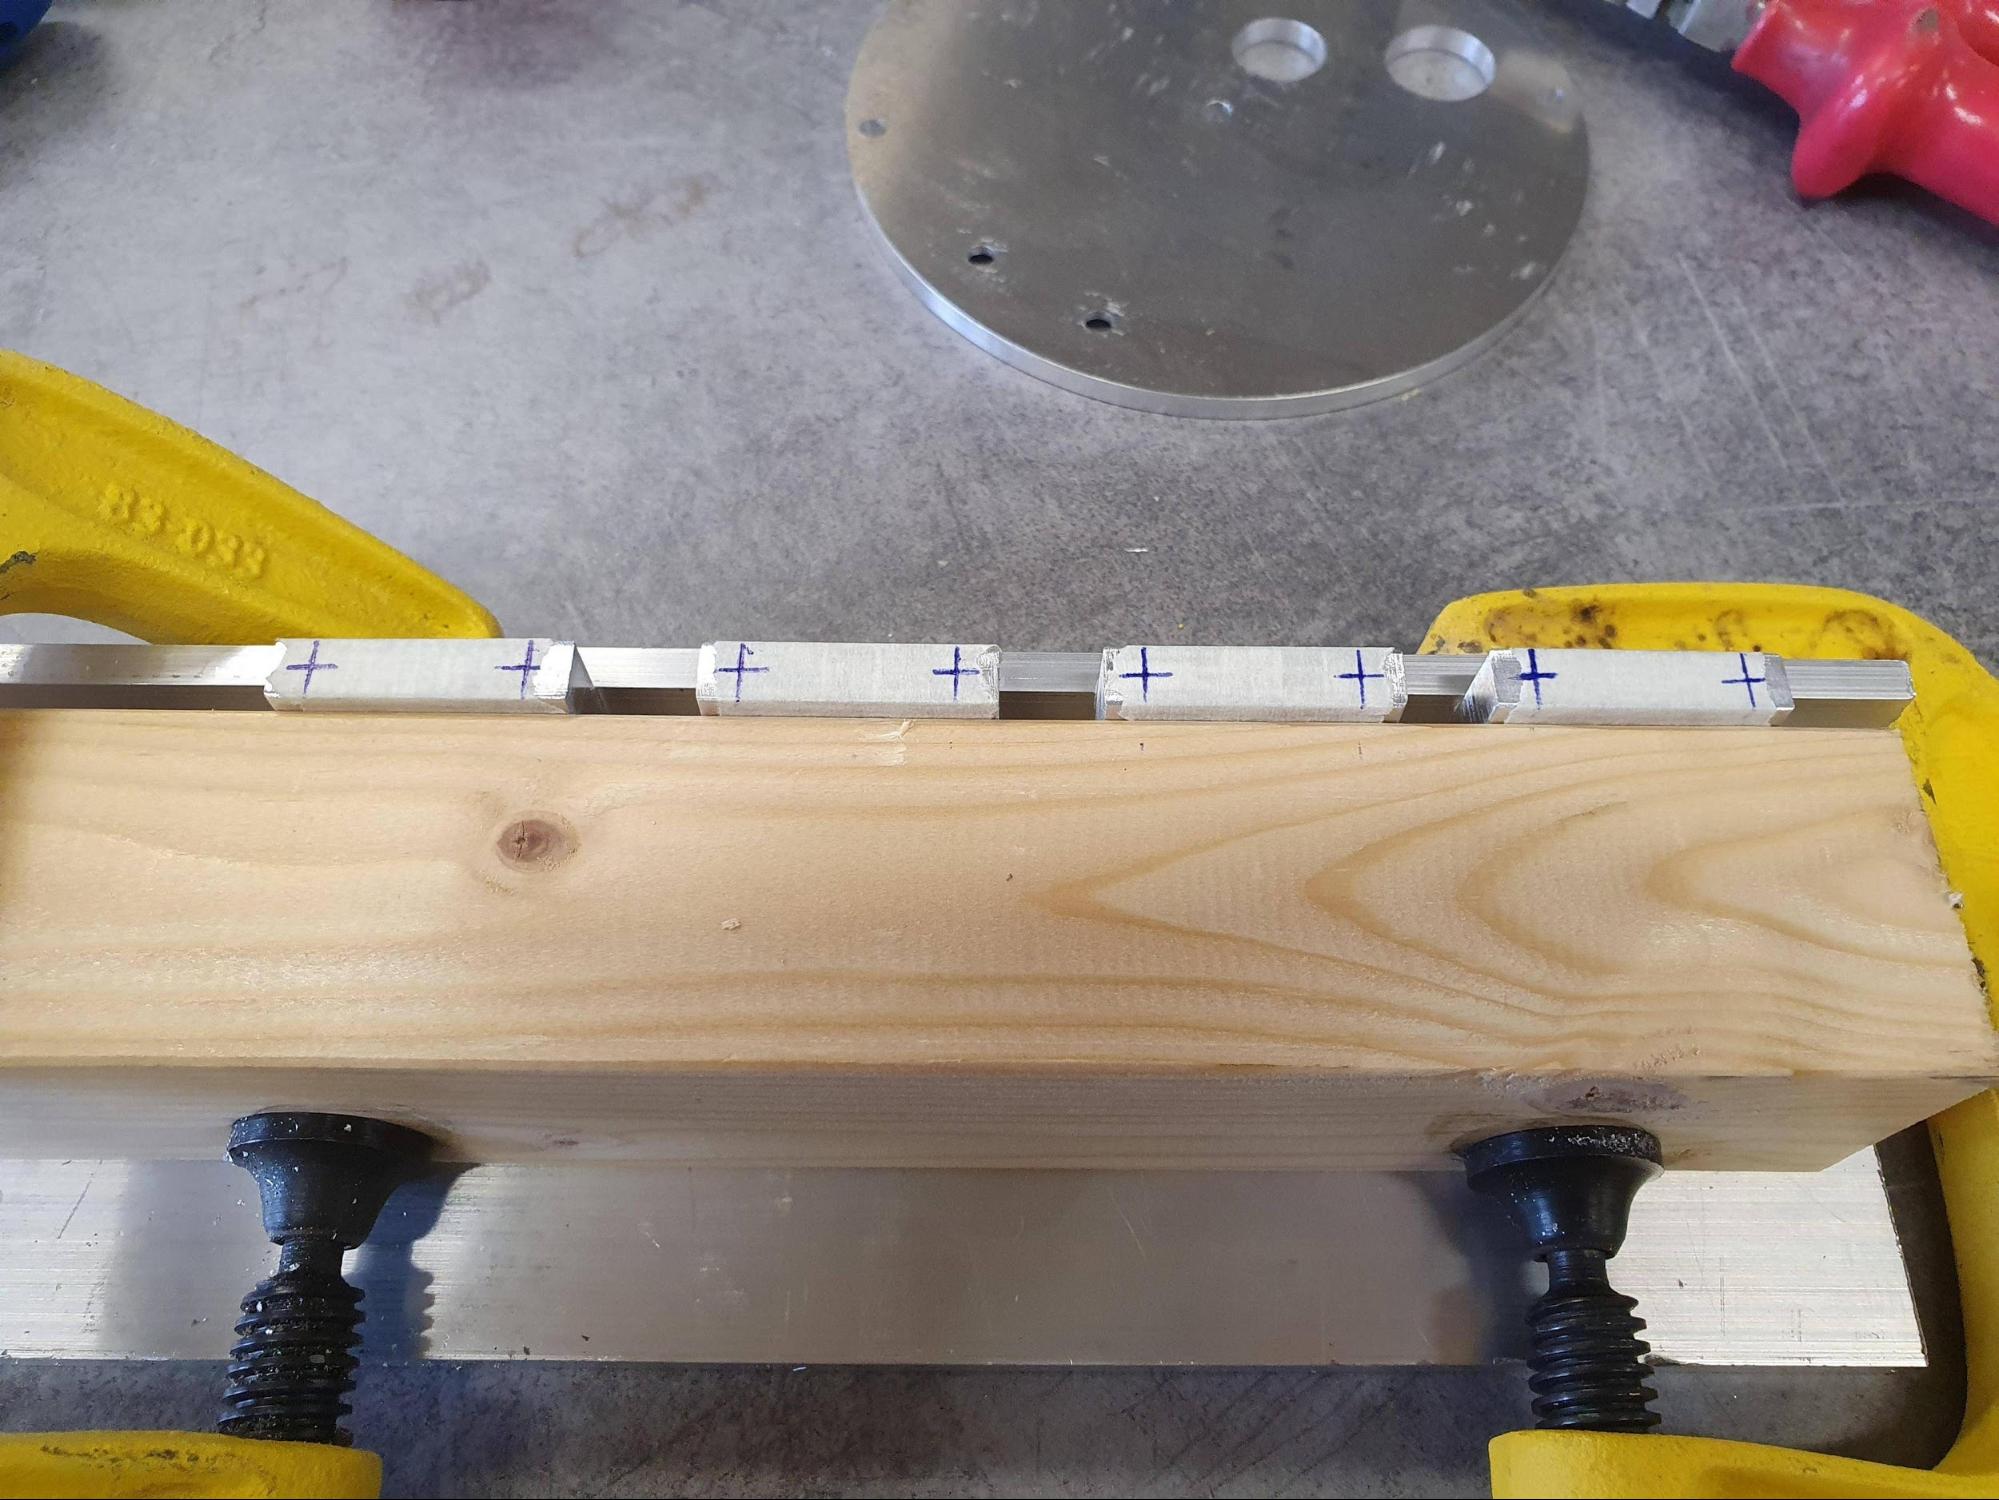
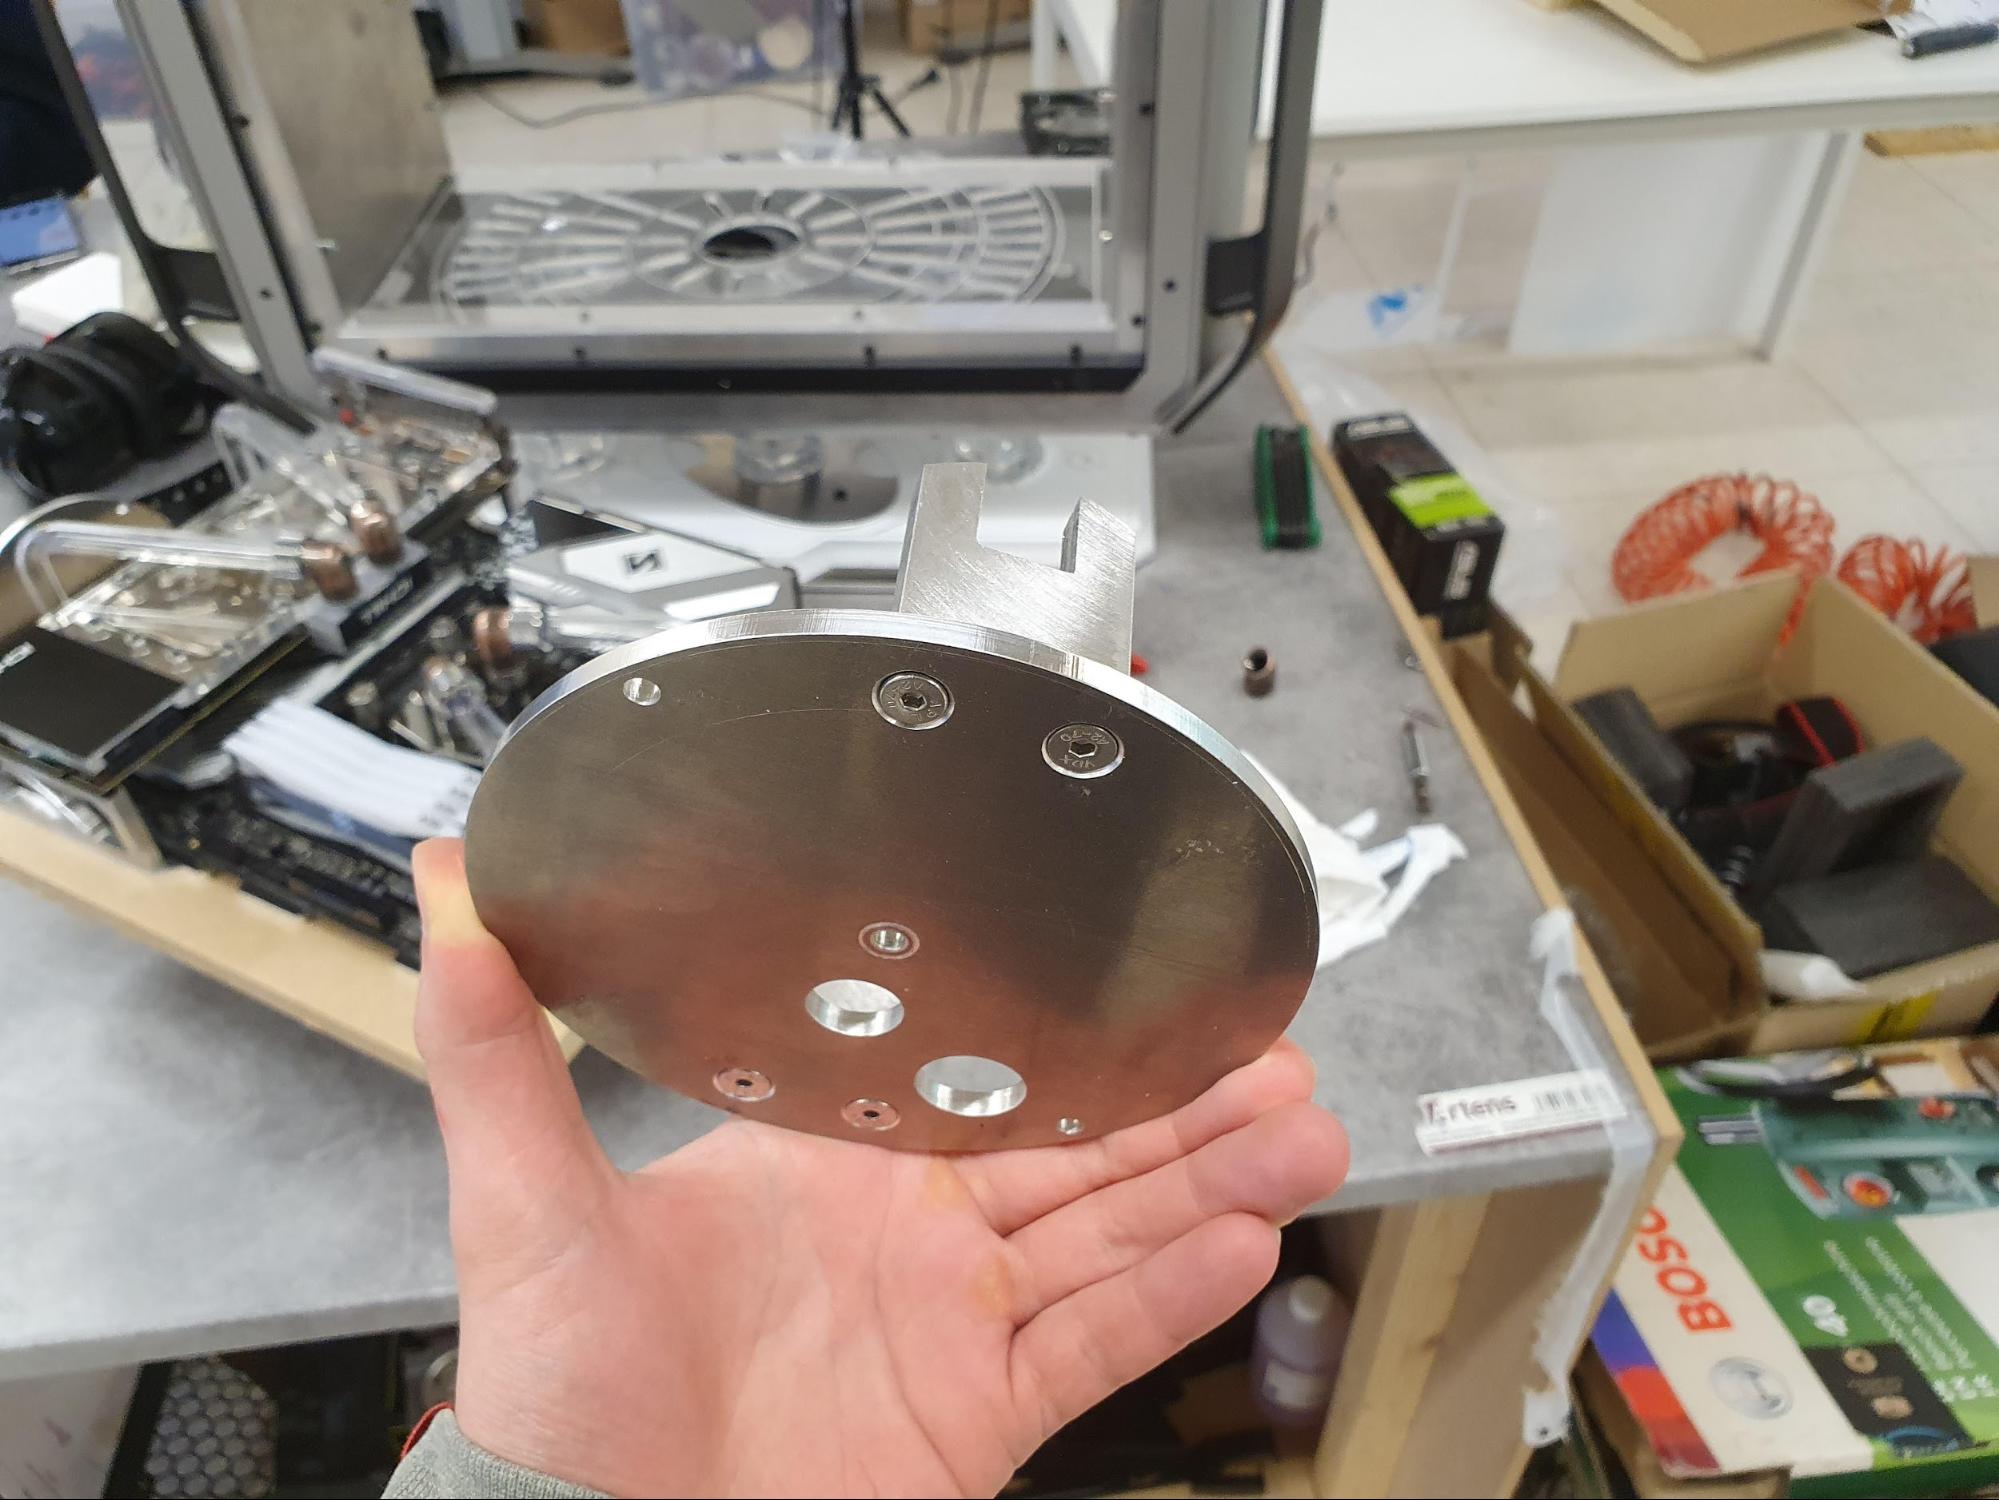
I took the 8mm brackets I cut previously and drilled M5 holes on the edges to mount them to the rotating discs.
Moving onto some external work, I incorporated the same design style used for the custom back panel into the top and front ones as well.
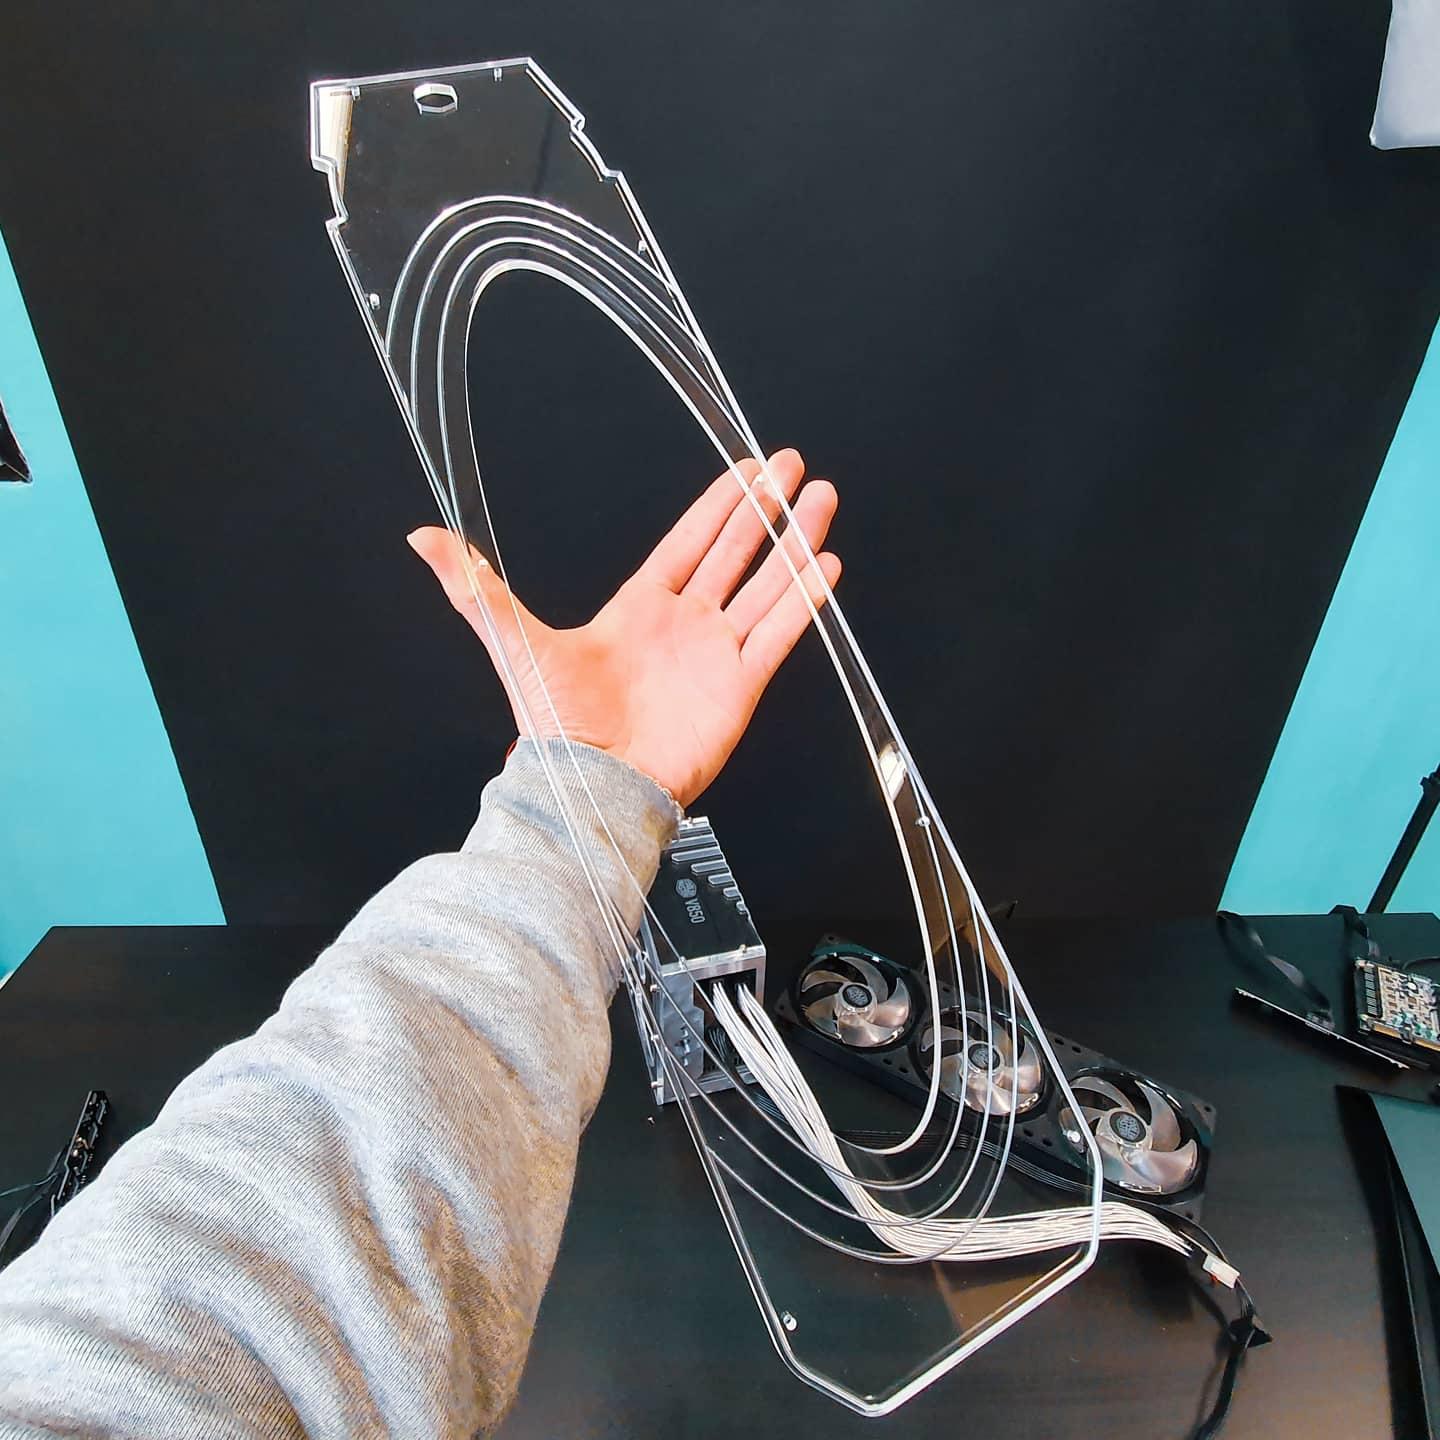
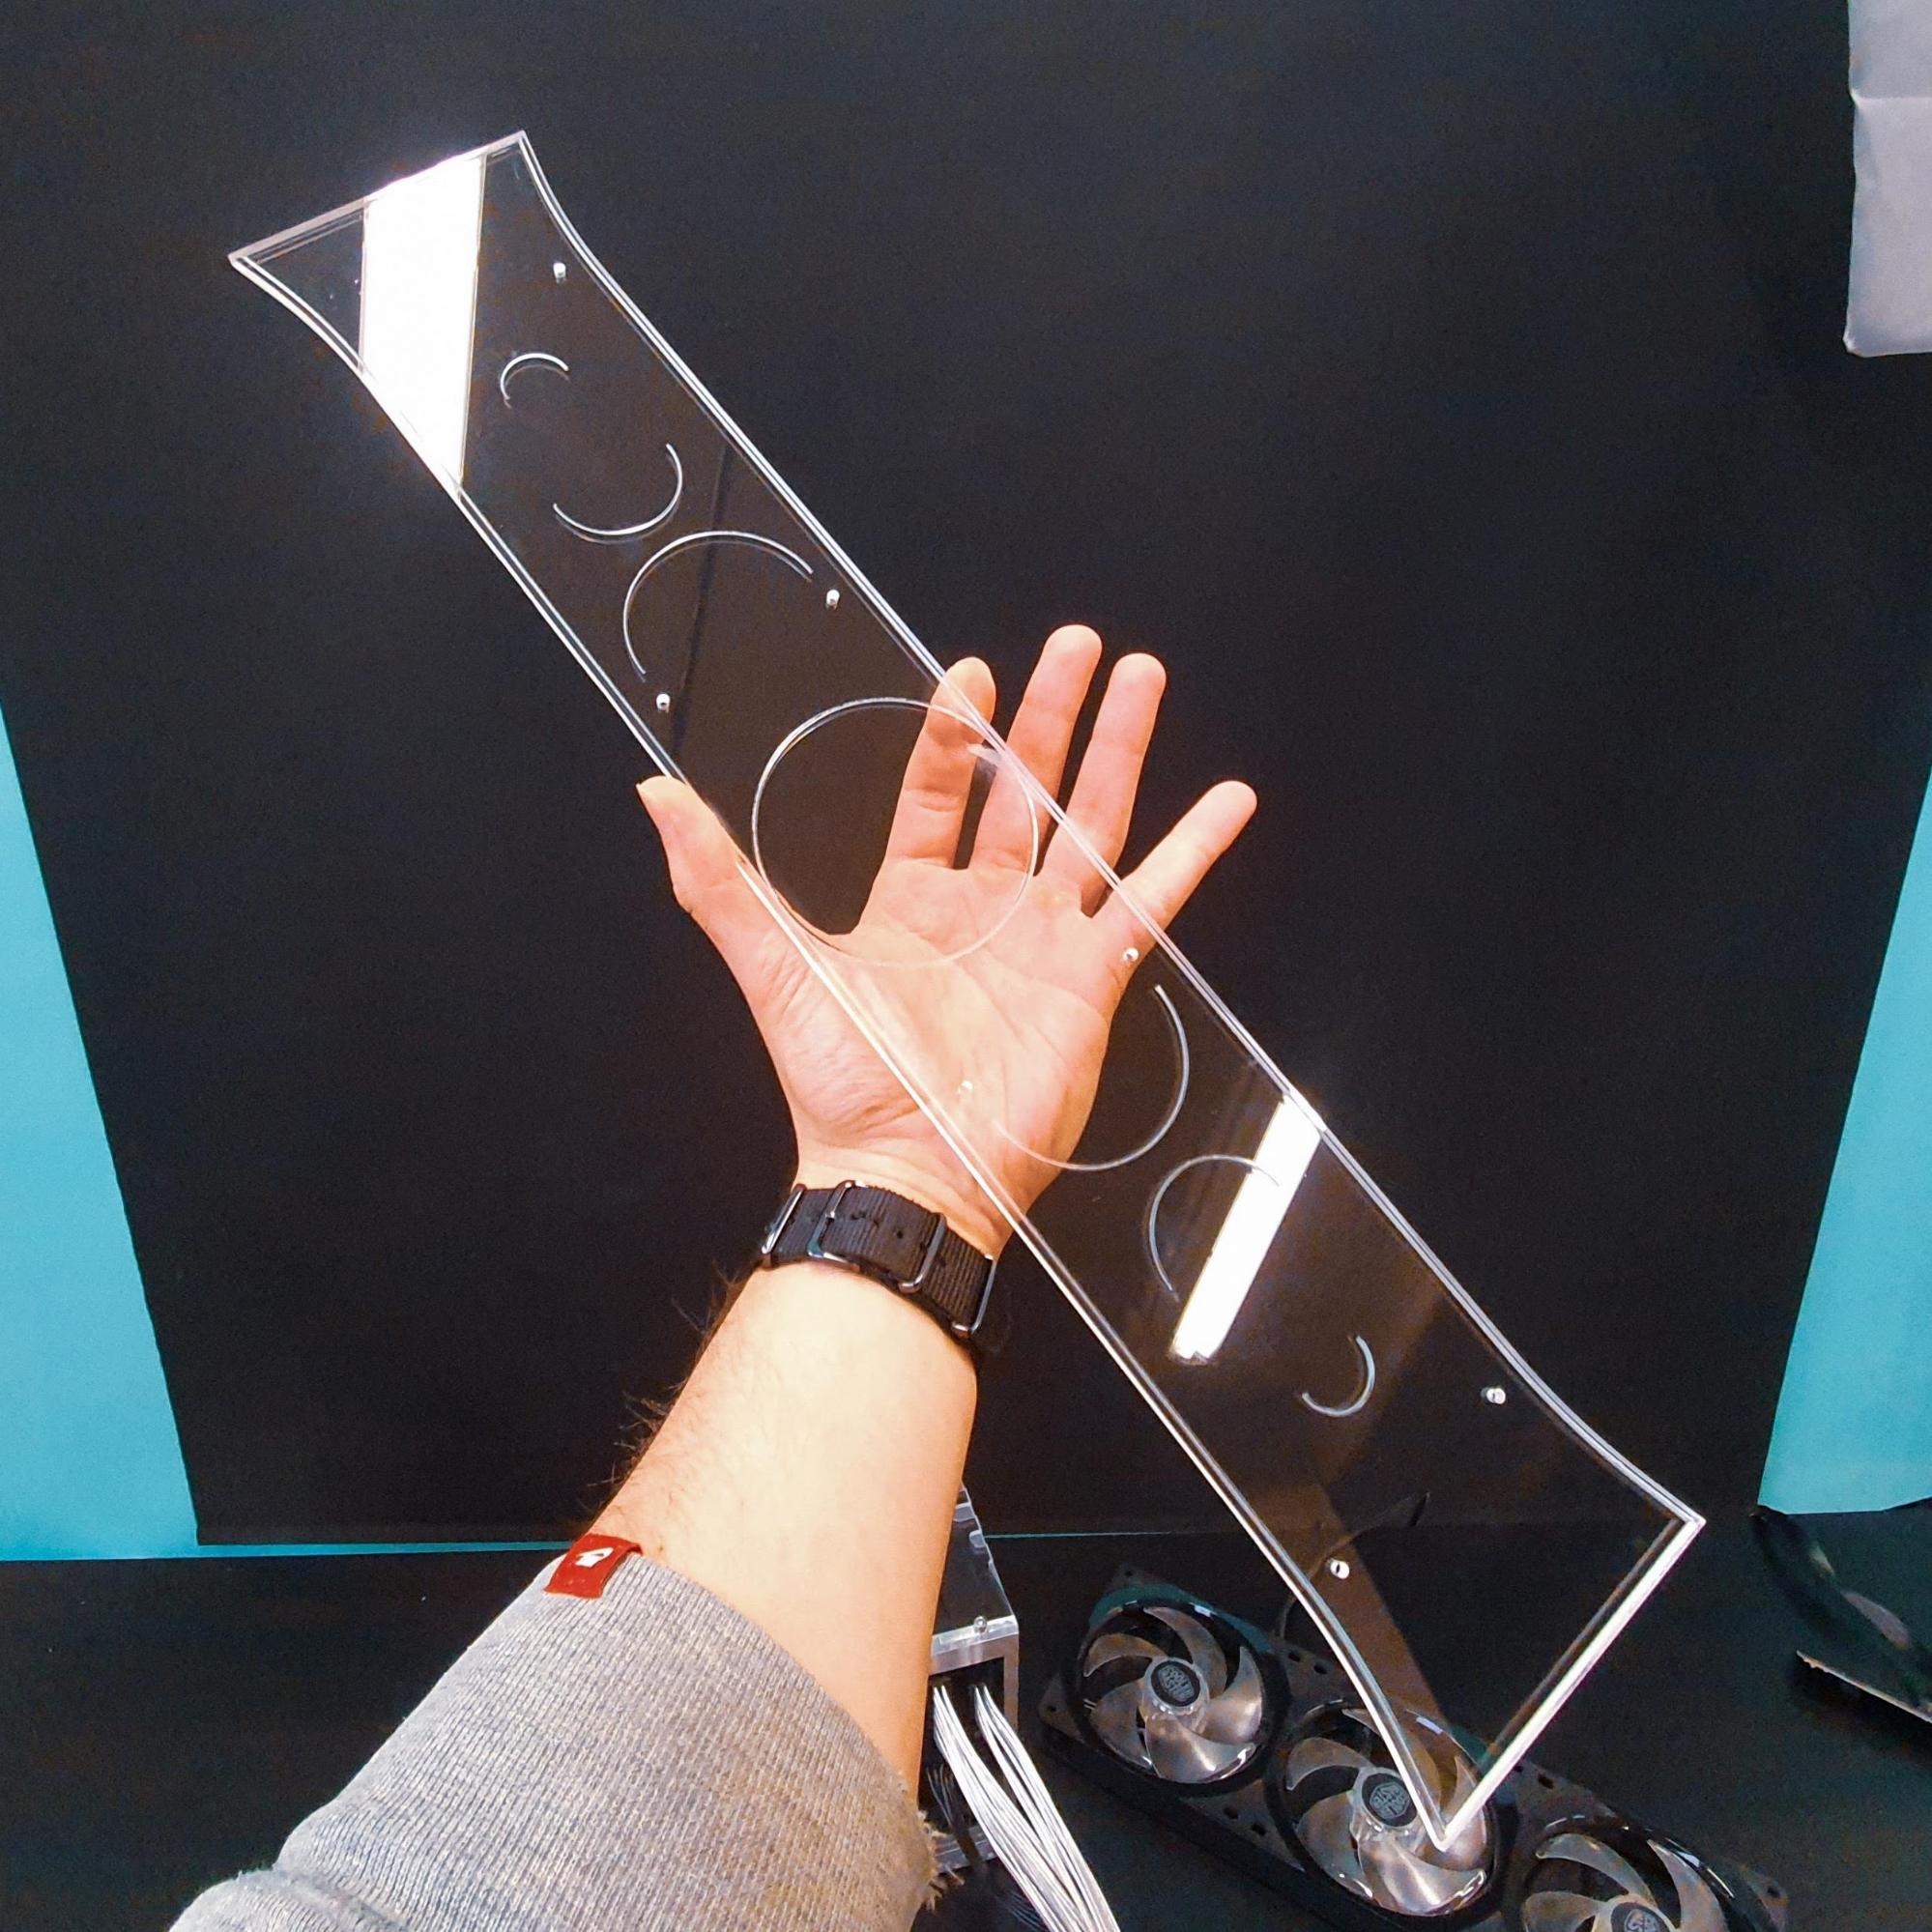
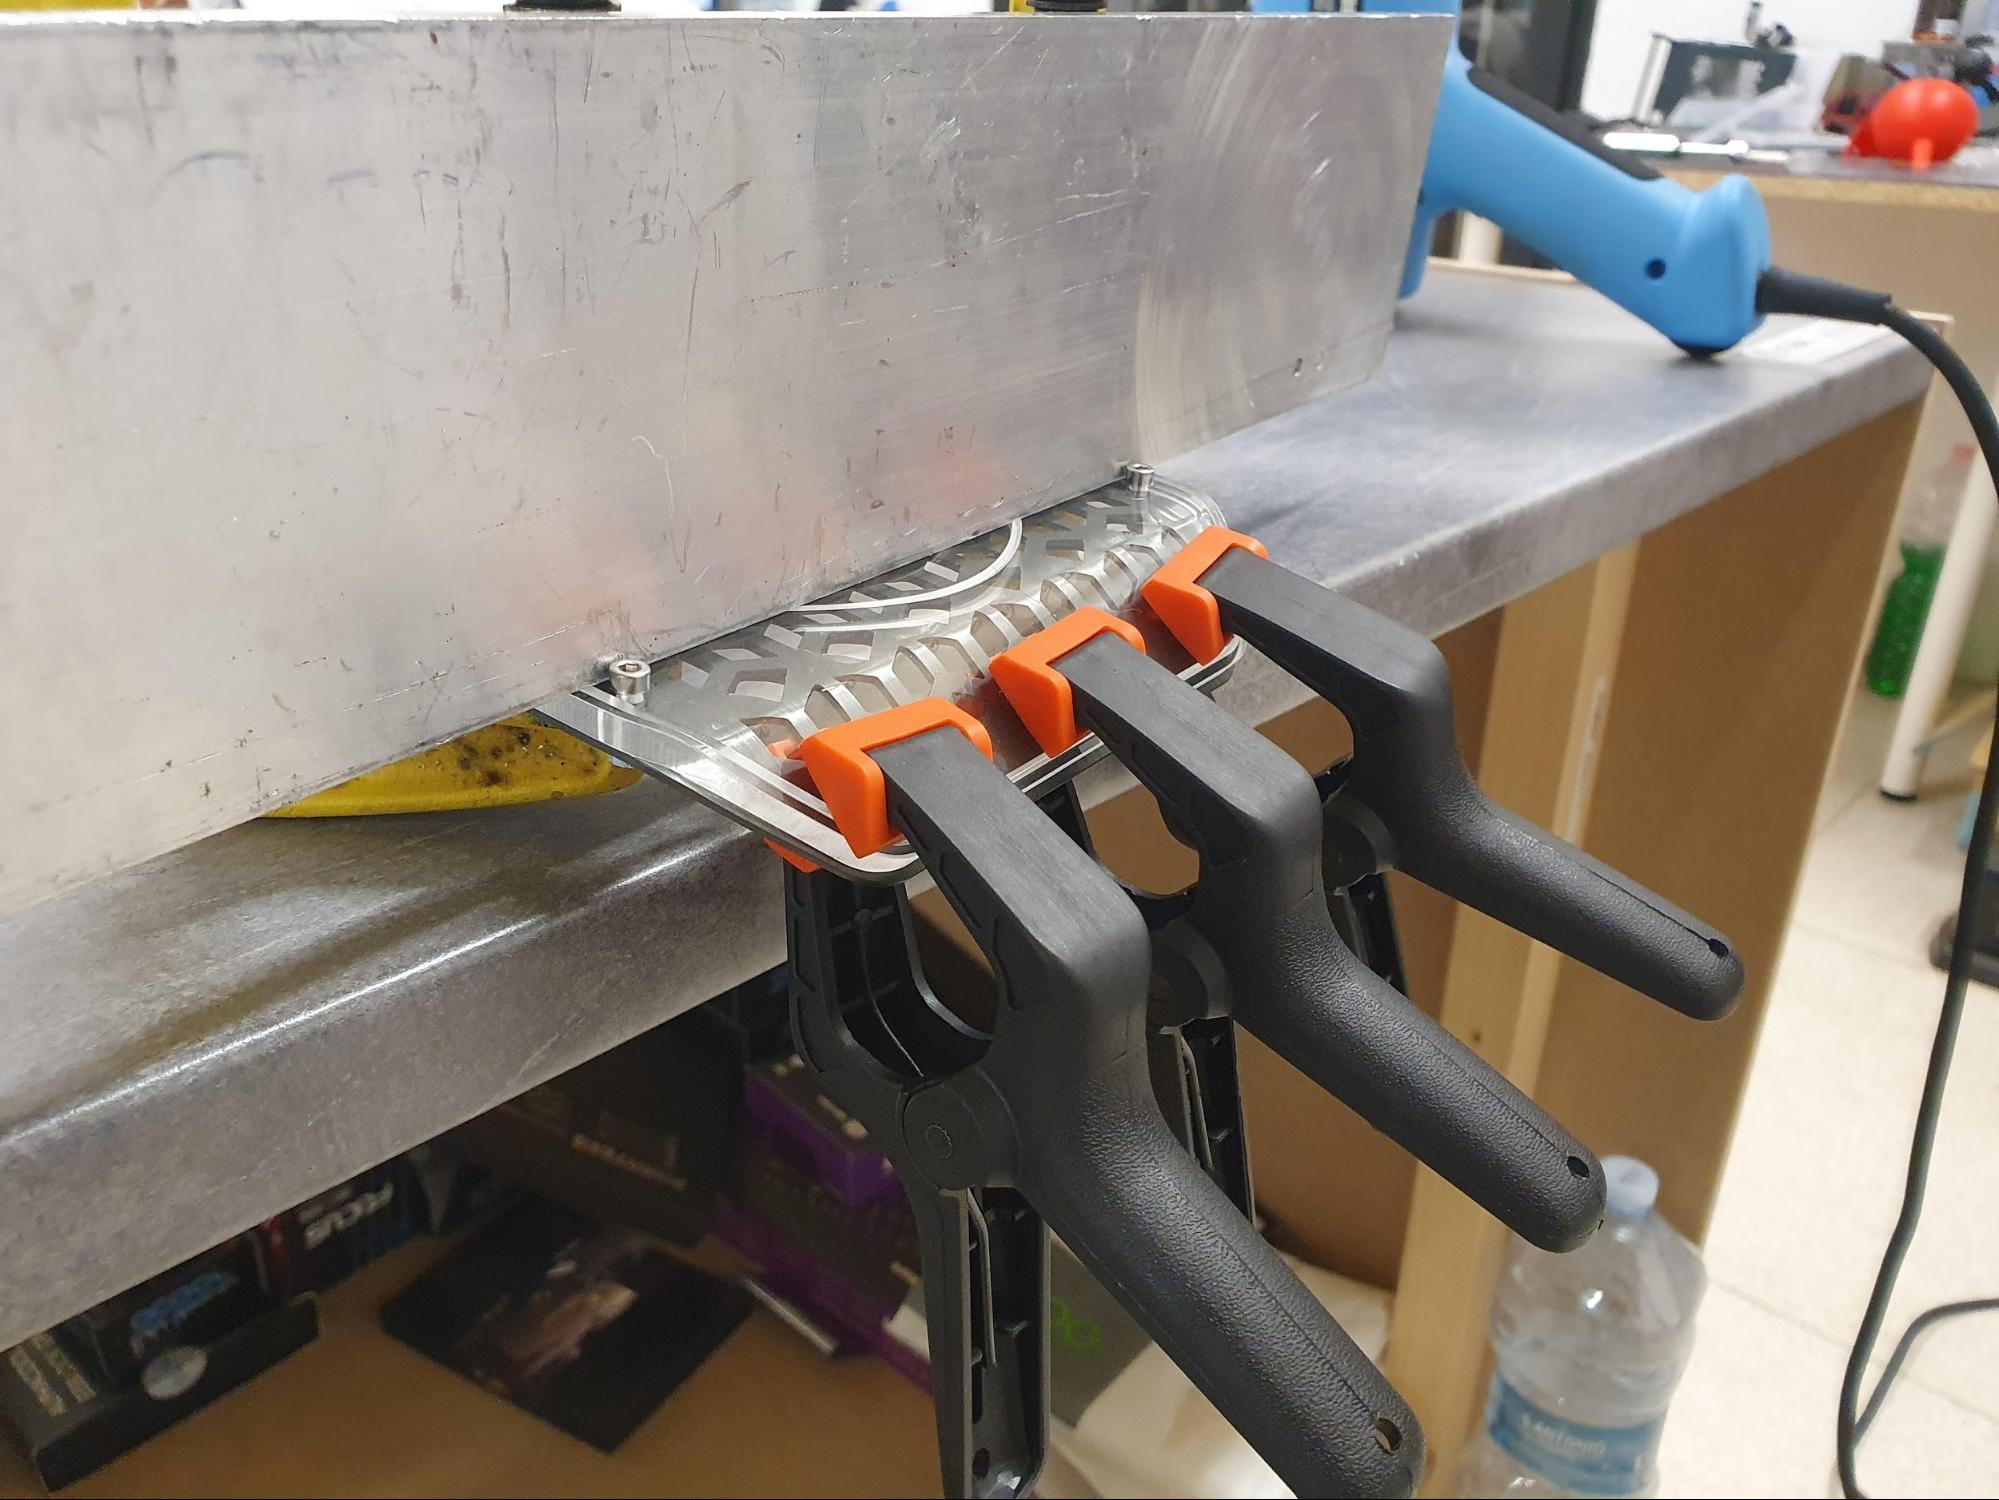
These were also bent, using heat on both sides. In the picture below, you see the panel being bent and the clamps holding it in place while it cools down.
I individually constructed the Cooler Master logo seen on the front of the case in the picture below and put it on top of the case’s original power button so the button could have some more pizazz. I also did this for the front controls for fan speed and RGB lighting.
Starting the Side Panels
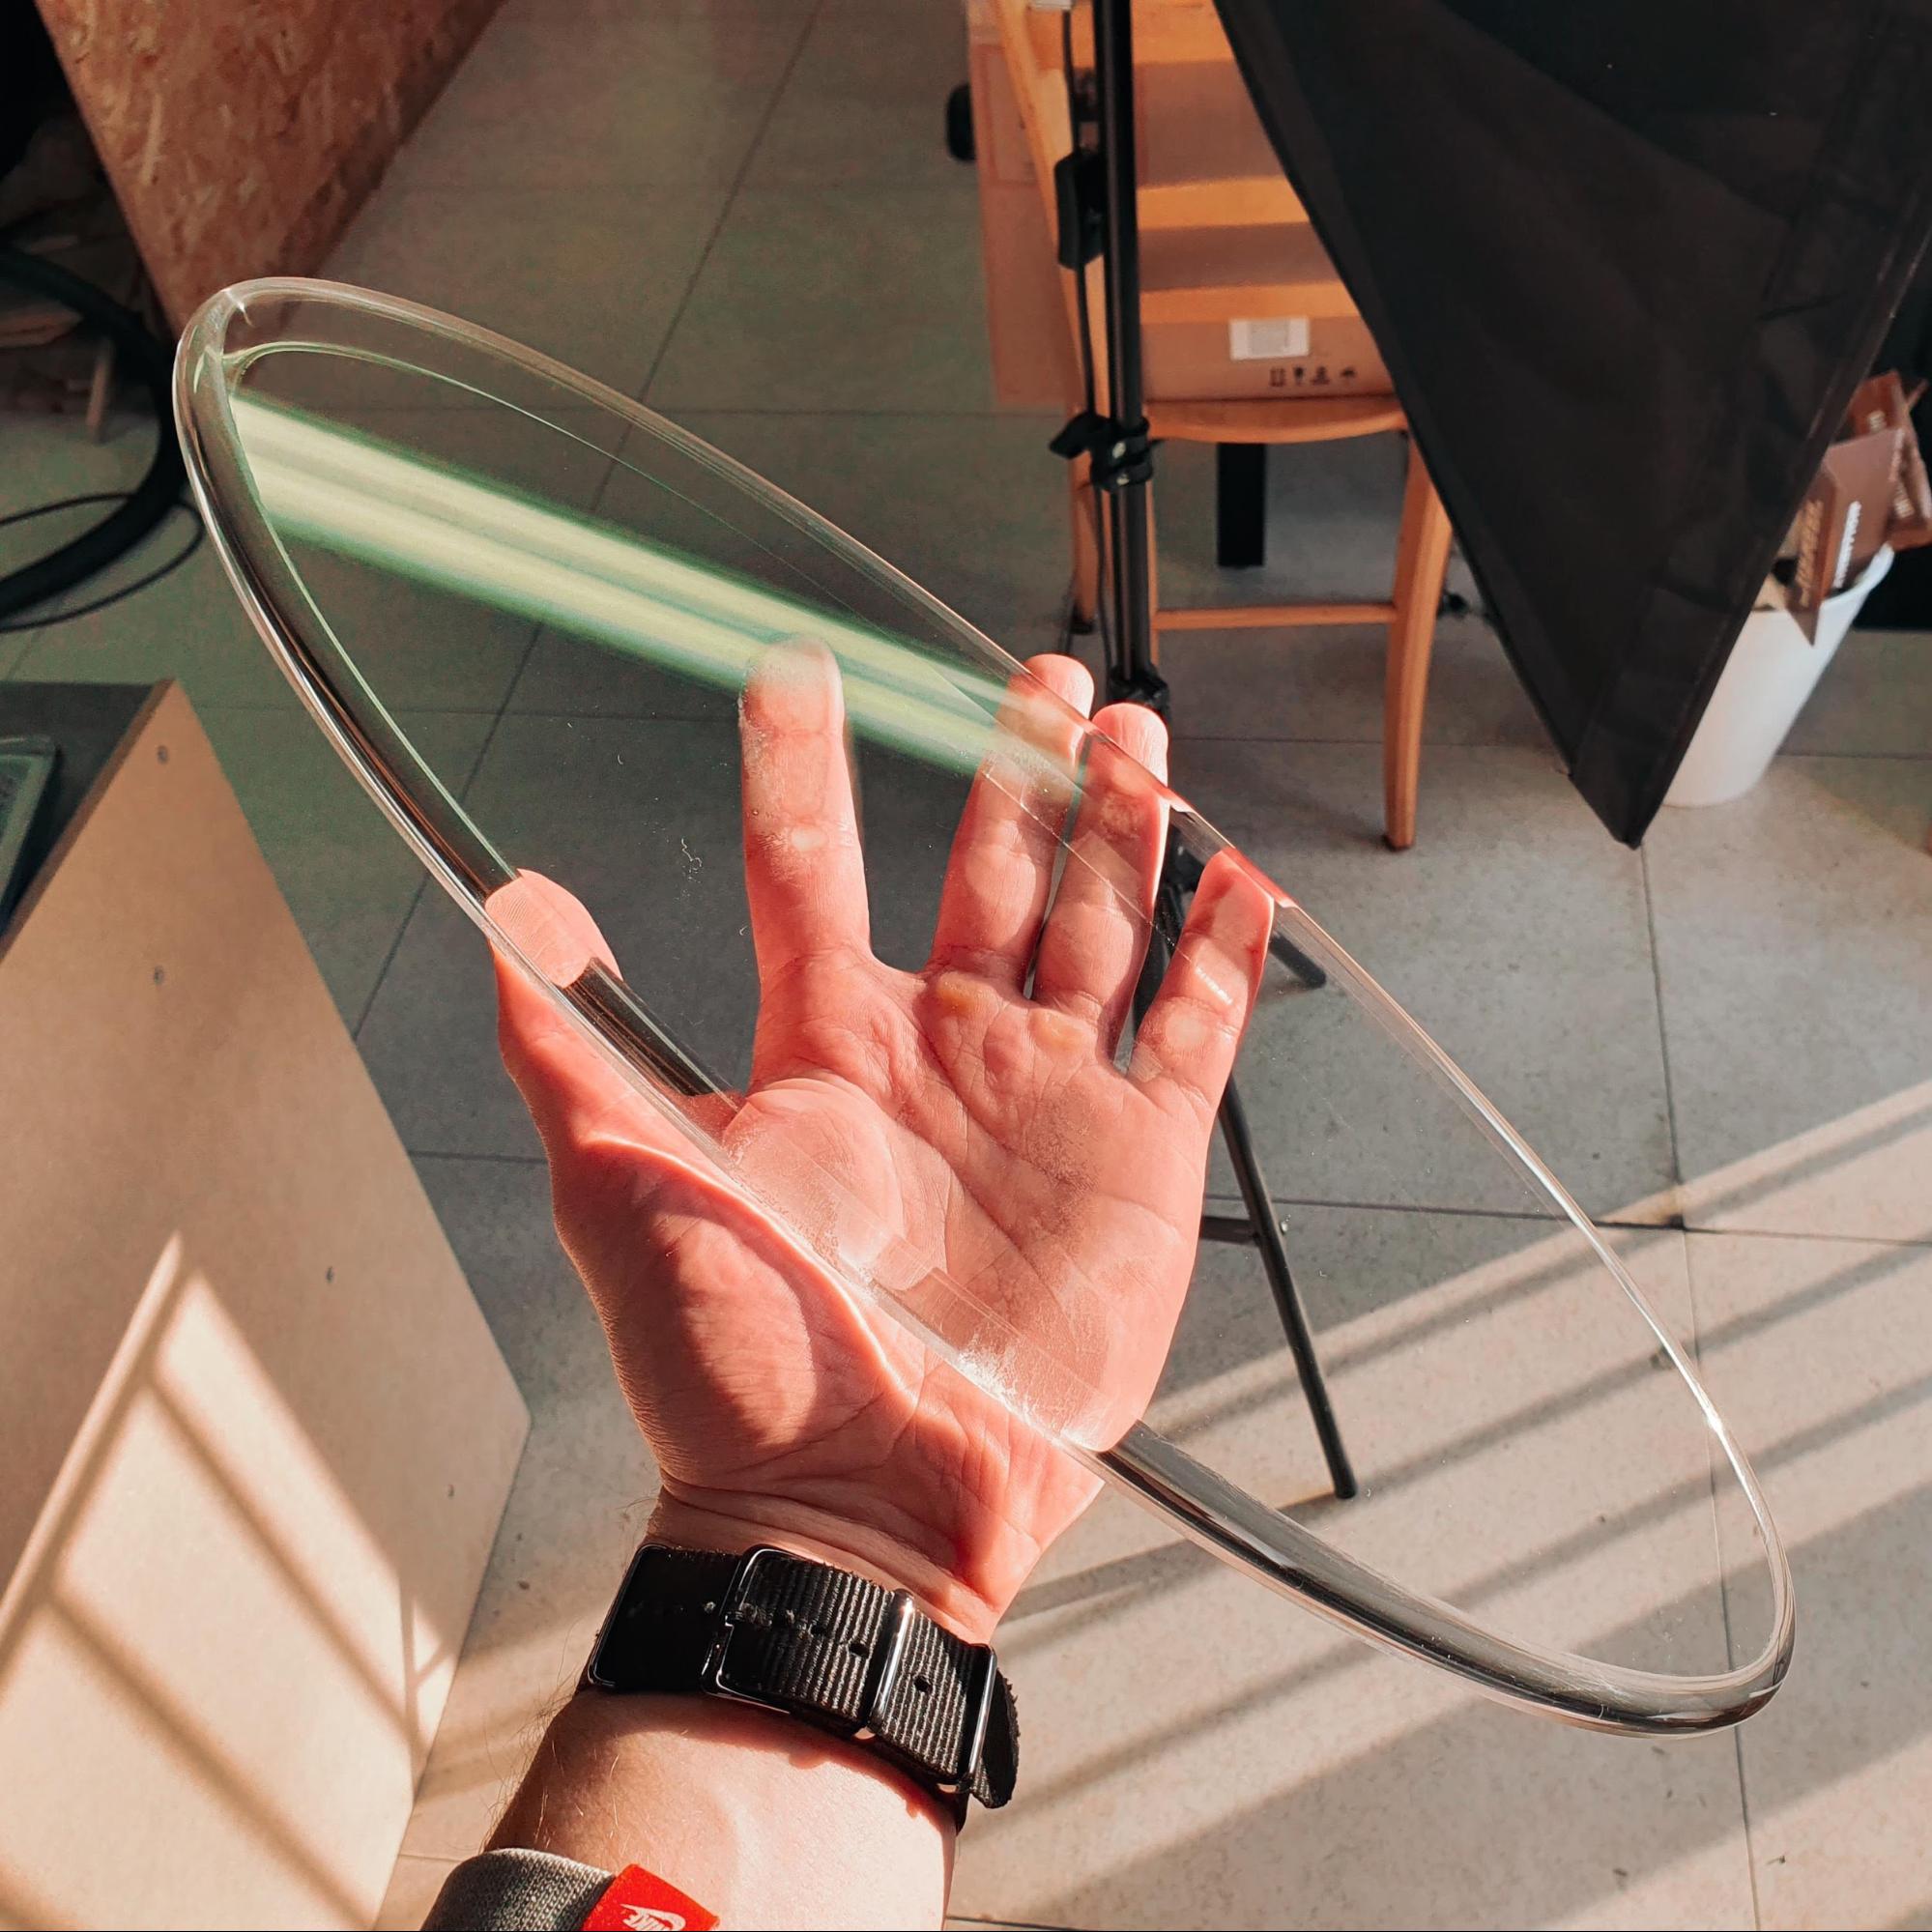
Using 15mm acrylic, I constructed the large ellipse at the front of A.R.E.S., and added a big fillet, which features rounded edges, to make it fit into the overall design scheme seamlessly. To do this, I leveraged the same 3D toolpath technique used in creating the pedestal, which meant clearing it up with a flat end mill and making it smooth with a ball end mill.
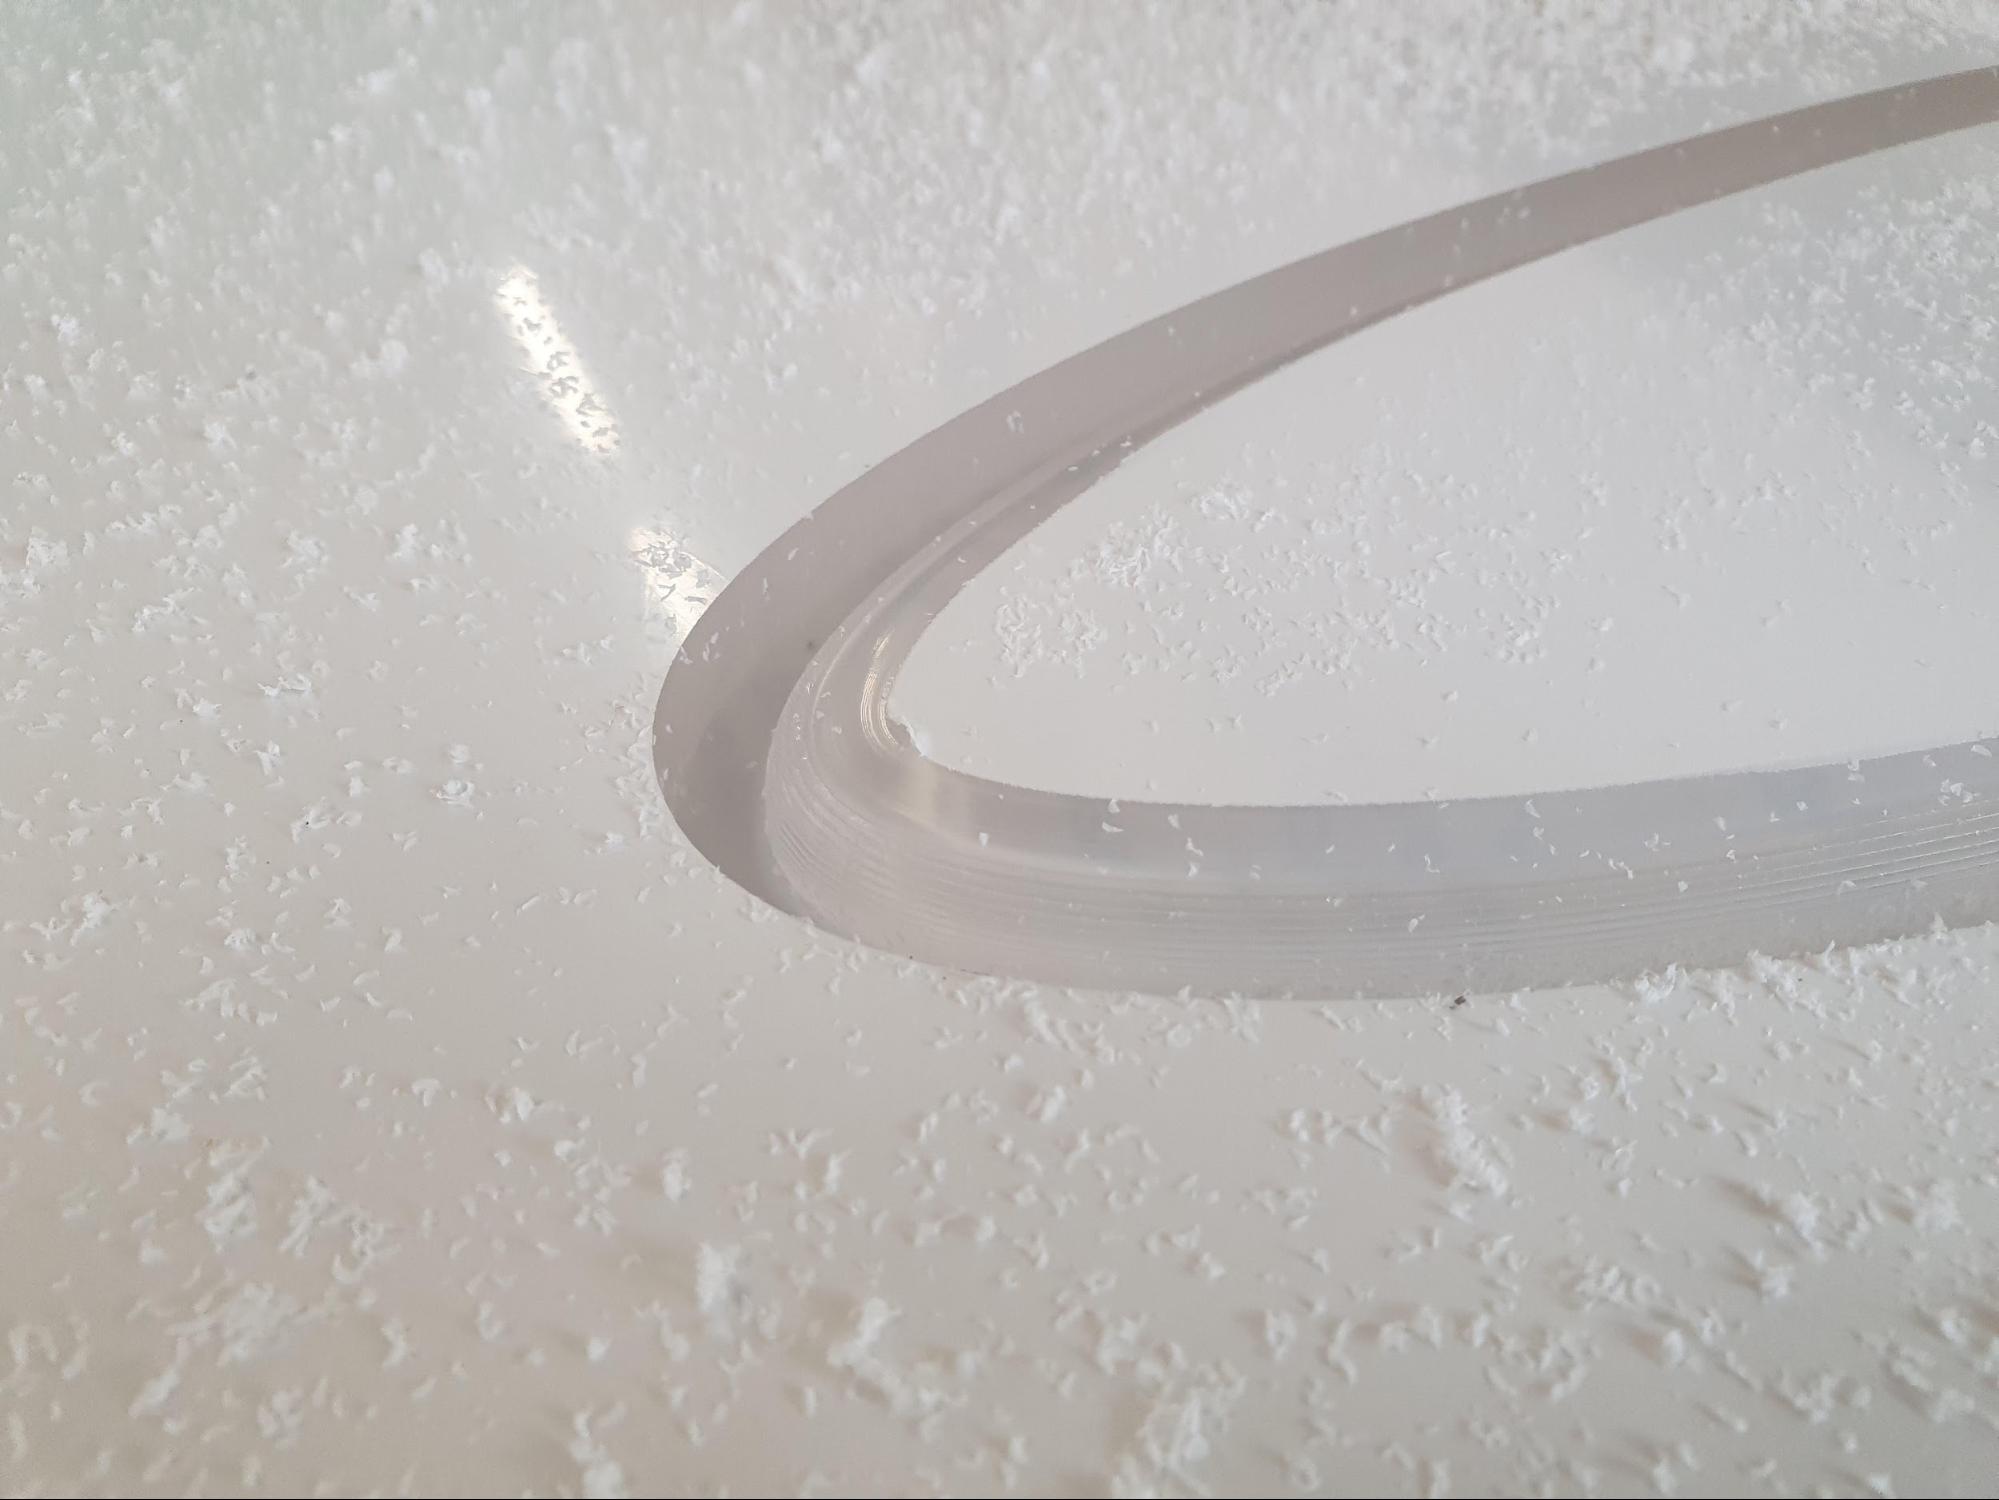
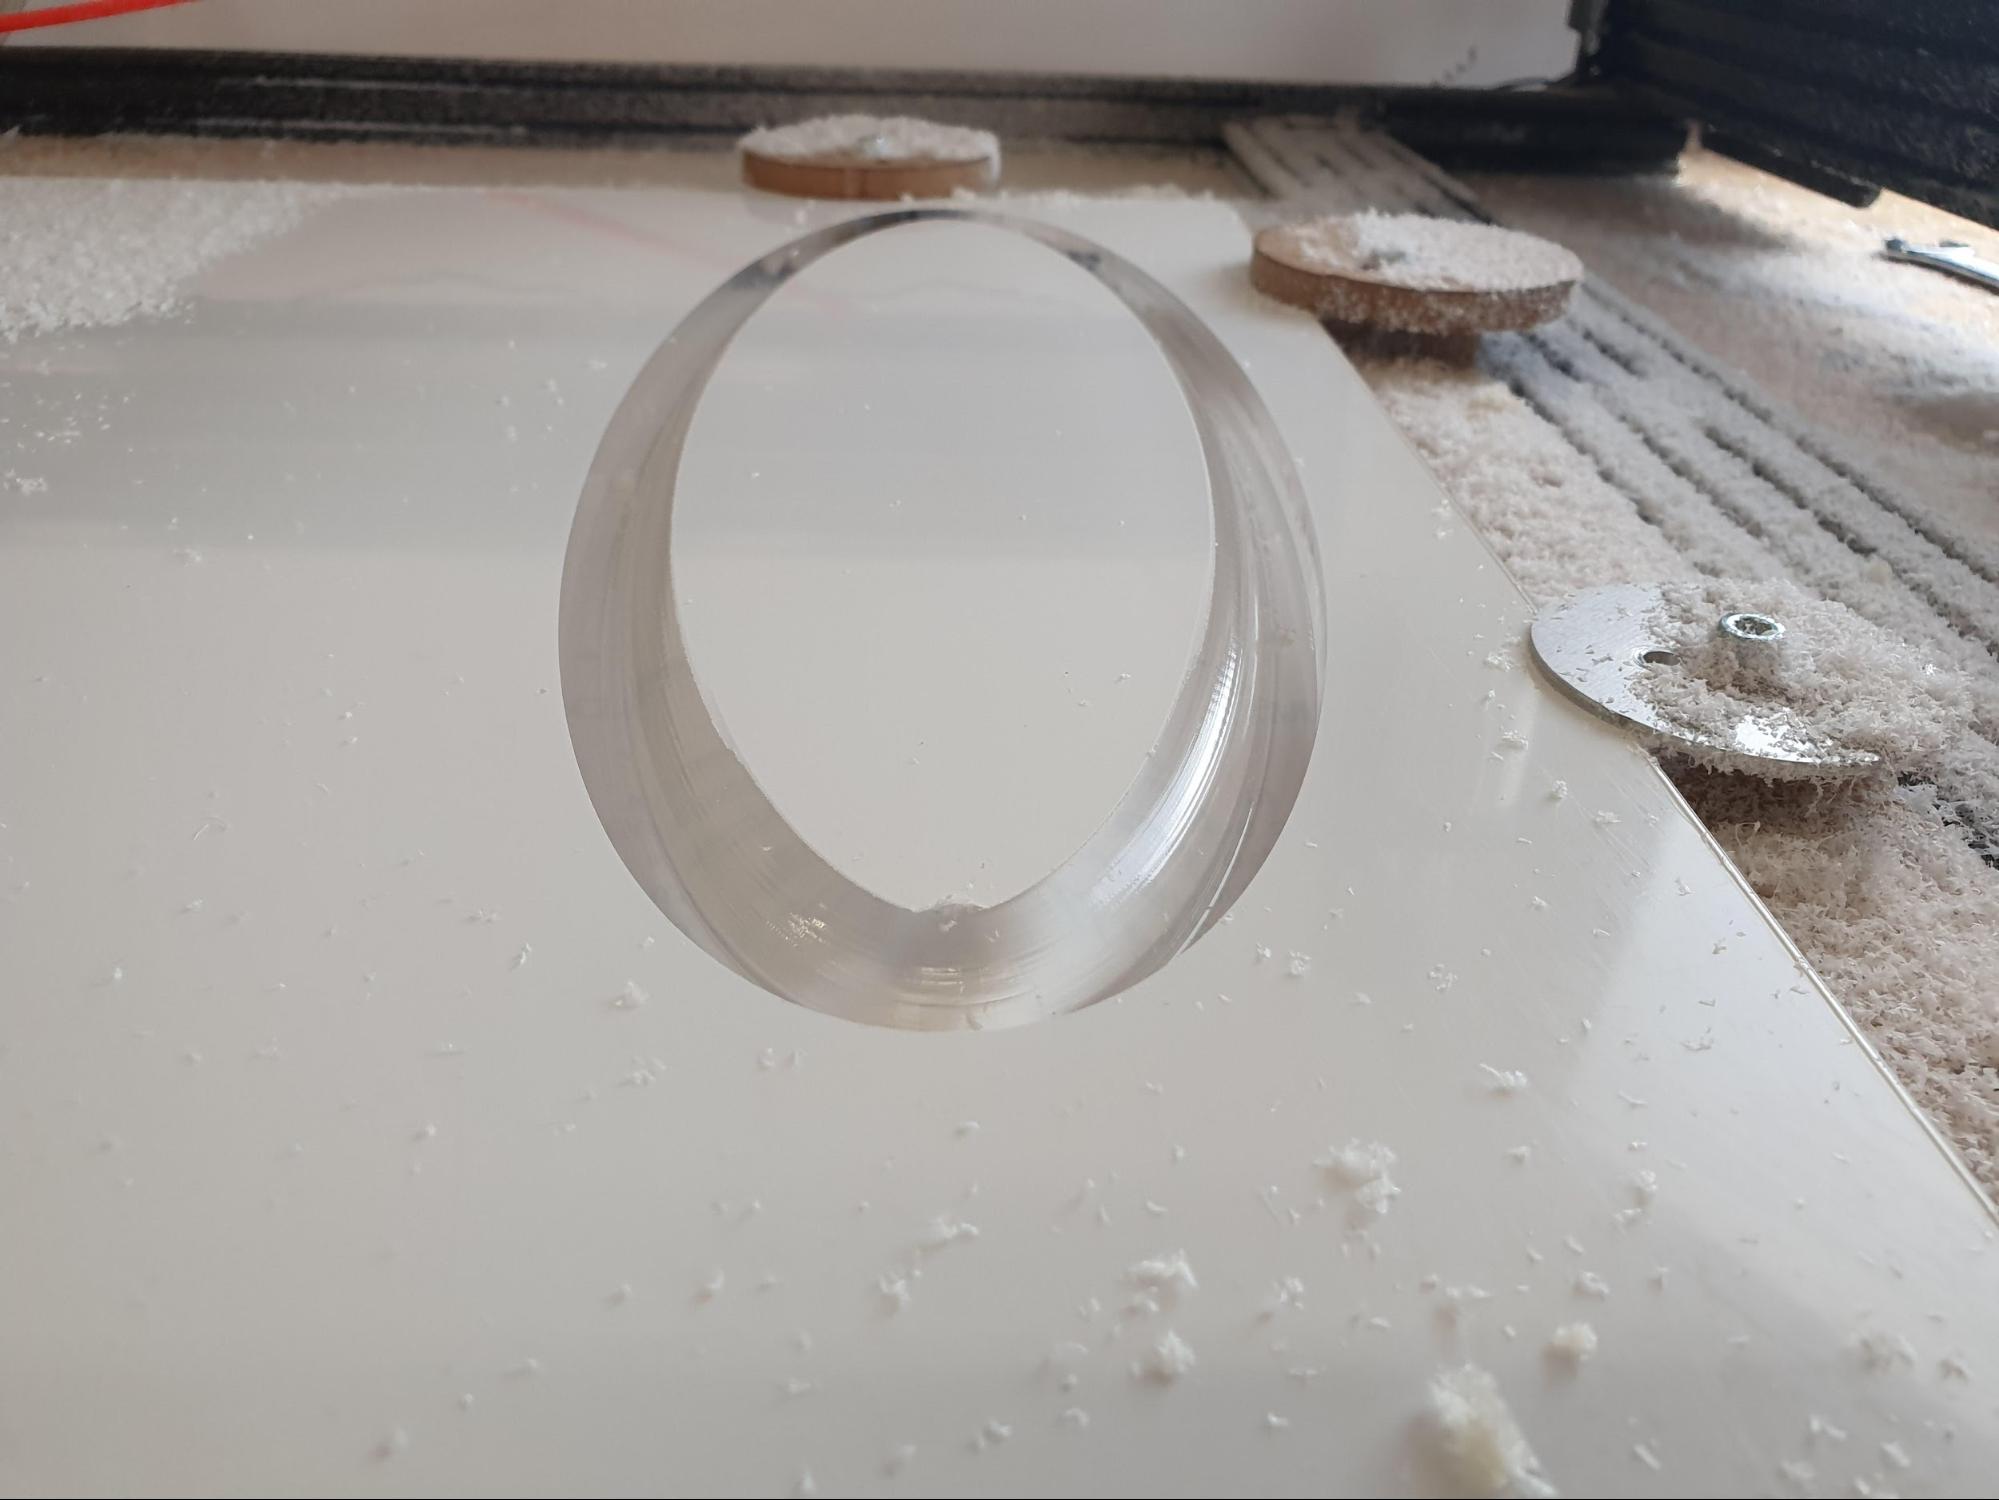
Again, my machine is a joke when it comes to good finishes, so I went ahead and made the fillet really smooth by hand.
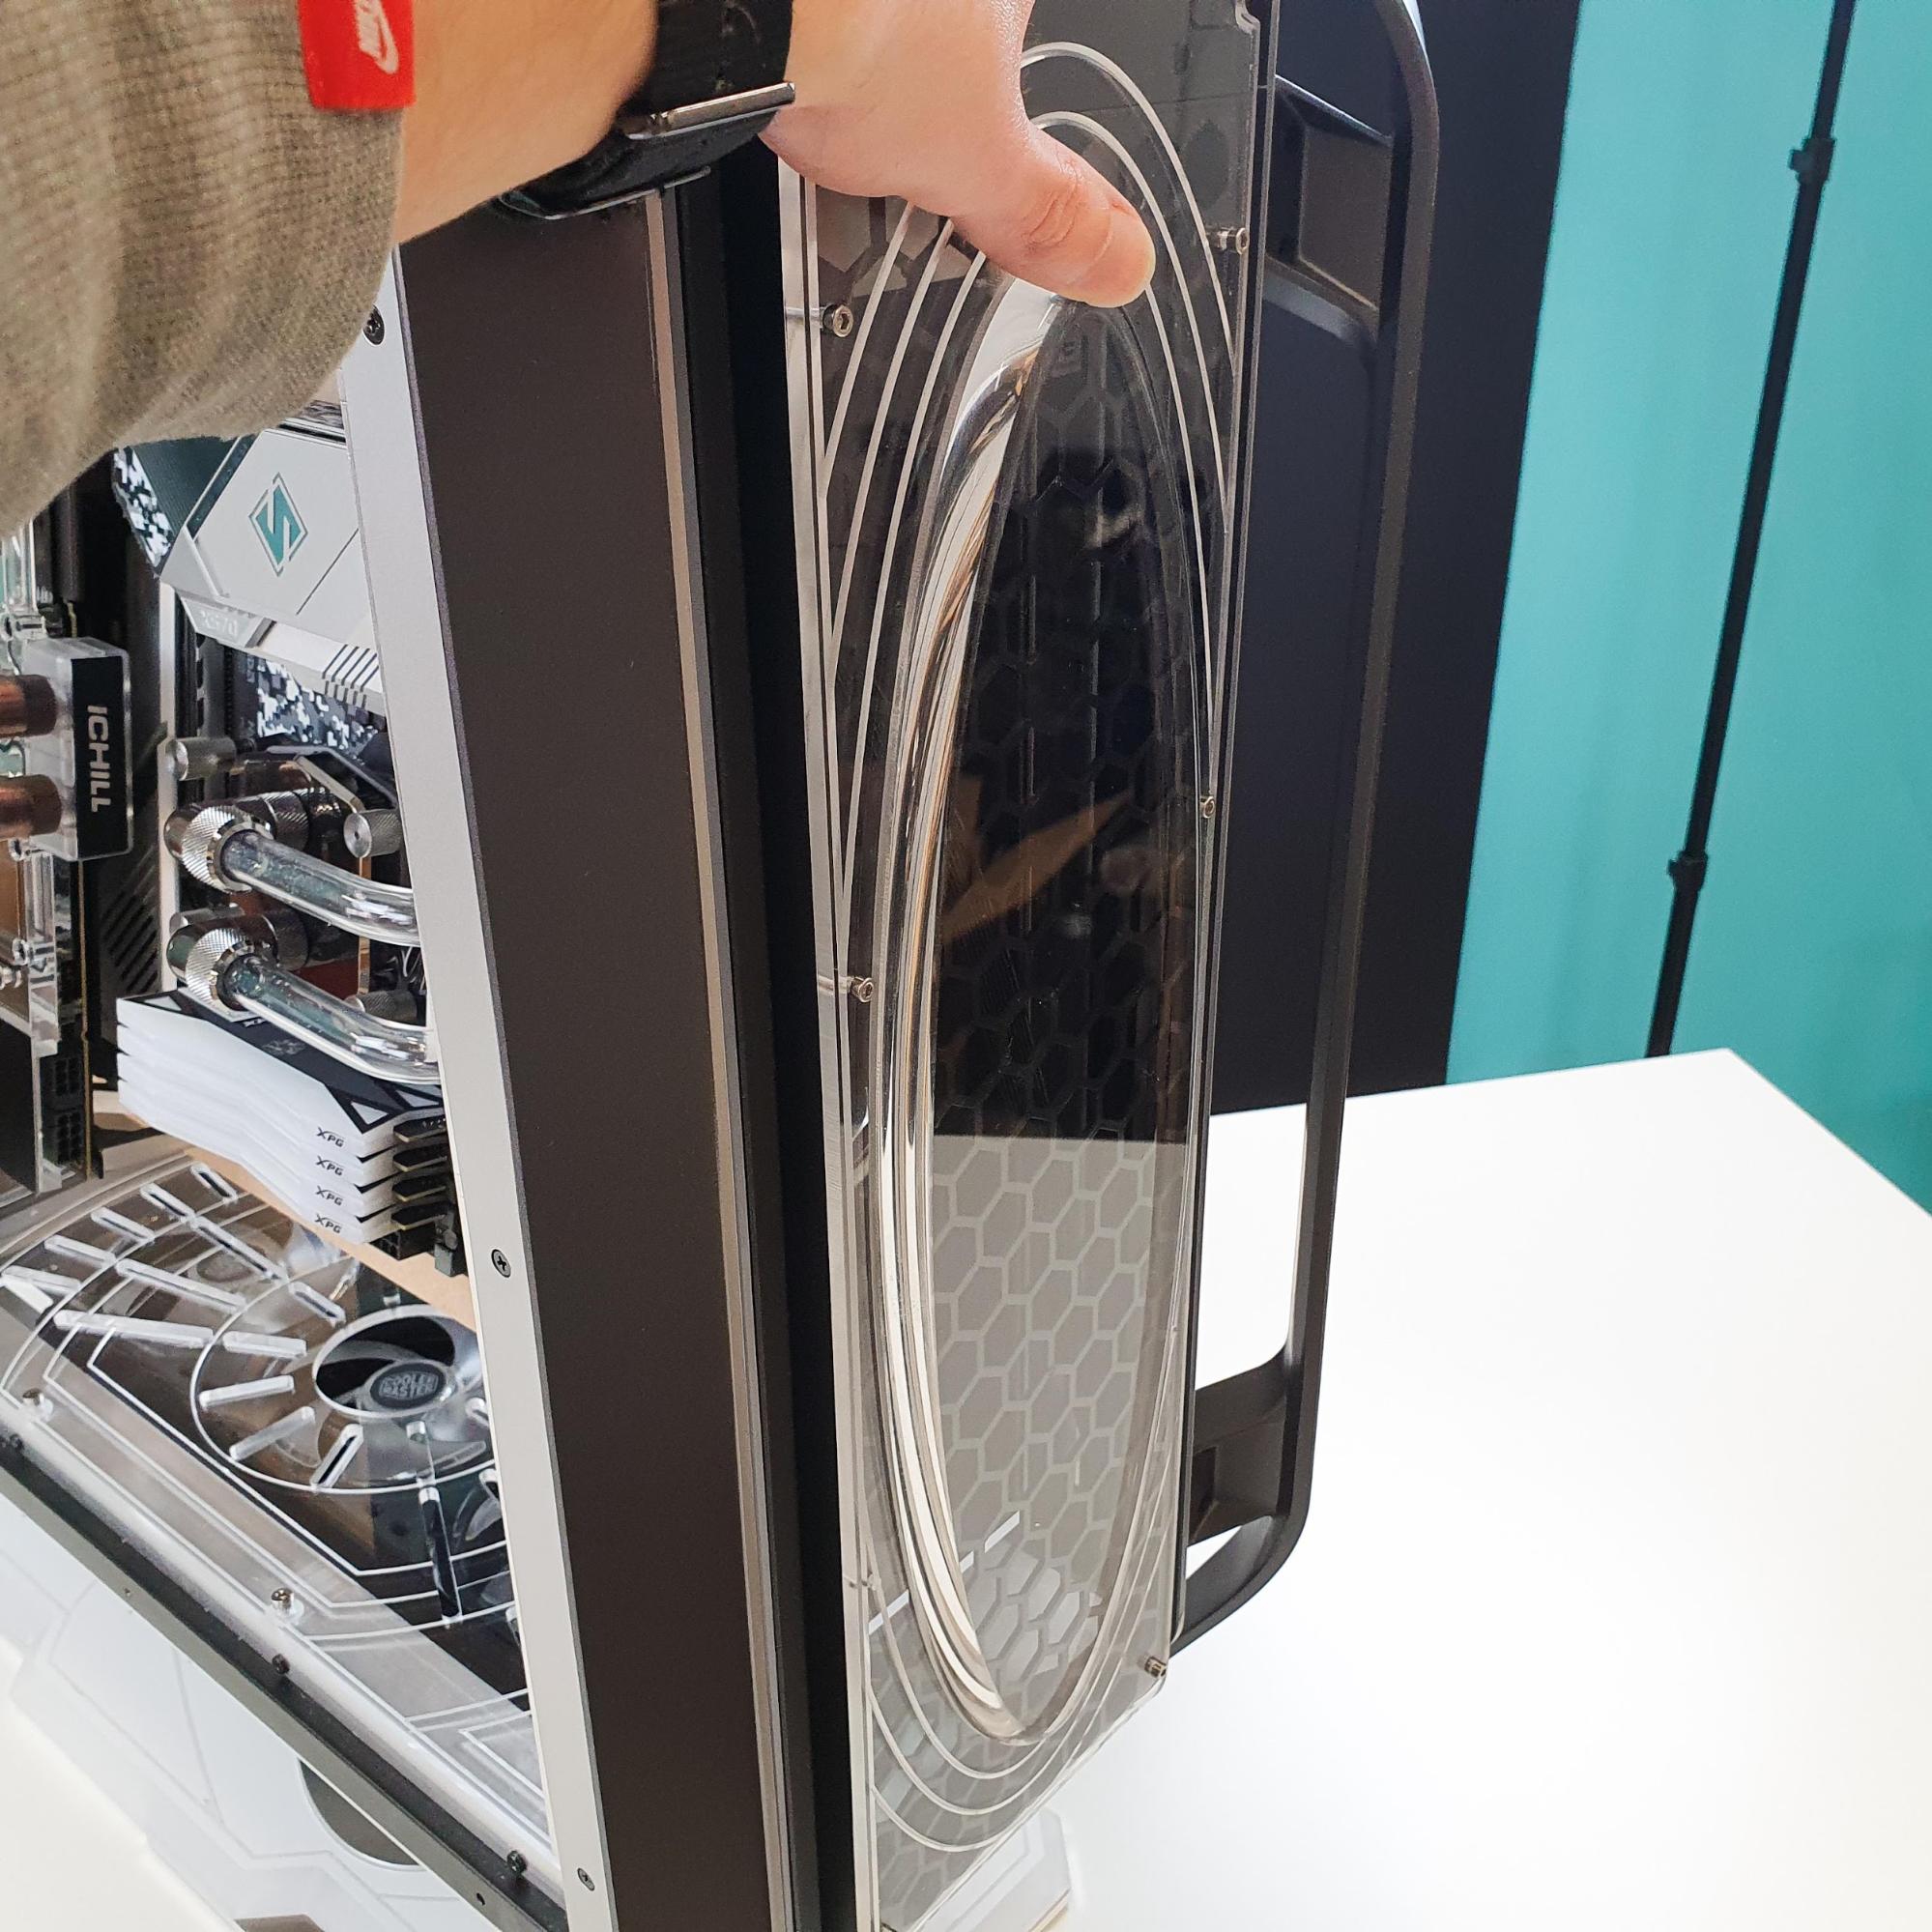
And this is how it will fit inside the front.
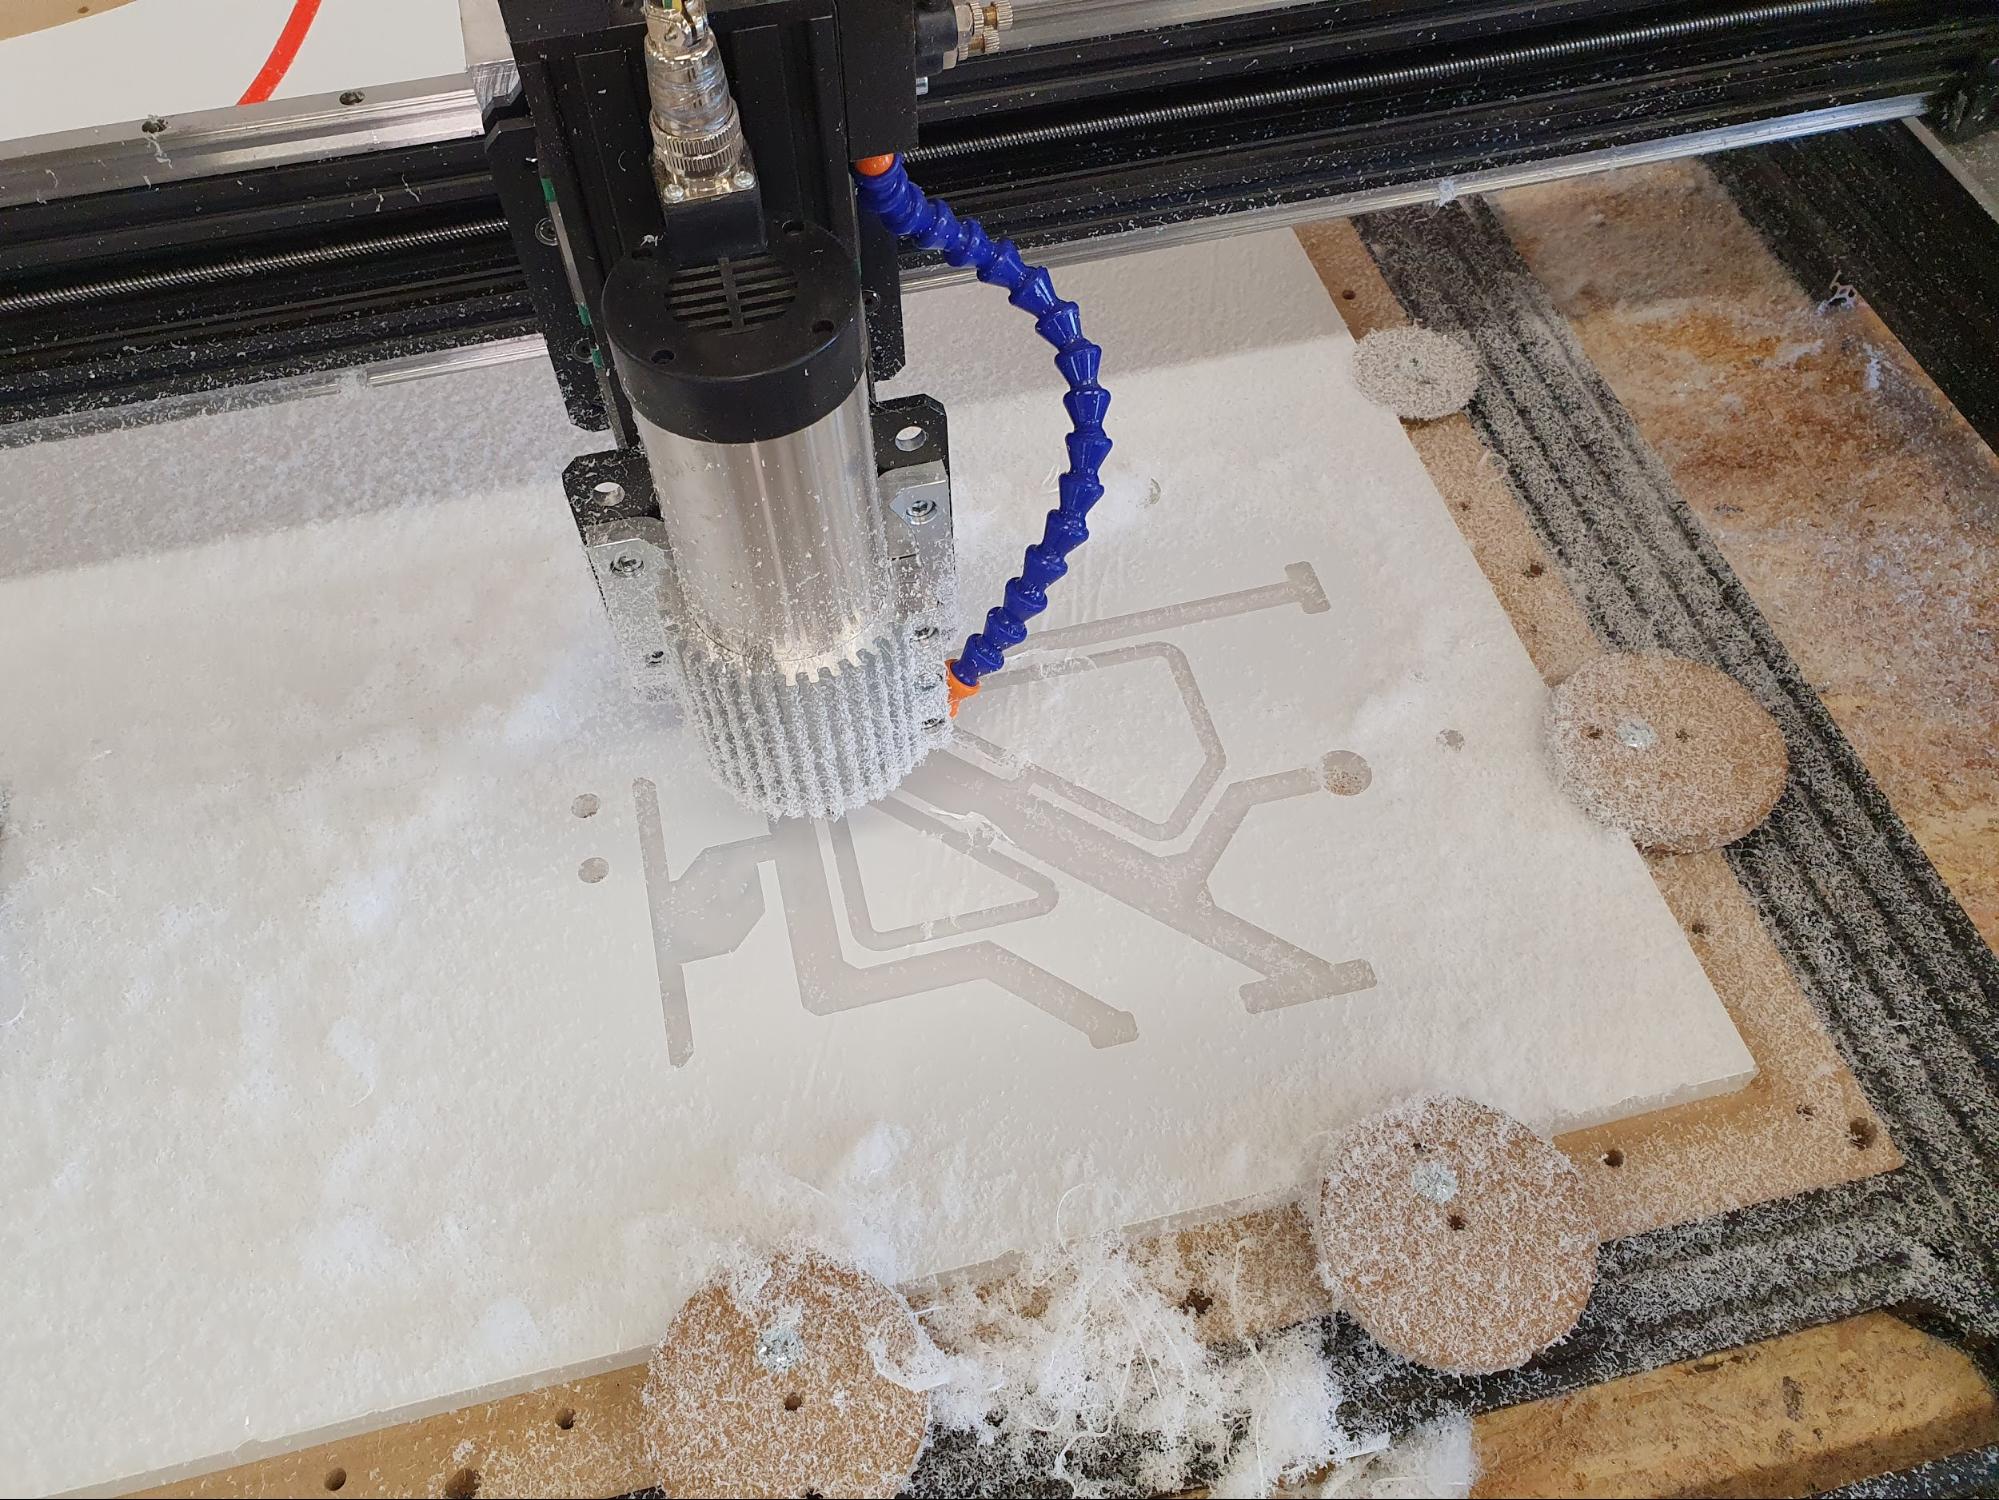
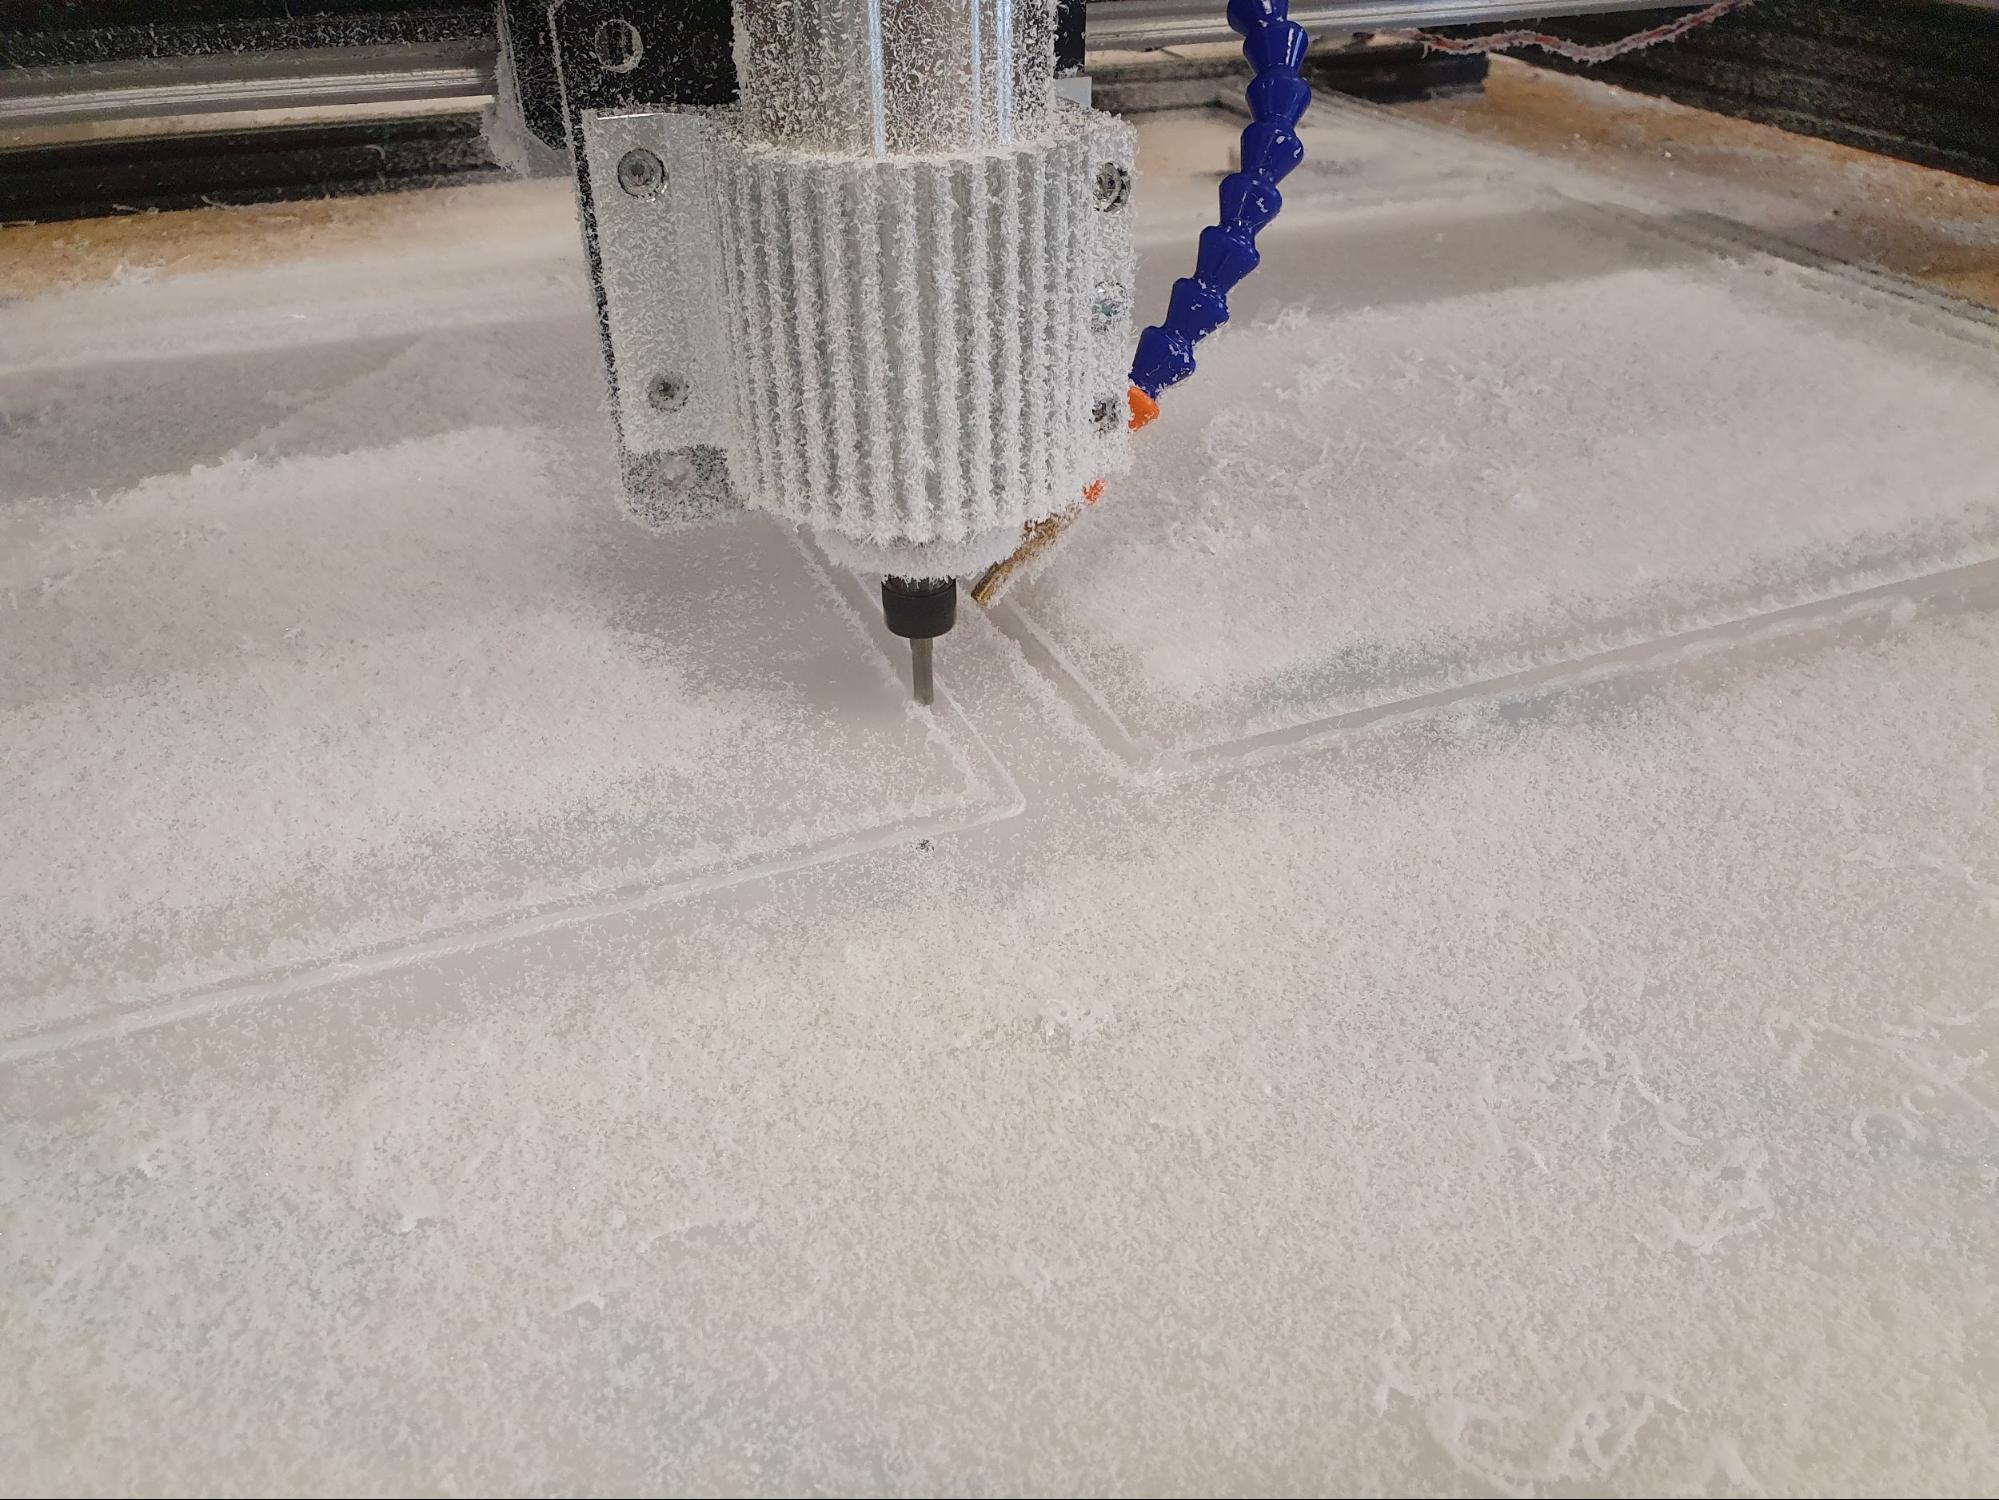
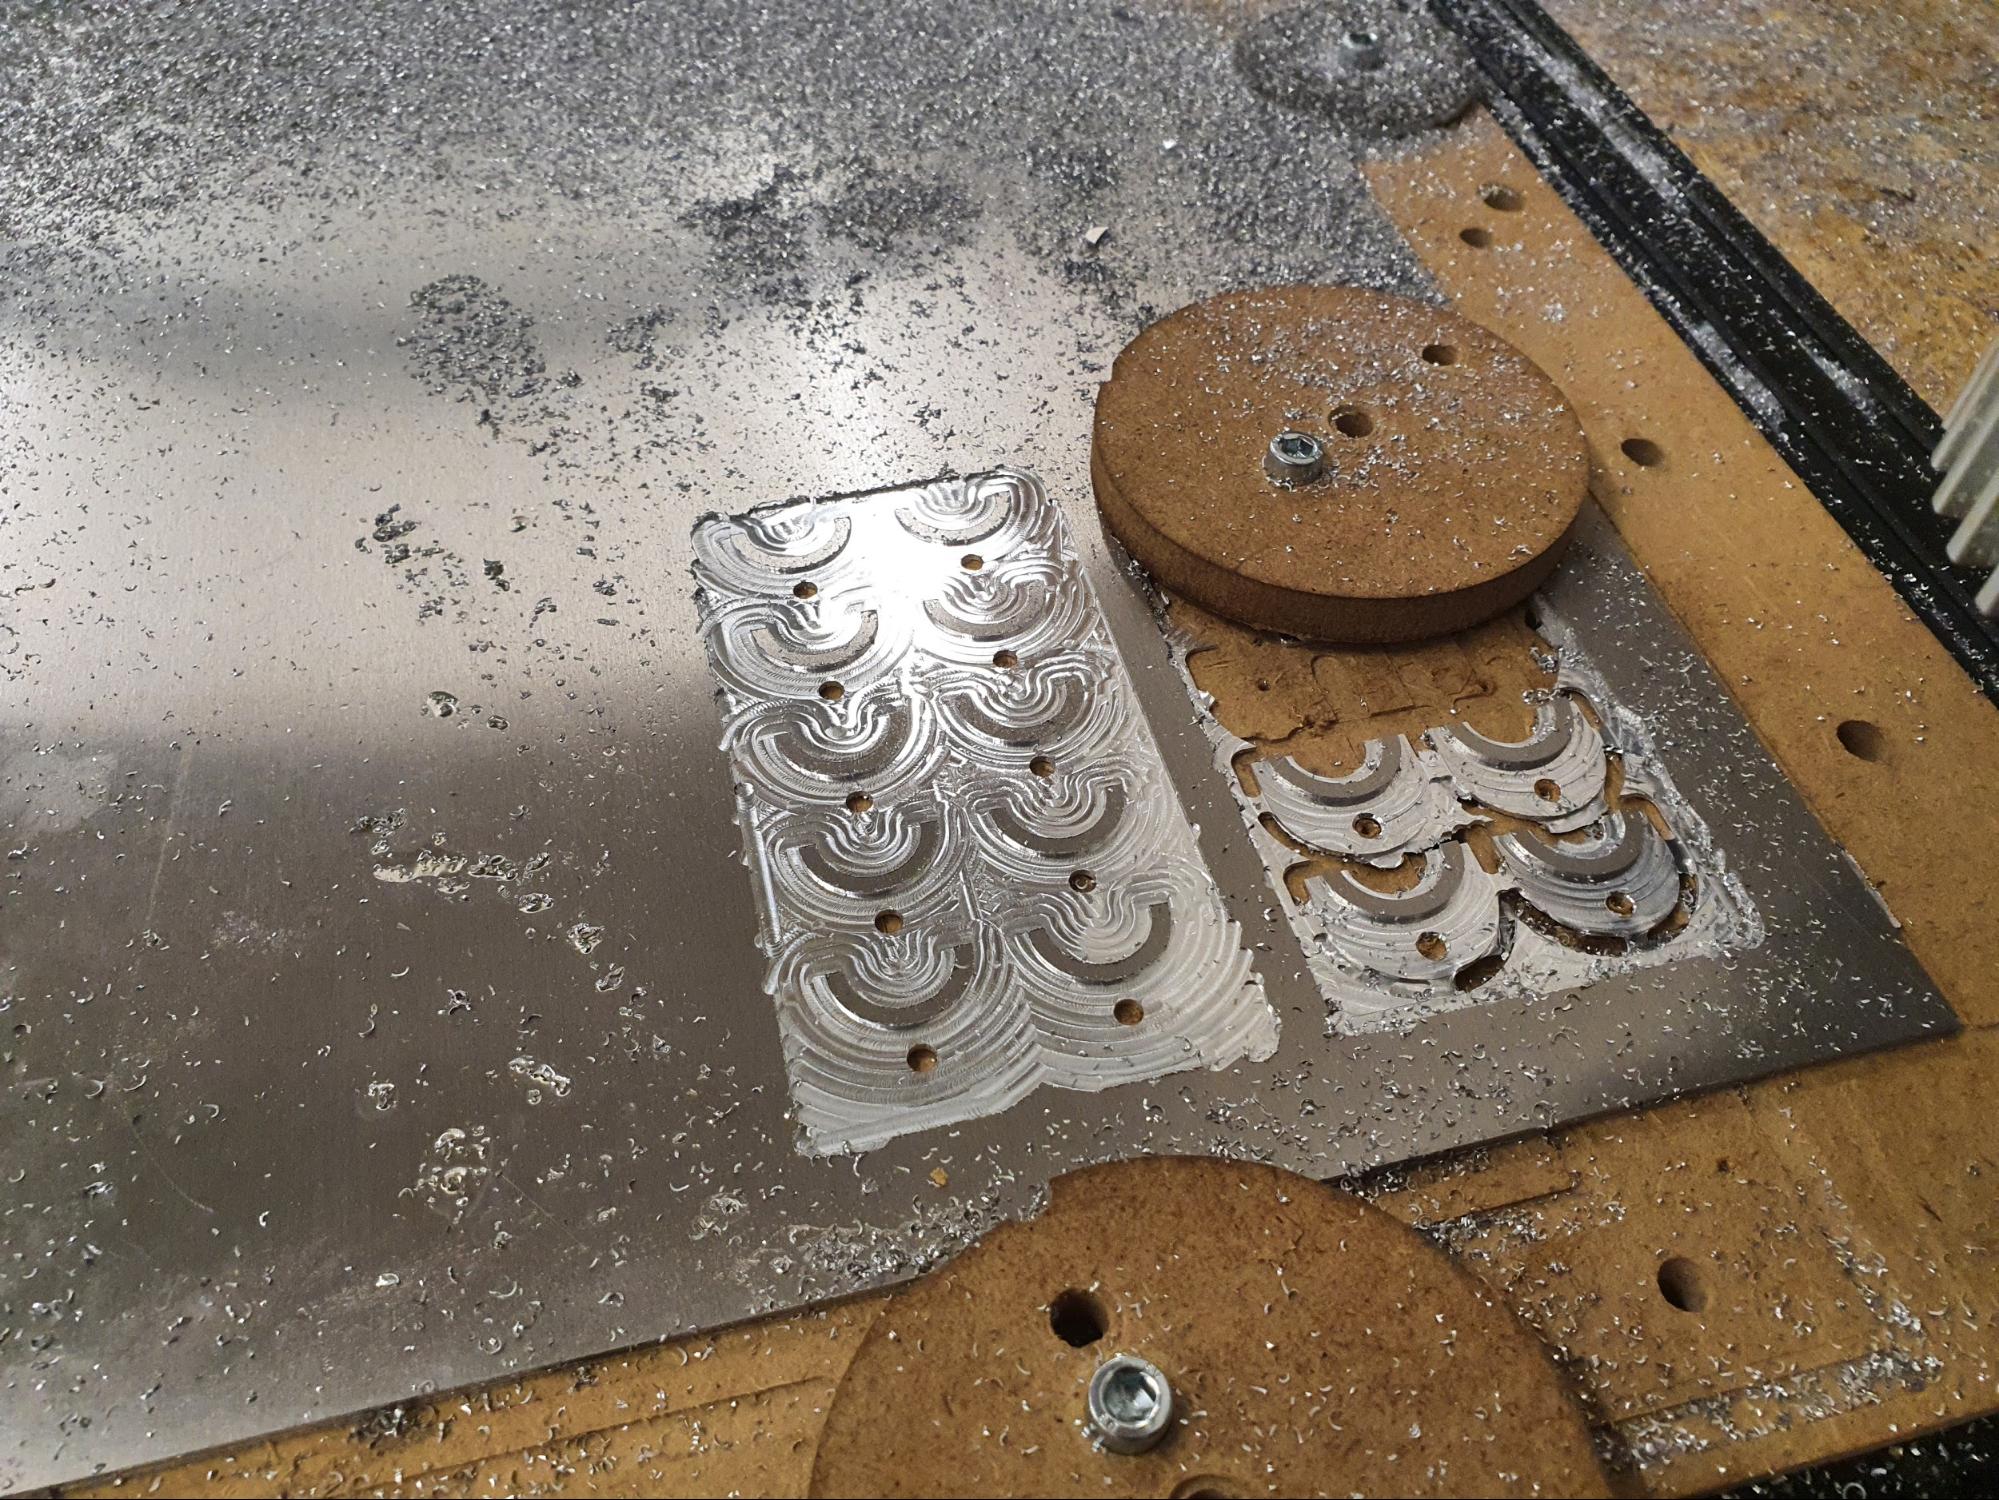
After having checked all measurements for the central acrylic panel, I dove into three hours of straight milling to get this piece done. There were a lot of processes involved in building Project A.R.E.S., but the longest one was definitely milling all of these 10mm deep channels for cable routing.
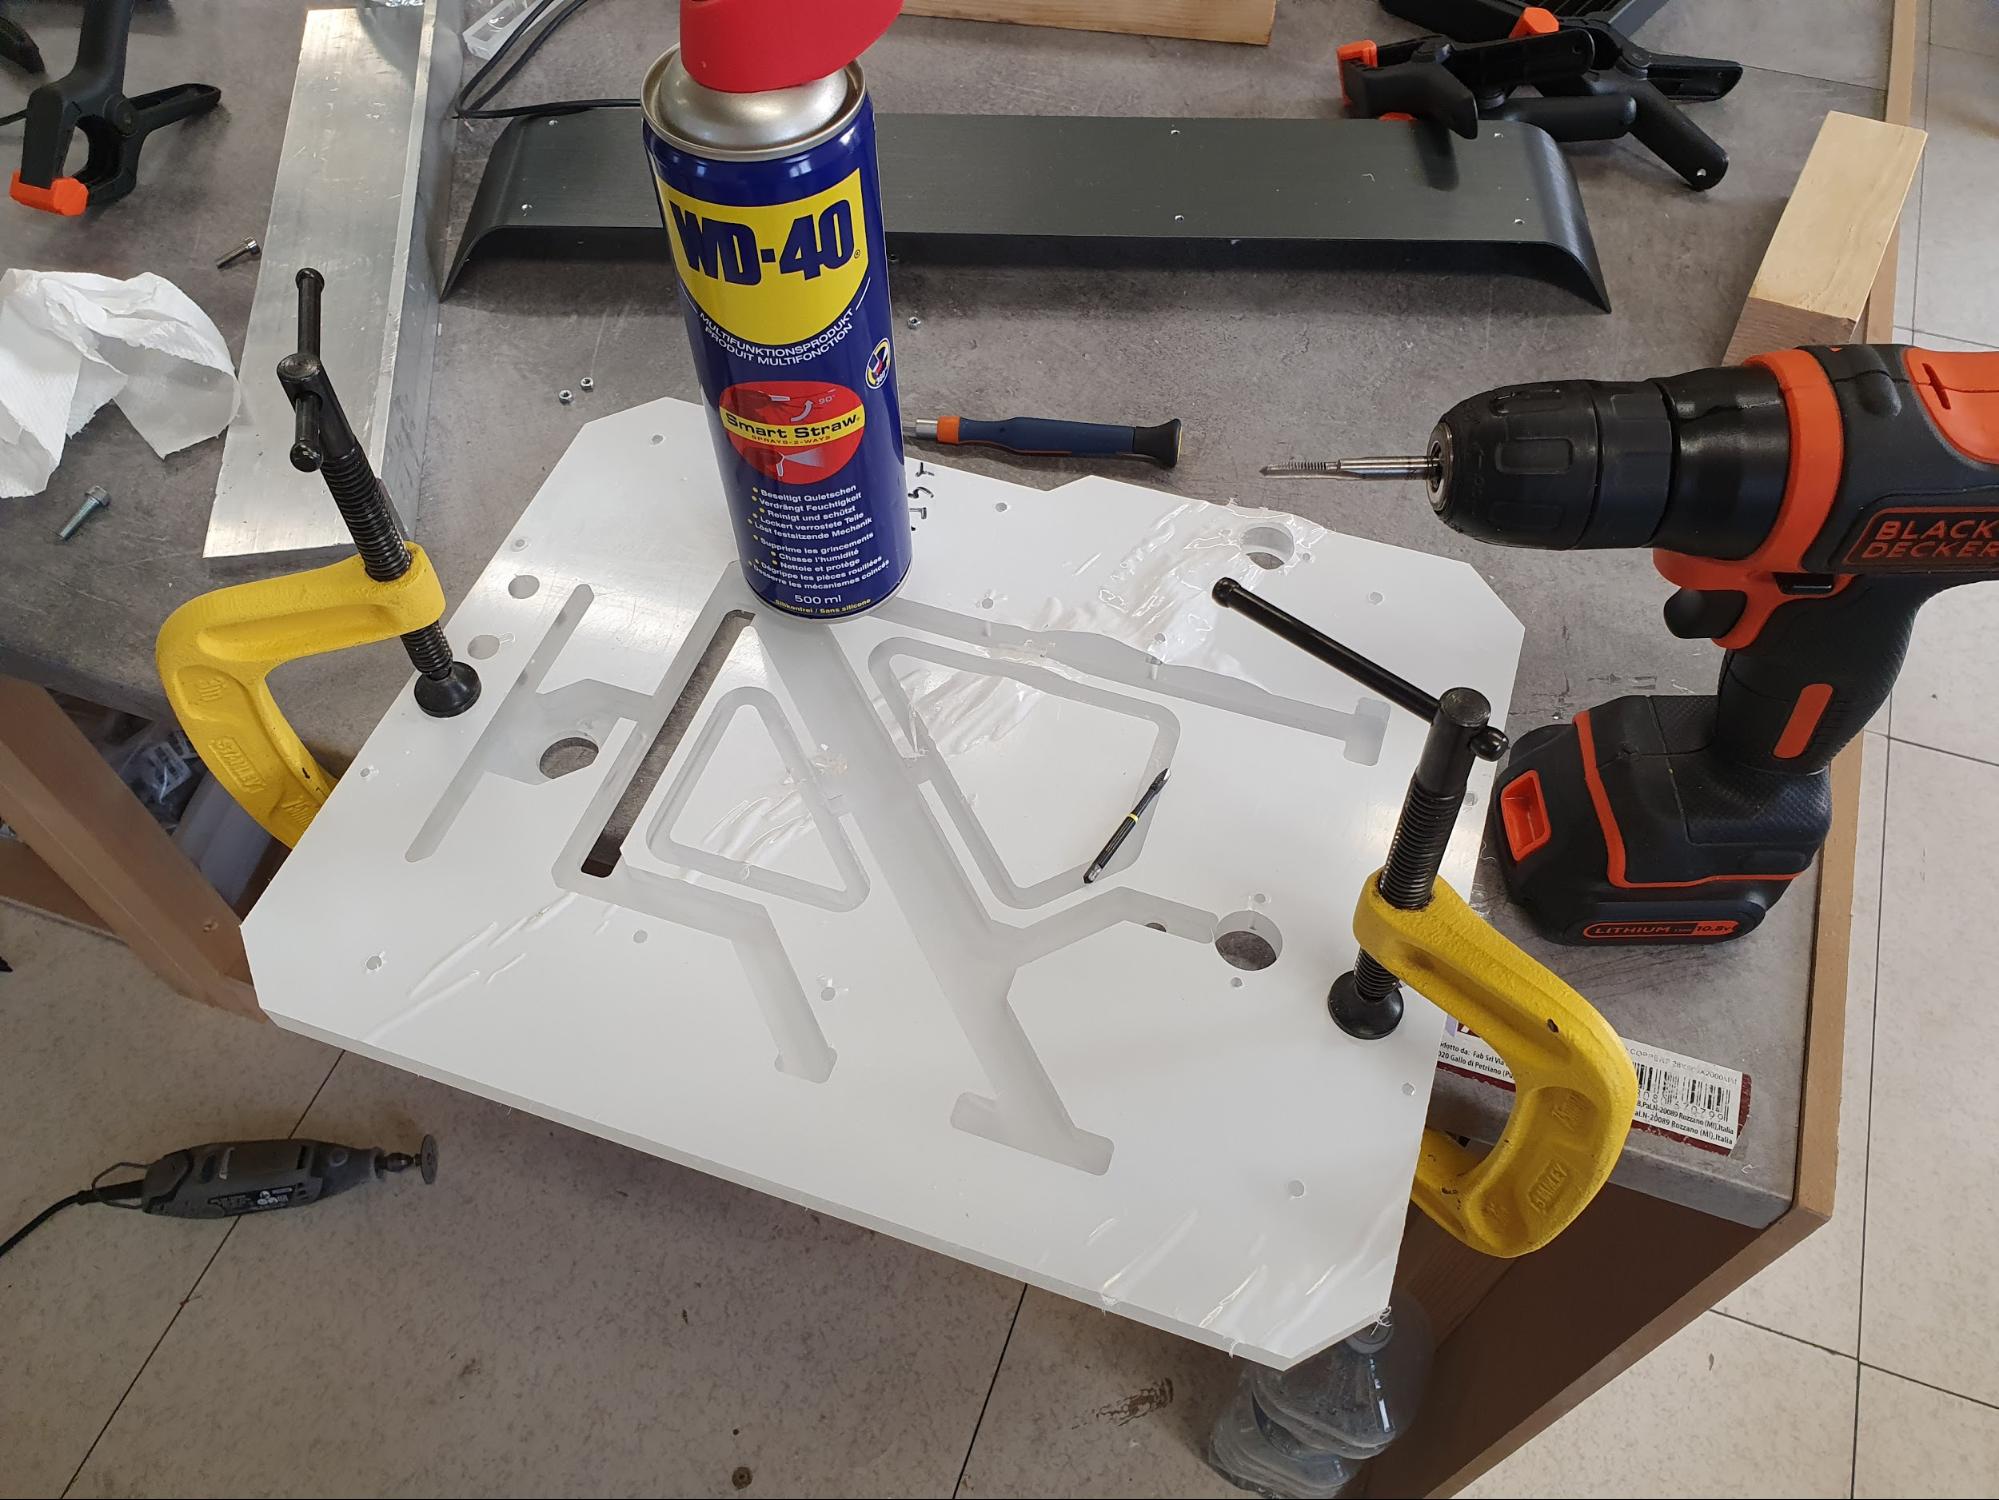
Then I threaded all the required holes in M4 and M5, as well as the G1/4” threads for the pass-throughs. I didn’t use regular pass-through fittings due to clearance issues, (and the solution I went with looks cleaner anyway).
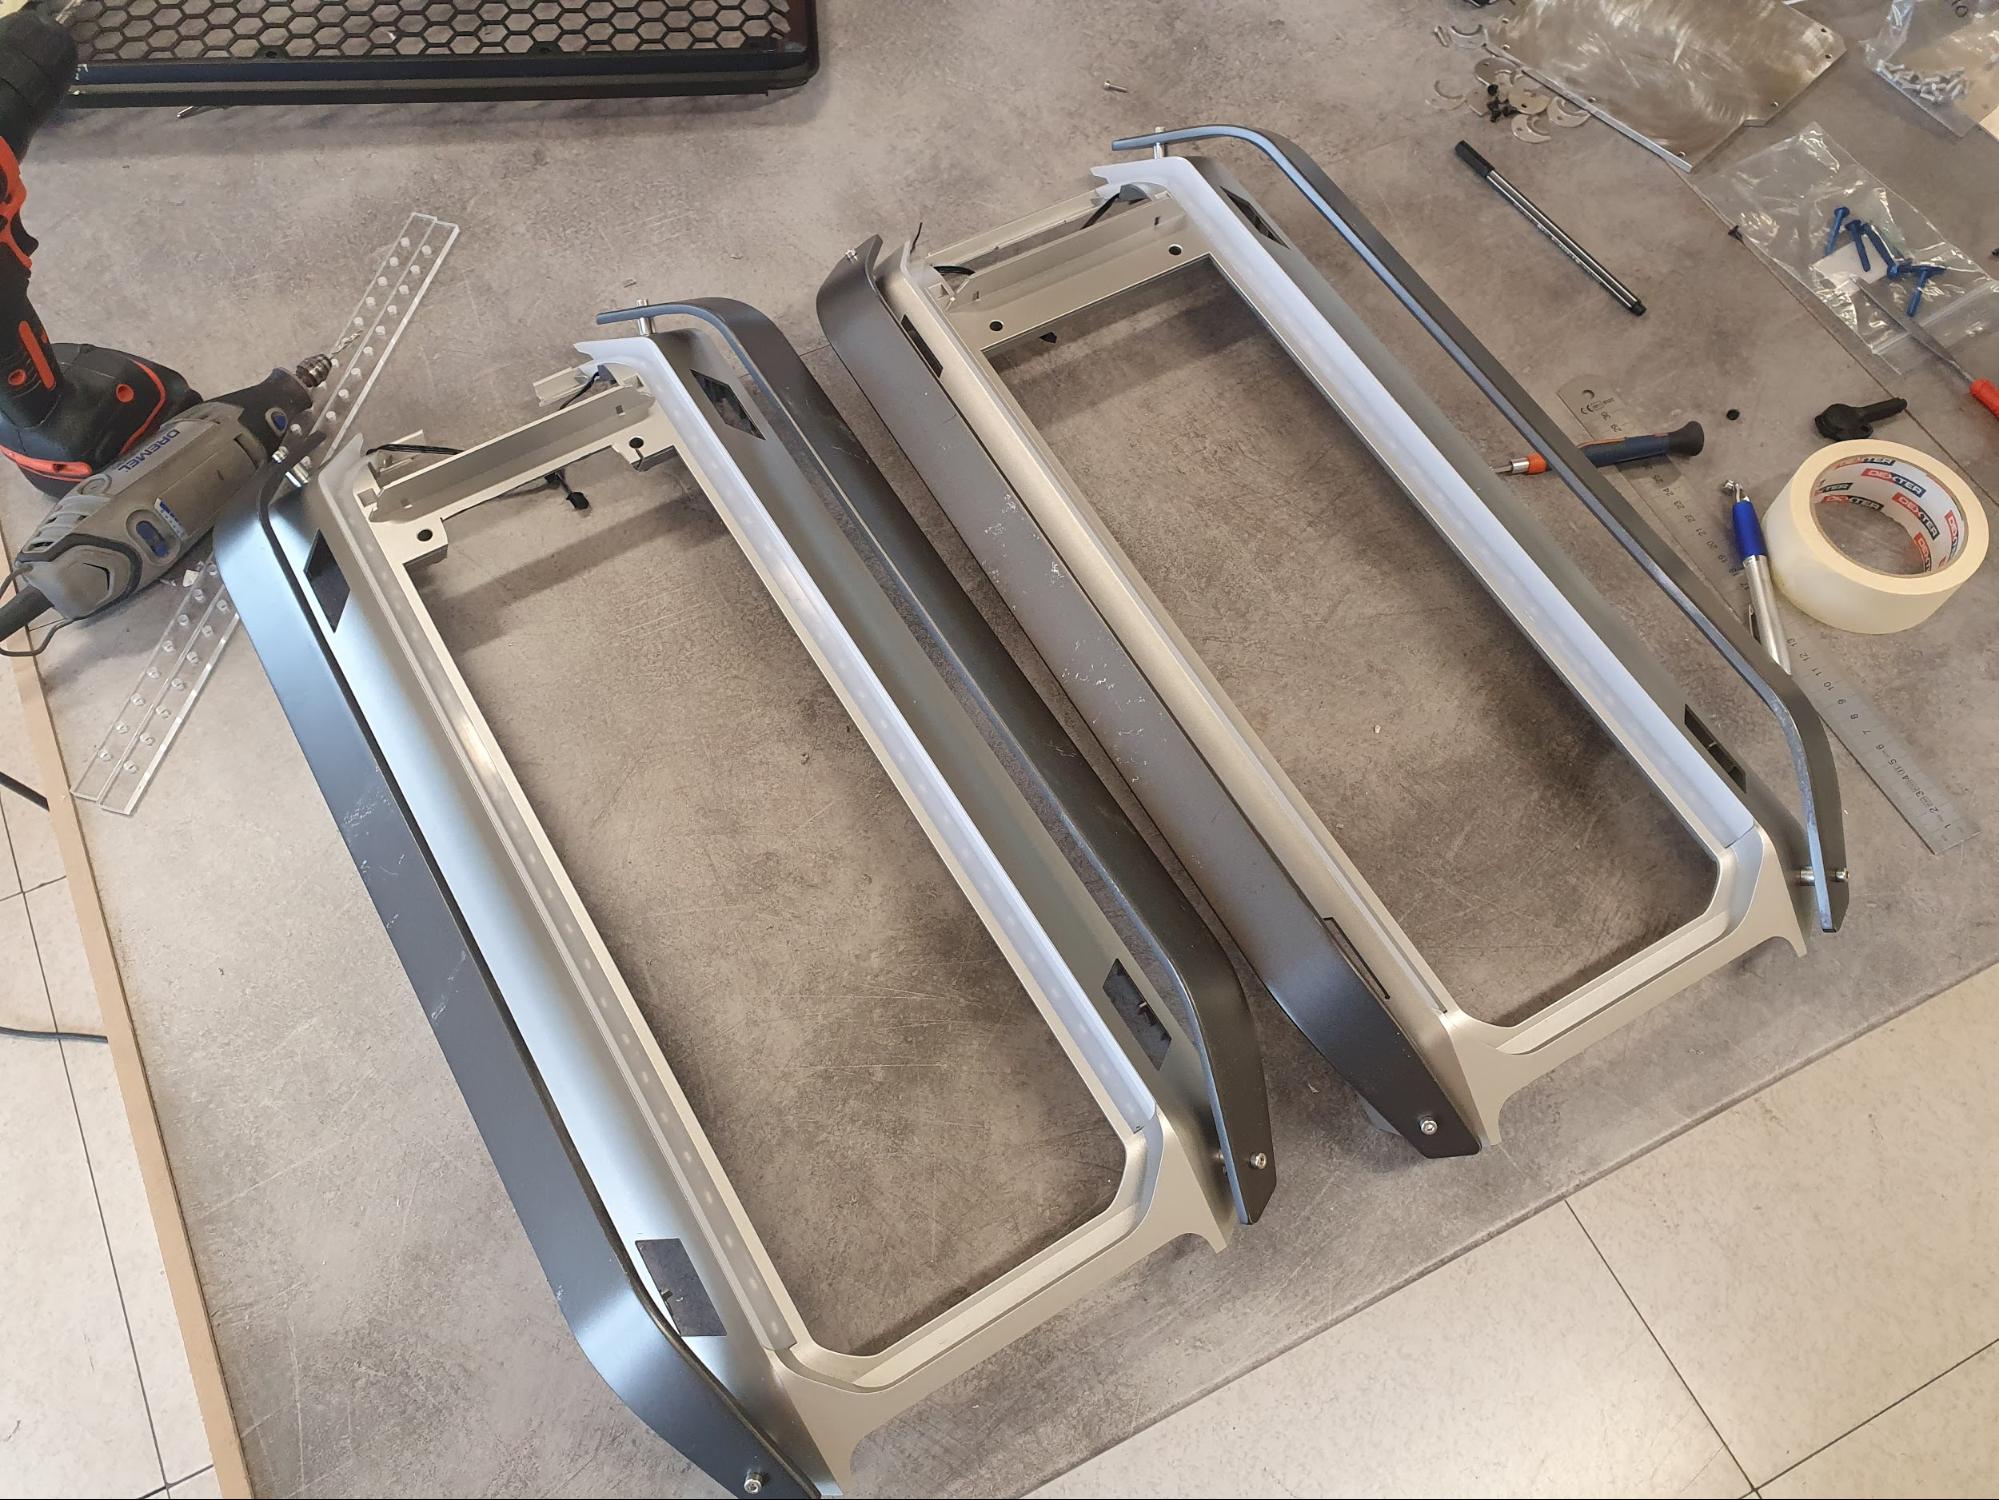
Meanwhile, I finished designing the side frames of the case, featuring the side “portals” and edge lighting all around. The assembly of each side required five different parts total.
The first part I made was the 2mm aluminum frames with part of the rings.
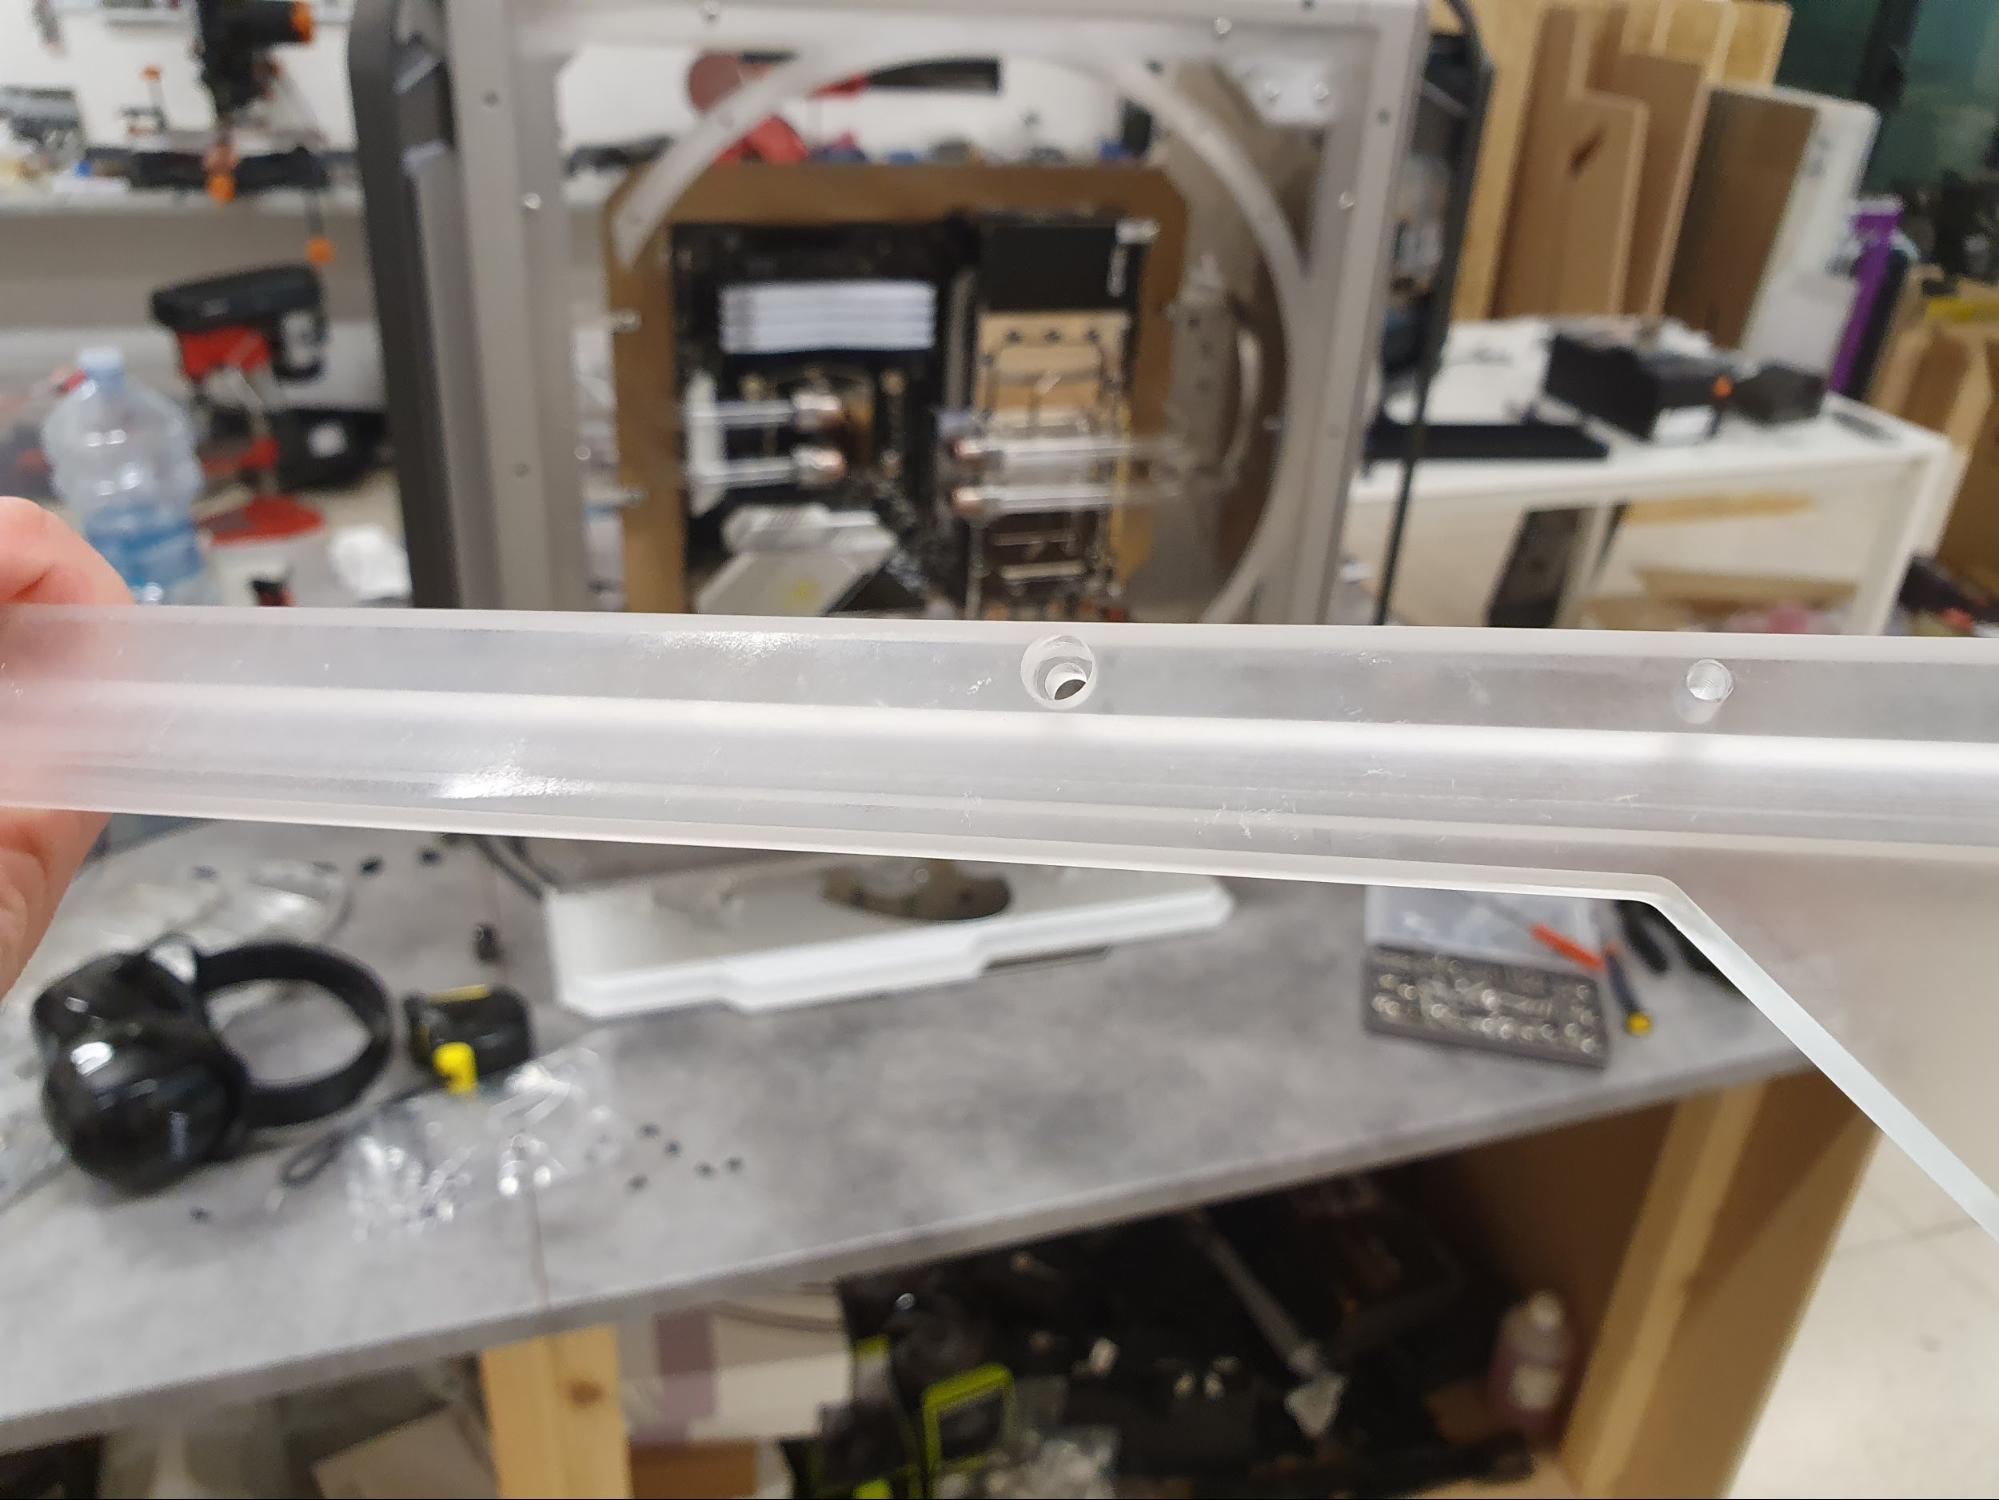
A trickier part was making what would go under these 2mm panels, the 10mm acrylic frames. Those required a channel to be milled, allowing me to route the LED strips inside.
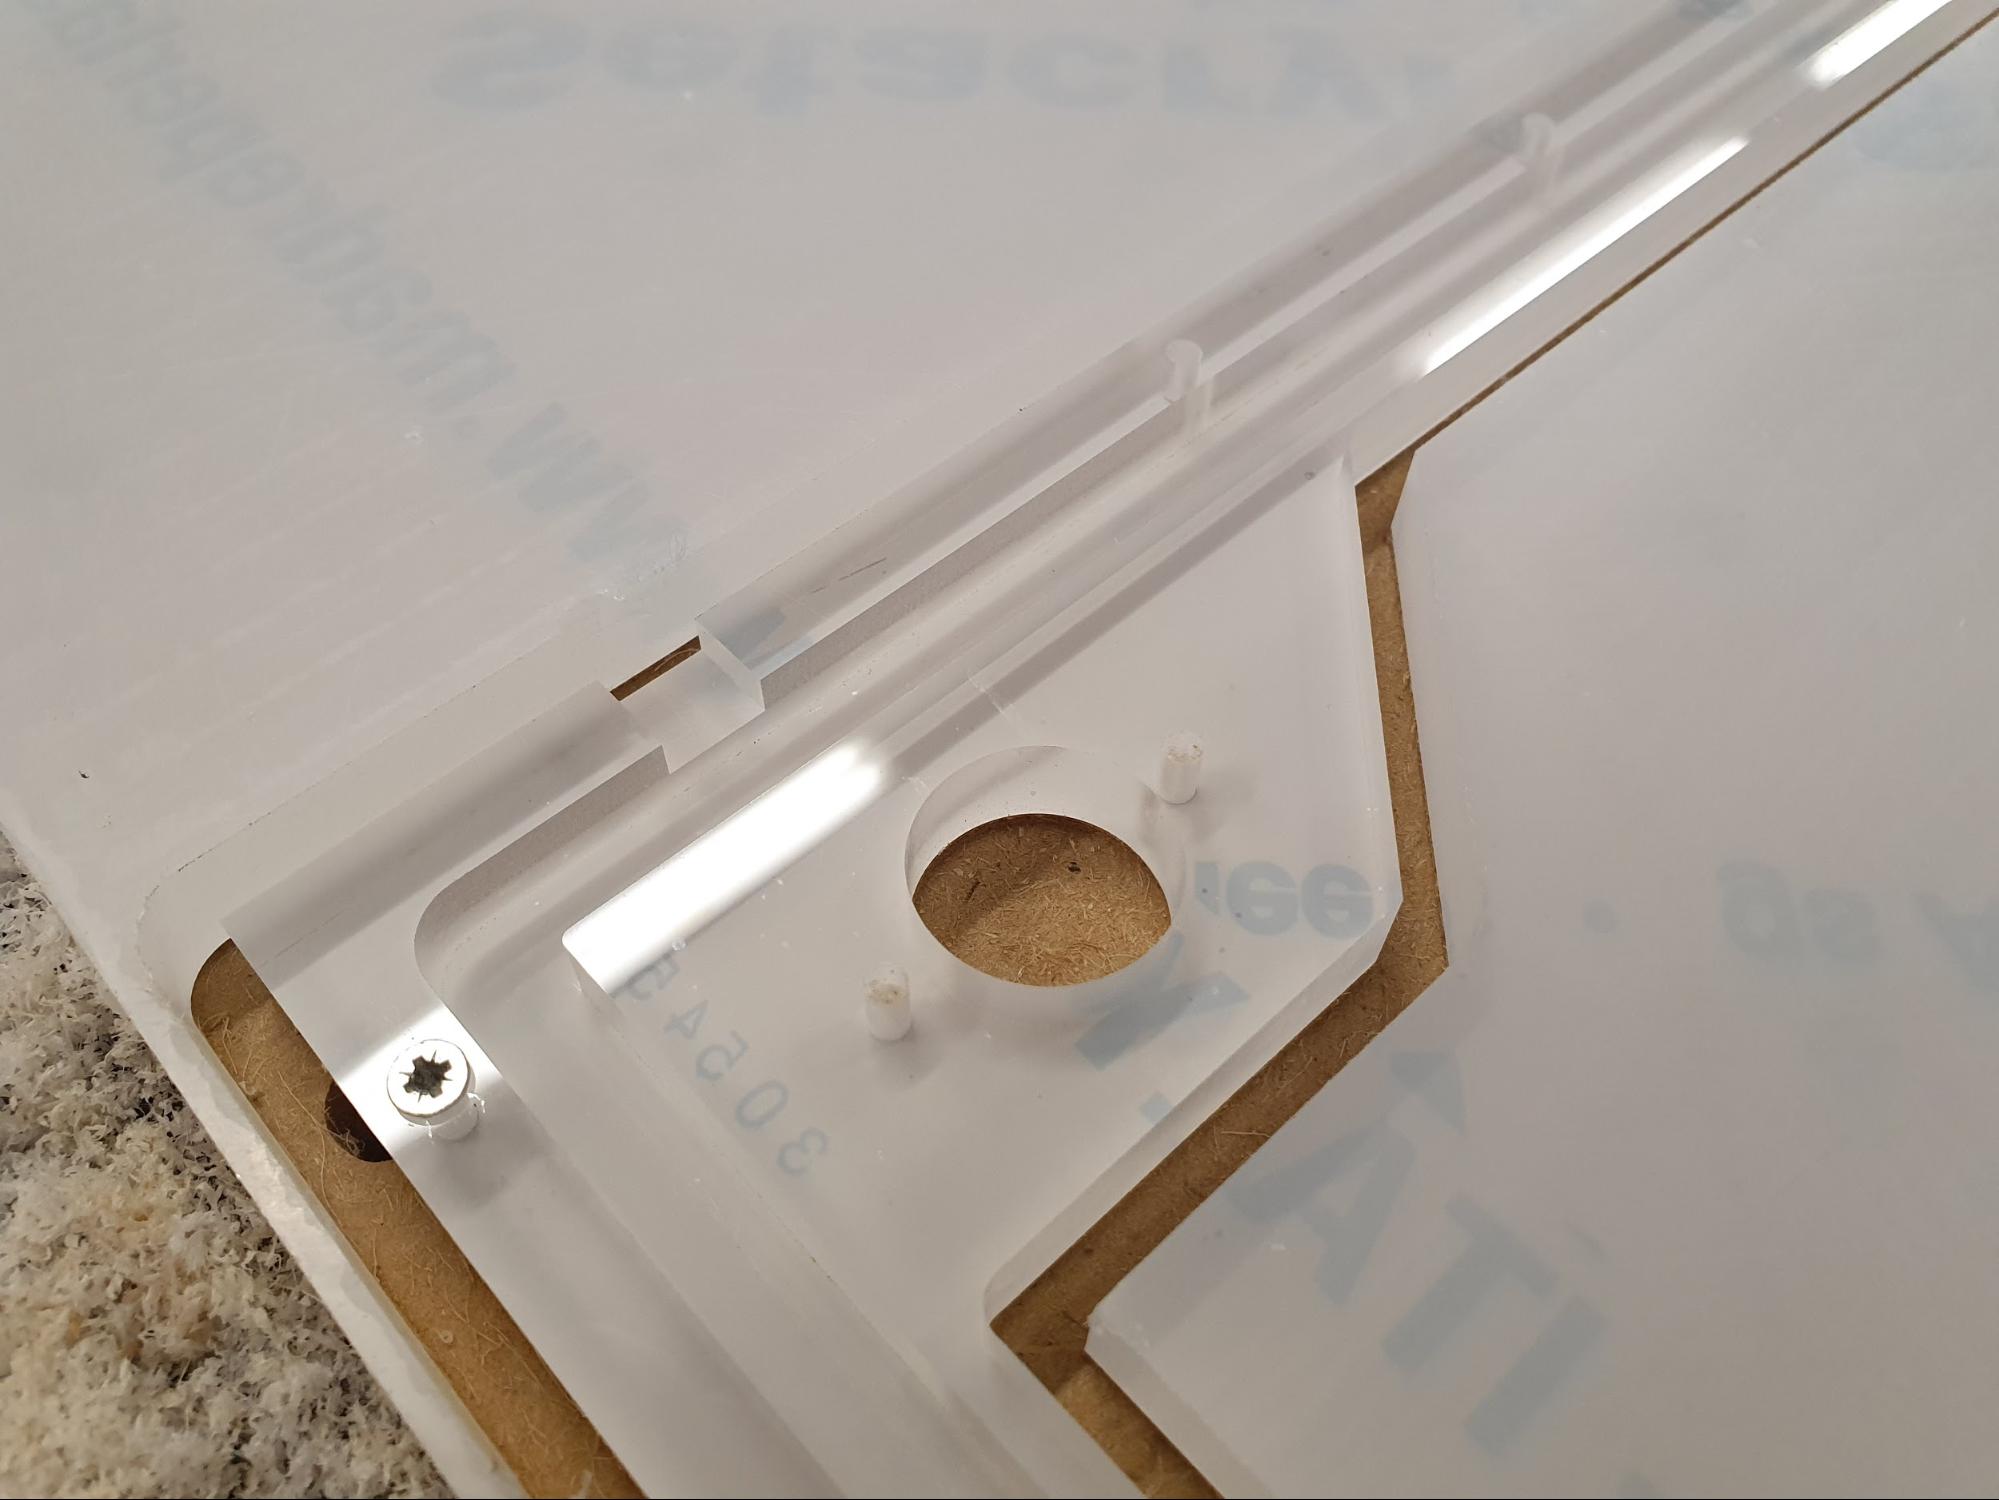
To avoid losing my mind with double-sided operations on the machine, I drilled counterbores on the other side to have the screws sit flush.
The mounting holes are dedicated to both the acrylic and aluminum frames, so the aluminum one can be easily removed by itself if necessary. This is particularly helpful when doing maintenance to the internal hardware, since the rings do take up some clearance. During maintenance you can keep the acrylic frame on and avoid having to deal with the LED cables.
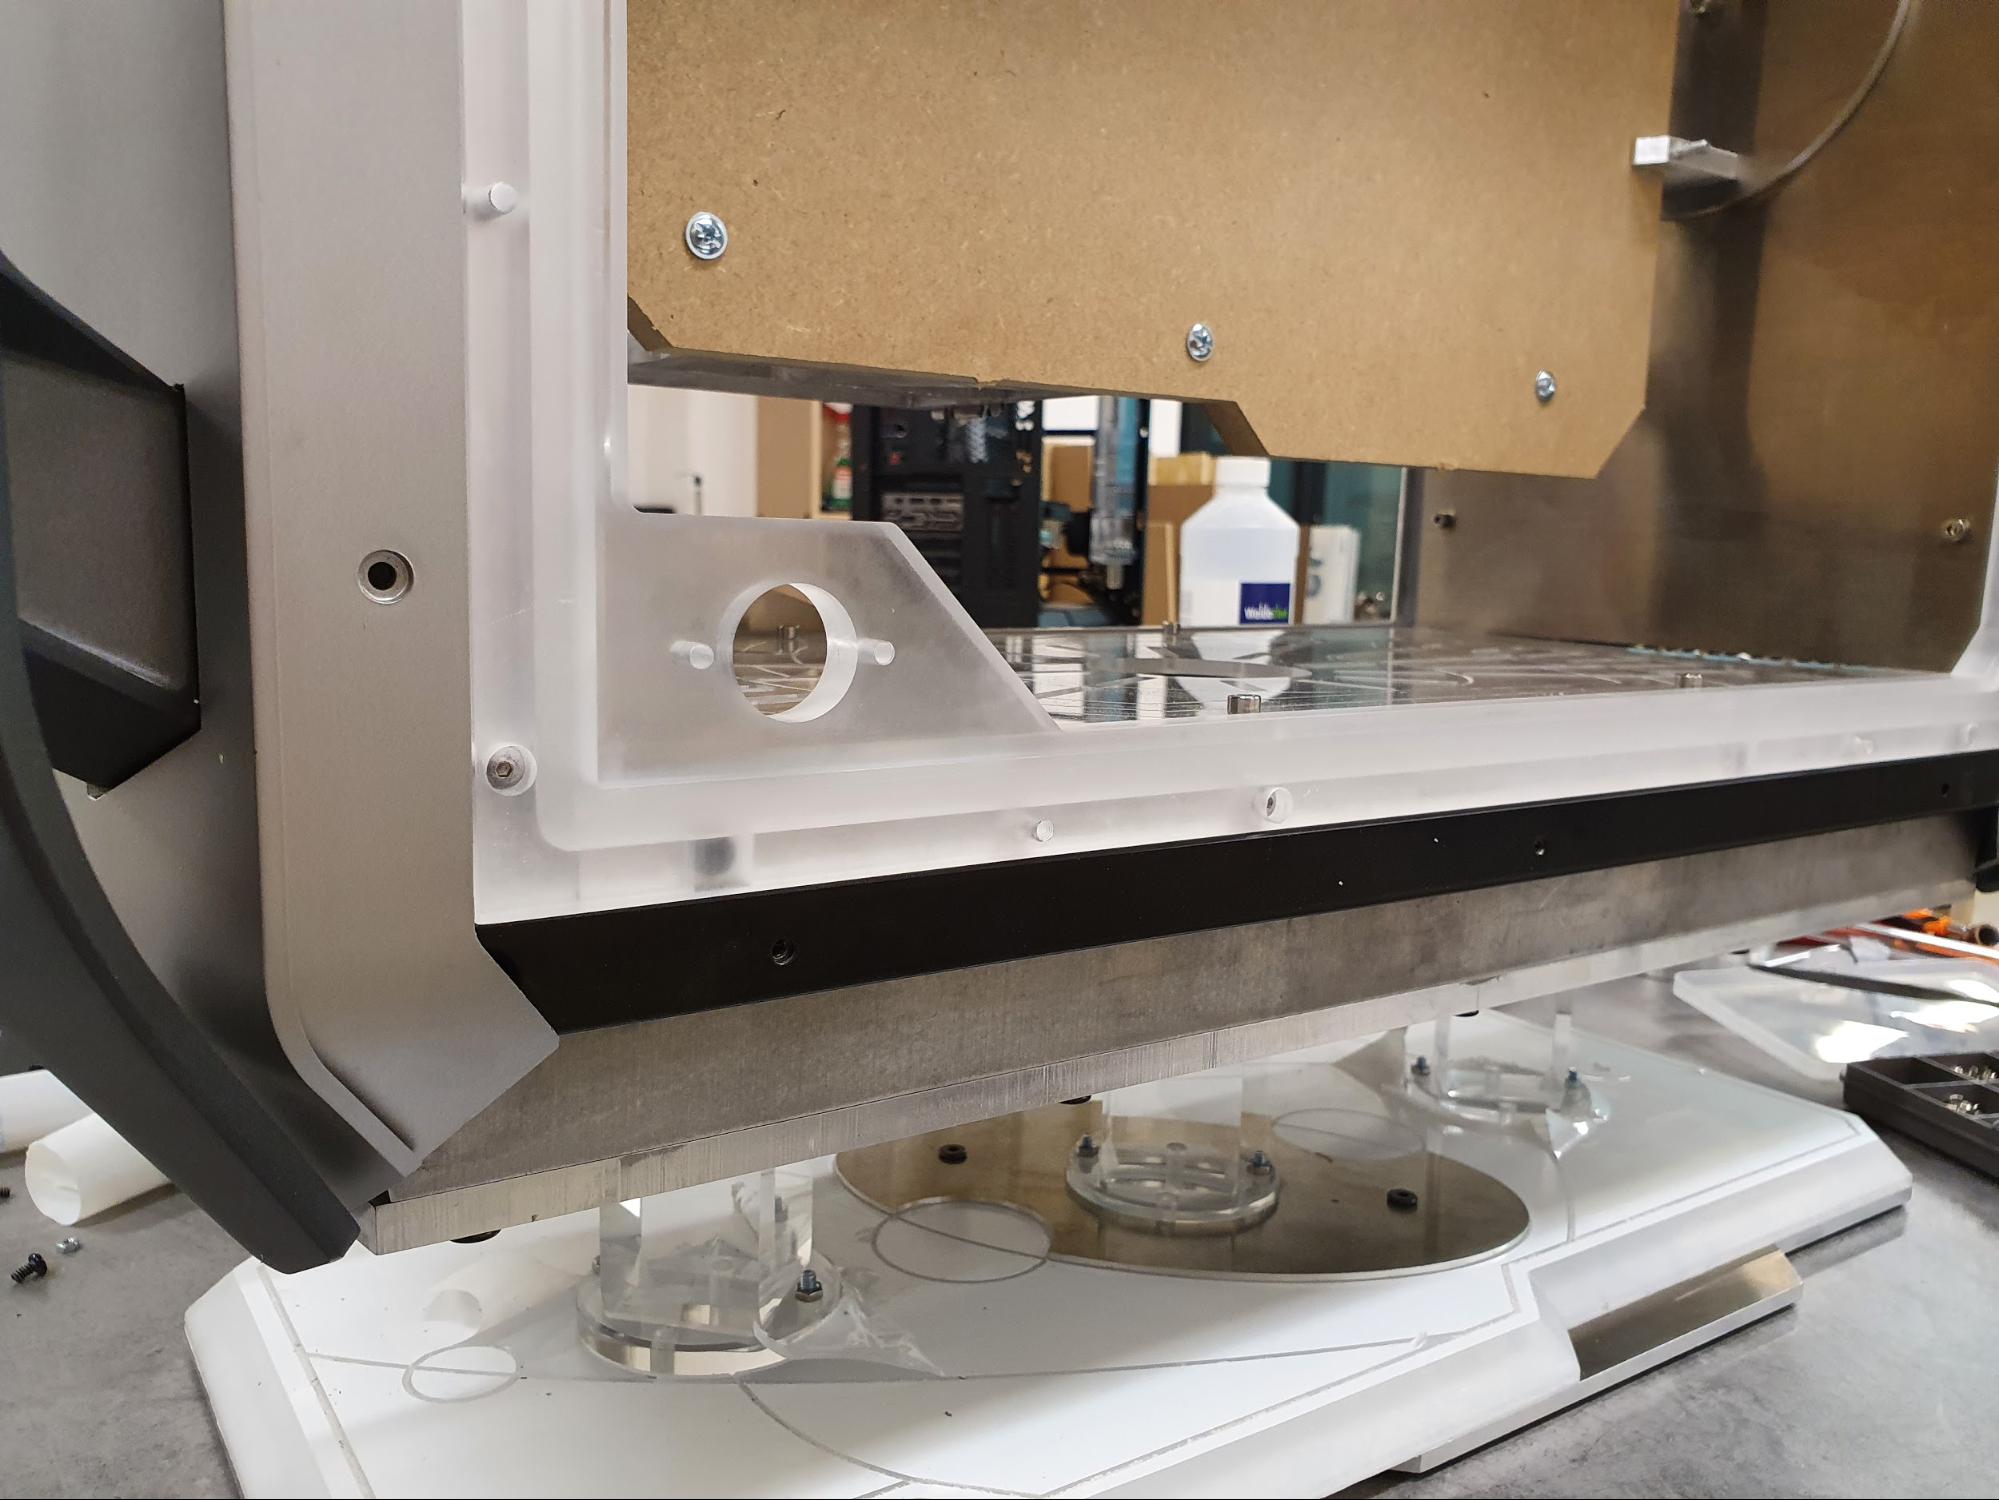
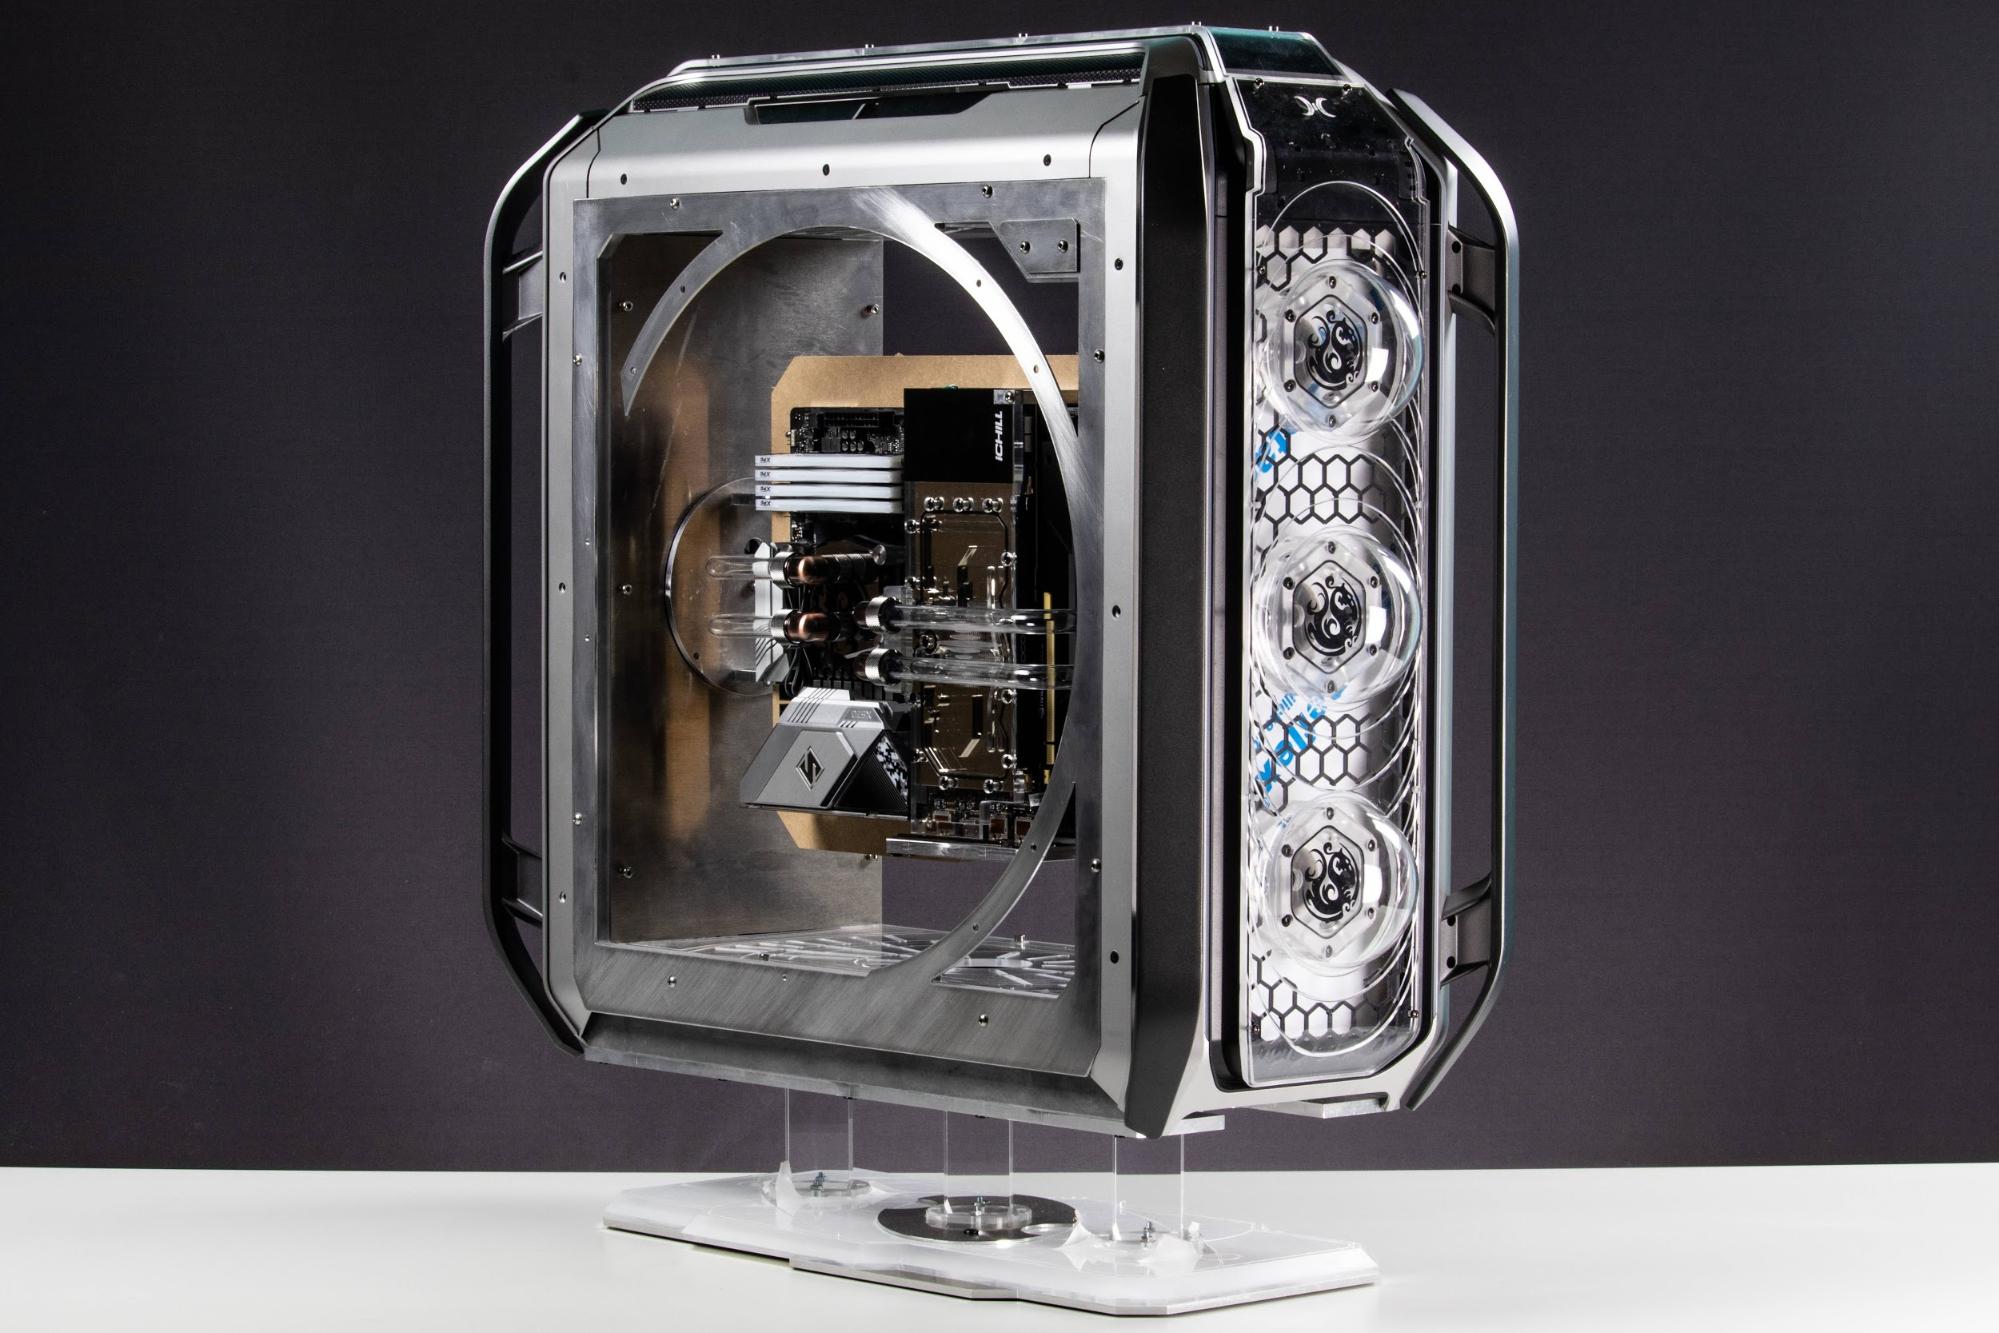
For some aesthetic flair, I incorporated rings into the side panels using 5mm acrylic. I also included my logo In the surrounding rectangle, which I milled down to a thickness of 3mm and polished.
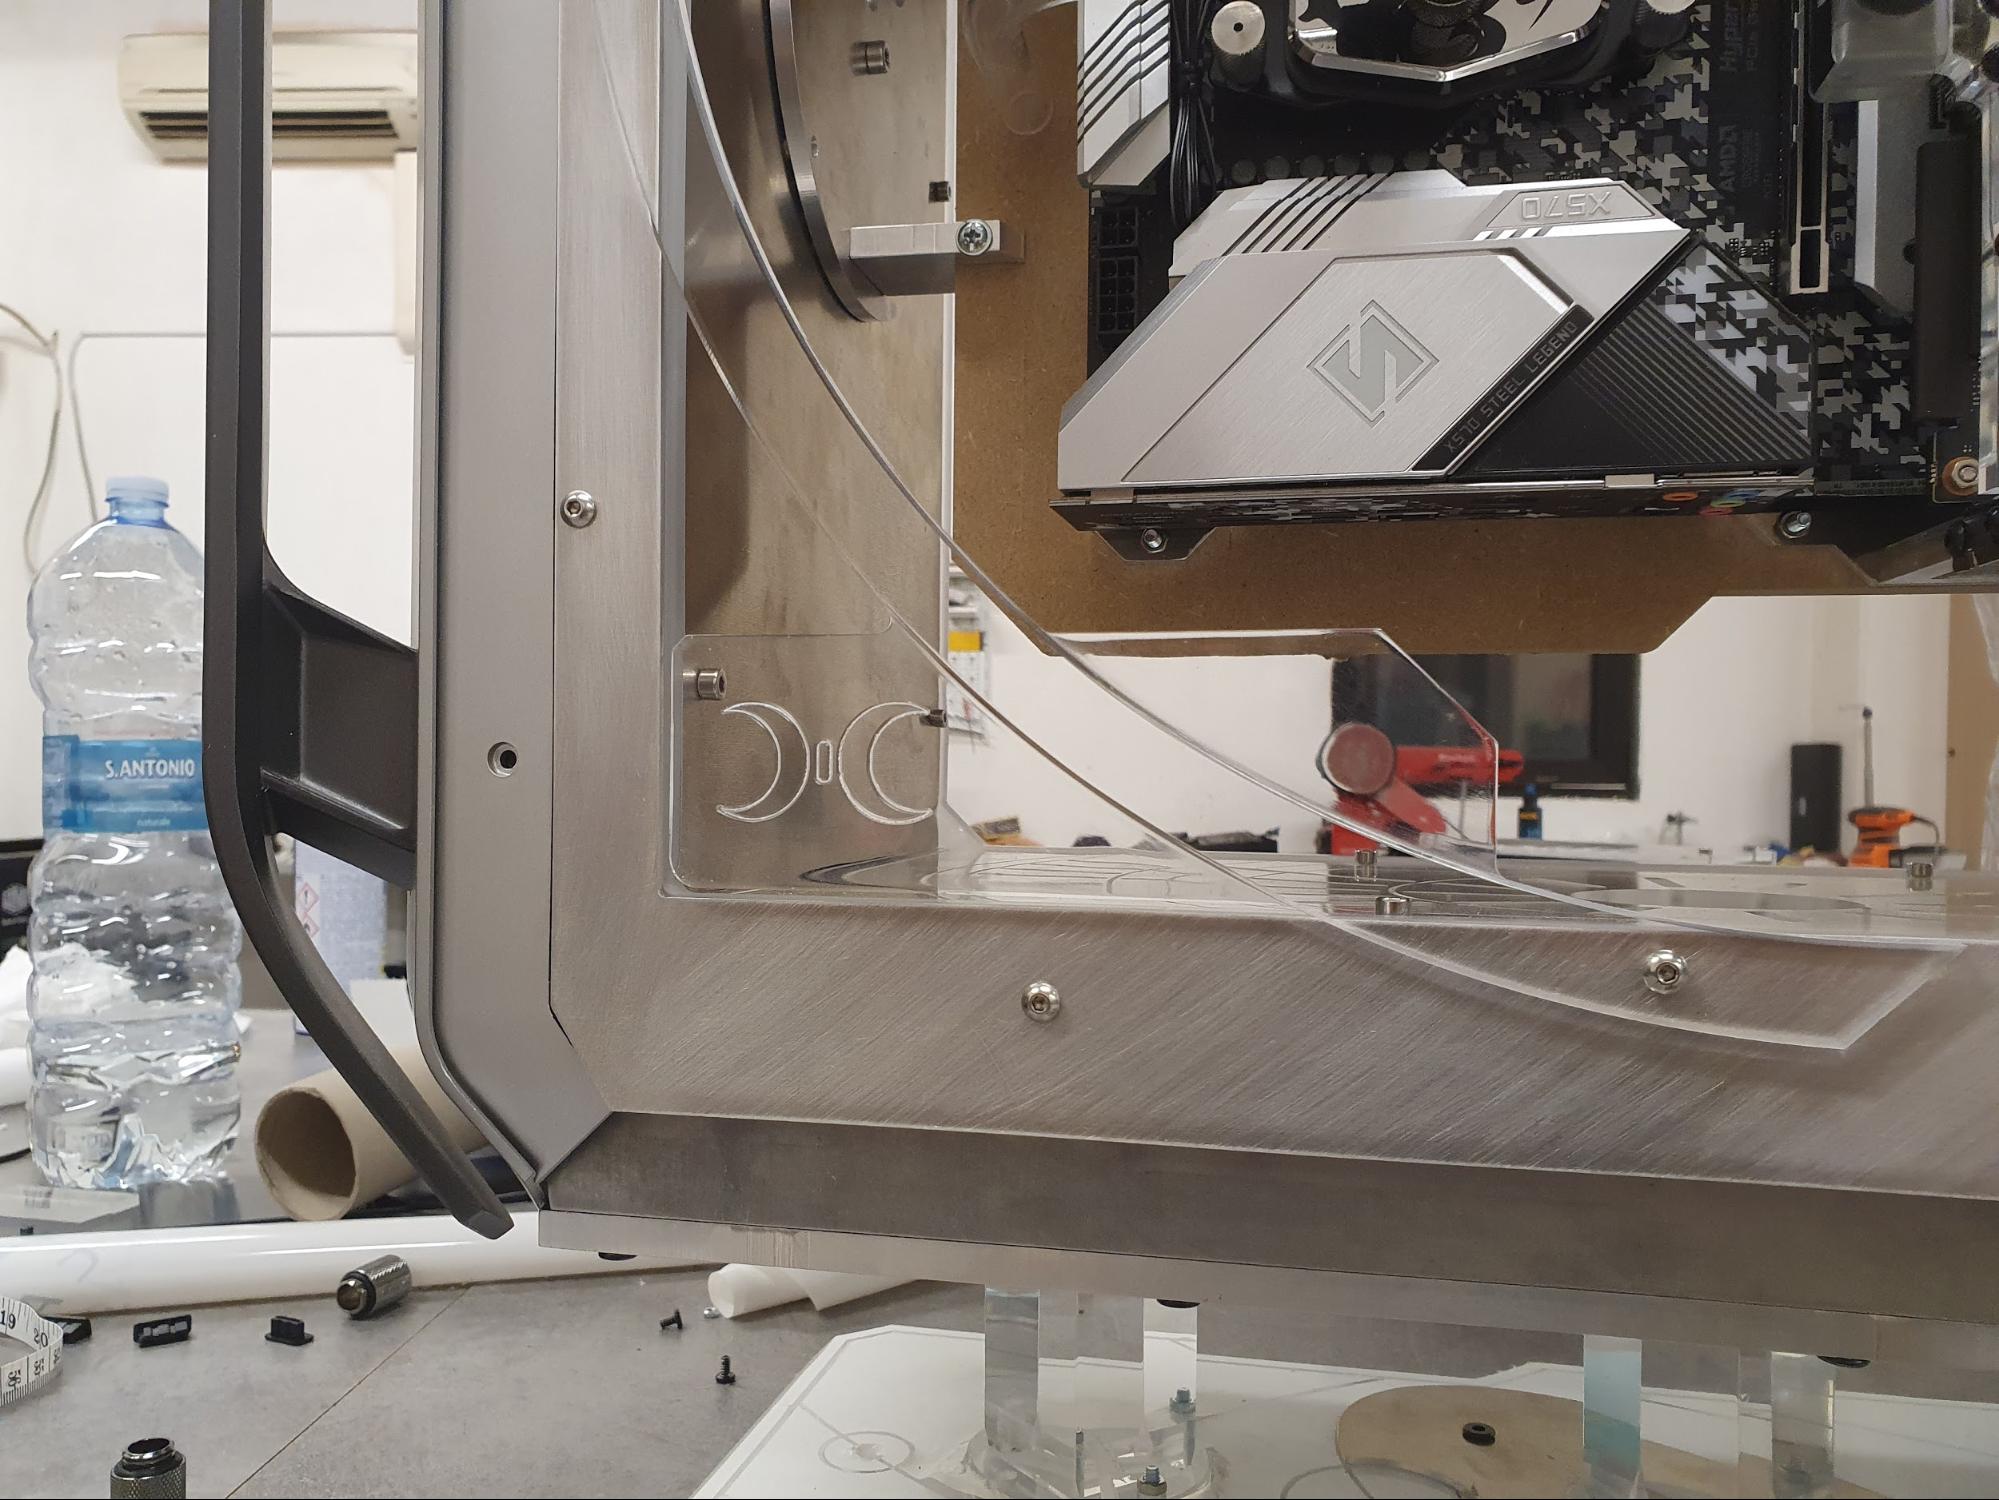
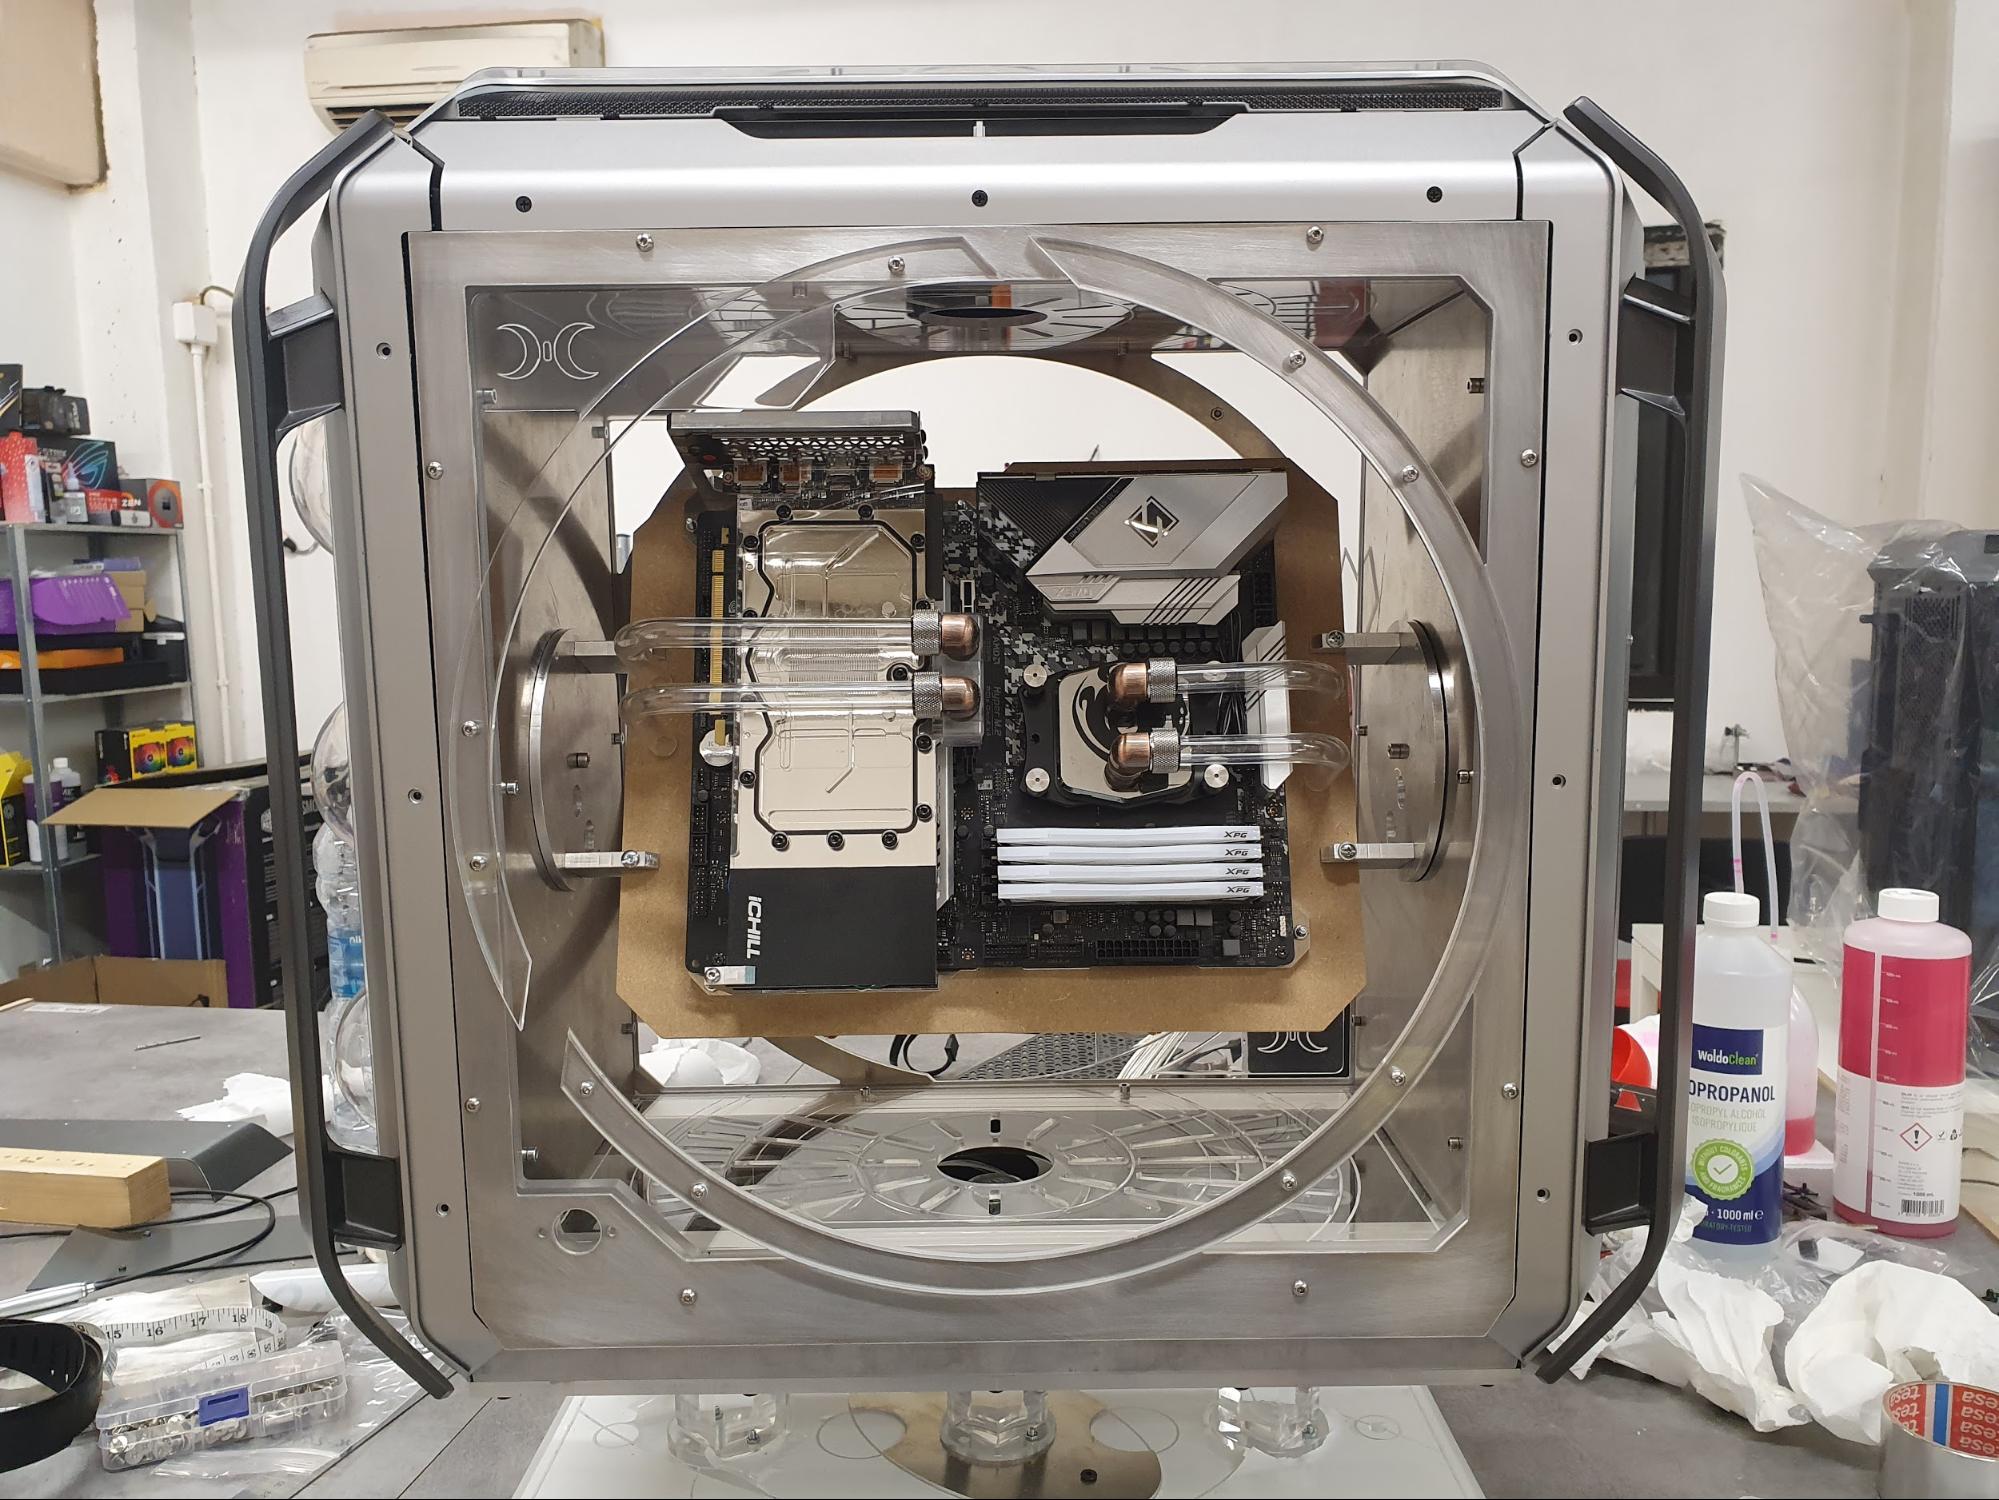
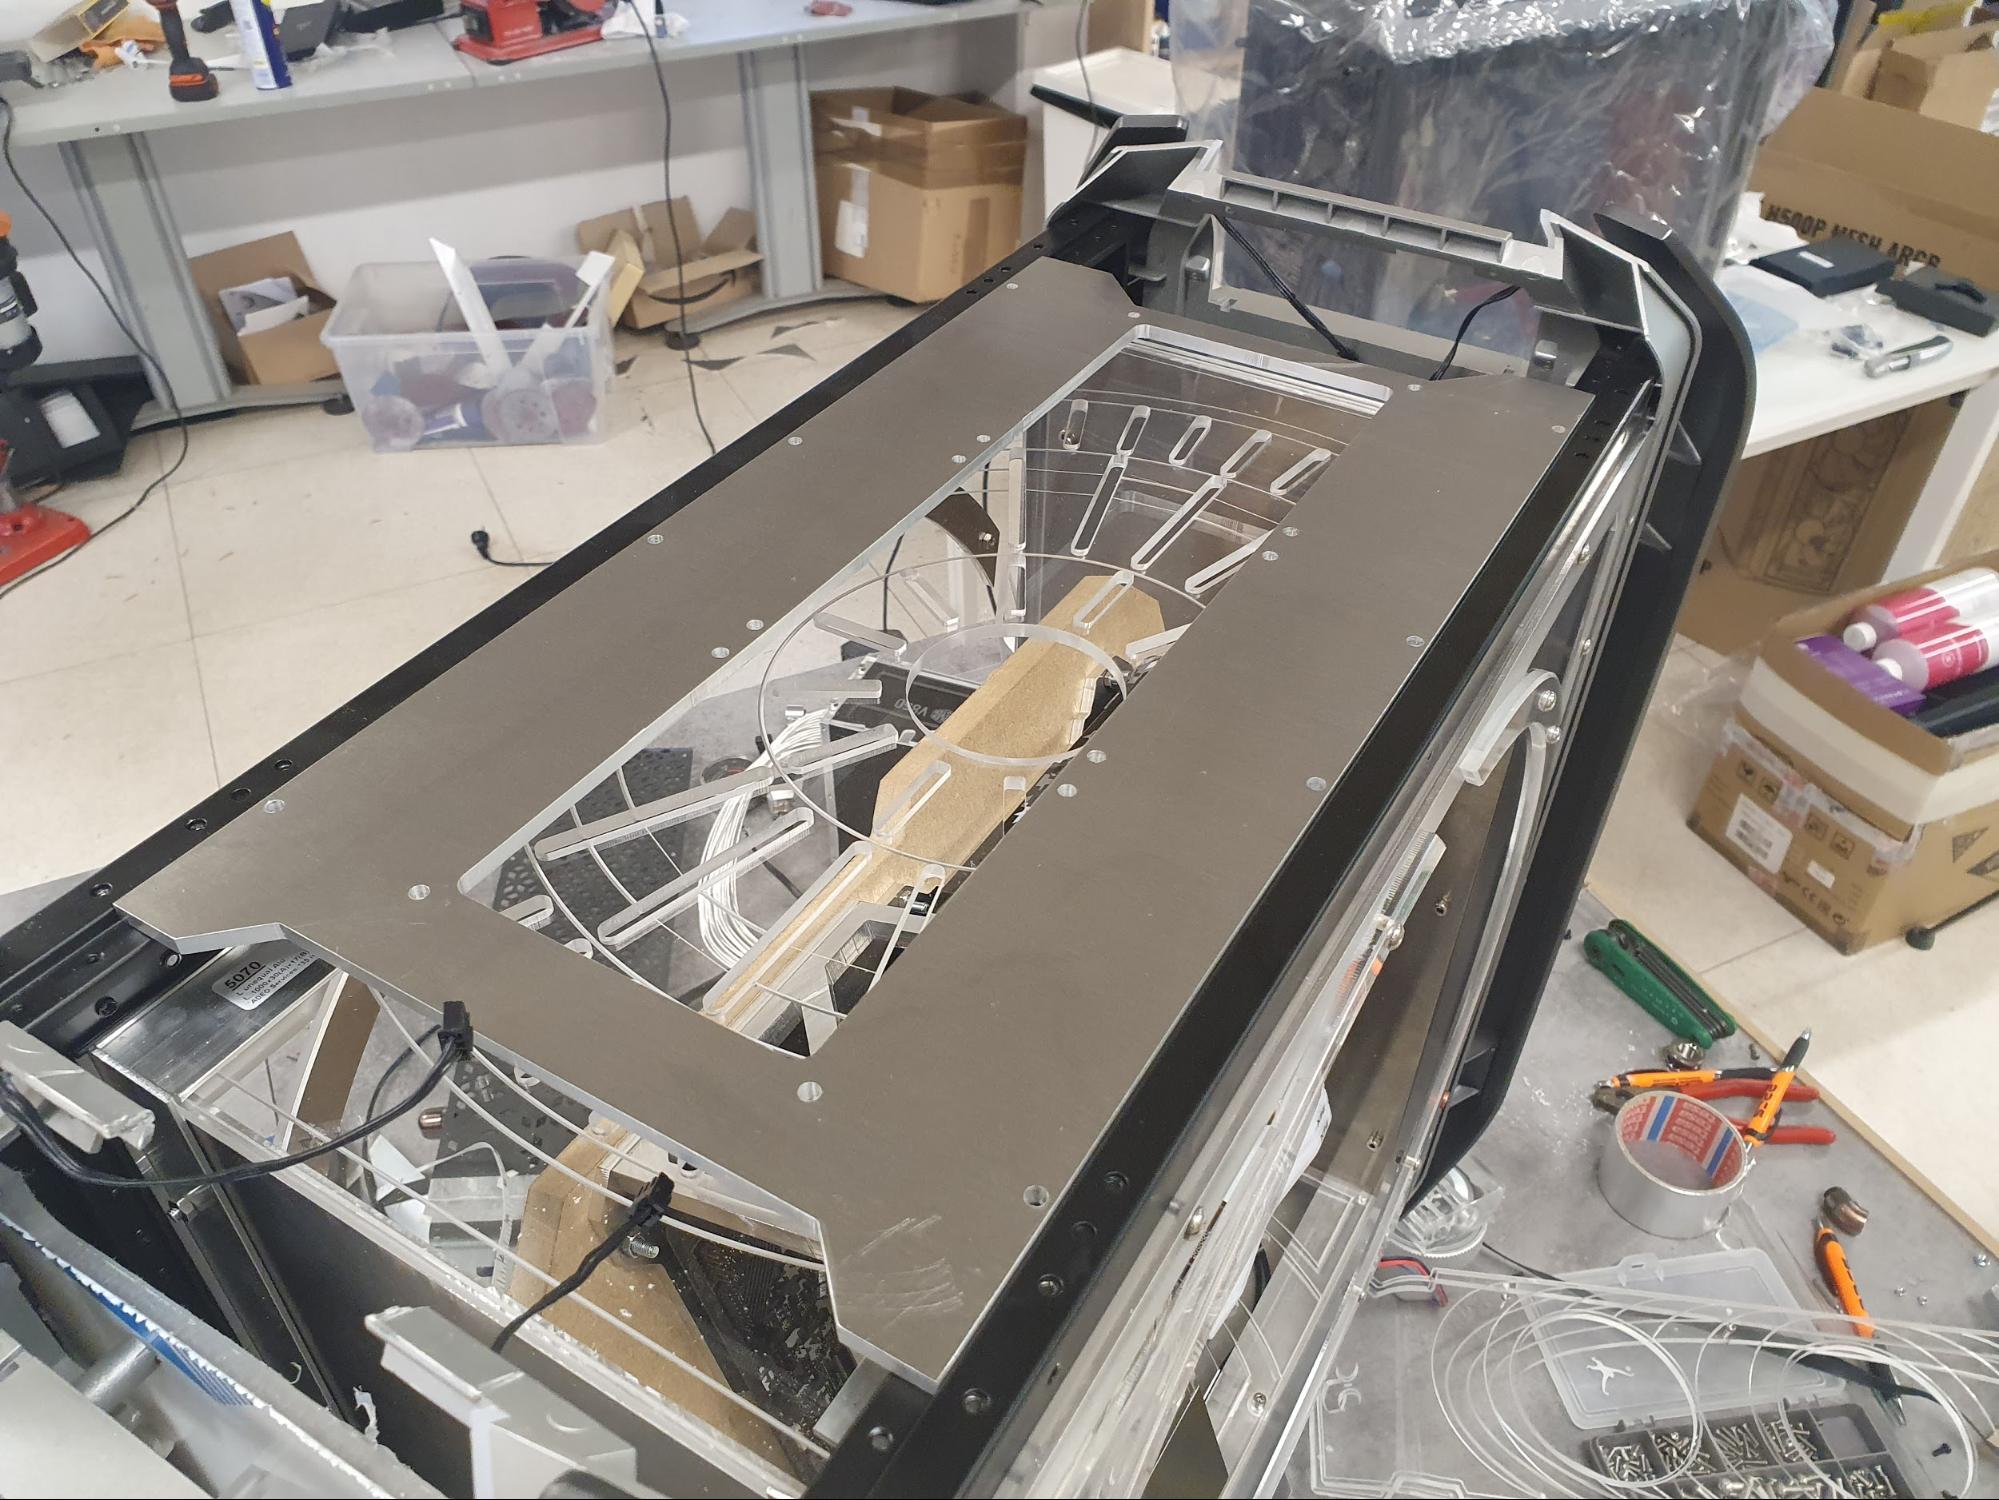
I had to make custom mountings for the top 360mm radiator and clearly overdid it with a chonky 5mm aluminum plate.
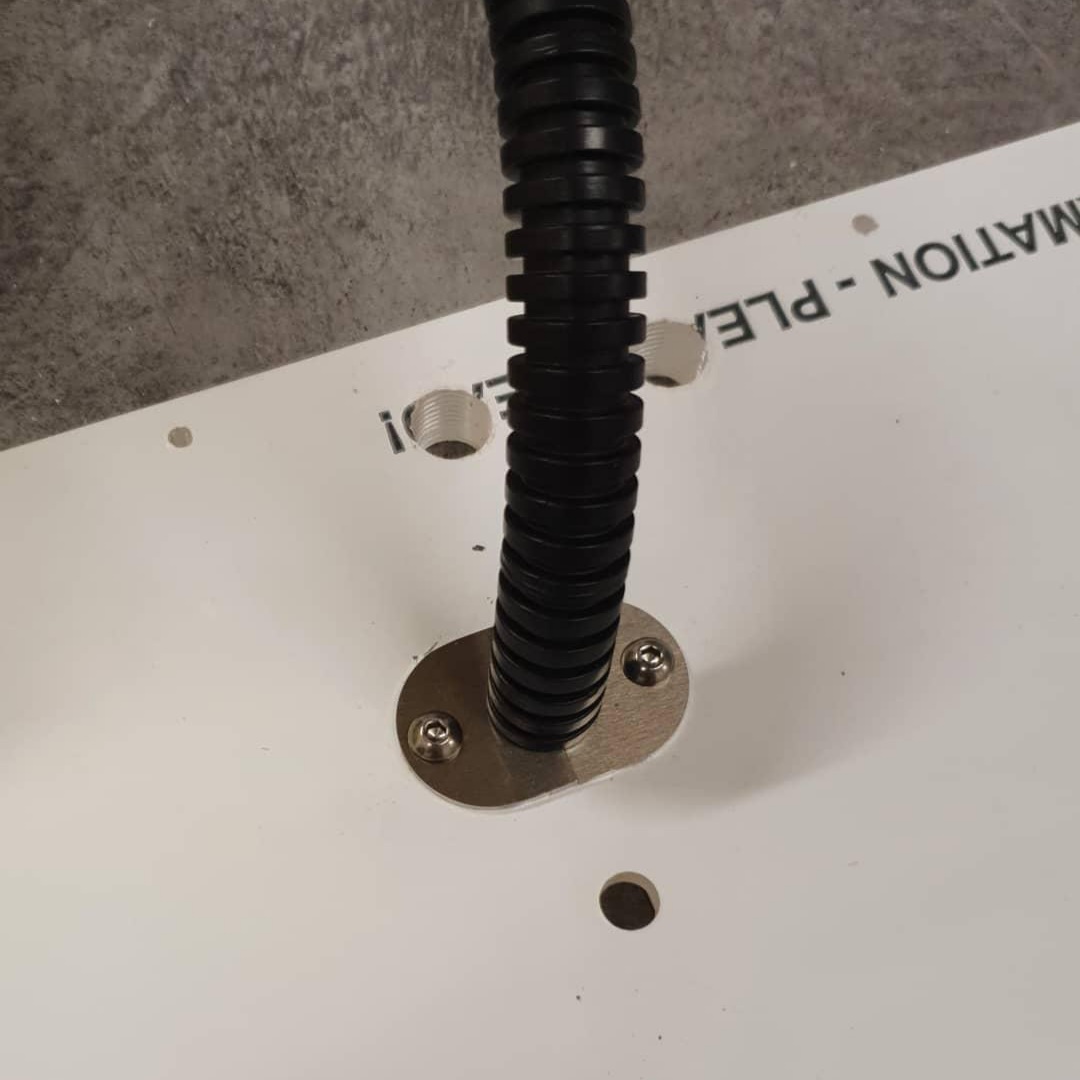
This right here took a few attempts. I wanted to make some kind of custom fittings to fix the corrugated pipes that would help route the cables from the rotating system to the inner areas of the case. The thing is my machine was acting up and ruined a couple attempts to cut these. I eventually managed to get them right and did a quick test fit.
Starry Night Side Panel
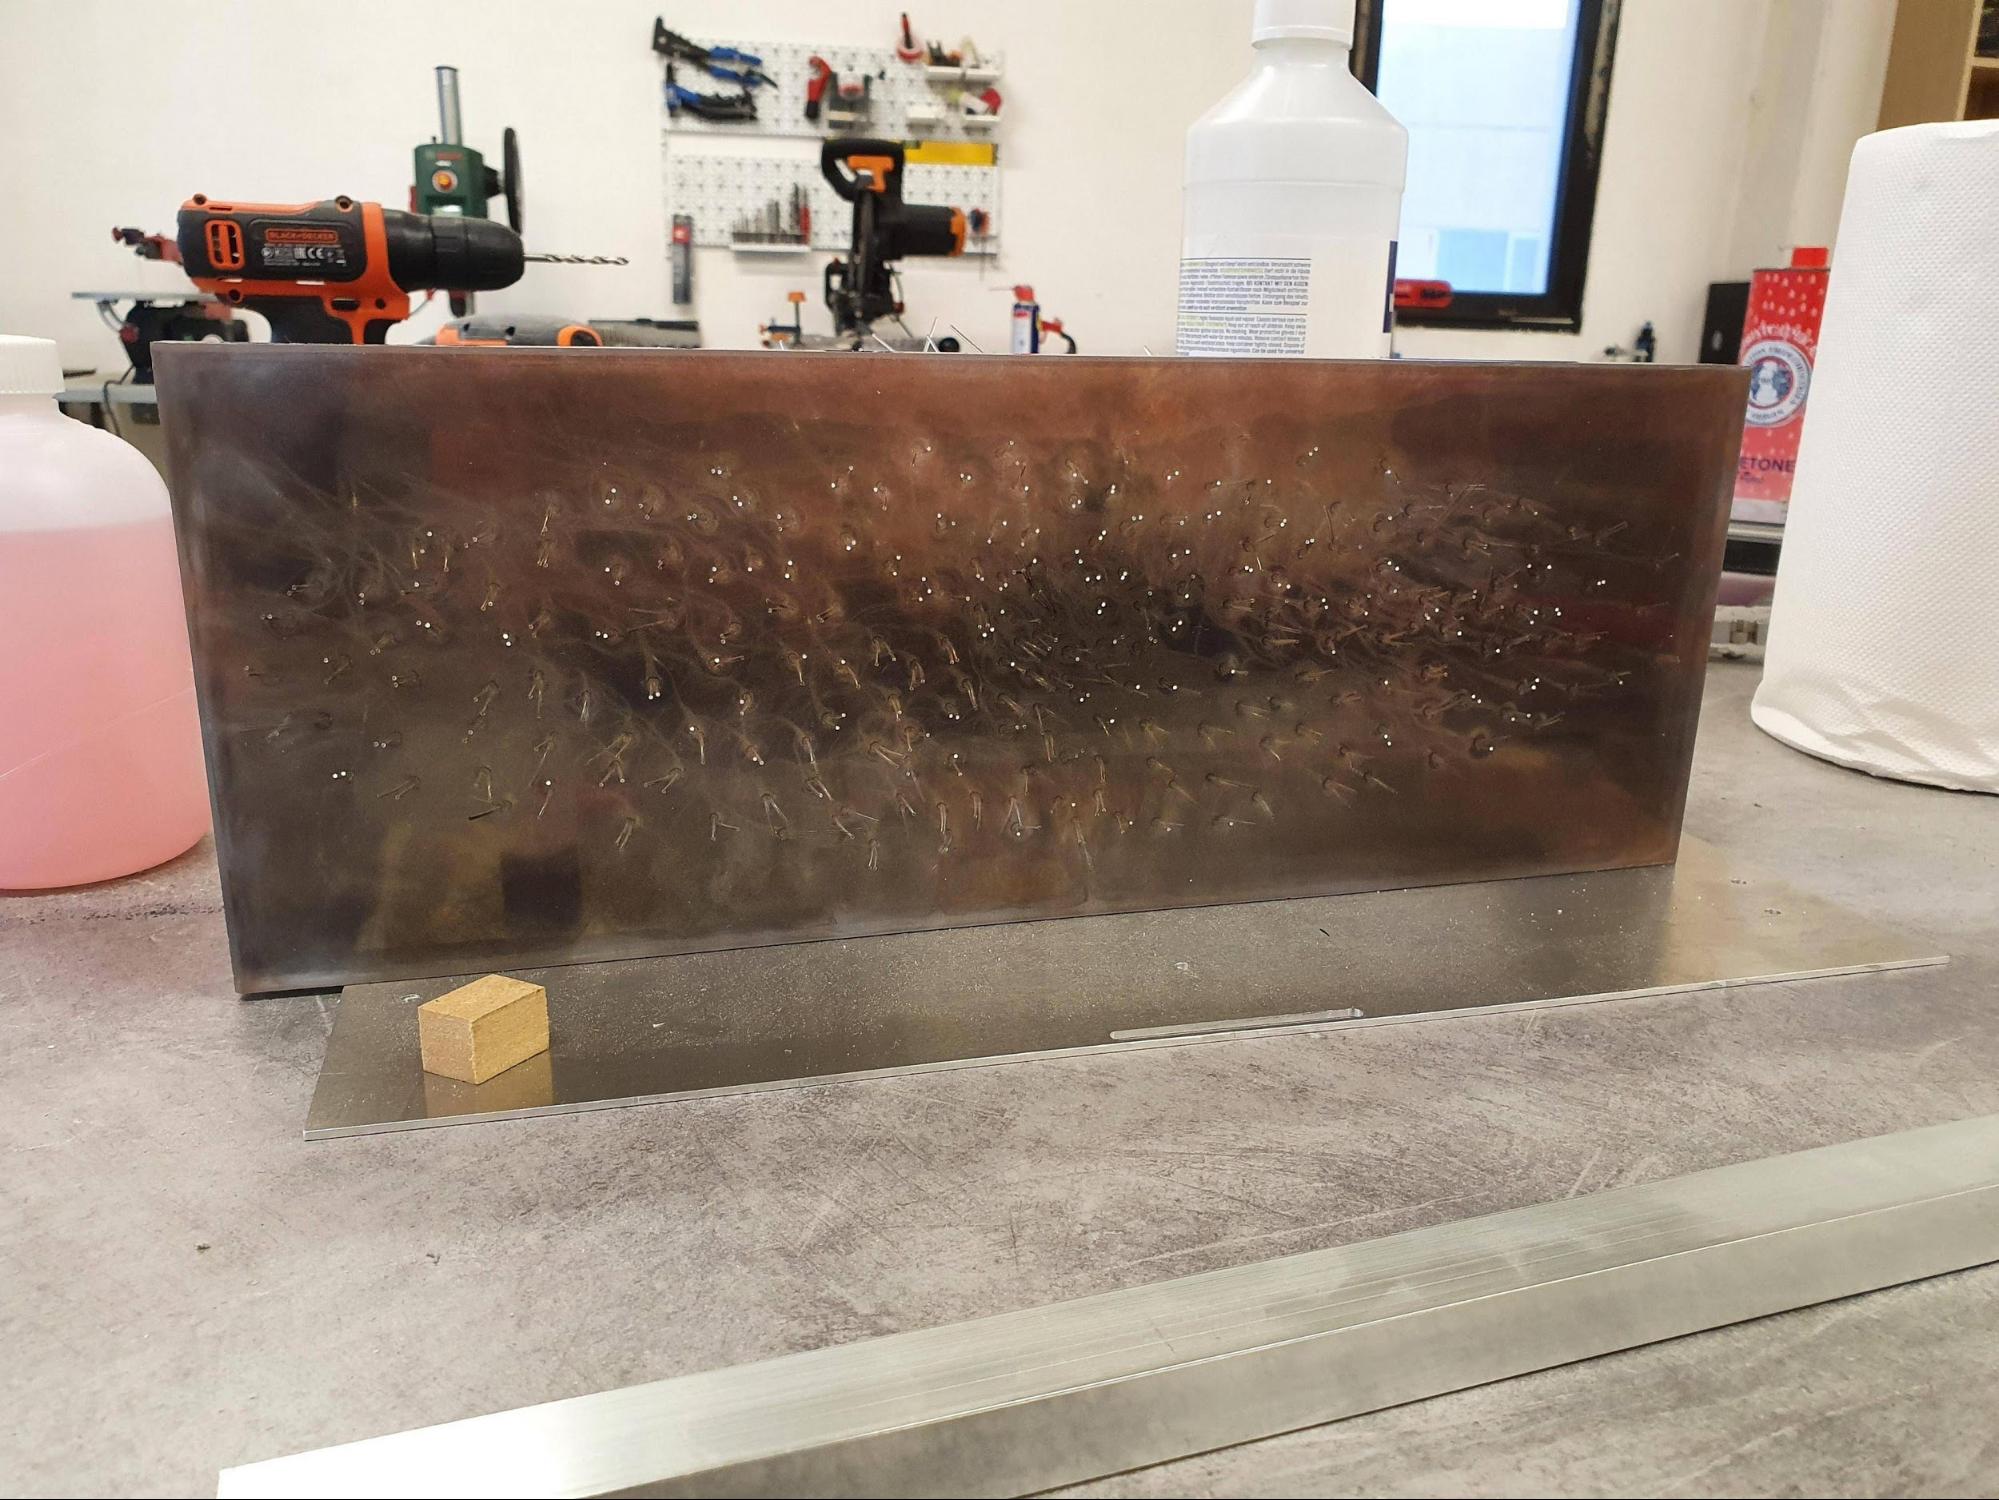
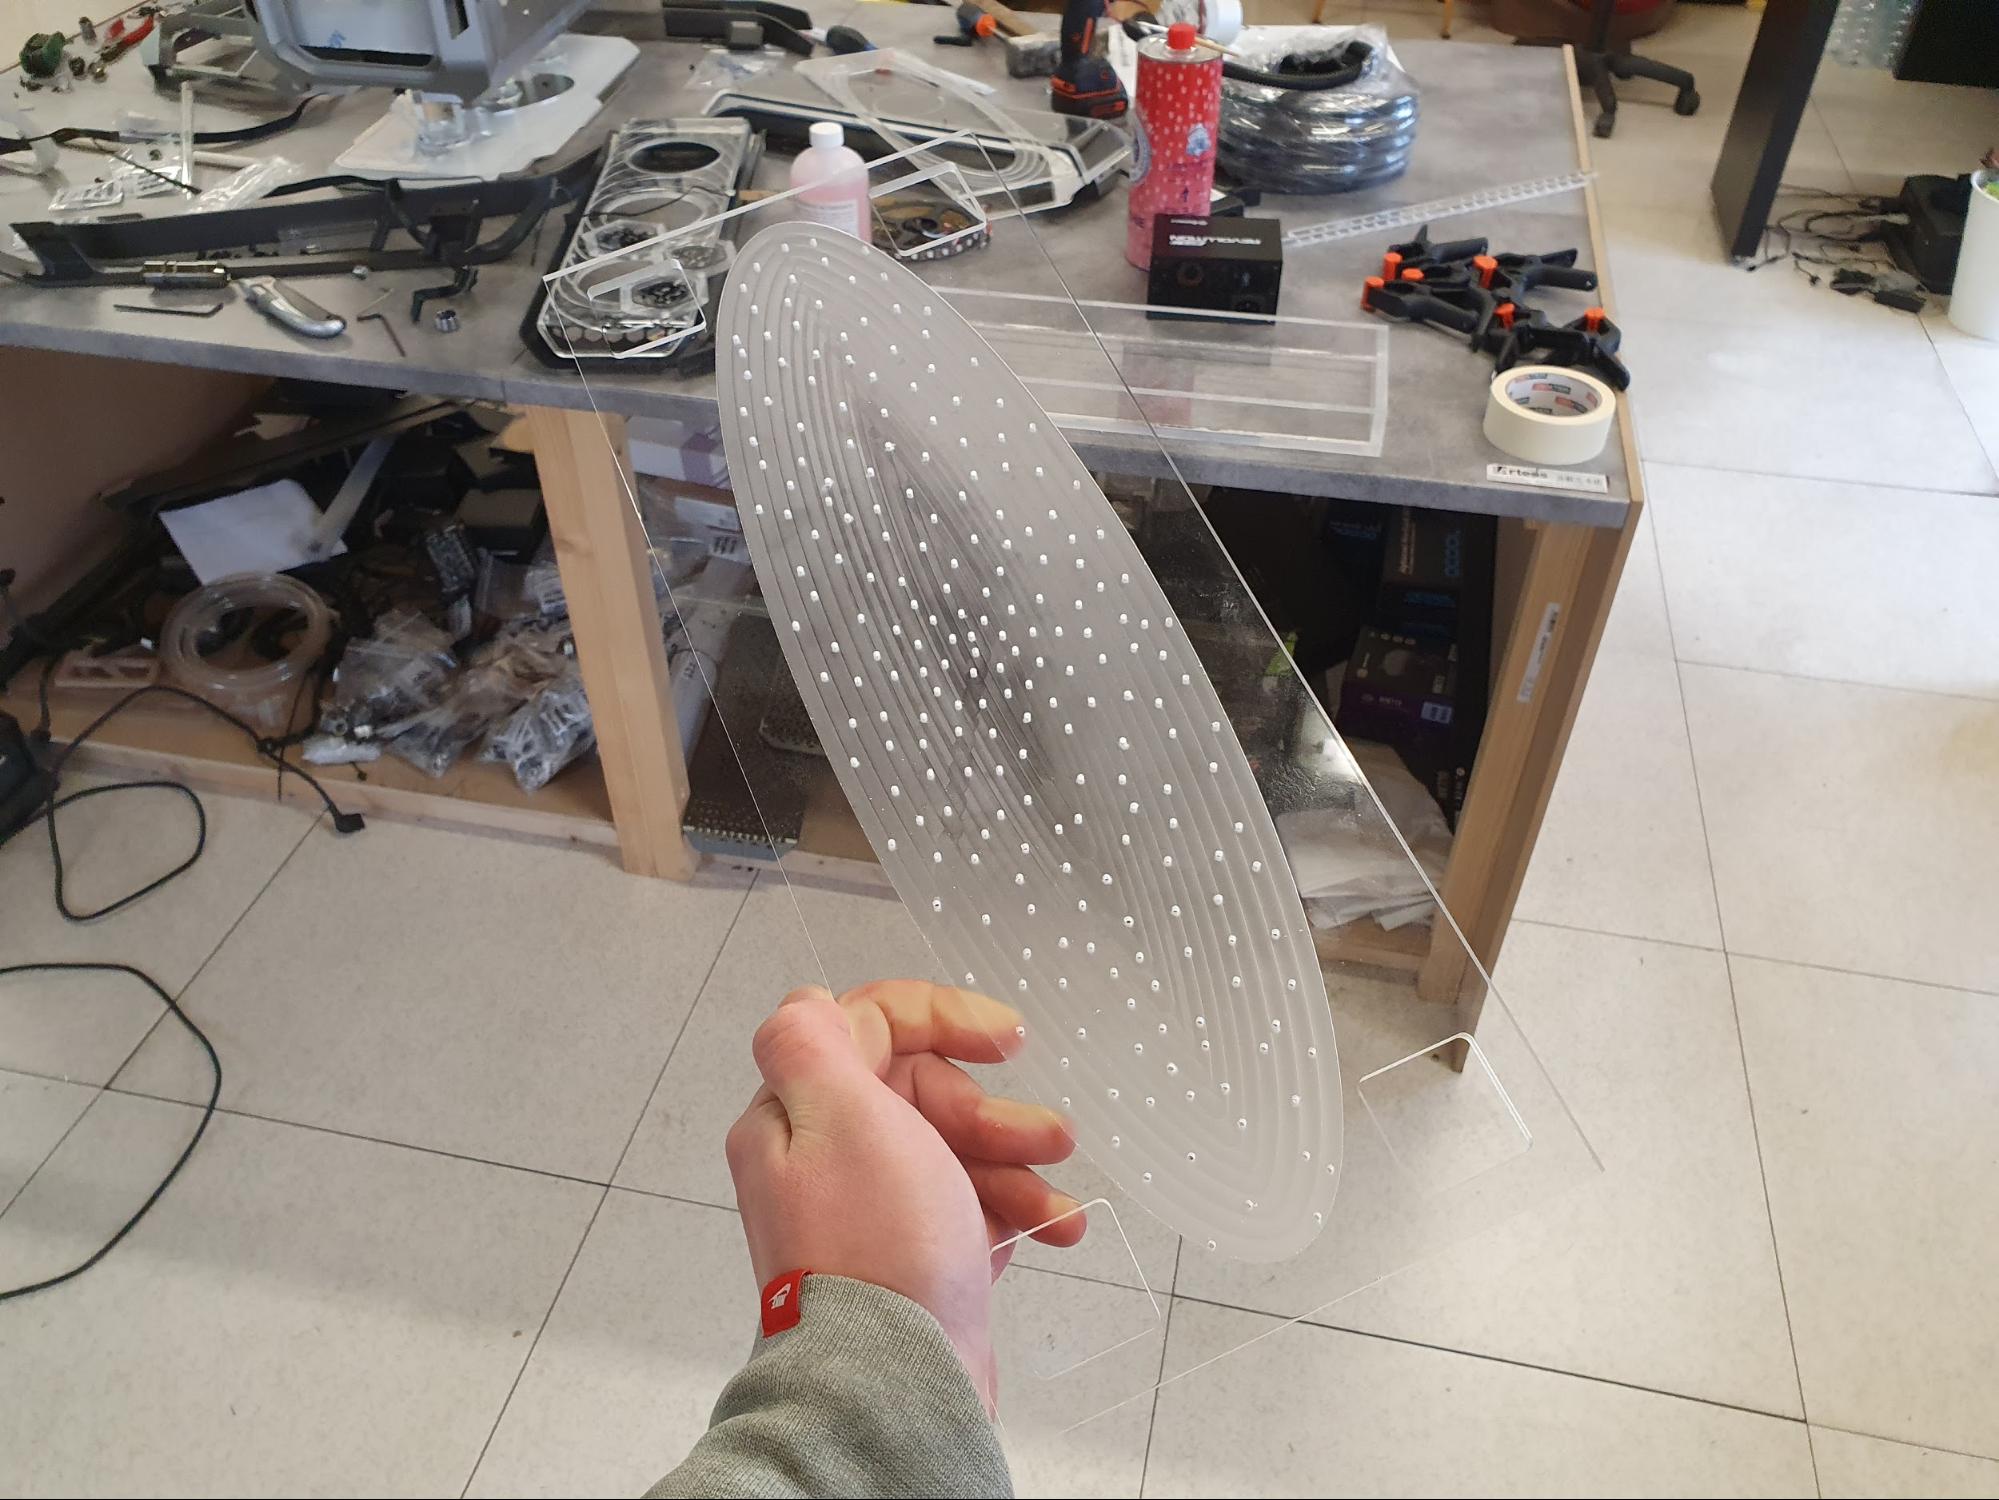
Here comes a more artistic part. The front ellipse you saw earlier was meant to offer a clear view on a starry night kind of effect. To accomplish this, my main actors were optic fibers and epoxy resin. The process required me to prep a clear mold so that I could keep track of what was happening during epoxy pouring and curing. I had to drill more than 100 holes into the top panel in order to fit the optic fibers through and keep them in place while the epoxy was curing.
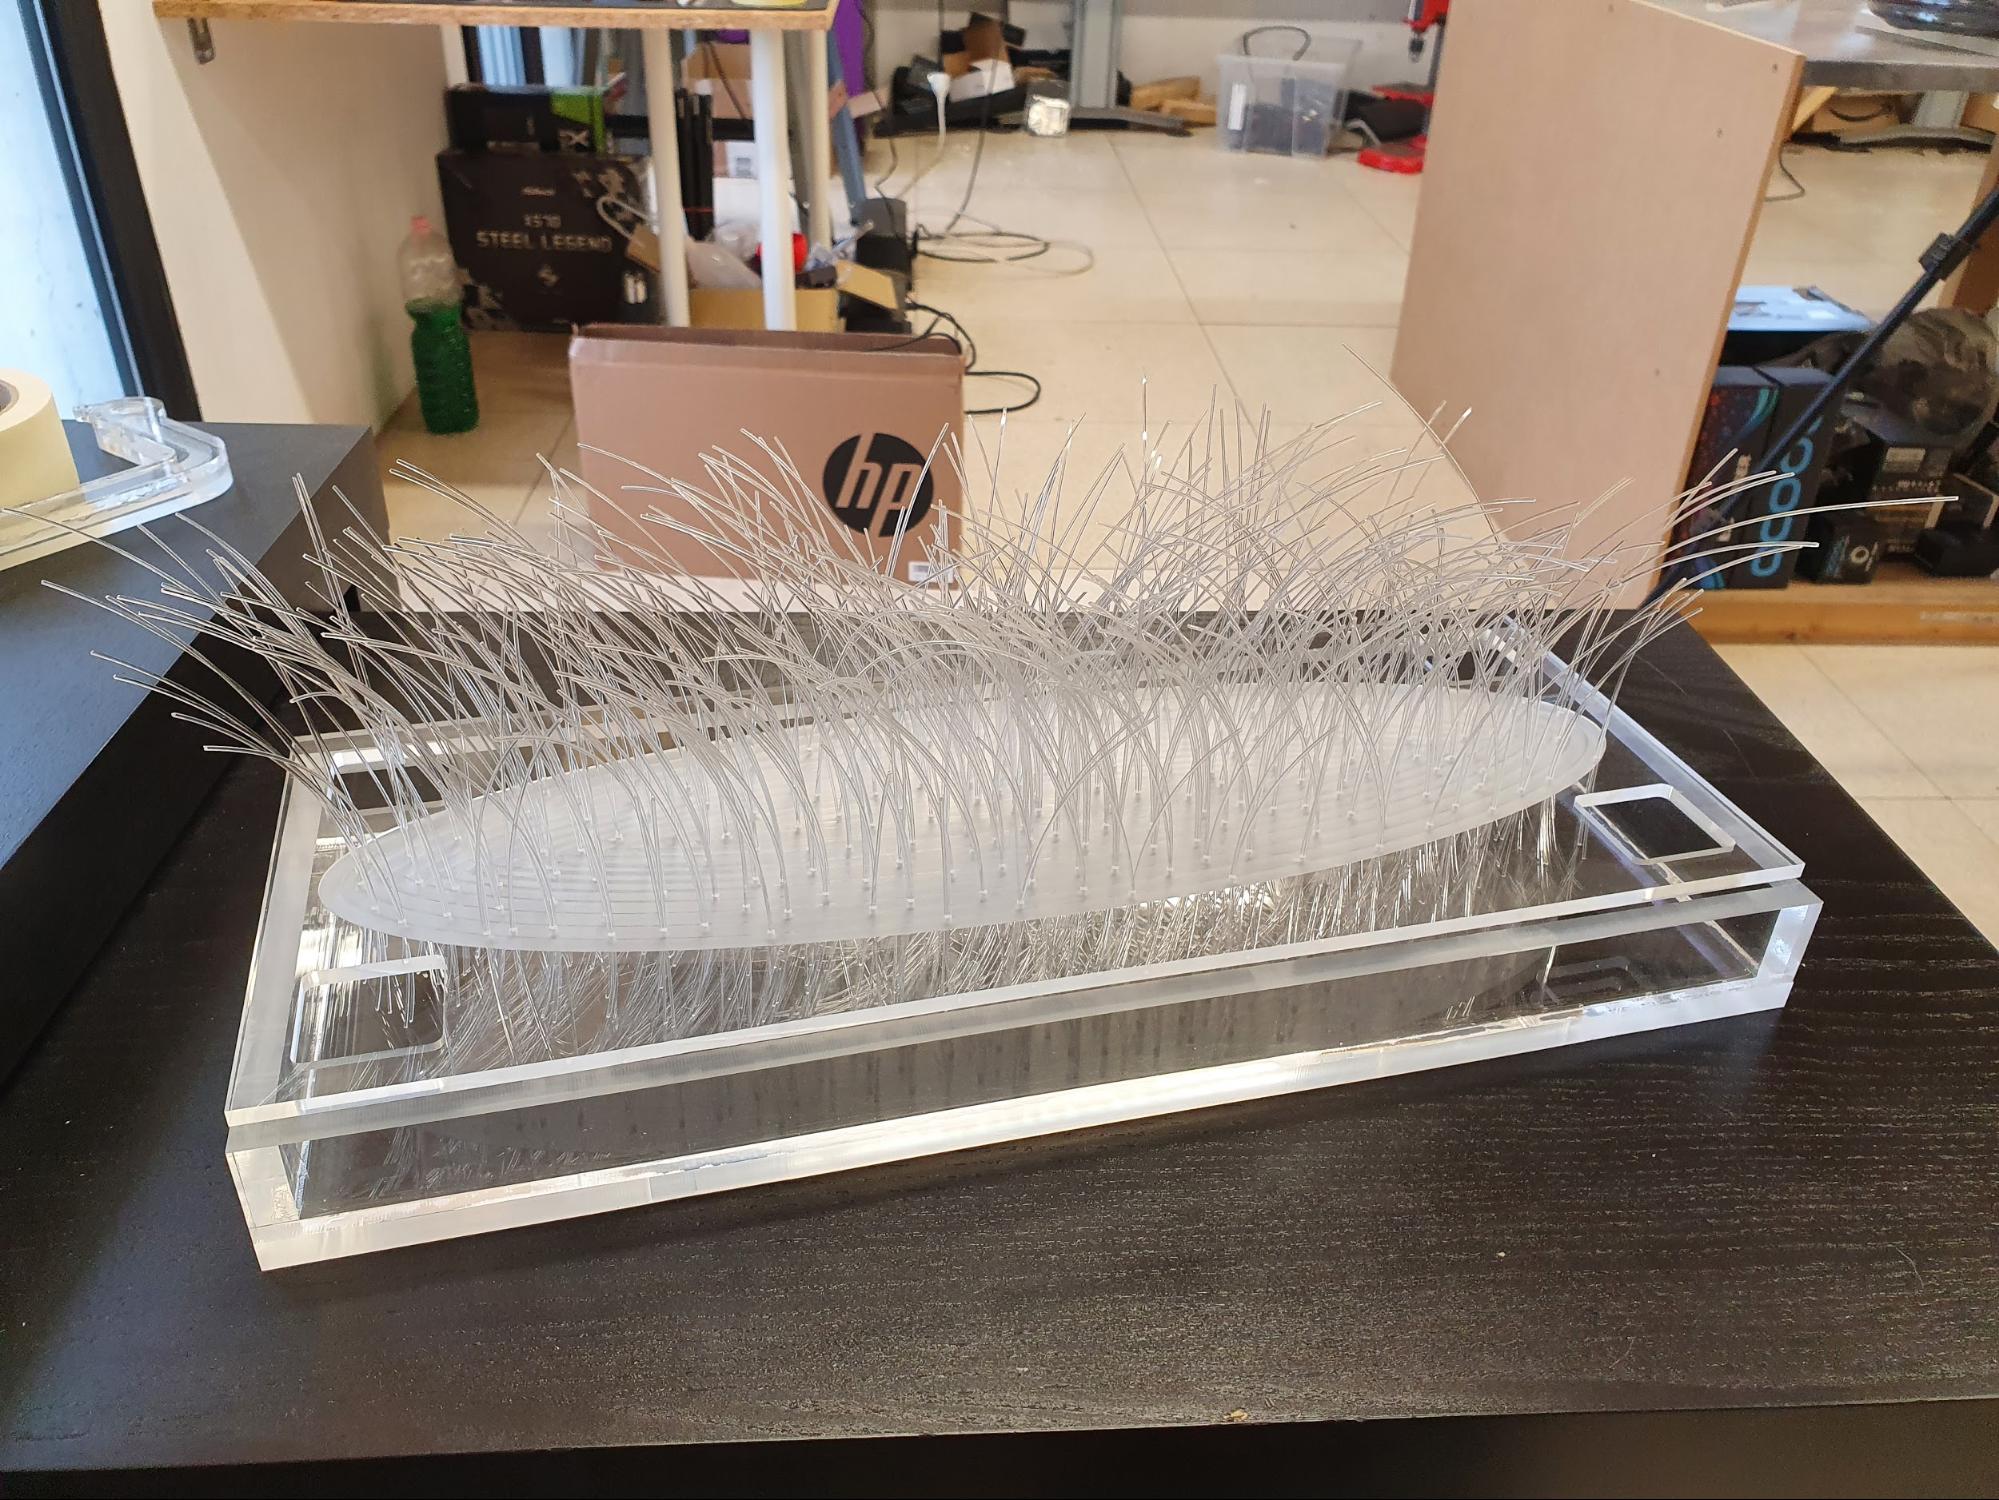
The resin pour I made used black dye as well as light blue and copper mica powders. The light blue was eventually covered up by the other two but copper actually shows up at some angles creating a very nice nebula effect.
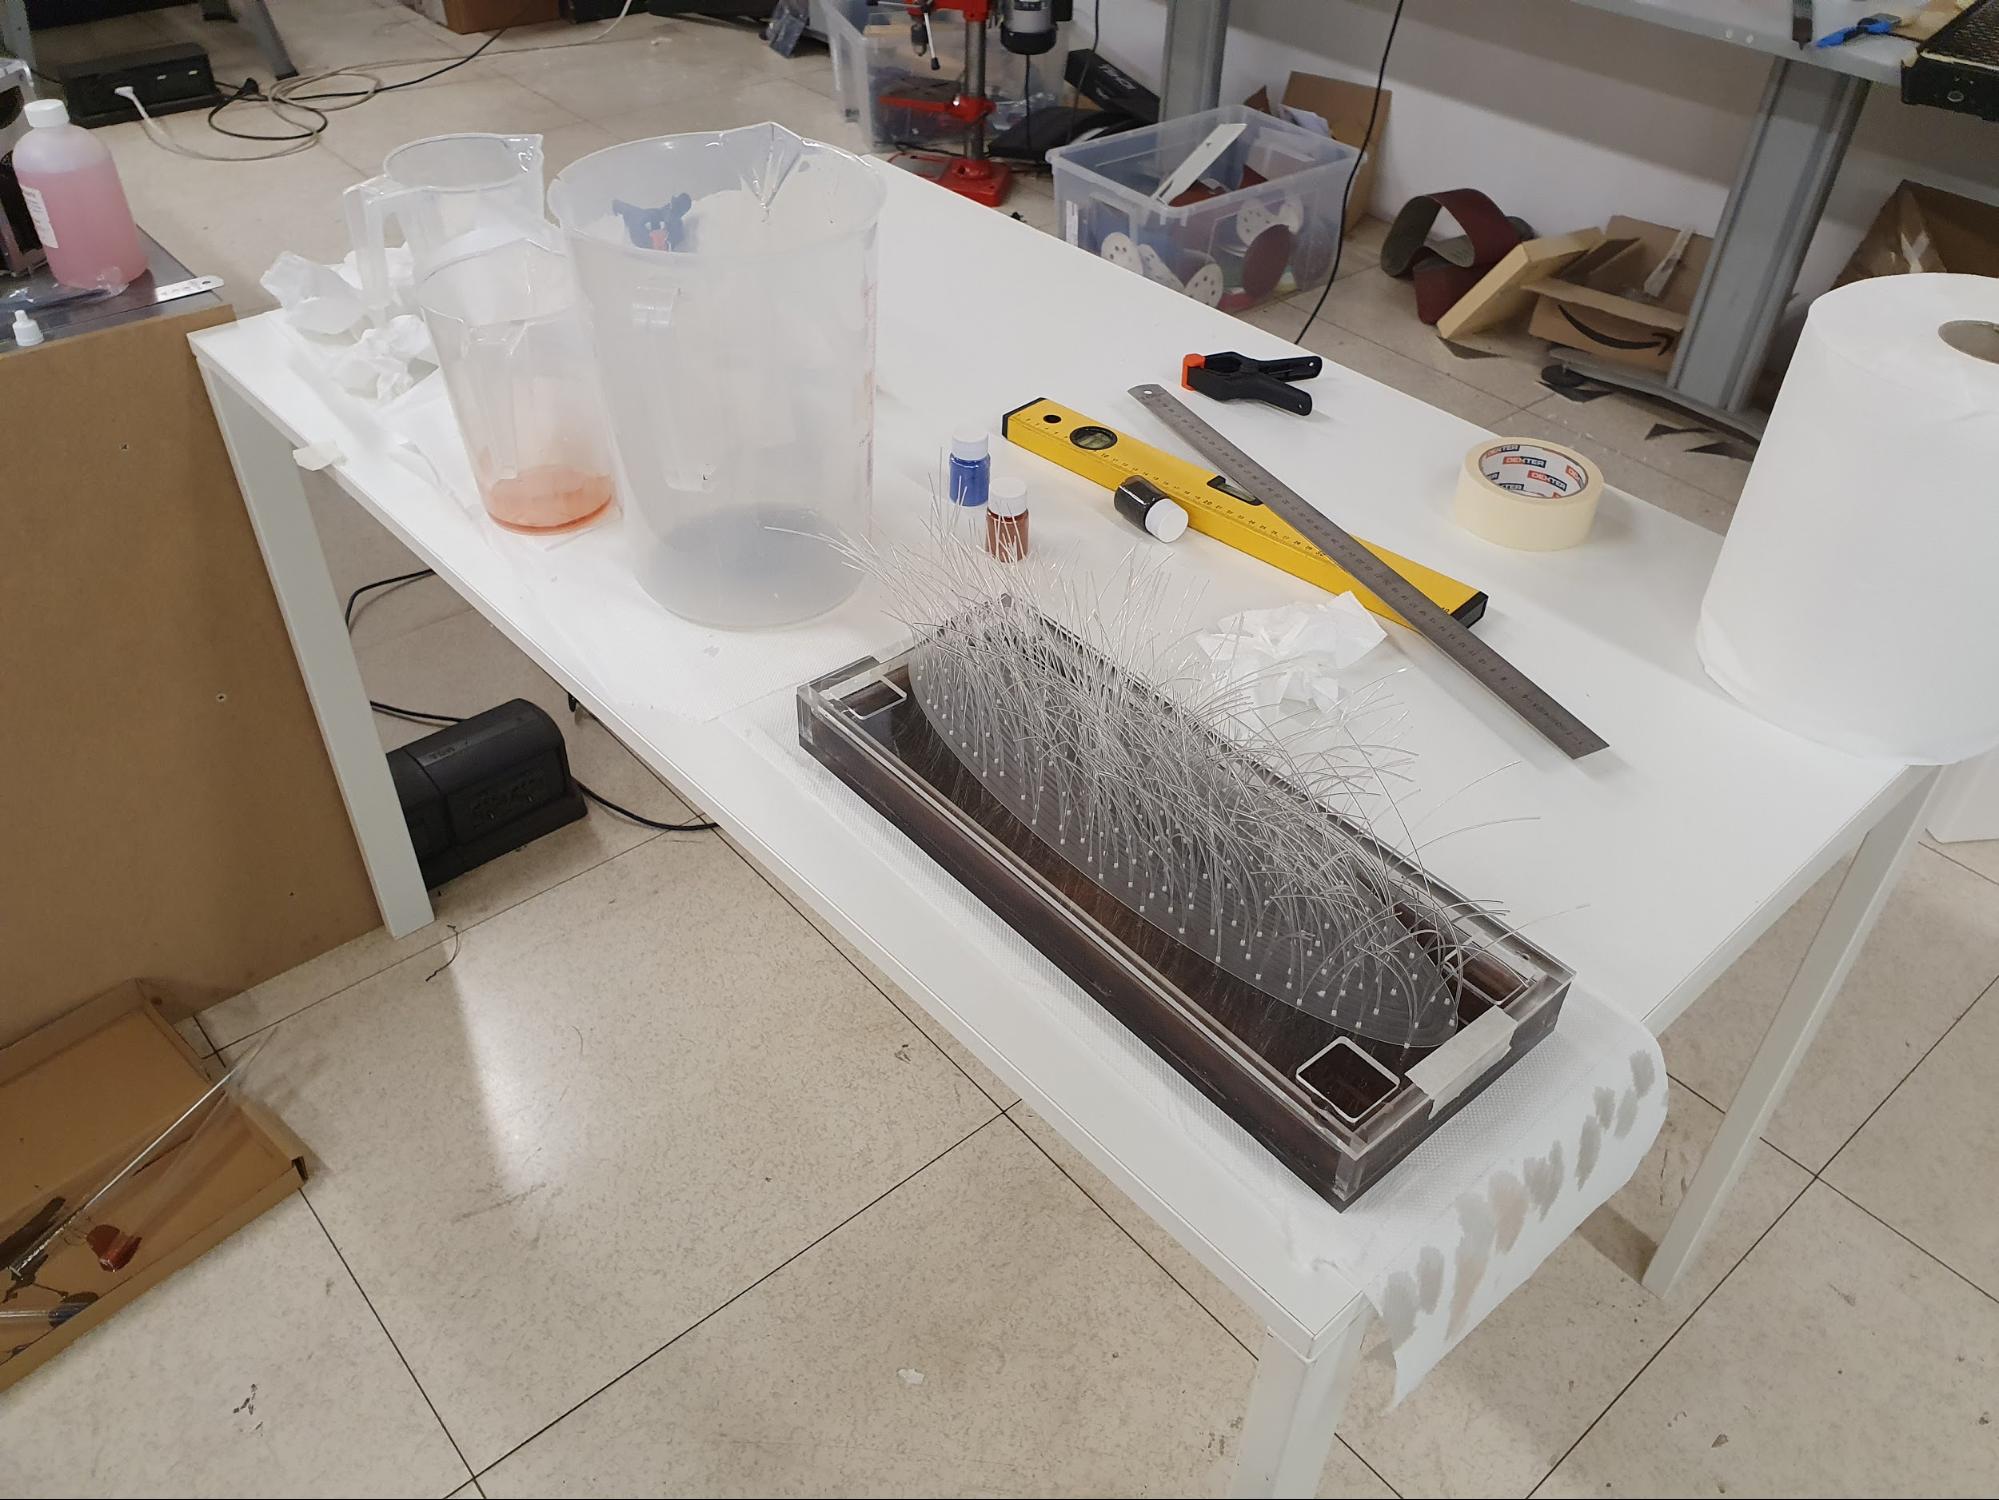
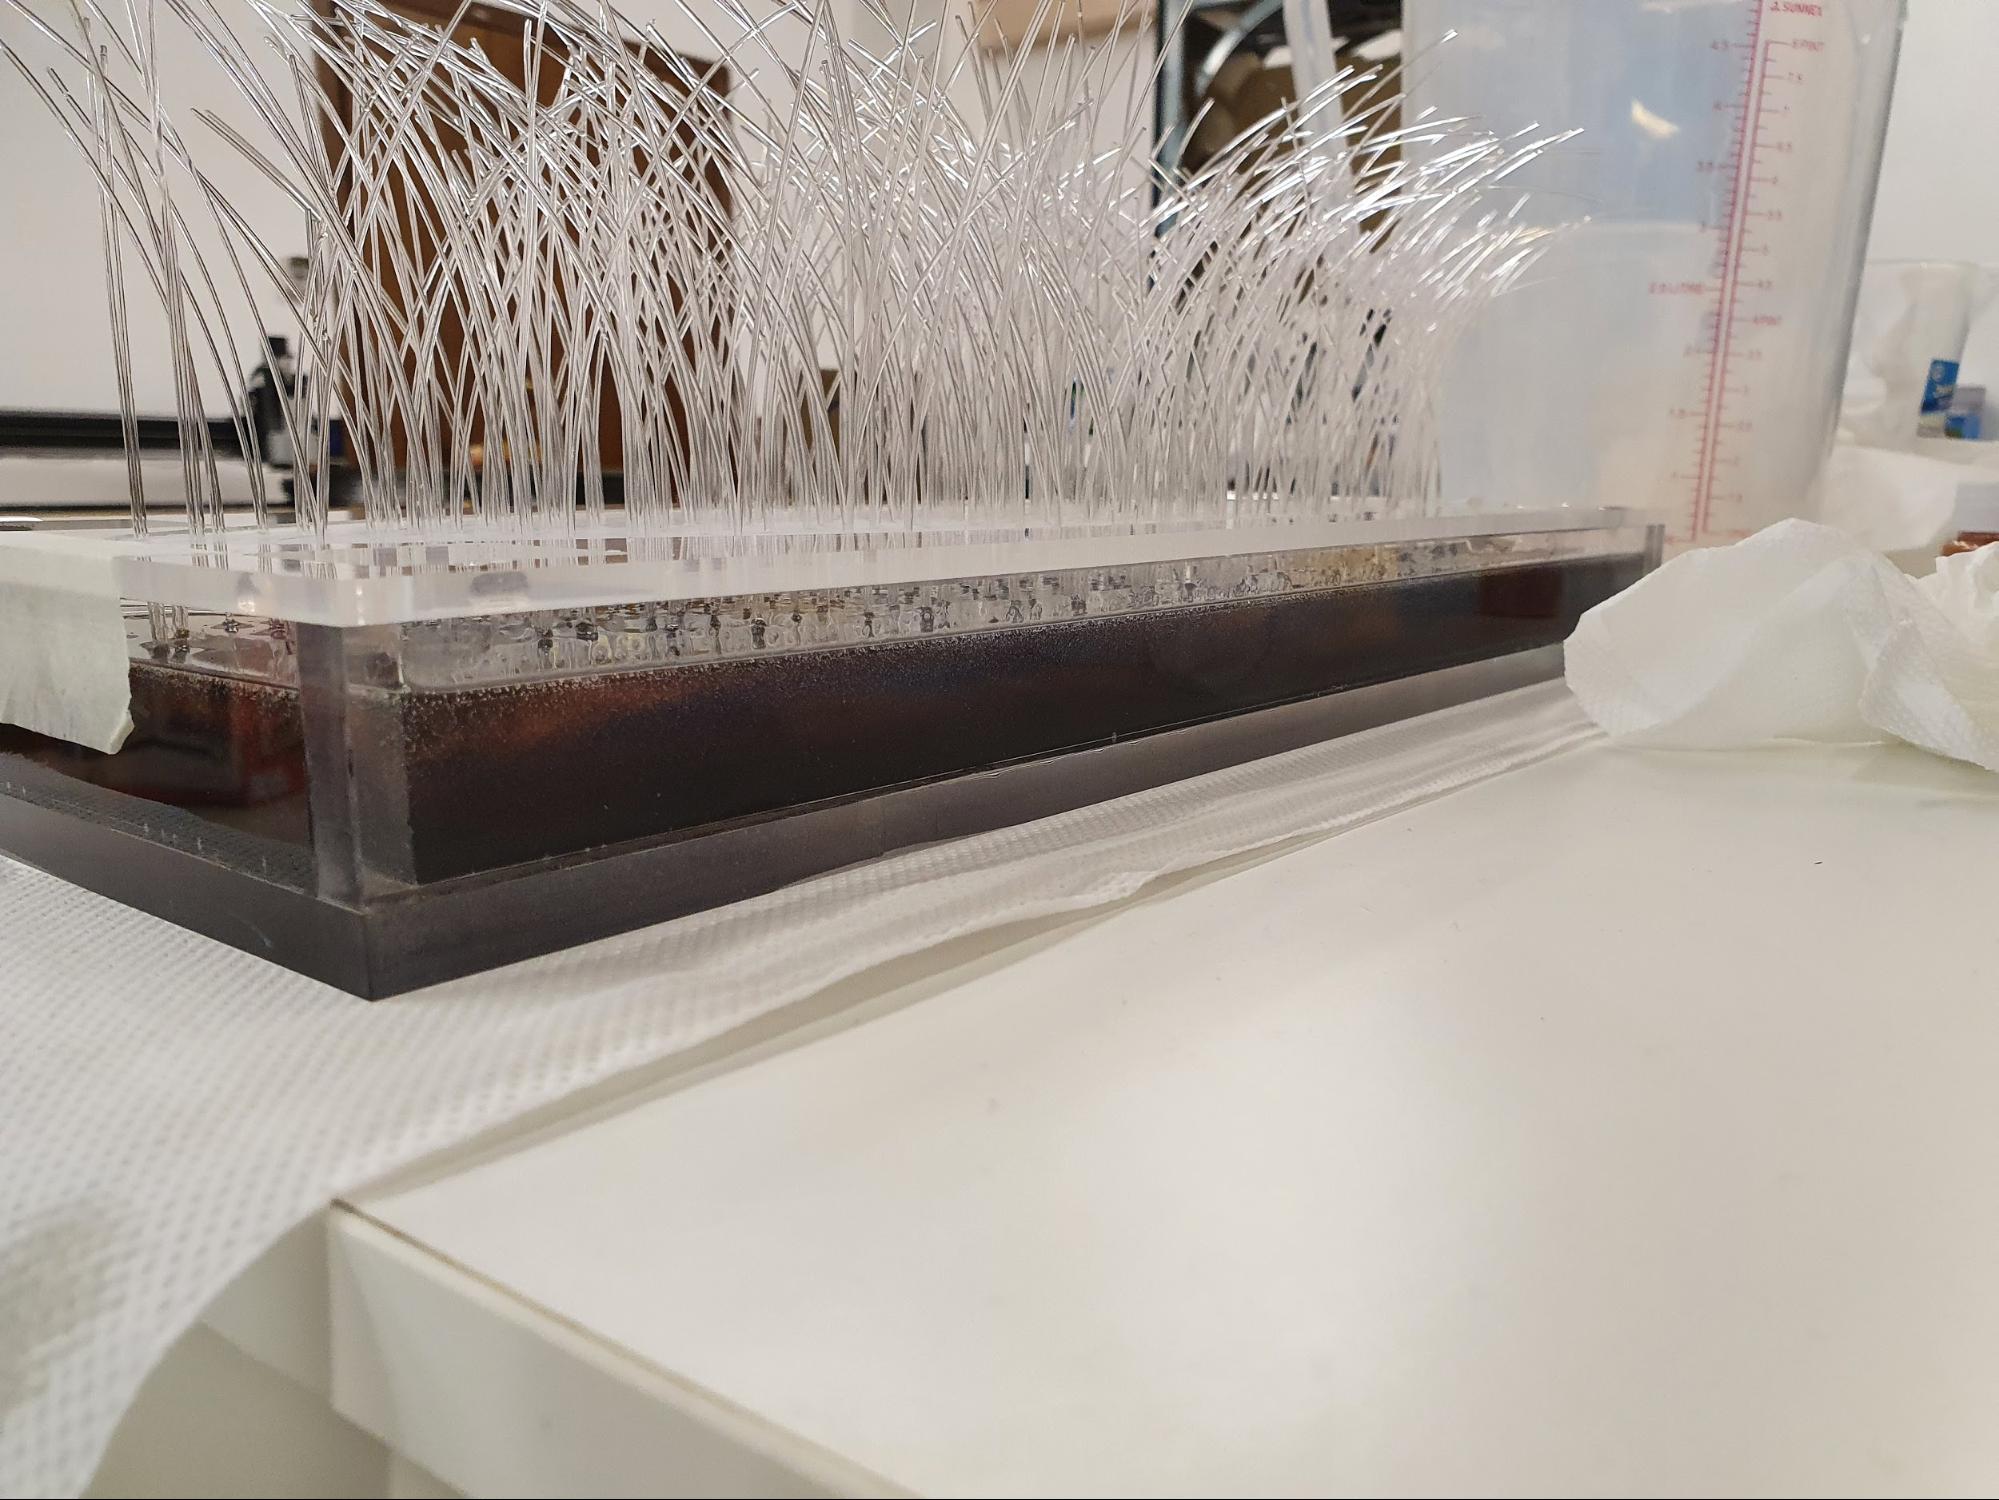
The thick-pour epoxy required about a week for a full cure. In the meantime, I made a modification to the C700M’s handles, which just didn’t cut it for me in terms of looks. Again, I wanted some kind of floaty look, so I decided to cut off the case’s mounting braces and replace them with my own custom mountings.
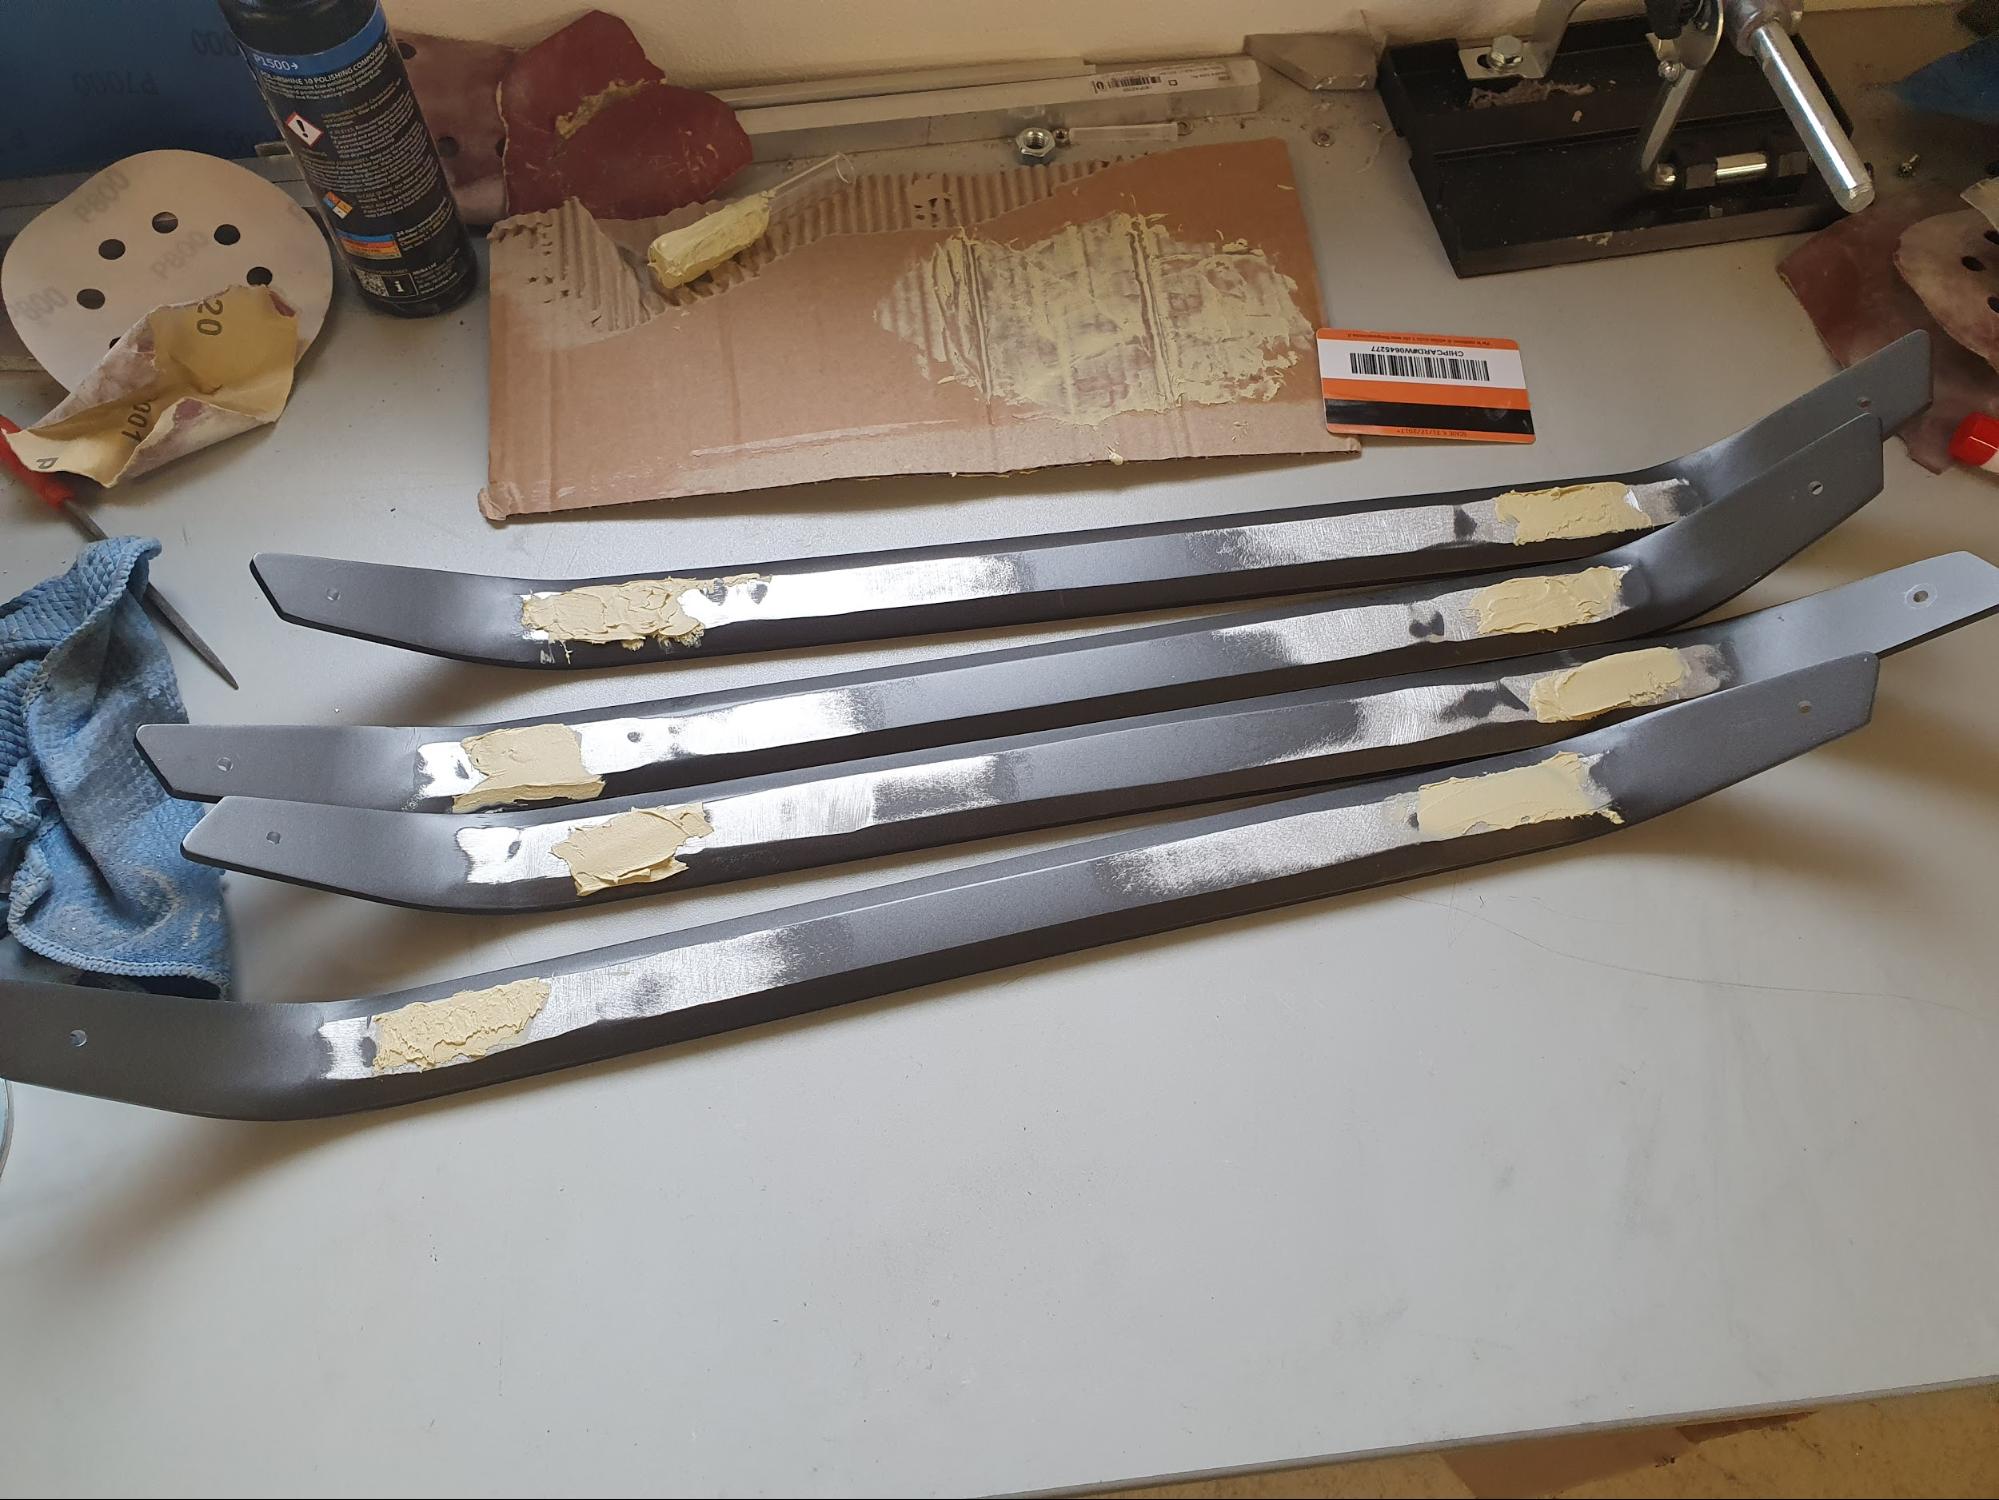
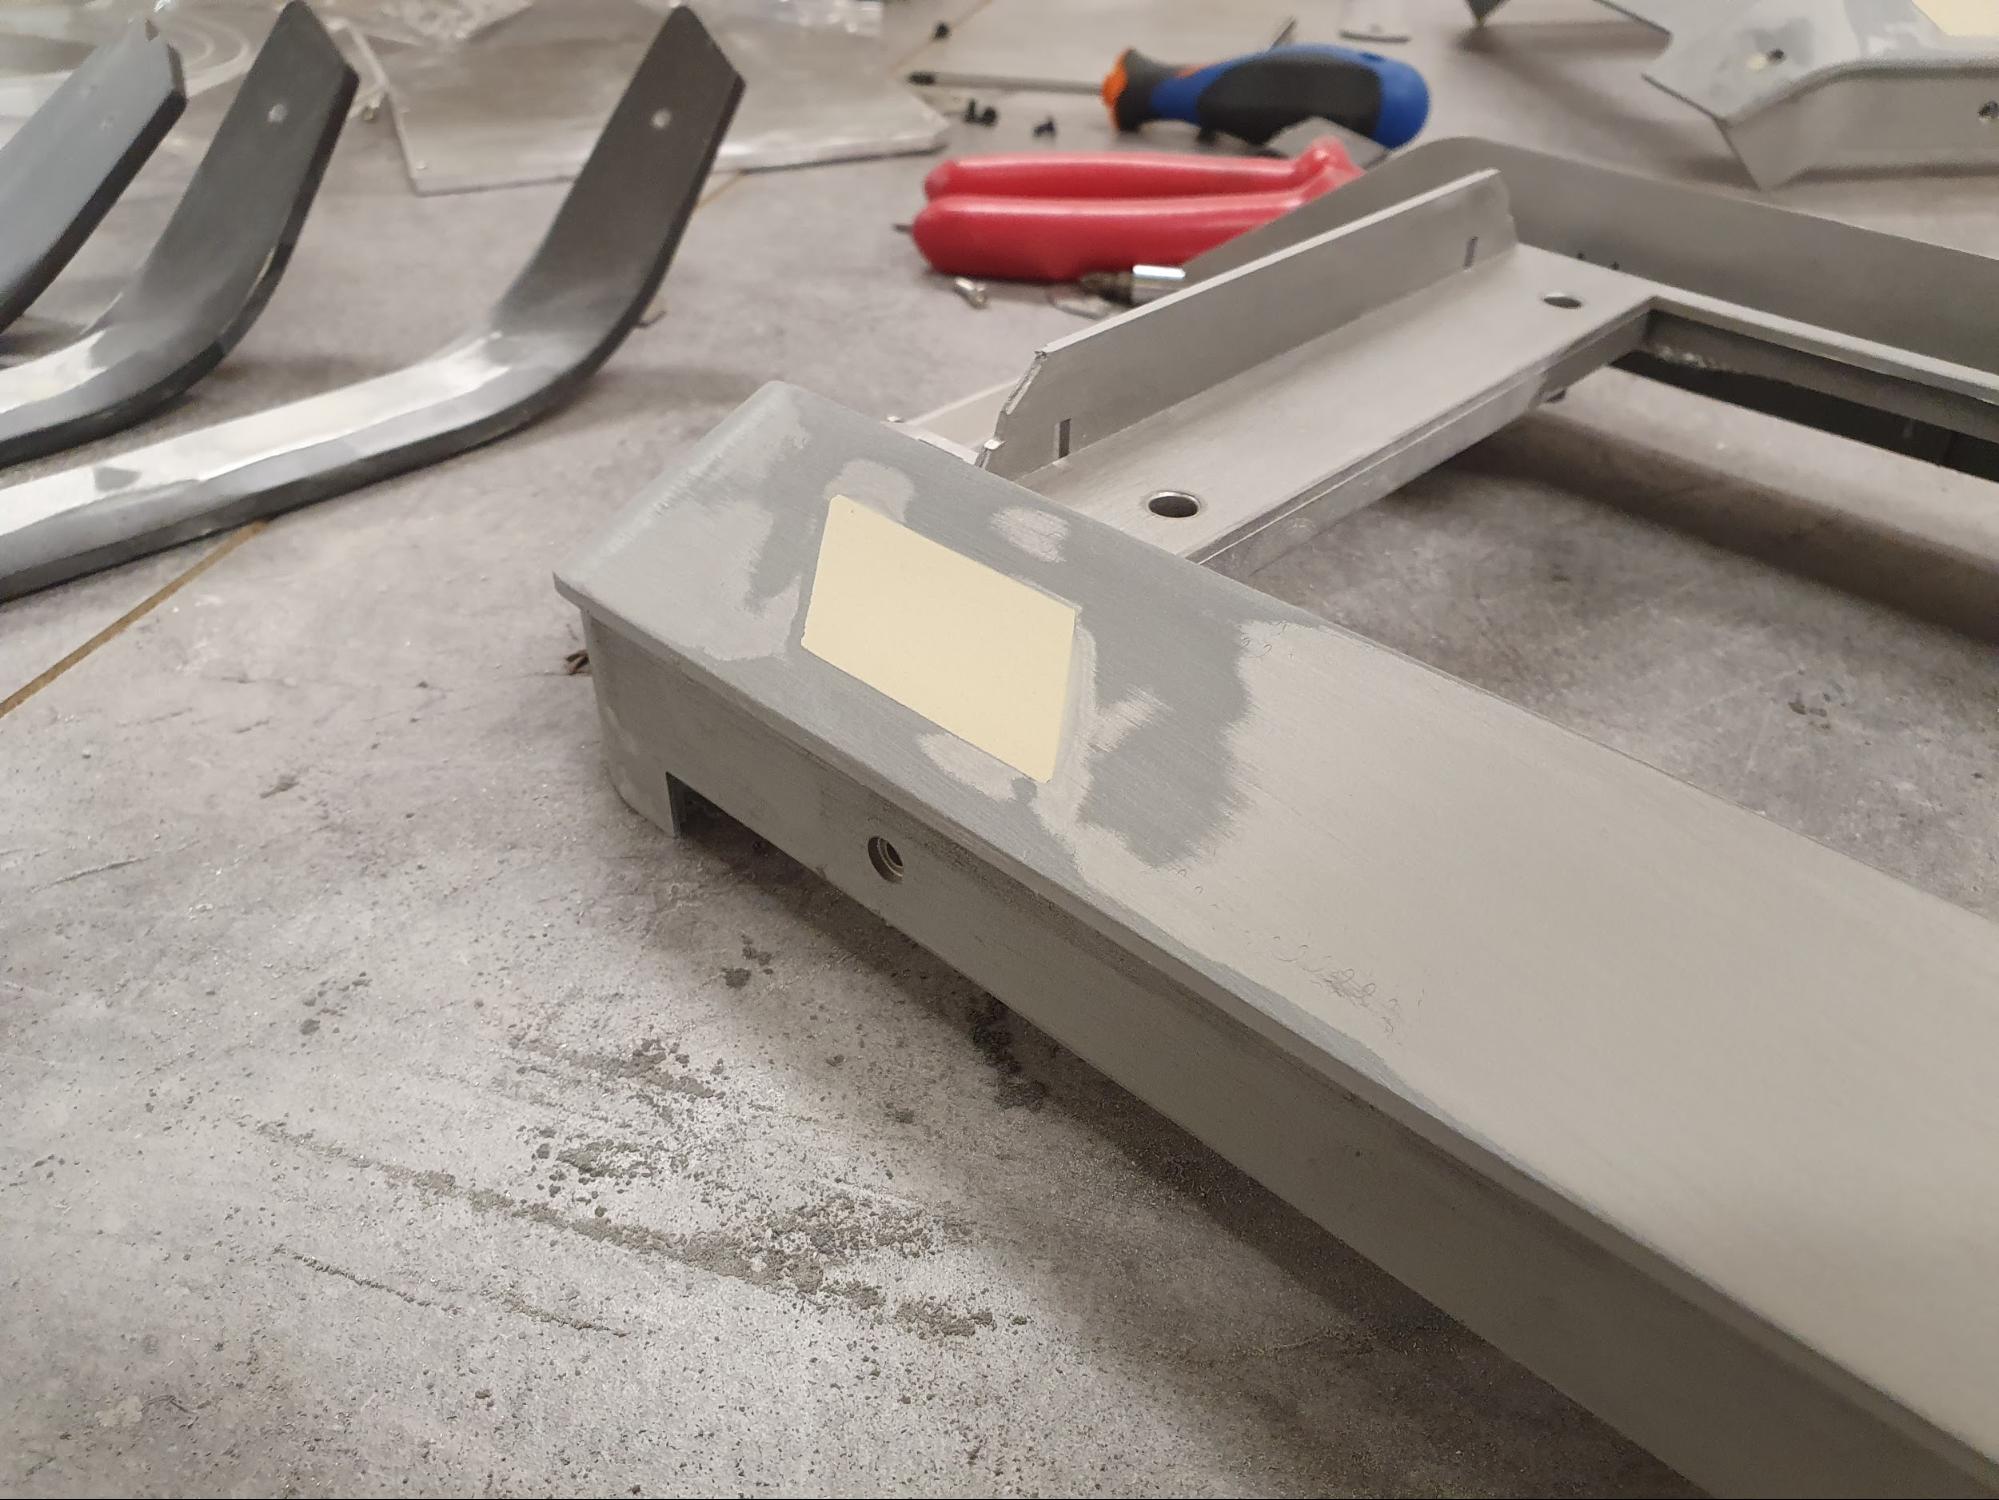
Since this is cast aluminum, there were a few hollow spots after cutting the braces off, so I filled them up with body filler.
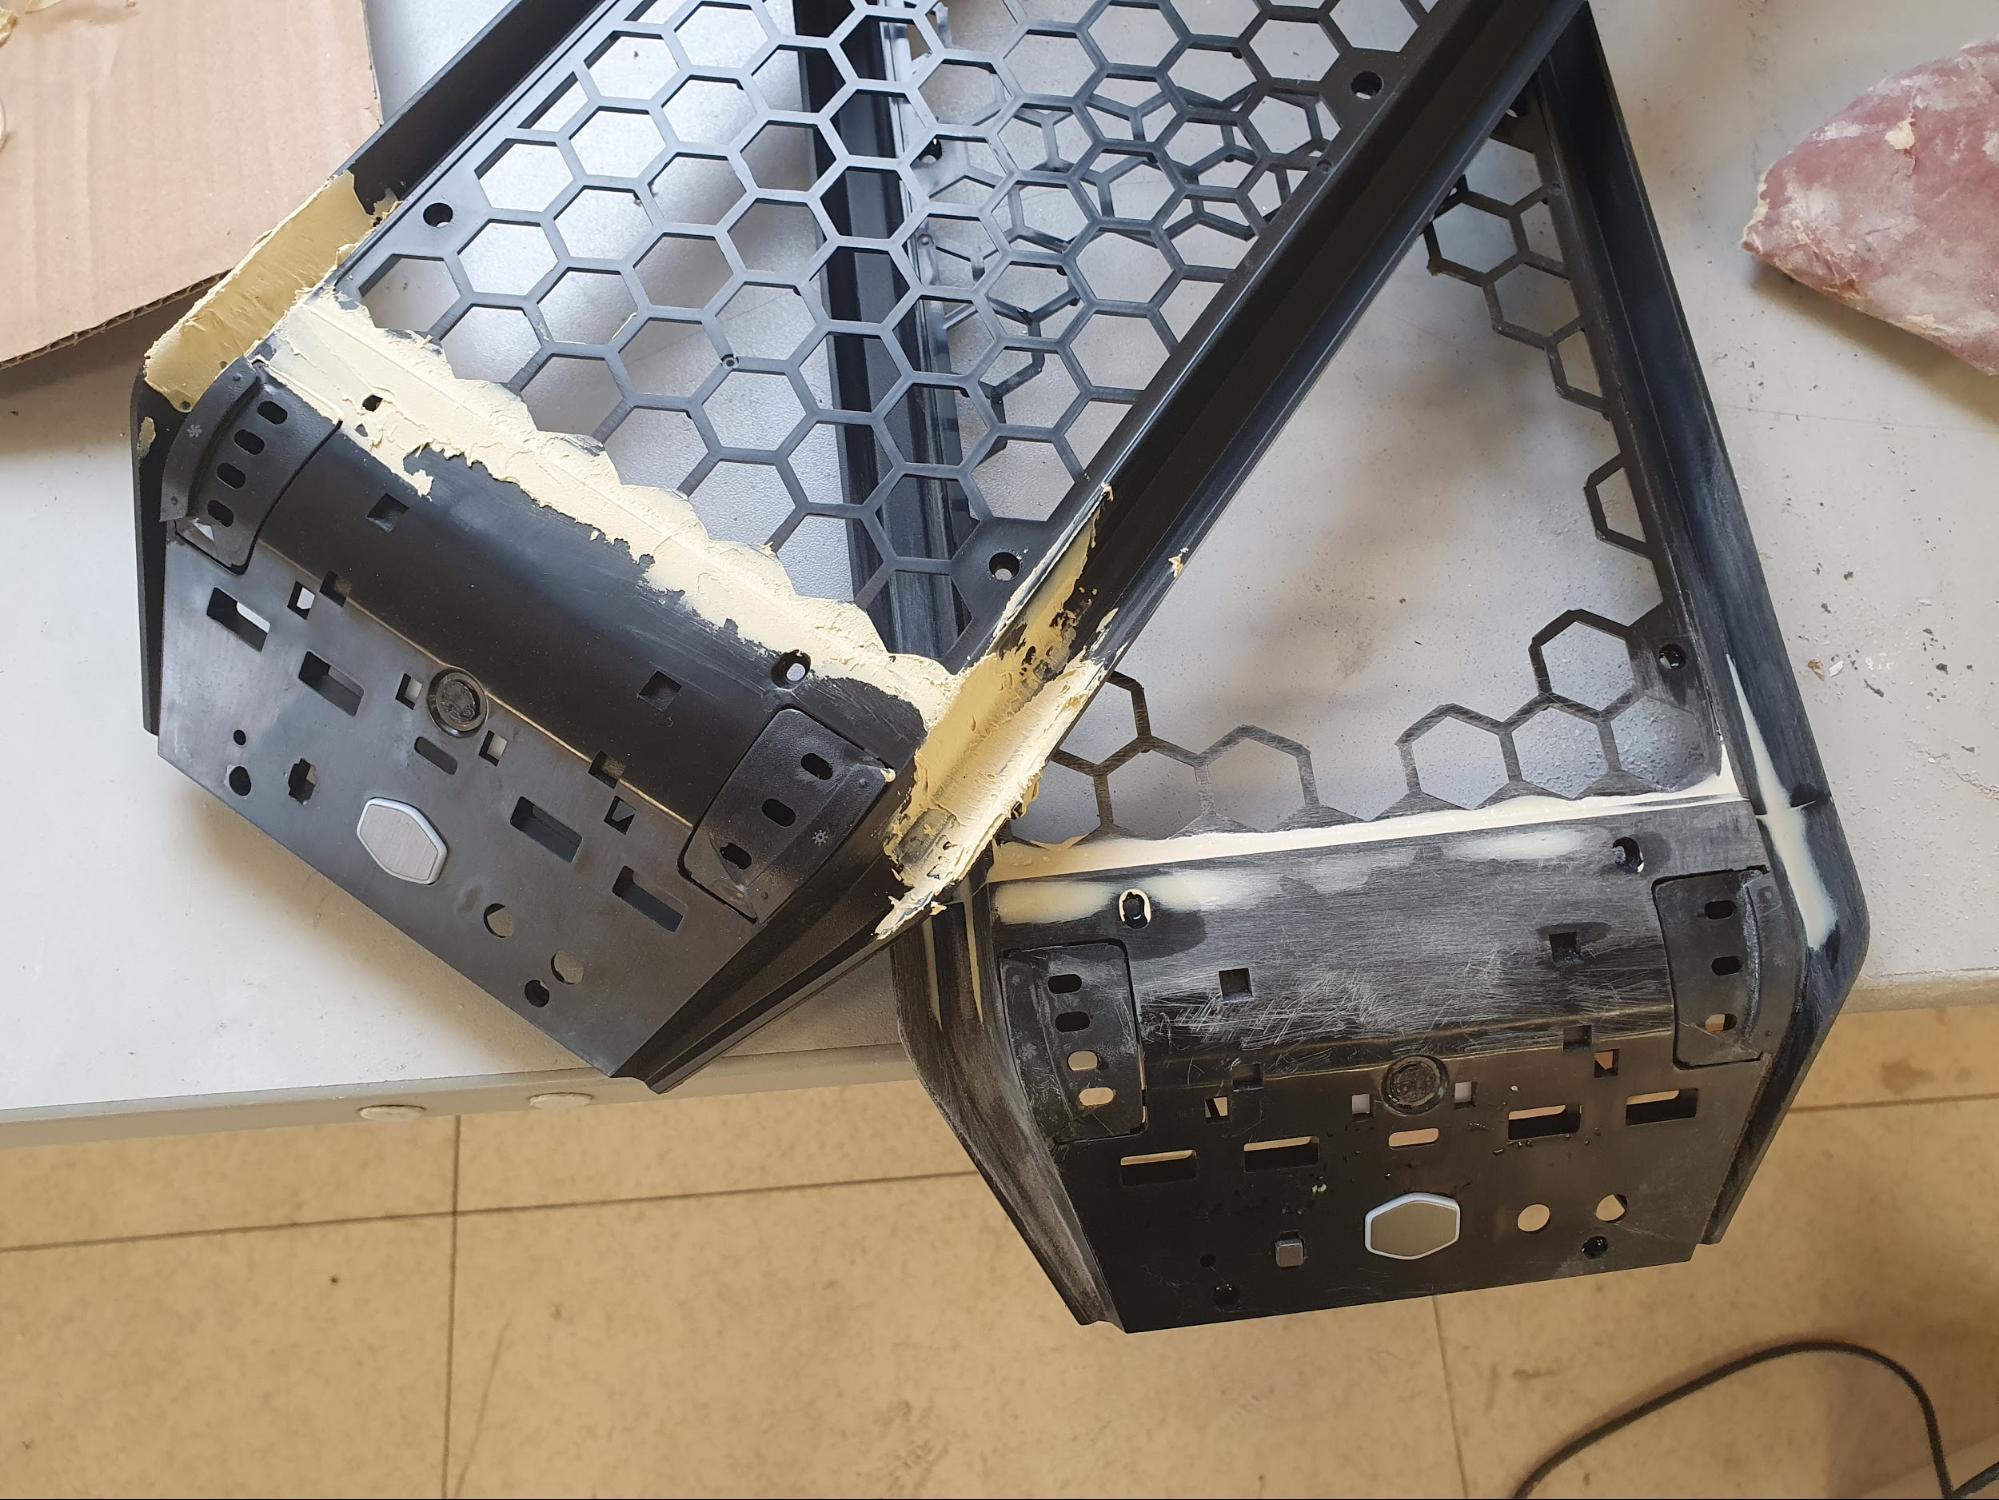
I did the same to the plastic panels in the spots where the braces originally were.
I drilled new holes at the top and bottom of both plastic panels and handles and added small, 9mm aluminum spacers to mount the handles directly to the plastic panels.
This obviously made it much cleaner looking, while sacrificing the use of these handles as actual handles, since they no longer mount to the case frame.
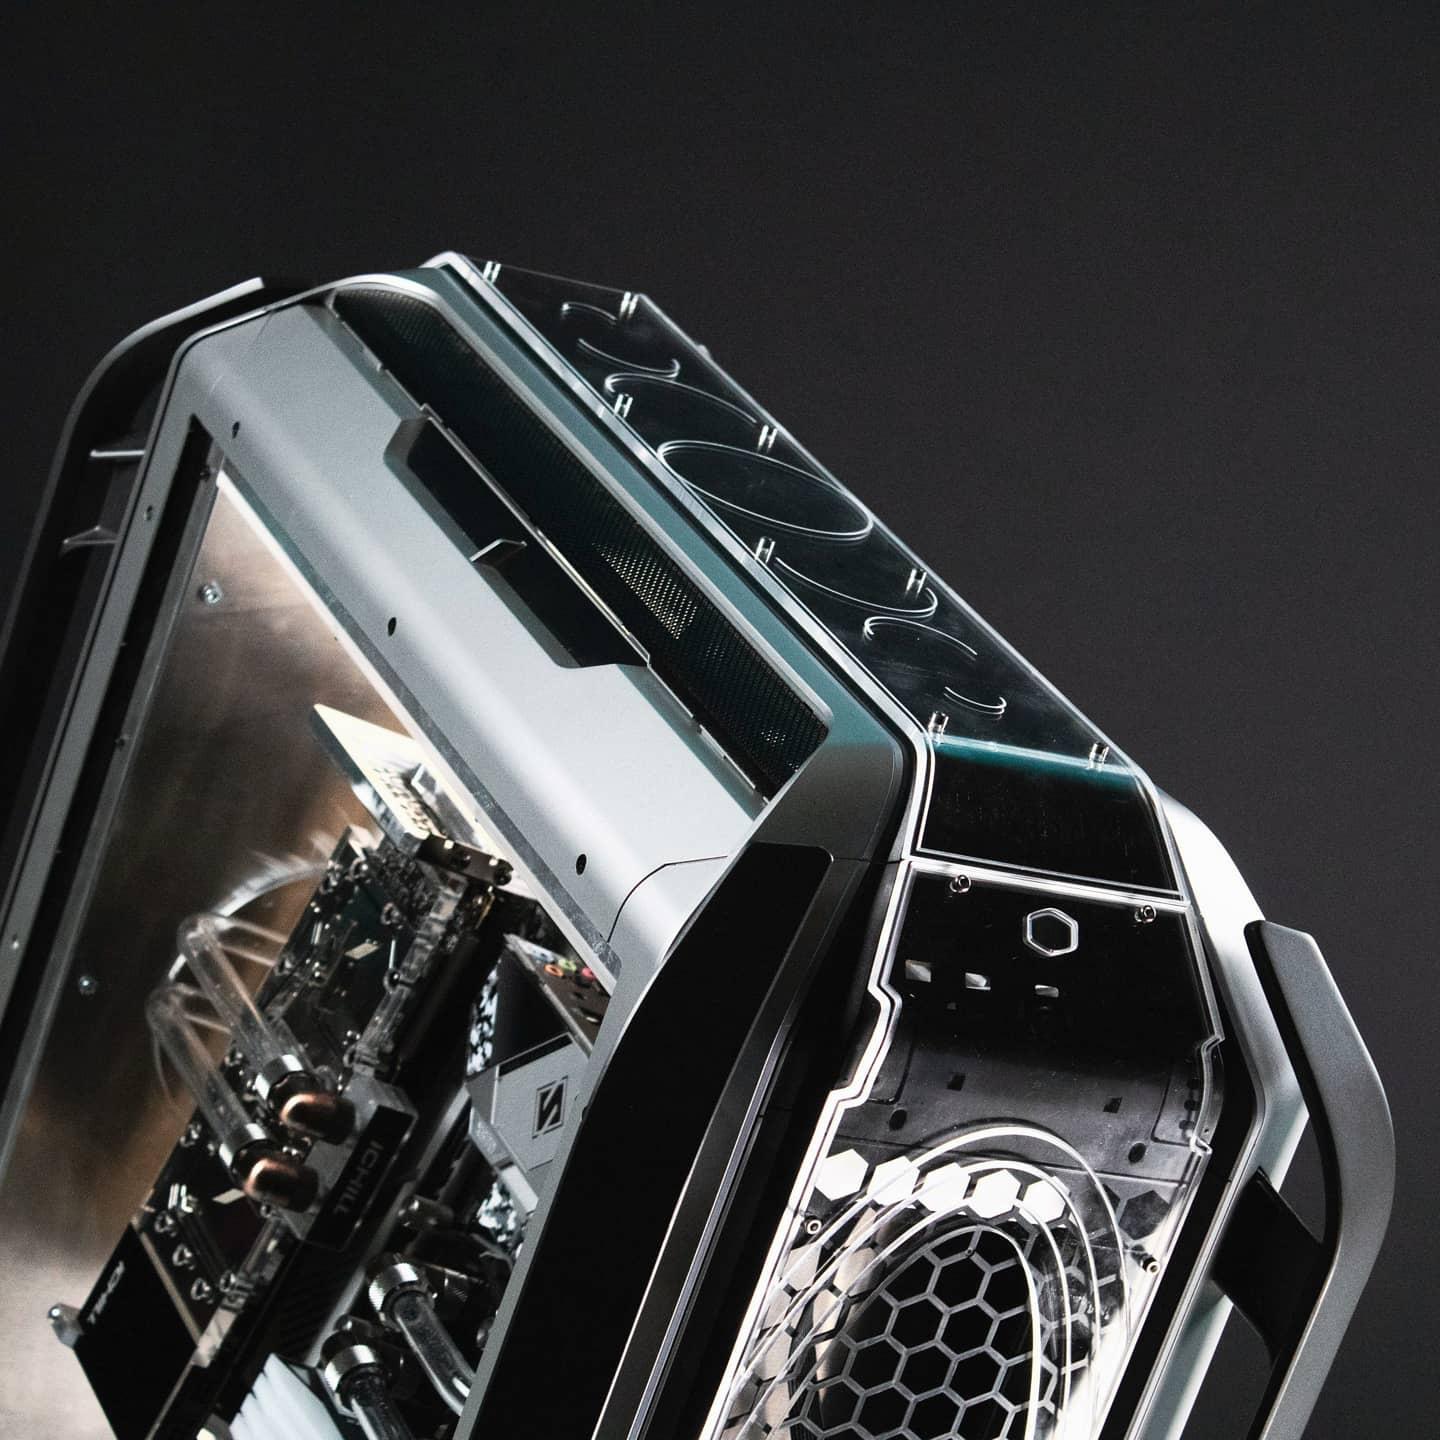
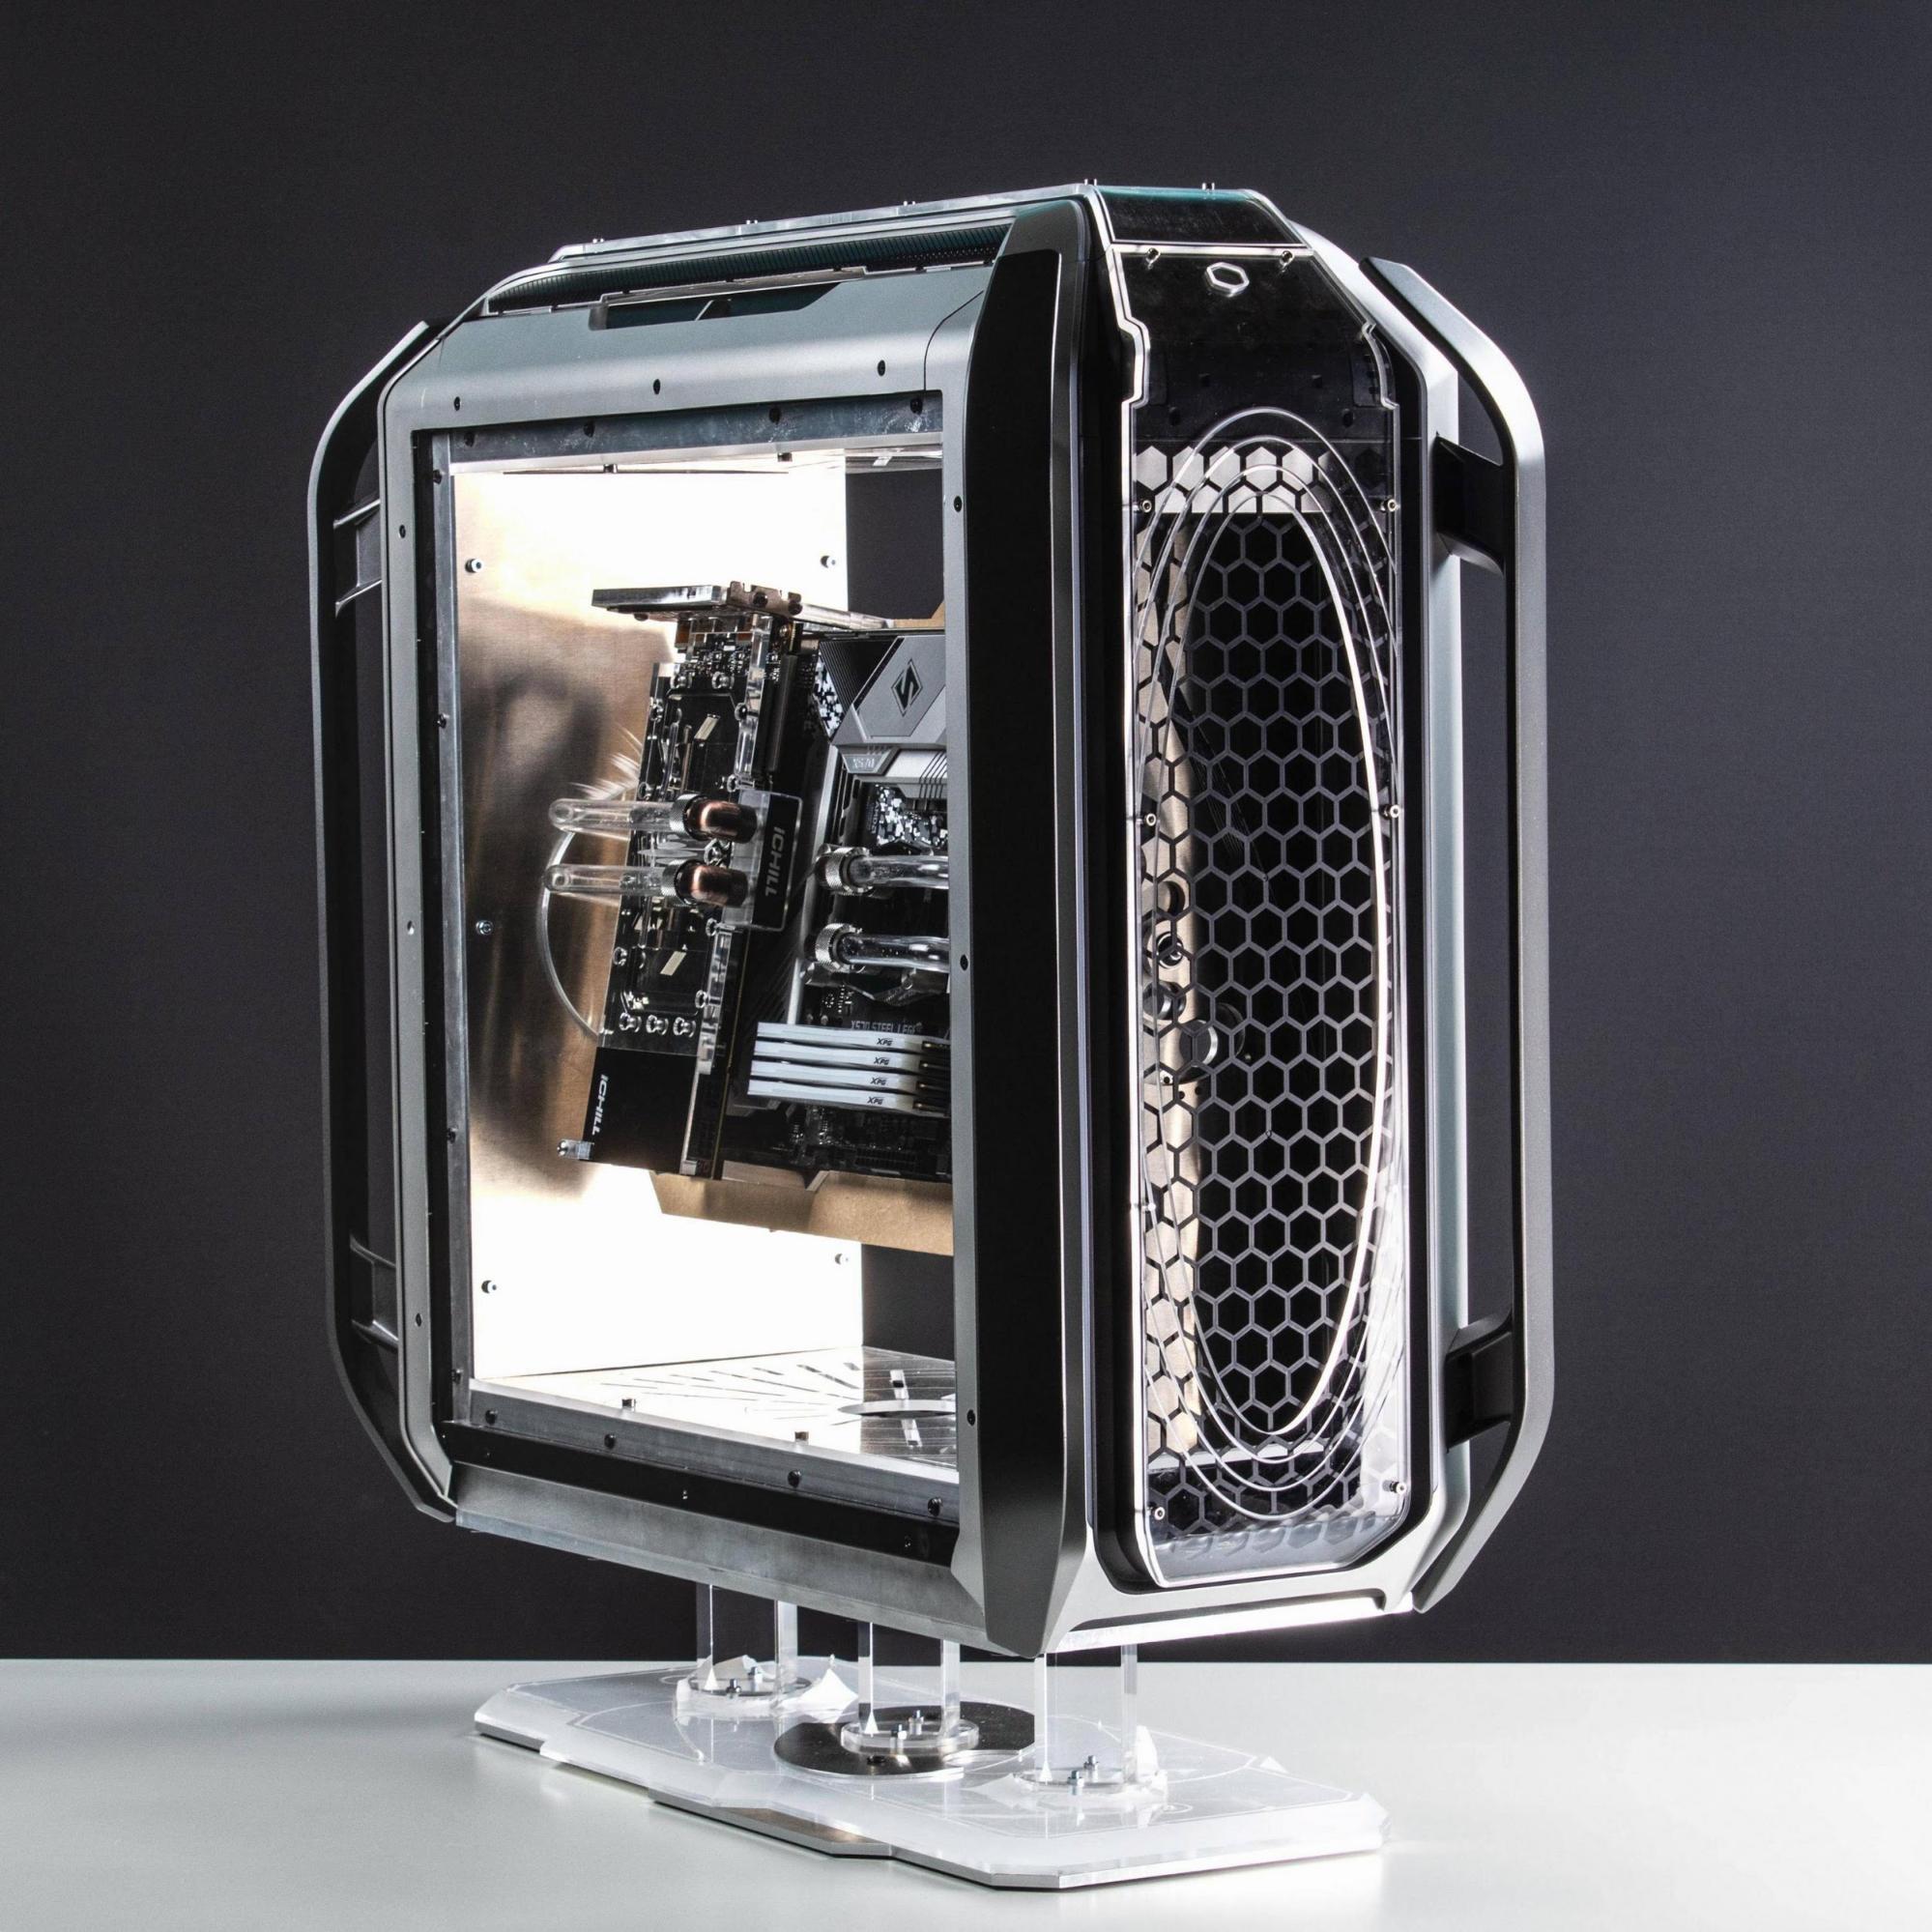
Here’s a before and after shot and some eye candy of the overall look so far.
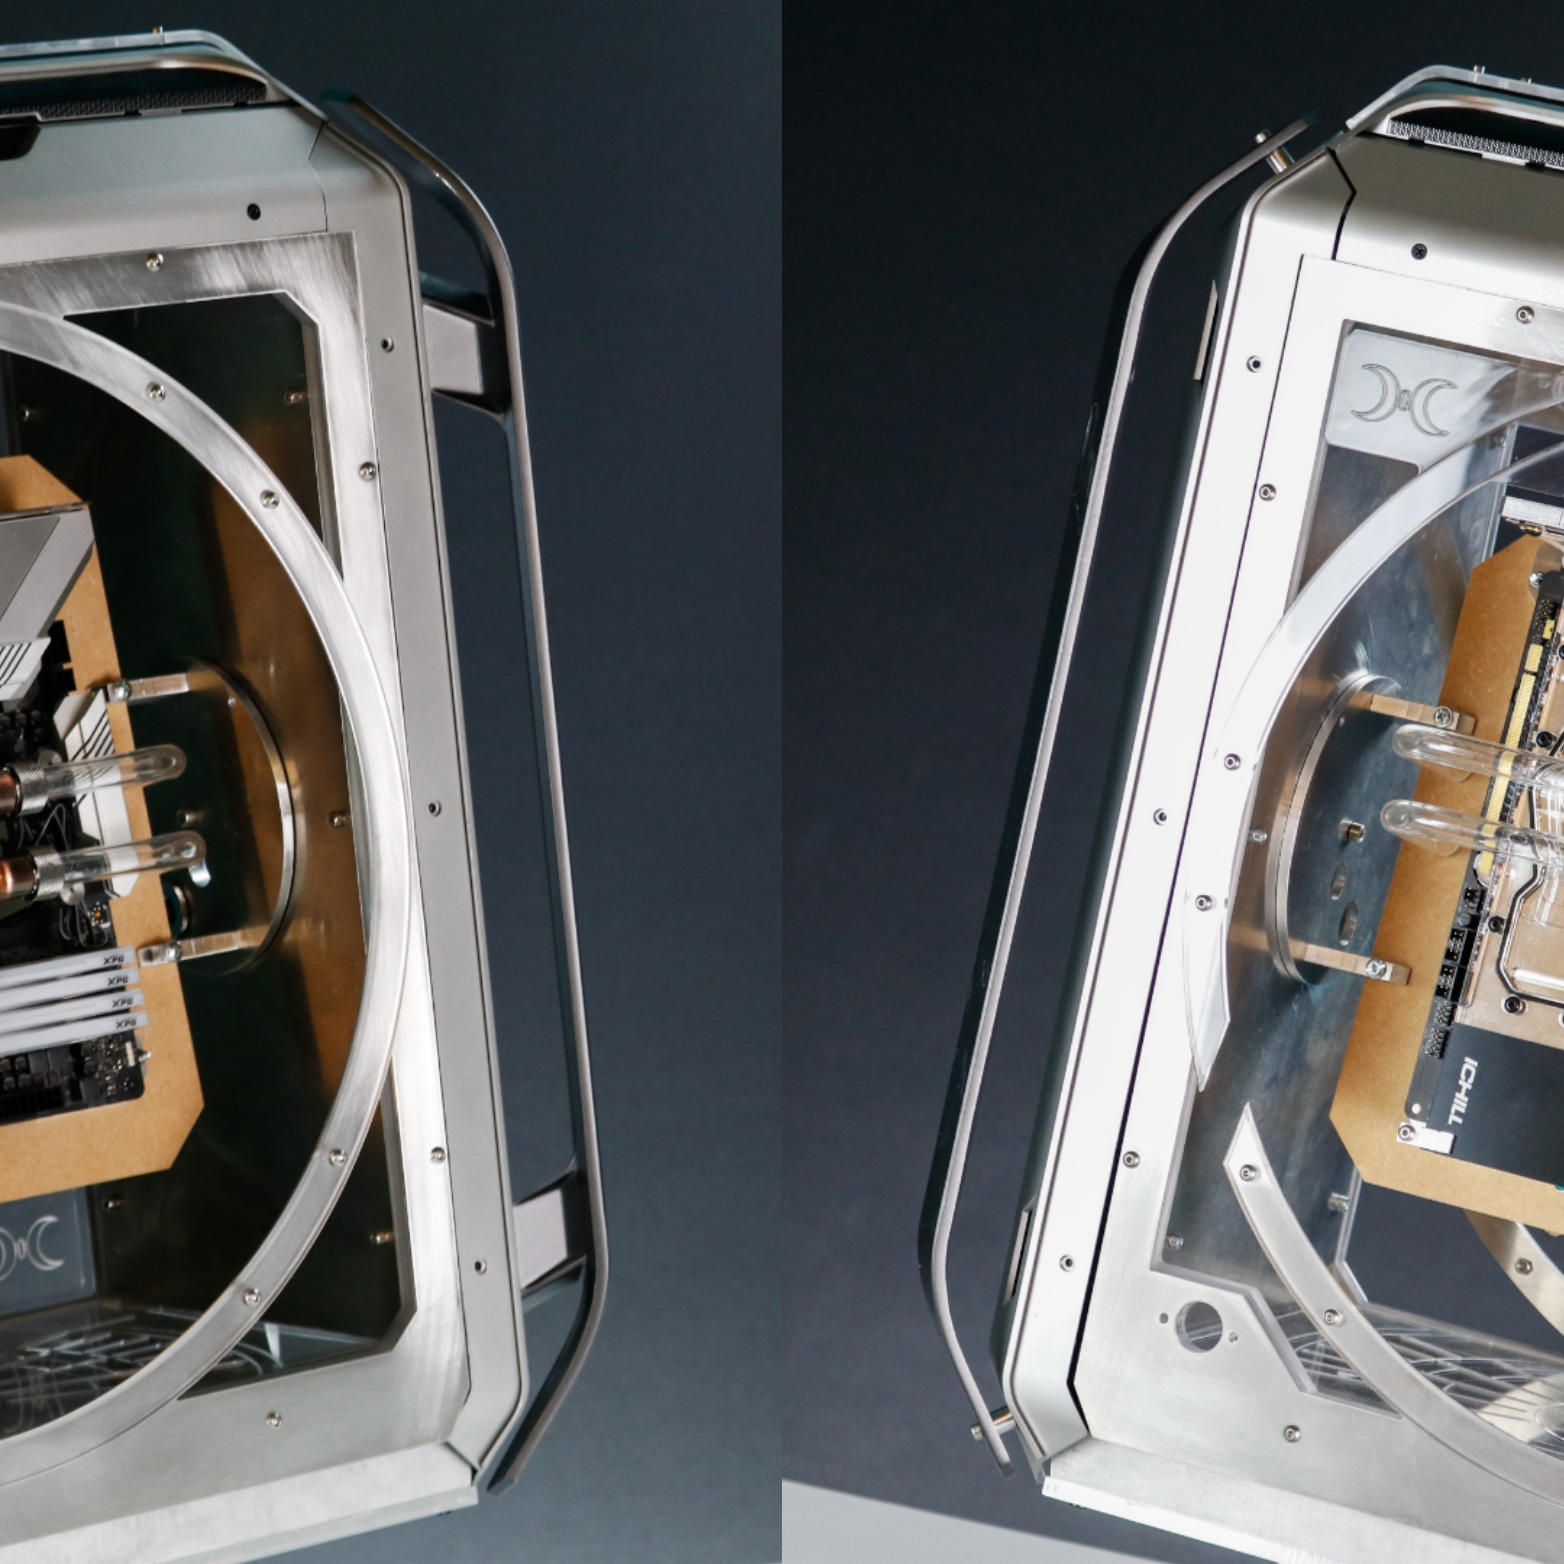
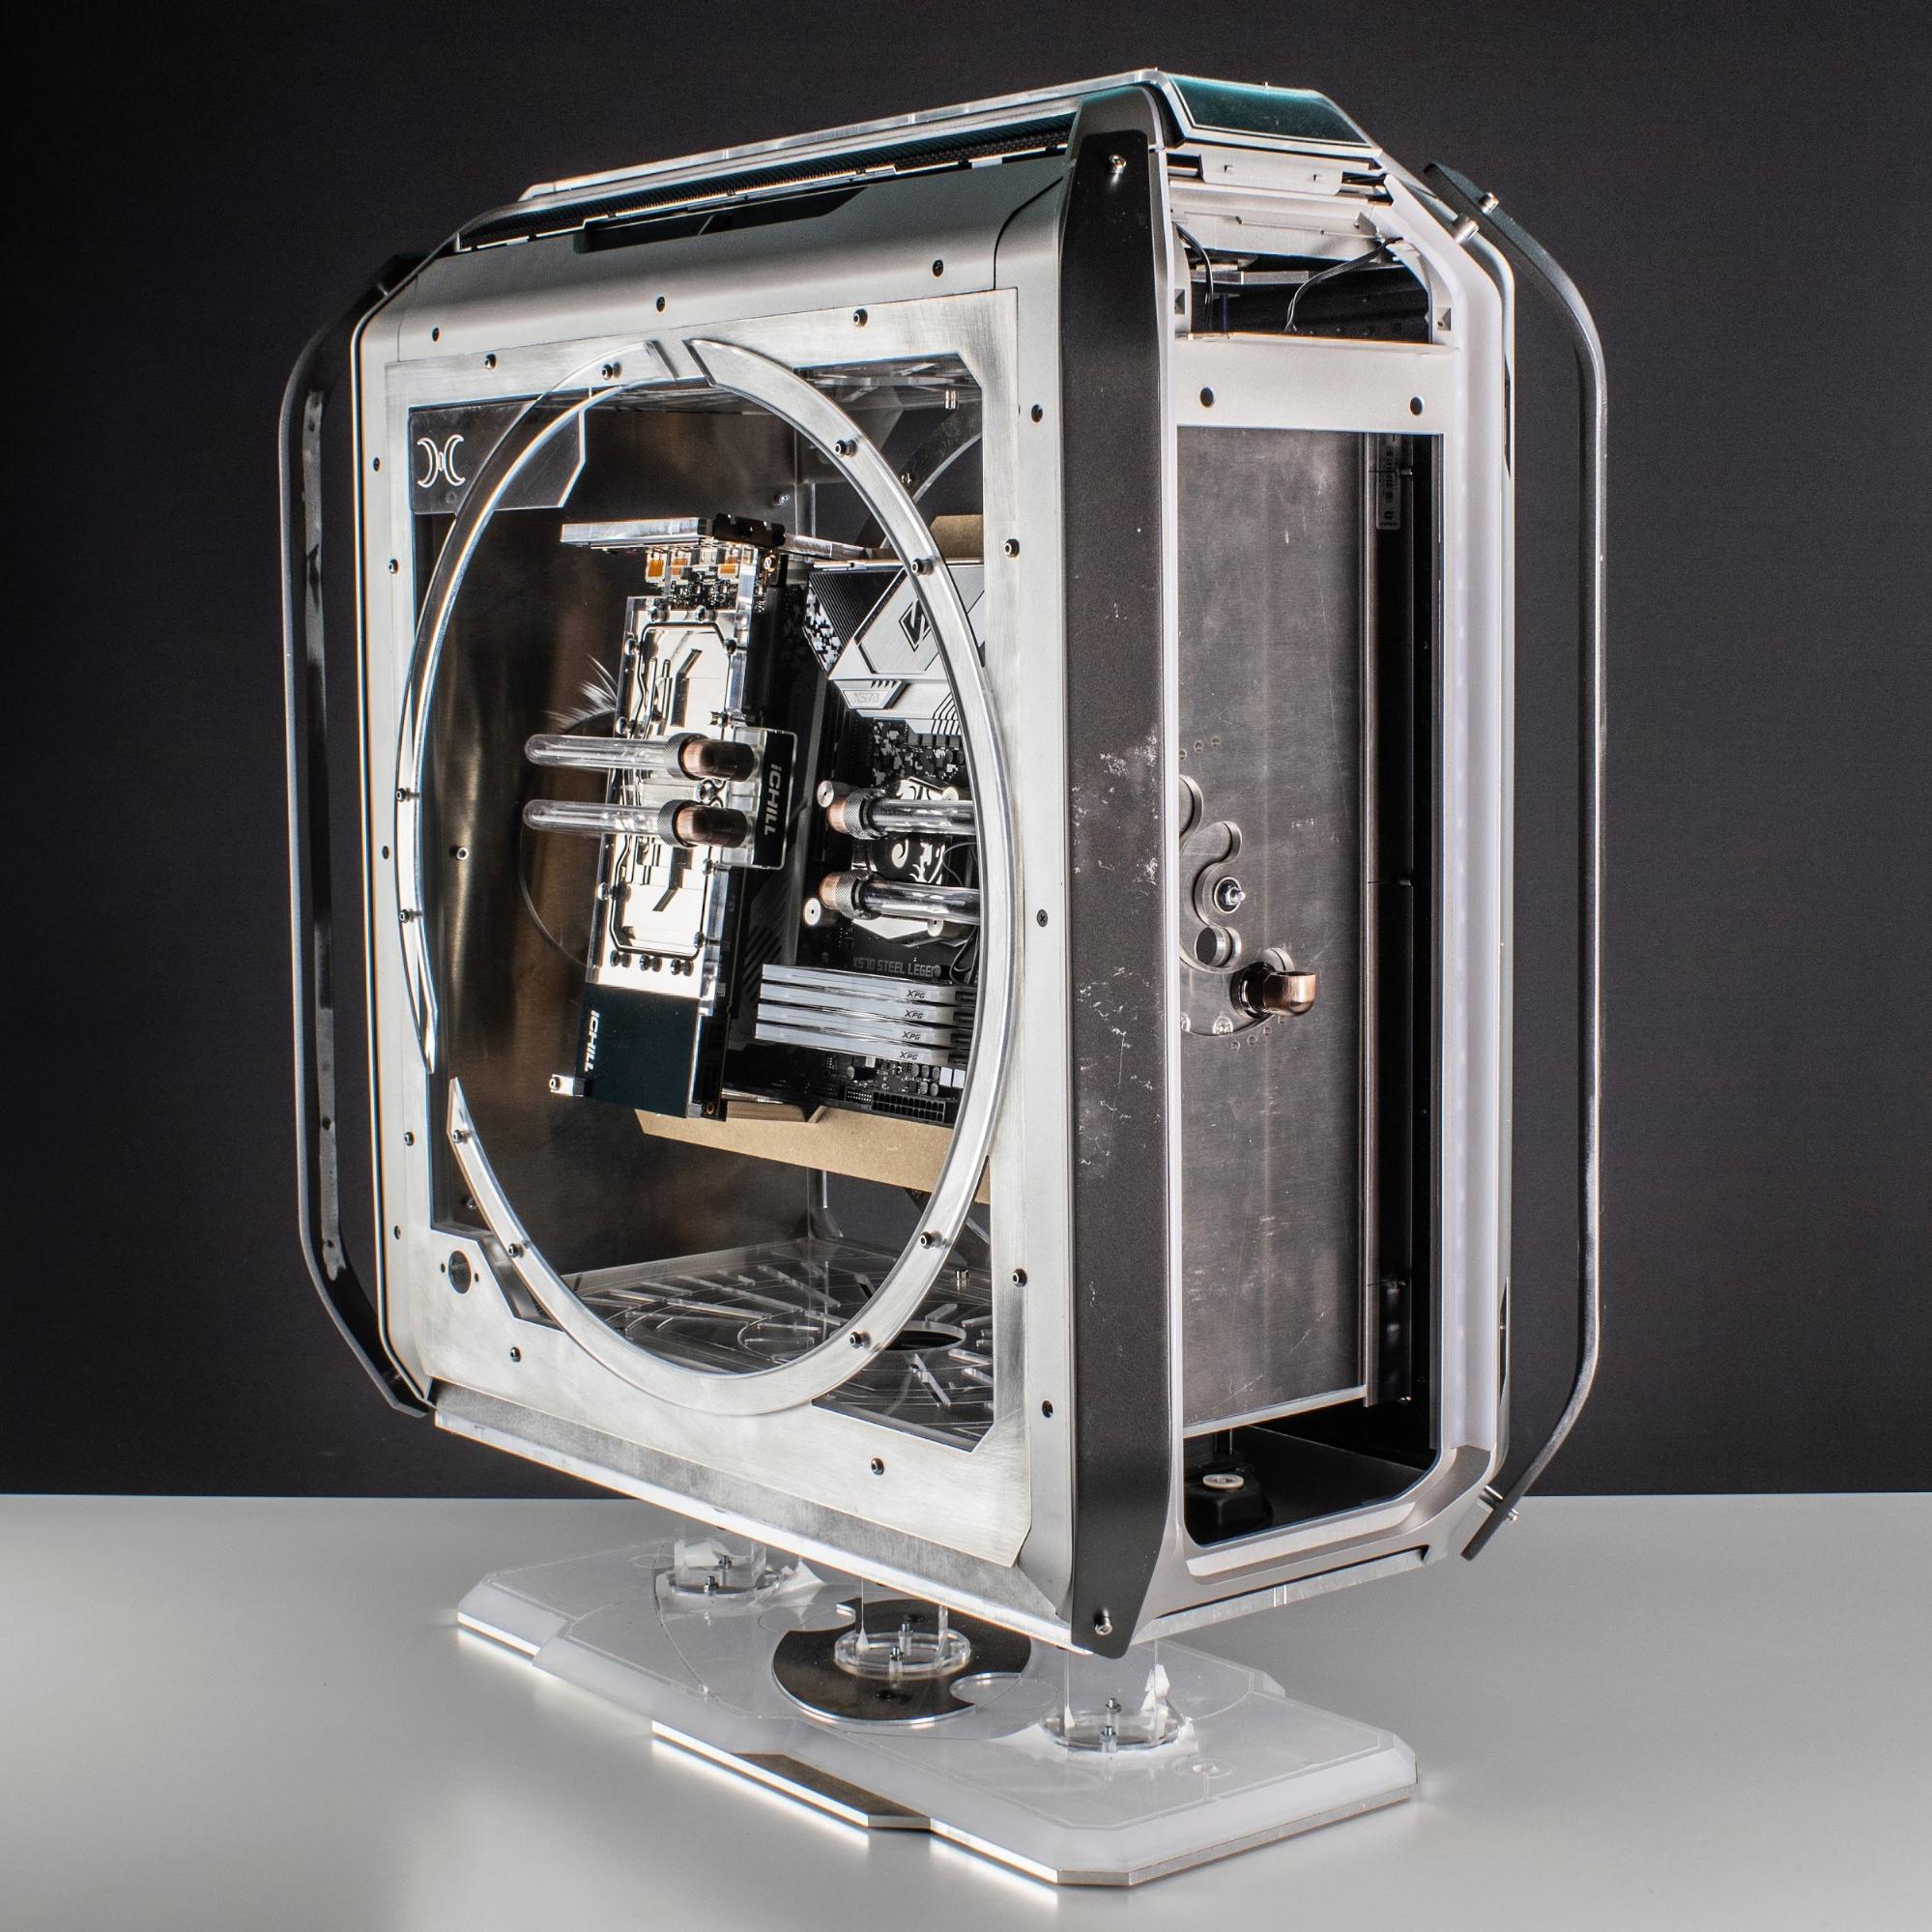
I also used body filler to fuse the two plastic pieces that go in the center of back and front panels.
After this, the epoxy for the starry night side panel was done curing and delivered the below result.
I quickly realized that if I painted the back black instead, the lighting effect would be much more visible.
Current page: Installing the Components
Prev Page Project A.R.E.S. (Astral Robot Enclosure Systems) Next Page Time to Paint