Z490 Flagship Motherboard Roundup: Three Top-End Mainstream Boards Face Off
These boards bring flagship features and prices to match.
Since Intel’s latest Z490 chipset’s launch in May, we’ve tested and reviewed several LGA 1200 boards in the mid-range segment ranging from a Biostar Z490GTA Evo ($249) to the ROG Maximus XII Hero ($399). These boards serve most users well and come with all of the updates and features of the platform. This includes power delivery capable of handling the flagship Intel i9-10900K processor, support for next-gen CPUs and more common implementation of 2.5 GbE. Some Z490 board makers also mention support for PCIe 4.0 on the primary GPU slot and single M.2 port (though that won’t work unless you install a future Rocket Lake CPU). The chipset is catching up to AMD, but is still a bit behind the curve on that front. While these boards are all capable, we still have the flagship products to look at.
In this roundup, we’ll be taking a close look at the Asus ROG Maximus XII Extreme ($849.99), MSI MEG Z490 Godlike ($749.99) and the Gigabyte Aorus Extreme ($799.99). The ASRock Z490 Aqua wasn’t delivered in time to capture the data for this article. These boards take all that comes with Z490 and add even more features. We’ll see improved aesthetics, 10GbE across the board/boards, Wi-Fi 6 AX201, and even the ability to monitor and control your liquid cooling ecosystem from the motherboard.
While other boards have capable VRMs, all three of these models (and the Aqua) go overboard implementing some of the most robust power delivery sections for this platform. Due to this overbuilding, all of these boards are capable of overclocking the i9-10900K using sub-ambient cooling methods as well. If they are good enough for extreme overclocking, they will surely be good enough for a daily driver limited by ambient air temperatures. Assuming Rocket Lake releases in a timely manner and continues Intel’s trend of more cores/threads, higher clock speeds and more power use, the VRM bump on the platform in general is certainly welcome. These take “robust” to a whole different level.
With those highlights out of the way, all three boards performed admirably with no significant outliers in the results. These expensive boards all landed within a margin of error against less expensive boards (as expected) and their peers, so no additional performance magic was implemented by the board partners. All flagship SKUs handled our CPU temperature-limited overclocks without issue, an expected result considering how well-built these VRMs are.
MSI MEG Z490 Godlike Specifications
| Socket | LGA 1200 |
|---|---|
| Chipset | Z490 |
| Form Factor | ATX |
| Voltage Regulator | 18 Phase (16+1+1) |
| Video Ports | (2) Thunderbolt 3 (Type-C) ports |
| USB Ports | (2) USB 3.2 Gen 2, Type-C (10 Gbps), (2) USB 3.2 Gen 2, Type-A (10 Gbps), (4) USB 3.2 Gen 1, Type-A (5 Gbps), (2) USB 2.0, Type-A |
| Network Jacks | (1) 2.5 GbE, (1) 10 GbE |
| Audio Jacks | (5) Analog + SPDIF |
| Legacy Ports/Jacks | PS/2 |
| Other Ports/Jack | Wi-Fi Antenna |
| PCIe x16 | (3) v3.0 (x16/x0/x4 or x8/x8/x4) |
| PCIe x8 | ✗ |
| PCIe x4 | ✗ |
| PCIe x1 | (1) v3.0 (x1) |
| CrossFire/SLI | AMD 3/2 Way CrossFireX and Nvidia 2-Way SLI |
| DIMM slots | (4) DDR4 - DDR4 5000+(OC) |
| M.2 slots | (2) PCIe 3.0 x4 / SATA + PCIe (up to 110mm), (1) PCIe 3.0 x4 PCIe only (up to 80mm) |
| U.2 Ports | ✗ |
| SATA Ports | (6) SATA3 6 Gbps |
| USB Headers | (1) USB v3.2 Gen 2 (Type-C), (2) USB v2.0, (2) USB 3.2 Gen1 |
| Fan/Pump Headers | (10) 4-Pin |
| Legacy Interfaces | ✗ |
| Other Interfaces | FP-Audio, TPM |
| Diagnostics Panel | Yes |
| Internal Button/Switch | BIOS/LED switches, Power/Reset/Overclock Fail Save/Retry buttons |
| SATA Controllers | ✗ |
| Ethernet Controllers | (1) Aquantia AQC107 (10 GbE), (1) Realtek RTL8125B (2.5 GbE) |
| Wi-Fi / Bluetooth | Intel AX201 (802.11ax, MU-MIMO, 160 MHz) / BT 5.1 |
| USB Controllers | ASMedia ASM1074, Intel JHL7540 Thunderbolt 3 |
| HD Audio Codec | Realtek ALC1220-VB + ESS E9018 combo DAC |
| DDL/DTS Connect | ✗ / ✗ |
| Warranty | 1 Year |
If you buy a board that creeps up on the $1000 mark, a lot is expected on all fronts, including the accessory stack. MSI includes all of the basics, as well as an M.2 expander for additional M.2 sockets and temperature probes for monitoring. Here’s a full list of what comes in the box:
- User Guide / Quick Installation Guide
- Laminated Feature Overview Page
- Metal MSI logo keychain
- Screws for m.2 slots
- USB stick for drivers
- Six black and red braided SATA cables
- Wi-Fi antenna
- RGB (3 and 4-pin) extension cables
- (2) Temperature probes (2-pin)
- HDD LED extension cable
- M.2 Expander
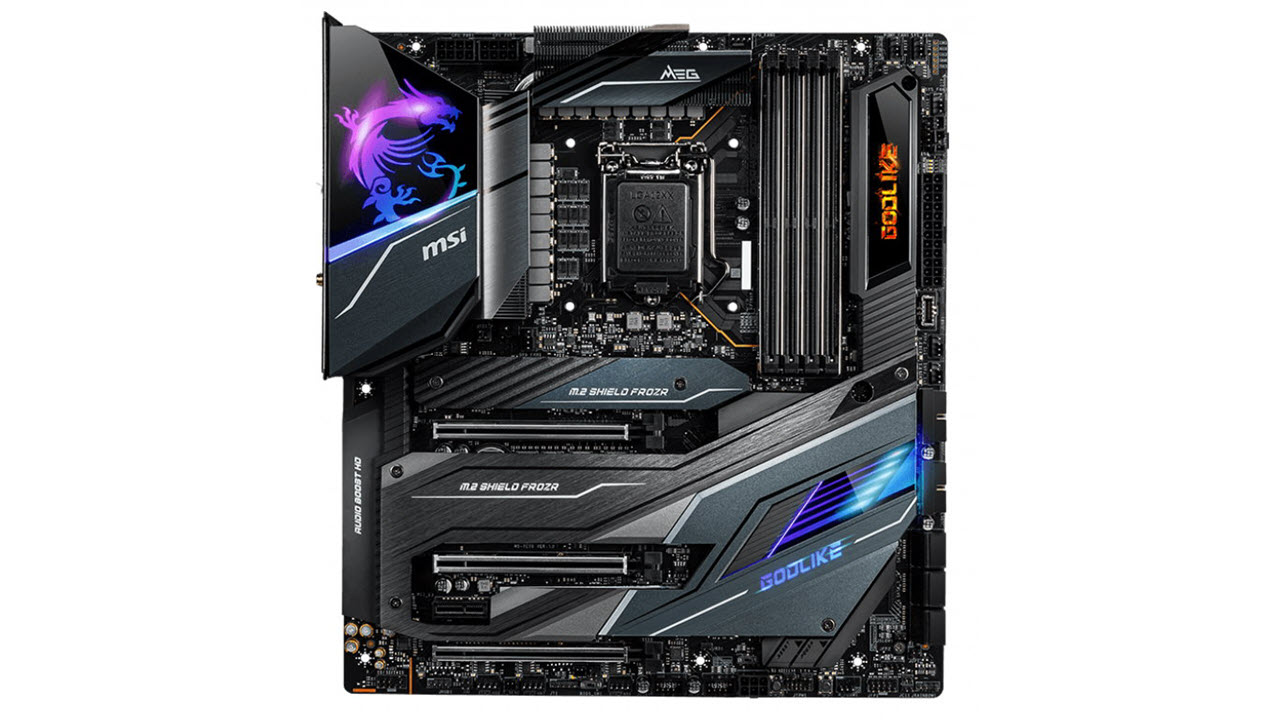
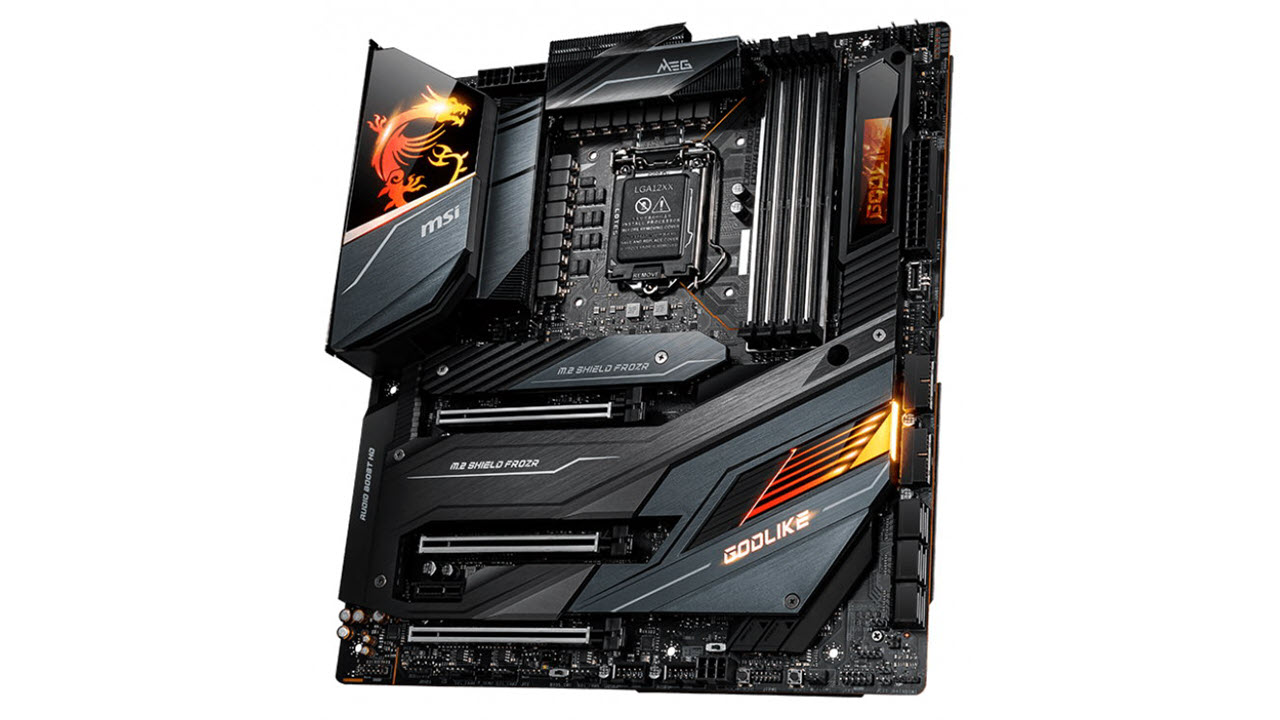
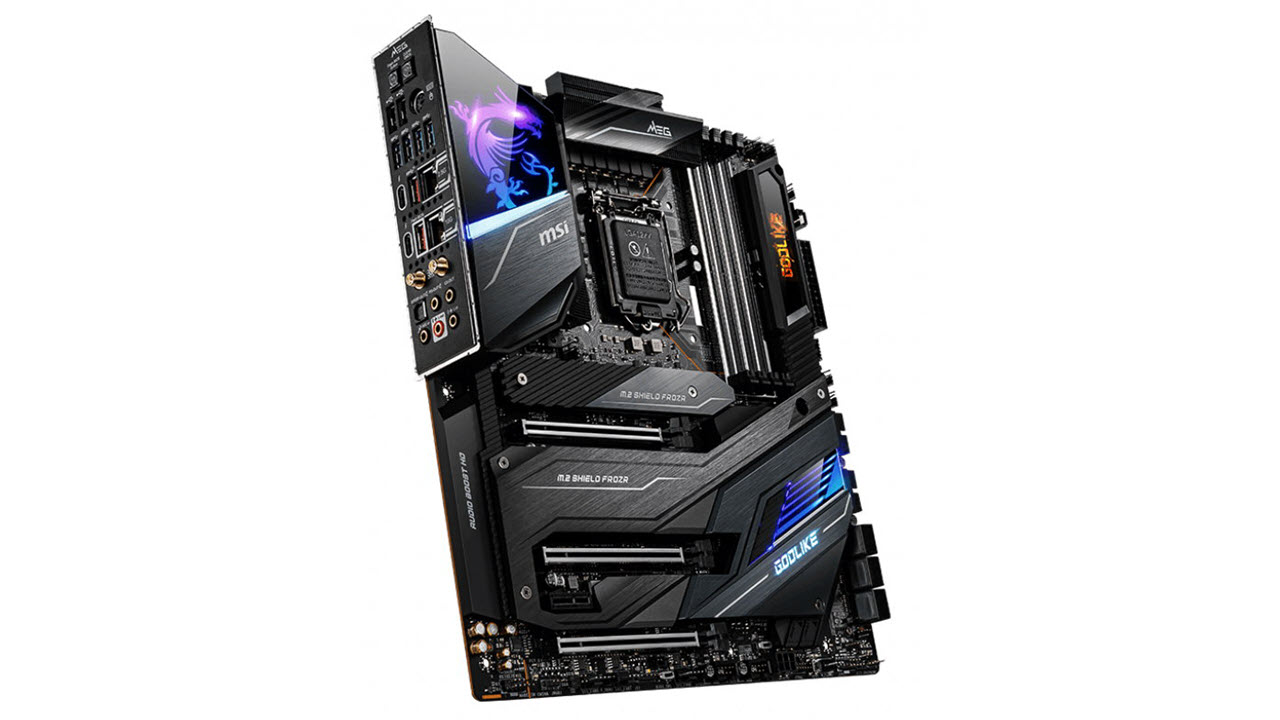
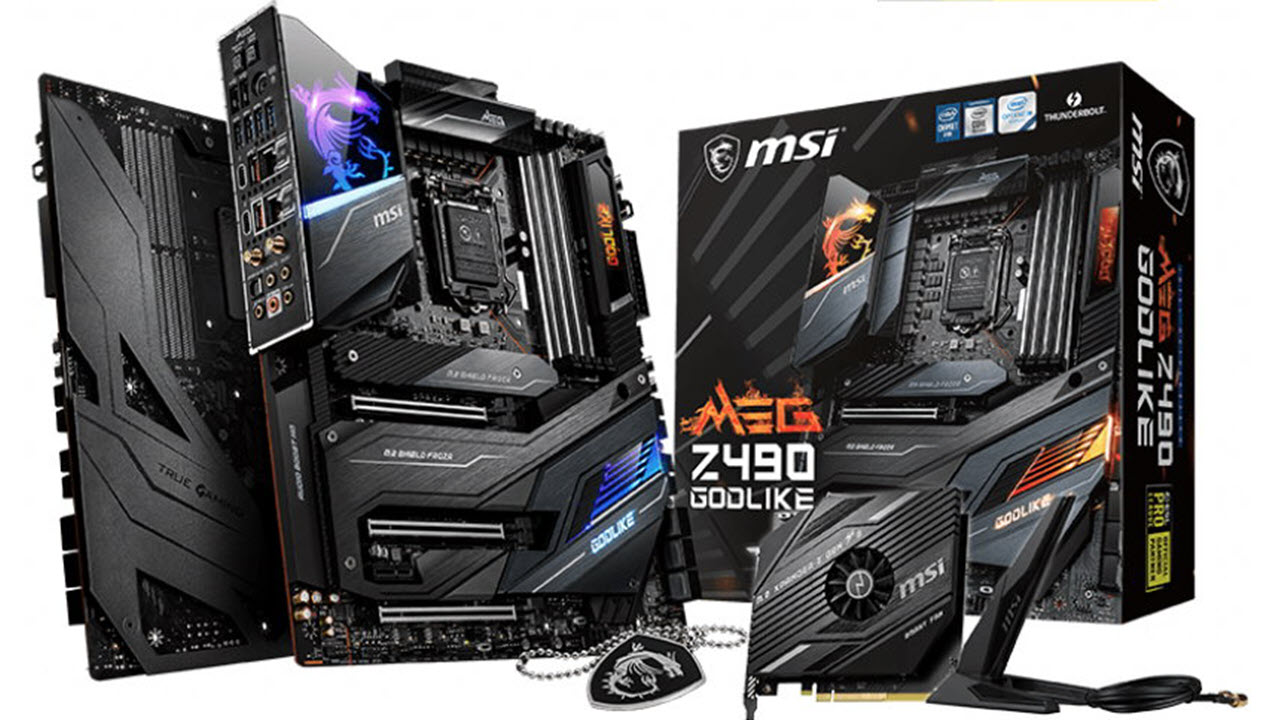
After taking the E-ATX MSI MEG Z490 Godlike out of the box, we’re greeted by a device with a whole lot of shrouds and heatsinks covering much of the board. There are mirror-like sections that contain RGB LED elements and a really cool color OLED display. The shroud that covers the IO area and left VRM bank is one of those areas with a mirror finish, while just below it is a brushed-aluminum finish with the MSI name stenciled on it. The VRM heatsinks aren’t the largest we’ve seen, however they do use fins, and MSI supplements them with two small fans hiding underneath the shroud.
The brushed-aluminum finish extends to the PCIe area as well, with the large shrouds doubling as heatsinks for the M.2 modules and chipset hidden below. The top M.2 socket is easily accessible via two screws, but in order to access the bottom two M.2 sockets, the entire plate (four screws) has to be removed. Overall, the board does have a high-end look to it, better than its mid-range boards without a doubt, but isn’t quite there compared to the Asus and Gigabyte Extreme boards we’ll be looking at below.
Get Tom's Hardware's best news and in-depth reviews, straight to your inbox.
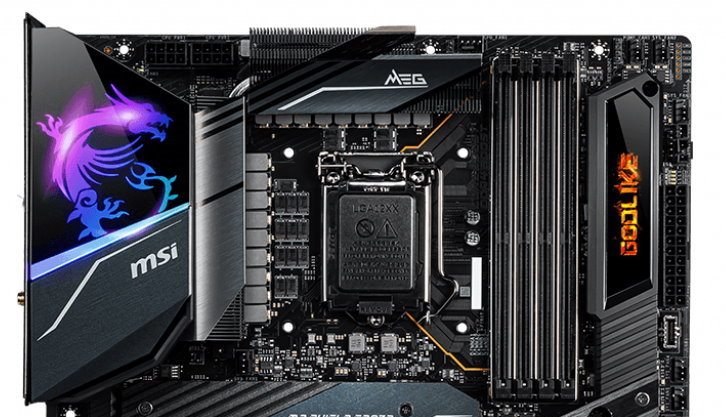
Focusing on the top half of the board, we’re able to see in more detail the finishes on the shrouds and heatsinks, as well as the shielding on the DIMM slots. Under the mirror finish of the IO shroud, the MSI Gaming Dragon glows under RGB LEDs hidden below the heatsink. Also hidden underneath are the two small (~25mm) fans to help keep the VRMs cool. Both VRM heatsinks are connected through a heatpipe sharing the load. Feeding power to the VRMs are two 8-pin EPS connectors -- one is required while the other is optional.
Along the top edge and to the right of the VRM heatsink are the four single-side locking DIMM slots capable of supporting up to 128 GB of DDR4 RAM and speeds up to DDR4 5000, depending on the configuration. The slots are also reinforced, called MSI Steel Armor, which provides some EMI shielding and arguably a more premium appearance compared to without it.
Just to the right of the DRAM slots is MSI’s Dynamic Dashboard II. This color OLED display is used to display system information, including CPU temperature and speed, even showing BIOS flash status and error messages. Along with the many canned images, you’re also able to use MSI’s Dragon Center application to add your own custom image or animation. This OLED, along with the EZdebug LEDs located immediately to the right of this dashboard, will help with troubleshooting POST issues and can be a really cool focal point on the board.
Above these are several headers, including three fan headers and a 3-pin RGB header. In the far right corner are five voltage read points. This includes ground and read points for Vcore, VccSA, VccIO, and DRAM. This is a great value add for those trying to push the limits or for those who may want to know exactly how much voltage is going through each of those power domains, since software is notorious for being inaccurate. Below that is a Corsair connector (for fans and RGB) and a thermal sensor connector.
Last but not least is the 24-pin ATX connector, a front panel USB 3.2 Gen 2 (Type-C header), and two more fan headers. Sys_Fan1-8 supports up to 1A/12W, while the CPU_Fan1 supports 2A/24W and the PUMP_Fan1 supports 3A/36W. There’s plenty of power for a pump and a whole slew of fans here.
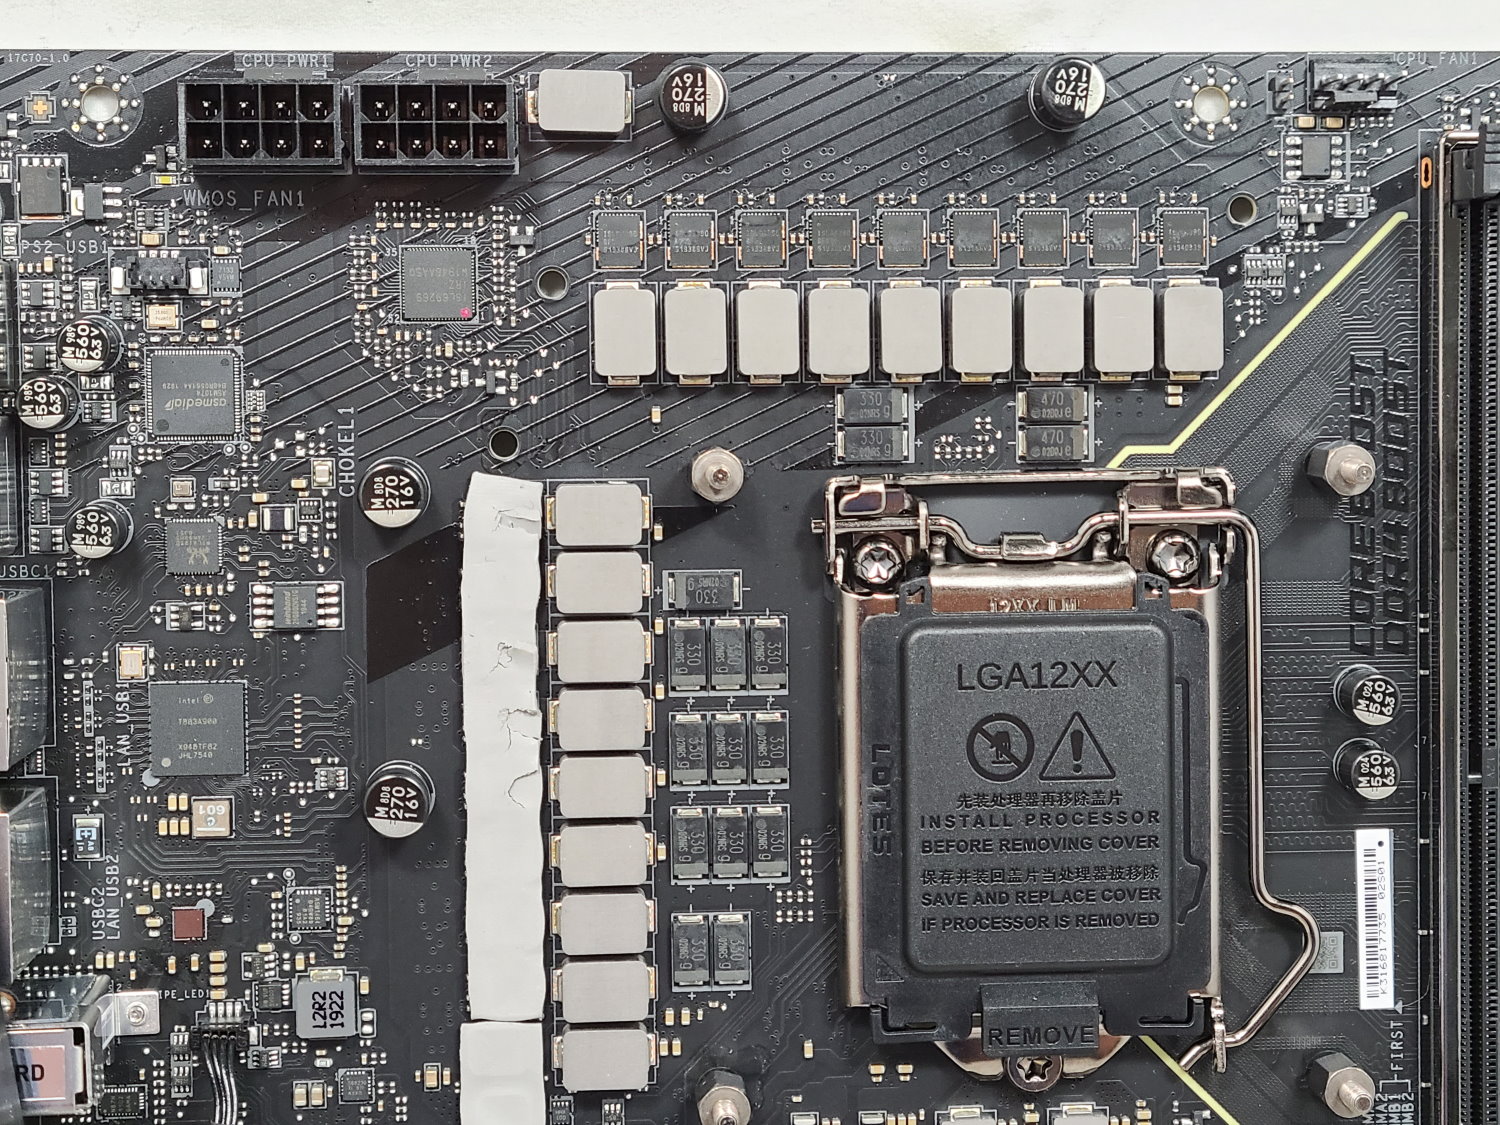
MSI’s power delivery on the Godlike is, well, Godlike. There are a total of 18 phases with 16 dedicated to Vcore. The mirrored power arrangement uses Intersil ISL6929 Digital PWM controllers (8+1) that feed 16 90A Intersil ISL99390 smart power stages and 16 Titanium chokes. This yields a whopping 1,440 Amps available to the CPU, all kinds of overkill for the daily driver, but plenty for even the most extreme cooling.
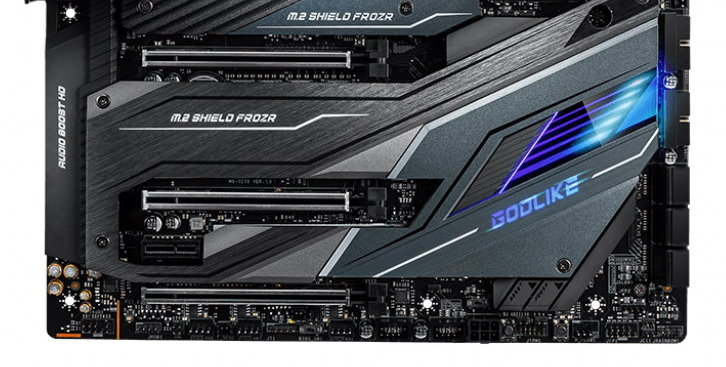
The bottom half of the board is mostly covered in shrouds and heatsinks, including the audio section on the left. Stationed below the aluminum cover is a Realtek ALC1220 codec along with an ESS Sabre ES9018 reference audio DAC, Chemicon audio capacitors and a dedicated headphone amplifier capable of driving up to 600 Ohm cans. Most users won’t need more than this high-quality factory setup.
To the right of the audio section are three full-length PCIe slots and a single x1 size slot. The top two slots are fed from the CPU and have x16 lanes to split between them. If the second (middle) slot is not in use, the primary slot (top) receives all 16 lanes, otherwise it will split to x8/x8. The bottom slot’s PCIe 3.0 x4 lanes come from the chipset, sharing lanes with an M.2 slot. The Z490 Godlike supports 3-Way Crossfire and 2-Way SLI.
Wedged between the PCIe slots are three M.2 sockets. The top two, M2_1 and M2_2, support up to 110mm modules as well as PCIe and SATA drives. The third socket, M2_3, supports up to 80mm PCIe-based devices only. M2_1 shares its bandwidth with SATA 2, while M2_2 shares bandwidth with SATA 5/6. When a module is installed in these sockets, the corresponding SATA port(s) will be disabled. The M.2 PCIe storage devices support RAID 0, 1 and 5.
If these three slots are not enough, the Z490 Godlike includes an M.2 Expander card, a PCIe x8 device that holds two M.2 modules up to 110mm in length. The device itself supports PCIe 4.0. However, users will have to wait for PCIe 4.0-capable CPUs from Intel side in order to utilize that bandwidth on this board. If you are using more than three M.2 modules or plan on moving to next-gen CPUs and PCIe 4 based NVMe drives, the M.2 expander is a nice value add to the included accessories.
On the far right edge of the board are two USB 3.2 Gen1 ports and the six SATA ports. The SATA ports support RAID 0, 1, 5 and 10.
Along the bottom edge is a mass of headers, buttons and switches that cover monitoring and audio, along with fan and temperature headers. Below is a complete list from left to right.
- Front panel audio
- 4-pin RGB header
- (3) System Fan headers
- Thermal sensor header (between fan headers)
- (2) USB 2.0 headers
- ATX 6-pin power connector
- OC Retry / OC Force to BIOS buttons
- Water flow meter connector
- System Panel header
- 3-pin RGB header
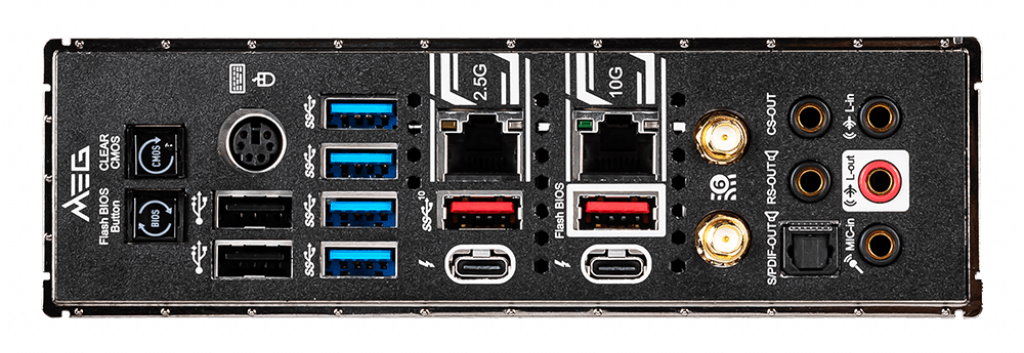
Flipping around to the rear IO we see the integrated IO plate full of connectivity. There are 10 USB ports, including four USB 3.2 Gen2 ports (Two Type-C, Two Type-A) four USB 3.2 Gen1 ports and two USB 2.0 ports. Even with a $750 board, we still don’t see a USB 3.2 Gen2 2x2 (20 Gbps) port. On the left side are two buttons -- one for BIOS Flashback and the other clears the CMOS. Above the USB 2.0 ports is a legacy PS/2 port. Other ports include the two Ethernet ports that are labeled for clarity, the Wi-Fi 6 antenna mounts, and the 5-plug analog plus SPDIF audio stack.
Software
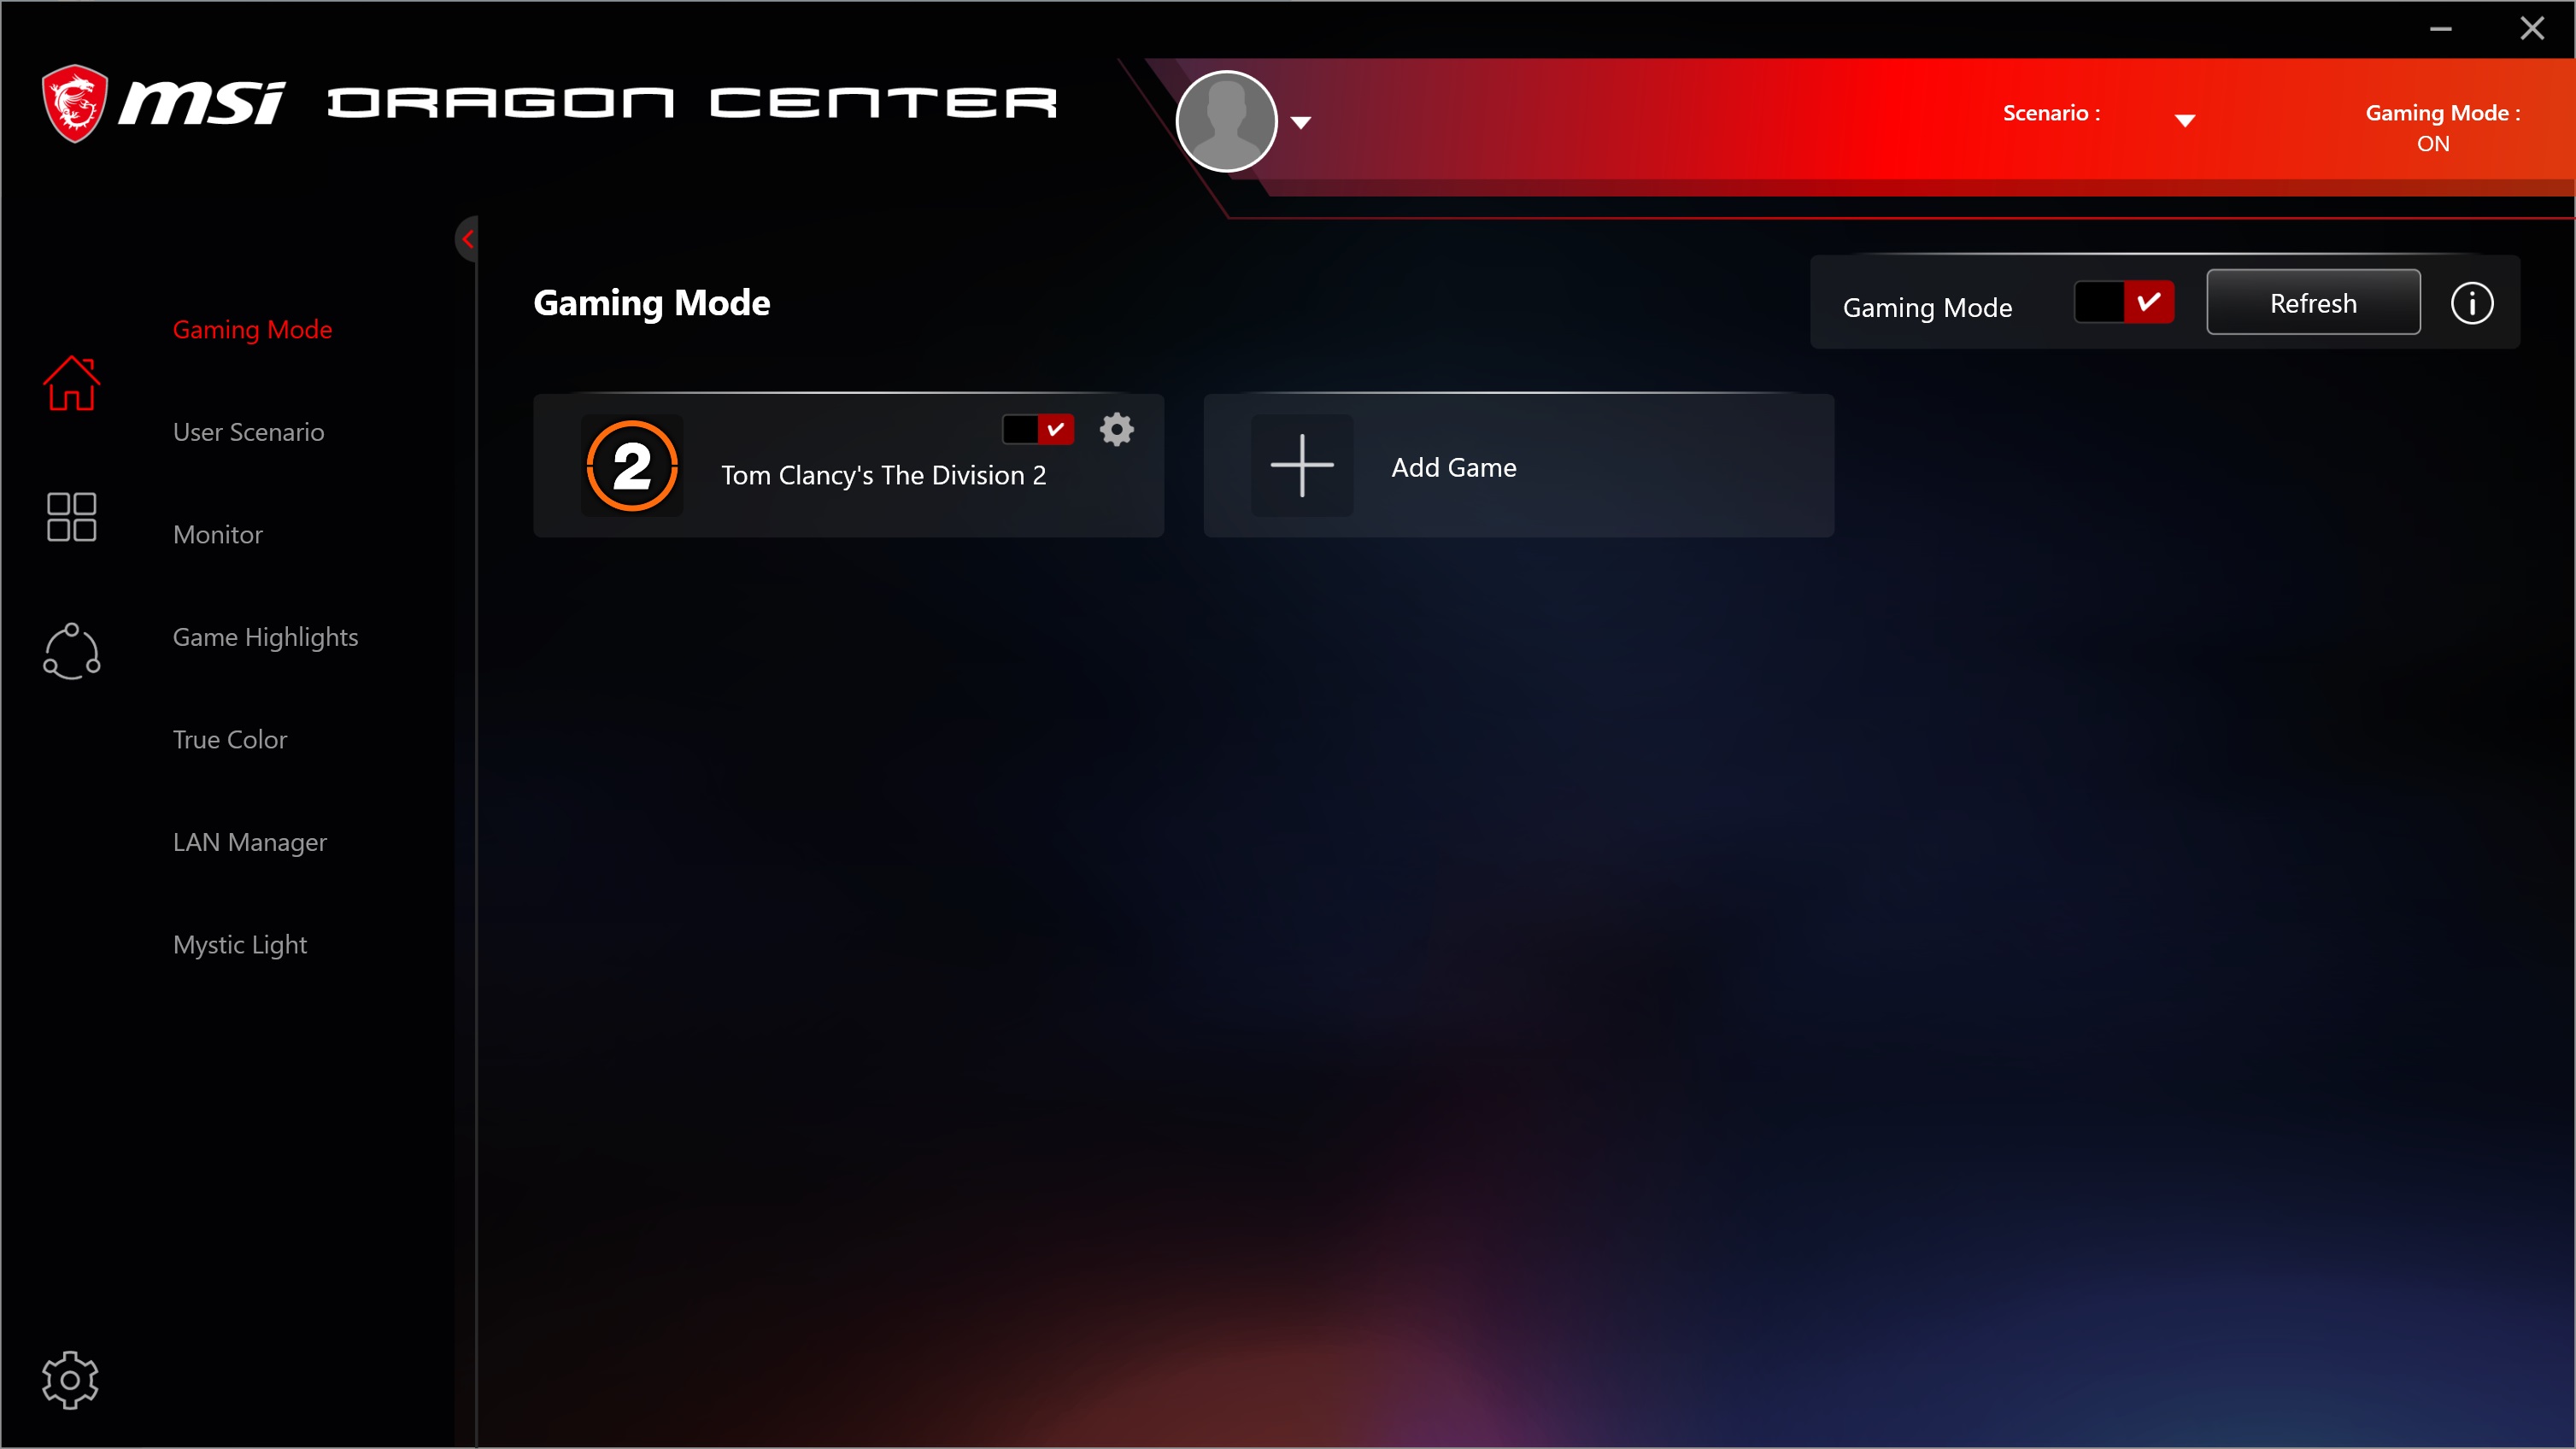
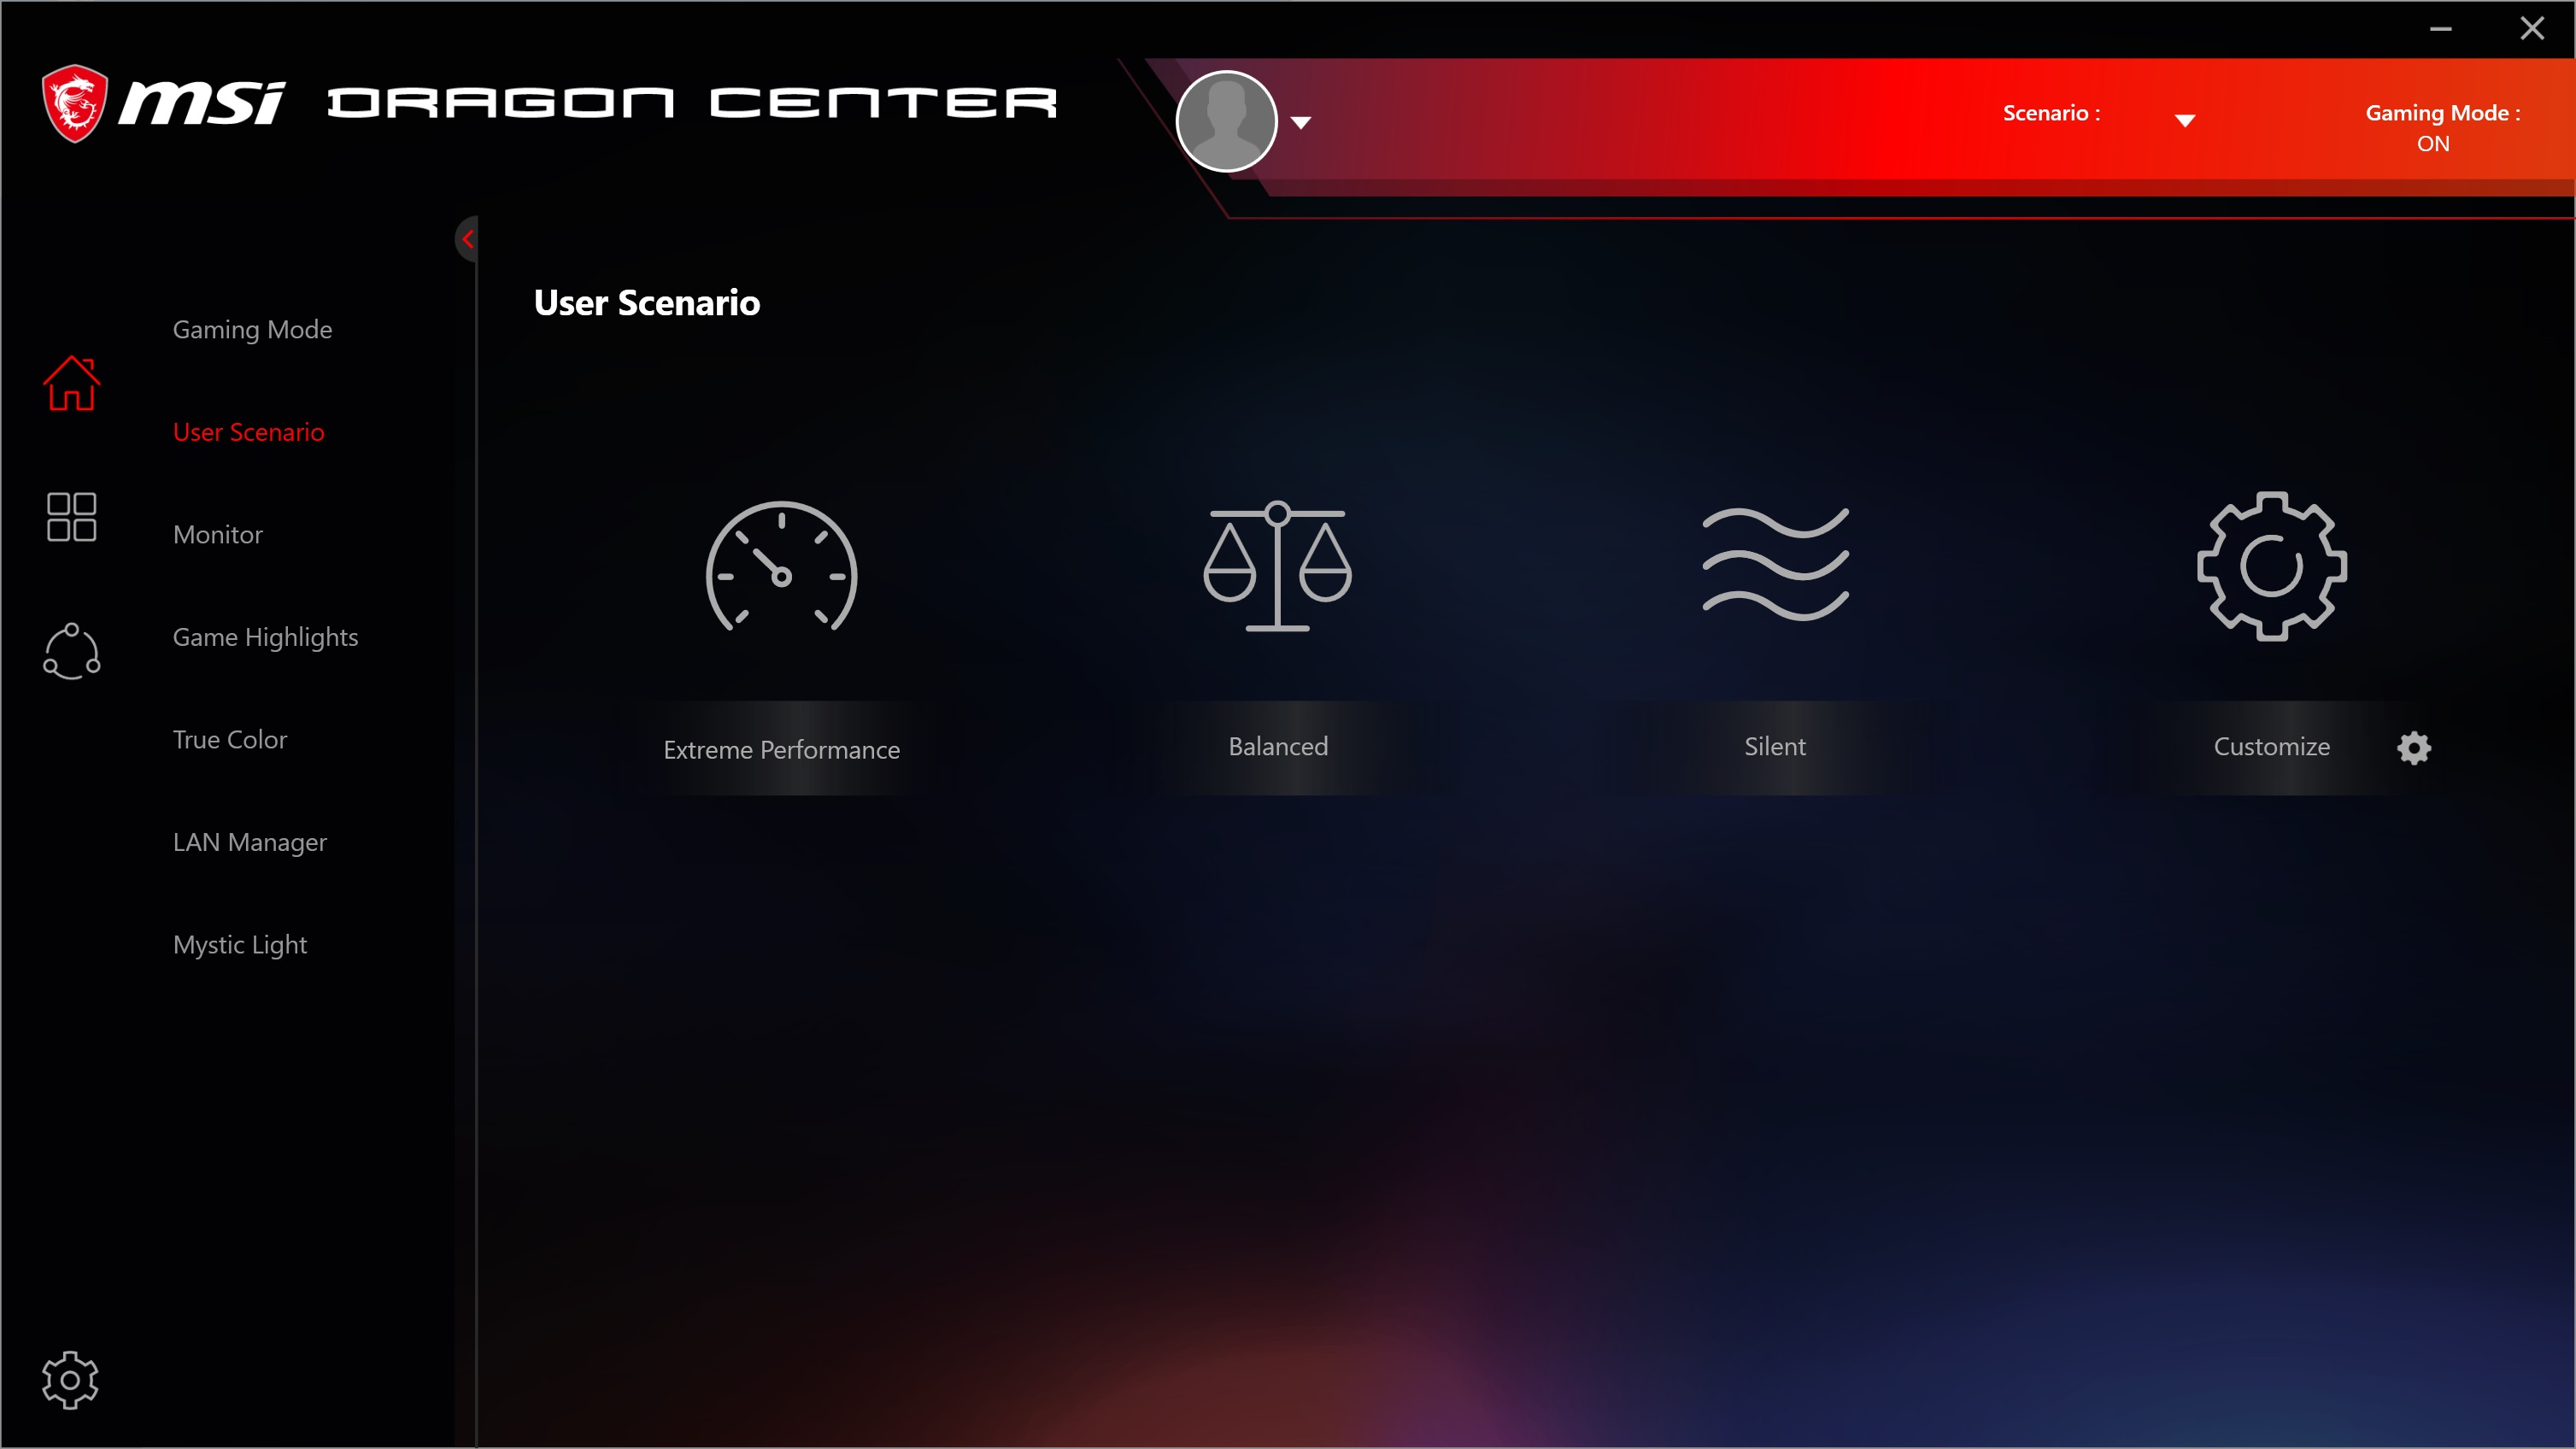
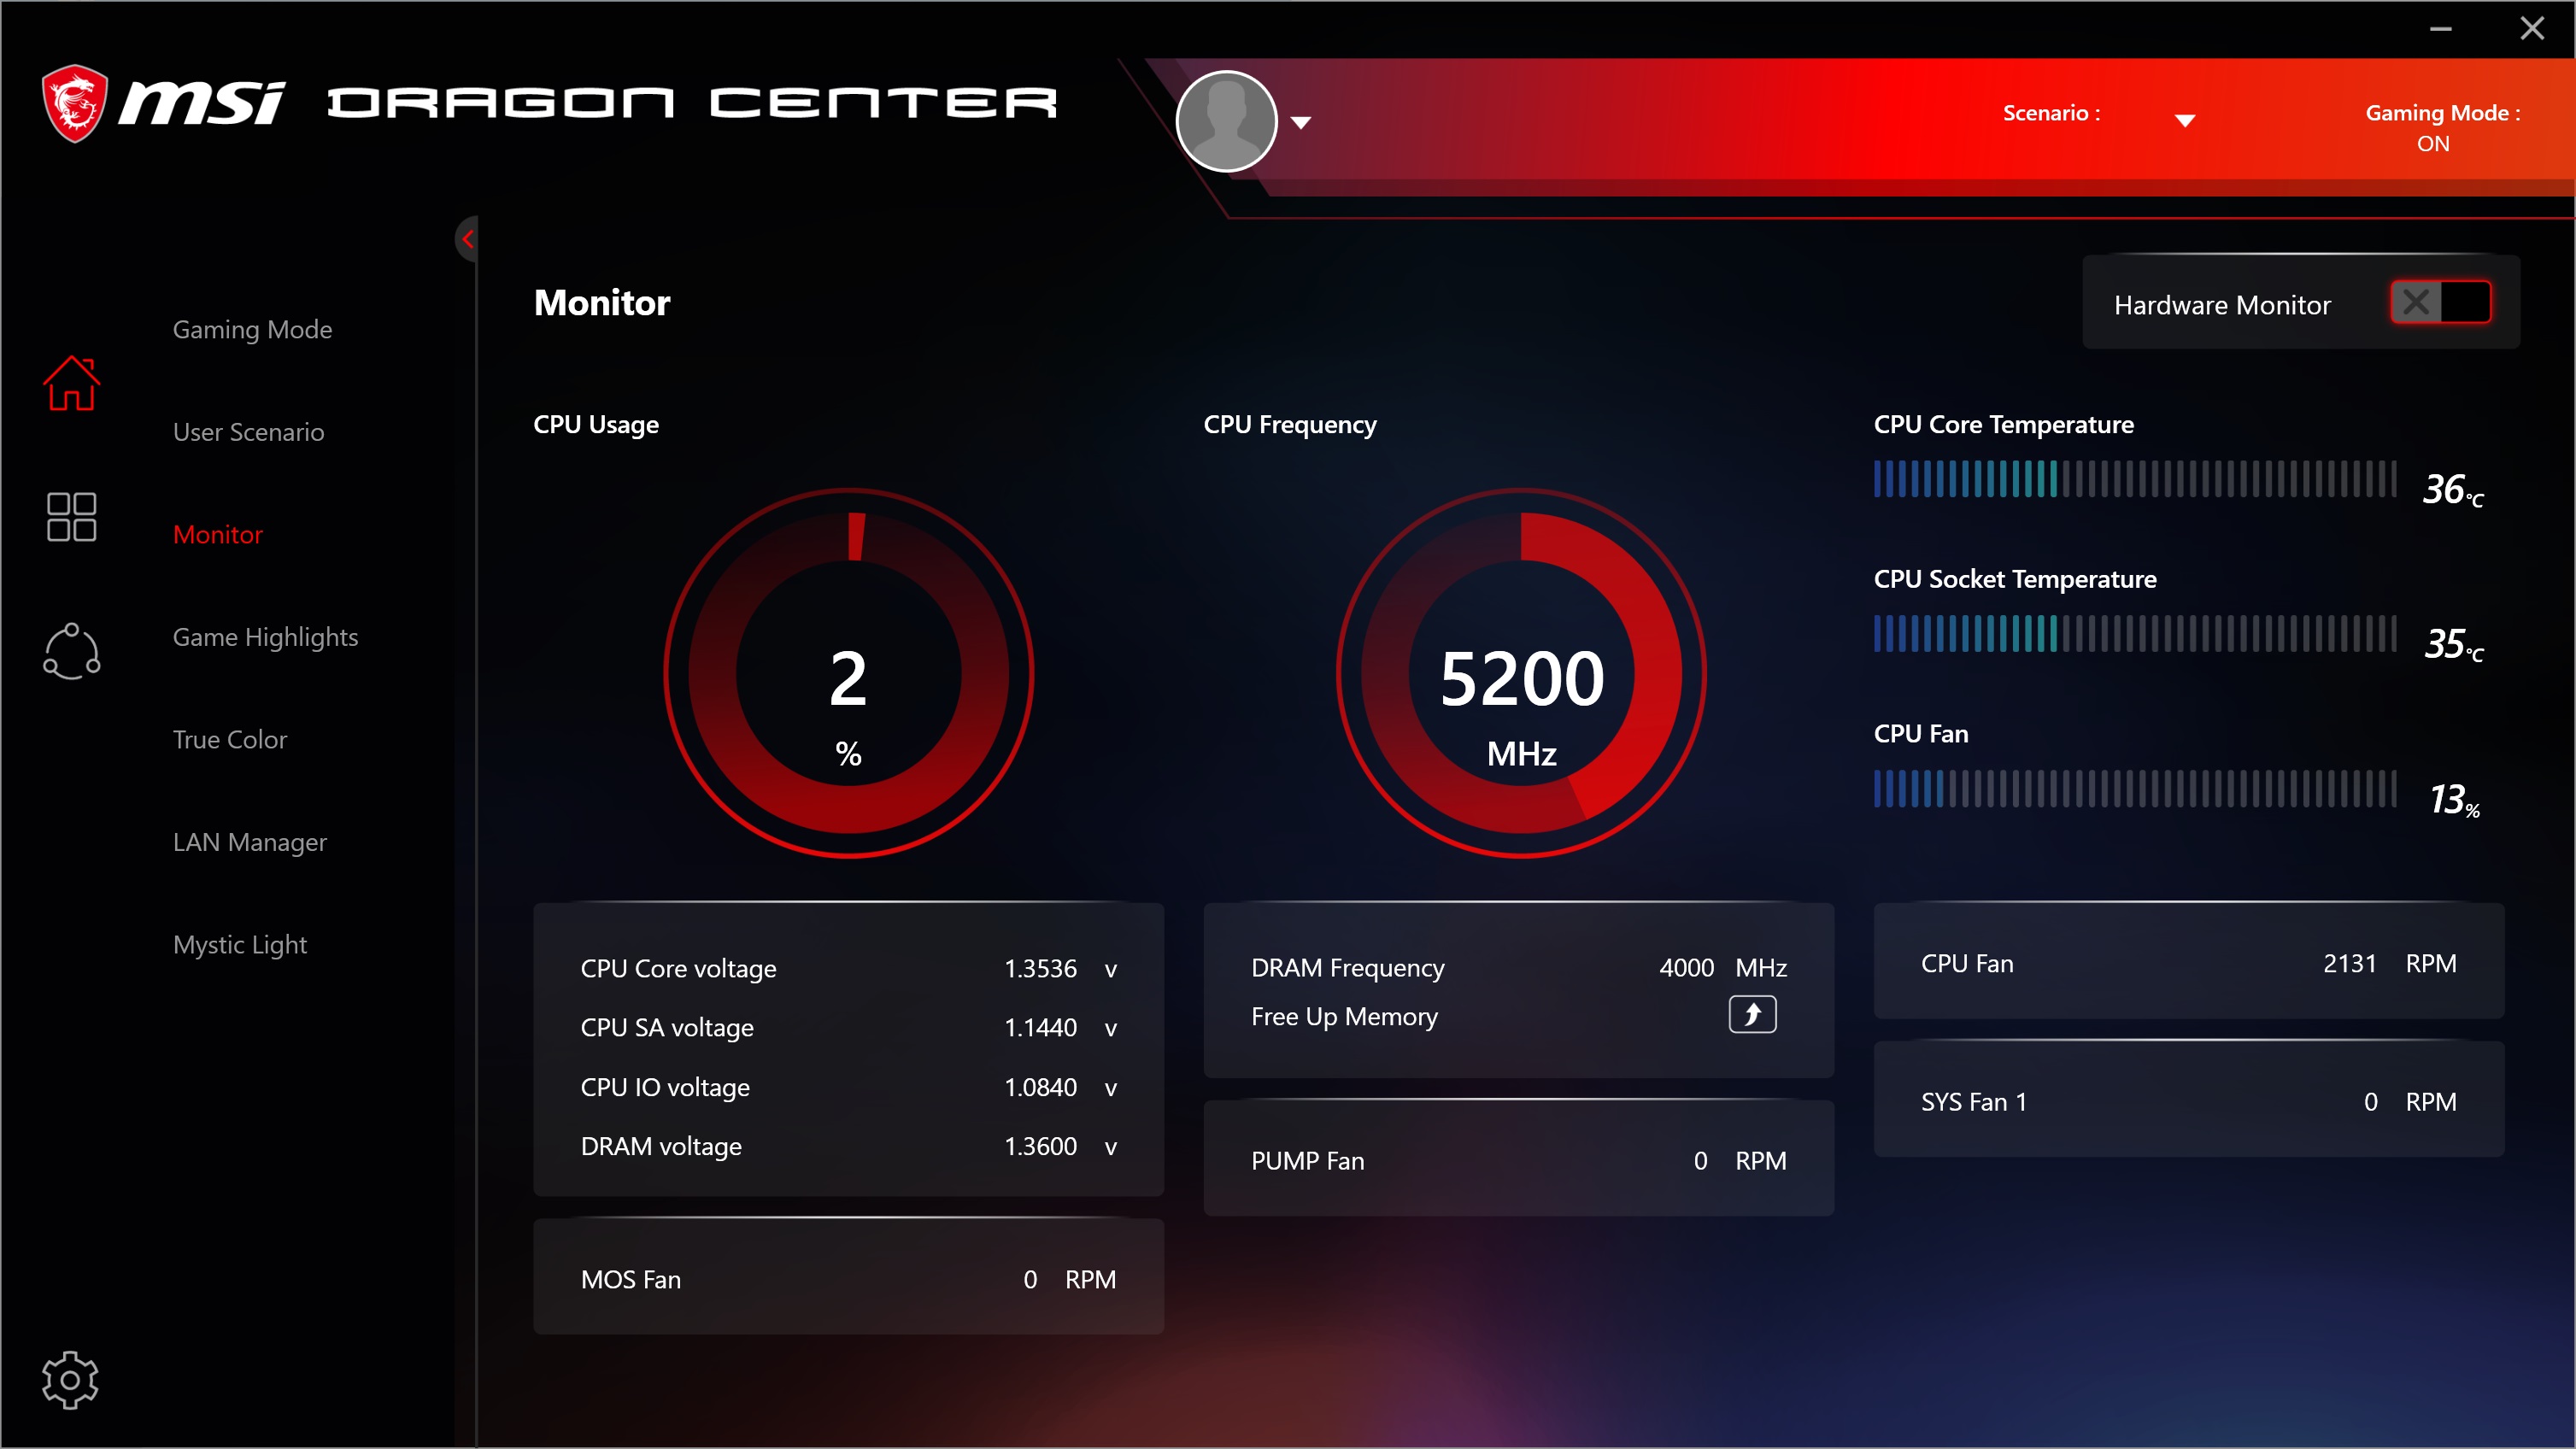
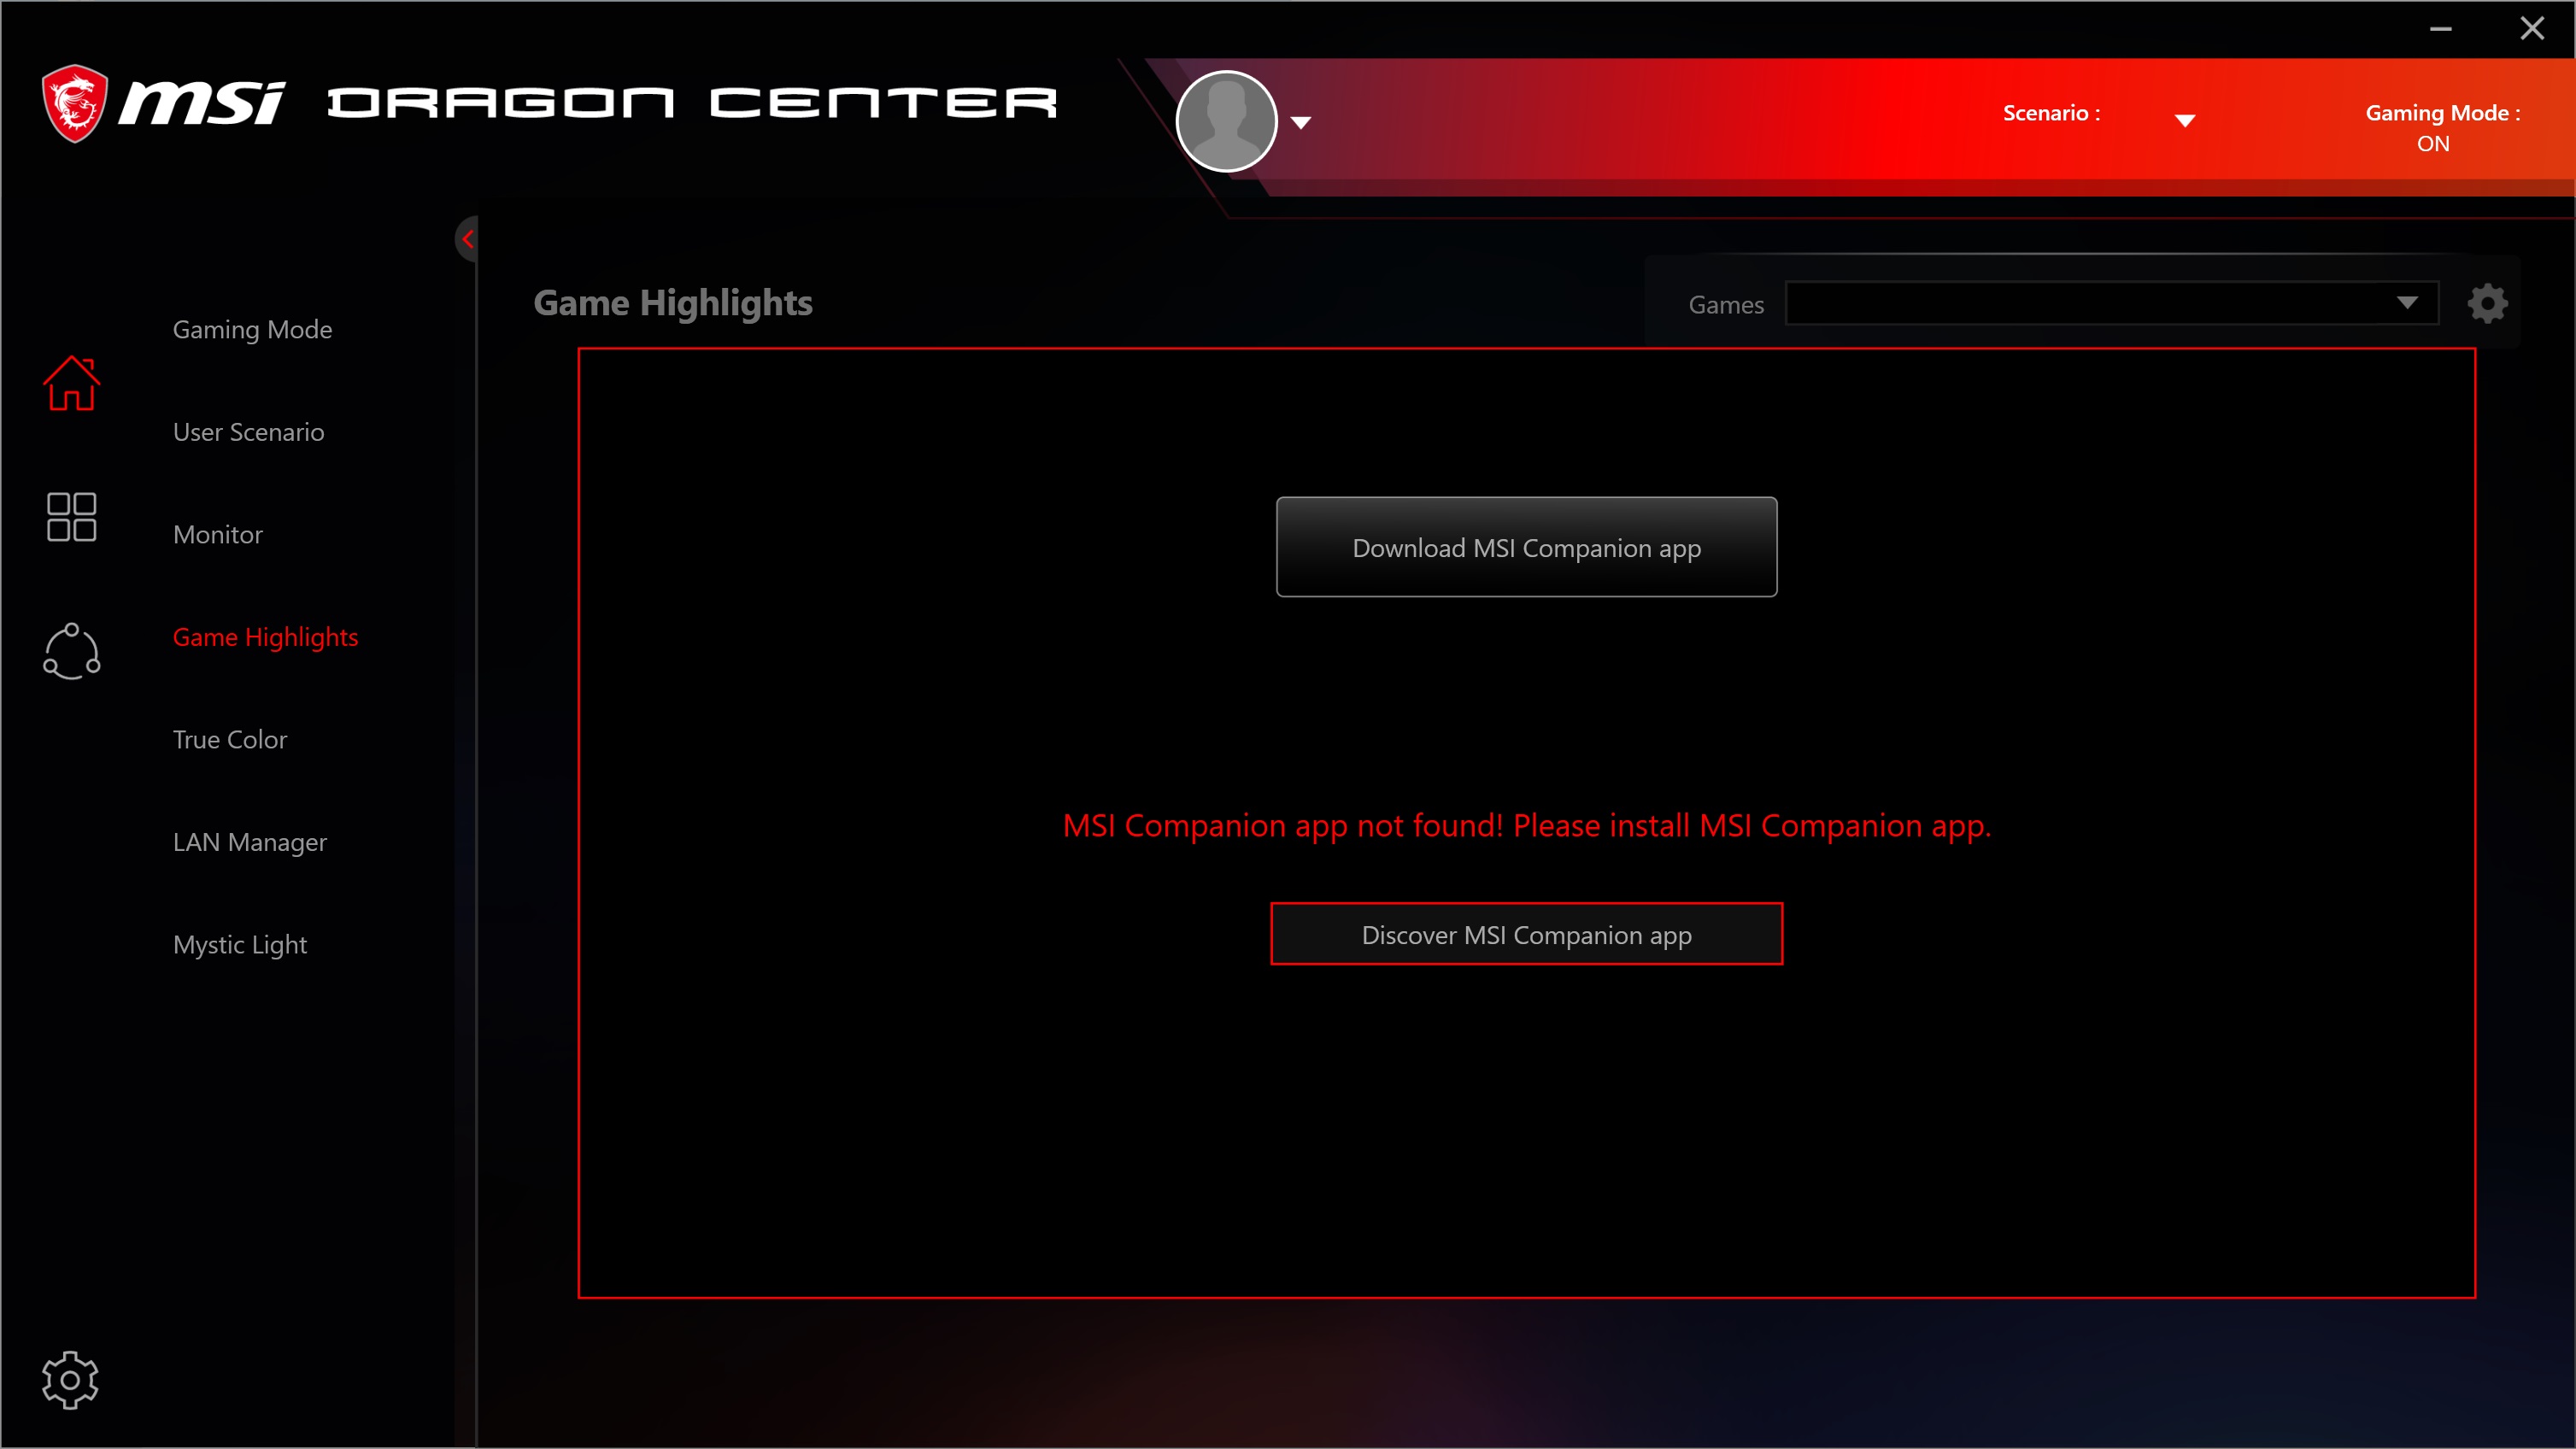
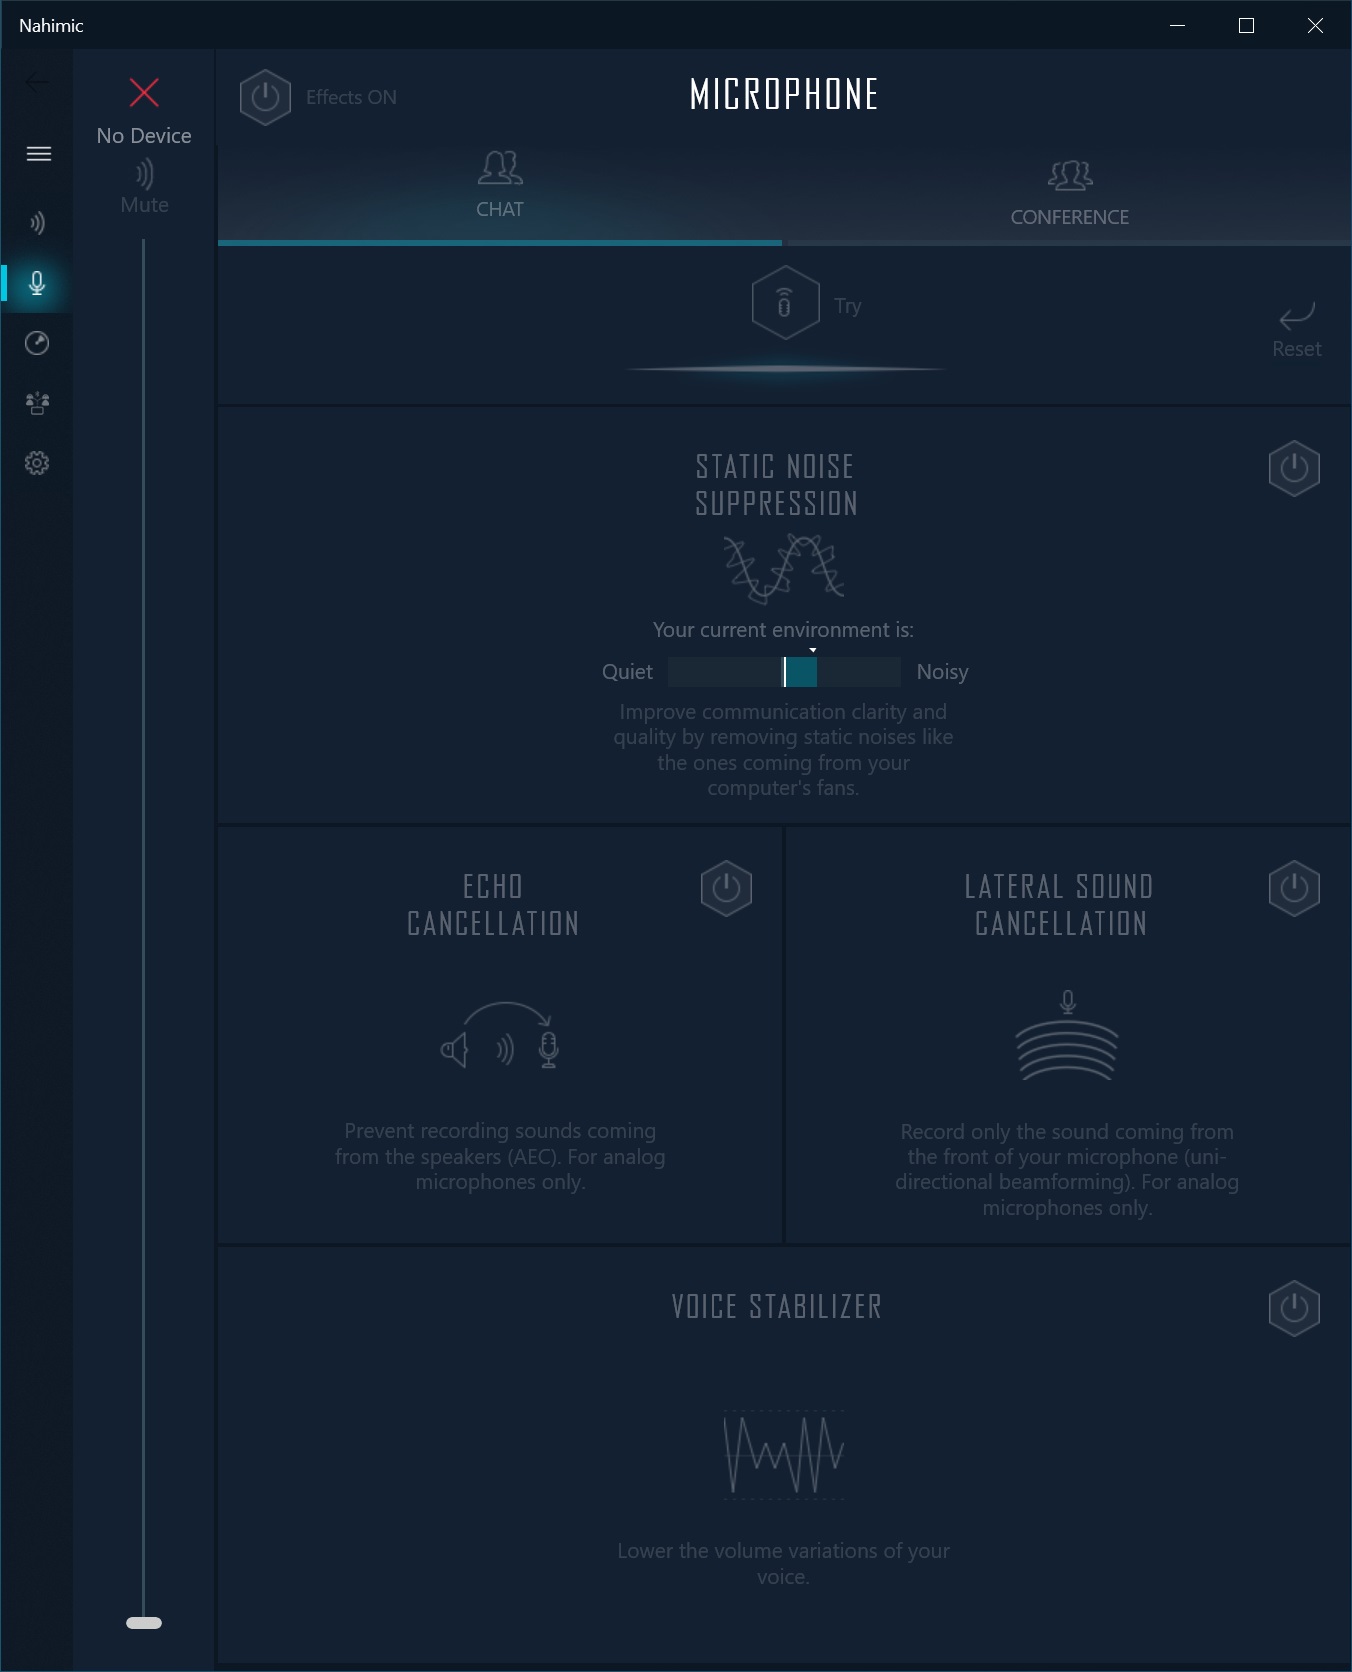
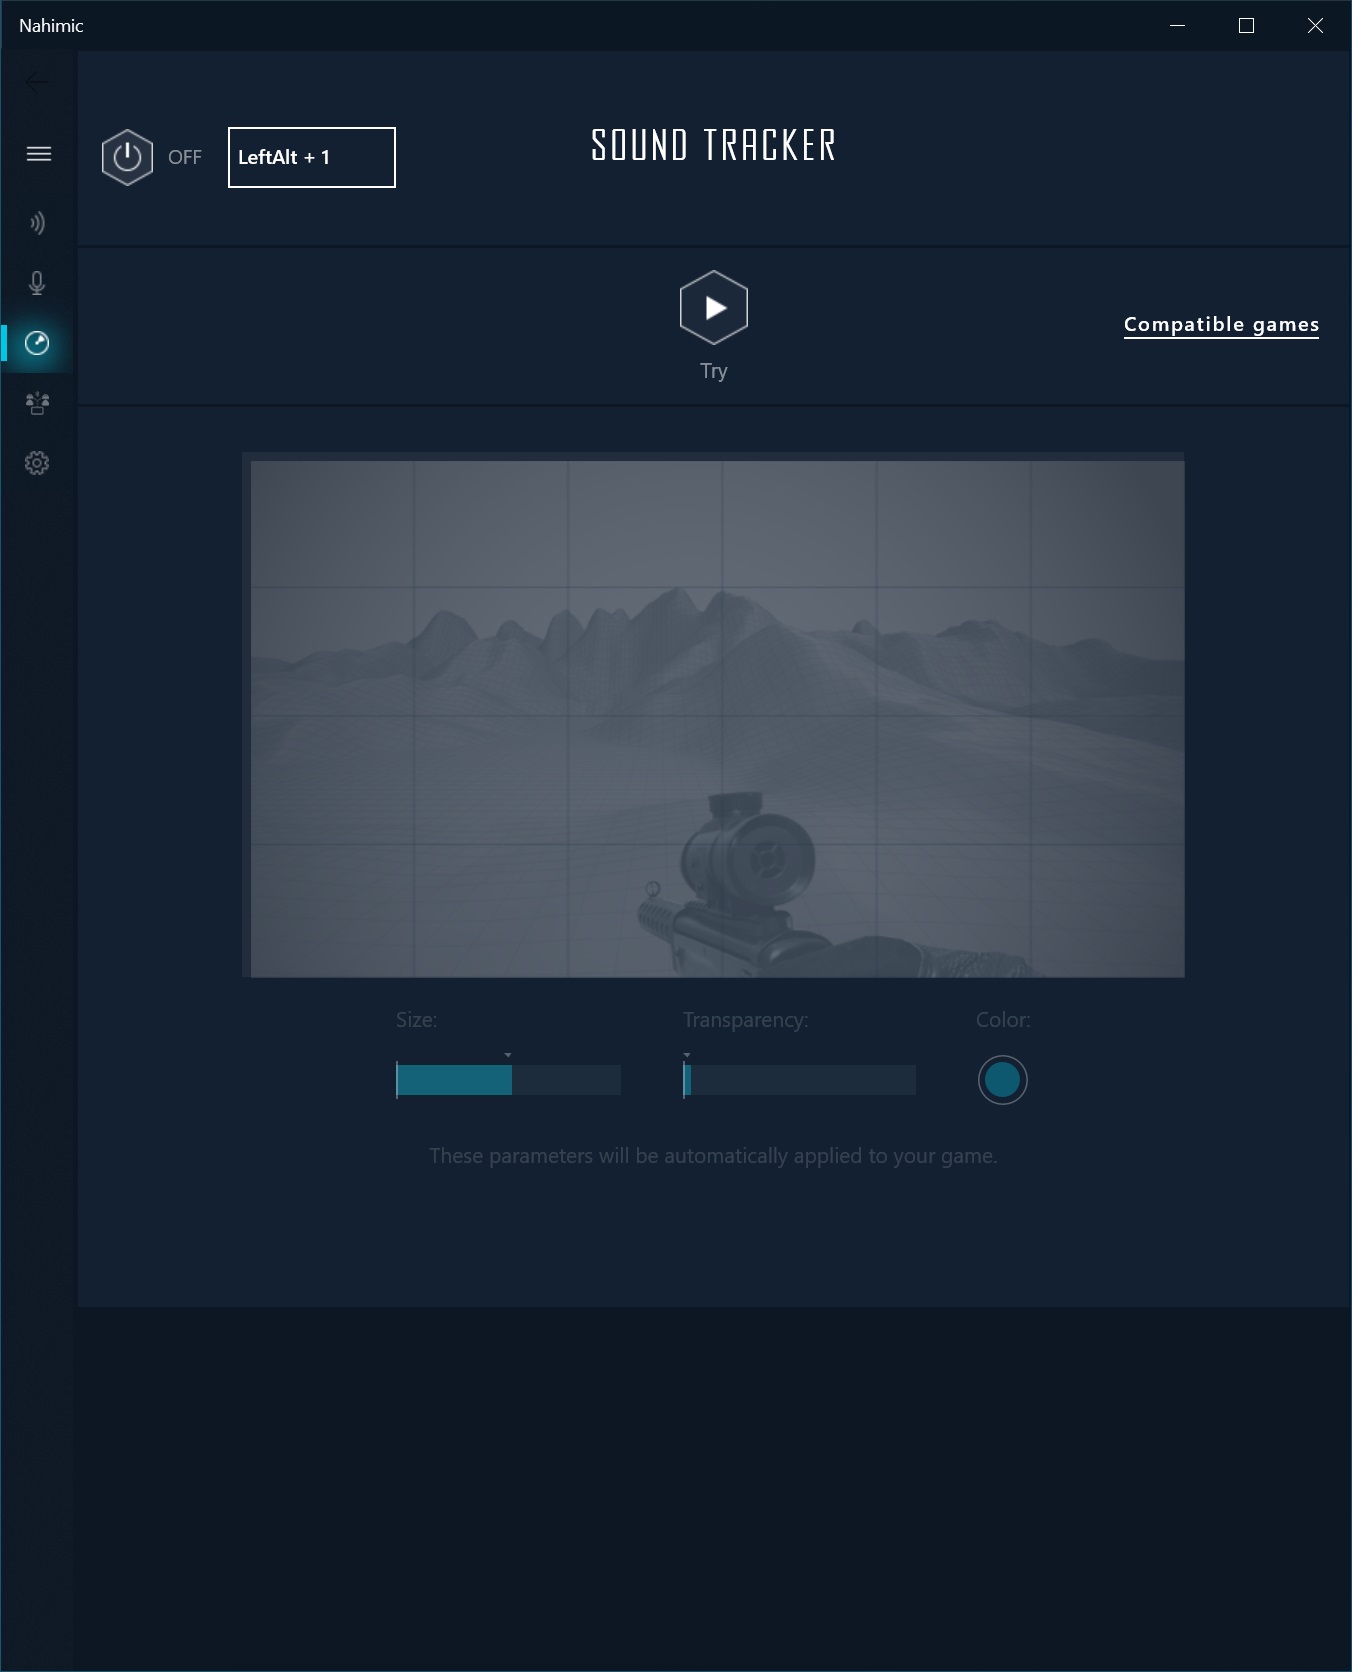
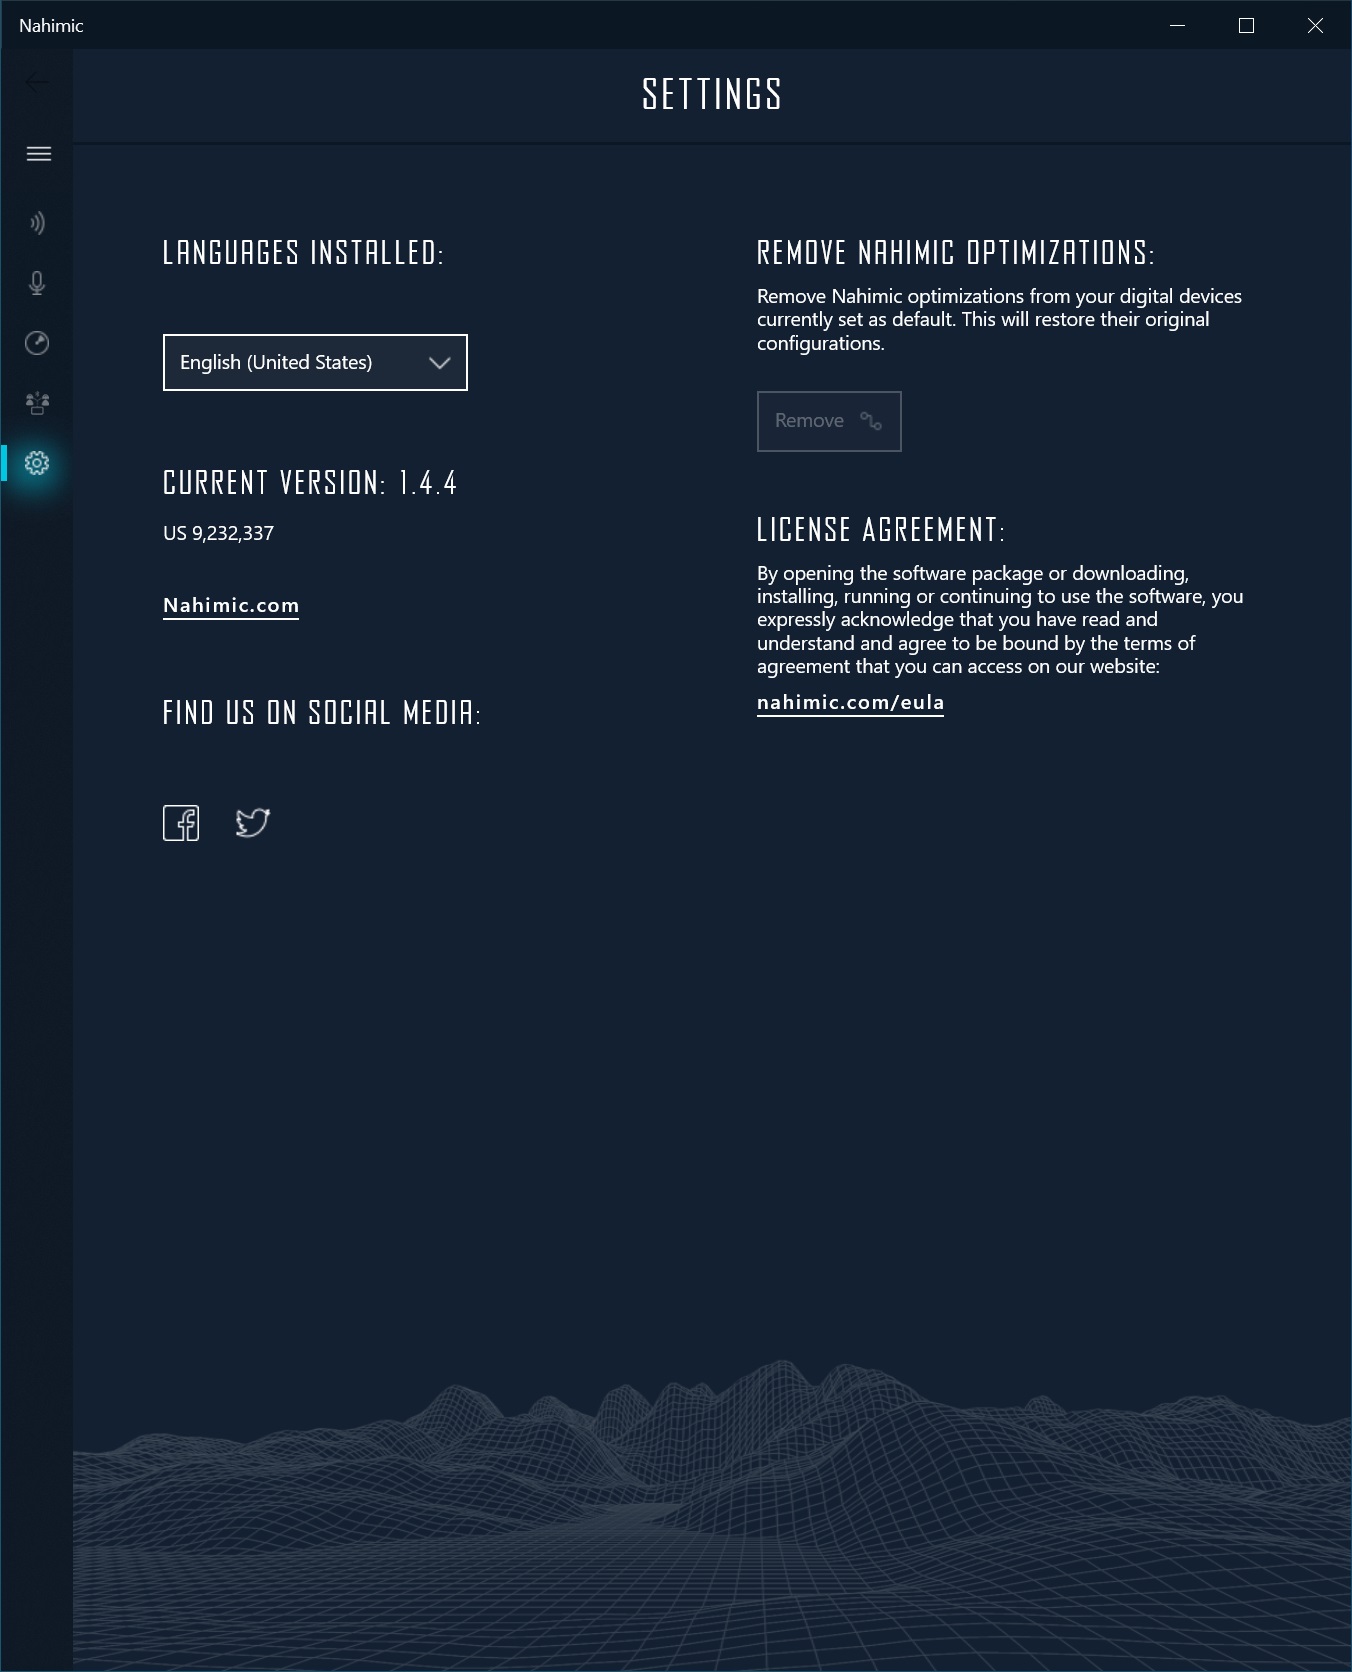
MSI includes applications designed for a variety of functions, including RGB lighting control, system monitoring, overclocking and more. Below, we have captured several screenshots of the Dragon Center utility, as well as the Nahimic audio. Dragon Center does a good job of combining functions into one utility while the Nahimic software worked well adjusting the system audio.
Dragon Center
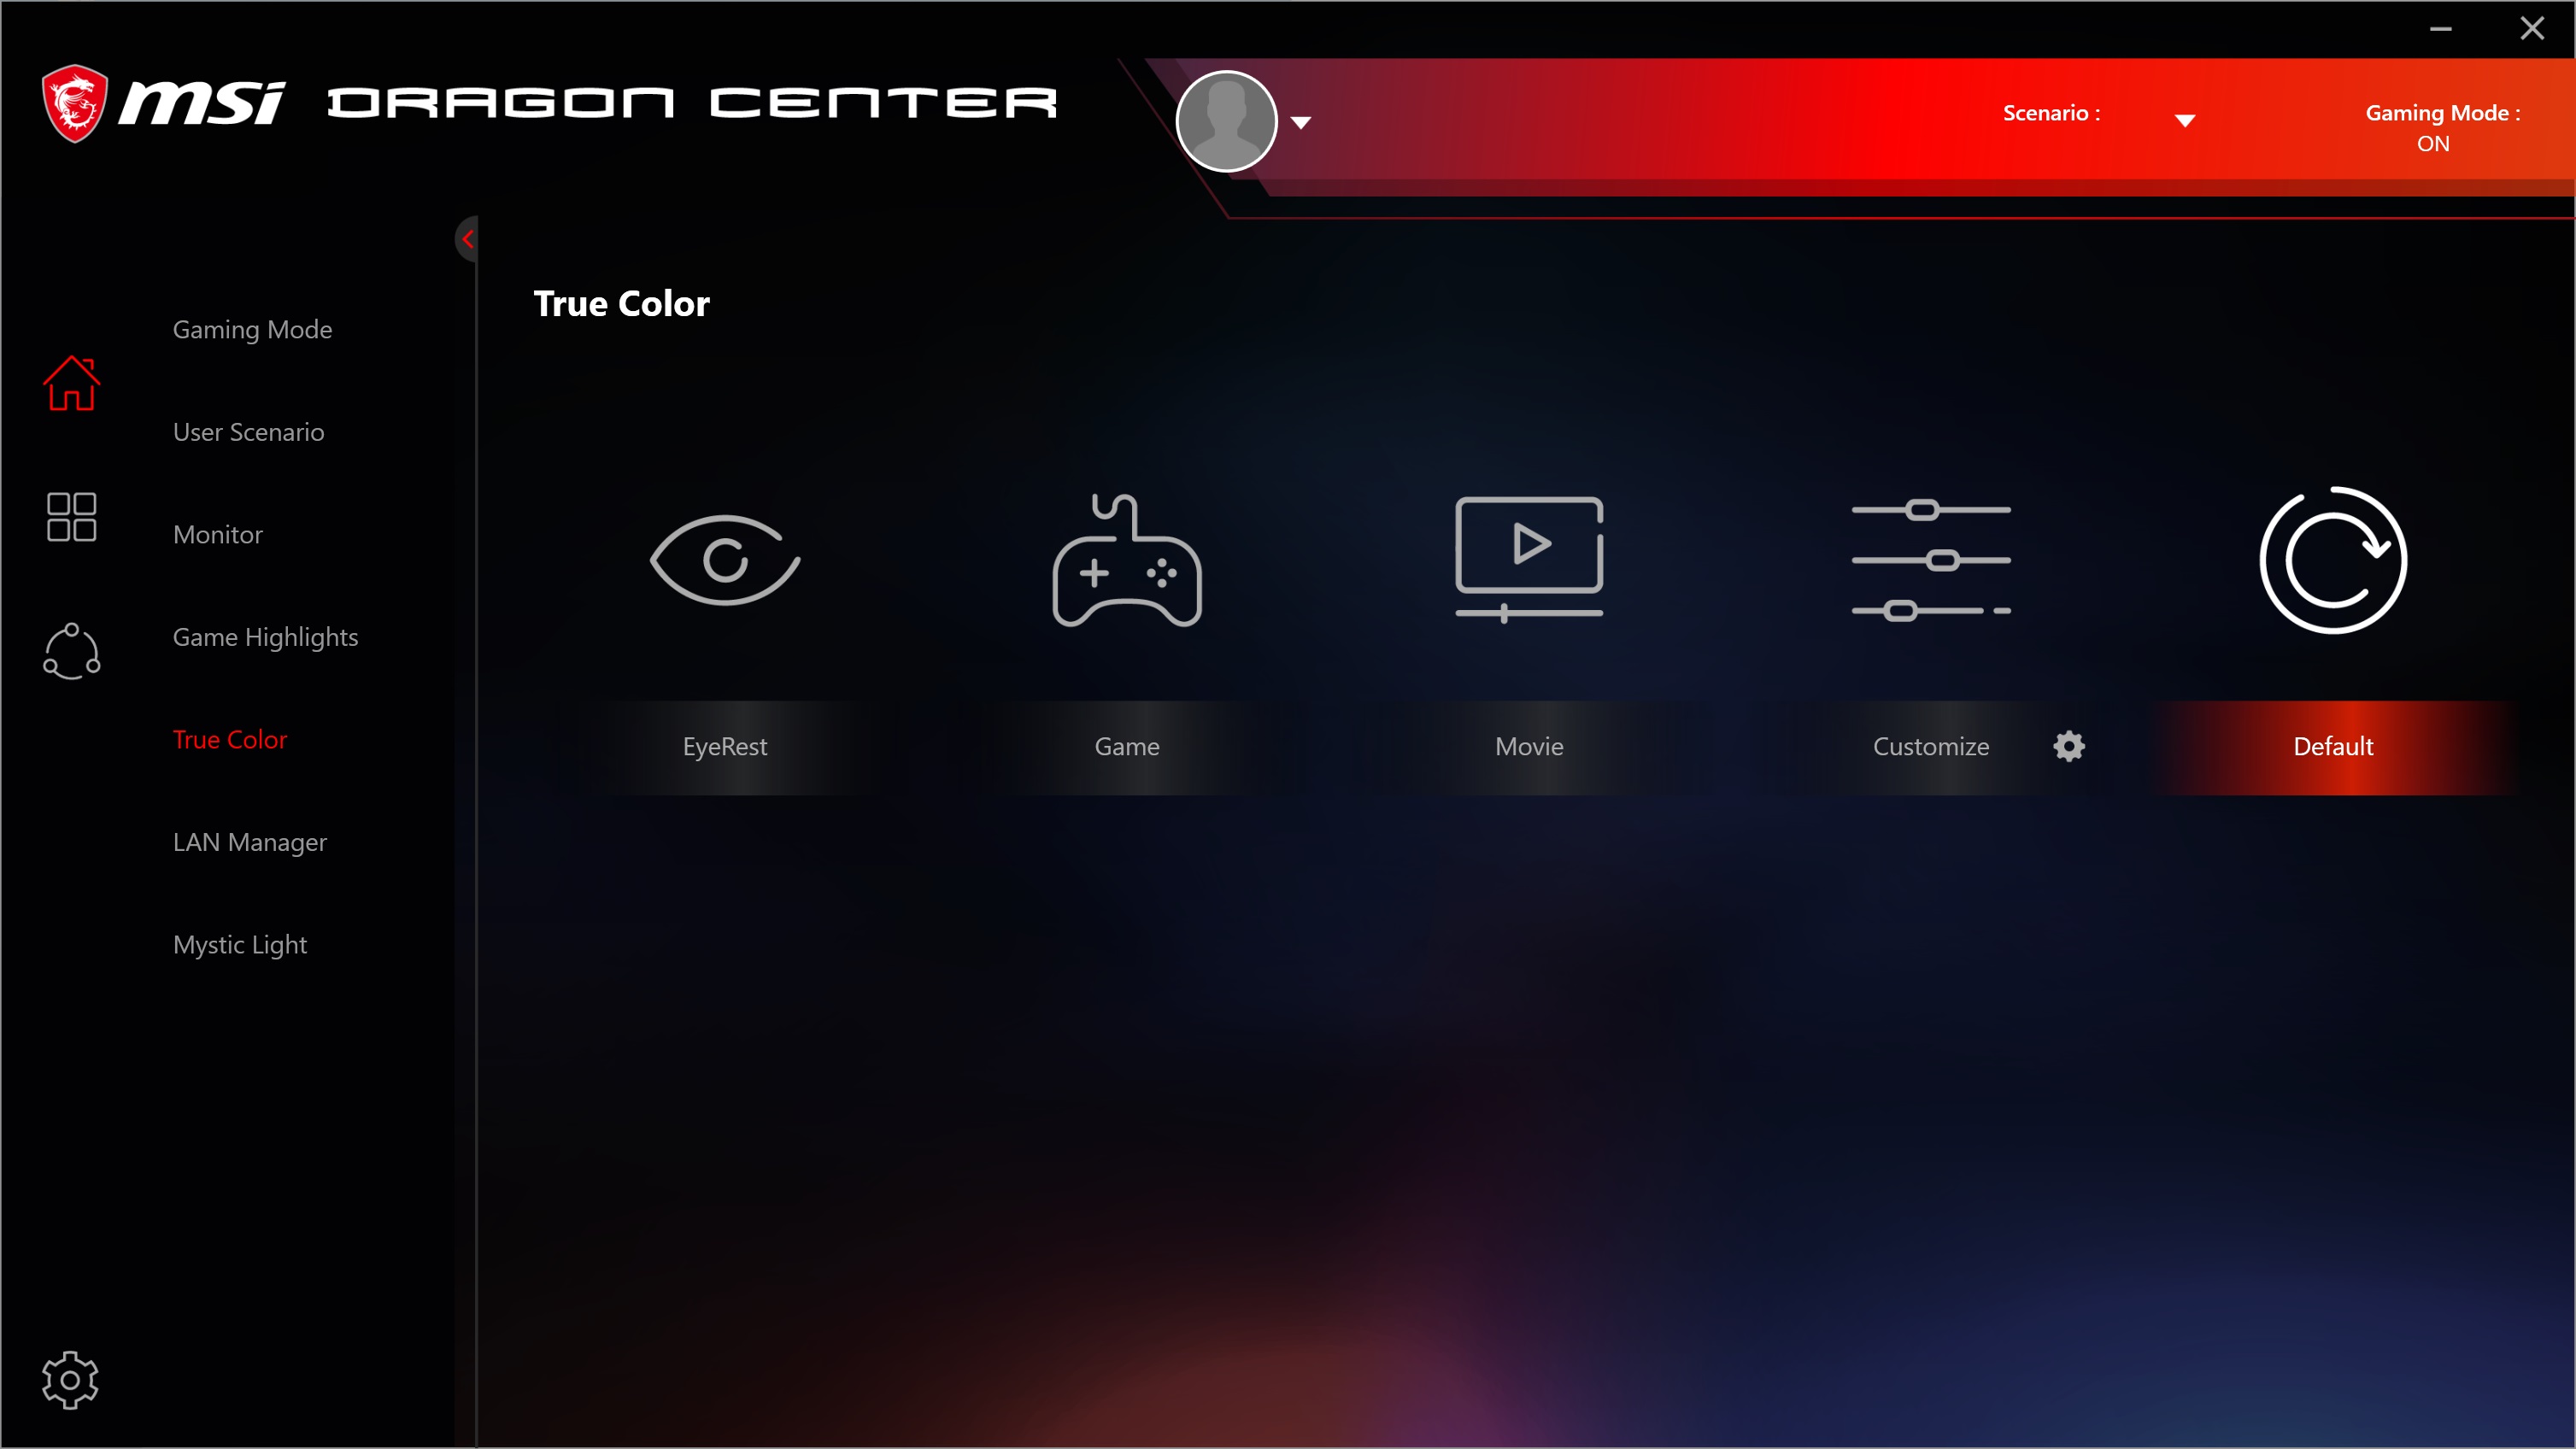
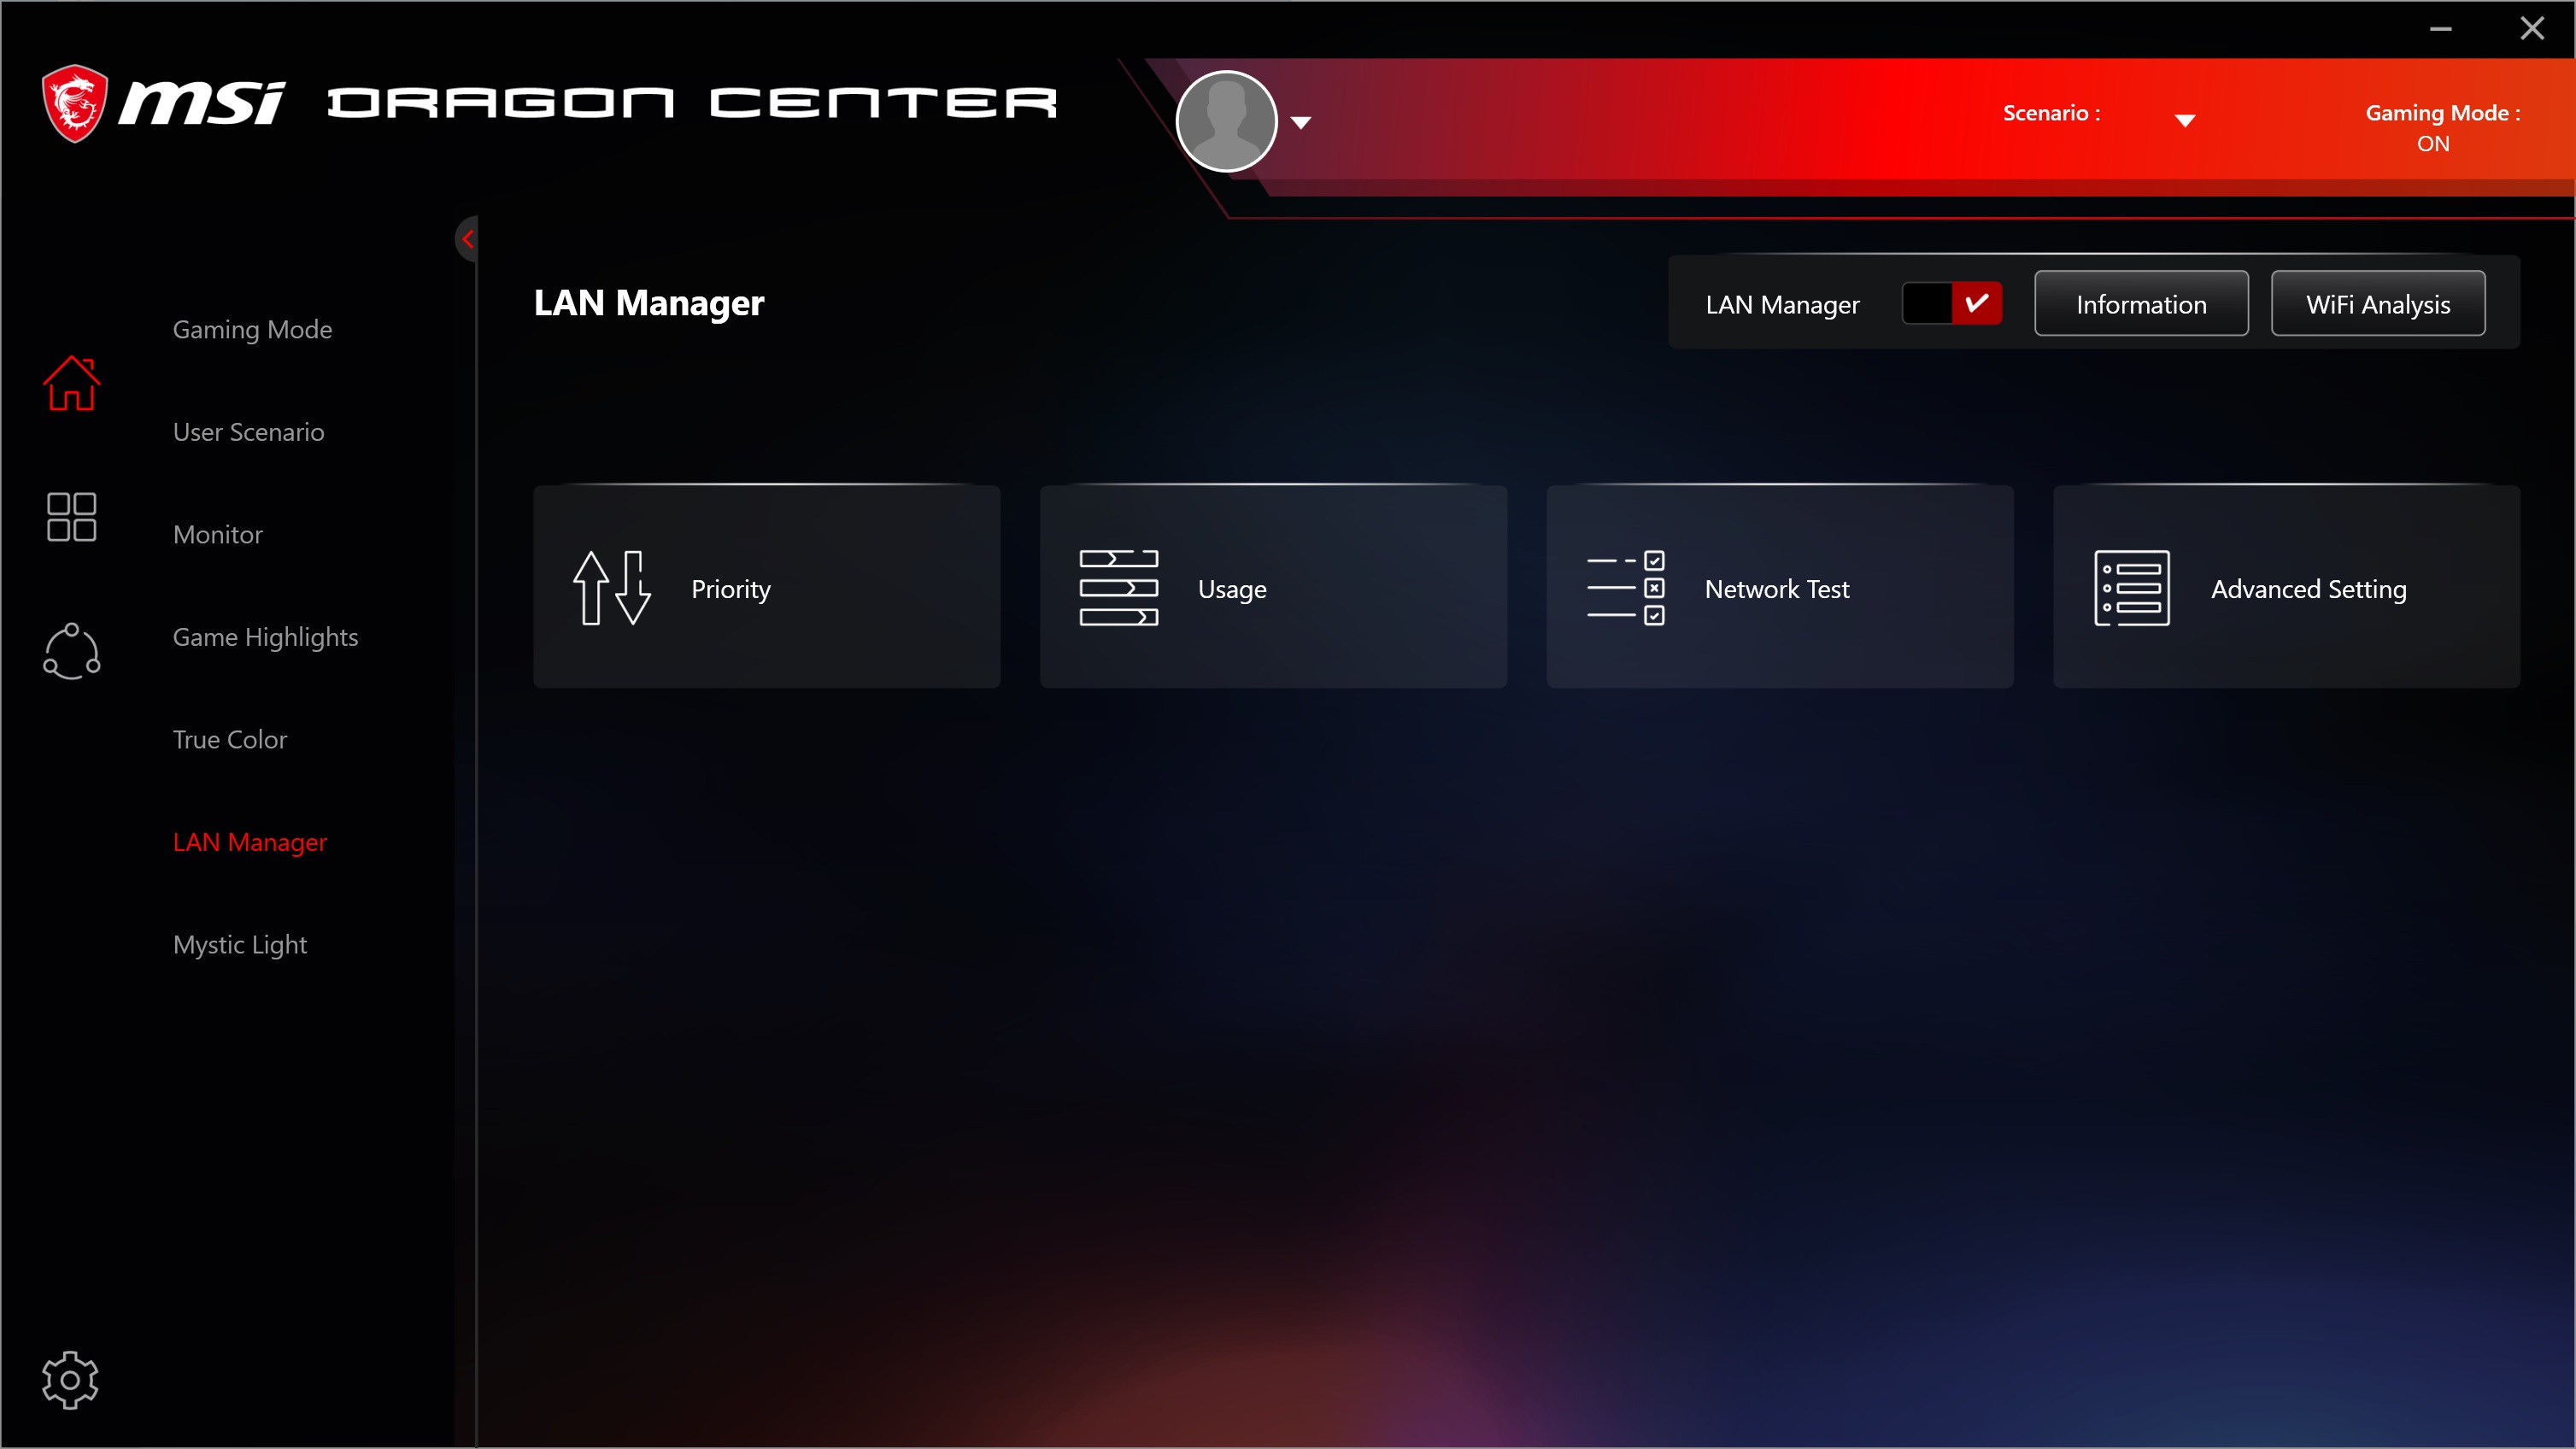
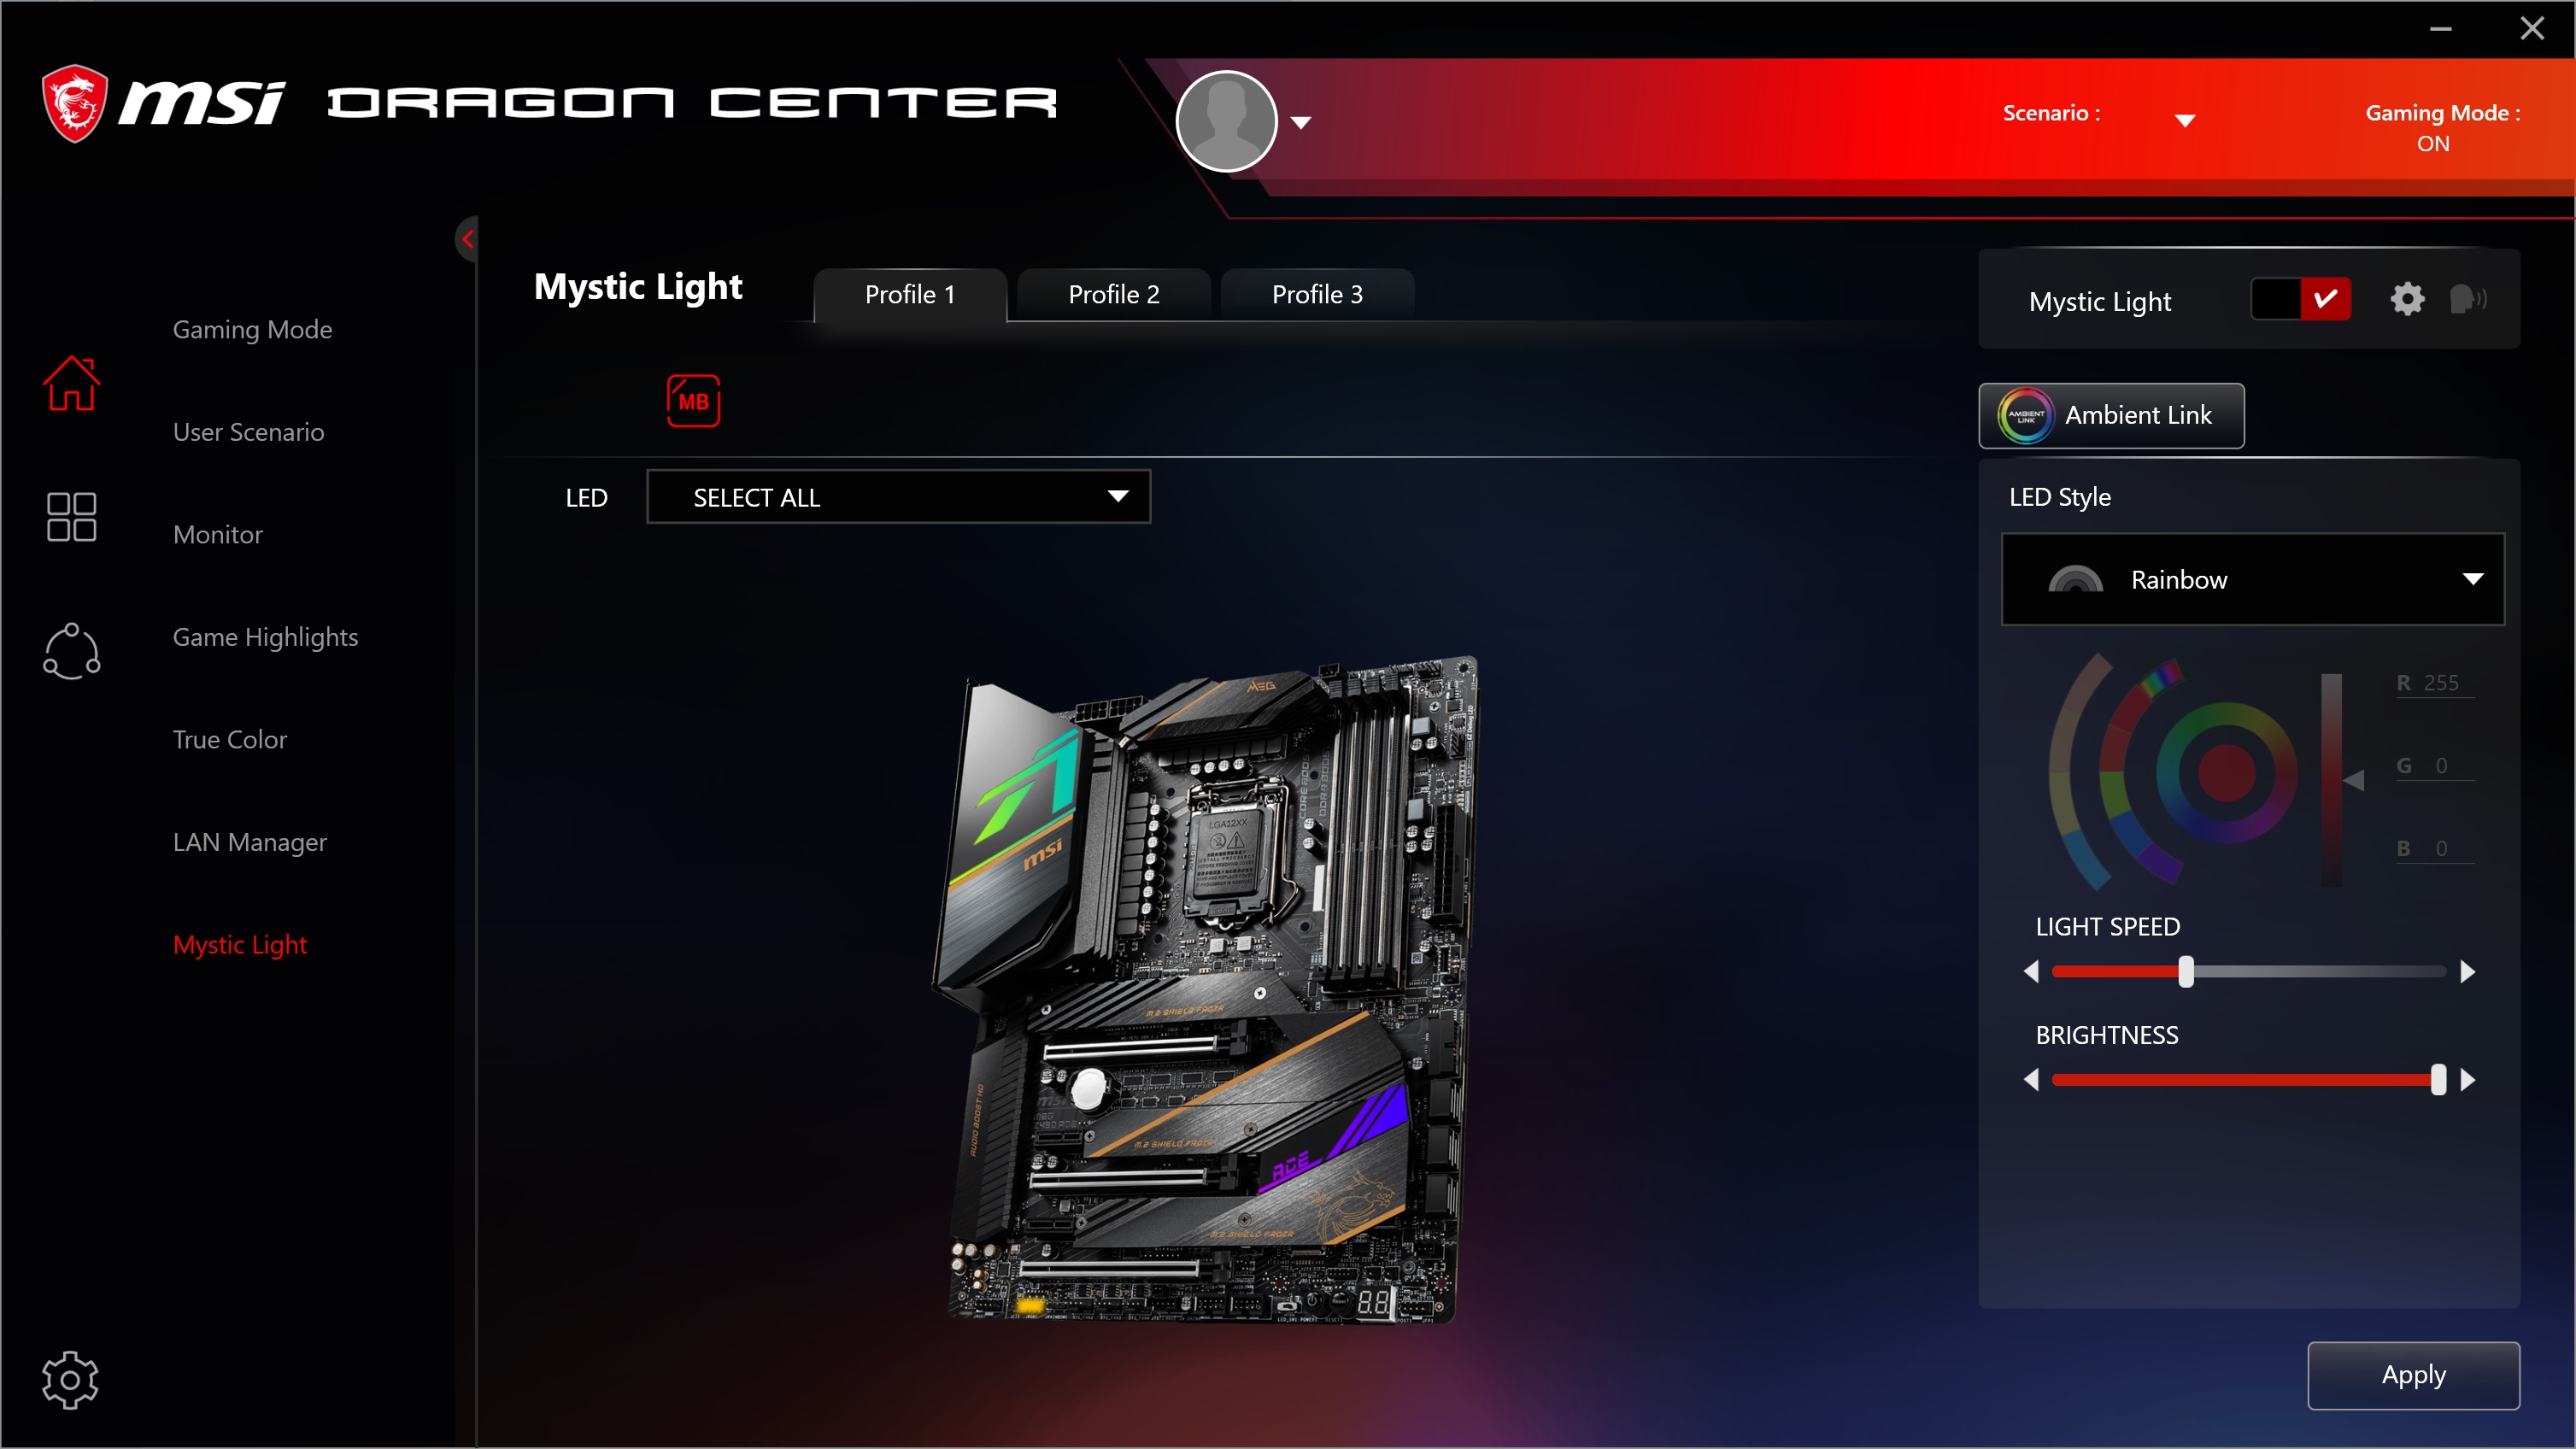
Nahimic
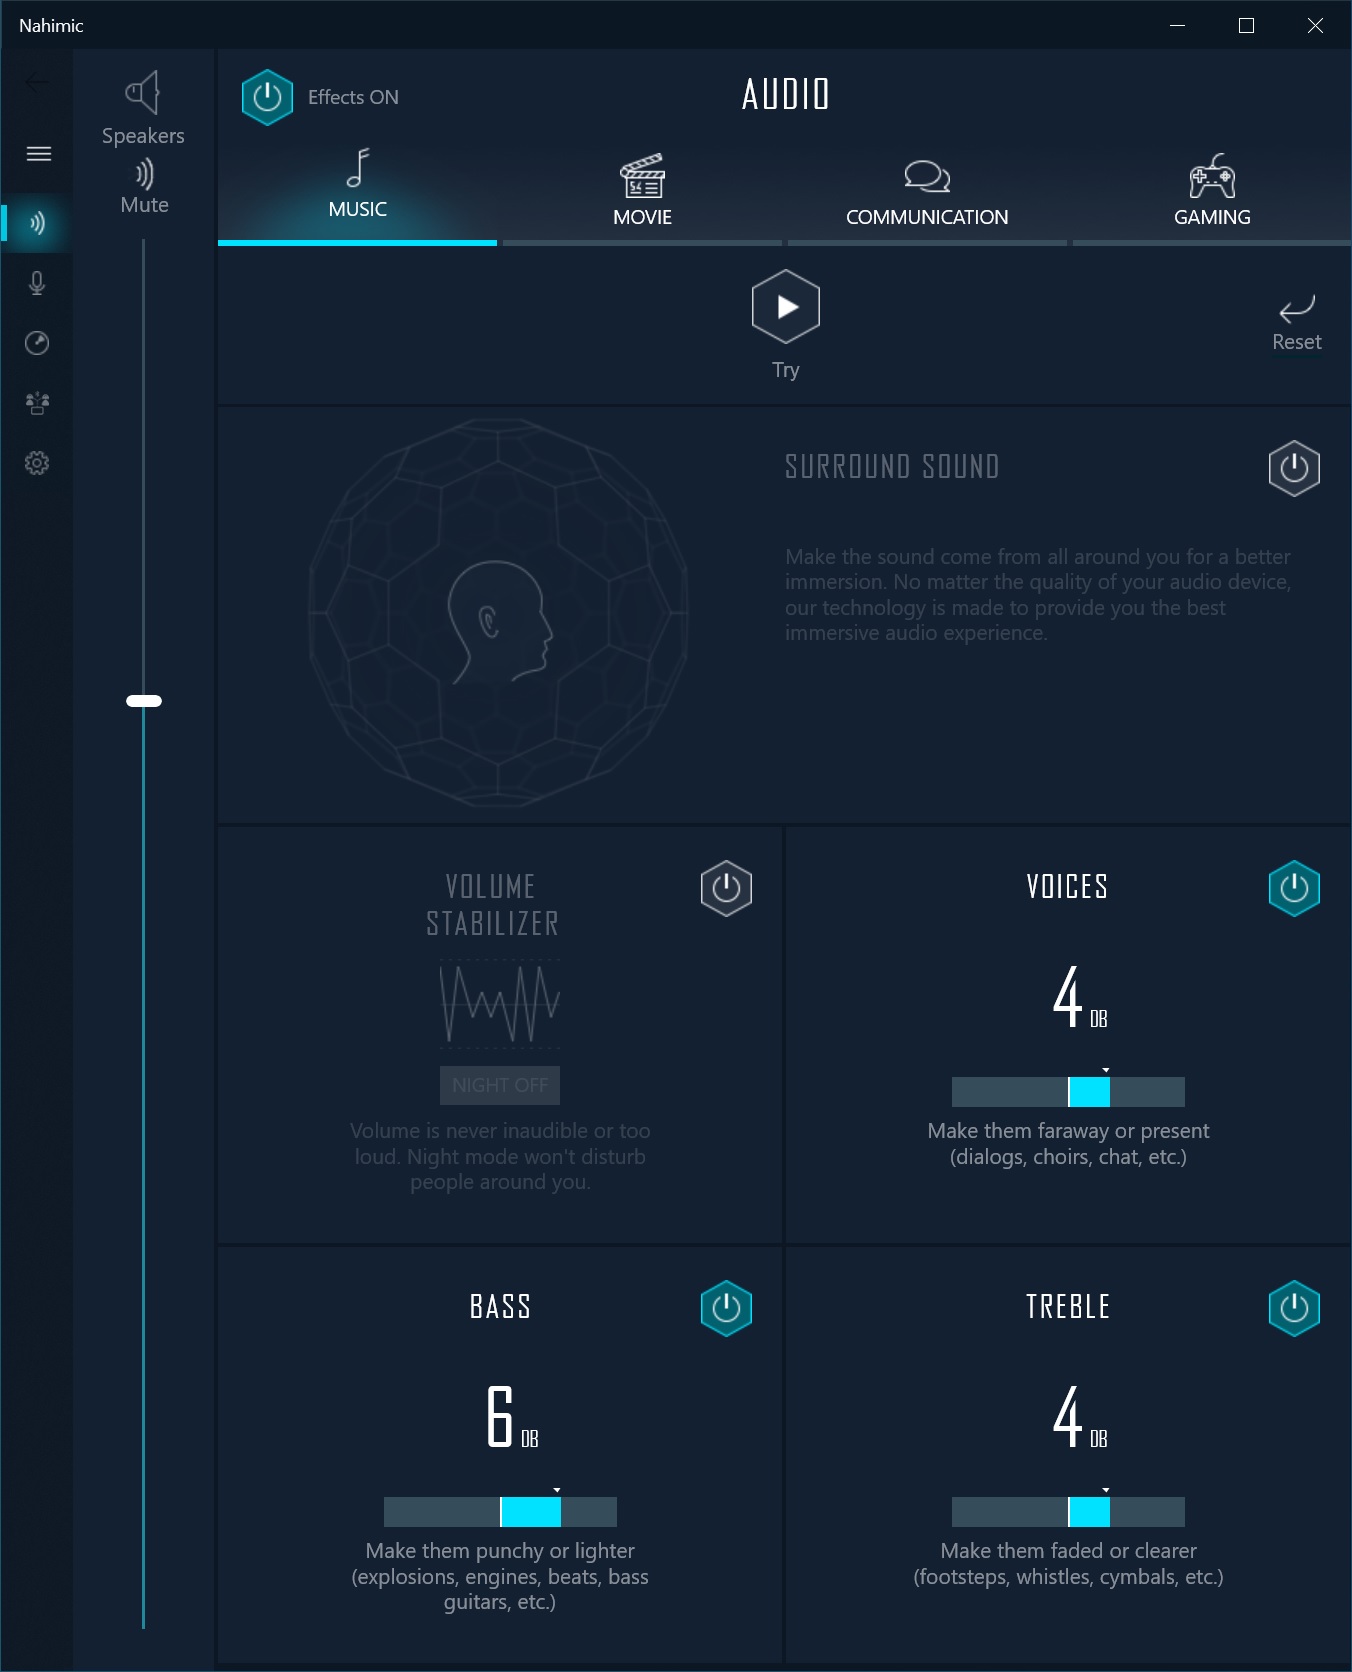
Firmware
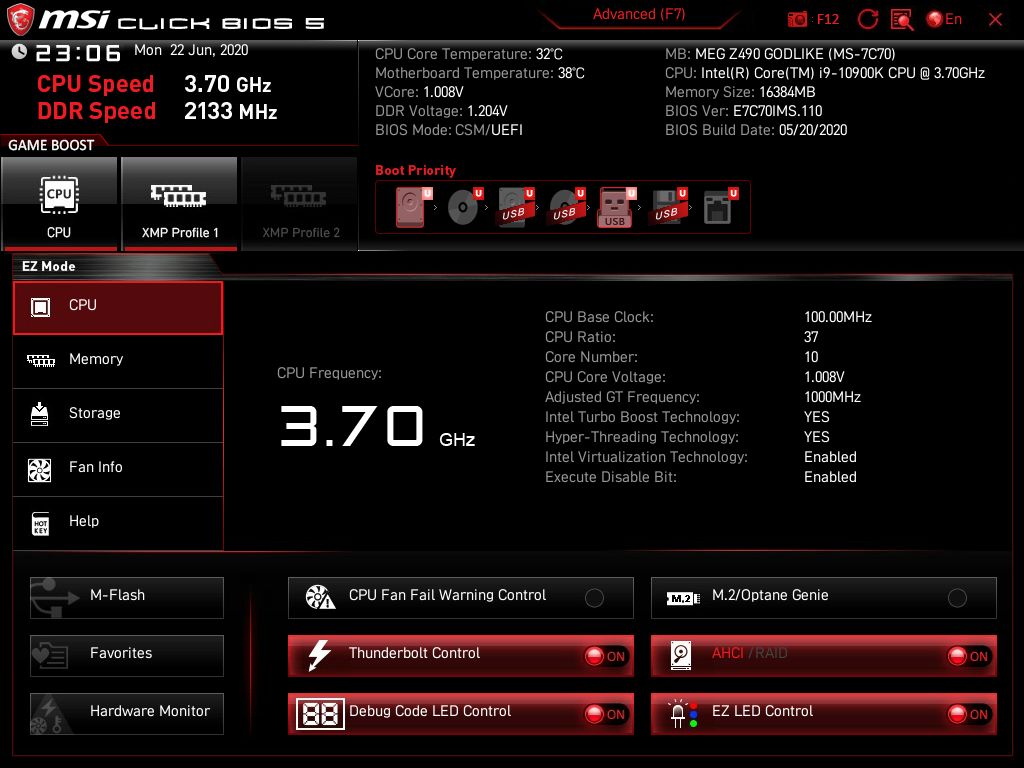
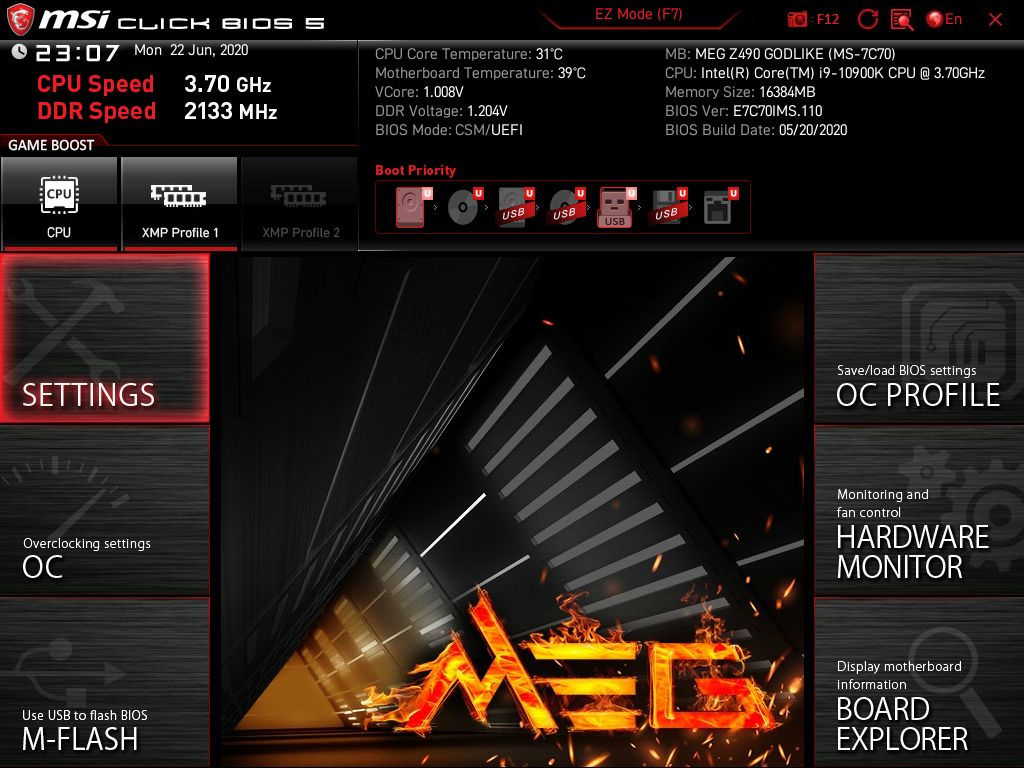
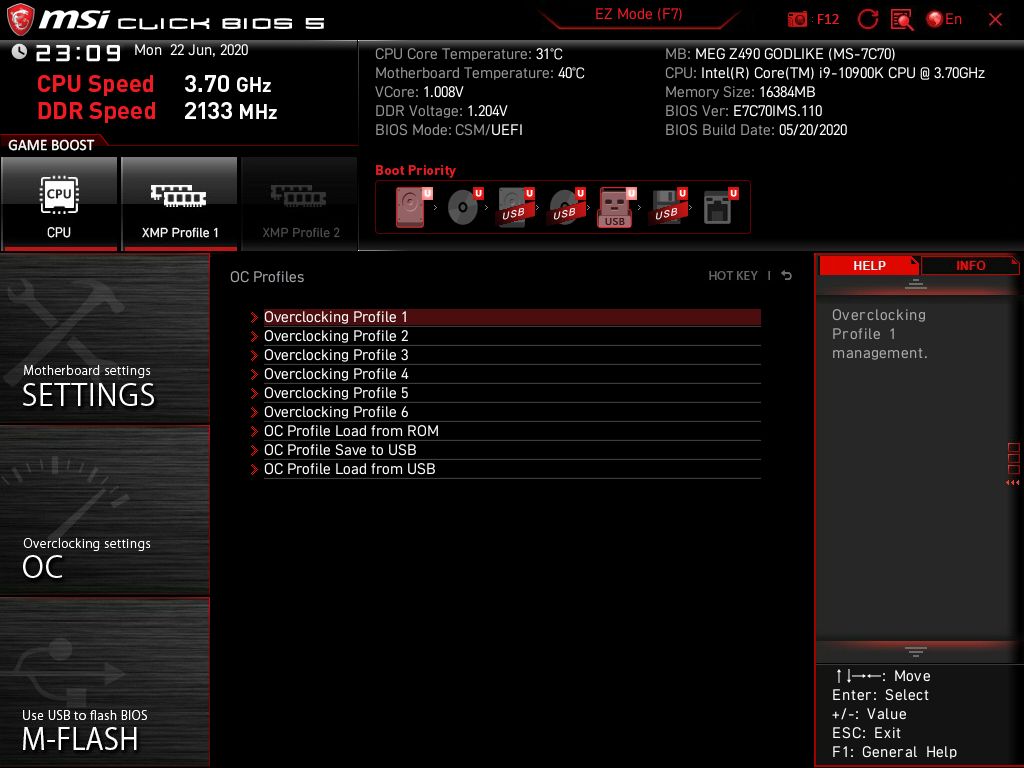
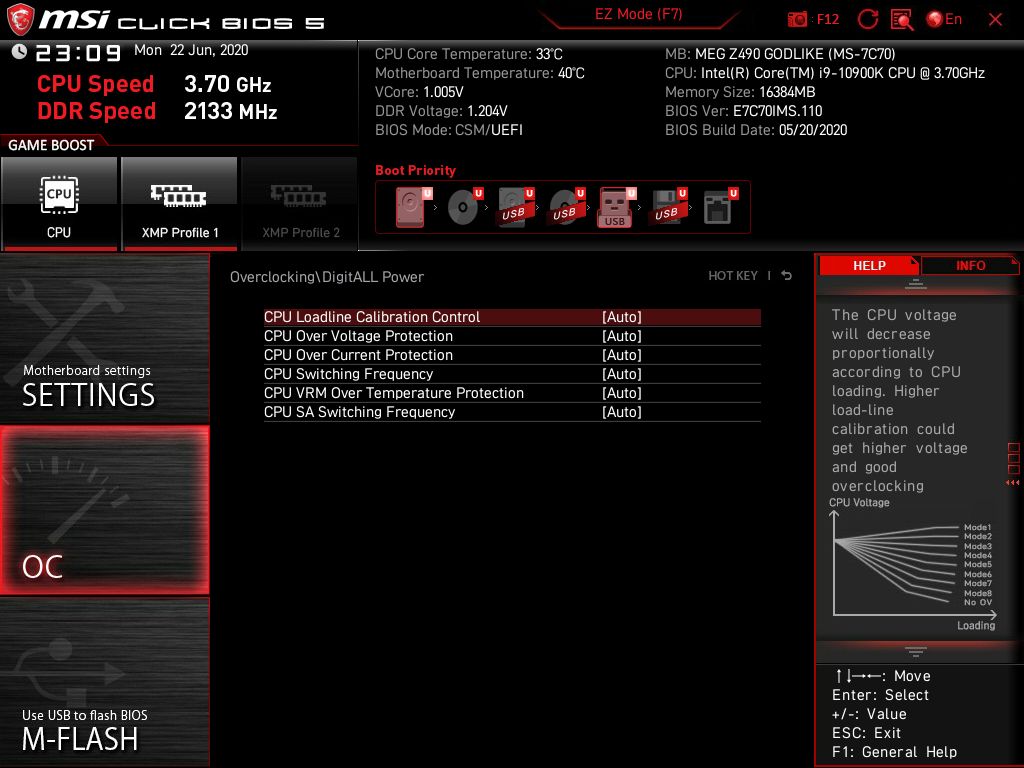
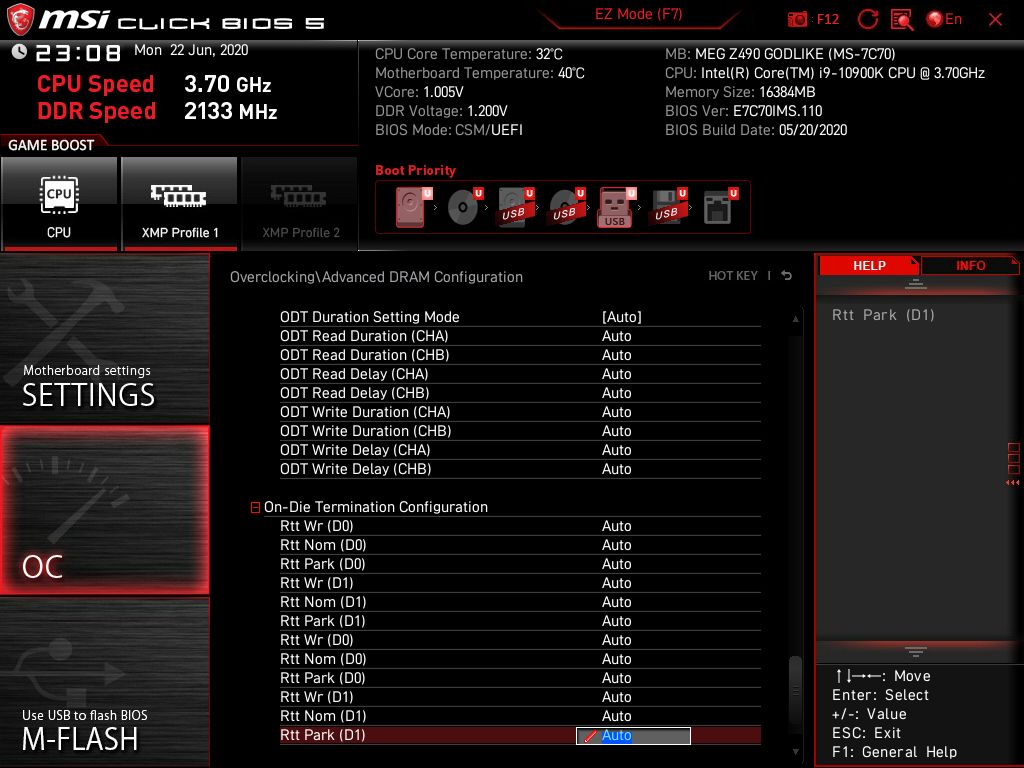
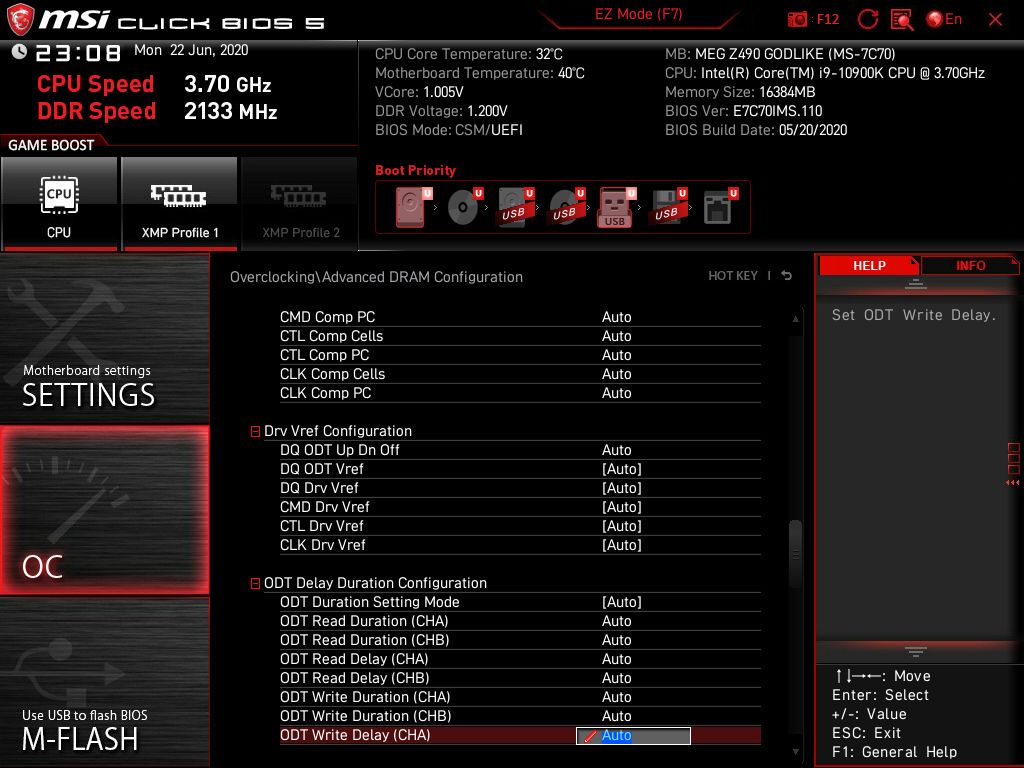
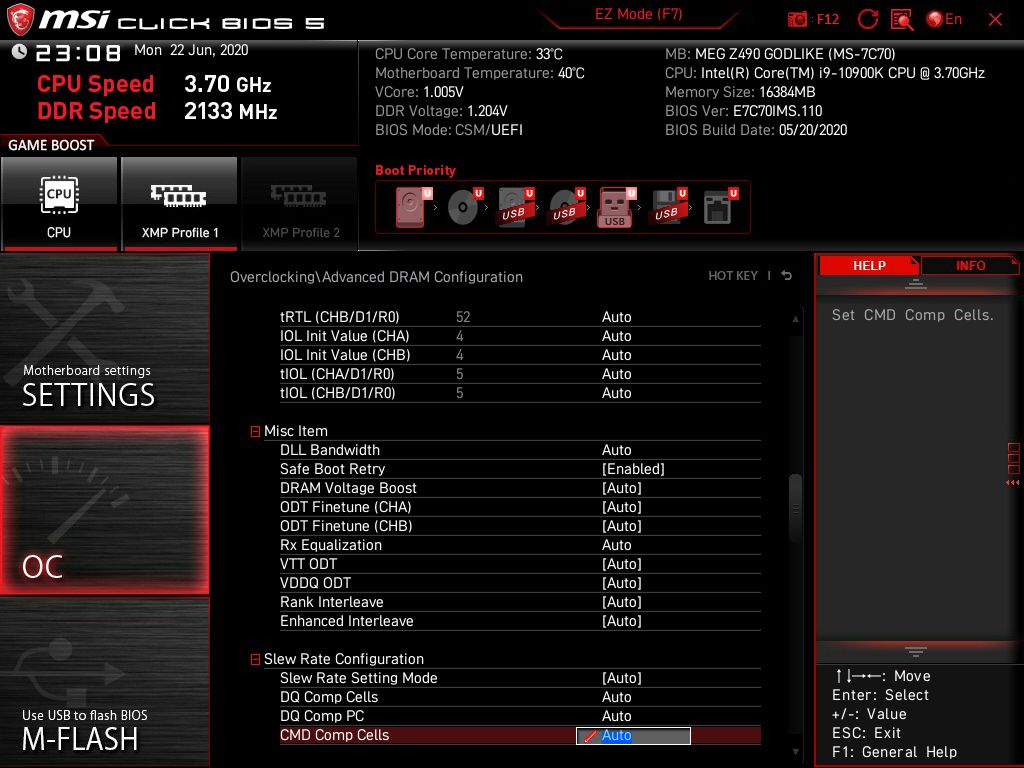
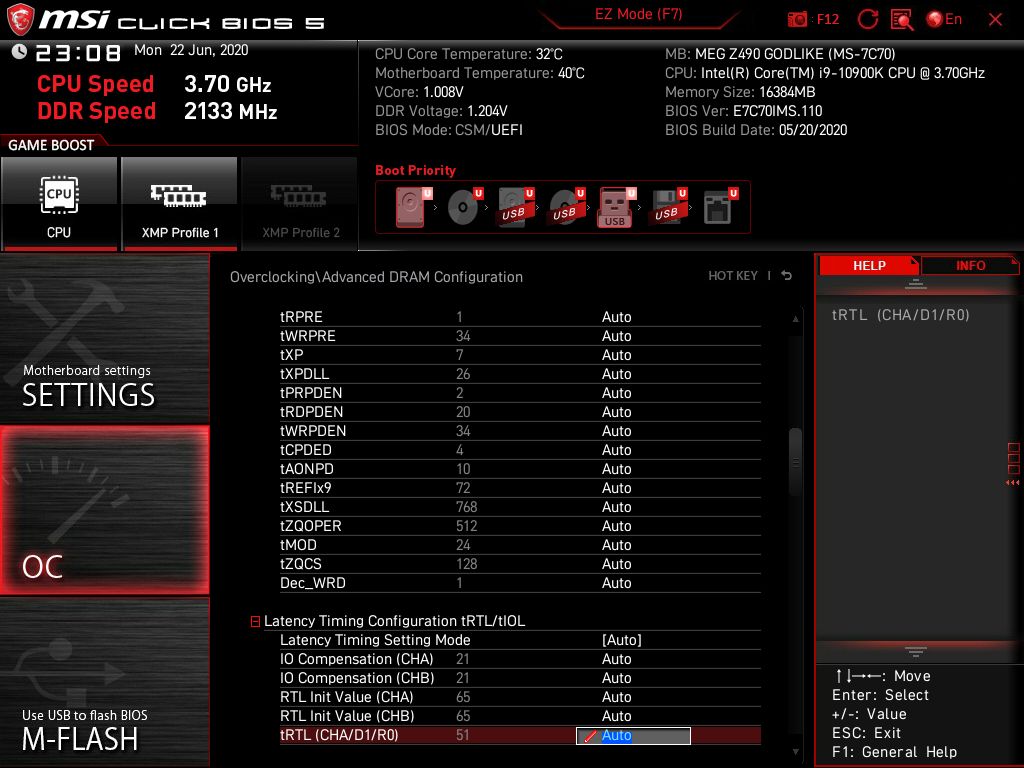
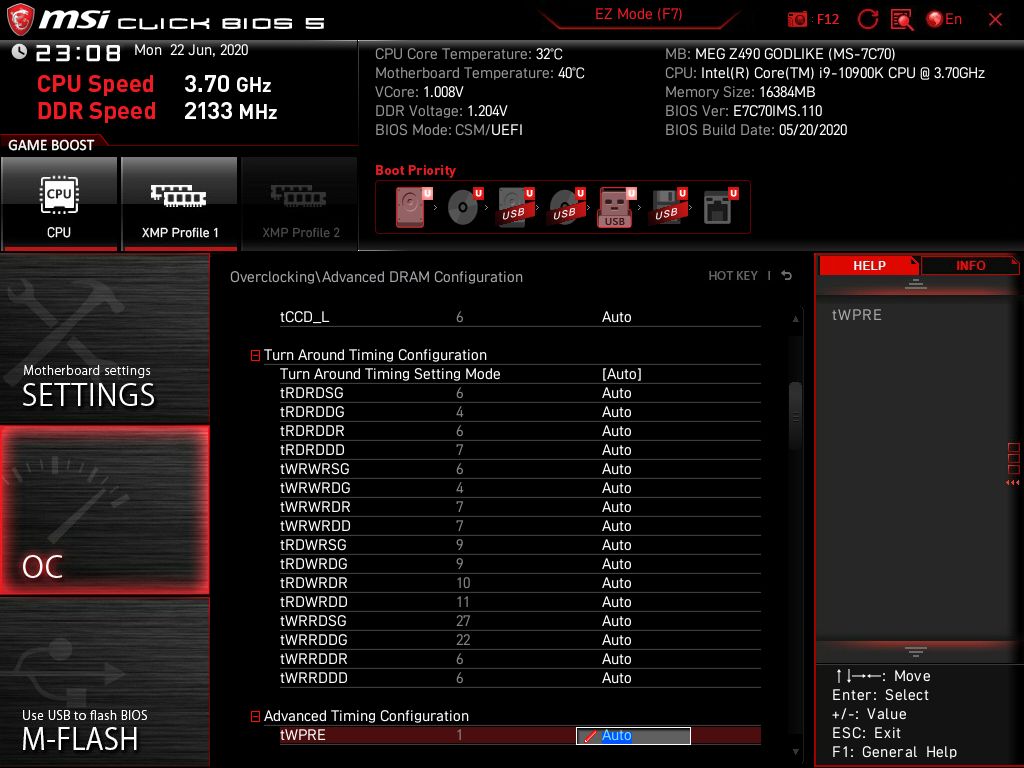
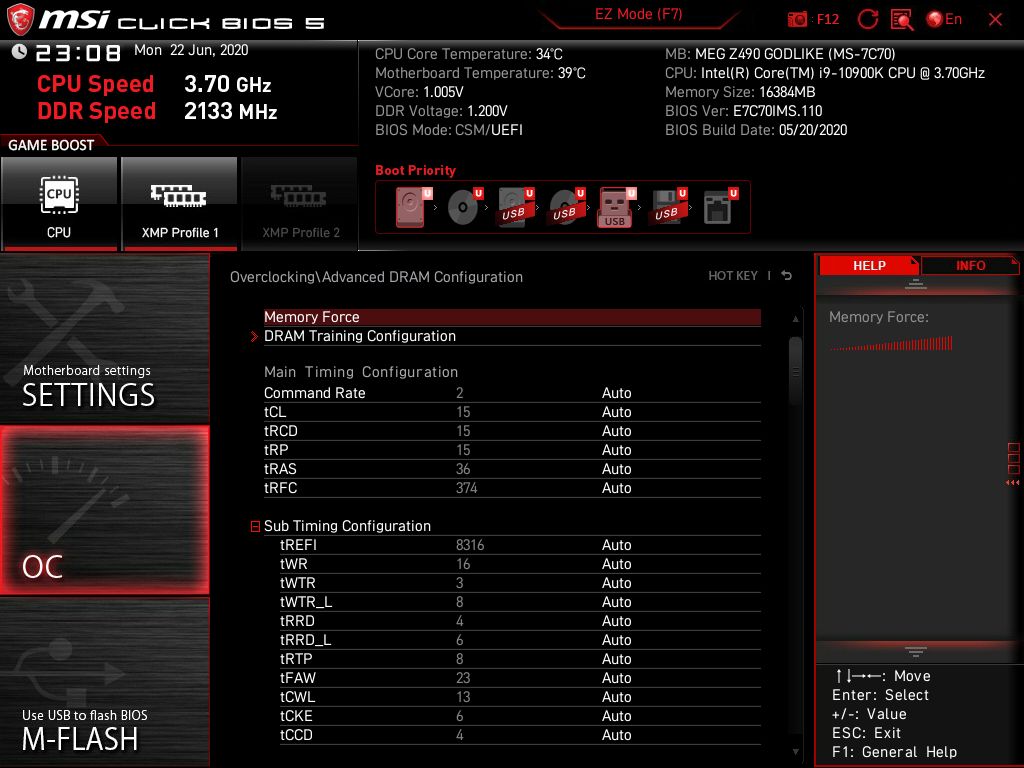
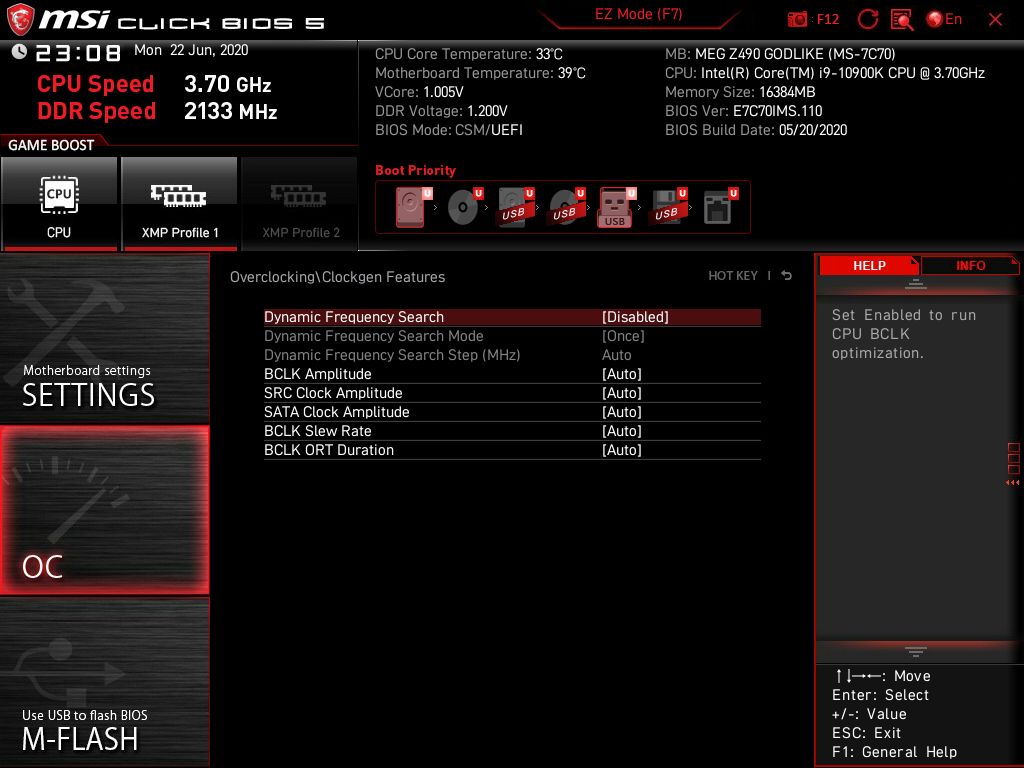
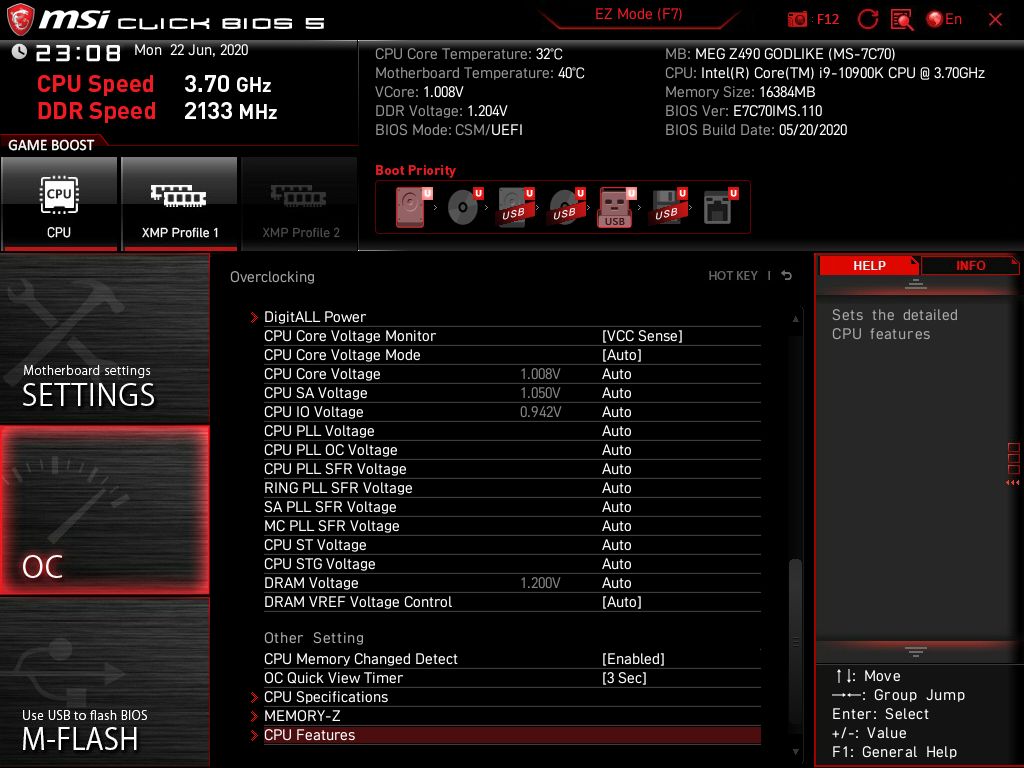
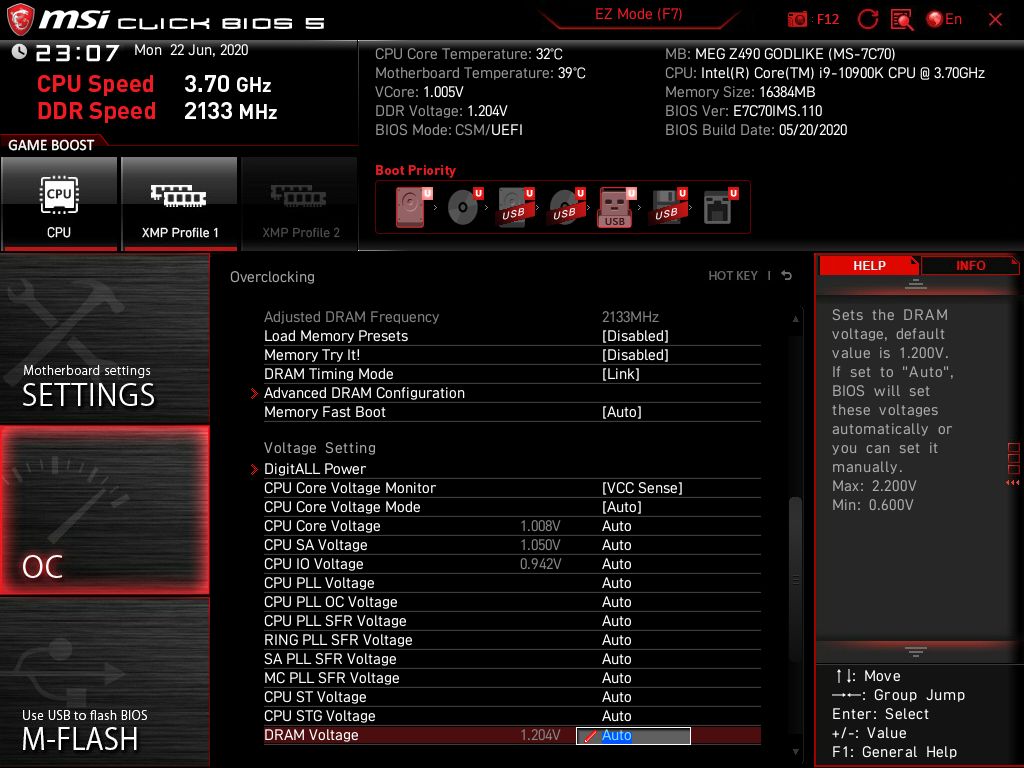
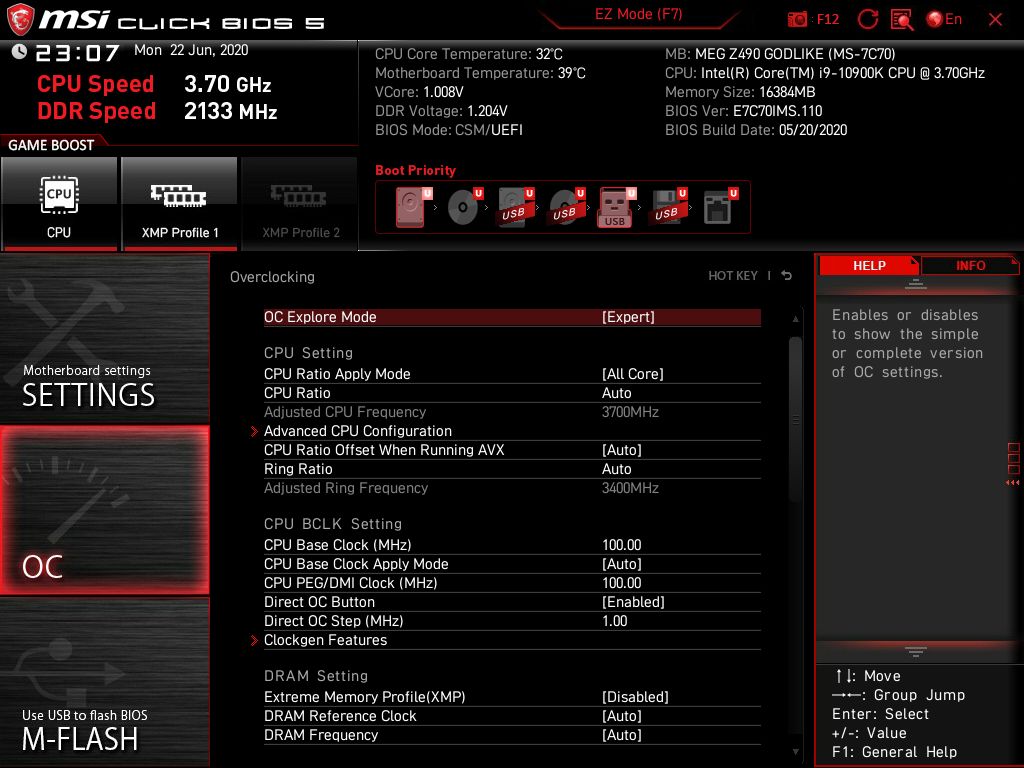
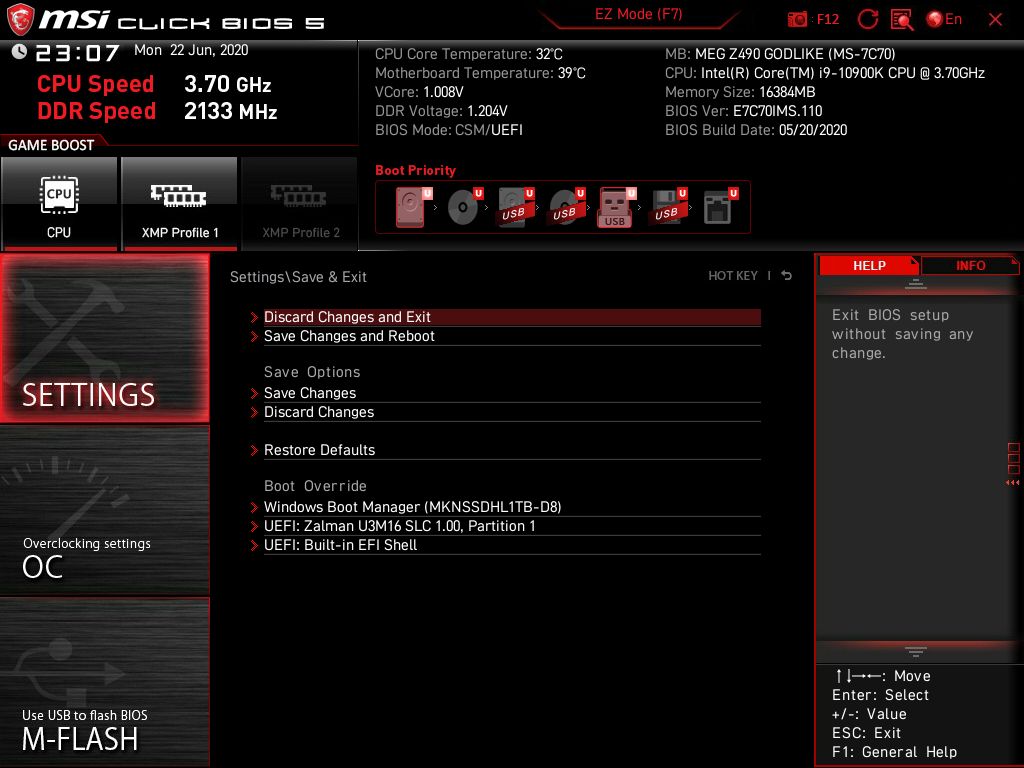
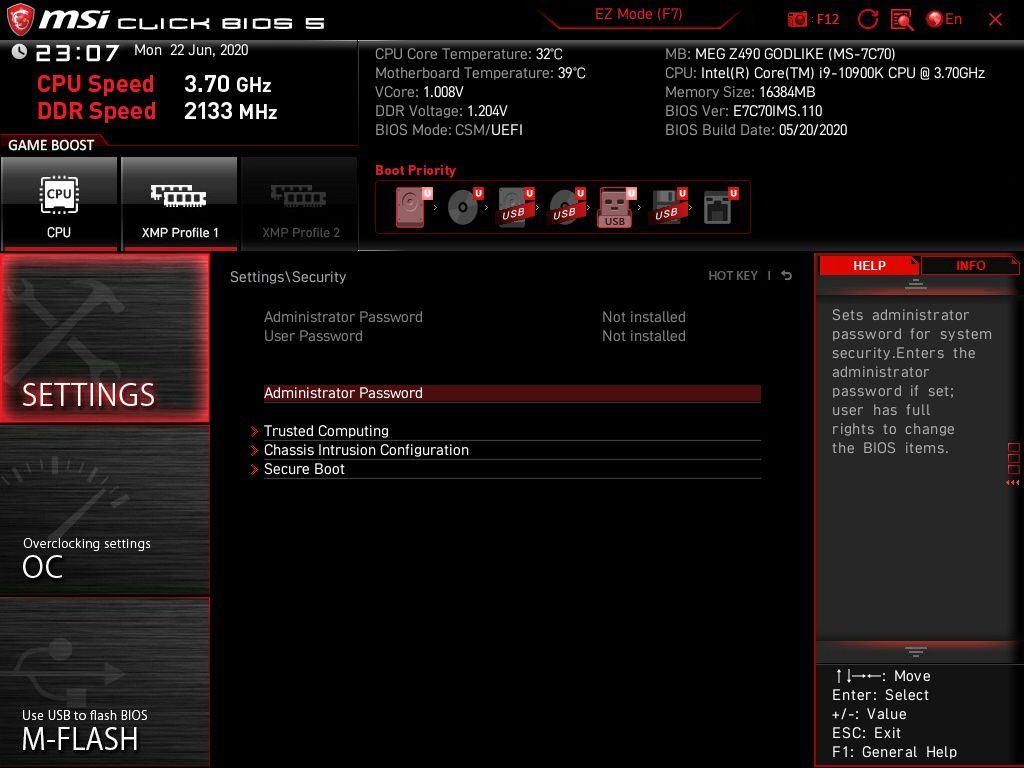
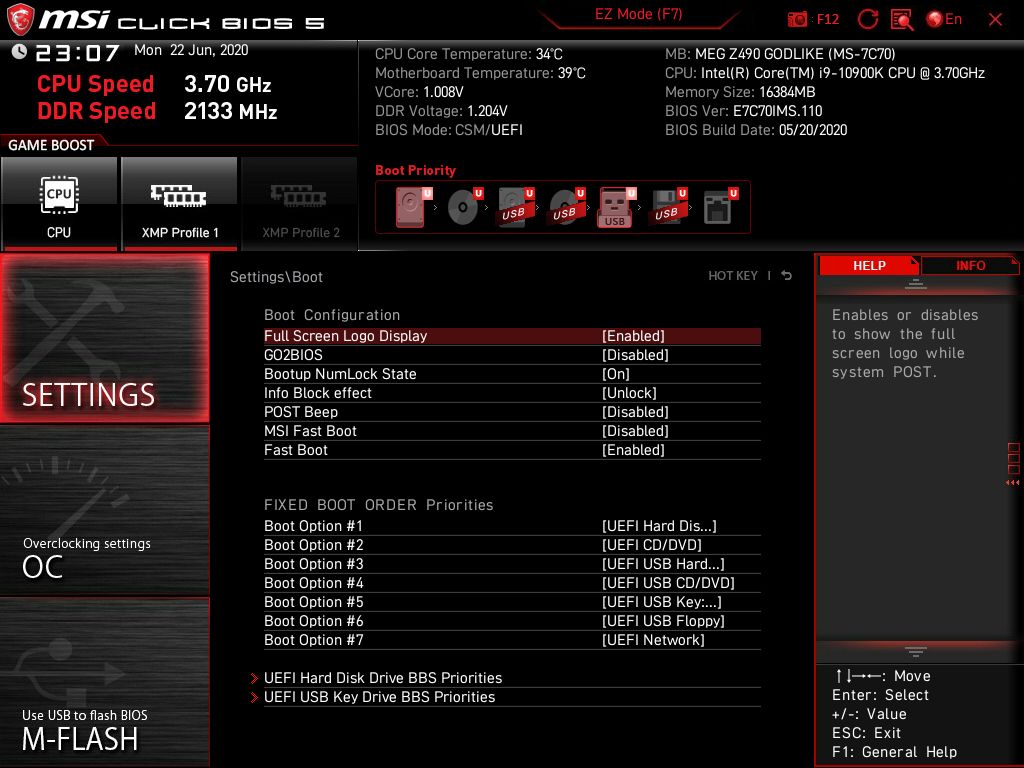
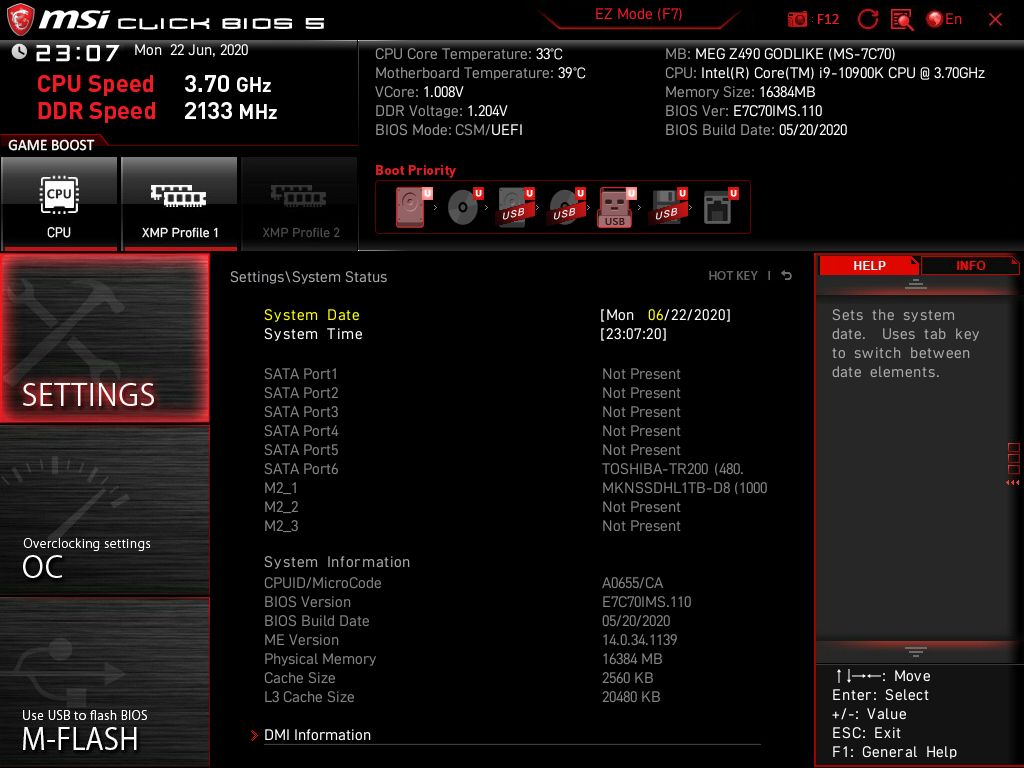
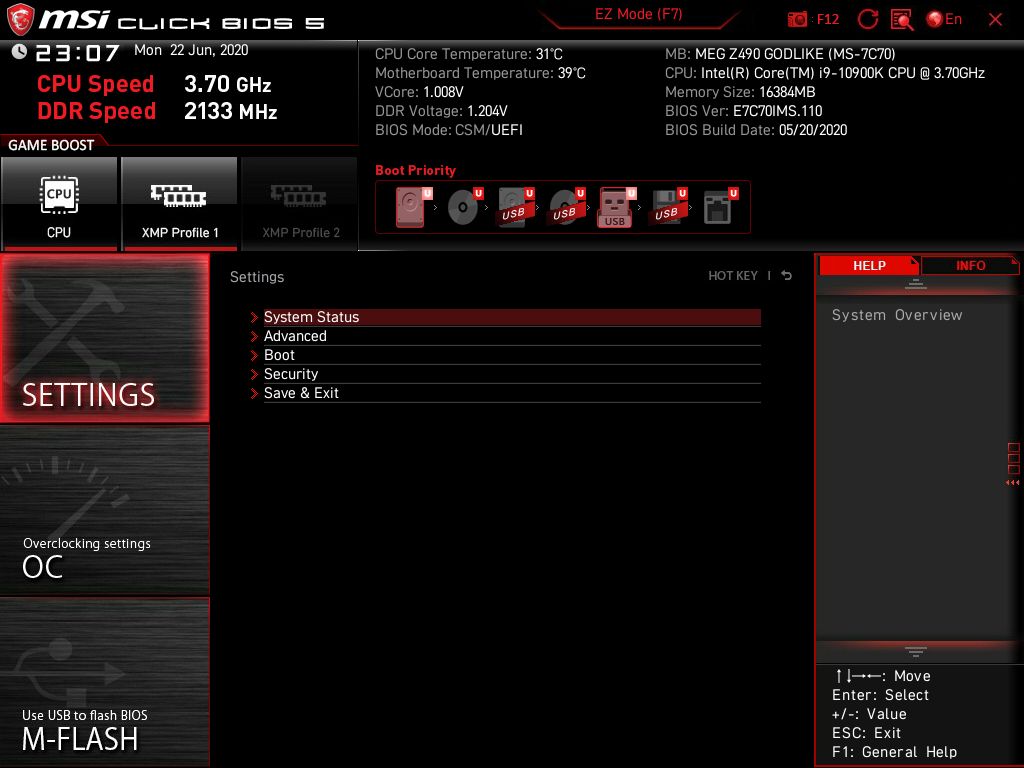
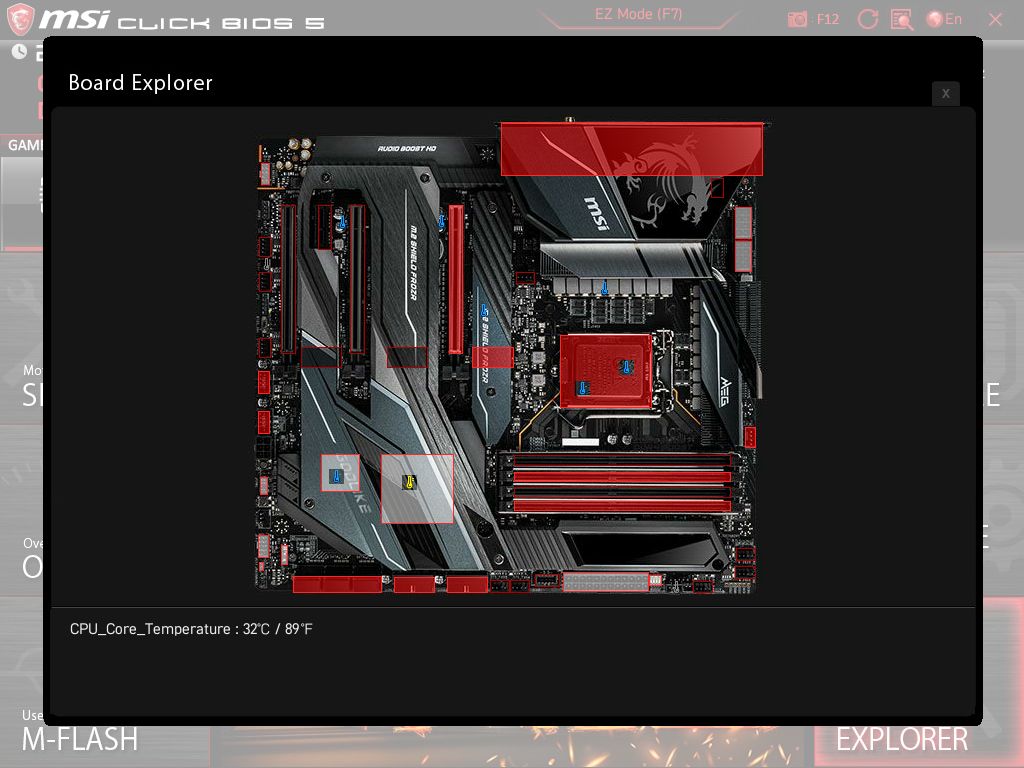
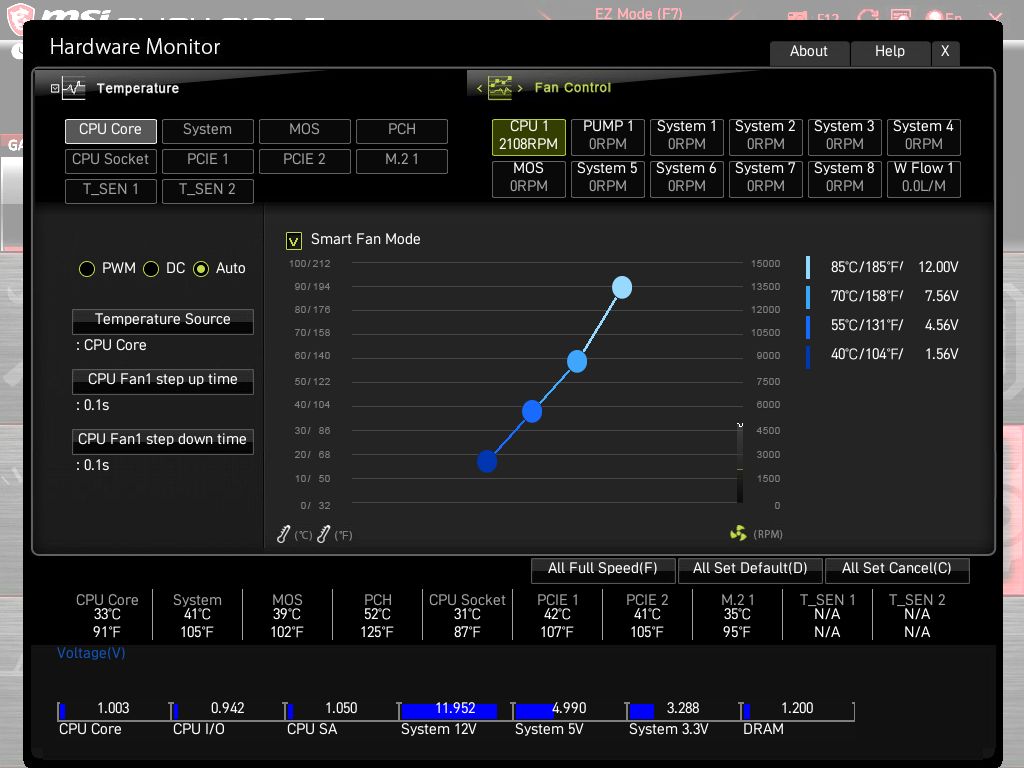
To give you a sense of the Firmware, we’ve gathered screenshots showing a majority of the BIOS screens.
MSI’s BIOS layout is one of my preferred setups out of all the major board partners. It has an EZMode that displays high-level information as well as allowing for some changes including boot order and enabling XMP profiles. Advanced mode splits the screen in two, with information on top and the sections displayed below. The writing is easy to read, with high contrast between text and the background, and most common BIOS functions are easily accessible.



Joe Shields is a staff writer at Tom’s Hardware. He reviews motherboards and PC components.
