How to Post Process Your 3D Prints Like a Professional
The job of printing doesn't end when the printer stops.
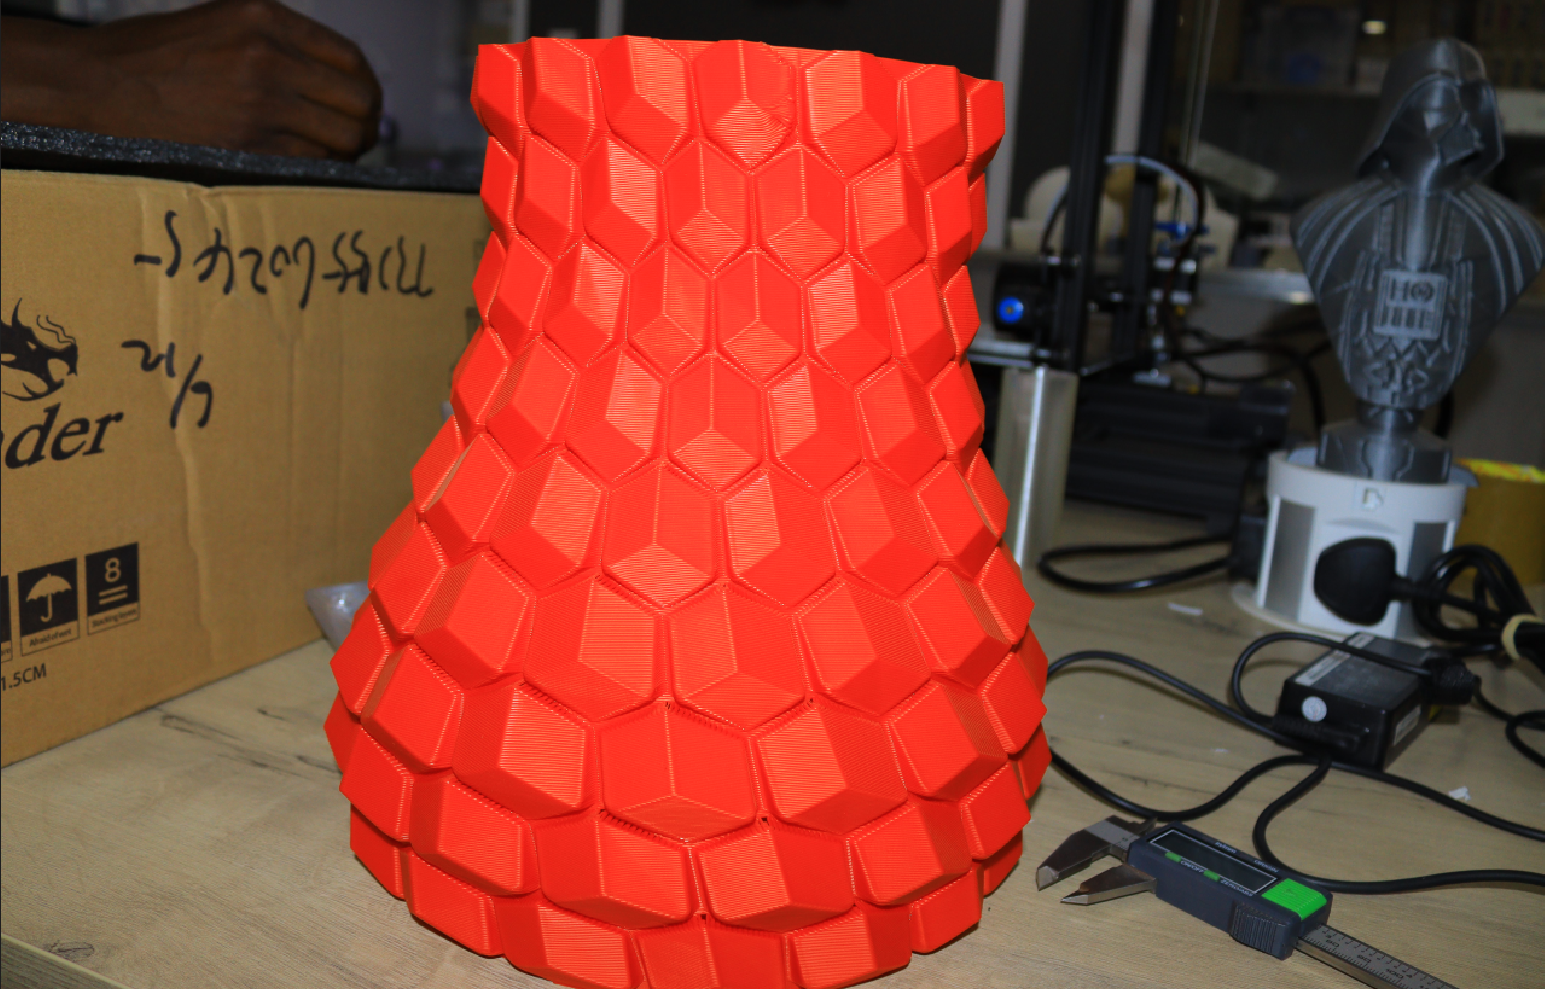
After 3D printing, the next step is to finish the designs through post-processing activities to make them usable. Even if you're using one of the best 3D printers, Post-processing ensures that any rough textures and surfaces left behind are removed. In addition to smoothing out the design, post-processing can make the object more durable. This can be done by adding additional layers of materials to the design, coating, and even painting. If you are 3D printing with a resin, post-processing ensures that any resin left over on your design is cured and the print ready for other processes.
Even though the post-processing activities you apply to your prints are almost identical in all 3D printing technologies, some activities are specific to a resin or FDM printing. We are going to cover each of them. But before that, let’s look at the main tools you need in our process.
What You’ll Need
- Tweezers, pliers, or a sharp knife for removing supports from the prints.
- Wash and cure station for curing your 3D prints if they were printed with resin.
- Course and fine sandpapers for smoothening the print. You can begin with the 80-grit sandpaper before you go to a fine one like 220-grit.
- A basin of water and a piece of cloth for cleaning purposes.
- Safety equipment like gloves.
- Epoxy putty for filling gaps in your print.
- A spatula for mixing and applying epoxy putty.
- Primer to use before painting the model.
- Any spray paint of your choice to make your design unique.
- Epoxy coating kit for coating your prints.
- Glue for joining parts together. This is optional if your design was 3D printed as a single part.
1. Washing And Curing the Prints
If you are using SLA or DLP 3D printing technologies, perhaps on one of the best resin printers, washing and curing is the first thing you must do after the machine finishes its work. Washing ensures you remove all the uncured resin on the surface after printing. This uncured resin can be sticky and may cause the print to have a tacky or greasy feel. You can use a washing machine or expose it to UV light. You can follow the steps below to wash and cure your resin 3D prints:
- Set up your washing and curing station properly.
- Wear gloves, and after that, remove the print from the 3D printer bed, and be careful not to touch the resin.
- Insert the print into the washing station and ensure it is fully submerged, then close the chamber, and set the time (usually just a few minutes).
- Remove the print from the washing chamber and rinse it under running water after the cleaning cycle to remove any residual cleaning solution from the surface.
- Allow the design to air dry or use compressed air to remove excess water.
- Once the print is dry, place it in the curing chamber of the station, close and set the temperature, and after a few minutes, you can remove it, and it should be ready.
- If you don’t have a wash and cure machine, you can fill a container with a cleaning solution like isopropyl alcohol and place the print inside and ensure that you submerge it completely.
- Gently swirl the container to ensure the cleaning solution reaches all print surfaces.
- After that, air dry or use compressed air to remove excess liquid.
- You can then expose it to a light source to cure it completely.
For more details, see our dedicated tutorial on how to clean and cure resin prints.
2. Removing Unwanted Parts
Both prints from FDM and resin 3D printing technologies might contain supports, and you need to effectively remove them without destroying any part of your design. To do this, you need to:
- Determine which parts of your 3D print have support structures and examine how they are connected to understand the best approach for removal.
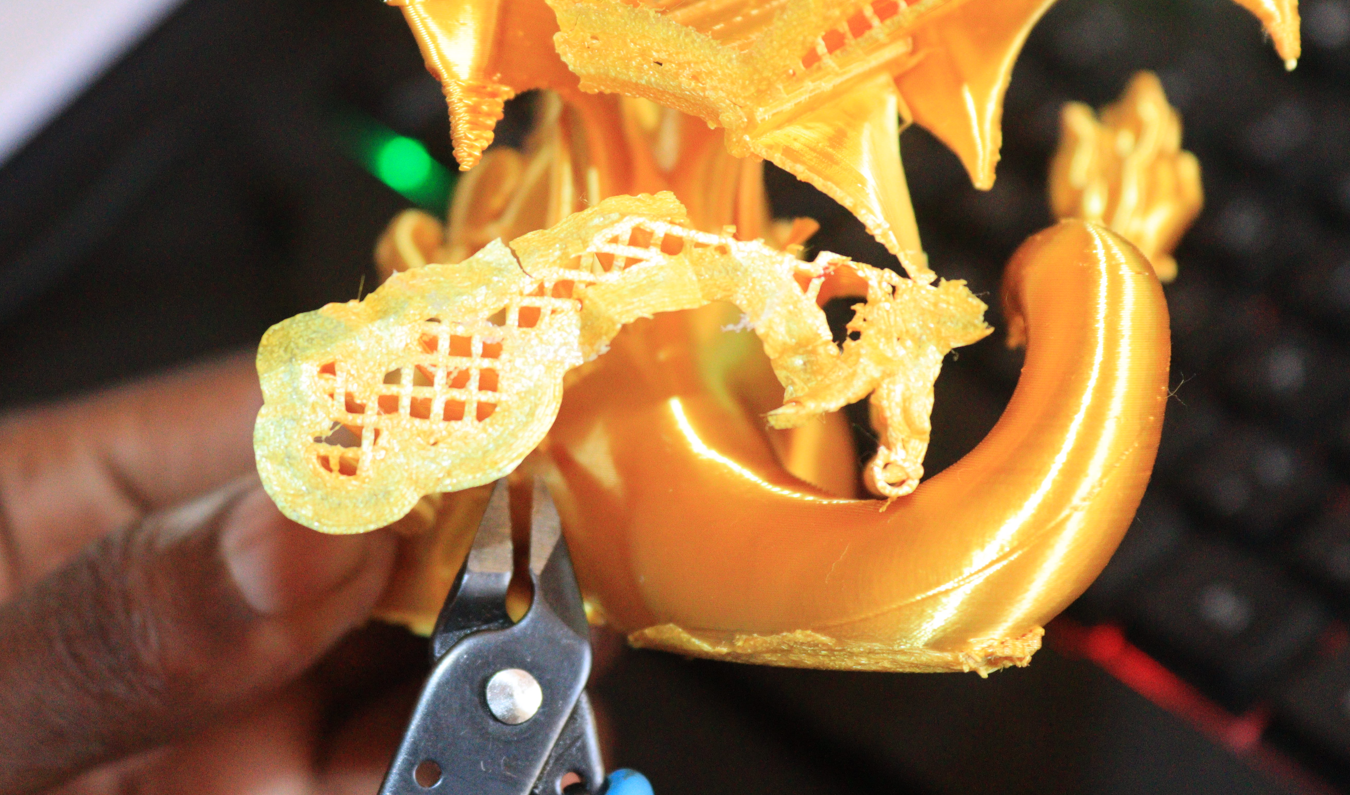
- Once you locate the support materials, gently hold and pull them away using pliers or tweezers. You can also use your hands if they are easily accessible. Do it as carefully as possible to avoid damaging the object.
- If some supports are stubborn or difficult to reach, use a knife to slice or cut them away.
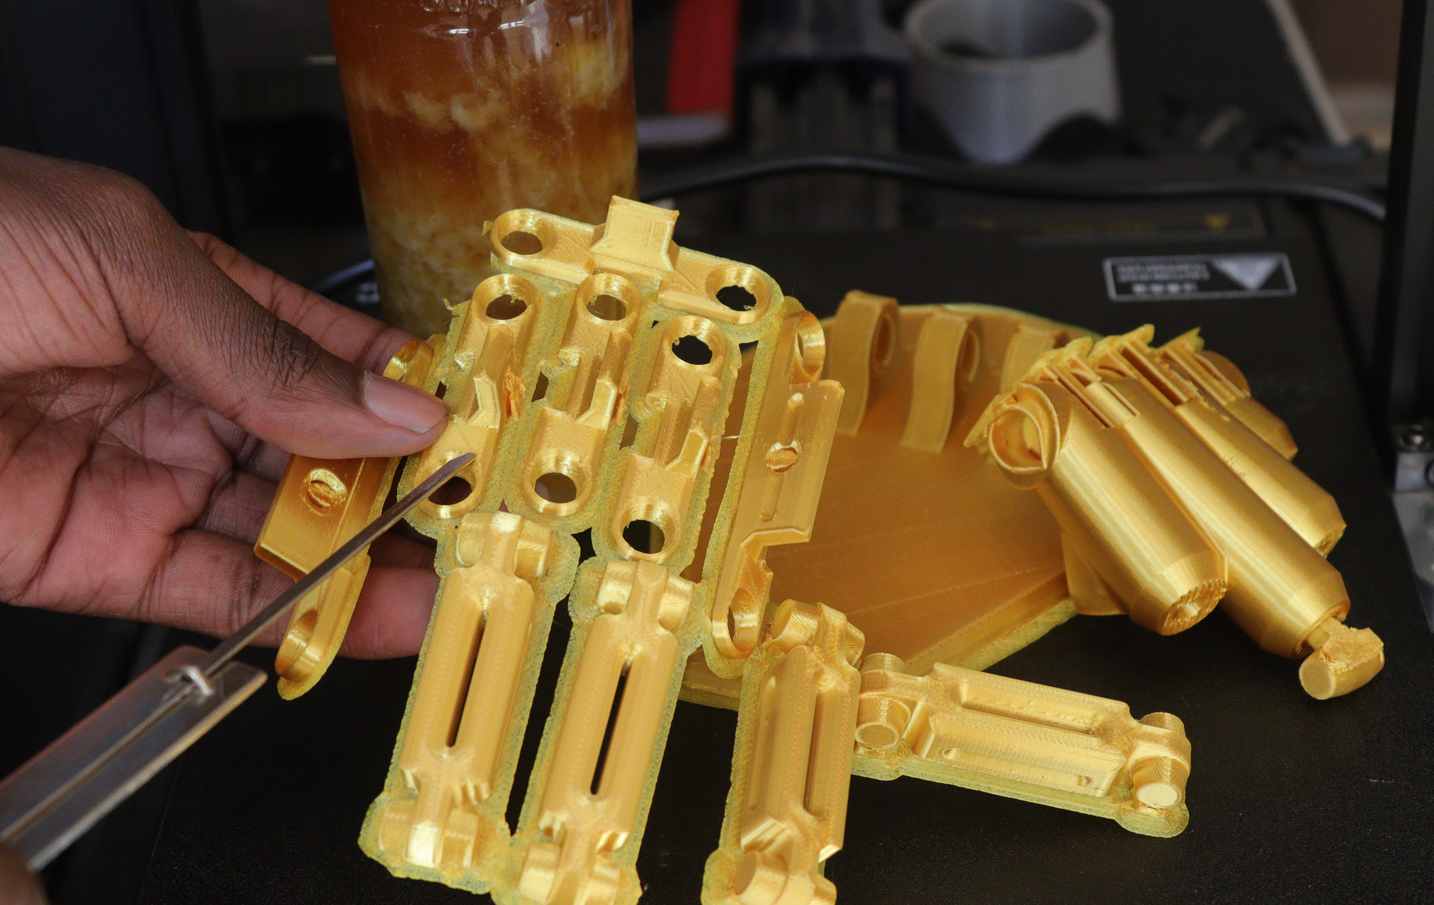
- Examine the print for any remaining small or attached pieces after removing the supports, and use your tools to trim or cut them away.
- Check for damage and inspect the printed object for any unintended marks caused during the support removal process. If you notice any issues, you can use other post-processing techniques discussed below to repair and improve the affected areas.
In addition to supports, you should check if there are strings around your designs and remove them.
3. Sanding And Smoothing
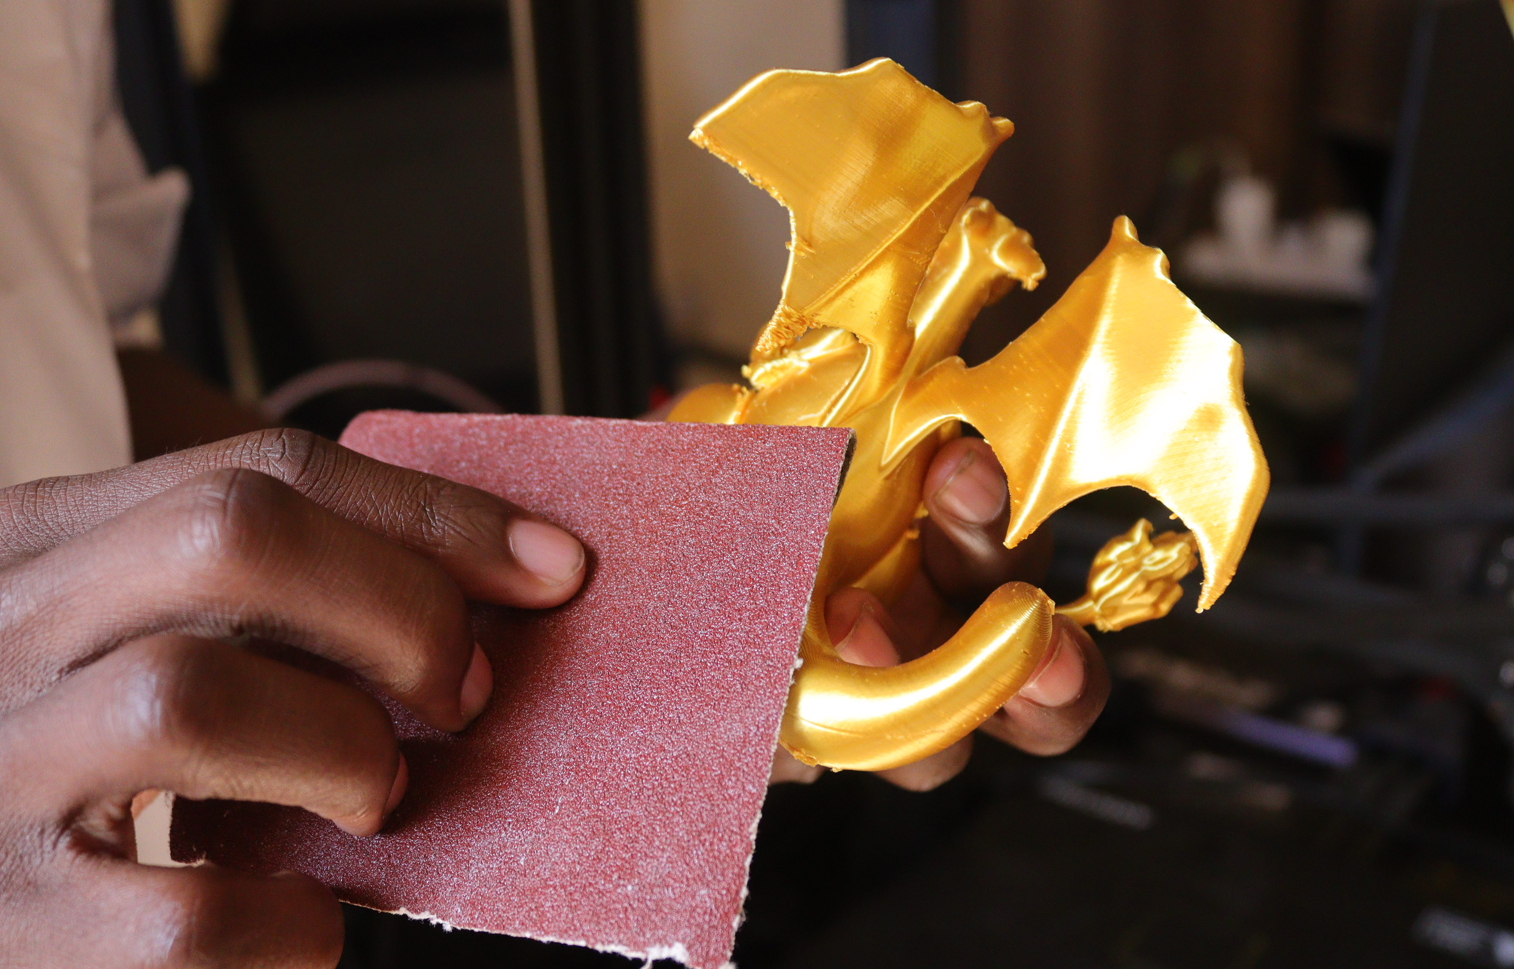
After removing support materials, you will find that rough surfaces remain on some sections of your prints, and you need to smoothen them. Even if there are no unwanted parts you need to remove, you should give your parts a smooth finish, and sanding is the best way to do this. In this process, you can use sandpapers with different textures depending on the nature of your print. To effectively sand and smooth 3D prints:
Get Tom's Hardware's best news and in-depth reviews, straight to your inbox.
- Identify the areas that need smoothing, especially rough surfaces and the areas with imperfections. You should avoid delicate areas that might break off
- Remove rougher areas with coarse-grit sandpaper, then proceed with a finer grit to refine the surfaces further and reduce scratches that the coarse grit might have left.
- As you sand, apply light to moderate pressure and move the sandpaper in a circular or back-and-forth motion.
- Clean the print with a soft brush or wipe with a soft cloth, then apply acetone vapor to further smooth the surfaces.
4. Filling Gaps And Joining Parts
If gaps appear on your 3D prints after removing supports or when removing the print from the bed, you need to fill those gaps. You can use epoxy putty to do the job, as it can hide the imperfections or visible layer lines in your 3D Prints. To do this effectively:
- Take a portion of epoxy putty and apply it to the gap or imperfection on your 3D print.
- Use your fingers or a spatula to press and mold the putty into the gap, ensuring it fills the space.
- Allow the epoxy putty to dry by leaving it for a few hours to ensure a strong and durable fill.
- Use sandpaper to carefully sand down the filled areas, as you did before in the sanding step.
If you 3D printed several parts that need joining, you can use glue to join those parts together. As you do so, ensure that you carefully align the parts and ensure they are correctly positioned and fit together as intended.
5. Priming And Painting
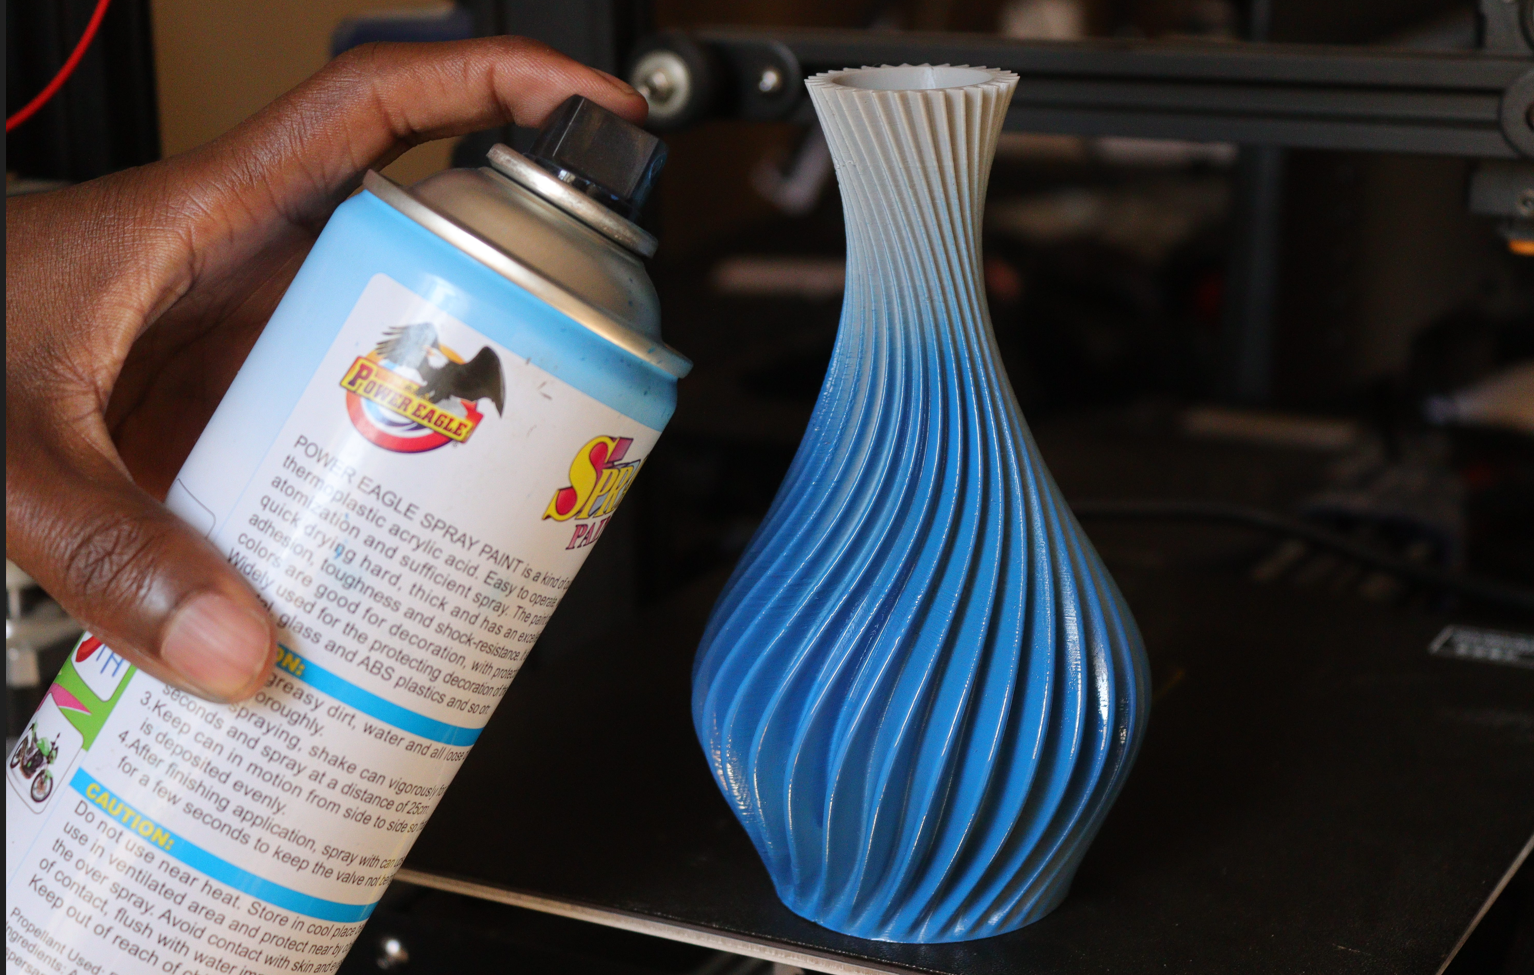
You can paint your 3D print with the color of your choice to make it unique. However, before you do so, it’s essential to prime the model to create a smooth surface that is easier to paint. Priming also helps to fill any tiny holes in the design. To prime and paint your design:
- Shake the primer can or mix it thoroughly using a brush-on primer, then apply a thin and even coat of primer to the entire print surface. Ensure you hold the can or brush at a distance to avoid over-application or causing drips.
- Apply a thin and even layer of paint to the primed surface using a brush or spray paint.
- Let the paint dry before you touch or use the 3D print.
6. Coating
Coating involves applying a protective or decorative layer to the print to enhance the appearance and prevent wear and tear, as well as from environmental elements like humidity and dust. You can use various coatings like clear resin, epoxy, or polyurethane.
Here are the steps for coating 3D prints:
- Apply a thin and even layer of the coating material to the surface of the 3D print. Work in sections, starting from one end and moving systematically across the print.
- Apply light pressure to ensure even distribution and coverage.
- Let the coating dry, and allow the applied coating to cure or dry.
Not all of the above post-processing activities apply to all your designs, but you might have several of them done in your project. As you finish your designs, you just need to be careful not to damage any section.
MORE: Best 3D Printers
MORE: Best Budget 3D Printers
MORE: Best Resin 3D Printers
Sammy Ekaran is a freelancer writer for Tom's Hardware. He specializes in writing about 3D printing tutorials and guides. You can find more of his work on various publications, including Makeuseof, All3dp, and 3Dsourced.
-
USAFRet For the glue...word of warning...do NOT use superglue. (Cyanoacrylate)Reply
The residual fumes and outgassing WILL etch the surrounding surface.
