How to Upgrade a Laptop SSD
Increase your storage and your speed in a few steps.
The price of storage media is dirt cheap, and now there is no reason not to pick up a better, faster, the best SSD for your laptop. If you’ve never opened your laptop before, it can seem daunting to reach in and remove a working drive, but fear not. Upgrading an SSD is a quick and simple process and here are the steps to get it done.
Before you buy a new drive, you need to determine what type of drive your laptop takes and whether or not it is upgradeable. If your laptop was made any time in the last few years, it probably has at least a single M.2 slot for NVMe (or possibly SATA) drives. But it might have a 2.5-inch SATA drive or even an extra slot you can use for a second drive.
We cover upgradeability in all of our laptop reviews, but the easiest way to find out is to use the Crucial Advisor Tool, which lists just about every laptop ever made and what type of storage drives it supports.
It is best practice to make a backup before working on any drive. If you are migrating your install from the old drive to the new, then you will need to clone the old to the new.
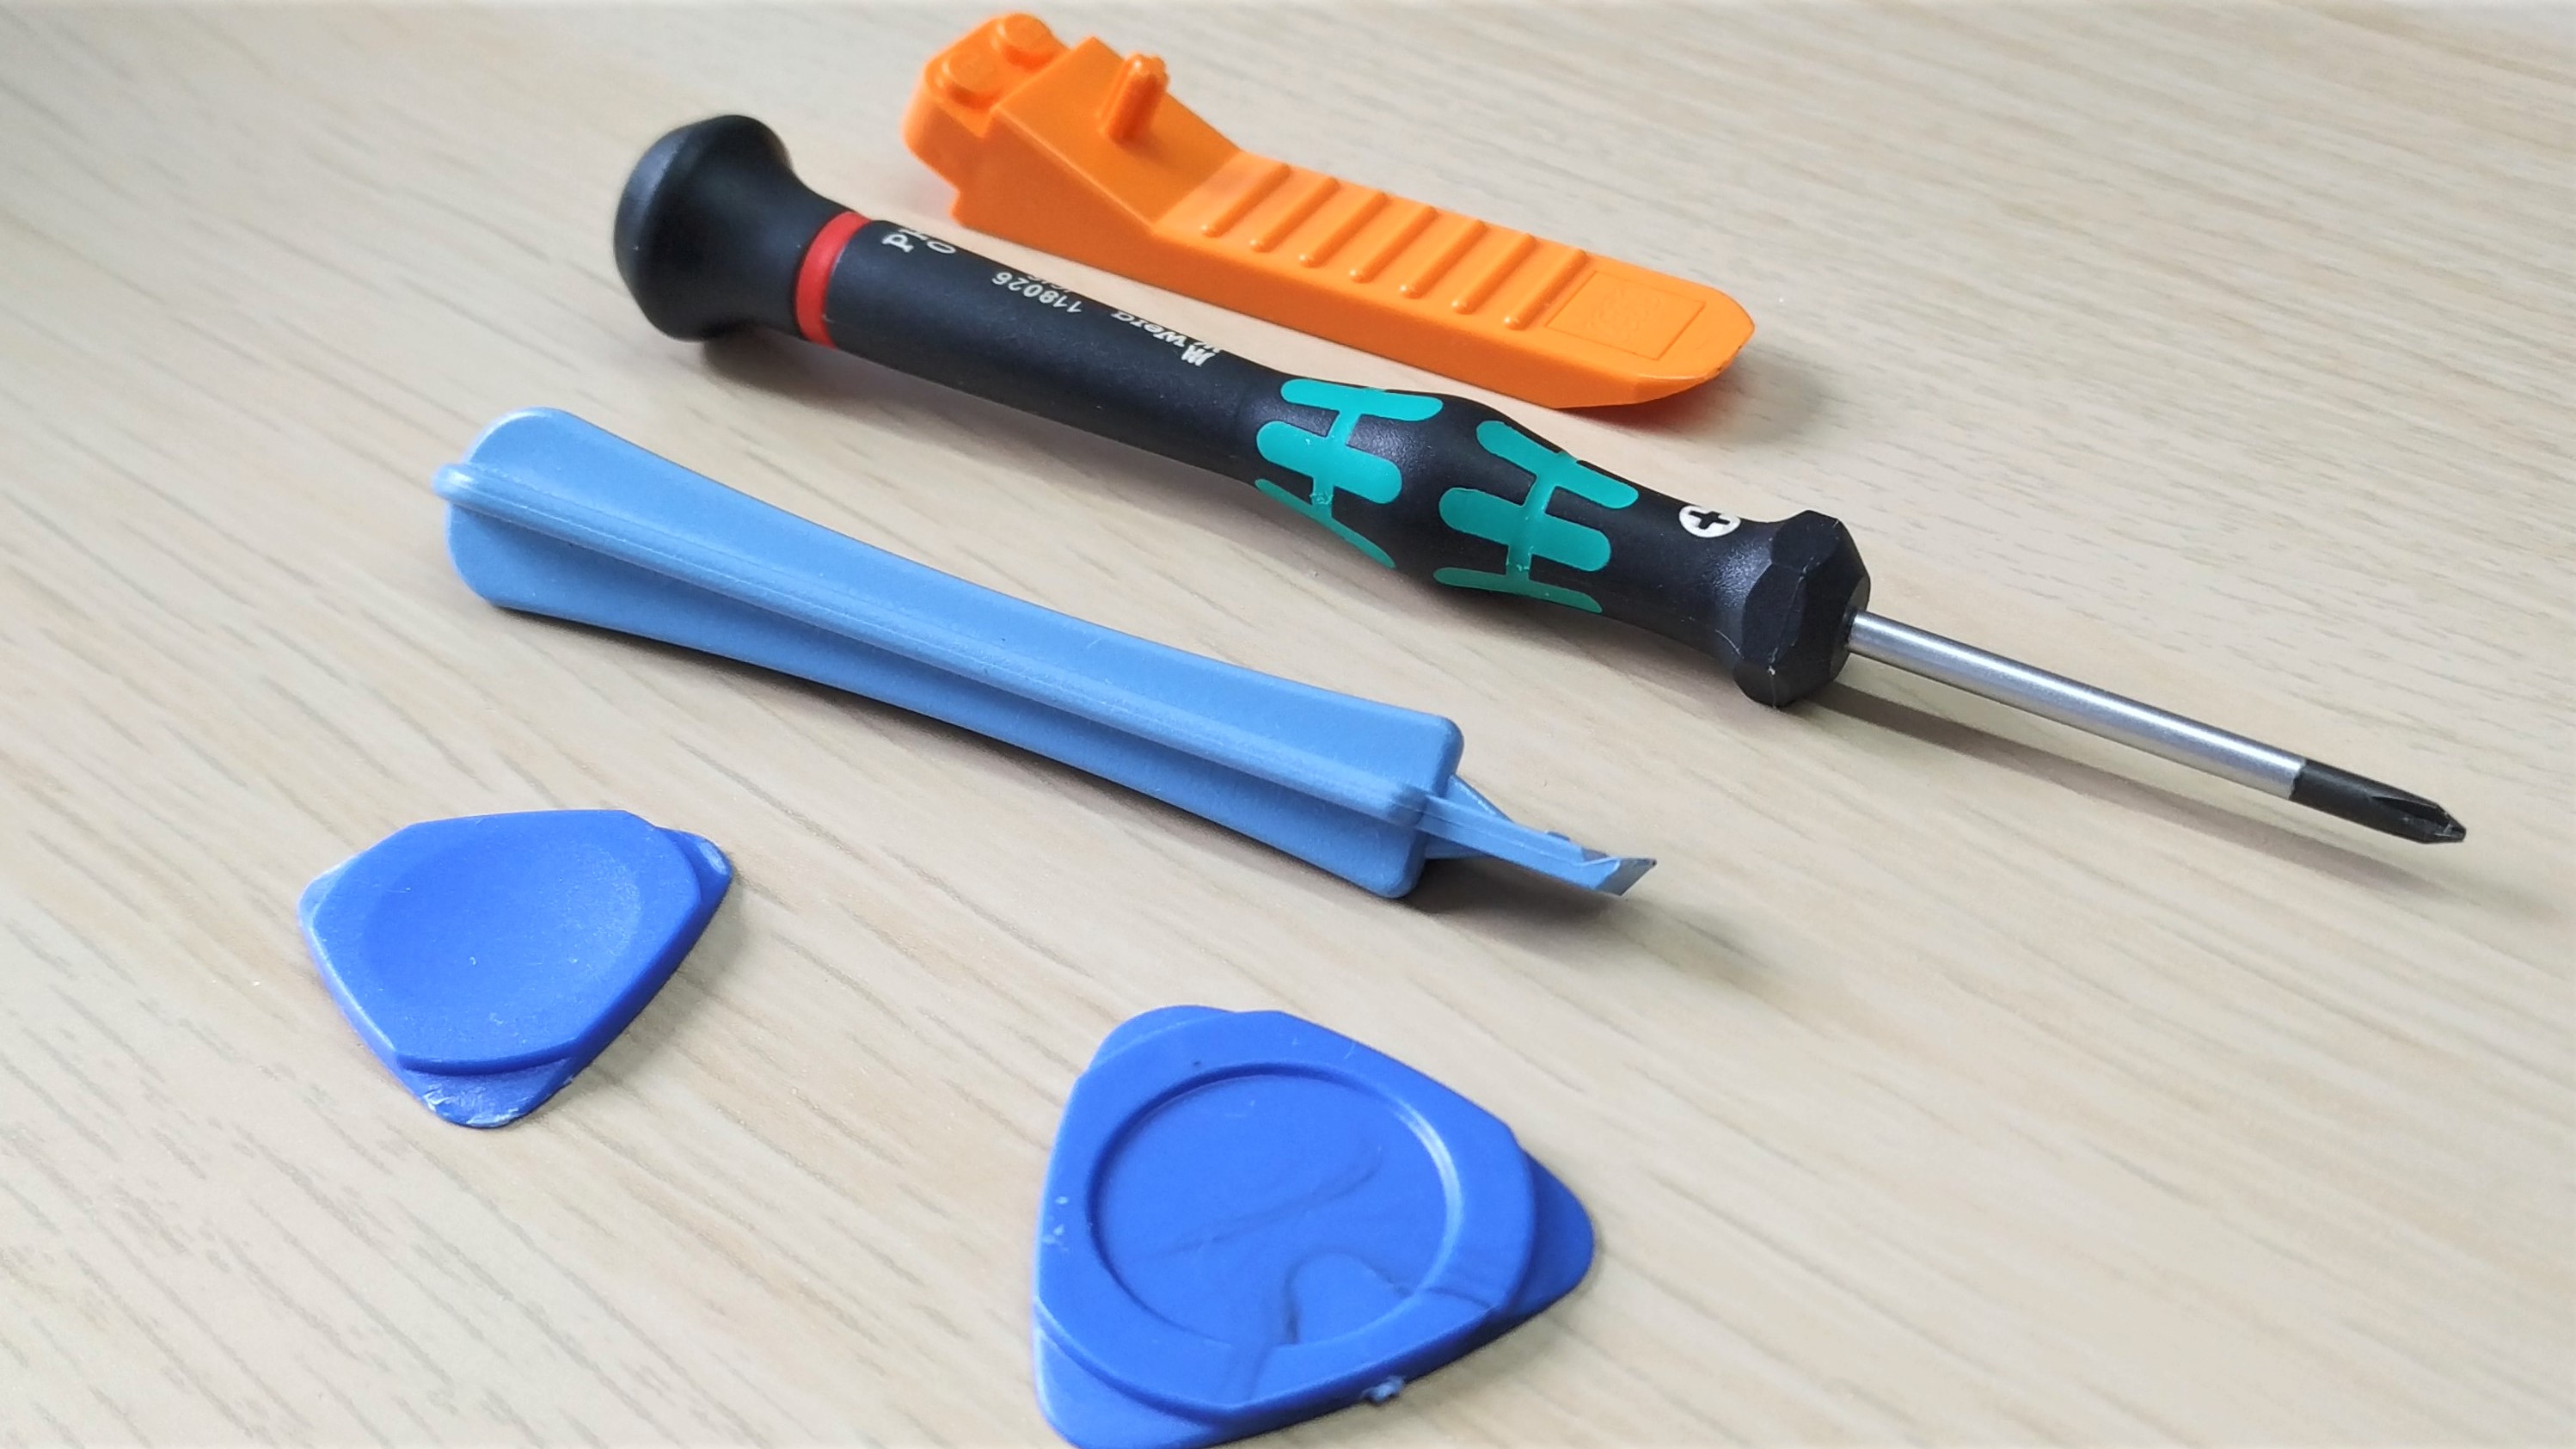
You’ll need the right tools to safely get inside your laptop.
At the basic level you will need a screwdriver, typically a Philip's head. Plastic pry tools and “spudgers” are useful when removing plastic clips and laptop chassis. We even use a Lego brick separator as it has a sharp, thin edge with great overall strength.
Replacing an M.2 NVMe and M.2 SATA SSD
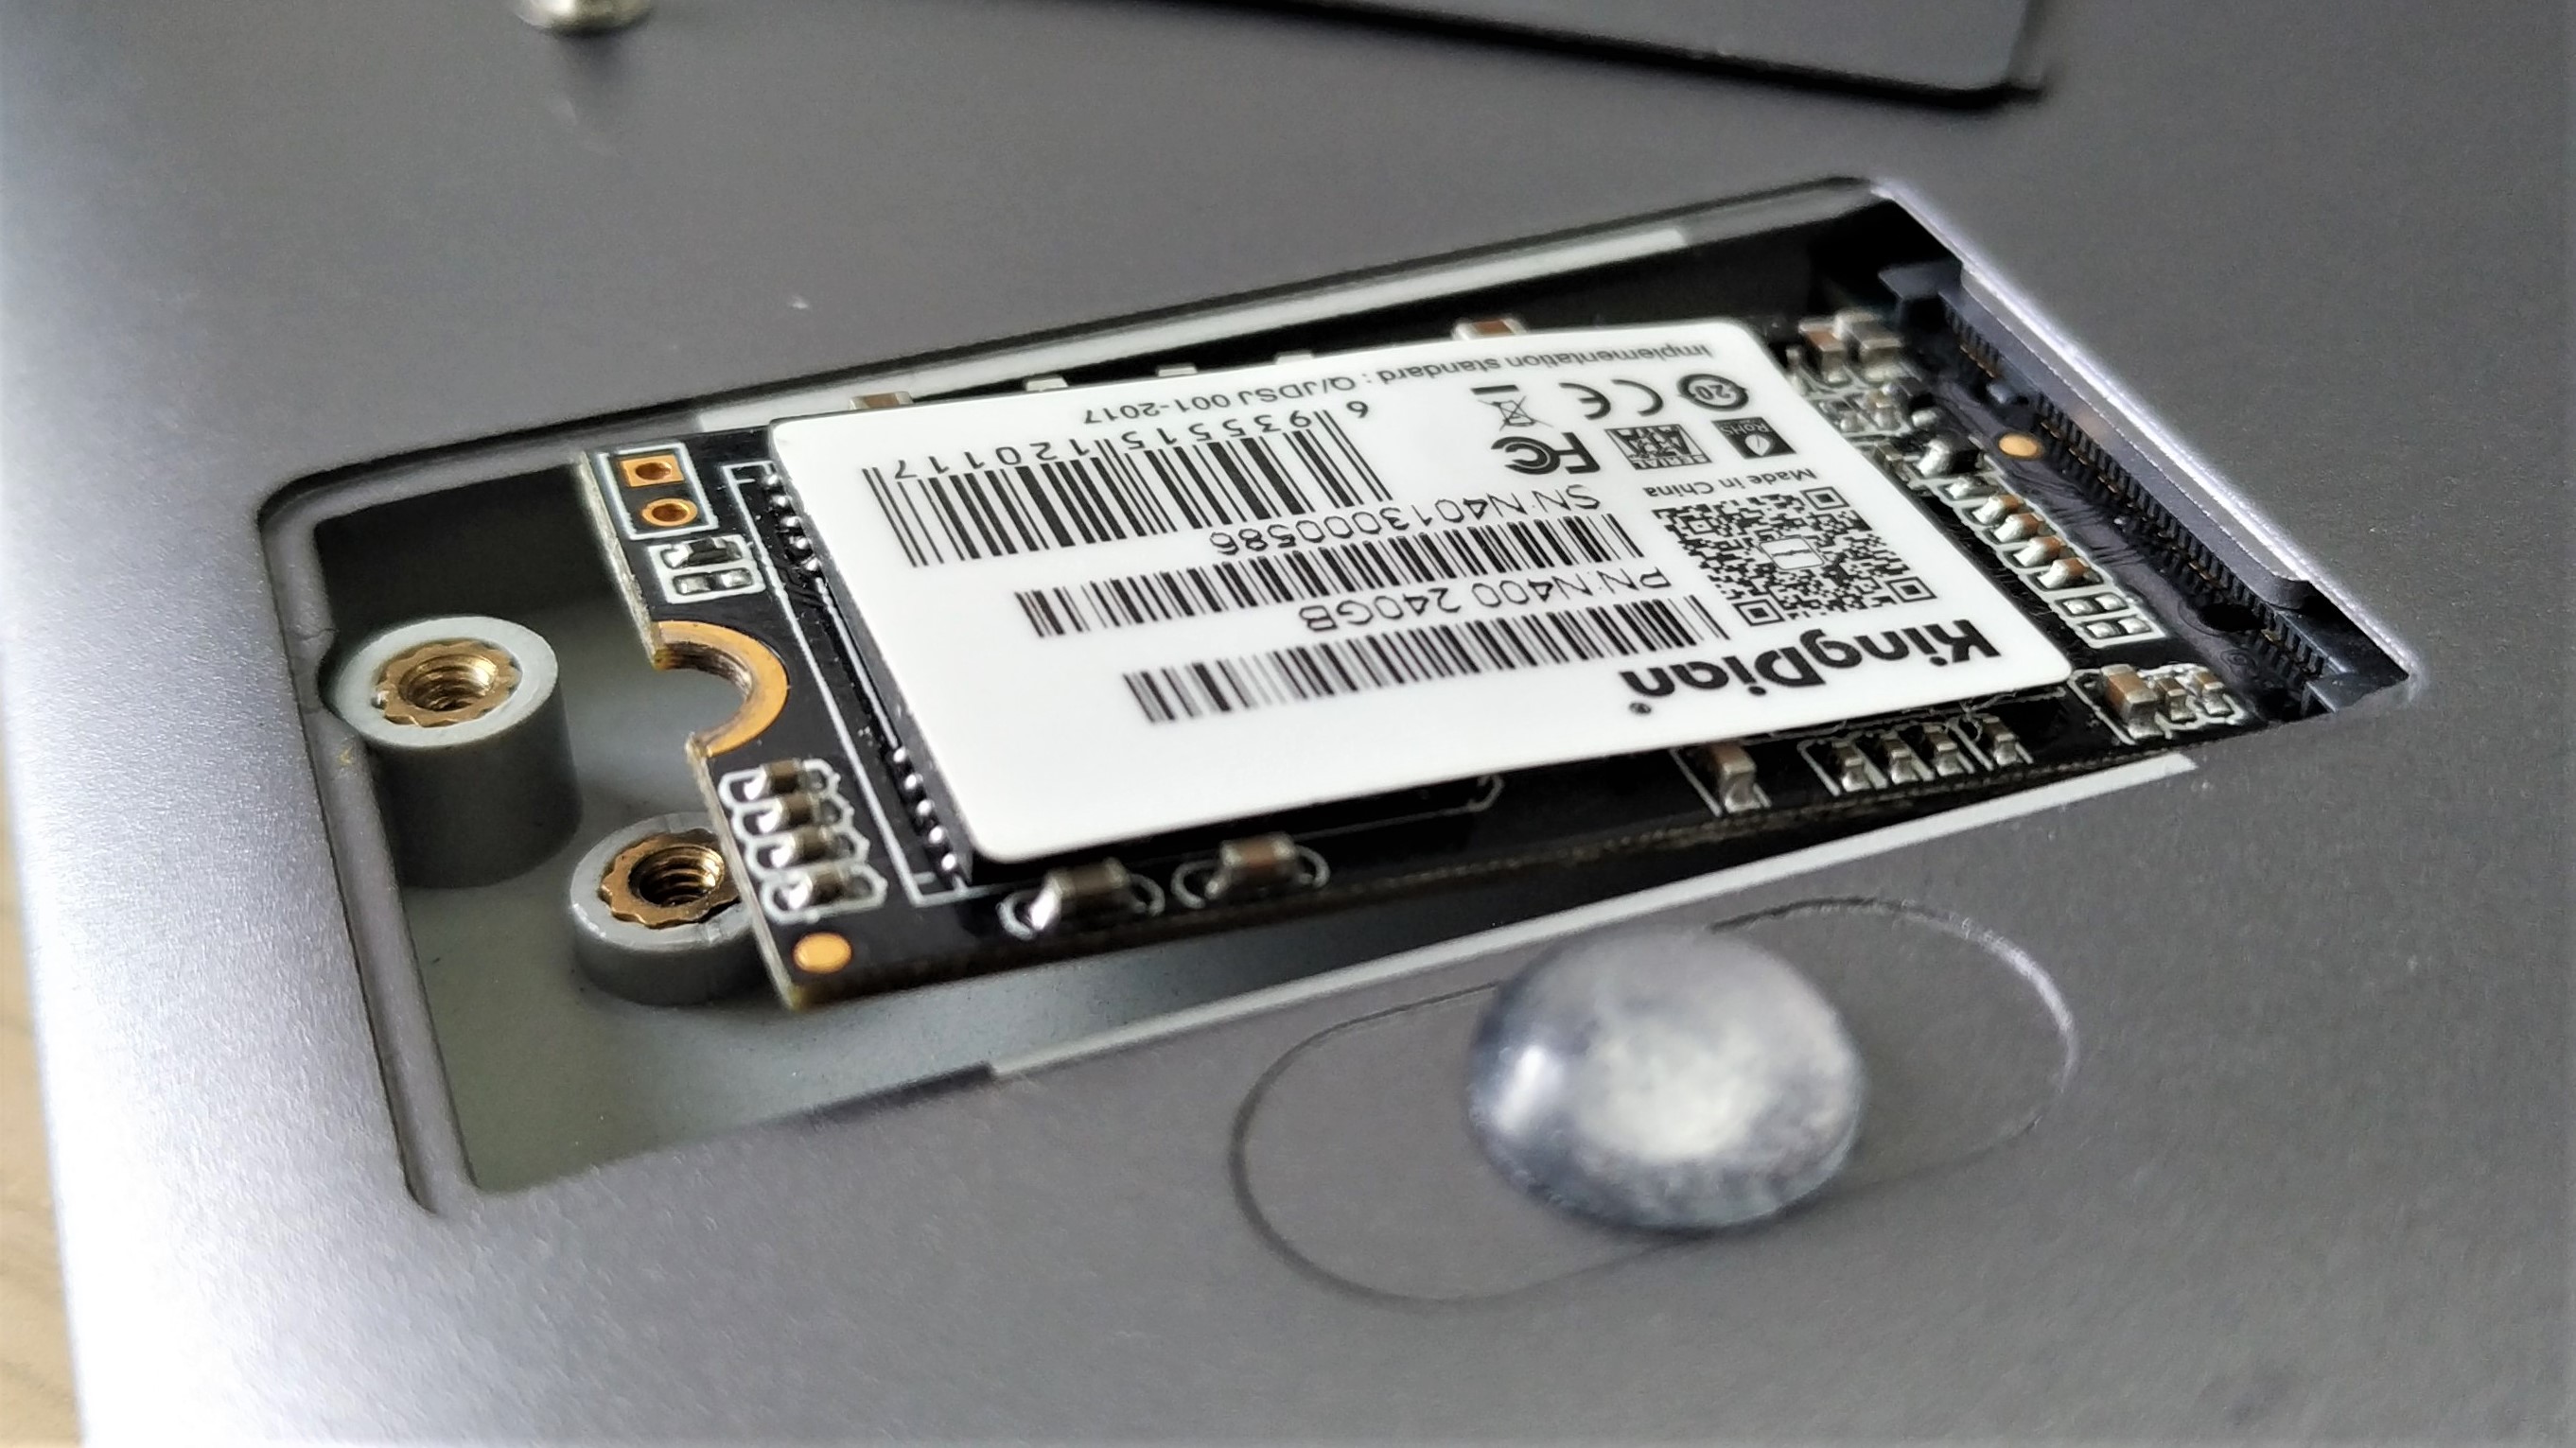
M.2 drives look a bit like sticks of RAM and usually are 80mm long (known as 2280) but sometimes come in smaller lengths like 2260 and 2242 and 2230. They are usually NVMe interfaces, but sometimes use SATA. Make sure you get the right one before attempting to upgrade your laptop.
Get Tom's Hardware's best news and in-depth reviews, straight to your inbox.
1. Ensure that the laptop is powered off and not connected to AC power.
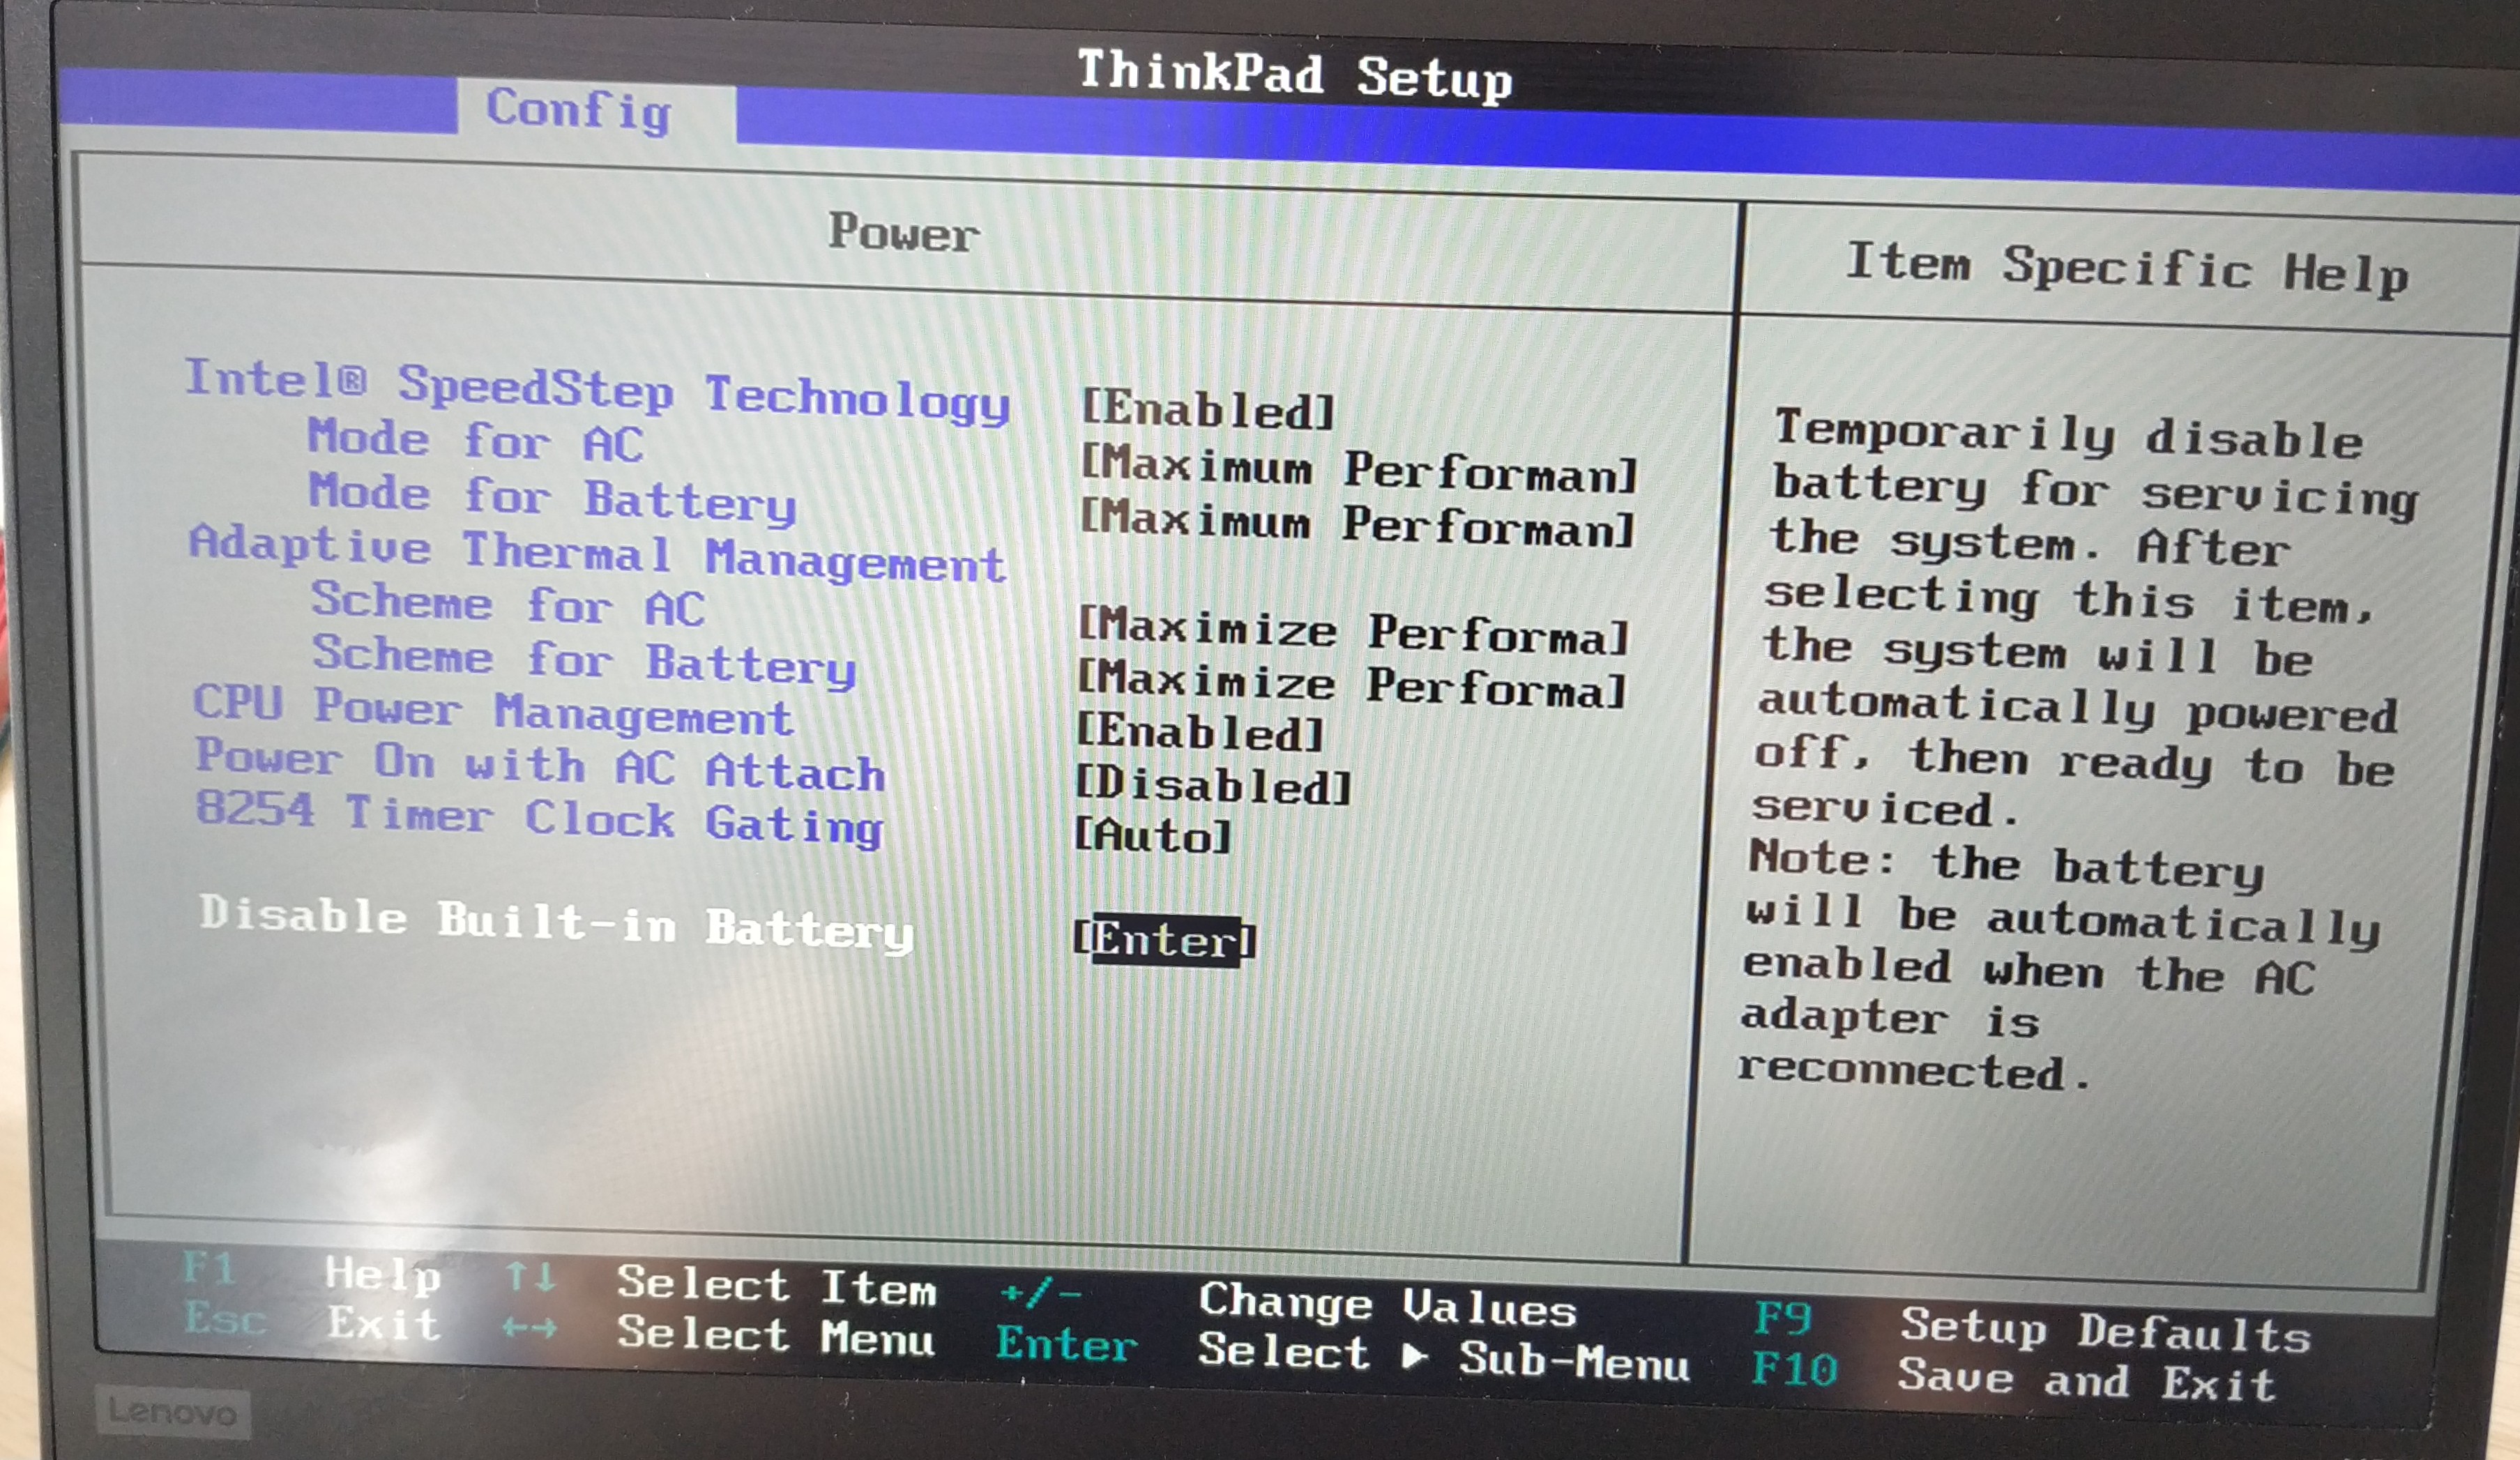
2. Disable or remove the battery. For laptops with removable batteries, power off, unlock and remove the battery. For integrated batteries, enter the BIOS and disable the built-in battery. My Lenovo X390 has a BIOS entry to turn off the battery.
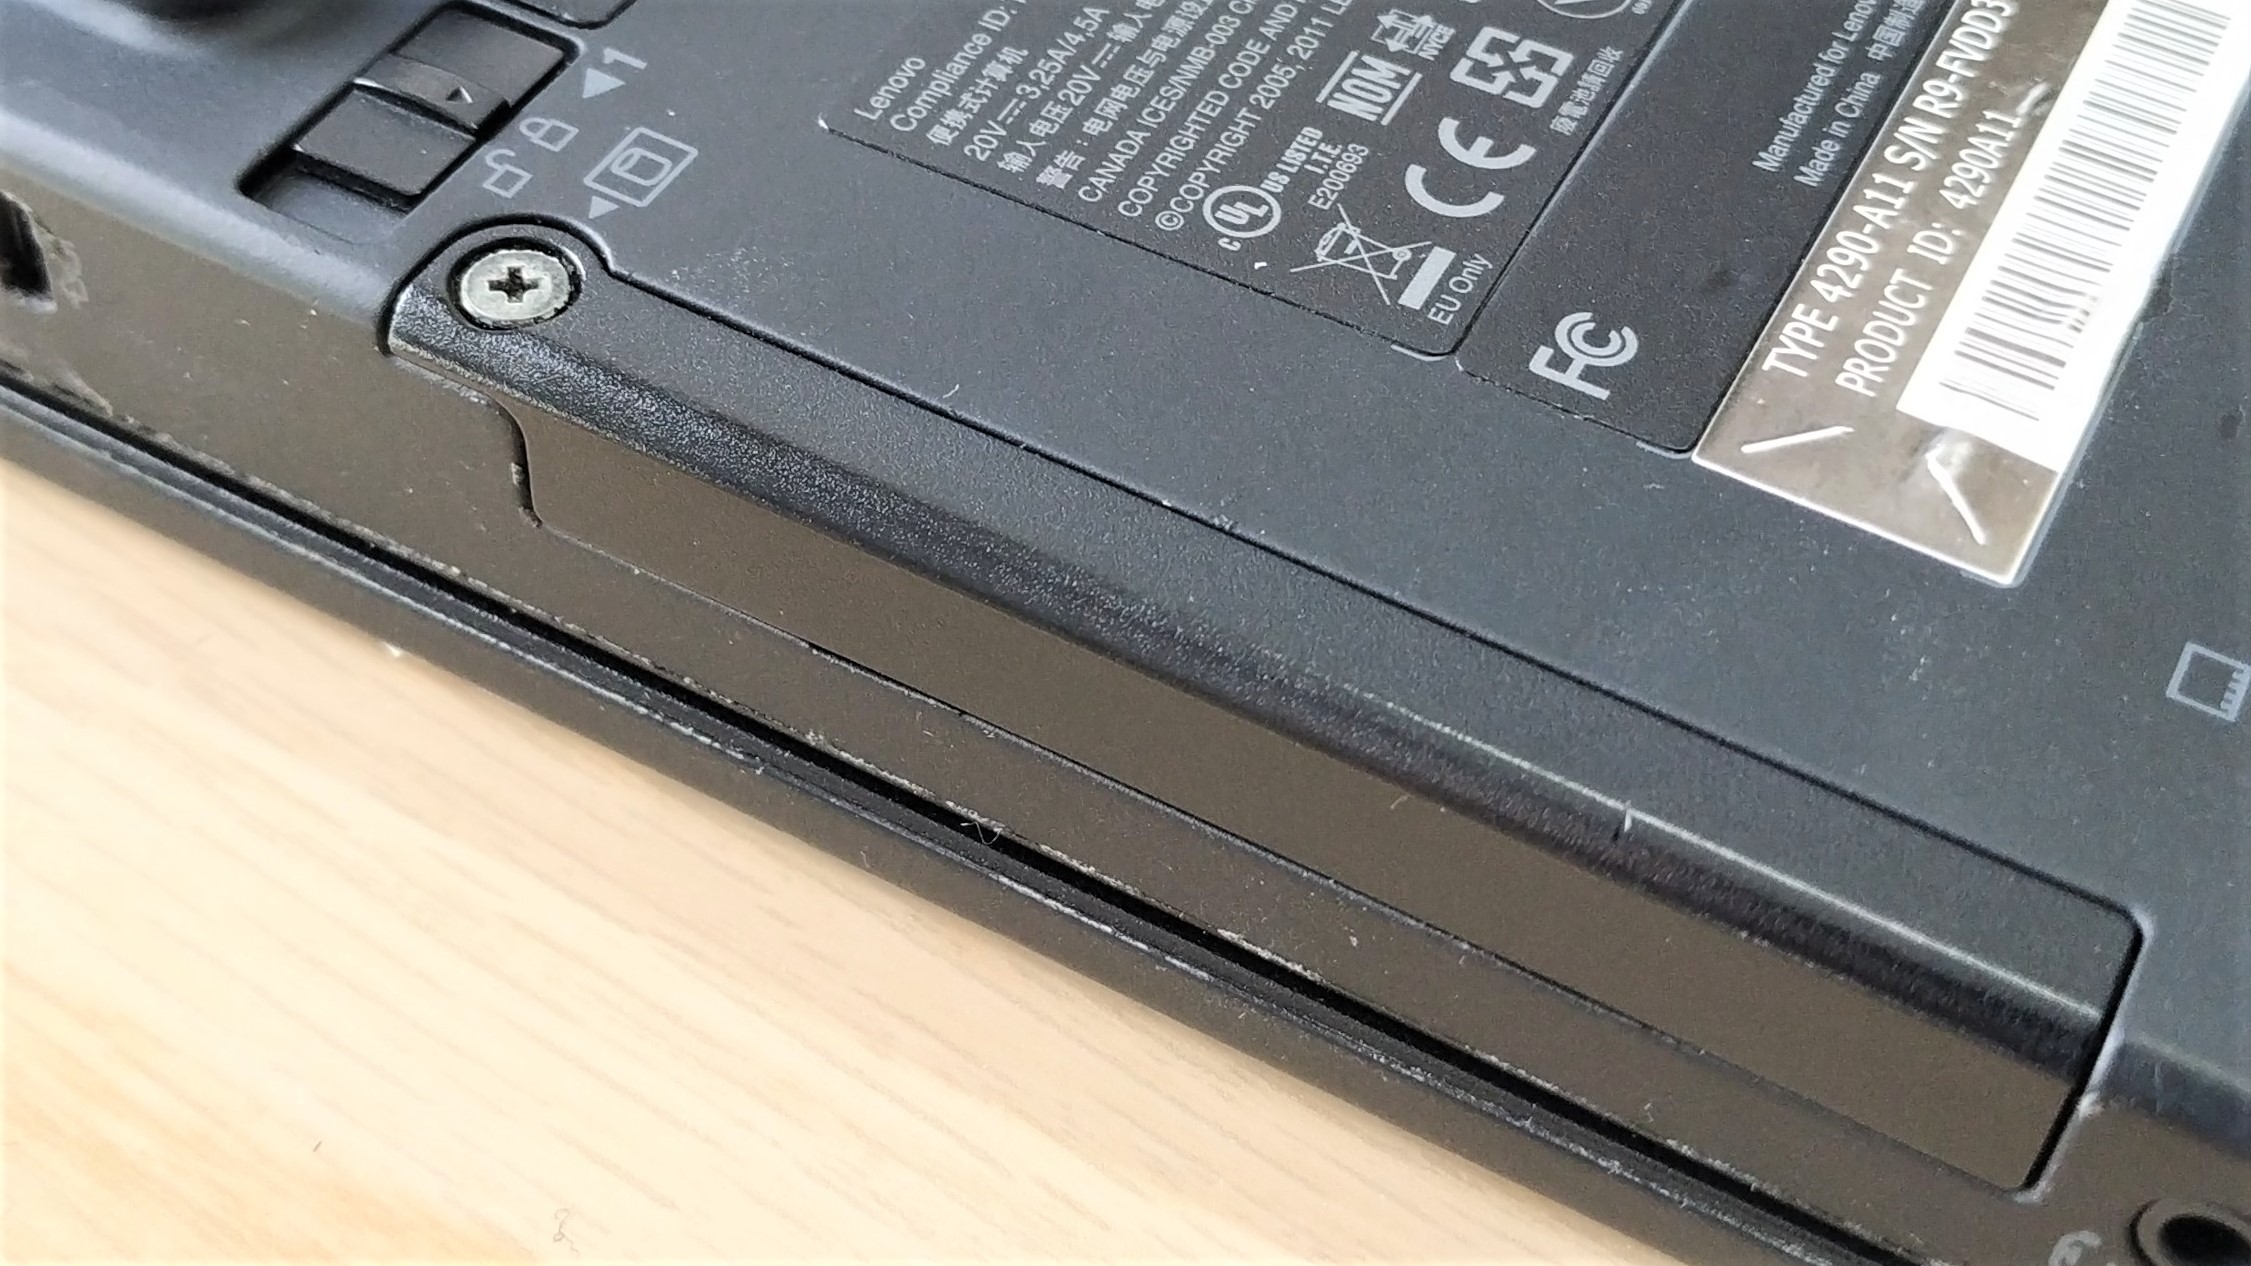
3. Remove the bottom panel of the laptop (or hatch). Some laptops have a hatch / panel for the drive, others require the entire panel to be removed.
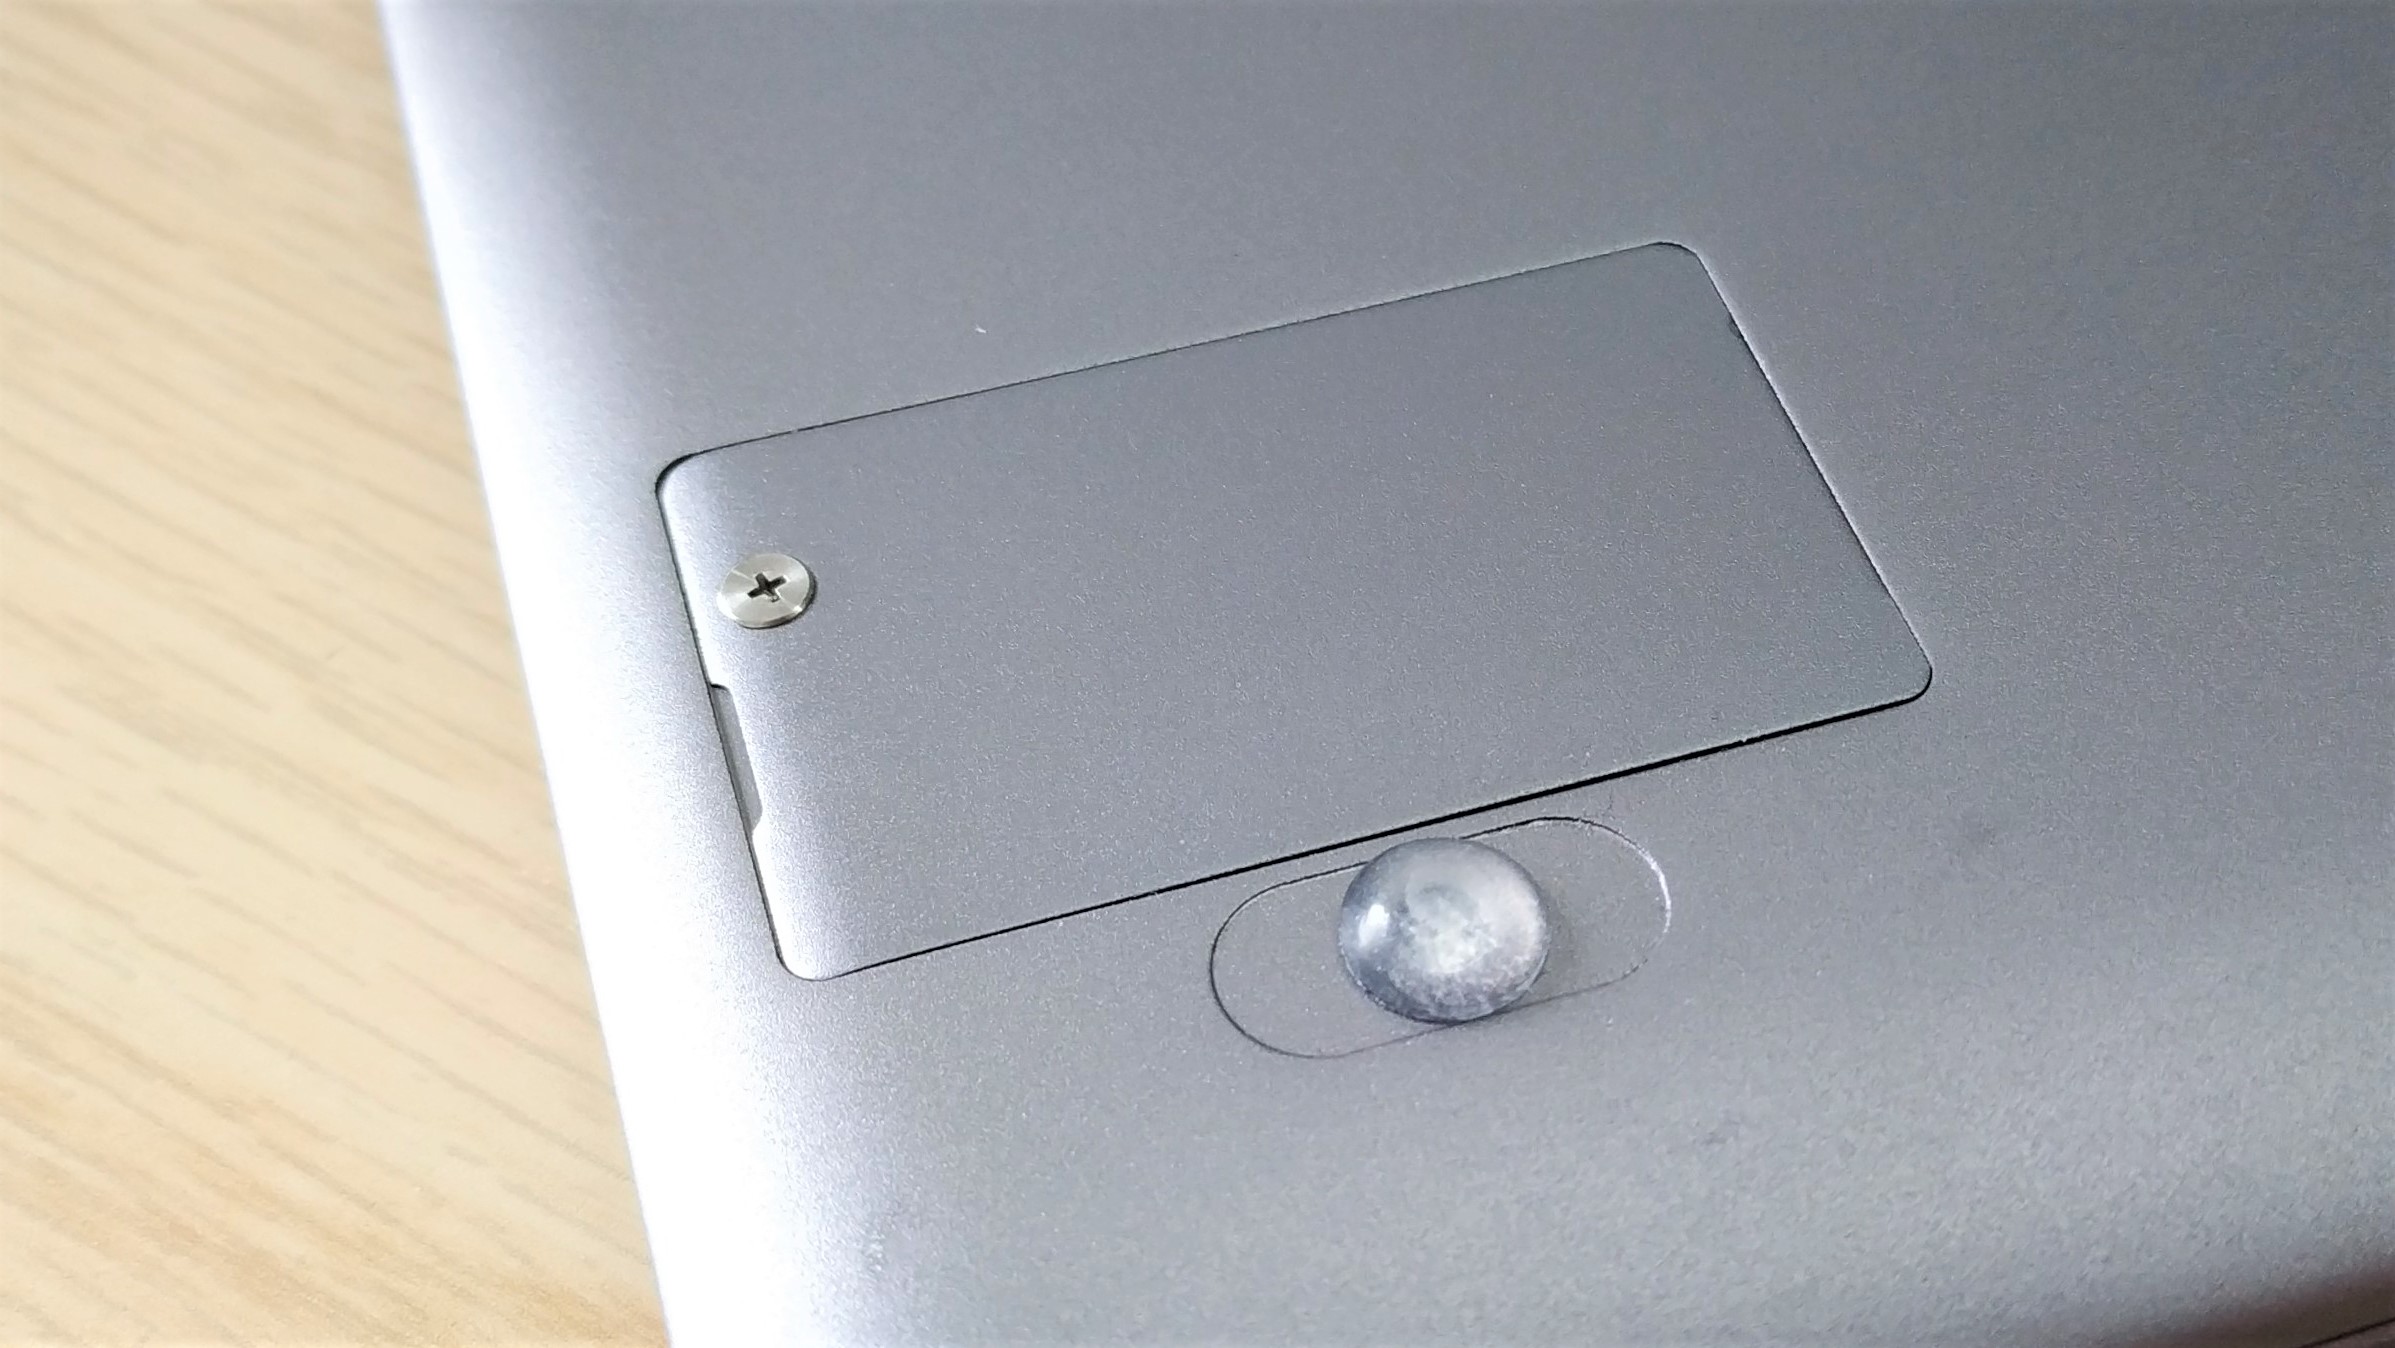
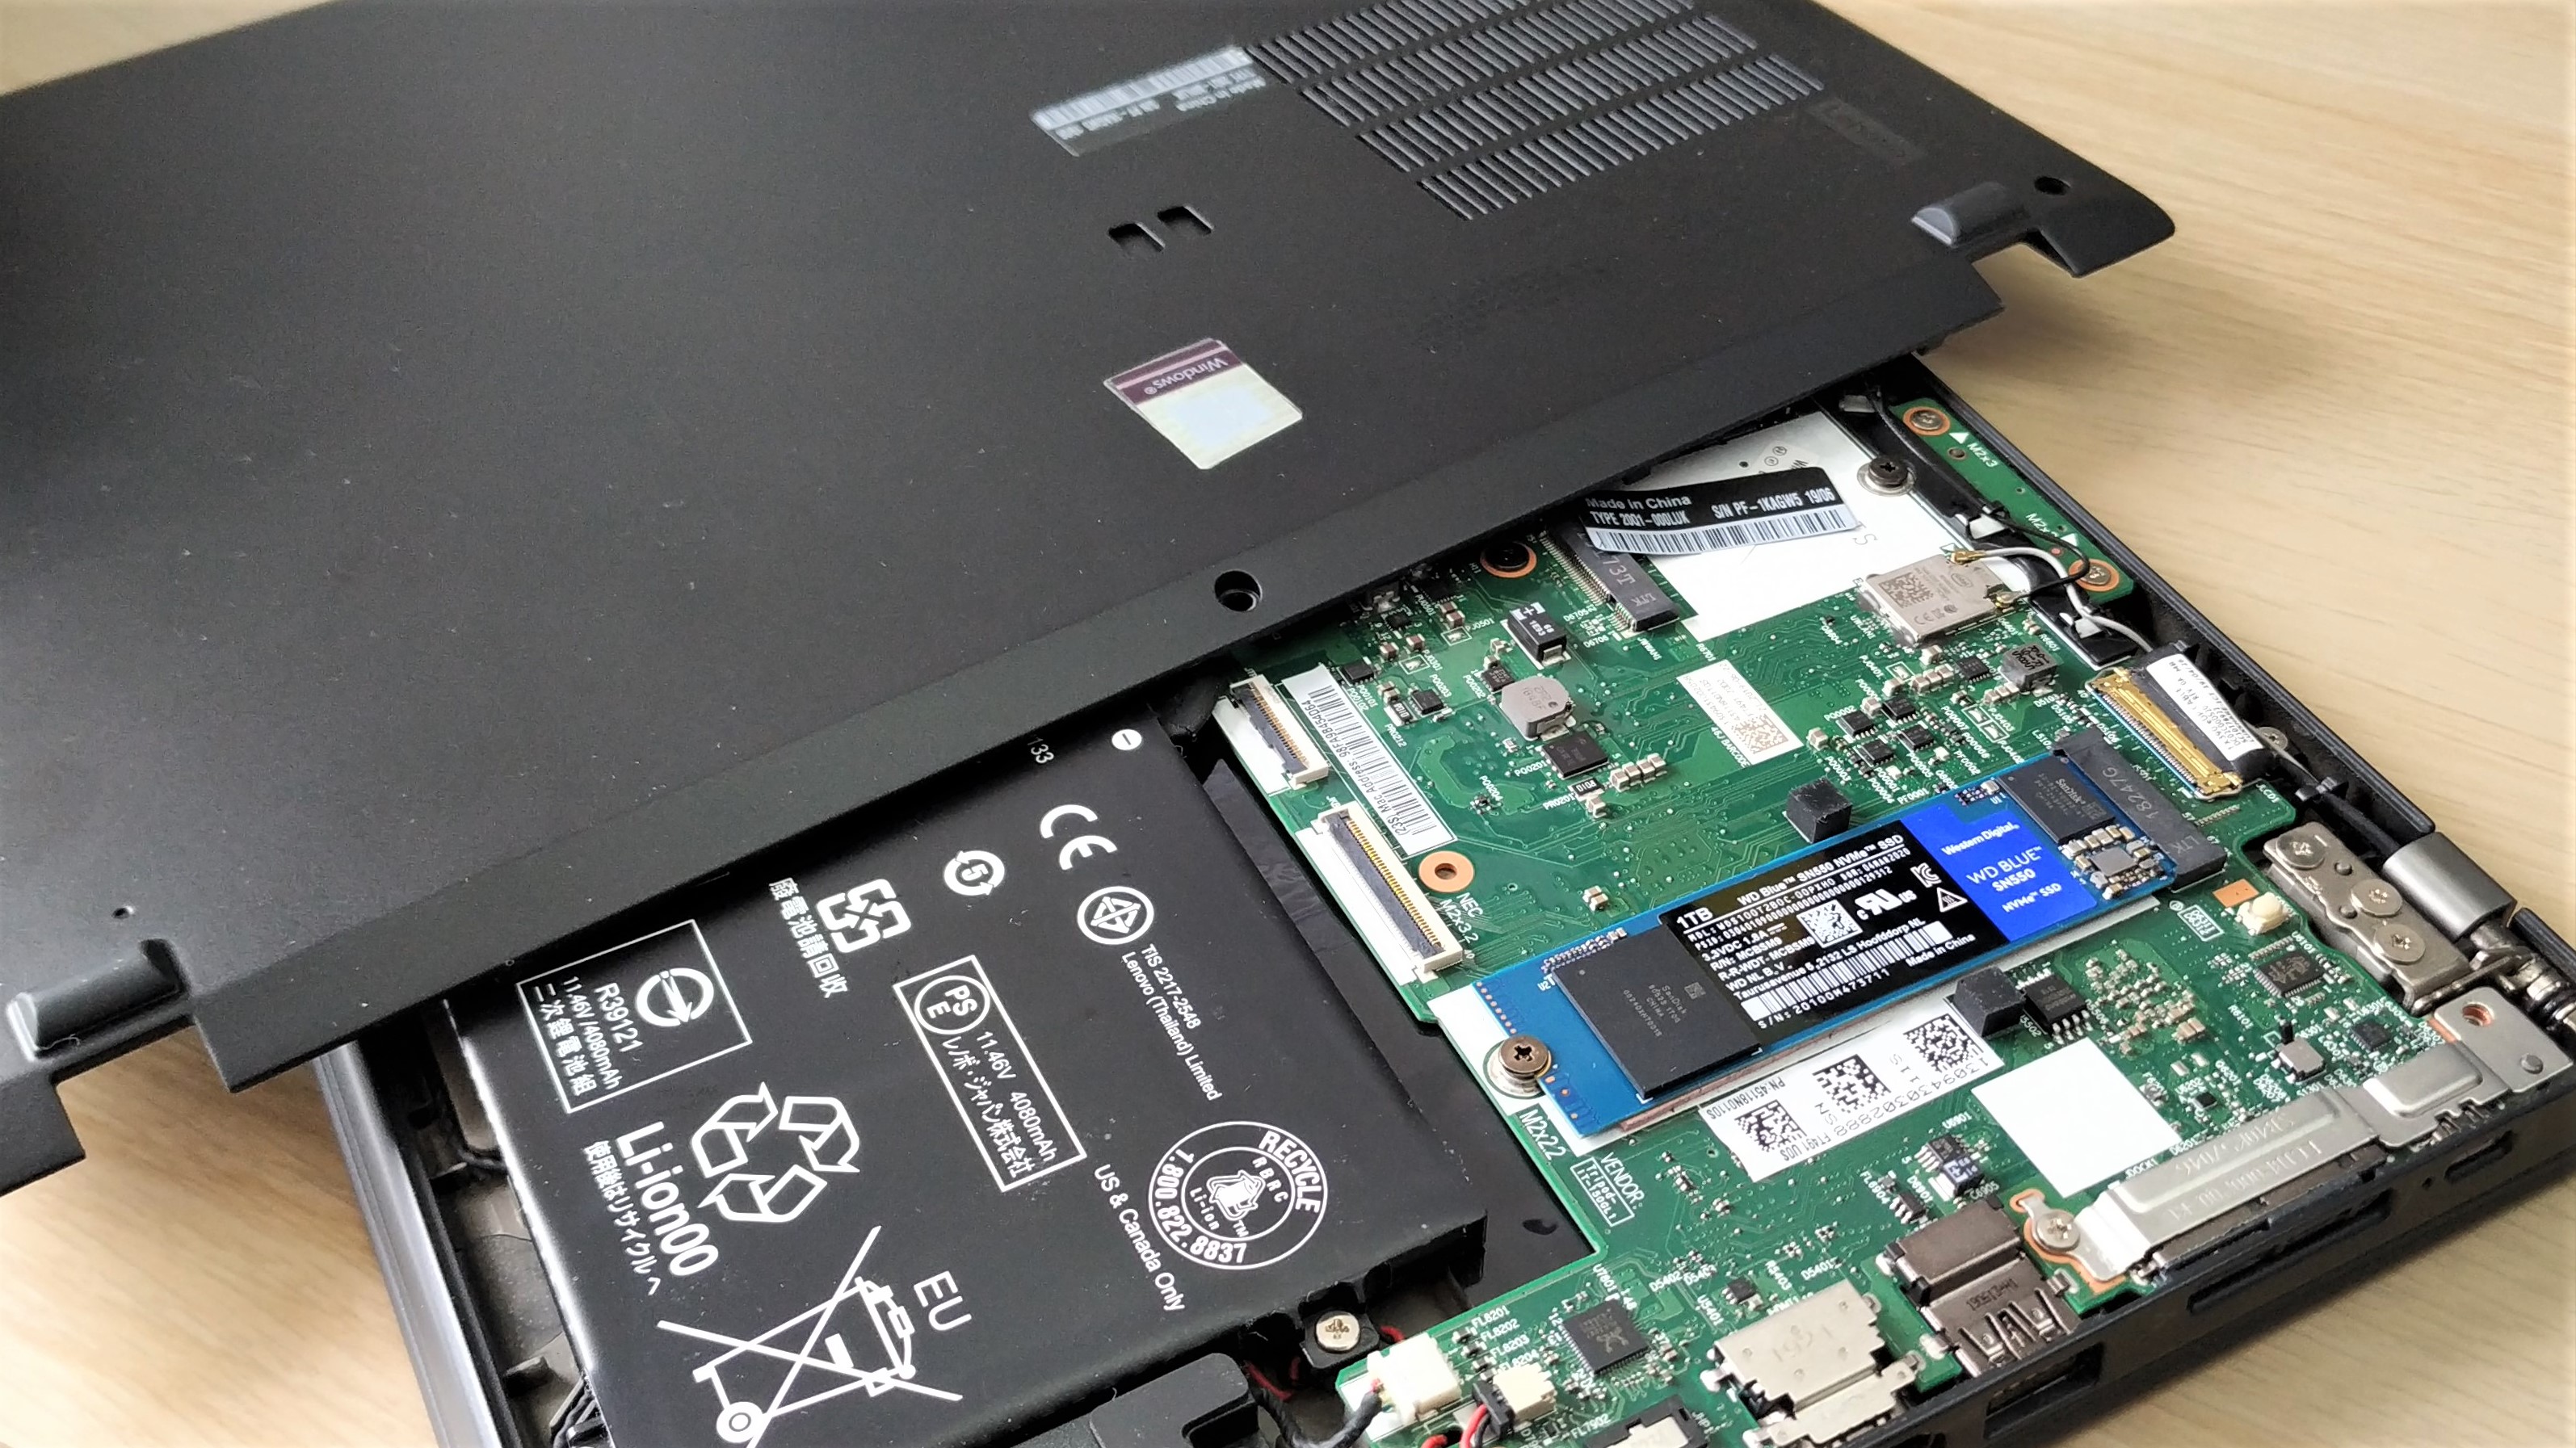
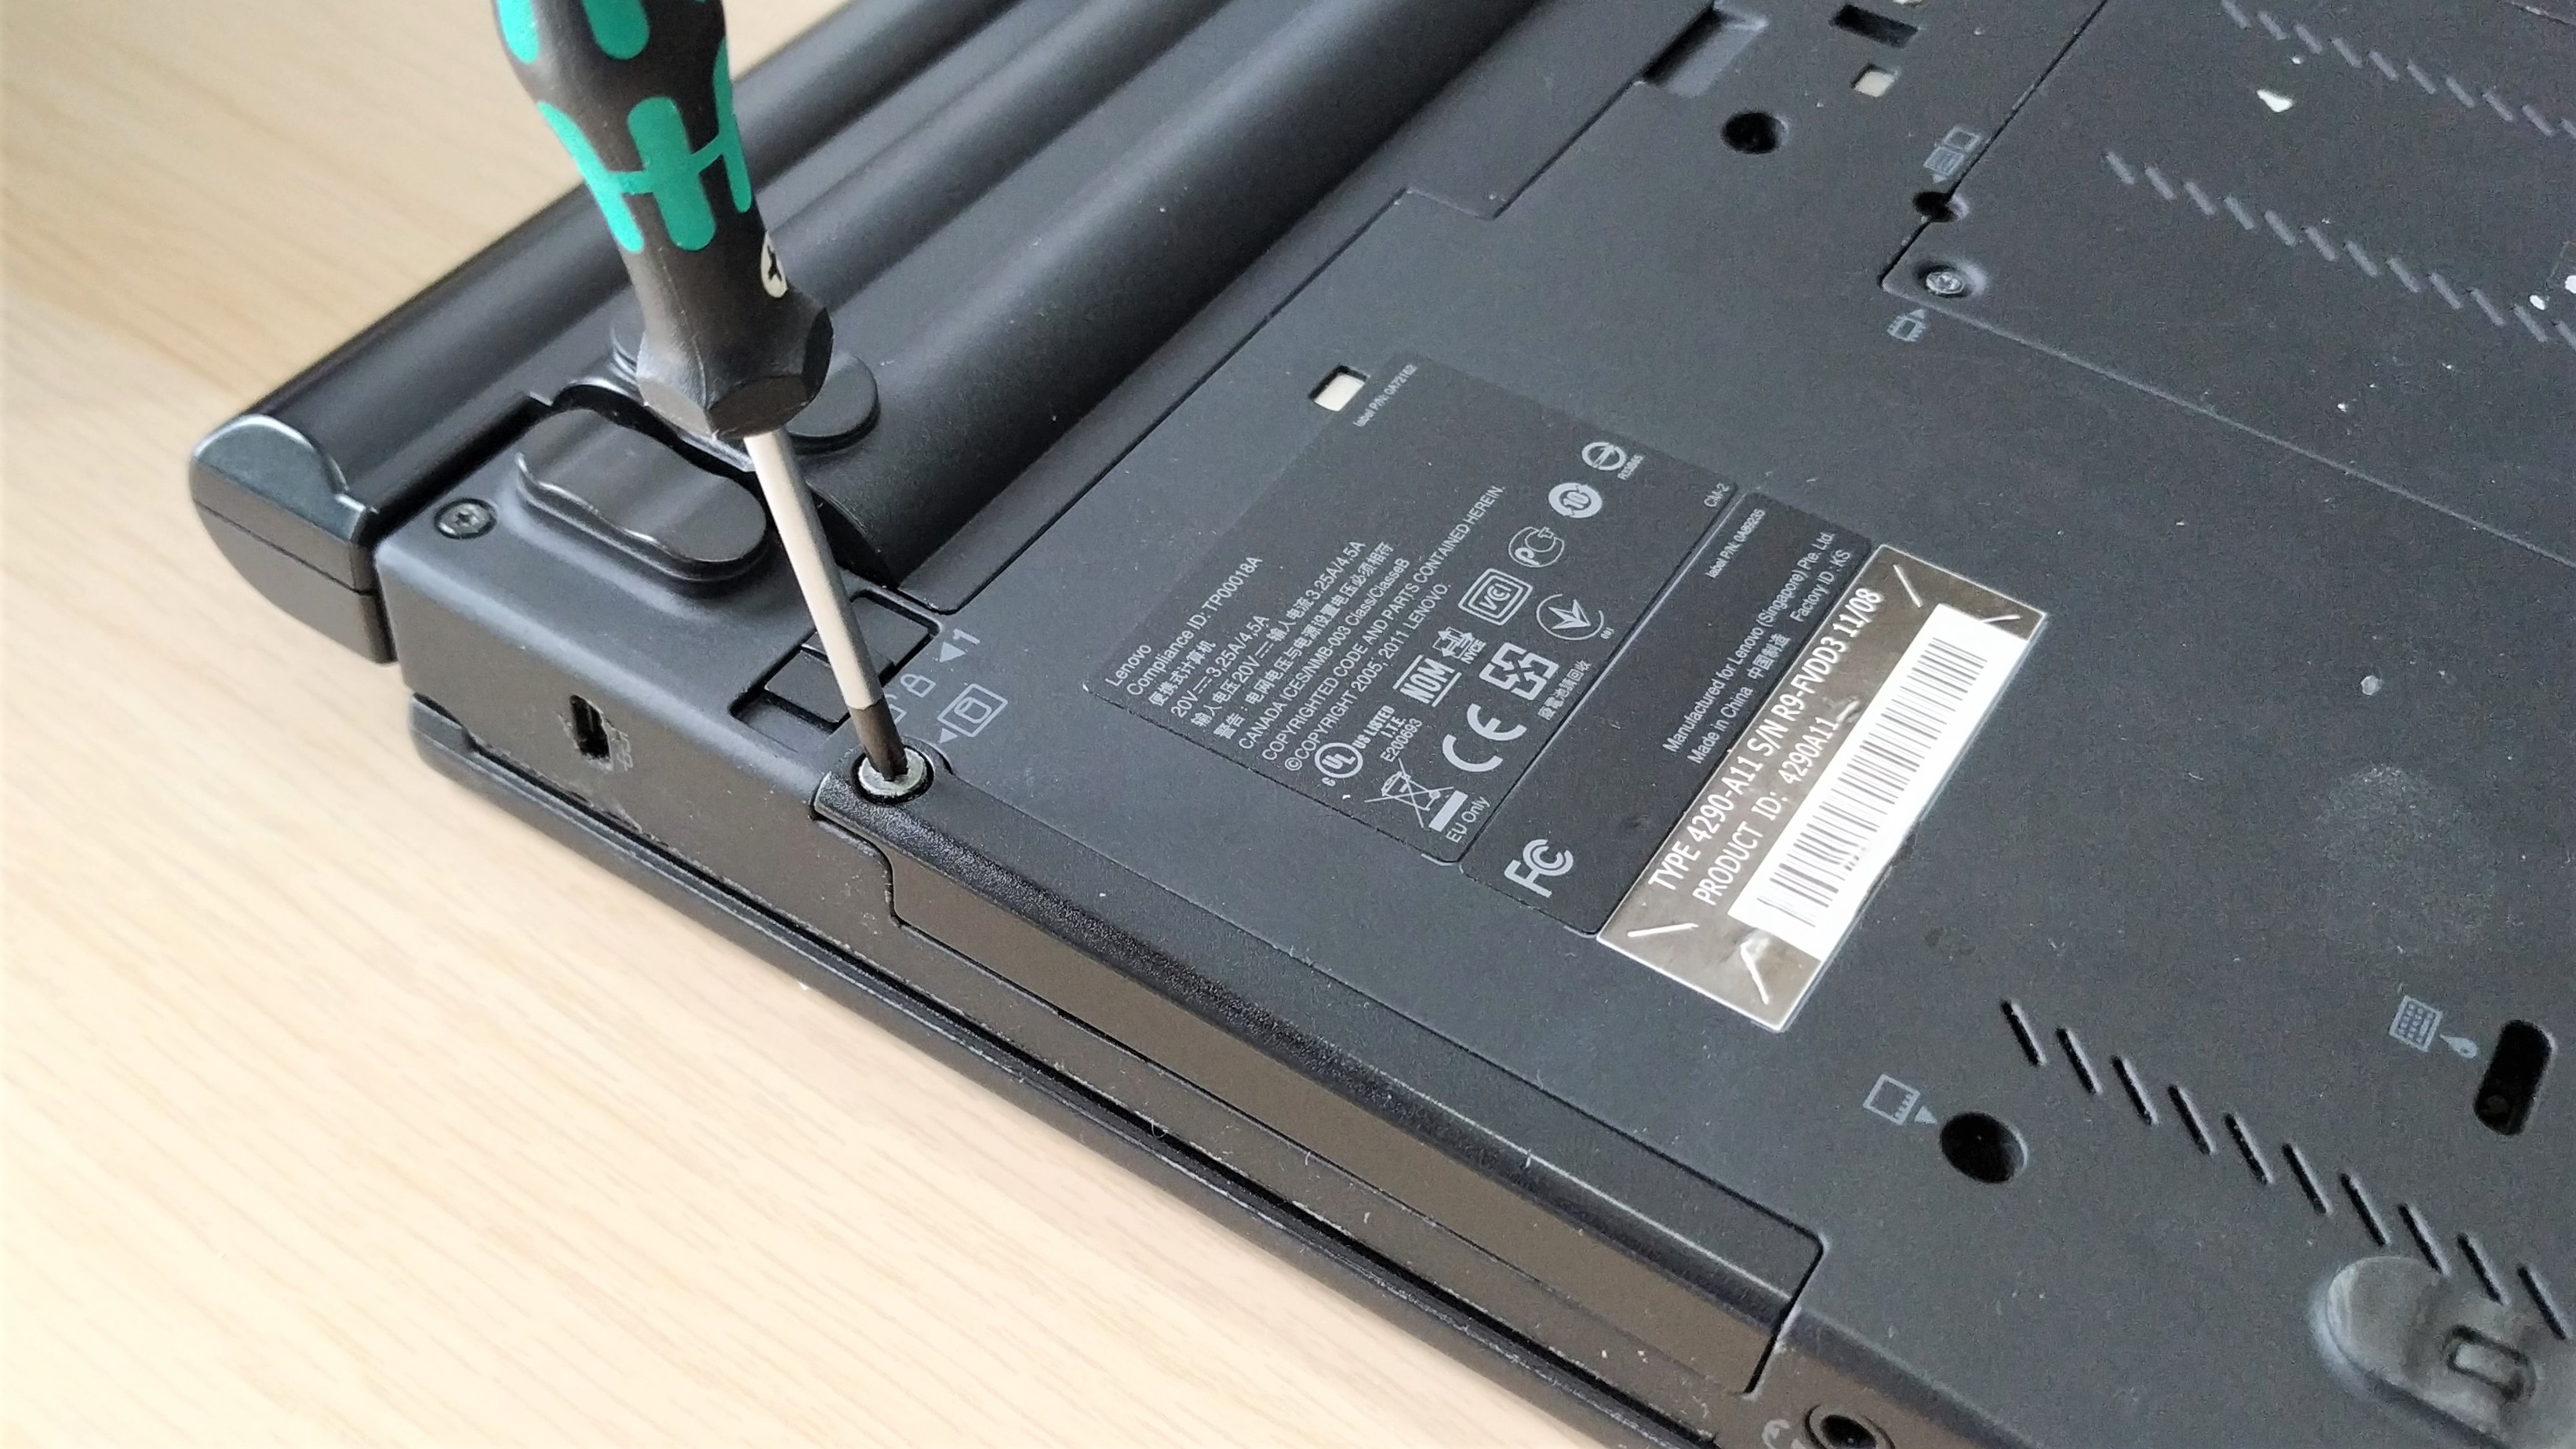
4. Locate the SSD and remove the screw.
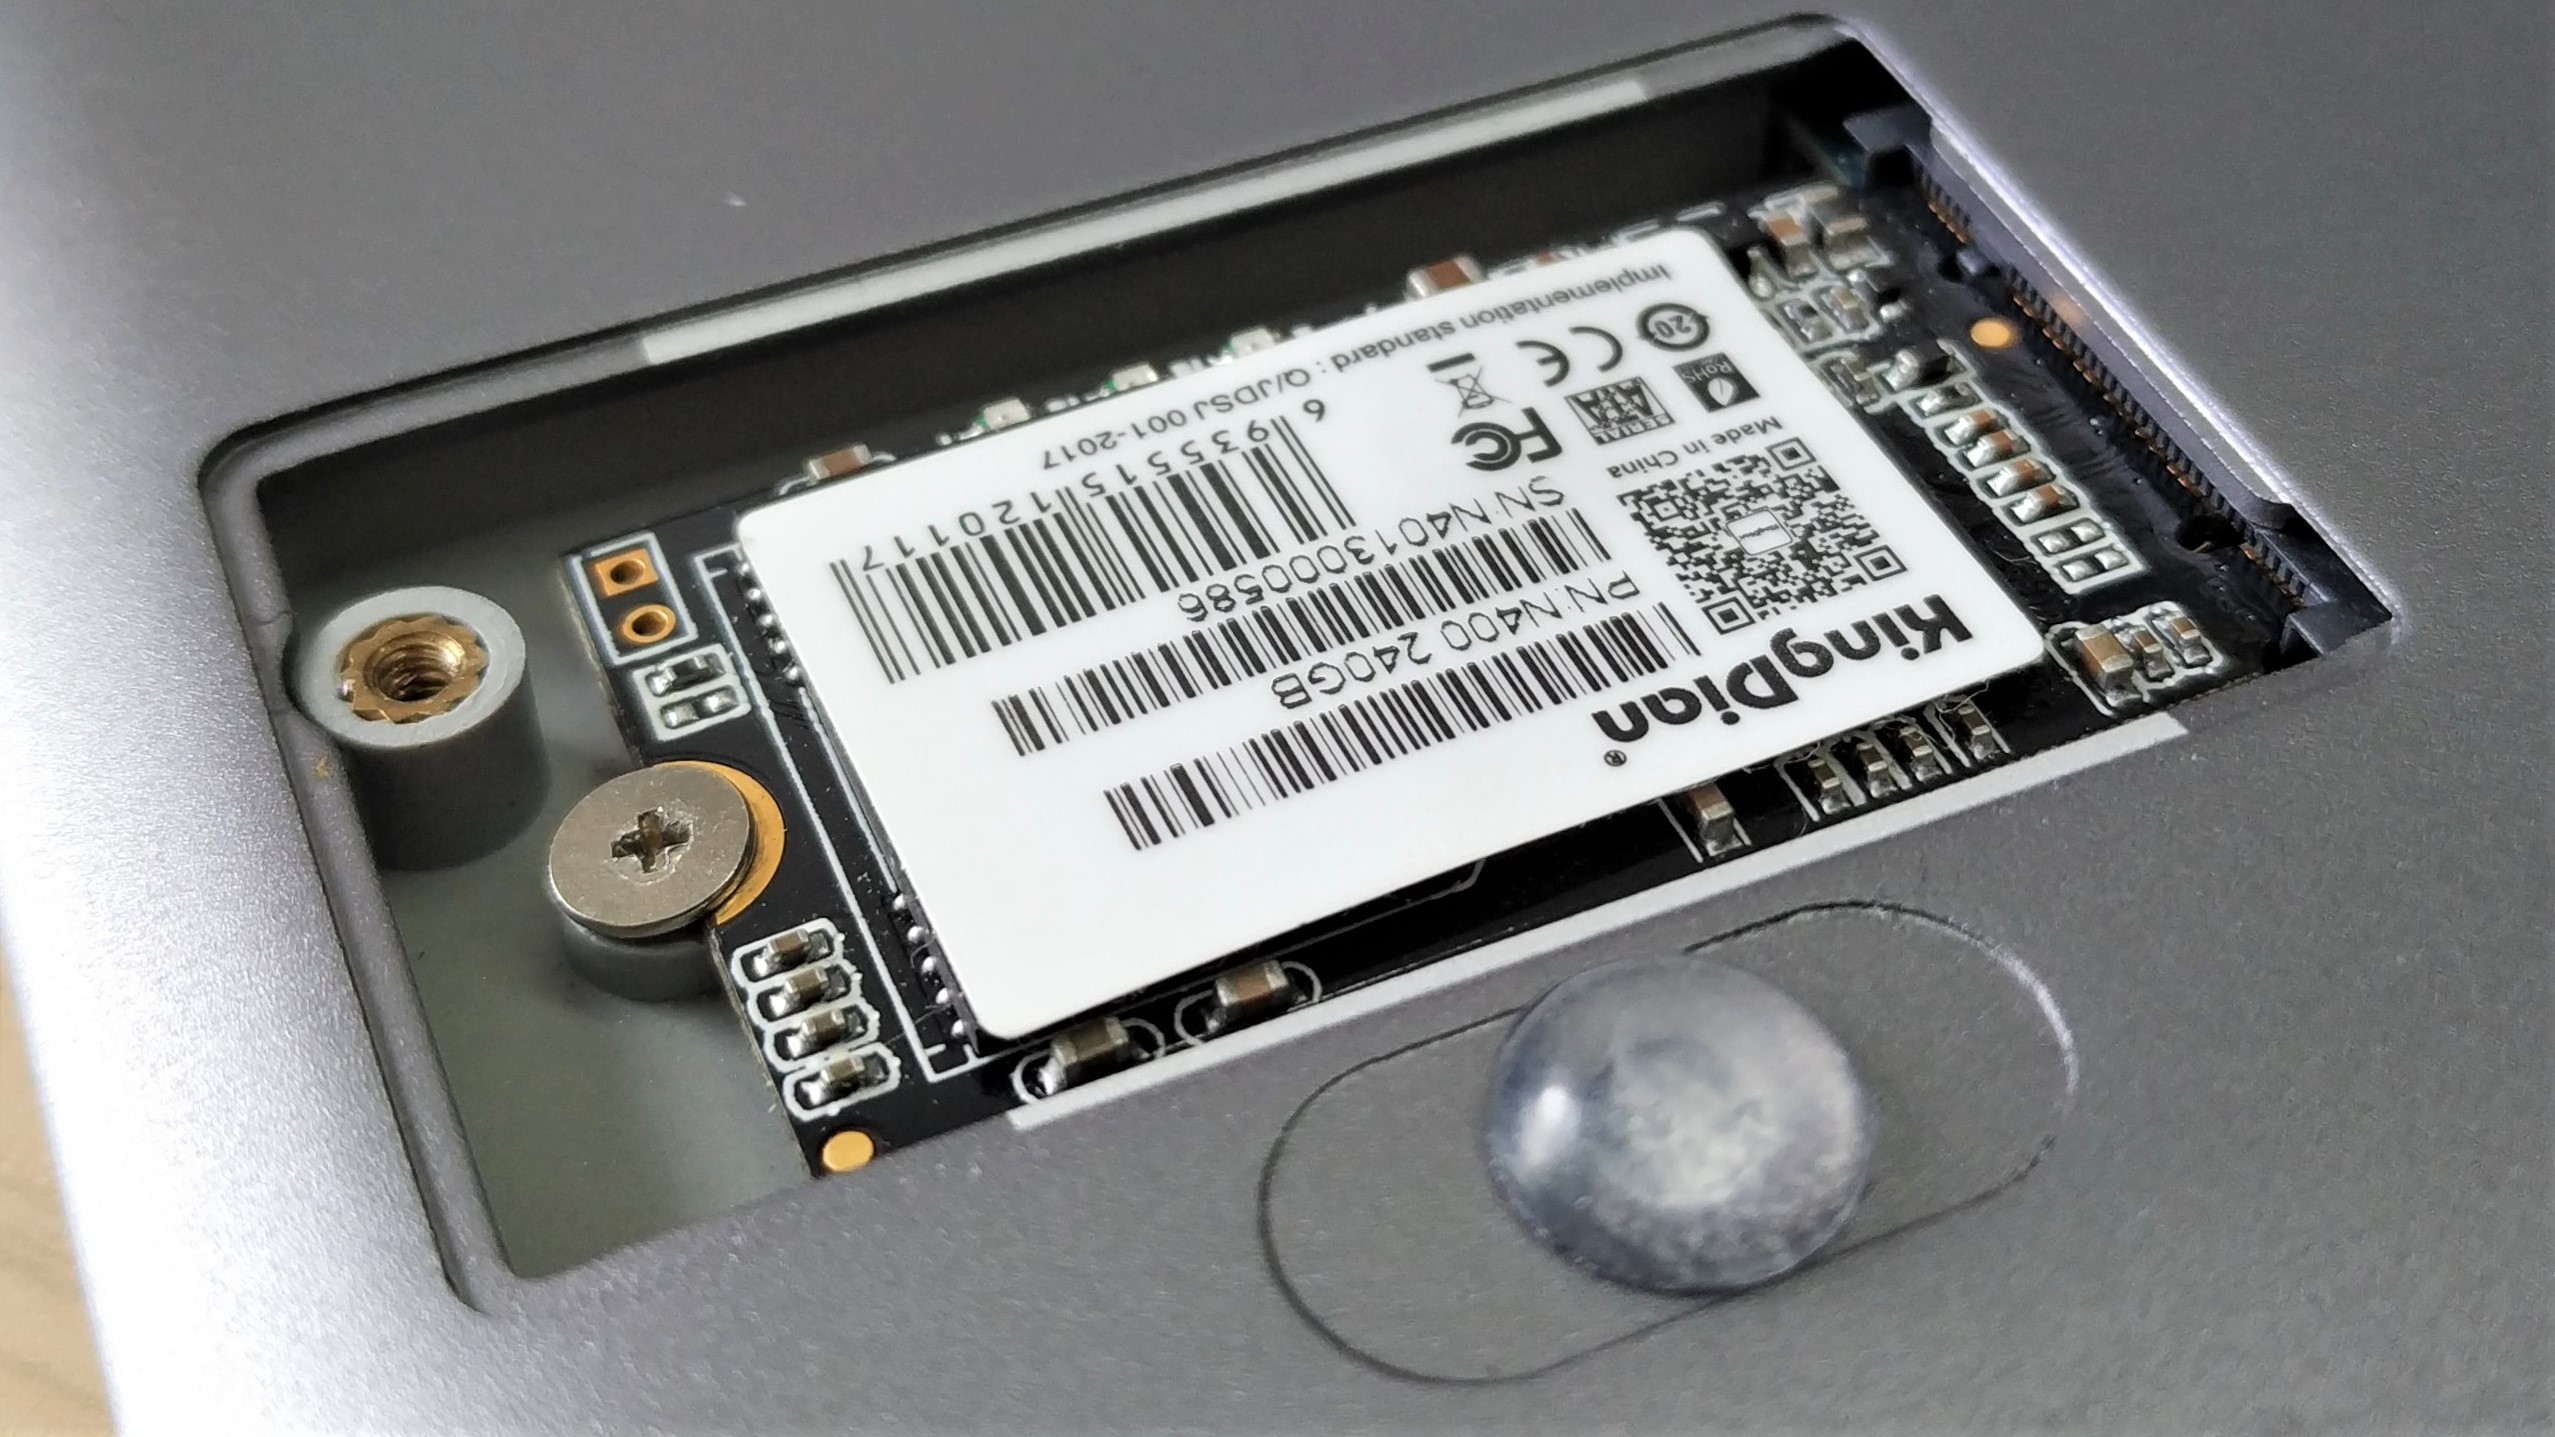
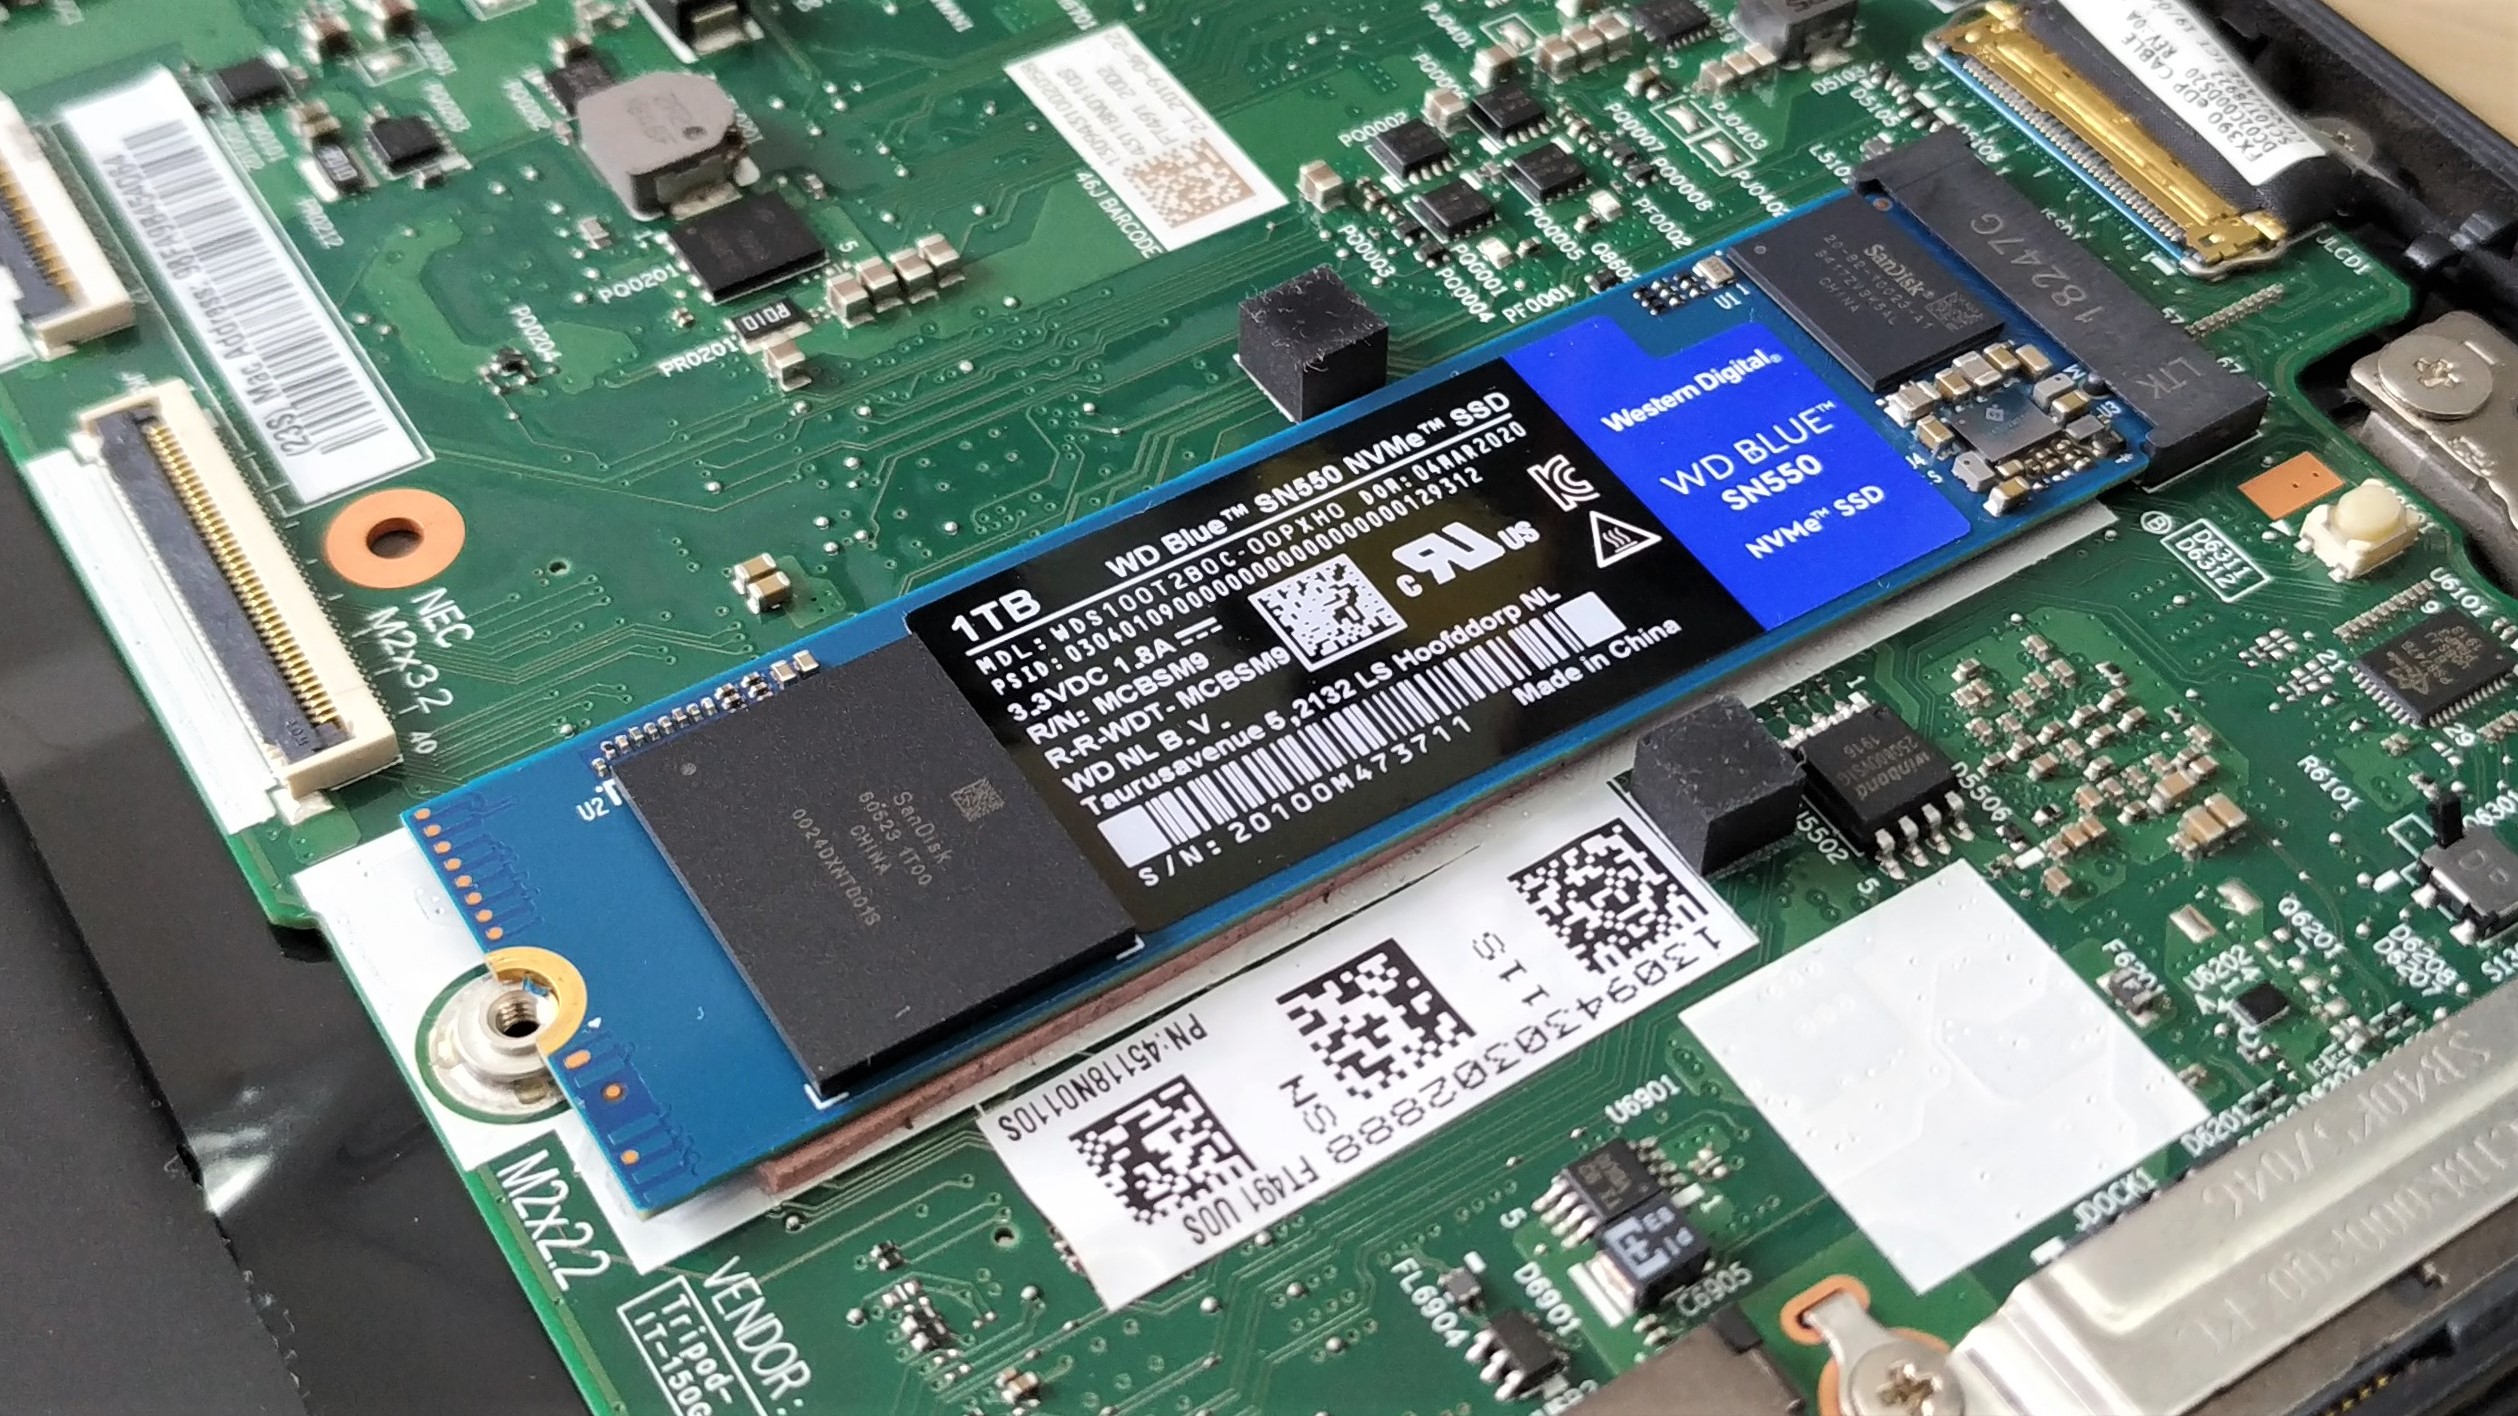
5. Carefully remove the drive. It should lift slightly from the board and offer little friction. There may be some adhesive holding the drive, ensure that it is carefully removed.
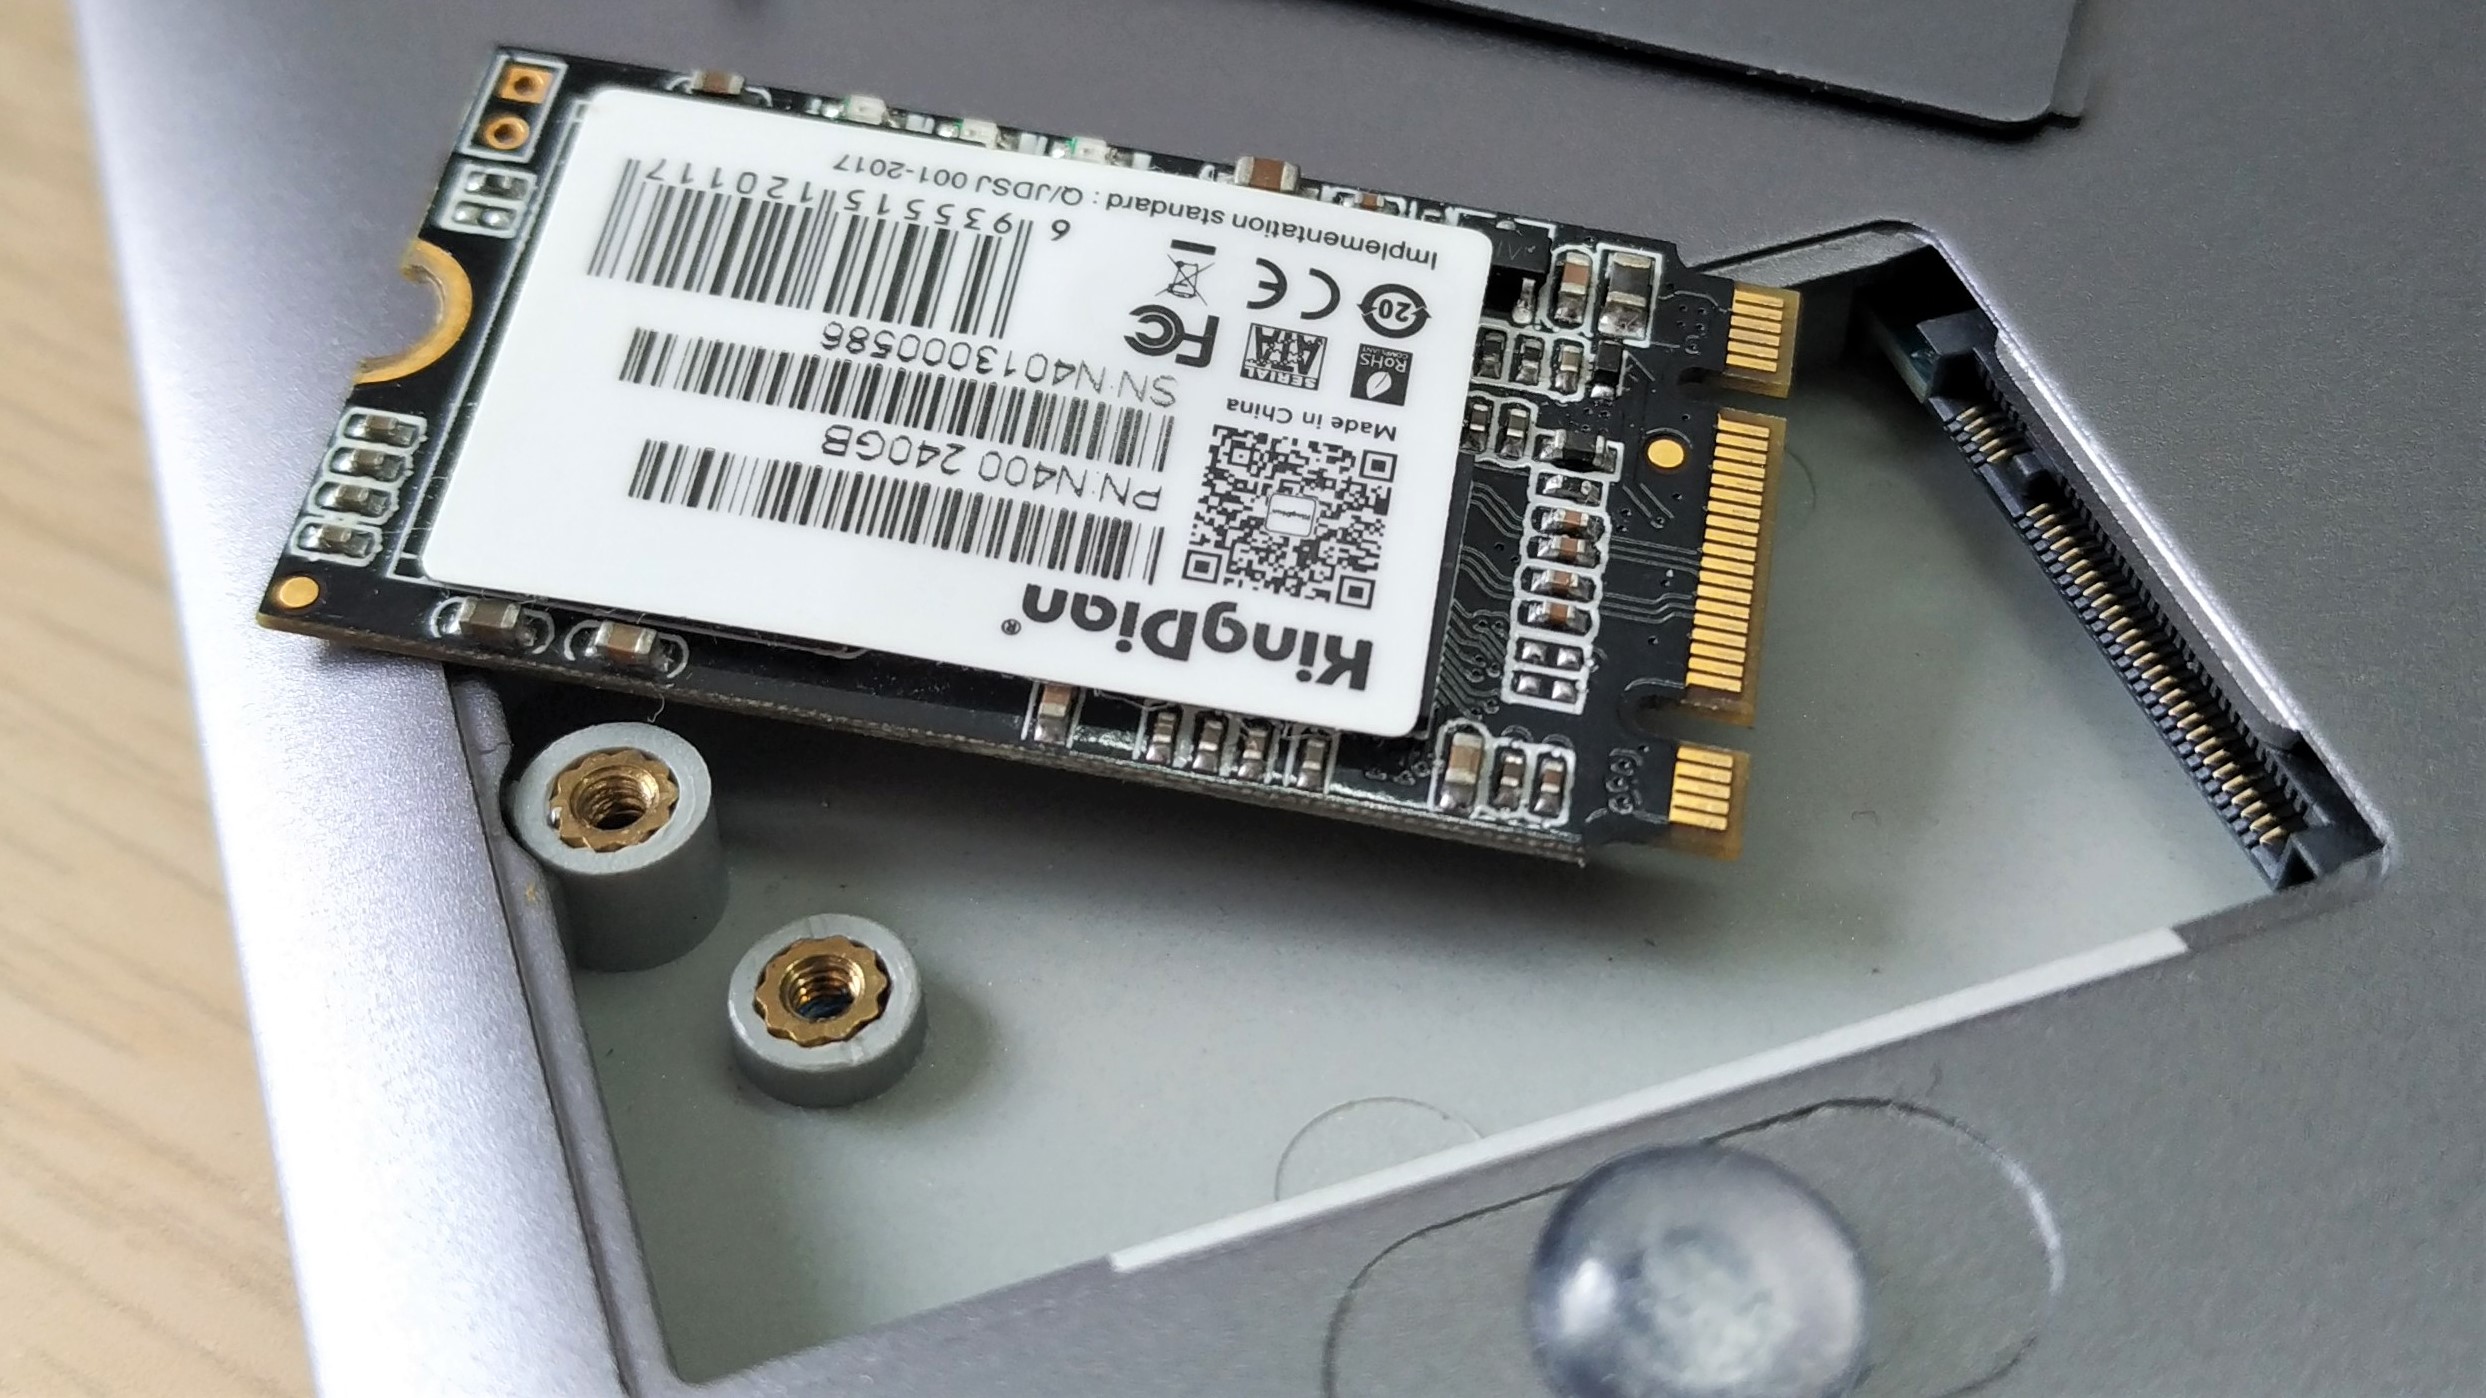
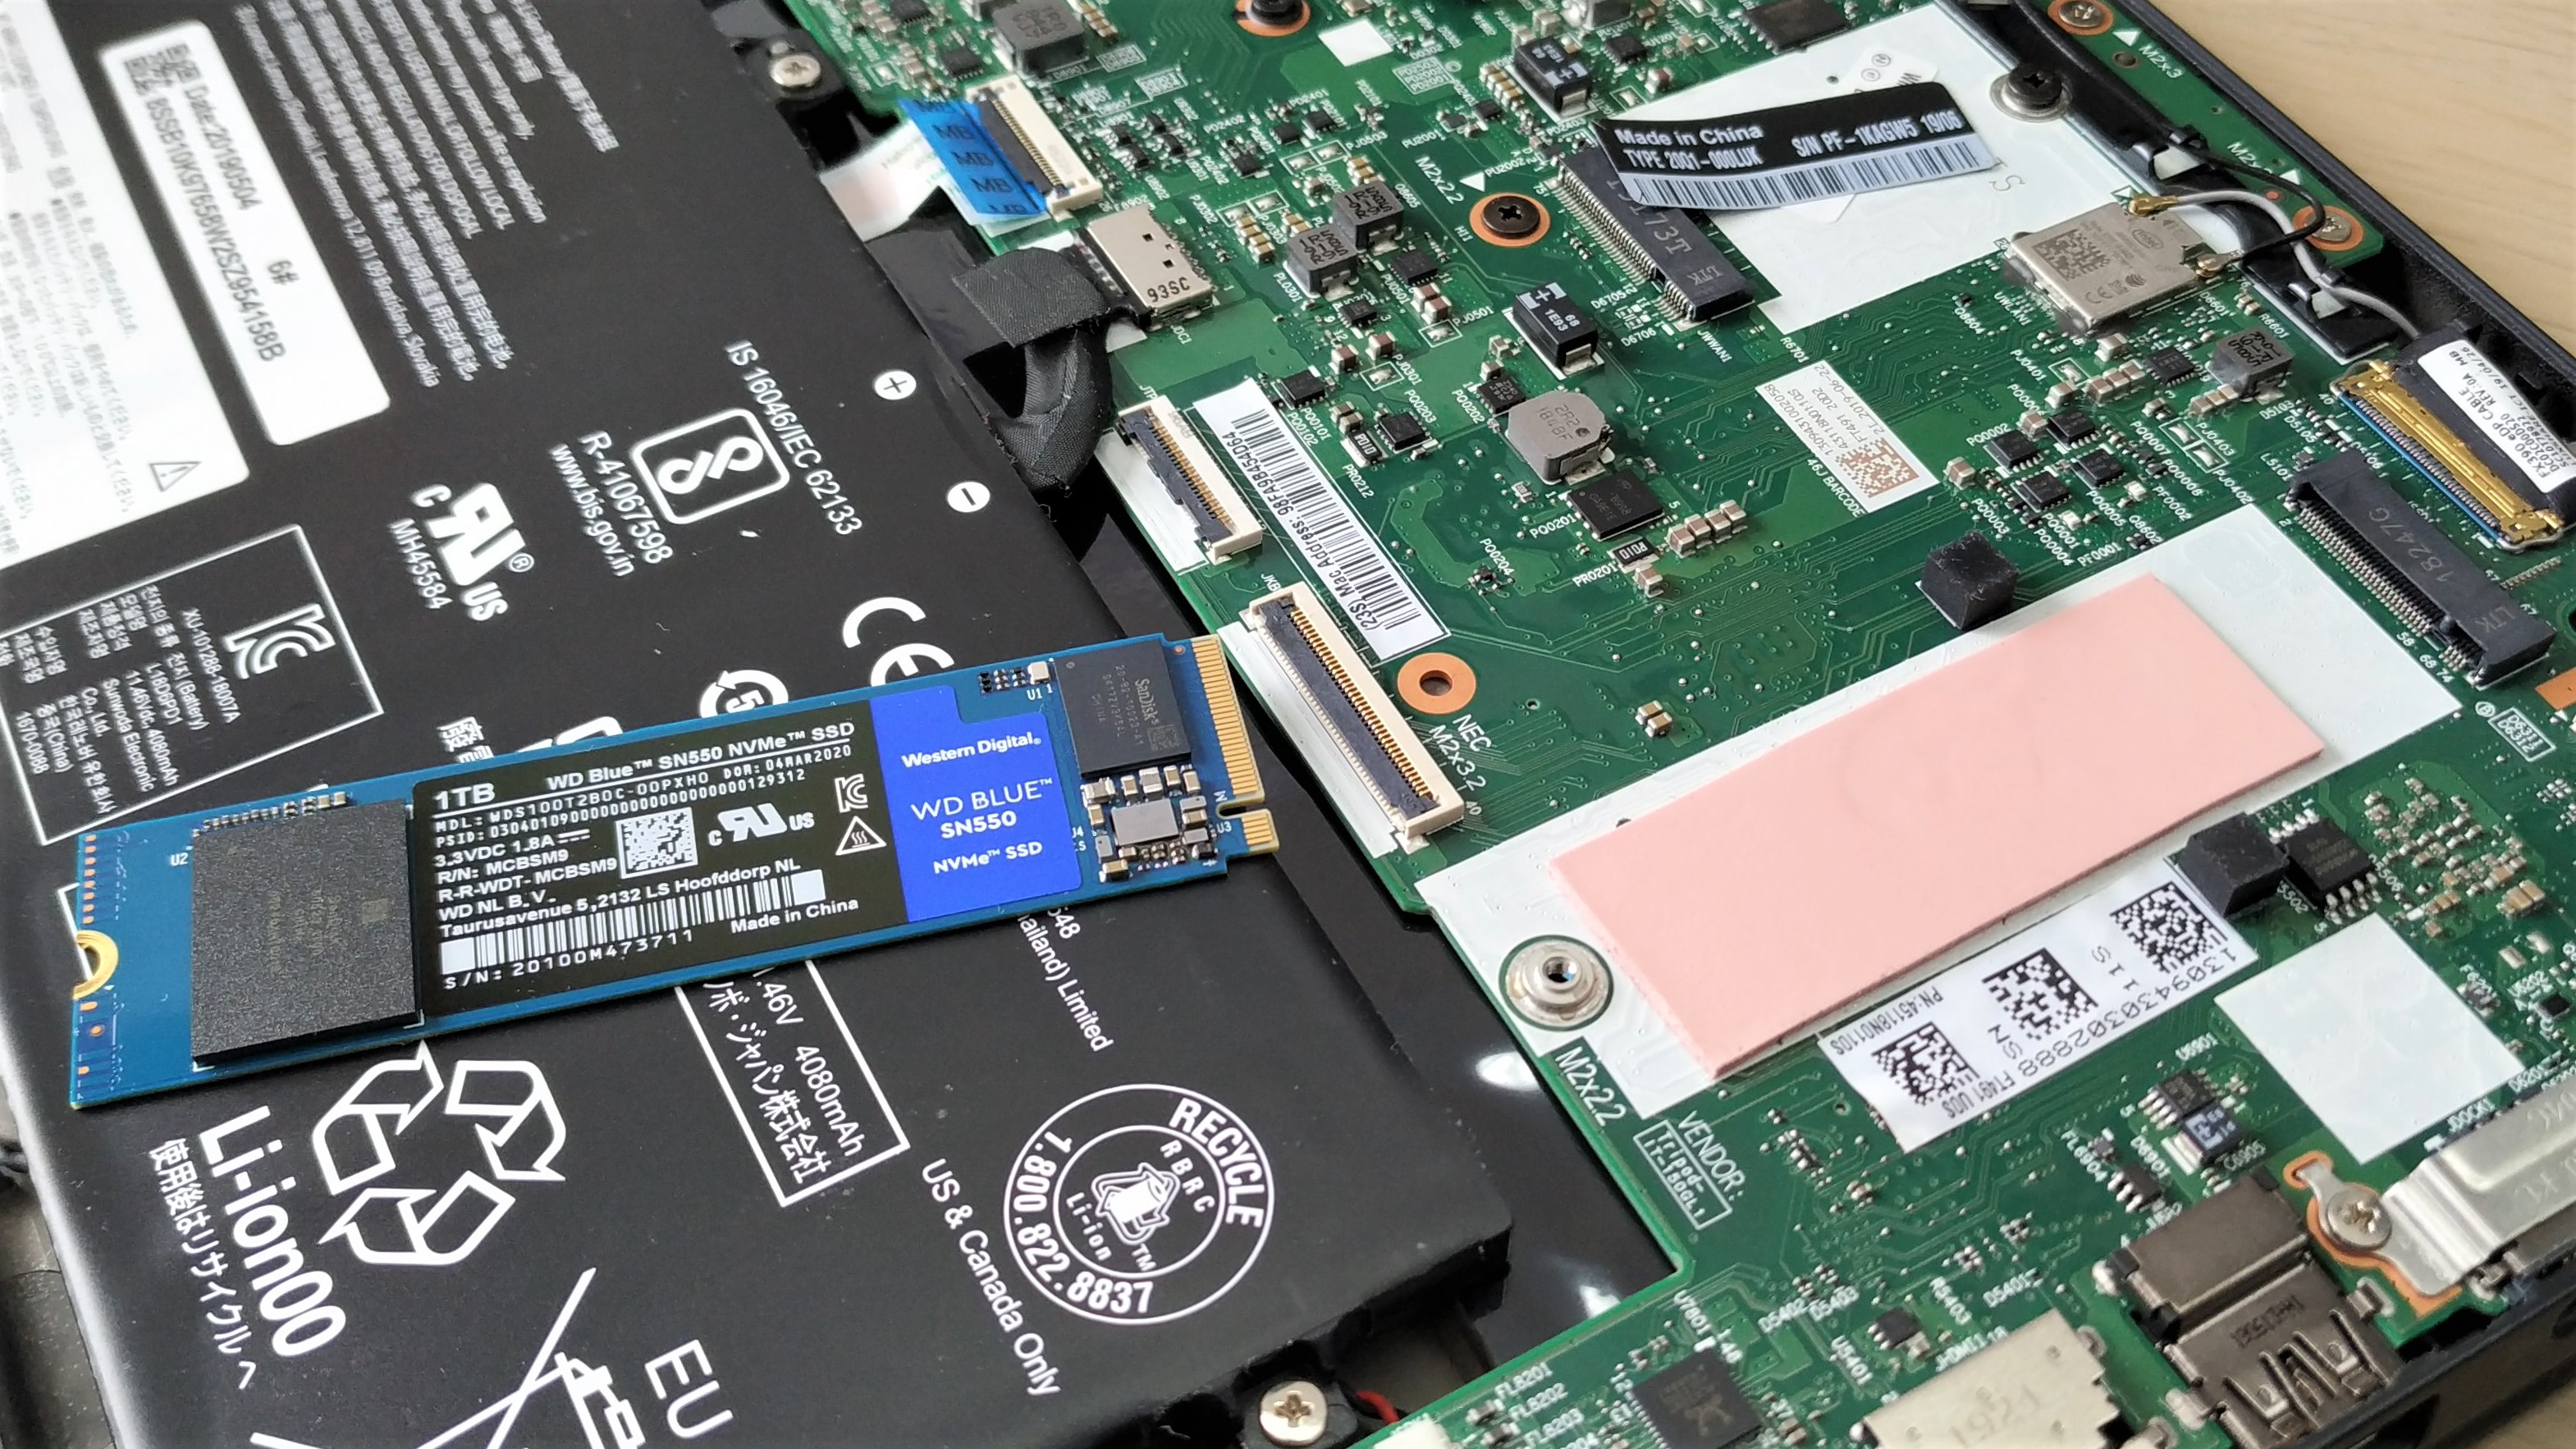
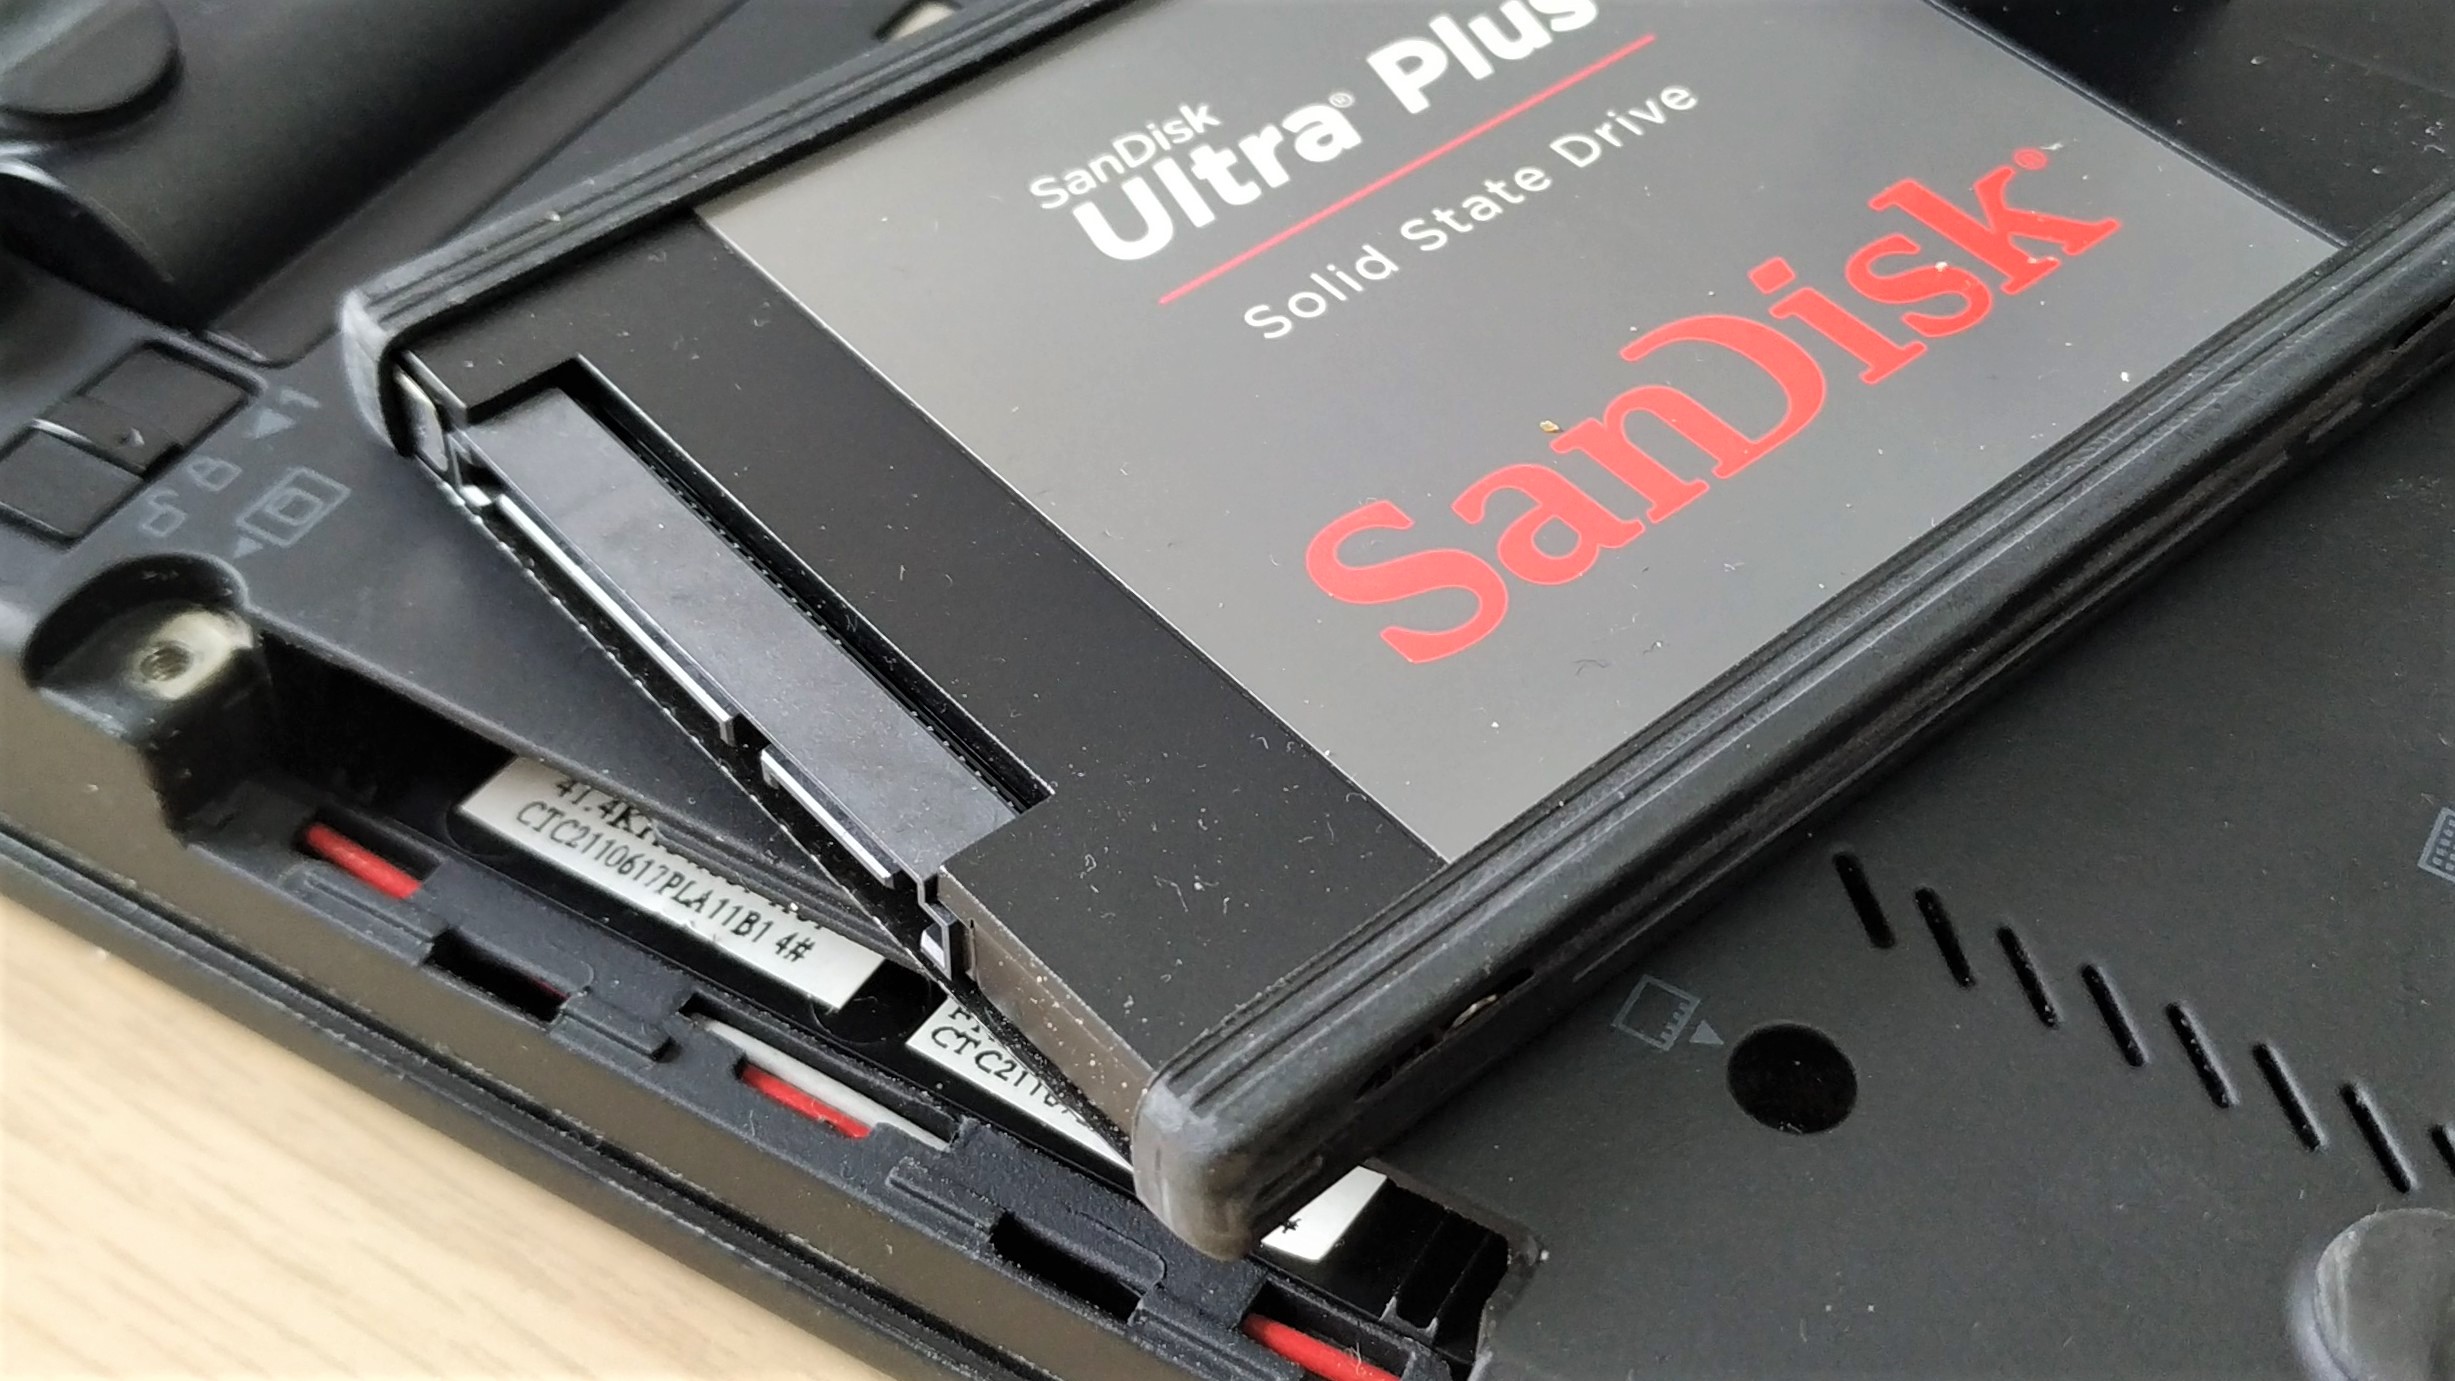
6. Insert the replacement drive at an angle and gently push into place.
7. Replace the screw to lock the drive in place.
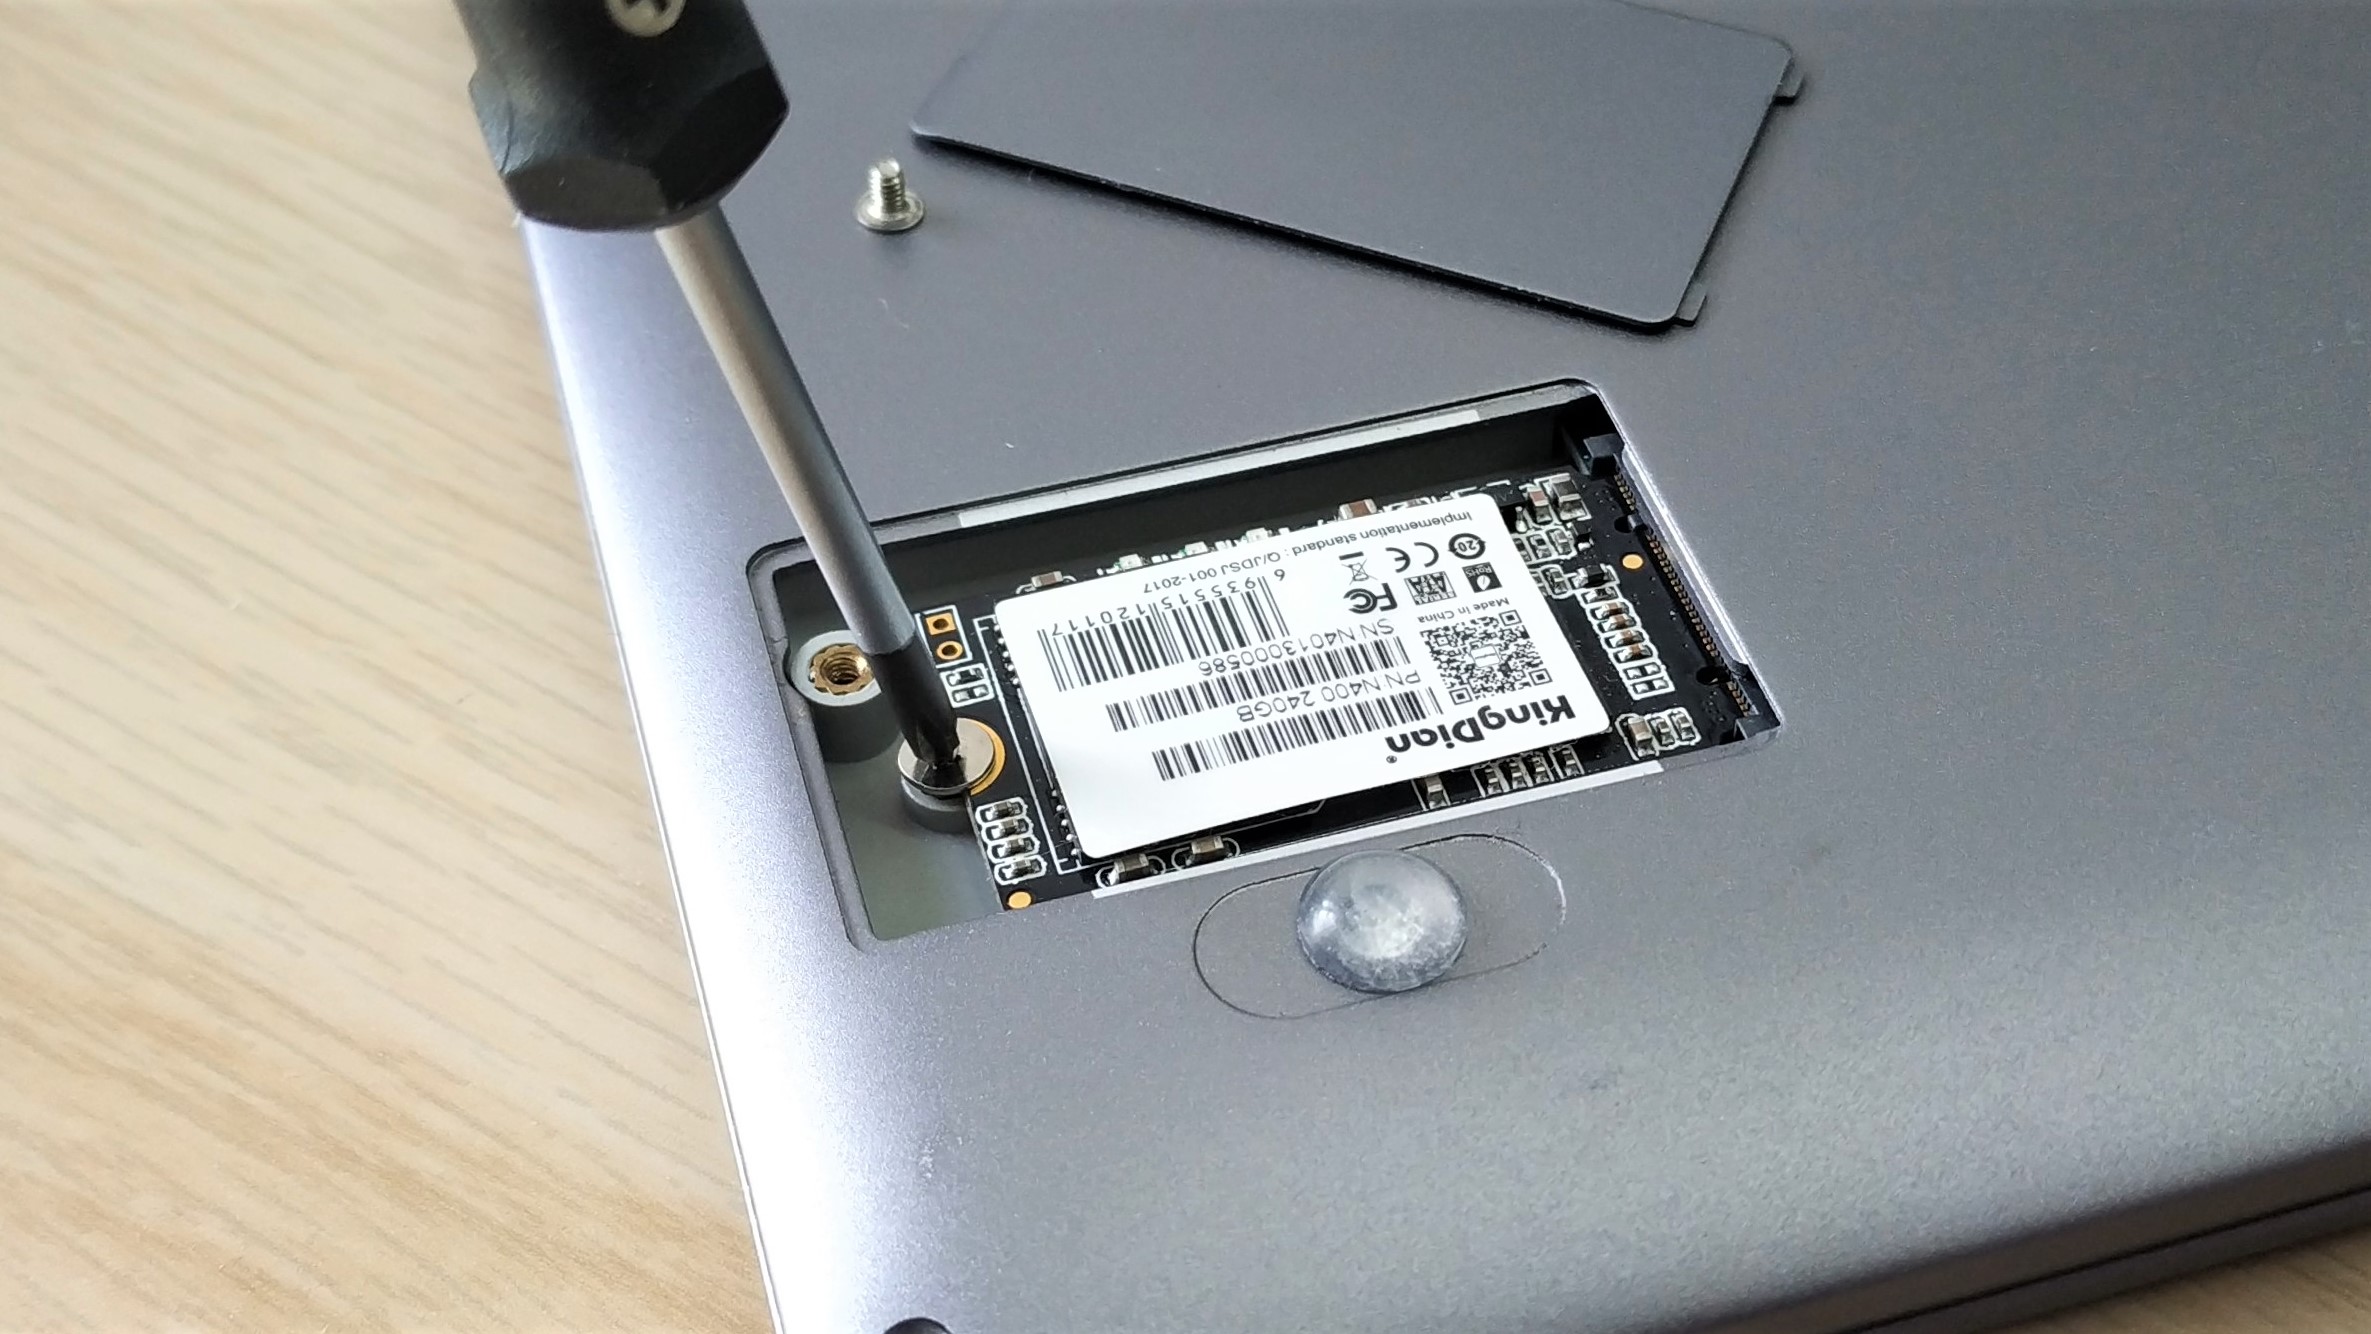
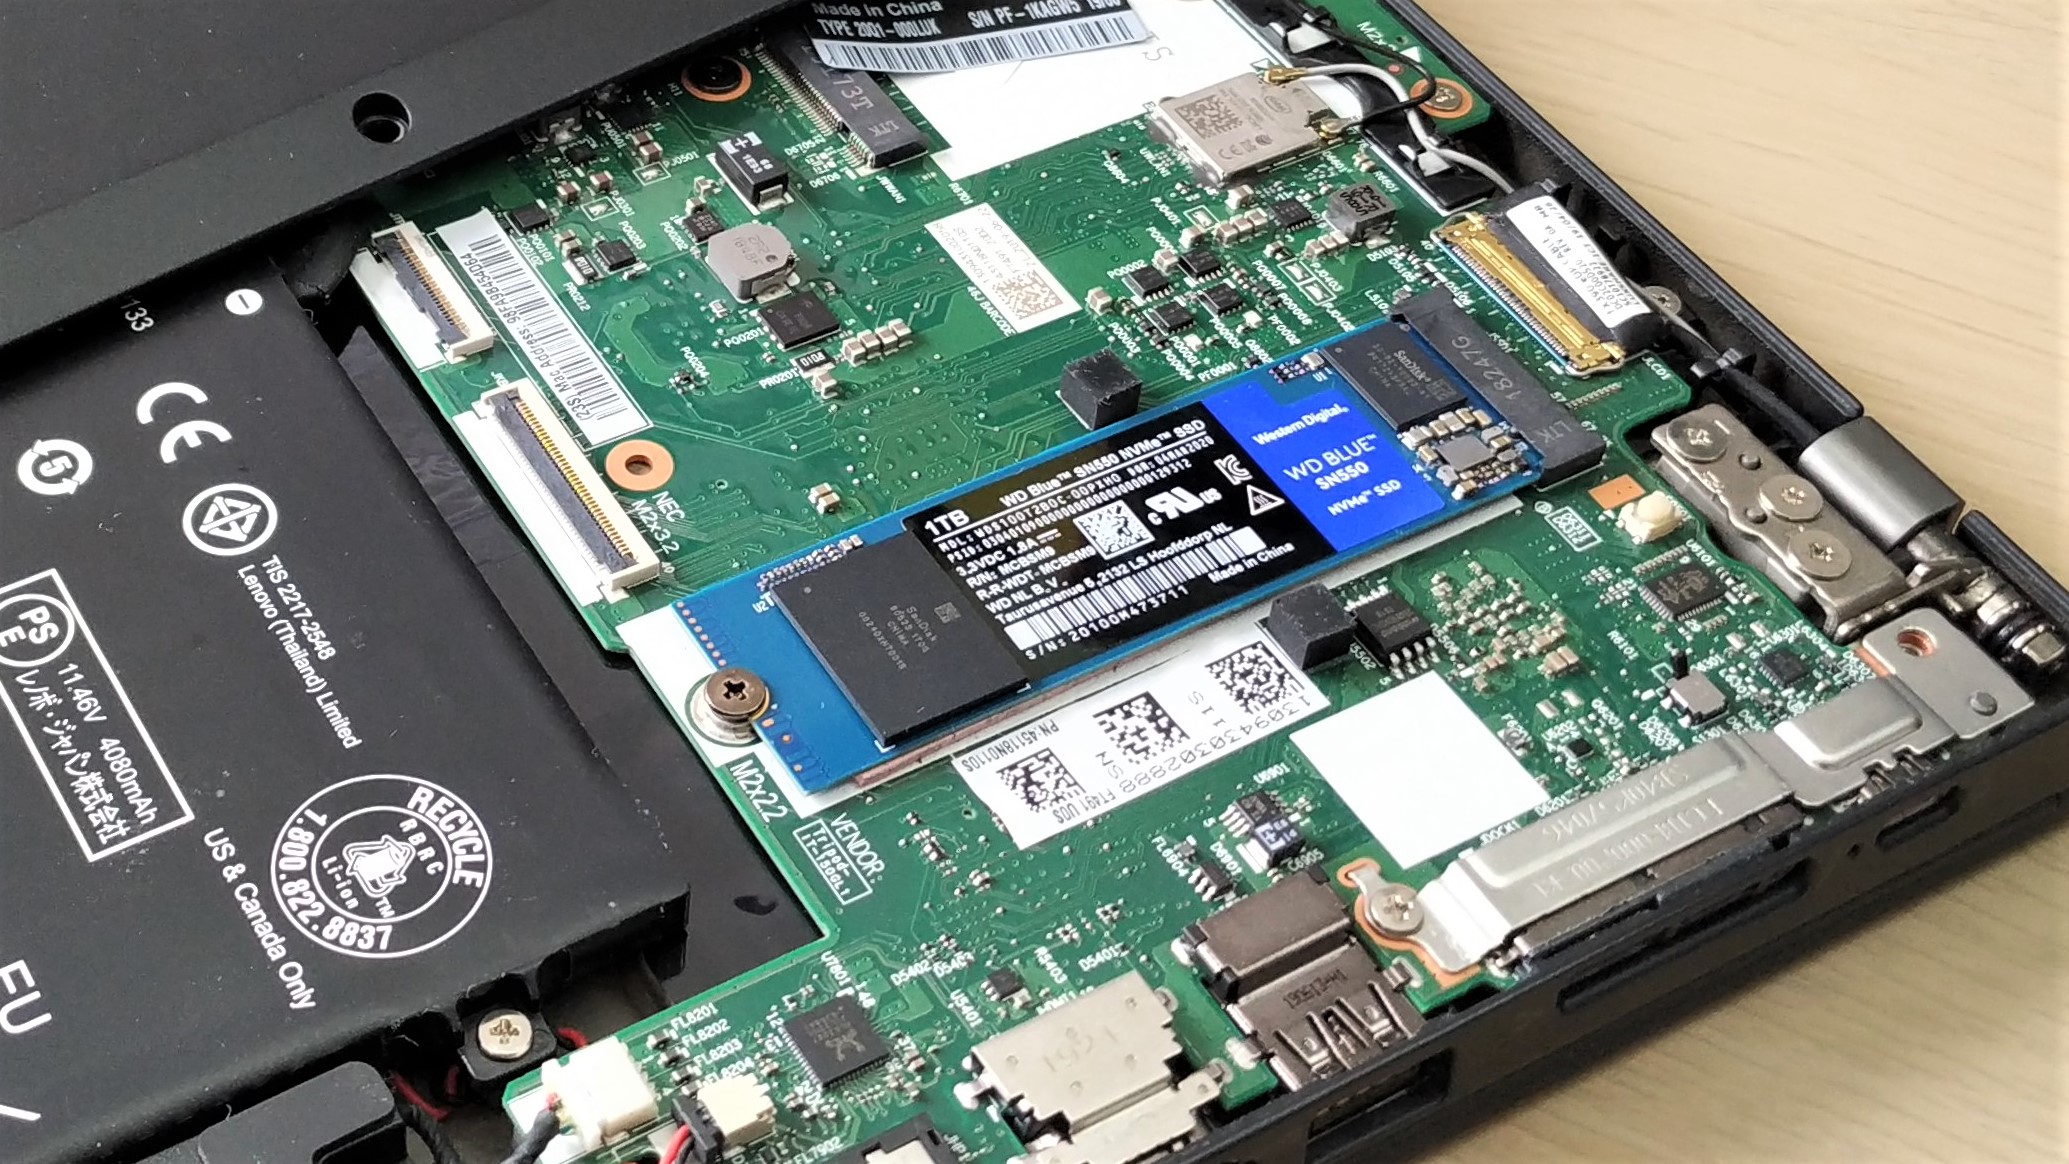
8. Replace the hatch / panel, ensuring that the SSD is not touching the hatch / panel.
9. Power up your laptop. Lenovo users with embedded batteries will need to do this with the power supply connected so that it enables the battery.
Replacing a 2.5 Inch SATA SSD
1. Ensure that the laptop is powered off and not connected to AC power.
2. Remove the battery. For laptops with removable batteries, power off, unlock and remove the battery. For integrated batteries, enter the BIOS and disable the built-in battery.
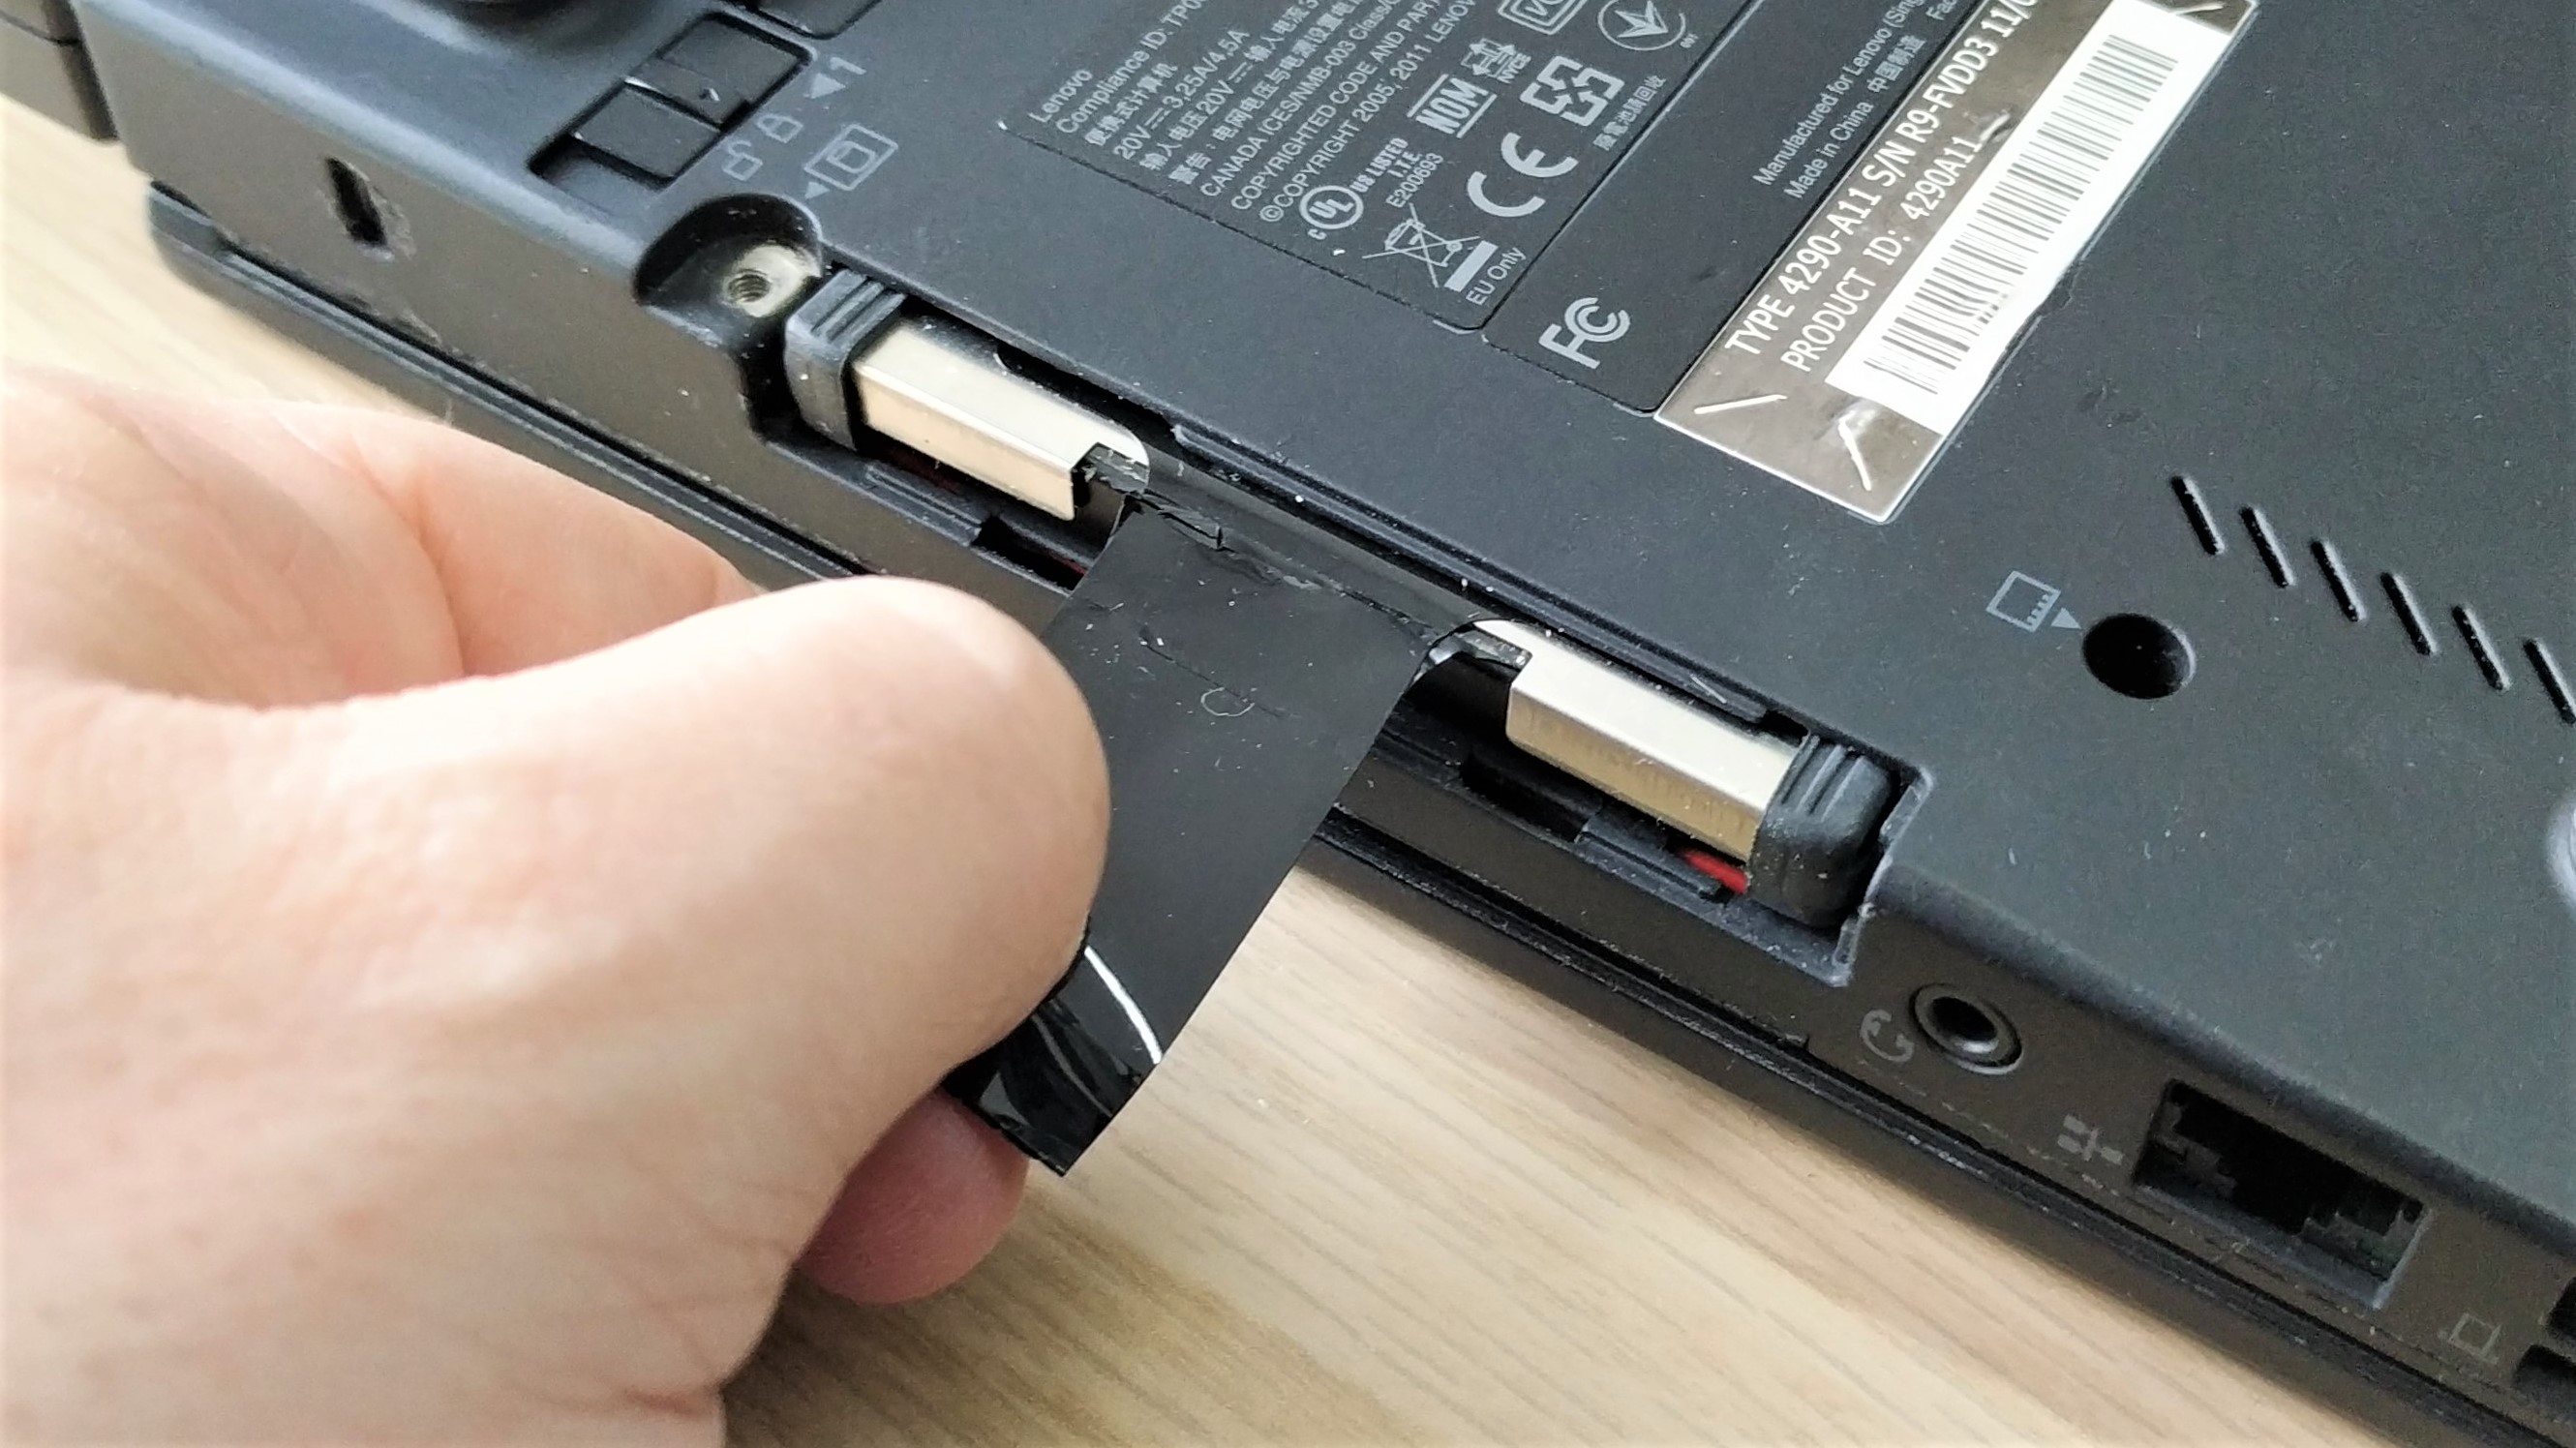
3. Locate the hatch / panel for the SSD and remove the screw. Some laptops have a hatch / panel for the drive, others require the entire panel to be removed.
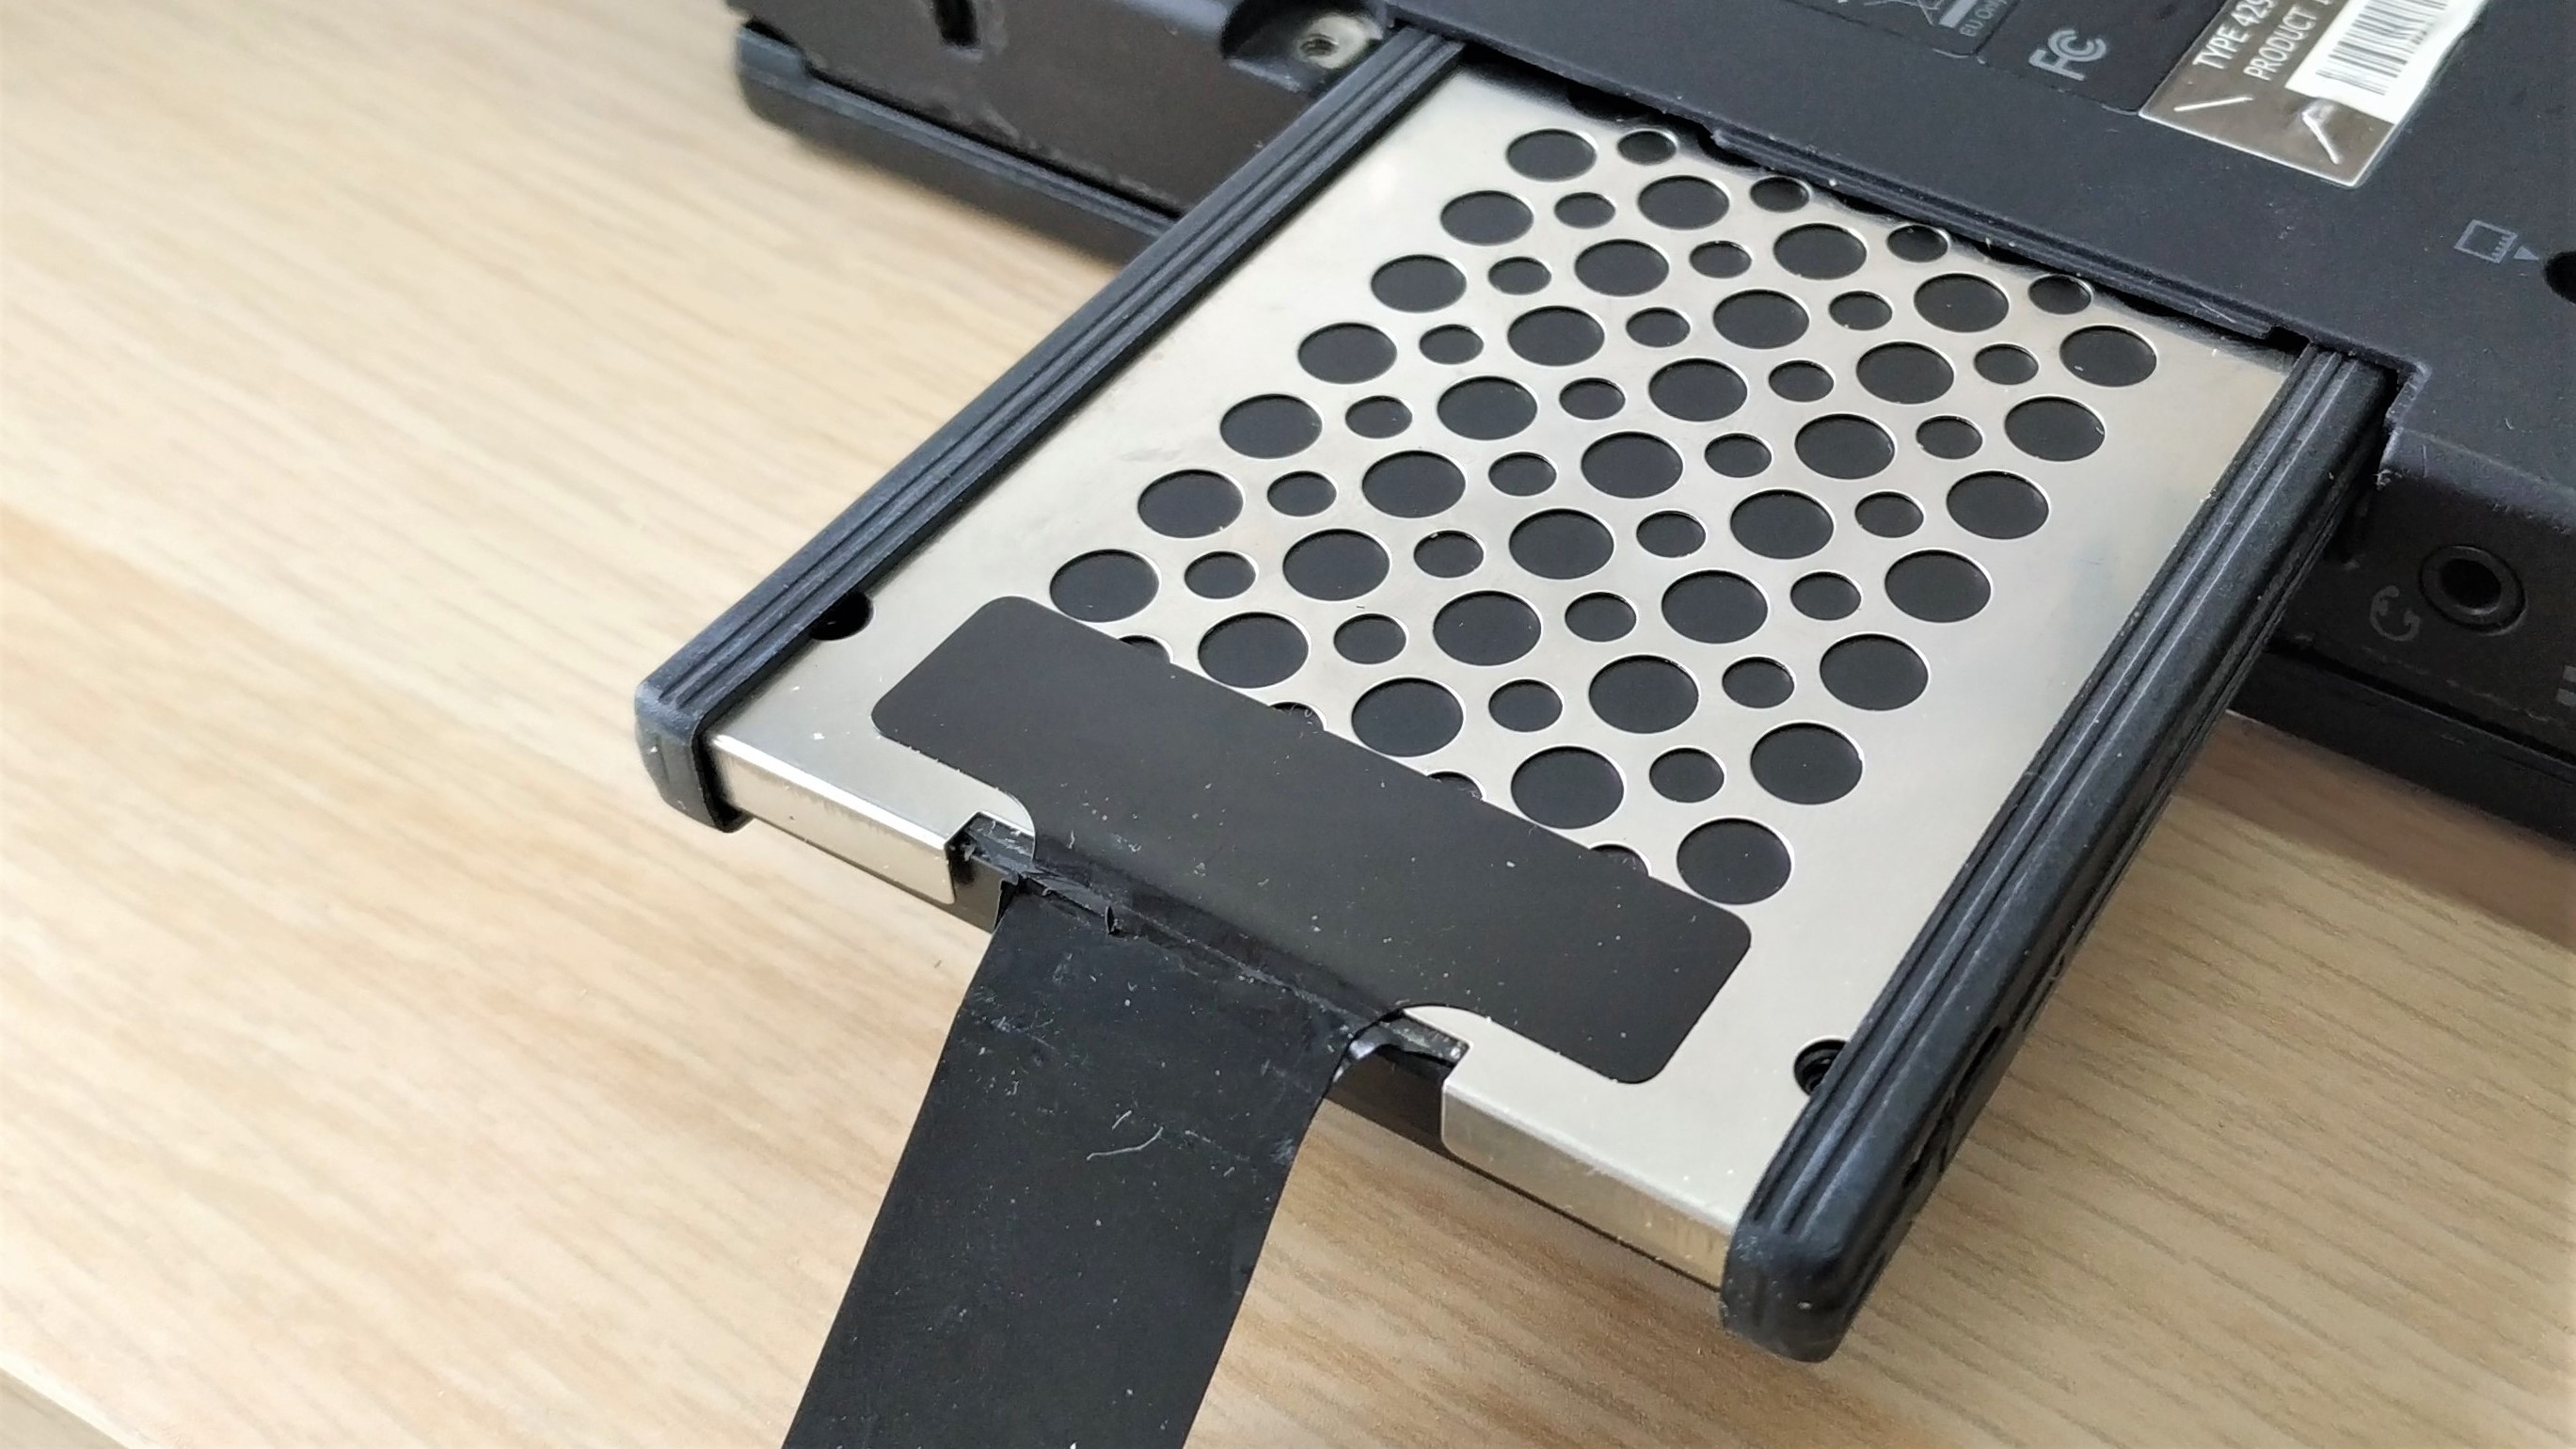
4. Carefully remove the drive. It should slide out from the laptop with little friction.There may be a screw or interposer to remove before this is possible. Make a note of the orientation of the SATA data and power ports.
5. If present, remove the drive rails / caddy from the SSD. Rails and caddies are typically used to protect the drive from bumps.
6. Insert the replacement drive, noting the orientation of the SATA ports and gently push into place. Replace the drive rails / caddy (if present).
7. Replace the hatch / panel and replace the screw.
8. Power up your laptop.
If you are cloning a boot drive, but you haven’t used an SSD enclosure to copy the data, you may need to restore your data to the new drive at this point.

Les Pounder is an associate editor at Tom's Hardware. He is a creative technologist and for seven years has created projects to educate and inspire minds both young and old. He has worked with the Raspberry Pi Foundation to write and deliver their teacher training program "Picademy".
