Building My First Custom Water Cooling Loop
Water cooling is cool (pun intended), so when the opportunity came my way, I just had to have a first go at custom liquid cooling a PC.
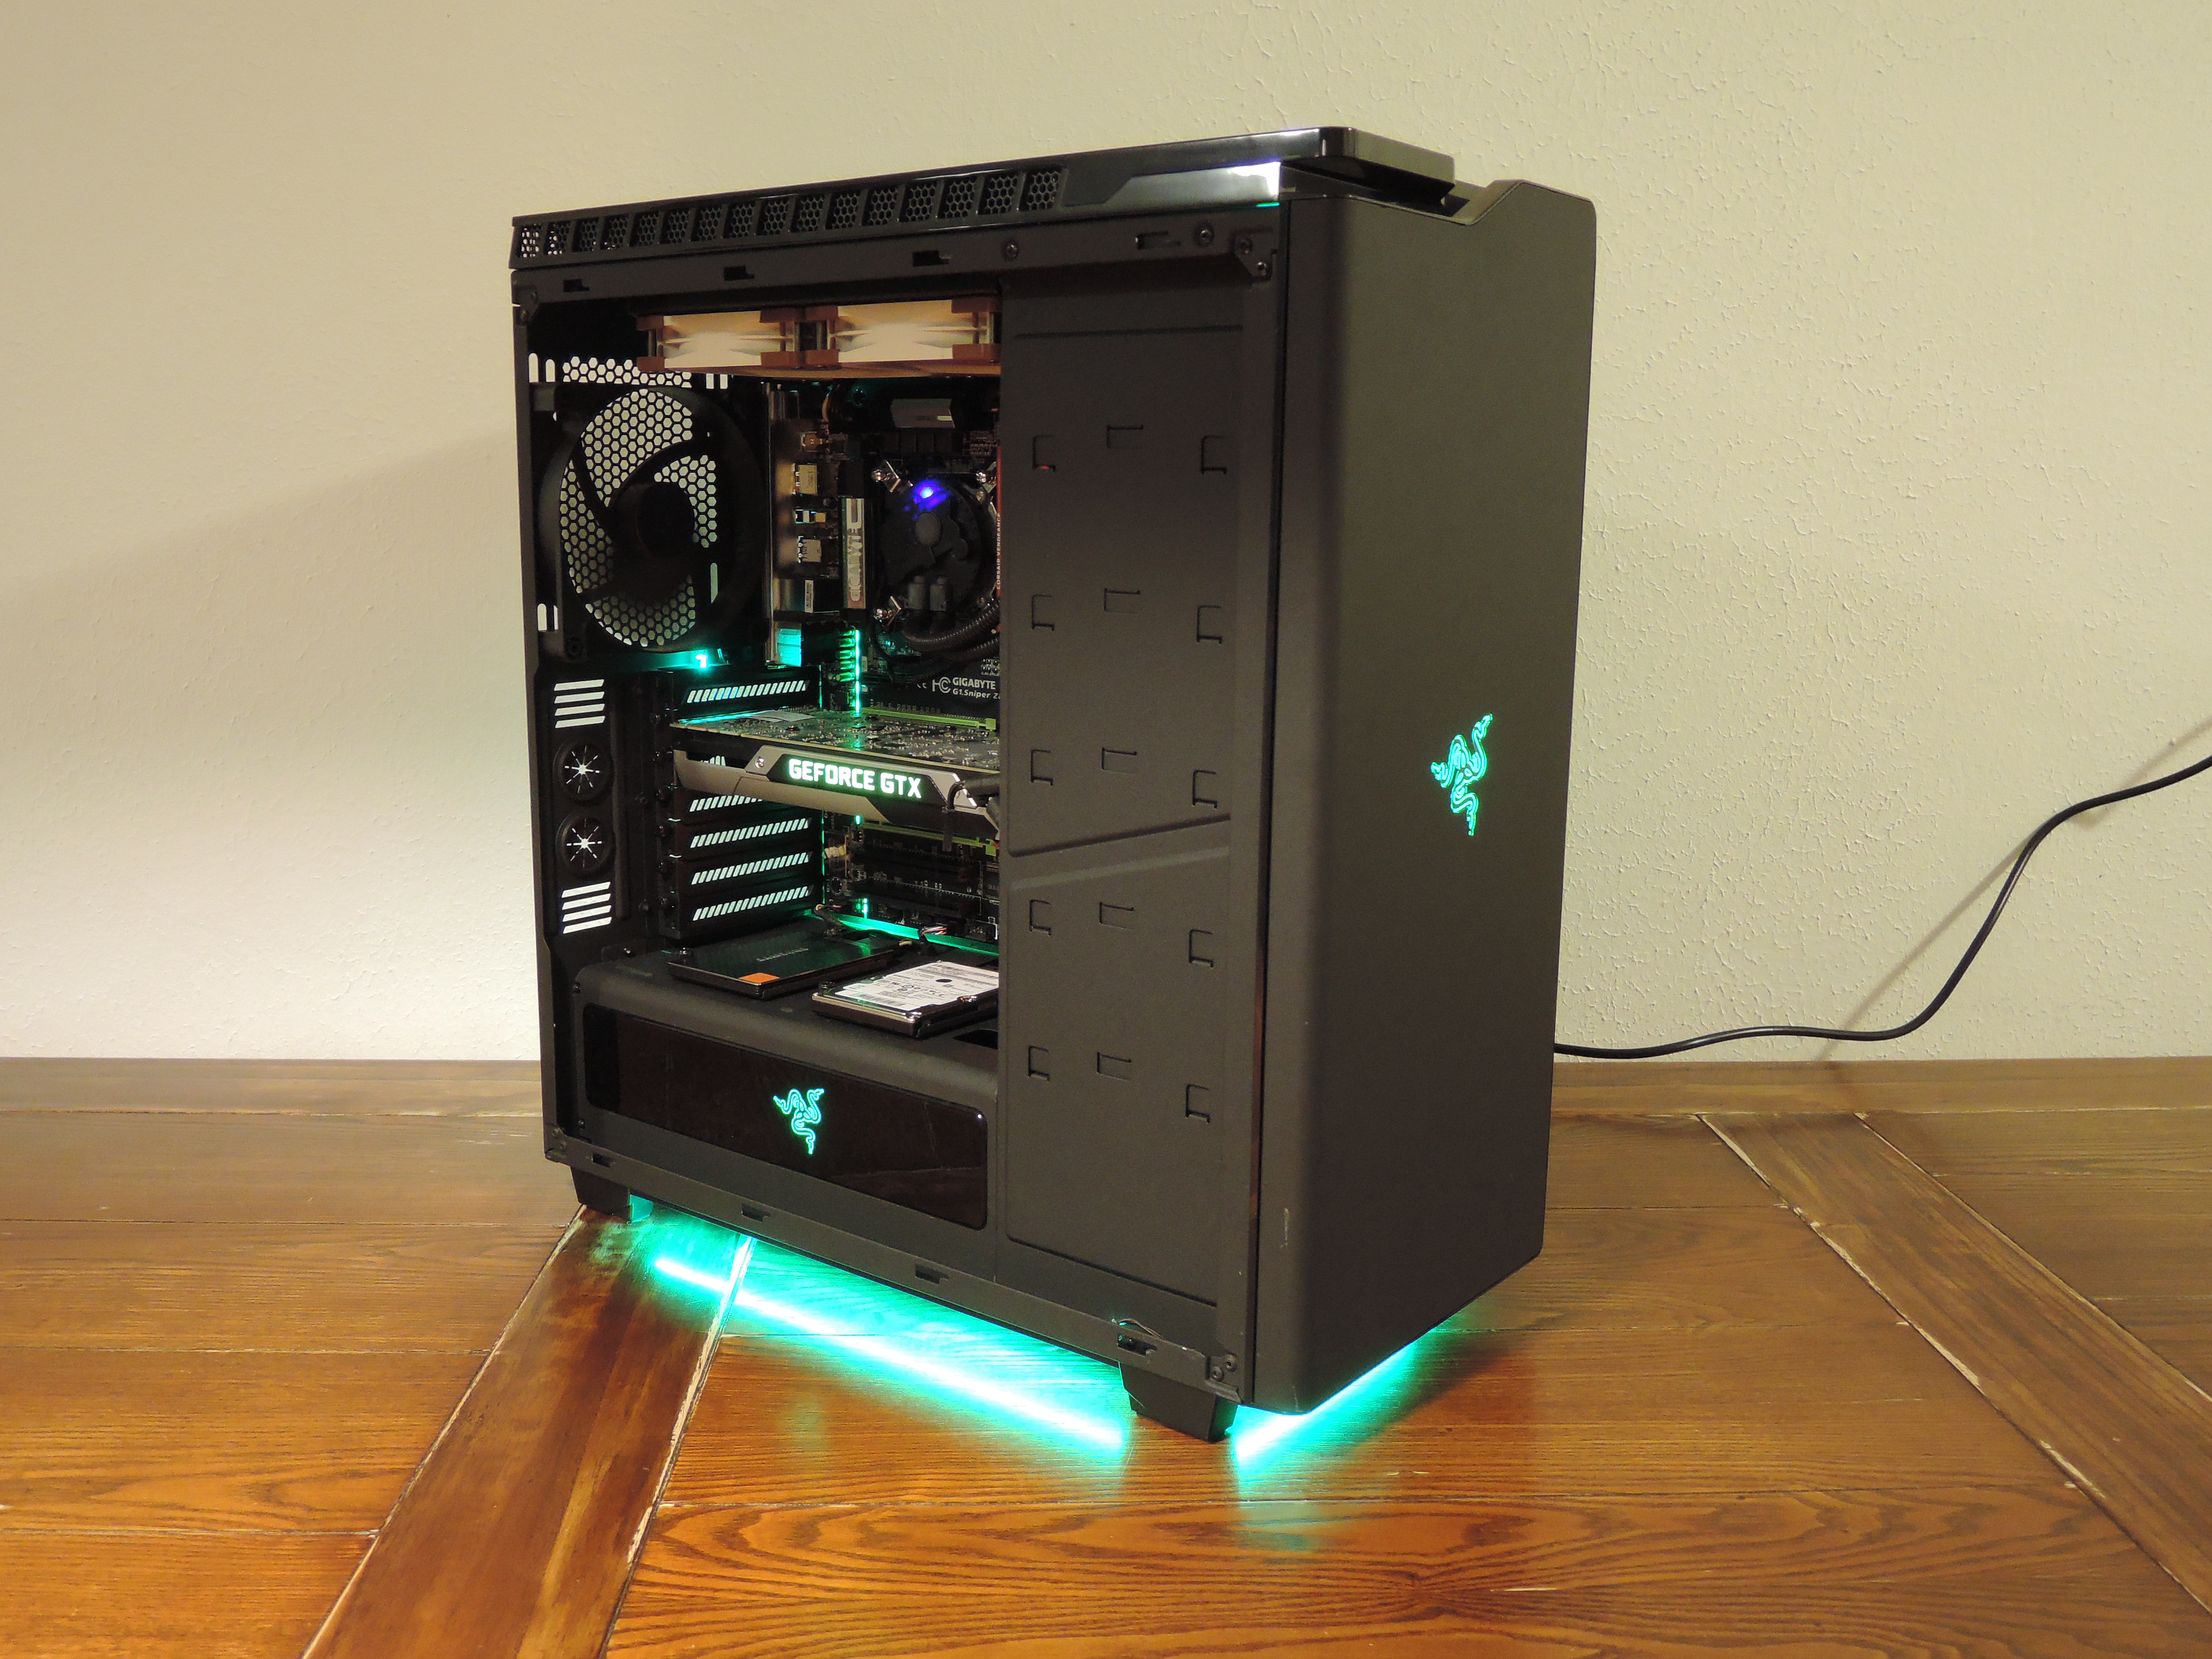
Although I've built my share of PCs over the years, I've never actually gotten around to building a water cooled system. Sure, I've dealt with numerous all-in-one liquid coolers, but I've never actually had the opportunity to build a system with custom liquid cooling. That is, until NZXT sent us the Razer Edition of its H440 case.
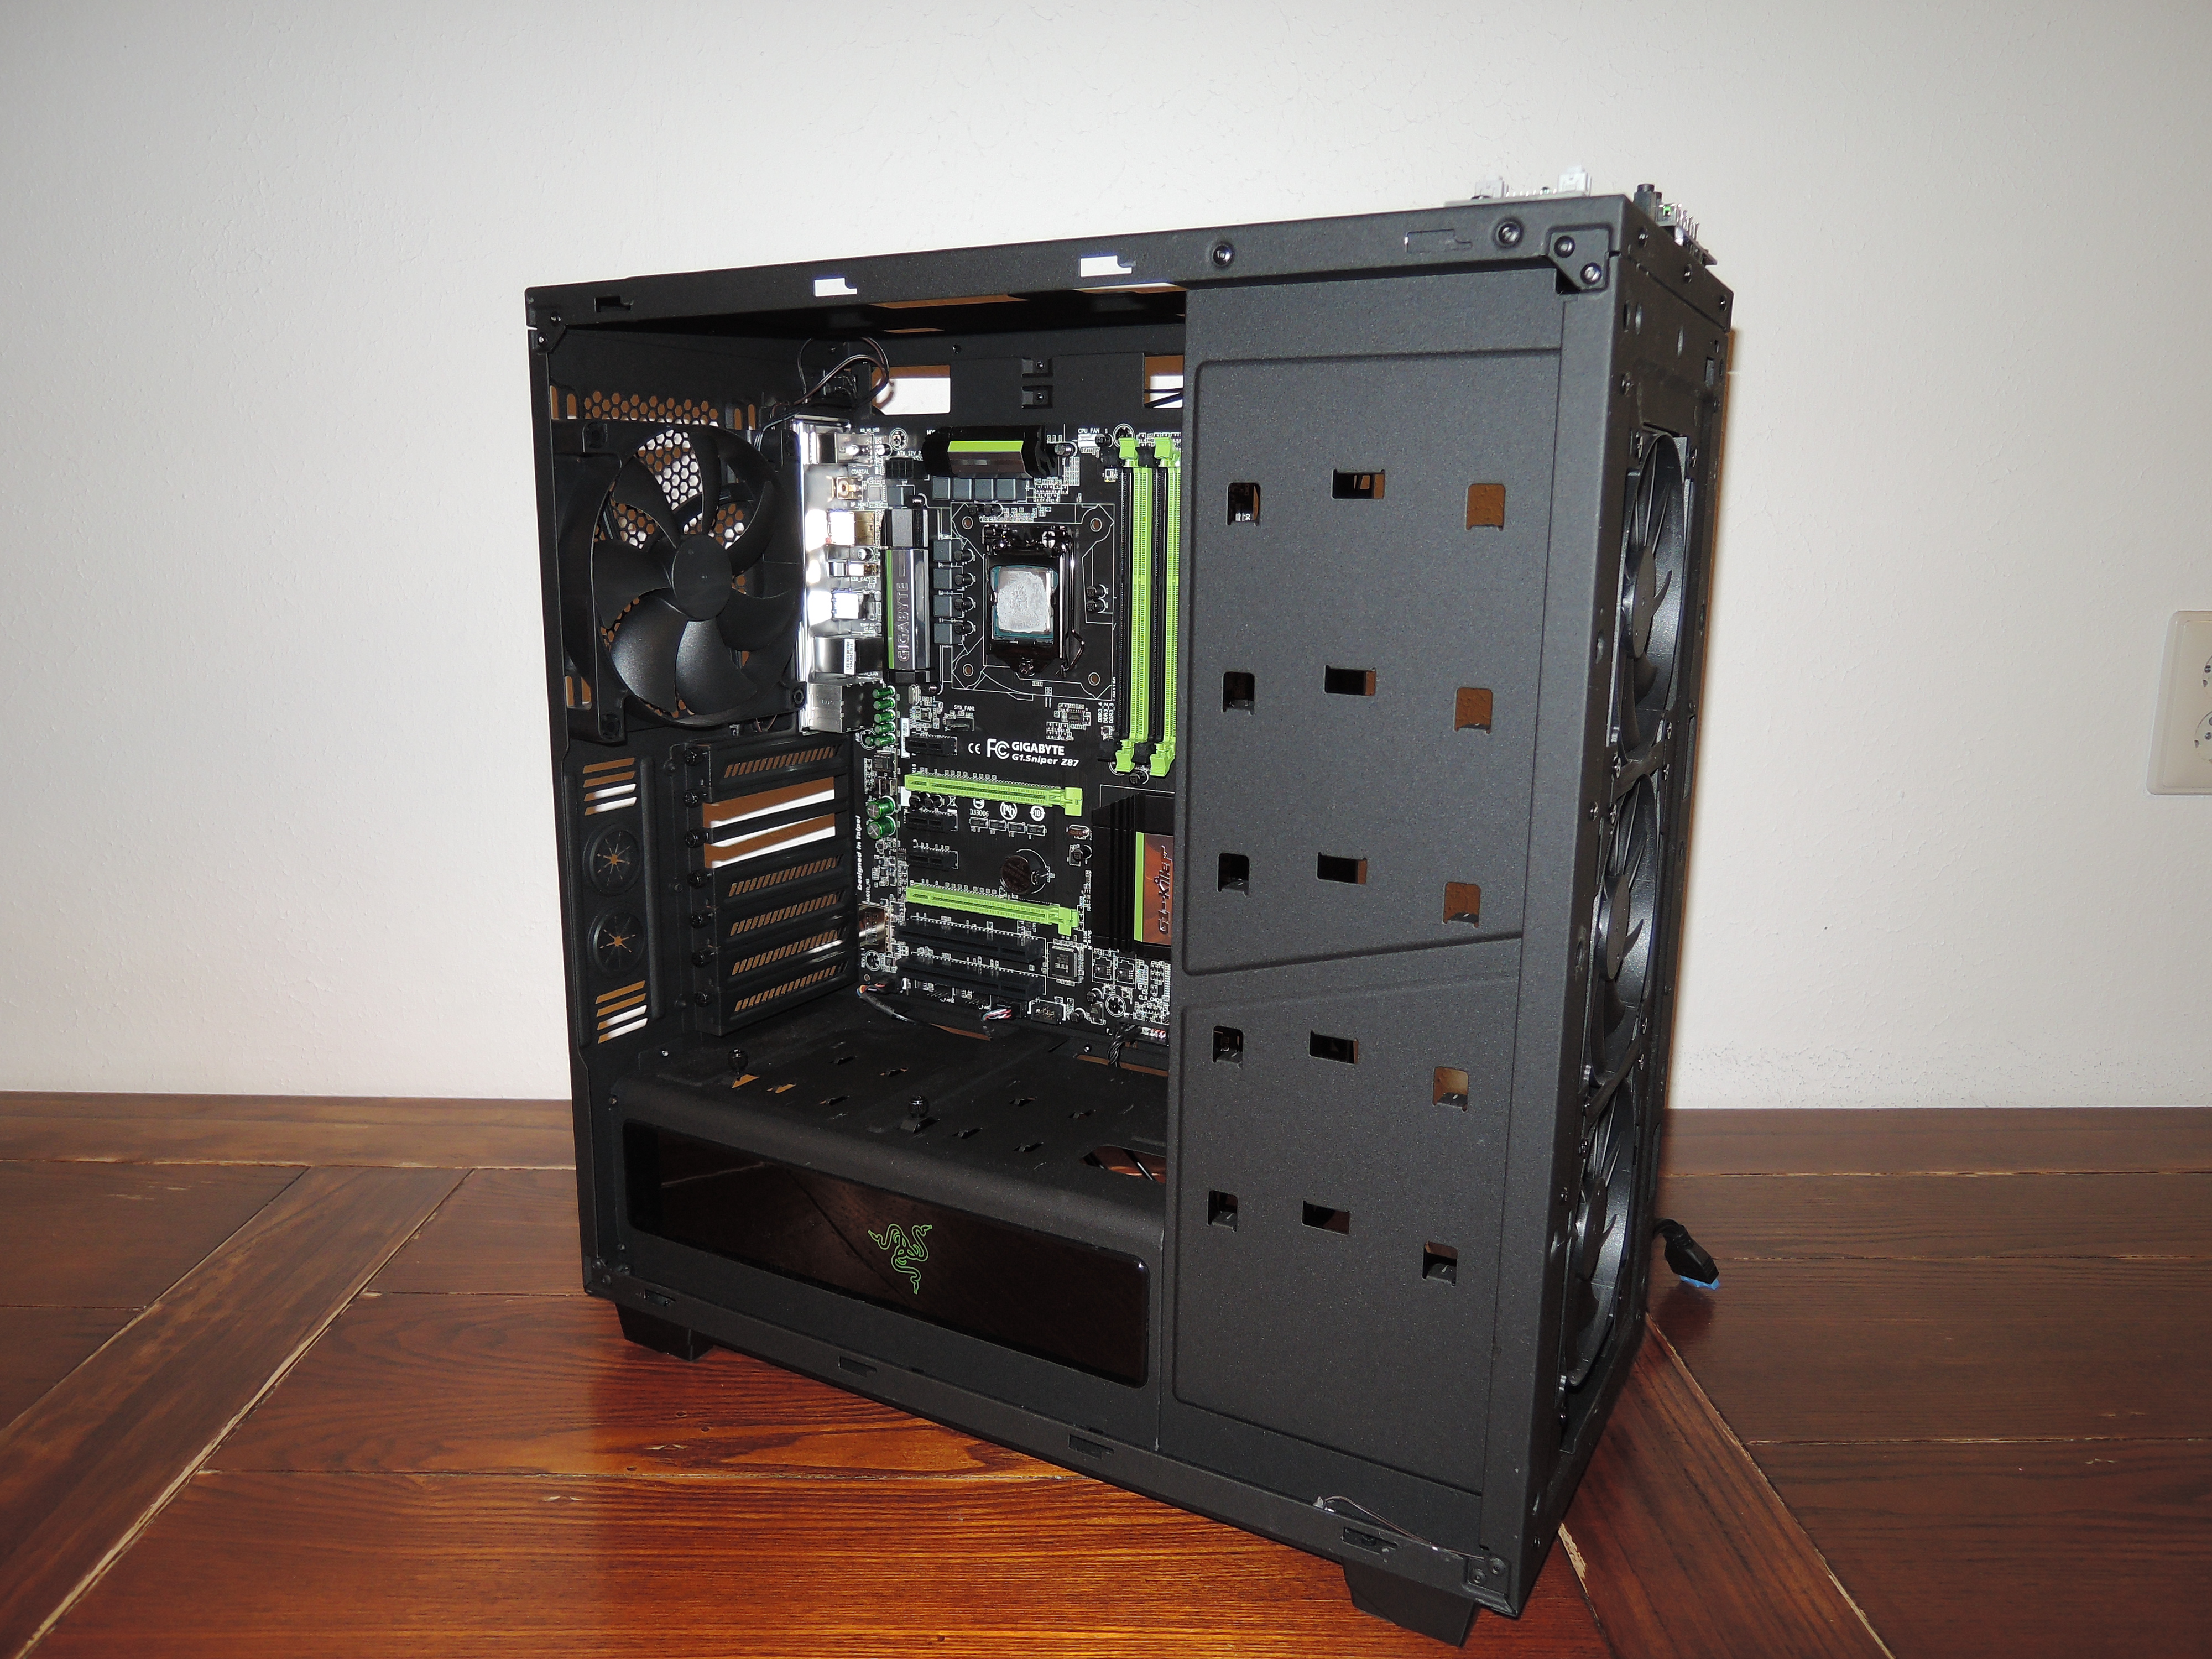
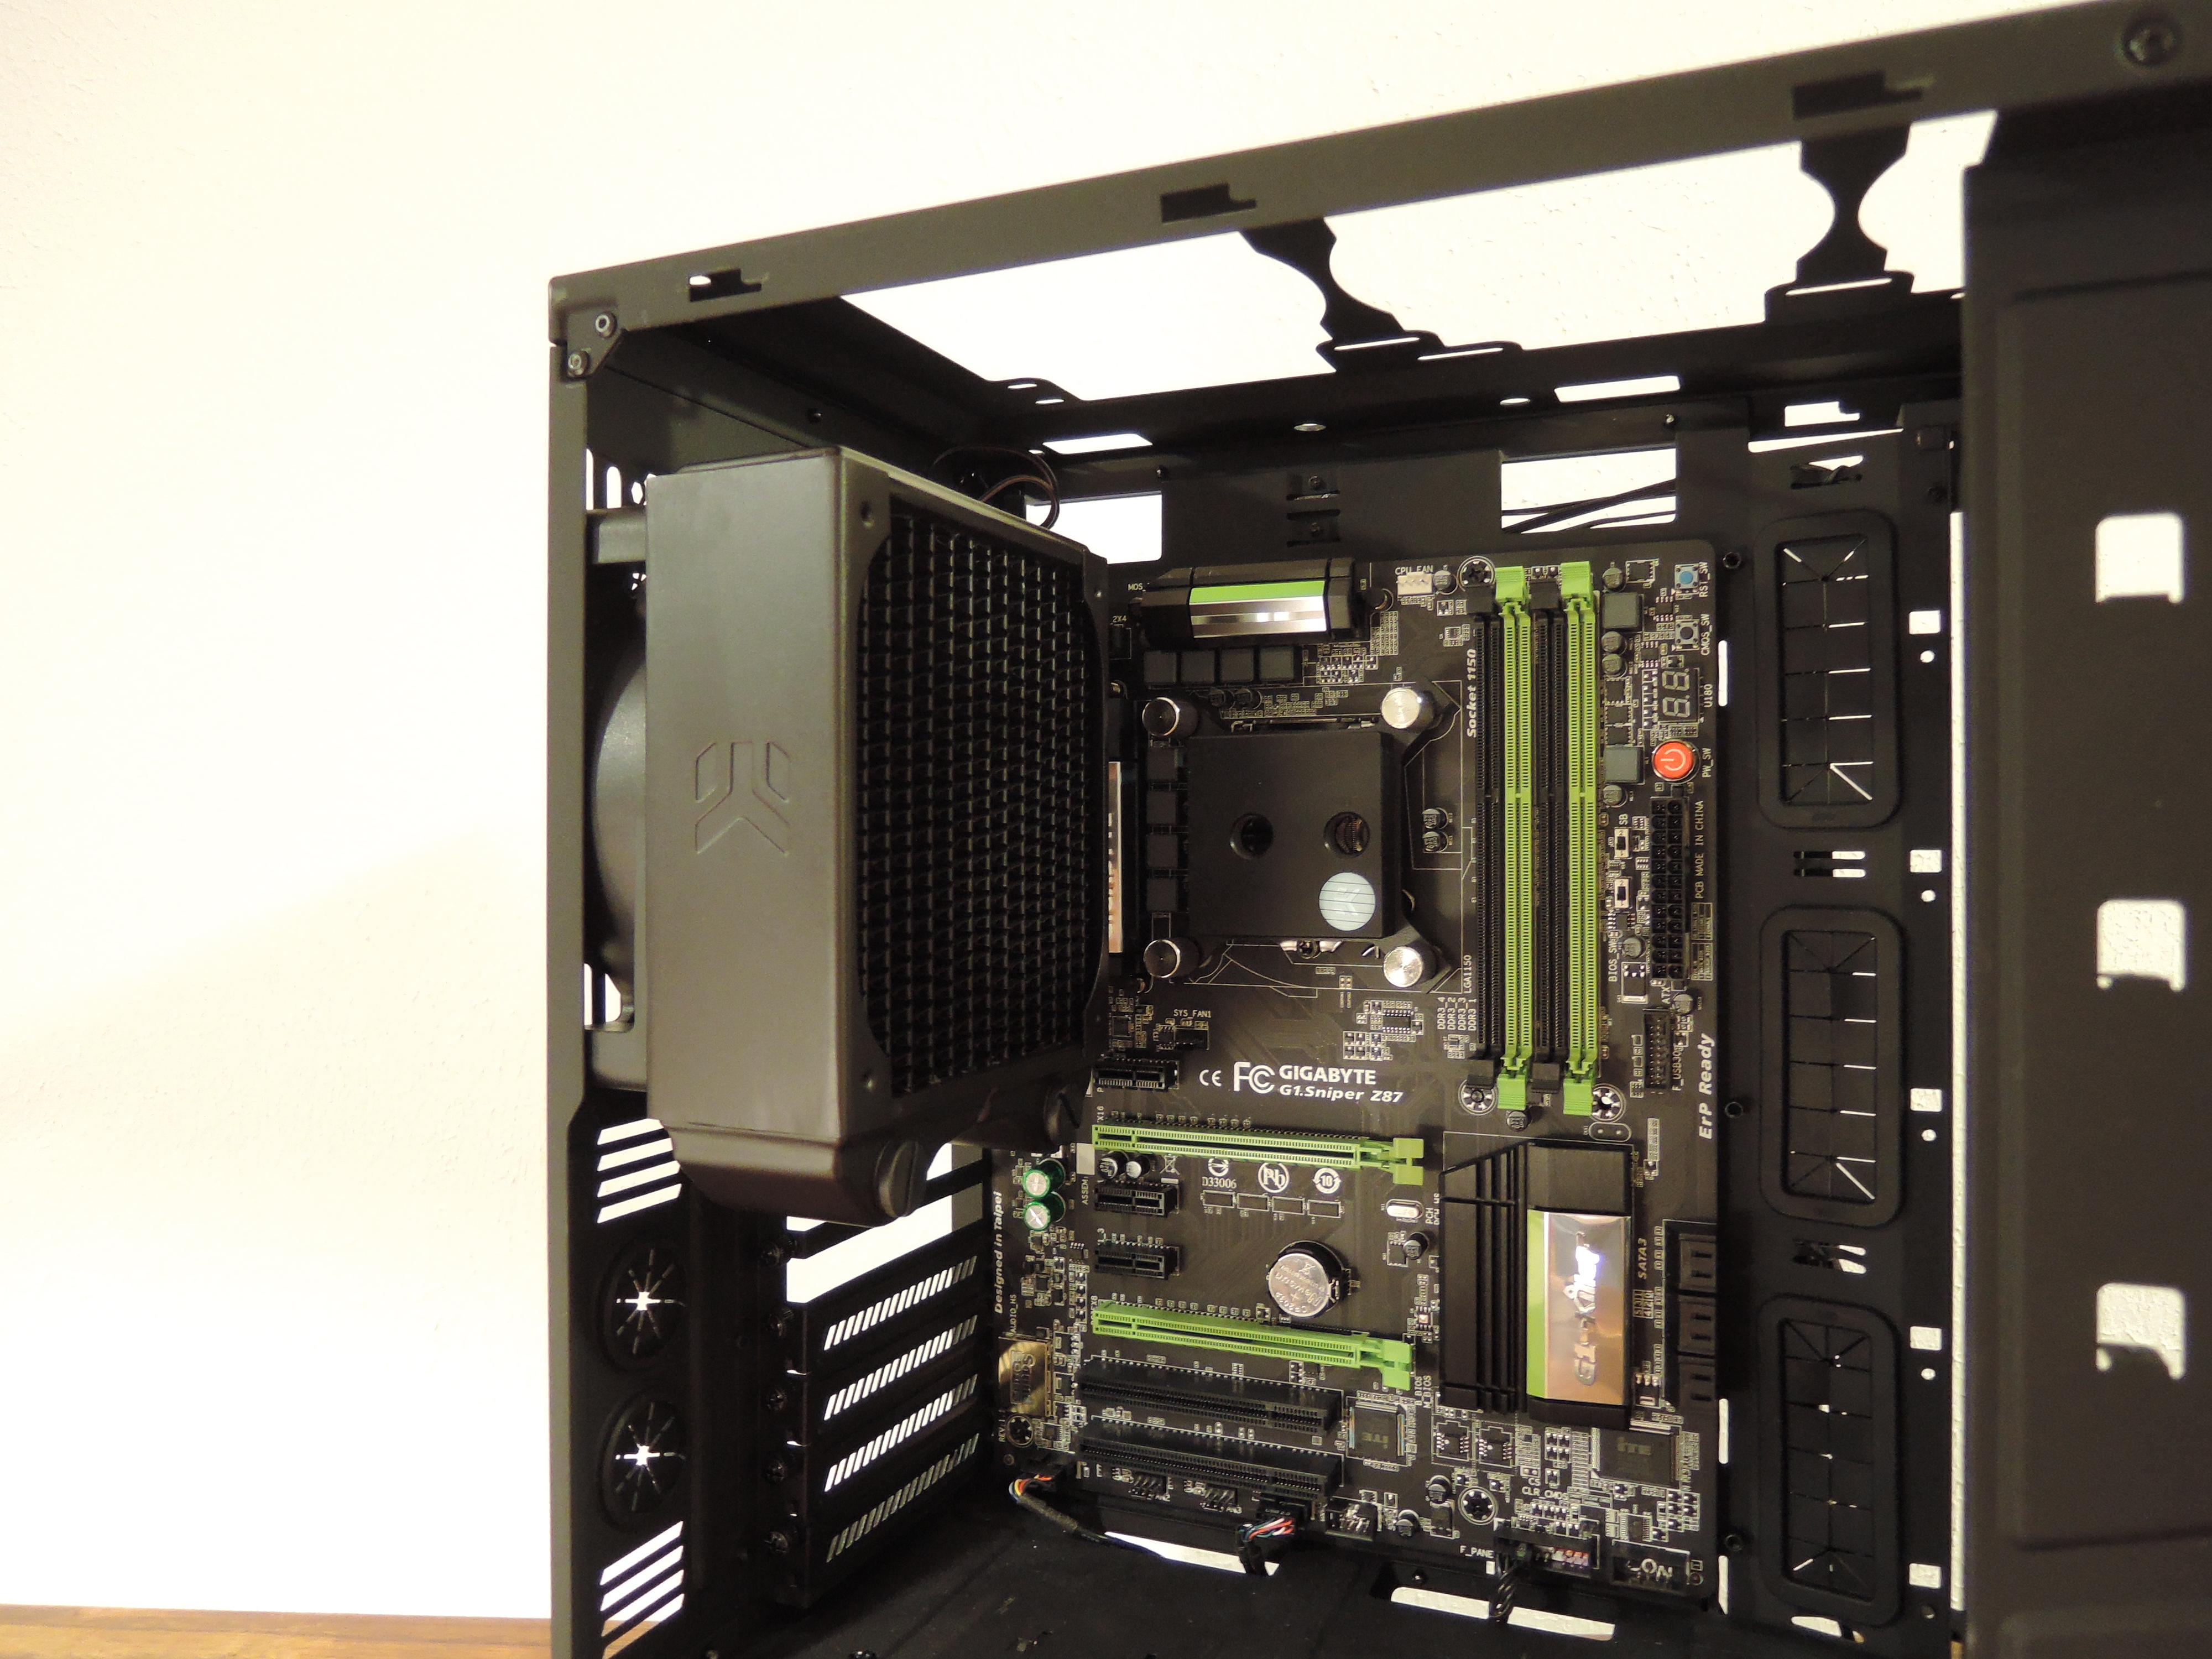
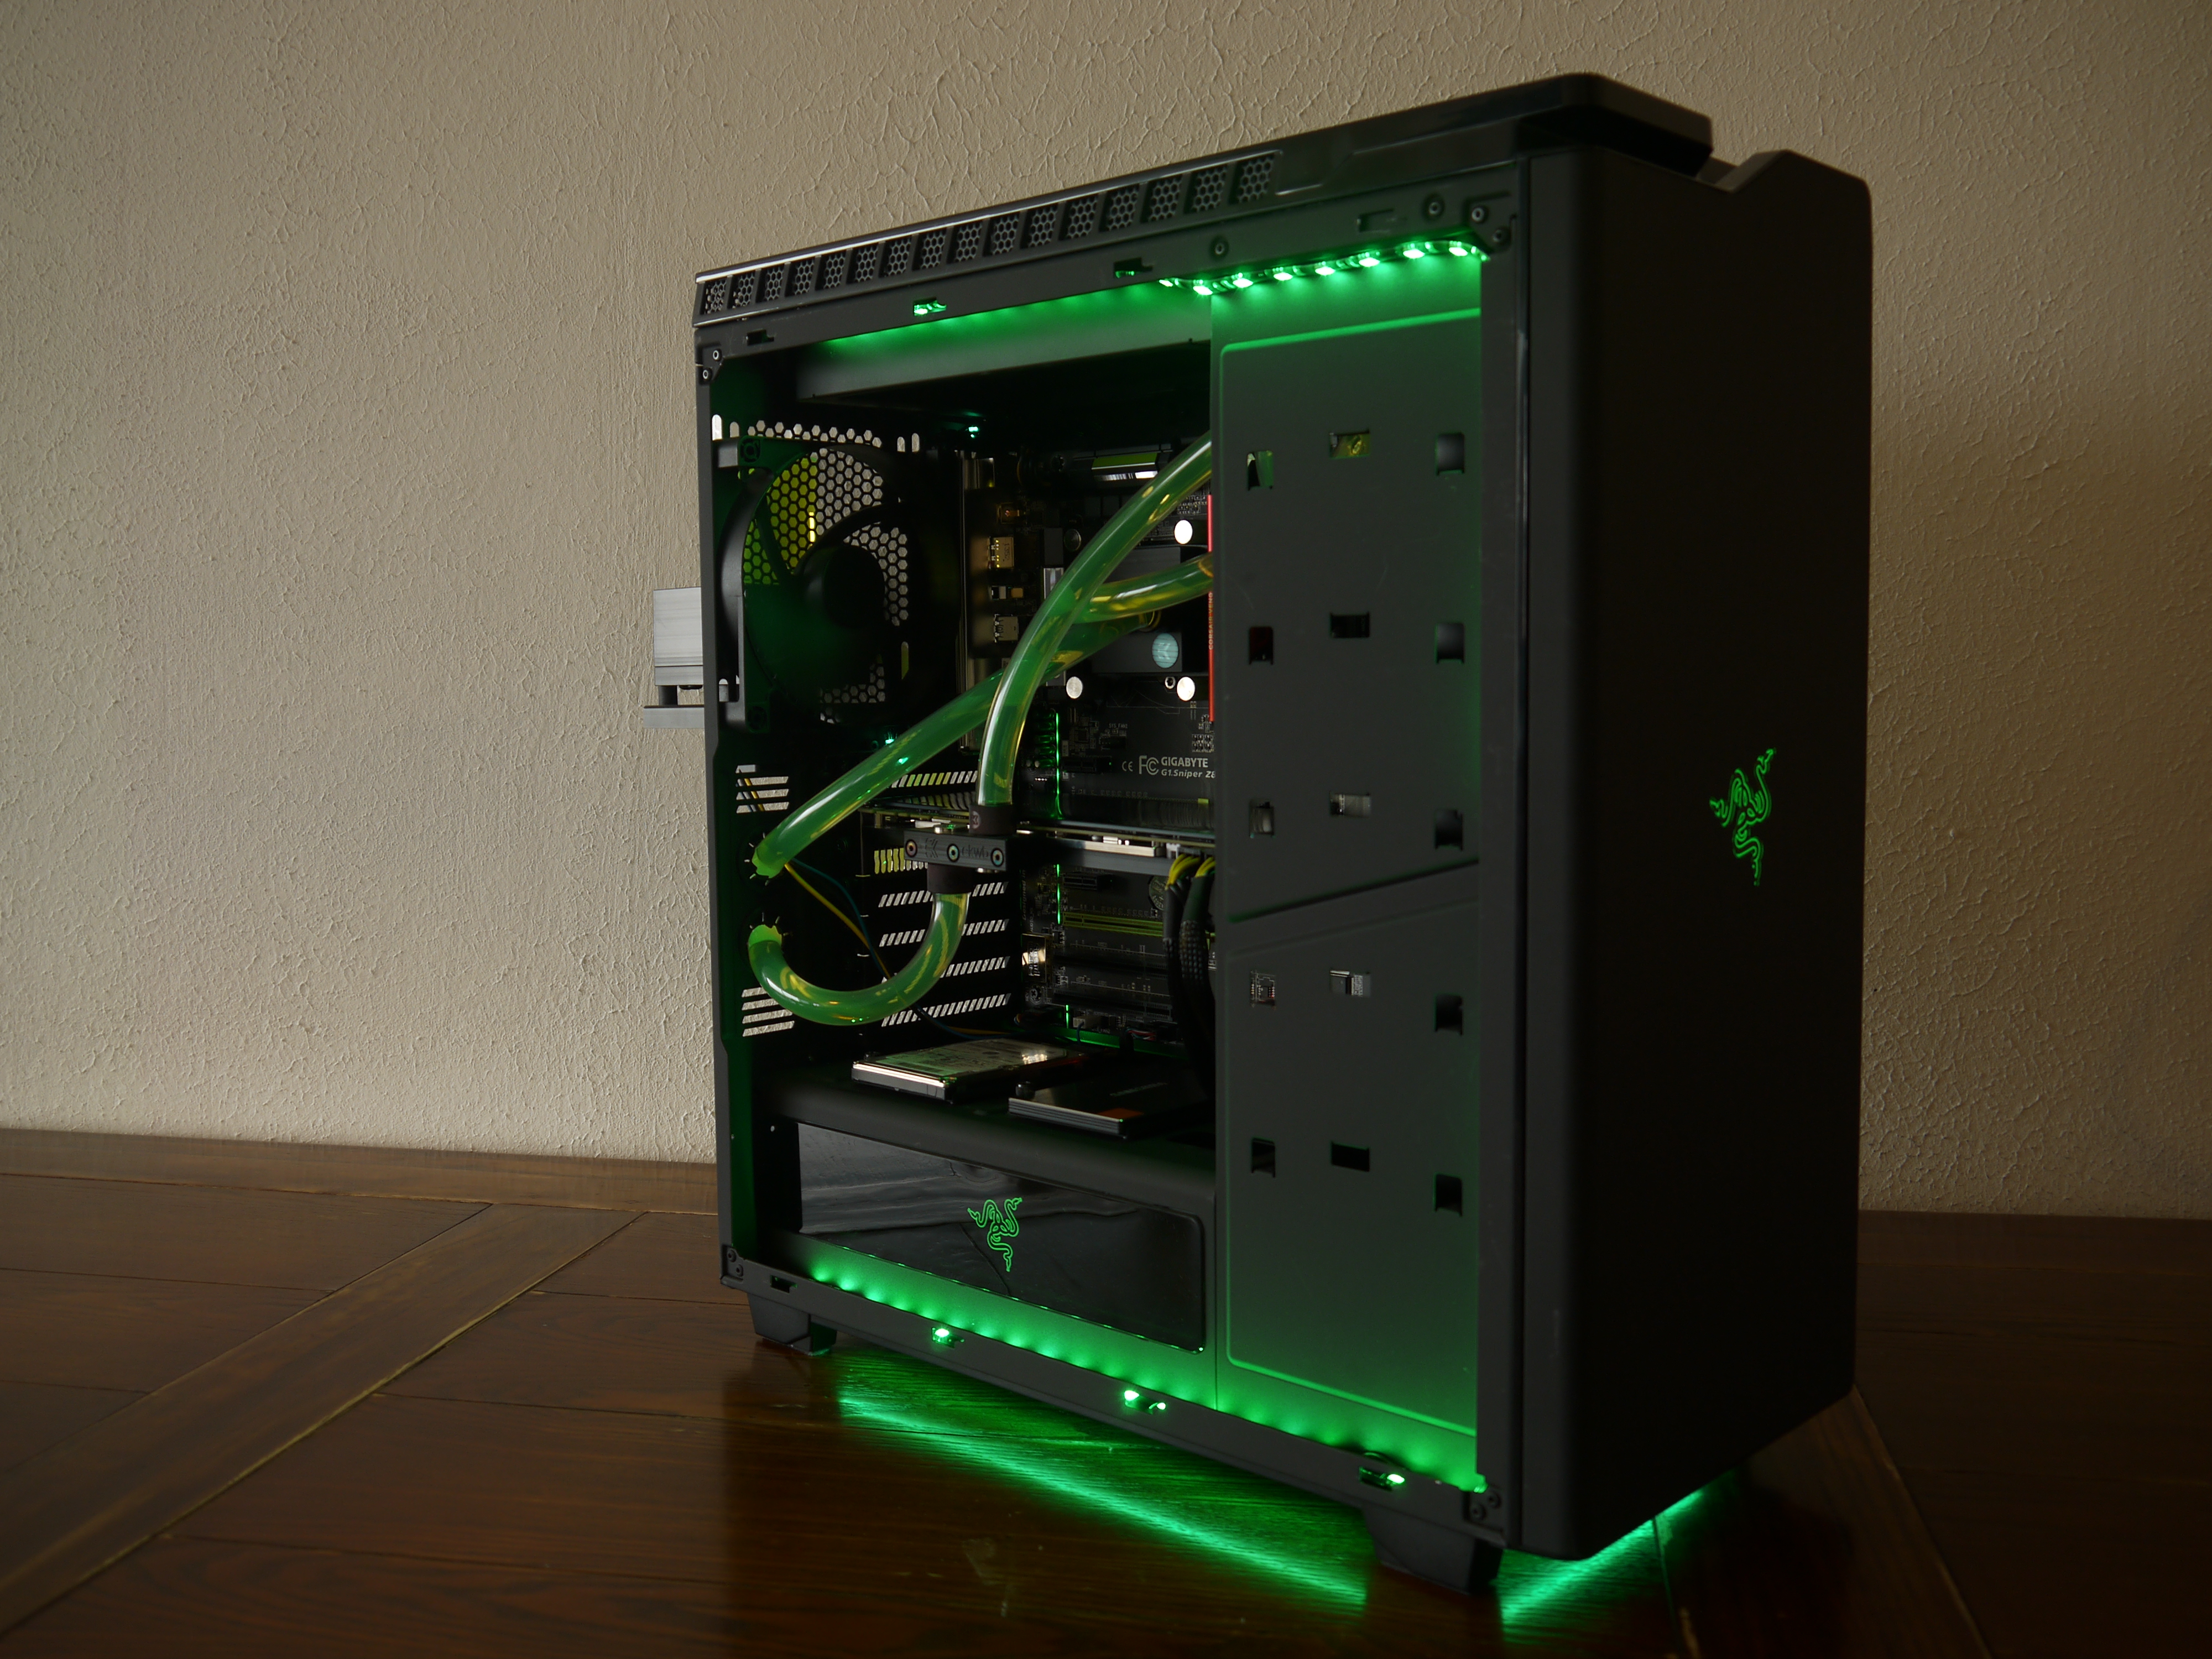
NZXT's Razer-branded H440 exists for only one purpose – to slap a Razer badge on a case, creating that stunning black with green accents look. We figured one way to let it really shine is to fill it up with a green-themed custom water cooling loop to match.
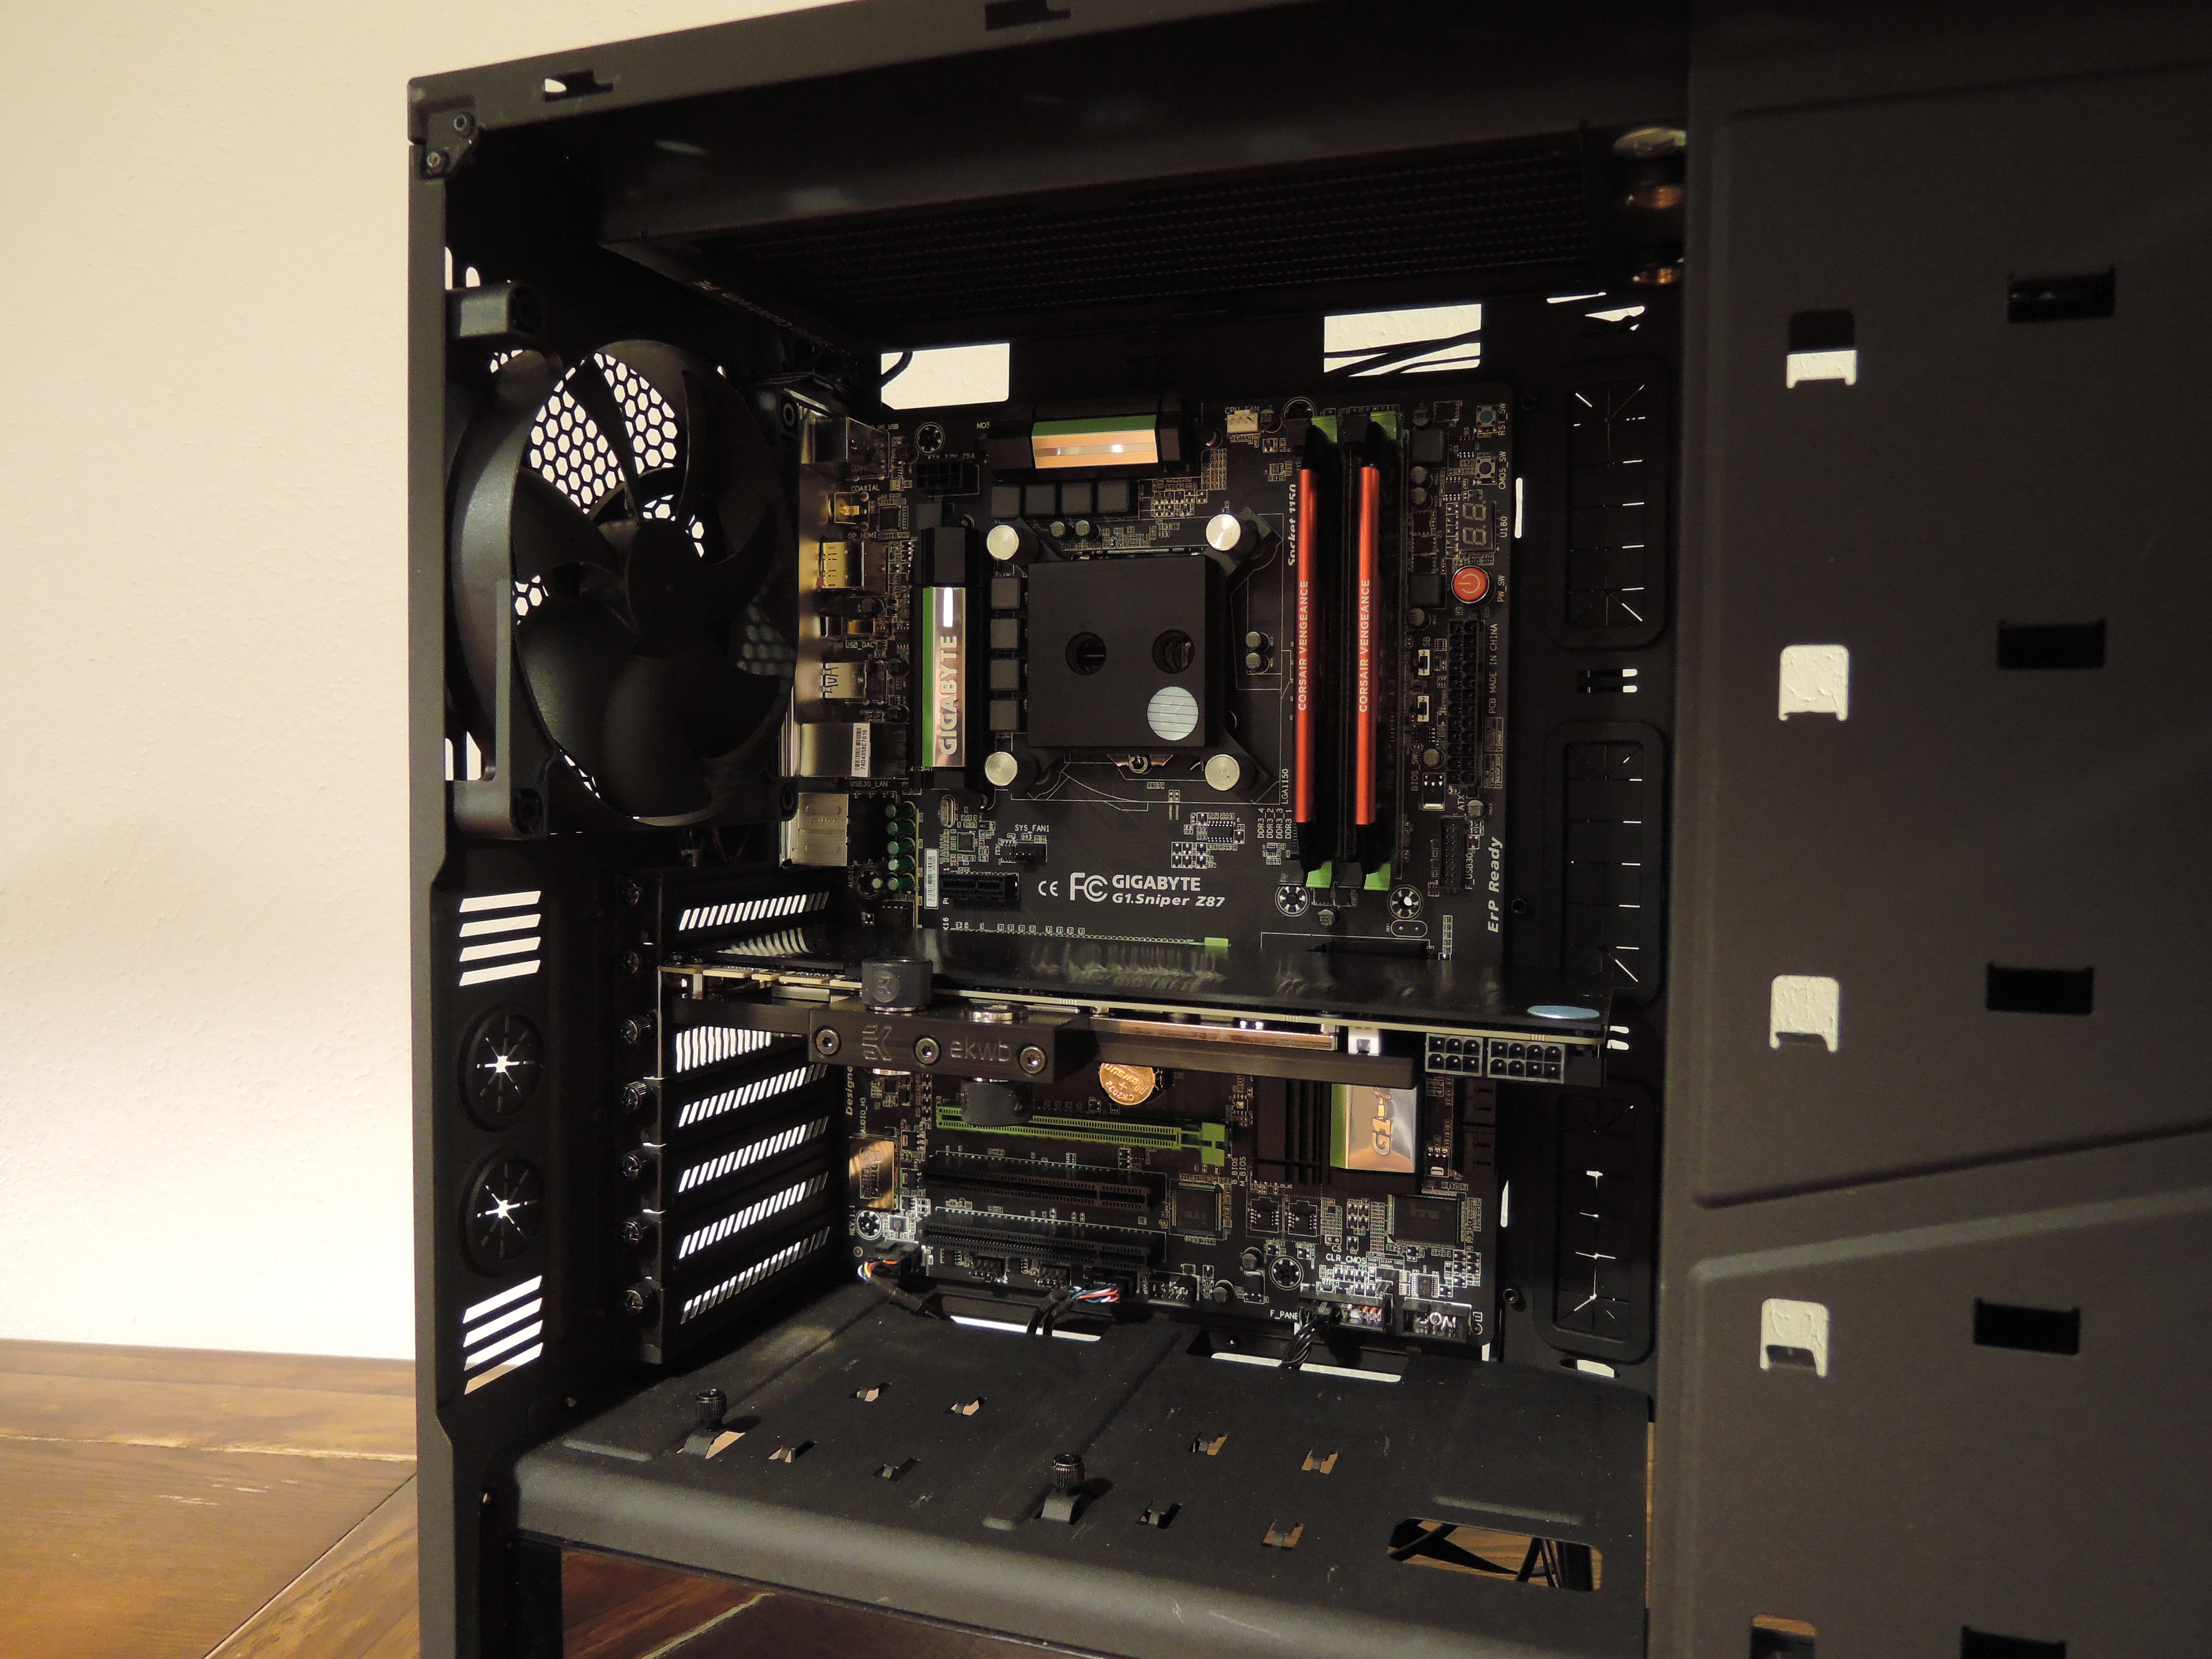
To complete the build, I ordered Gigabyte's G1.Sniper Z87 board, which may be a last-gen motherboard, but as far as I know it's the only Z-series LGA1150 board with a black and green theme.
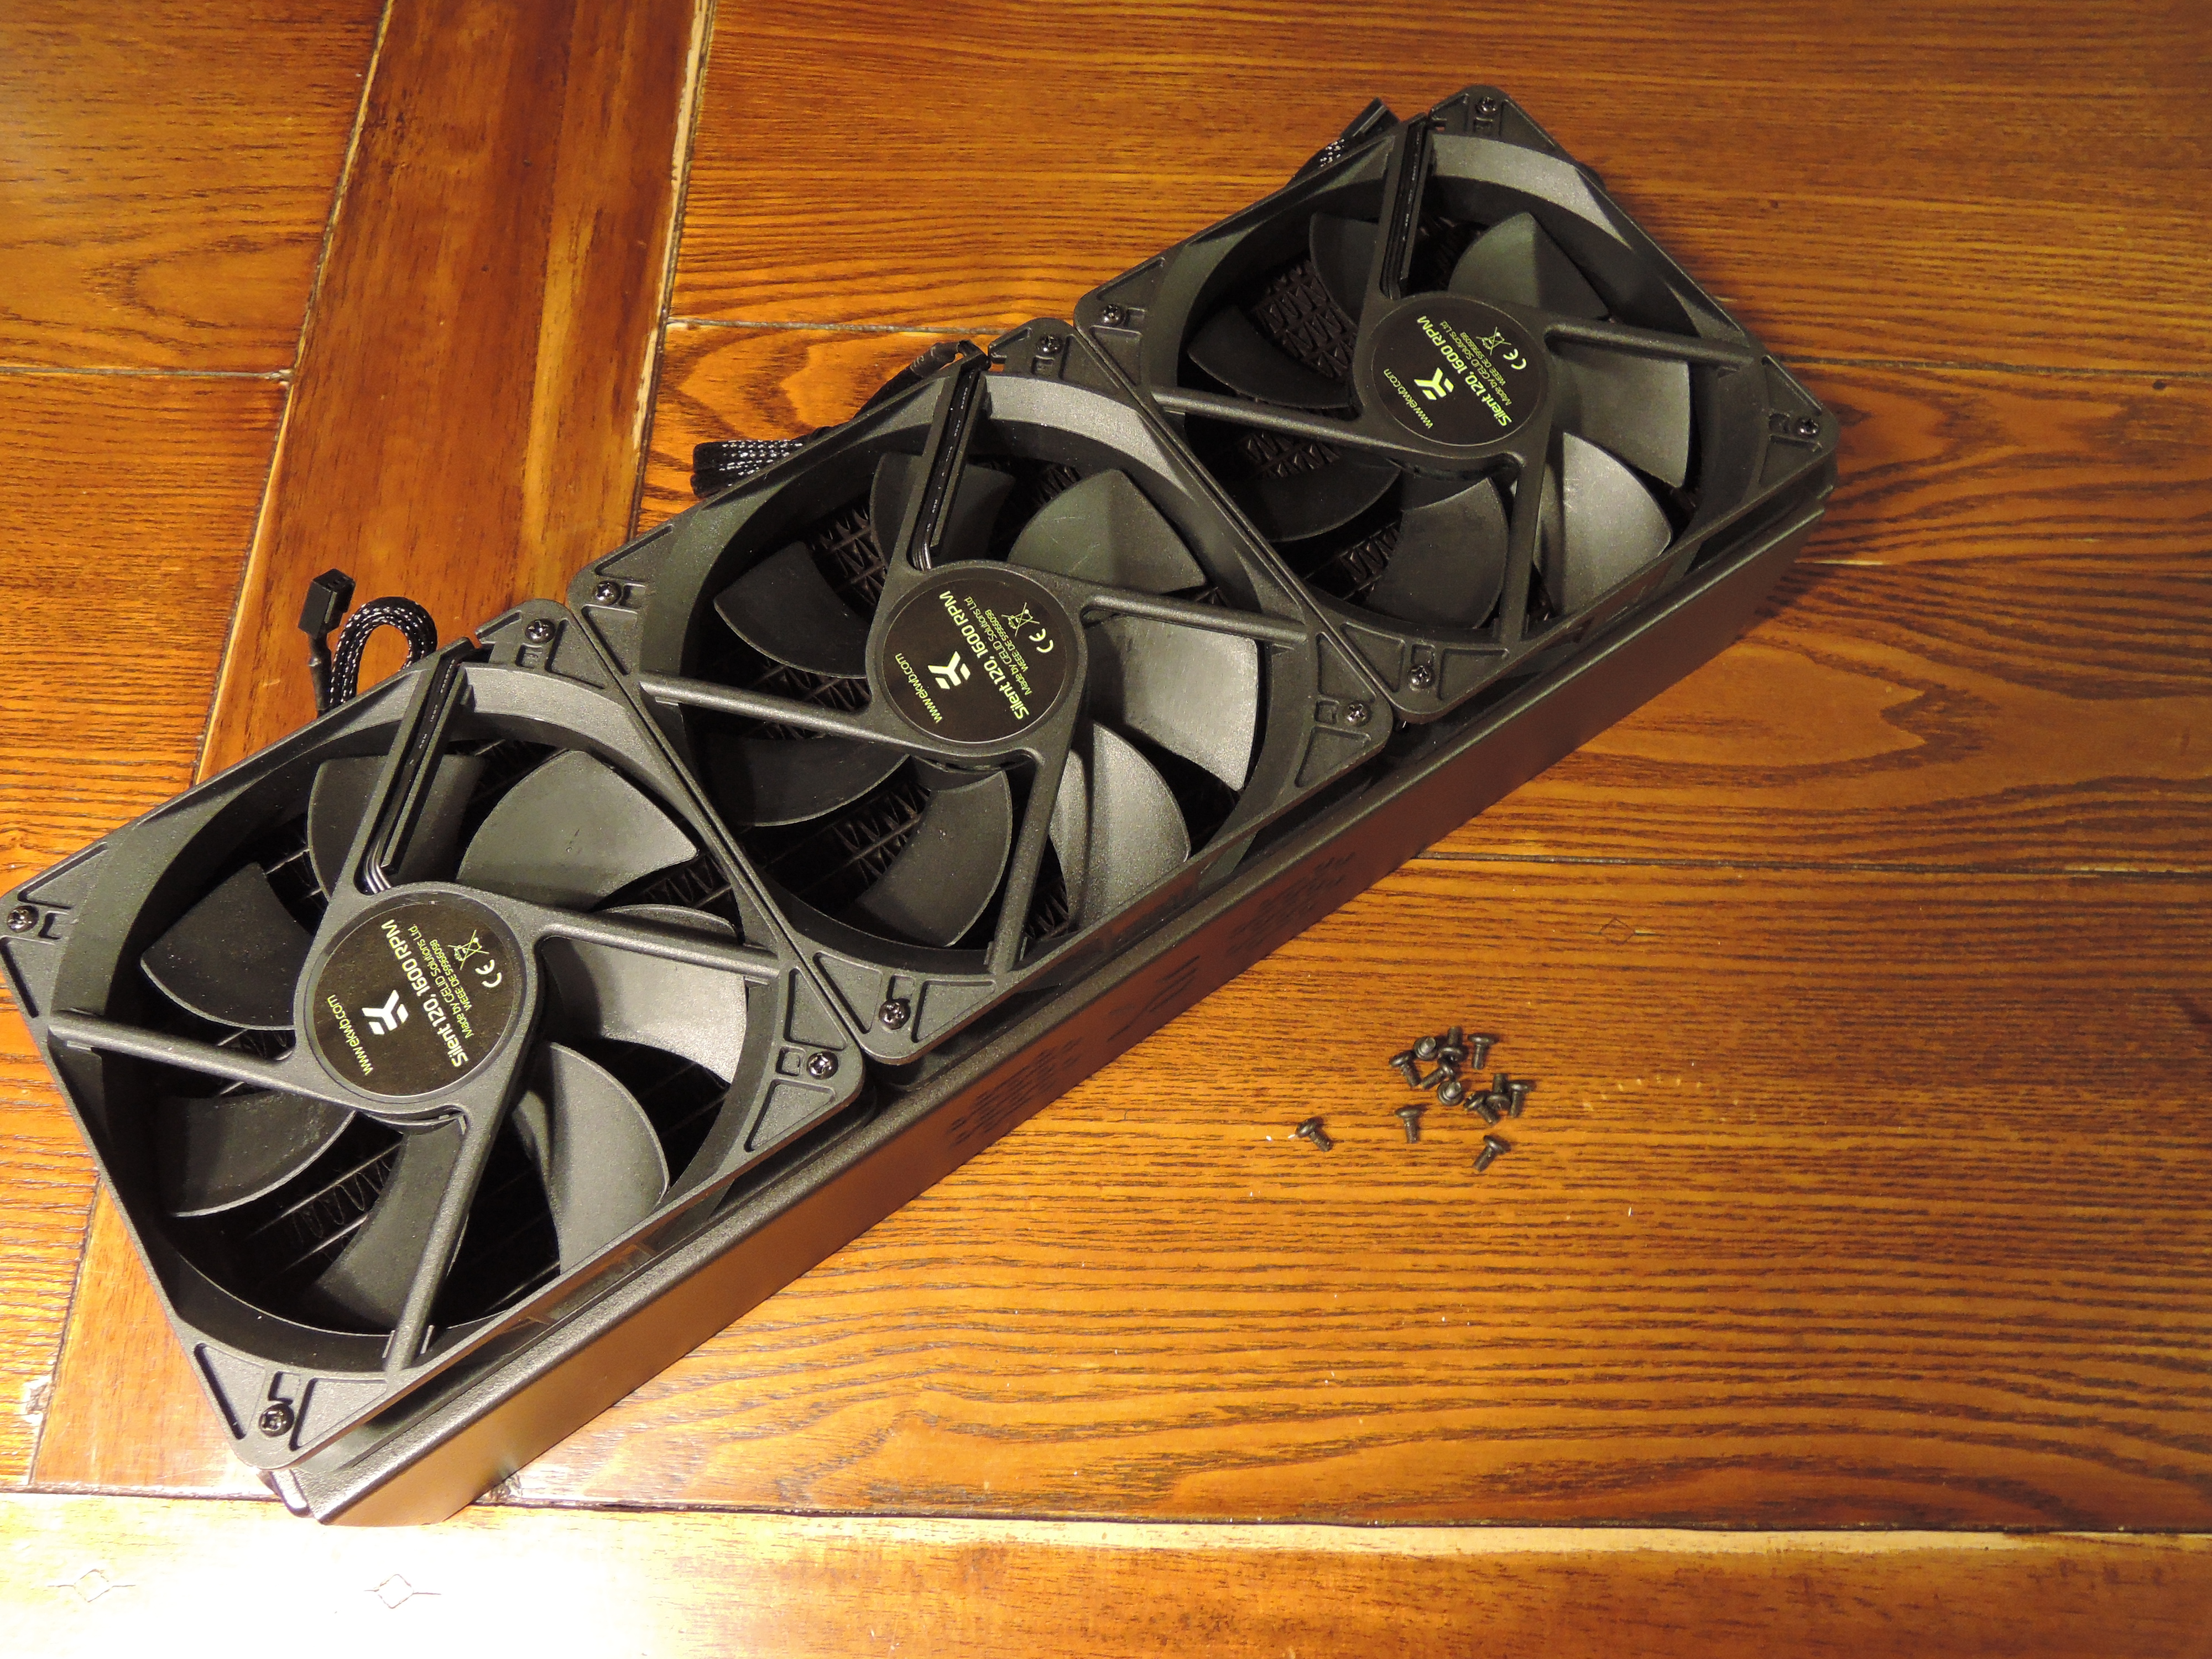
For the water cooling components, I pulled up NZXT's compatibility chart and proceeded to figure out which radiators I wanted. (I figured, let's build as many radiators into this thing as possible, just because.) Not all combinations would fit, of course, so I settled for a thick 360 mm radiator on the front, a sleek 240 mm radiator up top, and a 140 mm radiator in the back. In addition, I also needed a CPU block, a GPU block, tubing, fittings, a reservoir, a pump and coolant.
Water Cooling Parts List:
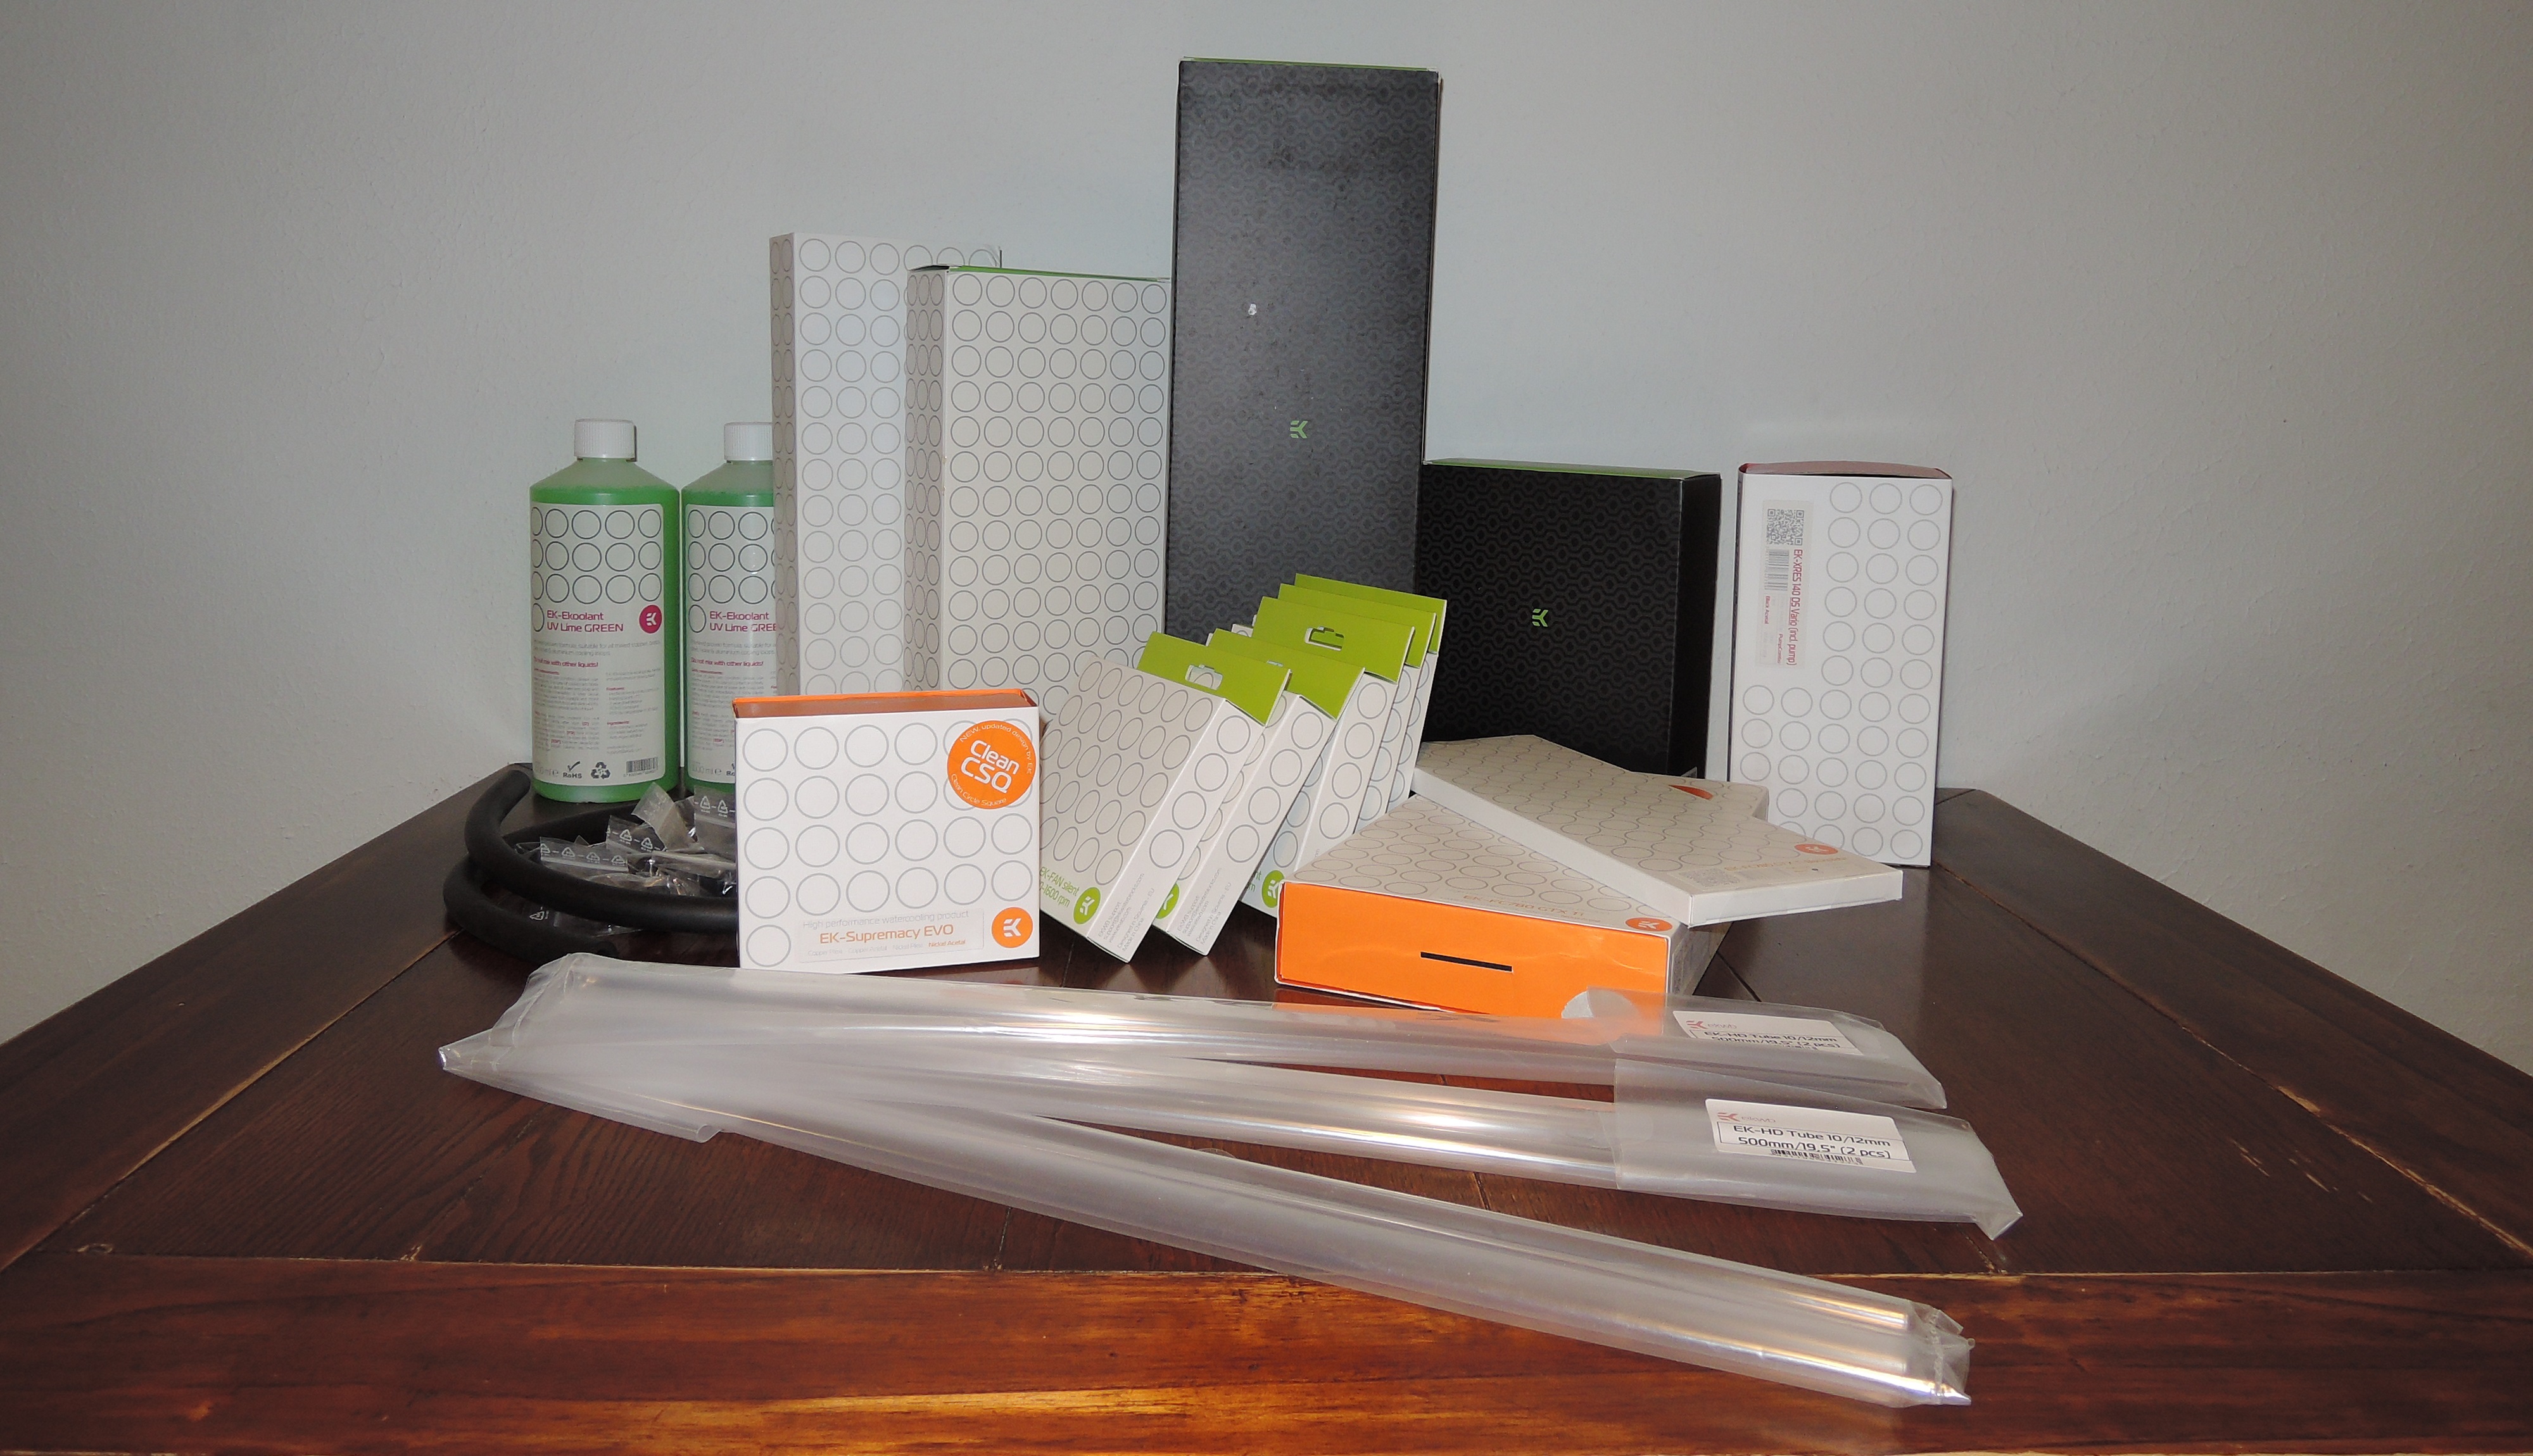
I enlisted the help of EKWB, which kindly provided all the parts we needed for the loop. Feast your eyes on the parts list below:
| Part | Quantity | Model |
|---|---|---|
| CPU Block | 1 | EK-Supremacy EVO – Acetal + Nickel |
| GPU Block | 1 | EK-FC780 GTX Ti – Acetal + Nickel |
| GPU Backplate | 1 | EK-FC780 GTX Ti Backplate – Black |
| 360 mm Radiator | 1 | EK-CoolStream RAD XTX (360) |
| 140 mm Radiator | 1 | EK-CoolStream RAD XTX (140) |
| 240 mm Radiator | 1 | EK-CoolStream PE 240 |
| Pump + Reservoir | 1 | EK-XRES 140 D5 Vario |
| Tubing | 1 | PrimoChill PrimoPlex Advanced LRT Clear |
| Fittings | 12 | EK-ACF Fitting 10/16 mm Elox Black |
Installing The CPU Block
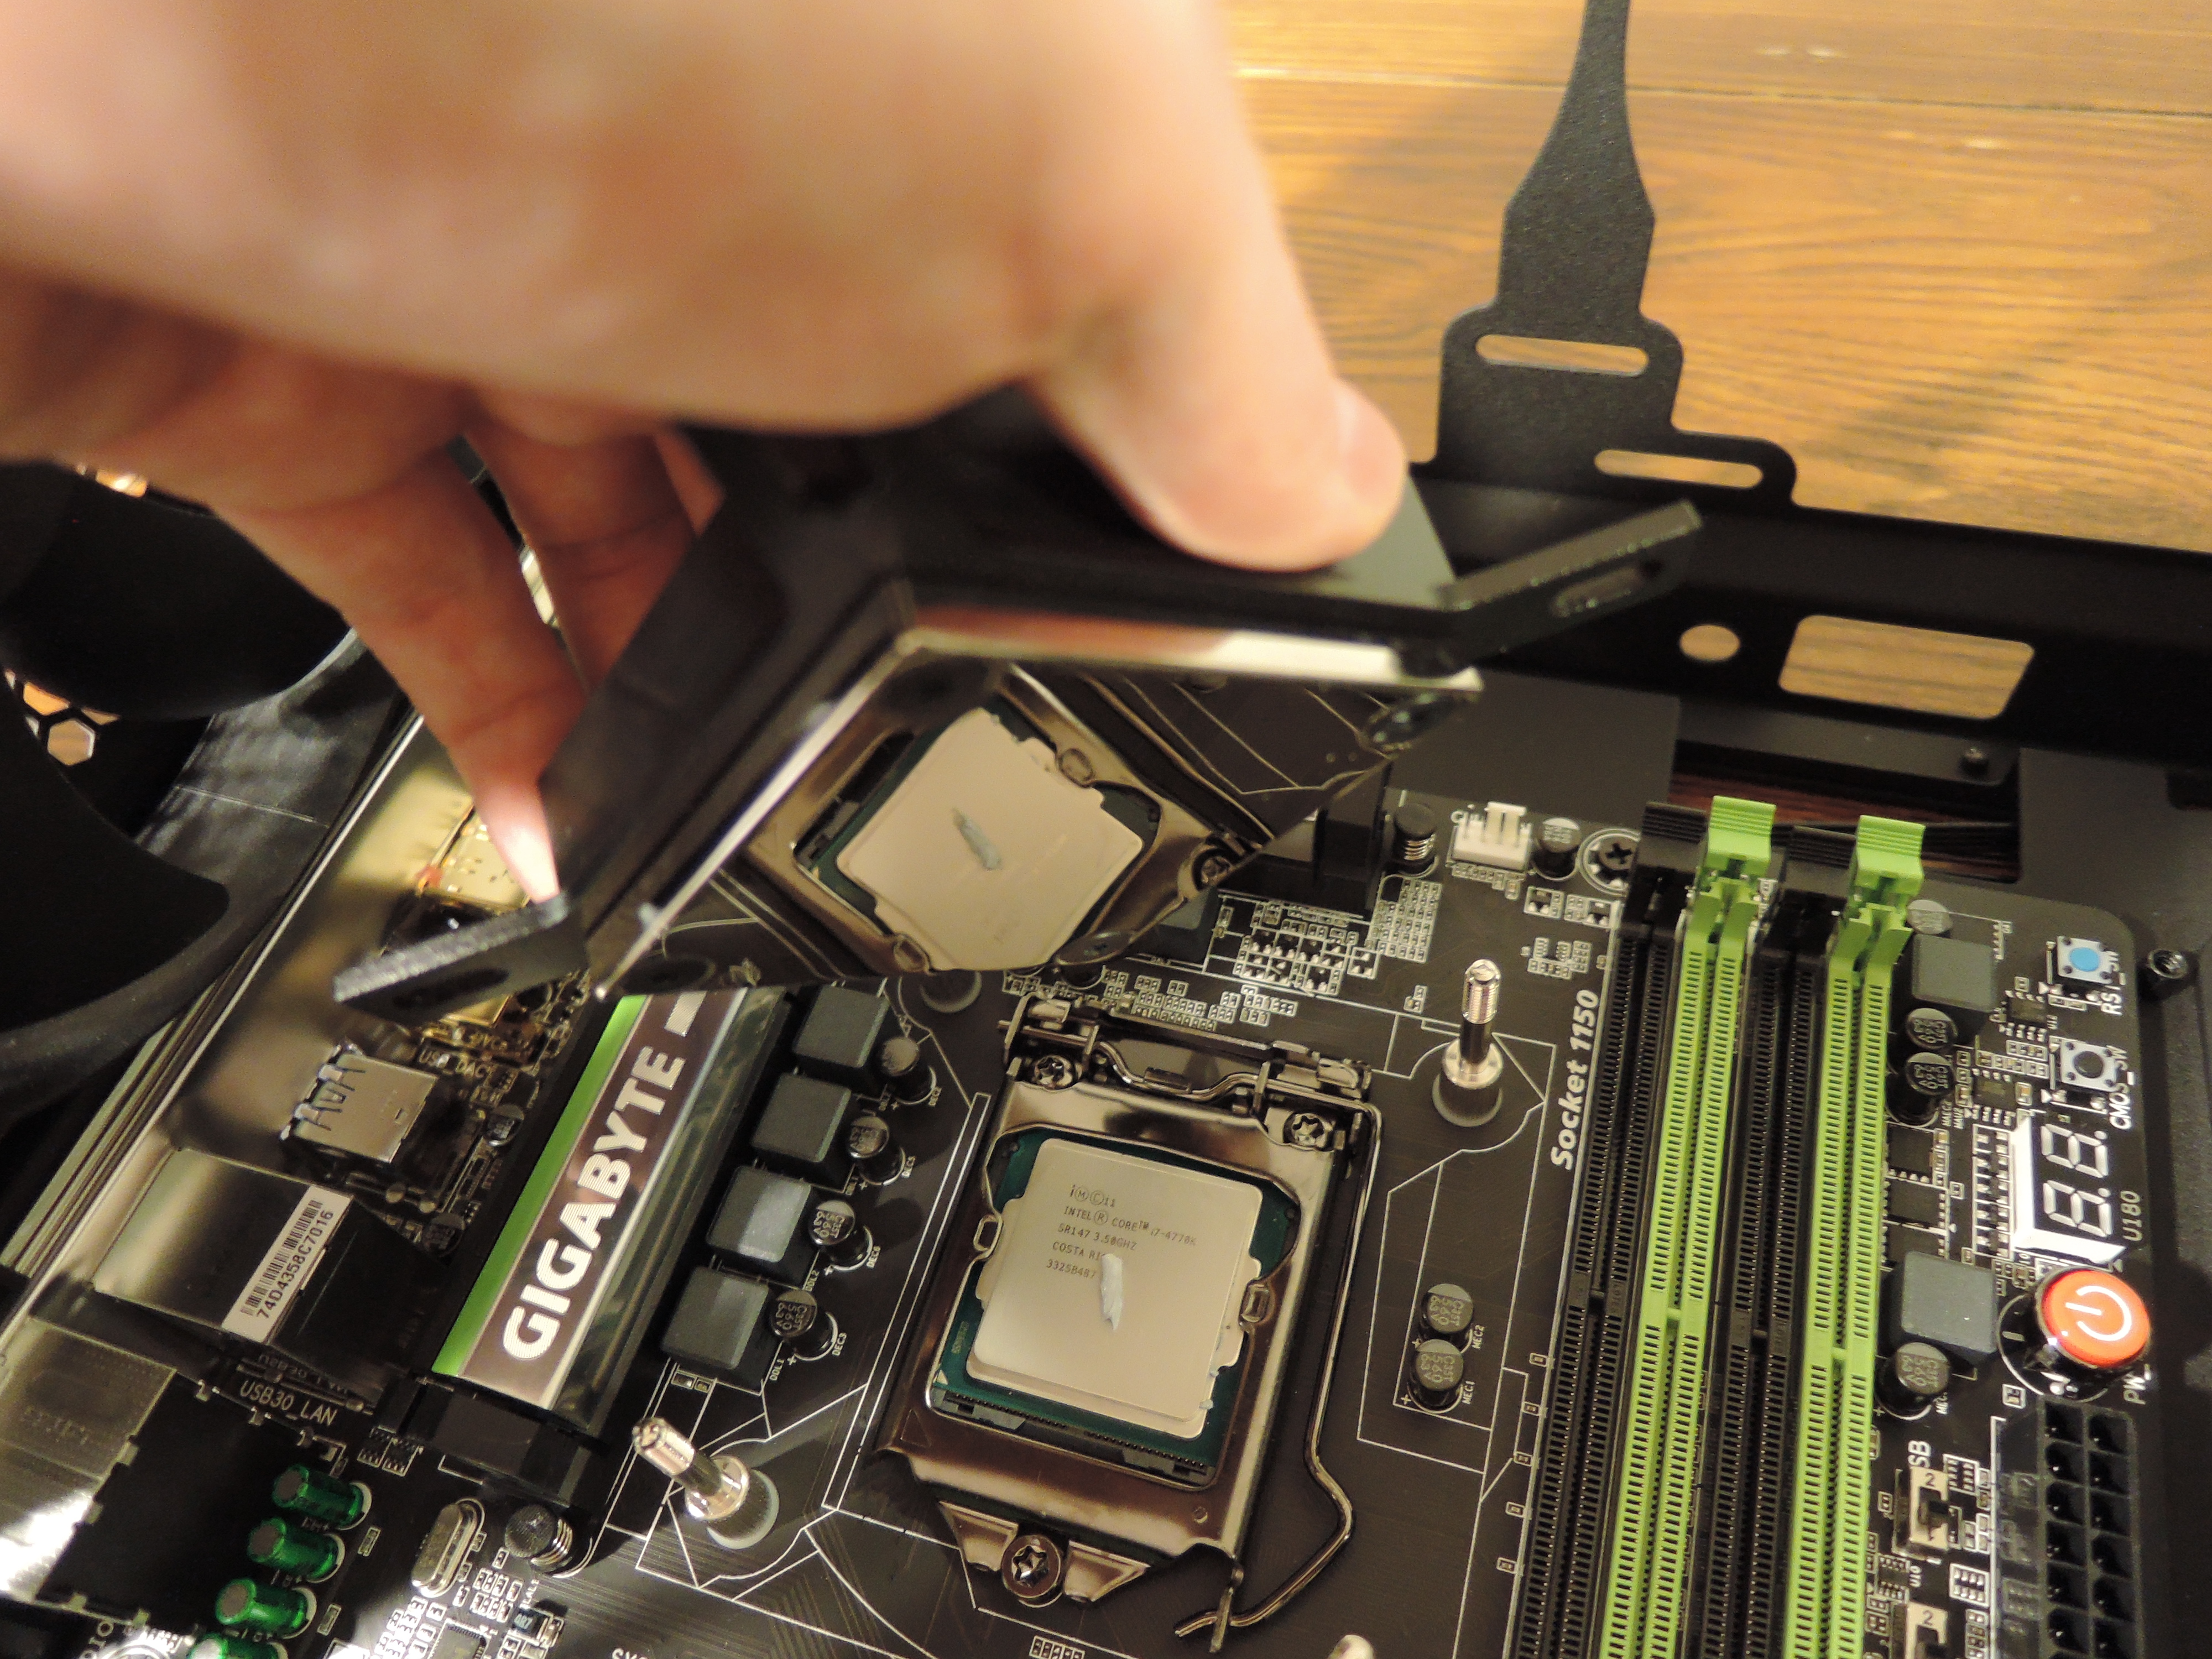
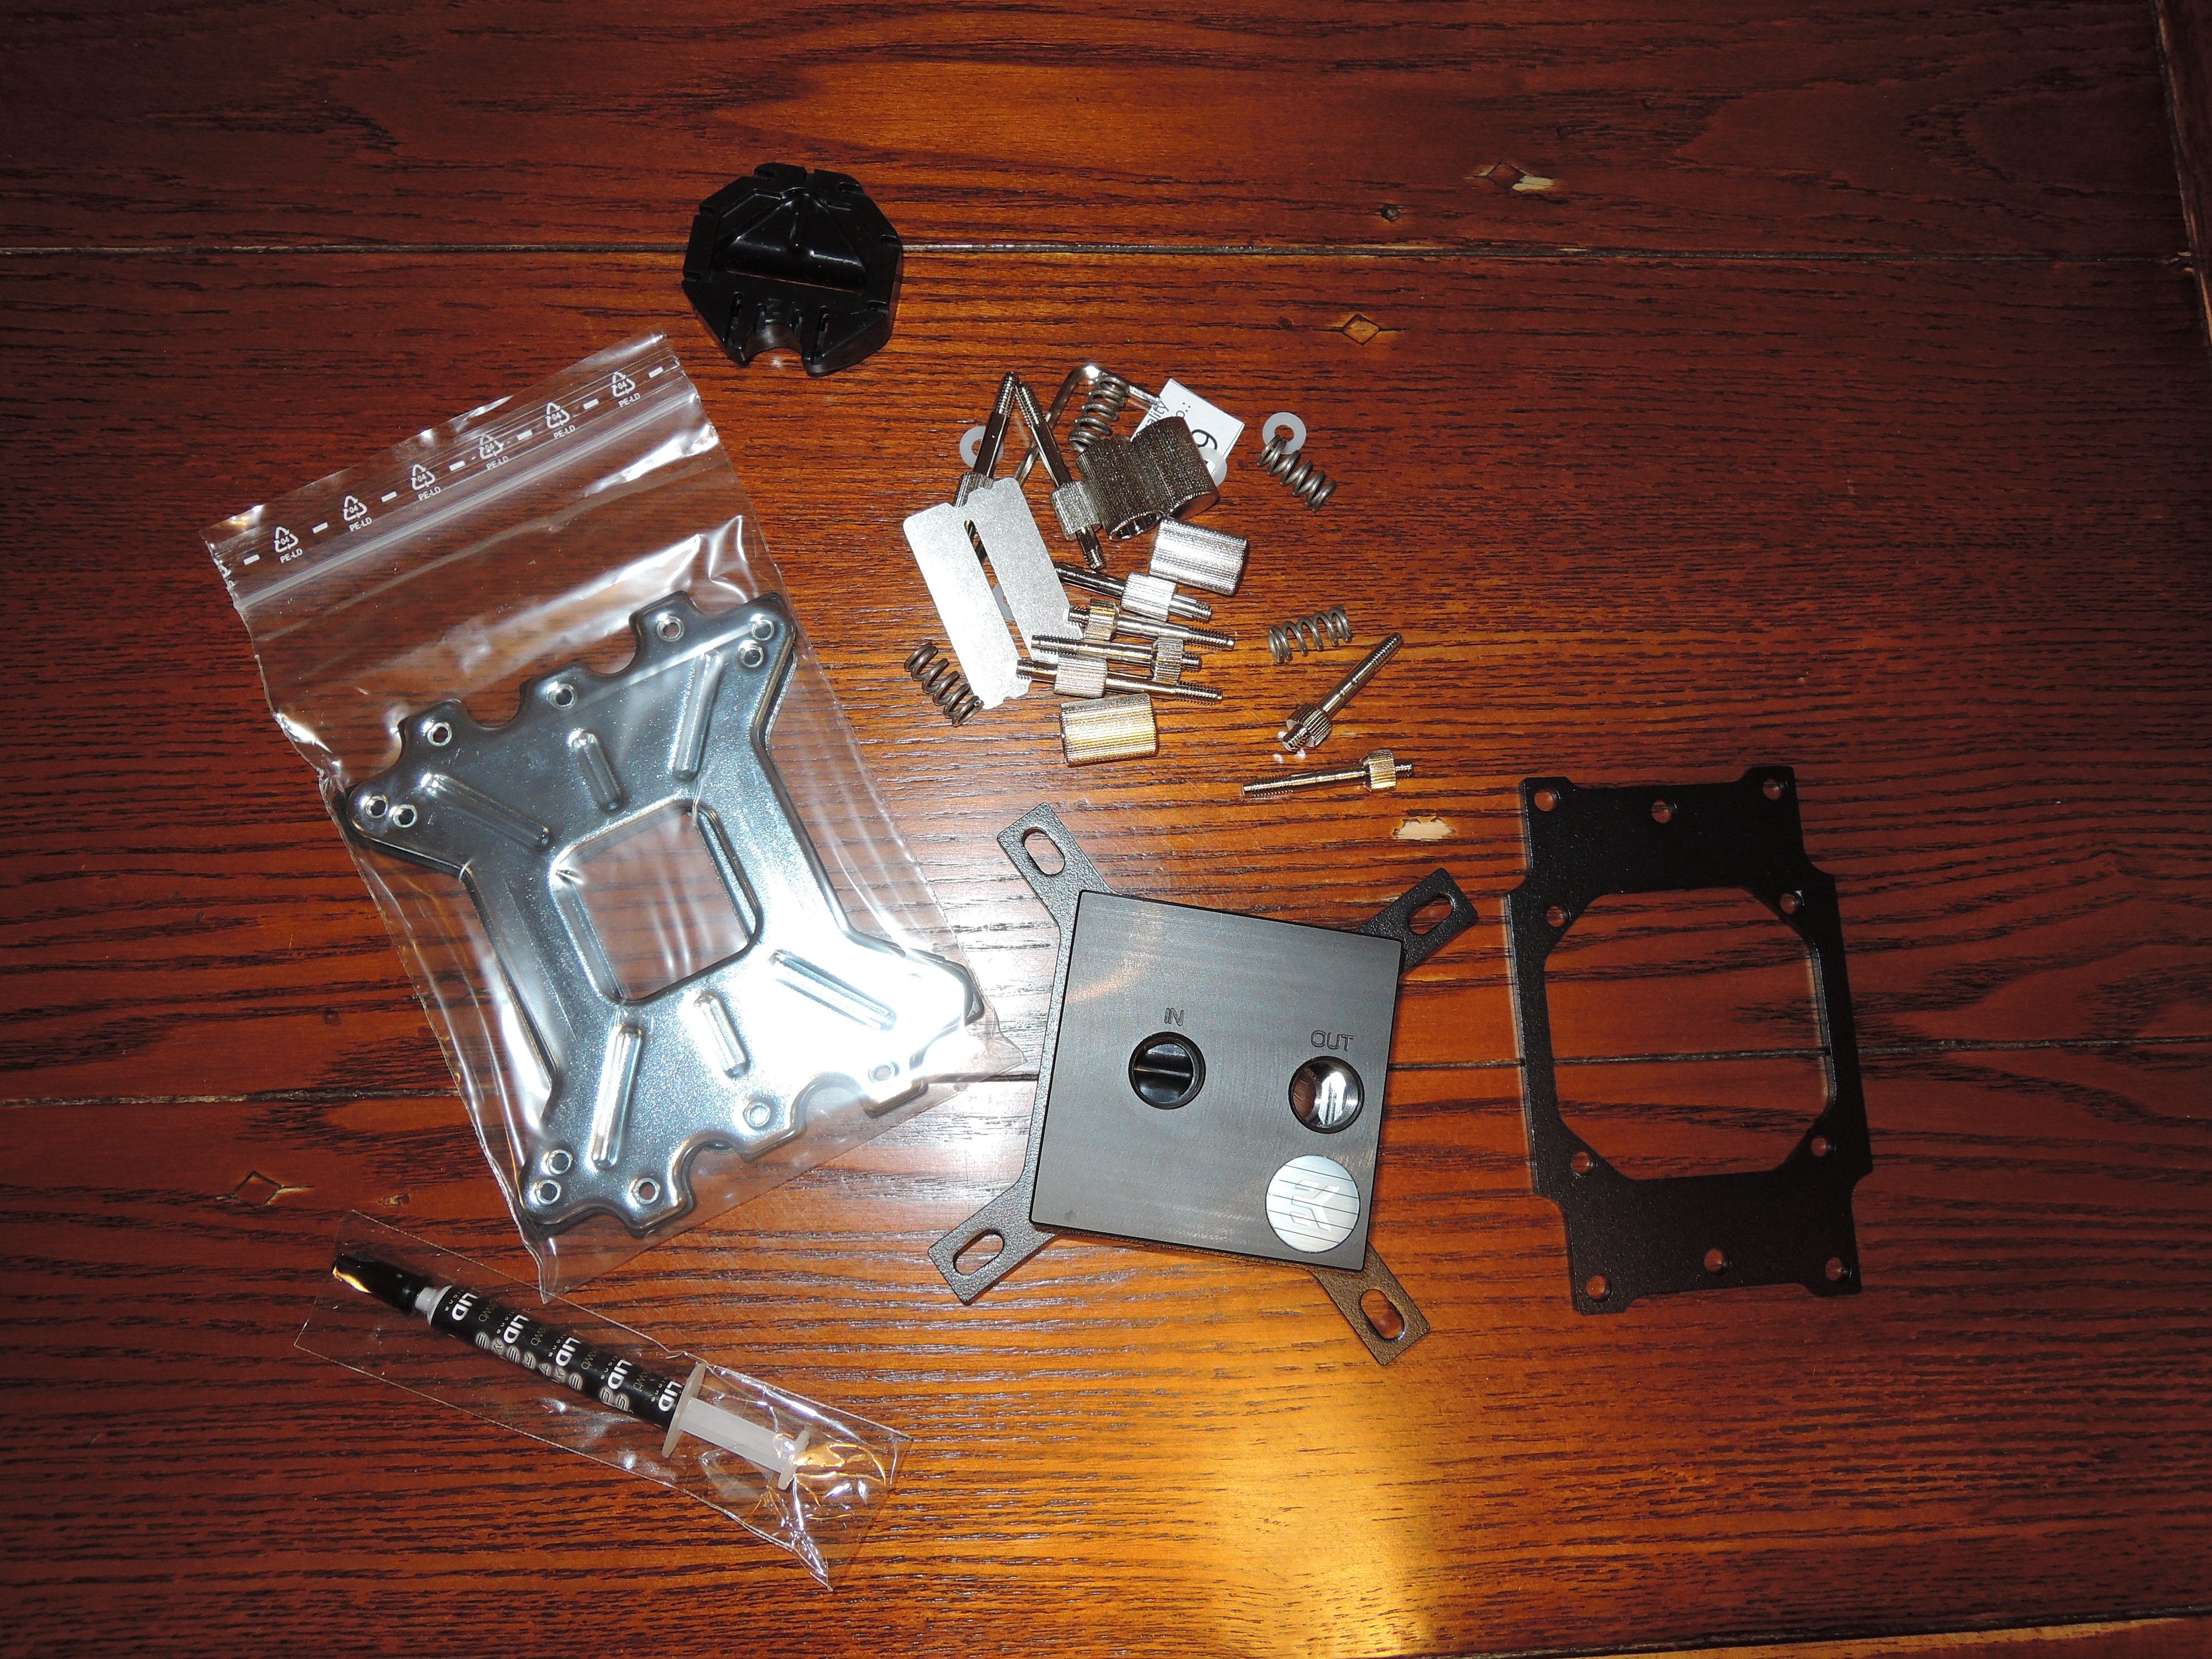
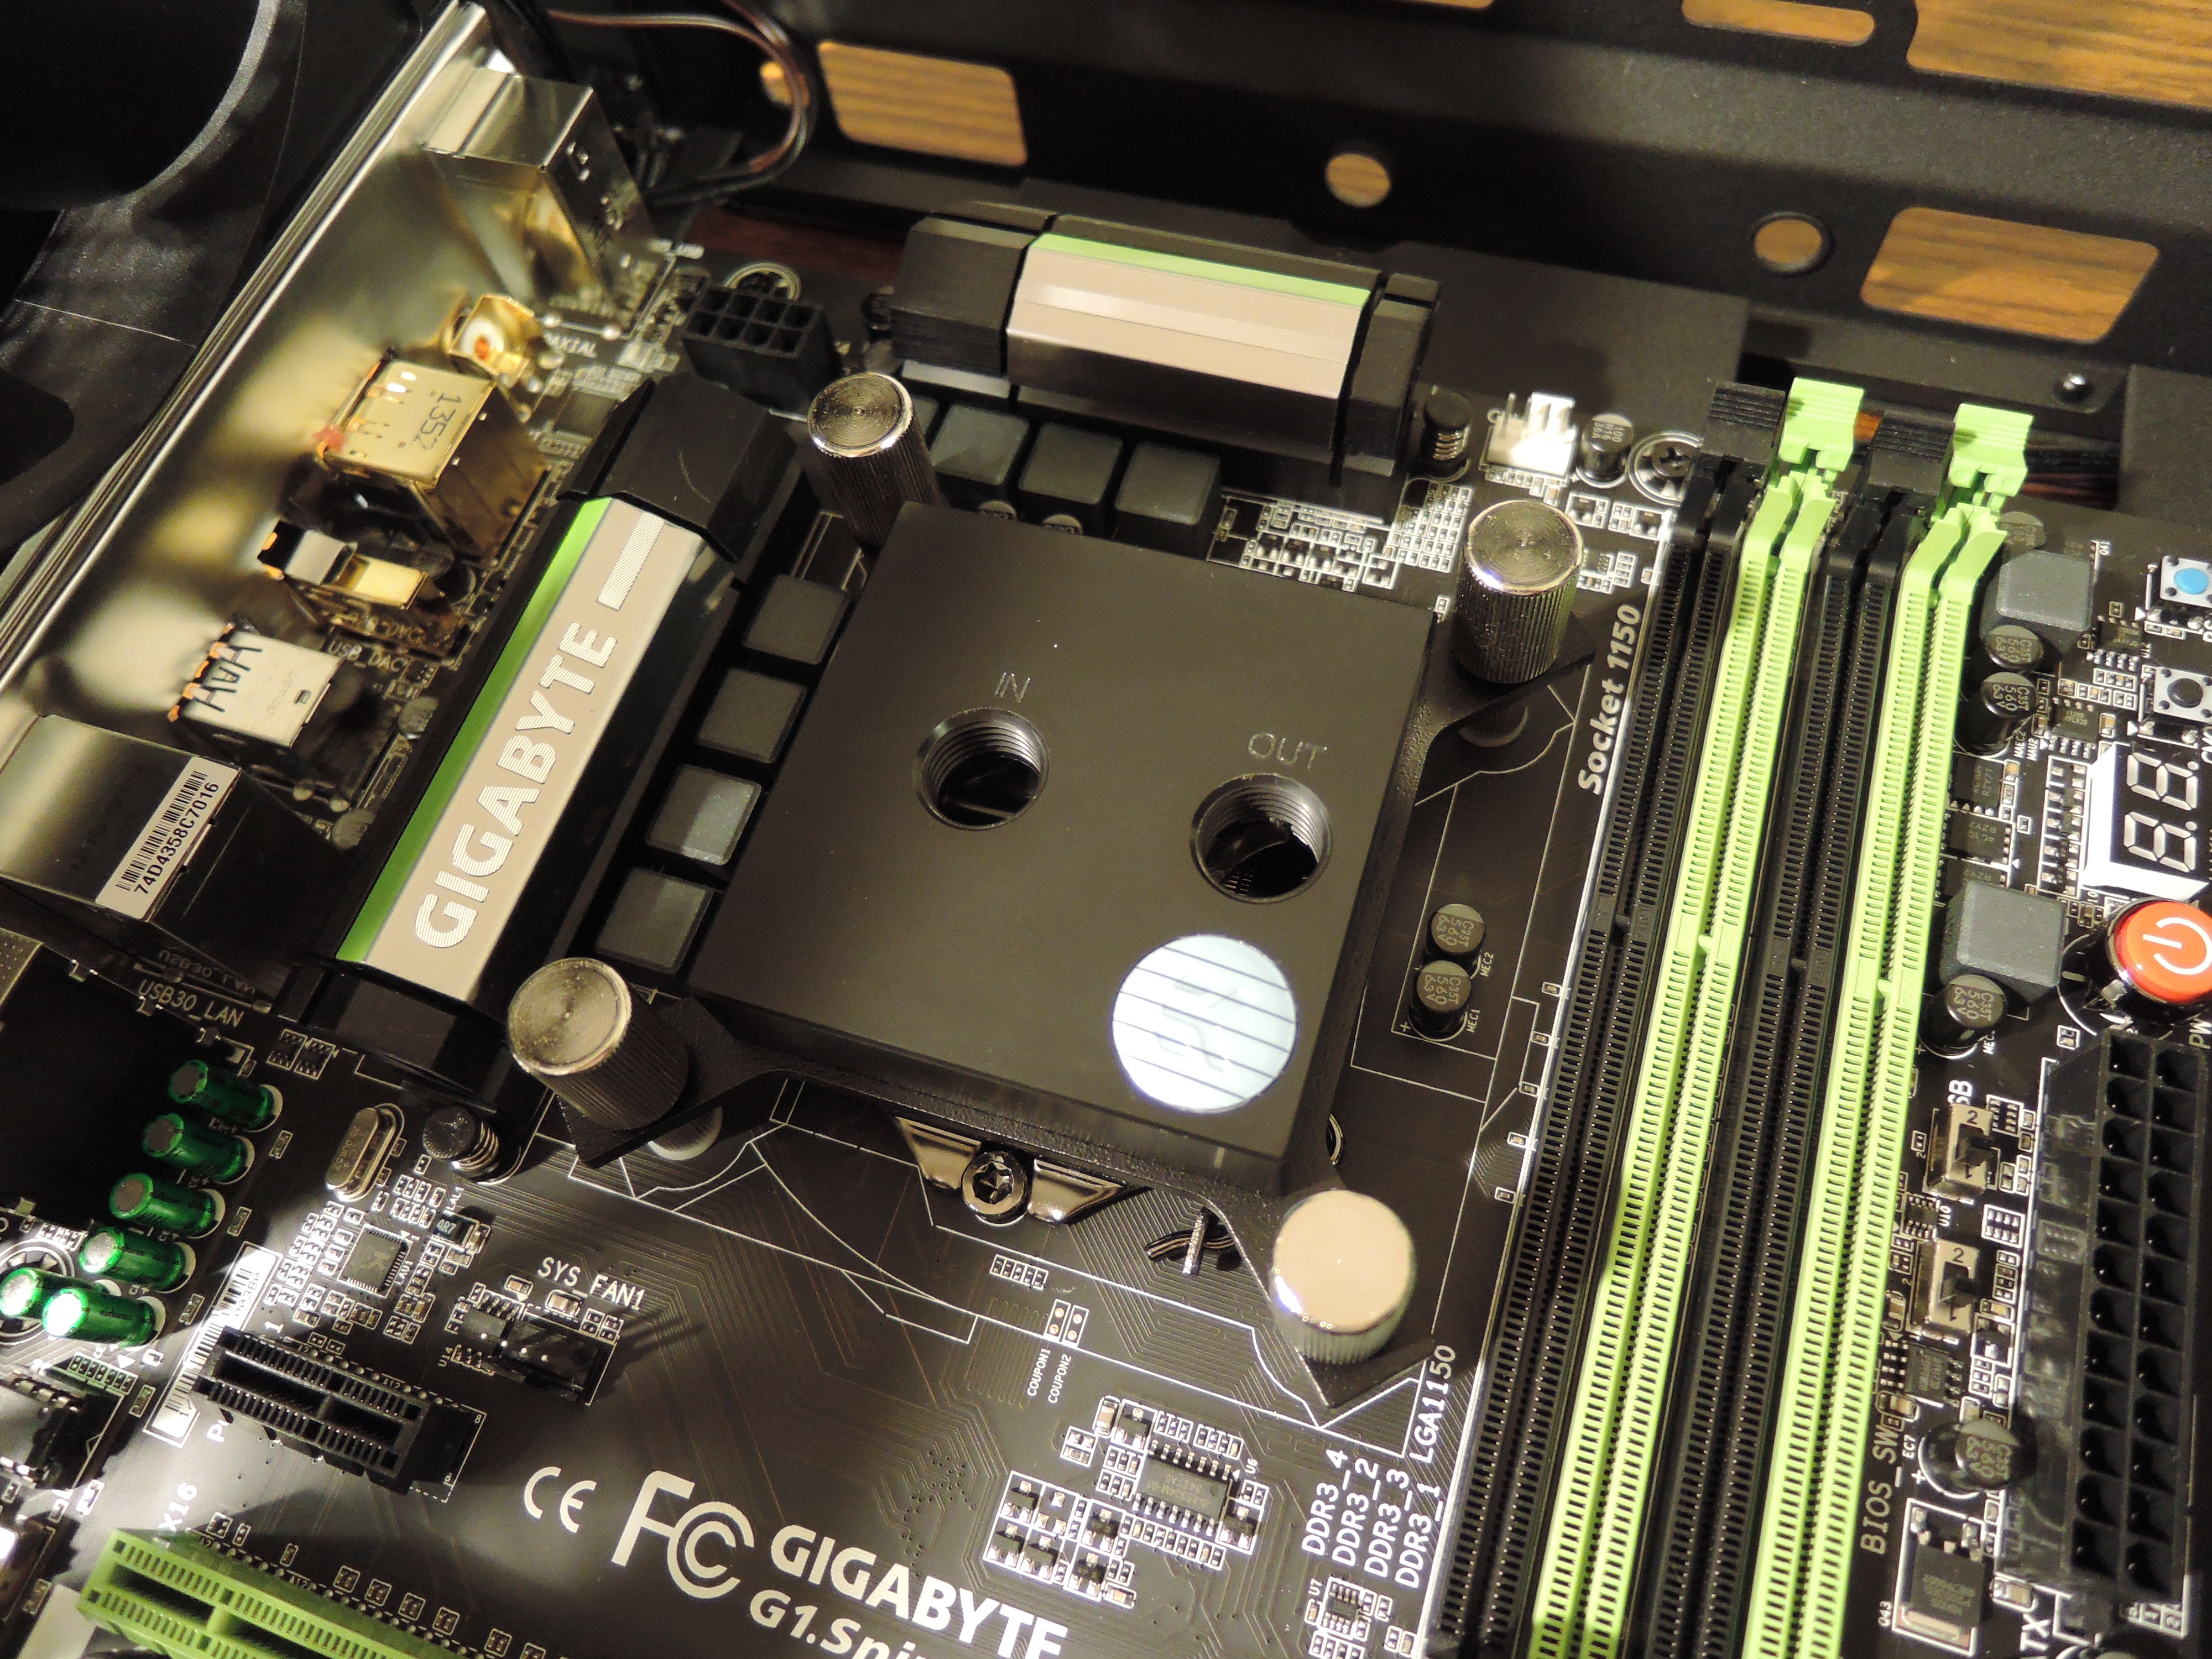
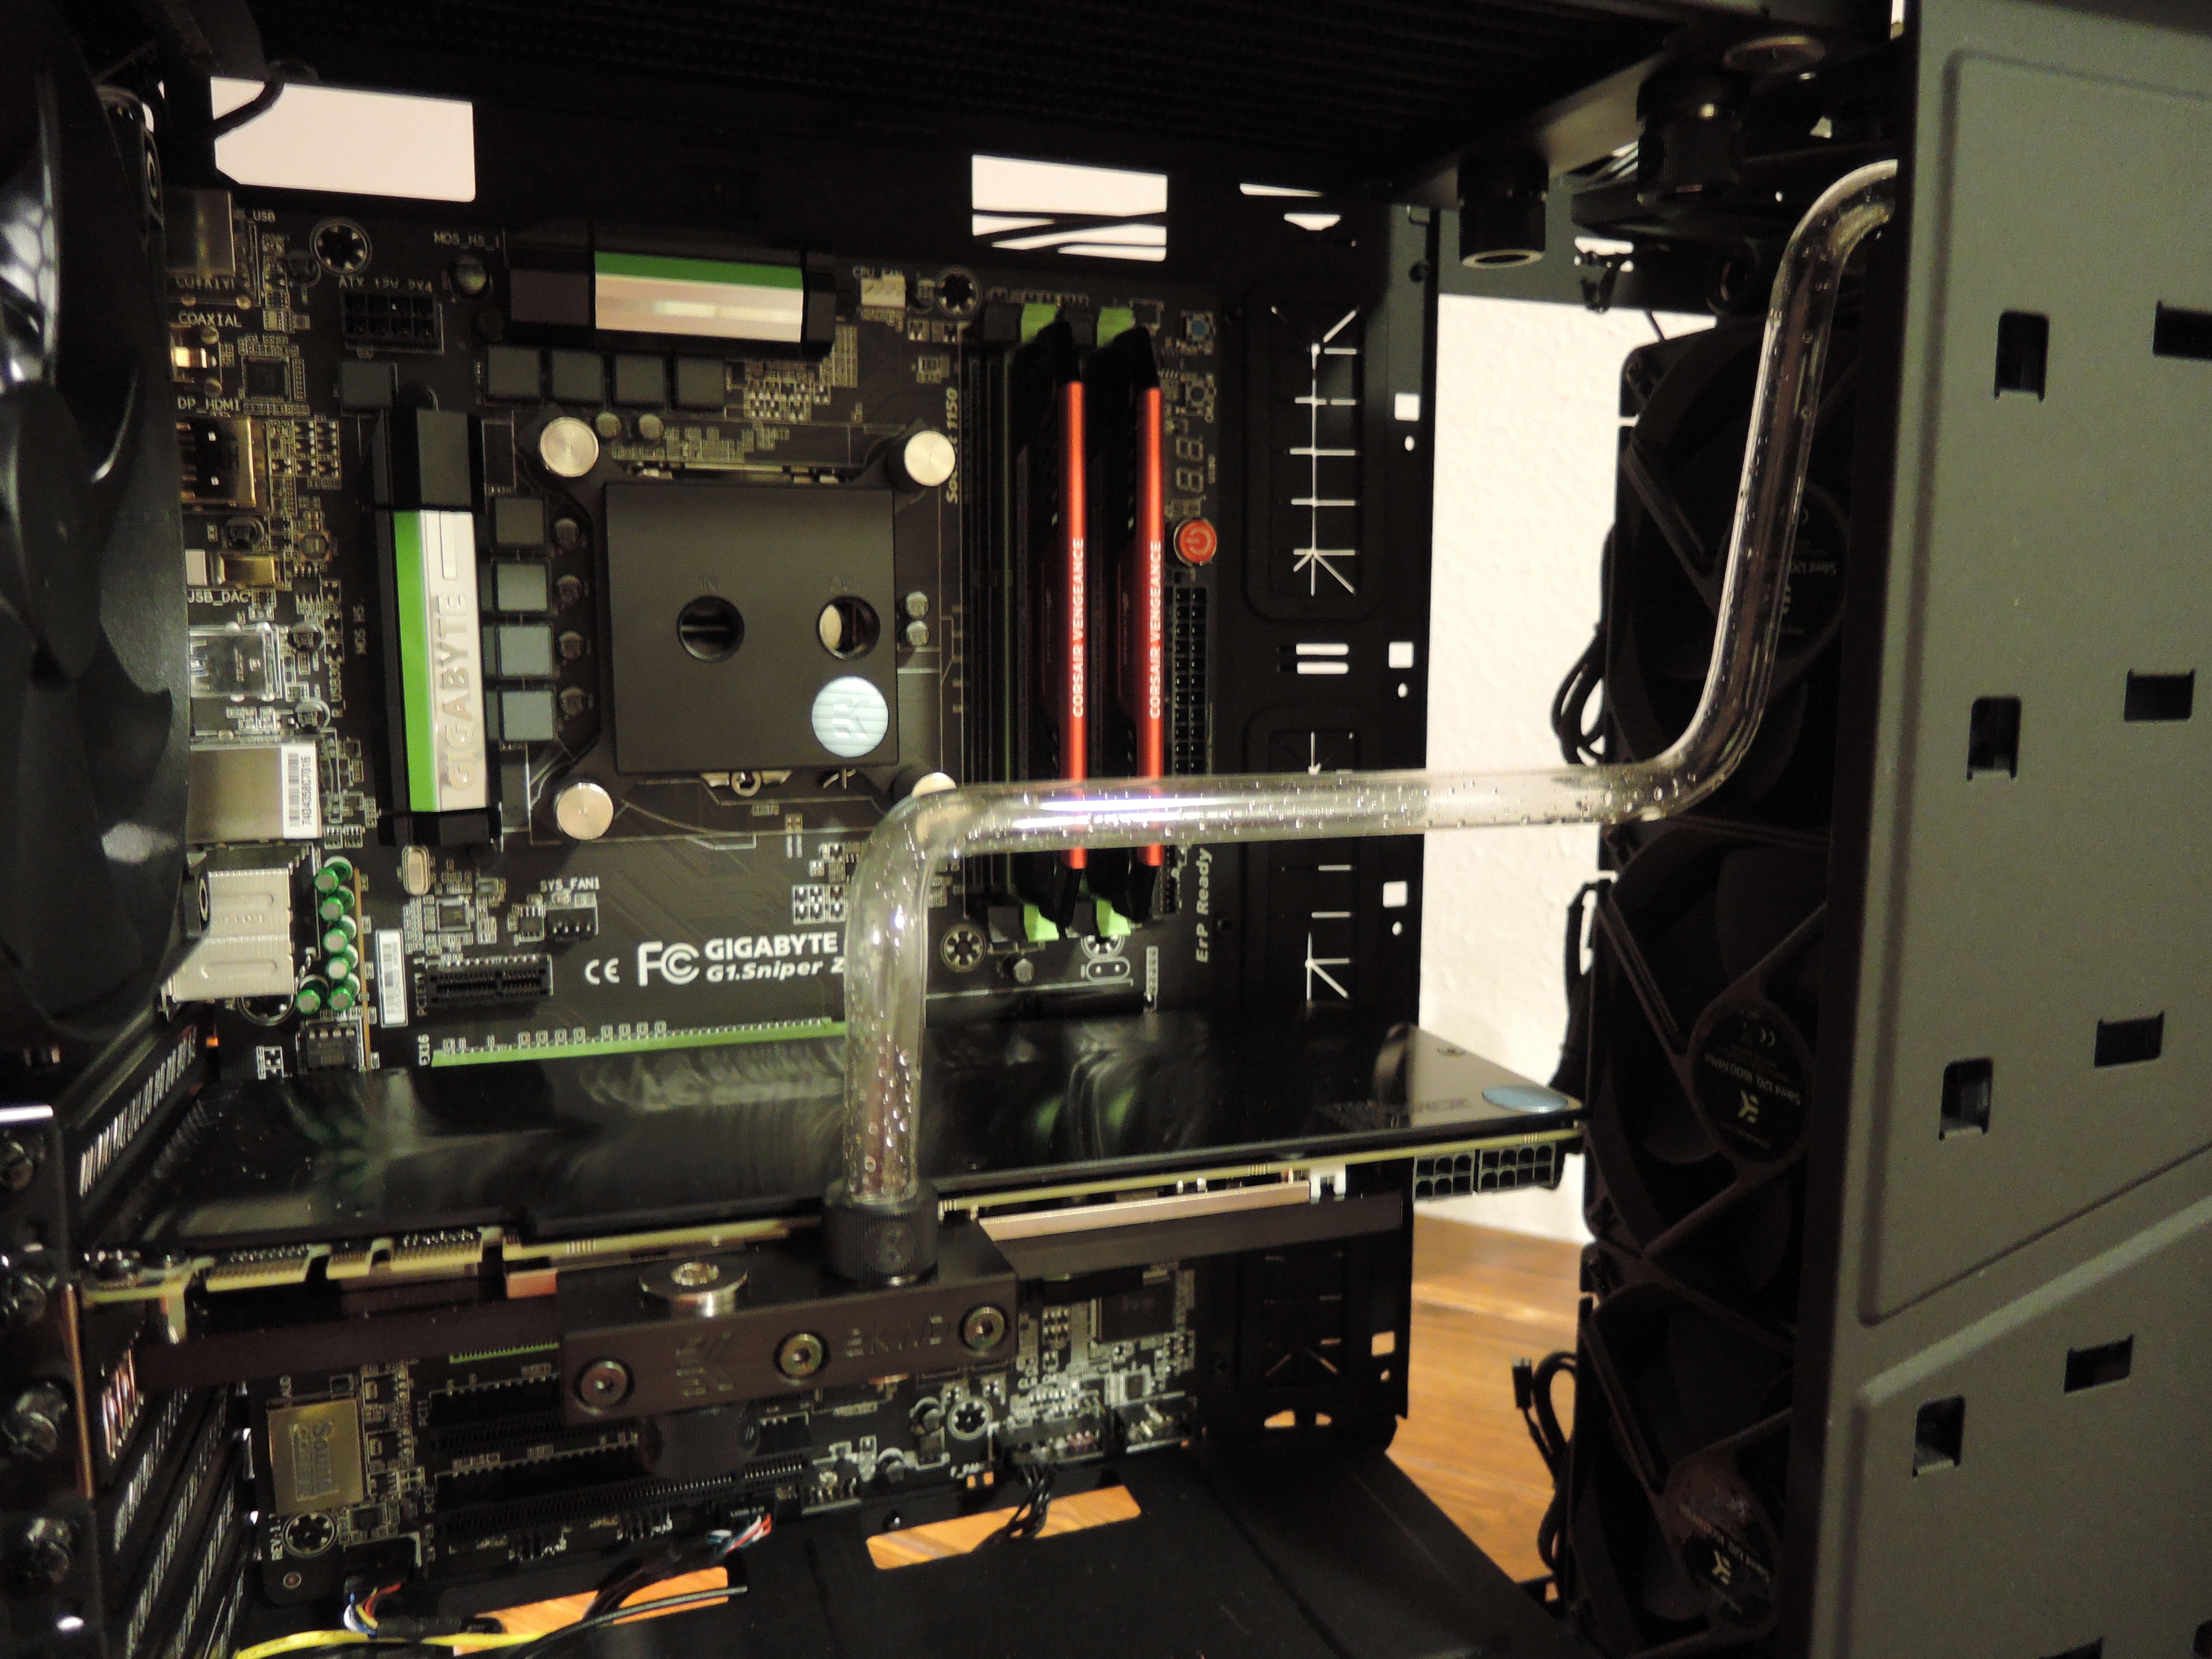
Installing the EK-Supremacy EVO onto the CPU was actually quite a snap, which was not a surprise – it's just like installing a normal CPU cooler. After you clean the old heat sink paste off the CPU surface, you simply place the support bracket behind the motherboard, insert the standoff screws, apply a dash of fresh heat sink paste, and apply the CPU block with a criss-cross pattern.
The most remarkable observation I made about this process was the weight of the CPU block, and the absolutely perfect mirror finish.
Get Tom's Hardware's best news and in-depth reviews, straight to your inbox.
Installing The GPU Block
The GPU block wasn't quite as quick of an install, but it wasn't difficult either: it just required a heap of patience.
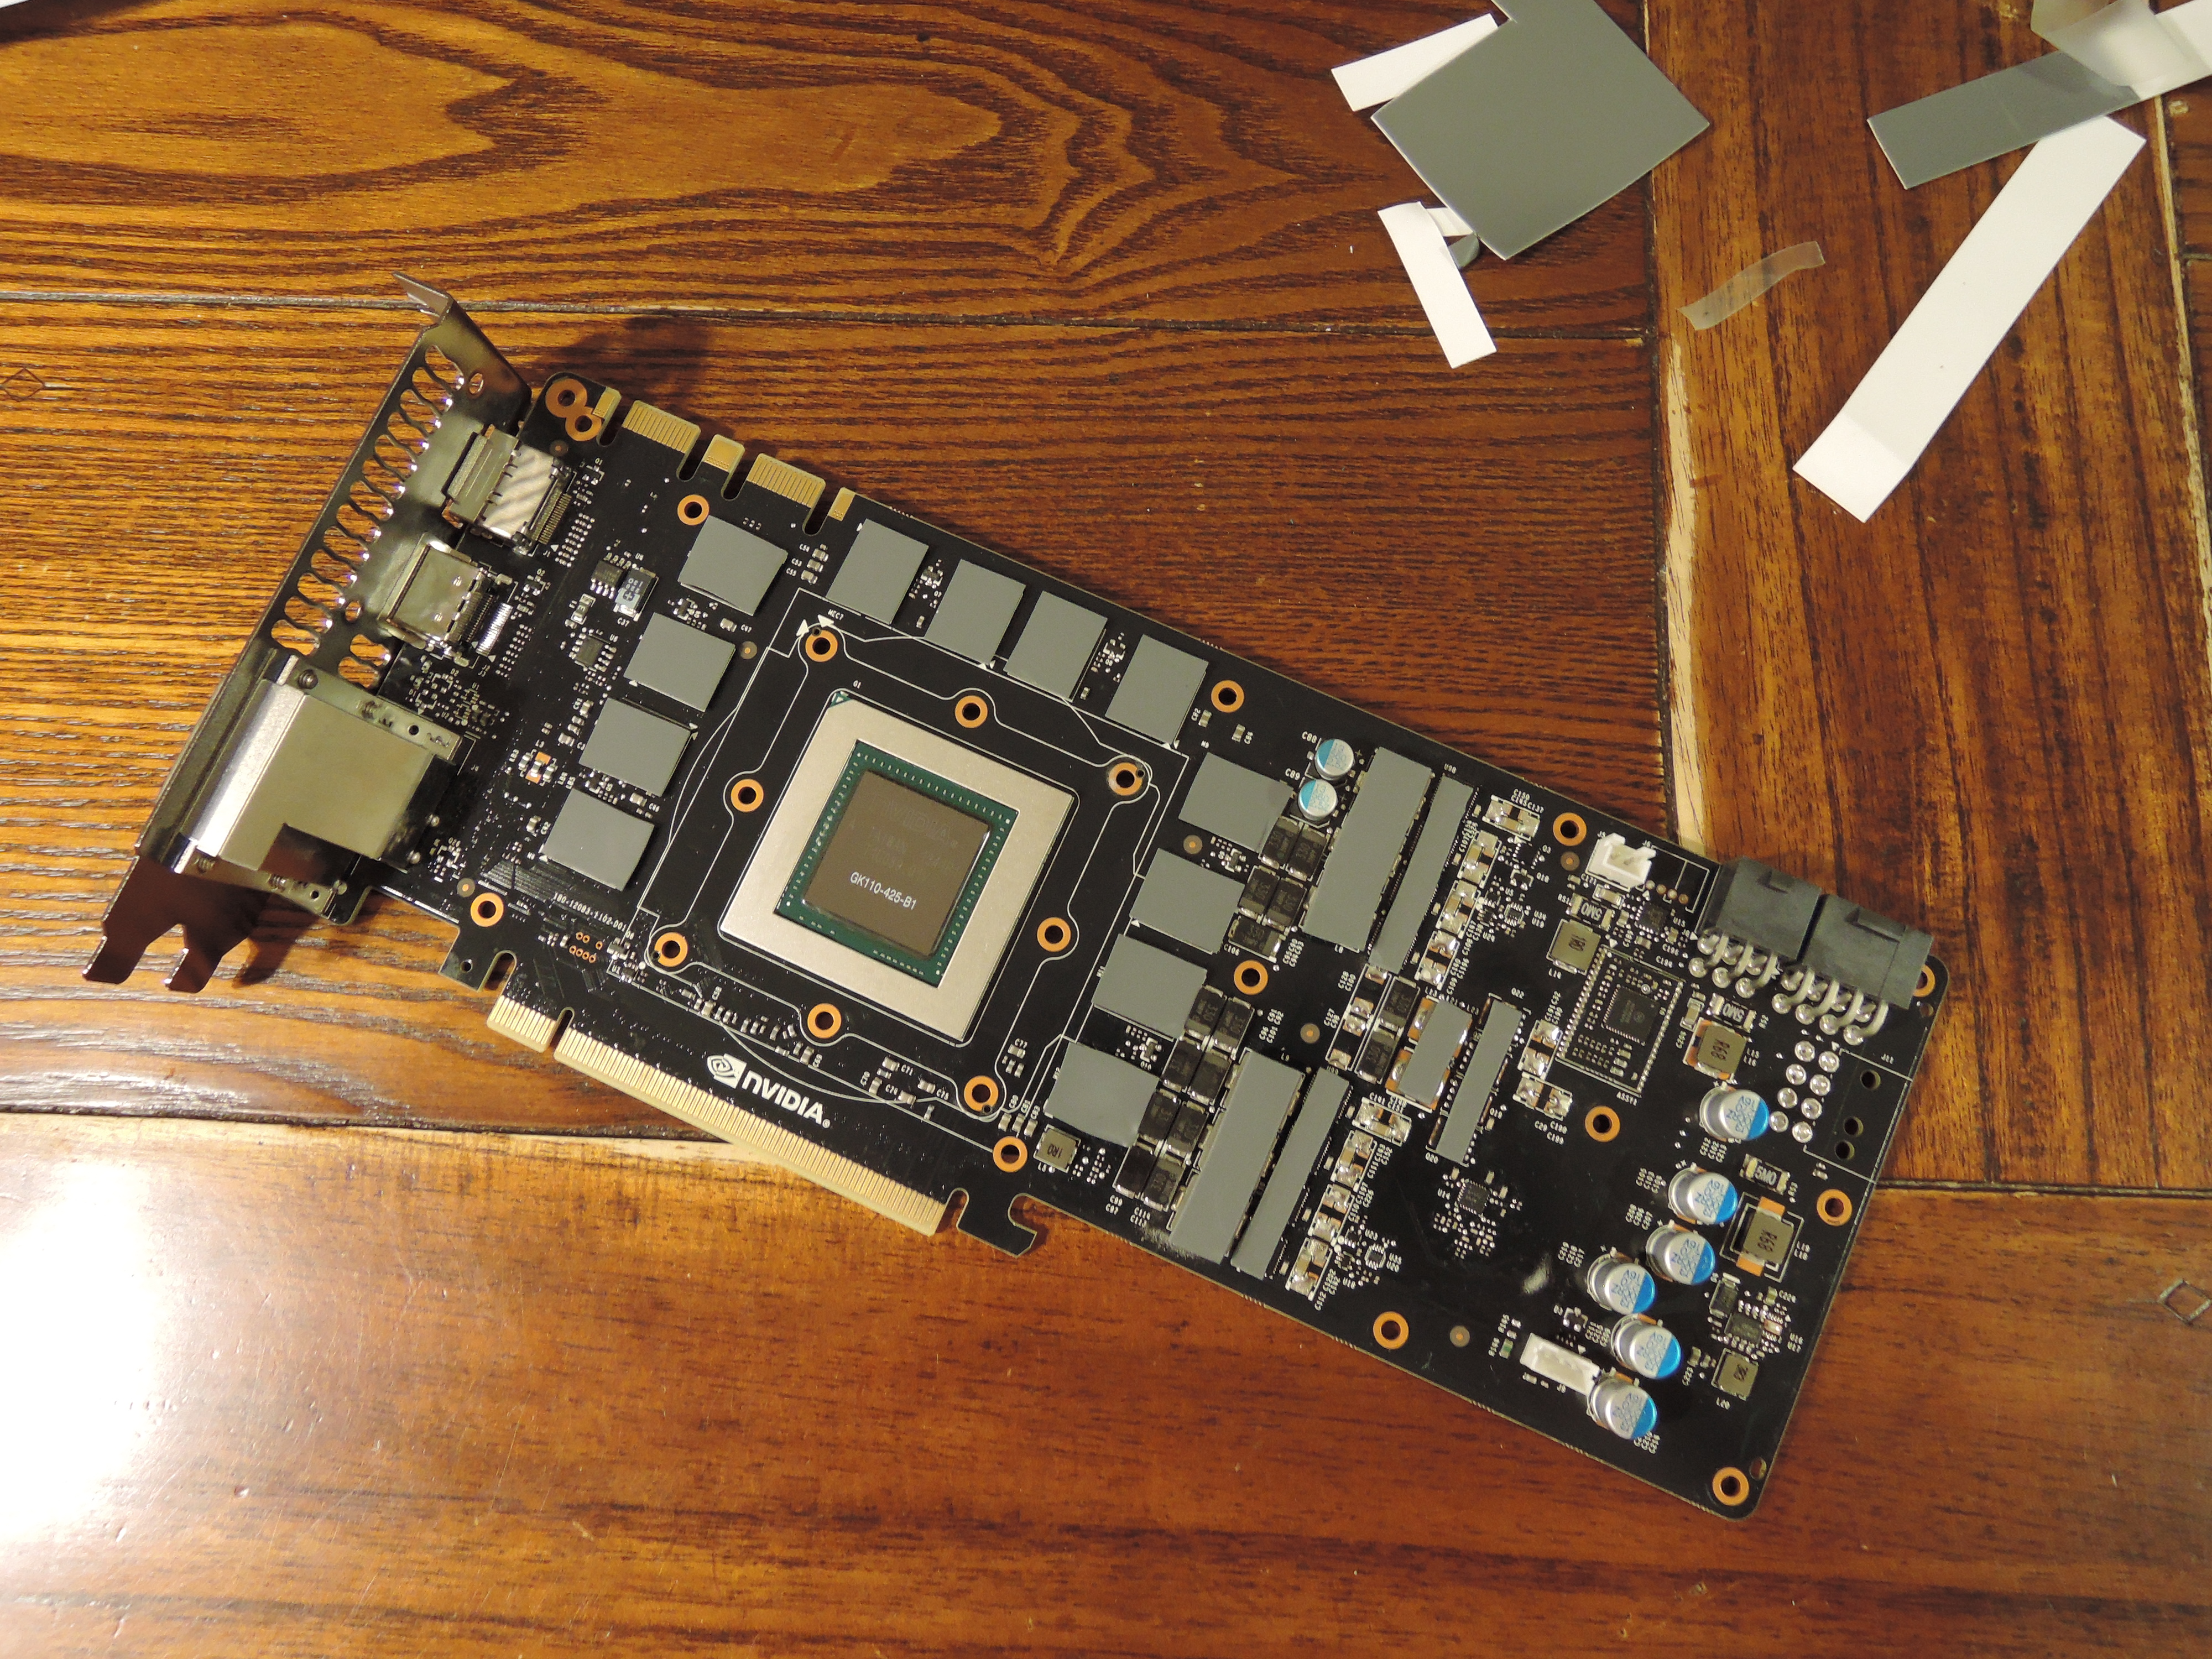
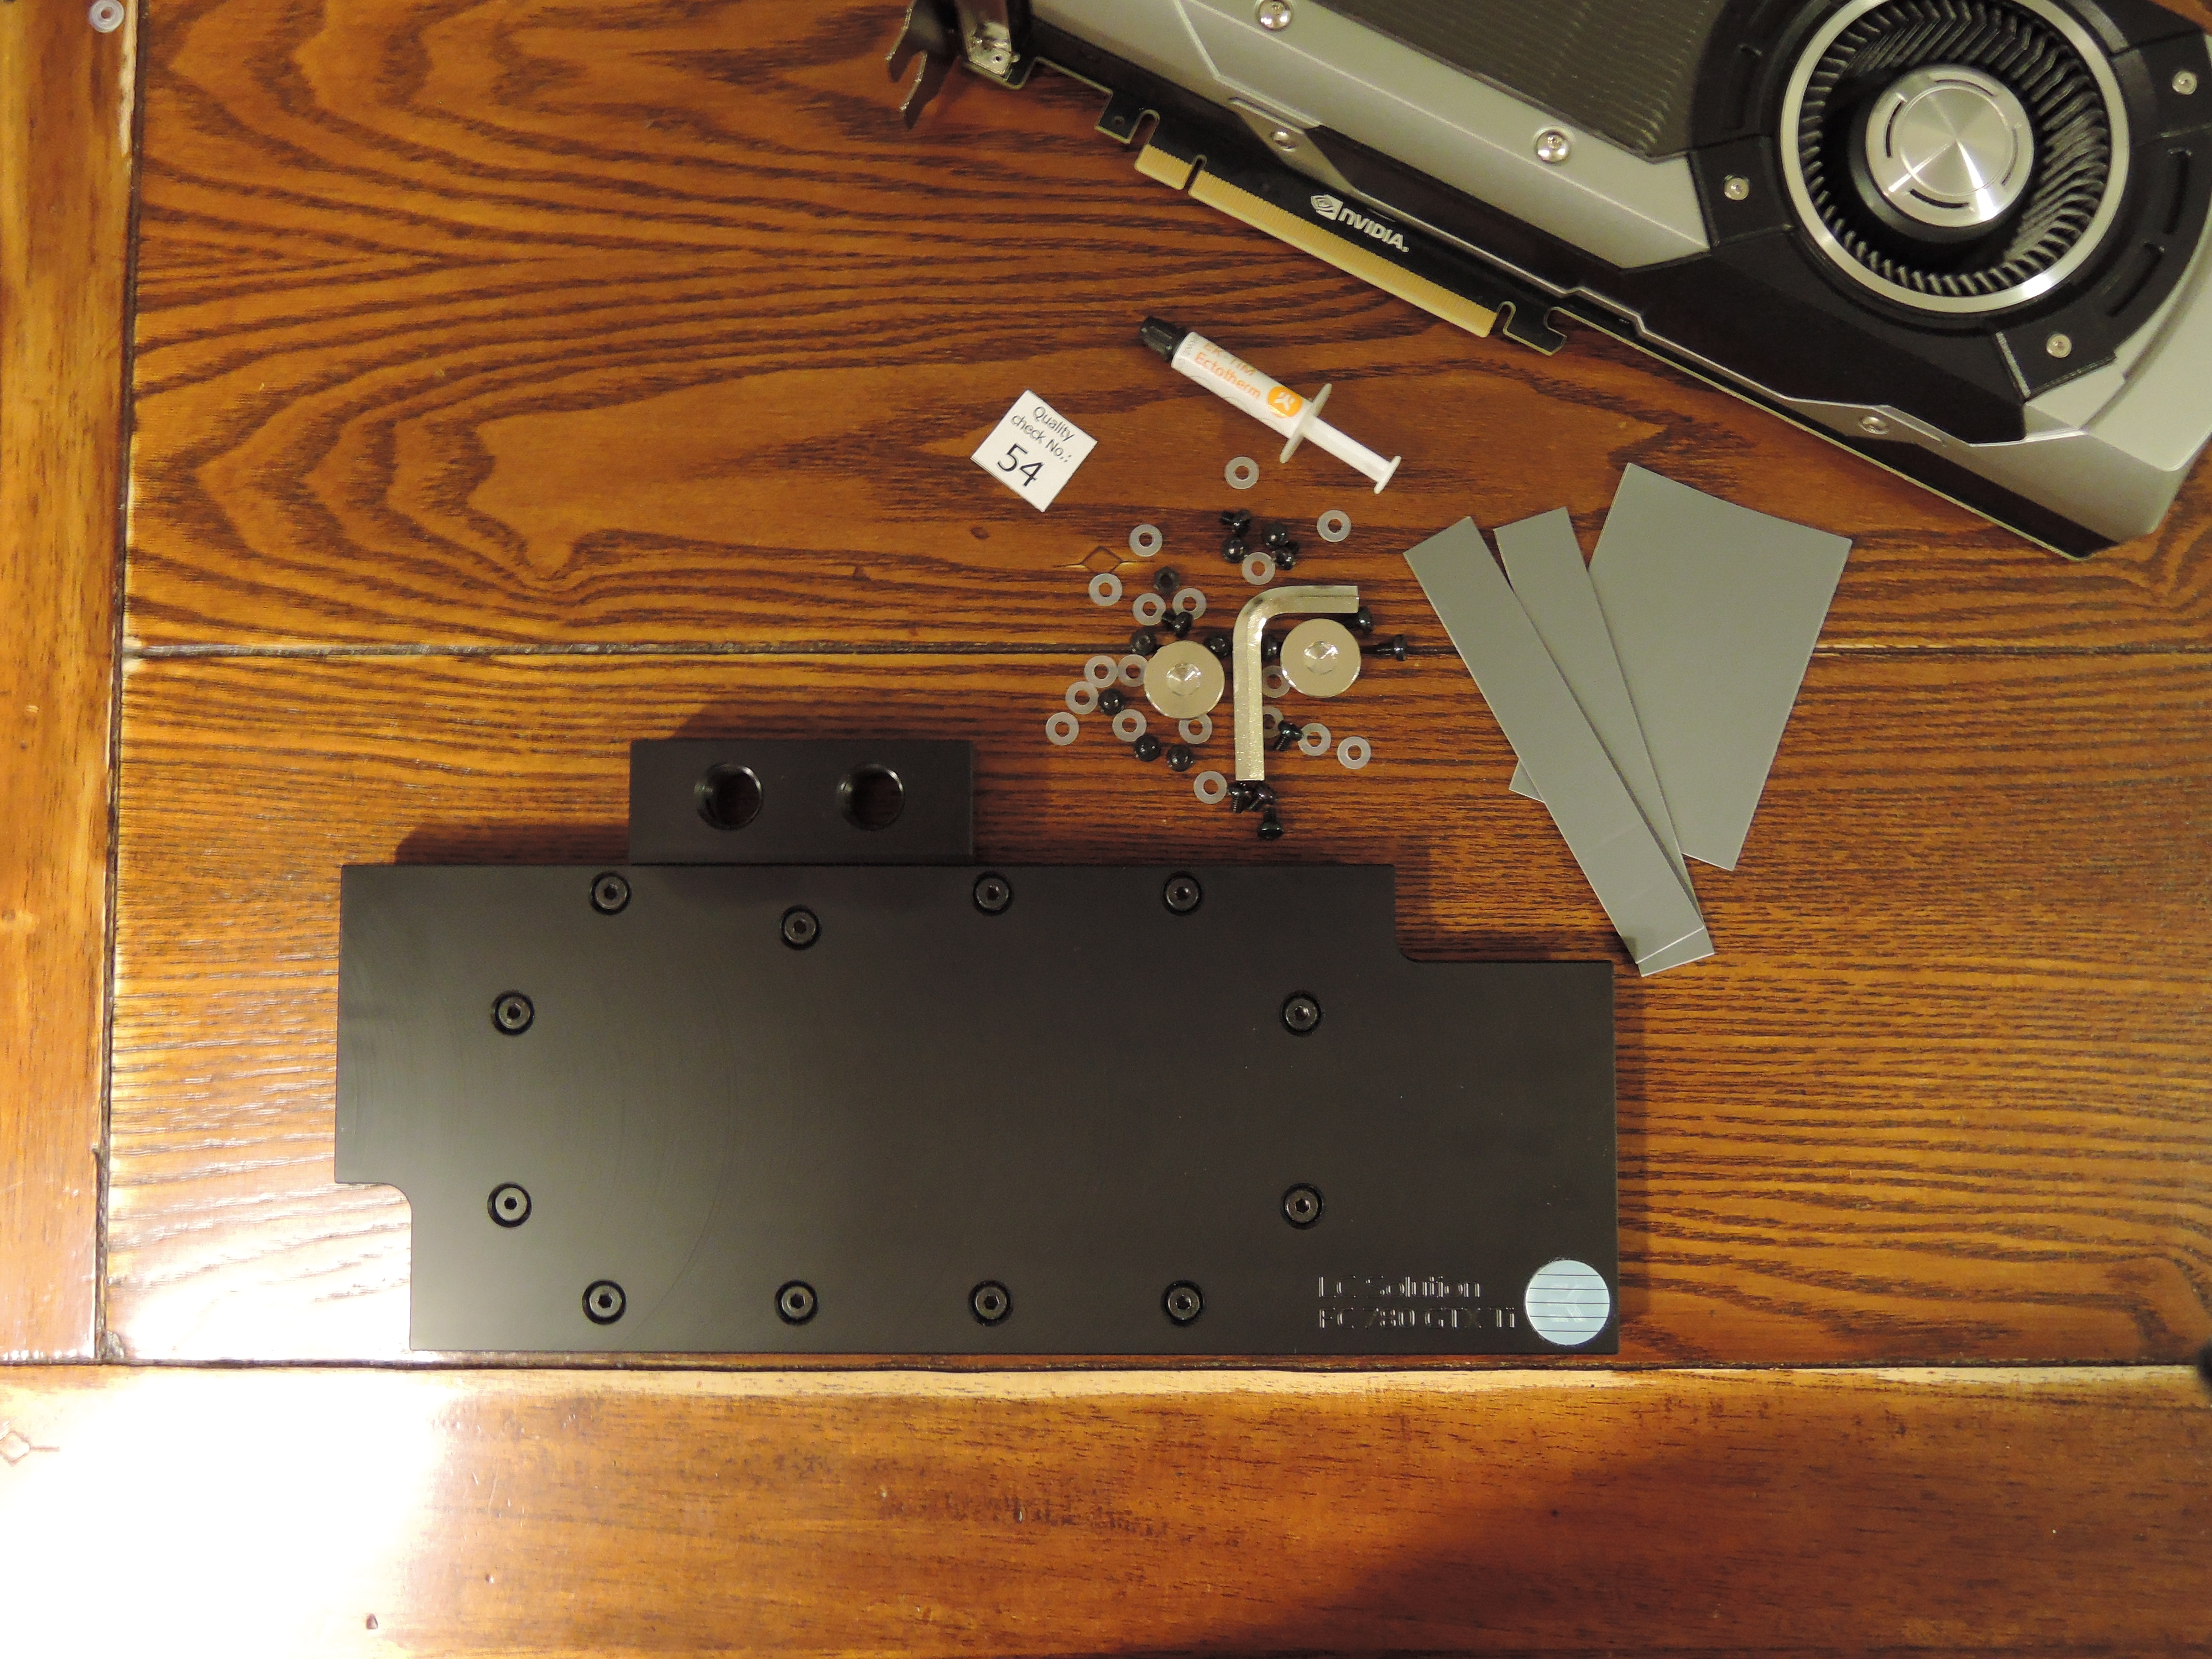
First, I removed all the screws from the back of the graphics card to take off the Nvidia cooler, and then I cleaned the GPU. Both of these steps took a couple of minutes, as there are lots of little screws (some which are easy to miss), and cleaning the GPU surface was a little tricky, too.
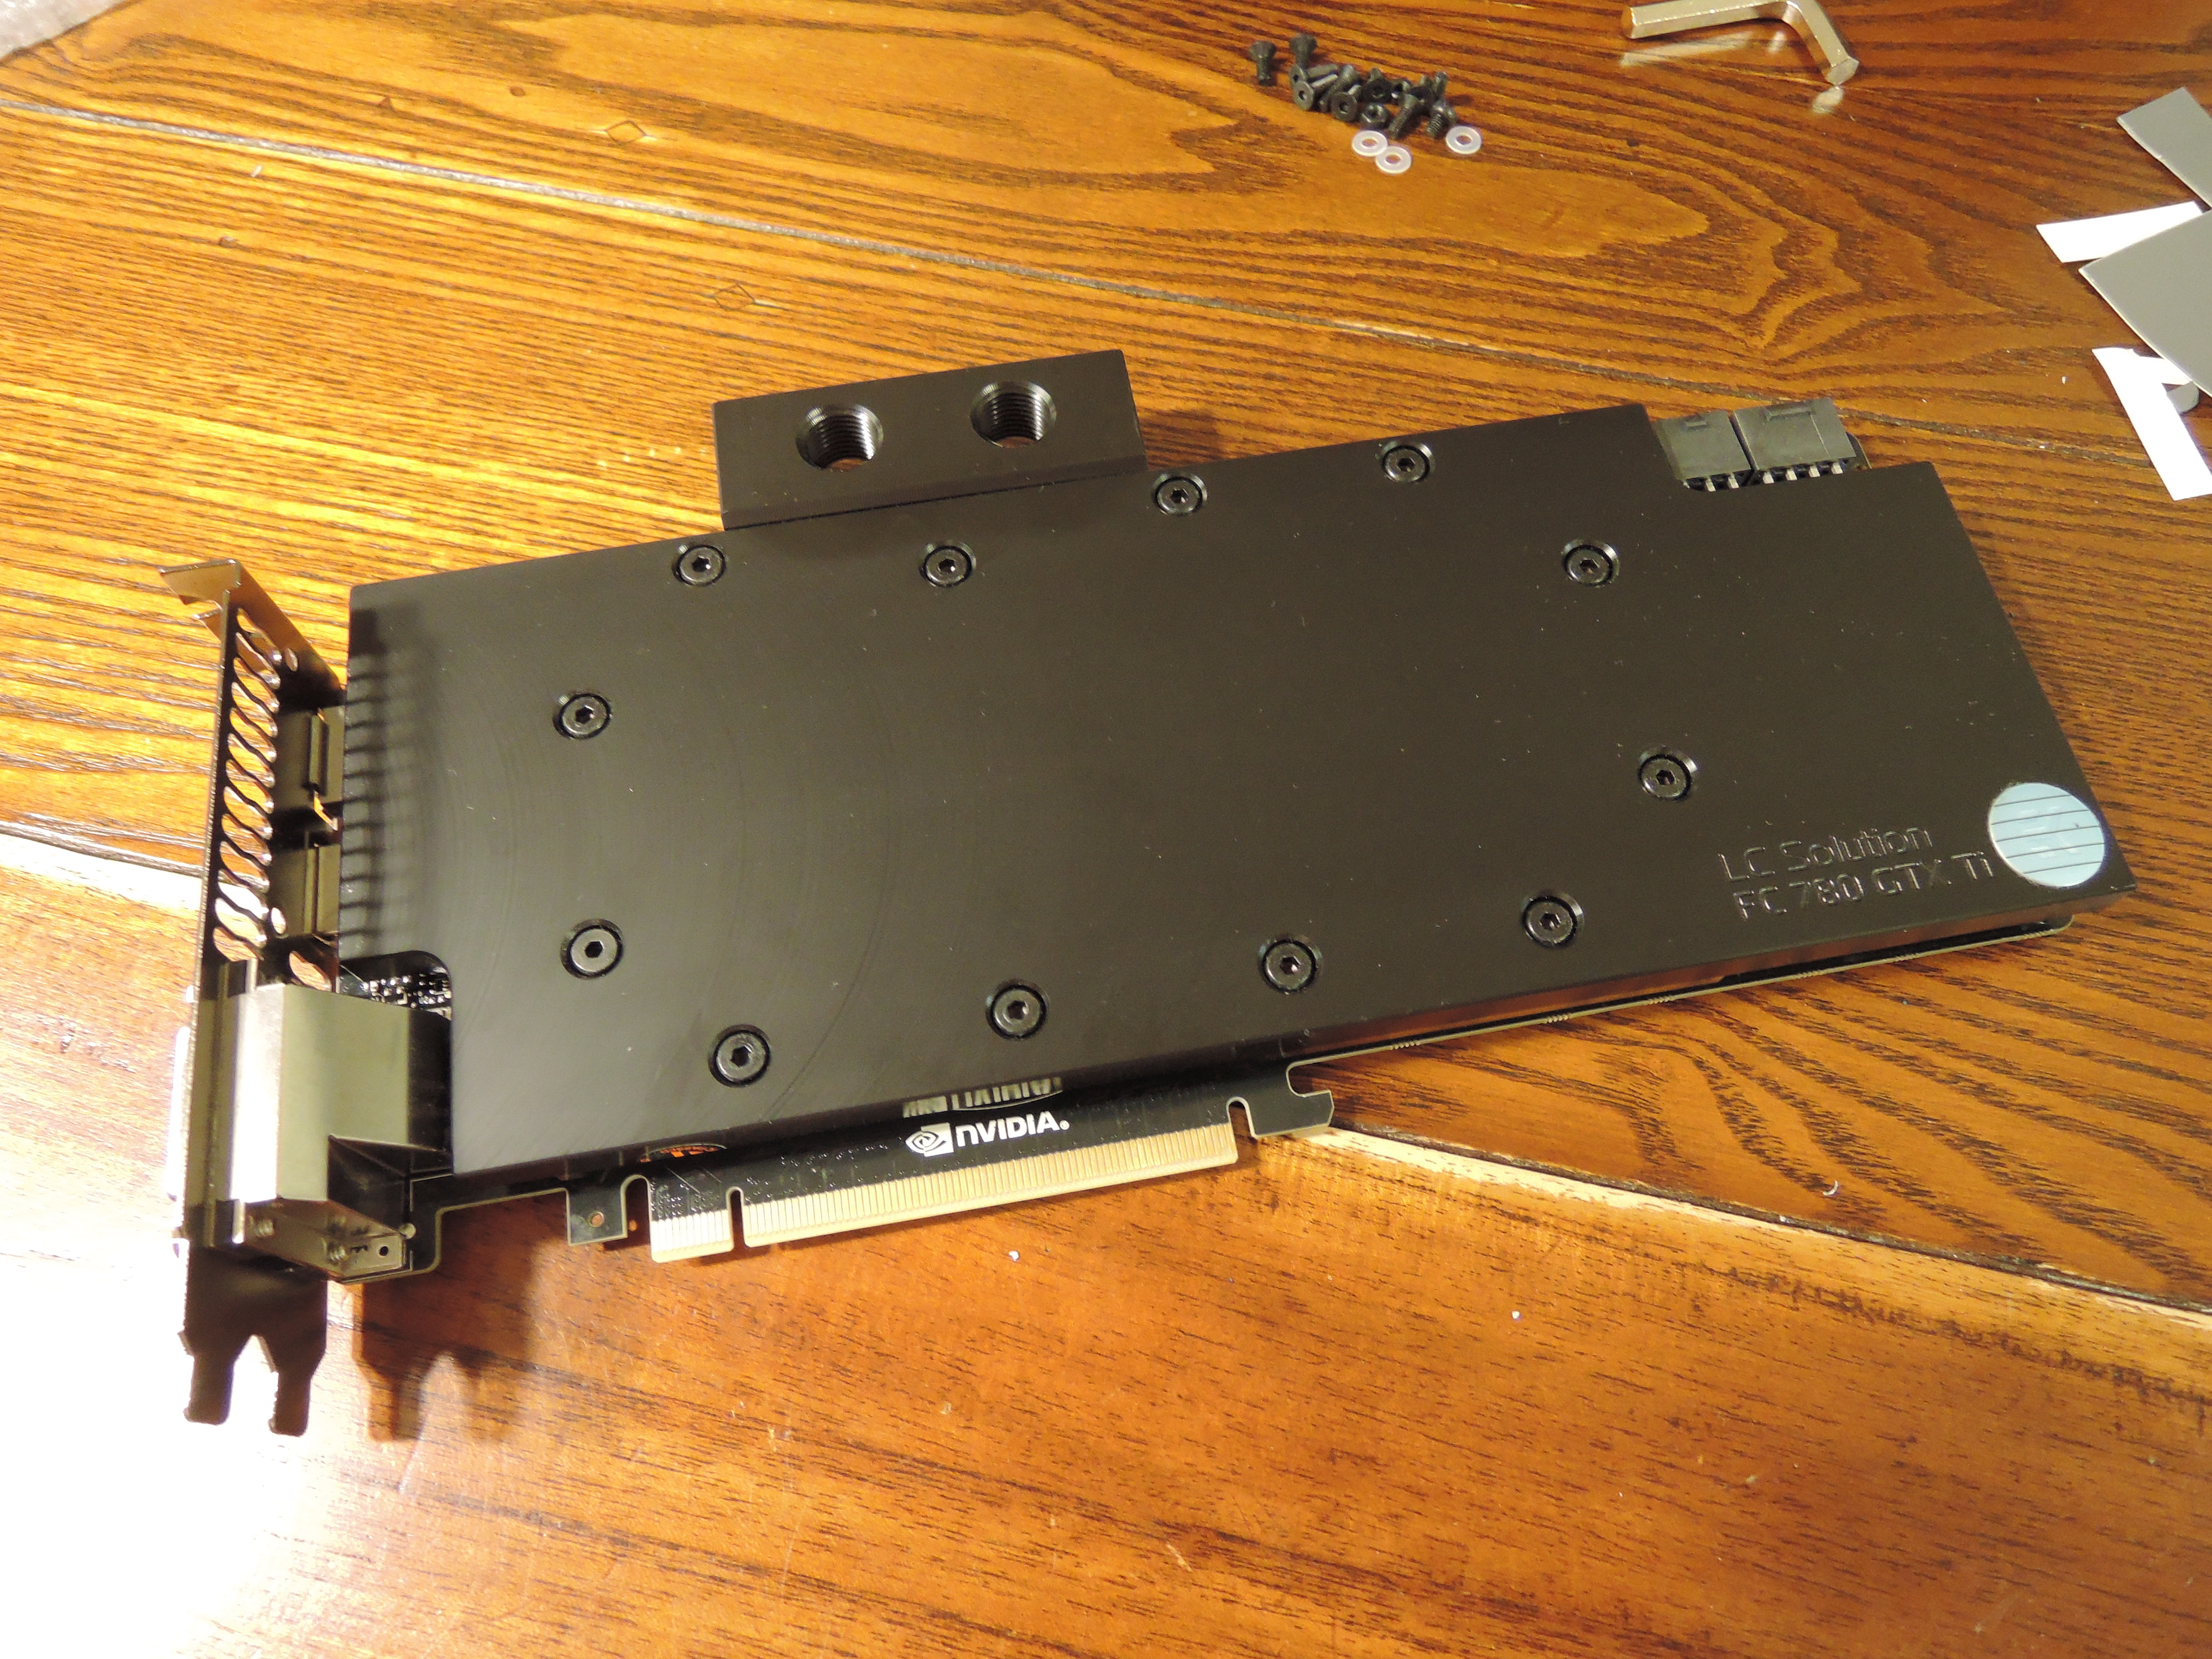
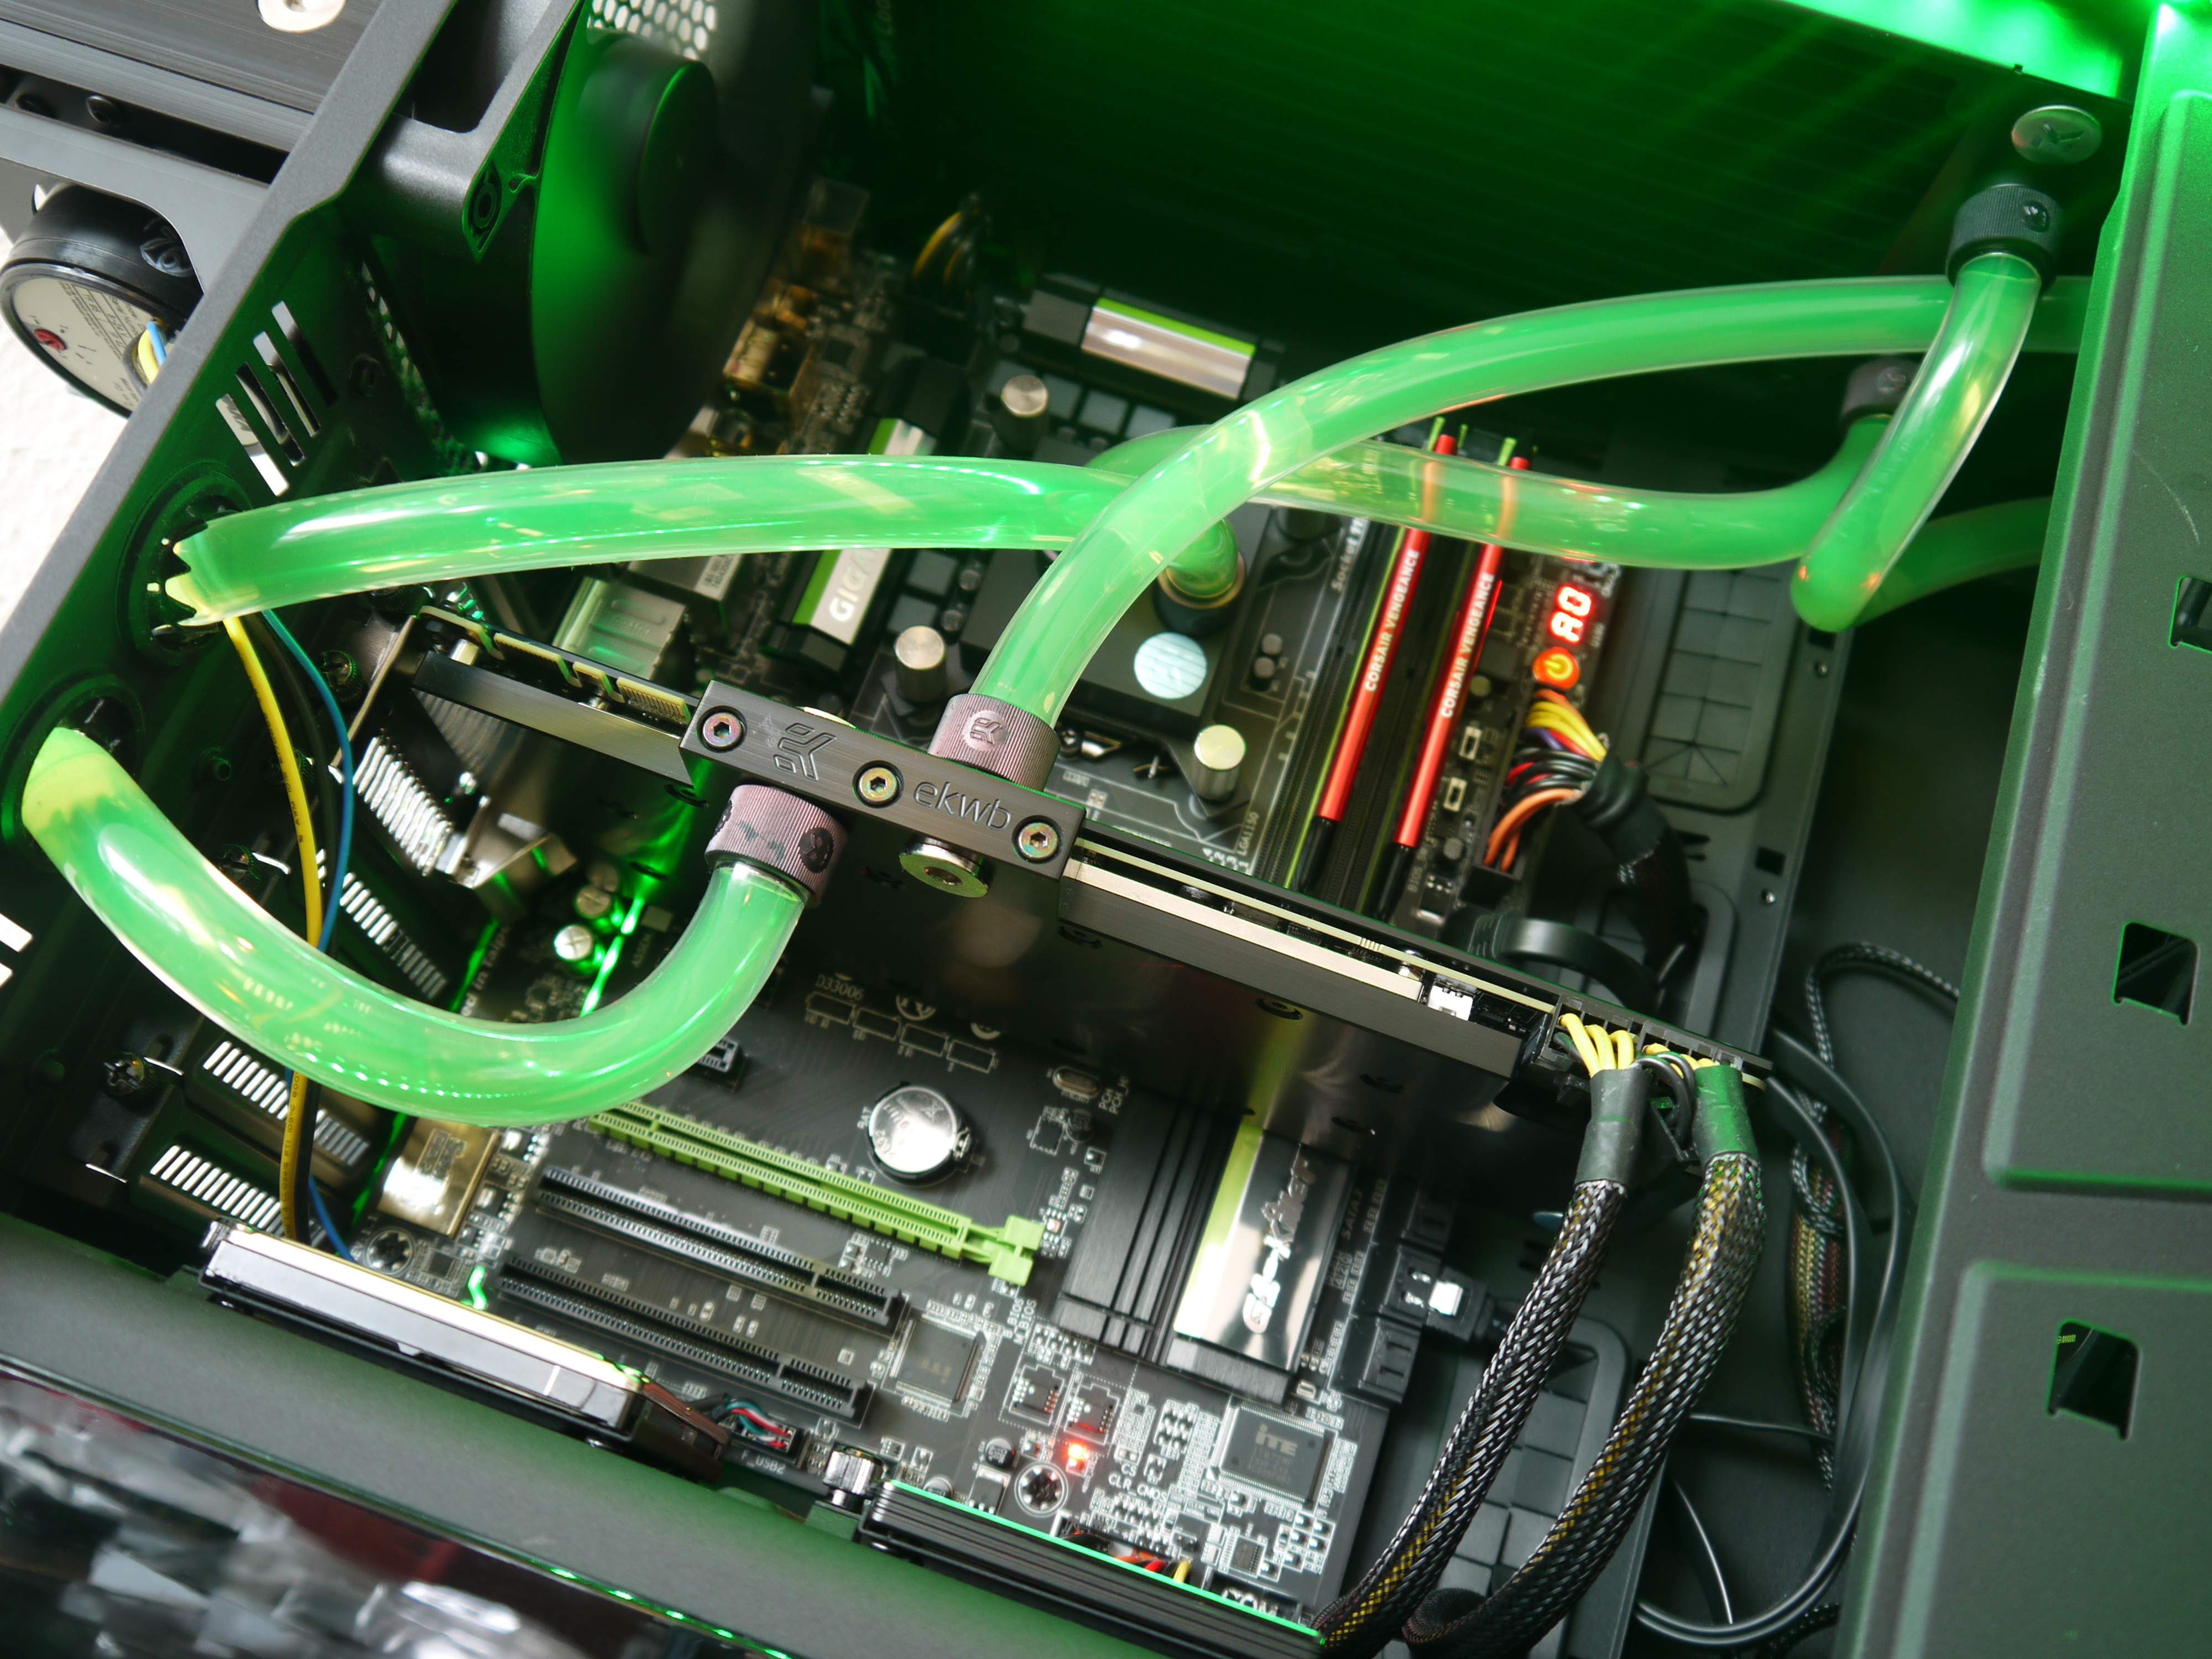
Next, I cut the thermal pads to the right size for the memory and VRM circuitry, and applied them. For as simple as it looks, this is actually another tedious step. Following that, I applied the surprisingly watery heat sink paste to the GPU, and carefully laid the gorgeous GPU water block in place. I tightened up the screws, careful not to tighten those that I had to skip at this step to install the backplate later. And then I installed the backplate.
The entire process of installing the GPU block took about an hour. Granted, it was my first time installing a GPU block, and I may have been slightly distracted by my laughing colleagues (who were watching me struggle over Skype), but the process is something you'll probably prefer to sit down and focus for.
Installing The Radiators And Pump
As I mentioned above, I figured I could fit three radiators – a 140 mm unit as rear exhaust, a 240 mm unit up top, and a huge 360 mm radiator up front. Of course, that amount of cooling isn't necessary for just a single CPU and graphics card, but this build wasn't about sensibility anyway.
When I proceeded to mount the radiators, I almost immediately ran into a problem: the 140 mm radiator that I had planned for the back fit, but its side protruded from the side of the case, preventing me from being able to put the side panel back (due to the thickness of the window). I suppose that was karma for overdoing it on the radiators…
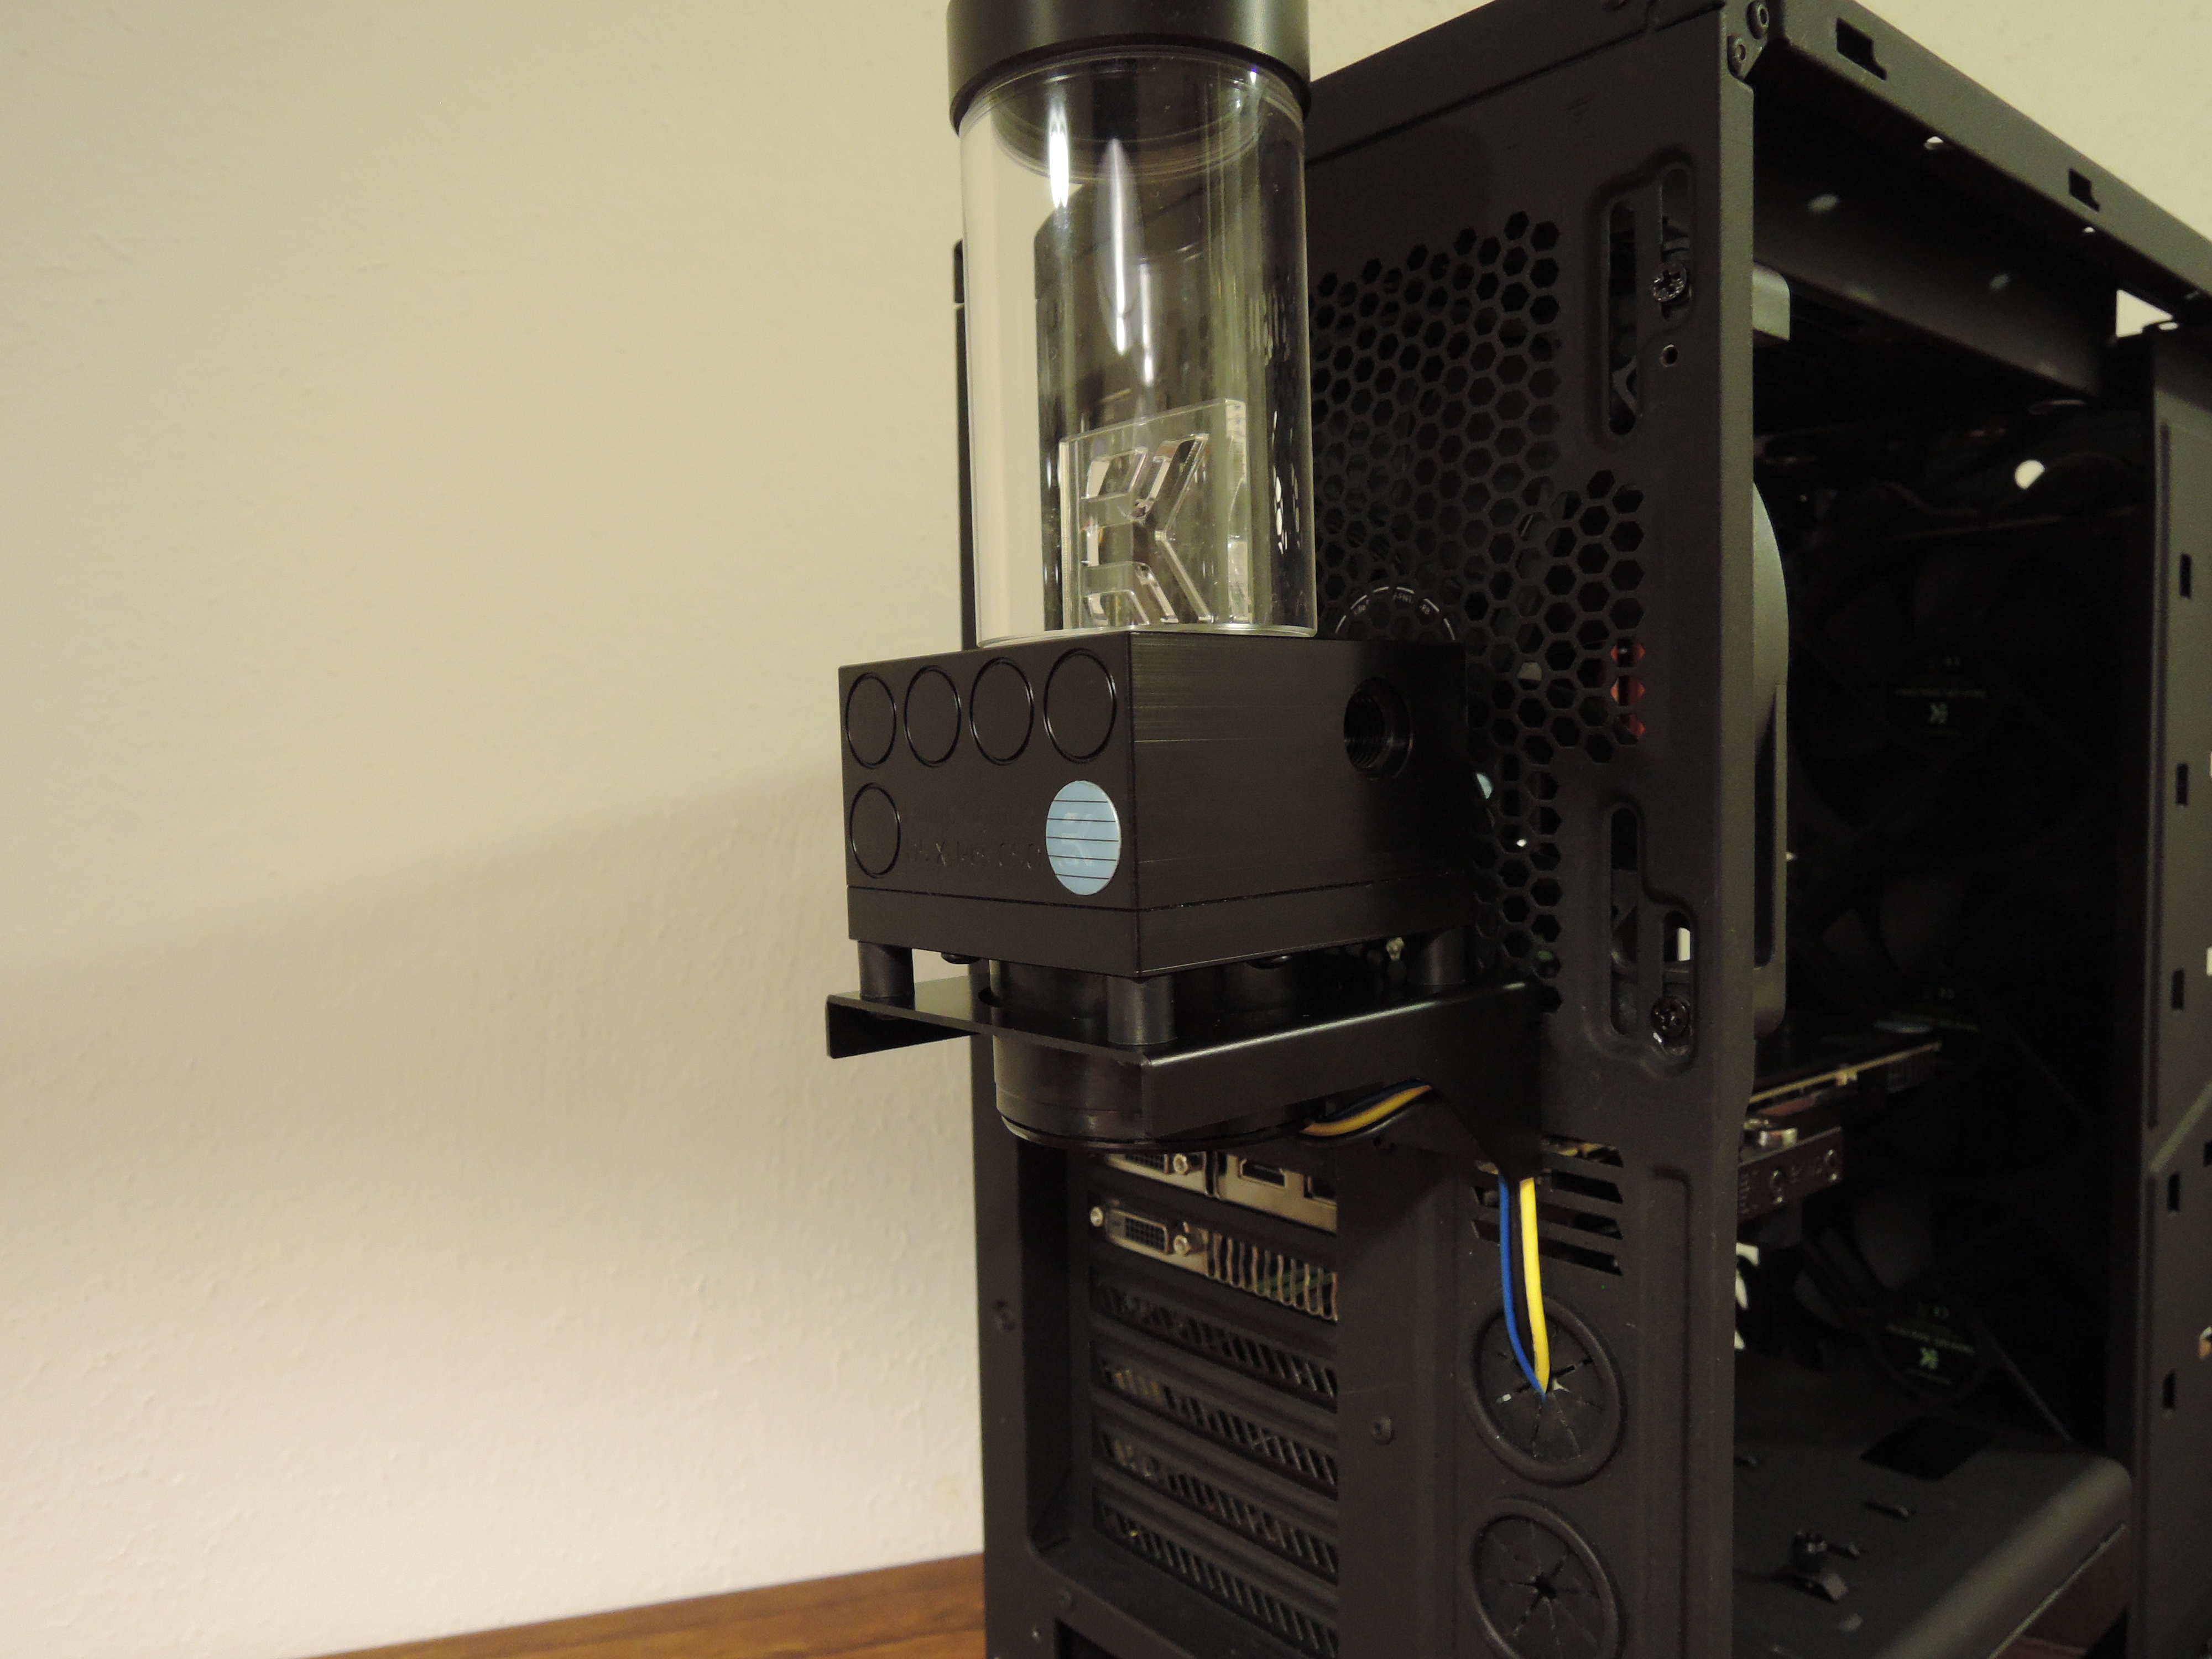
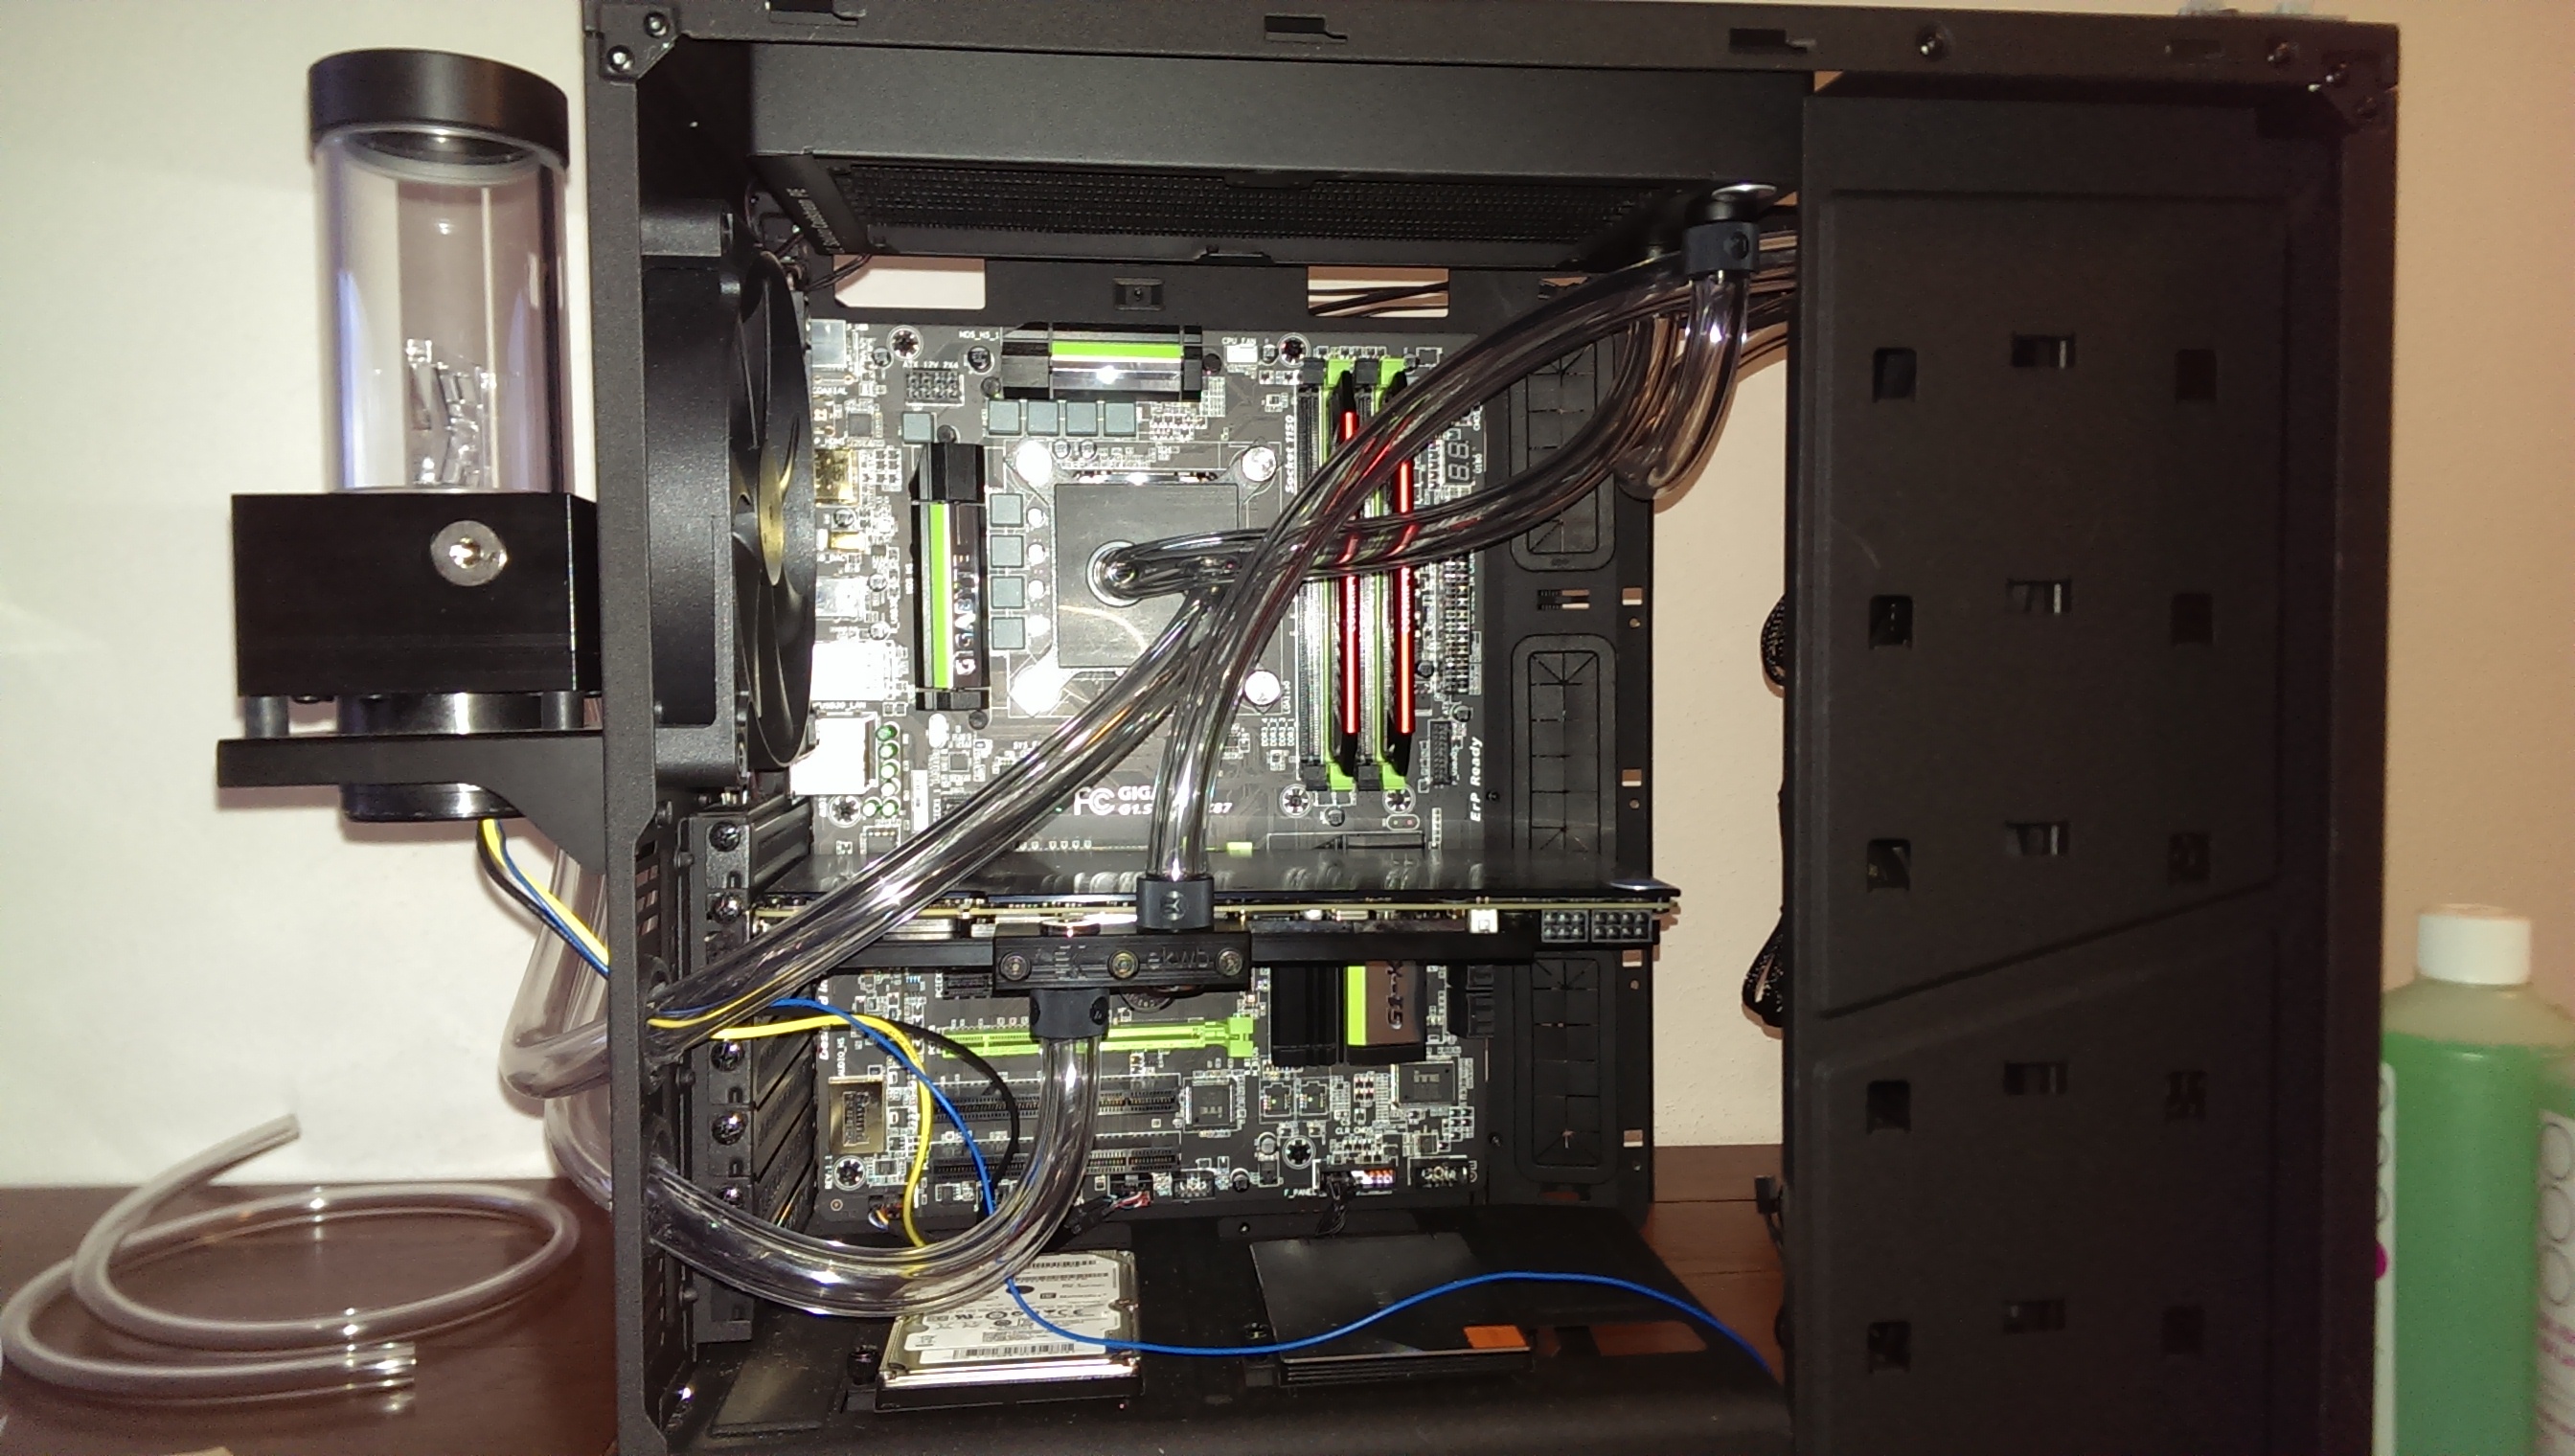
Moving on, the next problem I ran into was installing the EK-XRES 140 D5 Vario, the reservoir and pump combo unit. Because of the sheer size of the 360 mm radiator I had mounted in the front of the case, there was simply no room anywhere to place the reservoir and pump inside the case, so I opted to mount it outside the back of the case. After all, that's why cases have those rubber grommets for guiding water cooling tubes through, right? (Wrong, actually, but we'll get back to that later.)
Hard Tubing, And How I Was A Little Too Ambitious
My original idea was to use hard tubing in this system, not only because it would look great, but because it was an extra challenge. I figured, how hard could it be?
Indeed, making a single bend with hard tubing isn't difficult. You stick in the silicon filler, put on some gloves, use a heat gun to warm up a section of tube, and use a tool to help you make the bend. That's simple enough, but the moment you need to combine multiple bends to reach from A to B, things get tricky.
It wasn't until I'd already ruined a couple bits of tubing that I realized that I didn't have a section long enough to make it from the pump outside the case to the first part of my loop. And even if I did, it would be extremely challenging to bend it so that it fits nicely.
After a full evening of messing around with the hard tubing, I decided that it may be time to give in to my pride, and kindly ask EKWB to send over some flexible tubing and new fittings.
The lesson is clear: If you want to do hard tubing, make sure you have a loop planned out where you do not need many bends, and practice a bit beforehand – and plan to have extra tubing on hand lest you find yourself stuck without enough to complete your loop.
Tubing And Filling The Loop
With the classic bendy tubing, things got a lot easier. (A ton easier.) Instead of spending a whole evening messing about, I cut and fit all the tubing in a matter of about 15 minutes before I was ready to start filling the loop. It really is as simple as checking how long the stretch is, cutting the length of tube, dipping the ends of the tube in some hot water so that it can easily flex around the compression fitting, and placing them.
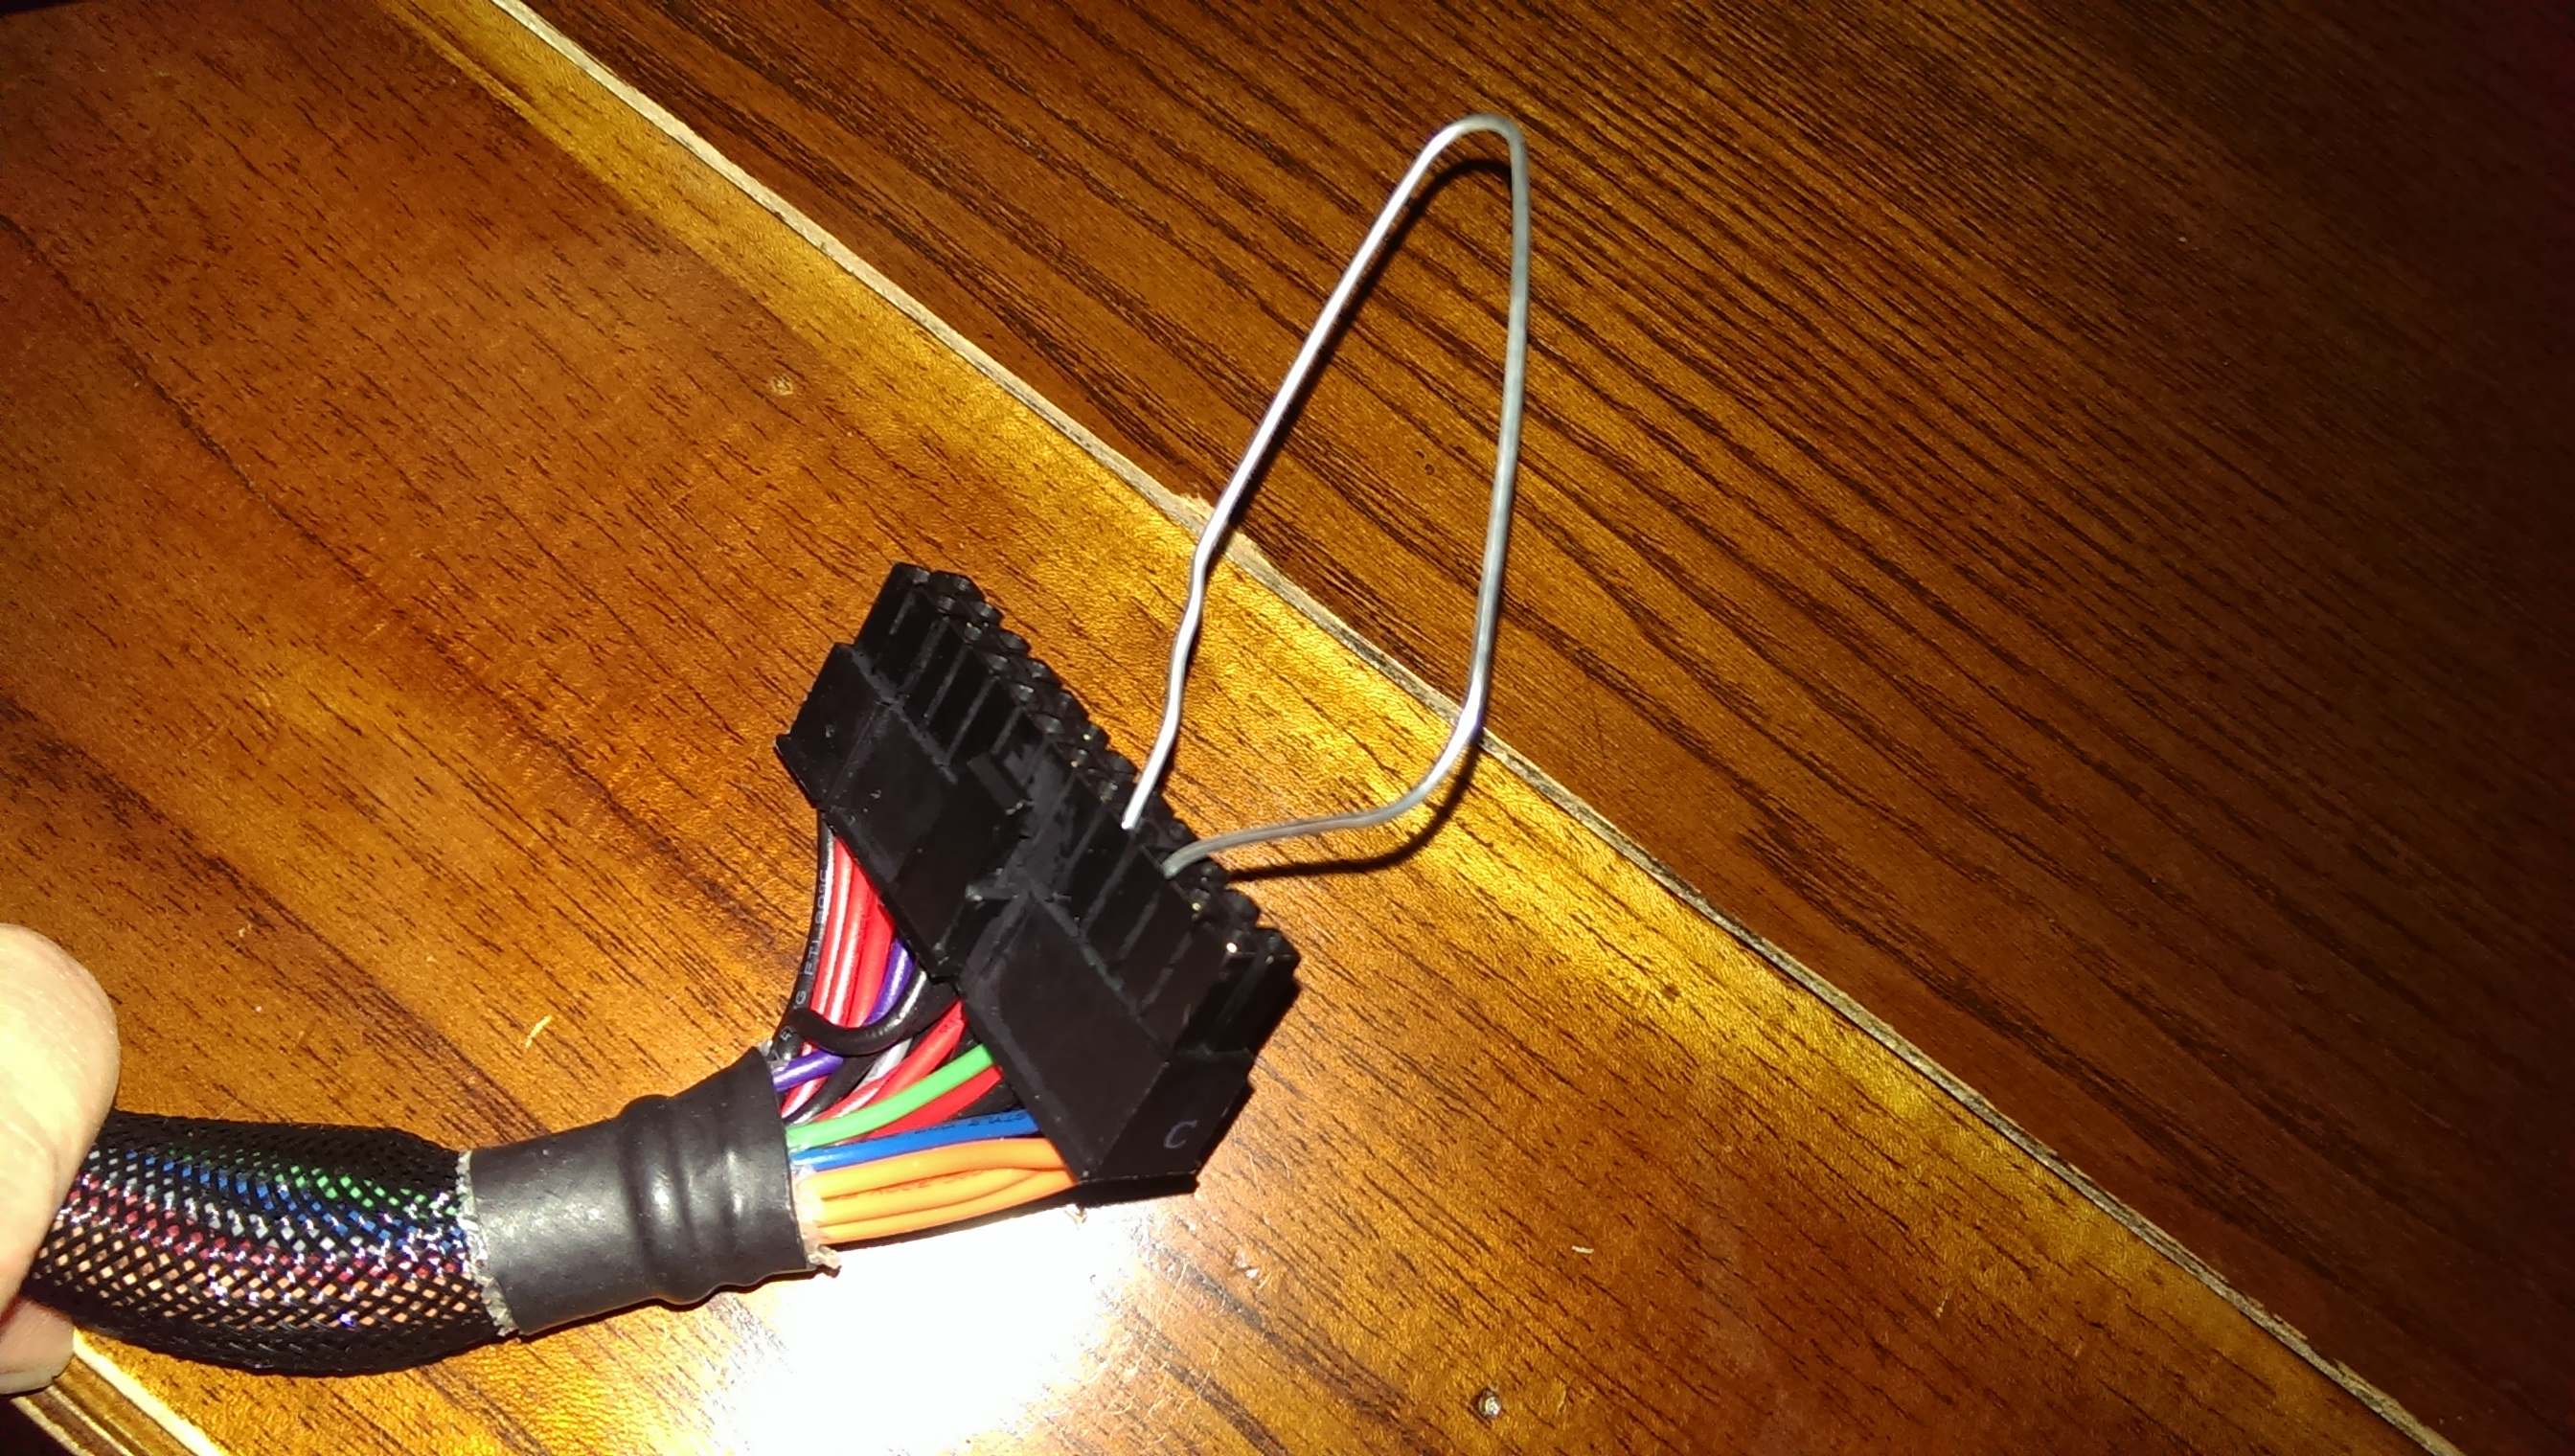
Filling the loop also wasn't anything surprising. To ensure that I didn't damage any electrical components, I ensured none were connected, and jump-started the PSU (but left the system off through the PSU switch) with a paperclip. That way, if there were to be a leak, it wouldn't short out a motherboard or graphics card.
Once I was ready, I filled up the reservoir and started the system. As soon as I could tell the fluid level was low in the reservoir, I quickly turned off the PSU again to prevent the pump from running dry. I repeated the process a few more times before the loop was finally full.
Bleeding The Loop
Bleeding a cooling loop doesn't mean emptying it or creating leaks, but rather removing all the air bubbles. As I filled up the loop, the fluid got mixed with lots of bubbles that made quite a racket as they went through the loop. You could hear the bubbling throughout the lab space, and although the noise did have a certain charm, it theoretically also affects cooling performance.
Some of the steps I took to eliminate the bubbles included altering the pump speed to agitate some bubbles out of place, along with carefully rocking the system side-to-side. I managed to get quite a handful of bubbles out this way, but certainly not all of them. In the end, I decided to leave the bubbles. With enough time, the bubbles would make their way to the reservoir anyway, and over the course of a couple of days they would all disappear. (Update: They did.)
Do note that when bleeding the loop, you're essentially moving air from the loop to the reservoir, and fluid from the reservoir into the loop. Keep a careful eye on the fluid level, and keep the reservoir topped up to prevent the pump from running dry.
Do It
Installing my first custom liquid cooling loop was an adventure, and although I did run into some demotivating setbacks along the way, it was a great deal of fun. It's certainly a tedious process if you do it for the first time, but the satisfaction that comes from planning your own loop, installing it, dealing with issues on the way, and finally having it running really is worth it.
I would do it again in a heartbeat, although I would plan ahead a bit better next time. With this loop, I focused on what I thought would fit, and what I thought would look good, and although I do think I achieved the "looking good" part (you can be the judge of that), not everything fit the way I intended.
Even so, it wasn't a scary process. Long and tedious, sure, but at no point was I scared that I would ruin any of my components. If you've never done custom water cooling, but would like a new challenge, give it a shot. Start with a simpler loop, make sure you plan it out better than I did, and don't expect everything to be perfect in one go. You'll have a great deal of fun, and you'll even have a new something to add to your assortment of bragging rights.
Follow Niels Broekhuijsen @NBroekhuijsen. Follow us @tomshardware, on Facebook and on Google+.
Niels Broekhuijsen is a Contributing Writer for Tom's Hardware US. He reviews cases, water cooling and pc builds.
-
Larry Litmanen Honestly i am shocked by how thin and small GPUs are when they are without that huge cooler.Reply
We need a move away from fans on GPUs to single slot water cooled units. -
dstarr3 ReplyWe need a move away from fans on GPUs to single slot water cooled units.
Personally, I don't want water in my computer. First of all, general maintenance on an air-cooled system is muuuuuuuuuuuch easier than general maintenance on a water-cooled system. I don't want to do it. And, y'know, air cooling, if a fan fails, things get hot and the computer shuts itself off before damaging itself, worst case scenario. Water cooling, there's a lot of failure points that could mean getting a crucial component wet and killing it.
Rather than water-cooled GPUs becoming the norm, I'd rather have cooler GPUs become the norm. -
Blueberries Water cooling is great because it challenges companies like Nvidia, AMD, and Intel to produce chips with lots of performance and high TDPs.Reply
The dream is that some day we'll have more performance than we know what to do with at such a low wattage that cooling is passive and a small fan is used to circulate air and nothing else. -
Math Geek I do love the look of a system with hard tubing artfully flowing throughout the vase. if i ever messed with custom water cooling it would only be to design a neat river of water flowing through my case. i could imagine a few different flow patterns already but alas am too lazy to spend the time bending all that tubing to create the complex pattern i can imagine in my mind.Reply
nice article though, always nice to see what challenges someone has that is new to a certain build type. very informative. -
thundervore To this day it still amazes me how someone can take a good looking case and Frankenstein it into a monster. How hard was it to mount the reservoir and pump to the 360 radiator. They sell brackets for this specific purpose! http://www.watercoolinguk.co.uk/p/Bitspower-Reservoir-Mounting-kit-for-120mm-Radiators_34294.htmlReply
Then the reservoir and pump will be hidden so your system does not look like its on life support with tubes coming out of your case........ -
ammaross ReplyAfter all, that's why cases have those rubber grommets for guiding water cooling tubes through, right? (Wrong, actually, but we'll get back to that later.)
Or not... Does this mean there will be a follow up article, or was not "getting back later" to this an oversight? -
coupe Cool. Congratulations and it looks like a great build!Reply
I just built my first water cooling loop last year. It would be a good idea to install a no spill coupling so you can hook up a drain to service the water cooling later. -
RedJaron Reply
I'm wondering at that too.16257085 said:After all, that's why cases have those rubber grommets for guiding water cooling tubes through, right? (Wrong, actually, but we'll get back to that later.)
Or not... Does this mean there will be a follow up article, or was not "getting back later" to this an oversight? -
N.Broekhuijsen Reply
That was referring to the way that it was a terrible idea to mount my reservoir and pump externally. Not only did it require long tubing runs, but it just doesn't look all that great. I got back to it (albeit a bit too discretely) in the hard tubing section.
I'm wondering at that too.16257085 said:After all, that's why cases have those rubber grommets for guiding water cooling tubes through, right? (Wrong, actually, but we'll get back to that later.)
Or not... Does this mean there will be a follow up article, or was not "getting back later" to this an oversight?
