3Doodler Create+ Review: 3D Printing Pen Will Draw You In
A good 3D printing pen can draw in makers, artists, crafty hobbyists and DIY fanatics. The 3Doodler Create+ ($79.99, £63.51 of this writing) delivers the instant gratification of 3D printing but puts the power back in your own hands in the form of a pen. Plug it in, let it heat up and fill ‘er up with plastic, and with a push of button you can draw on paper and in 3D with plastic that’ll harden in seconds.
But don’t think you’ll instantly be able to build clean, professional-looking objects. Despite the stencils, instructions and tips offered, shaky hands and/or elementary drawing skills will still hinder you. And functional flaws, like the plastic sticking to paper, makes things even more challenging and potentially messy. However, 3Doodler Create+ lets you easily draw one-of-a-kind 3D prints that should last.
3Doodler Create+
Design
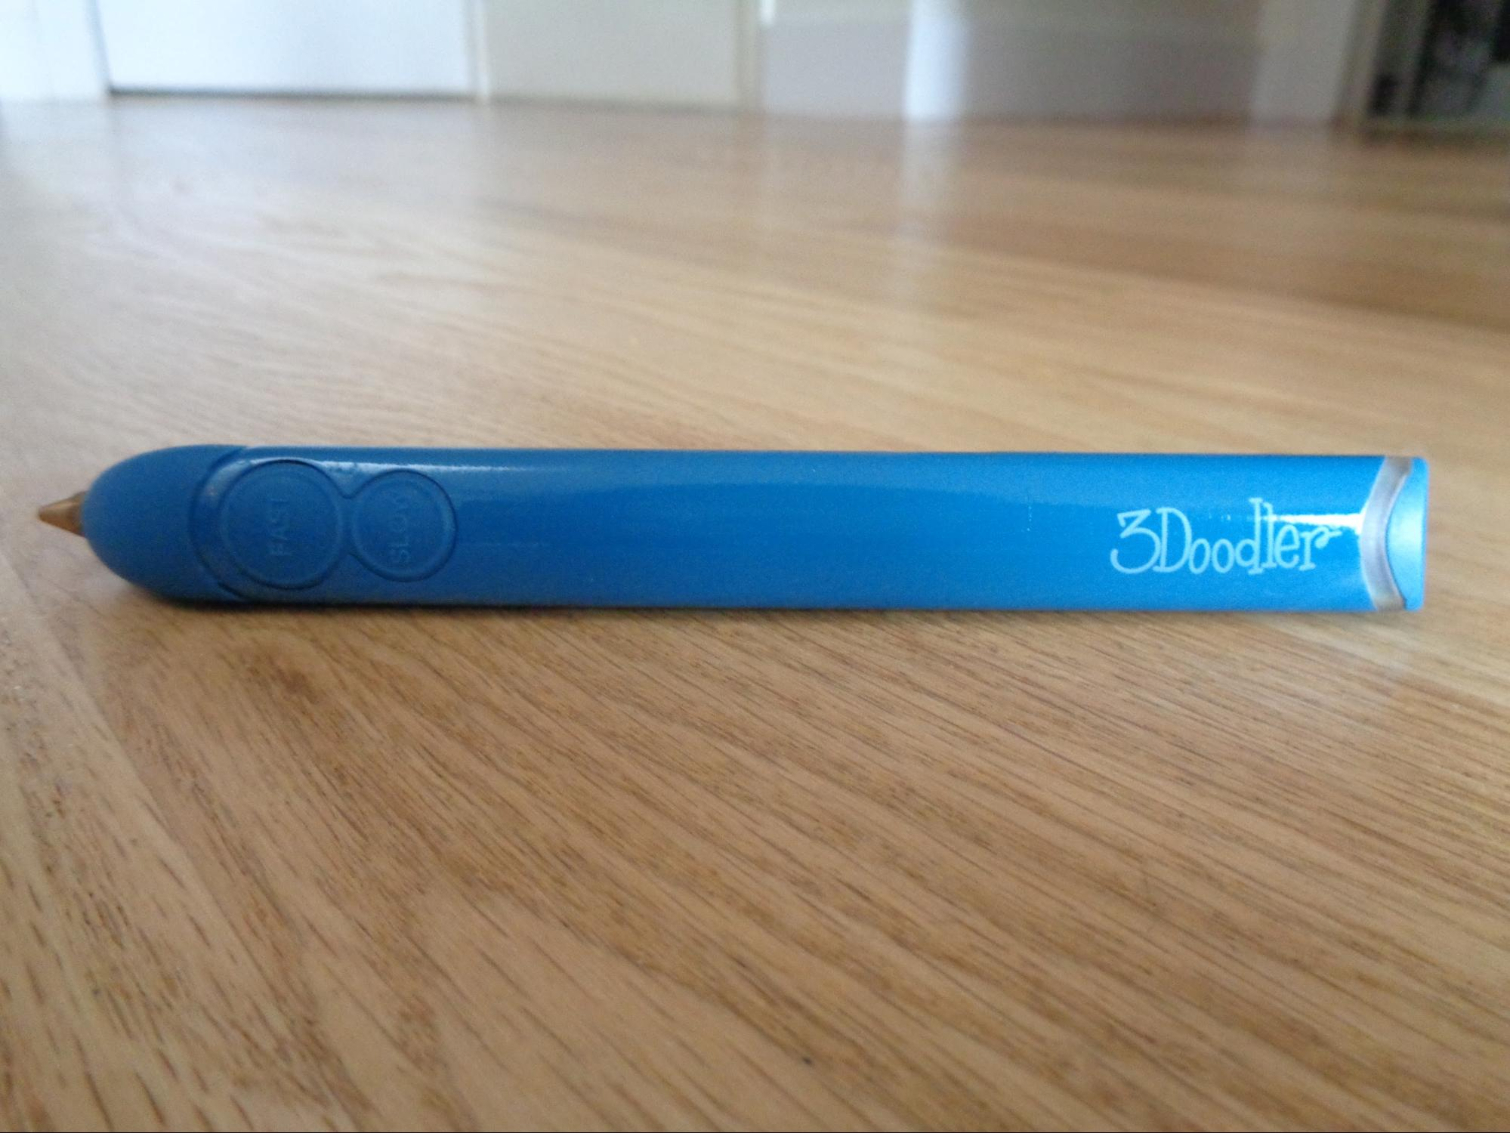
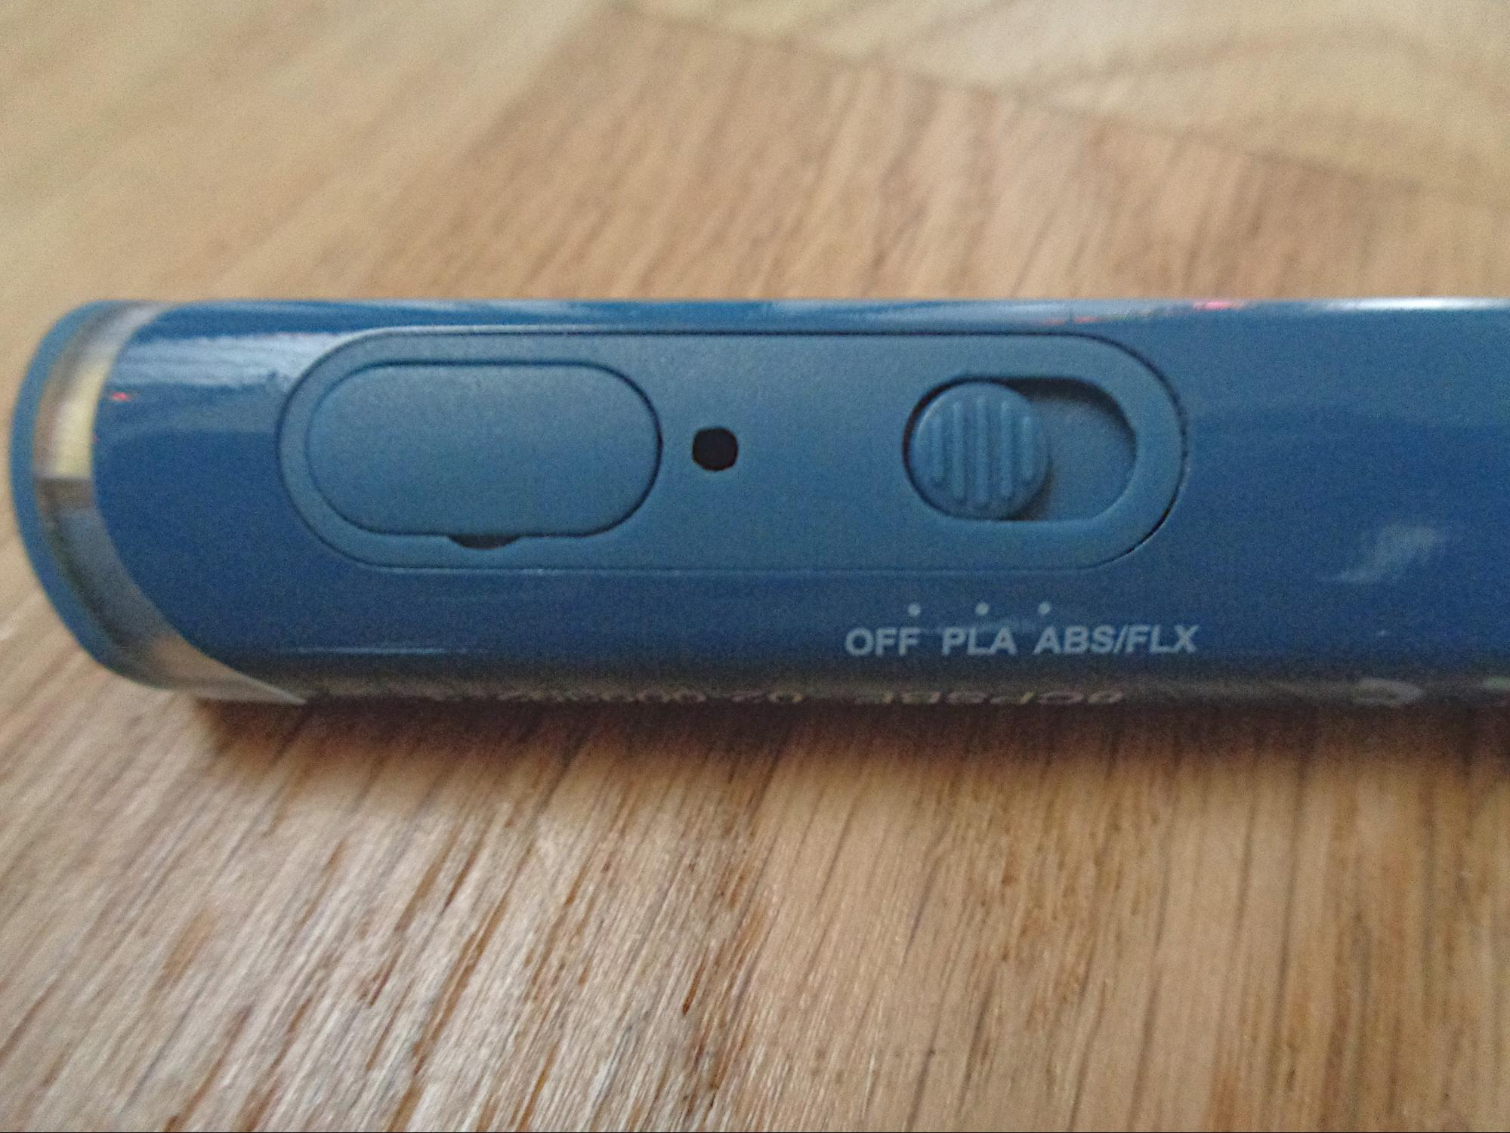
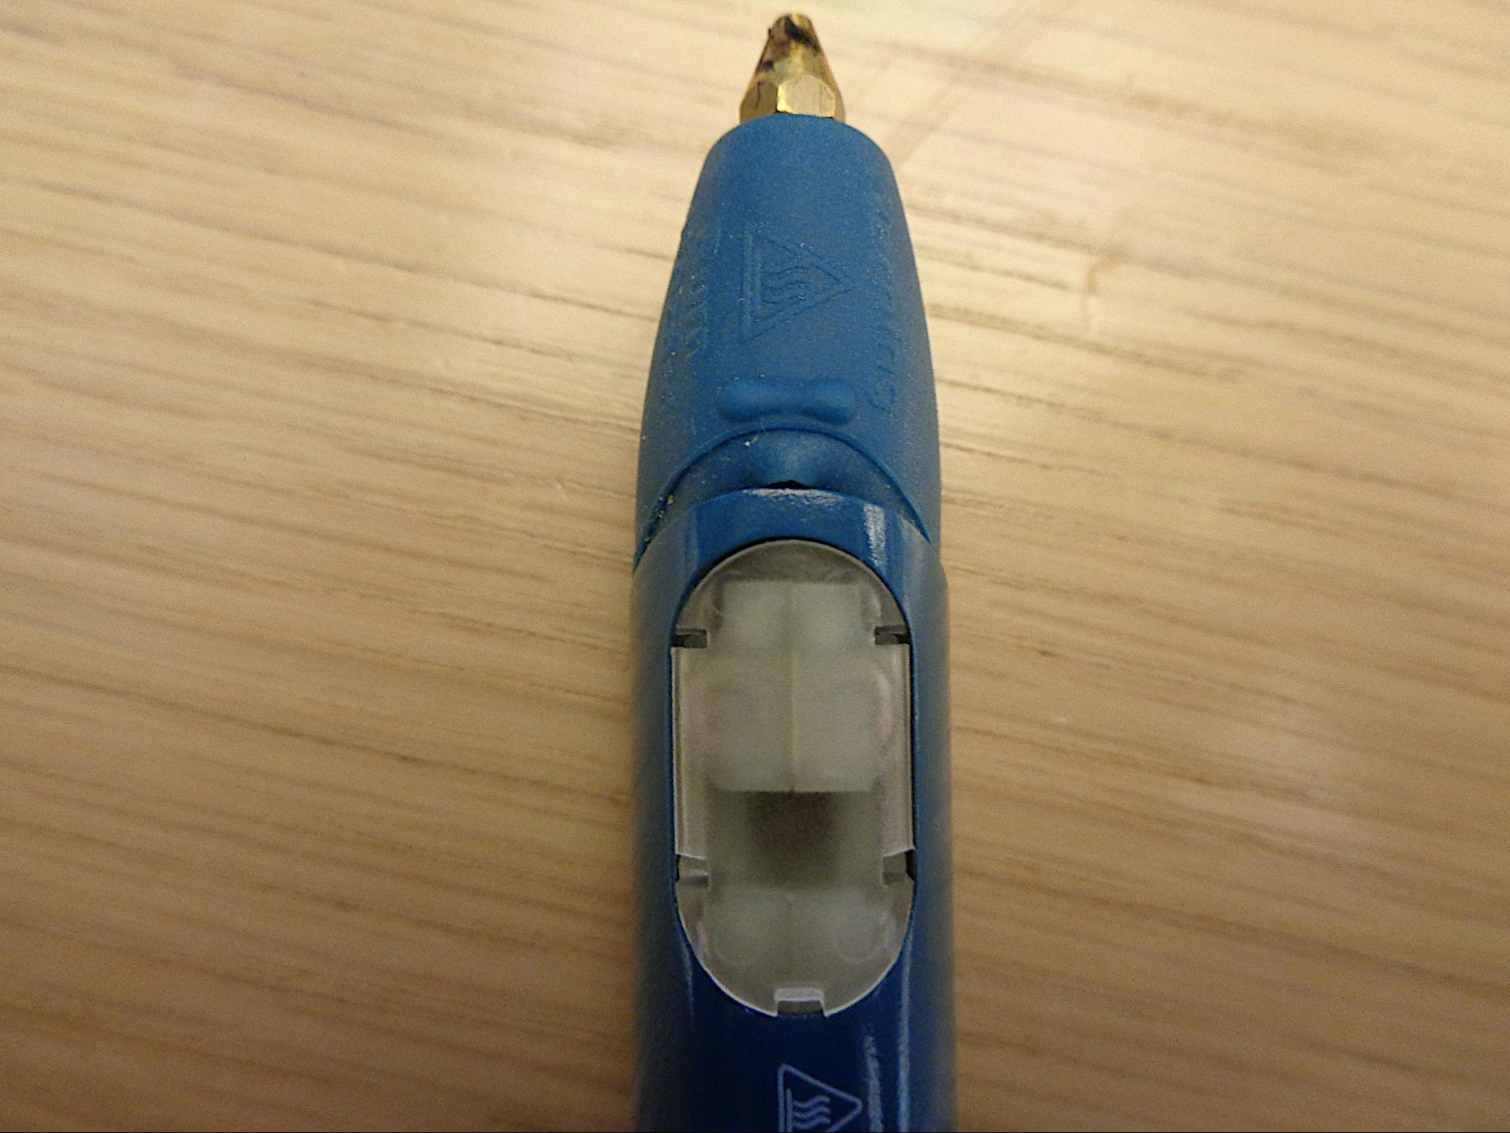
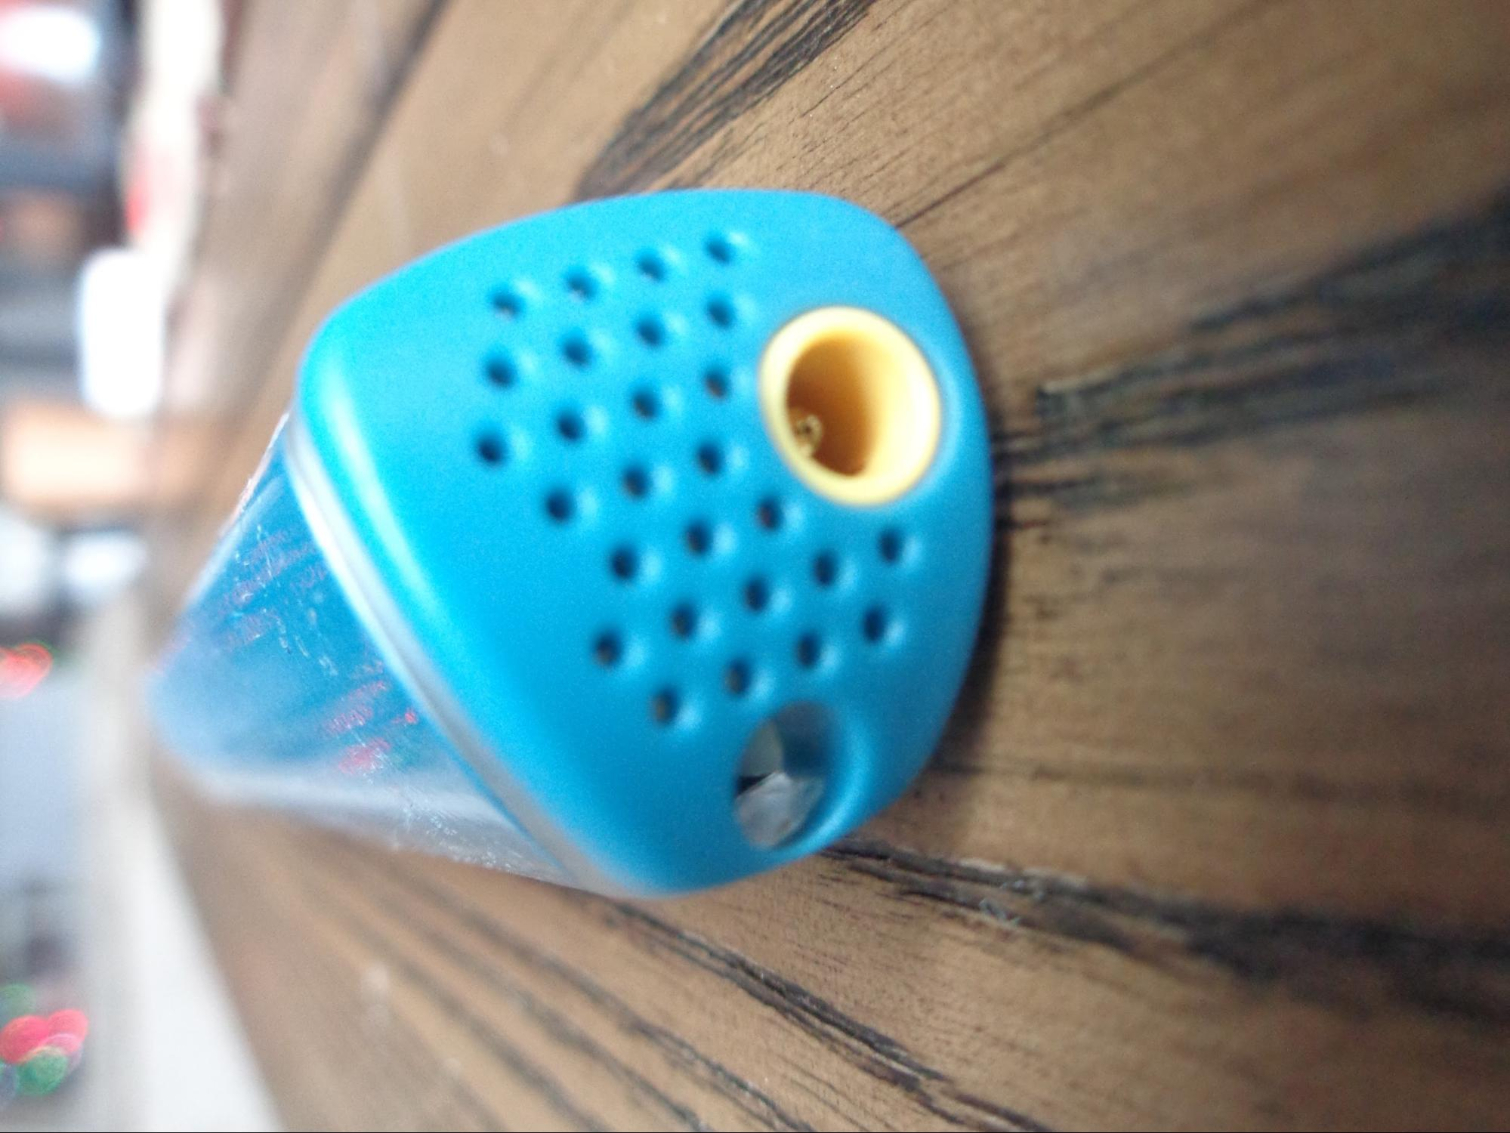
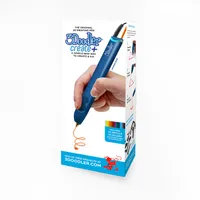
3Doodler is a 3D printer in a thick pen. My review unit came in Marine Blue, but it’s also sold in Artic White and Camouflage Green. The pen is smooth plastic and feels firm in your hand. It’s four-sided, but the bottom is less wide, so it has a pyramidal feel. Its angularity makes it feel like a pencil and you can hold and control it just like you would a pencil.
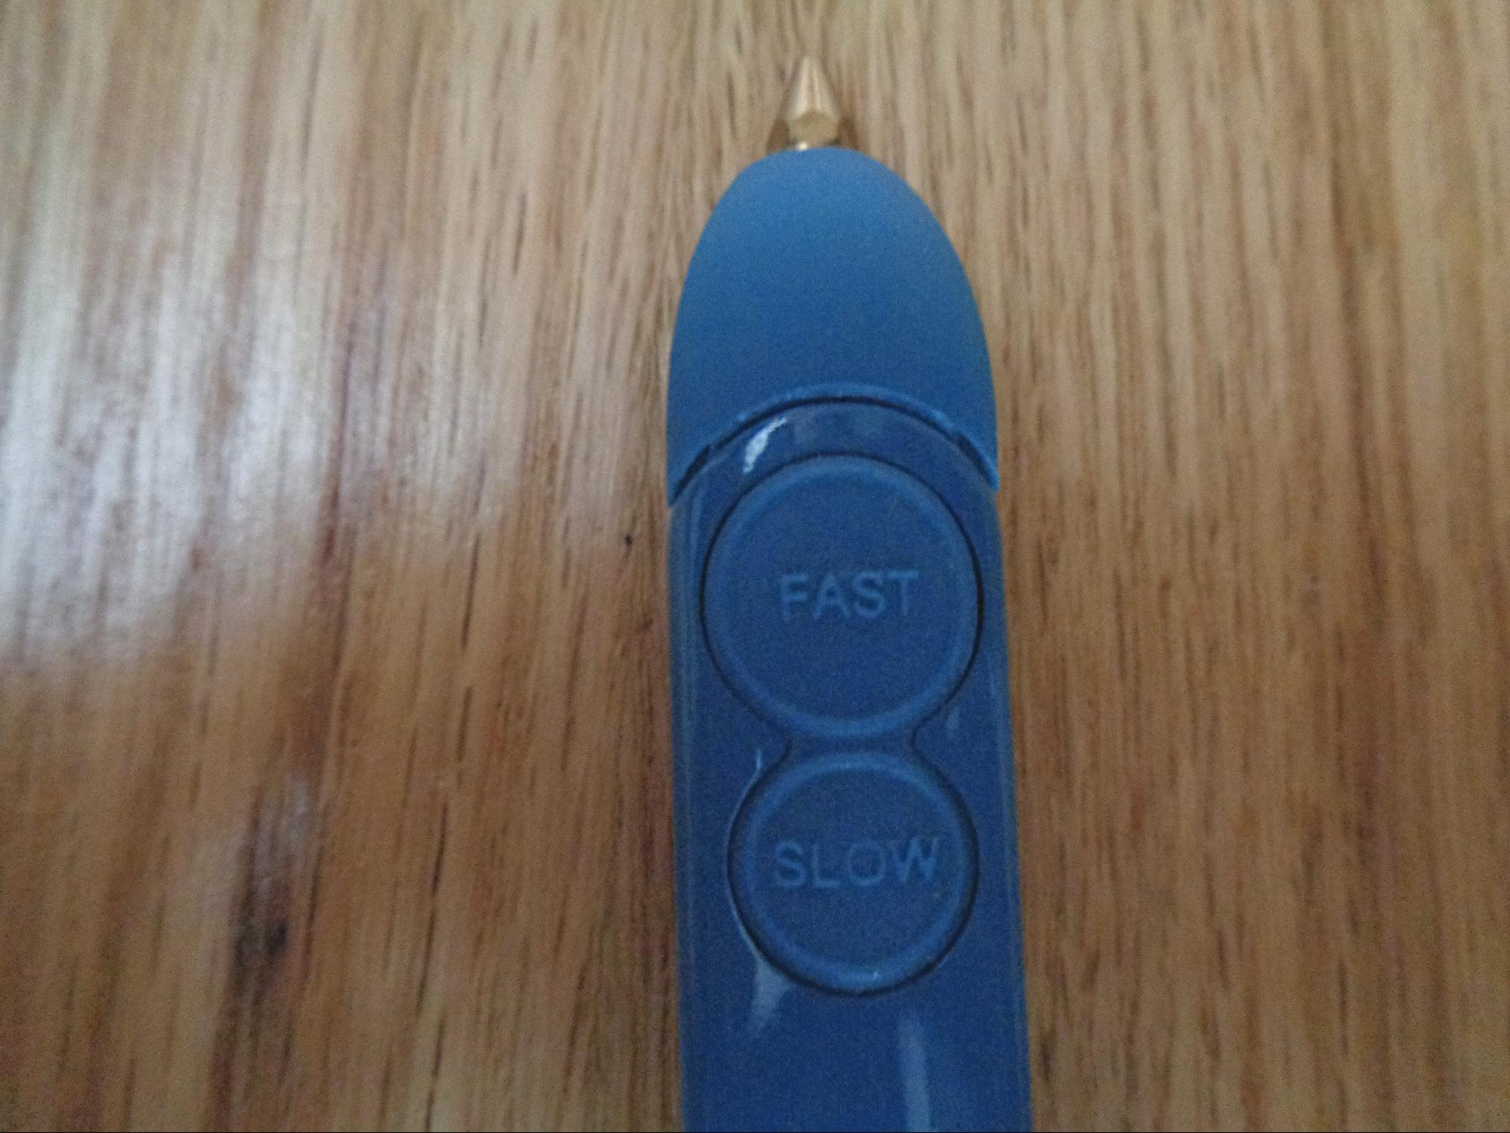
The front has a large, soft, rubber “FAST” button and smaller “SLOW” button. Pressing either makes the plastic come out or extrude at that speed, and pressing again makes it stop. Double-clicking the Fast or Slow buttons pushes the plastic out of the pen’s back port so you can remove it. Near the bottom is an indicator light: red means that it’s still warming up, blue means you can now insert and use ABS plastic and green means you can now insert/use PLA plastic. We would’ve preferred a two-color system to make things simpler.
The right side has a small compartment you can open with the mini screwdriver and tweak the temperature by a degree or so if the pen is extruding too much or not enough plastic. There aren’t included instructions on how to do this; we learned this from support. There’s also a reset hole and the power switch, which can be set to “OFF”, “PLA” or “ABS/FLX” depending on the type of plastic filament you’re using. For PLA, the pen’s tip hits 180-190 degrees Celsius (356-375 degrees Fahrenheit), and for ABS/FLX it’ll reach 220-230 degrees Celsius (428-446 degrees Fahrenheit).
On the back is a clear section where you can see the plastic filament and the drive gears that push it forward and out of the pen or backwards for removal. You can remove the plastic cover with the included mini screwdriver for unclogging.
The next side of the pen is bare and smooth. The tip, meanwhile, is shrouded in a rubber covering with a burn hazard warning. The nozzle is a gold-colored, hexagonal, metal and gets very hot. It’s also removable with the included mini spanner.
Get Tom's Hardware's best news and in-depth reviews, straight to your inbox.
The bottom of the pen has some air vents, a port for plugging in the power supply, which is required for any usage, and a hole for loading plastic. Unfortunately the power and plastic ports are very close, so the cord and plastic often bumped into each other and/or intertwined, especially if there was new, long plastic sticking out of the pen.
A cordless experience would have been better. Alternatively, I would’ve accepted the power port being more towards the bottom, where the plastic loading port is, and the loading port moved closer to the top; this would keep the two areas separate and get the cord out of the way a bit.
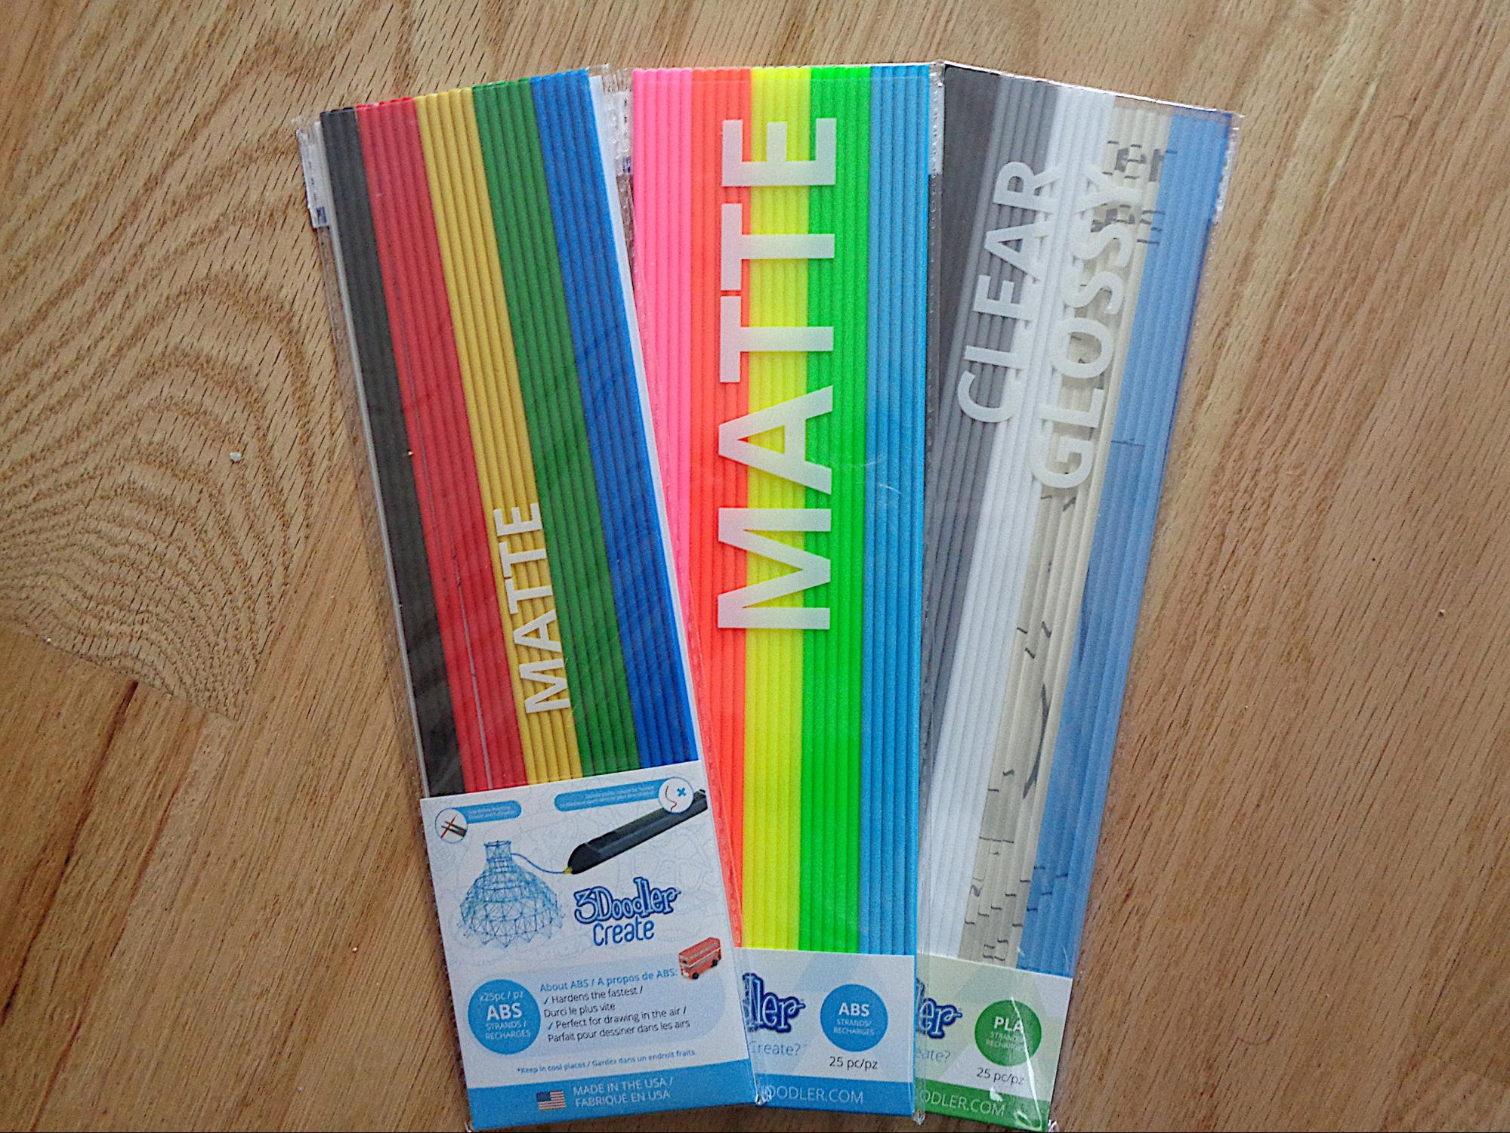
3Doodler Create+ comes with 75 feet of plastic filament (50 feet ABS, 25 feet PLA) for doodling, but you can buy refills and other colors online, including at Amazon. In all, the kit comes with:
- 1x 3Doodler Create+ 3D printing pen
- 1x 6W charger
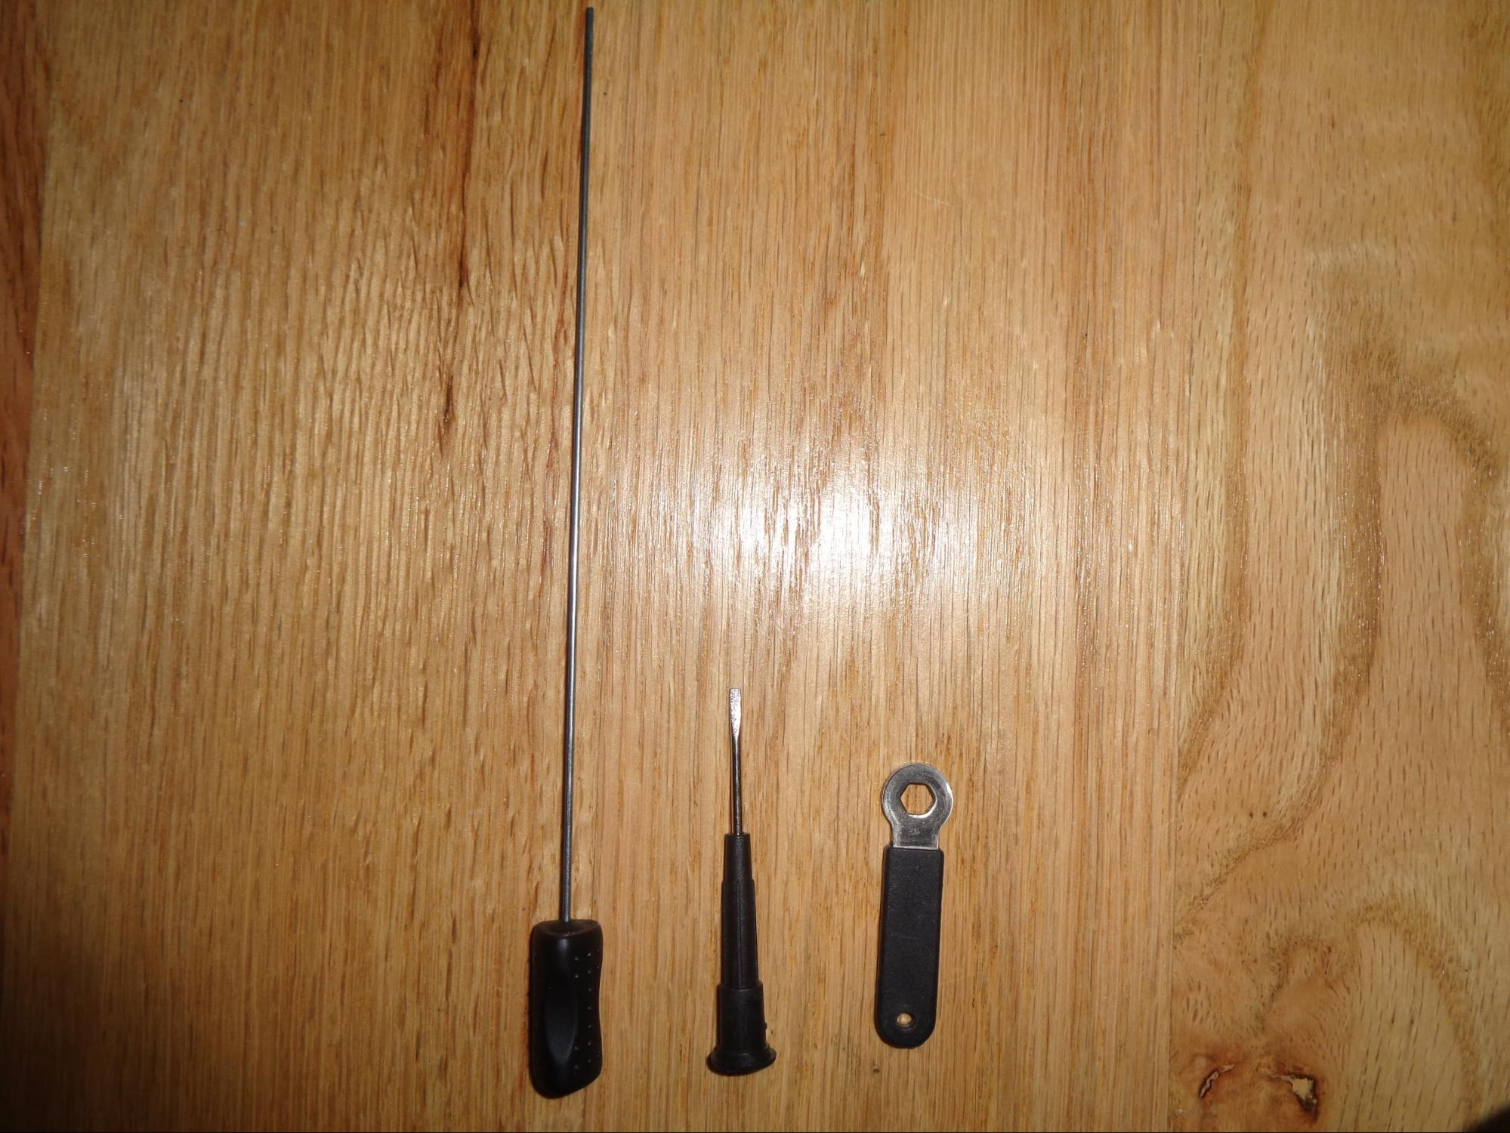
- 1x mini screwdriver
- 1x mini spanner for removing the nozzle
- 1x unblocking tool for unclogging the pen
- 25x matte ABS plastic filaments (black, red, yellow, orange, blue)
- 25x matte ABS plastic filaments in neon colors (pink, coral, yellow, green, light blue)
- 25x clear/glossy PLA plastic filaments (black, gray, white, clear, clear blue)
- 1x quick start guide
- 1x print-out instructions
3Doodler sells filaments in a variety of styles, including wood, plus 3D molds and accessories.
UPDATE 2/13/19, 4:40 p.m. ET: Today, 3Doodler announced the 3Doodler App. Compatible with the Create+, the free app displays stencils on a smartphone or tablet, so users can trace using the screen, instead of printing out stencils on paper. The company also brought to market two new Create+ sets, one that includes 6 interchangeable nozzles, a DoodlePad and four packs of plastic filament and another that adds a project book, canvas and two more filament packs for $99.99 and $149.99, respectively.
Setup
The 3Doodler Create+ comes with a printed manual featuring text and images. It’s important to keep handy as the pen has a very specific way of working, and you’ll need to refer to it often before the proper way to use it becomes second nature.
Before you can use the 3Doodler Create+, you have to plug it in and let it heat up. It should be set to either ABS/FLX for the matte or flexy plastic or PLA for the glossy, clear, metallic or sparkle plastic. It takes about 90 seconds for the pen to become ready, when the light indicator on on the bottom of the pen turns from red to blue for ABS (better for drawing in the air) / FLX (for bendable prints) or green for PLA (glossier). Once the 3Doodler Create+ is heated, you insert your plastic of choice through the hole on the bottom. You can feel it push through the drive gears and can also see it through the plastic cover on the back of the pen. Next, you push the Fast or Slow button, at which point you’ll hear gears churning at a consistent buzzing hum. This humming won’t cease so long as you’re extruding plastic. After about 10-60 seconds, plastic starts coming out of the tip.
Doodling/Printing
The 3Doodler Create+ reminded me that I can never be a surgeon; my hands are too shaky. As this dexterous flaw hurts my ability to draw straight lines with a pen, it also hurt my ability to 3D print straight, smooth, clean lines. Plastic doesn’t stop extruding from the pen until you hit the Fast or Slow button again, so you have to have good timing too. Note, PLA plastic came out thicker and gooier than ABS.
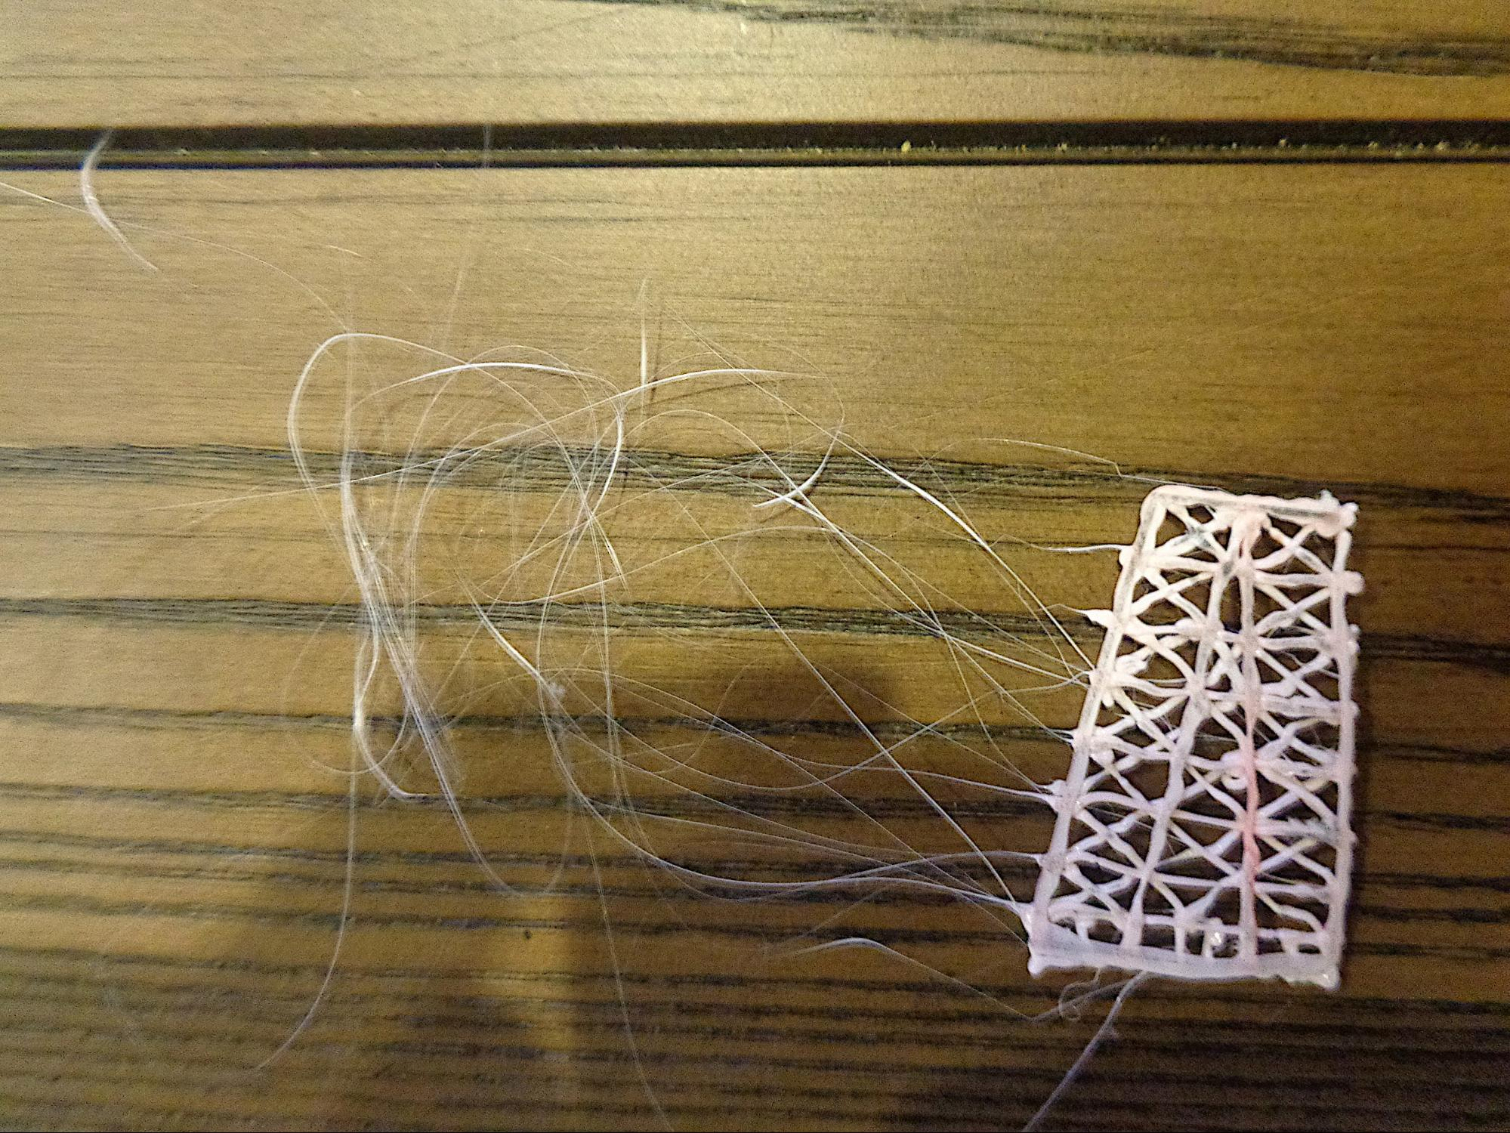
It’s all a delicate craft. You have to apply a small amount of pressure so the plastic sticks to regular paper, all the while drawing at a consistent pace. Since you need to press a button to stop the plastic, you have to time it well. If you’re too slow, you end up with an unwanted glob where you left off. And not removing your pen from the paper quick enough creates a long, thin, thread-like tail.
It was almost impossible for me to avoid these threads; they were there more often than not. It was even more inevitable when using PLA plastic. These strings were very annoying, getting caught in their surroundings and interfering with the pen as I continued working. Snipping them off with scissors was time-consuming, and afterwards, it still looked messy in places.
I later decreased the temperature of the pen by following the online directions (they don’t specify how many degrees it changes). This made this problem minimal, but it was still consistent.
At first, it was hard to make what I dreamed of because I wasn’t used to having to hit a button to make the plastic stop. I’d always hit it a second or two too late, thus hurting my design. But after a while I got the hang of the the on and off functionality. In fact, the 3Doodler Create+ can start and stop extruding rather quickly, which is especially important when drawing many lines in a short amount of time, like I did when making a model of the Eiffel Tower (more on that in the next section).
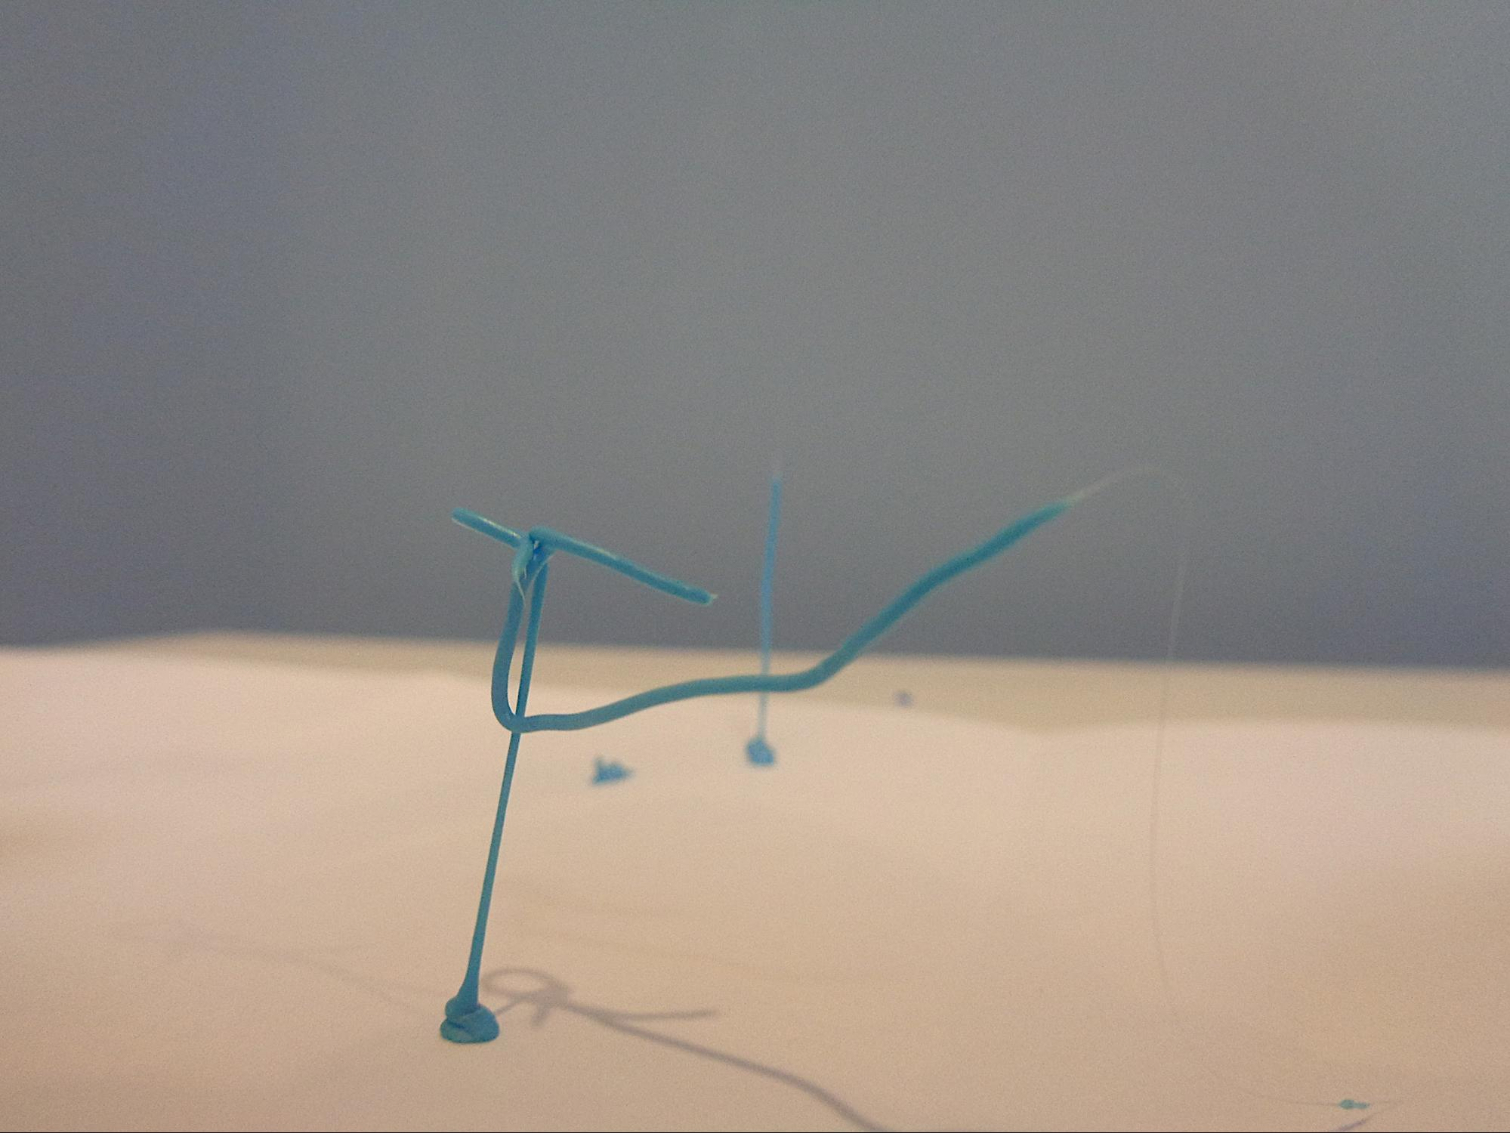
You can draw in 3D with the 3Doodler Create+, but I didn’t find it easy. The instructions say to make a ladybug-sized glob on paper before pulling the pen up vertically and holding it in place for 5-6 seconds so the plastic can harden and stay in place. While this method works, I found it difficult to get the shape I want, mostly because of my aforementioned jittery hands and preferred doodling on the paper stencils.
One of the most frustrating parts about the pen is that even after I told the pen to stop drawing by hitting the Fast or Slow button, a little bit of plastic would creepily continue to ooze out the tip. This happened with both ABS and PLA, but even more with PLA. It made it difficult to quickly doodle in another area. I’d either have to take time to dab the excess plastic off with a paper towel or keep going and risk that excess plastic interfering with my work. The instructions say tightening the nozzle can help, but my tozzle was tight enough. When I spoke with support, they said I could tweak the temperature and make it a degree or so colder. This cut the post-nasal drip effect by about half but didn’t eradicate it completely.
To remove your work from paper, you bend and maneuver the paper to wiggle the 3D print free. I never broke my work in the process. The real problem is that paper often rips and sticks to the plastic, moreso with PLA, which seems to be stickier than the ABS. And sometimes that stuck paper would melt when I used the hot nozzle around it, mixing with the plastic. Support told me laminating the paper beforehand reduces this, and the quick-start guide recommends putting tape on top of the paper stencils first. As I don’t have a laminator on hand, I put a layer of Scotch Tape on the stencil. This did prevent paper from sticking to the plastic. However, this extra step takes time. And if there are gaps between the pieces of tape, there will be faint lines on the back of your printout.
Another issue arose during my most complex project, the Eiffel Tower. When trying to stick two pieces of plastic together, sometimes the warm nozzle would melt the already laid out plastic, making clean lines even more unattainable.
The last challenge comes in switching colors. If I removed a plastic strand and put in a new one of a different color, the two colors mixed. When I switched from ABS red to PLA white, the resulting extrusion was very light pink for almost the entire white strand. The only way I found to avoid this is to remove the loaded plastic and then continue using the pen so you can finish up the part that remains in the tip. But you’ll just end up wasting plastic if you need to move to a new color immediately.
For those wondering what they would even make with a 3D printing pen, 3Doodler actually offers a lot of inspiration. The manual included stencils to make the Eiffel Tower, glasses, a crane, a coaster and a candle holder. And there are hundreds more free stencils on the 3Doodler website, plus tutorials, instructional videos and a tips page. They also sell kits to help you shape 3D creations. In all, 3Doodler offers a lot to get you started and make sure the 3Doodler Create+ doesn’t end up being another gadget that ends up sitting in your desk drawer.
Clog #1
I encountered my first clog as I finished up my first filament, black ABS. The included directions advise reversing the plastic pulling out all plastic. But when I did this nothing came out.
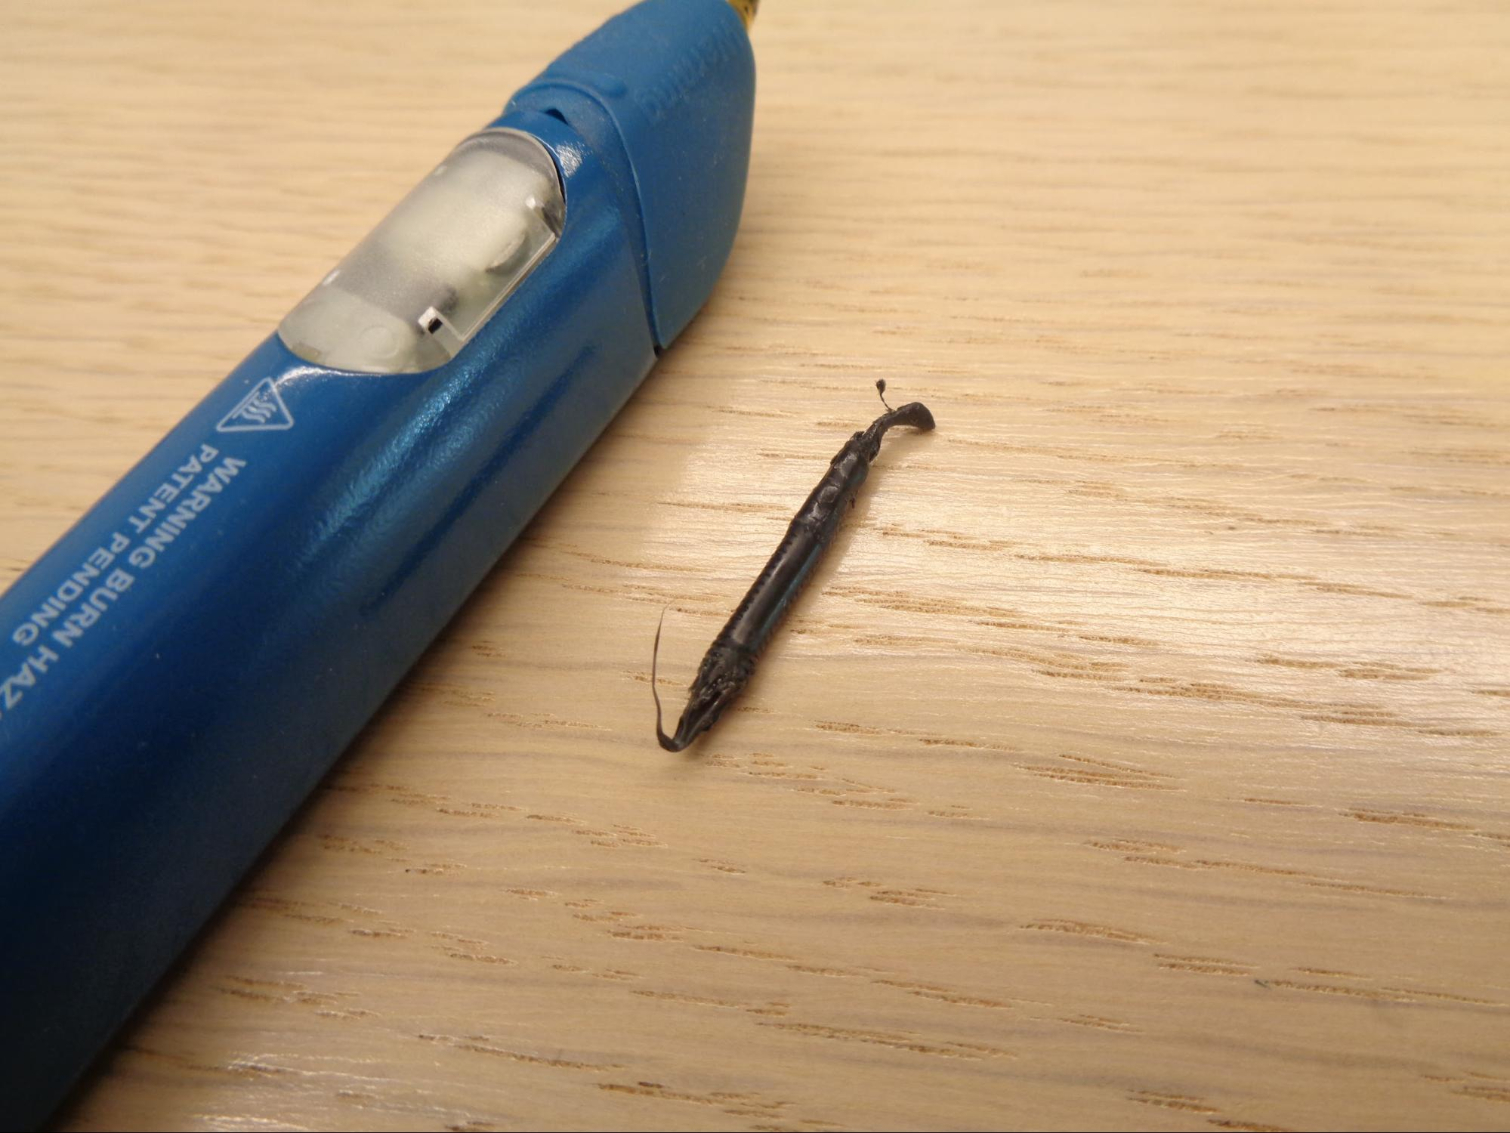
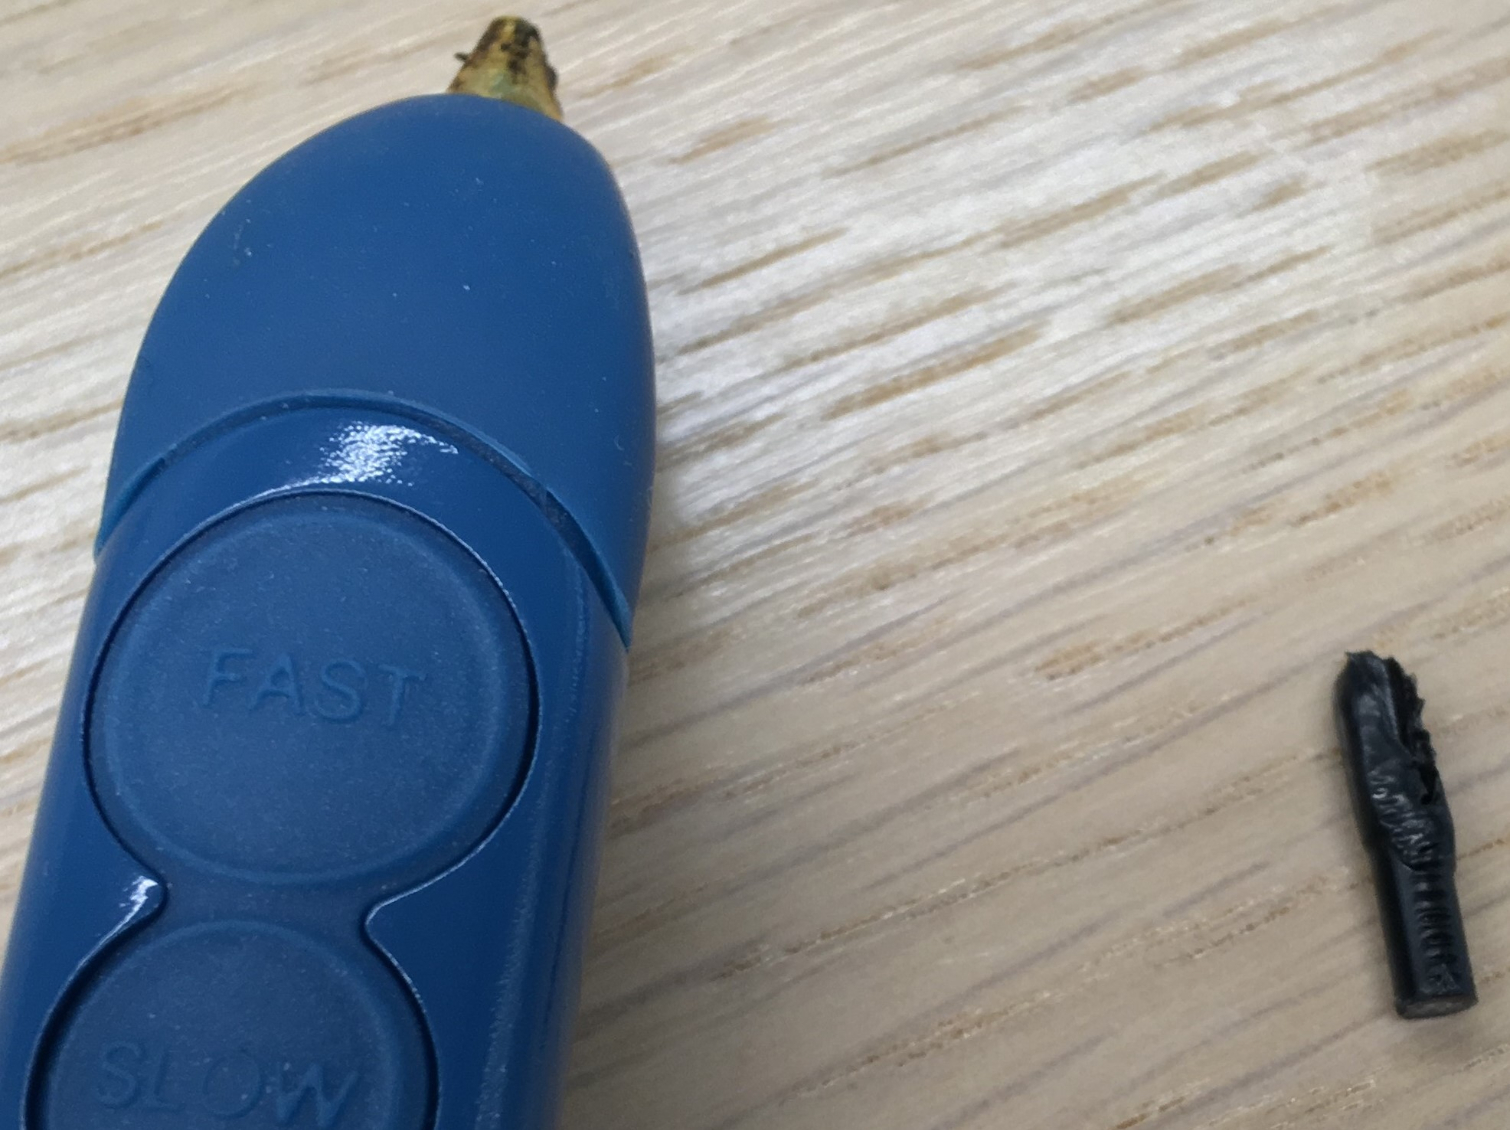
The instructions’ troubleshooting next tell you to unscrew the nozzle with the included mini spanner. Strangely, you’re supposed to do this while the pen is warmed up. That's right, you’re supposed to get up close and personal with that burning hot tip in order to remove it. Luckily, I succeeded without burning myself. Next, I stuck the unblocking tool, basically a long, thin metal stick, into the pen. When I pulled it out it gathered a lot of black gunk, which stuck to the tool. After cleaning that out well, however, the 3Doodler Create+ still wouldn’t doodle.
Next, I tried removing the plastic cover on the drive gears using the included mini screwdriver. This was also pretty scary because the plastic is so light and thin I feared snapping it in half. Still, I got it off without incident. Inside, wedged into the gears, was a piece of plastic. With all the provided tools, plus a pair of scissors (I wished I had some tweezers on me), it took me 30 minutes to remove the blockage. It ultimately took me loosening the plastic with the mini screwdriver, turning the pen on, removing the nozzle and using the long unblocking tool again to push the clog out the back.
Clog #2
As I finished up a second strand of ABS, I hit another roadblock: a second clog. Taking off the nozzle and using the unblocking tool didn't work. There was nothing lodged between the drive gears. Instead, the nozzle looked sealed shut. I turned the pen on without loading it to see if I could melt what was stuck in the nozzle. No luck.
So I did a video call with 3Doodler’s 24/7 support team, who walked me through some troubleshooting. We couldn’t get it to work, so they agreed to send me a new pen via two-day shipping for free. I was told this is how every consumer is treated, as the pen comes with a one-year warranty.
In two days I received a new pen. Not only did it never clog again, but I felt like the plastic was extruding more thinly, making it easier to manipulate. However, the new pen also continued to ooze plastic after I told it stopped, with PBA leaking the most.
Creations/Print Quality
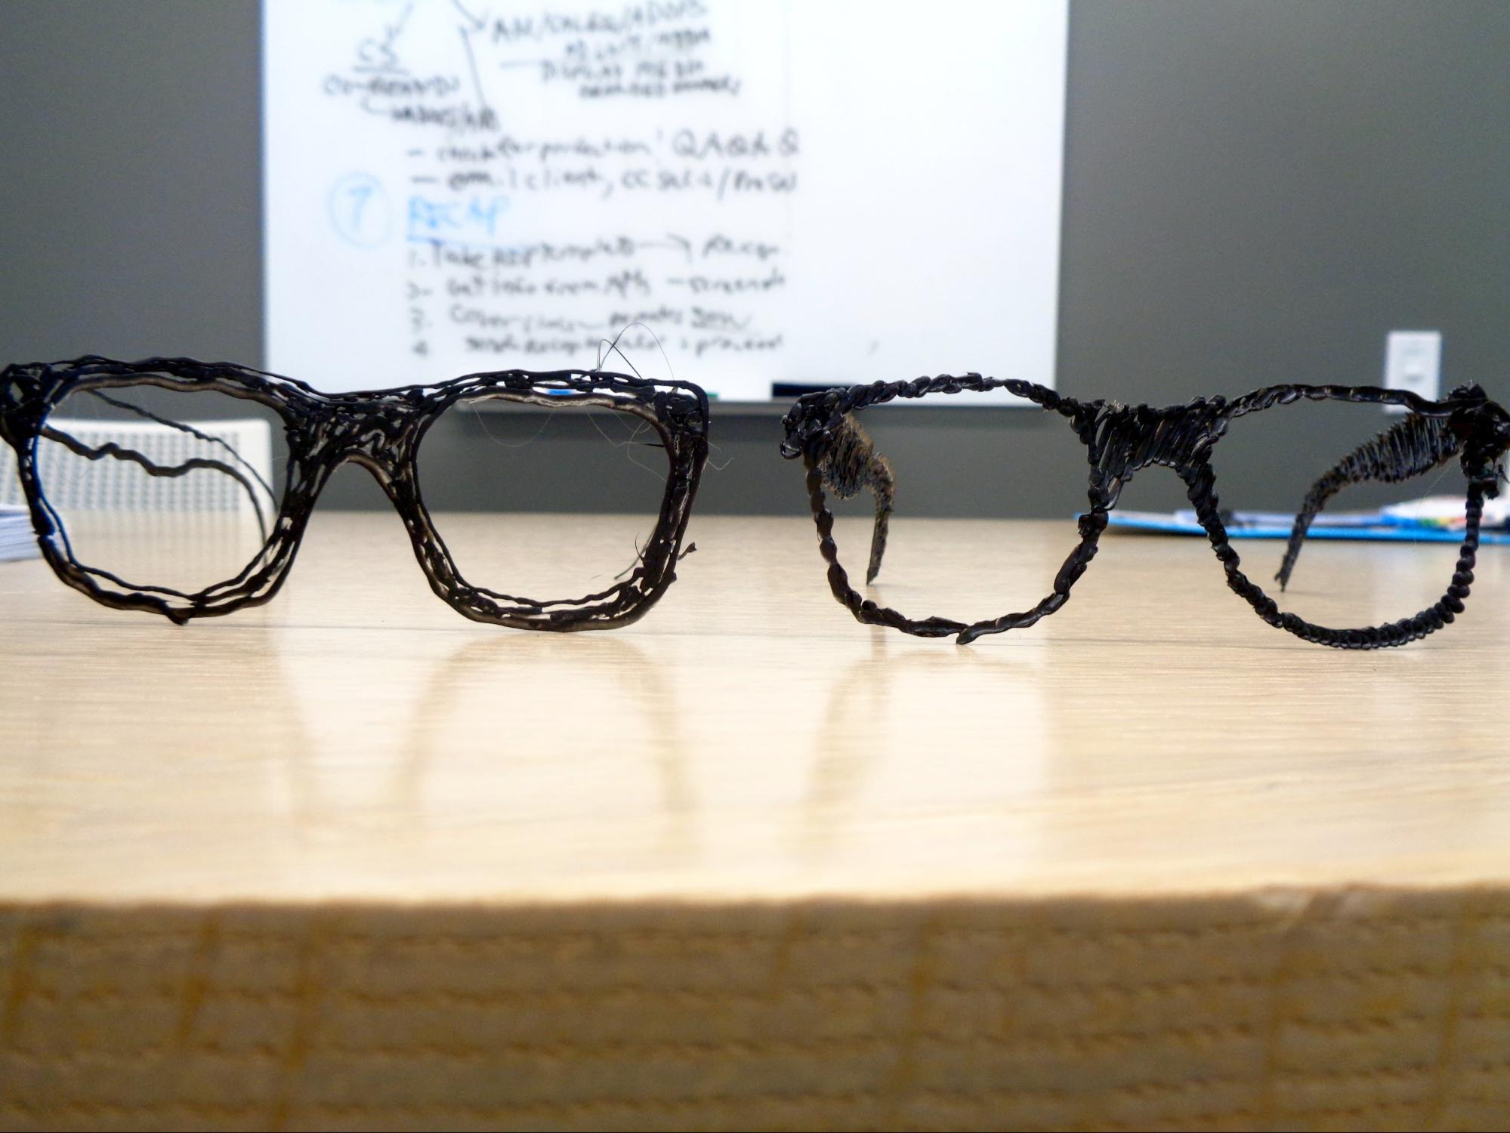
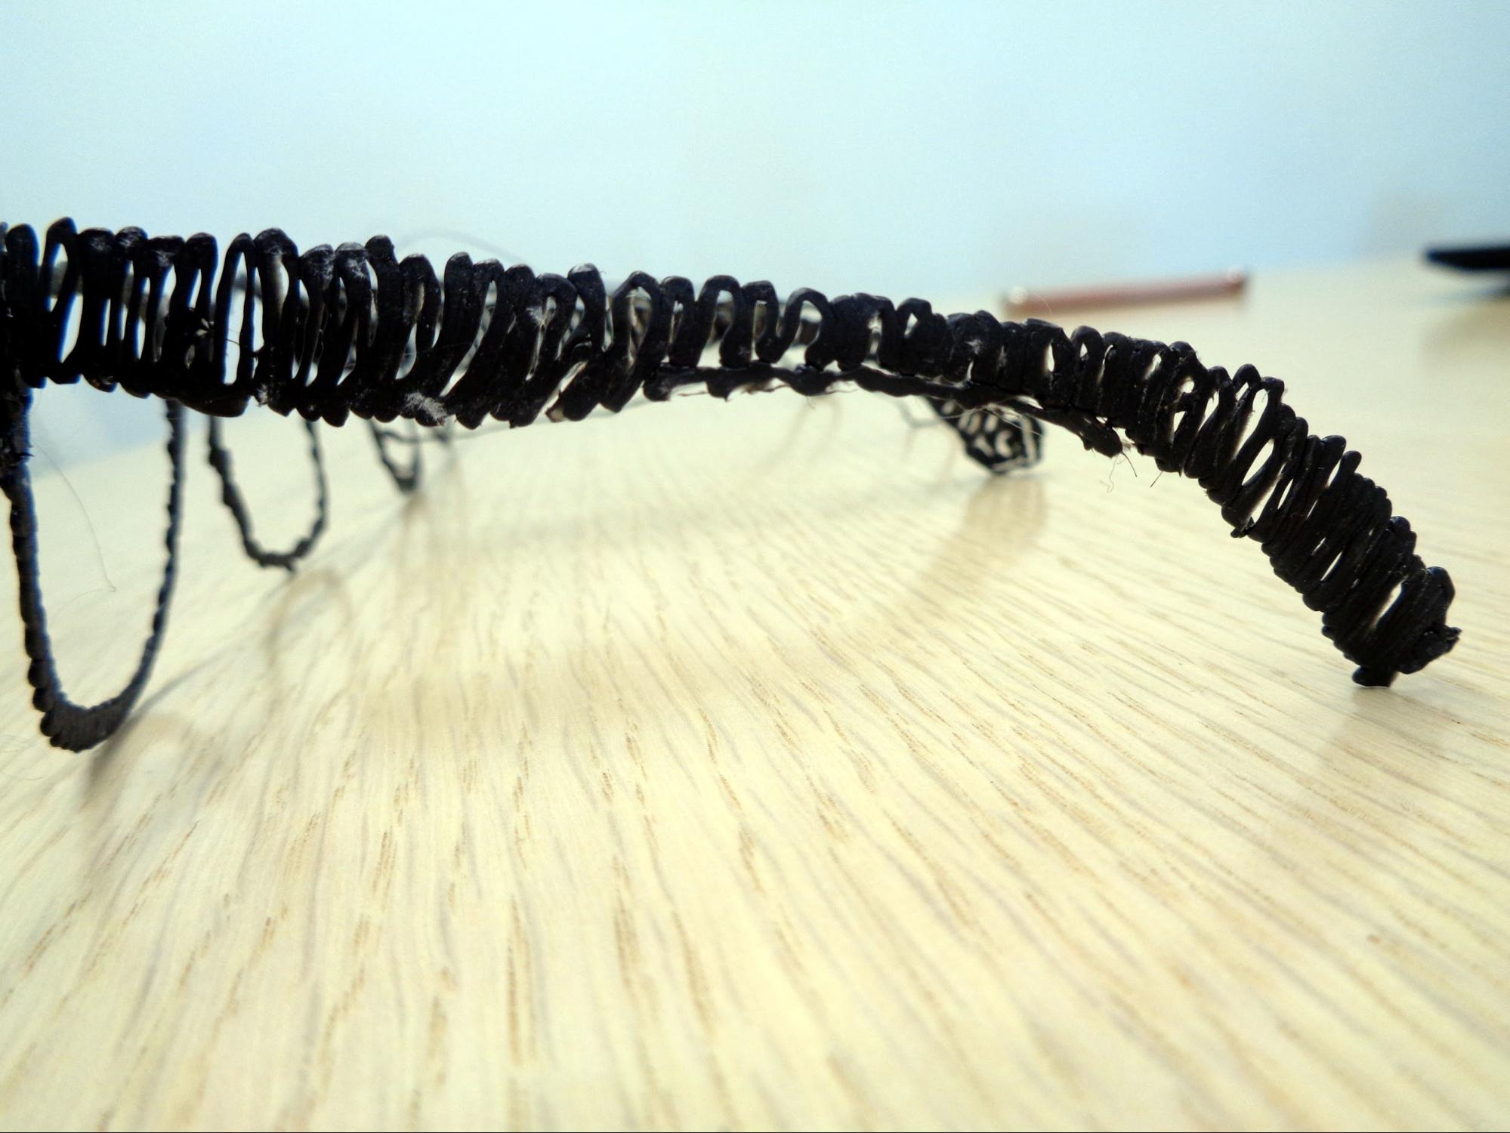
My first creation was glasses, made using one of the included stencils. I didn’t know how to make the individual pieces stick together using just the manual and had to watch some videos online to be sure. Basically, you just 3Doodle the pieces together using the plastic like hot glue. You can see I don’t have the best craftsmanship, but the glasses did hold up, despite being very lightweight and feeling delicate. With some intentional force, I could break them with my hand, but they could withstand a fall and being transported around for boasting purposes. I could also make them thicker and stronger if wanted.
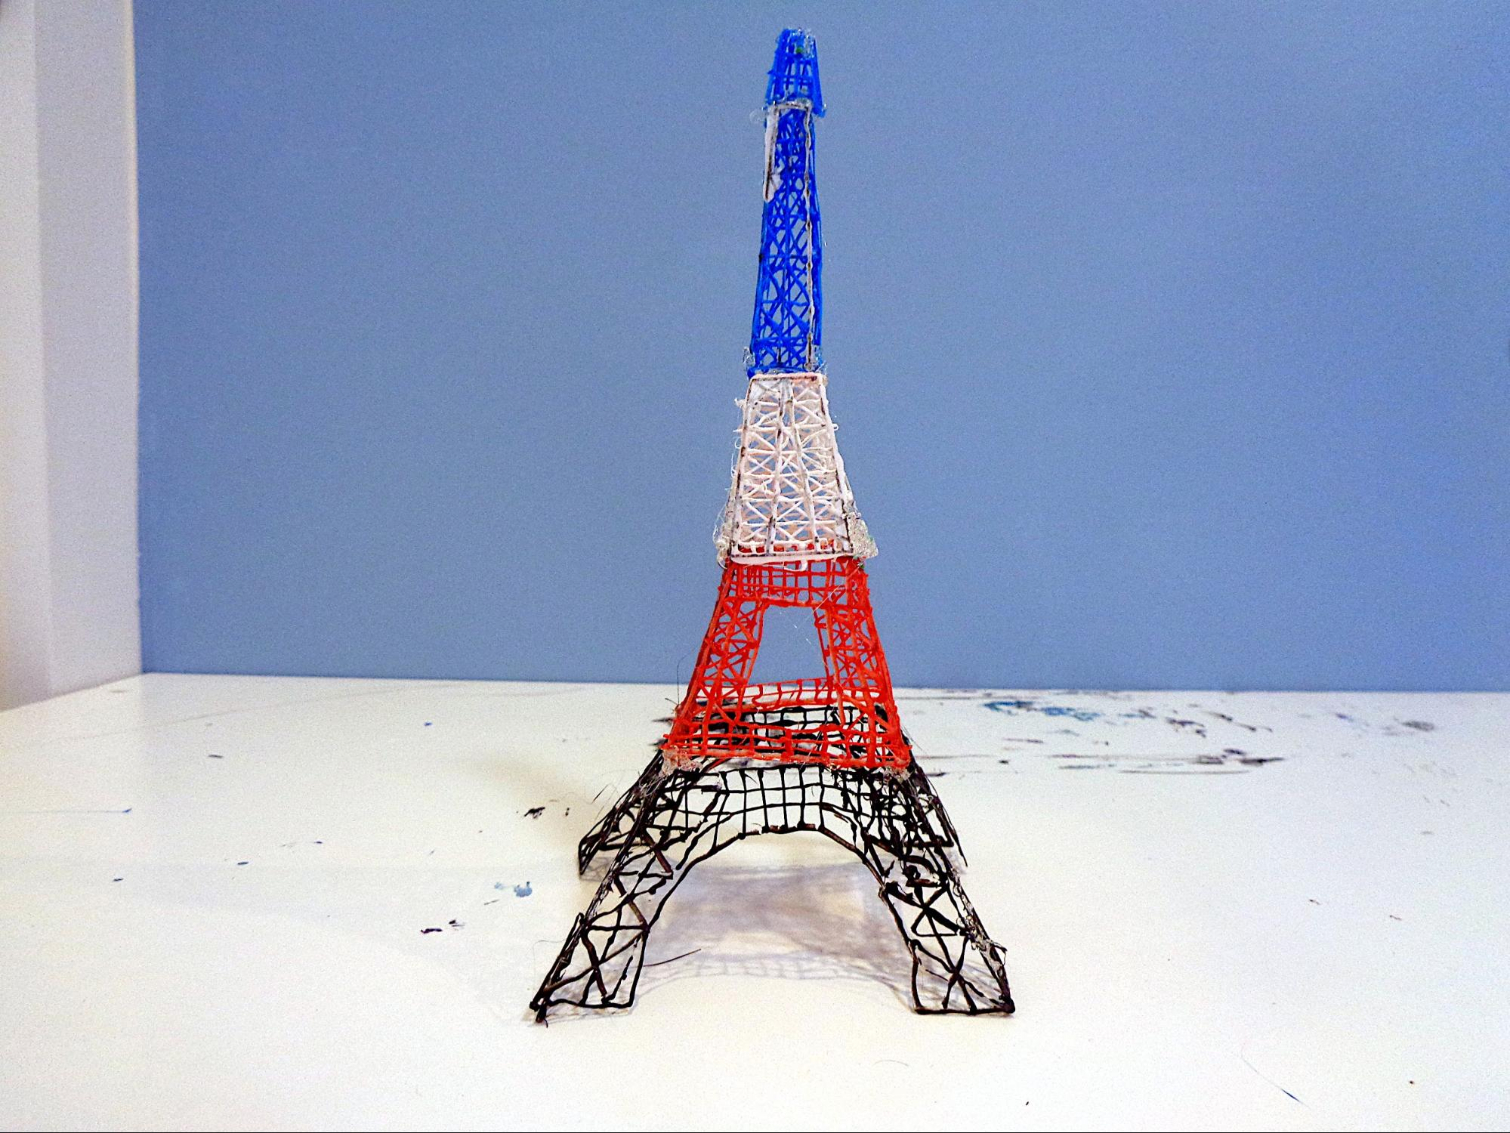
After I got my replacement pen, I set out building the Eiffel Tower. It was the perfect activity for a rainy weekend that coincidentally fell in line with the one-year anniversary of my first trip to Paris and my roommate’s need to takeover the TV to beat Spider-Man.
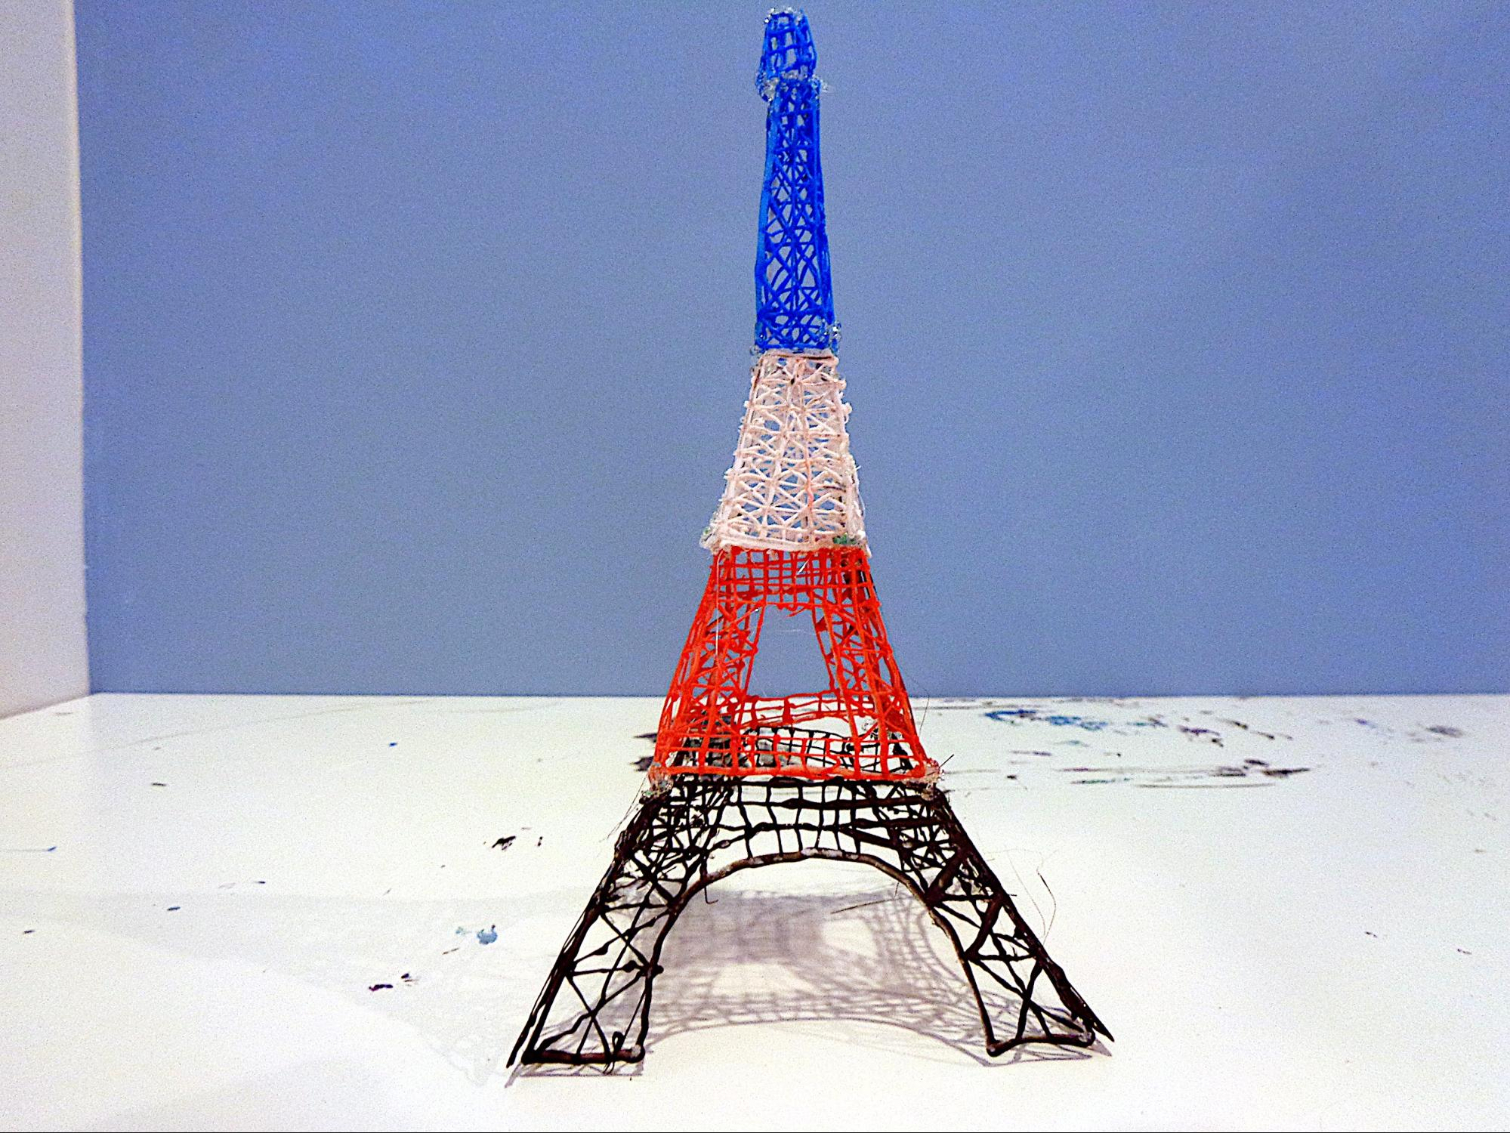
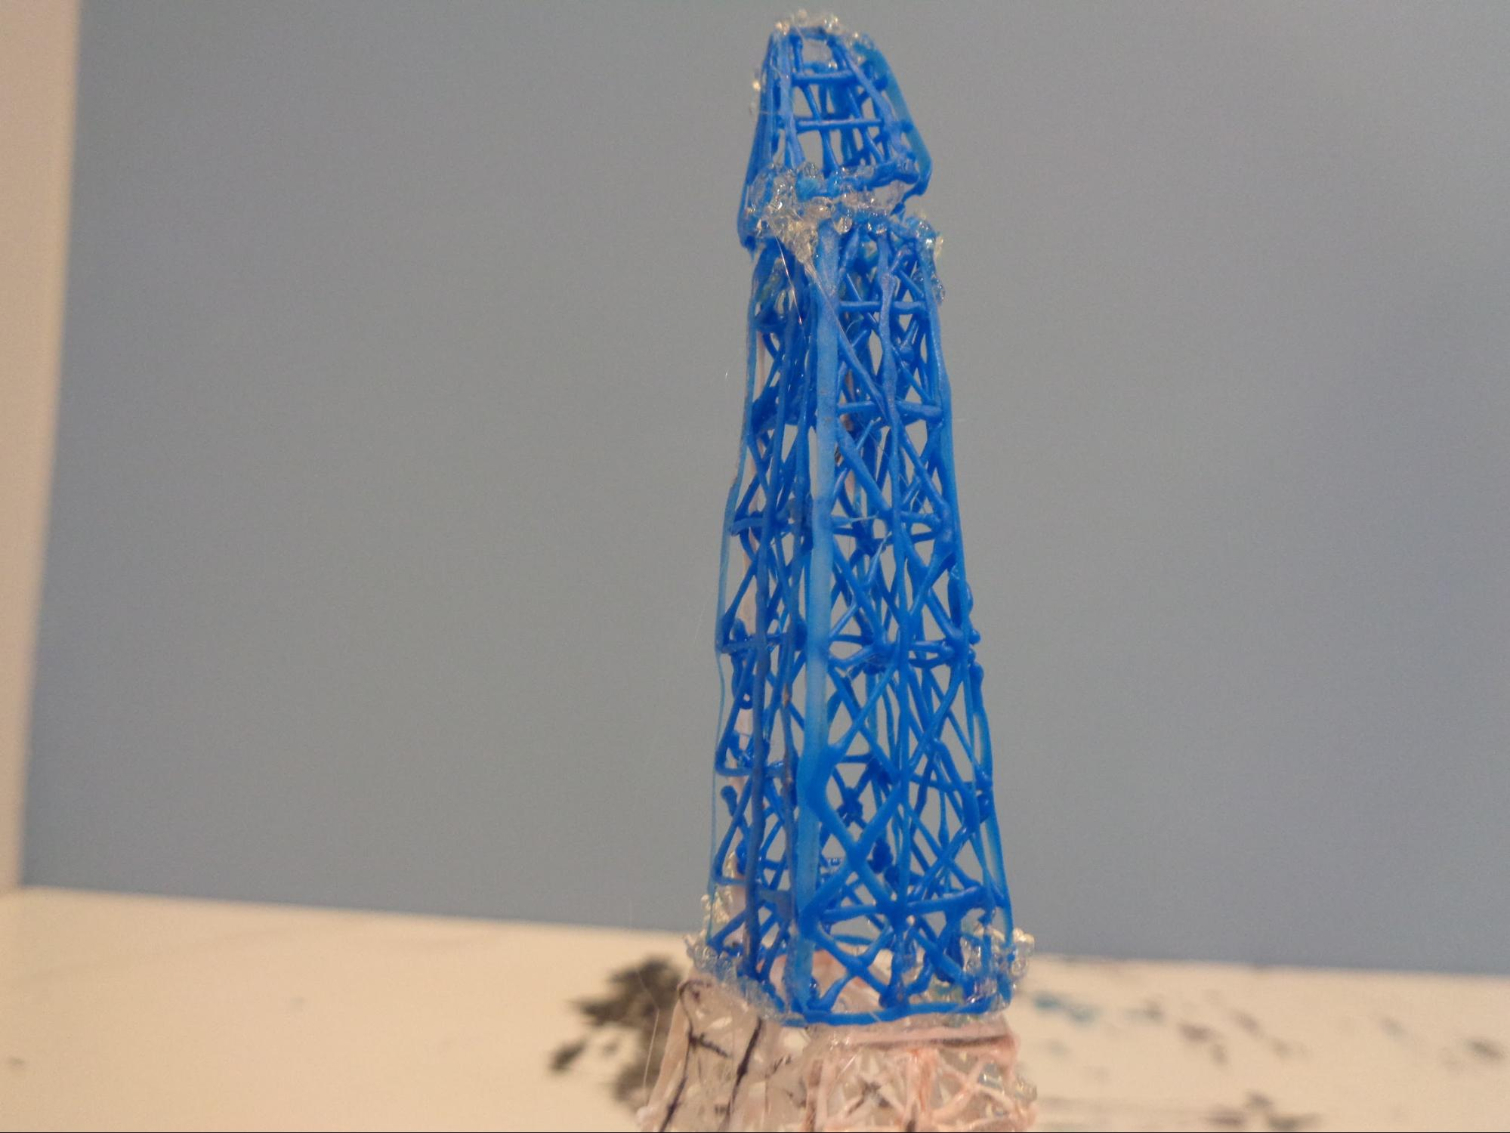
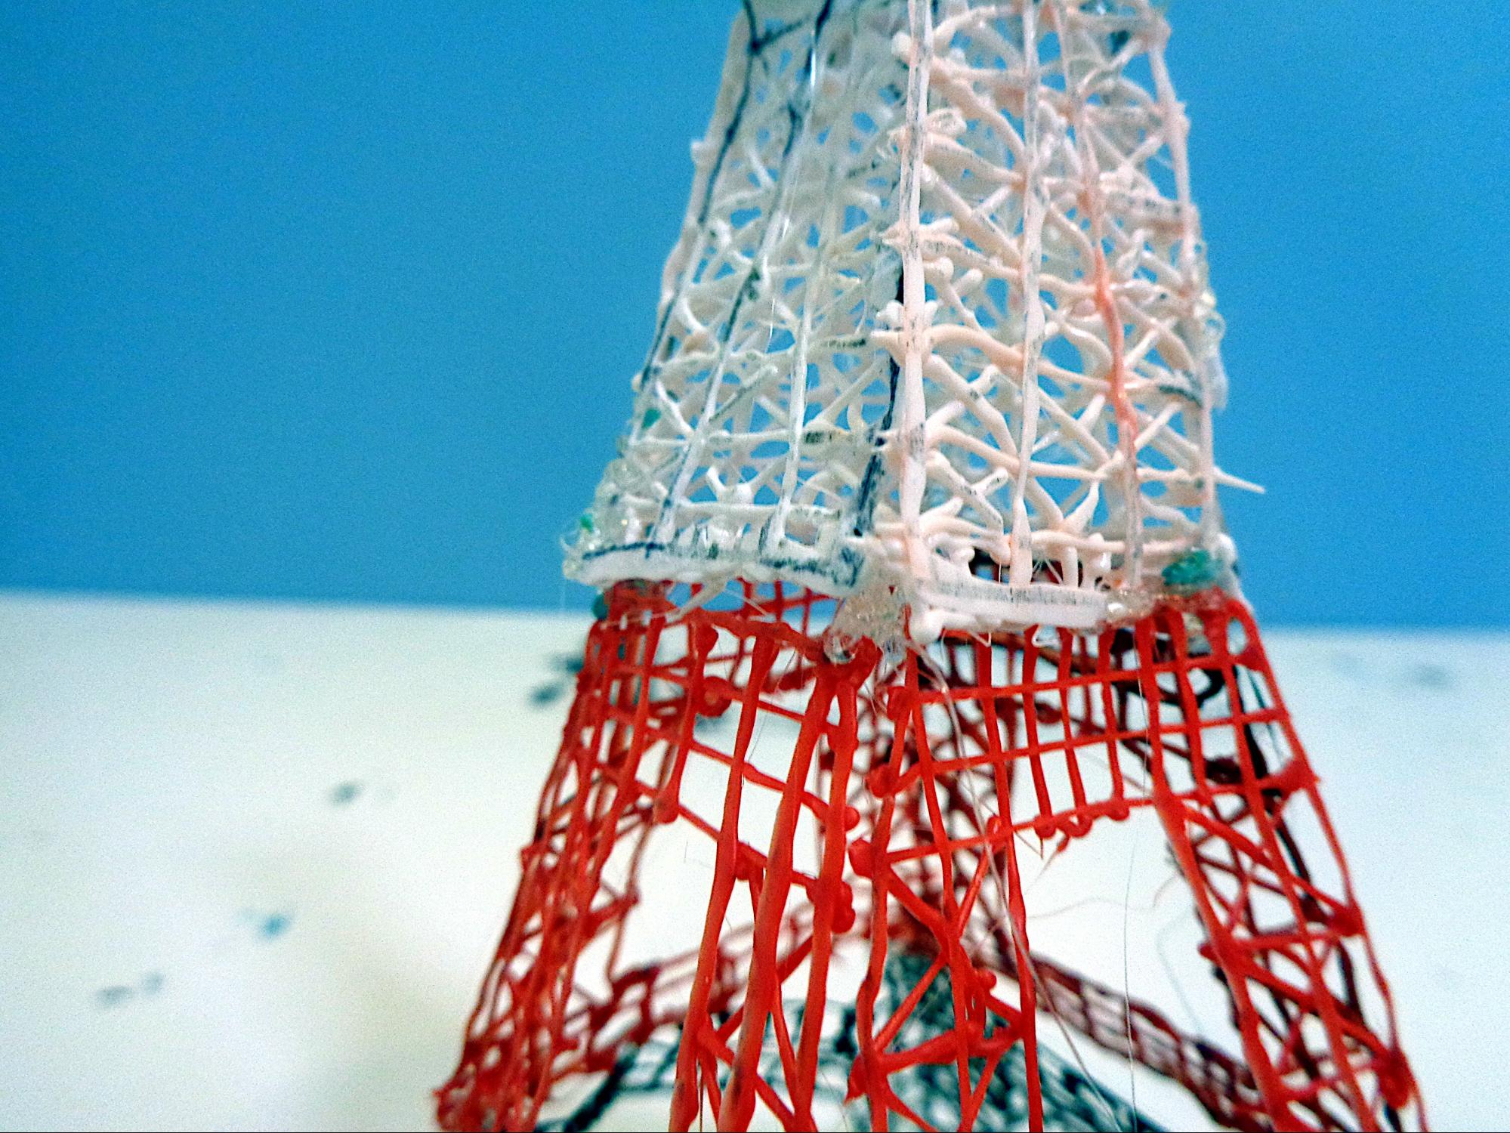
Using the included stencils I doodled 20 individual pieces with ABS and PLA plastic. I then assembled the pieces with clear PLA plastic, which was a bit more malleable, at times falling through the gaps instead of bridging them together.
People might not want to take kissing selfies in front of it, but my Eiffel Tower is erect and should last on my countertop. I don’t see how I could’ve created something like this with my hands. You could clearly see imperfections and misalignment and someone more talented or patient would have done better. But with the dangling thread that tended to come up and the gloppiness of the clear, this is the best I could manage while still having fun.
The different layers are visible and thicker than what many 3D printers produce. Different from 3D printers, part of the print quality depends on your own abilities. How steady are your hands? How closely can you align different strands of plastic? Do you have the patience to carefully hold thin pieces of plastic to properly bind them? The 3Doodler Create+ may create thicker individual lines than a 3D printer, but with the utility of a pen, the final product style and sharpness is literally in your own hands.
Bottom Line
The 3Doodler Create+ allows creatives to instantly draw a 3D print with their own hands. Using the pen is easy and fun, and printouts are lightweight and flexible yet strong enough to last.
Although the pens offers a lot of freedom, it has some functional flaws. My first pen suffered two clogs and had to be returned. My replacement pen didn’t clog but continued extruding plastic when I told it stop, wasting plastic and interfering with my designs. It’s also hard to avoid leaving a thread-like tail at the end of your prints, and paper will likely stick to the plastic unless you laminate the paper or cover it with tape first.
Those with steadier hands will be able to make more valuable creations with the 3Doodler Create+, while the average Joe will struggle to achieve a clean look. Still, it offers a lot of 3D printing fun at a much more accessible price point than 3D printers. This is a handy tool and pleasant distraction for anyone who likes crafts If you’re a maker, love crafts or are just looking for a new way to get creative, the 3Doodler Create+ is worth the price.
3Doodler Create+

Scharon Harding has over a decade of experience reporting on technology with a special affinity for gaming peripherals (especially monitors), laptops, and virtual reality. Previously, she covered business technology, including hardware, software, cyber security, cloud, and other IT happenings, at Channelnomics, with bylines at CRN UK.
