Tom's Hardware Verdict
Anycubic cuts the fat on its entry level Kobra Go 3D printer, leaving us with a no frills, user-friendly machine that still has auto bed leveling.
Pros
- +
Affordable price
- +
Quality prints
- +
Auto bed leveling
Cons
- -
DIY Kit
Why you can trust Tom's Hardware
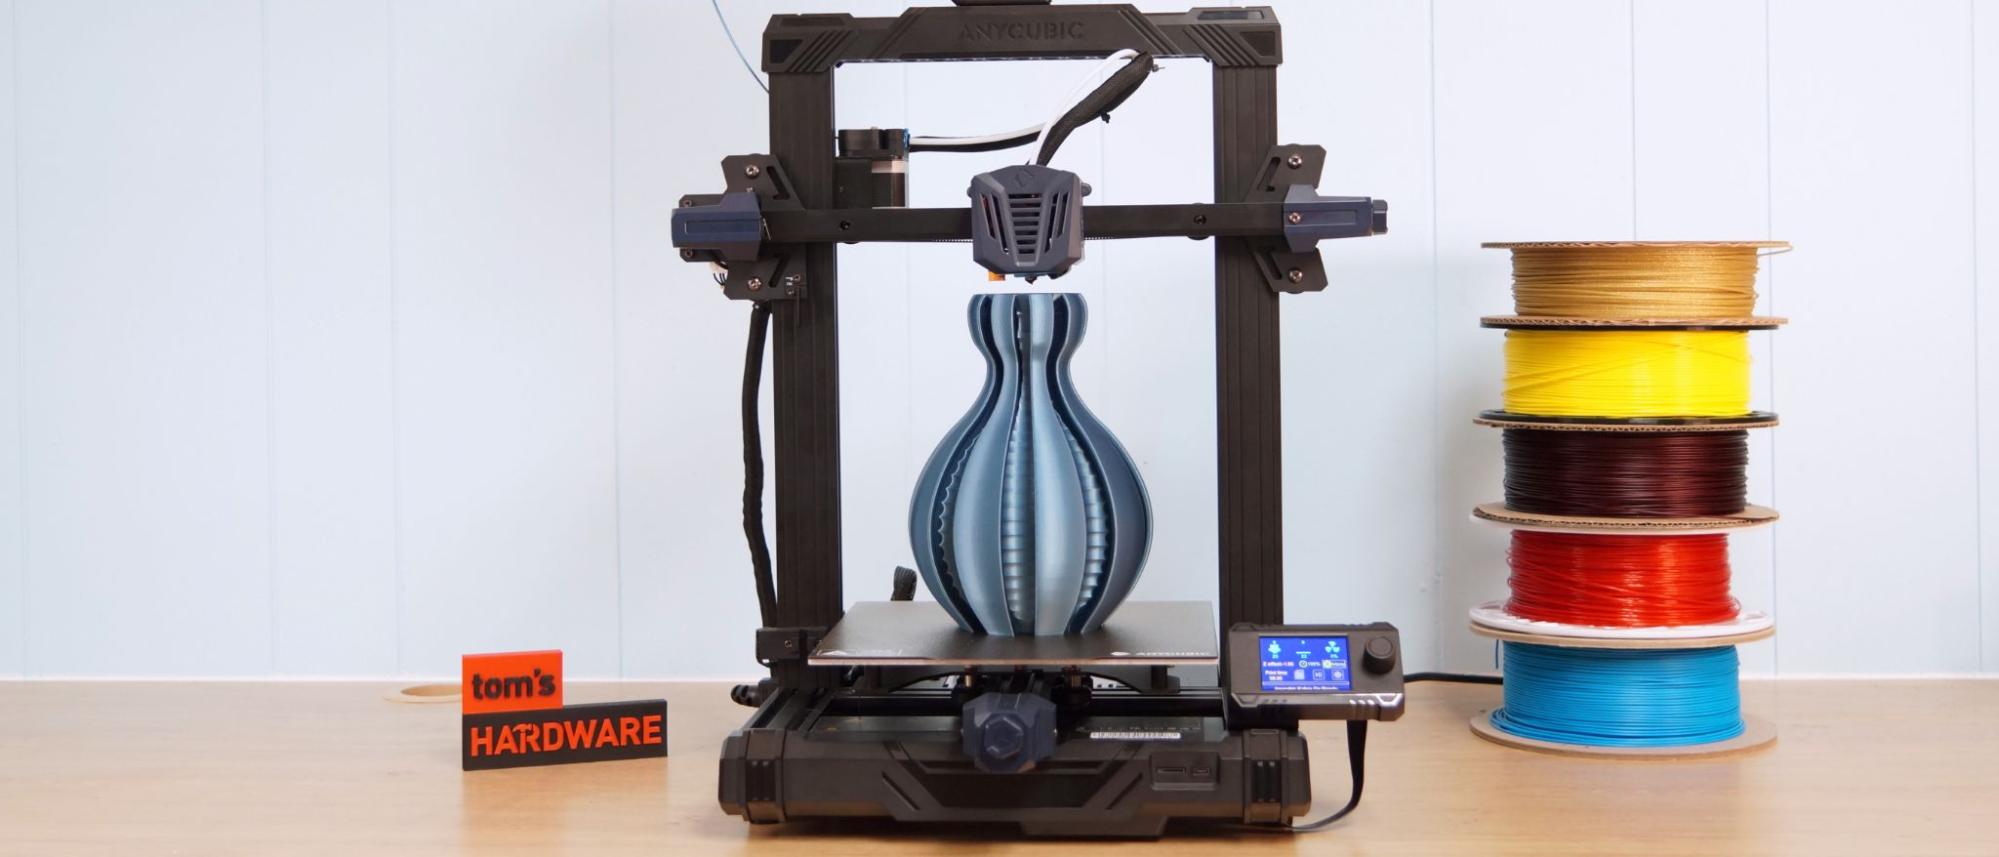
While other manufacturers are making their 3D printers more “deluxe,”, Anycubic wanted to find a way to make its printers more affordable. Engineers at Anycubic have done an amazing job of trimming the fat off their beginner friendly Kobra, giving us the Kobra Go for an eye-popping introductory price of $189. After the initial sale period, the Kobra Go will retail for $209, which is still a bargain.
I was skeptical of what could be trimmed from the $320 Kobra, the current best 3D printer for beginners, without making it a lesser machine. The Kobra’s original direct drive was swapped for a Bowden extruder, the touch screen replaced with a smaller knob driven display and the whole printer is now a DIY kit. The two premium features that remain are what I feel are most needed: auto bed leveling and the PEI flex plate.
Sure, the Kobra Go takes an extra 40 minutes to build when compared to its predecessor. But at the end of the day, you have a handsome looking machine that prints really well while keeping a hundred dollars in your pocket. I call that a good deal and definitely.
Specifications: Anycubic Kobra Go
| Machine Footprint | 490 x 445 x 443 mm (19.3 x 17.5 x 17.4) |
| Build Volume | 220 x 220 x 250 mm (8.7 x 8.7 x 9.8 in) |
| Material | PLA/PETG/TPU/ABS |
| Extruder Type | Bowden |
| Nozzle | .4mm (Interchangeable) |
| Build Platform | PEI Spring Steel, Heated |
| Filament Runout Sensor | No |
| Bed Leveling | Inductive Auto Leveling |
| Connectivity | Micro SD/USB |
| Interface | 2.4 inch color LCD with knob |
Included in the box: Anycubic Kobra Go
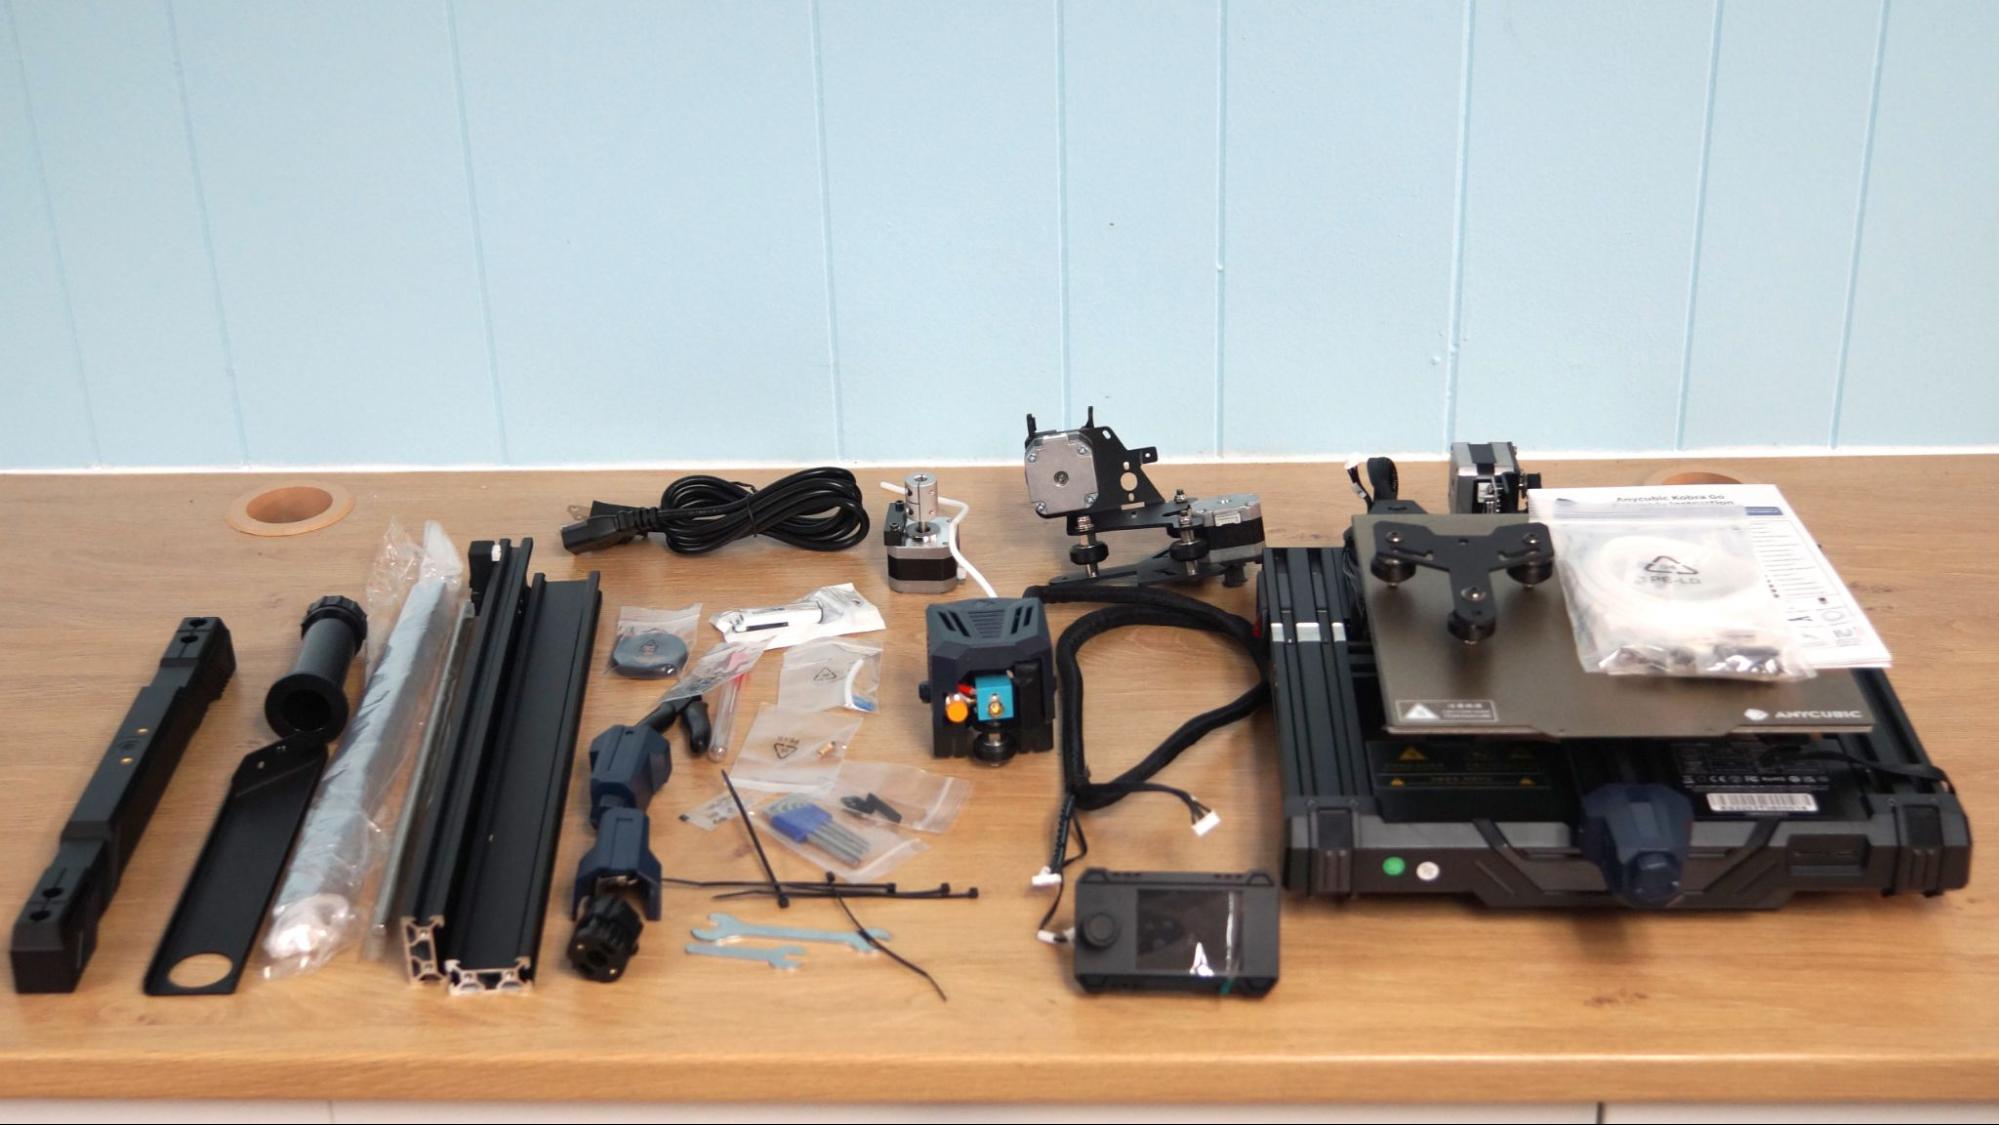
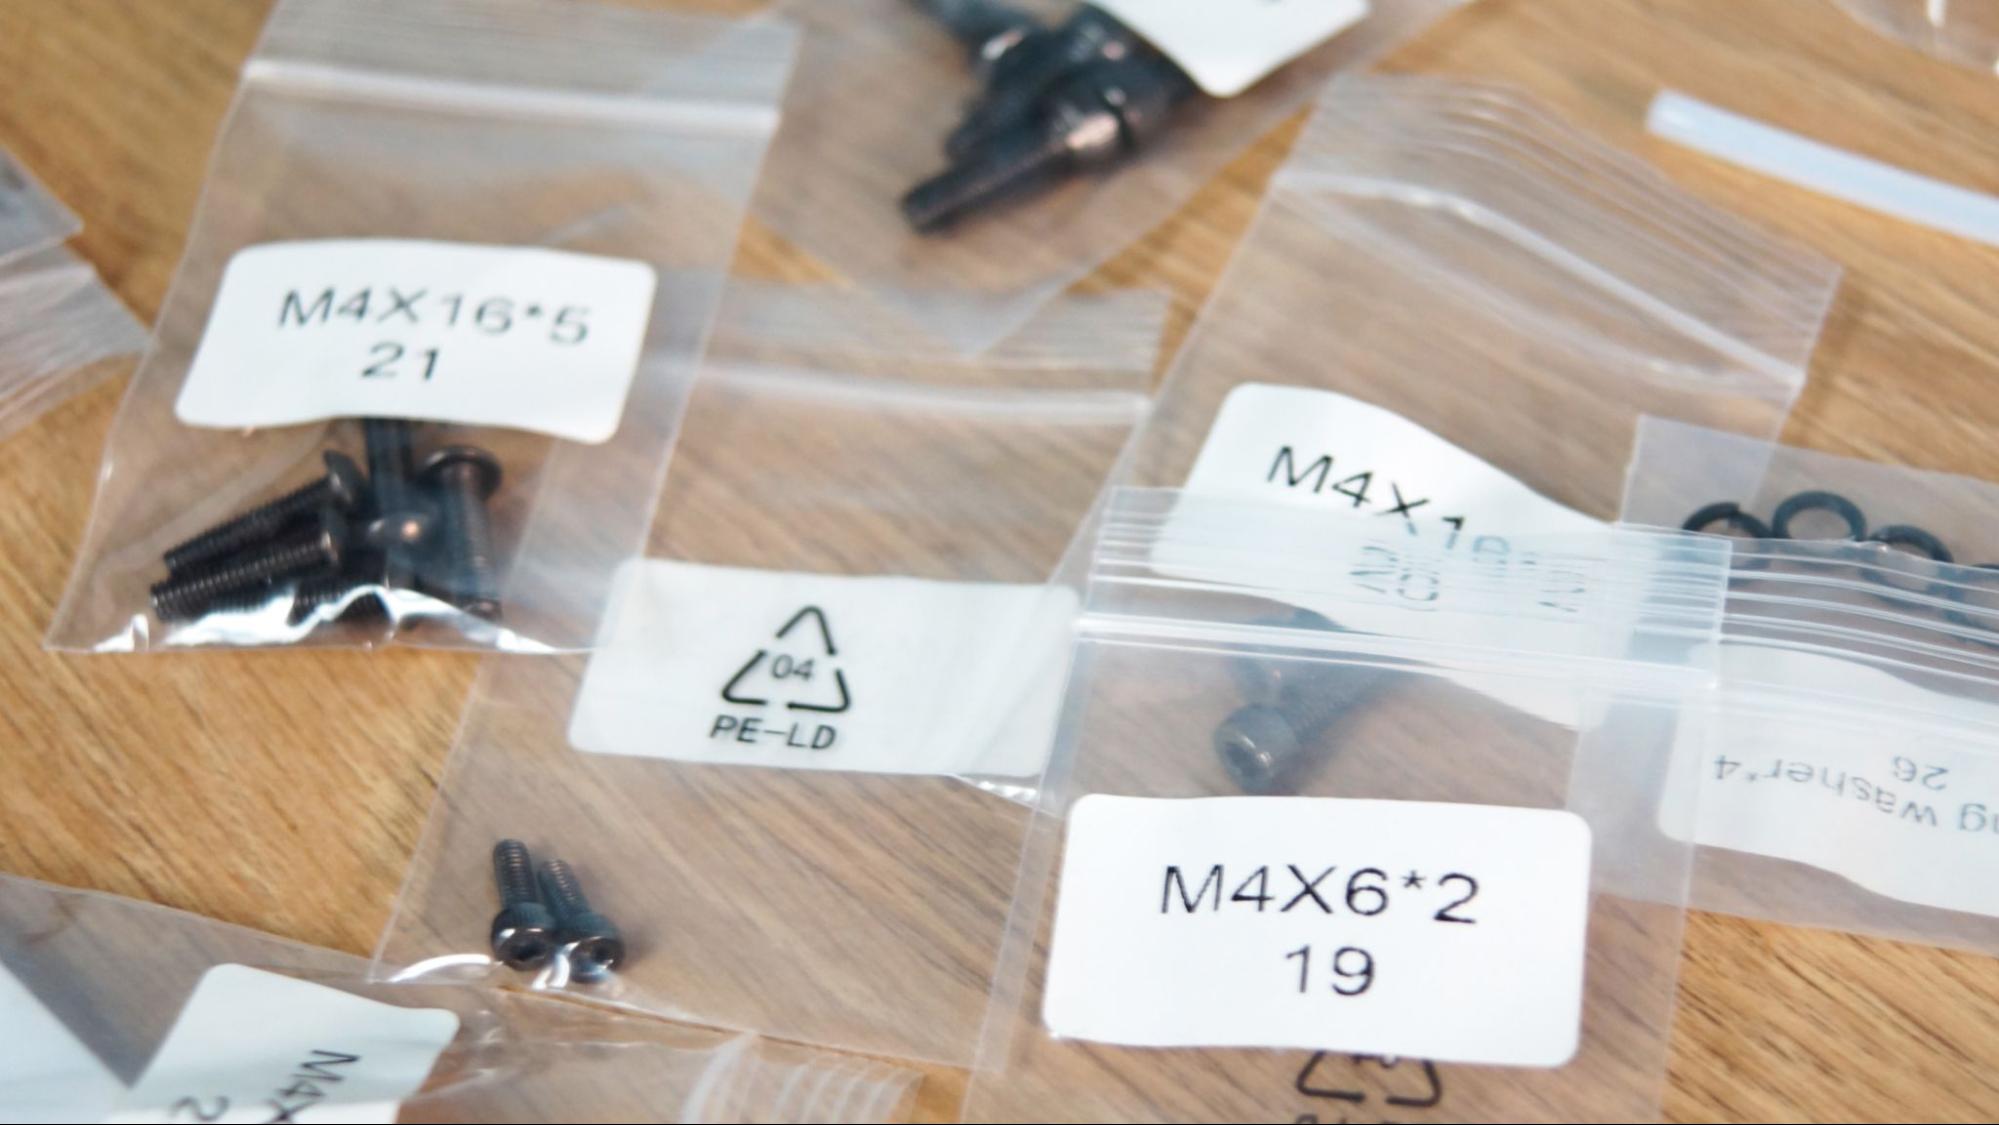
The Anycubic Kobra Go comes with everything you need to get started: tools to build and maintain the printer, side cutters, nozzle cleaner, grease and a microSD card with a USB adapter. You also get a spare nozzle, short piece of PTFE tubing for the extruder and small sample of PLA.
There’s a paper copy of the quick start guide to help you build the printer. The microSD card comes with a sample model, a PDF copy of the manual, a copy of Cura 4.12.0 and profiles for PLA, TPU and ABS to get you started.
Assembling the Anycubic Kobra Go
The Kobra Go is a do-it-yourself kit that you’ll need to fully assemble. I got the machine together in about an hour.
The only part assembled for you is the base and everything else needs to be screwed together. The instructions are pretty easy to follow, but if you need help Anycubic told me they will be including an assembly video on the microSD card when the machine is officially released.
Get Tom's Hardware's best news and in-depth reviews, straight to your inbox.
There’s a couple of things that set this build kit apart from other similar printers I’ve assembled. First, there is a nice indent to help you seat the gantry to the base frame. You still need to run bolts up through the bottom, but at least you know you have the frame in the right spot.
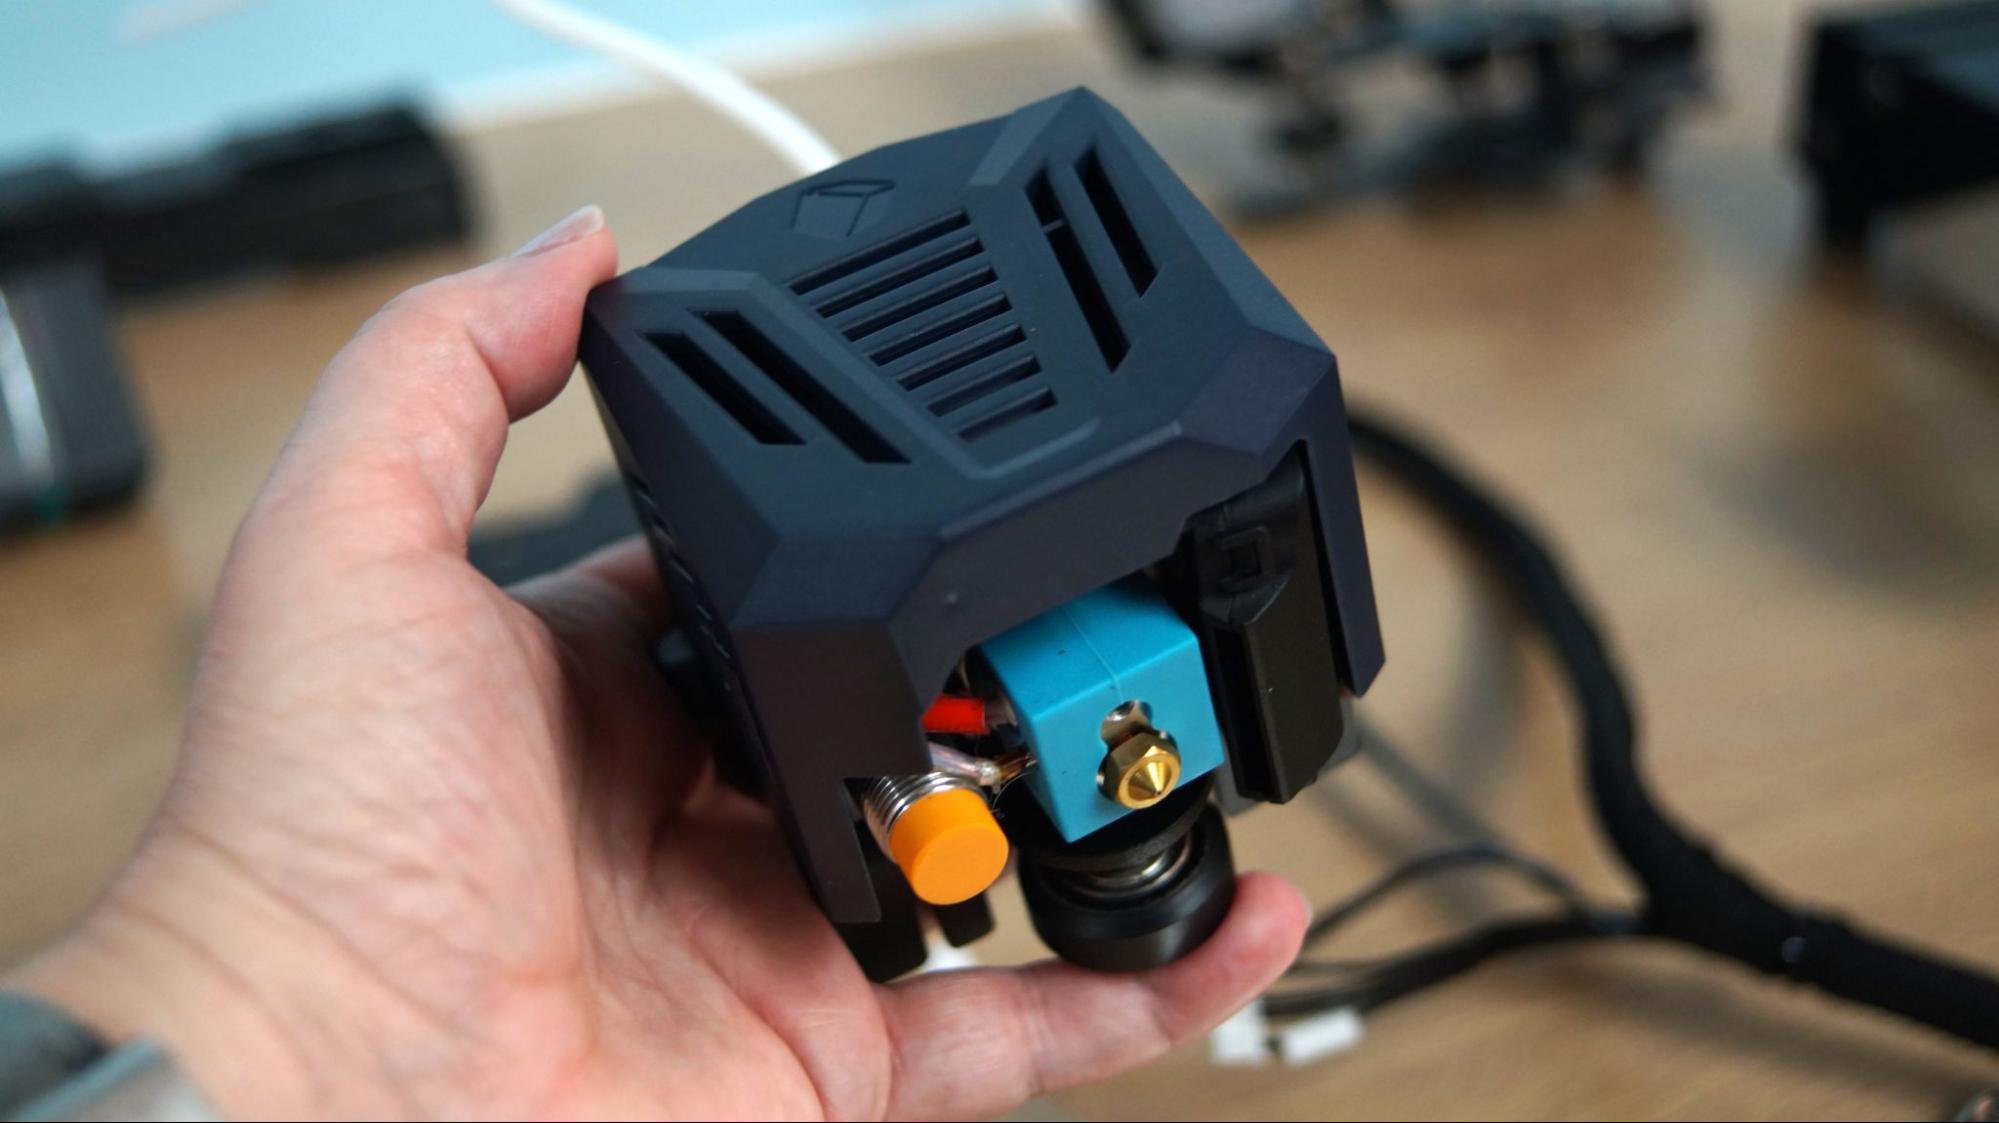
The Kobra Go is the first kit I’ve put together that also has auto bed leveling – this means there’s no need to install, or fiddle with, a Z height switch. The bed leveling probe, which is installed by Anycubic on the hot end, acts as your switch. This is very important – a poorly placed switch can lead to crashing your nozzle into the bed the first time you level it.
Leveling the Anycubic Kobra Go
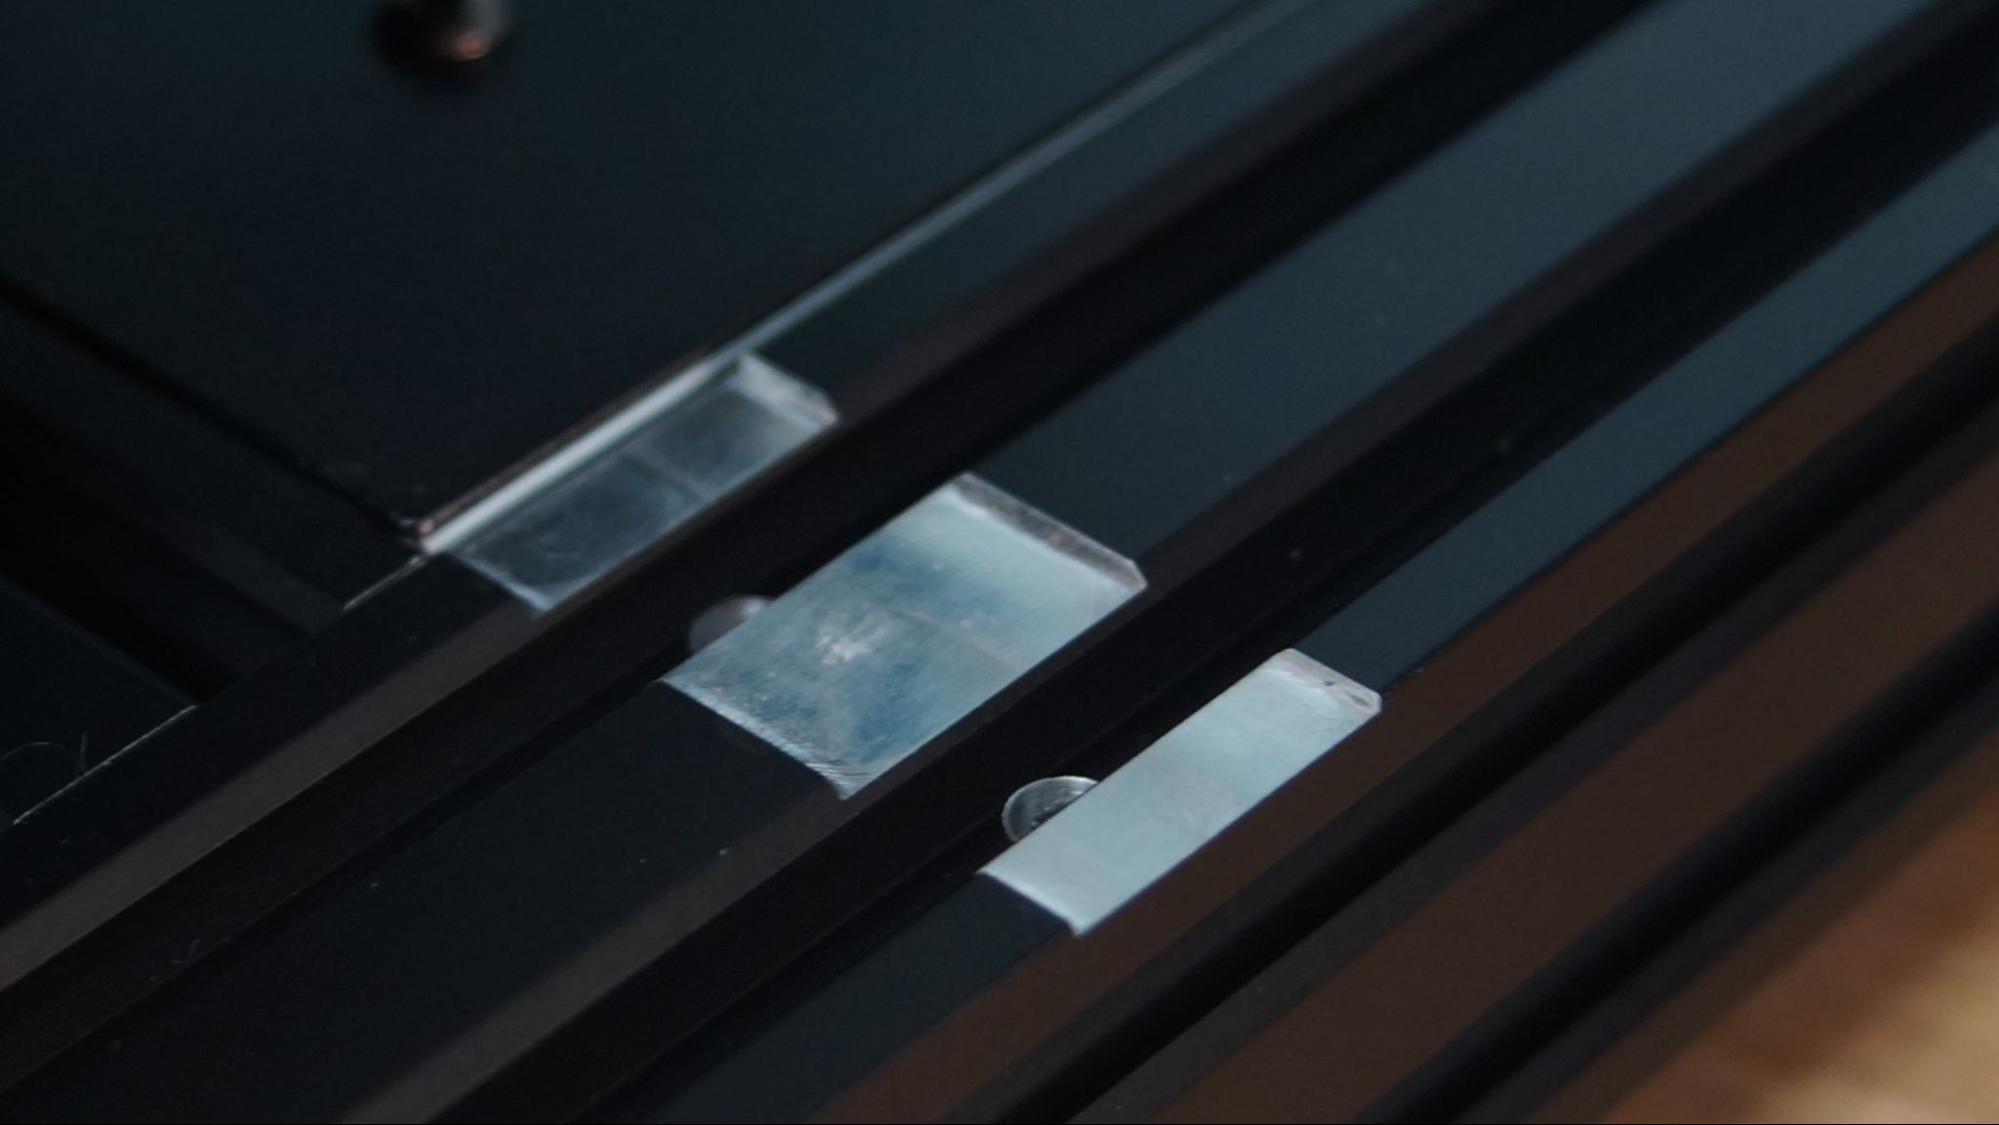
The Anycubic Kobra comes with an inductive automatic bed leveling sensor, which uses a non-contact magnetic probe. This is the same leveling sensor on the standard Kobra, and it can sense the metal surface of the build plate while hovering a few millimeters above it.
There are no knobs for manual tramming and everything is done through the printer’s touch screen.
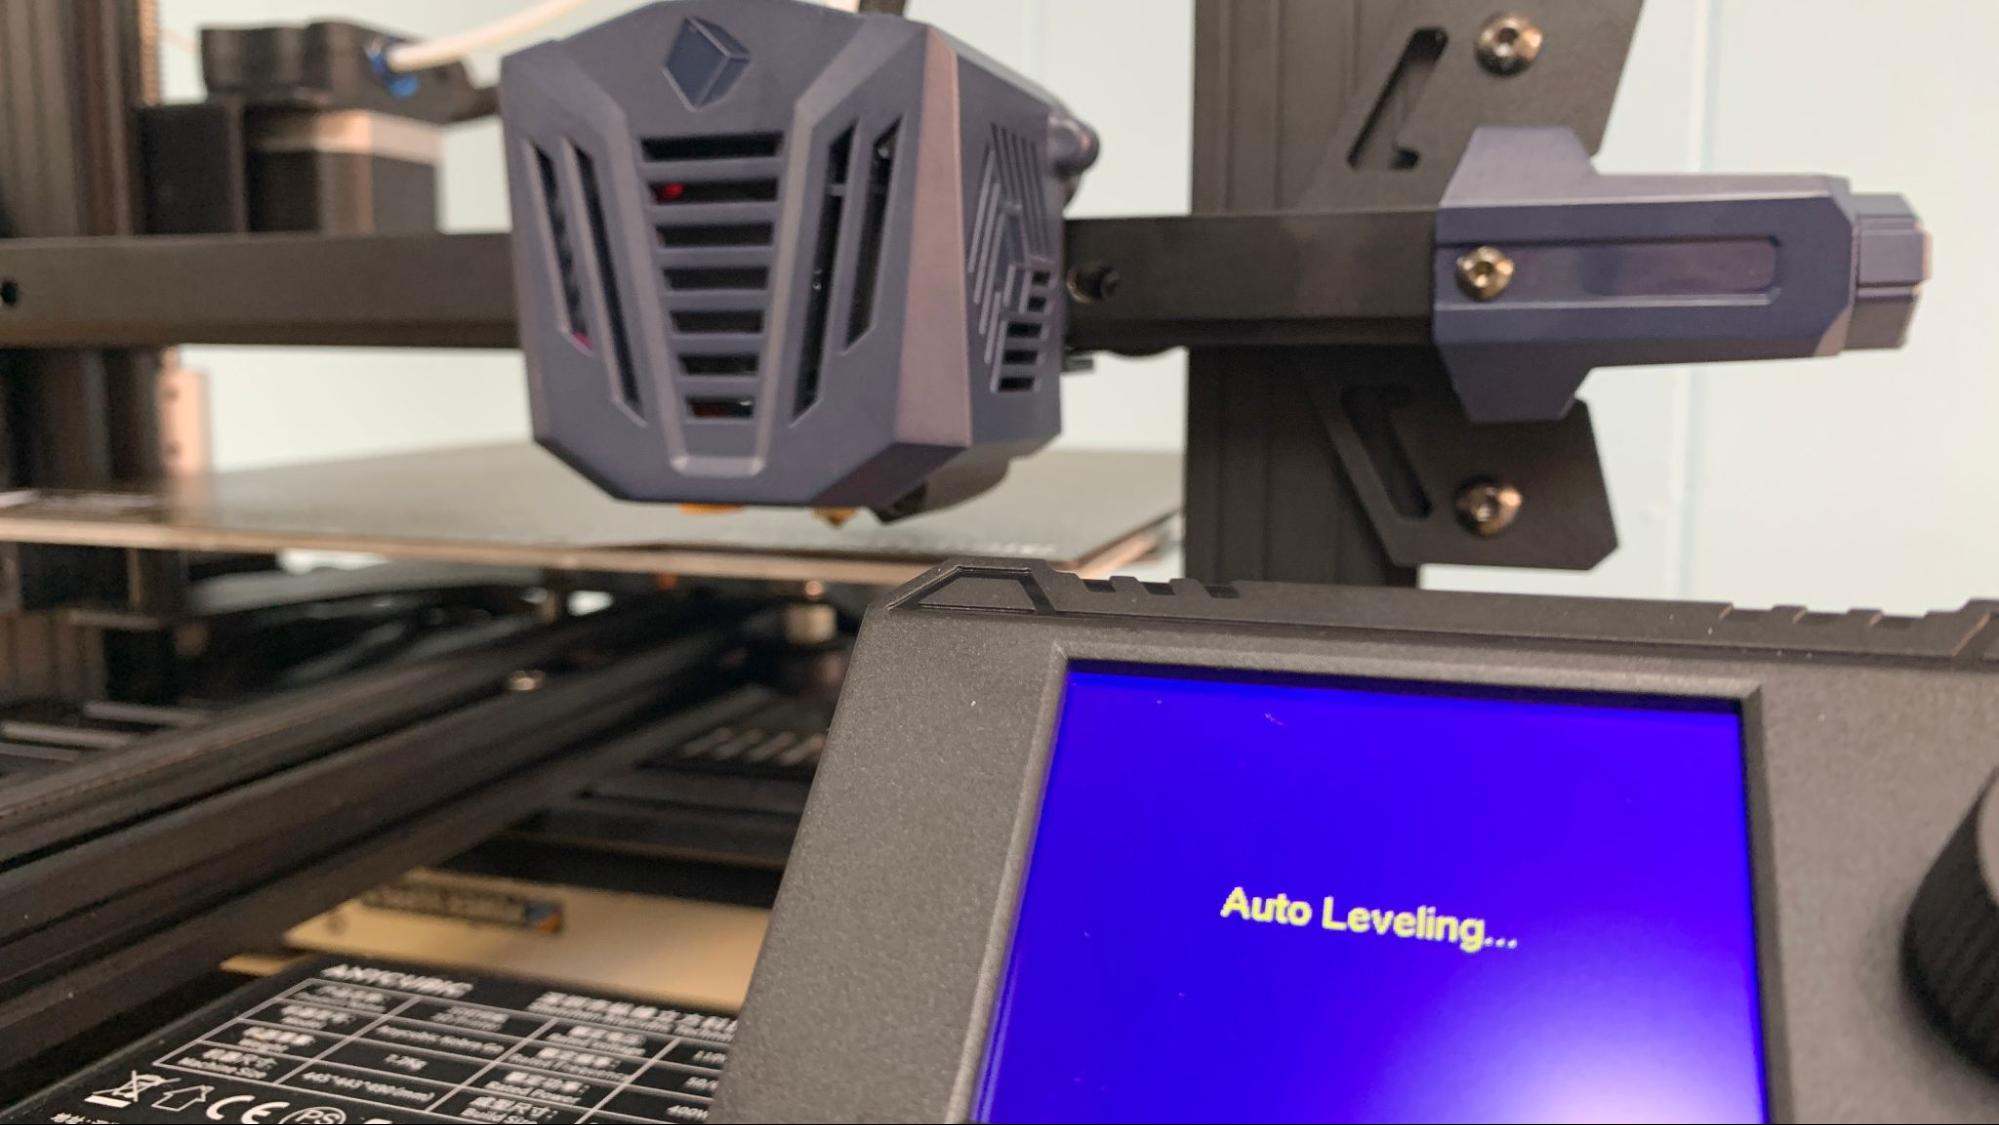
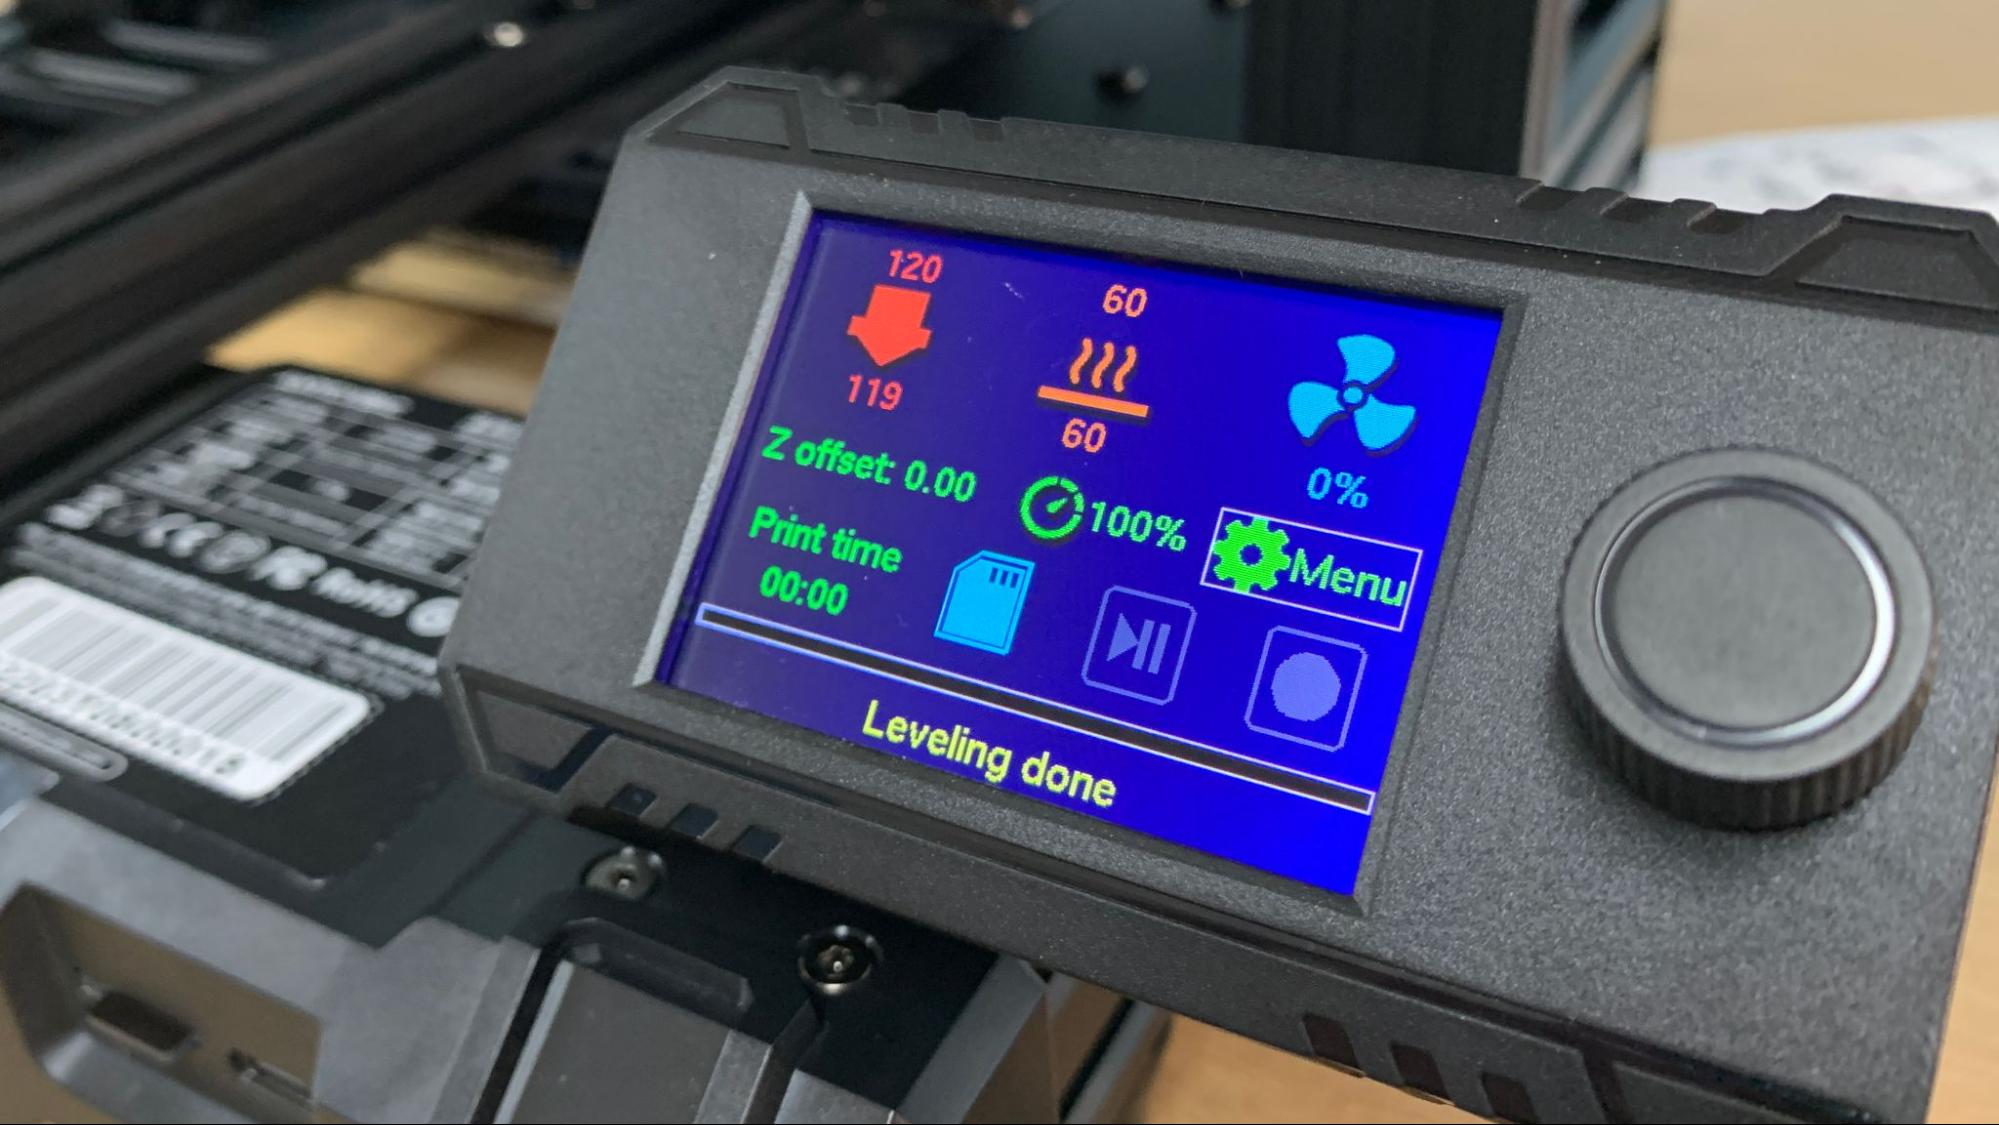
To level the bed, select Leveling. Then select Auto-Leveling and the printer takes care of the rest. It will home the bed, then double tap 25 spots in a grid across the bed surface. The sensor stops a few millimeters above the bed, not allowing the nozzle to touch during auto leveling.
It’s important to note the auto leveling can only tell where the sensor is located, not the nozzle itself. The next step is to set the Z height, which places the nozzle the perfect distance from the bed. See our handy tutorial on how to level a 3D printer bed to get an idea how close you should get.
Anycubic didn’t include a special program for setting the Z height on the Kobra Go. The manual suggests you adjust the Z while you’re running the test print, which will take a couple tries. Instead, I suggest first Home the printer, then visit the “Move Axis” menu, select disable steppers and manually push the nozzle to the center of the bed. Now select the Z axis and confirm that you are at “0” for the height. Return to Level → Z height, place a piece of paper under the nozzle and VERY slowly adjust the Z until the nozzle just scrapes the bed.
You may still need to adjust the Z height during the test print, but now you’ll only be a few clicks of the knob from perfection.
Loading Filament in the Anycubic Kobra Go
The Anycubic Kobra Go has a Bowden extruder with the stepper drive and gears on the left-hand side and the long tube leading to the hotend. Clip the filament at a 45-degree angle and feed it into the extruder, squeeze the extruder lever and push the filament through to the hotend.
There’s a program to automatically heat the filament to 230 degrees and advance it through the hotend. Press stop when the filament begins to flow from the nozzle. You WILL need to be on standby to press stop, it will not stop on its own.
Removing the filament works the same, just in reverse. Let the tool head preheat, select Filament Remove and let the gears back the filament out. Remove the filament when there is no more tension on the plastic.
Design of the Anycubic Kobra Go
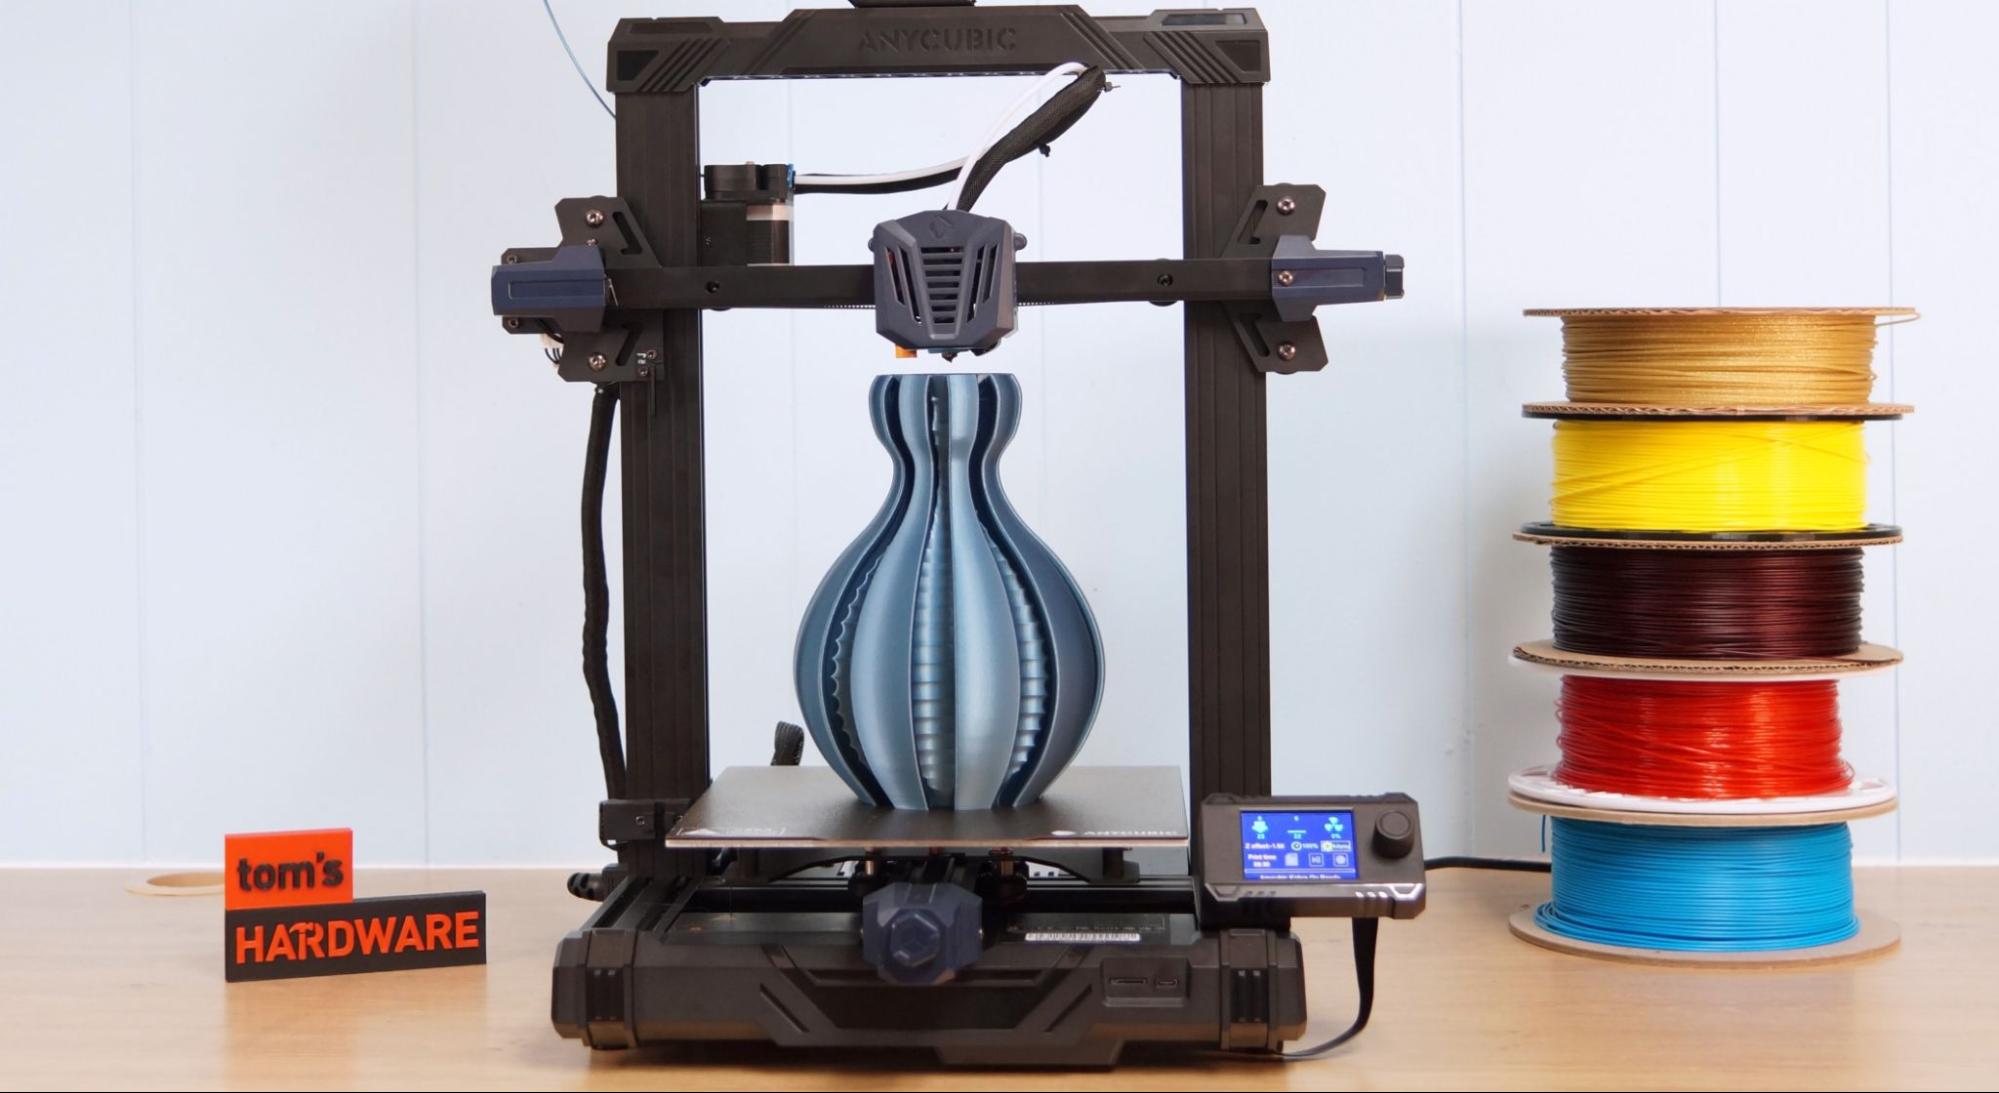
The Anycubic Kobra Go is only slightly different in design from the original Kobra. It still has a modern look with an etched black aluminum alloy gantry and sturdy plastic parts embossed with futuristic looking patterns. The hotend cover is smaller and looks a bit more like the 2021 Vyper – our pick for best printer for a print farm.
The electronics and a 400w power are the same, and still tucked under the build plate, giving it a nice neat footprint. The machine checks in at 15.4 pounds (7KG) making it fairly easy to move. There’s a 32 bit board, silent stepper motors and extremely quiet fans.
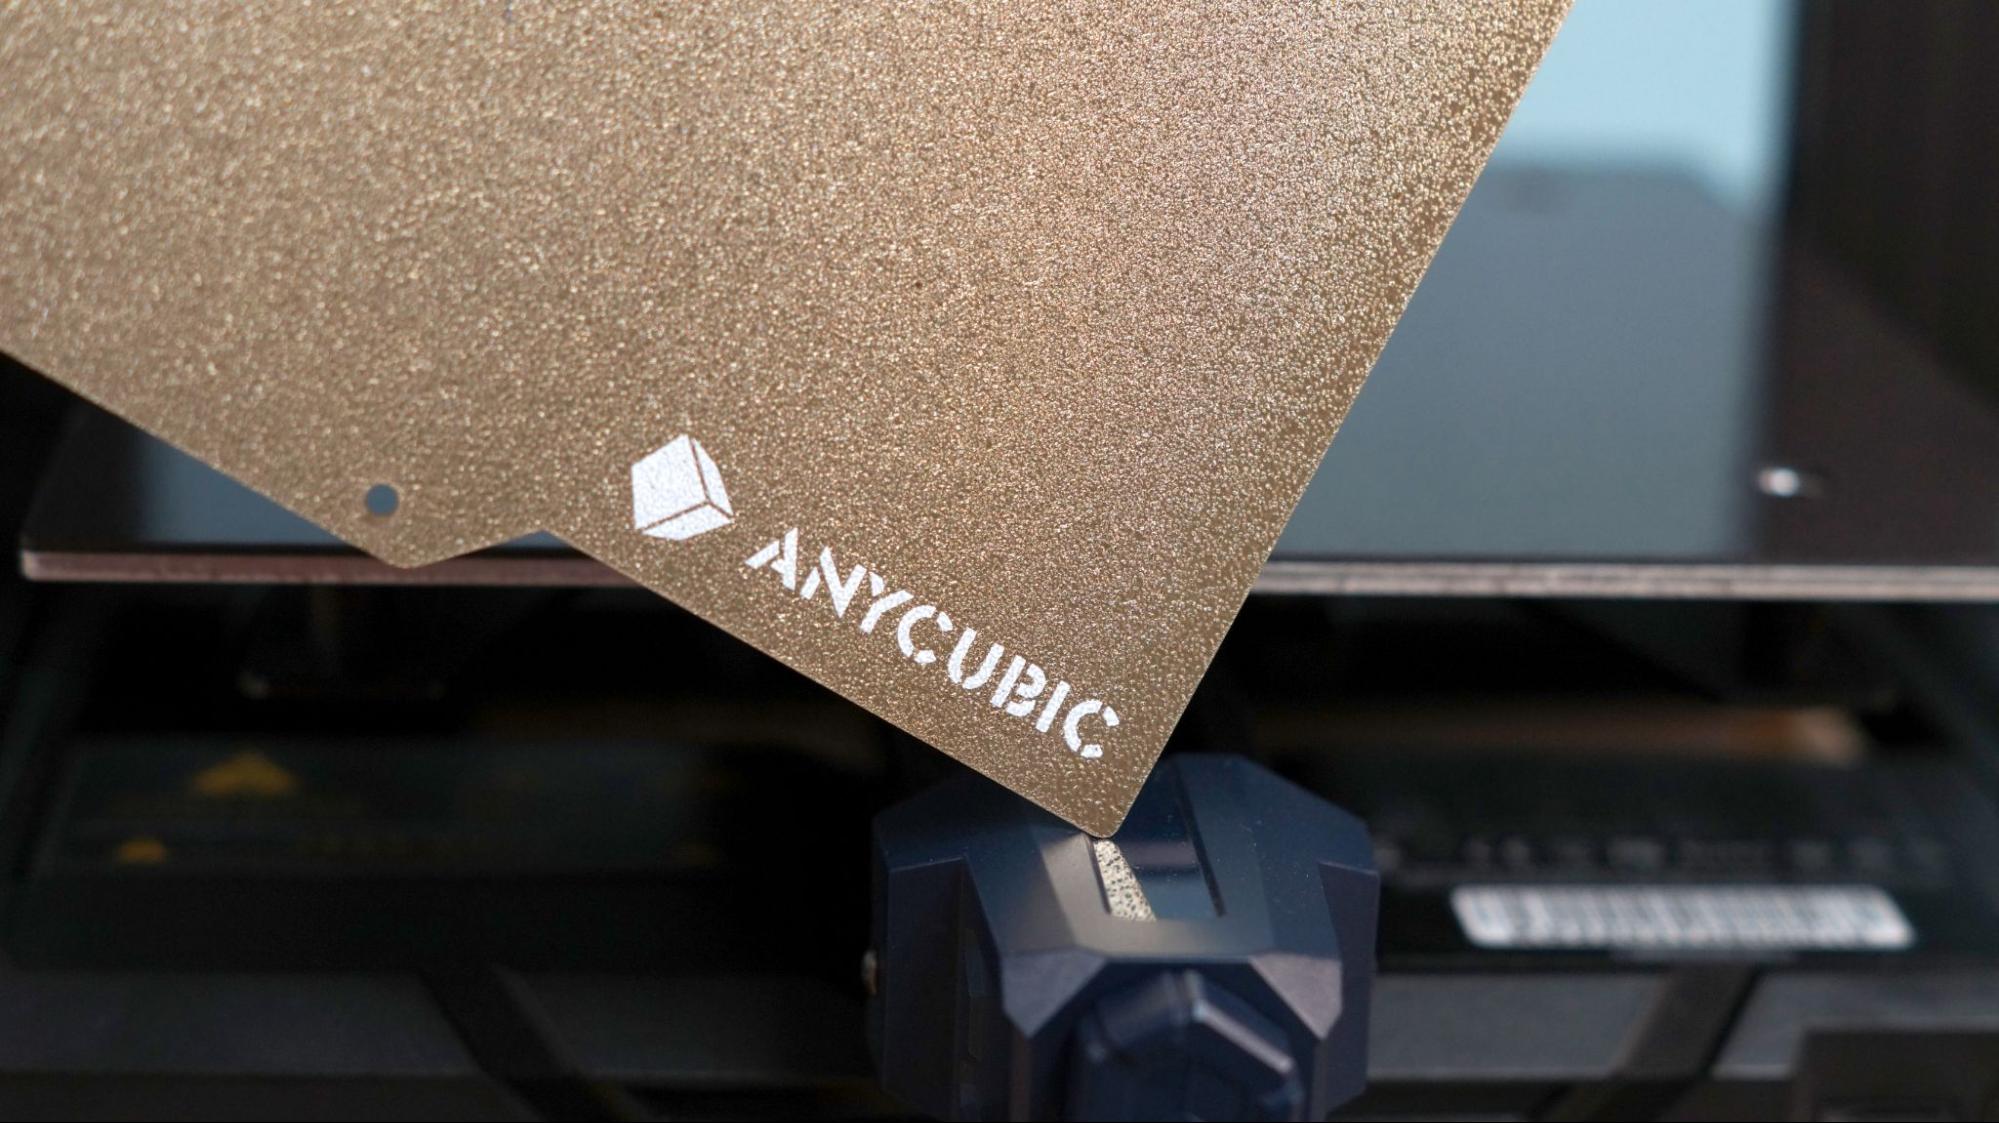
I was very happy to see the Kobra Go still has that textured PEI coated spring steel plate from the original Kobra, held down with magnets. Most prints pop off when the bed cools down, but larger or more sticky PETG prints can be removed easily by flexing the plate.
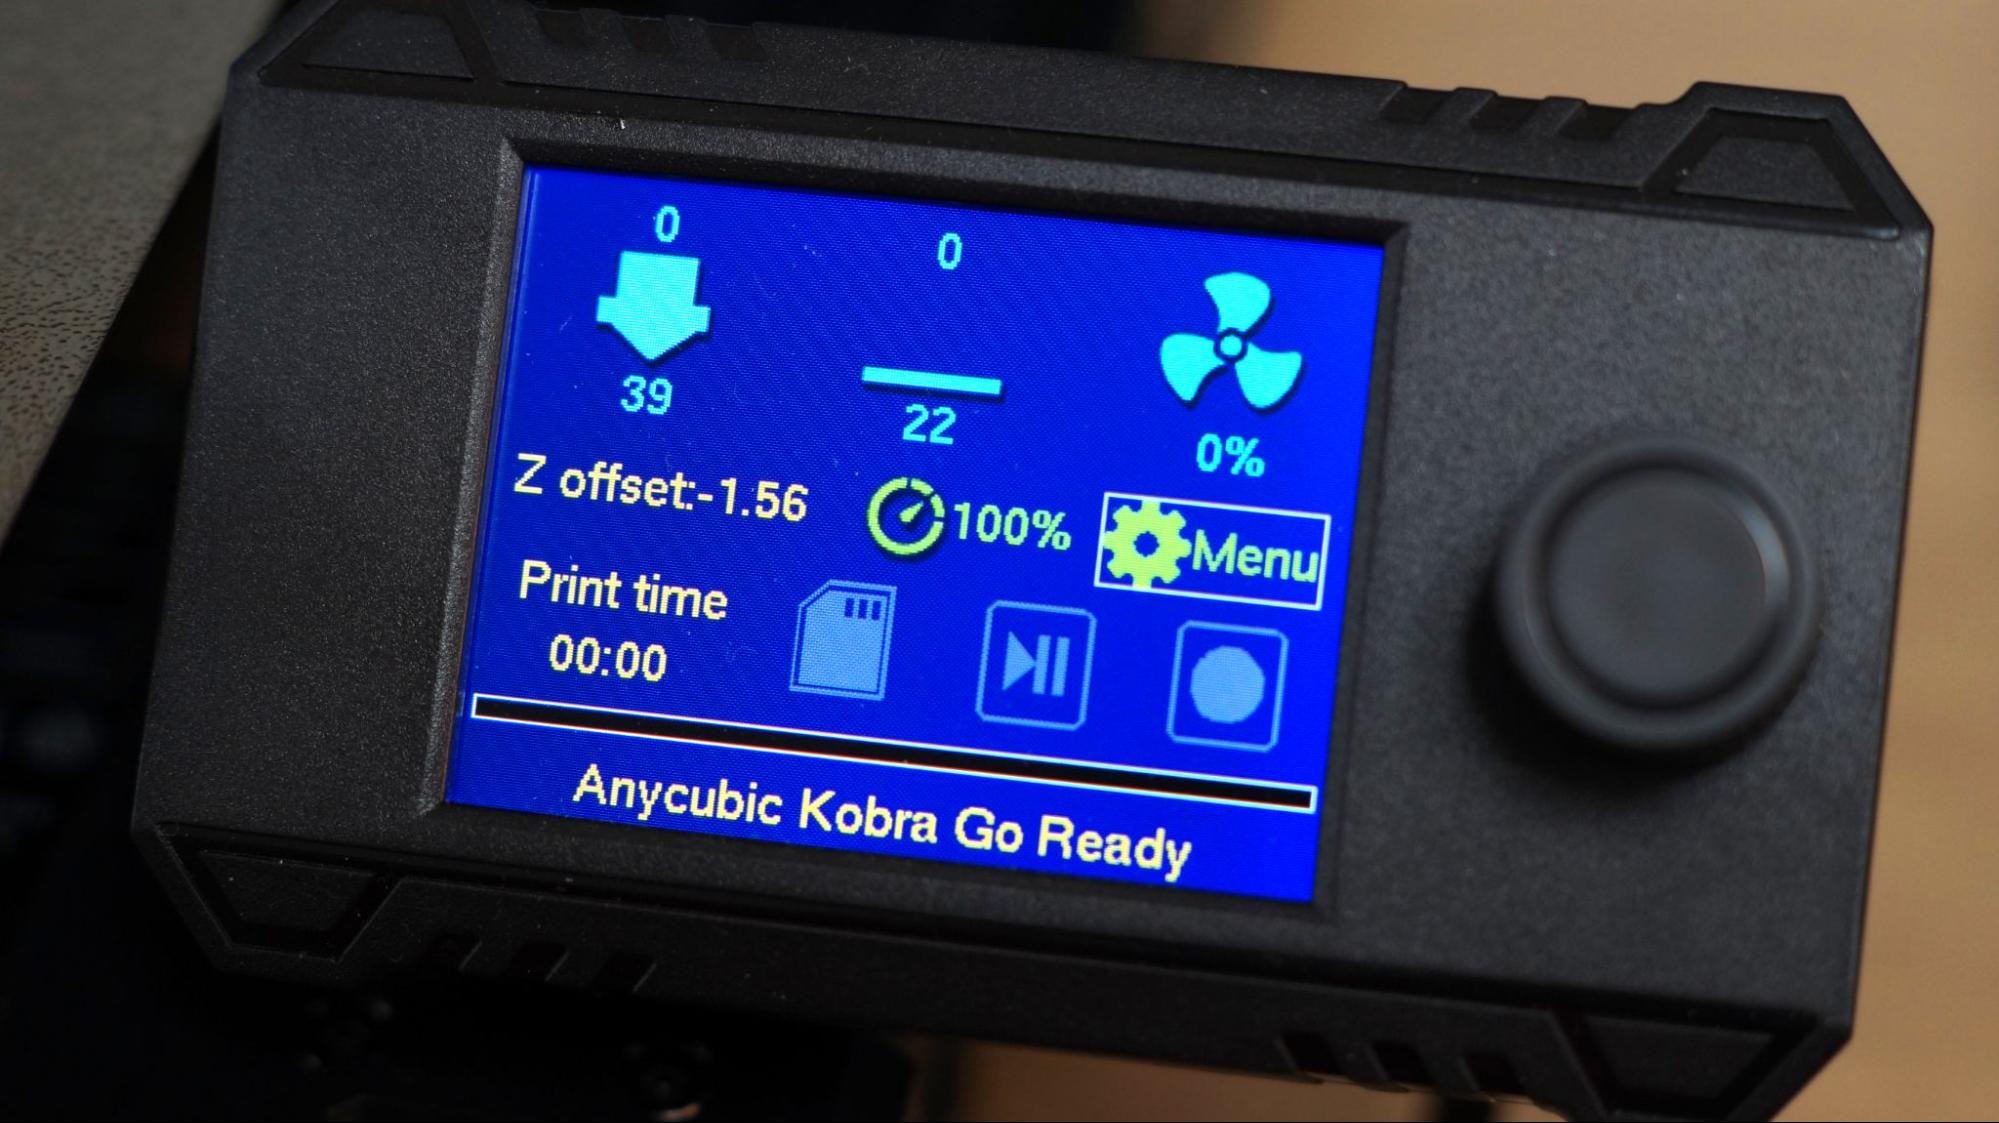
The biggest design change is the move to a smaller LED screen with a knob. No pixels are wasted on this simplified screen and the new menu is extremely easy to navigate.
Preparing Files / Software
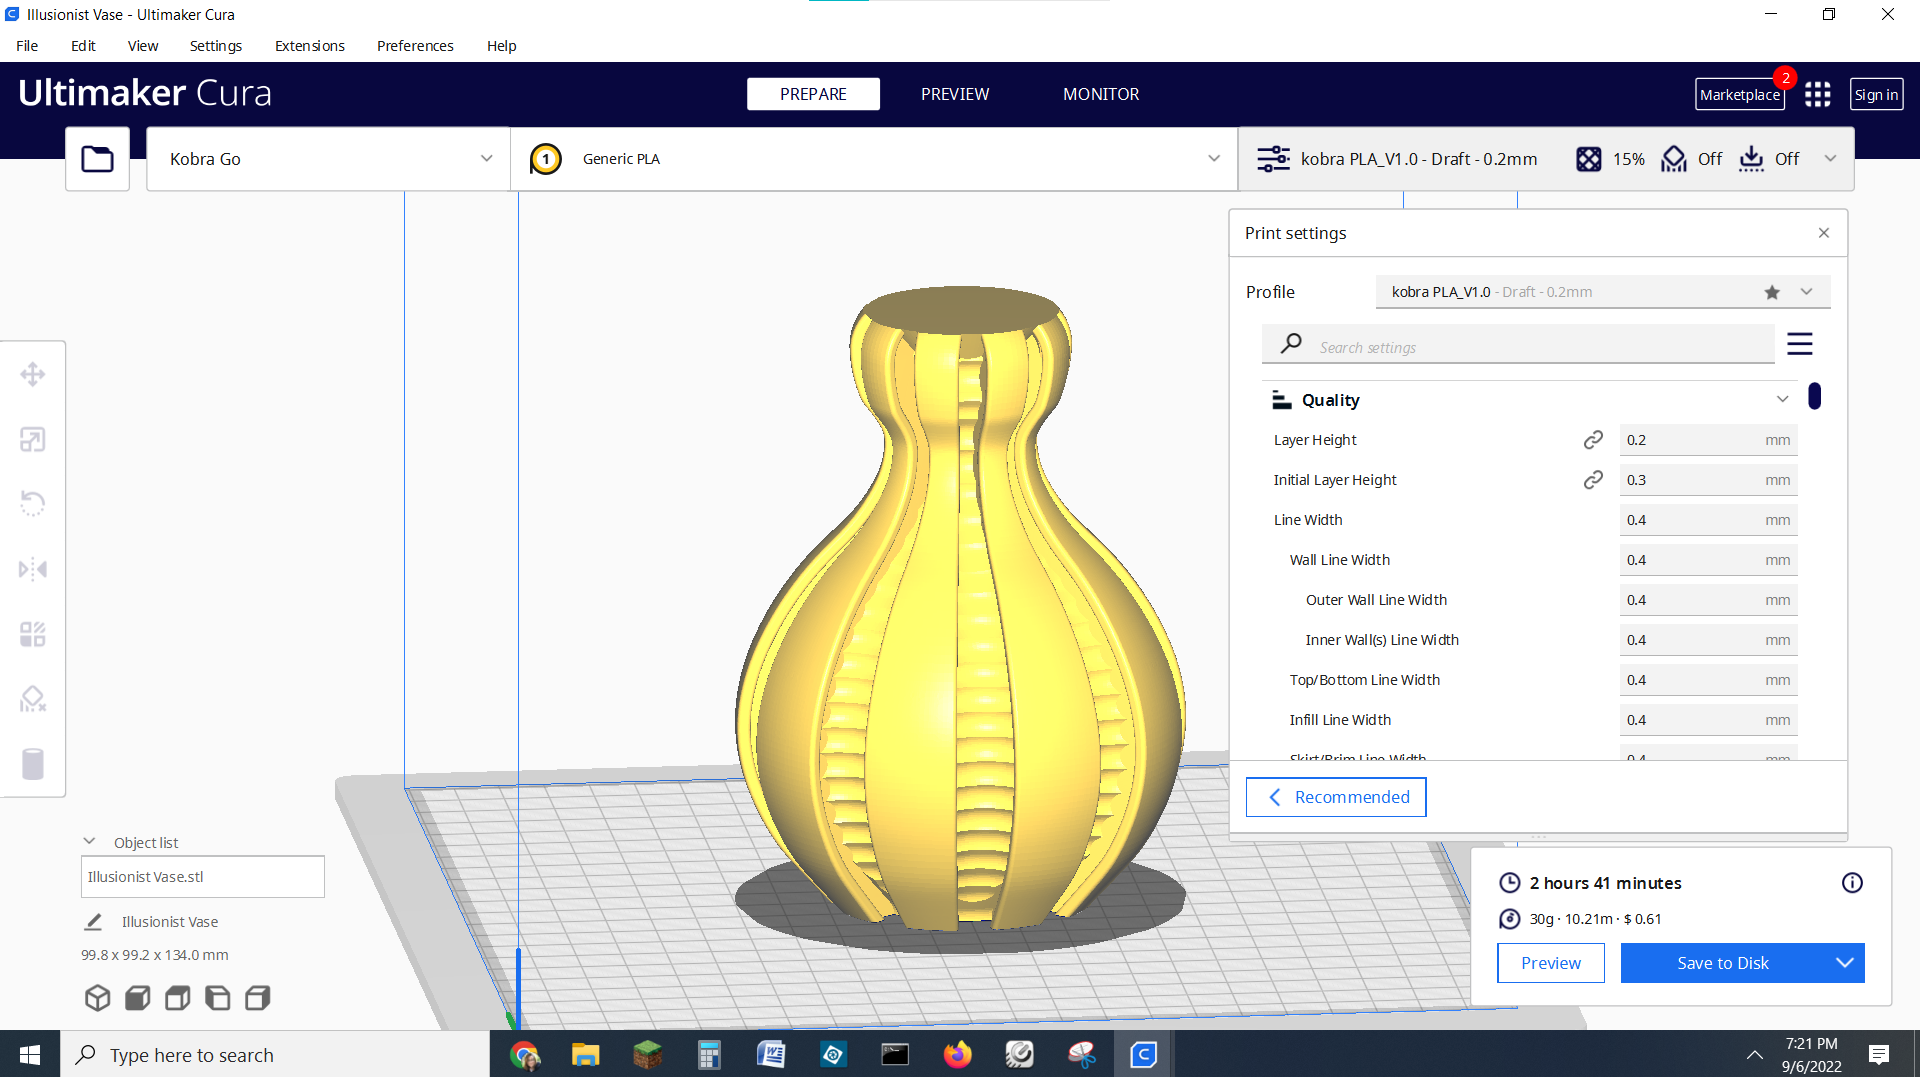
The Anycubic Kobra Go comes with a copy of Ultimaker Cura 4.12 and three materials (PLA, ABS, TPU) profiles to get you started. Directions on how to set up a custom printer are included in the manual. However, I think it’s easier to start with the Anycubic Vyper as a base and change the bed size to 220 x 220 x 250.
Because the copy of Cura included with the printer is not customized for the Kobra Go, you can also download the latest version here or use any version of Cura you might already be using for another printer. You can also use PrusaSlicer and built-in profile for an Anycubic Mega Zero, which has the same bed size.
To get a new profile, click Preferences in Cura →Printers →Add. In the Add a Printer menu, scroll down to Anycubic and select Vyper, then Add.
Printing on the Anycubic Kobra Go
The Kobra Go only comes with a tiny coil of filament, so you’ll definitely need to shop for more. Check out our guide to the Best Filaments for 3D Printing for examples of our favorite materials.
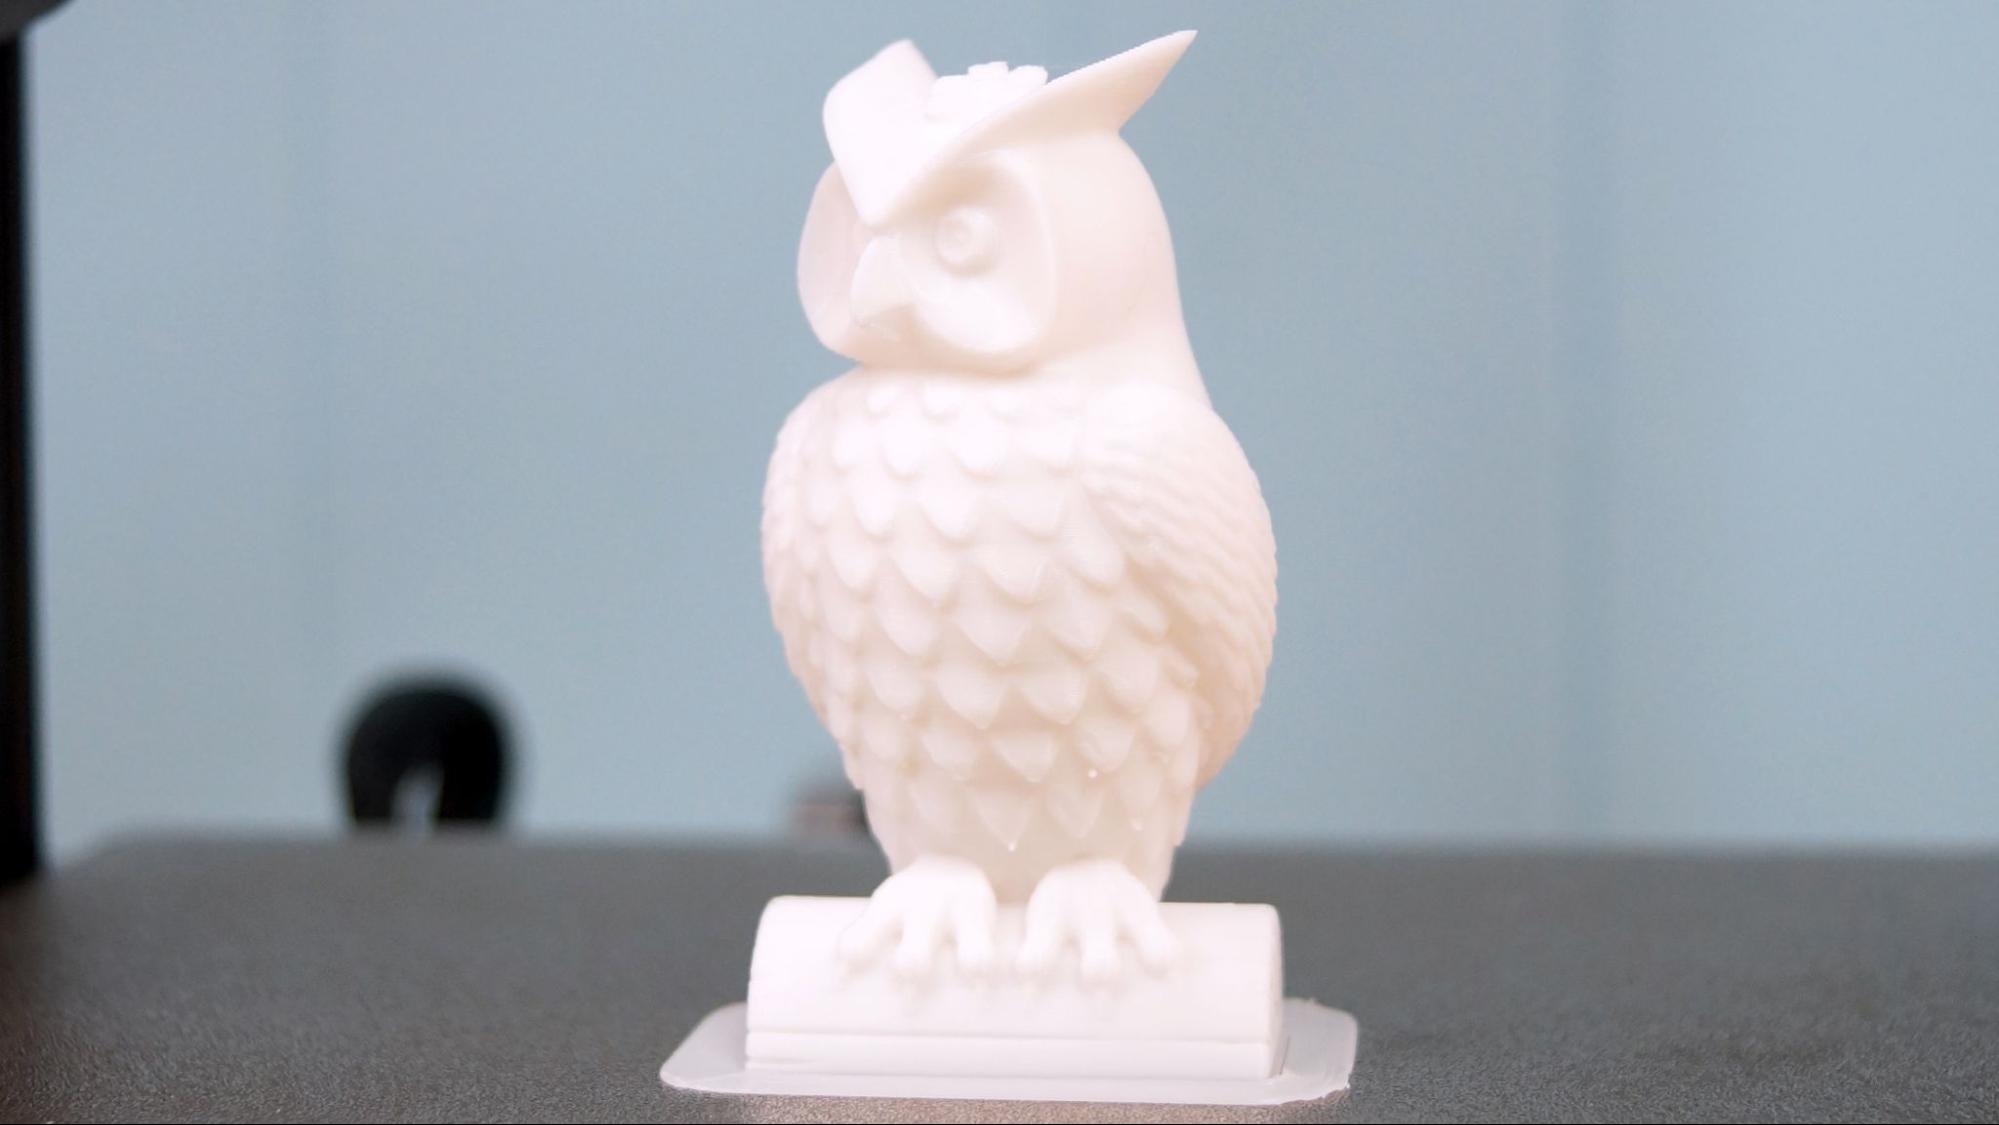
The first print I ran on the Anycubic Kobra was a pre-sliced owl that came on the microSD card. I used the sample coil of white PLA and it printed without problem – just a few zits from the lower feathers where overhangs are a bit much.
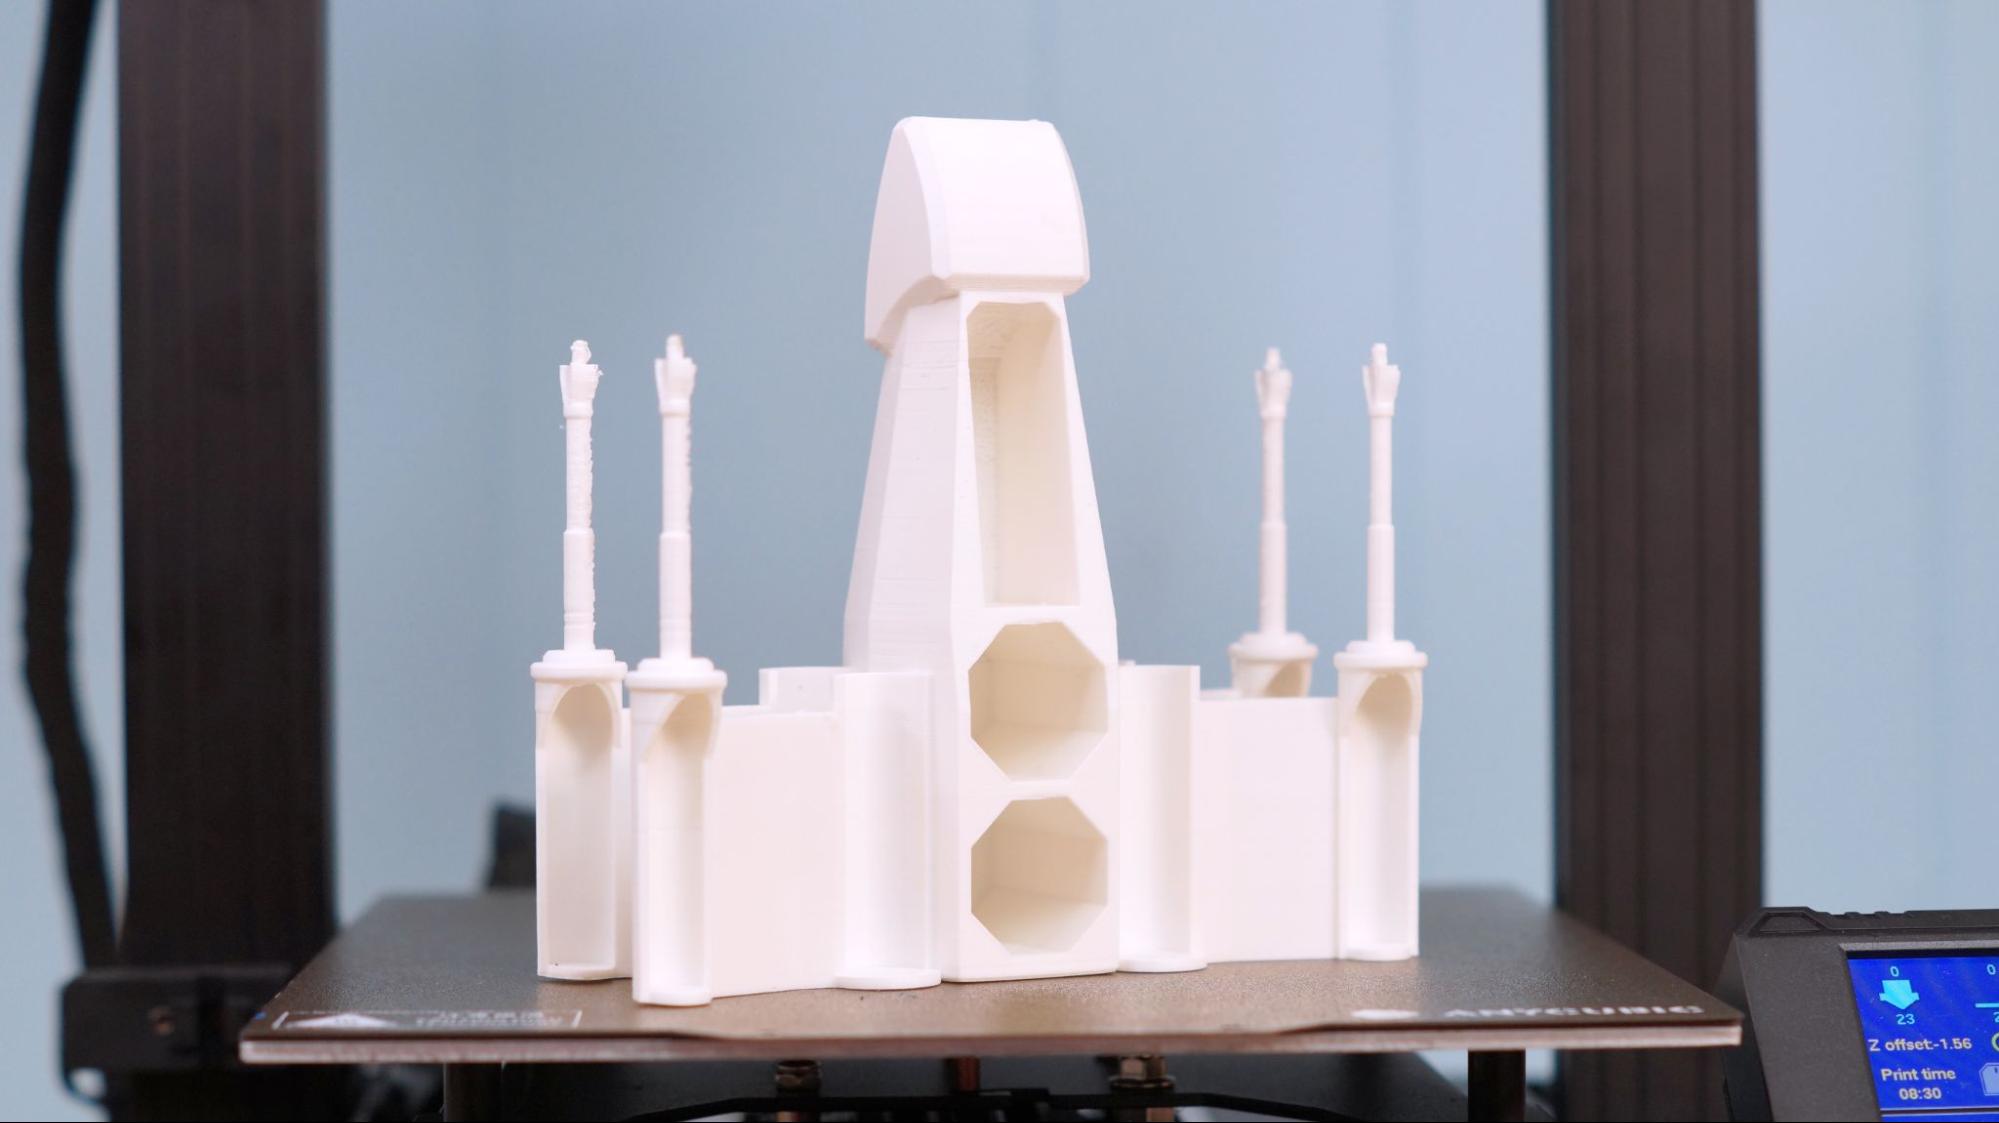
The Kobra Go does a great job with most prints, but the delicate weapons on this X Wing battery box did turn out a bit rough. It might be improved by slowing the machine down, but you can also take sandpaper to the print. This model printed in 9 hours and 54 minutes with a .2 mm layer height at 50mm/s in Anycubic Matte White PLA.
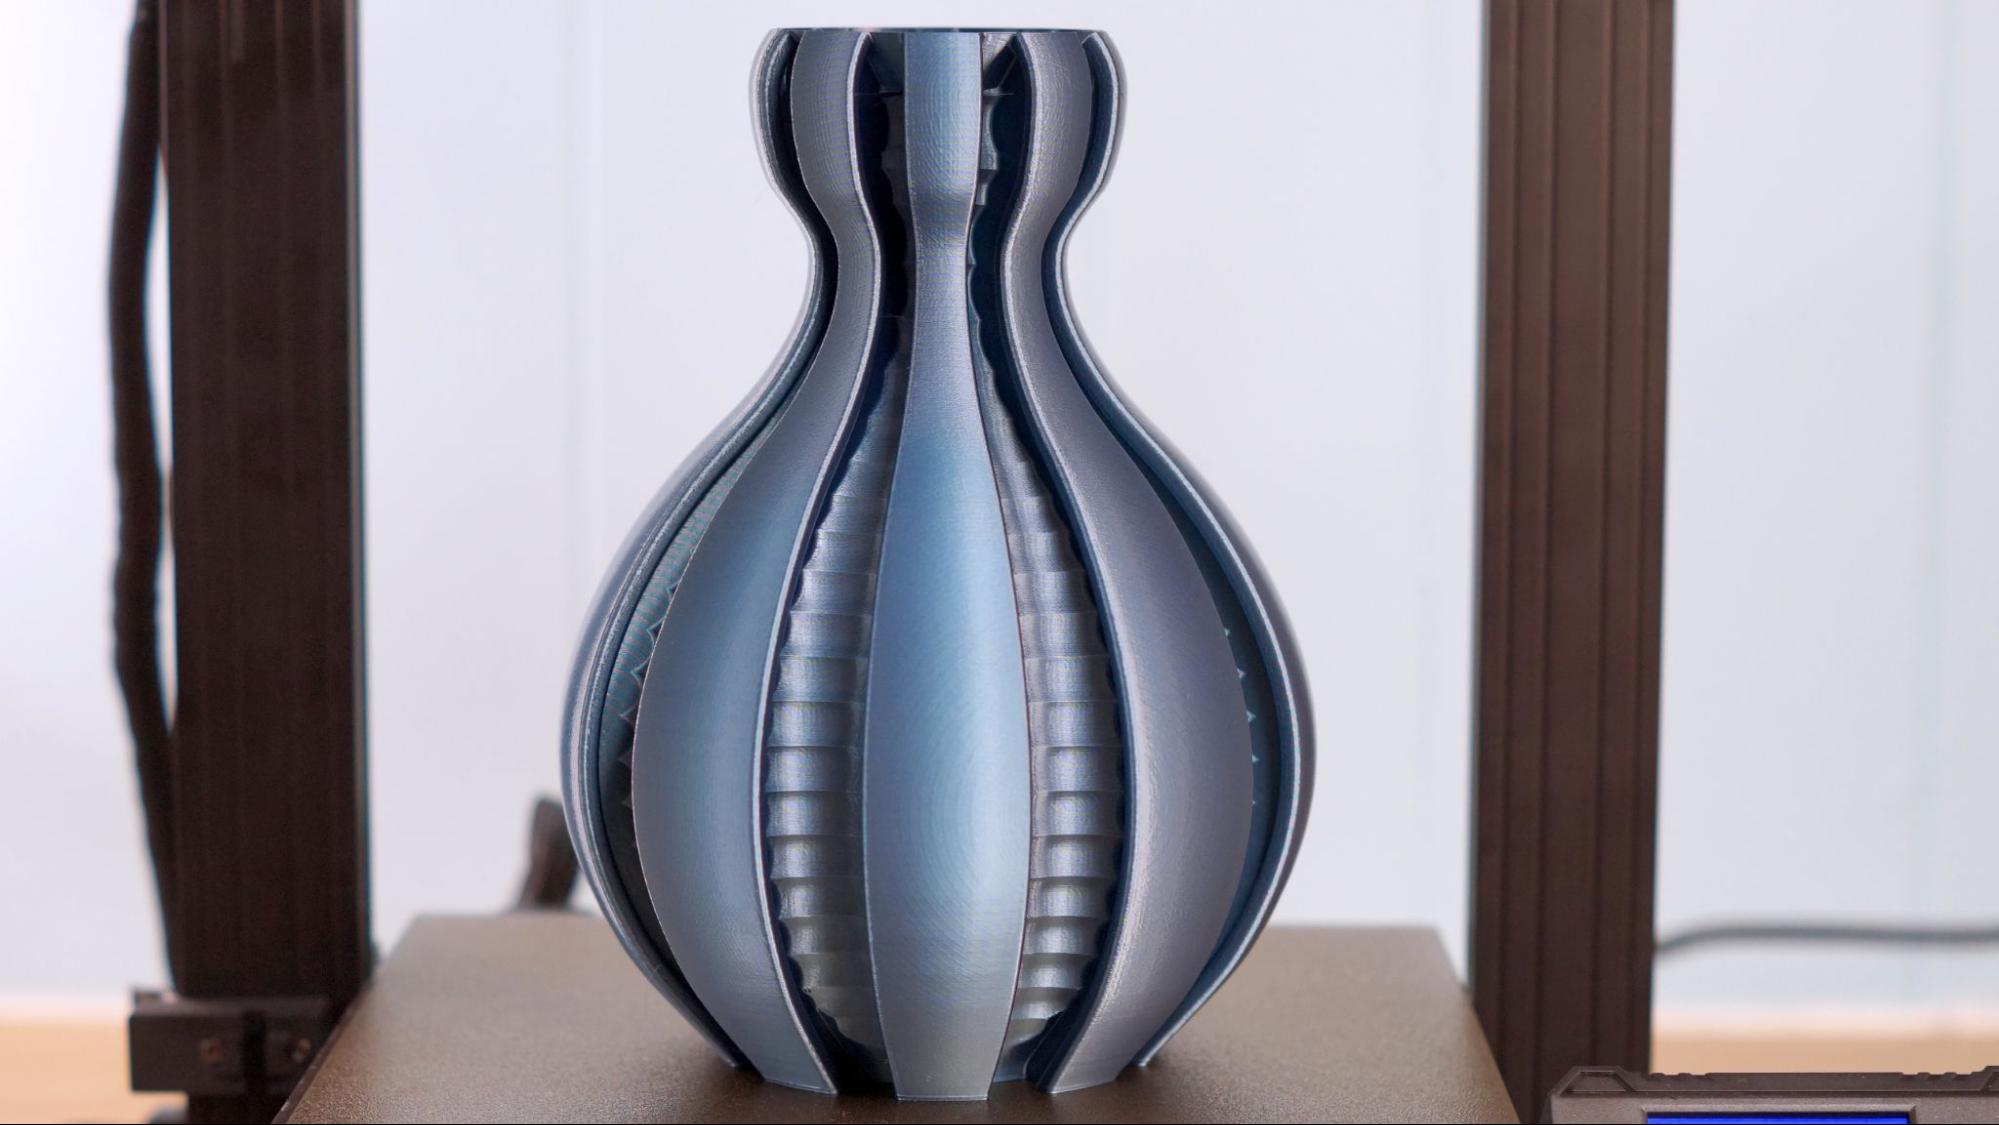
The Kobra Go can do perfectly smooth and showy prints when you give it time to run with thin layers that practically disappear when you use good filament. This vase mode print was run at a .16 mm layer height with my usual 65mm/s speed. The vase was enlarged to 175% and took 7 hours and 26 minutes to print. Printed in Anycubic Silk Blue PLA.
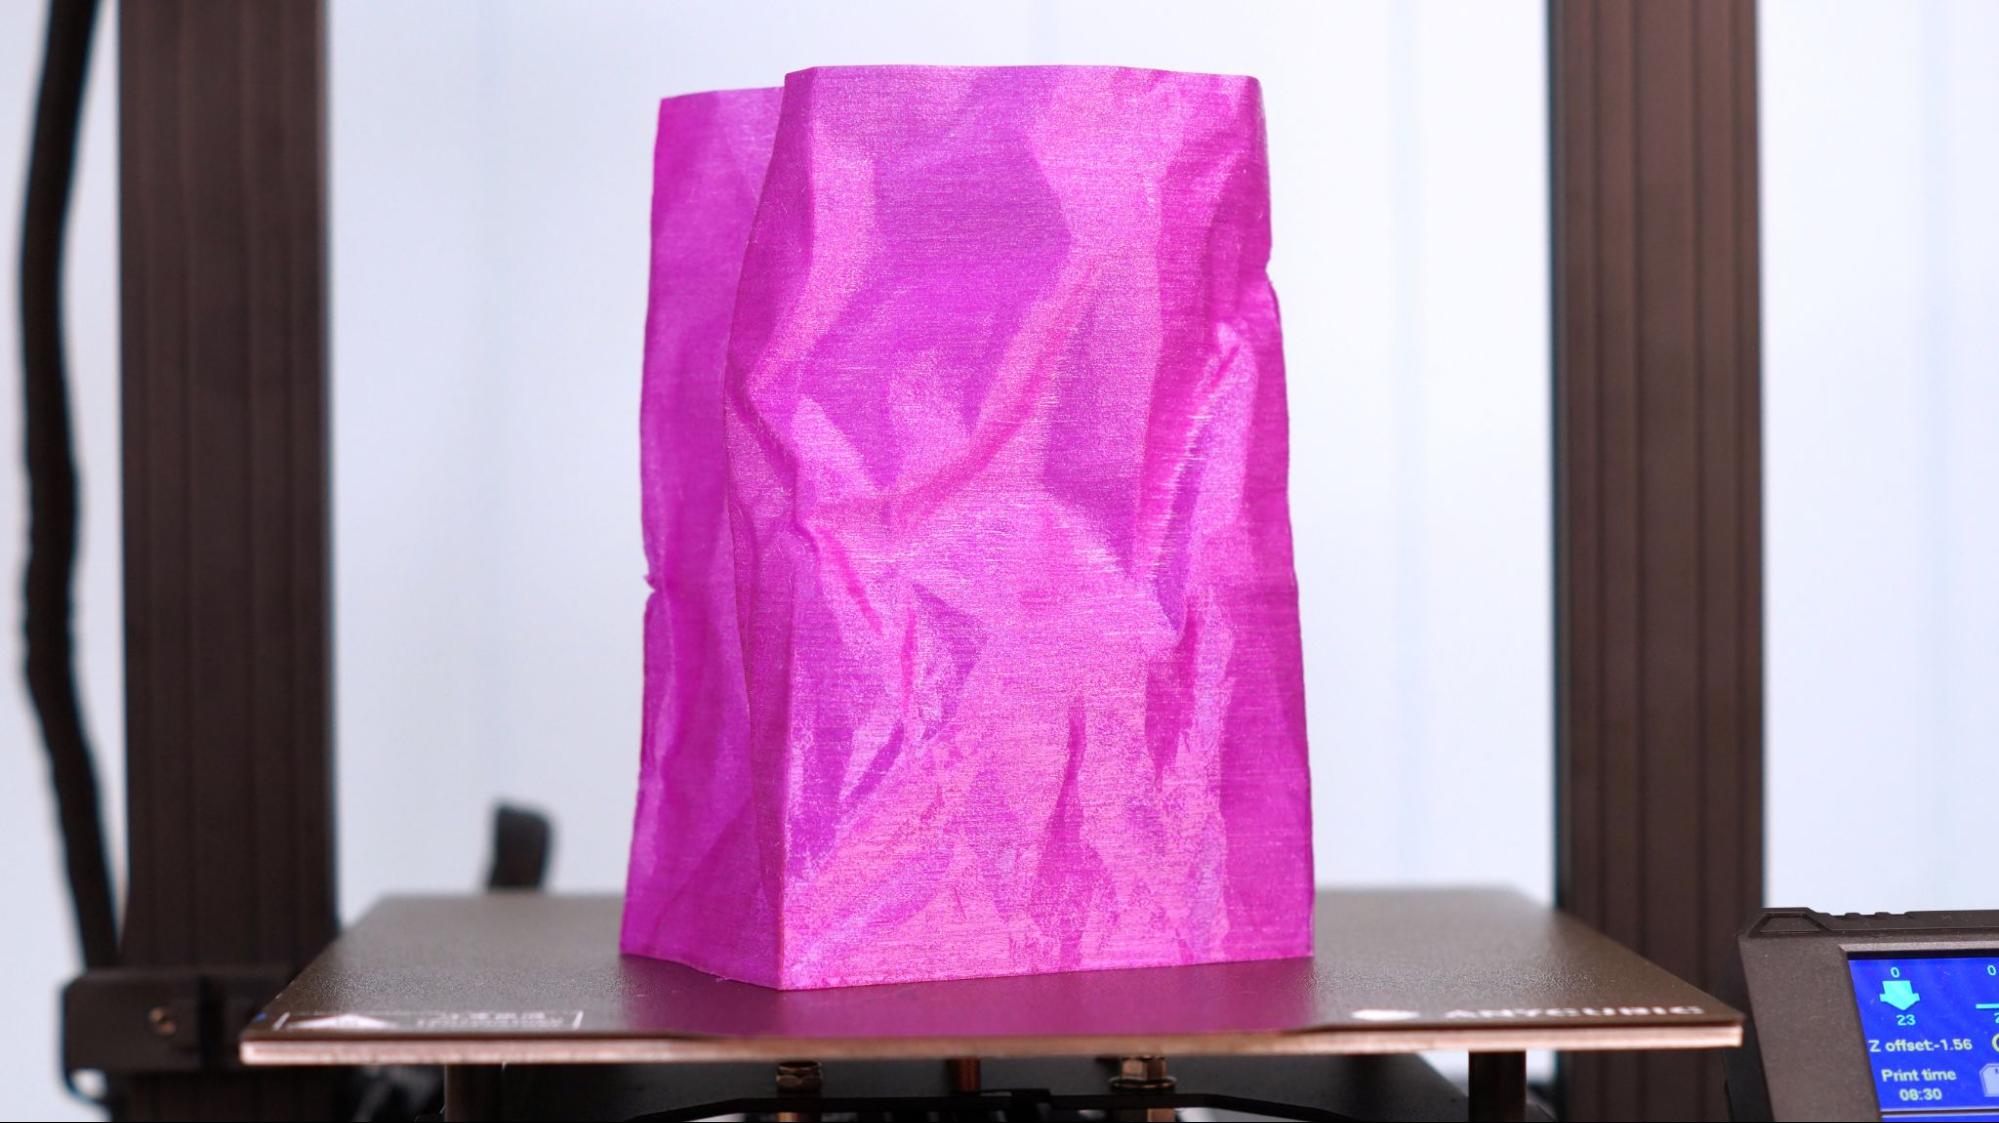
To see how the Kobra Go handles TPU, I picked this practical vase mode bag – yes, this is a scan of a Taco Bell done by DaveMoneySign. The print is nice and clean, and the Kobra Go’s extruder didn’t have any trouble feeding the stretchy filament. It took 2 hours and 29 minutes to print using .2mm layers and 65mm/s speed. Printed in Matterhackers’ MH Build Translucent Purple TPU.
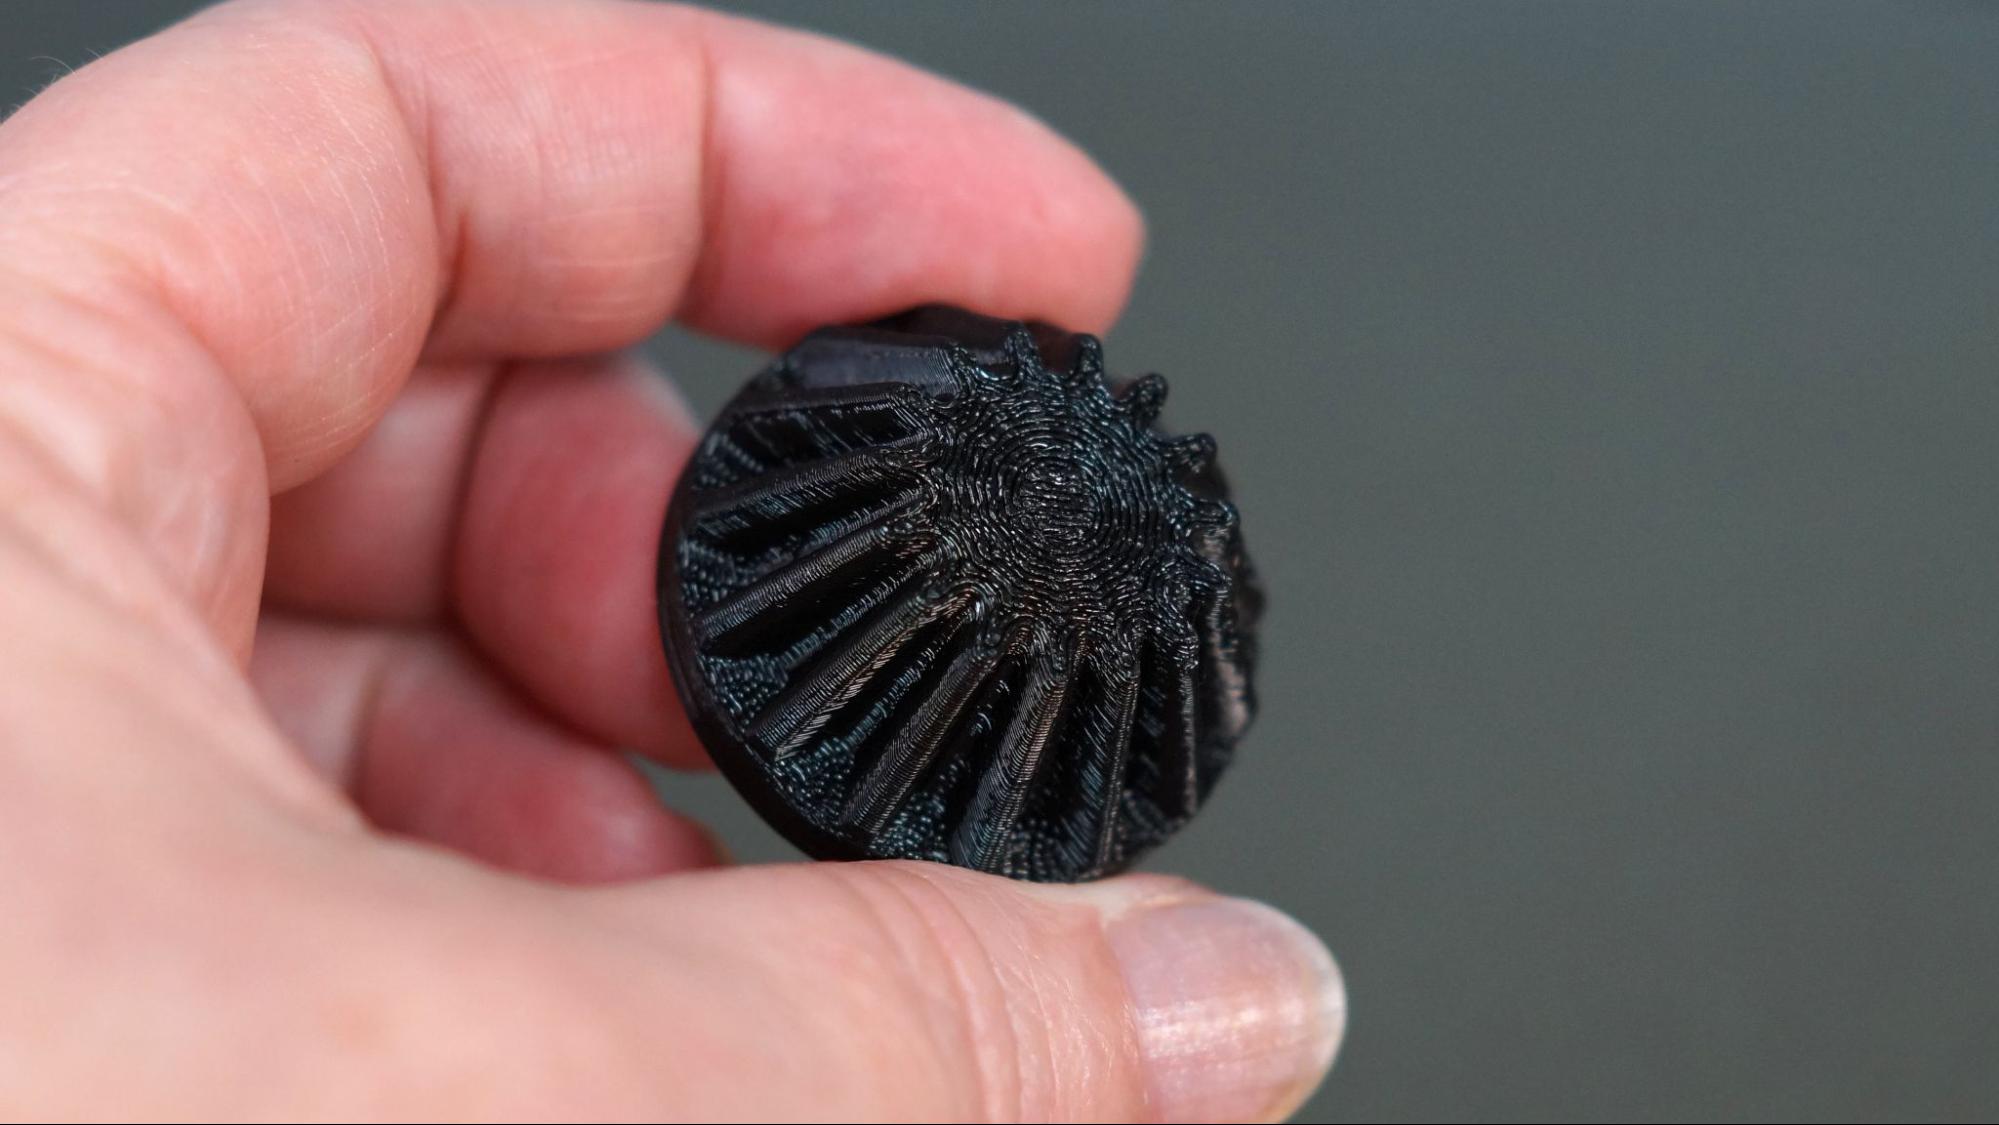
We’re working on a 3d printed Death Racer RC Car and all the parts have to be super strong. The Kobra Go did a great job with this gear printed in Polymaker Black Polylite PETG with insane stats: .16mm layers, 10 walls, 40% infill and only 40mm/s for the speed. It took an hour and 15 minutes to print.
Bottom Line
The Anycubic Kobra Go is an unexpected addition to the Kobra line up. Anycubic clearly made some cuts to bring down the price, including making the printer a DIY kit. But it still has the two features I find the most useful: auto bed leveling and a flexible build plate. I found the Kobra Go just as easy to use as the first Kobra and honestly, I didn’t miss the touch screen one bit.
The assembly directions are easy to follow, so putting the machine together is not too much trouble. I think the extra 40 minutes of work is well worth the money that you’ll save. This lower price point makes it a great printer to give as a gift to a young maker, or to add to the growing herd on your print farm.
If you’re interested in an even less expensive first printer, you can check out the Ender 2 Pro. It's a smaller machine without auto bed leveling, but has very good quality and comes mostly assembled.
MORE: Best 3D Printers
MORE: Best Resin 3D Printers
MORE: Best Filaments for 3D Printing

Denise Bertacchi is a Contributing Writer for Tom’s Hardware US, covering 3D printing. Denise has been crafting with PCs since she discovered Print Shop had clip art on her Apple IIe. She loves reviewing 3D printers because she can mix all her passions: printing, photography, and writing.
-
DougMcC Not really an area I've gotten into, so I don't know, but i'm curious:Reply
It seems like even fairly high end printers are still monocolor. What is preventing feeding 4+ filaments for more interesting color effects?
