APC’s Universal Notebook Battery Booster
Configuration And Hints
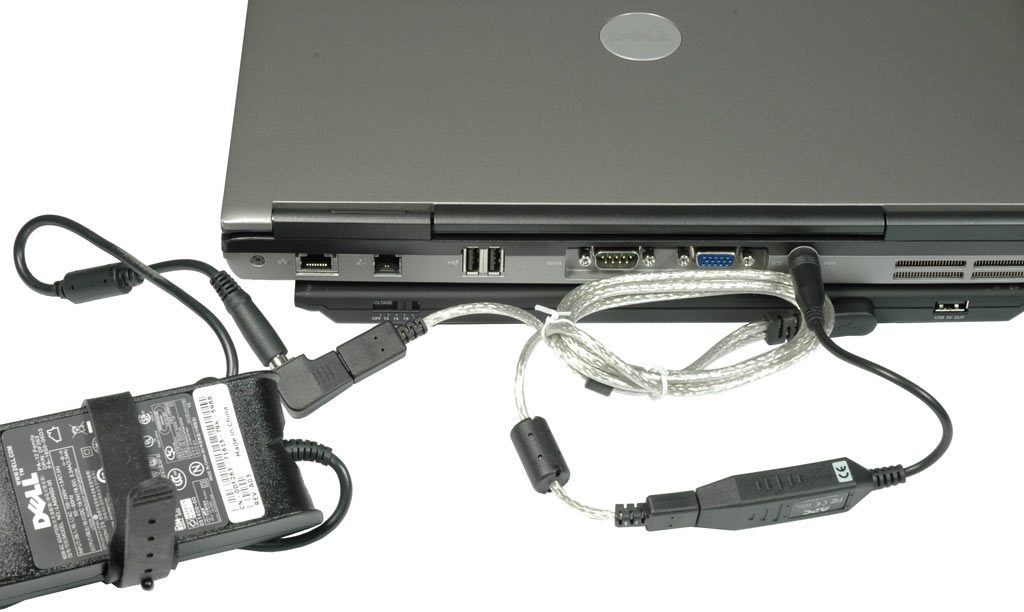
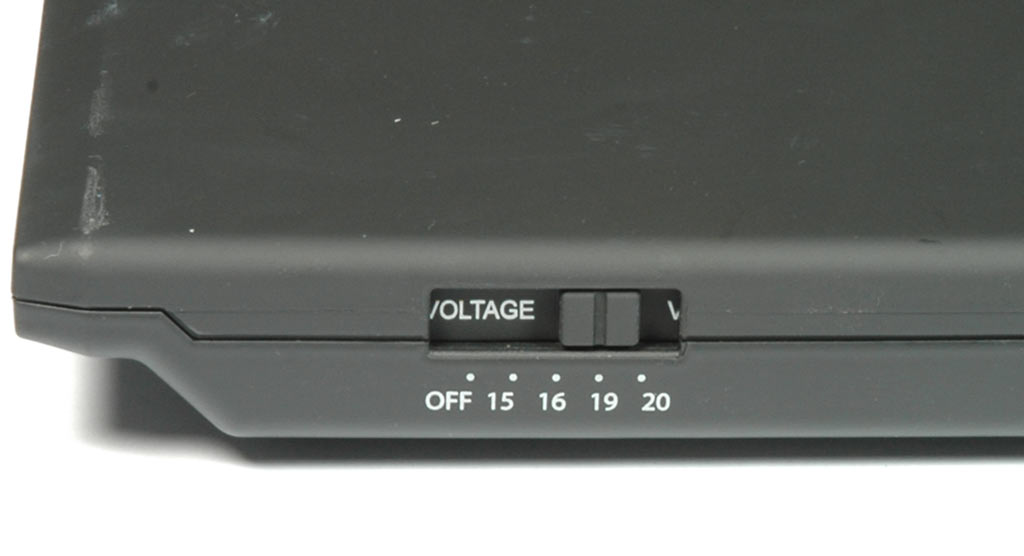
APC provides a power cable that allows you to connect both your notebook power supply and the notebook to a proprietary power port on the Universal Notebook Battery. Make sure that you select the correct voltage for your notebook: there is a small switch on the right side of the device to select 15, 16, 19, or 20 V supply voltage for your machine. Look on the bottom of your notebook or on the notebook’s power supply to check the voltage (half a volt’s difference is usually fine). The switch also allows lets you turn off the APC battery.
Watch Your Power Options!
The concept behind the Universal Notebook Battery has one disadvantage: since it is connected as if it were a power supply, there is no way for your notebook (or for Windows) to know that it is actually running on a battery. As long as your system uses one of the default power modes, such as “Balanced” in Windows Vista, it will switch the system into high performance mode—which really cuts into the potential battery run time increase that the product provides! If you want to use this product the right way, you should create a new power profile that you can use when you travel with the APC battery, or switch to the power saving mode if you can live with a quick and dirty solution.
Manual Battery Run Time Testing
Due to the situation just described, it’s not possible to use any of the conventional battery run time tests such as BatteryMark or MobileMark, which start their workloads after removing the power supply. The benchmarks are smart enough to cancel the run if you plug the APC battery back in, so we had to create a simple benchmark and track the time manually. We installed BatteryMon and looped a DVD vob file using the VLC player off the notebook’s hard drive until the battery (or batteries) were empty.


Check prices for APC's Universal Notebook Battery 70
Get Tom's Hardware's best news and in-depth reviews, straight to your inbox.
Current page: Configuration And Hints
Prev Page APC’s Universal Notebook Battery Next Page Test System, Battery Runtime
