ASRock H310M-G/M.2 Motherboard Review: Solid, but a Little Expensive
Why you can trust Tom's Hardware
Software and Firmware
Software
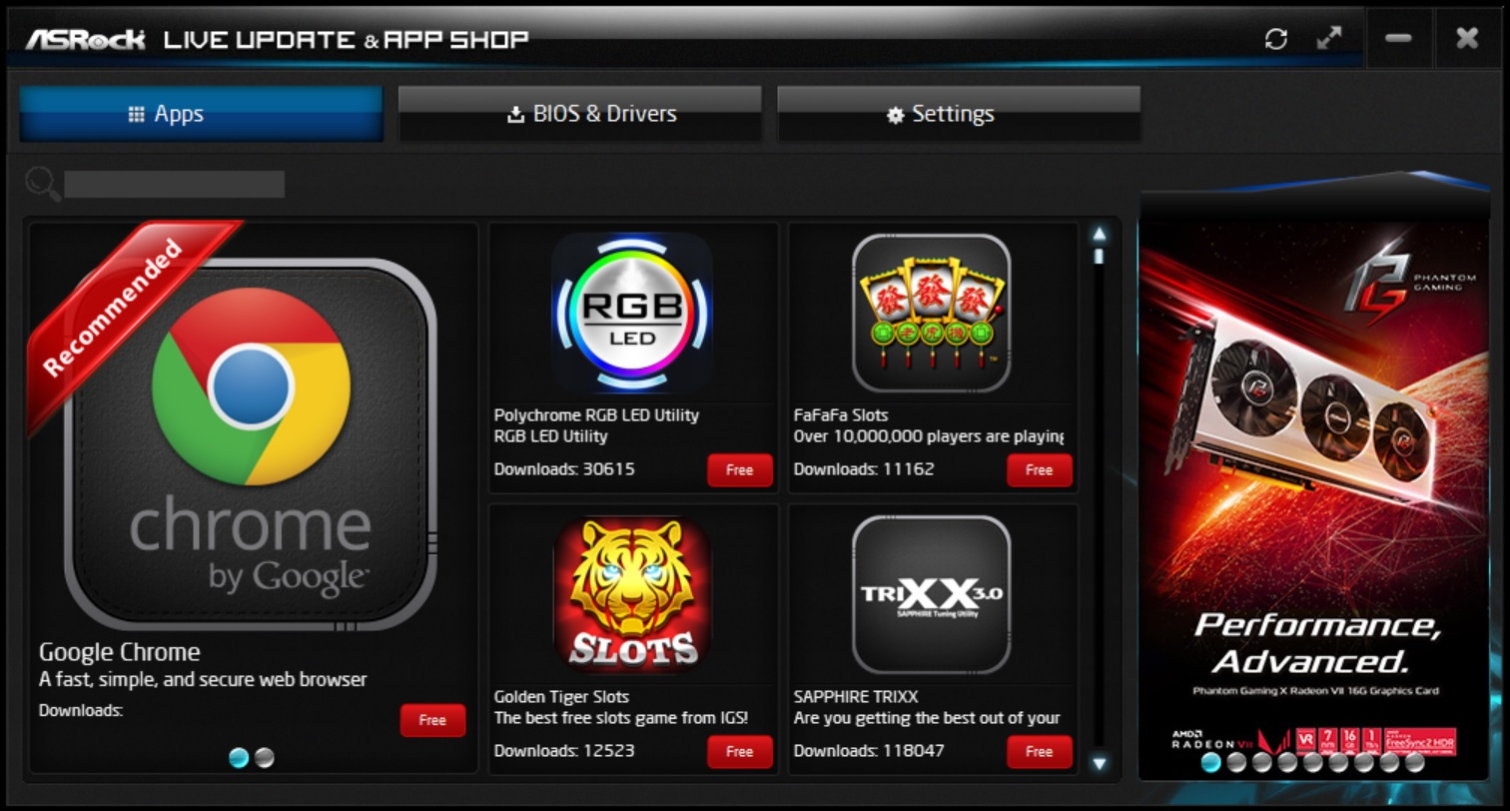
ASRock, like the other board partners, includes several pieces of software. This includes the App Shop, a one-stop shop for downloading applications, BIOS’ and drivers, as well as RGB lighting controls and system status information and control. It’s a comprehensive suite, but typical of board makers these days.
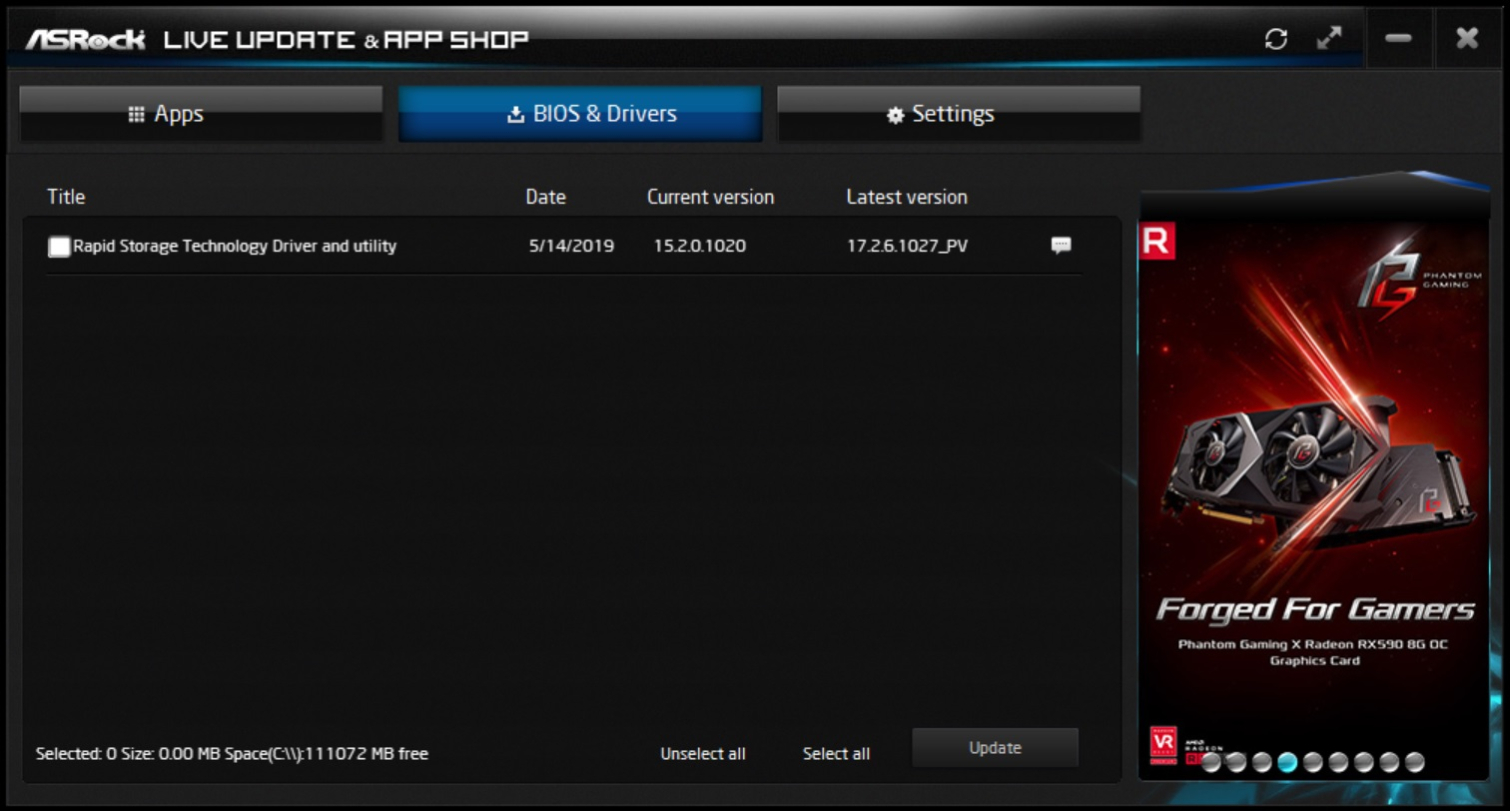
The ASRock Live Update and App Shop is designed to be a single source for downloading, installing, and updating ASRock utilities and drivers from the company’s website. The small-footprint app is split into two sections, Apps and BIOS and drivers where you can download the application or update.
There are several non-ASRock applications in the App section on this page, some of which may be helpful. Here you’ll find Google Chrome, but there are several other games and such that just take up space. The BIOS and Drivers page will list what’s installed or needs to be updated. Once selected, programs will download and drivers will install. I had no issues with this software with limited use.
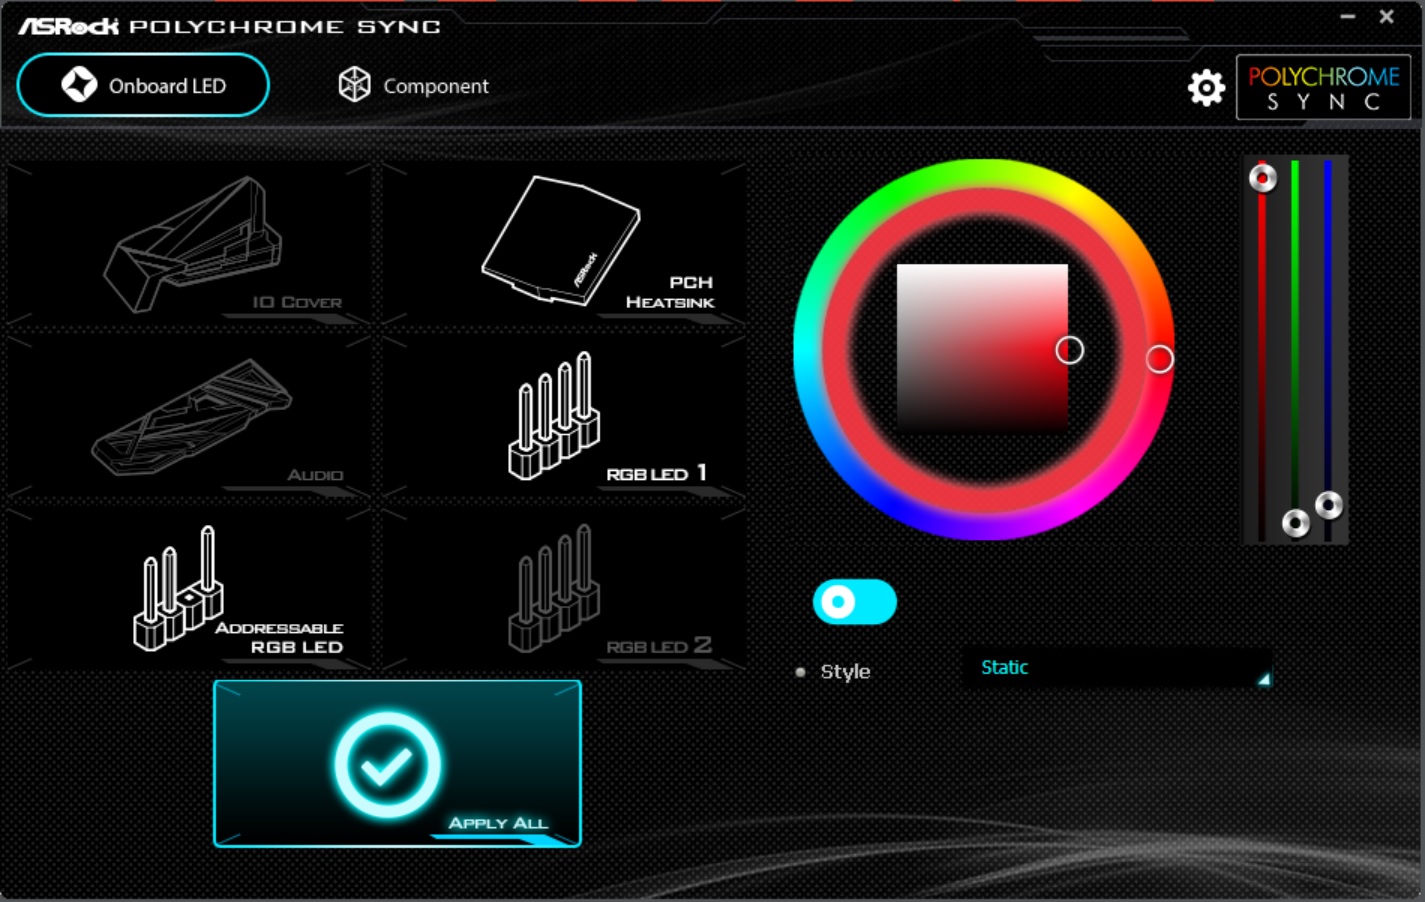
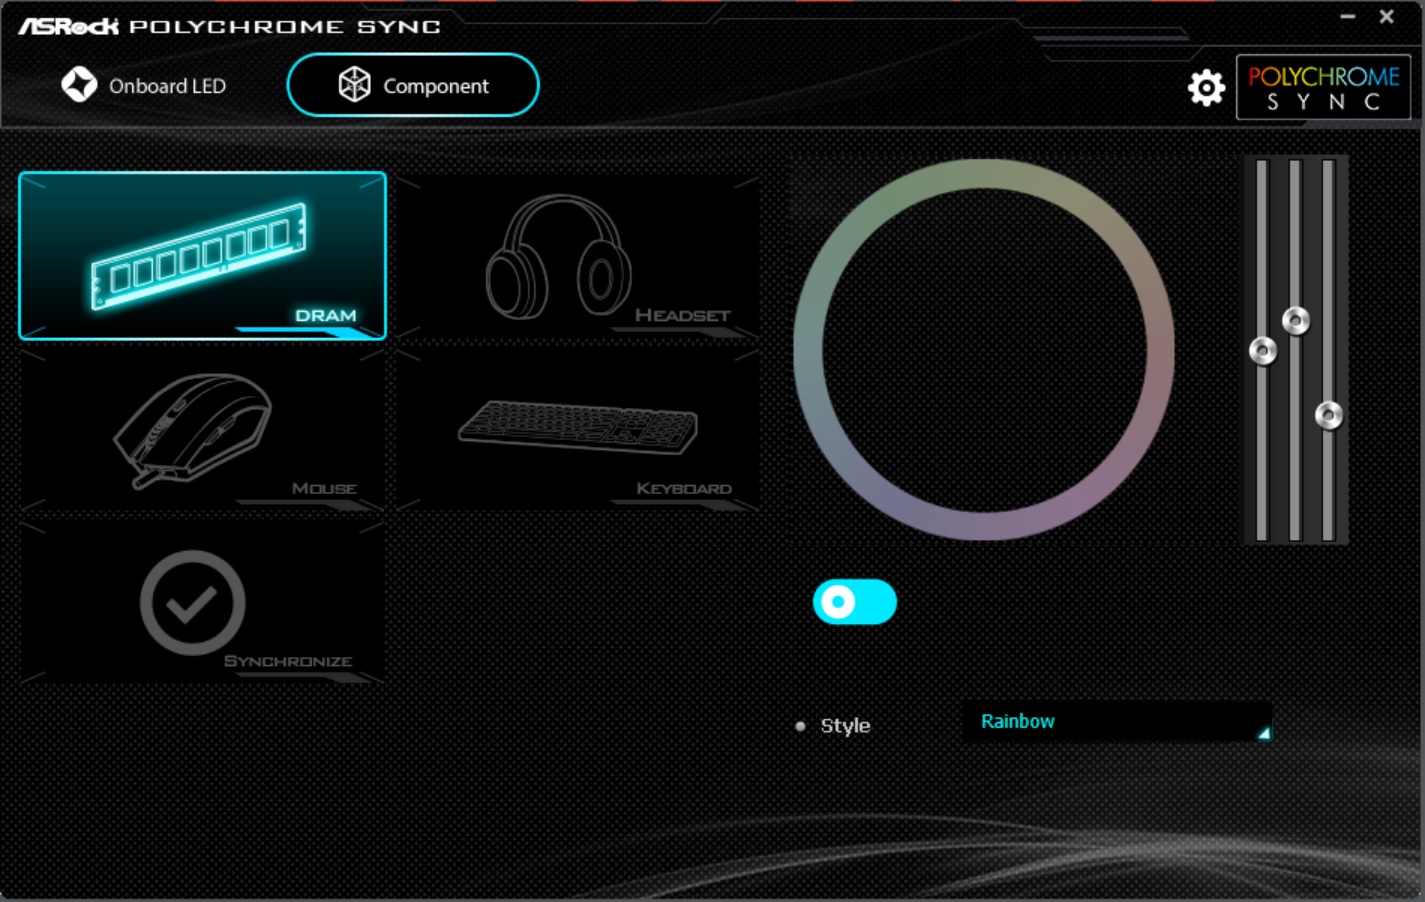
ASRock’s RGB environment is called Polychrome Sync and includes an ecosystem of supported products that work with ASRock motherboards. On this specific board, the integrated LED is only RED, but the software is able to control compatible devices/peripherals like the Kingston Hyper X Memory used in our test bench.
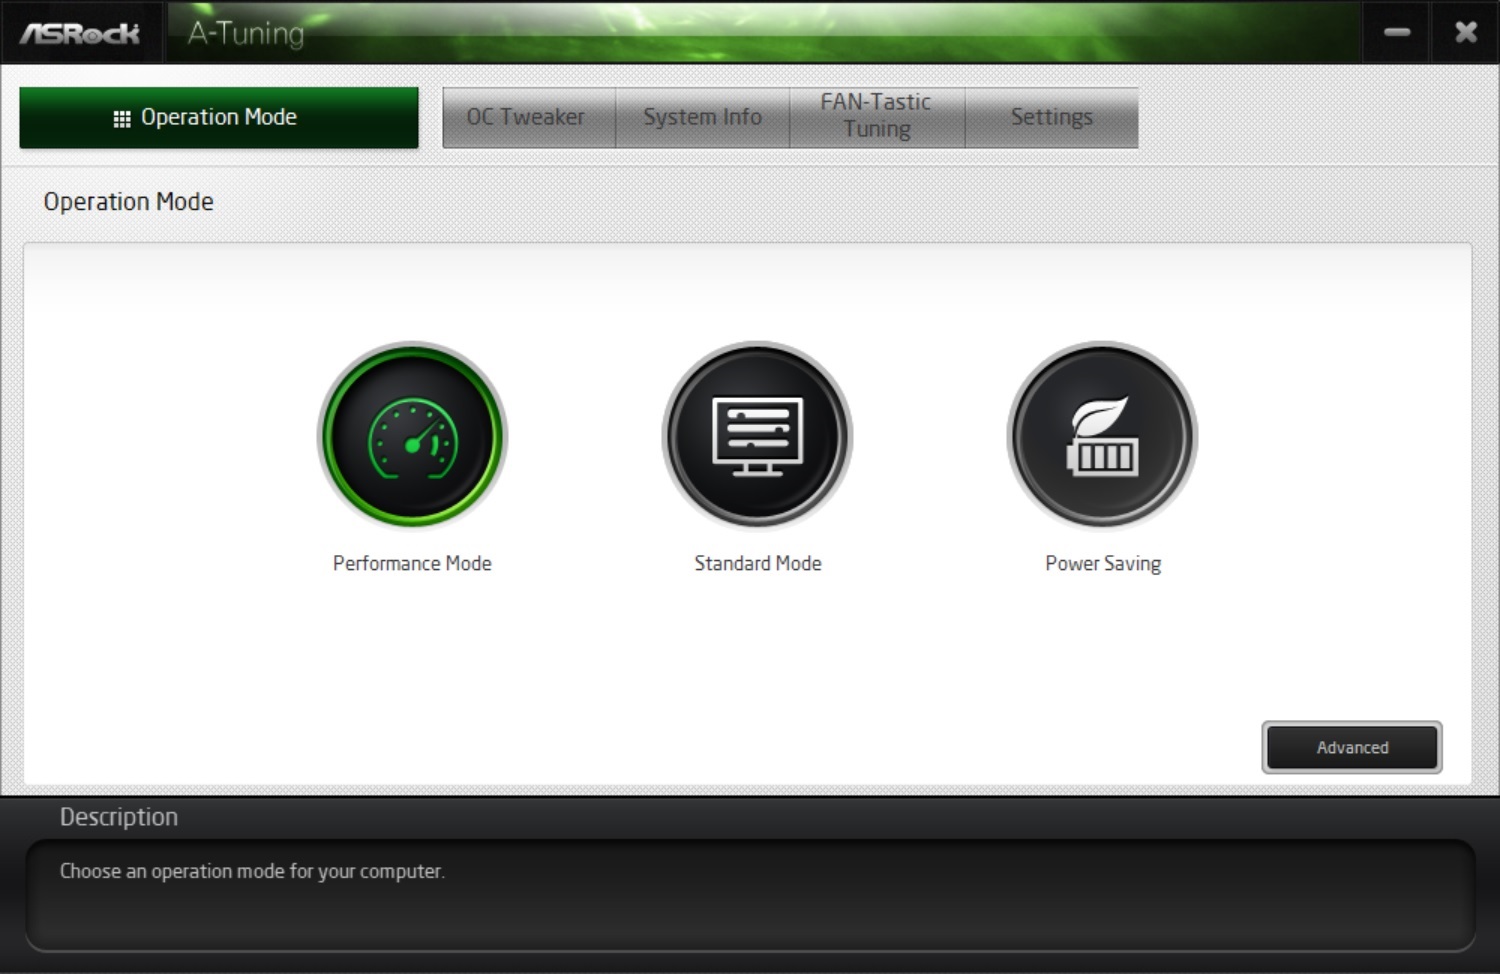
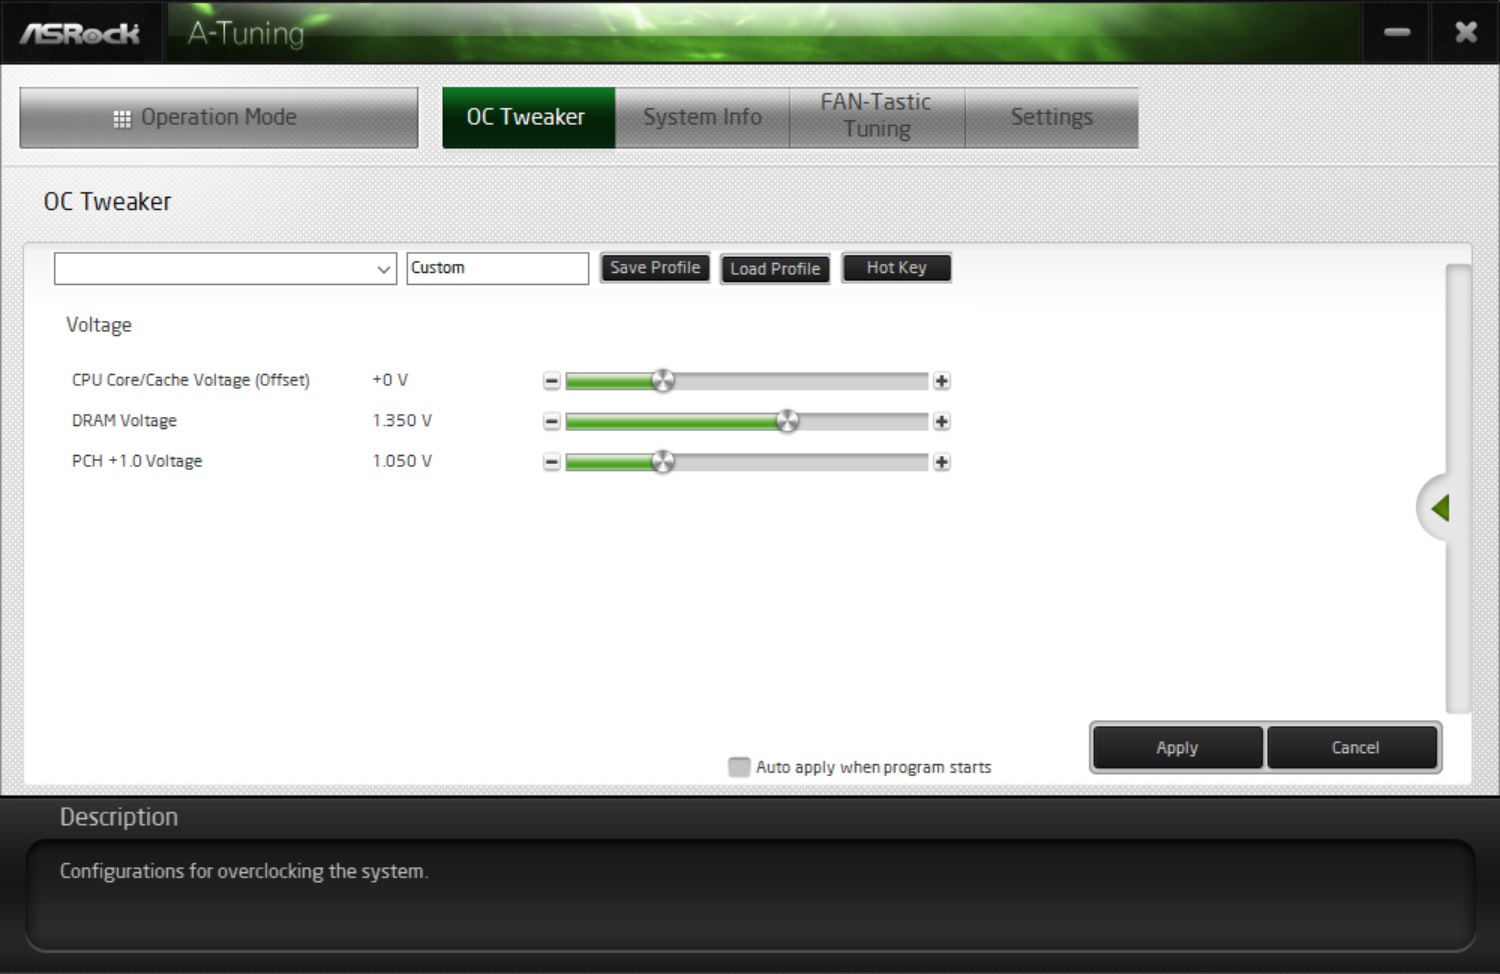
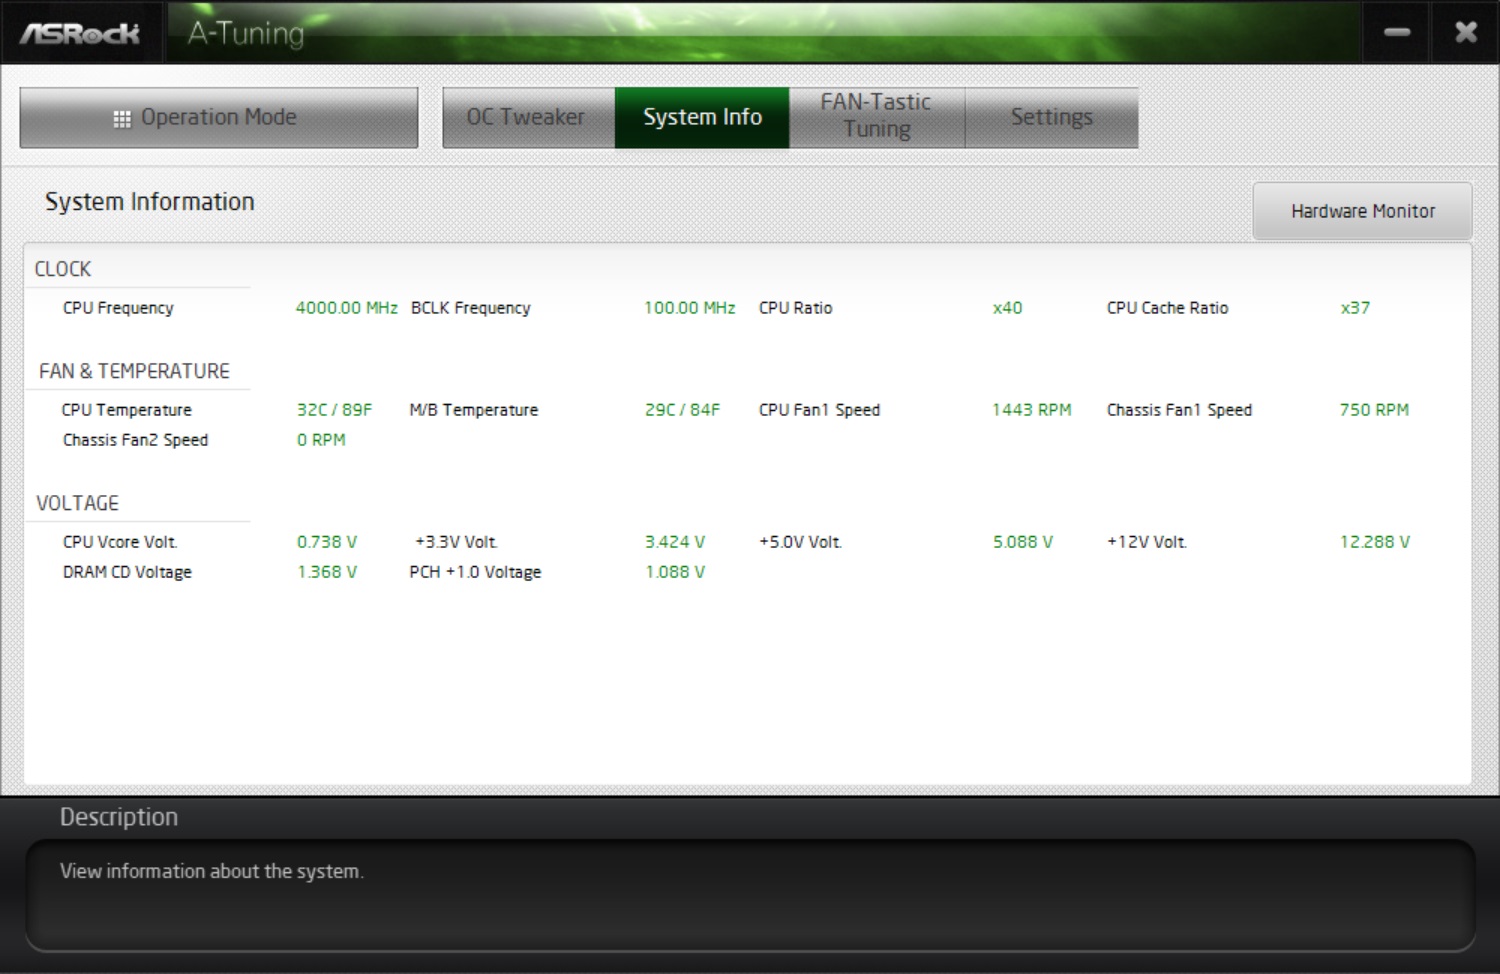
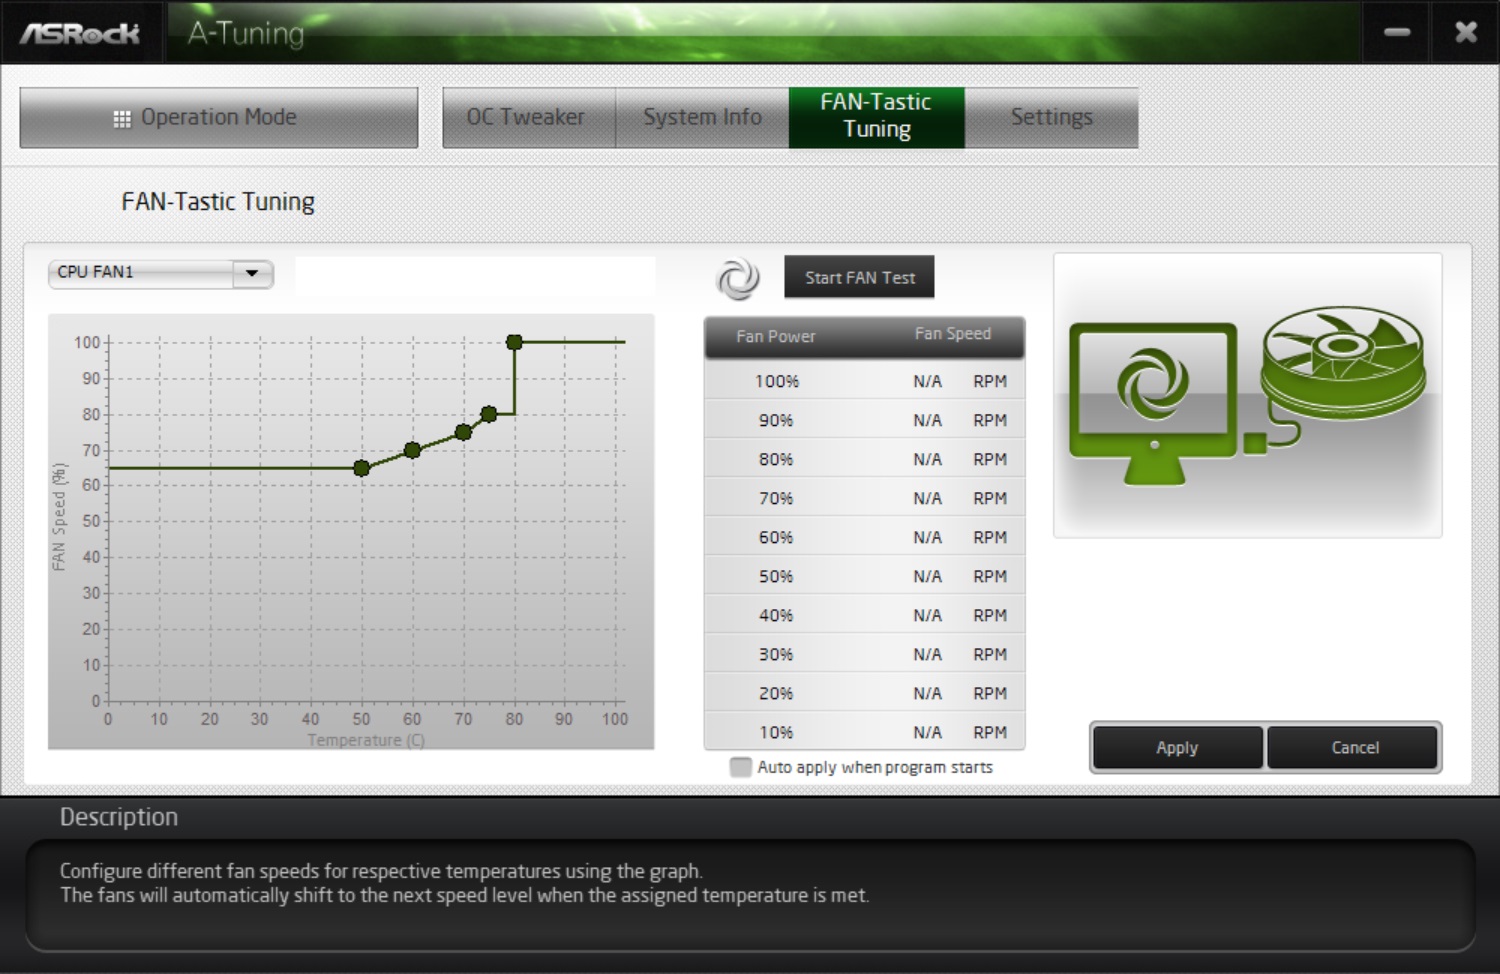
A-Tuning is ASRock’s overclocking and monitoring application for boards that can overclock. On this chipset, we cannot overclock, so we are left with simple voltage controls for the CPU, DRAM, and chipset.
The System Info tab displays critical system information, including clock speeds, fan speeds and system temperatures, as well as the voltage of the CPU (Vcore) DRAM, and power supply voltages from the main rails (12V, 3.3V, and 5V).
The fans will be managed through the FAN-Tastic Tuning section, which will list all motherboard-attached fans in a dropdown and allow custom control for each. Be sure to run the fan test first so the software knows the min/max speeds of the attached fans.
Get Tom's Hardware's best news and in-depth reviews, straight to your inbox.
Firmware
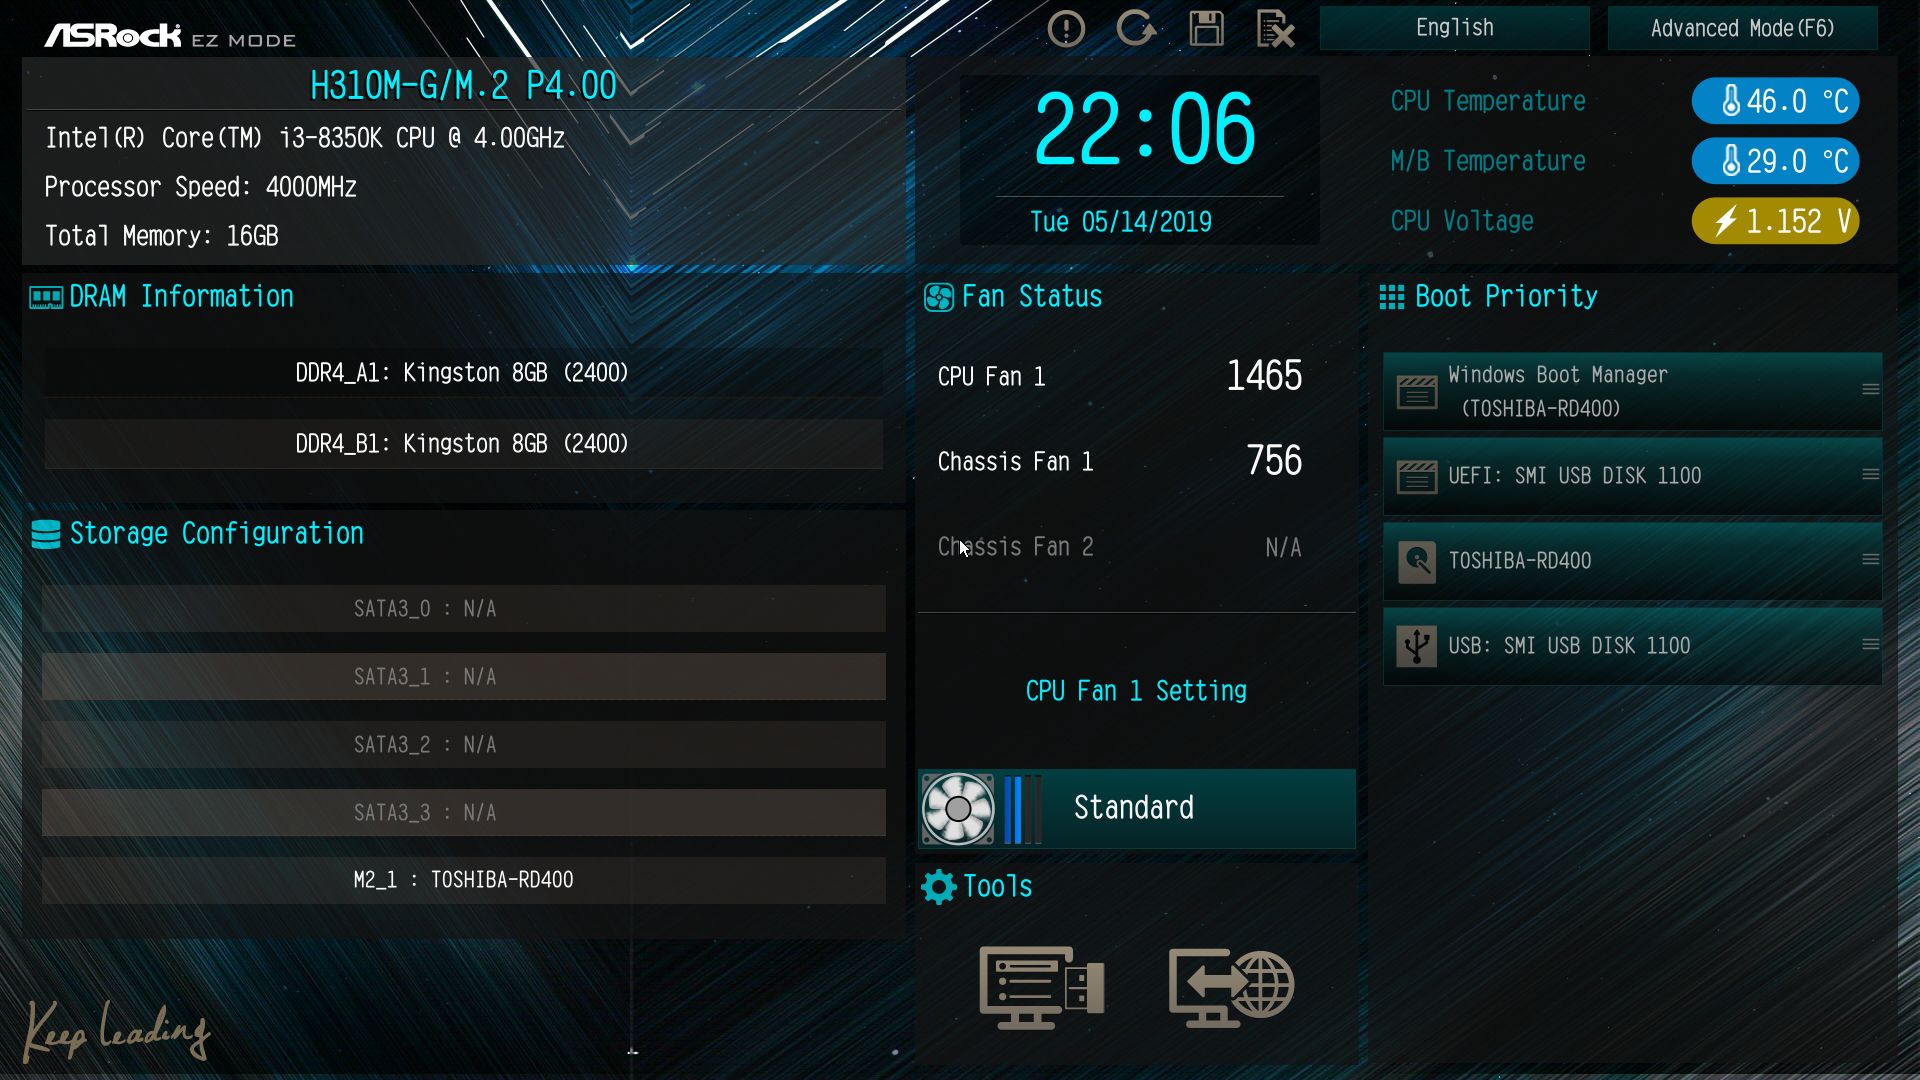
ASRock’s BIOS, like so many others, comes with an advanced mode as well as an easy mode. On this board, after flashing to the latest version (P4.00 at the time of publishing) it starts off in EZ Mode with advanced access executed by pressing F6.
The EZ Mode screen displays a dashboard with various information, including the installed CPU type and speed, total memory installed, along with what slots are used and speed the sticks are running at, storage information, fan status and speed control, as well as system temperatures and boot priority. Within this section, the only options one can edit are the boot priority, as well as the fan setting (Silent, Standard, Performance, Full Speed). Clicking on the tools at the bottom yields access to BIOS flashing as well as FAN-Tastic Tuning for the fans.
Moving into the Advanced Mode is where most of the work will get done, even if overclocking isn’t possible. Like EZ Mode, Advanced has a black background with white writing and blue highlights for this series of board (the company’s Fatal1ty boards are black and white with red highlights). Across the top are several headings for different sections, each with its own set of functionality. You’ll find Main, OC Tweaker, Advanced, Tool, HW Monitor, Security, Boot, and Exit.
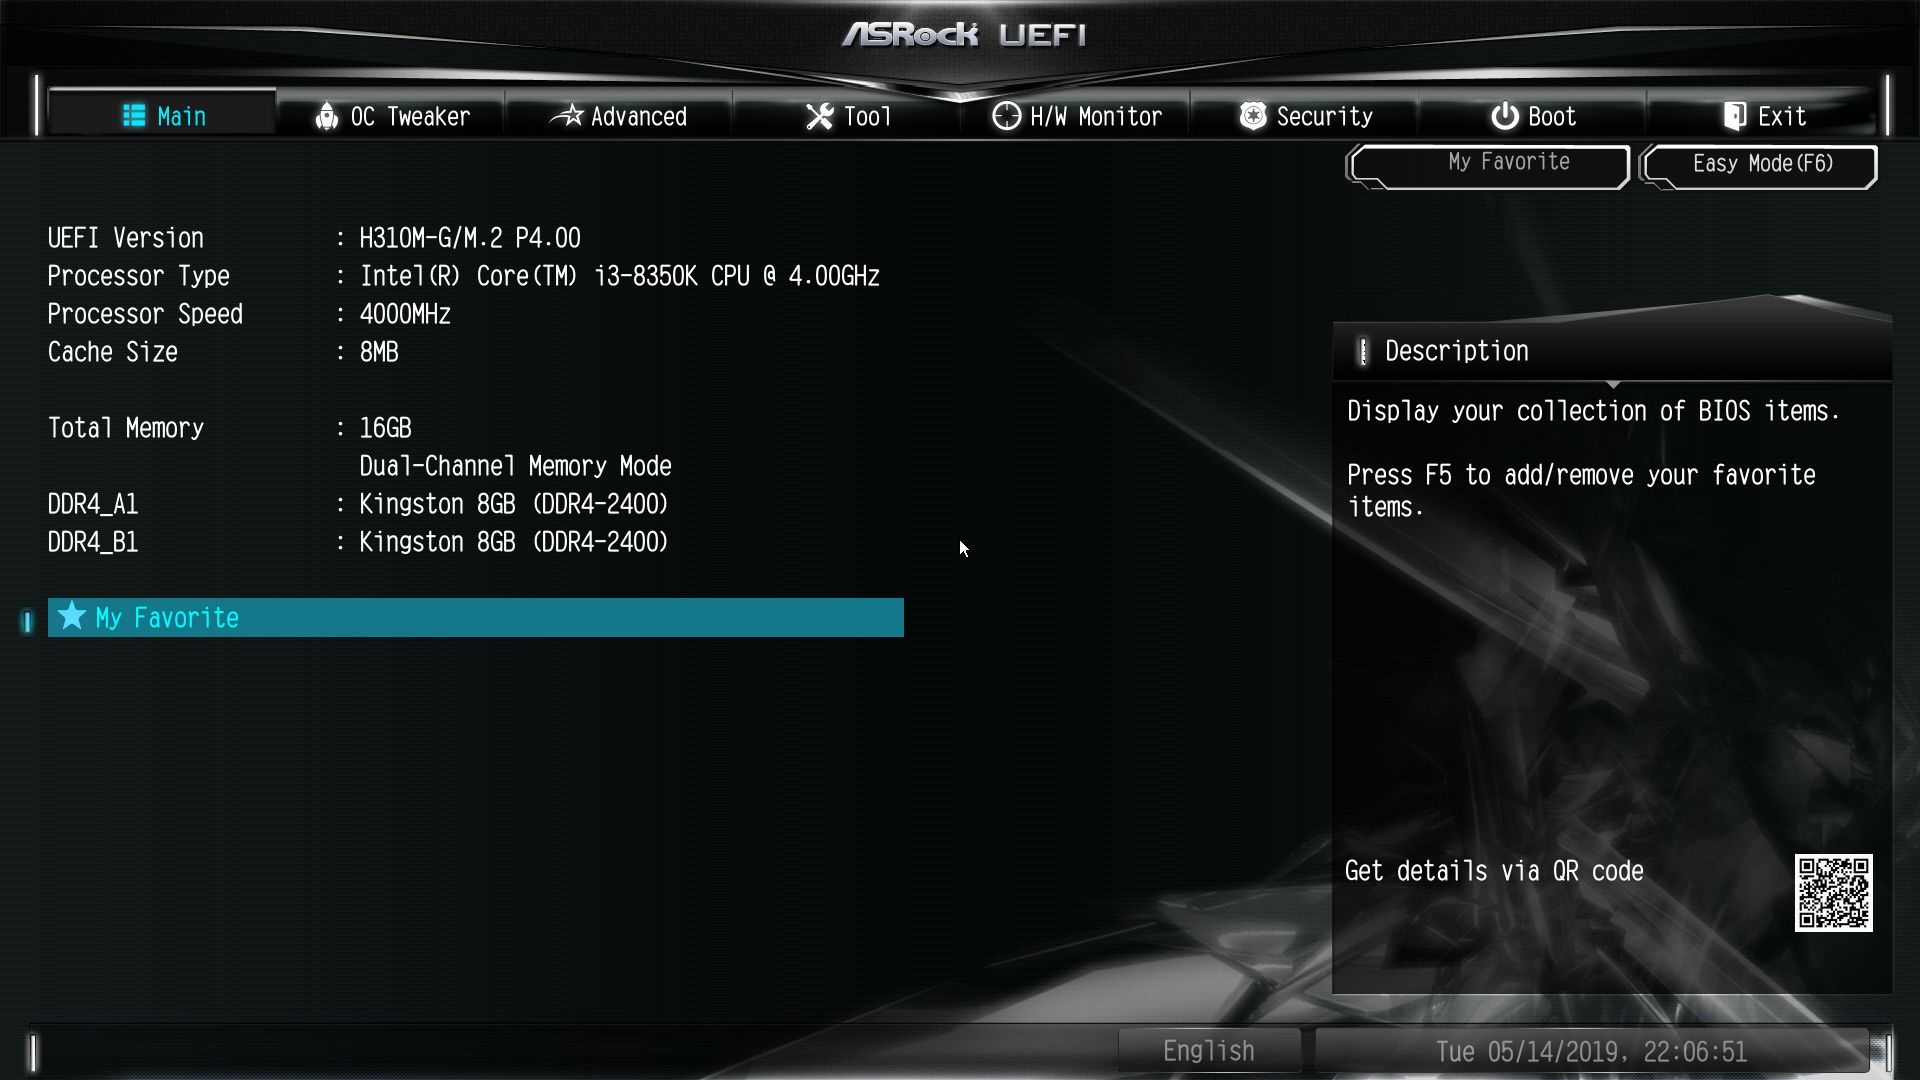
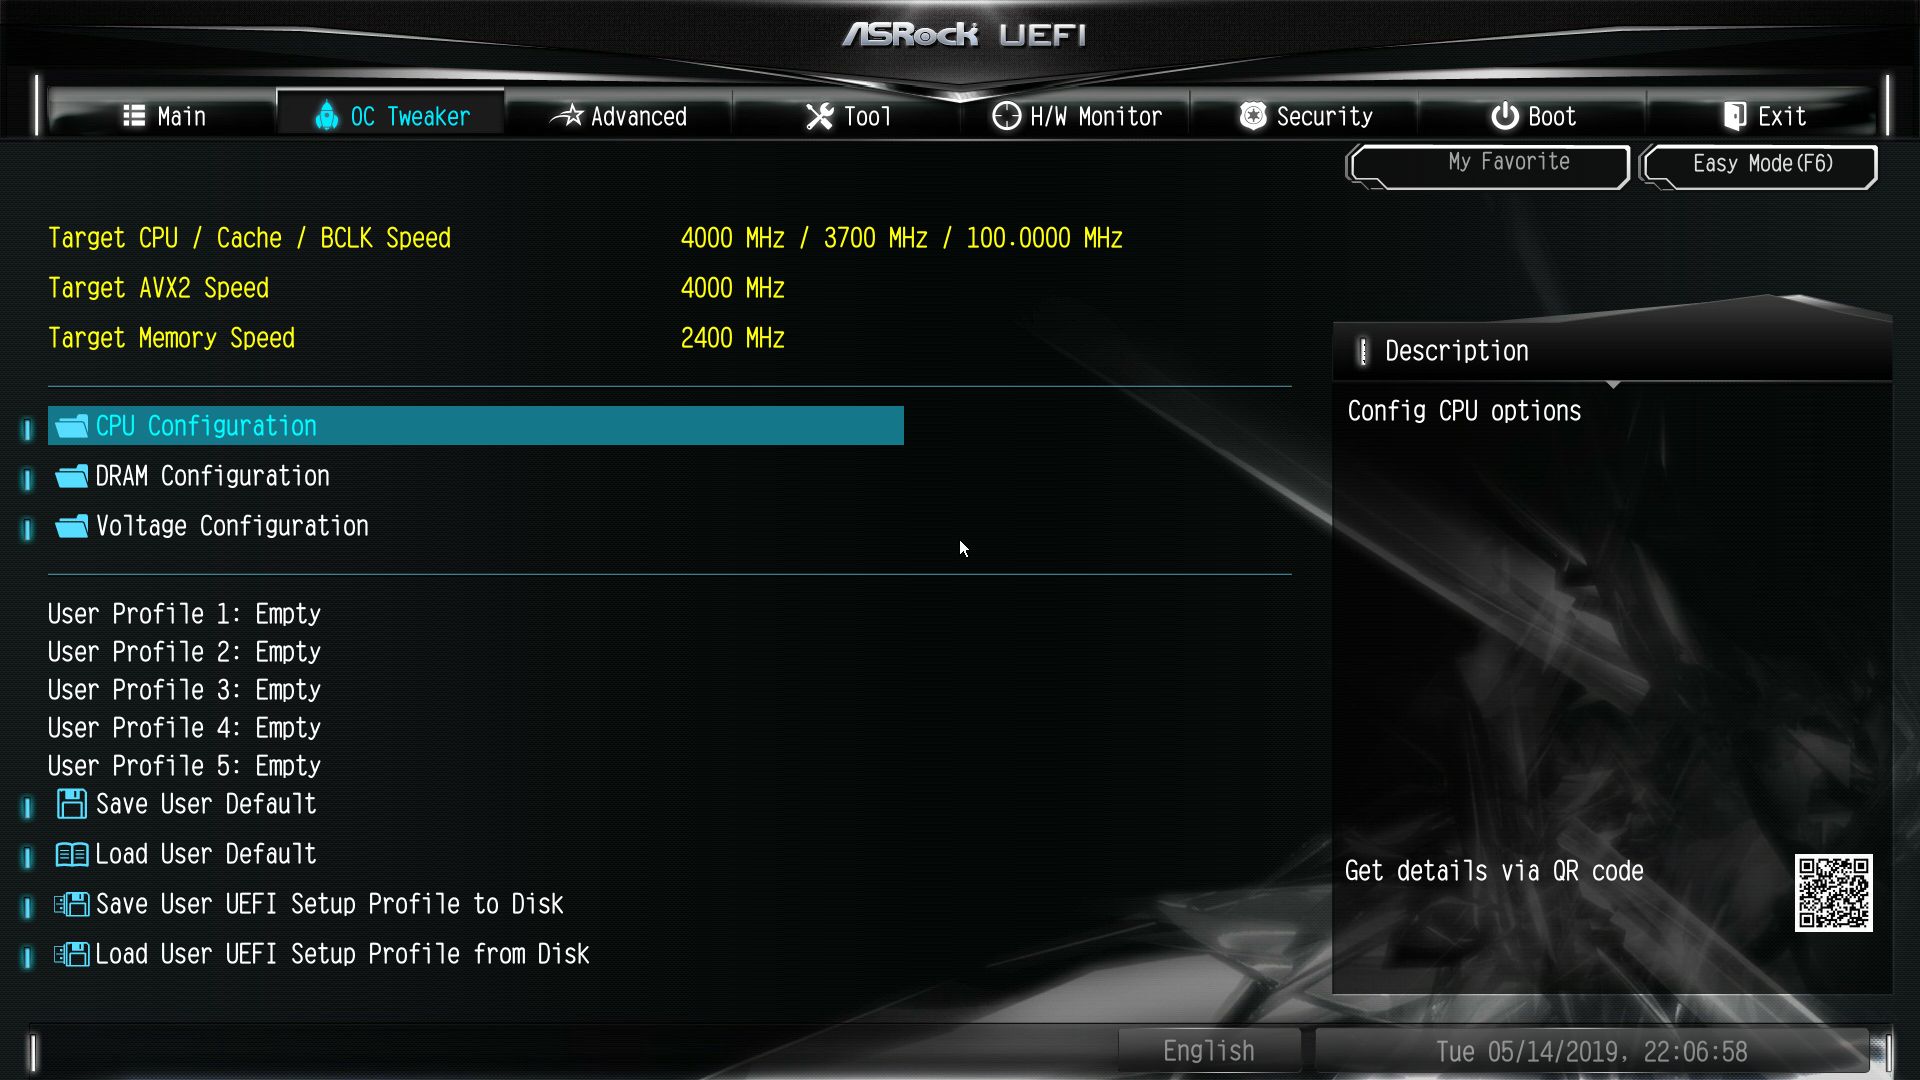
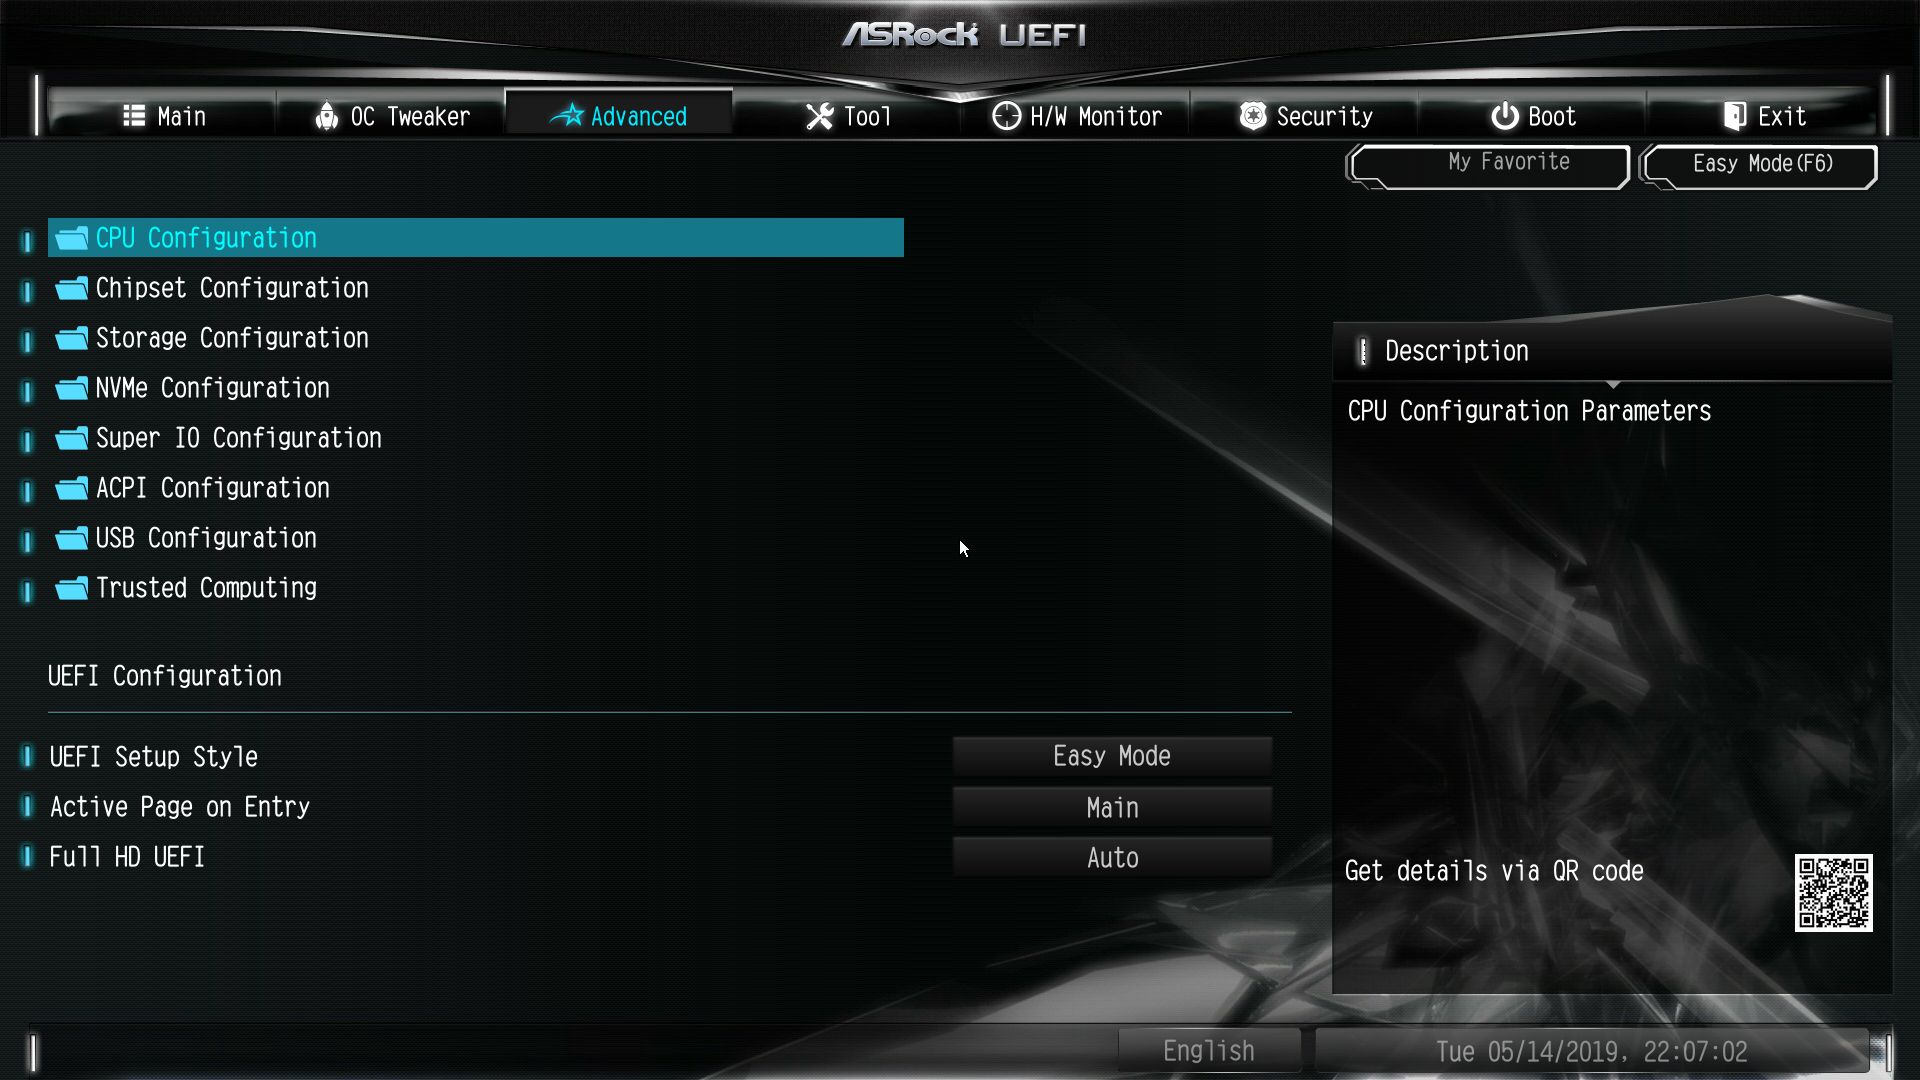
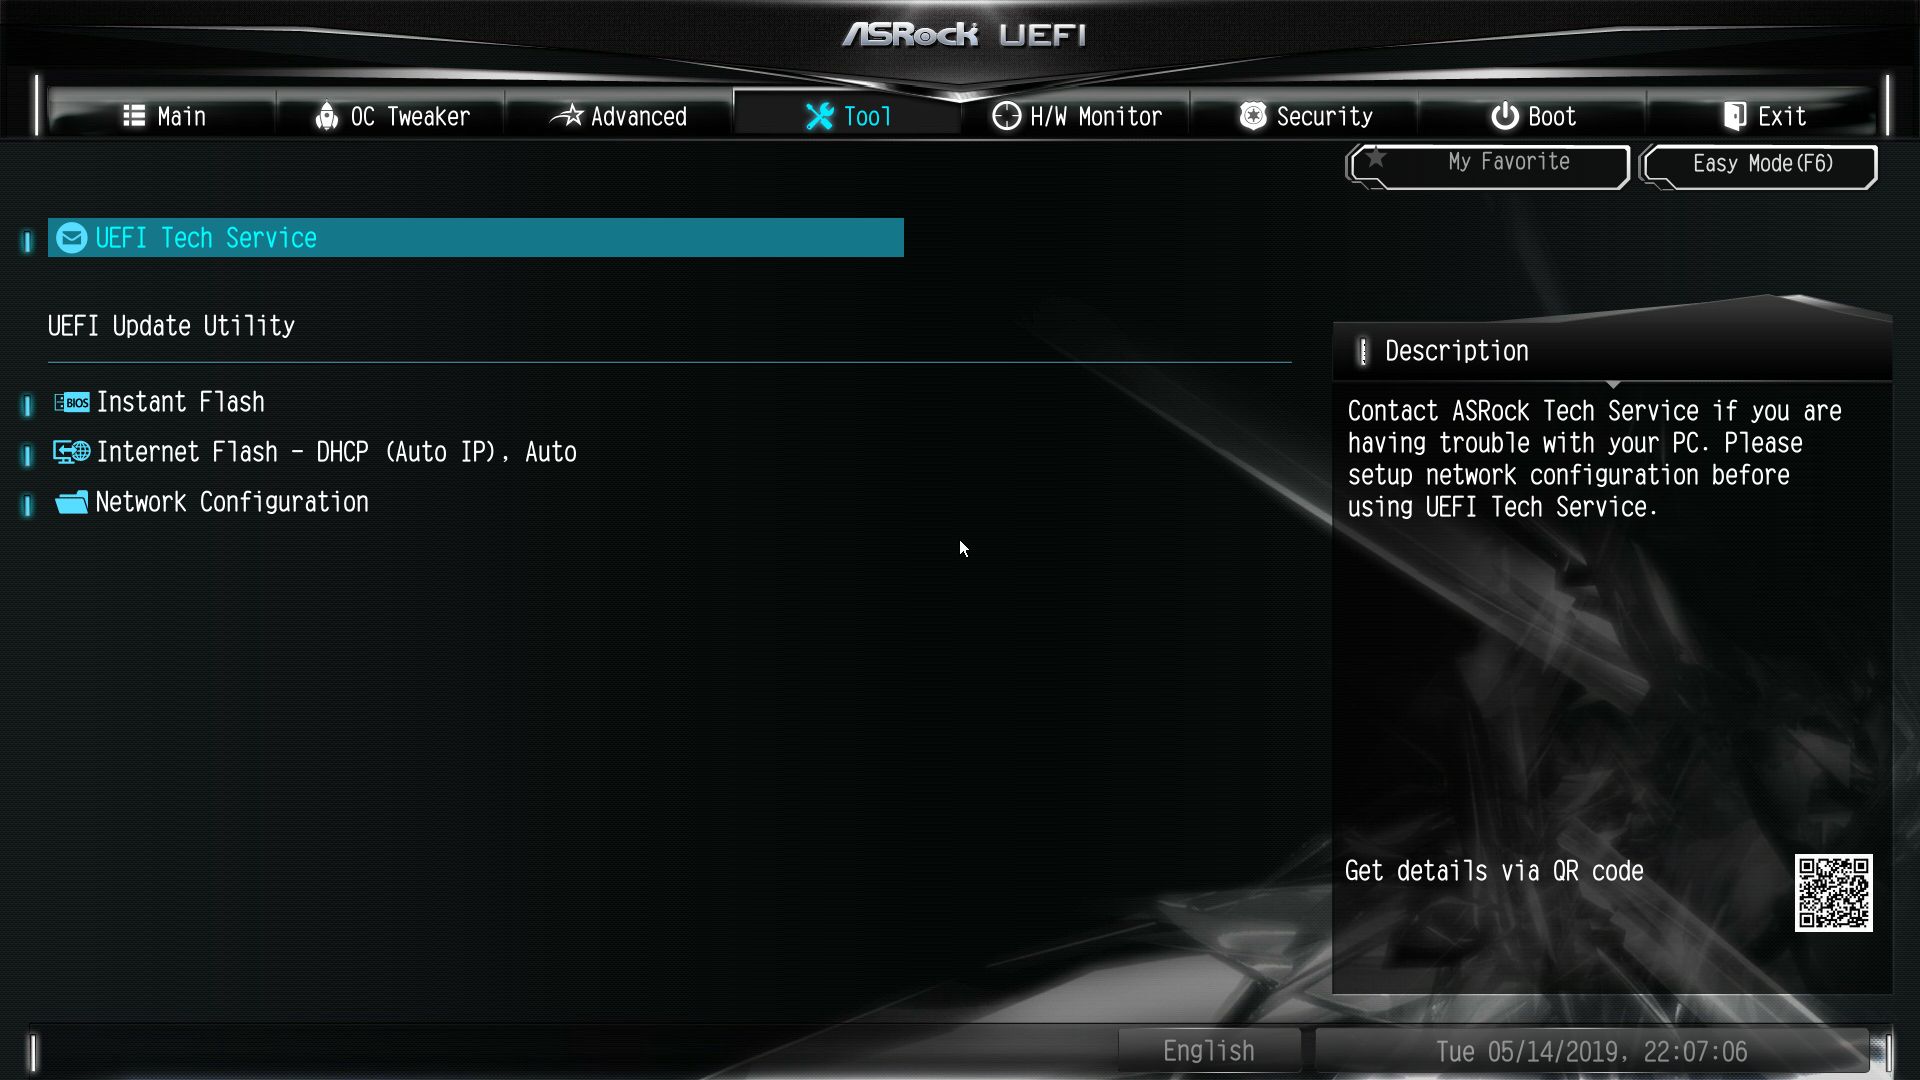
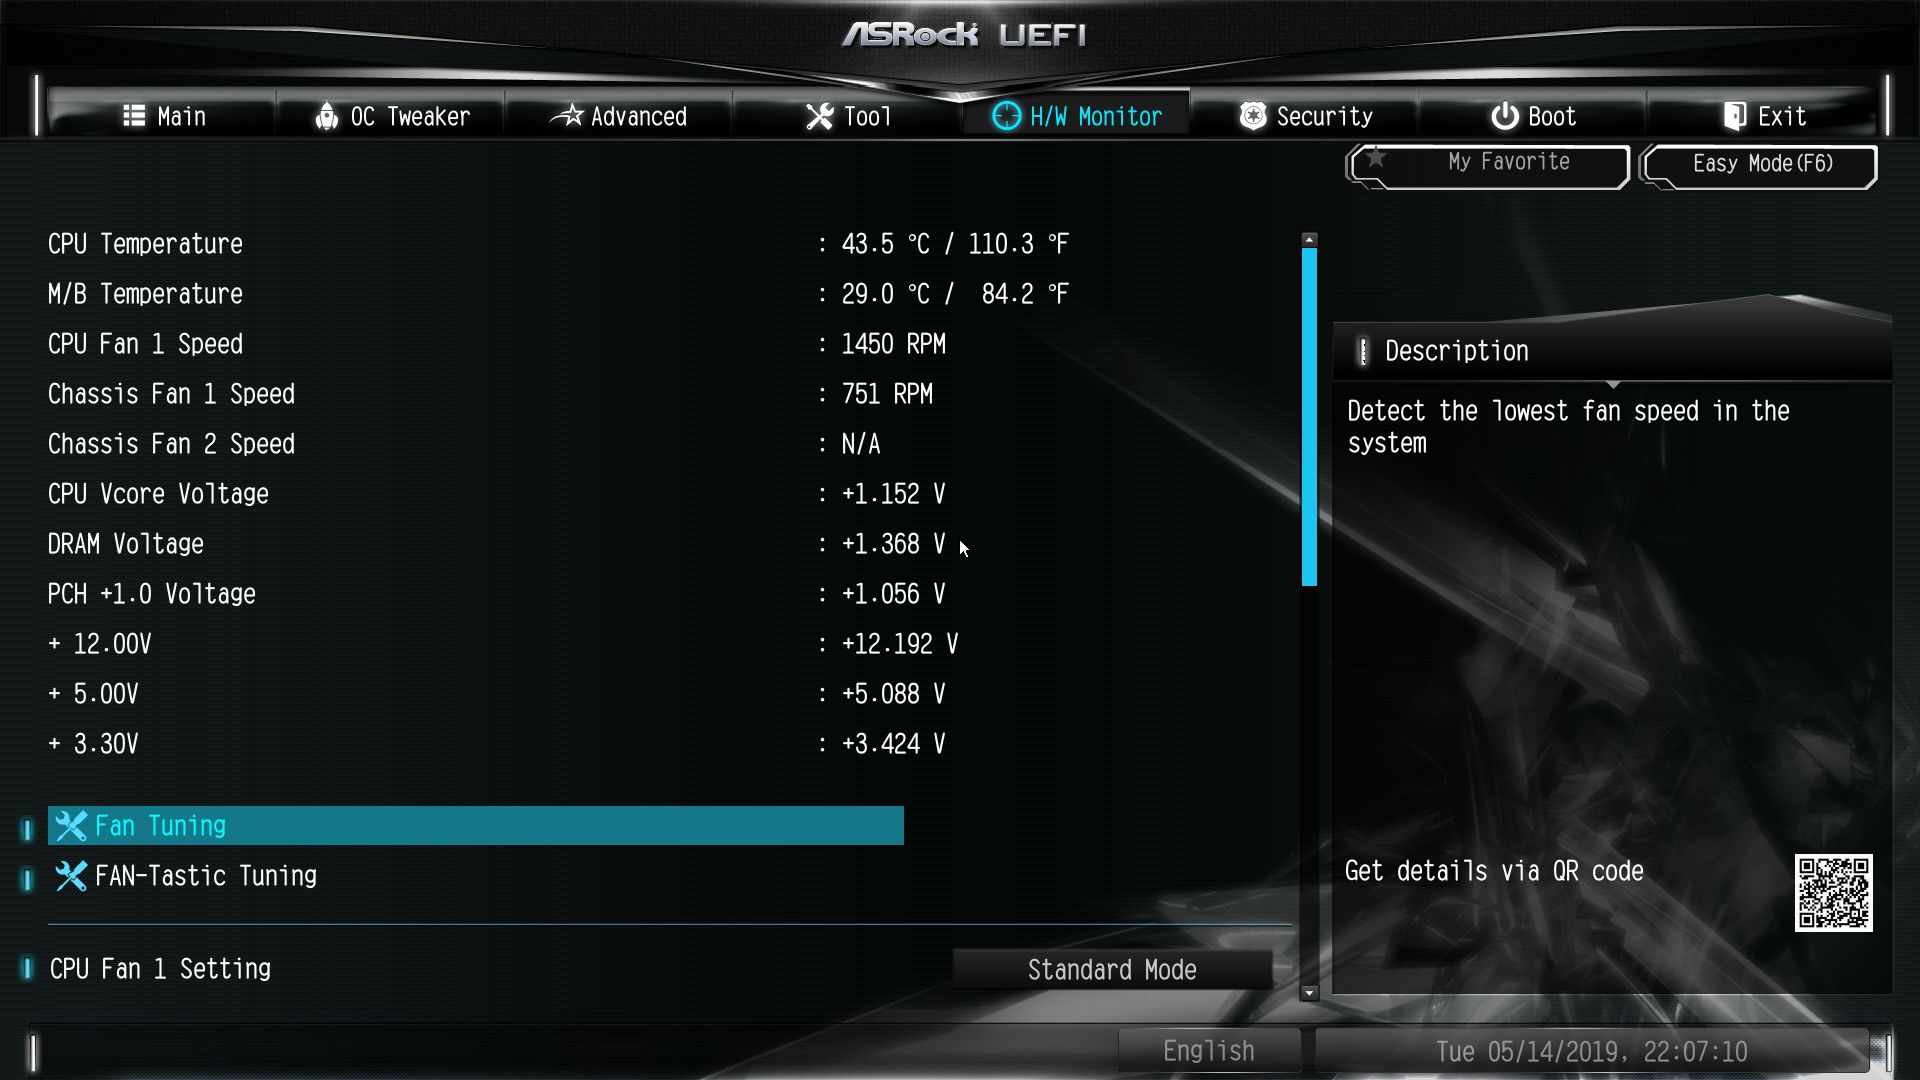
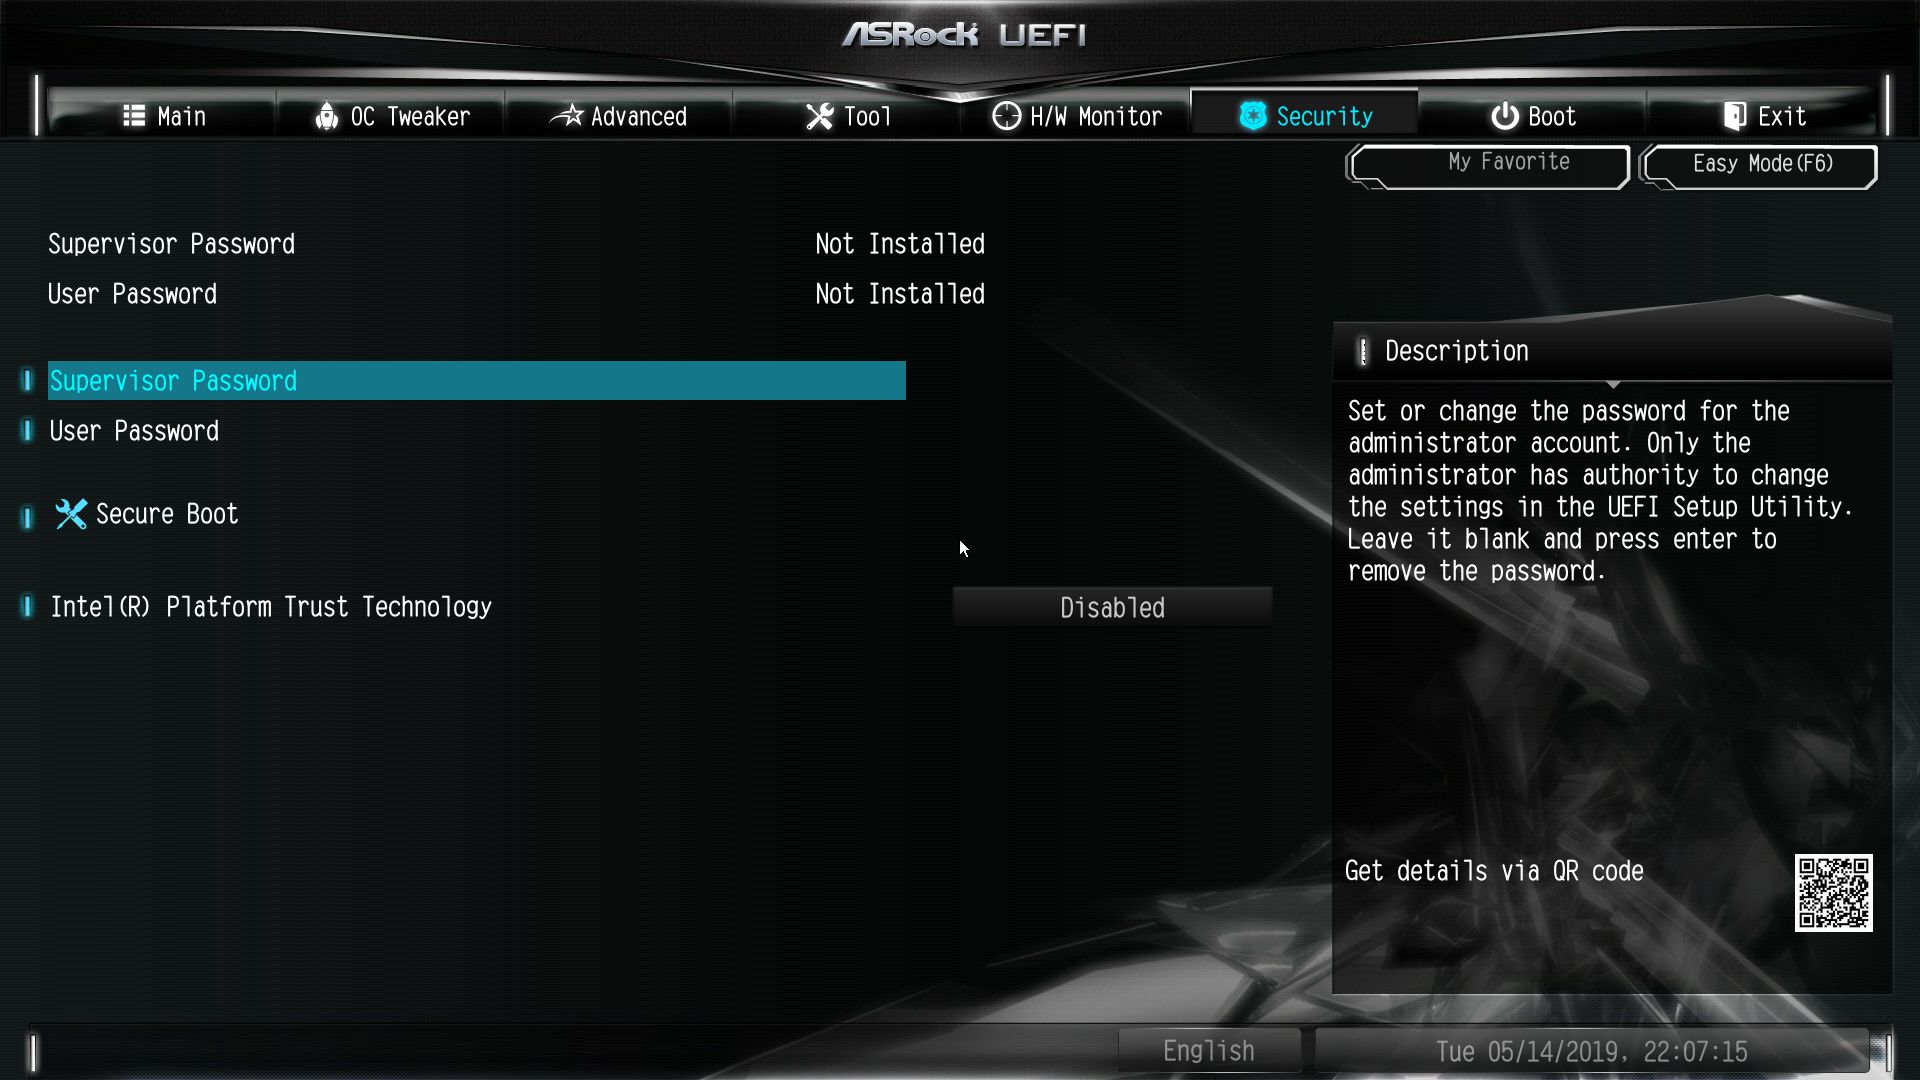
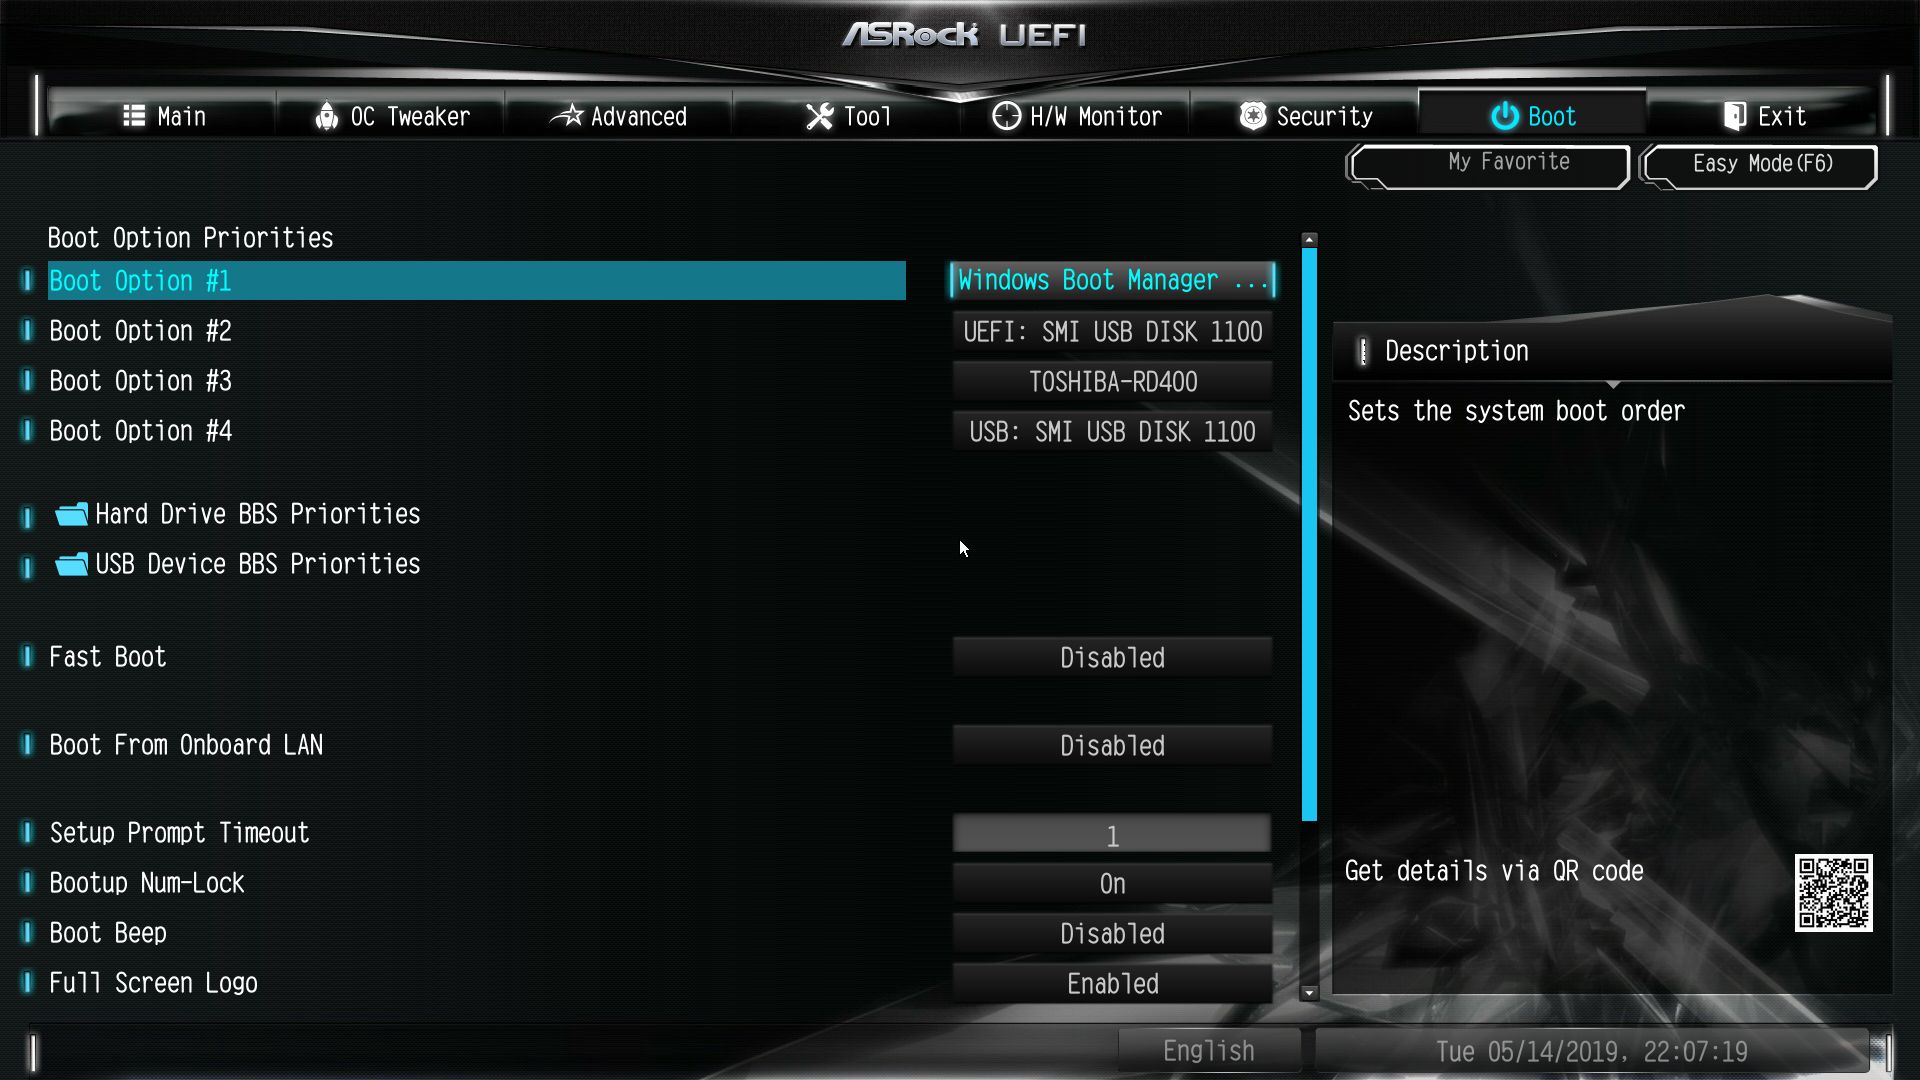
The Main heading is informational and gives access to the My Favorite section of the BIOS where you’re able to customize the page with your own frequently used BIOS options.
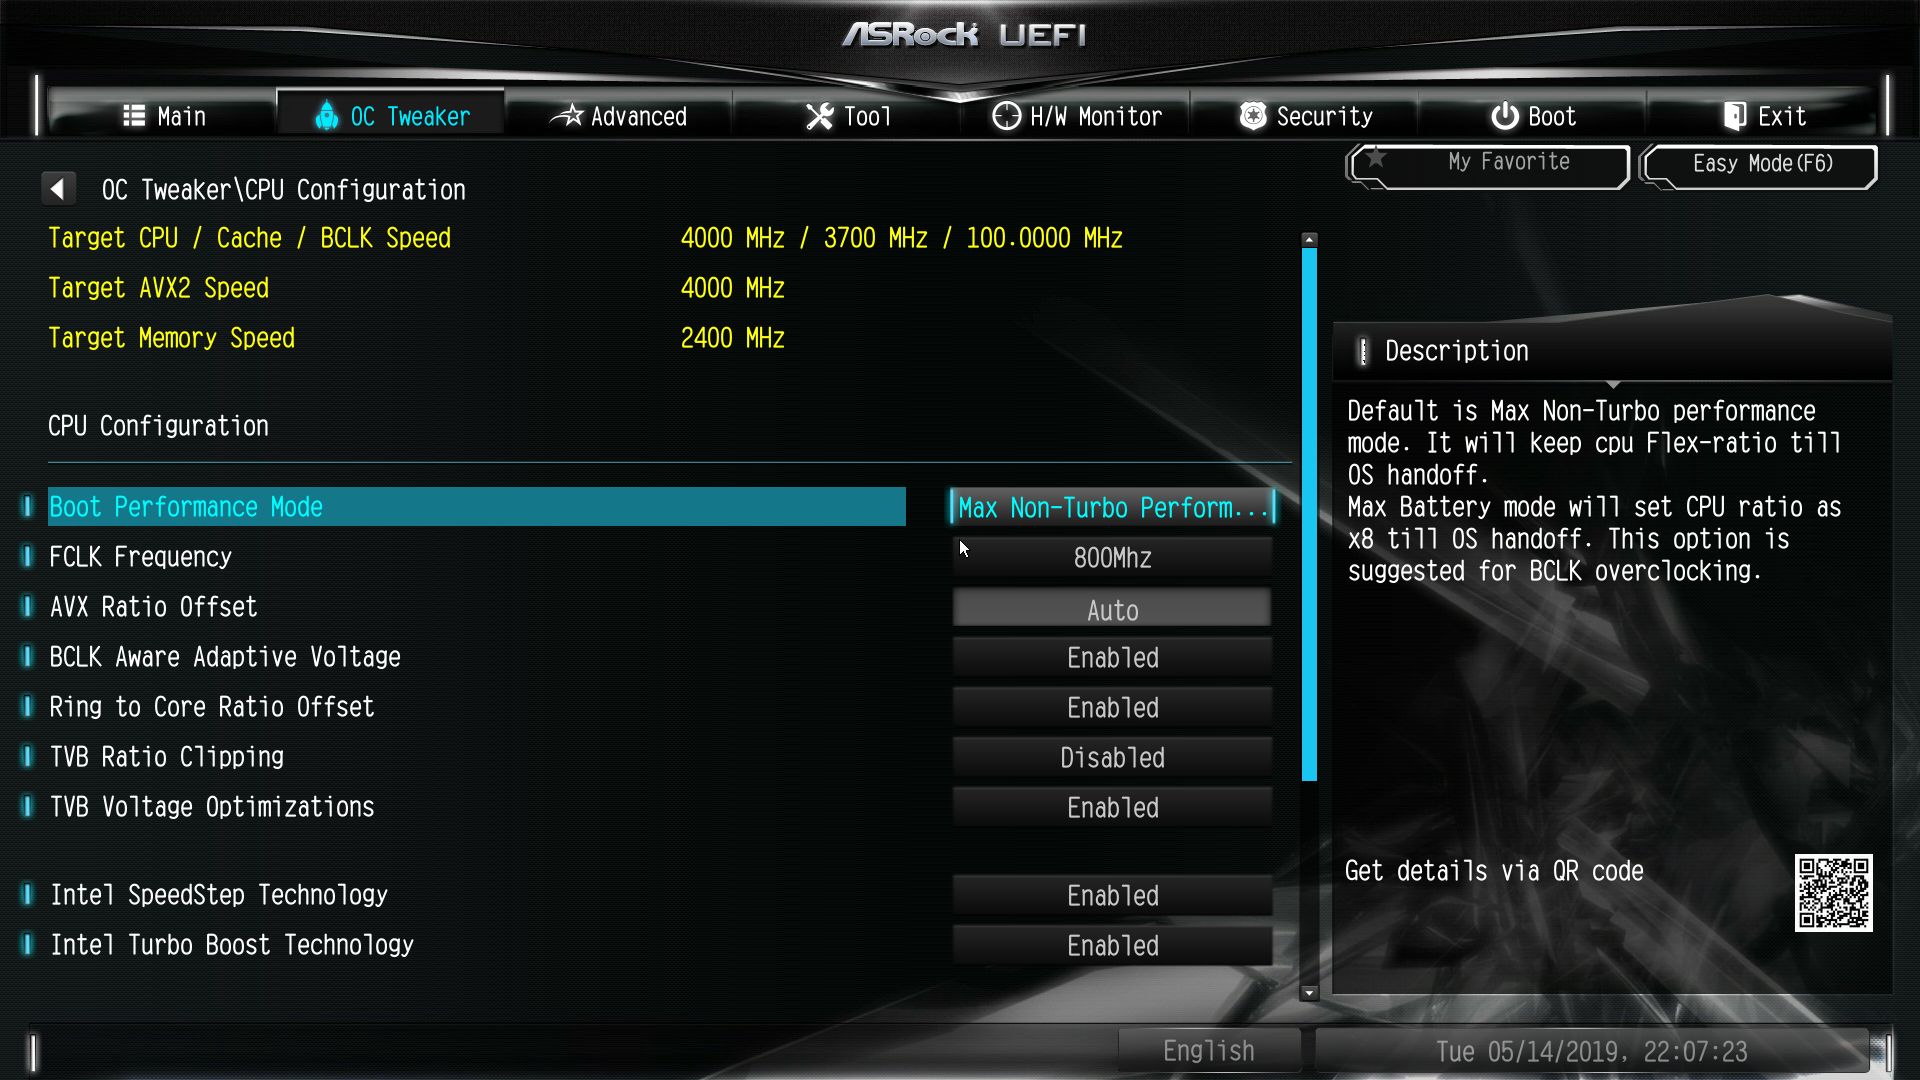
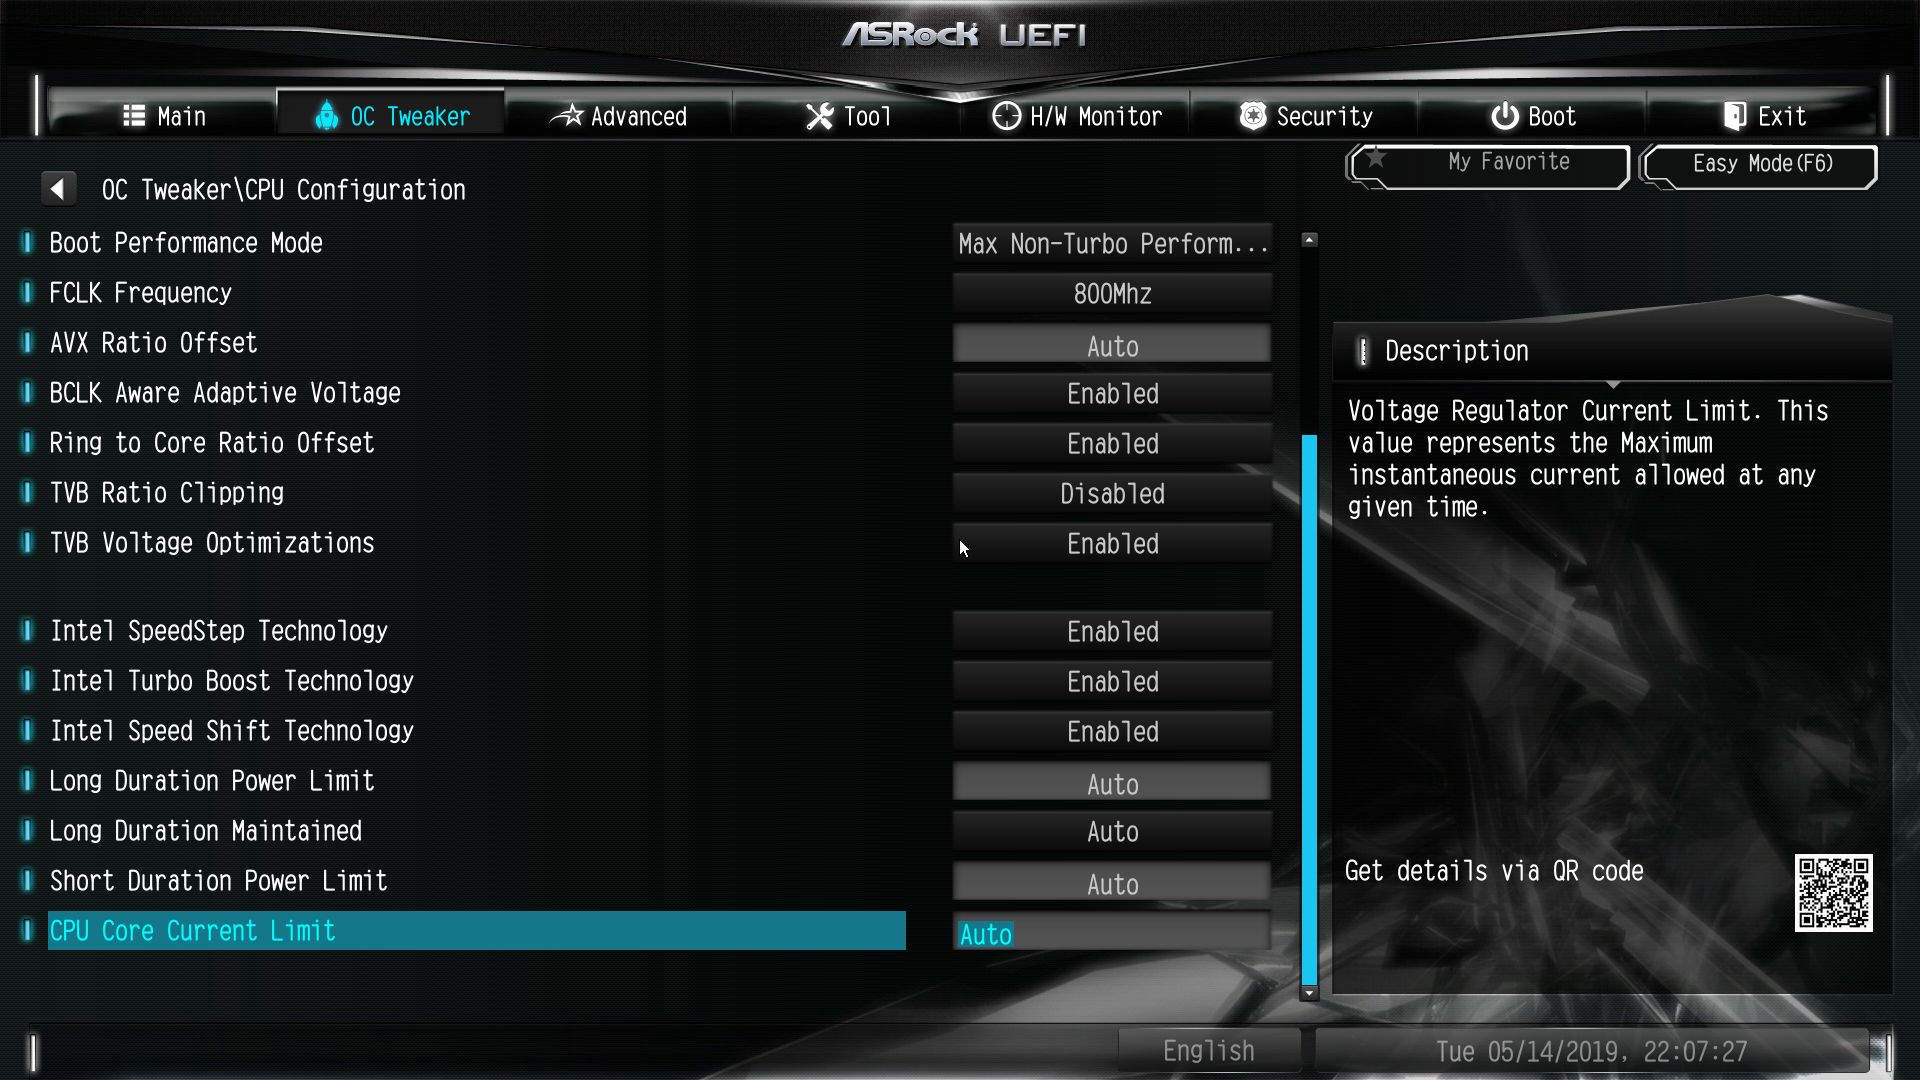
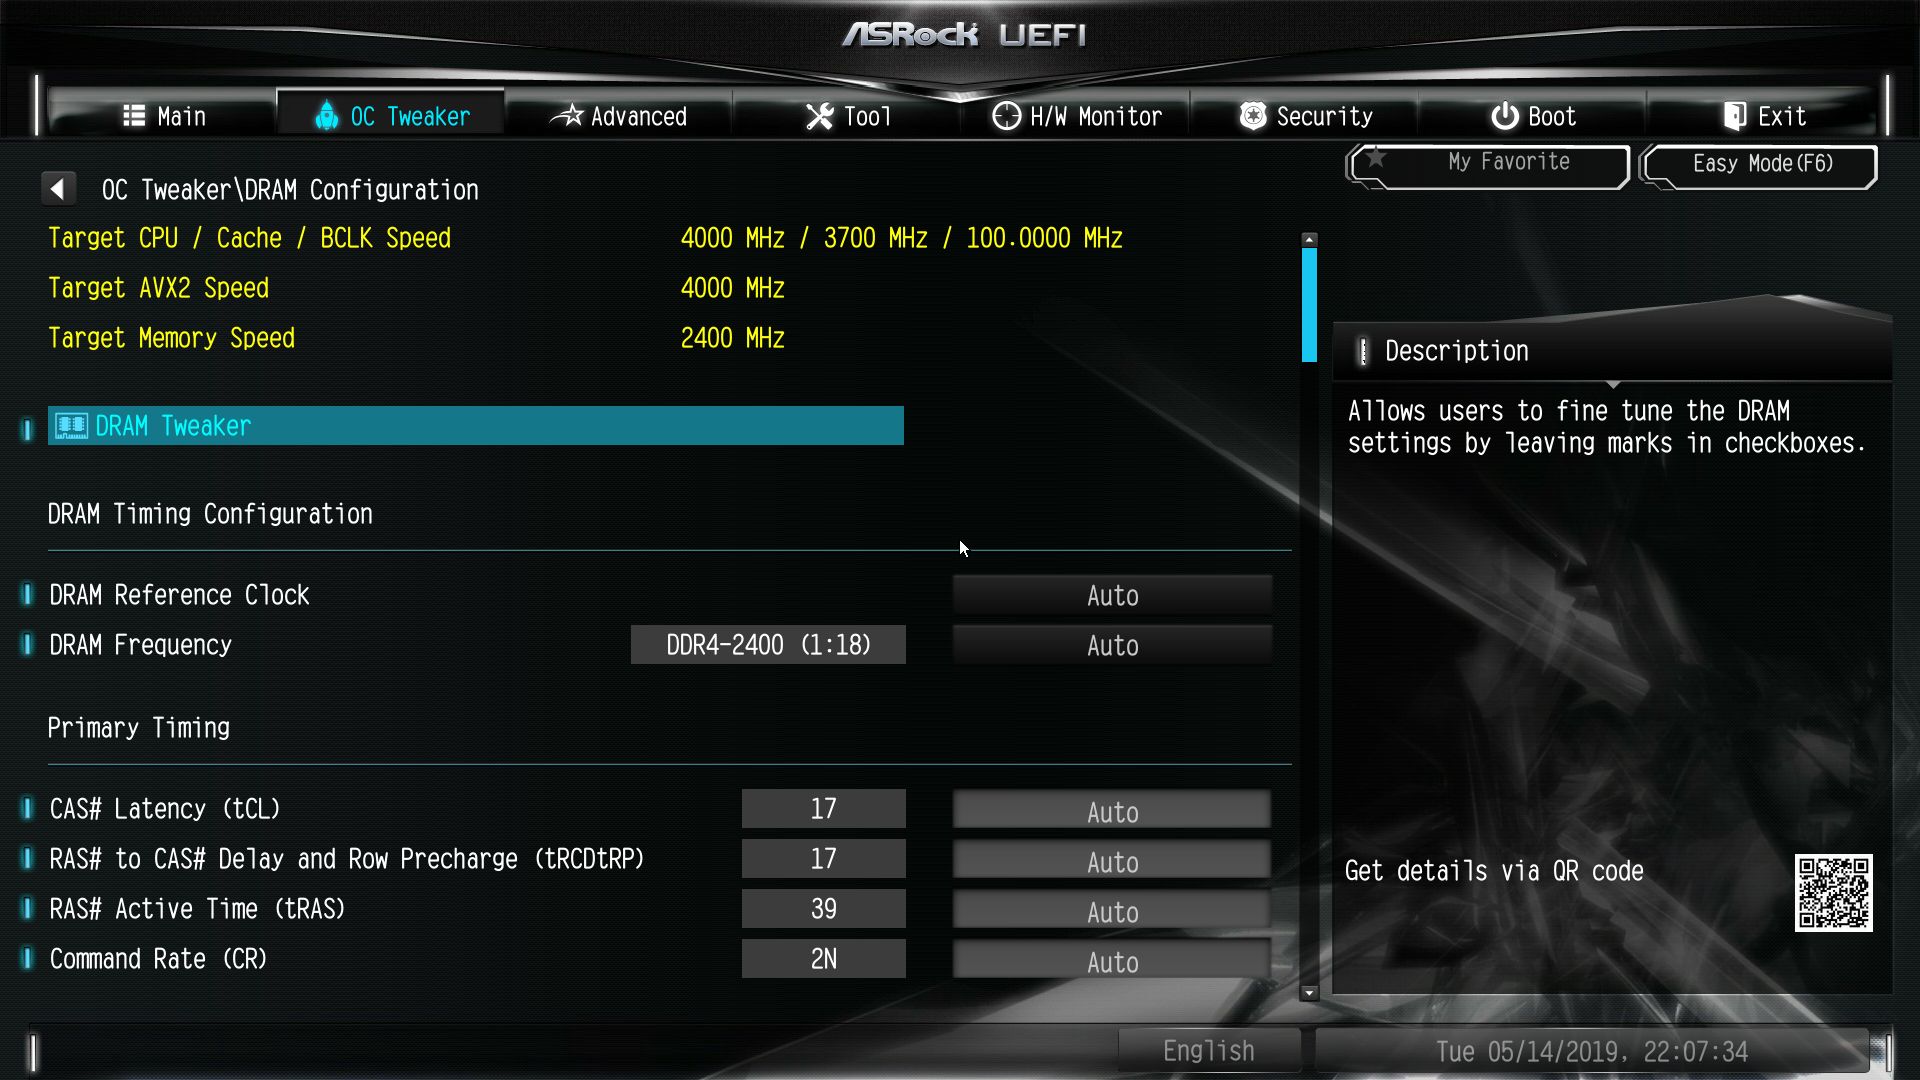
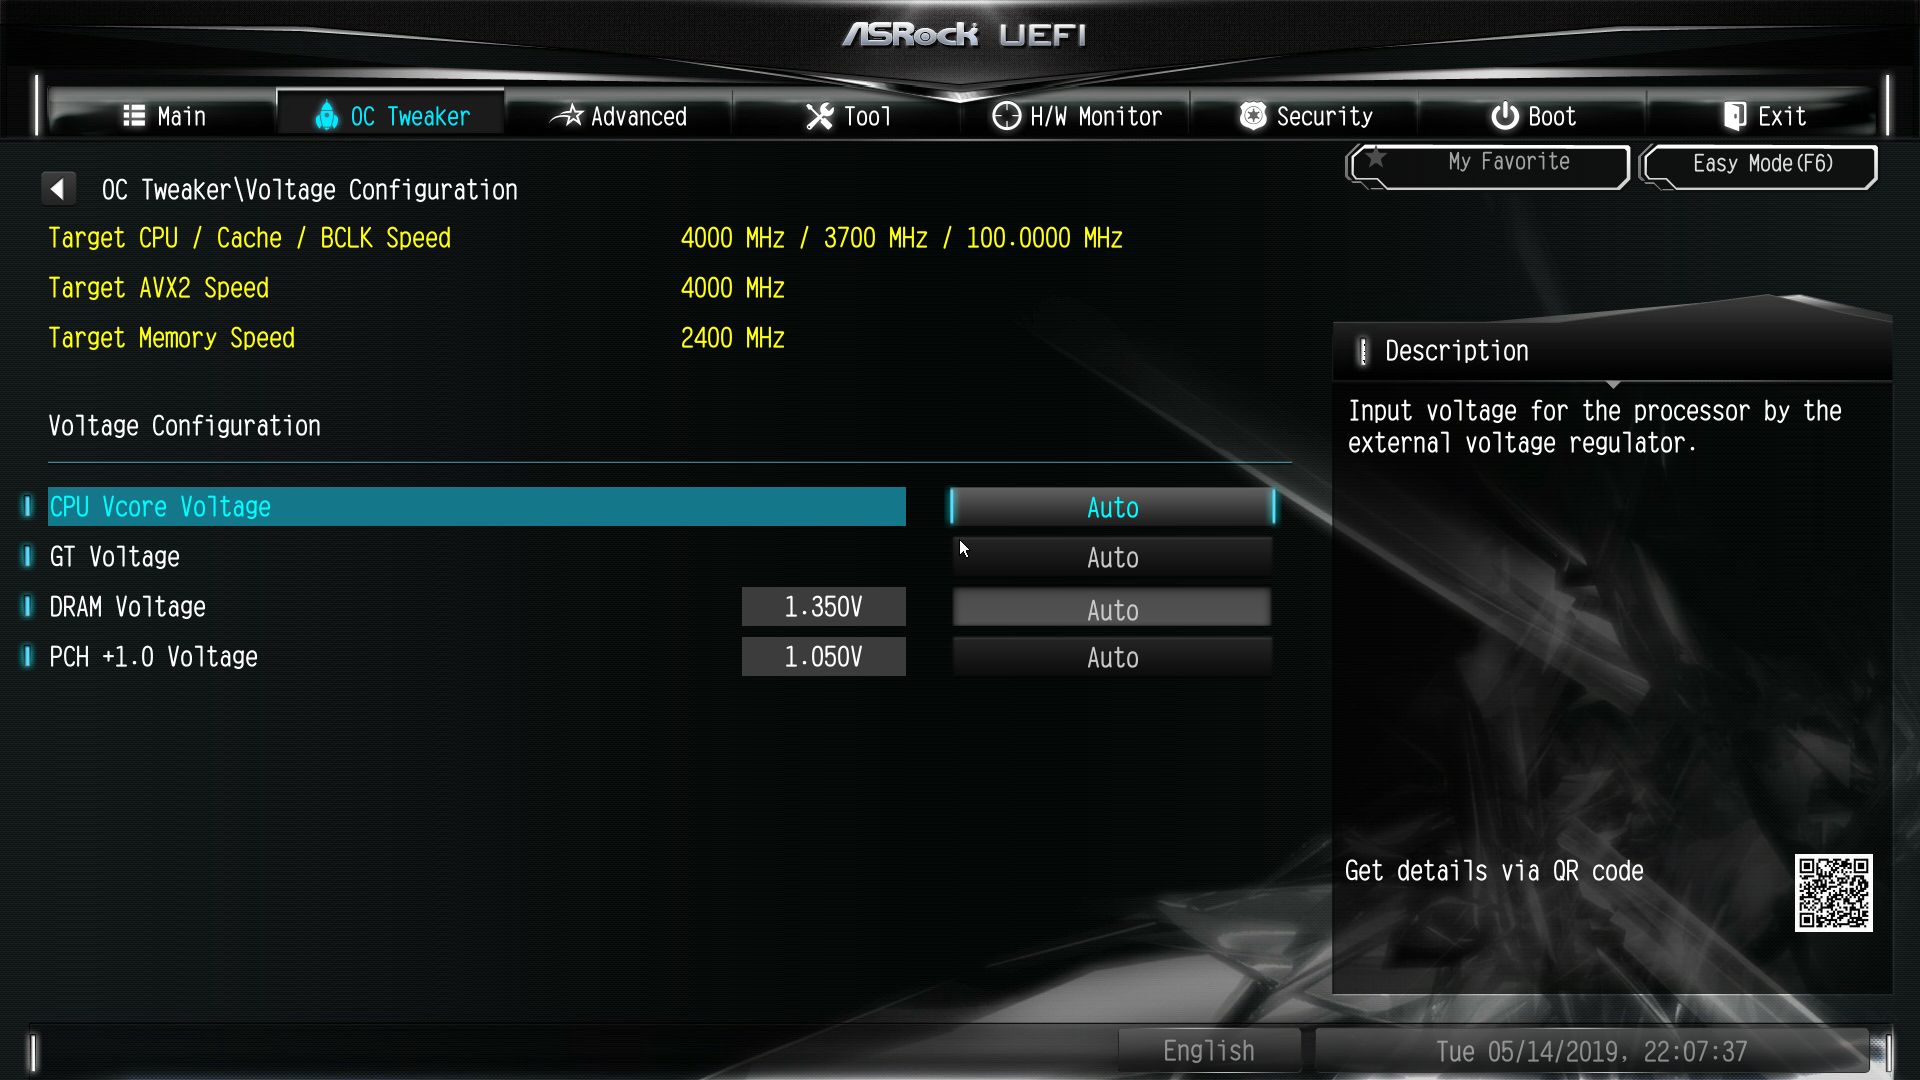
The OC Tweaker section is where all of the CPU and DRAM overclocking adjustments are found, as well as DRAM timing control and Voltage control. Being a limited platform (and this Core i3 CPU not having Turbo Boost) we do not find any BCLK or CPU multiplier adjustments, only power/current limits as well as the ability to change the DRAM timings.
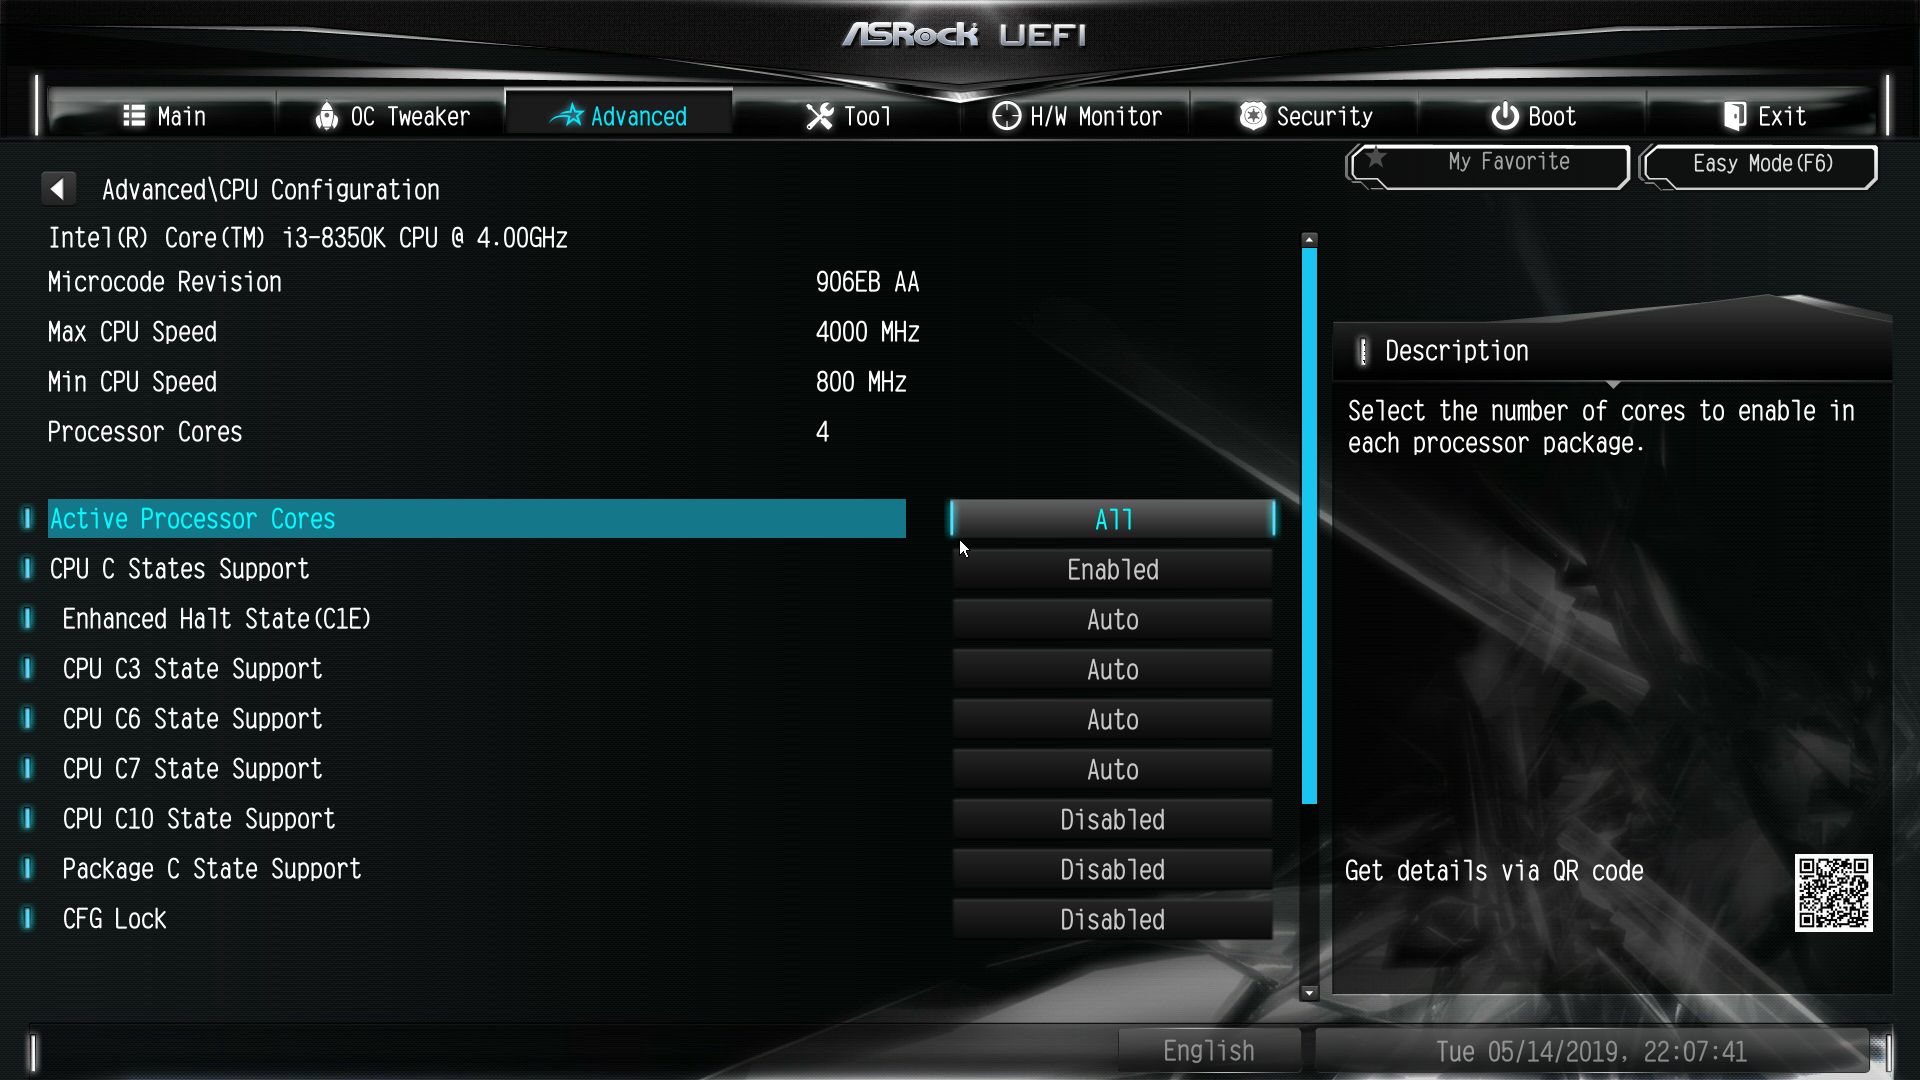
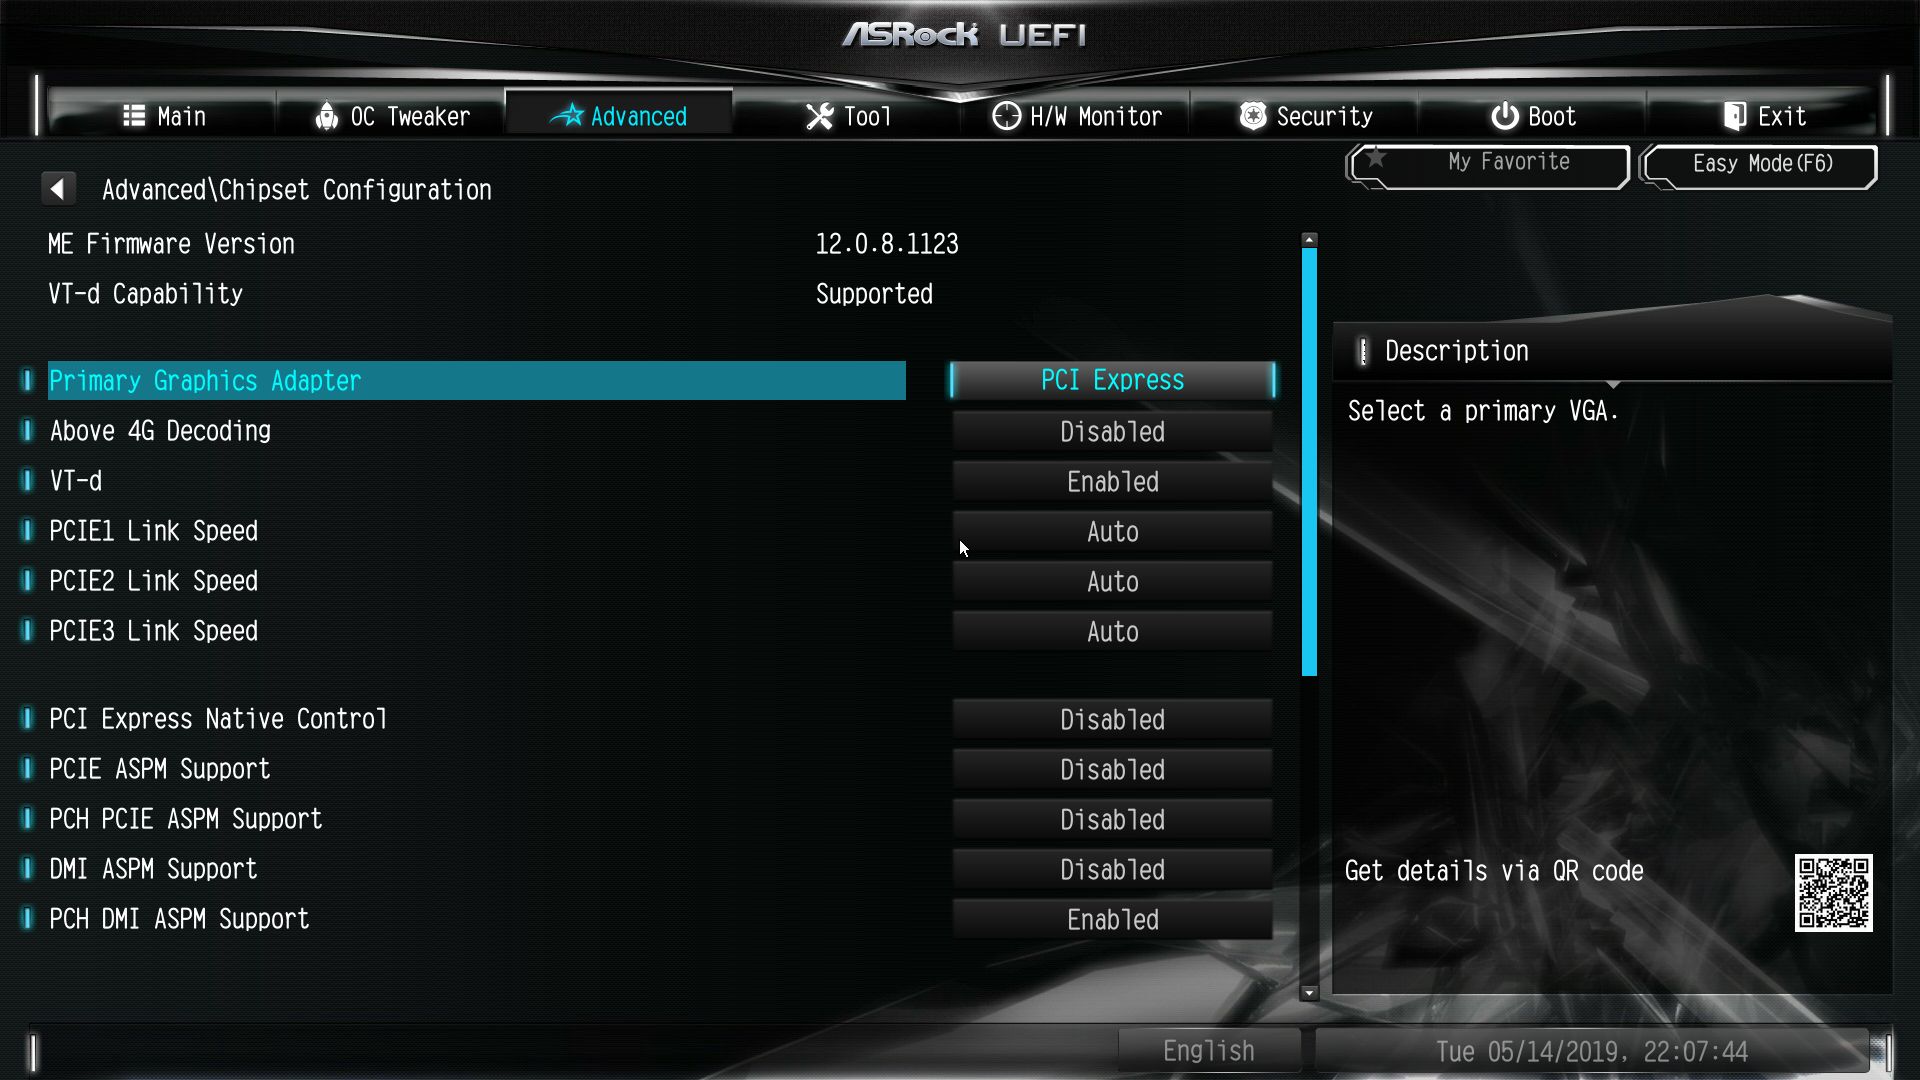
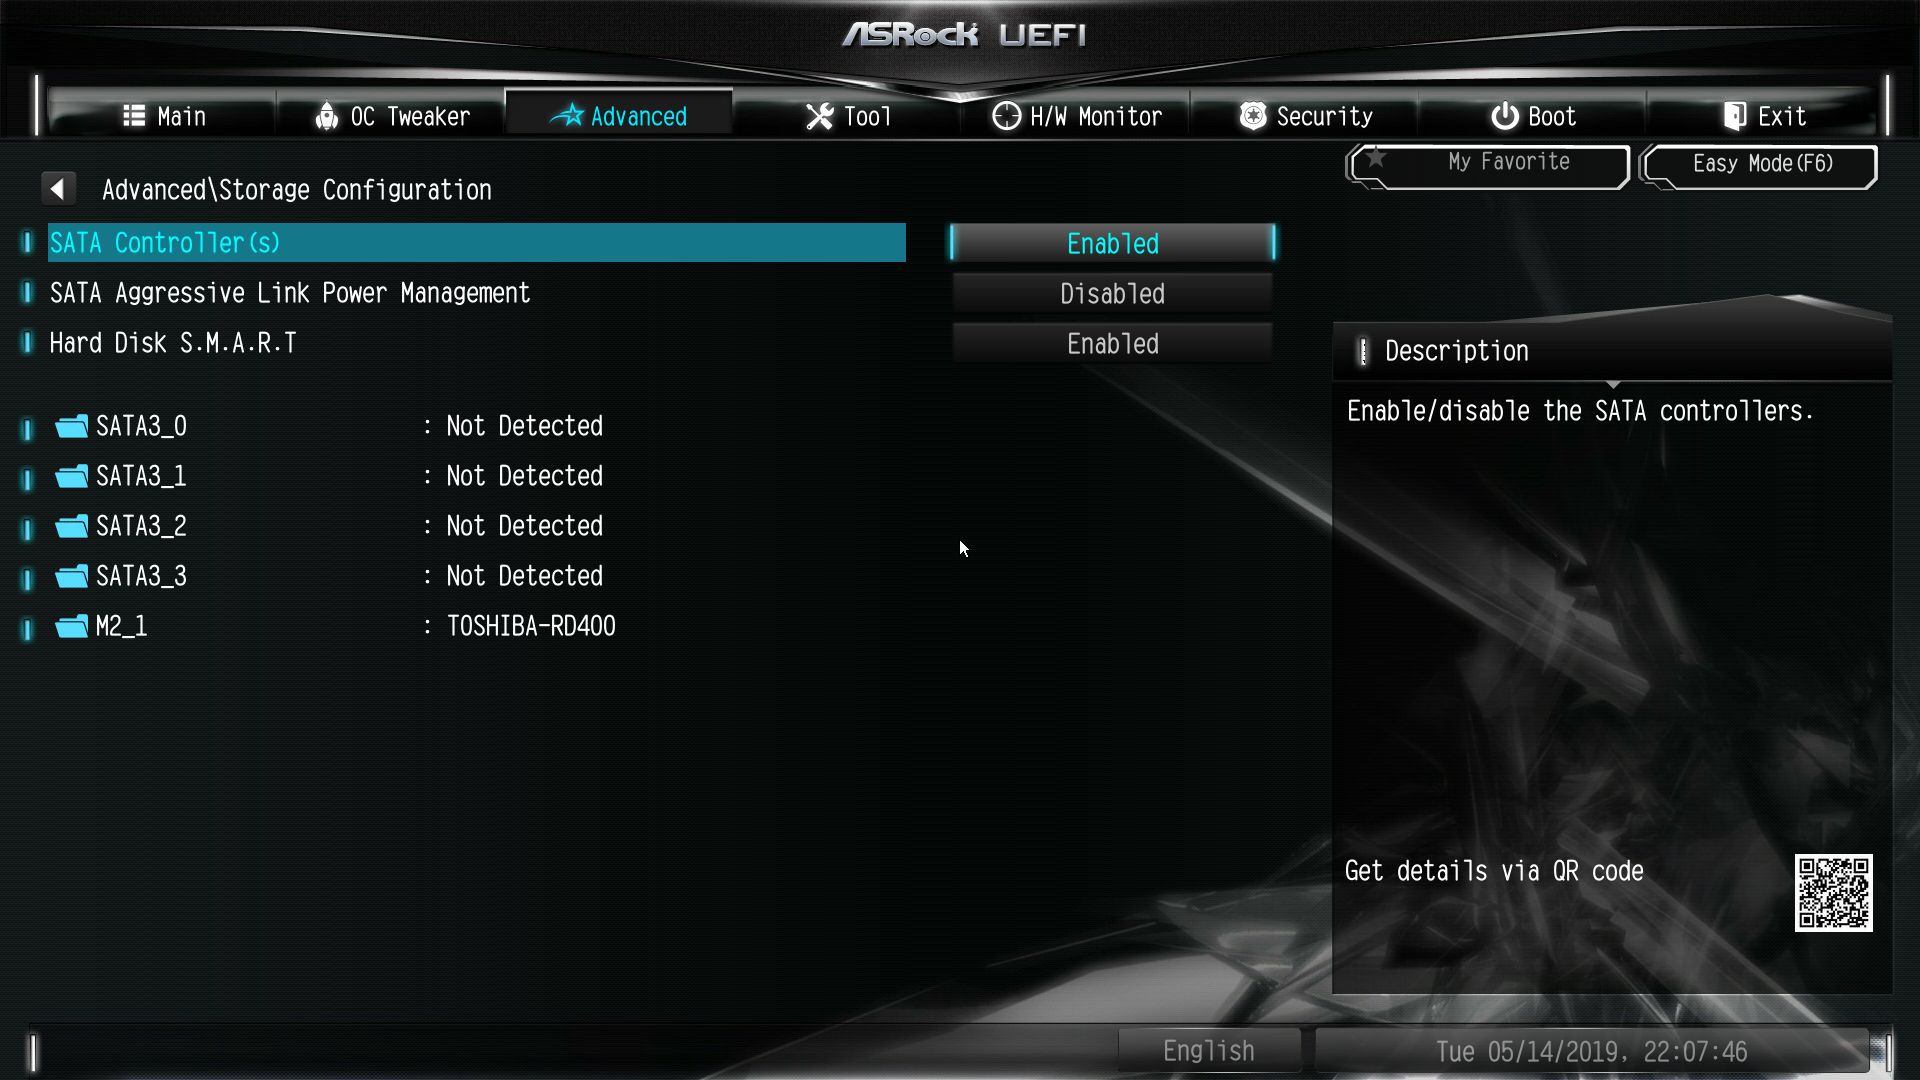
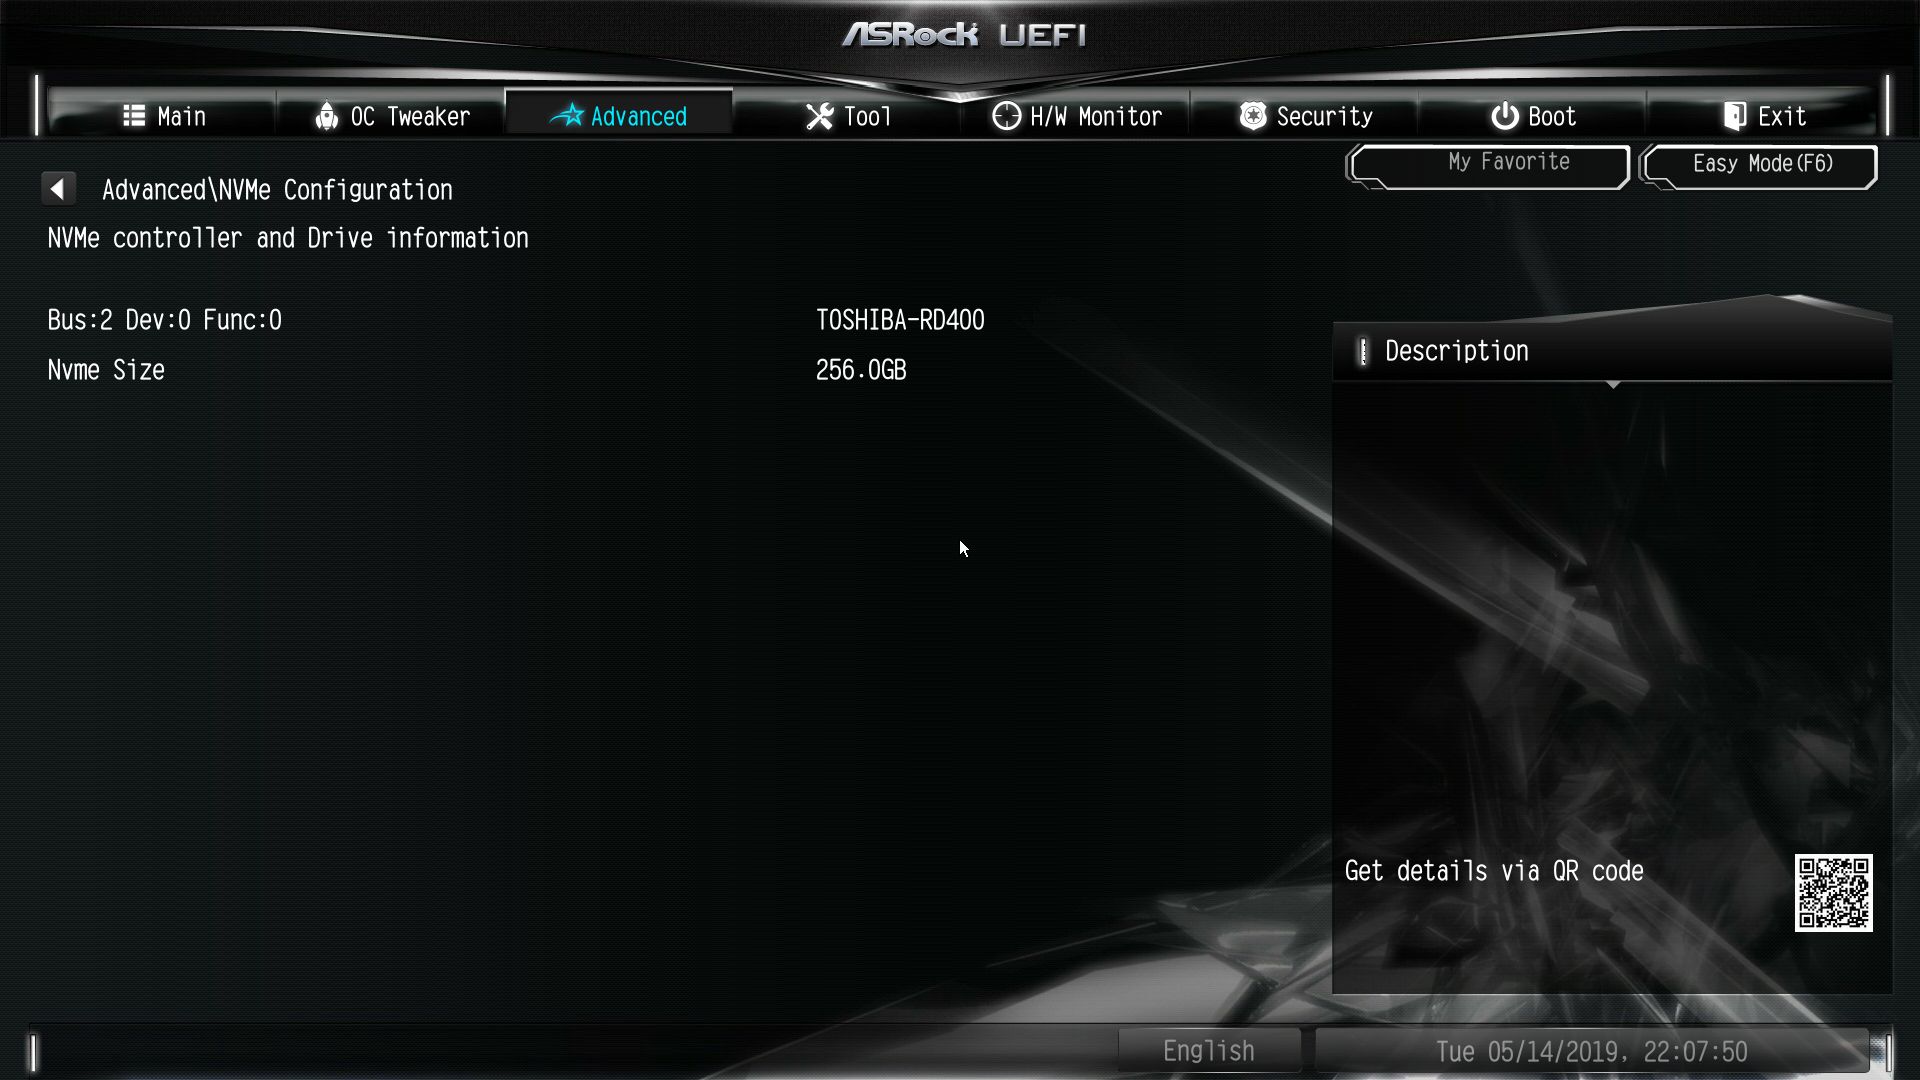
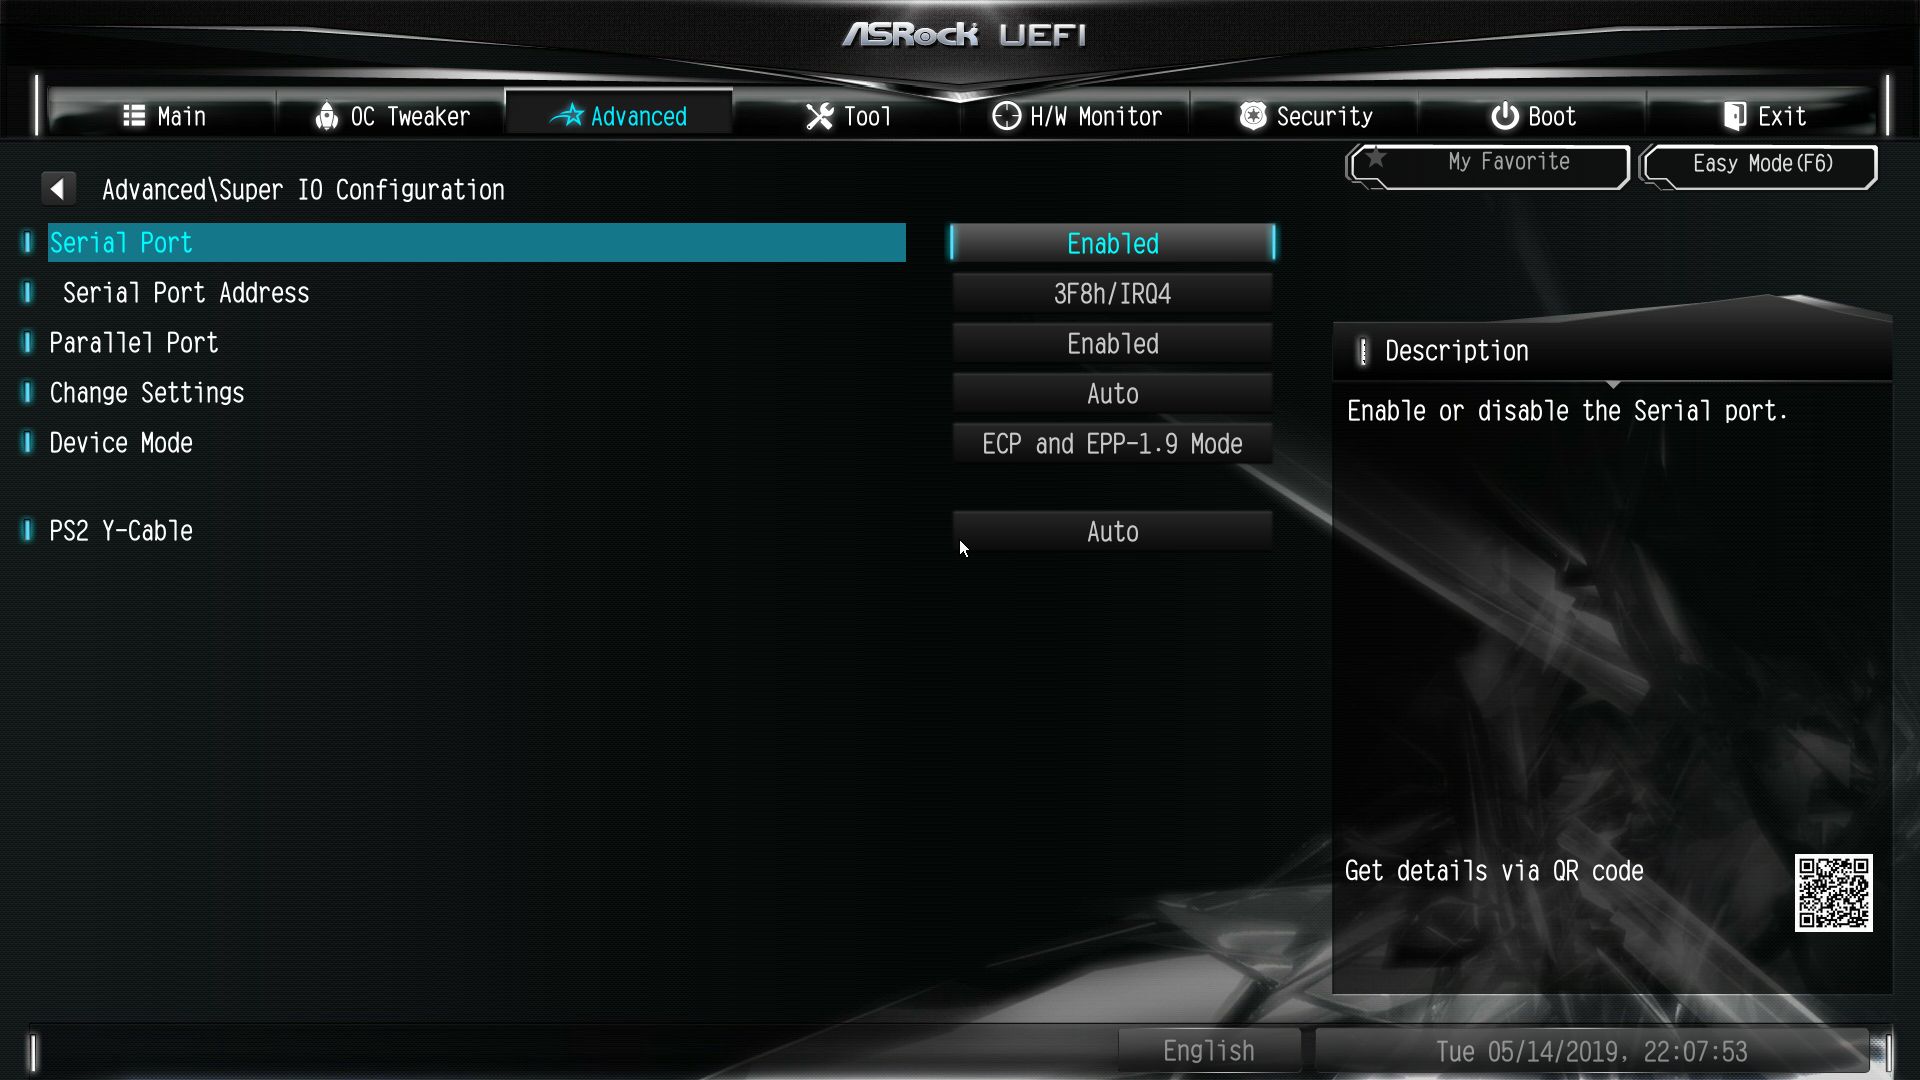
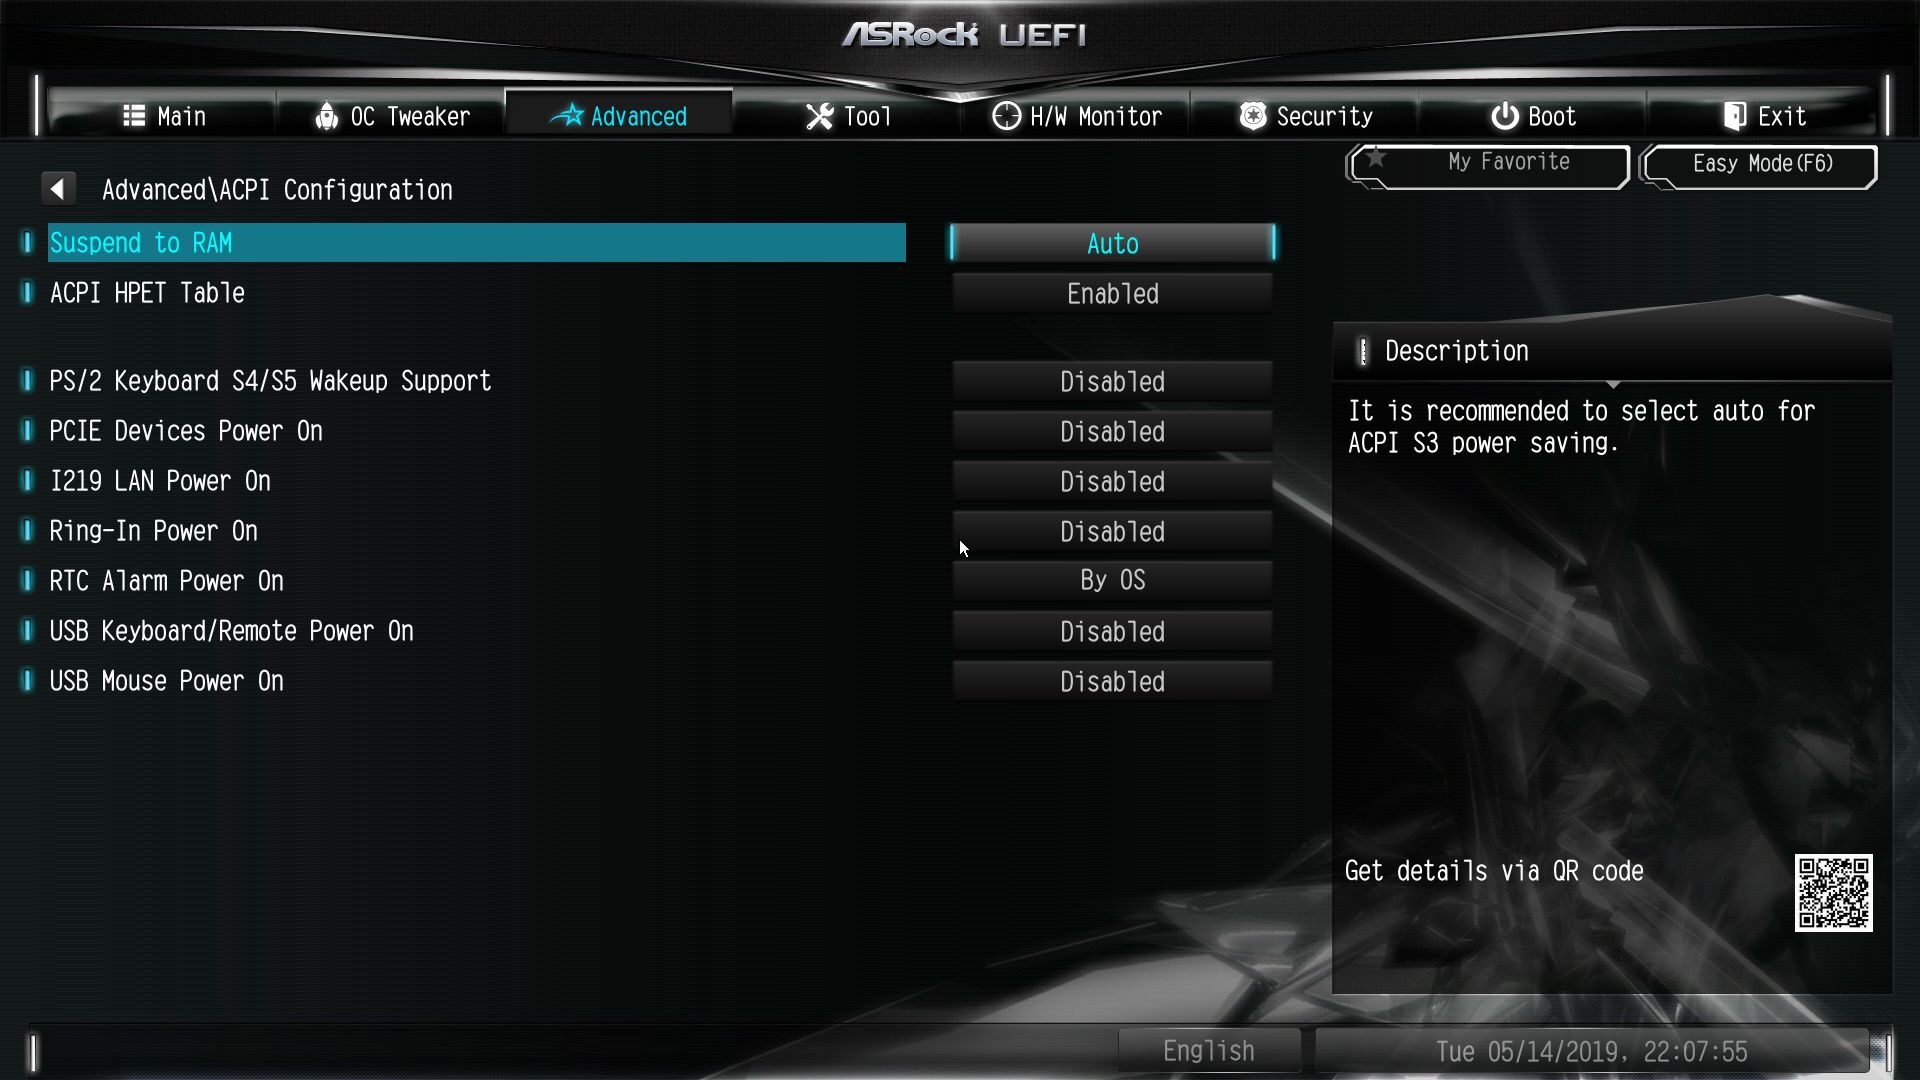
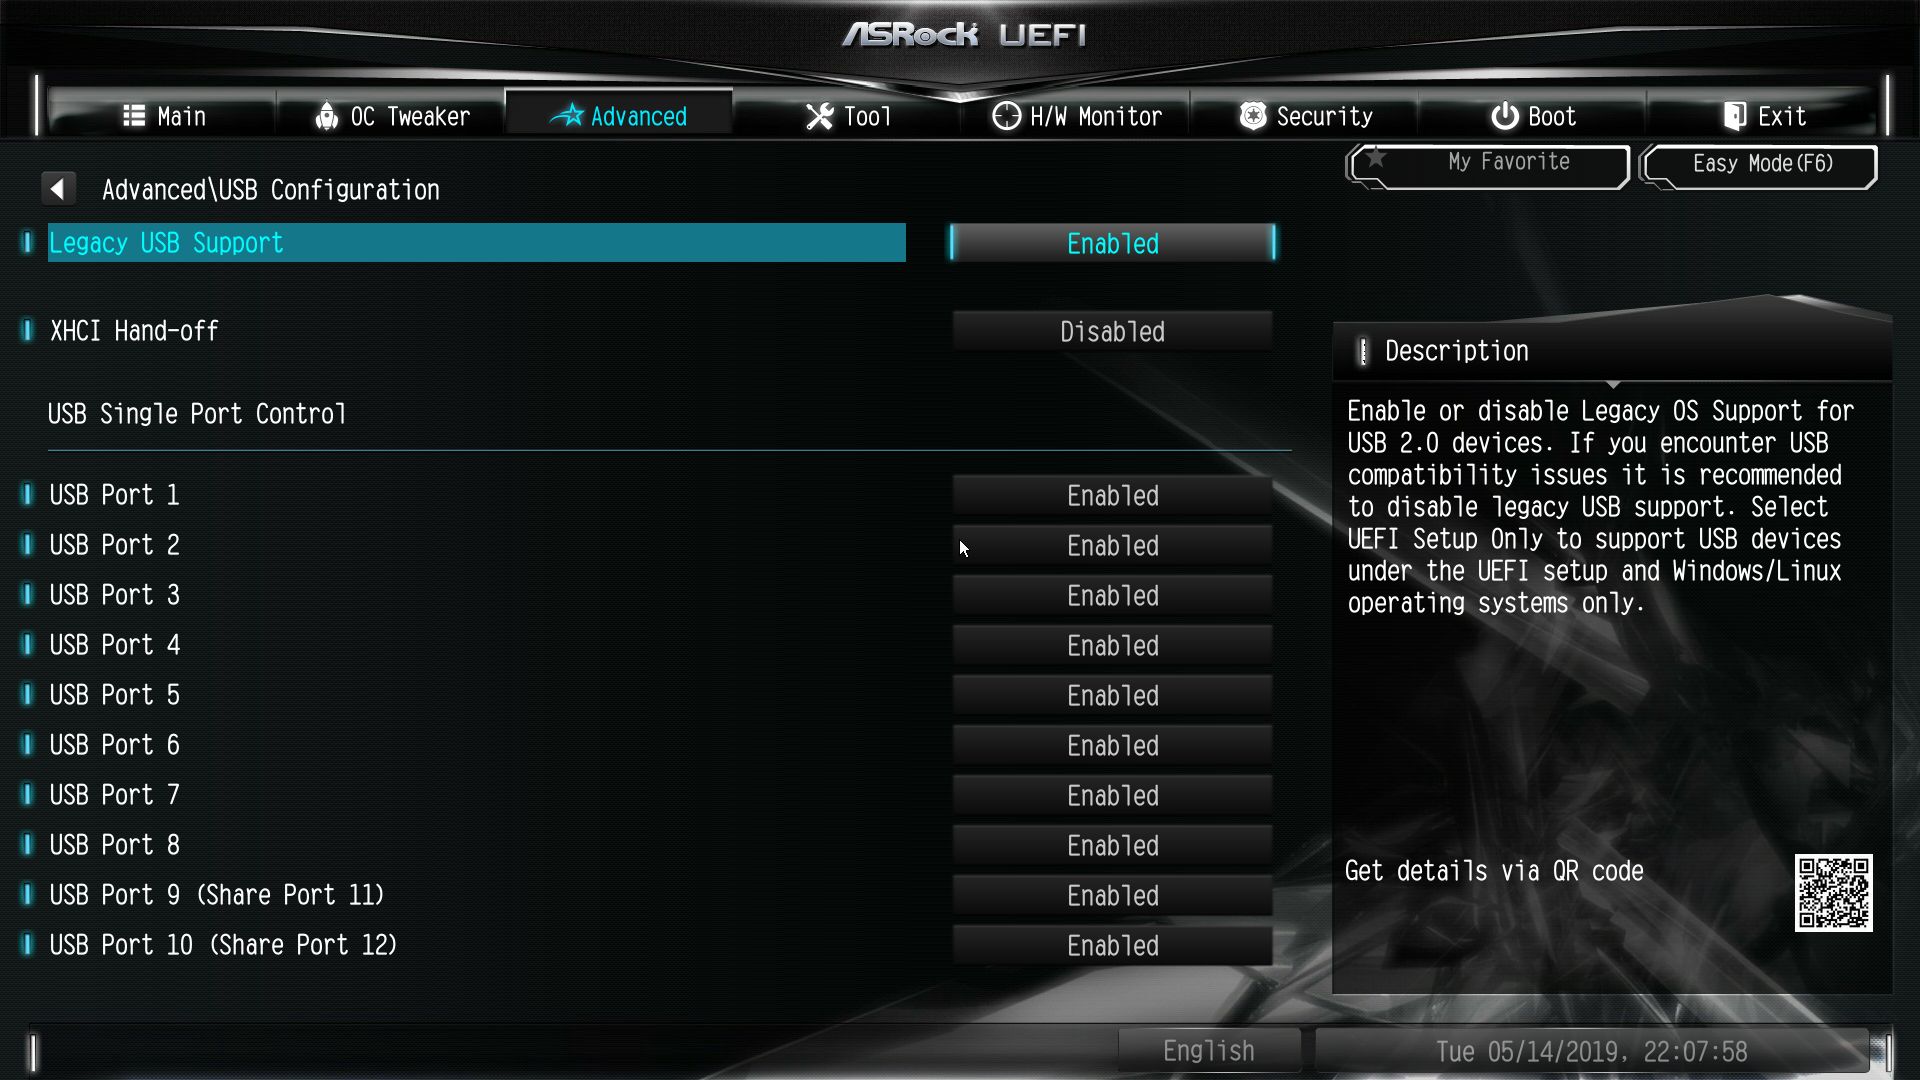
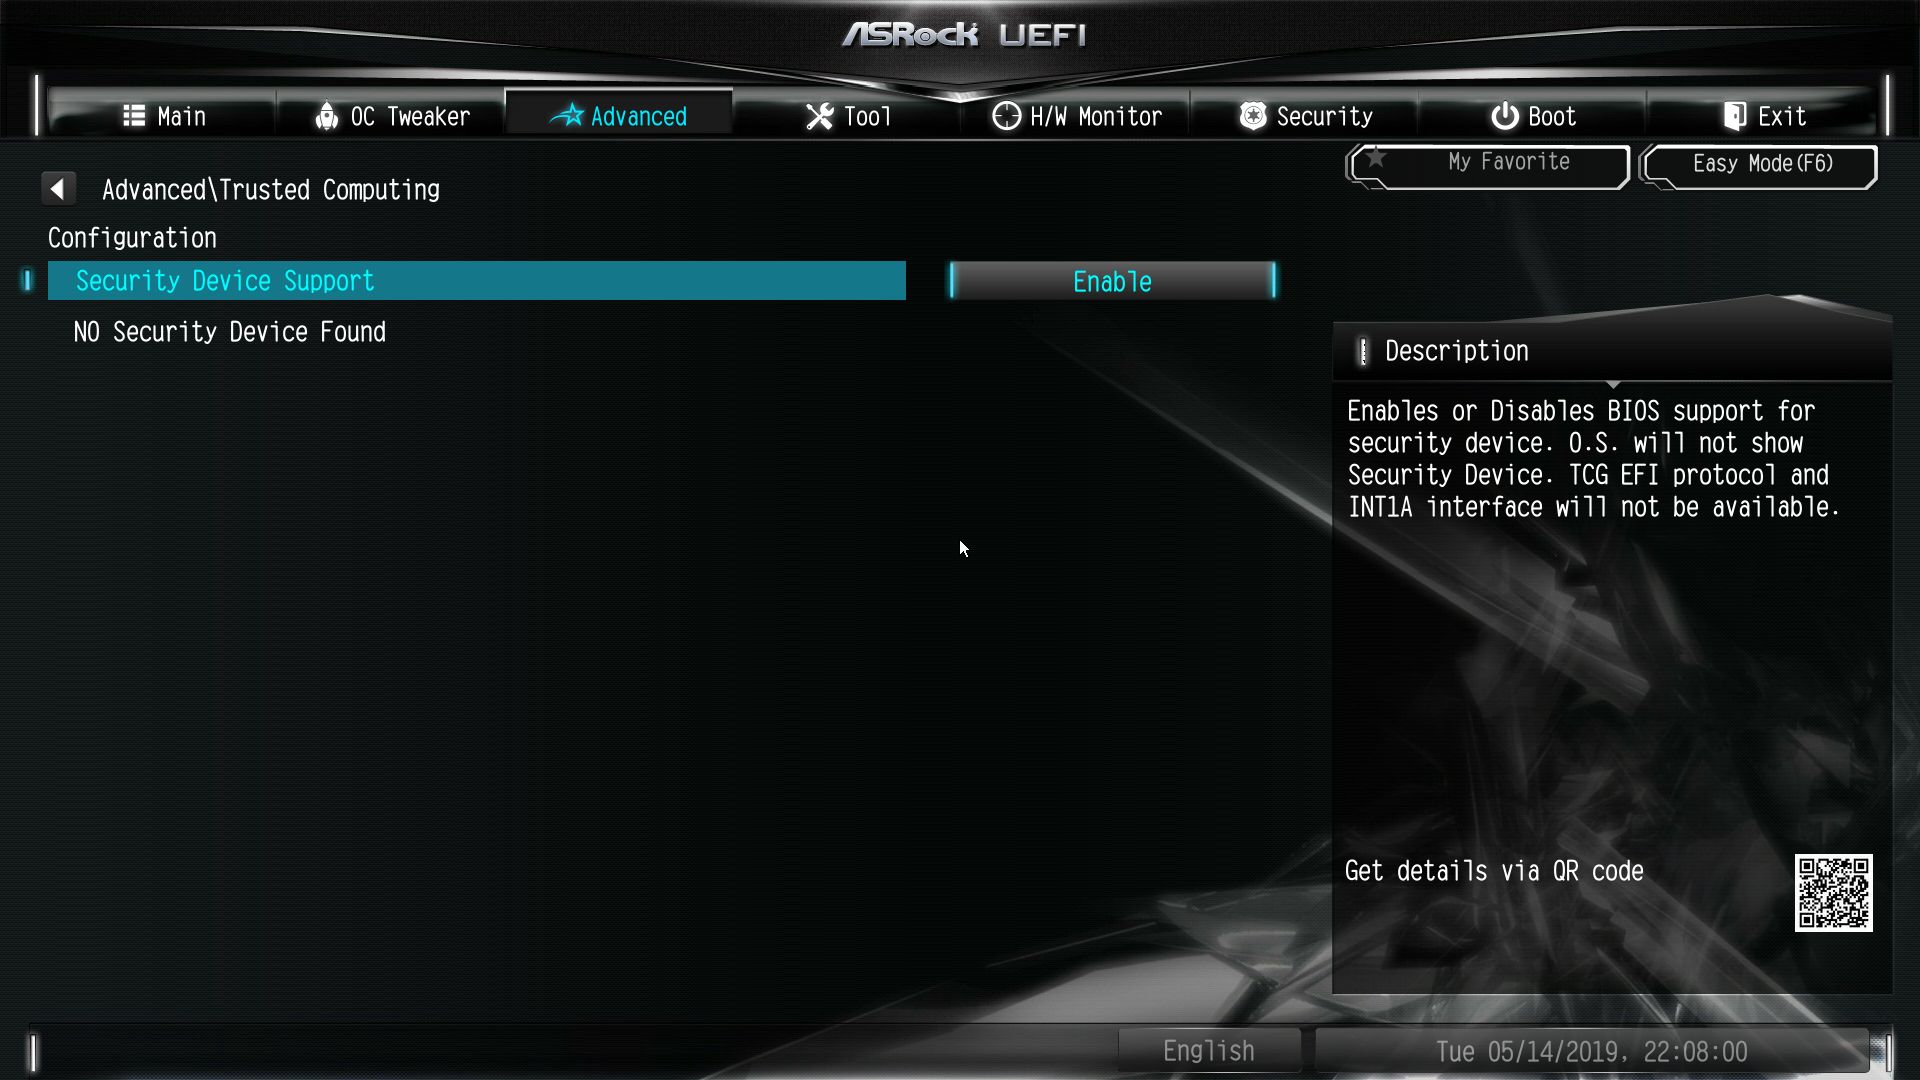
Inside the Advanced header is where adjustments will be made to the CPU, Chipset, Storage, NVMe, SuperIO and USB configurations are found. Here you can also select either Easy Mode or Advanced to pop up first.
The Tools section holds network configuration information as well as BIOS flashing utilities (instant flash or Internet flash).
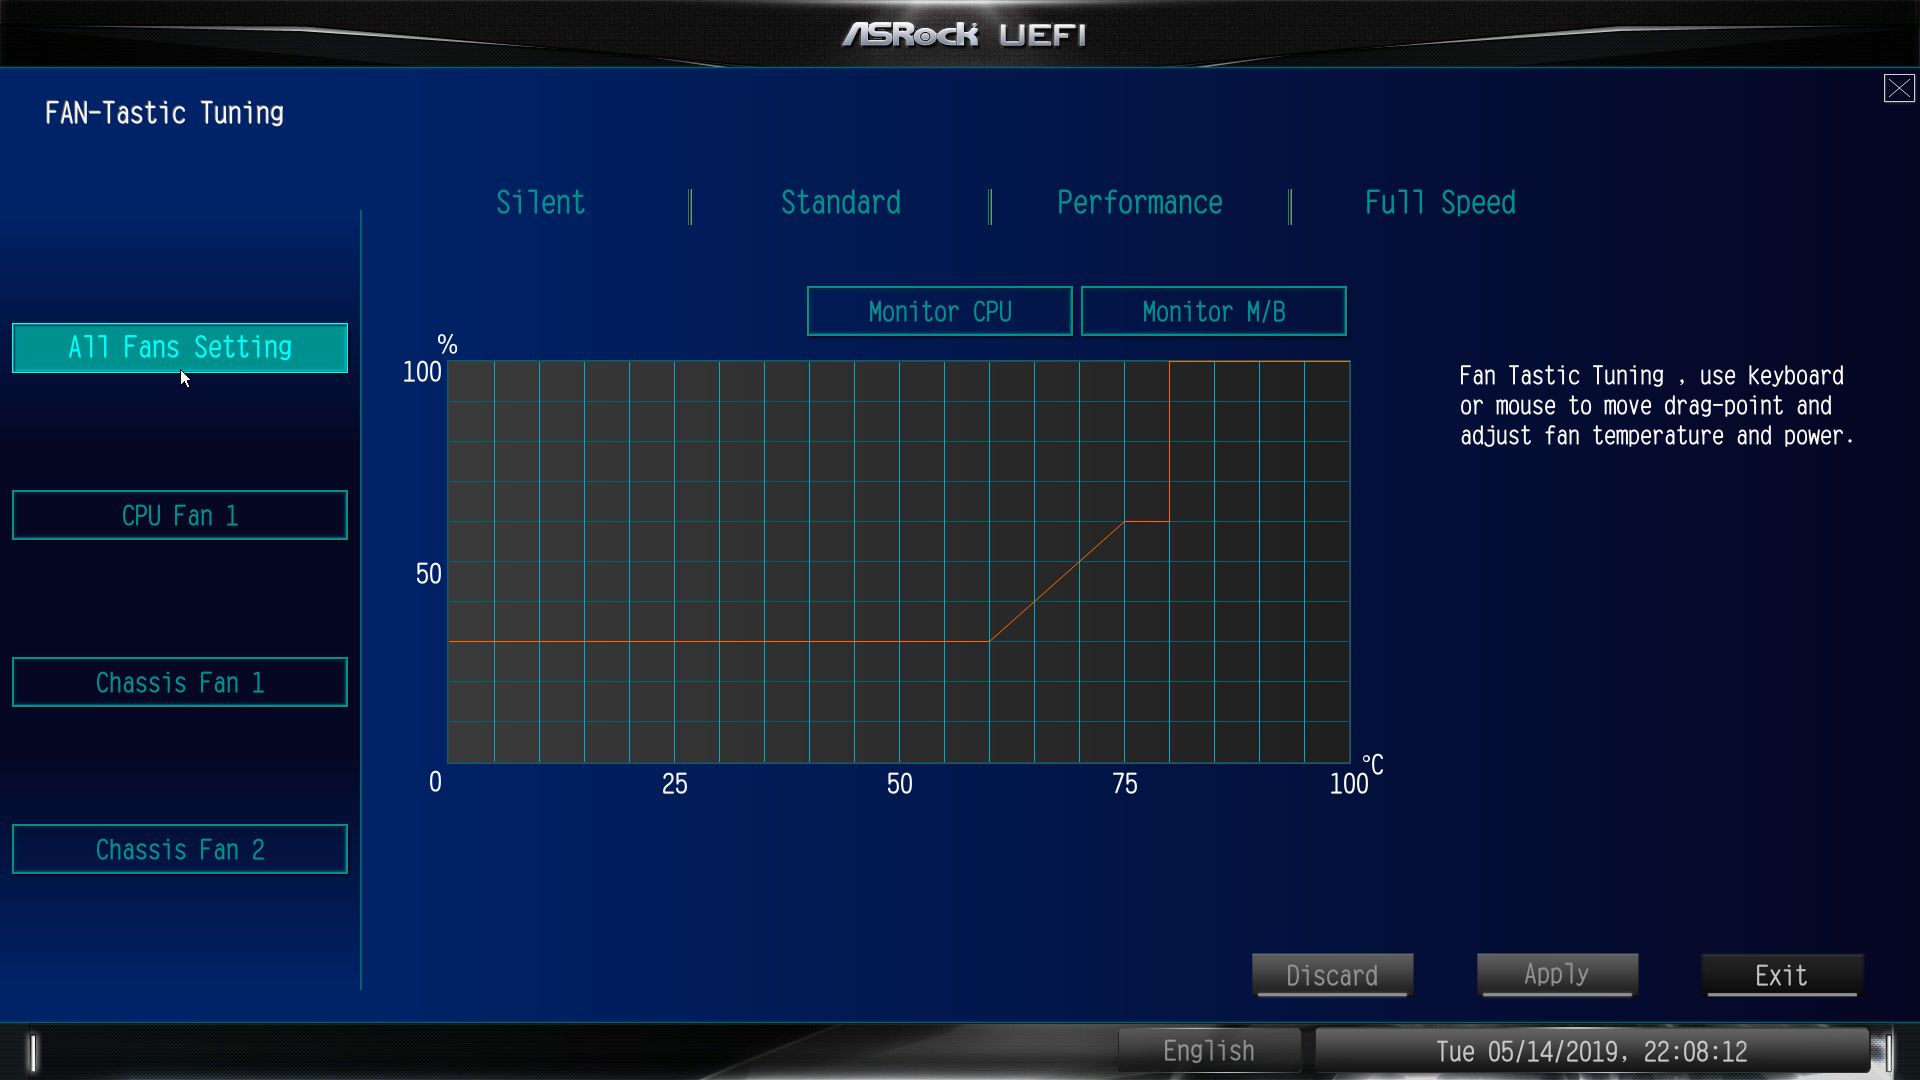
H/W Monitor is where you can see system information such as temperatures fan speeds and voltages for the CPU, DRAM, and the main voltages from the power supply. Also found within this section is Fan-Tastic Tuning for fan control. Users are able to control the mode (PWM/DC), what temperature it is based on, as well as delays in ramping the speeds up or down.
Below is an image from inside the fan tuning portion of the BIOS. In this screen we set up fan curves for each fan connected to the BIOS in a basic, though useful GUI.
In all, ASRock’s UEFI worked out well for us, with the options in logical places. And most key options and settings are not found several levels down a rabbit hole of menus.
MORE: Best Motherboards
MORE: How To Choose A Motherboard
MORE: All Motherboard Content
Current page: Software and Firmware
Prev Page The ASRock H310M-G/M.2 Motherboard Next Page How We Test
Joe Shields is a staff writer at Tom’s Hardware. He reviews motherboards and PC components.
