ASRock X399 Taichi Motherboard Review
Why you can trust Tom's Hardware
Software & Firmware
The Taichi’s UEFI is very stylish, sharing the product’s box art for its background. Luckily, the white text on black background works, but sometimes the longer menus get a little busy towards the bottom left of the screen. The Advanced Mode is our preferred viewing mode and we use OC Tweaker, Advanced, Tool, and the Exit screen the most.
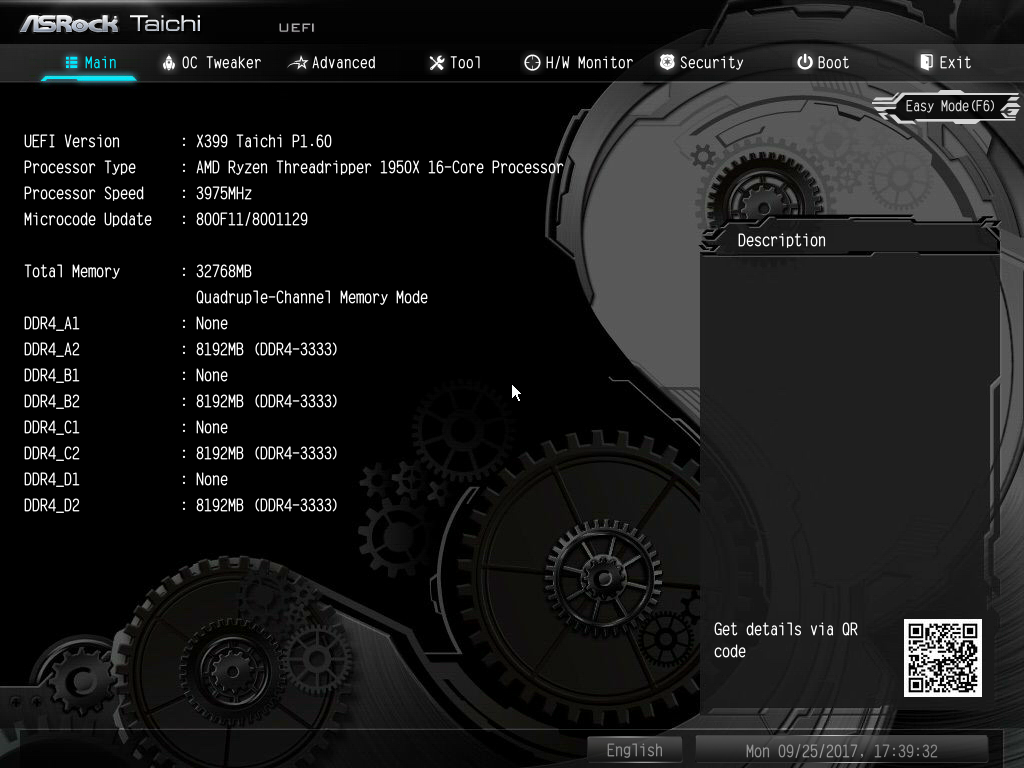
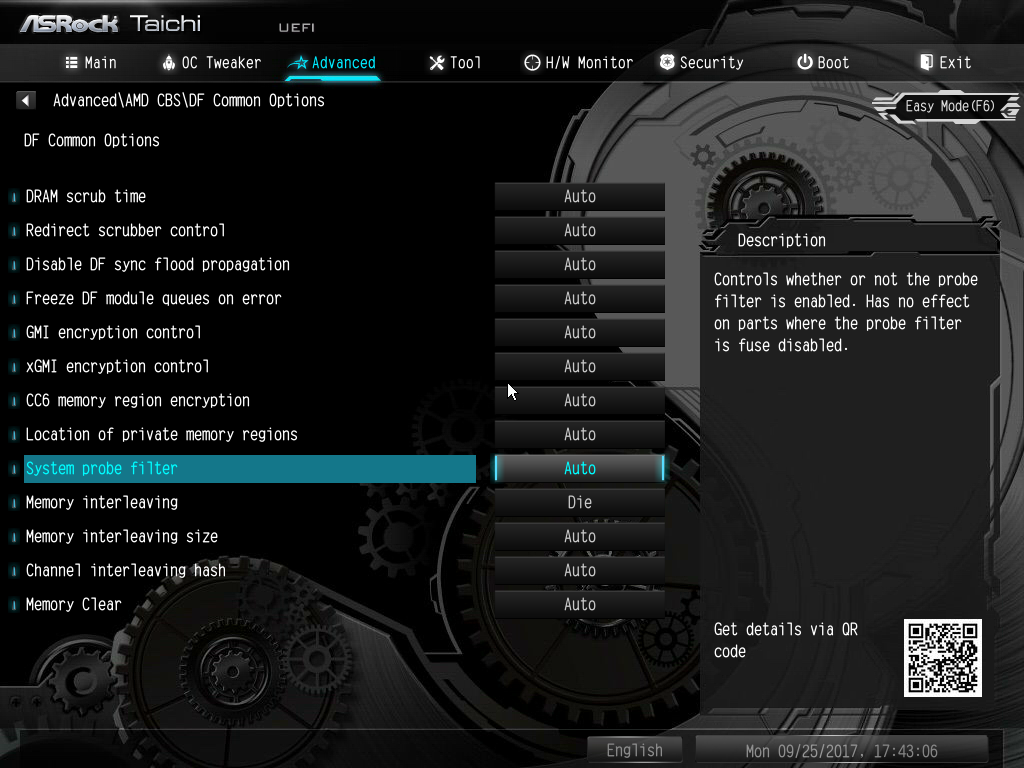
The OC Tweaker panel for this product is consistent with other ASRock offerings intended for Ryzen-based platforms. You can tweak the APU/PCIE reference clocks for additional manual tuning. Manual mode lets us key in our desired frequency speed and target voltage for our processor. SMT mode is configurable, and below that are the XMP profile and memory configuration menus and submenus.
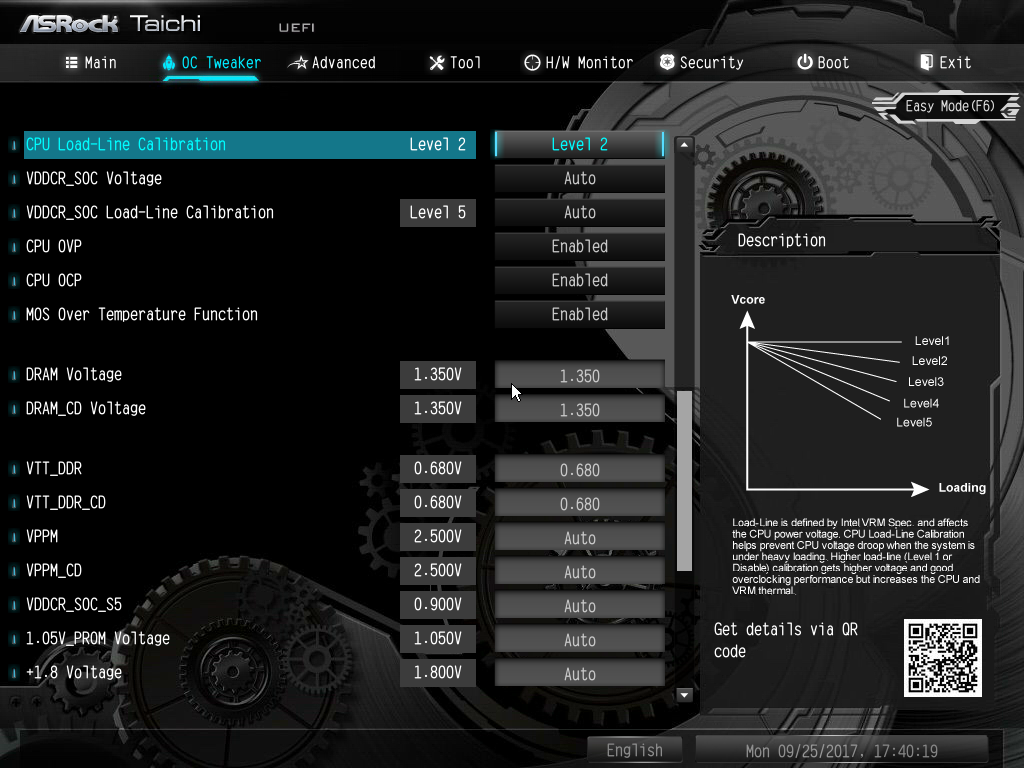
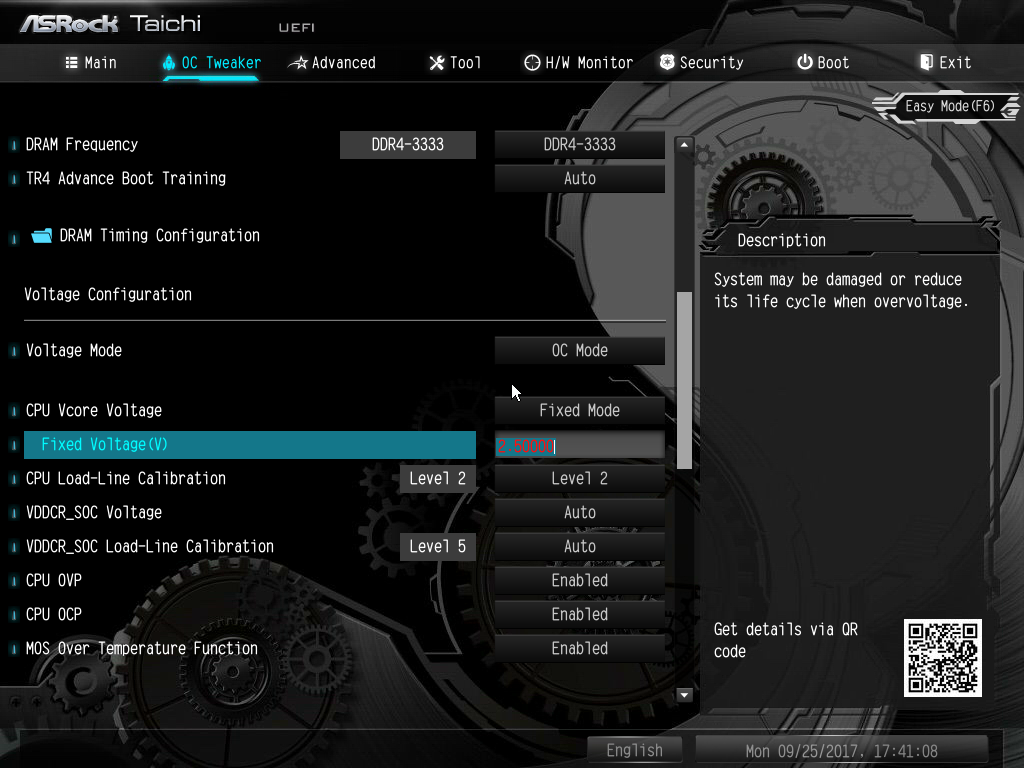
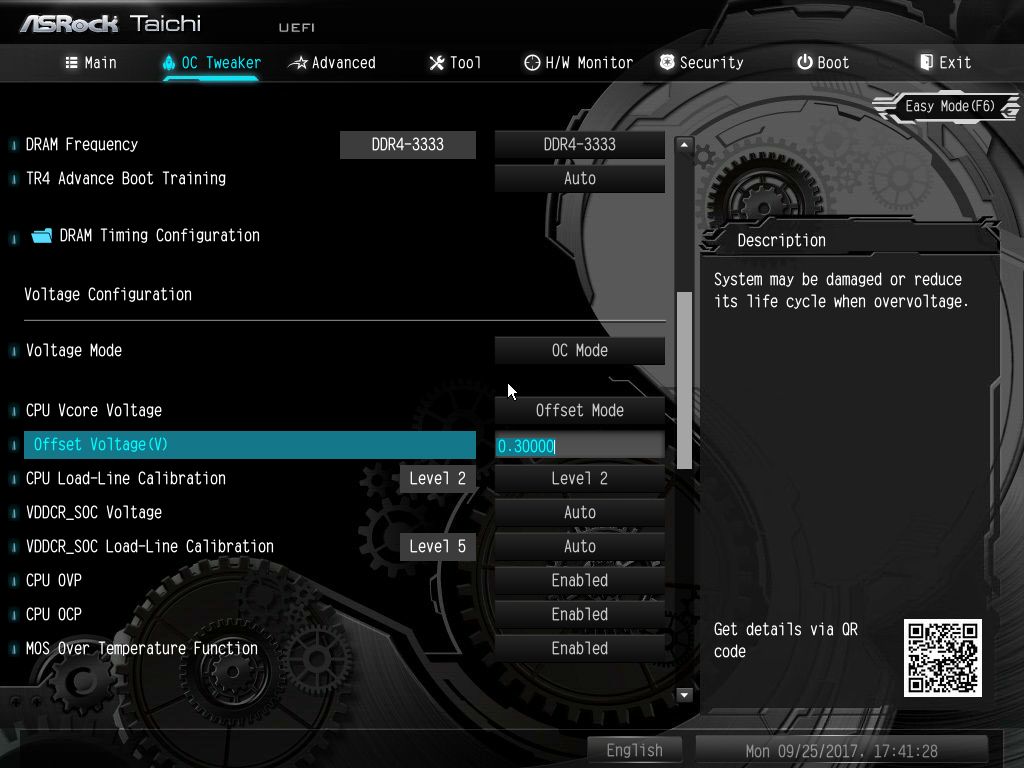
Below the memory options are the voltage and load-line settings. In Voltage OC Mode you can define whether to use fixed or offset voltage. Fixed voltage values can be adjusted in 6.25mV steps up to an alarming 2.5V for Vcore. As for offsets, a modest 0.300V is the maximum you can apply above the default VID for a processor. Load-line calibrations are defined in a numeric fashion, where Level 5 produces the most voltage droop and Level 1 gives advanced users a more constant voltage at the cost of efficiency.
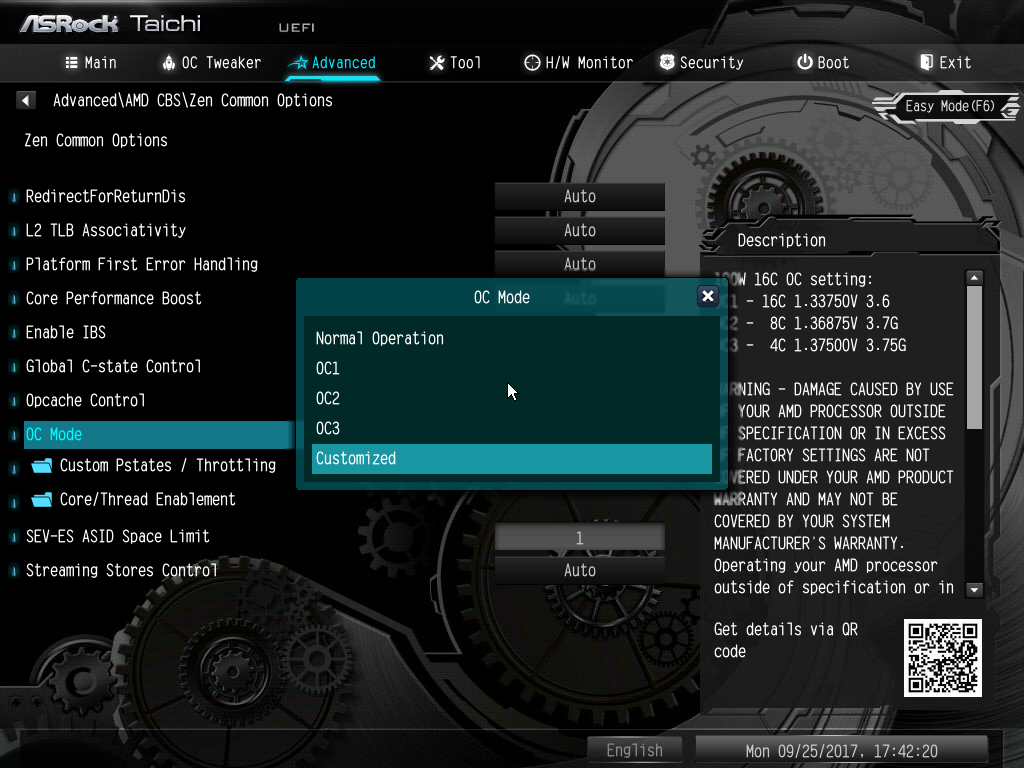
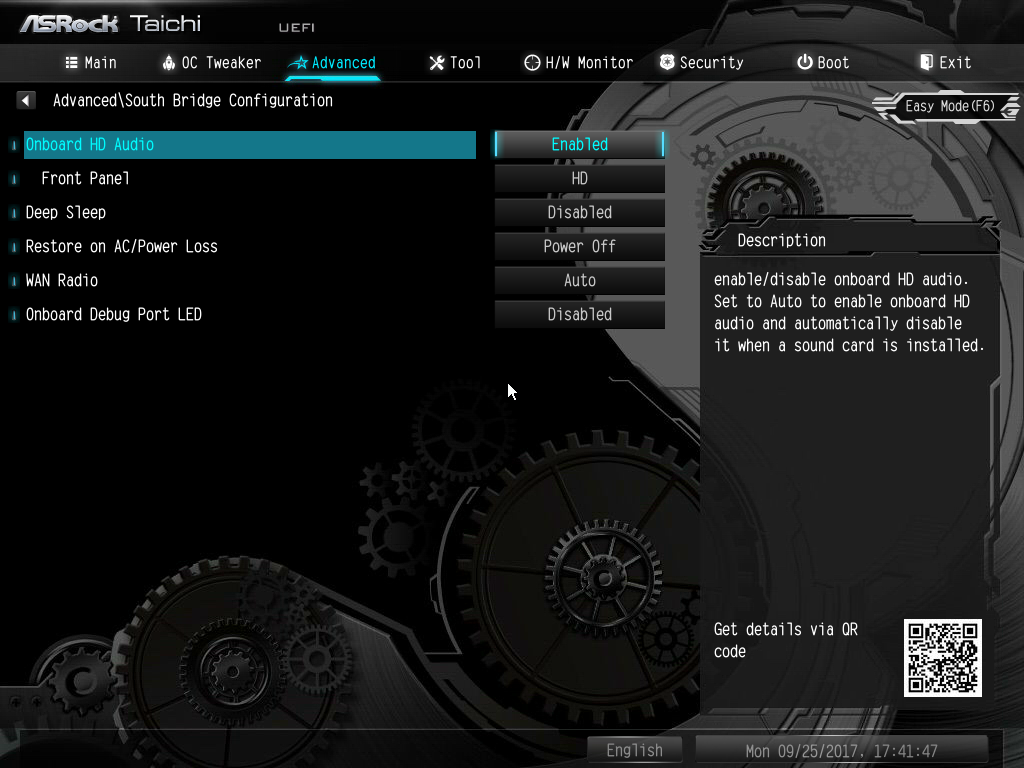
The Advanced menu is fairly similar to AM4 platform options and gives lower level controls of the Ryzen CPU and chipset. A unique feature ASRock provides is an OC Mode (not to be confused with the previous tab) that enables three predefined voltage, frequency, and core configurations for a simpler overclocking experience. Do be cautious, because ASRock lists in all caps an articulate warning that these voltages could potentially damage your processor. We would recommend leaving the voltages alone and bumping the multiplier manually. More on that later.
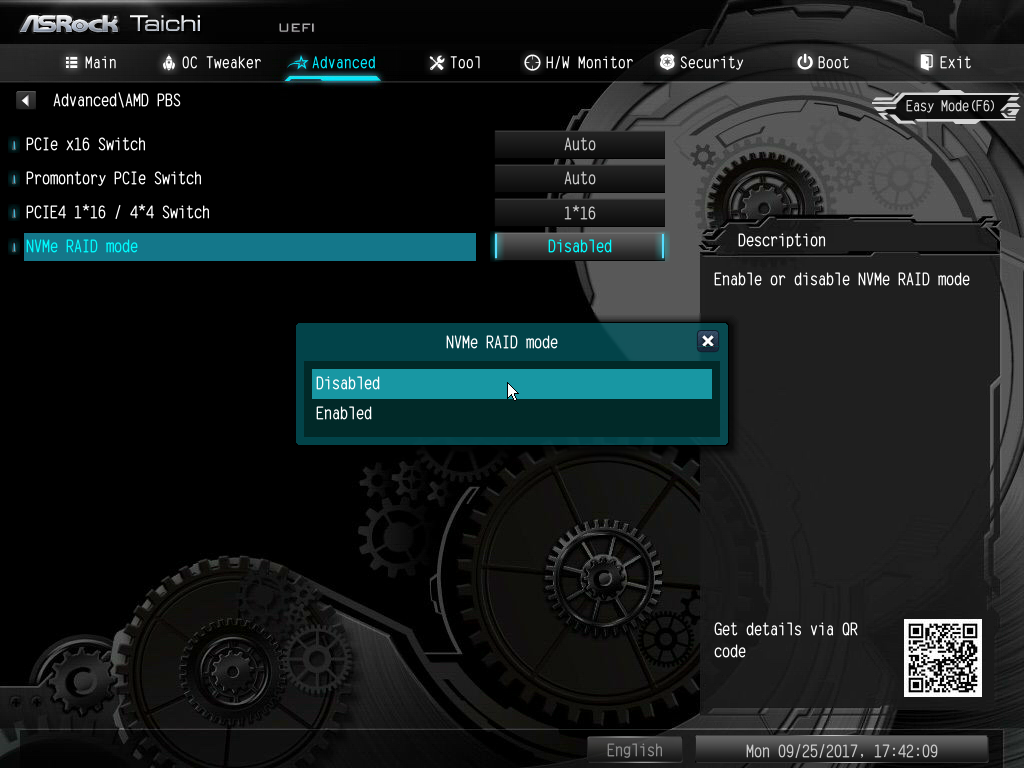
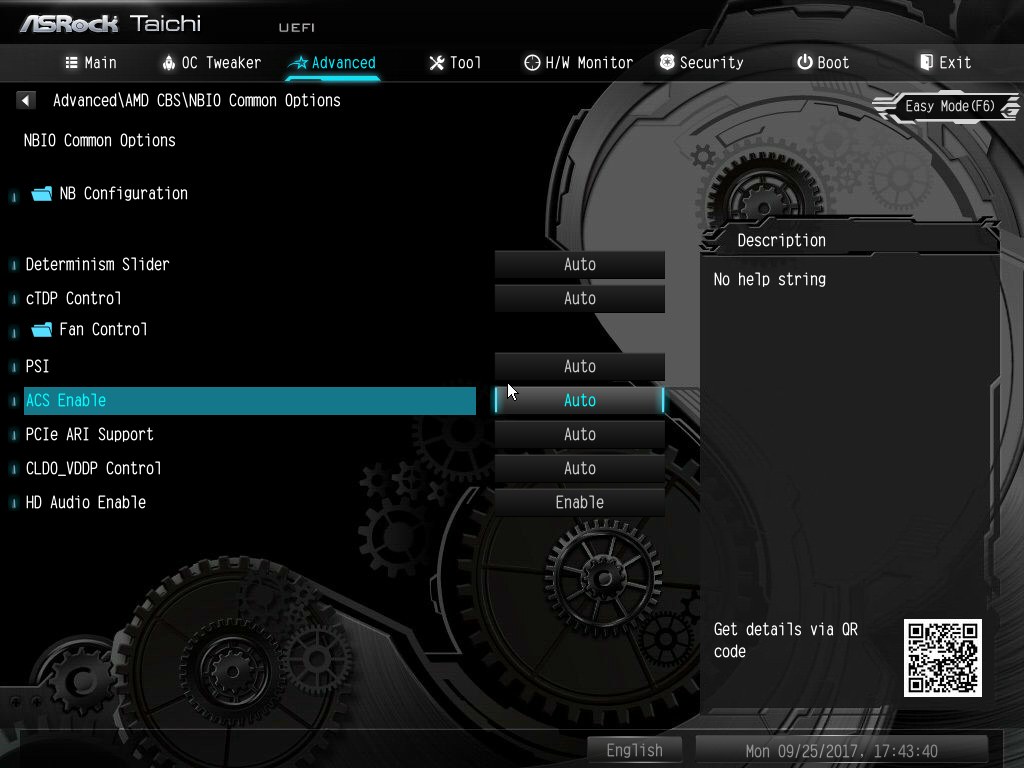
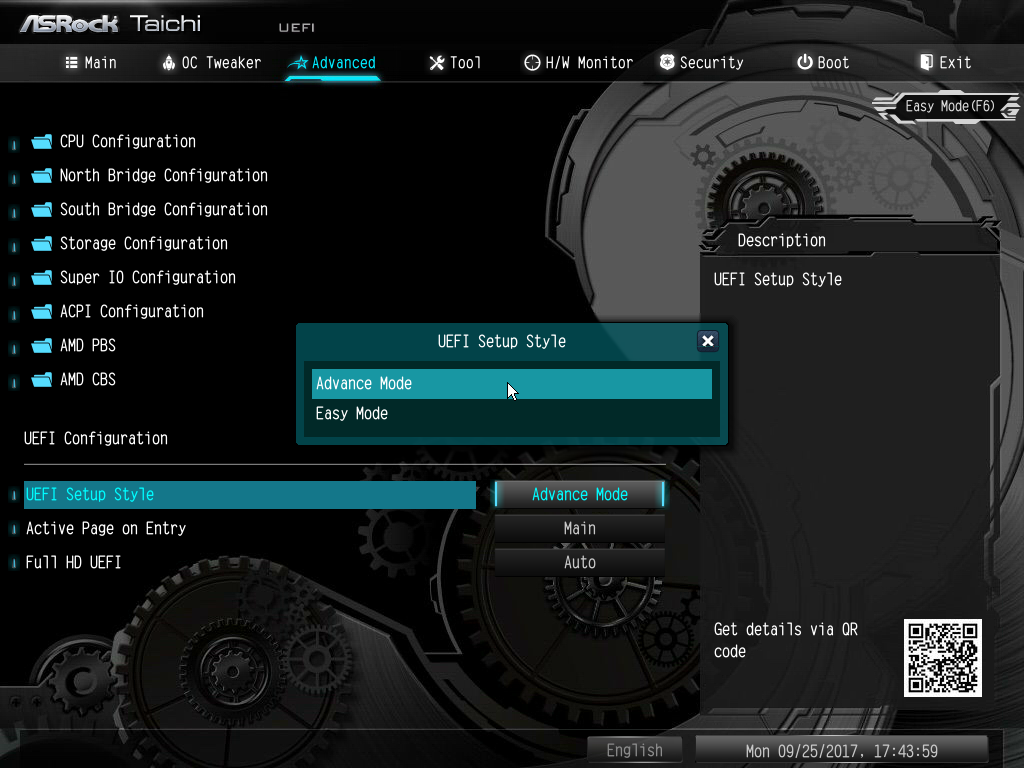
Buried deep within the Advanced menu is the option to enable Threadripper’s highly differentiating feature, NVMe RAID. Otherwise, standard AMD PBS, CBS, and North/South bridge chip options are available for debug and stability improvements. If the advanced UEFI is just too much to consume, simply change the default Setup Style to Easy Mode. There are still “no help string” options sprinkled throughout the menus.
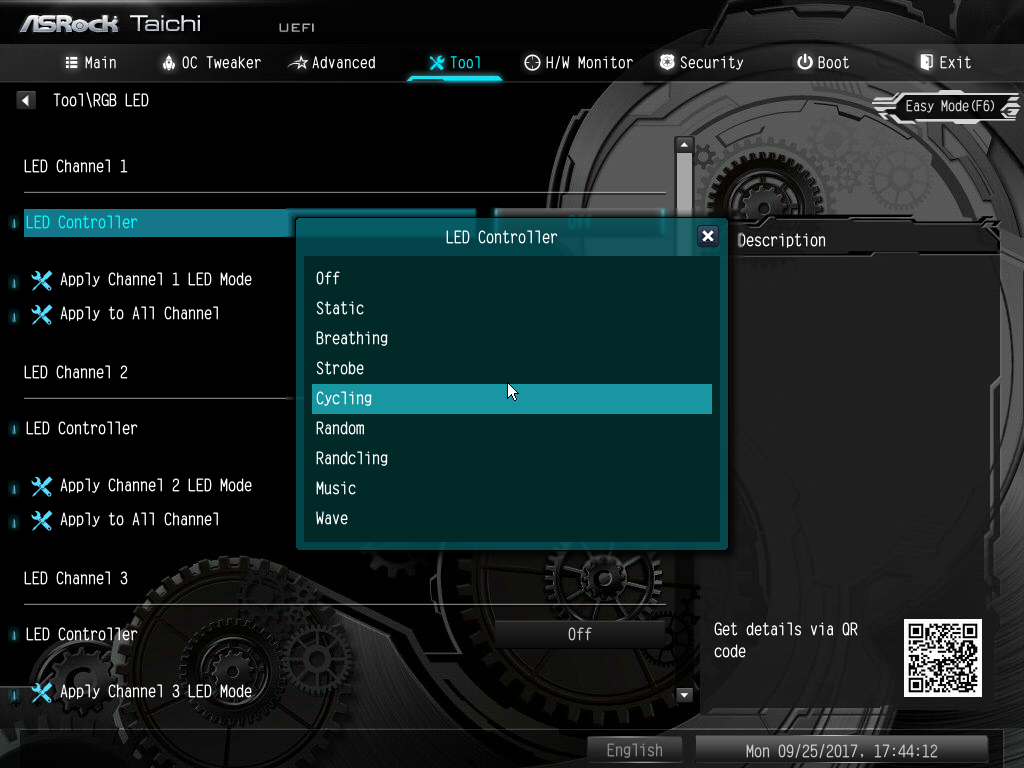
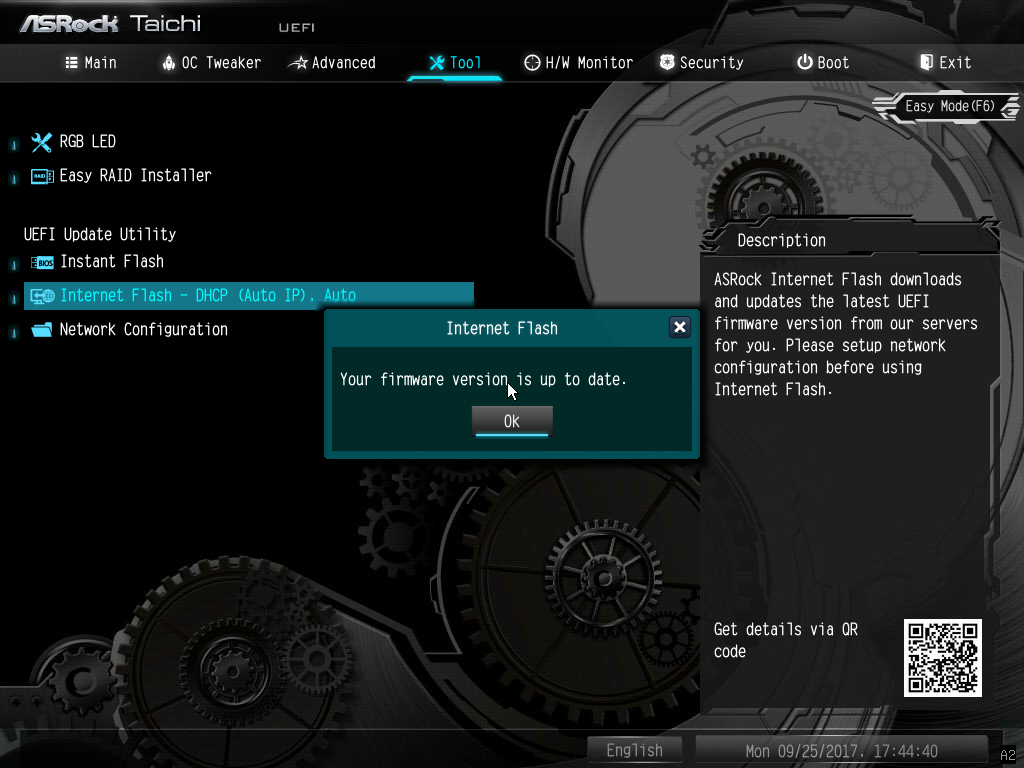
Within the tool menu, RGB lighting can be controlled through the RGB LED menu, and the standard color cycling modes are synchronized by the motherboard. We were also successful using the tool that let us flash our UEFI upgrade over the internet.
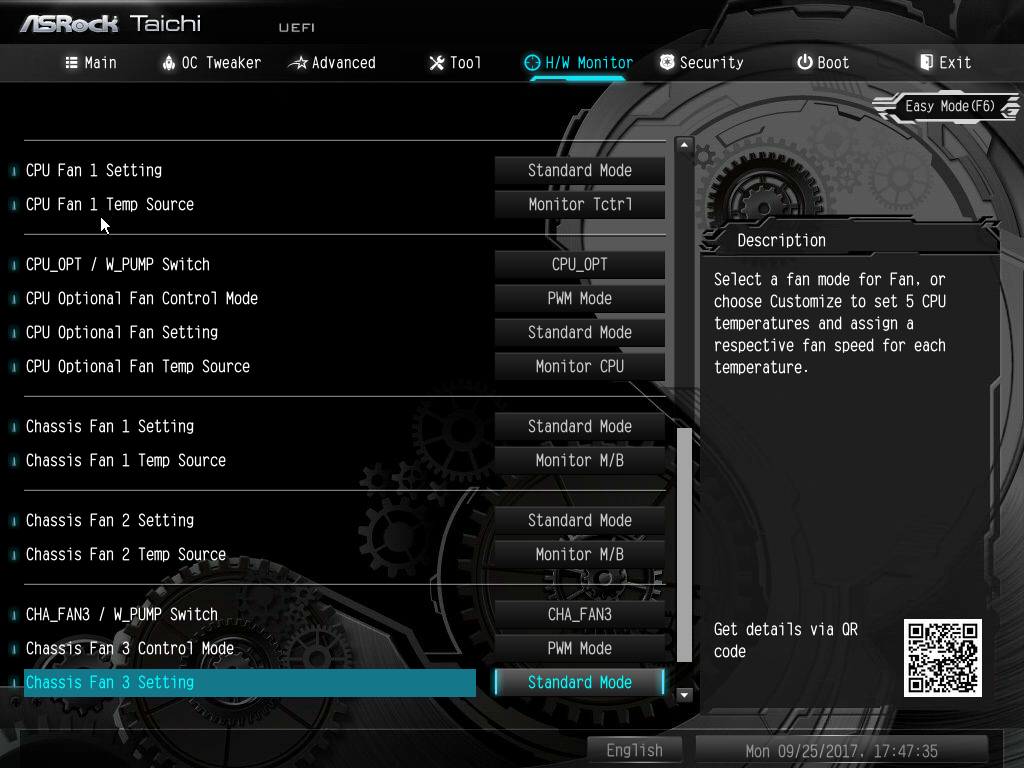
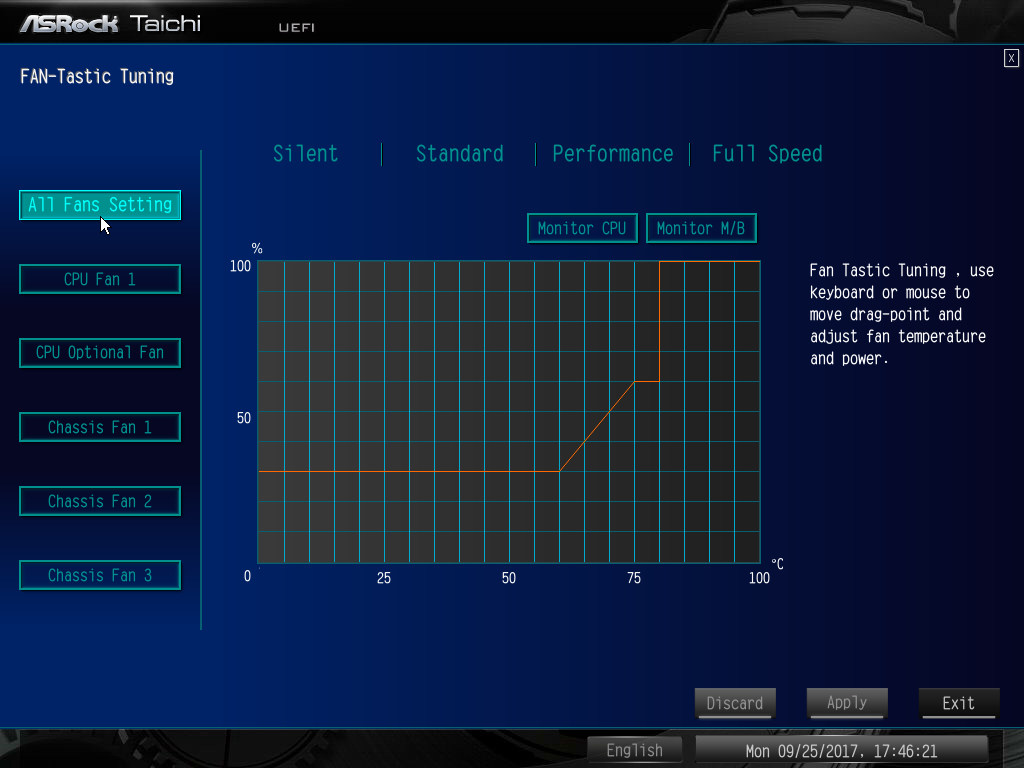
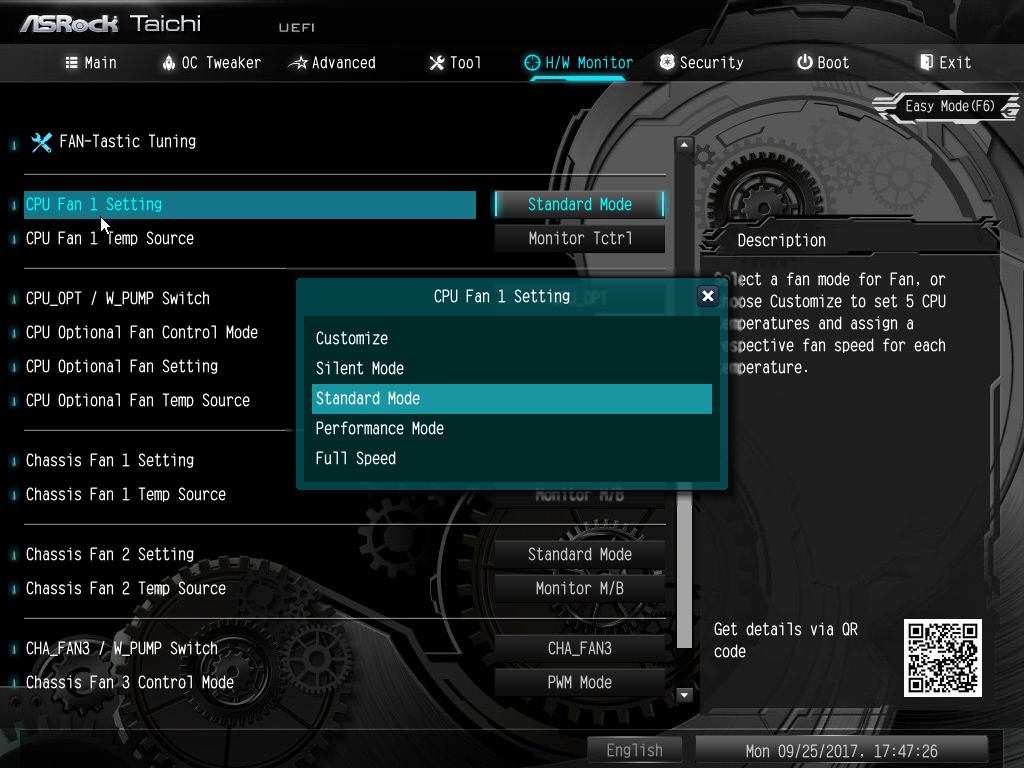
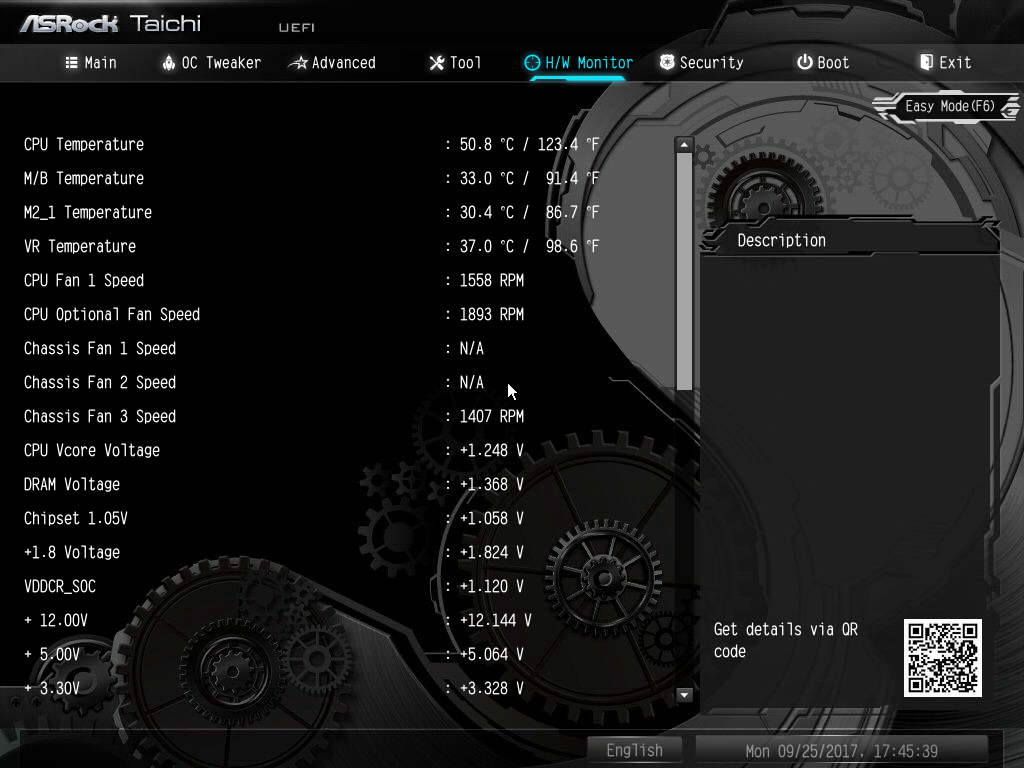
The hardware monitor section opens the controls for configuring the various fan headers to either 3-or-4 pin mode, PWM, and even switching between a standard header and a water pump header. We recommend switching the fan temp sources to something other than Tctrl due to the extremely elevated Tctl on Threadripper (do as we say, not as we do).
Get Tom's Hardware's best news and in-depth reviews, straight to your inbox.
Up to this point the UEFI is well executed, but that FAN-Tastic tuning feature still murders our eyes with glaring blue that clashes completely with the Taichi theme.
MORE: Best Motherboards
MORE: How To Choose A Motherboard
MORE: All Motherboard Content
-
blppt I have one with a TR1950X. Other than there being vast pages of UEFI settings with useless or no labels whatsoever, and the fact that you cannot disable the wireless card (can disable the radio, but the card still shows up in device manager) its pretty much all I could ask for. Especially since the ASUS, GB, and MSI boards in this price range all seemingly were very touchy with certain ram,Reply -
jcaulley_74 This may seem like an odd request, but could you use Microsoft's USBView to pull up the Host controller info for this board? I have an ASRock Z87 Extreme9a/c board that has been a great board until recently. Windows began complaining that it didn't have enough USB resources when I plugged my xbox controller in a couple weeks ago. I don't think I have an abnormally large amount of USB devices, but I do have a few. Keyboard, Mouse, G13, Bluetooth, Headset, Card Reader, Vive, Aquaero, the case front panel hub and 2 monitor hubs. Plunging in the xbox controller sends it off the cliff. The Z87 E9 motherboard has 2 built in USB2 controllers and 1 USB3 controller, but all of the user accessible ports are mapped to the USB3 controller. And since Intel for some reason artificially limited the Z87 to only 92 of the 128 possible connections, it doesn't take much to exceed the limits. I had to buy an add-in USB3 board to keep my devices plugged in. So I'm looking to see if all the ports are allocated to one controller or if they are spread out across a couple.Reply -
TheTerk JCAULLEY, it might be worth slinging this question to the Discord channel. I've dismantled this board as I continue testing X399, but I'm working on a custom X399 build that I might throw the Taichi in. I haven't decided.Reply -
jcaulley_74 Thanks for responding, I figured it was a long shot anyways. Maybe you can consider taking a couple minutes in your future reviews to look at the USB allocation. A quick google search shows that this is not a rare problem at least. The Vive by itself consumes more than 30 endpoints and puts a serious dent in the USB budget. It's a really quick check and may (or may not) show more differentiation in boards.Reply -
papality ProsReply
Better than average performance
Better than average efficiency
Angled headers
Minimal yet stylish aesthetic
Budget performer
Cons
Bare bones packaging
Minor UEFI aesthetic misses
Jeez, what does it take for this to get Editor's Approval? Those seem like pretty meaningless cons -
TheTerk It's hard to award a product an Editor Choice award without testing more than 2 products. We're getting there, but if we award everything that's inexpensive then the award won't mean anything. I've only given out 1 other Editor Choice award, so it means something if it gets it.Reply