Build A Balanced AMD-Based Gaming PC On A Budget
We’re revisiting an age-old question with a modern twist: can you build a balanced gaming PC with a sub-$100 CPU and not be limited by graphics performance? When you pick the right parts, a capable machine is easily within reach for very little money.
Drives And Installation
Installation: SSD and Hard Drive
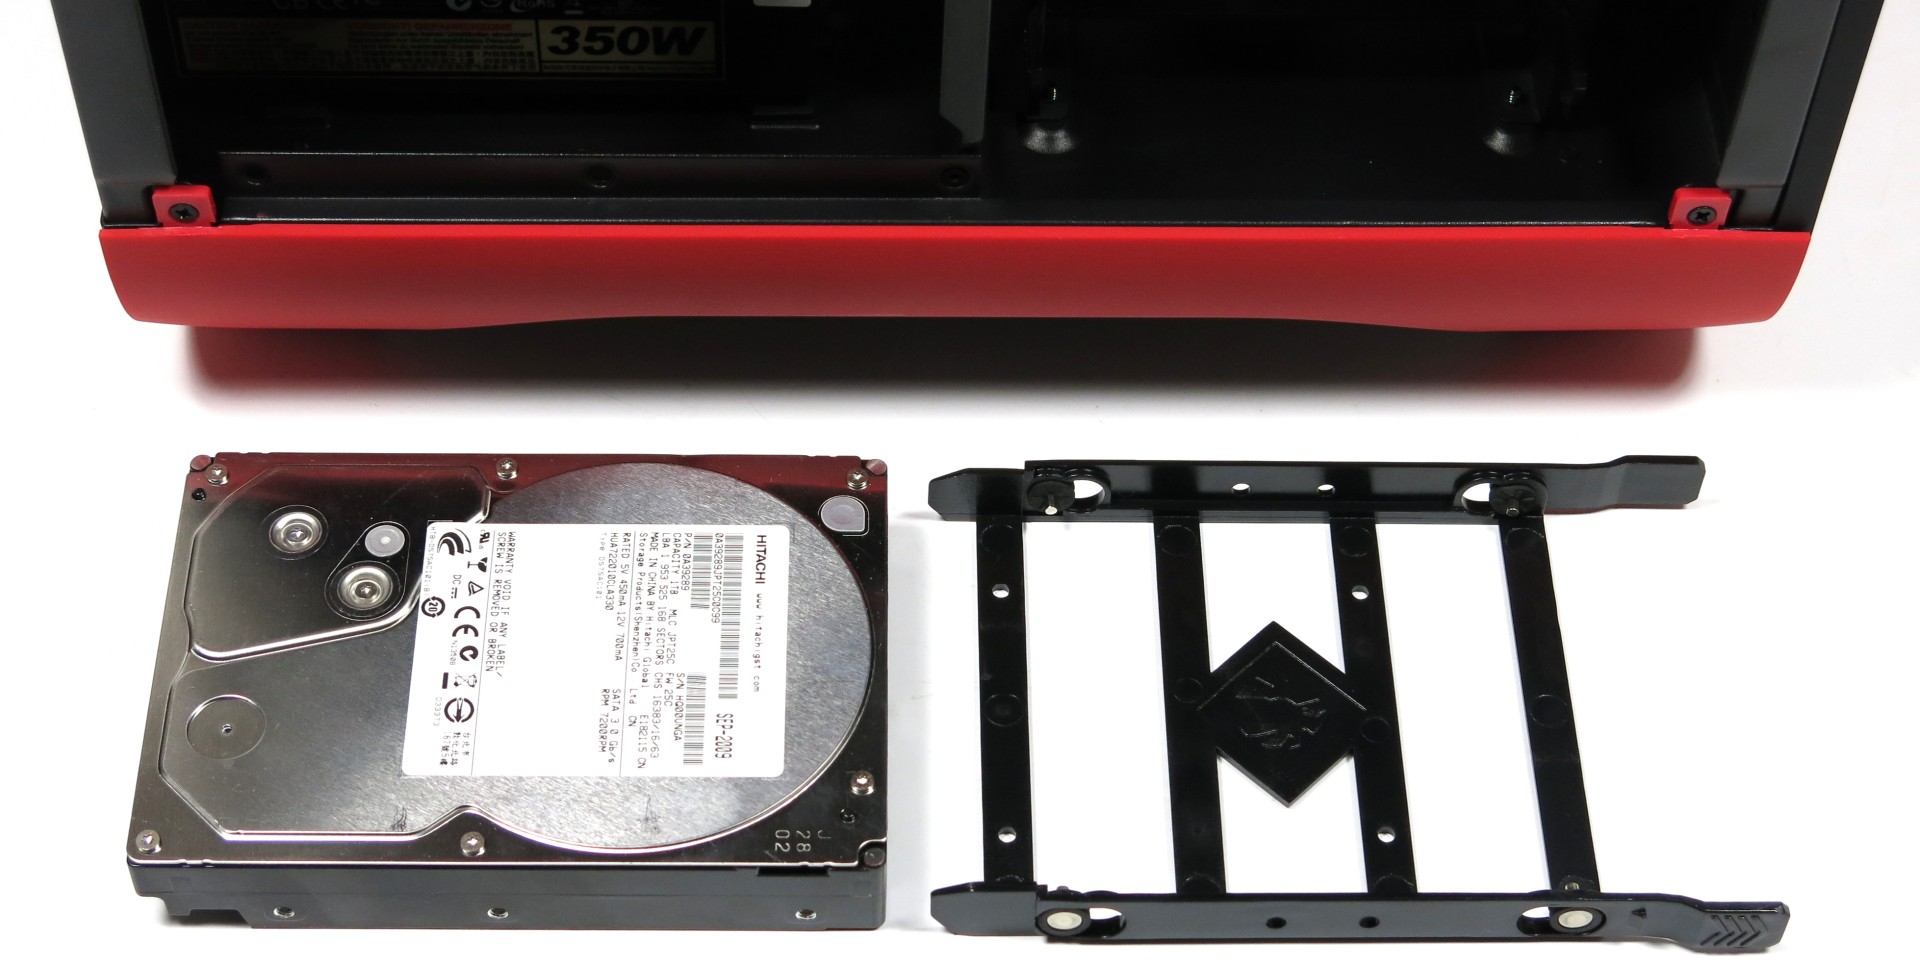
The universal 3.5-inch hard drive bays can be used for 2.5-inch SSDs and notebook hard drives as well. The larger form factor is installable without tools, using pins. This setup also enables reasonable sound dampening. You'll need to screw 2.5-inch drives in to a tray.
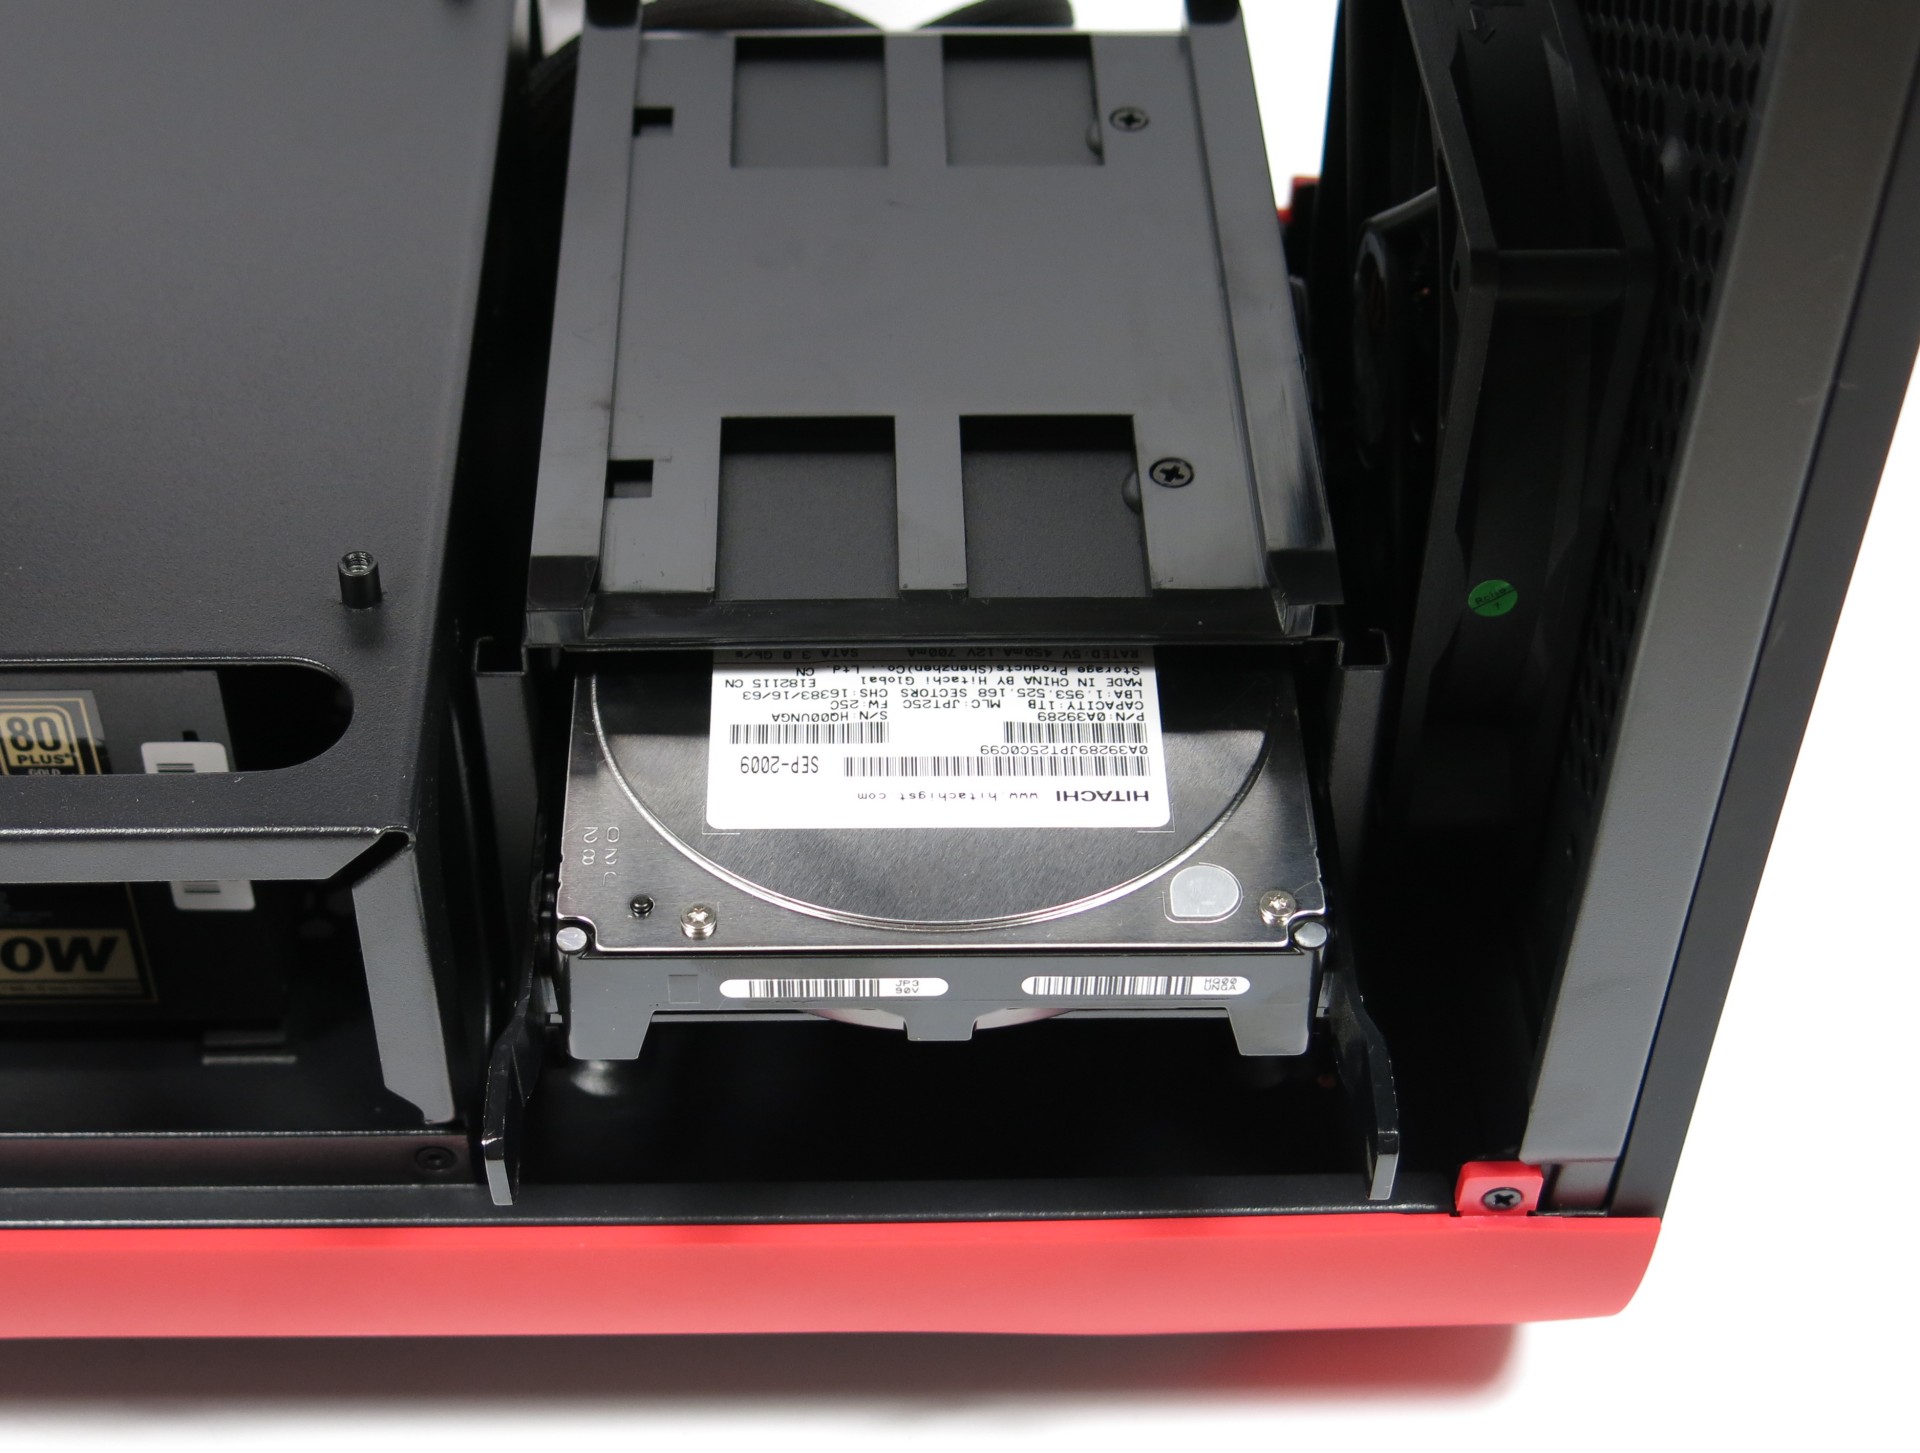
Inserting drives is as straightforward as it gets. They slide in and snap into place. Even heavy disks sit securely, without any of the give that'd cause you to question the Prodigy's quality.
Installation: Optical Drive
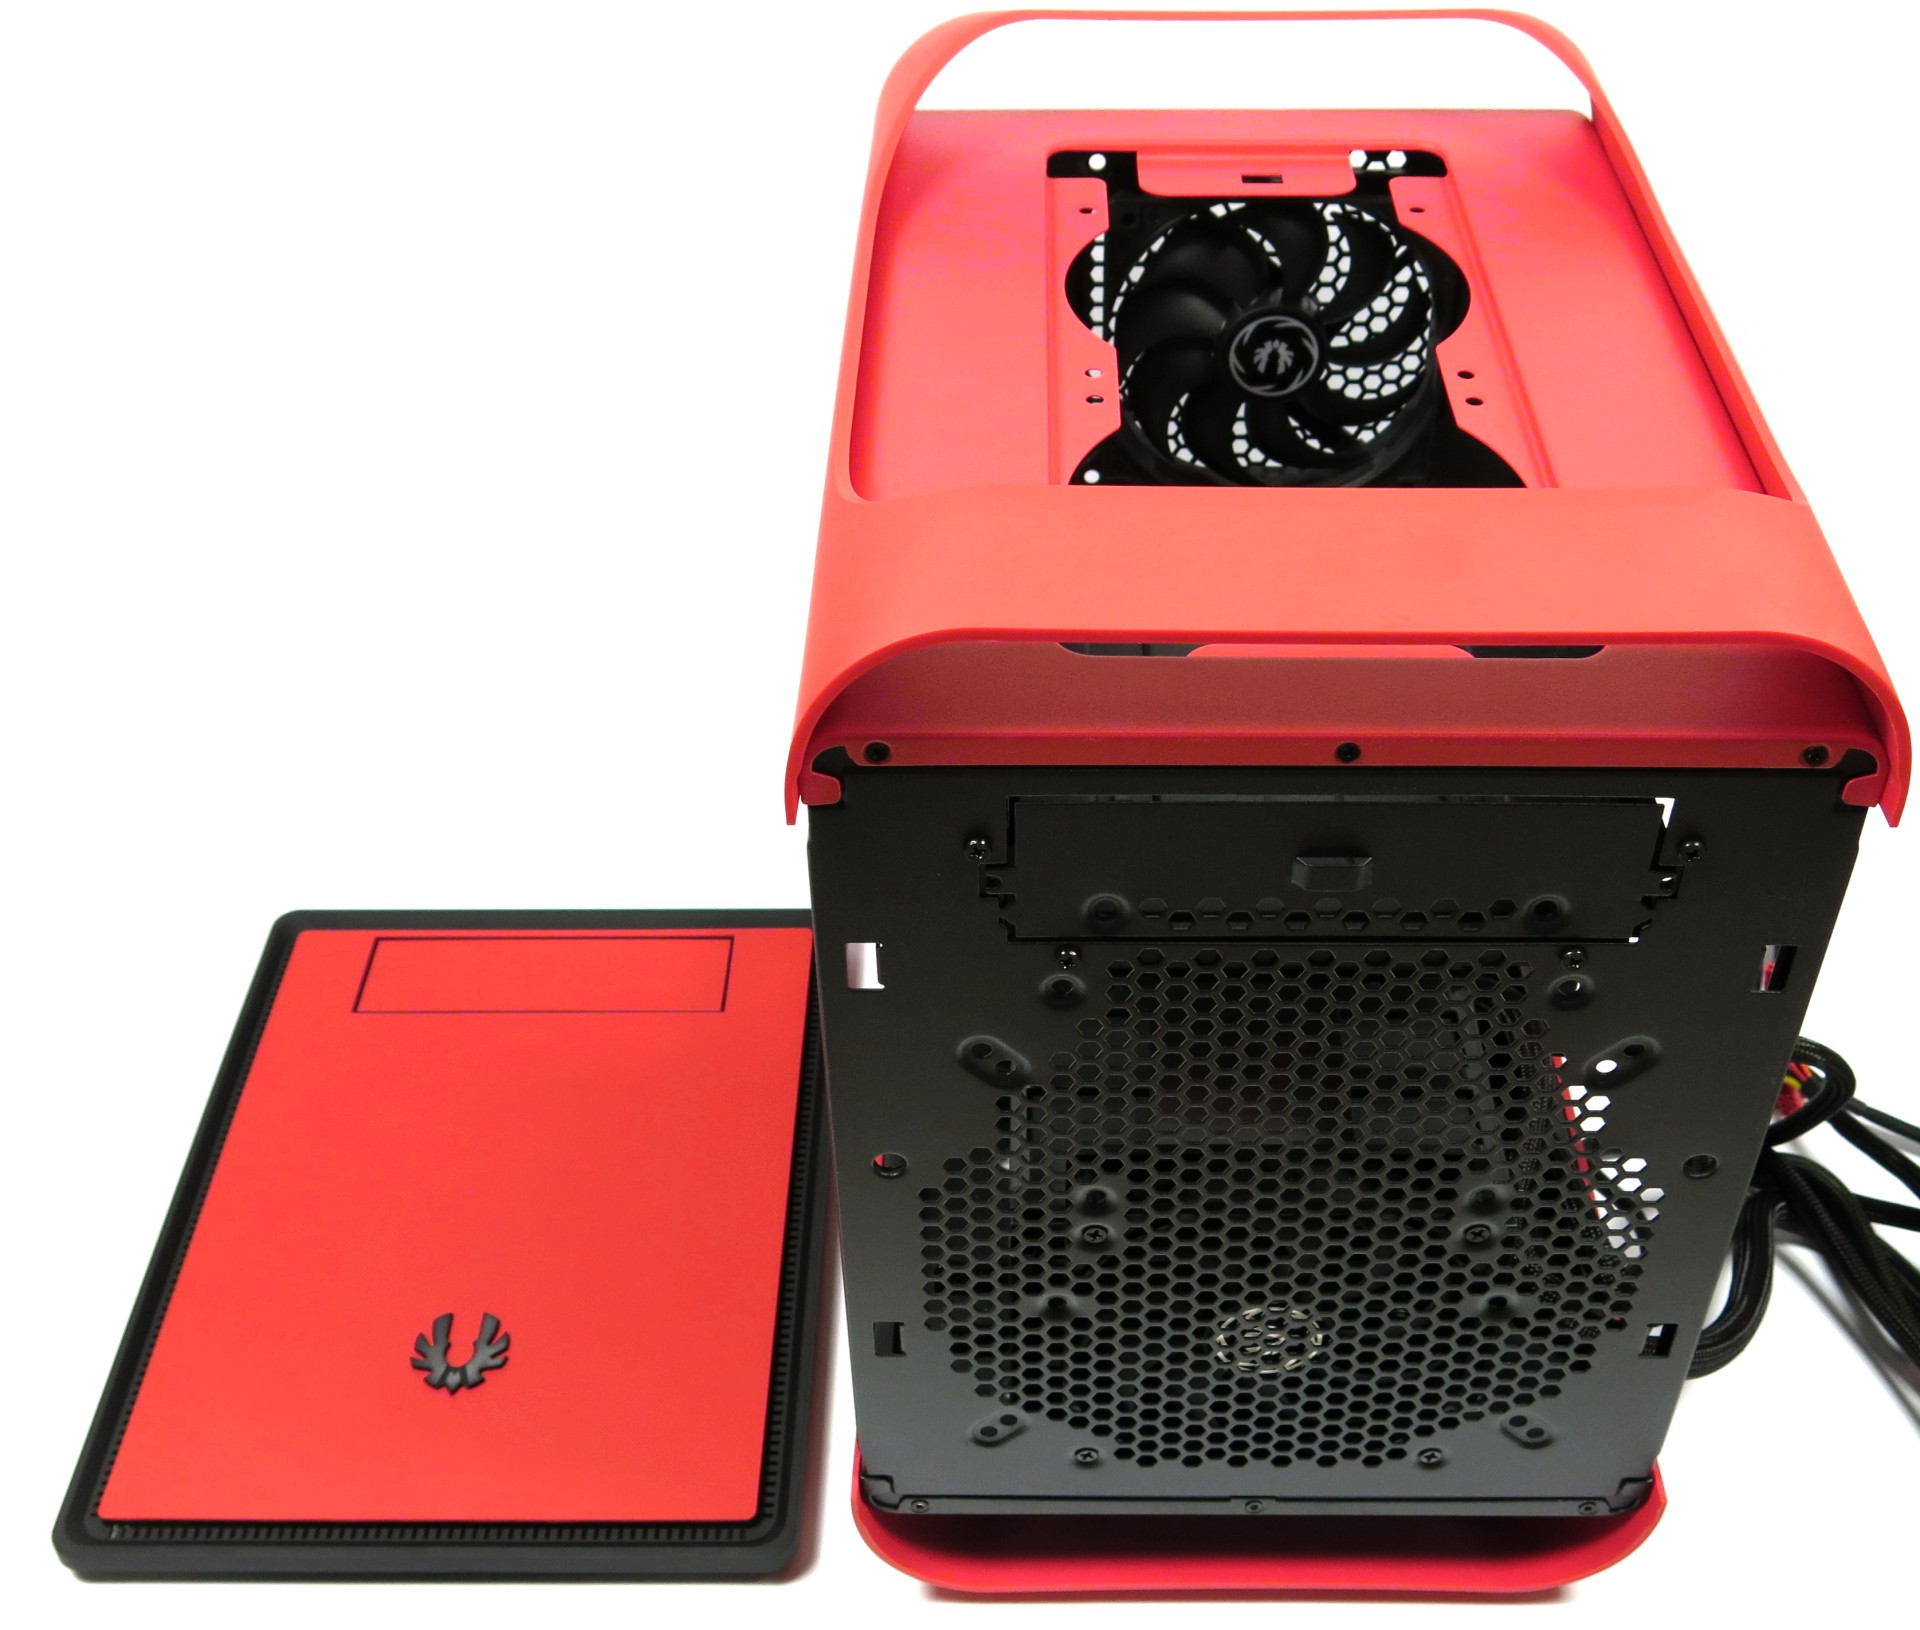
Installing an optical drive takes a bit more work. First, the front and top covers need to be removed.
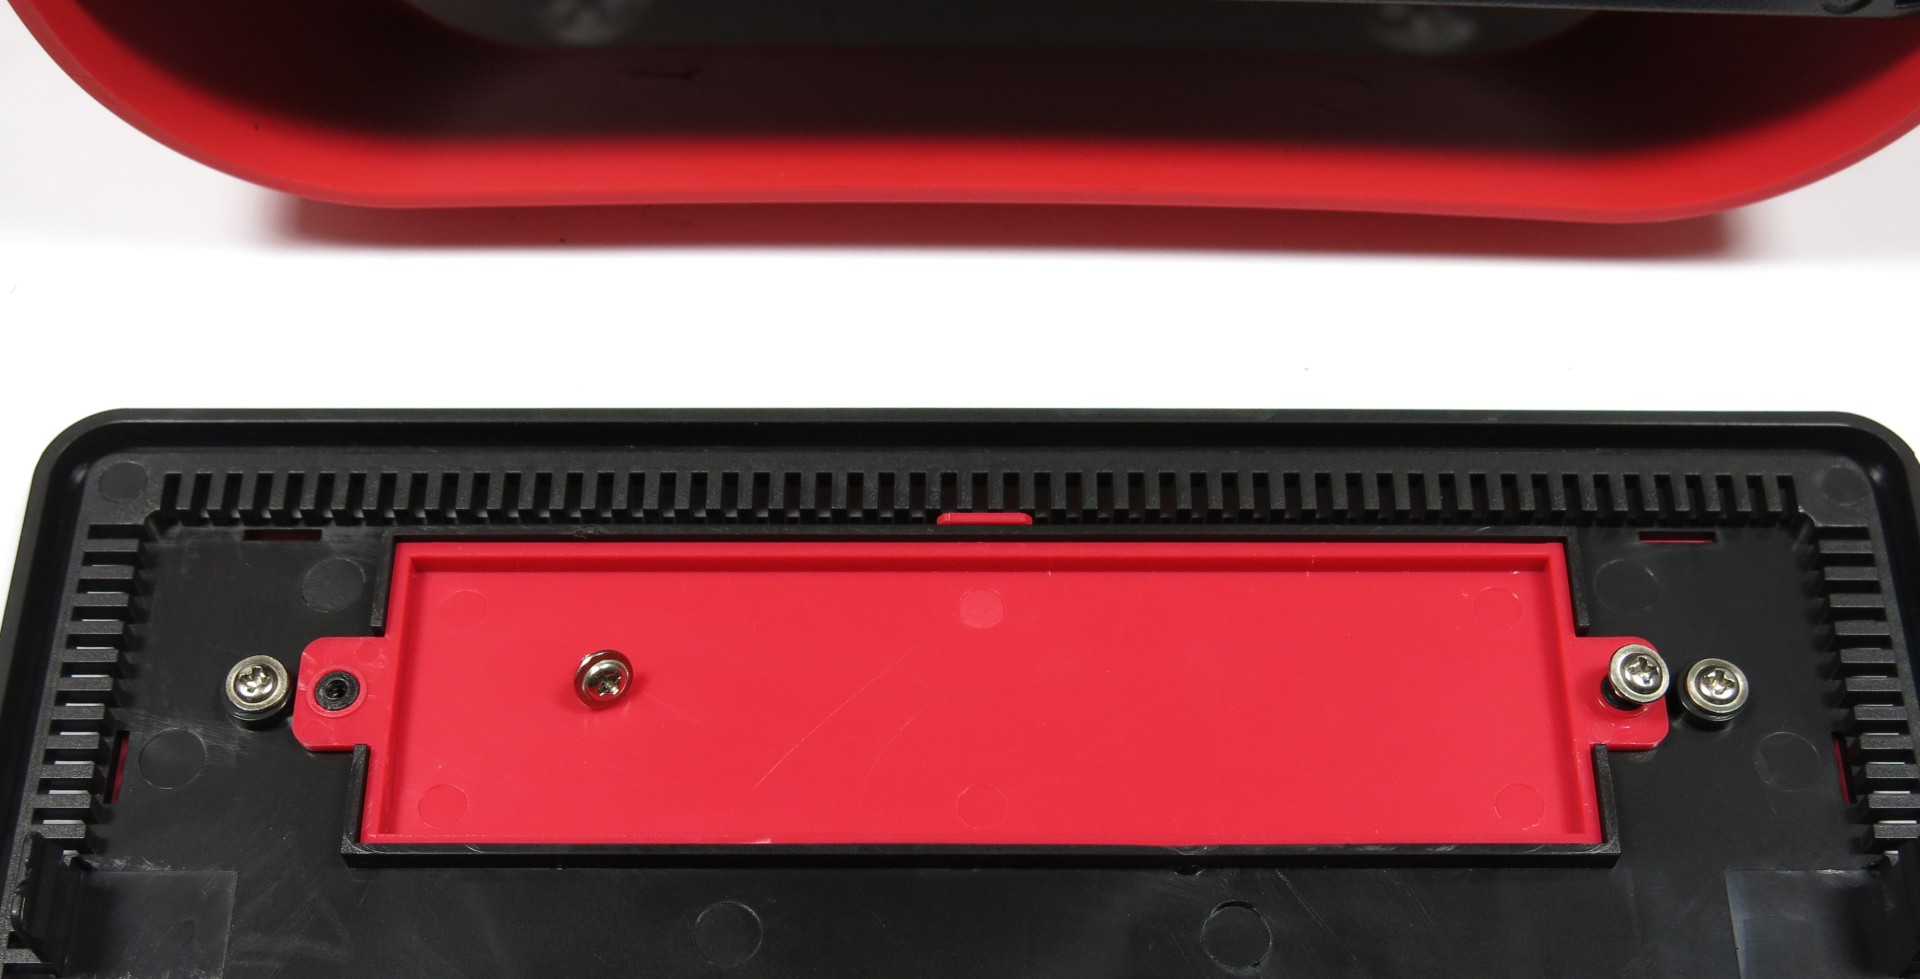
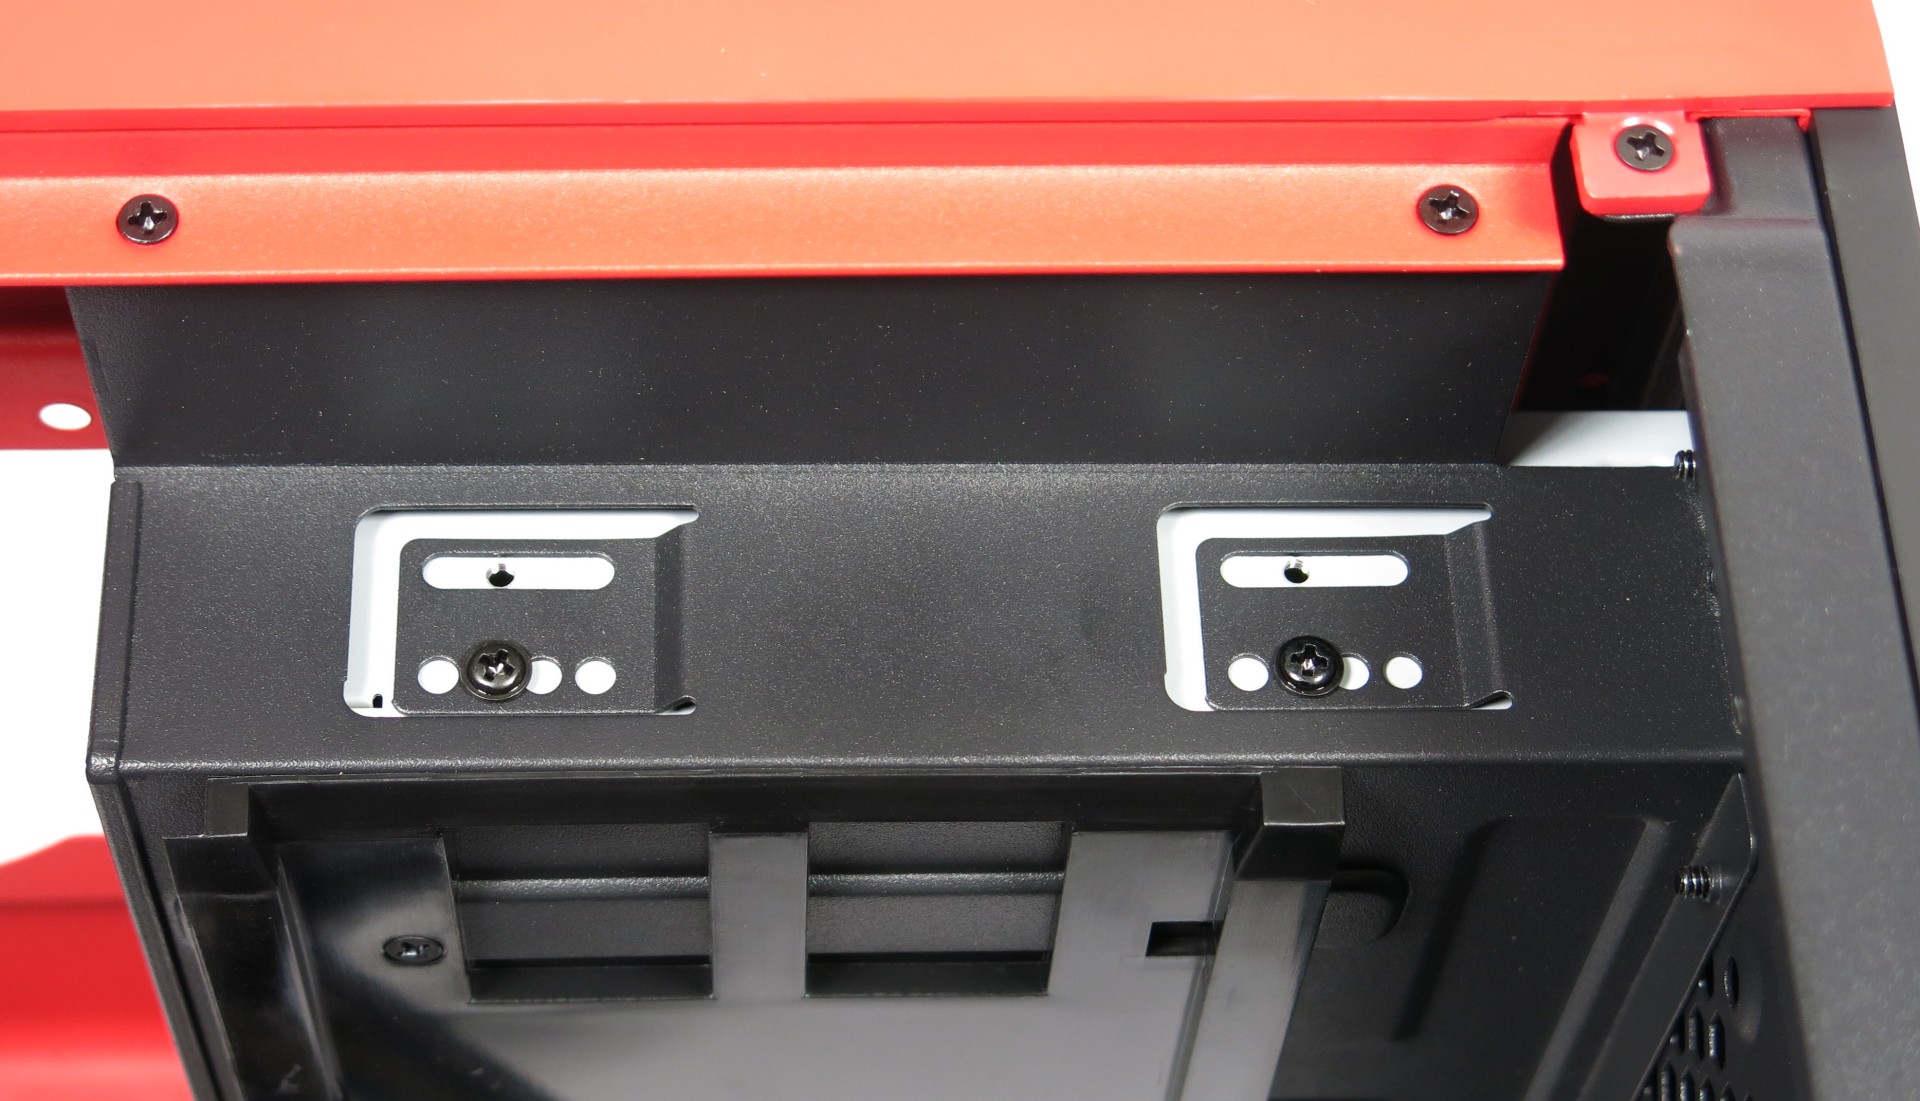
Second, the cover for the 5.25-inch drive bays needs to come off. Simply unfasten two small screws.
Finally, an optical drive slides in through the front of the case and is manually screwed in place, as shown. There’s no tool-less mechanism, unfortunately.
Caution: Memory Module And CPU Clearance
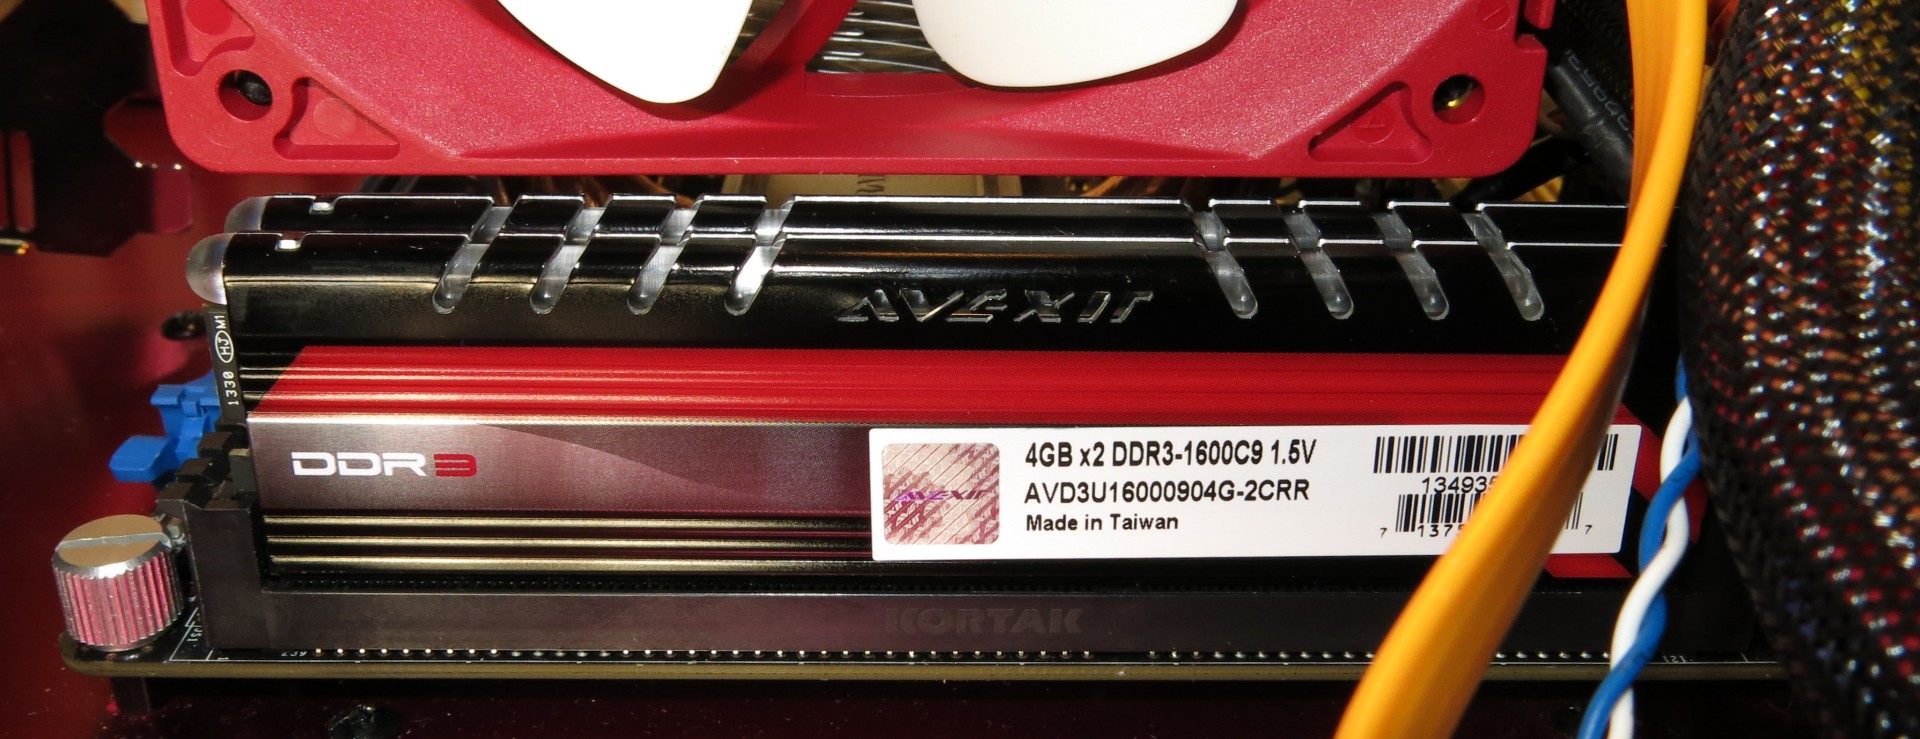
Normal-profile memory modules fit under the Raijintek Themis without a problem. But the Avexir DDR3-1600 kit we used requires that you push the cooler's fan up a bit so the two components don't collide. Modules any taller would be a problem, and we'd expect this to be true on most small form factor platforms.
Installation: Graphics Card
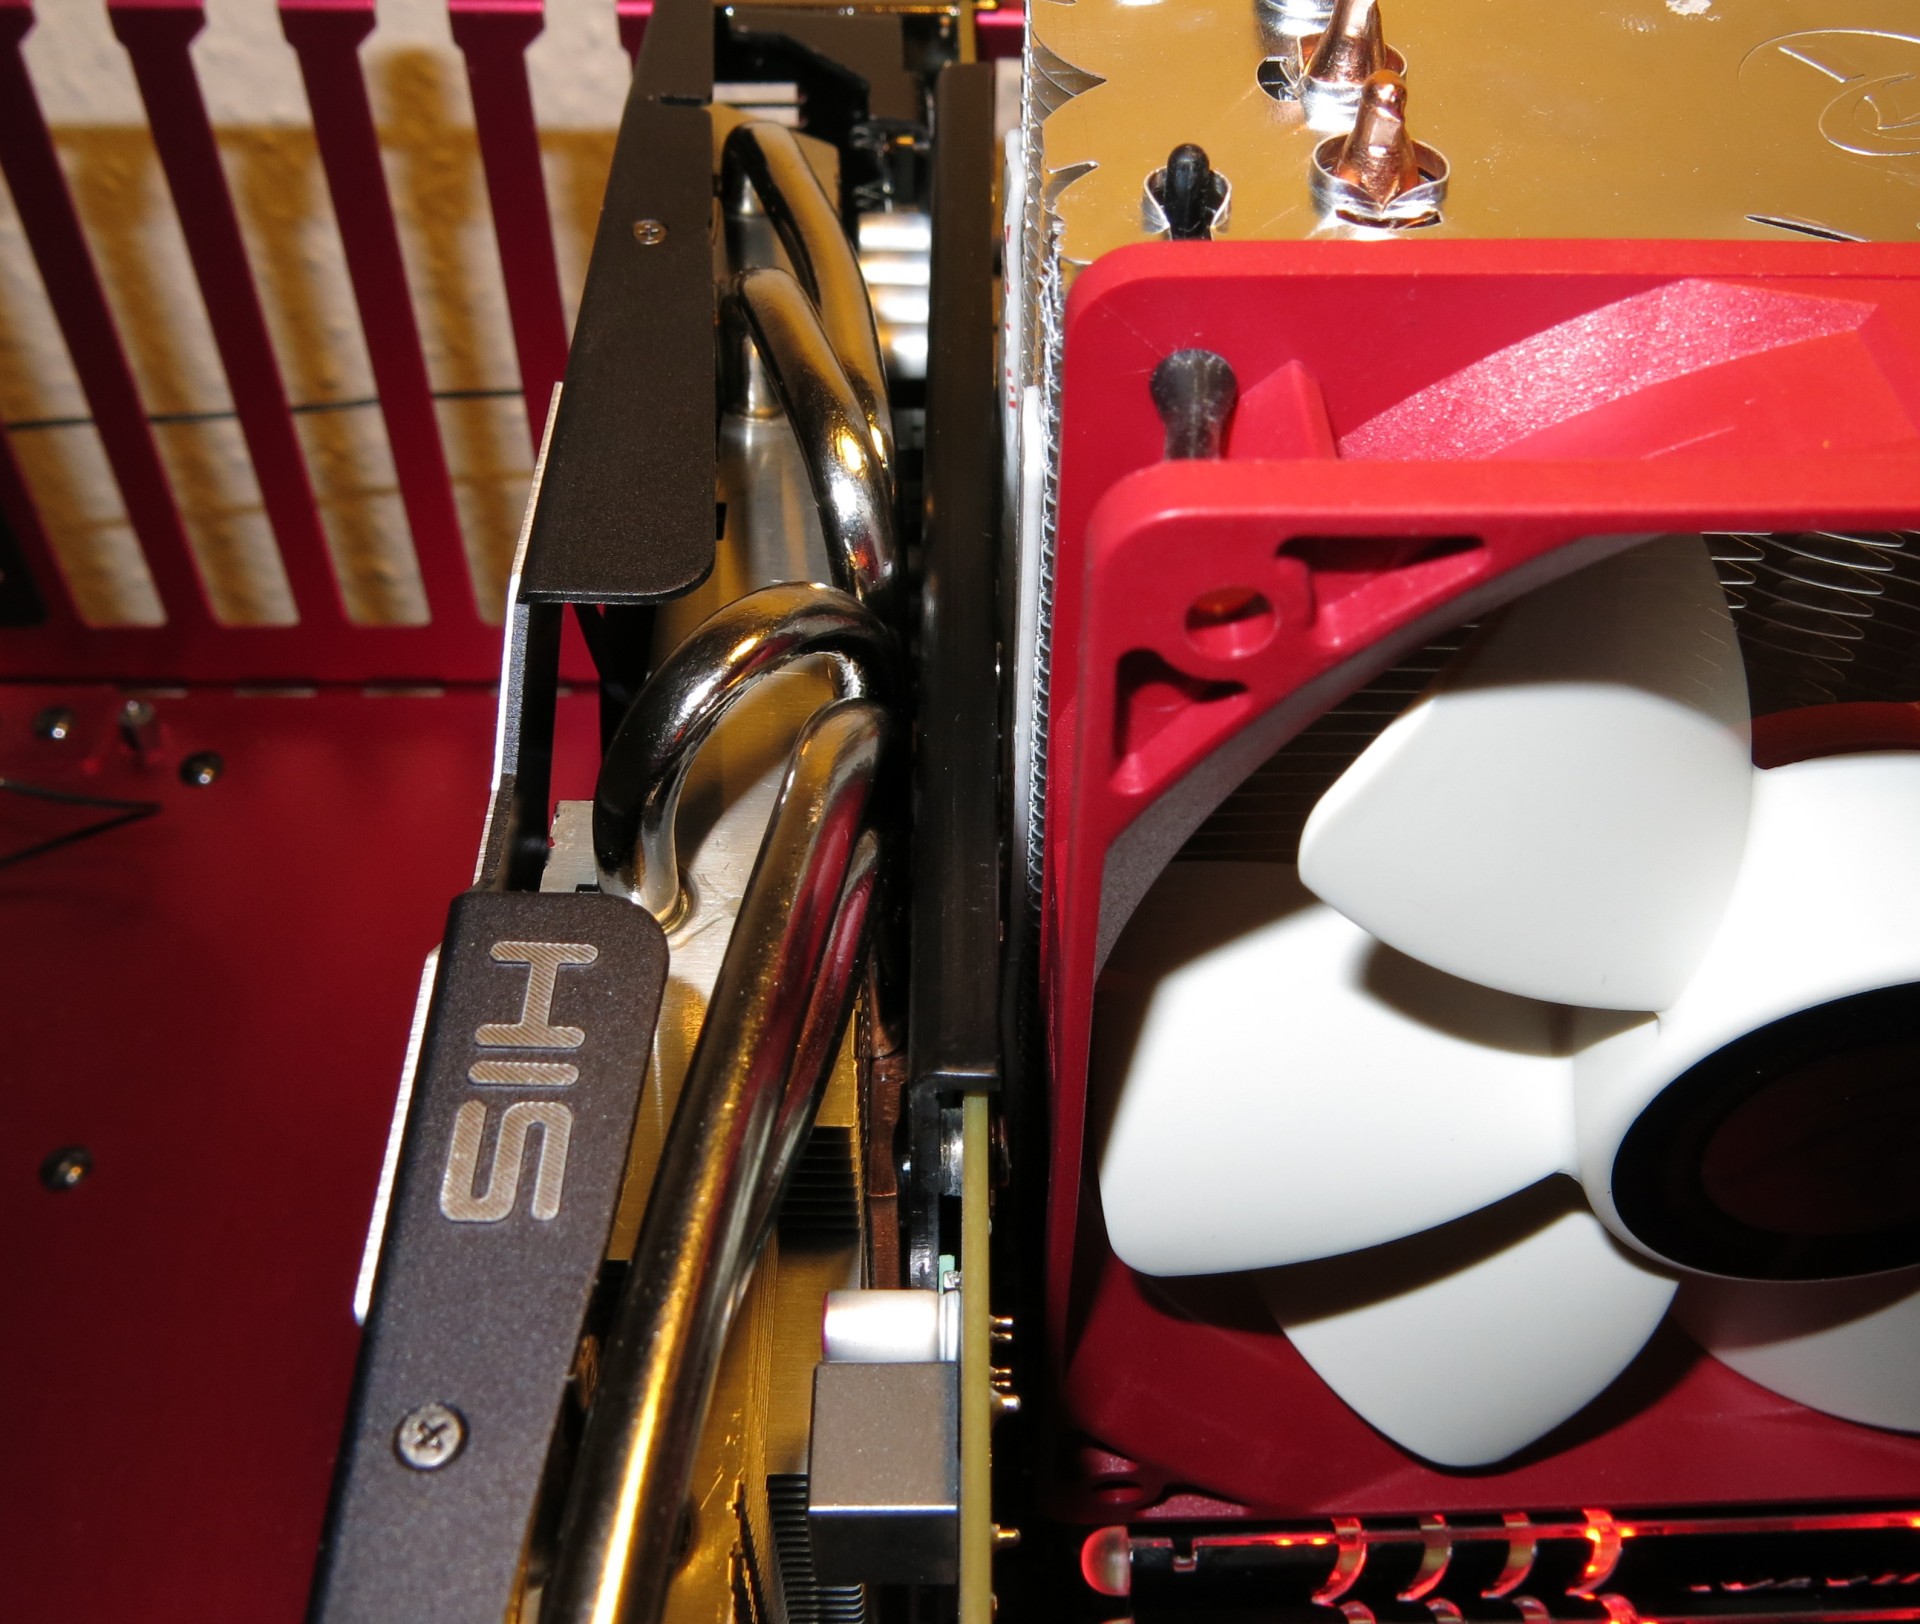
Thick electrical tape on the side of the CPU cooler helps avoid potential short circuits, should the heat sink and back of the graphics card PCB touch each other. Really, the 3 to 4 mm of space between them should be enough, but better safe than sorry.
Get Tom's Hardware's best news and in-depth reviews, straight to your inbox.
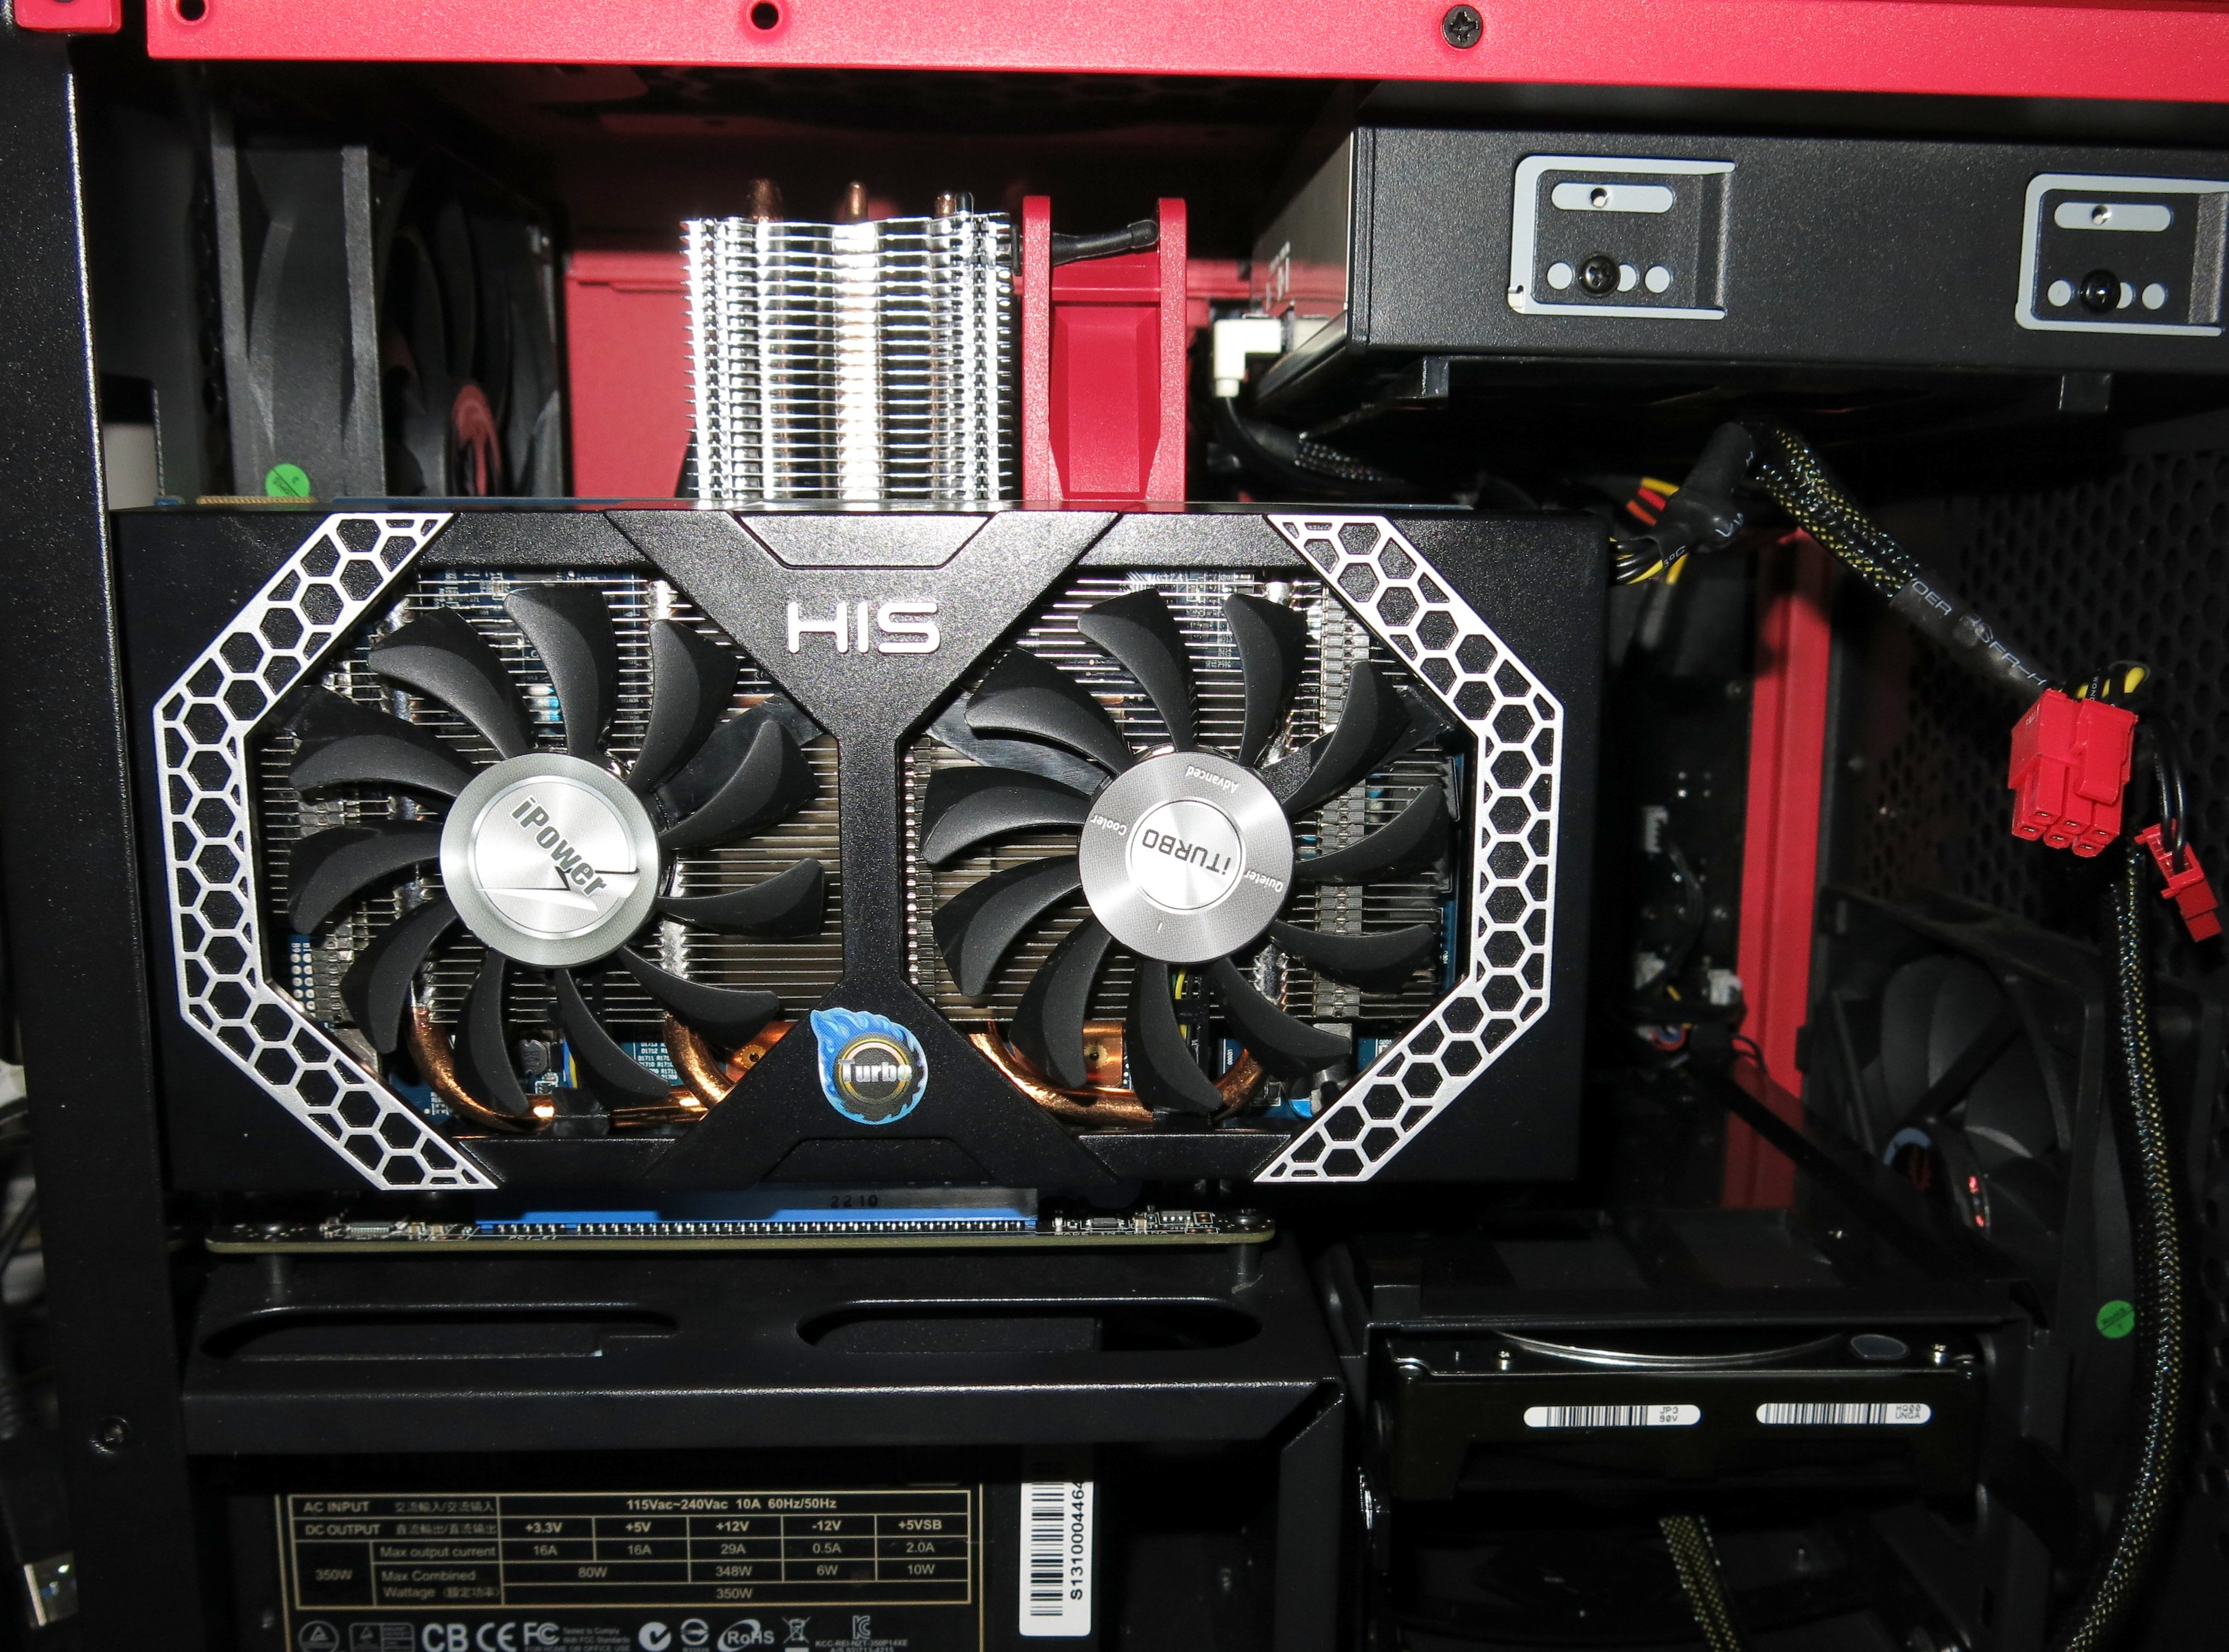
It's easy to see how tightly everything fits together. Still, all of the components work well together, even if the optional side window squeezes the parts even more. BitFenix's original side panel has small holes to provide air for the graphics card, but the company doesn't give the windowed version the same treatment.
Current page: Drives And Installation
Prev Page The Right Chassis Is Mandatory Next Page A Small, Stylish Gaming PC On A Budget
Igor Wallossek wrote a wide variety of hardware articles for Tom's Hardware, with a strong focus on technical analysis and in-depth reviews. His contributions have spanned a broad spectrum of PC components, including GPUs, CPUs, workstations, and PC builds. His insightful articles provide readers with detailed knowledge to make informed decisions in the ever-evolving tech landscape
-
esco_sid It does not make sense to spend $80 on a case for a budget entry system why all the focus on eye candy at additional cost ? for the money you can get better hardware such as fx-6300 setup with better graphics card that's what i would be worried about while on a budget.Reply -
Memnarchon The minimum version is a trully great budget build, while the Red Devil is more ITX luxury build. An SSD and $80 case on a gaming budget? ;pReply -
Zeh Nice article, but I guess it's really important for readers to understand that the extra stuff is completely optional and the main point is #415 gets you a very decent (if not Good) gaming PC.Reply
We have $315 spent on eye candy, SSD and a little bit more thermal headroom, which is 76% of the 'cheap' budget.
Personally, I would only get the SSD. Maybe the MB with Wifi if I'm building something really small and would like to avoid cable clutter. Definately not gonna spend $50 on a bit more mhz, neither $55 on a case for cheap hardware, -
ddpruitt Now the trick is to benchmark both systems. Let's see if the "Bare Bones" build can keep up with the eye candy Red Devil build. I doubt there's a huge difference in performance, or perceptible noise levels. For a system that costs almost twice as much you might be able to be handle cost by going for functionality instead of looks. 240Gb SSD (or potentially more), better CPU or better GPU, though to each his own.Reply
For bonus points it would be nice to compare the budget build to a console in the same price range, but alas an Apples to Apples comparison isn't possible. -
Onus I really want to like articles like this. I lurk at the "budget" end of the spectrum myself, and some of the analysis on this one is really good, but I absolutely agree with Zeh; so much optional stuff was covered that it really distracted from what I expected to be the main point.Reply
I would have liked to have seen the bottom dollar build done first, followed by a discussion of what upgrades or enhancements might be substituted.
Also, at least a few benchmarks are needed, if only to show that yes, this is a competent gamer, especially if "good" but less-than "UltraMaxOhWOW" settings are used. -
vertexx Nice article. This is definitely the way to present gaming system design, especially with graphics card selection based on CPU scaling. I really think the "Best Gaming CPU/GPUs for the $$" series could benefit from this approach. Instead of separating the CPU/GPU, you really want to look at the best combo's for the $$.Reply
I think you handled the "baseline" vs. "Red Devil" options well. The great thing about a budget build is not necessarily being a race to the bottom, but it's all about saving money so you can spend some on smart components that will add to the enjoyment of building and running the PC. With the case selection, that's a smart selection. Who wants to build a PC in a case that you're going to want to replace in 6 months? Perhaps you could have offered a cheaper alternative, but I like the choice to spend the extra $$ on the case.
The only letdown I have is on memory scaling. There is a very long thread of debate in the Best CPUs for the $$ article about how strongly memory scaling impacts the 760K CPU because of its lack of L3 cache. The key seems to be that you also need to overclock NB freq. Because there are simply no reviews out there with a fully overclocked 760K platform, I was really hoping when I saw this article that the memory scaling would have been included.
@Damric - if you're reading this article, perhaps you can chime in.
Overall though, this is a great read! I can't wait to see a OC'd 760k vs. the upcoming OC'd Pentium in a budget shootout. If this is done, you really need to look at game selection and analyze games that optimize for more cores vs. the single-threaded performance in which the Pentium will excel.
-
Falcorion On the GPU selection page at the top it should read "Finding the Right GPU" not "Finding the Right CPU".Reply
Also, is there a reason we completely dismissed the r7 265?
In fact it seems like you looked over a LOT of good value choices for a budget system.
Tom's Hardware selections for a lot of their tests lately have had weird hardware choices.... -
Falcorion Also, I wanted to add that your builder installed the PSU the wrong way, the fan should be facing the vent on the bottom, not the metal plate below the motherboard.Reply
