ECS Z270H4-I Mini-ITX Motherboard Review
Why you can trust Tom's Hardware
Firmware & Overclocking
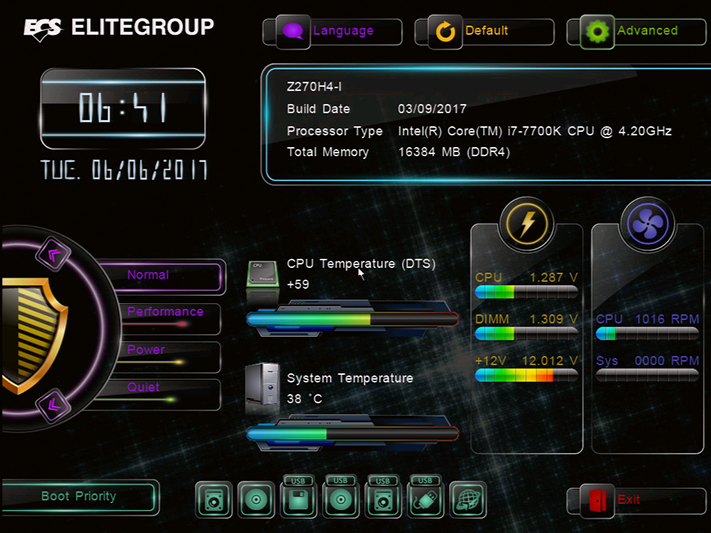
The Z270H4-I’s firmware opens to an easy interface which offers few options beyond basic power settings and boot priority. A switch to Advanced mode brings up additional controls. Navigation requires use of a mouse or arrow keys.
Unlike the firmware of competing brands, there isn’t even a hidden F11 or F12 function to save screenshots to a thumb drive. I instead had to use a screen capture device. Unfortunately, my screen capturer is VGA, and firmware didn’t output video using any of my VGA-capable graphics cards. I instead had to rely on a DisplayPort to VGA adapter. While not a practical problem for most end users, this did hold up the article for a short time.
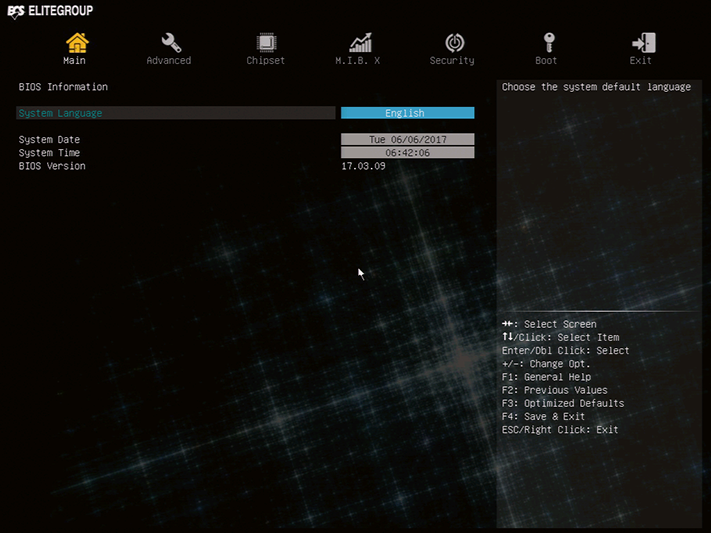
Resetting firmware causes it to drop back to the firmware’s initial release date of March 9, 2017. This could be a problem with programs that rely on accurate dates for licensing purposes, and those users need to make sure to reset the motherboard clock before booting an operating system.
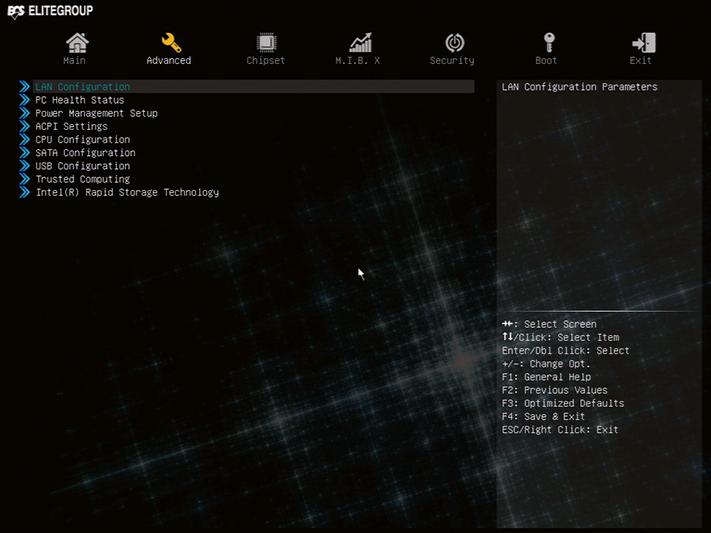
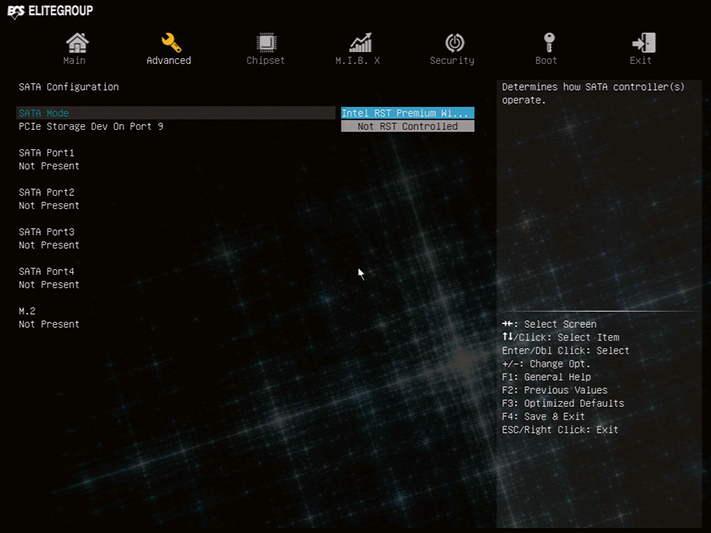
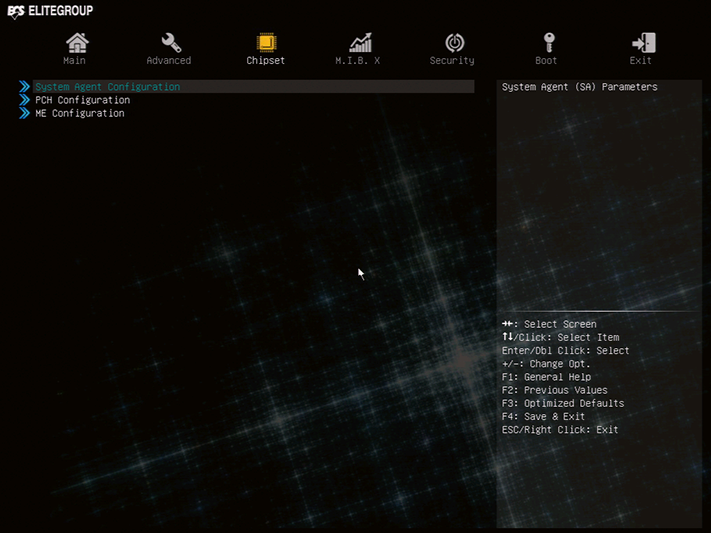
Booting from an M.2 drive requires jumping through the advanced menu to the SATA Configuration submenu and selecting “Not RST Controlled”. The Z270H4-I uses Intel’s SATA RAID firmware by default.
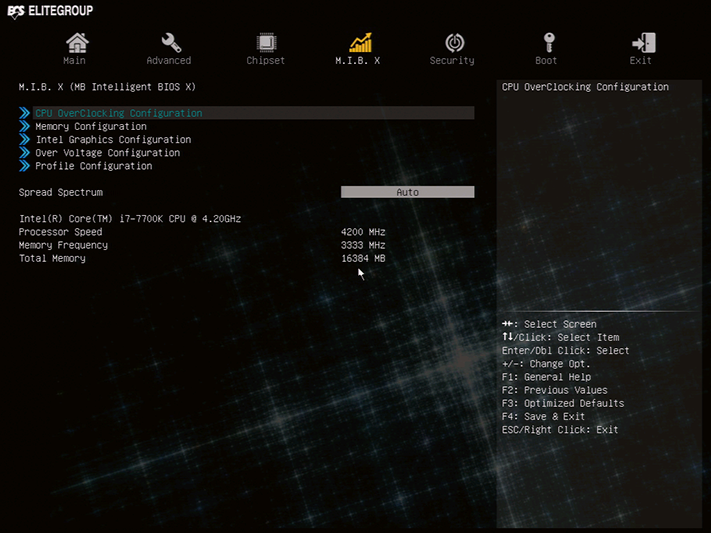
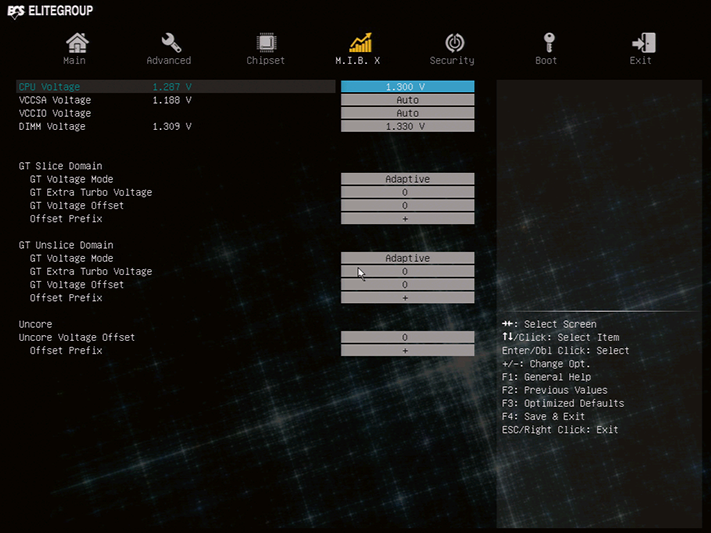
ECS’s Motherboard Intelligent BIOS X menu is the launching point for all performance-oriented settings, including CPU and DRAM overclocking. Unfortunately, its status section fails to reflect current CPU frequency.
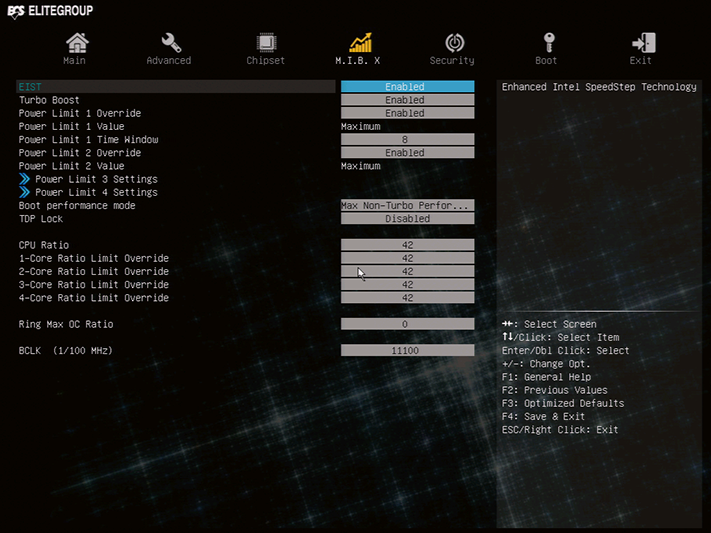
No matter how I configured higher CPU ratios, they would revert back to default frequencies under normal operation. Programs such as Realtemp showed the set frequency (such as 4.80 GHz), while CPU-Z showed stock frequency, and a few benchmarks showed no performance gained. Overclocking via BCLK proved to be my golden ticket, so I dropped the multiplier to a non-Turbo frequency and reached 4.66 GHz at 111 MHz BCLK.
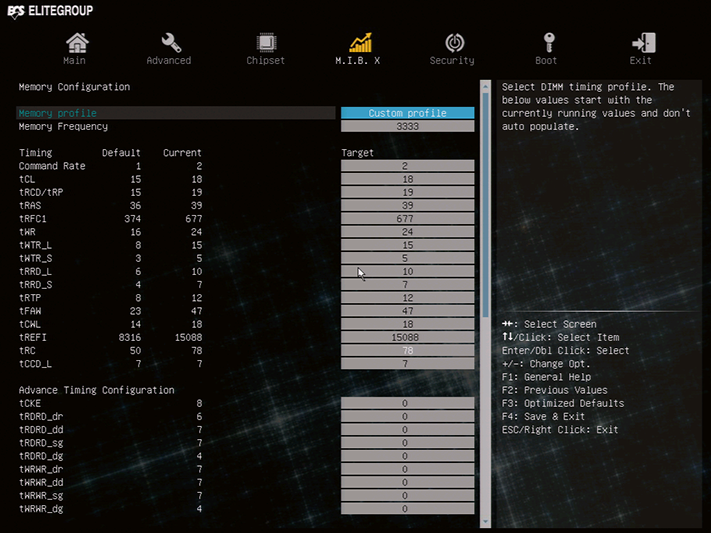
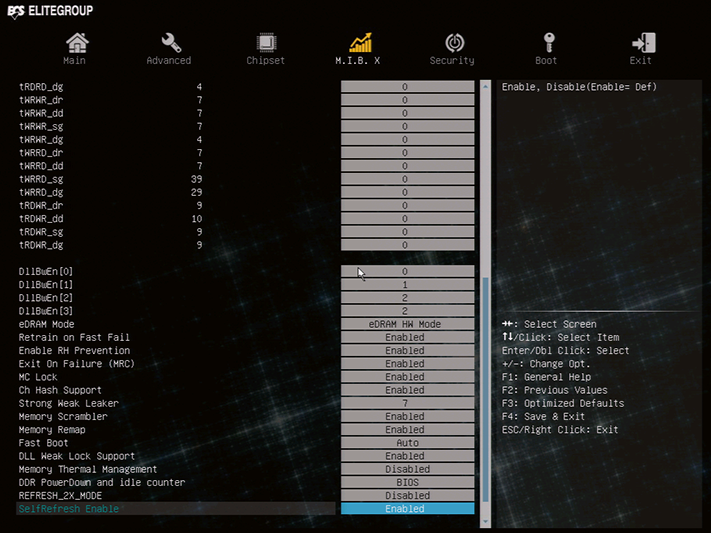
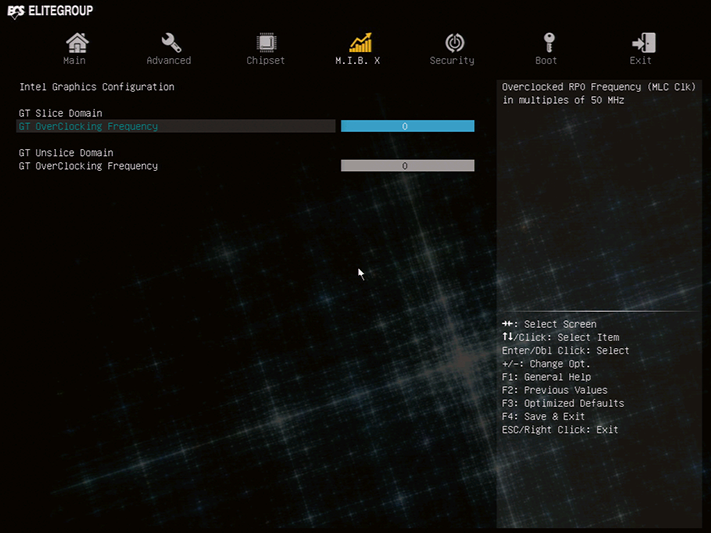
The Z270H4-I wouldn’t boot at the XMP settings of this G.Skill DDR4-3866 kit, but retaining its XMP timings was as easy as switching from XMP Profile to Custom Profile at the Memory Configuration submenu’s first option. Switching the other way, from Default to Custom, retains standard SPD timings. Oh, and that 3333MHz data rate setting combined with the 111 MHz BCLK to push the modules to DDR4-3700.
Get Tom's Hardware's best news and in-depth reviews, straight to your inbox.
The 1.300V CPU core voltage setting appeared accurate, but the Z270H4-I has no Load Line (aka vdroop) compensation. It dropped to around 1.21V under load. Meanwhile, the DIMM voltage measured around 18mV higher at the slot than whatever was set in firmware.
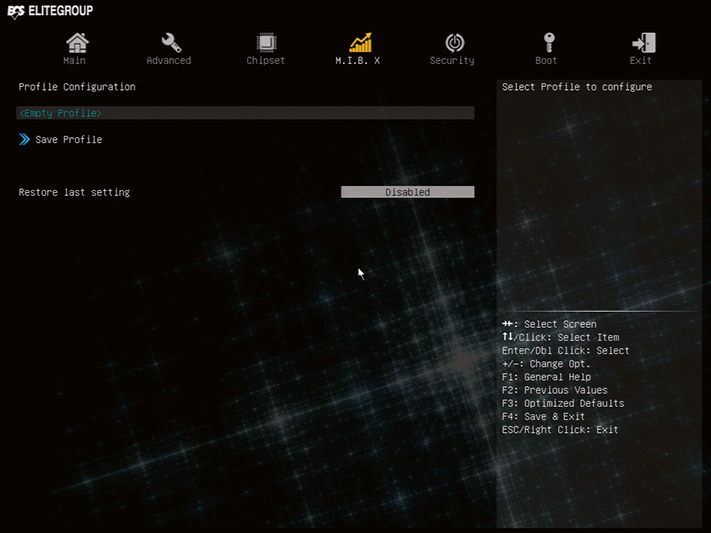
The Z270H4-I lets you save your custom settings as a user profile, but the lack of any overclocking recovery means you’ll still need to reset firmware before retrieving those settings following a black screen.
MORE: Best Motherboards
MORE: How To Choose A Motherboard
MORE: All Motherboard Content
