Tom's Hardware Verdict
A DIY kit printer that, once assembled, delivers perfect prints with a quick release magnetic flex plate.
Pros
- +
Quality prints
- +
Steel flex plate
- +
Dual gear extruder
- +
Quiet operation
Cons
- -
Takes over an hour to build
- -
Awkward screen placement
- -
Manual leveling
Why you can trust Tom's Hardware
When 3D printing companies announce their latest machines, they don’t automatically drop last year's models – in fact, these older printers could hang around for years, usually at discounted prices. That’s the case with the Elegoo Neptune 2S, a good little printer introduced during the summer of 2021. The machine is – hopefully – the last of the DIY kit printers that we’ll see here at Tom’s Hardware.
Retailing at $228, the Neptune 2S is comparable to similarly equipped 3D printers. Its quality and ease of use puts it toe to toe with more expensive machines – if you can learn to manually level a printer, it’s a real bargain.
Assembly can take well over an hour if you’re not familiar with the parts, but once it’s put together, the Neptune 2S delivers a delightful printing experience. It produced some excellent prints with PLA, PETG and TPU. It has assisted manual leveling, a Bowden style hotend and premium PEI textured steel flex plate that grabs models tight while printing and releases them with a simple flex.
Elegoo has a lot of support on their website for users. You can find downloads of Elegoo Cura, helpful printing tutorials, manuals and videos. There’s also a gallery of models specifically designed to mod your Neptune.
Specifications: Elegoo Neptune 2S
| Machine Footprint | 430 x 426 x 613 mm (16.9 x 16.7 x 24 inches) |
| Build Volume | 220 x 220 x 250 mm (8.5 x 8.5 x 9.8 inches) |
| Material | PLA/PETG/TPU/ABS |
| Extruder Type | Bowden |
| Nozzle | 4mm (Interchangeable) |
| Build Platform | PEI textured spring steel sheet, heated |
| Filament Runout Sensor | Yes |
| Bed Leveling | Manual |
| Connectivity | microSD card, USB Wire |
| Interface | Color touch screen |
Elegoo Neptune 2S: Included in the Box
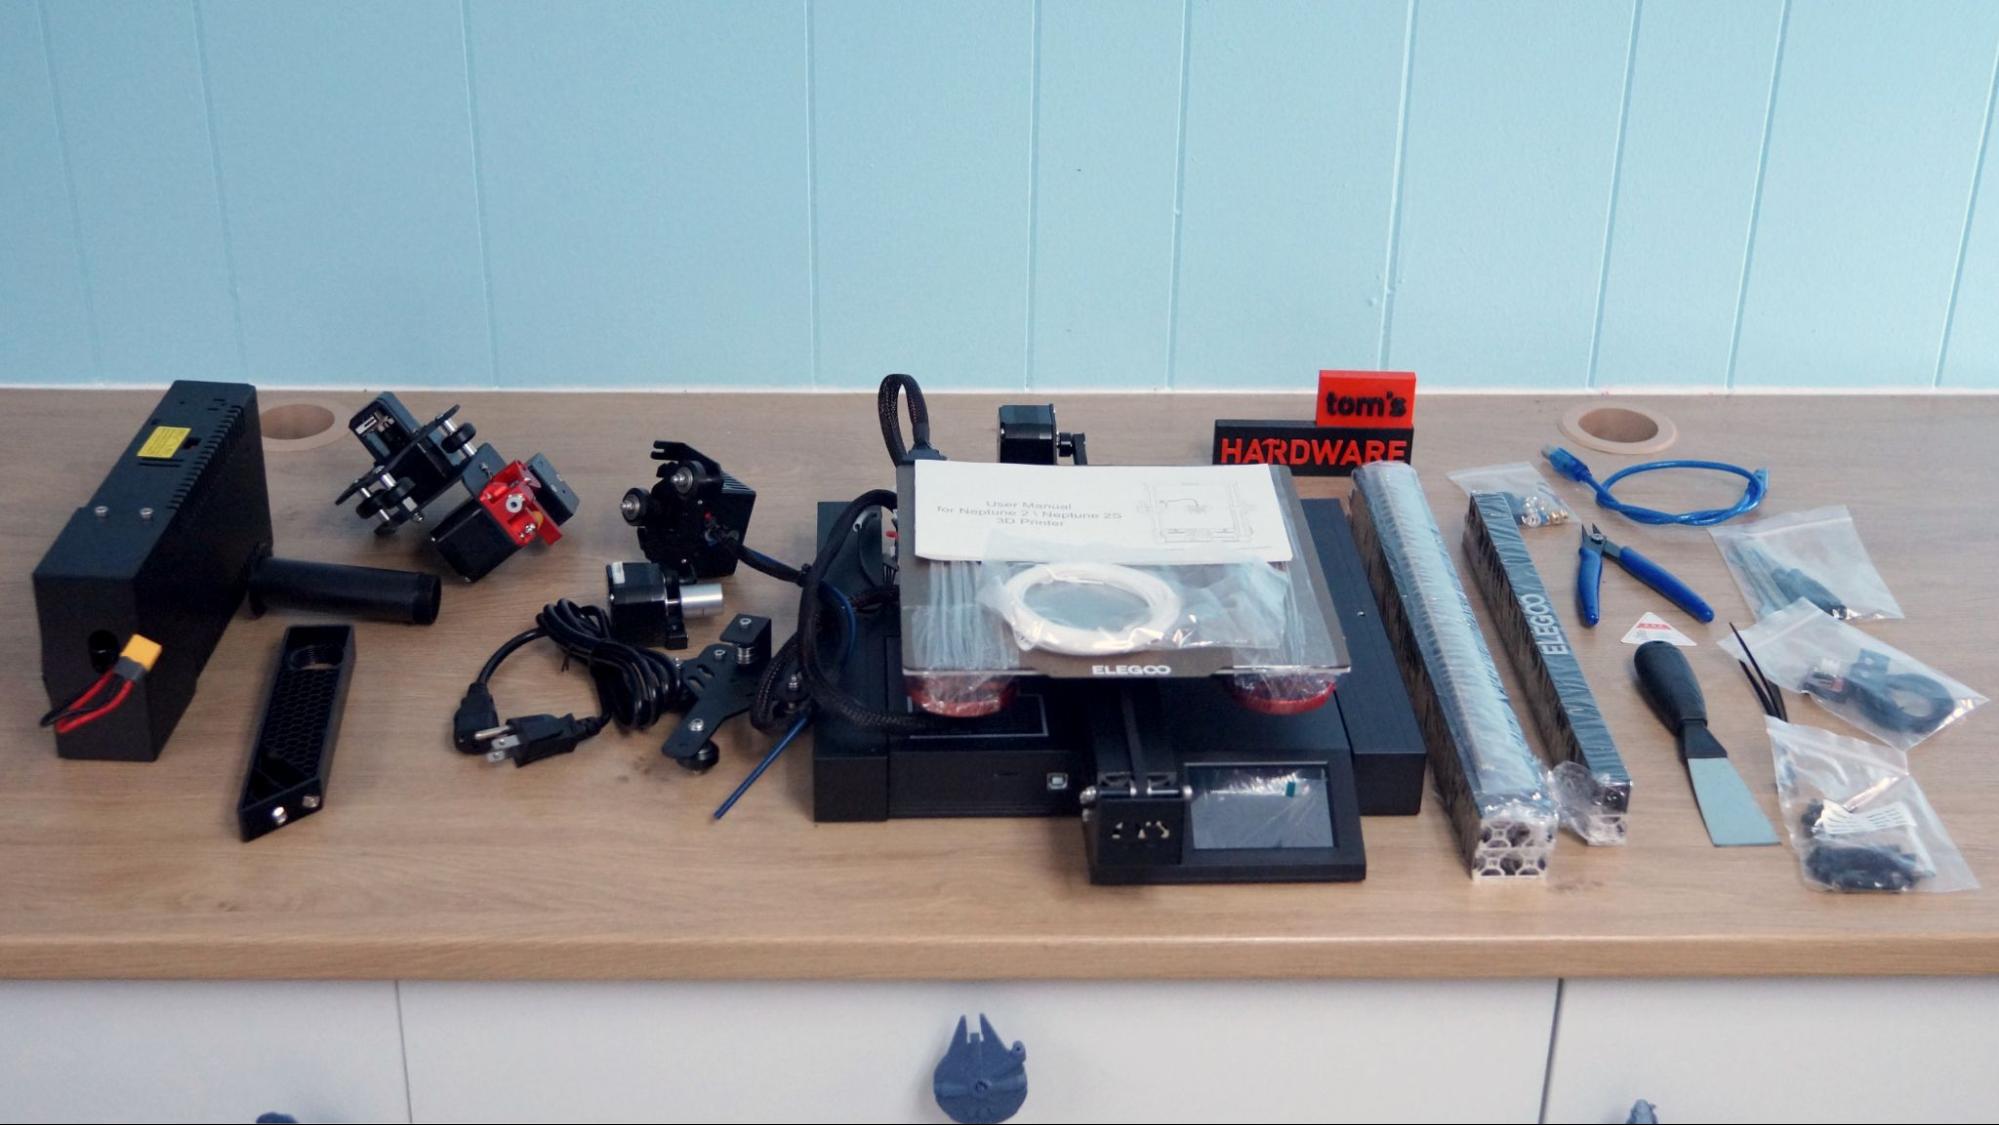
The Neptune 2S comes with everything you need to get your printer set up. You get tools to build and maintain the printer, side cutters, a metal scraper, a spare nozzle, and a microSD card with a USB adapter. There’s also a small sample of white PLA to print your first model.
The microSD card has a very helpful short video on assembling the printer. You also get a PDF copy of the manual, a copy of Elegoo Cura and a sample model in both pre-sliced .gcode and .stl format.
Design of the Elegoo Neptune 2S
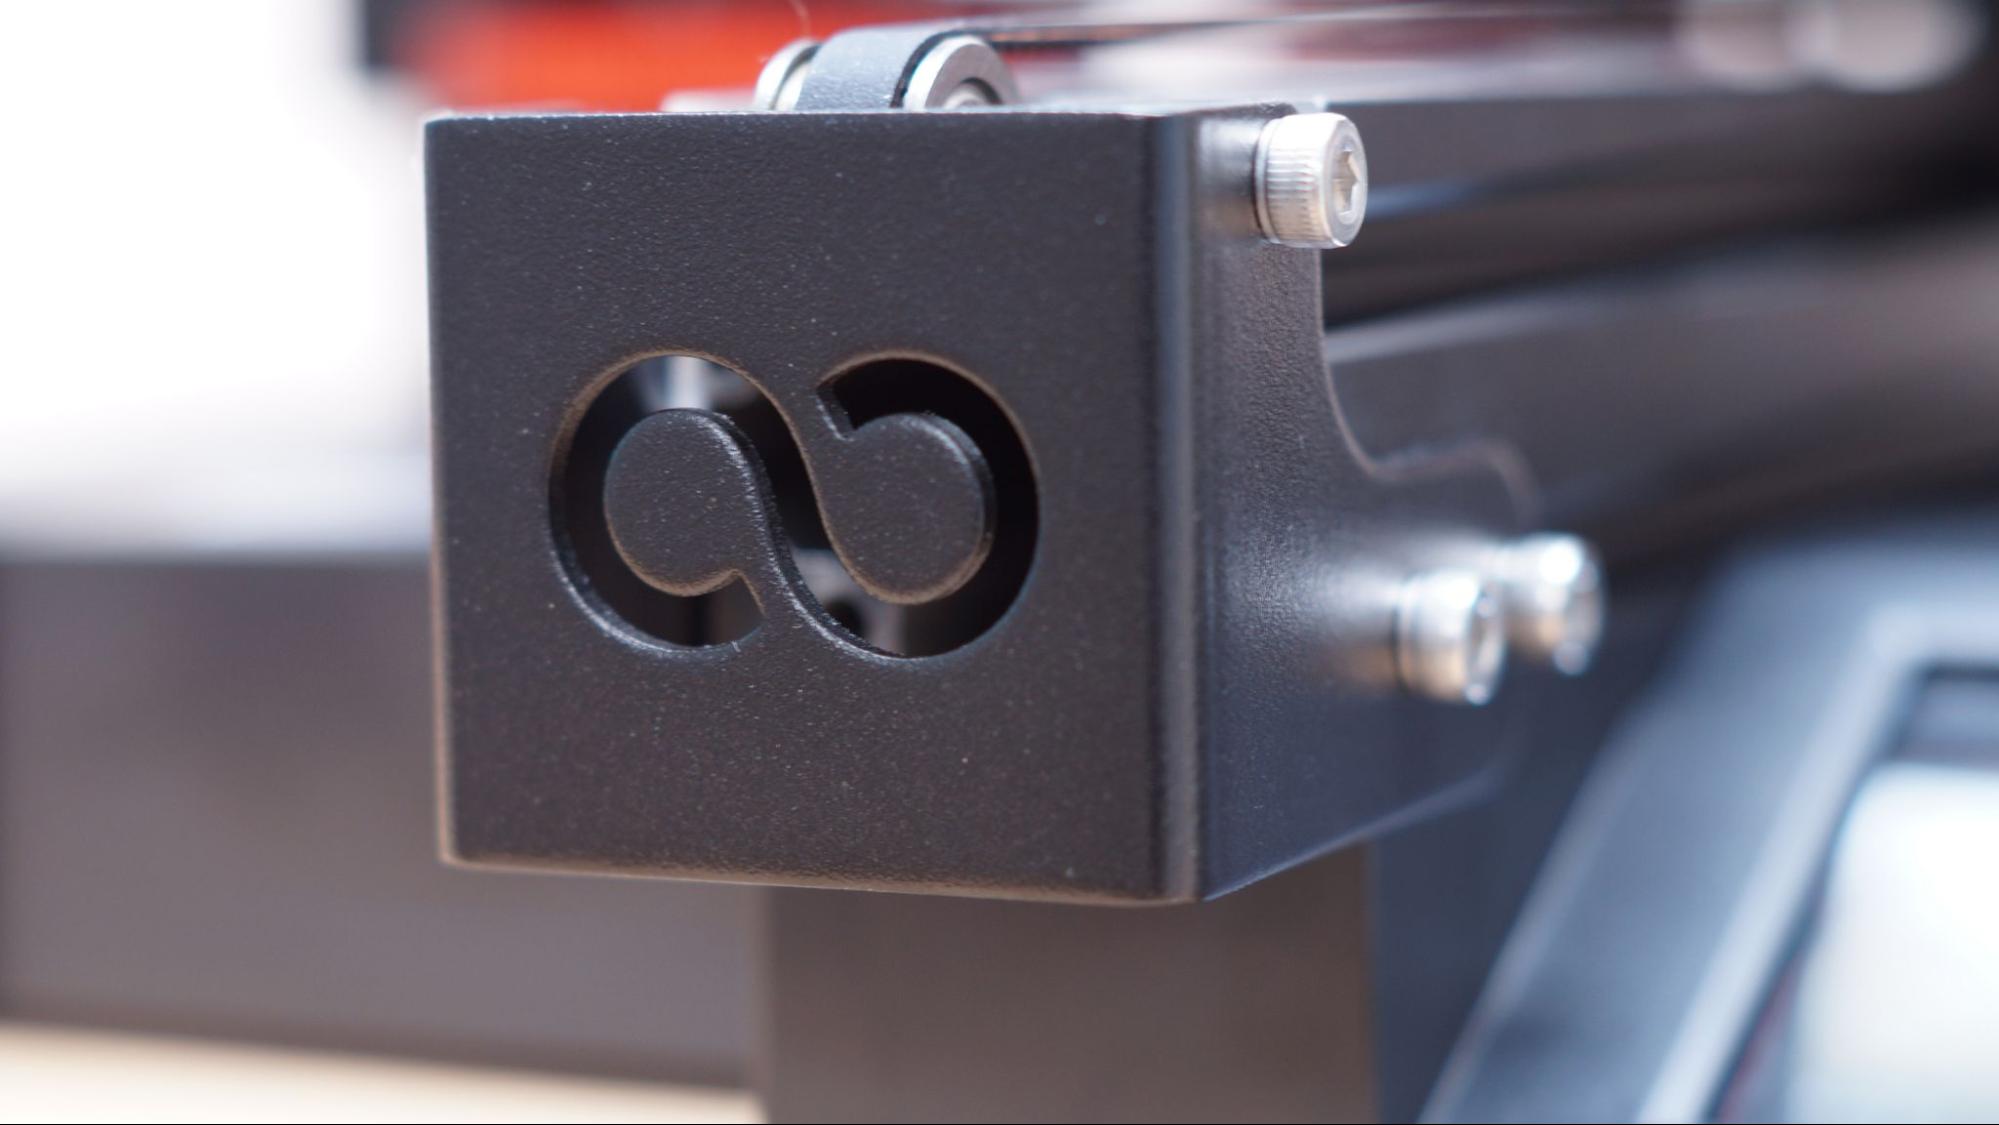
The Neptune 2S is what’s commonly known as an “Ender Clone”, sharing the same aesthetics and nearly the same build volume as the popular Creality line of printers like the Ender 3 S1.
Get Tom's Hardware's best news and in-depth reviews, straight to your inbox.
The printer has a smooth black frame and a narrow footprint, with the power supply mounted to the Z axis and the touch screen directly below the build plate. Prints are easy to remove from its flex steel PEI textured build surface – just remove the plate from the magnet and bend the plate to pop them off.
It also has a high temperature Capricorn style tubing that can withstand heat up 260° degrees. Stock PTFE tubing starts to break down at 240° degrees which can lead to clogging even at lower temperatures over time.
The dual gear extruder works great and is able to handle TPU, a notoriously difficult filament due to its flexibility. The filament run out sensor is mounted a little too close to the extruder, which can make loading filament a challenge.
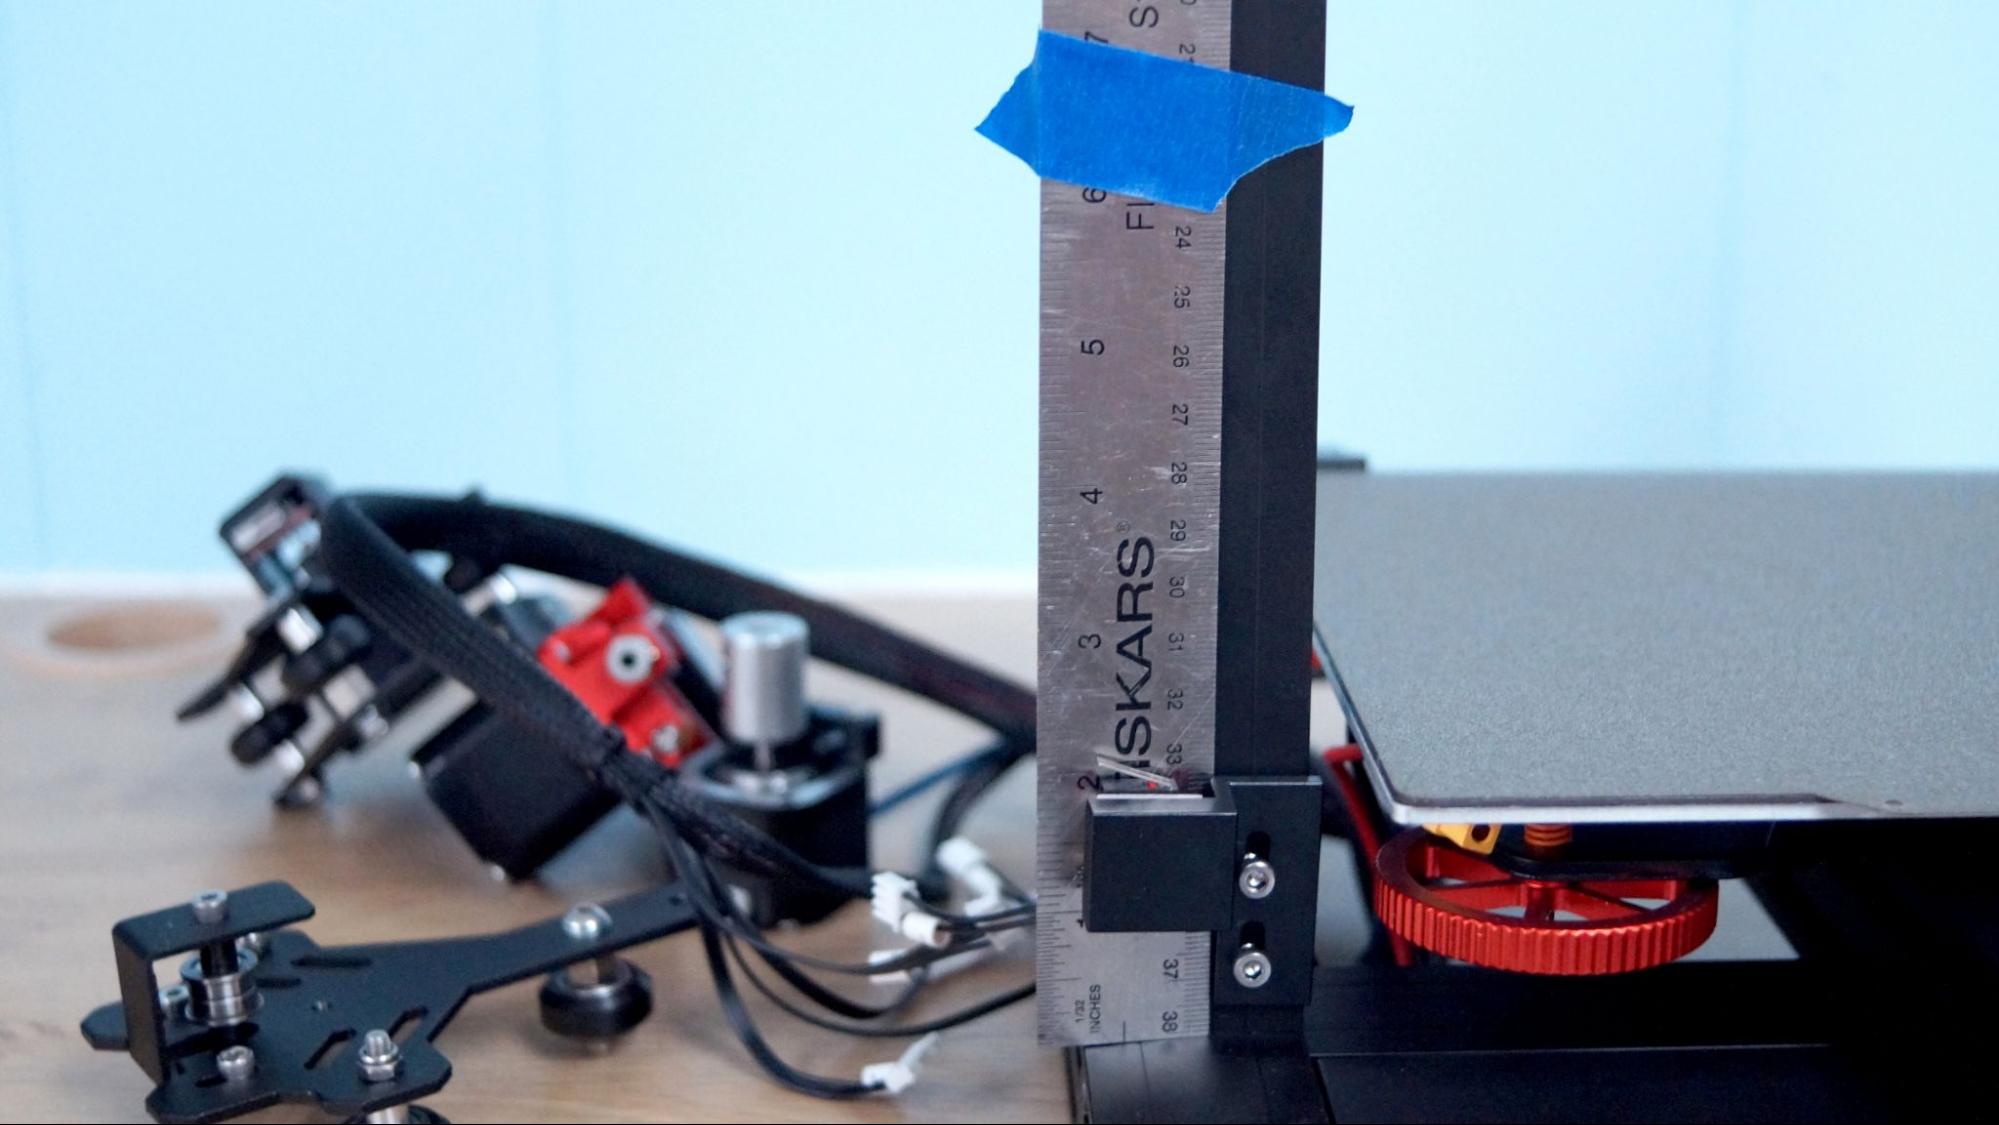
This machine only has one Z rod, but since it also has a smaller build plate, that shouldn’t be a noticeable problem unless you print something very thin and very tall.
Assembling the Elegoo Neptune 2S
The Neptune 2S comes as a DIY kit and takes a bit of doing to assemble. While the base of the printer is put together for you, the entire upper portion comes as a box of parts. You will need to attach the Z axis, build the X gantry, mount the hotend and thread the belt.
Building this printer is more of a Saturday afternoon project, and it’s best to set aside a couple of hours if you’ve never built a 3D printer before. The manual gives decent directions, but there’s a lot of matching your parts to the drawings to find out what goes where. The screws are also packages all in one bag – I had a couple times when I had to backtrack because I mistook a HM4 20 for an HM4 18.
The video included on the microSD card is very helpful and I found it easier to follow than the pictograms. Once the pieces are all put together, there are nine electrical connections to make. The wires are well labeled, but the plugs are not, making it too easy to plug a wire into the wrong stepper motor.
Check the voltage switch on the power supply and make sure it matches your local power supply. US users general use 115V.
After assembly, check all the V-slot wheels to make sure they are not loose. These can be tightened by adjusting the eccentric nuts located on each cluster of wheels.
Leveling the Elegoo Neptune 2S
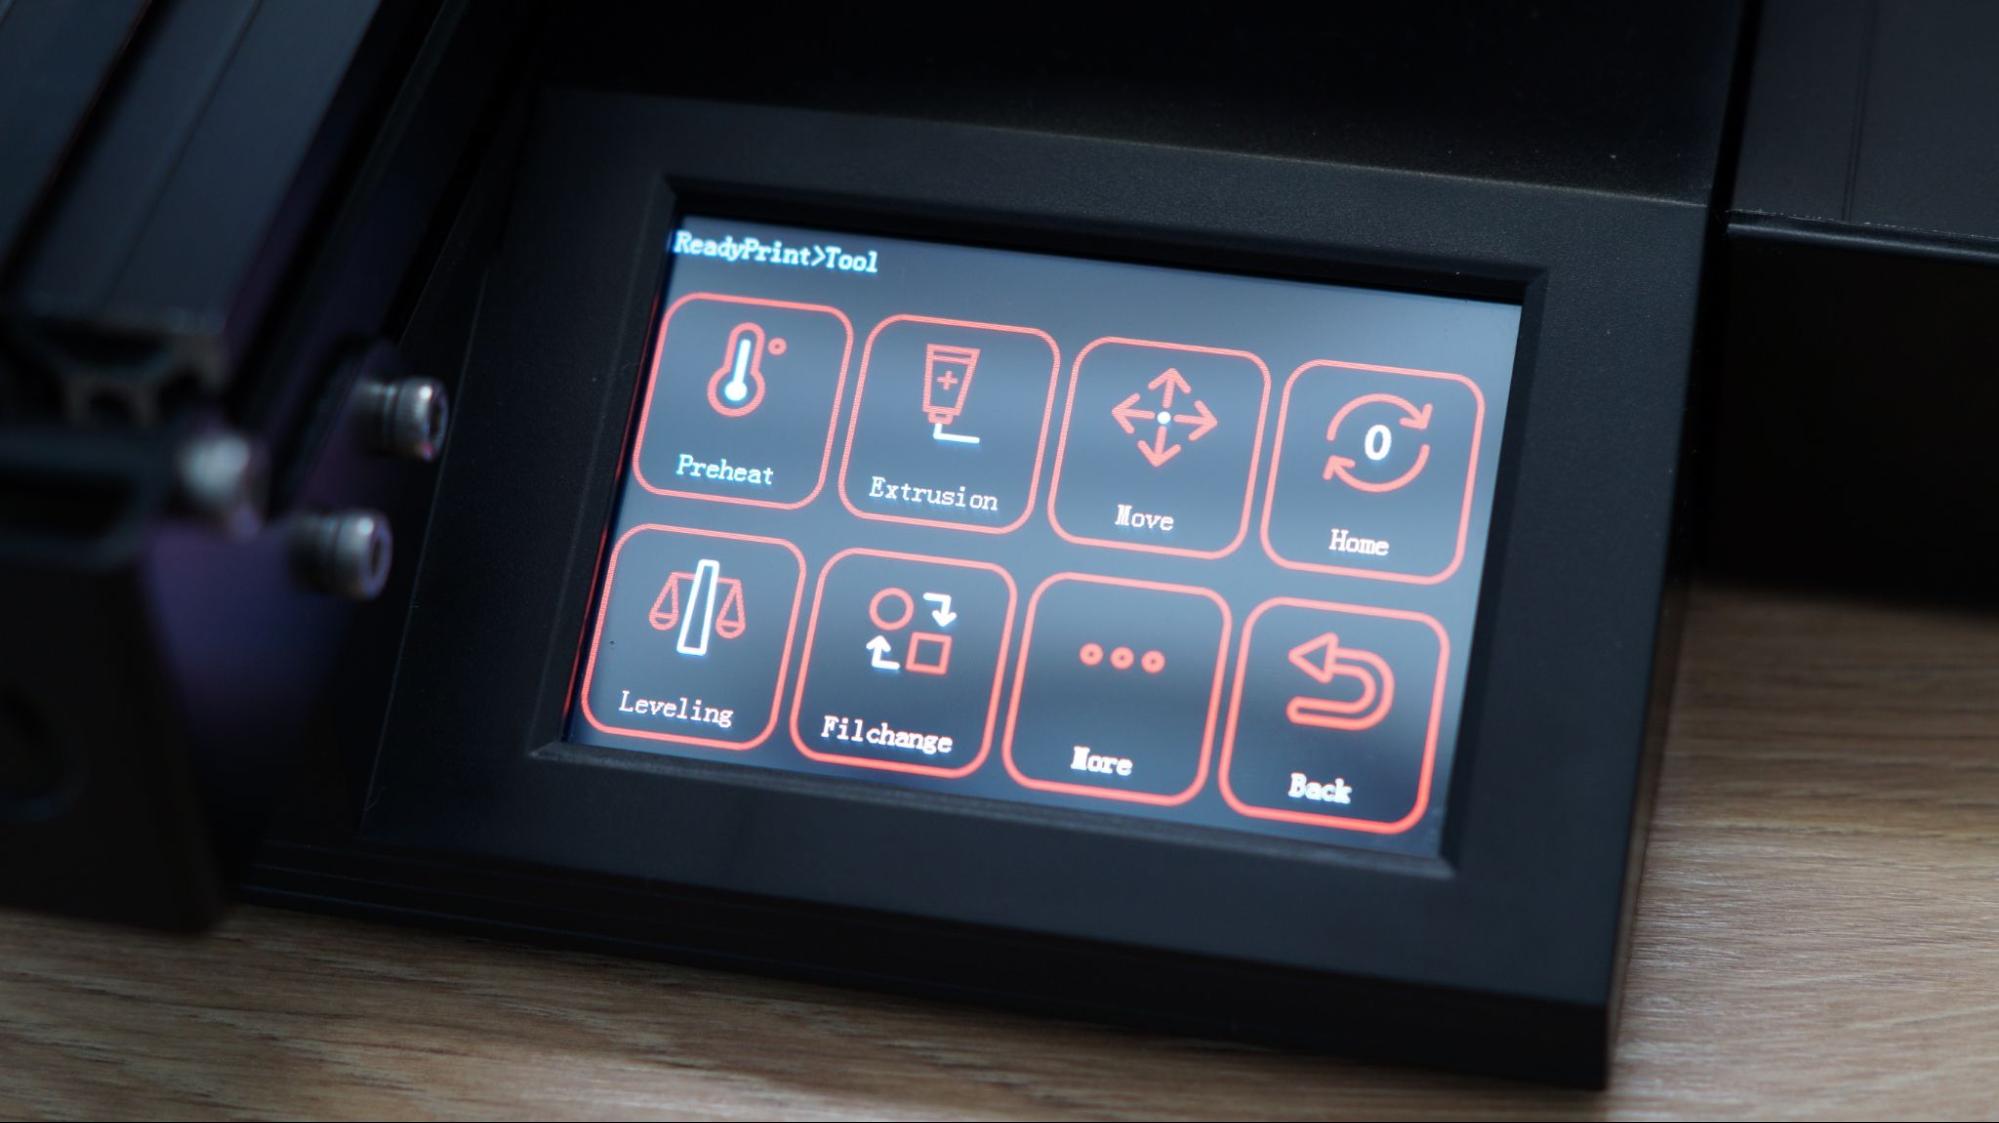
The Neptune 2S requires manual leveling, but it will assist you by moving the print head from point to point. To level (or tram) the print surface, first click Tool in the main menu, then click Leveling.
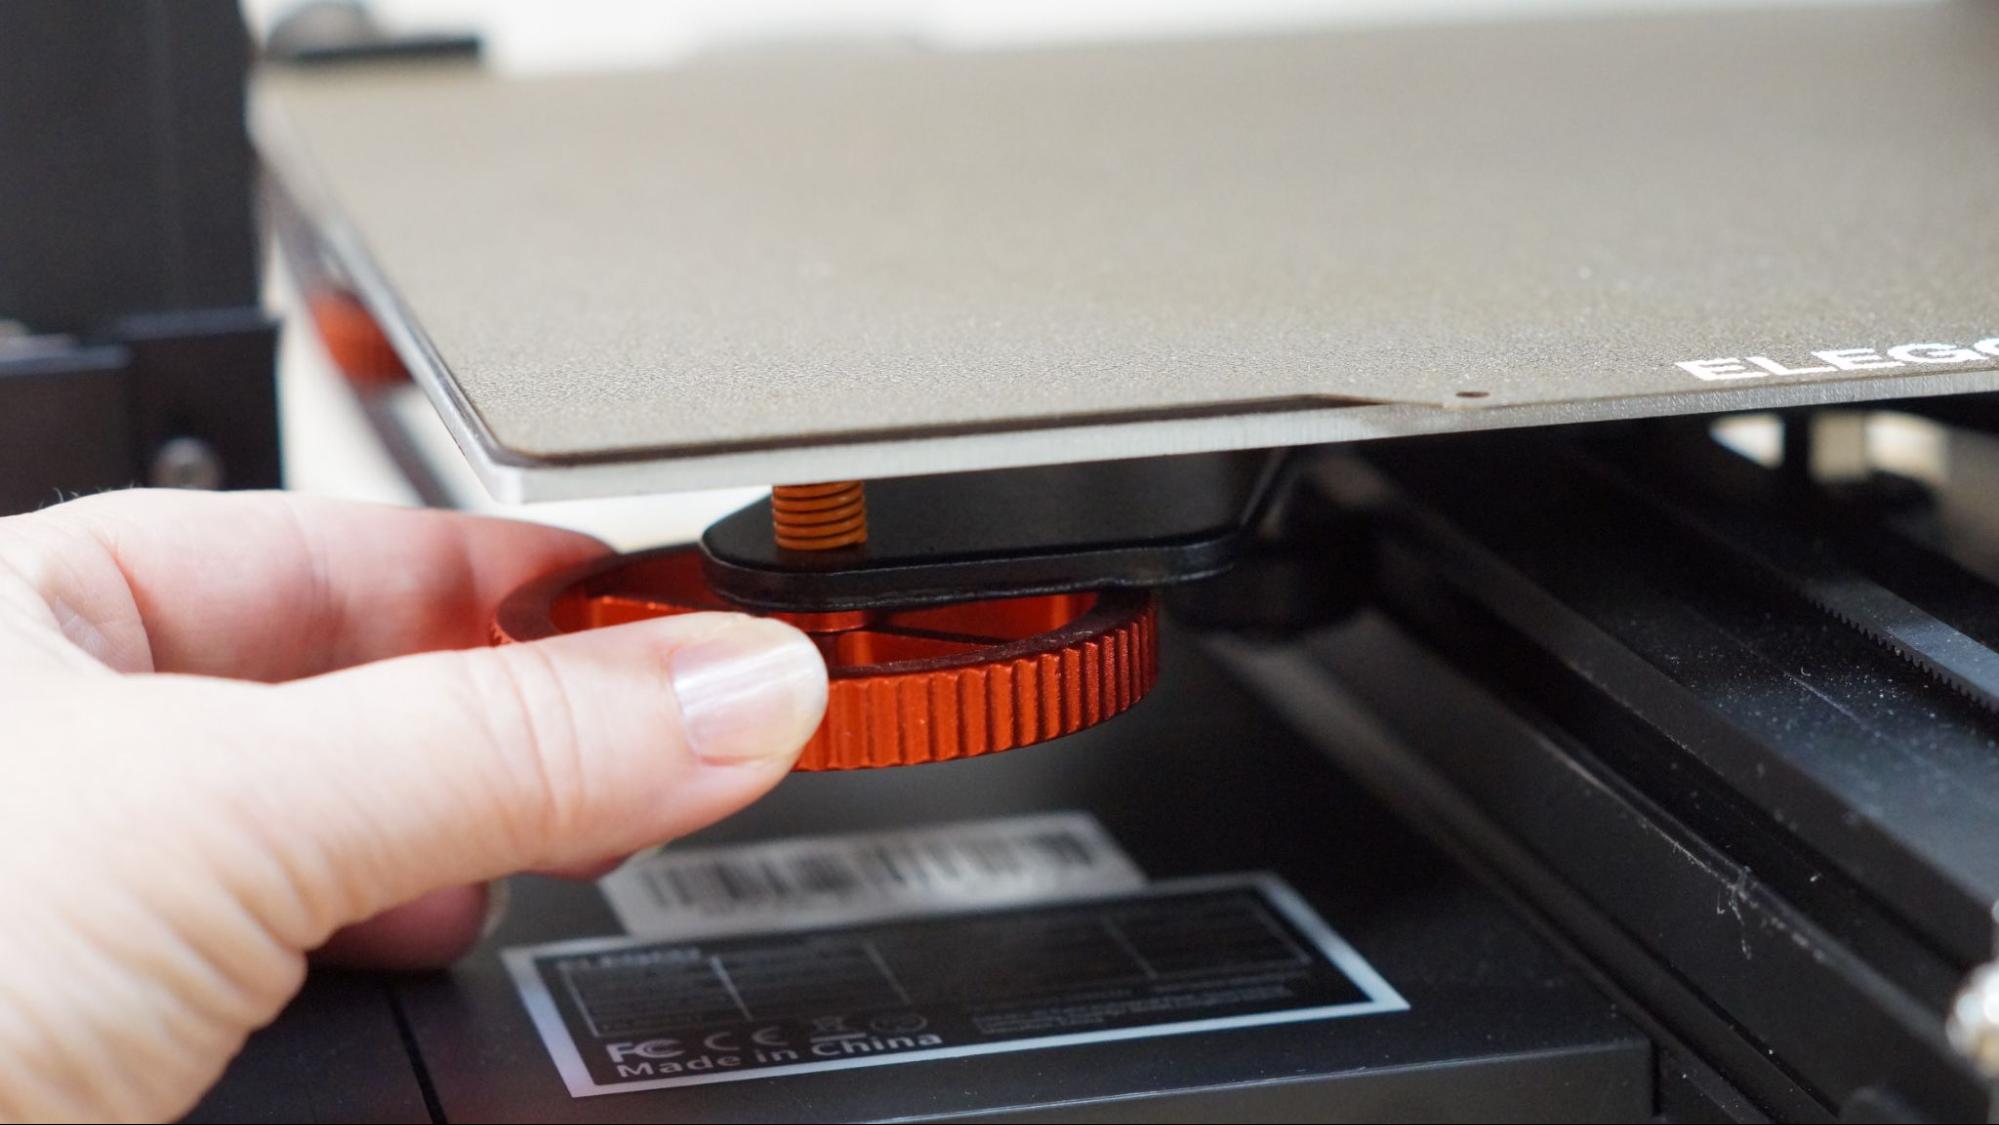
Place a piece of ordinary paper under the nozzle and select a corner to level. The nozzle will move there. Now you can raise or lower the nozzle using the leveling nuts under the platform – clockwise raising the nozzle up, counterclockwise will lower. Adjust the knobs until the paper just catches on the nozzle.
Adjust each corner at least 3 times. Remember that the platform is rather like a 4-person teeter totter, and each corner’s movements can affect the other corners.
You can fine tune the Z height from the print menu while running a sample print.
For more on manual leveling, please read our handy guide.
Loading Filament on the Elegoo Neptune 2S
The Neptune 2S is a Bowden style printer with its extruder mounted on the left side Z gantry. Insert the filament into the run out sensor, then the extruder. Squeeze the extruder lever to open it, and push the filament all the way through. Next, select Tools → Filchange on the touch screen. Click Load and the printer will heat up to 200° degrees, then advance the filament.
Preparing Files / Software for Elegoo Neptune 2S
The Neptune 2S comes with a copy of Elegoo Cura, but there’s nothing special about this version if you already downloaded Cura or want to use Prusa slicer. Both Cura and Prusa are free to download.
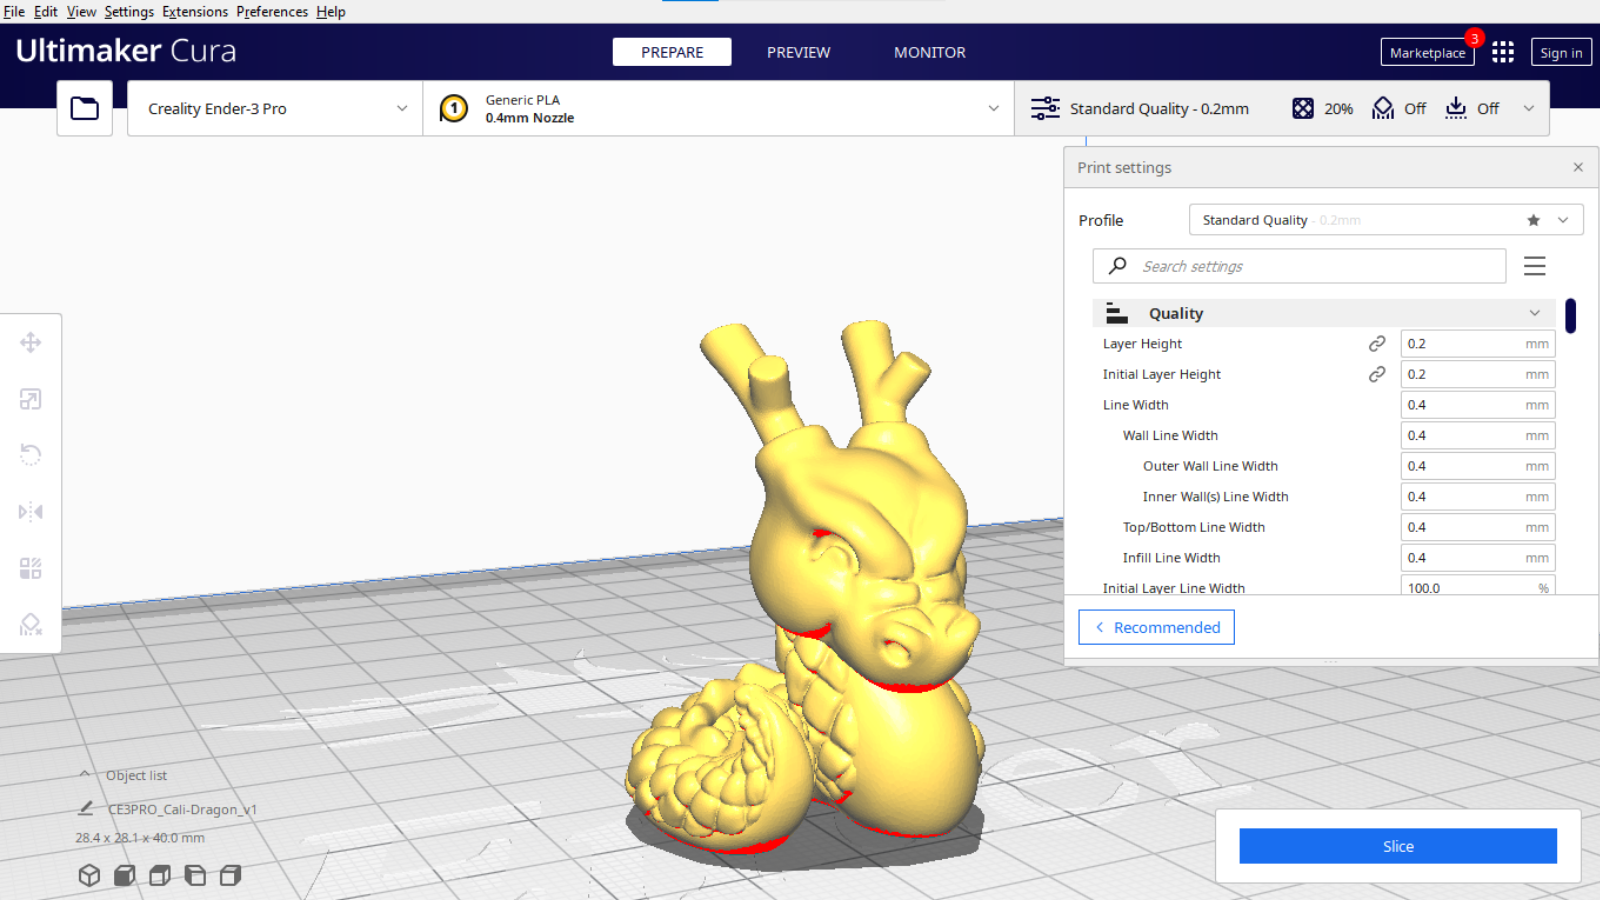
A standard version of Cura or PrusaSlicer do not have a profile for the Neptune 2S, but you can use the profile for the Ender 3 Pro and adjust the build height to 250.
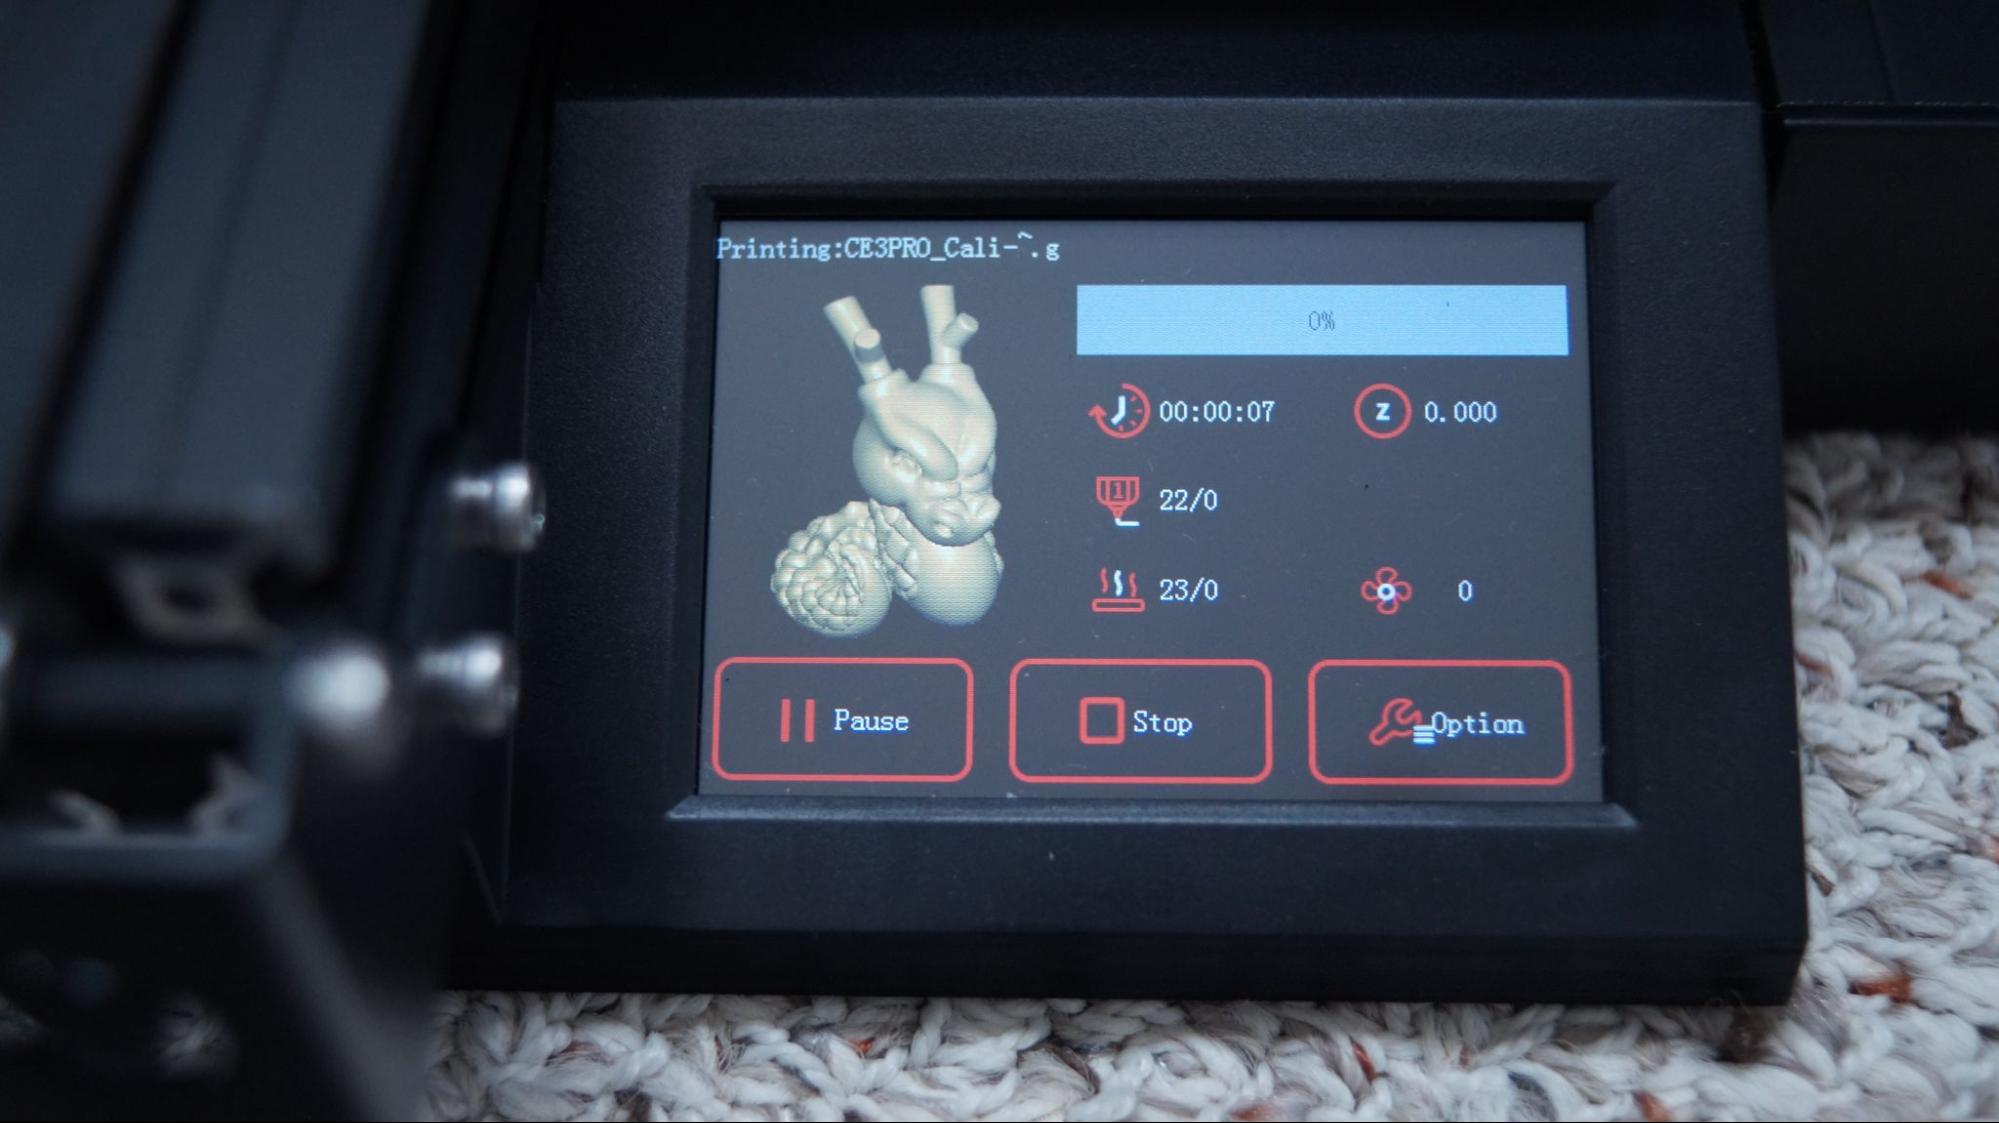
To display thumbnails on the Neptune 2S touch screen, you will need to use Elegoo Cura and save as a TFT file, or regular Cura with an extension from the Cura Marketplace. PrusaSlicer doesn’t have the ability to add extensions.
Go to Marketplace in the upper right corner of Cura. Click Community Plugins. Select MKS Wifi Plugin. Sadly, this doesn’t give your printer WiFi without buying another piece of hardware. Reboot Cura, then select Manage Printers and enable the MKS plugin. Under preview, select Enable Previews. Use “default” for the printer, set Simage to 100 and Gimage to 200.
Printing on the Elegoo Neptune 2S
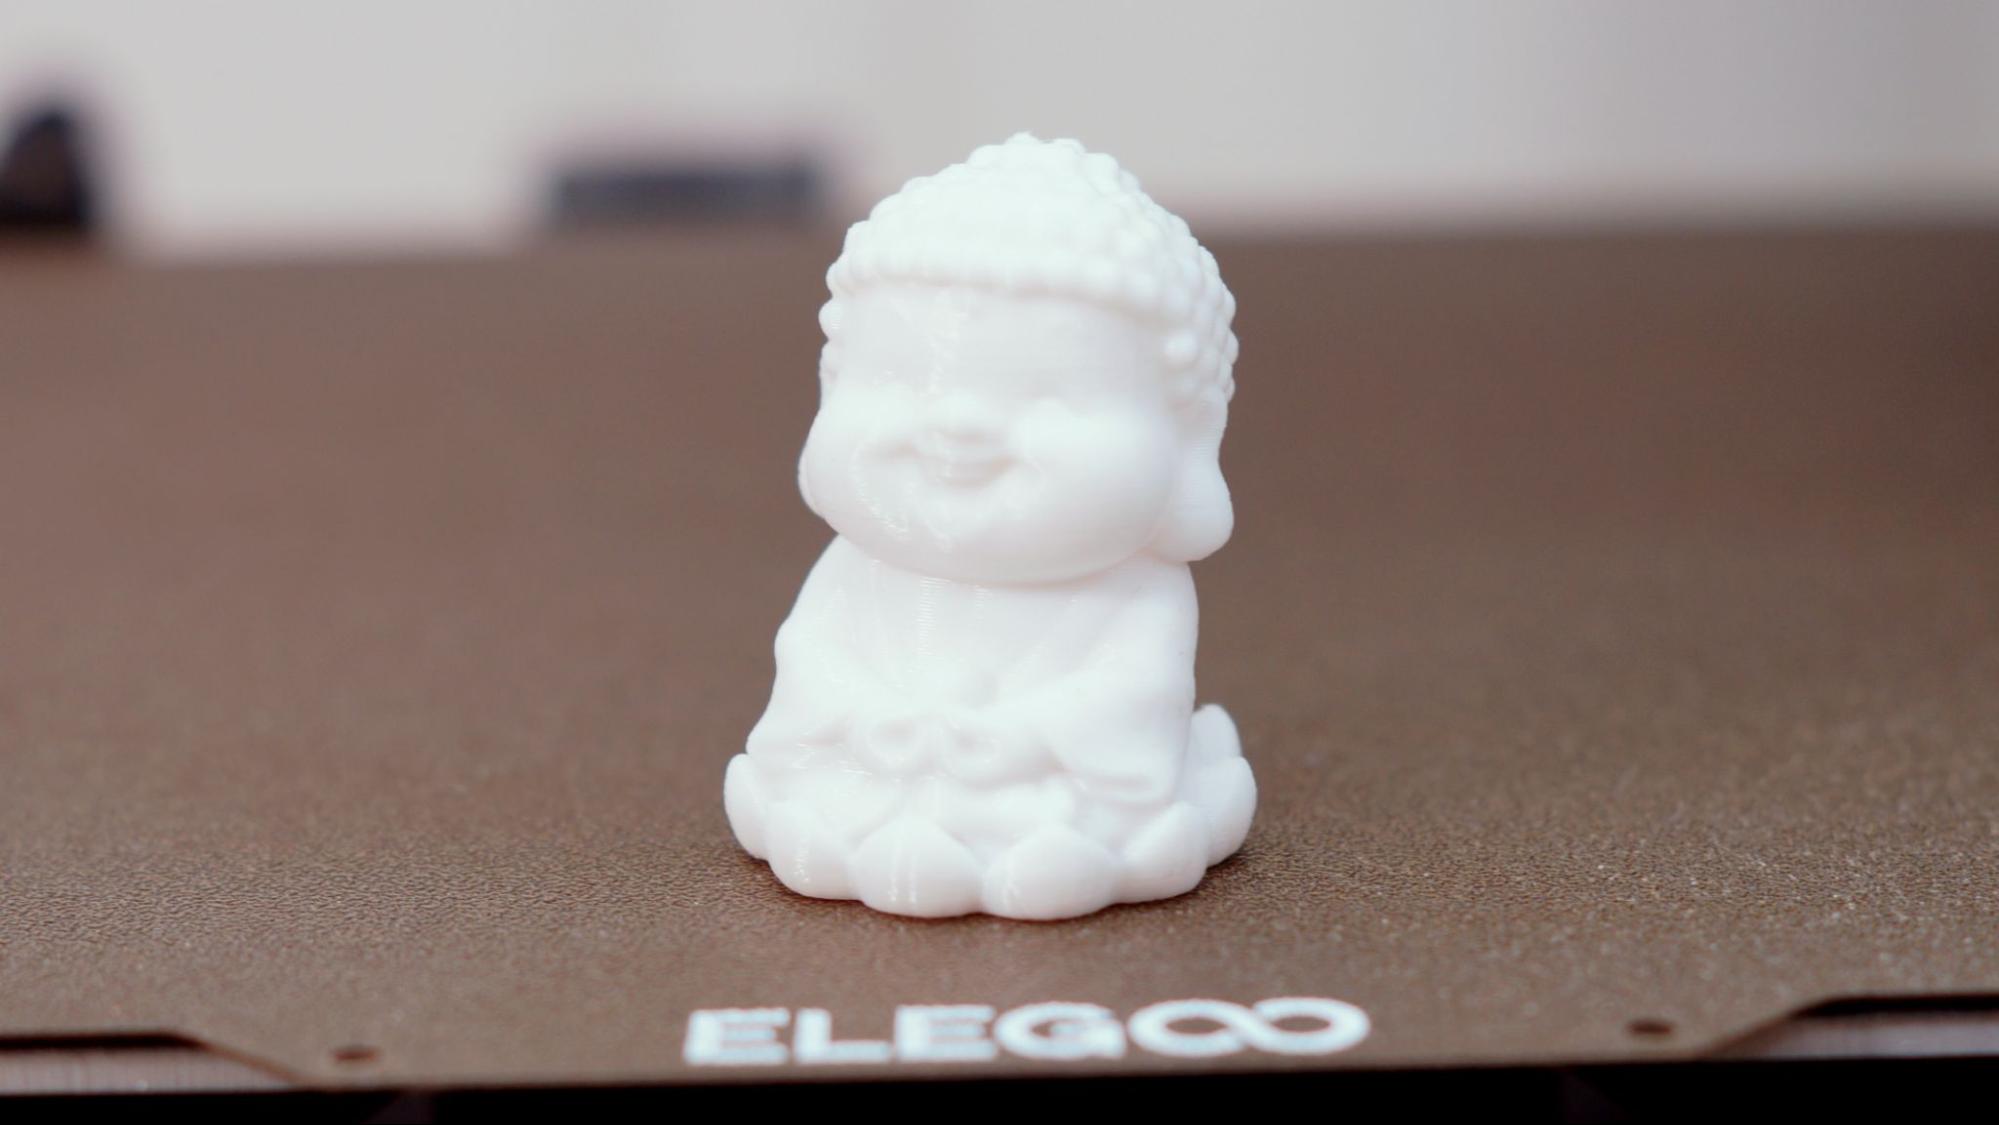
The Neptune 2S I tested provided great print quality without tuning. My first print was the pre-sliced Buddha Elegoo provided on the microSD card. I used the supplied sample PLA and it turned out great.
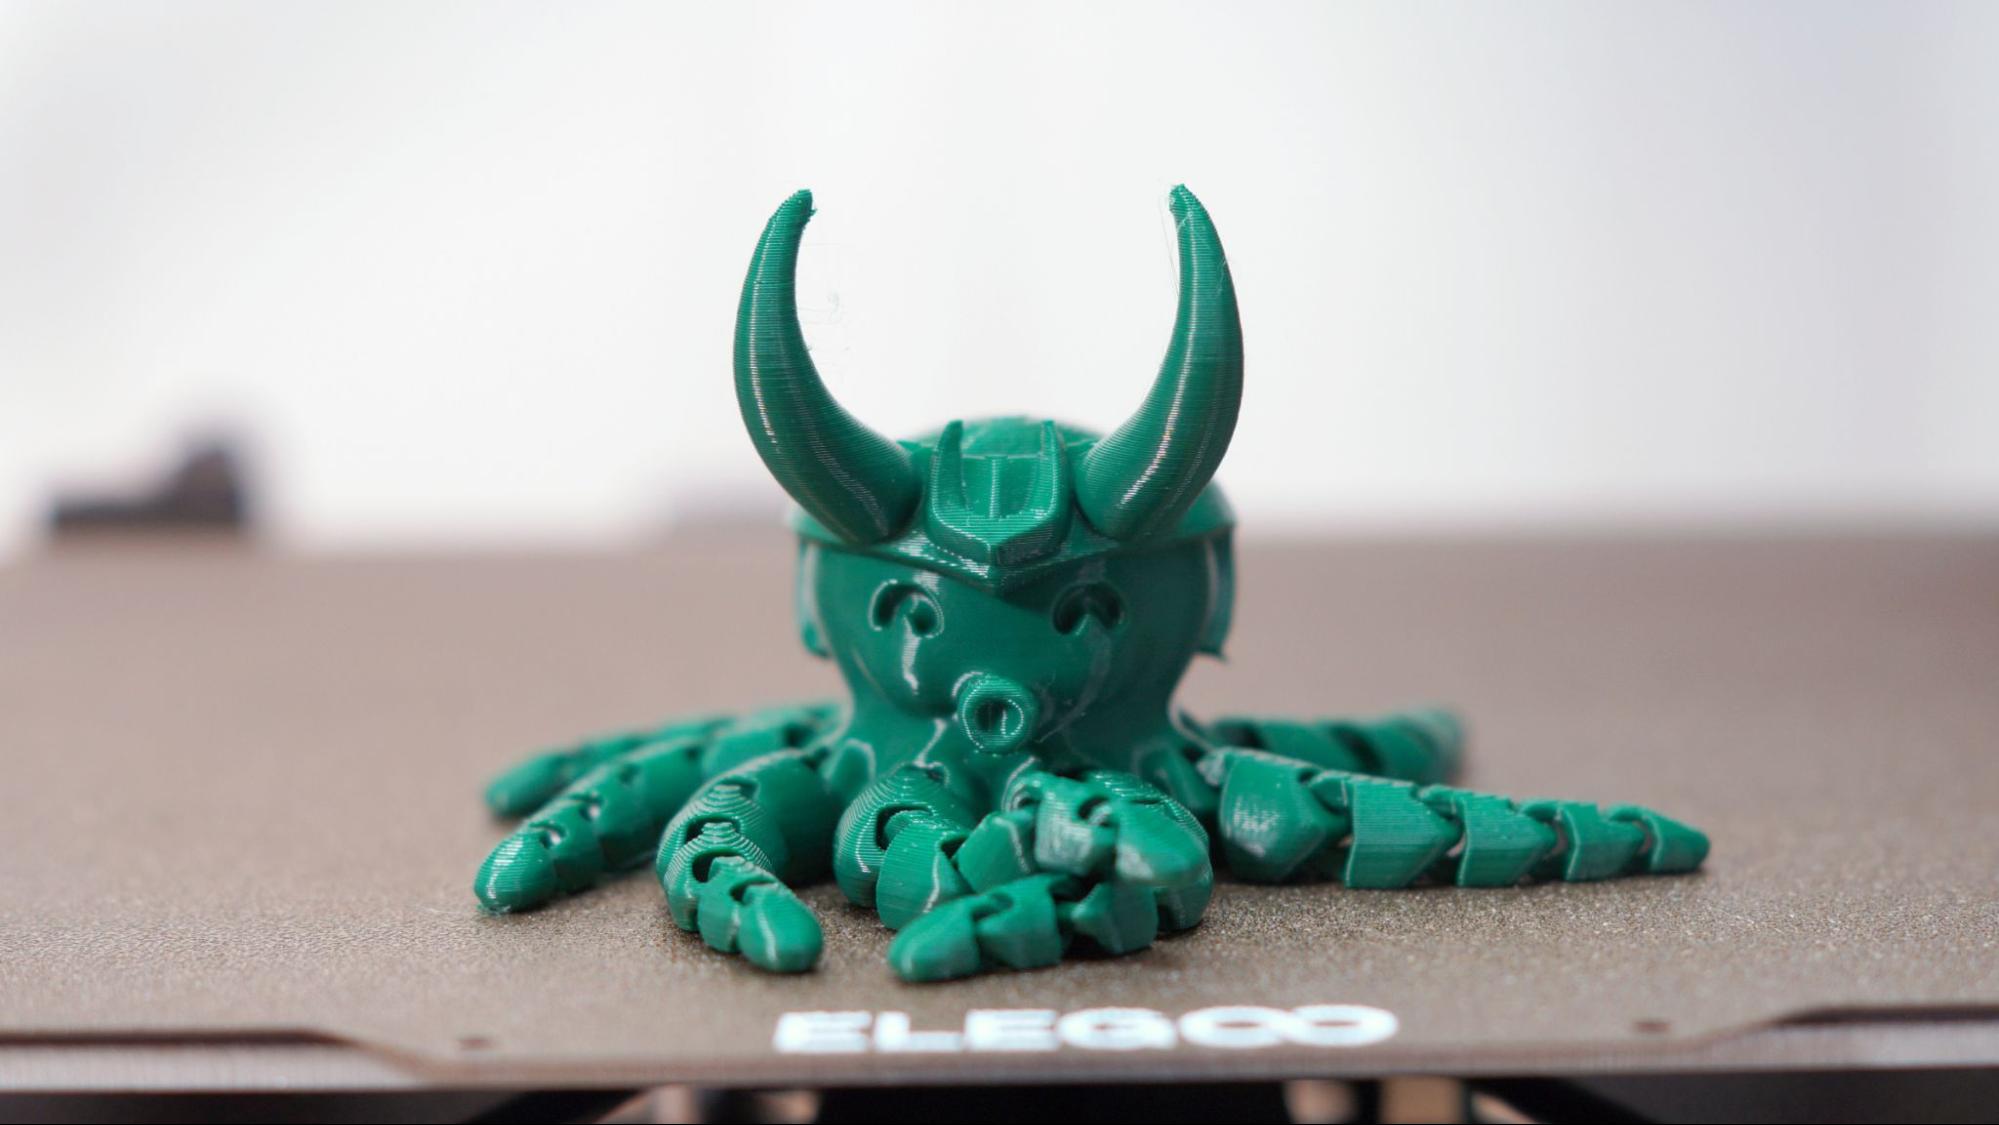
Next up was Octo-Loki by McGybeer, which printed smoothly without strings at a .2 layer height in Matterhackers Forest Green PLA.
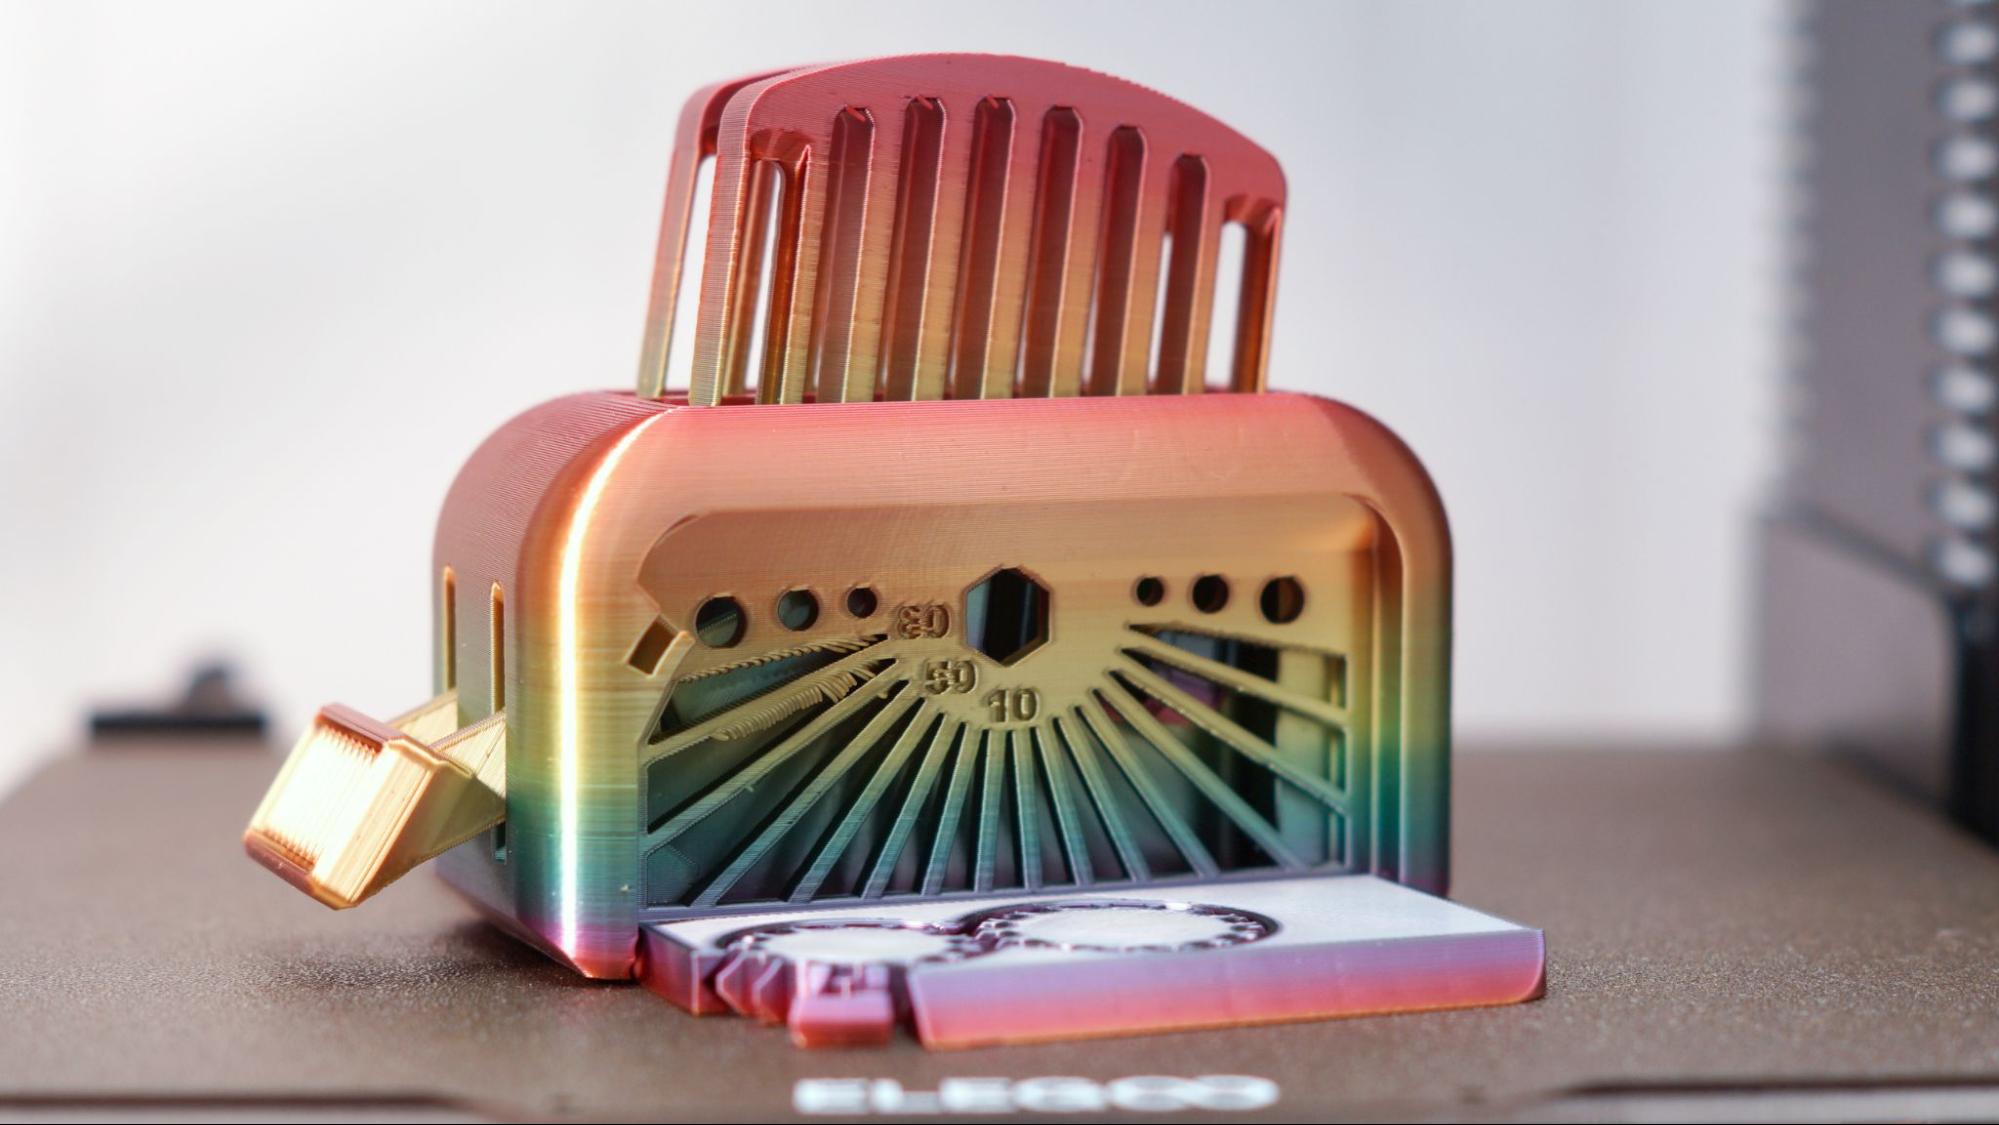
I wanted to give the printer a real test, so I loaded up the Clockspring Torture Toaster. There was barely any stringing throughout the print and the print in place toaster mechanism worked. Printed at .2mm layer height in Mika3d silk rainbow.
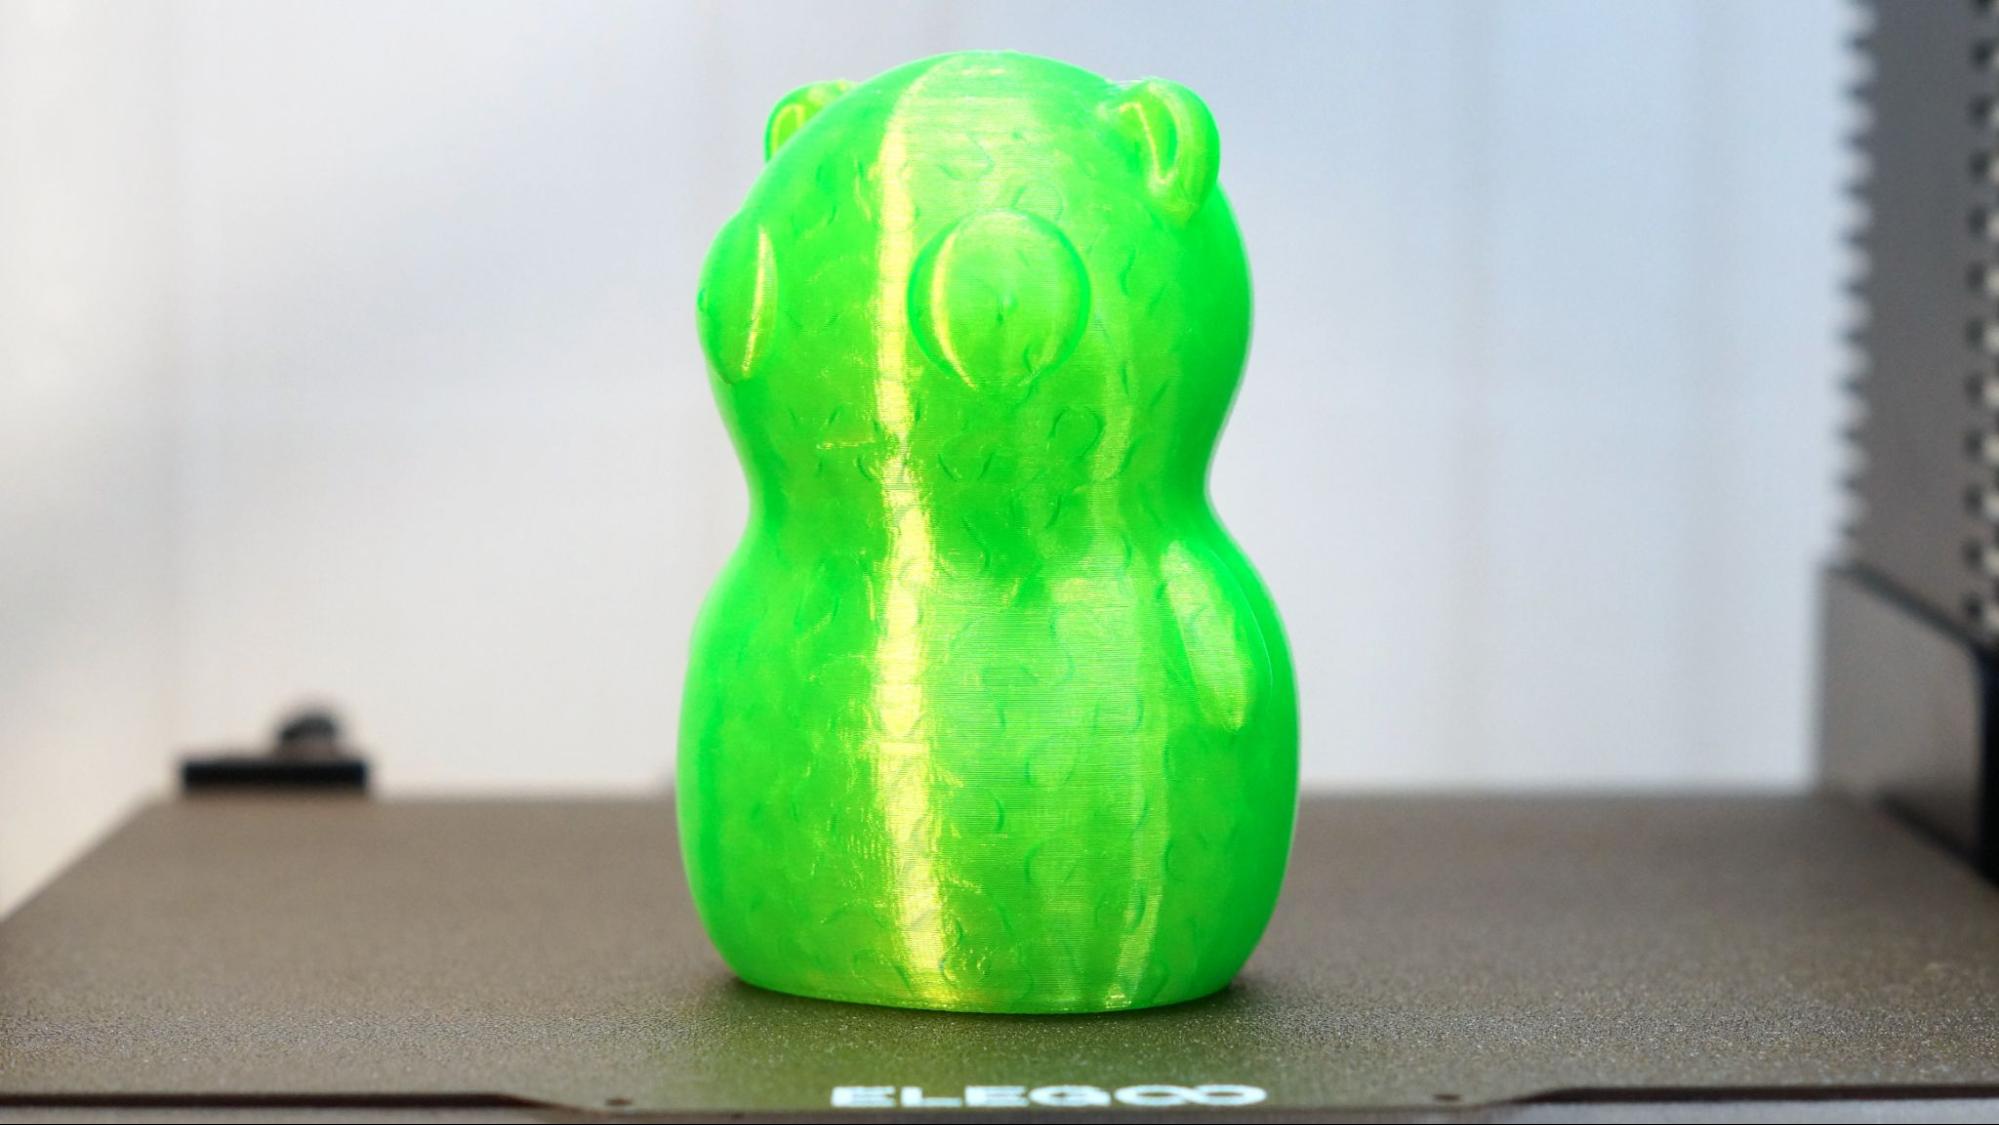
This Good Kuchi Kopi was printed in Matterhacker’s translucent green PLA. The Bowden drive had no trouble printing this at a .2mm layer height, though I did slow it down to 40mms. A very clean print.
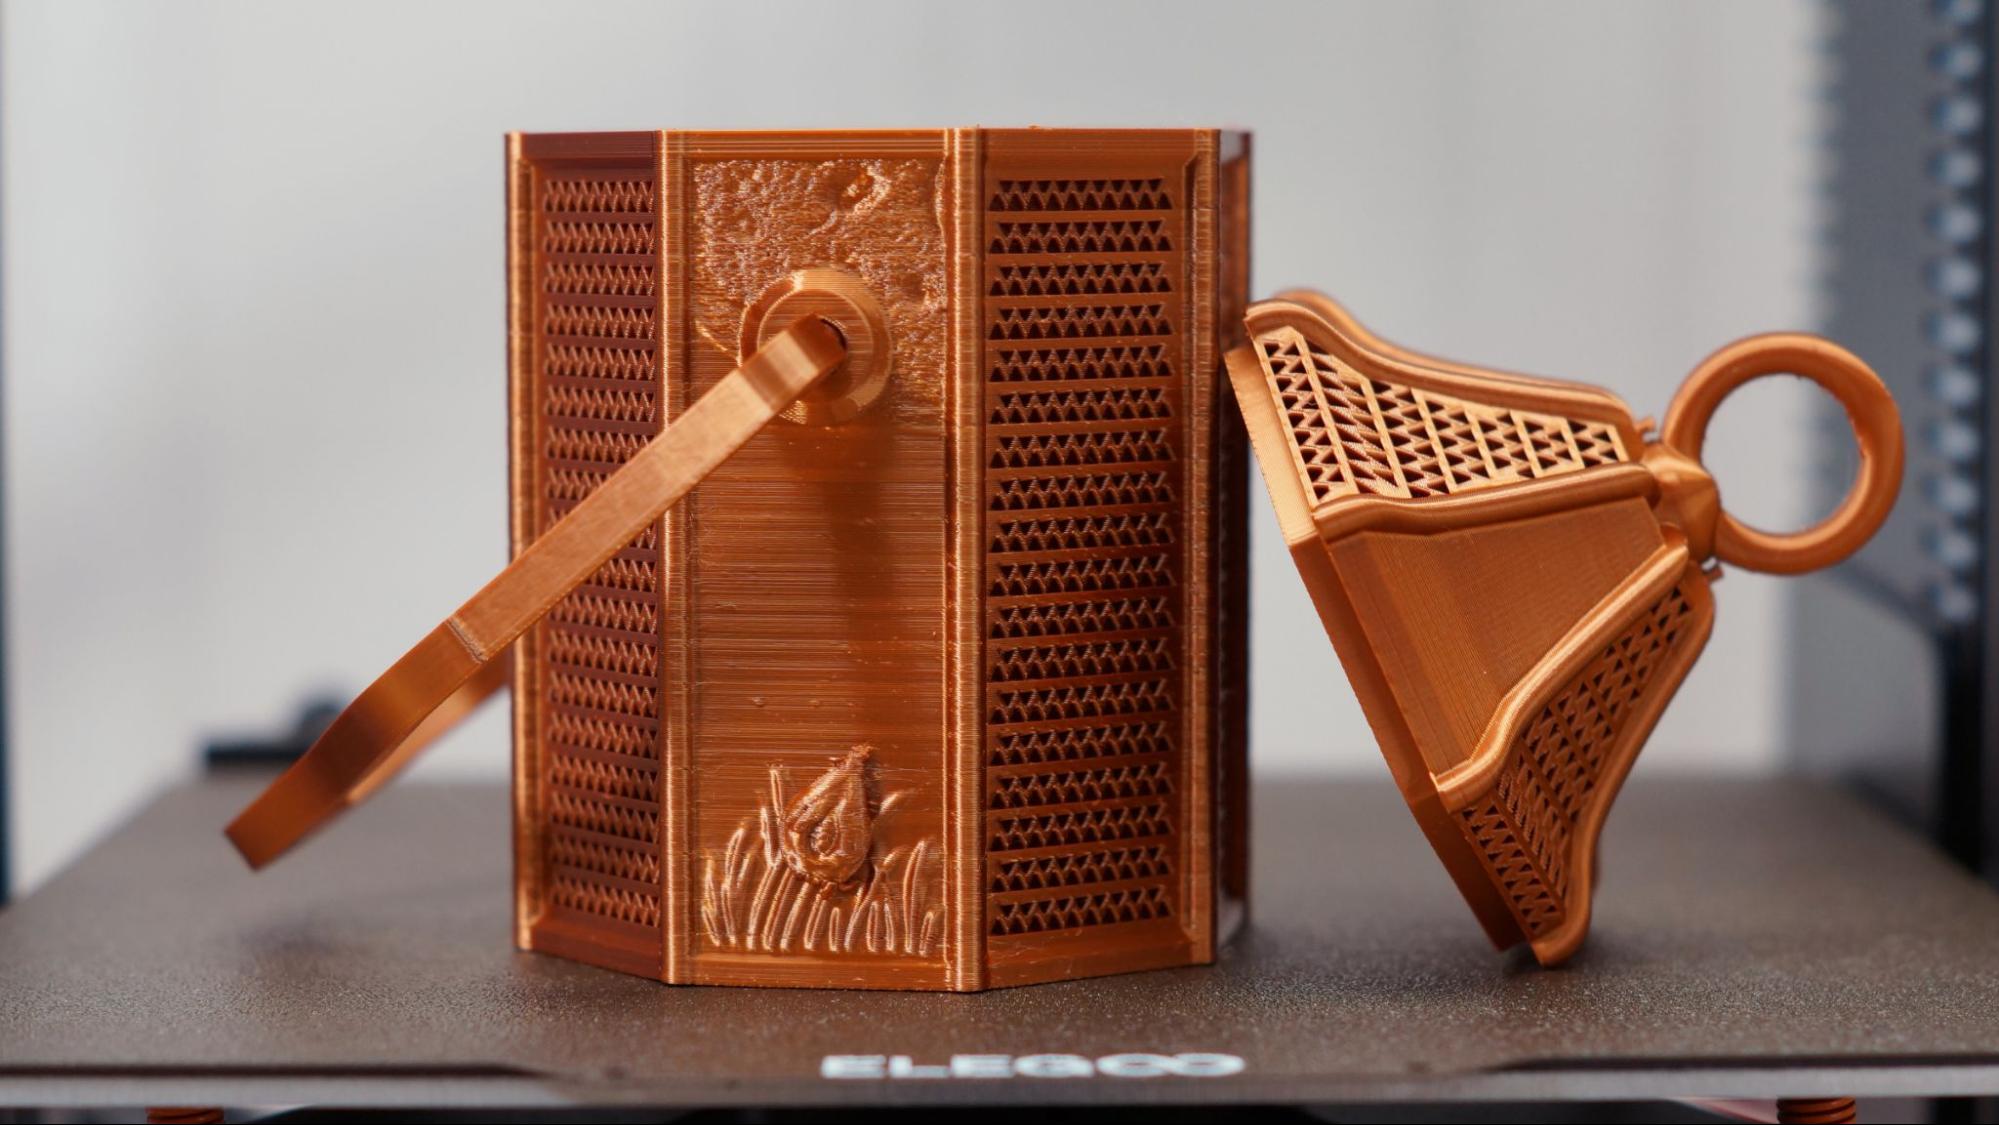
This is firefly lantern is a three part print in Inland Copper Silk PLA. There’s a few tiny blemishes in the flat panel, but, over all, it’s a gorgeous print. Design by Bad Beetlez.
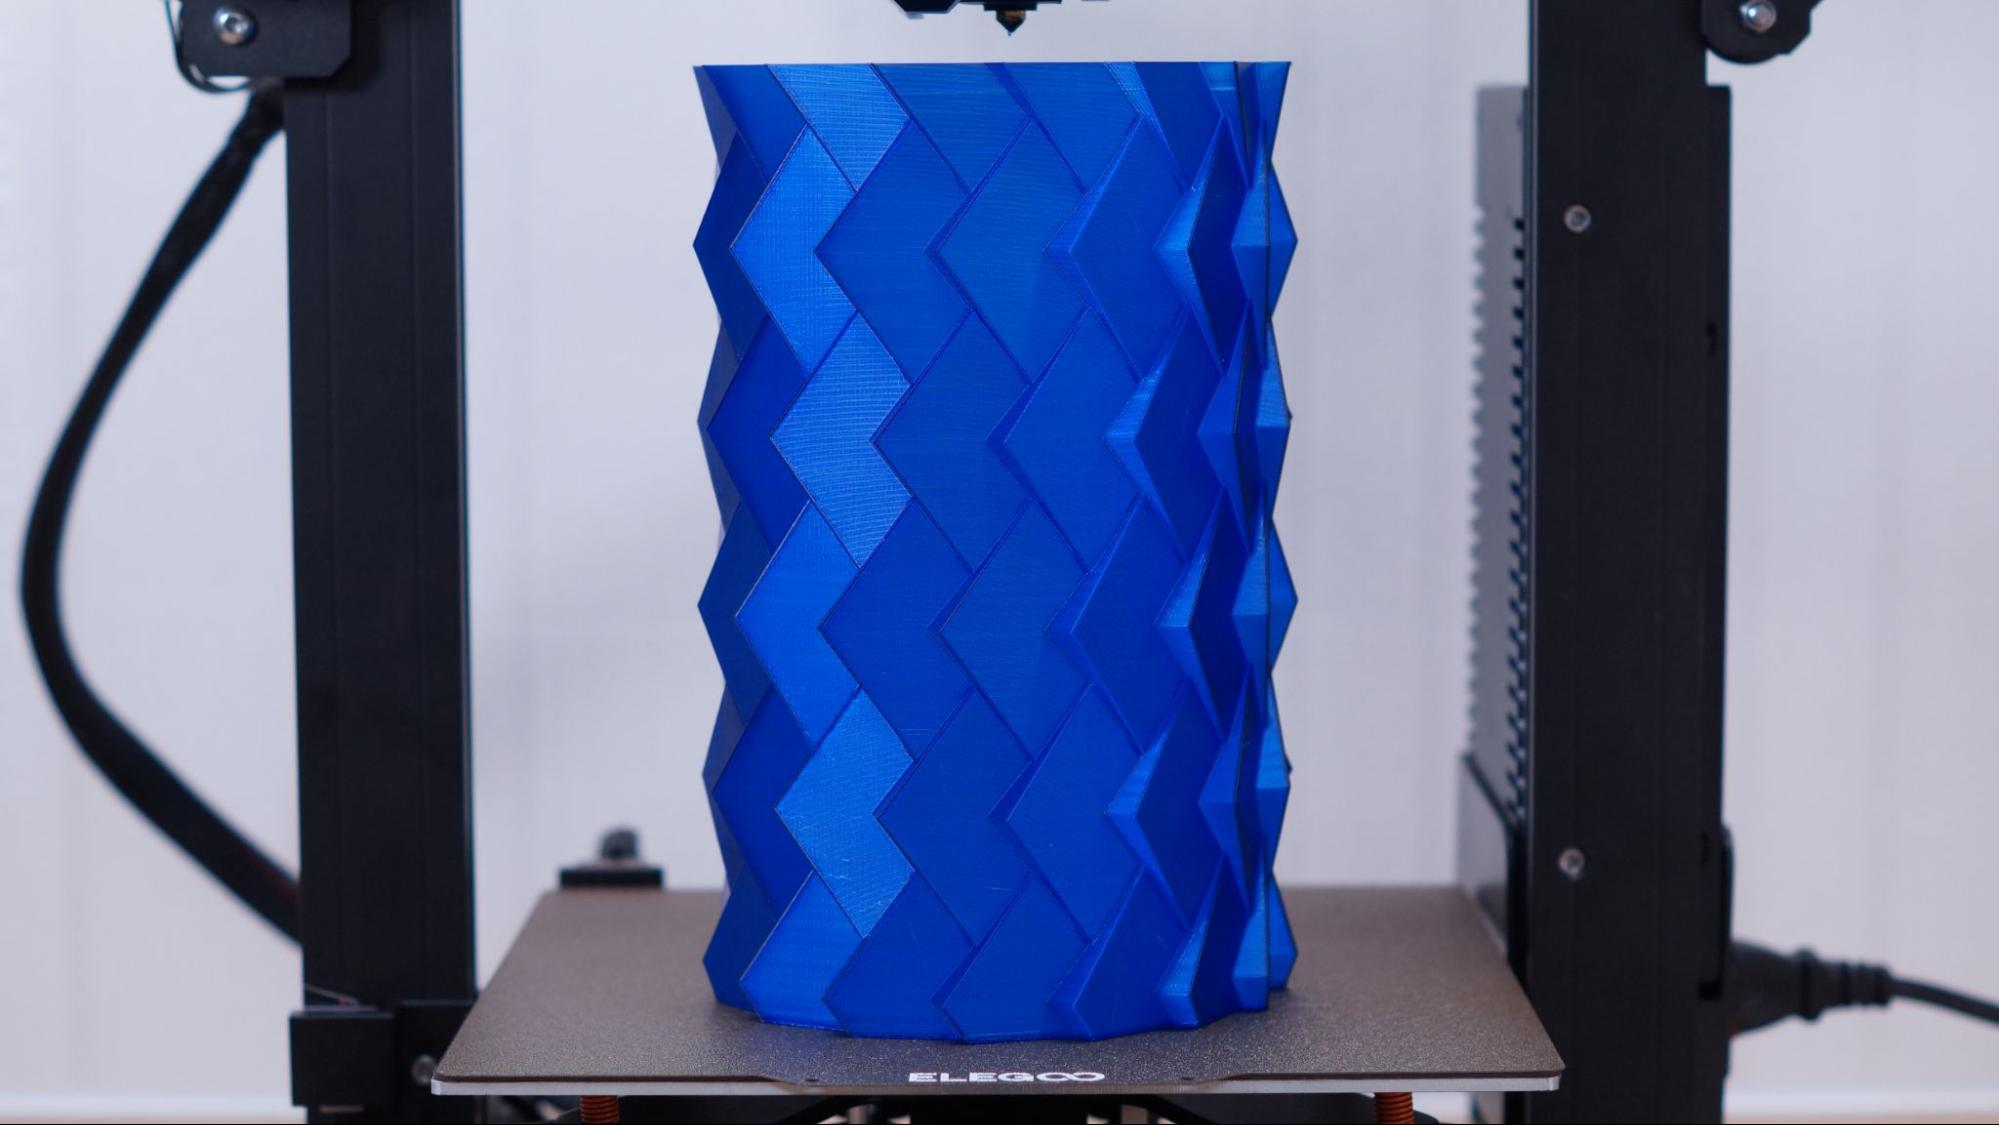
Finally, I wanted to test PETG. This is Abby Math’s Cup of Cubes, printed in Matterhackers Build Series Translucent Blue PETG. The design was stretched a little taller into a vase and run in spiralize mode with a .64 line width and .28 layer height. The thicker lines allow for a stronger print and make sure there’s no gaps.
Bottom Line
I can’t really recommend the Neptune 2S for beginners due to the assembly process when there are so many affordable machines shipping 90% built. But if you’re up to the challenge, it’s worth the time. Retailing at $228, the Elegoo Neptune 2S offers a decent bargain – as long as you don’t mind the manual leveling. It’s a good option for a 2nd printer or a whole print farm.
It produces great prints with an easy to use textured PEI flex plate that makes print removal a breeze. The dual gears on the extruder really controls the filament – even TPU prints well at a moderate speed.
If you're interested in a good beginner printer with auto bed leveling that’s mostly assembled, go for the direct drive Anycubic Kobra, retailing at $319 on Amazon. Looking for an even bigger bargain? Check out the $169 Creality Ender 2 Pro, a quality starter printer that comes mostly assembled with a similar hotend and manual leveling. The DIY kit Neptune 2 is another budget choice, if you can find it. It’s sold out on the Elegoo website, but you can still grab one on Amazon for about $199.

Denise Bertacchi is a Contributing Writer for Tom’s Hardware US, covering 3D printing. Denise has been crafting with PCs since she discovered Print Shop had clip art on her Apple IIe. She loves reviewing 3D printers because she can mix all her passions: printing, photography, and writing.
