Gigabyte Z370 Aorus Gaming 7 ‘Coffee Lake’ Motherboard Review
Why you can trust Tom's Hardware
Software & Firmware
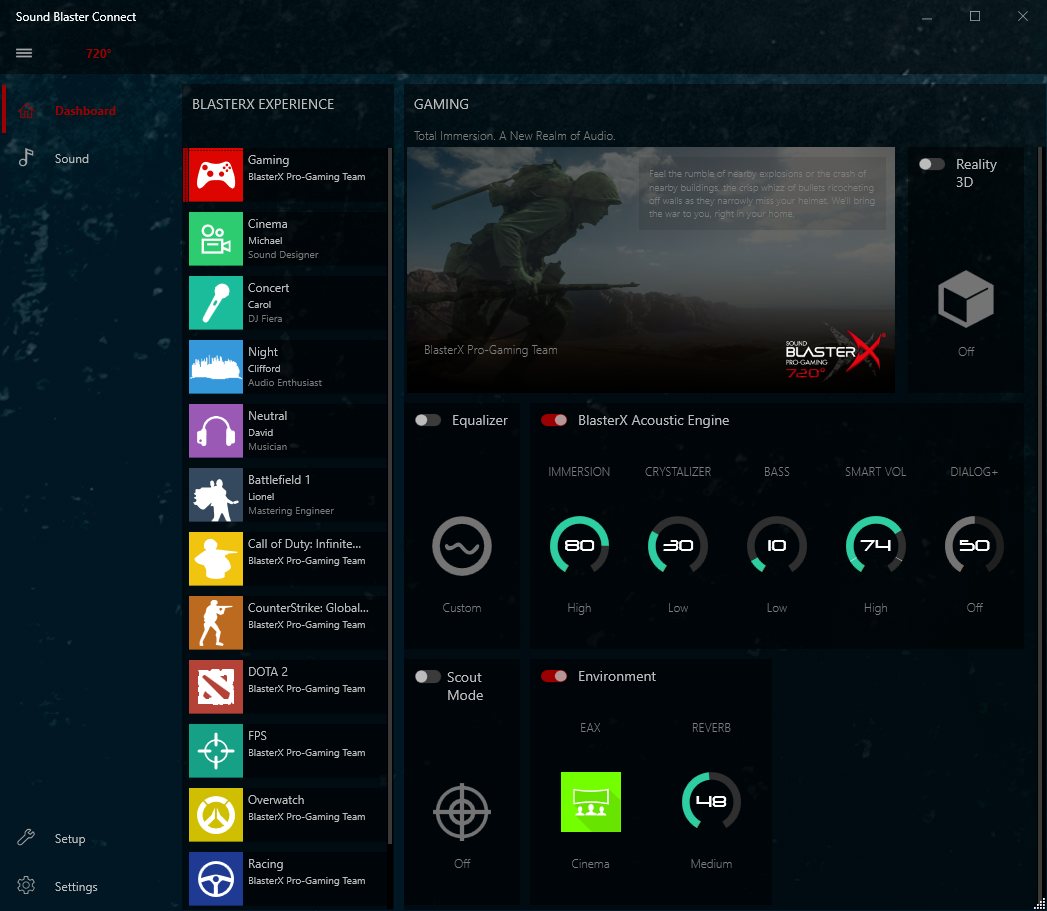
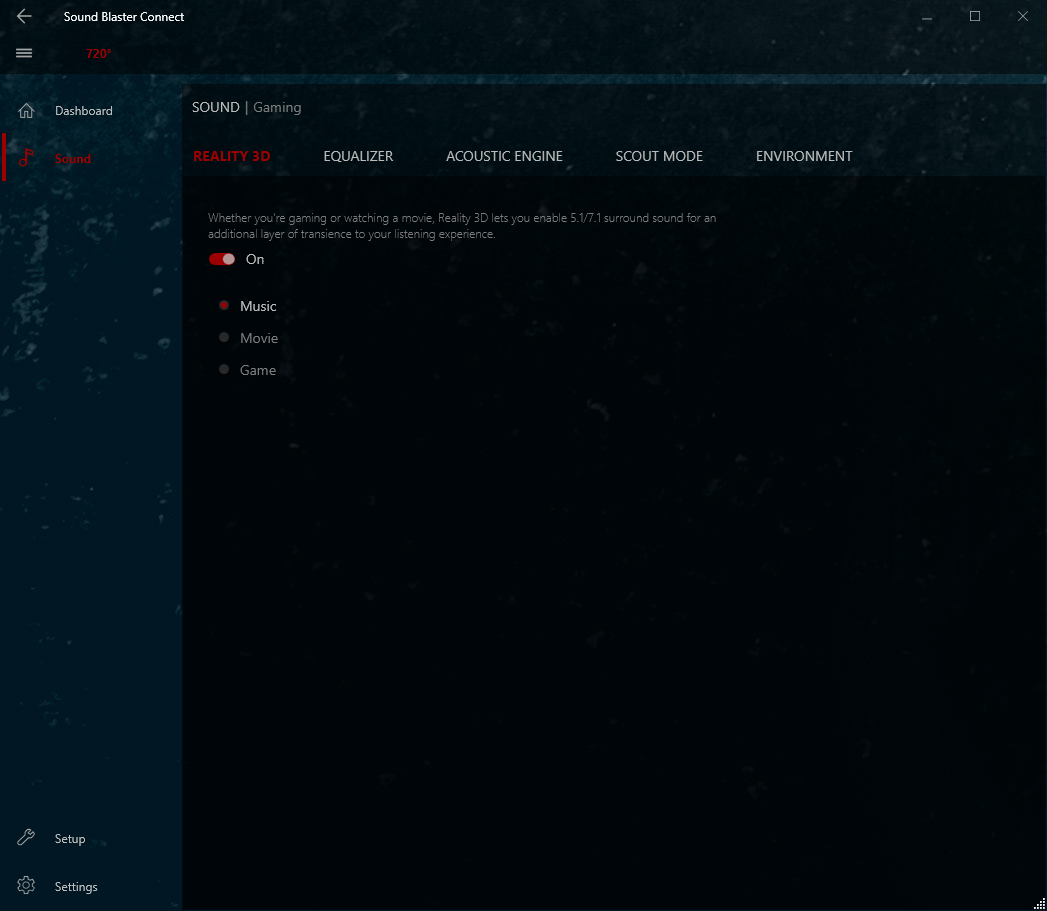
As part of an audio upgrade that includes a high-end ESS DAC, the Z370 Aorus Gaming 7 includes Creative’s SoundBlasterX 720° suite. Various audio manipulations include increasing the noise of your opponent’s footsteps, and it even includes a radar app to visually indicate the direction of their approach.
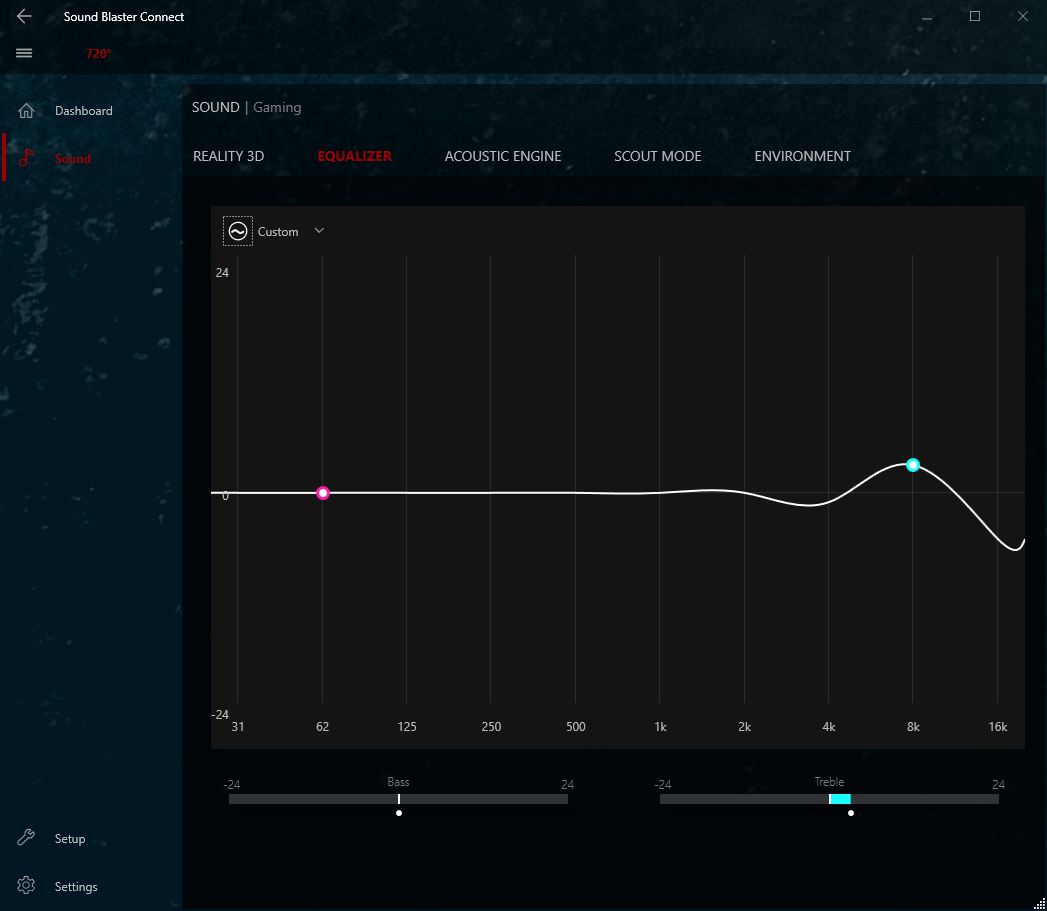
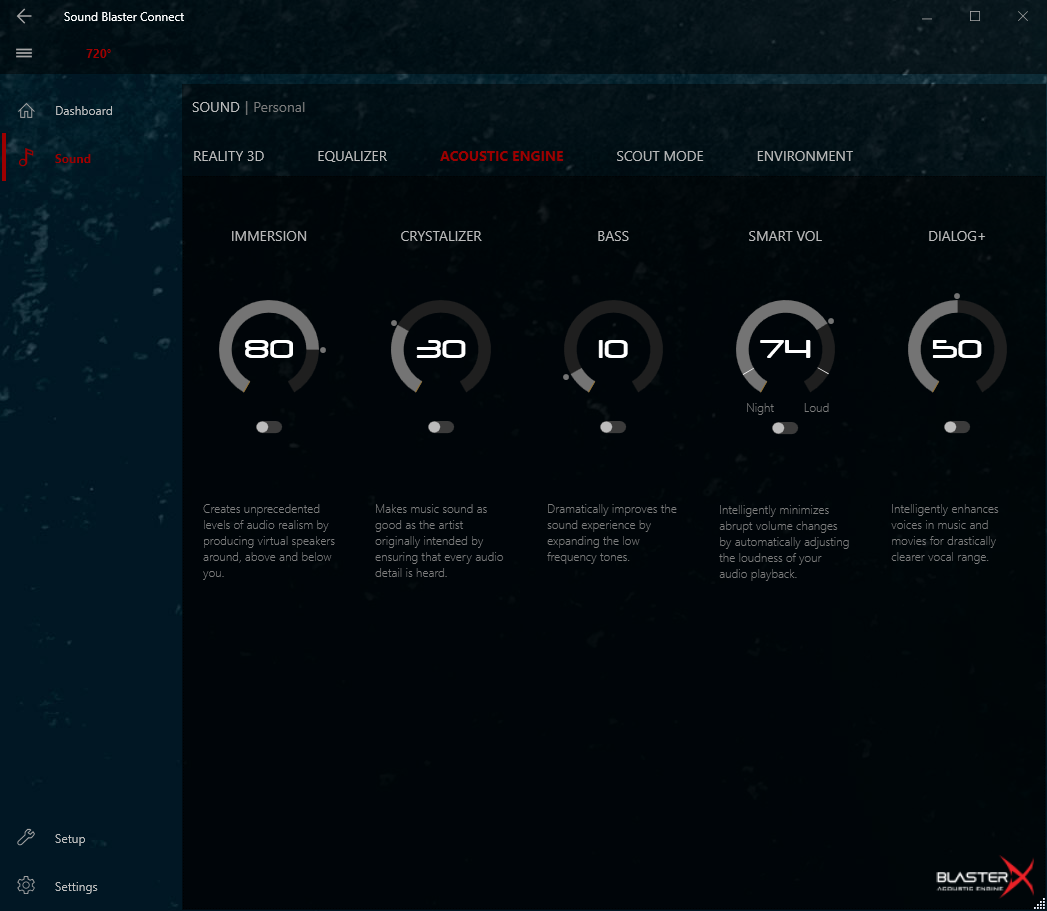
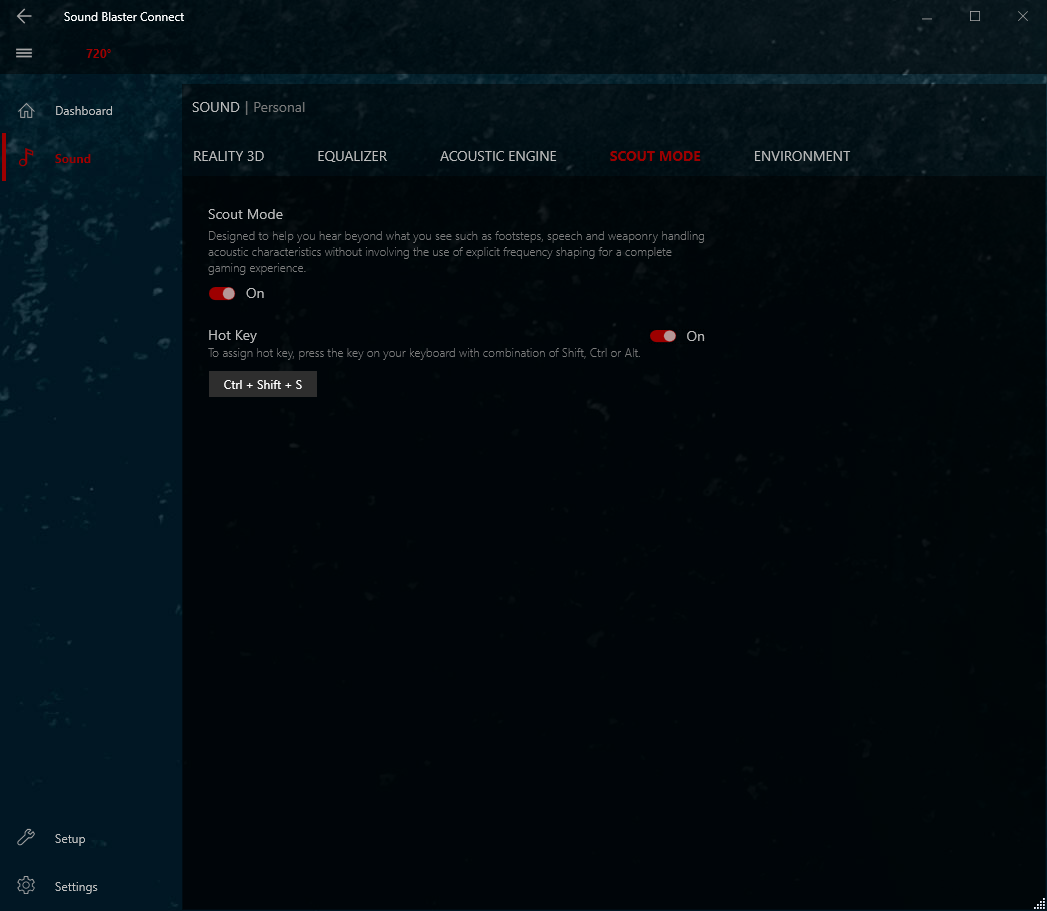
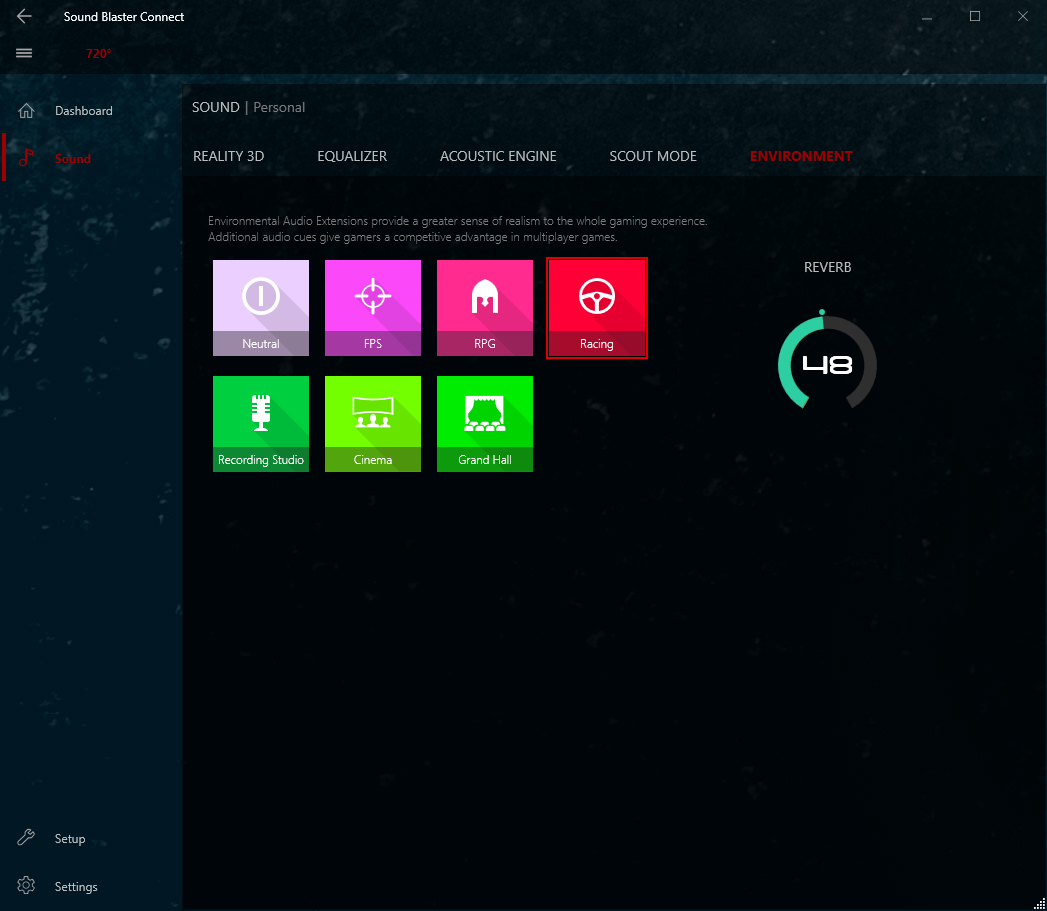
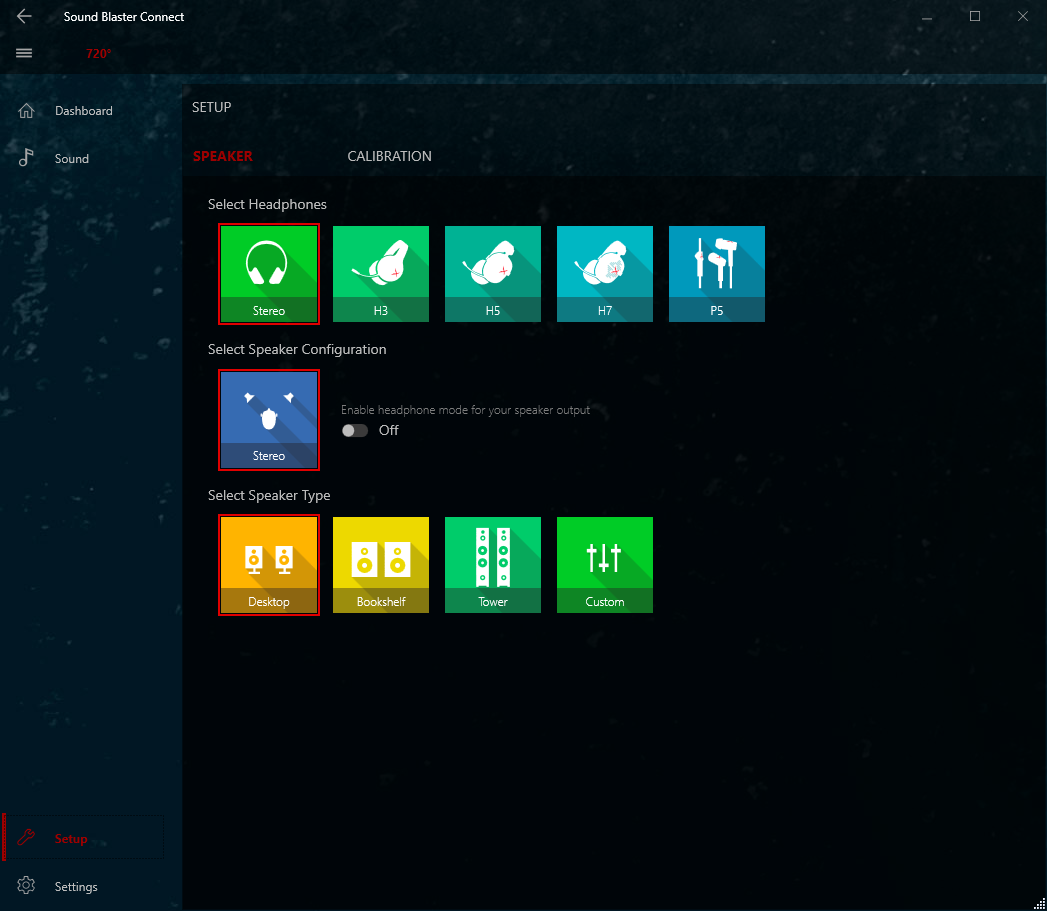
Gigabyte App Center remains the tray-residing menu for its collection of applications.
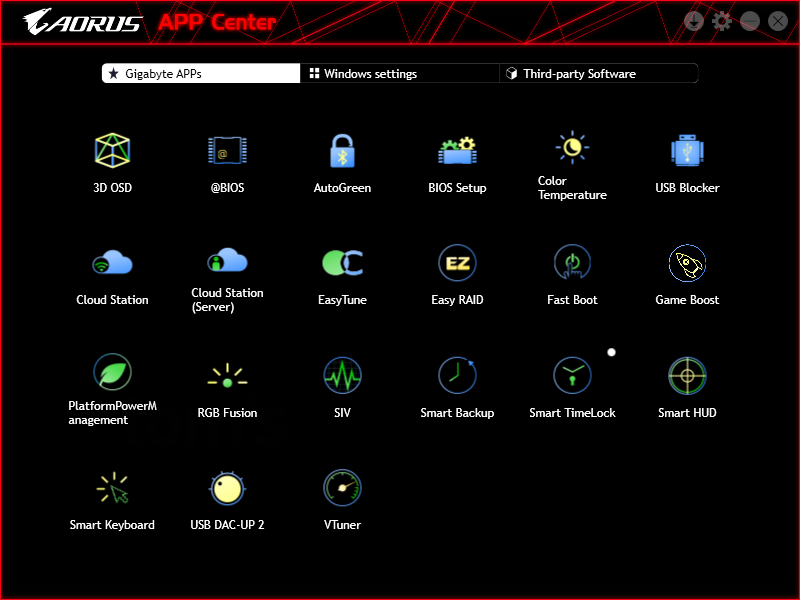
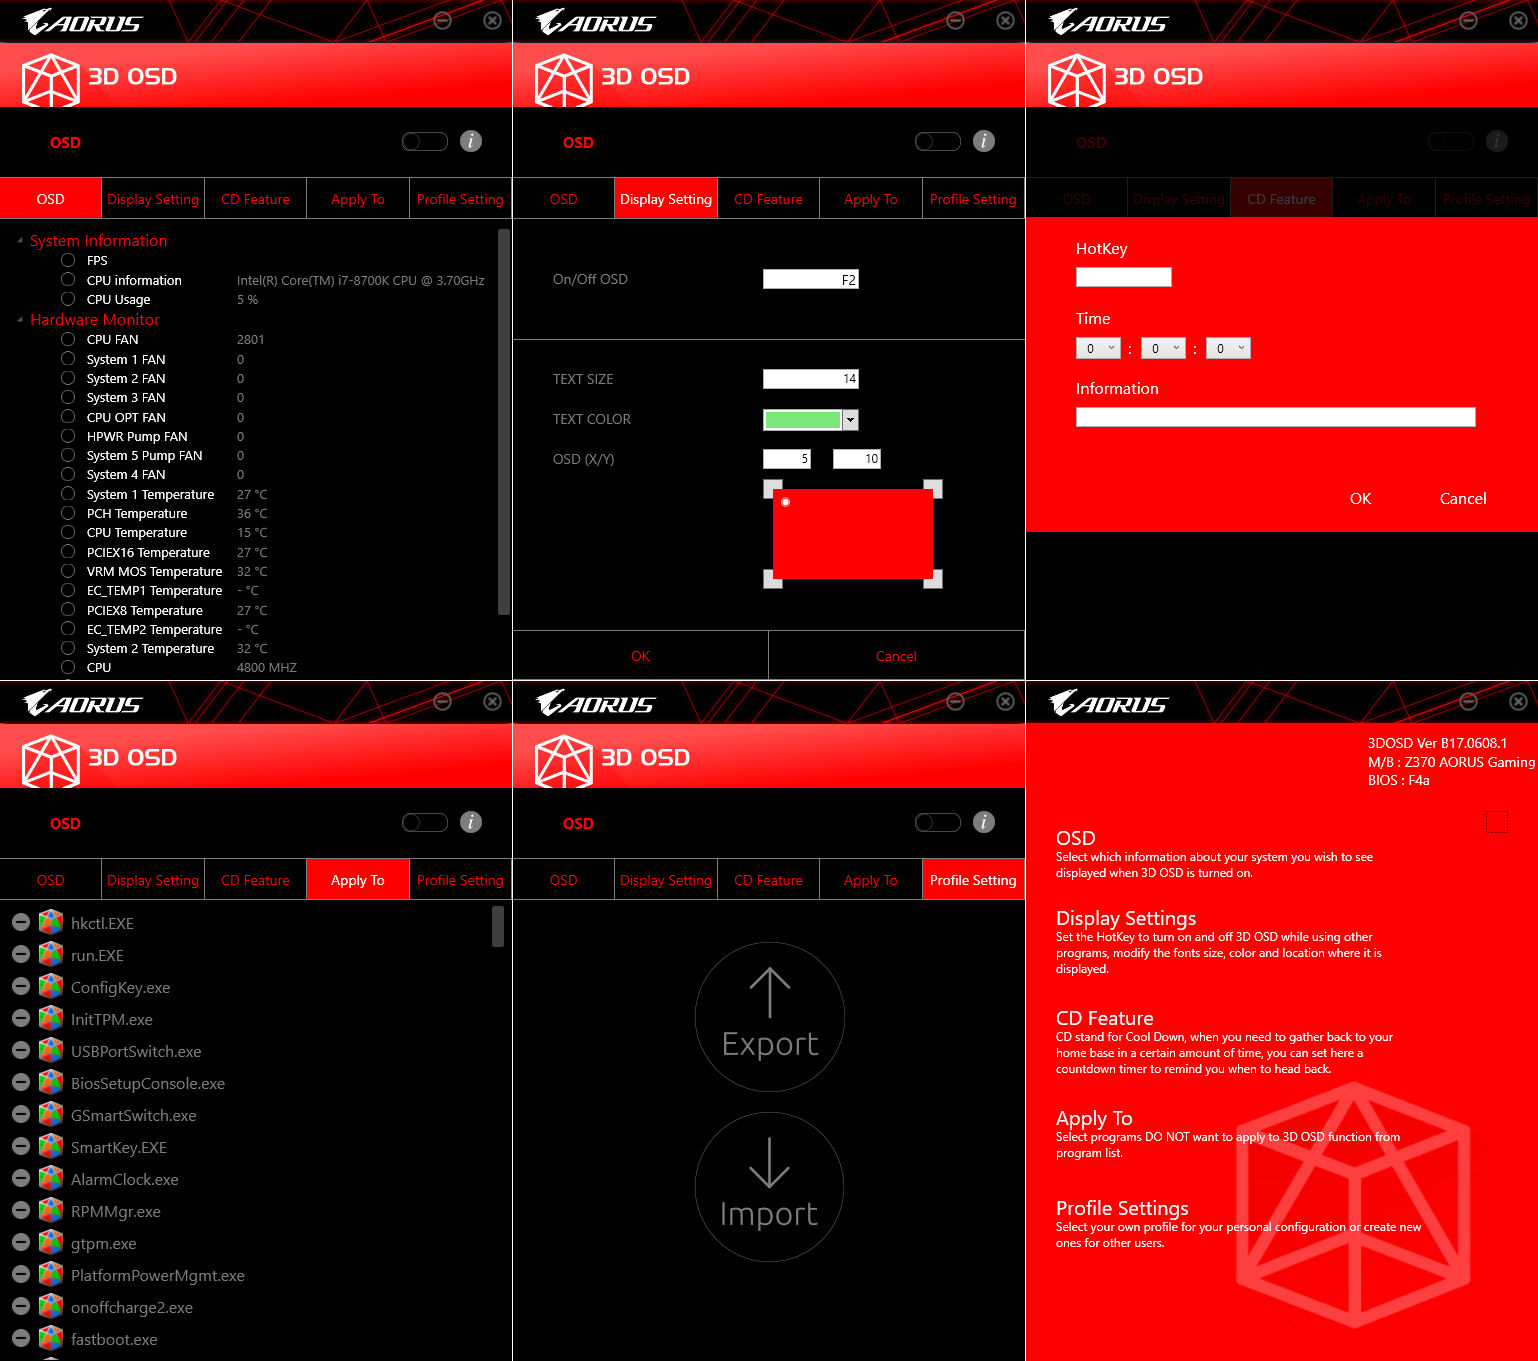
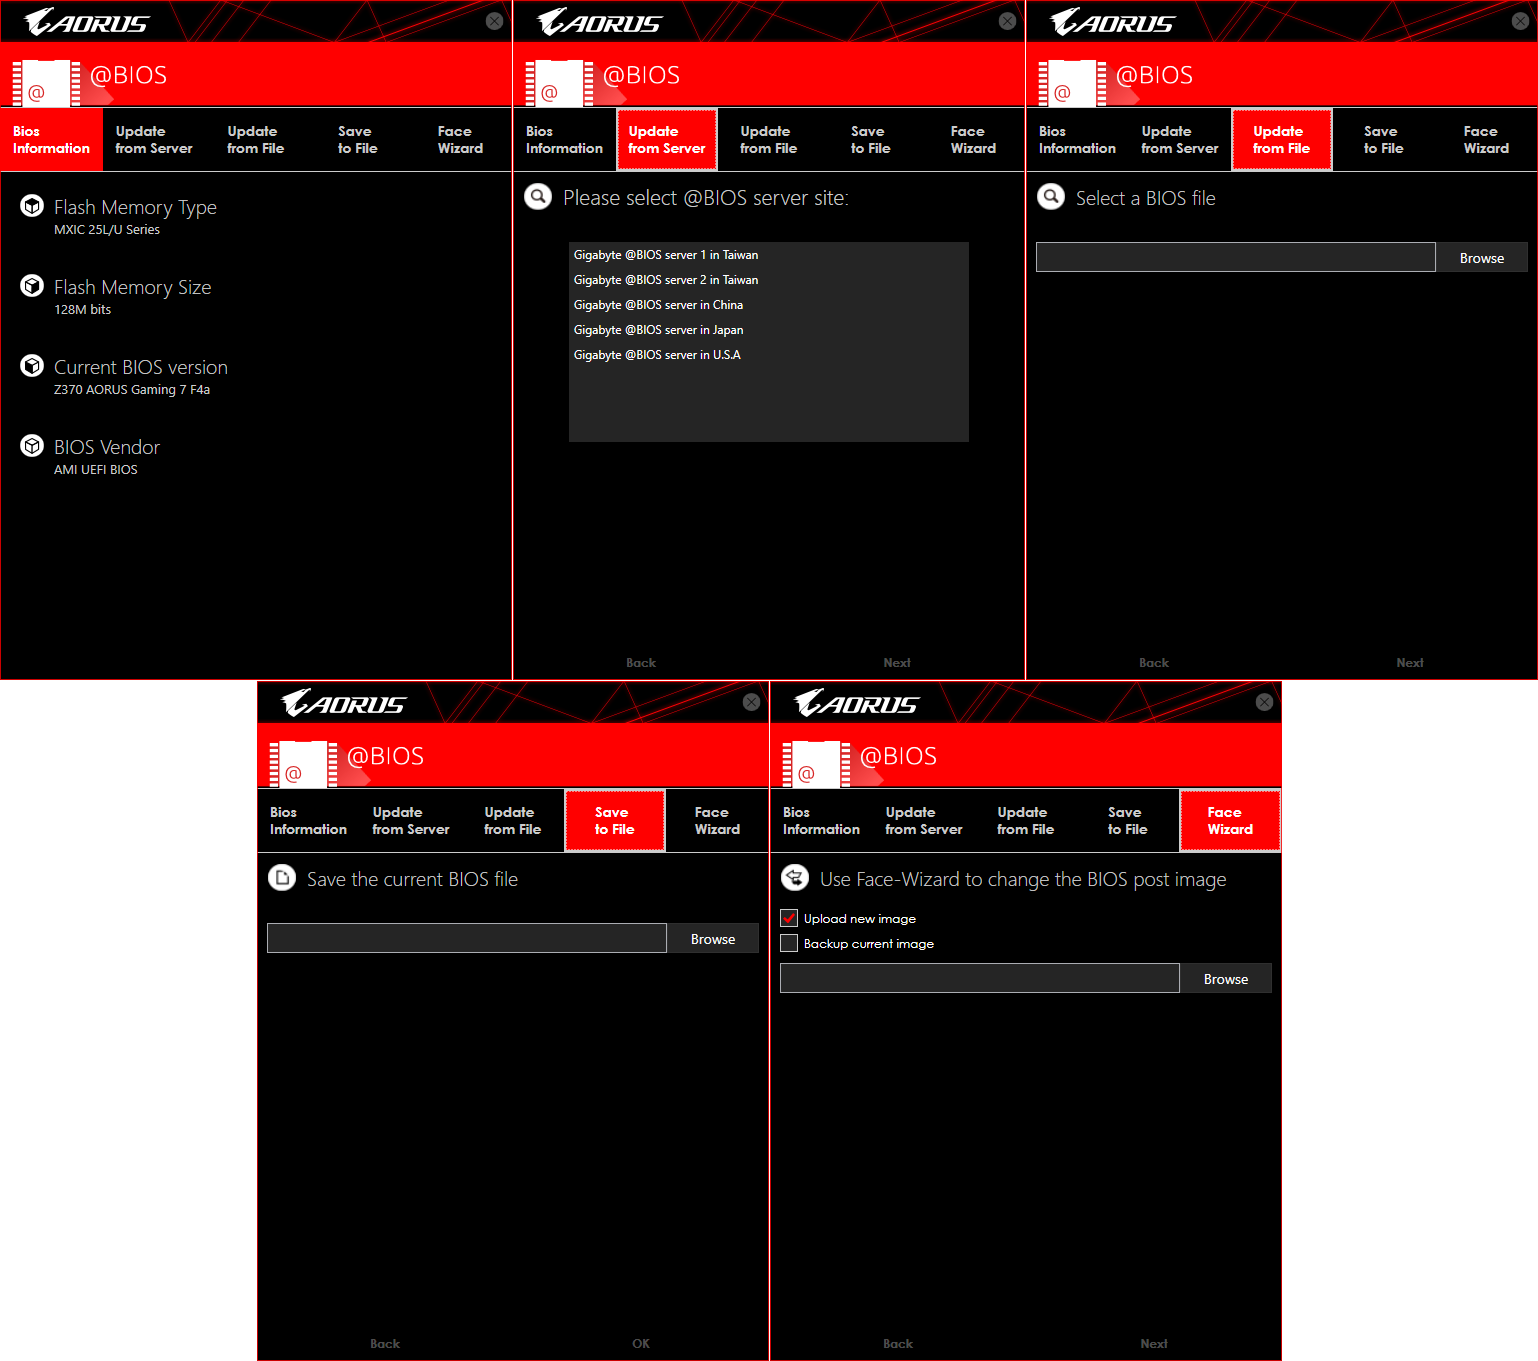
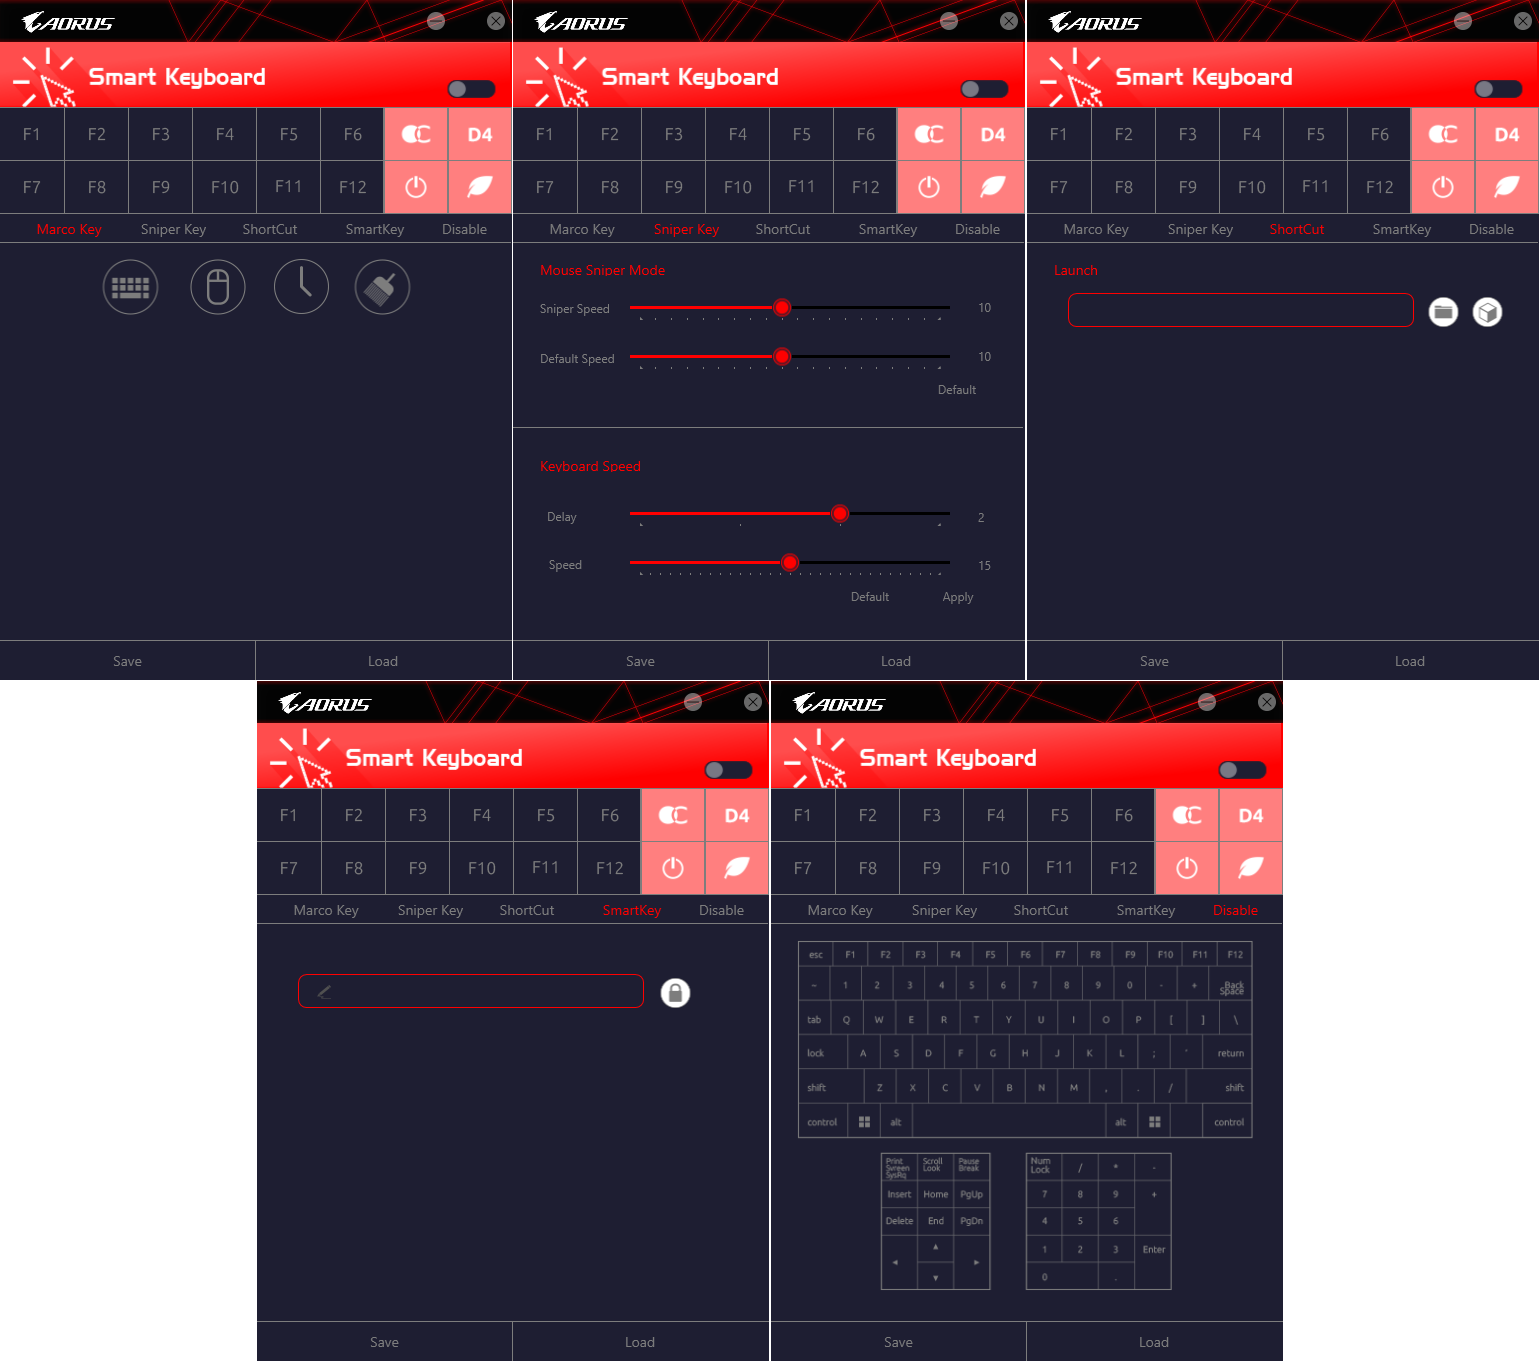
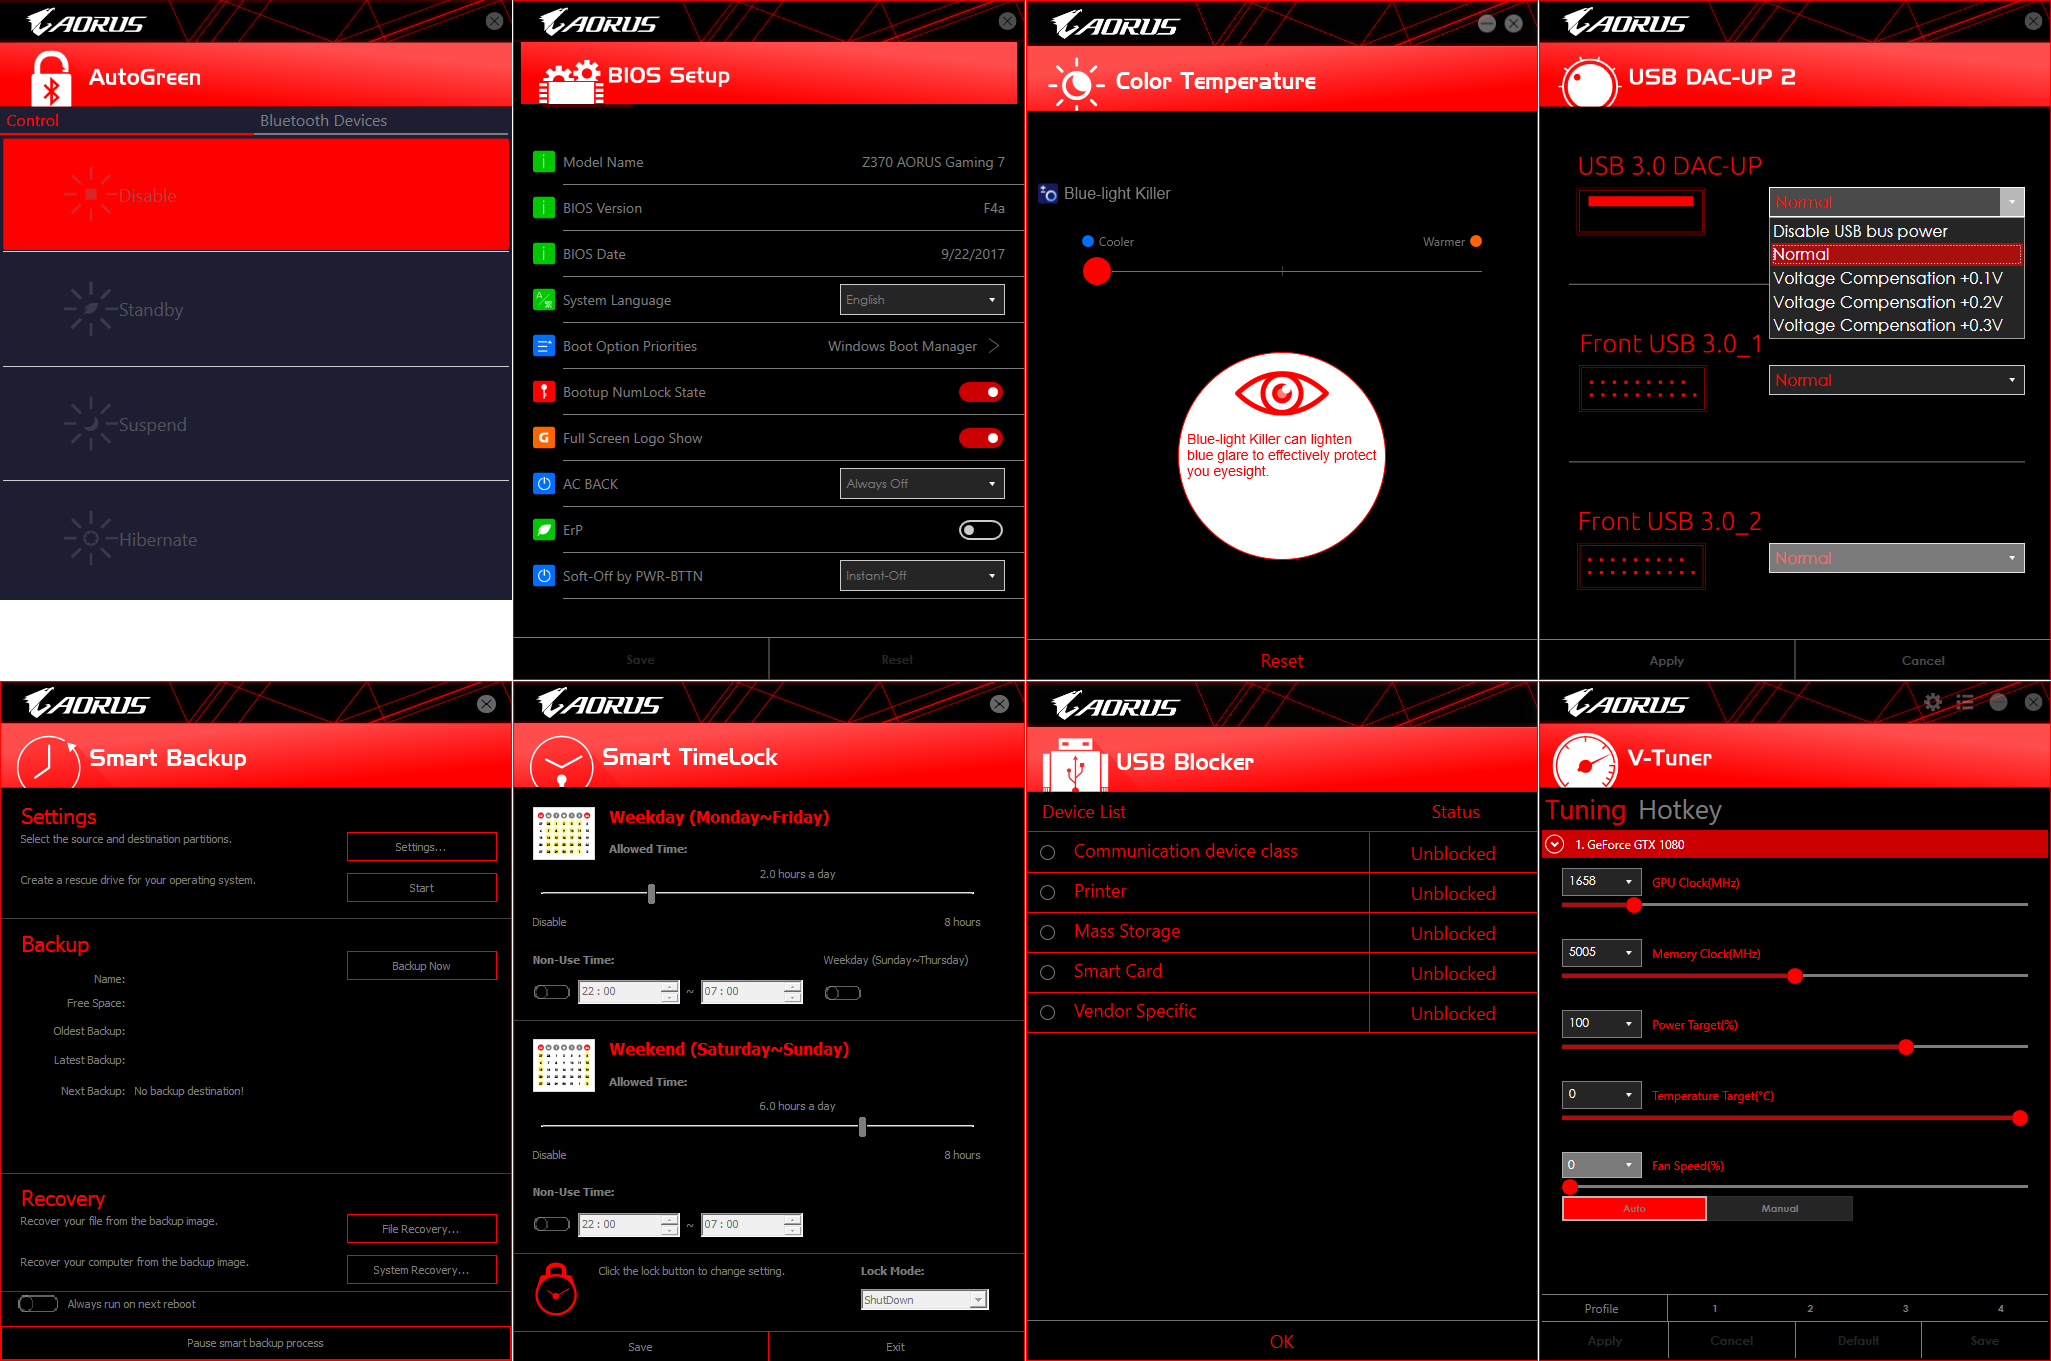
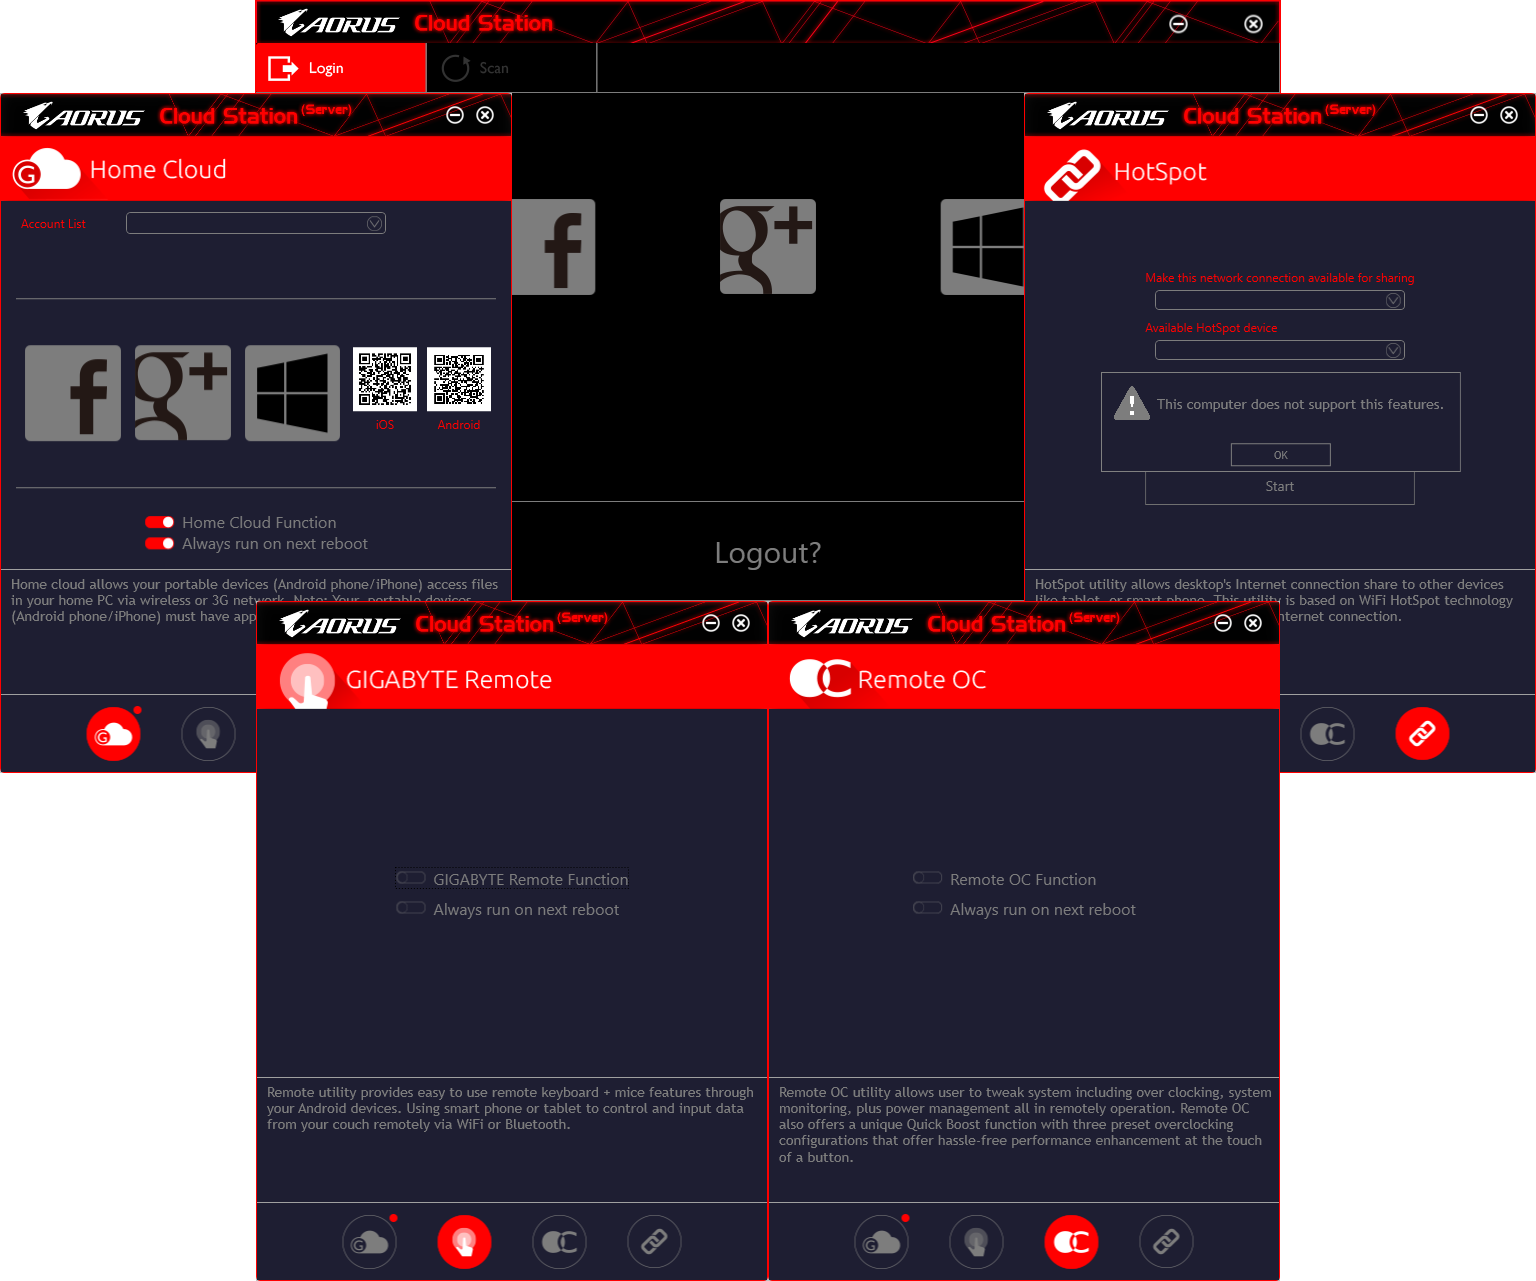
Some of Gigabyte’s smaller apps include 3D OSD system status overlay feature, @BIOS firmware updating feature with “Face Wizard” custom splash screen tool, Smart Keyboard macro recorder, AutoGreen power saving mode utility, BIOS Setup utility with a few minor firmware settings, Color Temperature display output mixer, DAC-UP 2 voltage tuner for USB ports, Smart Backup system and file backup utility, Smart Timelock scheduler to control when third parties (such as children) can use the PC, USB blocker with password protection for USB ports, V-Tuner graphics card overclocking utility, Cloud Station online storage client, and Cloud Station Server for hosting files and controlling the PC remotely. Some remote functions are designed to use onboard Wi-Fi/Bluetooth controllers of other motherboard models.
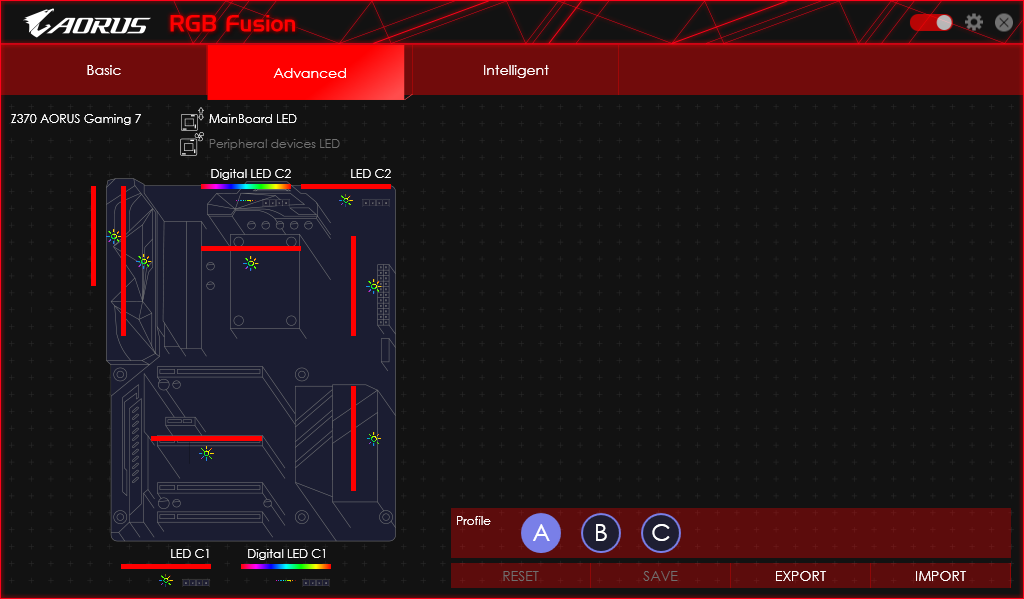
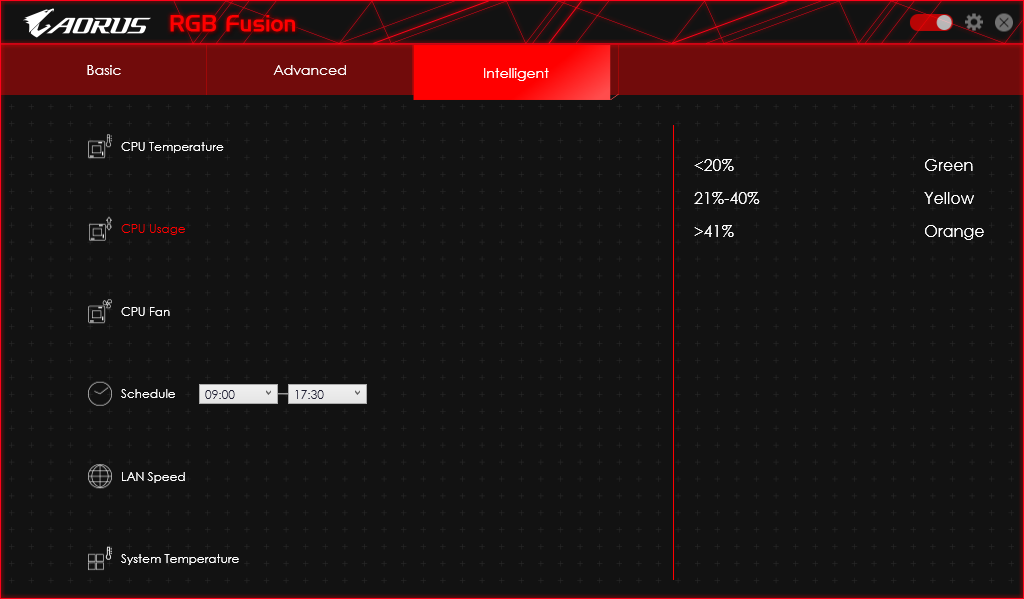
Gigabyte RGB Fusion worked perfectly on the Z370 Aorus Gaming 7, providing full color and pattern control for the various lighting groups on board. It can even be programmed to respond to system events rather than follow a fixed routine, if desired.

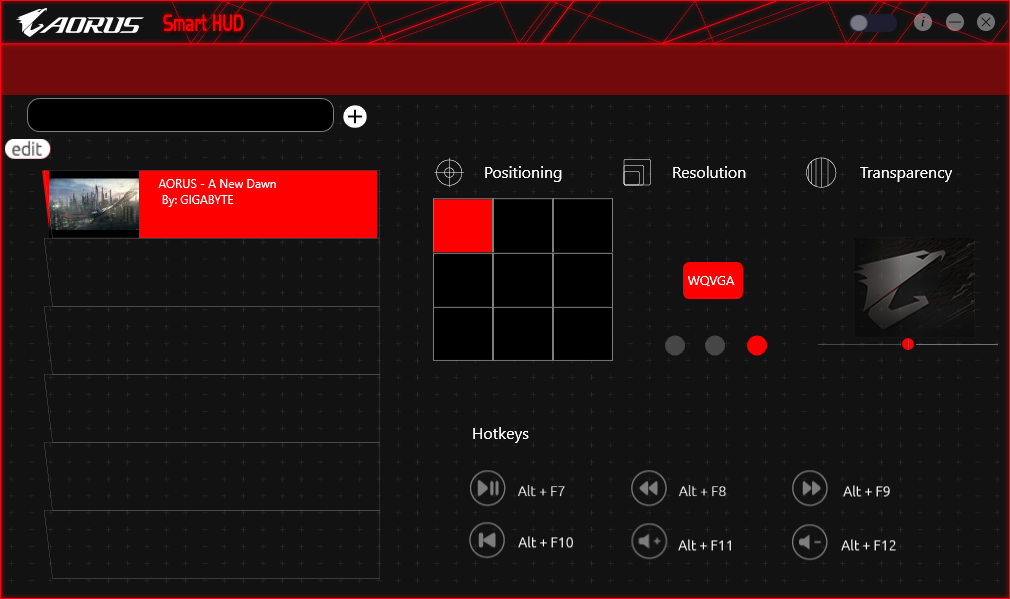
Gigabyte’s Smart Heads-Up Display provides an overlay of prerecorded videos atop gameplay videos, which could come in handy for following tutorials or previously optimized paths through the game map.
Gigabyte System Information Viewer starts the first time in an automatic fan tuner that’s laggy to cancel out of and will continue to pop up until the you finally let it do its thing. Its “thing” is to modify three of its four fan profiles to match your cooling configuration. The fourth profile, “Full Speed,” needs no tuning.
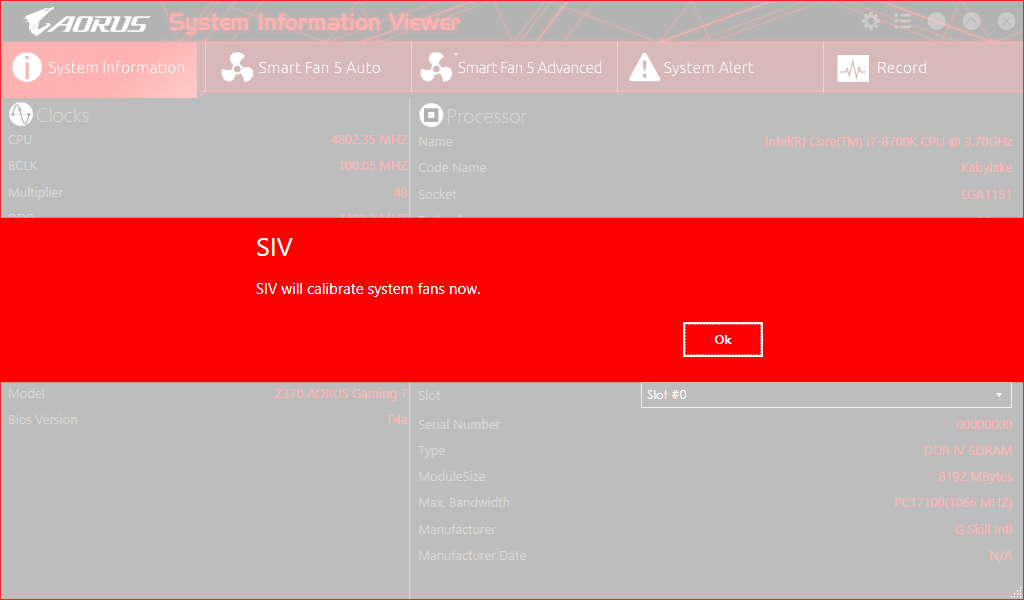
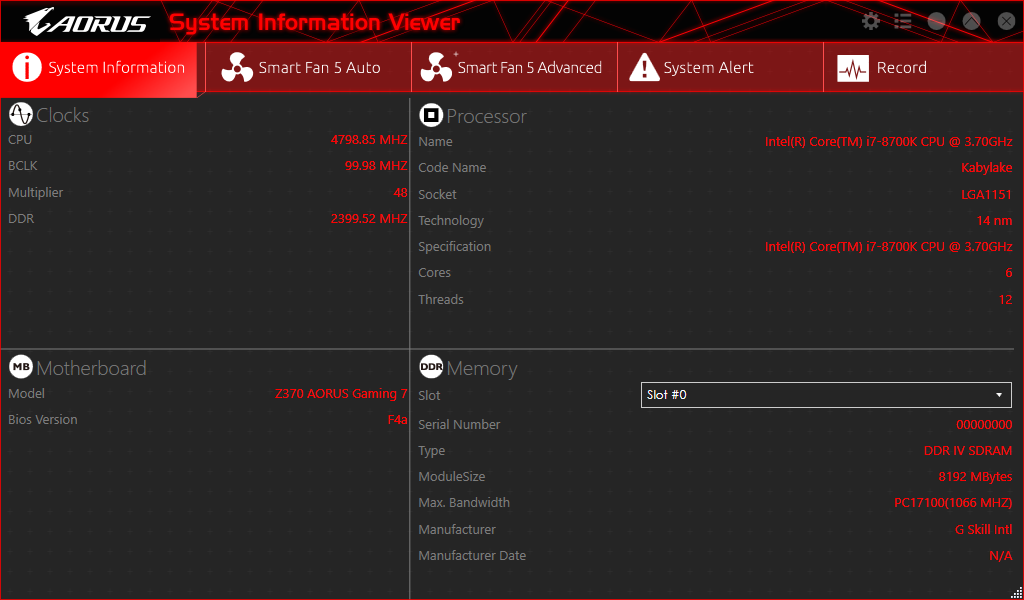

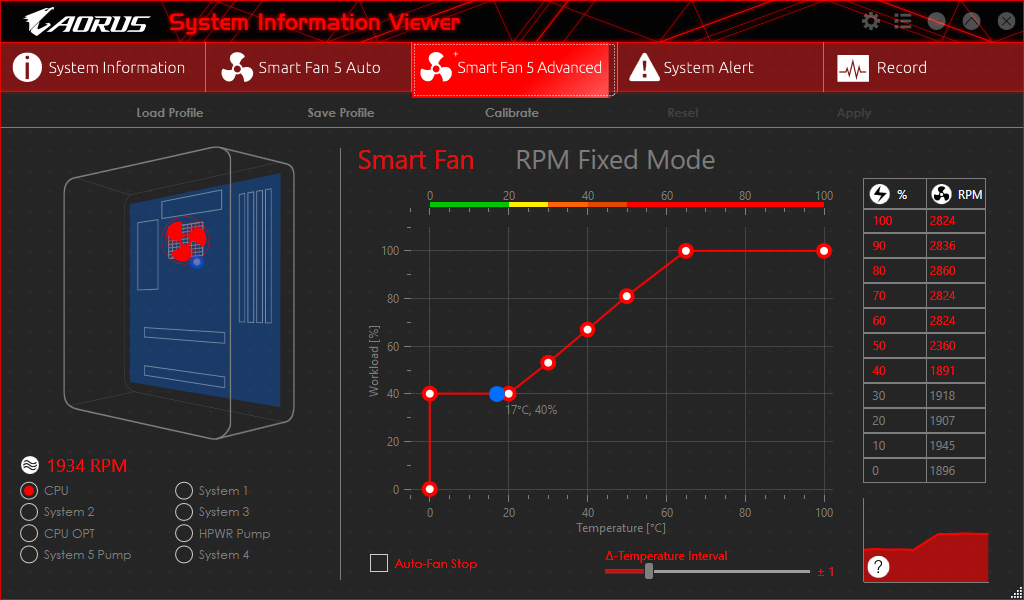
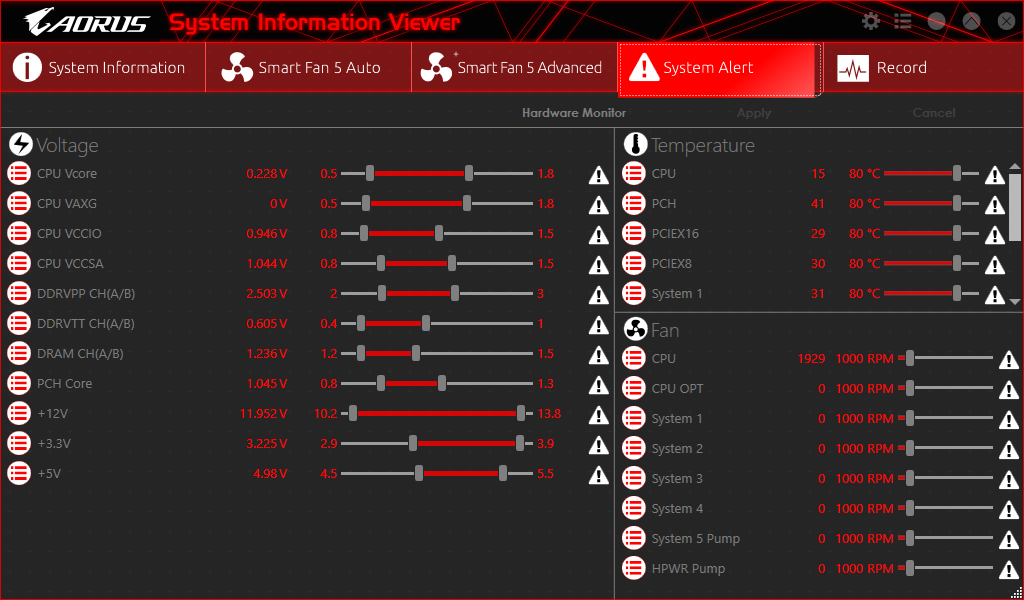
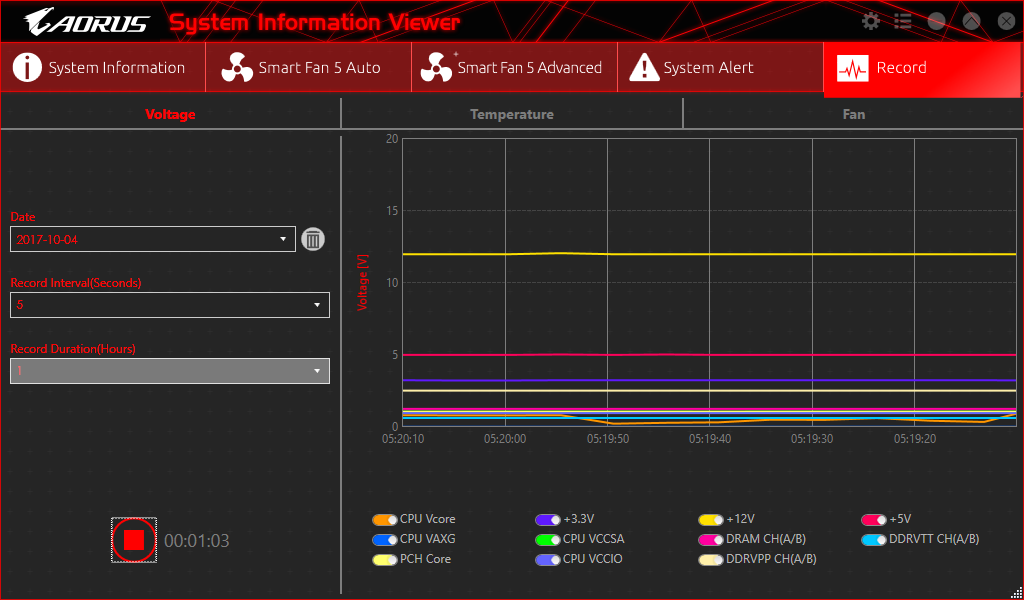
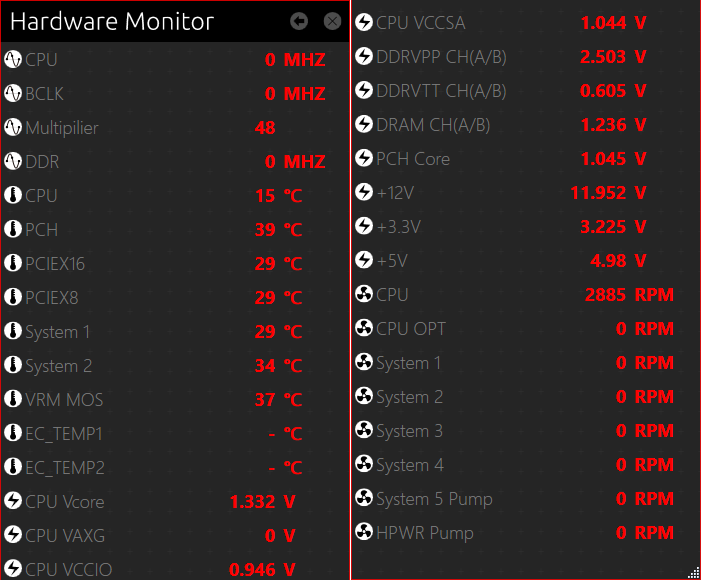
Gigabyte SIV also lets you set your own fan profiles manually, enable and alter various system event alerts, and record system events. An icon in the upper corner flips the app from console mode to a hardware monitor that consumes the entire right edge of your screen.
Get Tom's Hardware's best news and in-depth reviews, straight to your inbox.
In the image above, I split the hardware monitor screen shot so it wouldn’t be as tall as your screen, placing the two halves so that its entirety would fit inside your view window. Hardware Monitor is also available from Gigabyte’s Easy Tune software, but clicking its “back” icon will always take you to its System Information Viewer menu.
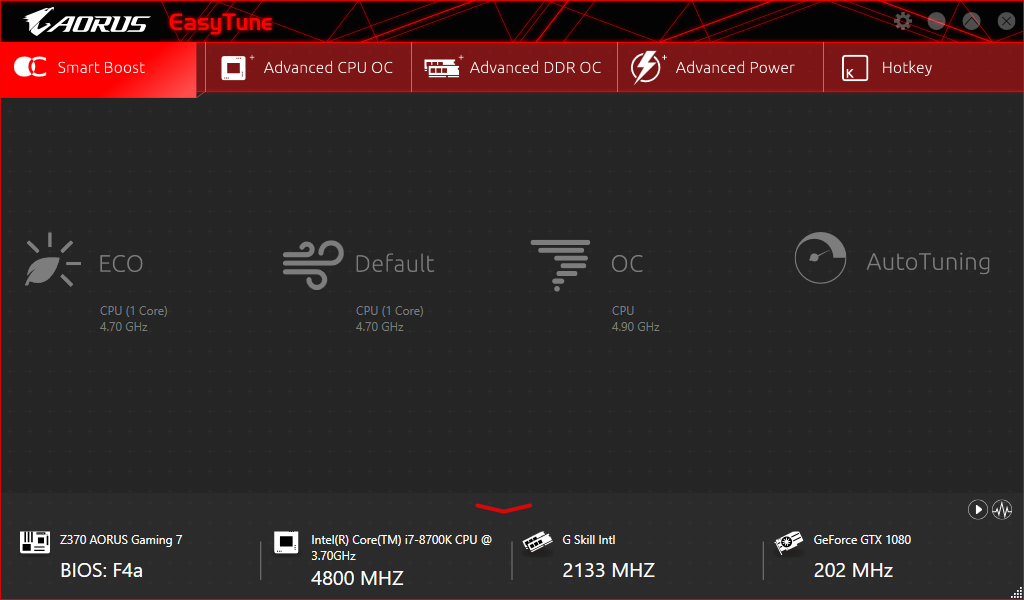
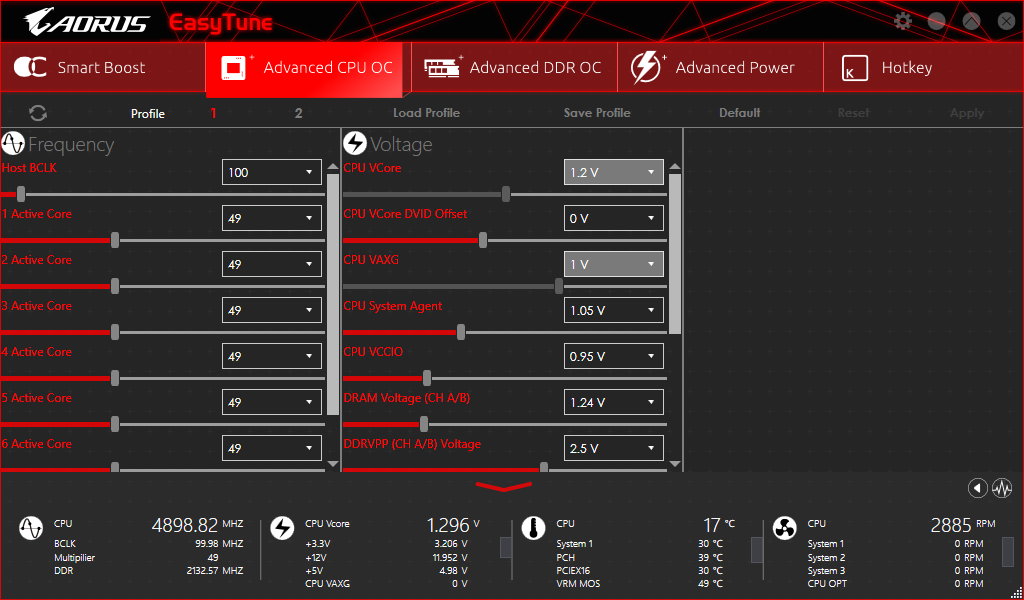
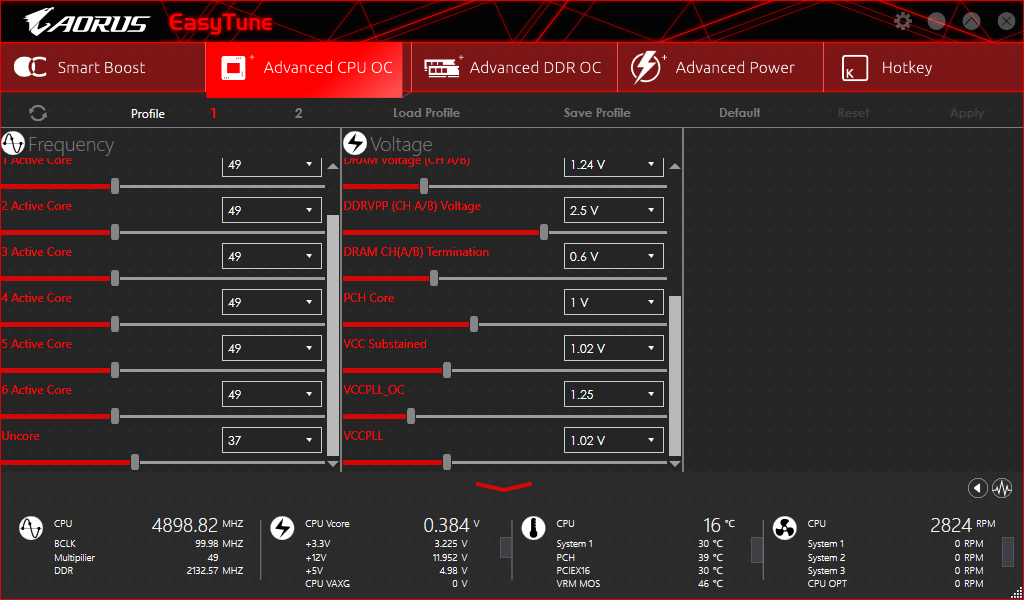
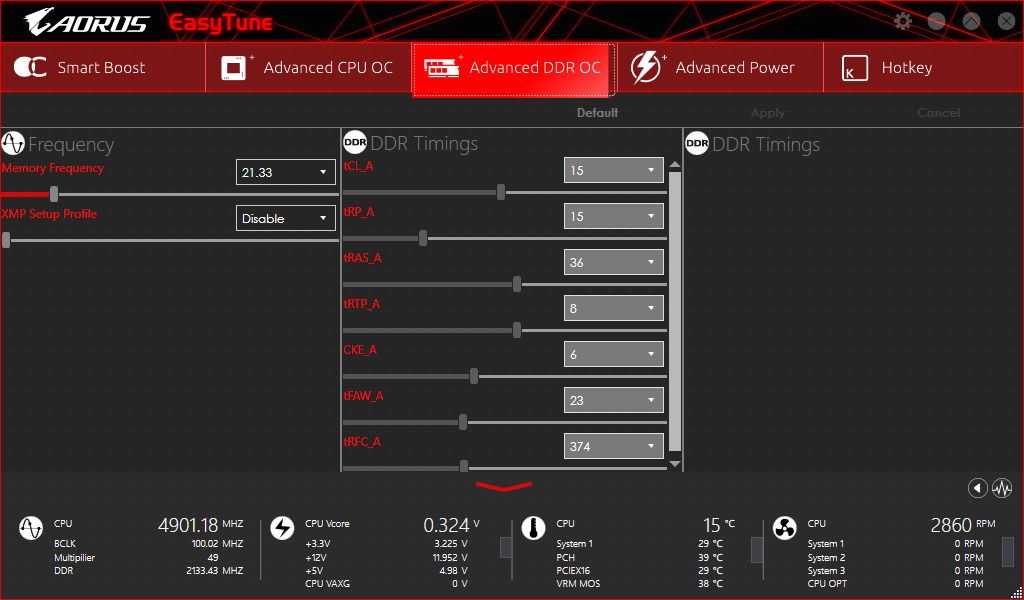
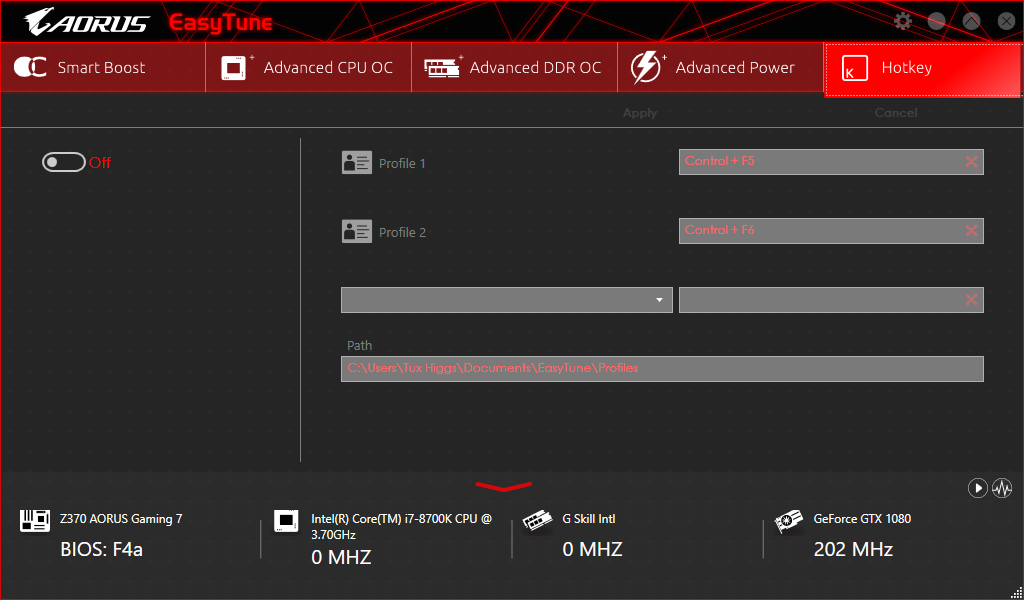
Remember the OC button? Gigabyte EasyTune also includes that function using its software interface. And while the OC button cancels out at reboot, the software’s OC mode can be set to enable following a restart. Users are also allowed to program their own overclocking profiles, save them, and choose whether or not these should be automatically applied.
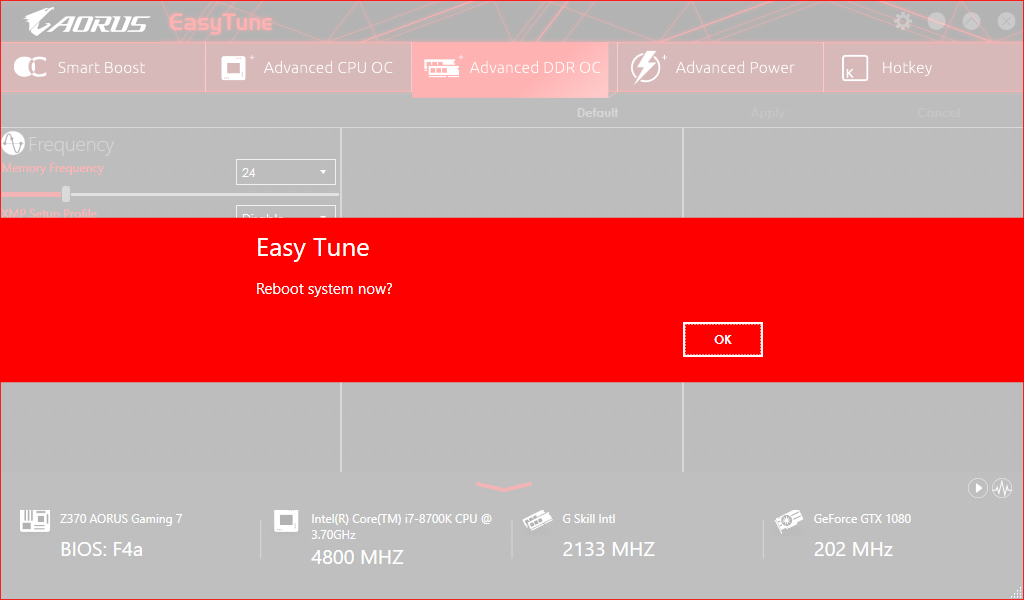
We confirmed Easy Tune’s ability to alter CPU multiplier, base clock, and voltage on the fly, but any changes to the memory configuration cause the program to force a reboot. Unlike DDR data rates, the DDR timings menu bars are greyed-out (non-functional).
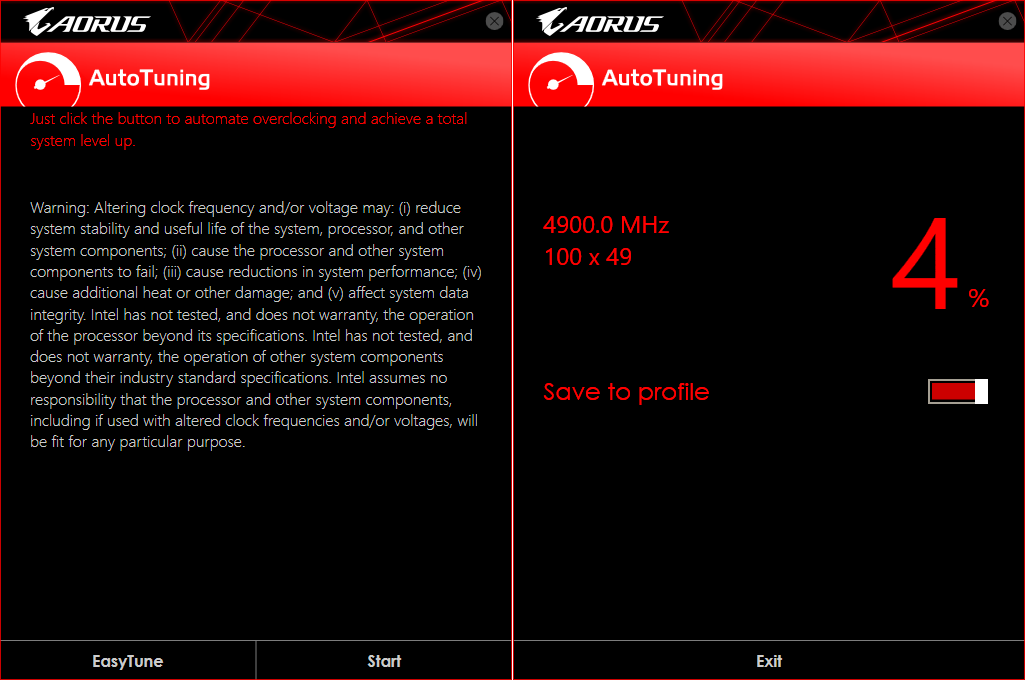
The Auto Tuning algorithm of Gigabyte Easy Tune also took us to 4.90 GHz, but detected that our core needed 1.36V to run this frequency. That’s important, as Prime 95 threads 7 and 8 crashed using the default OC profile’s 1.30V CPU core.
Firmware
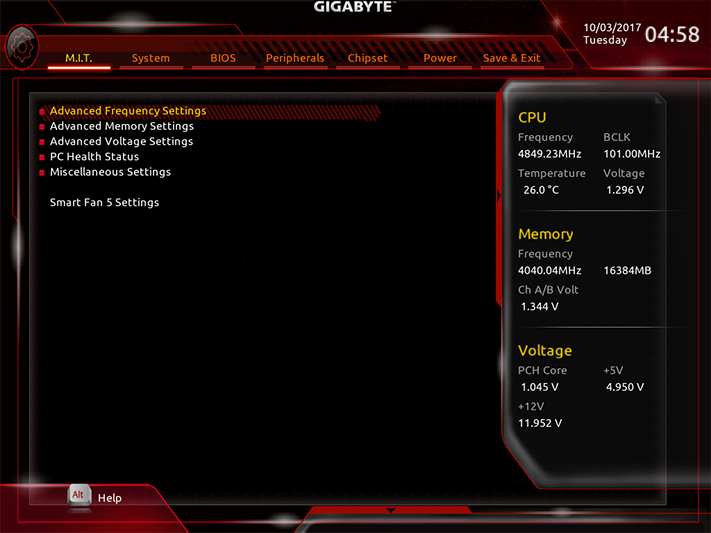
The Z370 Aorus Gaming 7’s firmware opens by default to the M.I.T. menu of advanced mode, which is a launching point for overclocking sub-menus. Moving the mouse to the right side of the screen also shows current voltage and frequency settings.
Gigabyte_Z370-Aorus-Gaming-7_01.png
The Advanced Frequency Settings menu is primarily for CPU overclocking, though it includes a memory multiplier made redundant by the Advanced Memory Settings menu. We were able to push our Core i7-8700K to 4848 MHz using a 101 MHz BCLK at 1.30V CPU core, whereas the auto-tuned 4.90 GHz at 1.36V caused our system to thermal-throttle after a few minutes of full Prime95 load.
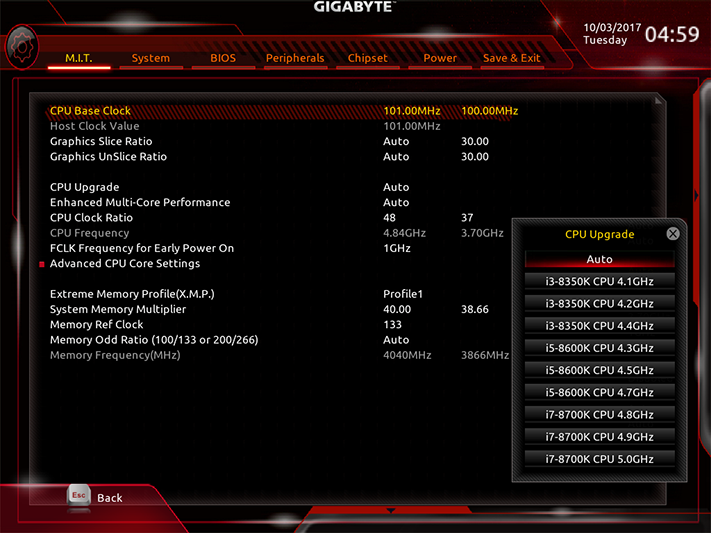
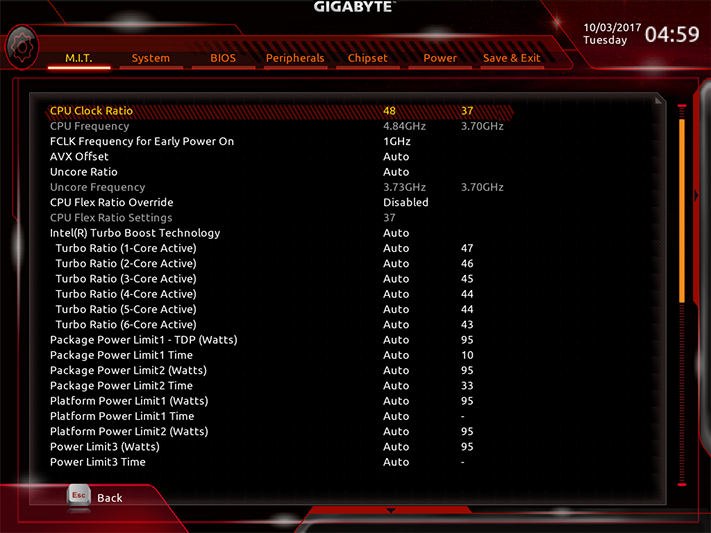
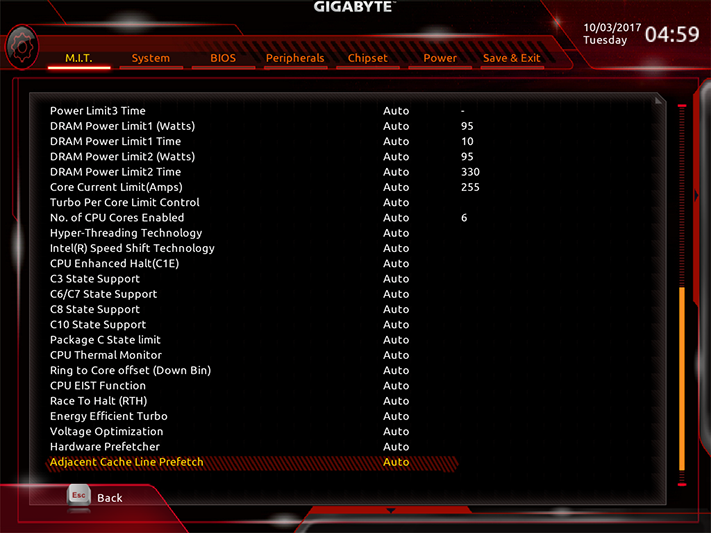
Factory-included overclocking programs for our Core i7-8700K (pasted from a second screen shot so you could see what was behind that menu) included 4.80 GHz at around 1.36V, 4.90 GHz at around 1.38V, and 5.00 GHz at 1.42V. Given our inability to keep our cores consistently below throttle temperature at settings above 1.30V, we had to pass.
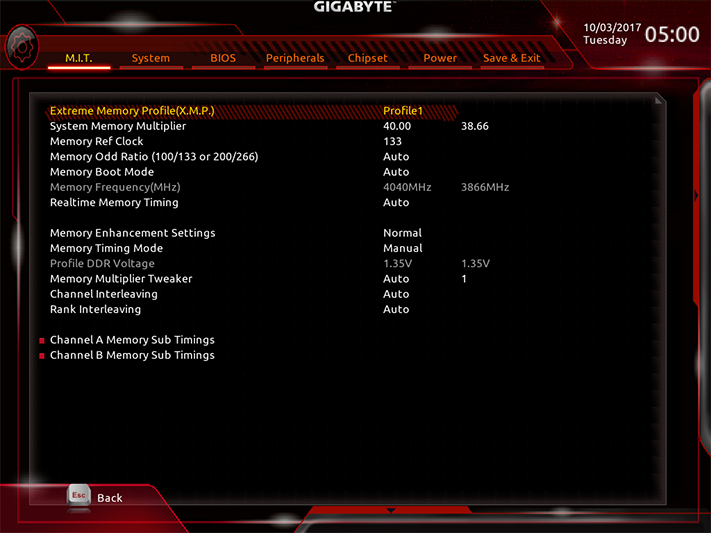
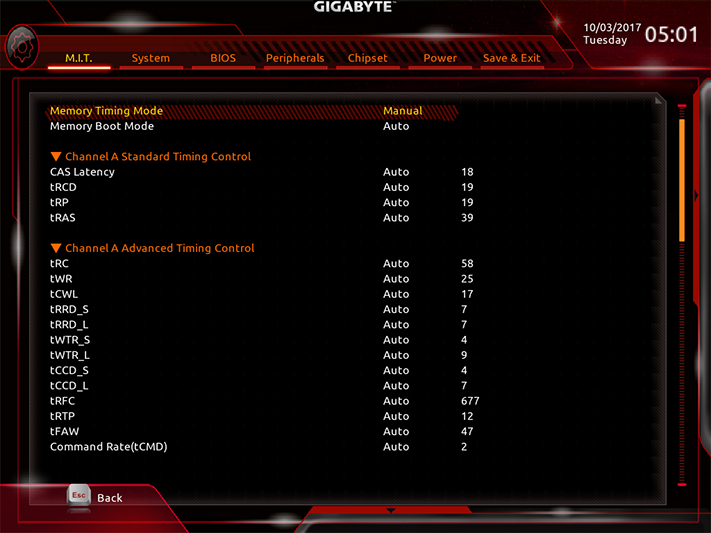
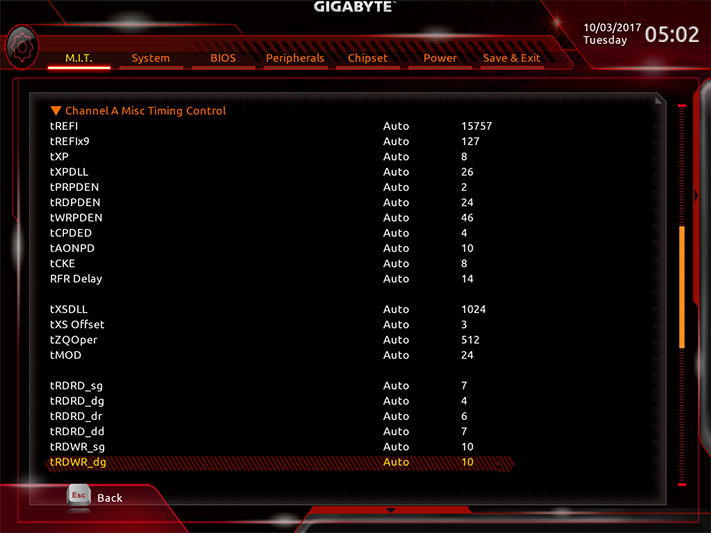
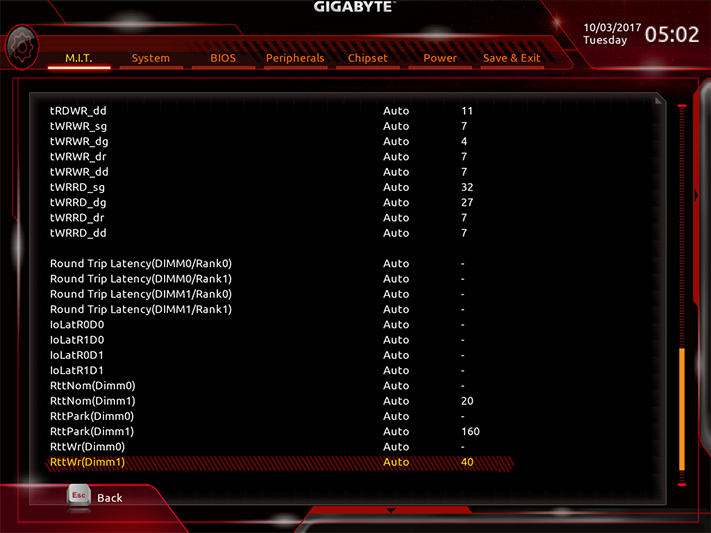
The Z370 Aorus Gaming 7 pushed a pair of our DDR4-3866 modules to DDR4-4040, and kept all four modules stable at DDR4-4000. Its Advanced Memory Setting sub-menu dives into combined (Manual mode) and per-channel (Advanced Manual mode) primary, secondary, and tertiary timings.
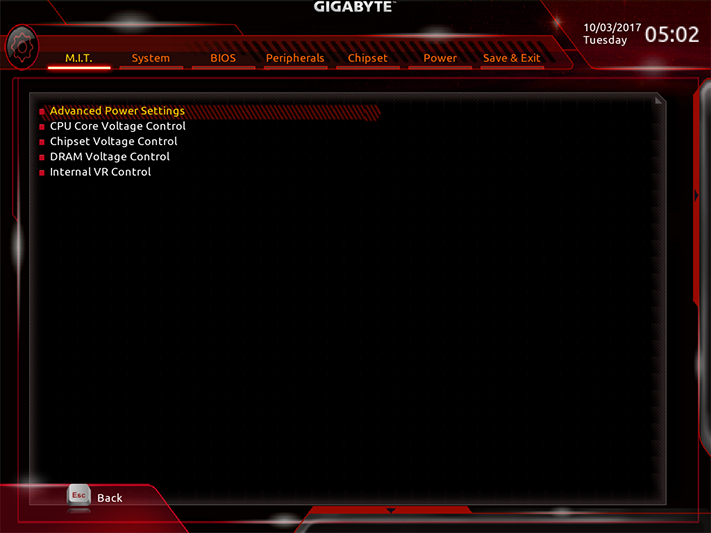
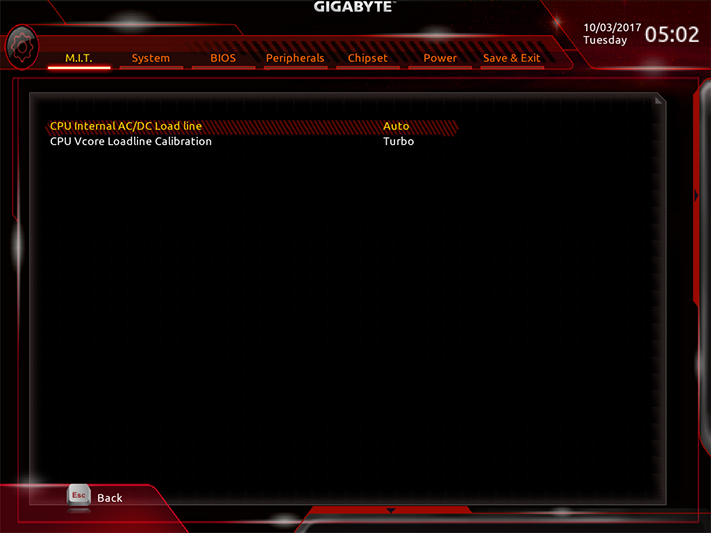
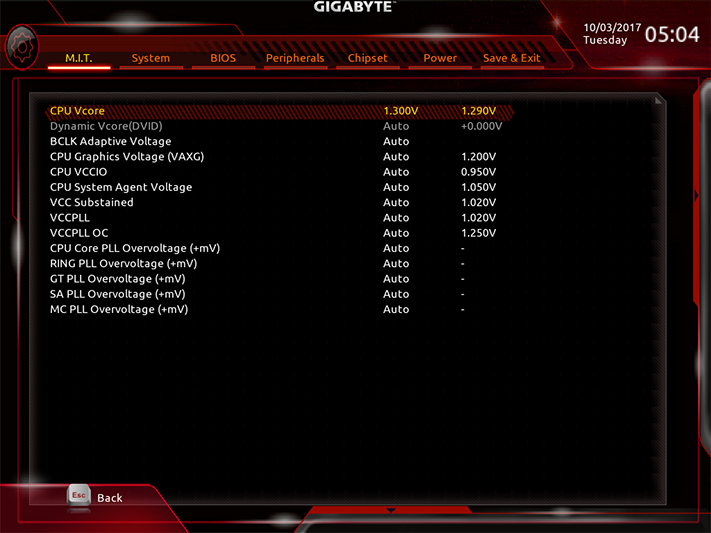
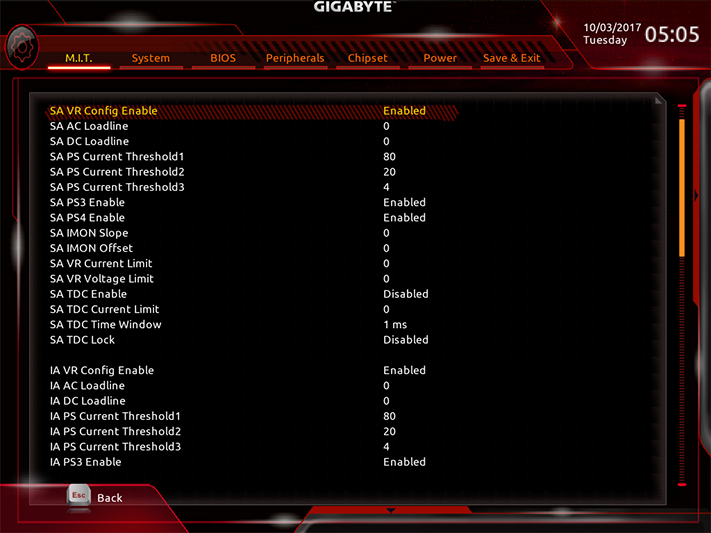
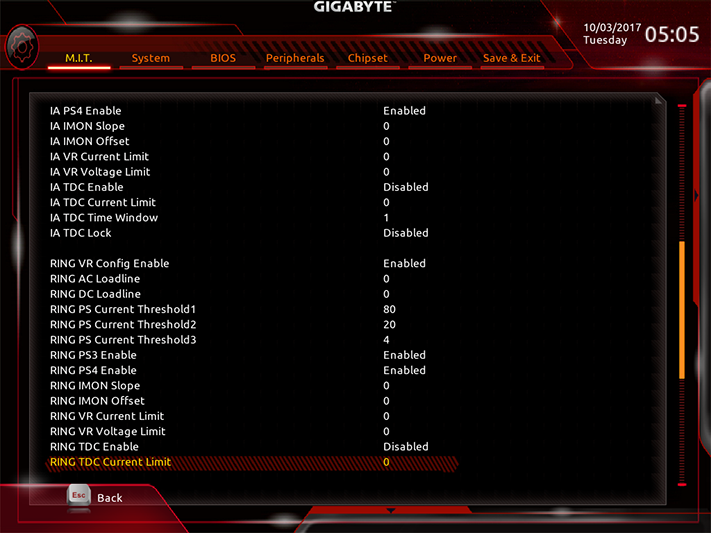
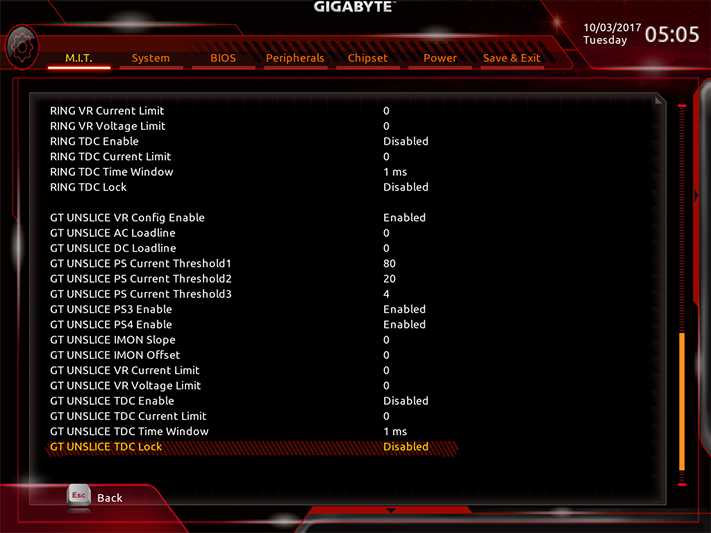
The M.I.T. “Advanced Voltage Settings” sub-menu is yet another launch point for menus that control various CPU, DRAM, and on-board component voltage levels. Our CPU required a VCore Loadline Calibration setting called “Turbo” to maintain its 1.30V when stressed with 12 threads of AVX-enabled Prime95.
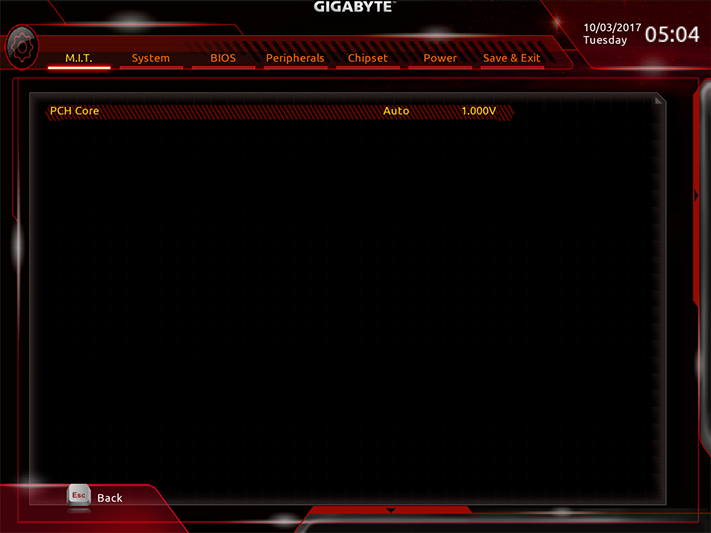
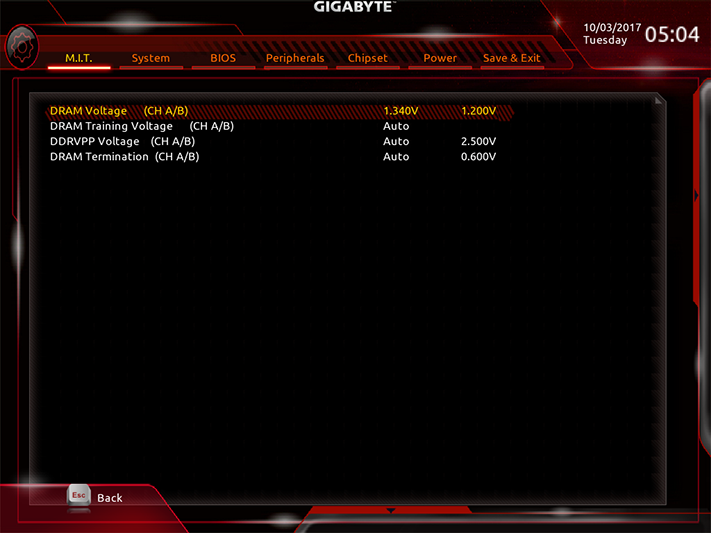
Gigabyte’s decision to use 10mV steps for DRAM regulation is slightly unfortunate, as the 1.350V setting was measured as 1.357V at the slot. Given that certain manufacturers have used enormous amounts of cheat-voltage (aka, unreported overvolting up to 30mV) in past samples, we had to set a hard-and-fast limit of 1.355V (measured) to keep the competition fair. And that meant setting the Z370 Aorus Gaming 7 to 1.340V.
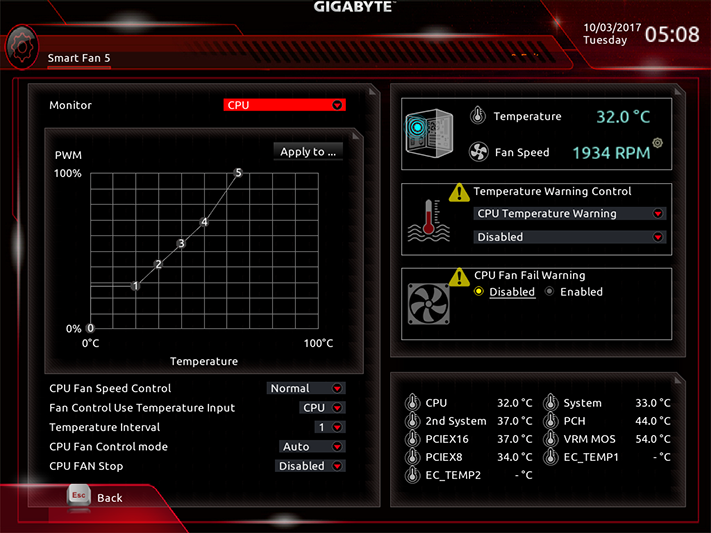
I prefer to make my fan settings in firmware, and Gigabyte obliges with a Smart Fan 5 menu that lets me set both the control mode and my own fan profiles to each fan header.
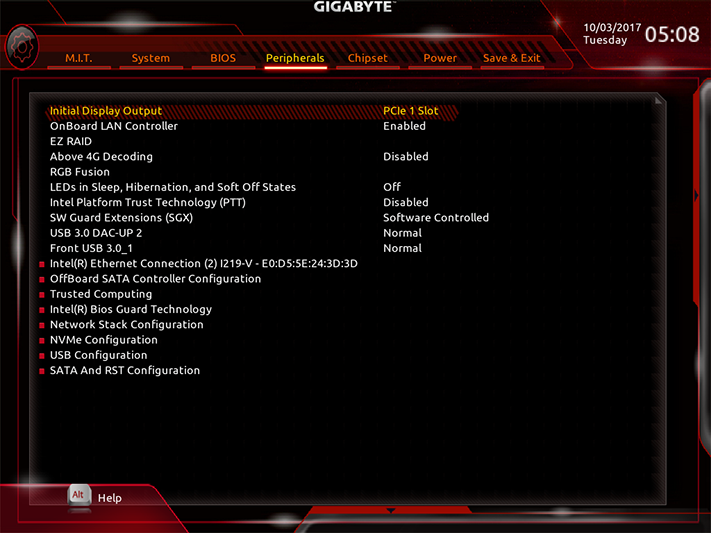
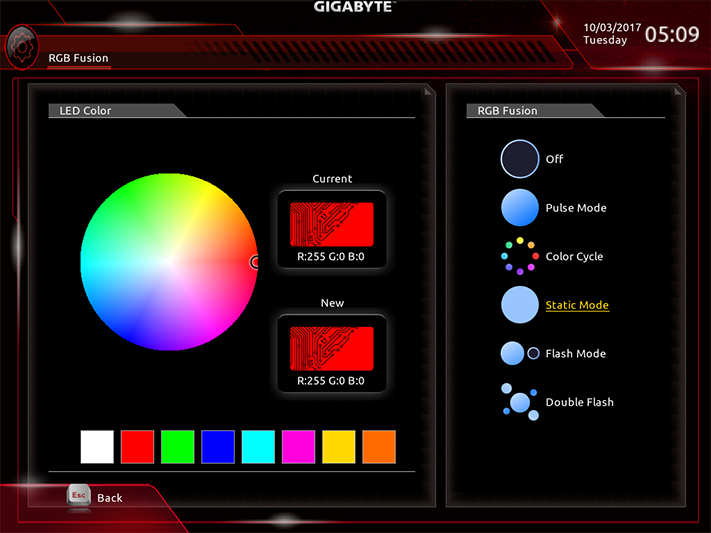
Launched from its “Peripherals” firmware menu, the firmware version of RGB Fusion provides a reduced set of controls for its on-board lighting and LED headers.
MORE: Best Motherboards
MORE: How To Choose A Motherboard
MORE: All Motherboard Content
-
AcesB >But does it have LED lighting?Reply
LOL!
I'm still wondering why there so many people obsessed with LED decoration. Some PC is fancier than a Christmas tree! It's a good time to be an LED manufacturer or just sell it. -
Lucky_SLS Looking at the specs, I feel that the best bang for buck z370 is the Asus tuf plus gaming for 150 bucks.Reply -
mixacias63 I need a motherboard that has Thunderbolt 3 within the motherboard. They removed that feature with upgrade. I don’t need the lights. I need Thunderbolt 3Reply -
Mr5oh Not to mention the built in LEDs in everything never match each other which is very aggravating... Another thing I find aggravating is when they starting cutting out rear USB ports. My latest motherboard is a high end motherboard and it has multiple spots to hook up front USB ports, but how many cases really have more than 2 front USB ports. Not to mention who wants things plugged into the front of their case? Am I the only want who runs out of rear ports and find's USB hubs unreliable or slow, no matter what brand? D-link, Anker, (all powered hubs) doesn't seem to matter, either they put my devices to sleep and don't wake them when needed, or they don't successfully transfer files during large transfers.Reply
I haven't had enough USB ports since my Haswell build... (Currently using a GA-270X Gaming 7 Board and 7700K) -
Crashman Reply
Best comment yet! I don't need Thunderbolt 3 but I can at least understand that as a legitimate need.20269194 said:I need a motherboard that has Thunderbolt 3 within the motherboard. They removed that feature with upgrade. I don’t need the lights. I need Thunderbolt 3
We really need to ditch the notion that USB 2.0 should be removed from the I/O panel, since most people are using at least two such devices. Anyone who says "but USB 3.0 supports those devices too" is probably missing the point on resource allocation: USB 2.0 doesn't even require HSIO.20269681 said:Not to mention the built in LEDs in everything never match each other which is very aggravating... Another thing I find aggravating is when they starting cutting out rear USB ports. My latest motherboard is a high end motherboard and it has multiple spots to hook up front USB ports, but how many cases really have more than 2 front USB ports. Not to mention who wants things plugged into the front of their case? Am I the only want who runs out of rear ports and find's USB hubs unreliable or slow, no matter what brand? D-link, Anker, (all powered hubs) doesn't seem to matter, either they put my devices to sleep and don't wake them when needed, or they don't successfully transfer files during large transfers.
I haven't had enough USB ports since my Haswell build... (Currently using a GA-270X Gaming 7 Board and 7700K)
-
James Mason Reply20270197 said:
Best comment yet! I don't need Thunderbolt 3 but I can at least understand that as a legitimate need.20269194 said:I need a motherboard that has Thunderbolt 3 within the motherboard. They removed that feature with upgrade. I don’t need the lights. I need Thunderbolt 3
We really need to ditch the notion that USB 2.0 should be removed from the I/O panel, since most people are using at least two such devices. Anyone who says "but USB 3.0 supports those devices too" is probably missing the point on resource allocation: USB 2.0 doesn't even require HSIO.20269681 said:Not to mention the built in LEDs in everything never match each other which is very aggravating... Another thing I find aggravating is when they starting cutting out rear USB ports. My latest motherboard is a high end motherboard and it has multiple spots to hook up front USB ports, but how many cases really have more than 2 front USB ports. Not to mention who wants things plugged into the front of their case? Am I the only want who runs out of rear ports and find's USB hubs unreliable or slow, no matter what brand? D-link, Anker, (all powered hubs) doesn't seem to matter, either they put my devices to sleep and don't wake them when needed, or they don't successfully transfer files during large transfers.
I haven't had enough USB ports since my Haswell build... (Currently using a GA-270X Gaming 7 Board and 7700K)
No way anyone needs thunderbolt-3 on a desktop PC.
Thunderbolt 3 is two things, USB-C and Displayport 1.2 combined, with a 40GBps transfer speed.
So unless you're plugging your Macbook pro into a dock connected to a 4k monitor or 2, you don't need Thunderbolt 3.
The motherboard has a DP 1.2 port on it, and a USB C port.
You DO NOT need both of those combined on a DESKTOP motherboard.
AND no CPU/APU could provide that amount of graphical power anyways, so there's no reason for anything better to be on the mobo.
