HDPLEX H5 Fanless Computer Case Review
HDPLEX is widely known within the HTPC and audiophile communities for making premium, fanless computer cases. Can the second generation H5 build on the success of its predecessor?
Why you can trust Tom's Hardware
Interior Components And Assembly
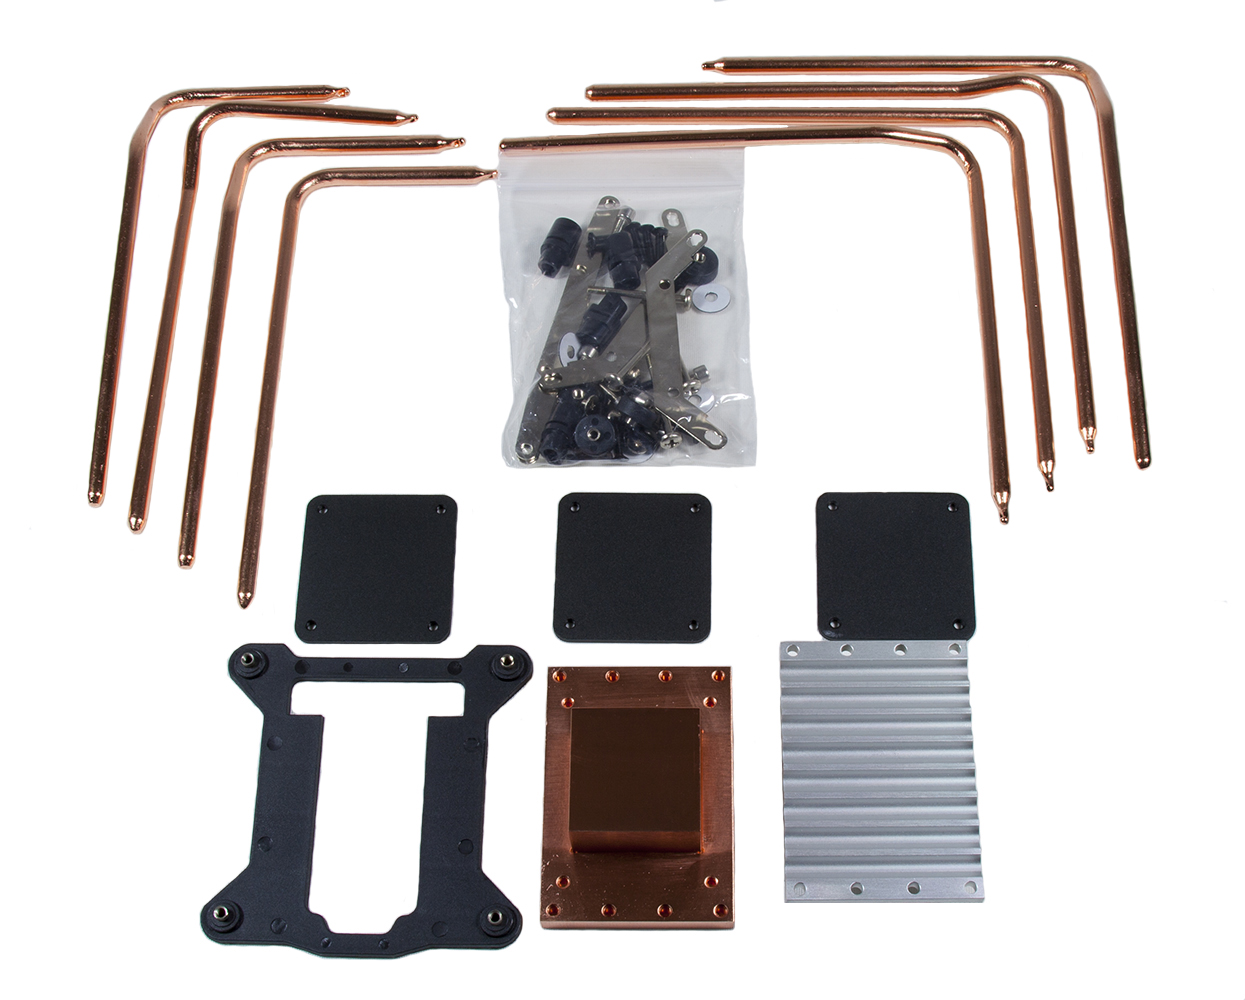
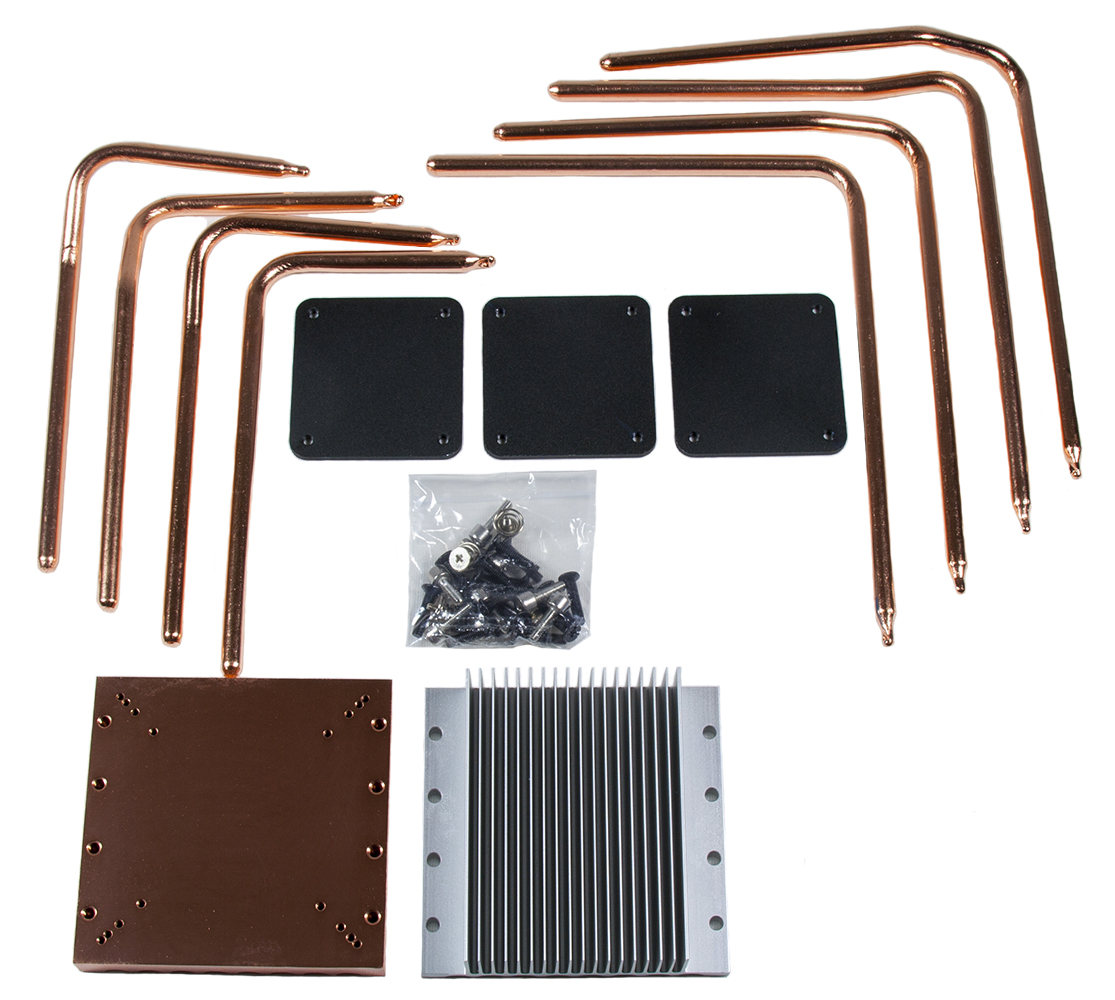
One of the major selling points of the H5 is that everything inside the case is designed to be passively cooled, and therefore silent. To accomplish this, the H5 comes with a specially designed cooling system that is built into the case. The system consists of a large, solid copper base, eight copper heat pipes, and the body of the case itself. The passive cooling system works by extracting heat from the CPU using the large copper base, which then transfers it to the case's left side panel using the eight copper heat pipes. The case's side panel then takes on the role of a giant heat sink and dissipates the heat into the surrounding environment.
The passive cooling system is compatible with most mainstream Intel and AMD sockets including Intel LGA775 and 115X as well as AMD AM2+/AM3 and FM1/FM2/FM2+. The passive cooling system is also compatible with Intel's Skylake CPUs. Finally, the CPU cooling system is capable of passively cooling CPUs with TDPs up to 95W.
In addition to the passive CPU cooling system, HDPLEX also sells a separate passive cooling system for customers with discrete graphics cards. The GPU cooling system supports most mainstream cards with TDPs up to 95W
The Build
Even though users receive the H5 as nothing more than a large box full of parts, the process of assembling the H5 is actually pretty quick and straightforward. To make things even easier for the end user, the H5 comes with a 34-page instruction manual detailing every step of the assembly process. Today's assembly section will feature details on the normal assembly process for this case, using the case's passive CPU and GPU cooling systems.
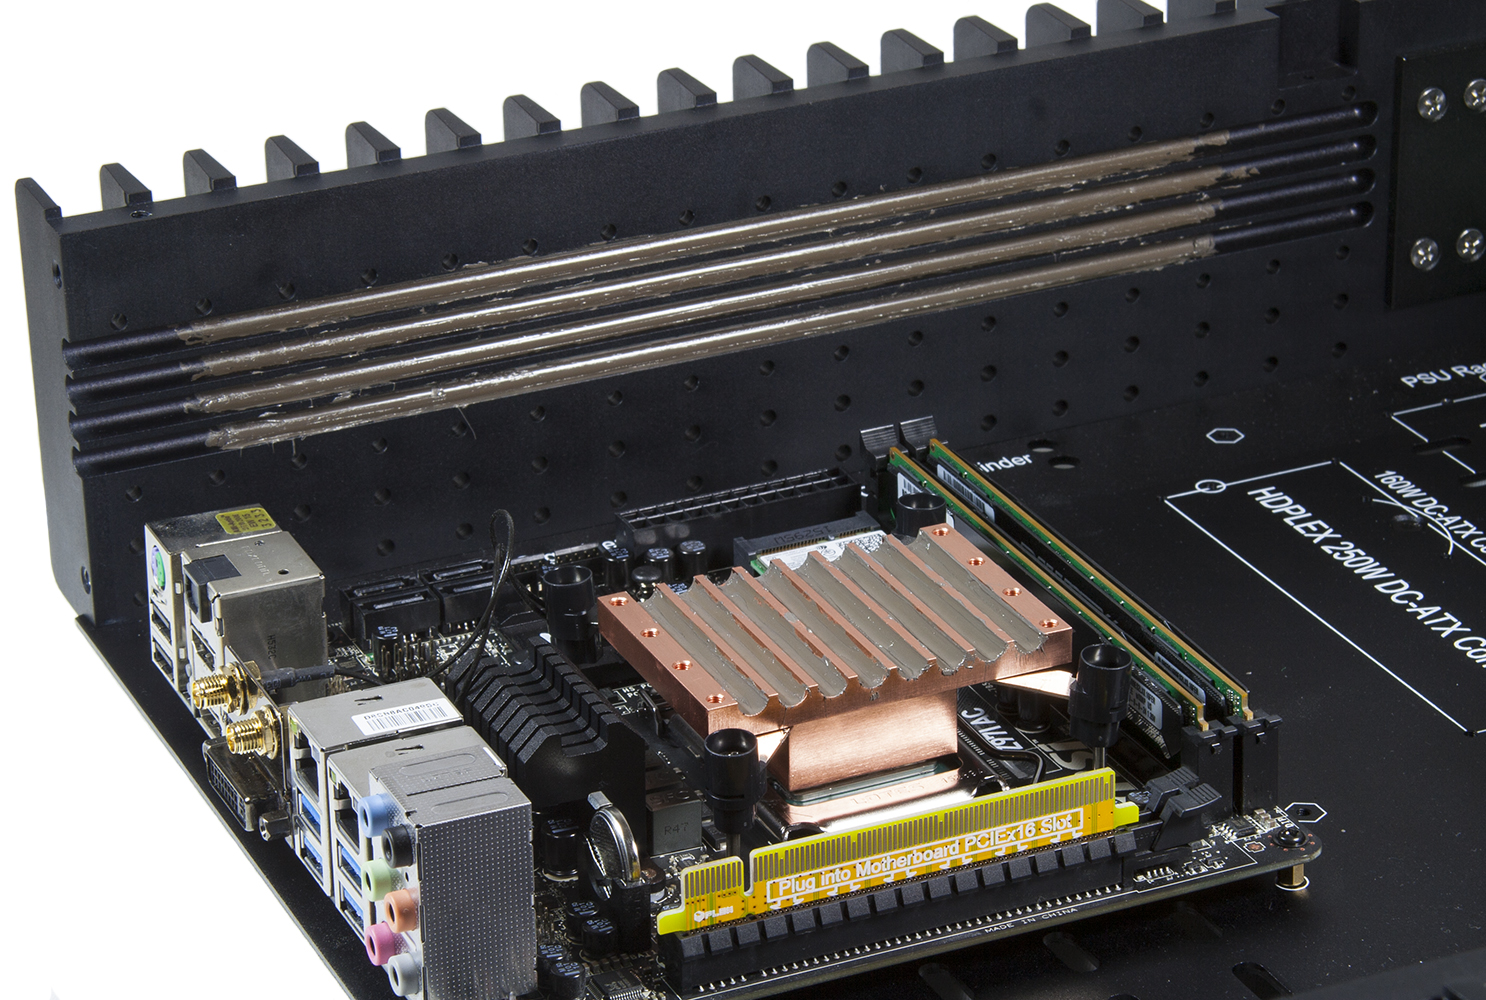
The assembly process starts out by attaching the case's four metal feet, motherboard standoffs and left side panel to the bottom plate. From there, the copper CPU base plate is installed on the motherboard, and the motherboard is installed in the case. Thermal paste is then applied to the groves in the side of the case as well as on the copper CPU base plate and aluminum top plate. Each of the eight heat pipes are then inserted into their respective slots and are secured to the case by flat metal plates, and to the CPU base plate by an aluminum heat sink top that bolts to the top of the baseplate.
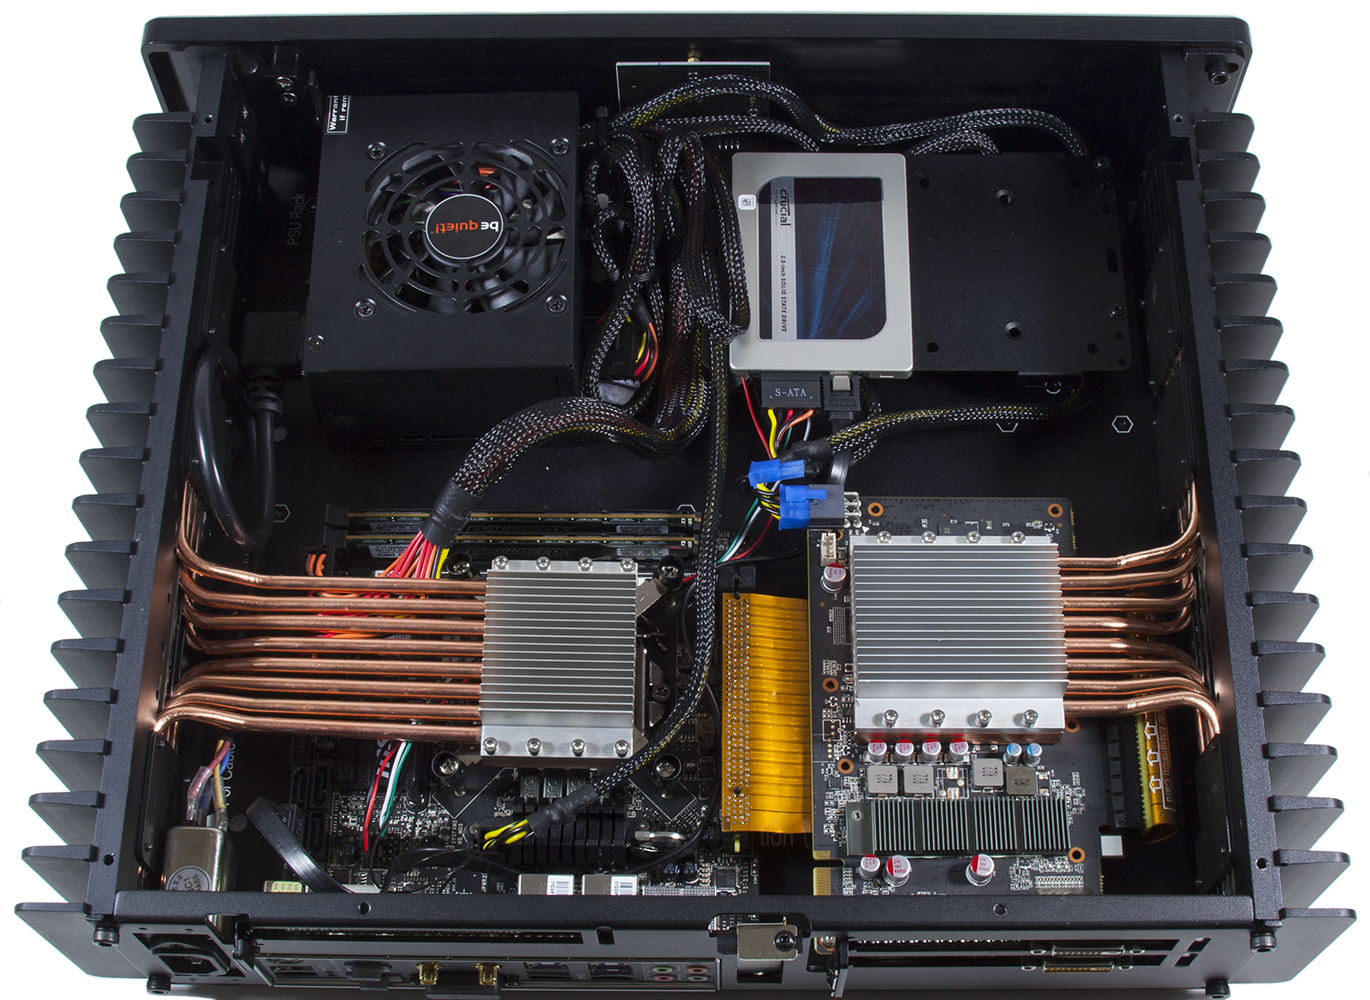
Once the CPU cooling system is installed, the case's right and rear side panels are installed. The graphics card is then installed using the supplied ribbon cable, and if it is being passively cooled, the GPU cooling system is installed using the same steps used in the CPU cooling system installation. Finally, the power supply and hard drives/SSDs are installed, and all necessary cable connections are made.
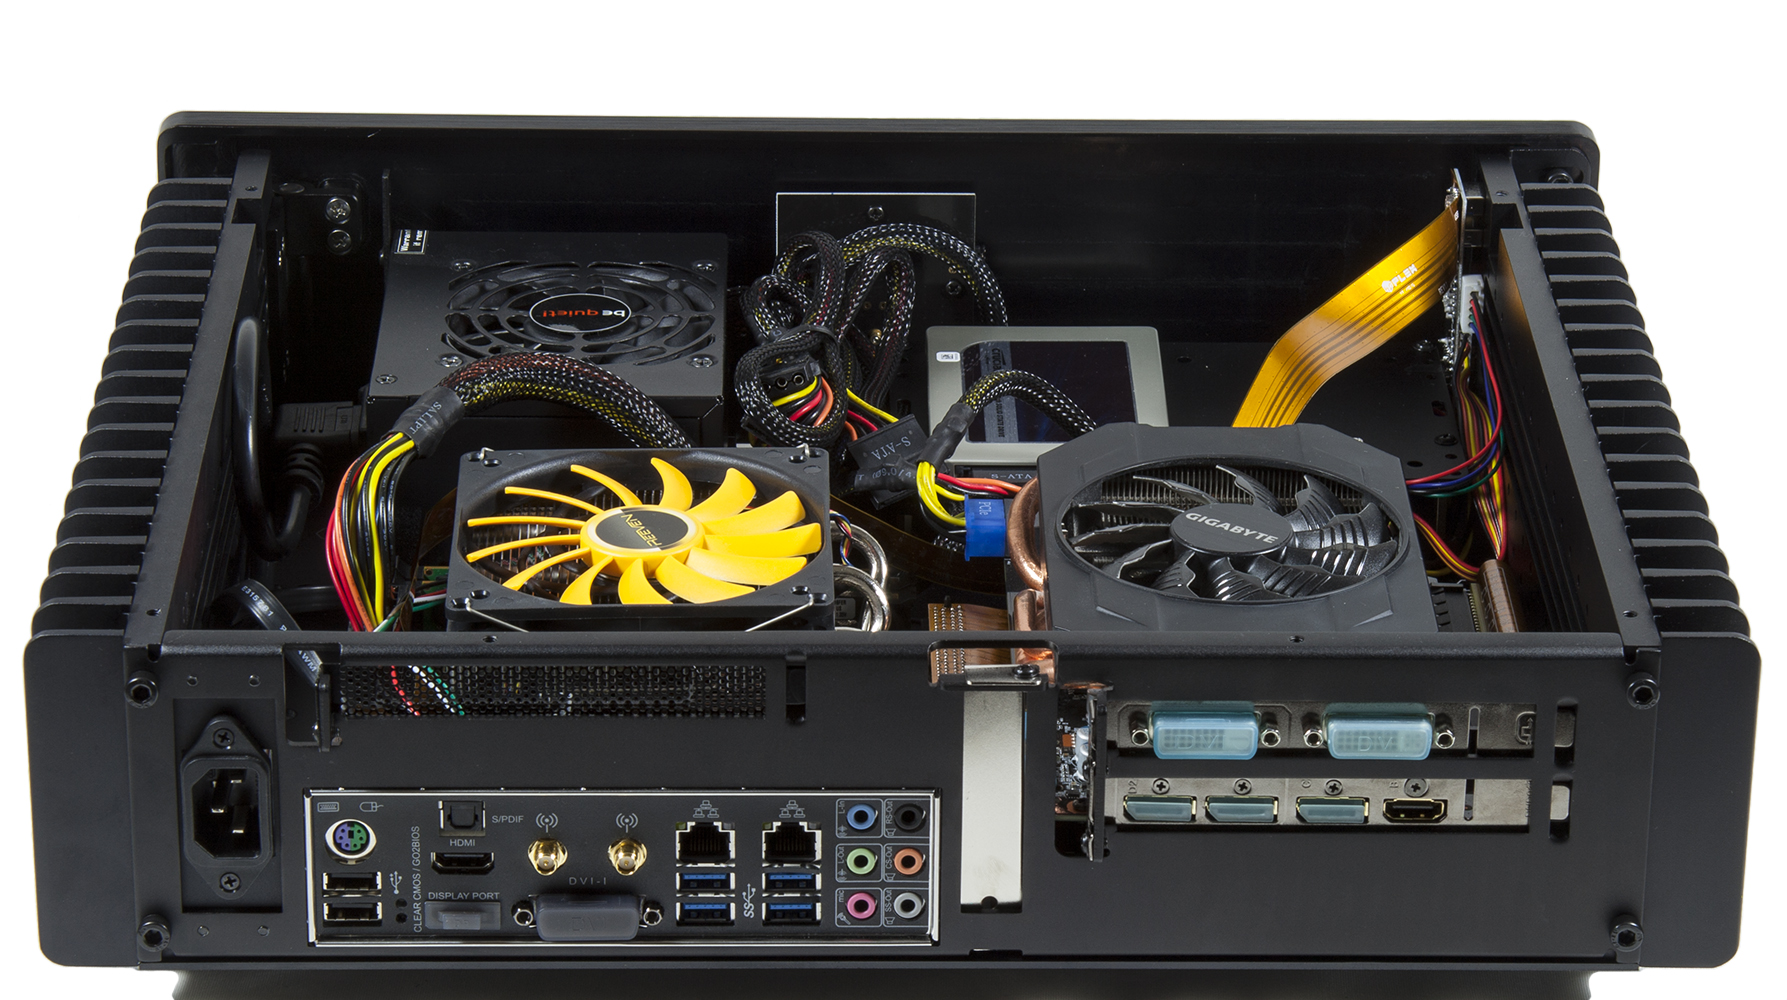
In case you were curious, here's what the inside of the H5 looks like when it's full of air-cooled parts. There really isn't much room for a CPU air-cooler inside of this case, but it's still possible to fit one in there if it's small enough.
Get Tom's Hardware's best news and in-depth reviews, straight to your inbox.
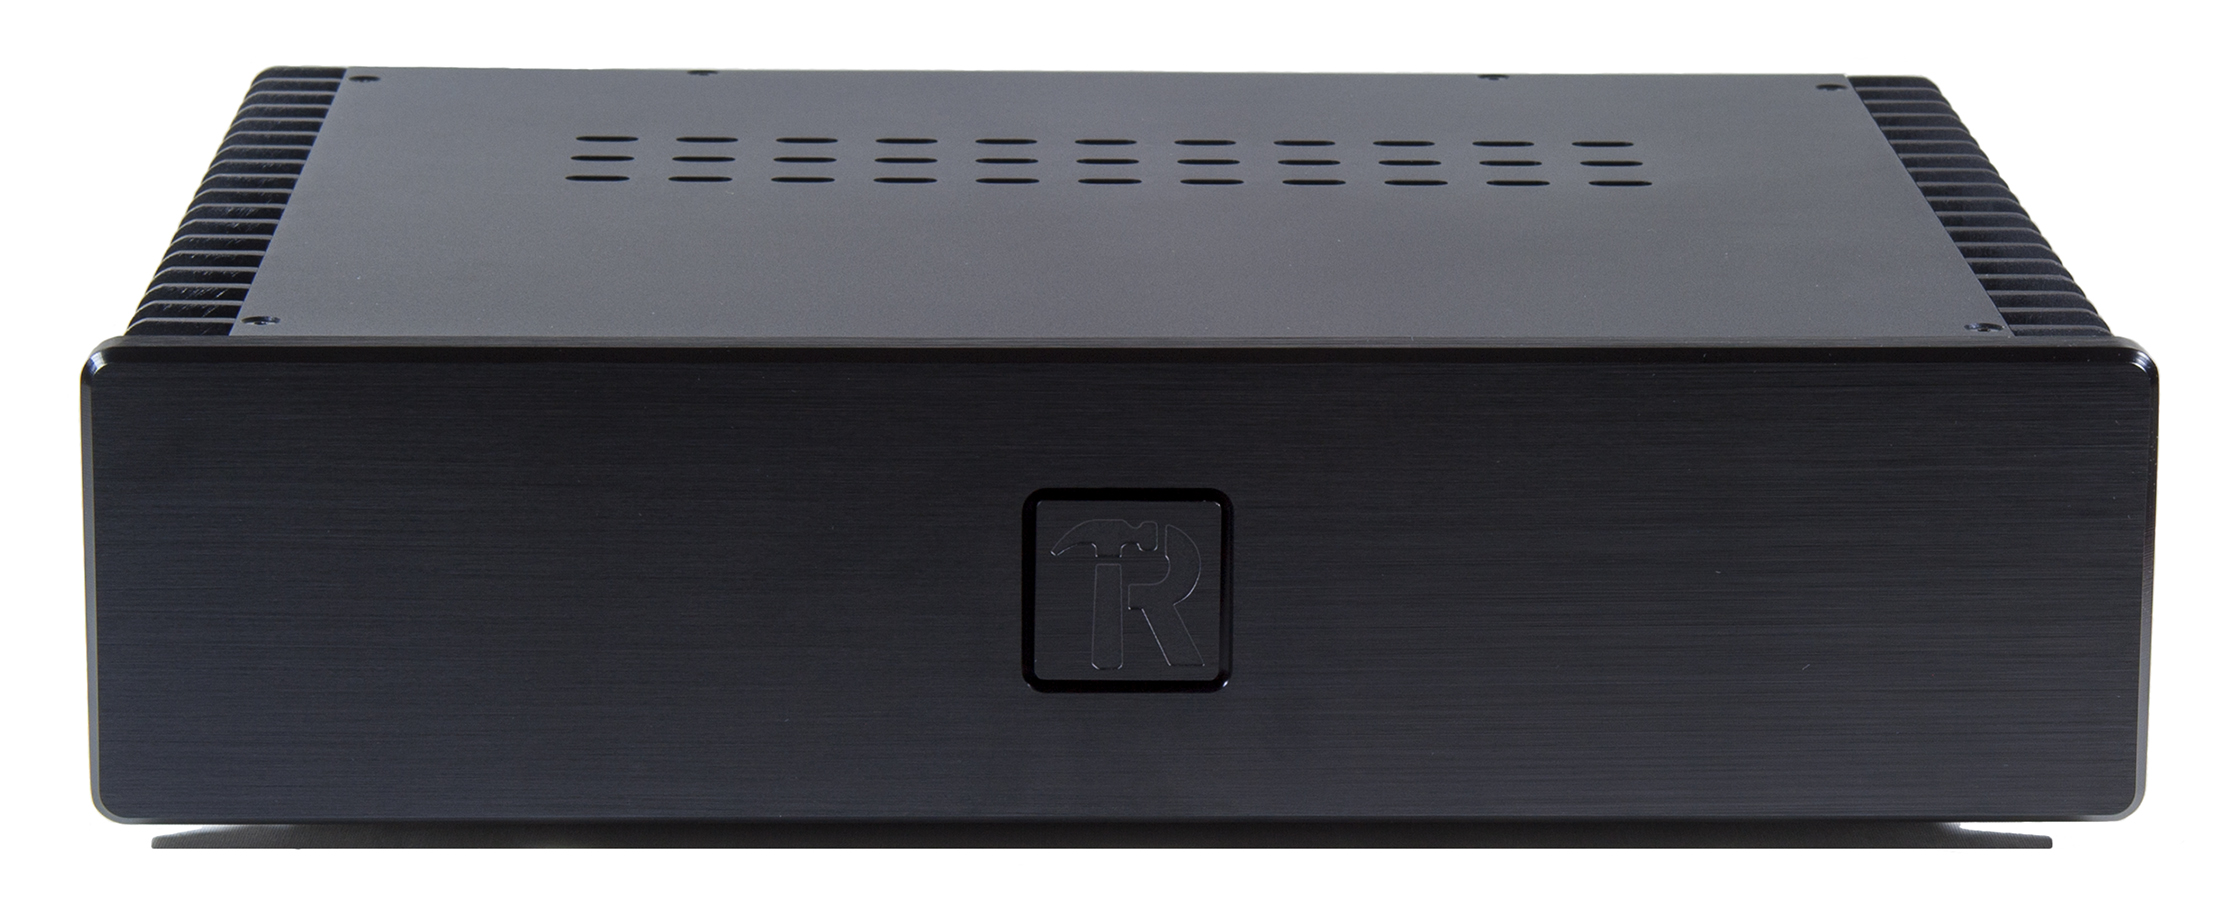
Once the assembly of all internal components is completed, the top panel bolts on with six hex screws and the end-result looks something like this.
Current page: Interior Components And Assembly
Prev Page Specifications And Exterior Next Page Test Results And Conclusion-
leaded gas only I dig it.Reply
The case reminds me of a old David Hafler component power amp.
Disappointed that it doesn't support AMD CPUs MBs. -
chandra7979 Streacom has been making cases like this for a while (I have the FC5 EVO). This one looks like a taller FC5 (or a slimmer FC10). Could you maybe add metric dimensions to the specs table?Reply -
Chris Droste i feel like the thermal limitations of the passive air cooling, along with the cost, wind up making Intel's Skull Trail NUC a better purchaseReply -
cmiconi ReplyStreacom has been making cases like this for a while (I have the FC5 EVO). This one looks like a taller FC5 (or a slimmer FC10). Could you maybe add metric dimensions to the specs table?
I put them into the table originally, but it seems they never got published. I'll see if I can get them to update the table. -
RedJaron Definitely a nice case, but at $288 ( on mfr's site ) the thing just about costs more than everything that would go inside it. As much as I'd like one, I don't know if I could ever justify spending that much.Reply -
jsmithepa These are mainly for folks who must have a fan-less. If you have to add fans, for whatever reason/requirement, that's one expensive enclosure. I have one of their H1-ITX enclosure for a bedroom HTPC, the silence is precious.Reply -
jdwii Replyi feel like the thermal limitations of the passive air cooling, along with the cost, wind up making Intel's Skull Trail NUC a better purchase
I can't see how when it can handle a I7 since it can handle 95 watt CPUs not to mention a 750Ti would also be fine in it.
However i agree with the cost part.
