Build It Yourself: A Mini-ITX Gaming System For Just Over $500
Low-cost, low-power, small form factor PCs are popular right now. With Intel’s Ivy Bridge architecture available in the low-end Pentium family, you can now build a living room gaming PC with discrete graphics to beat any modern console for just over $500.
Finger Exercises: The Hard Drive And SSD
A Removable Drive Cage Simplifies Installation
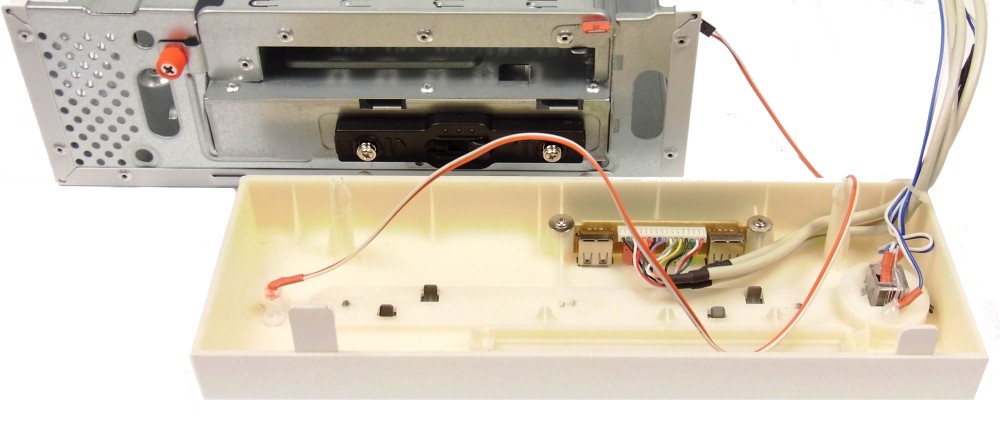
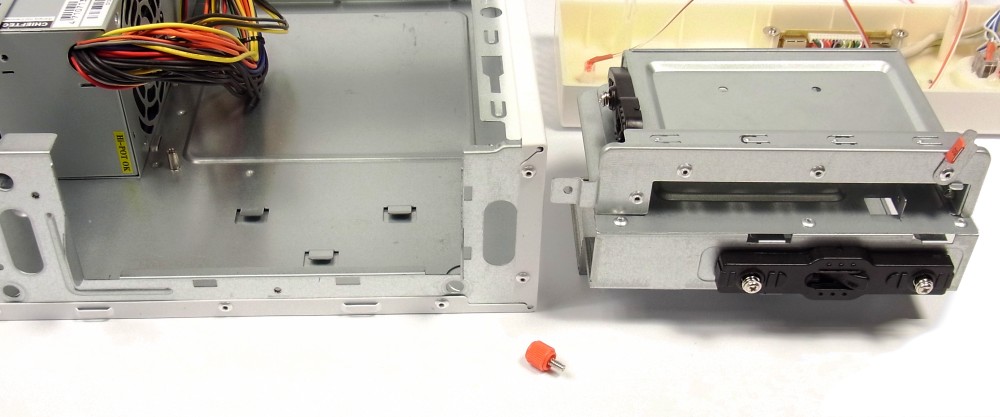
The drive cage is easy to pull out of the chassis without necessitating that you work in the confines of a 6.45 L box. That's good news for those of us with not-so-nimble fingers.
The plastic faceplate is removable as well. However, be careful to bend the plastic clips gently, or they may end up in the trash and not back in the case.
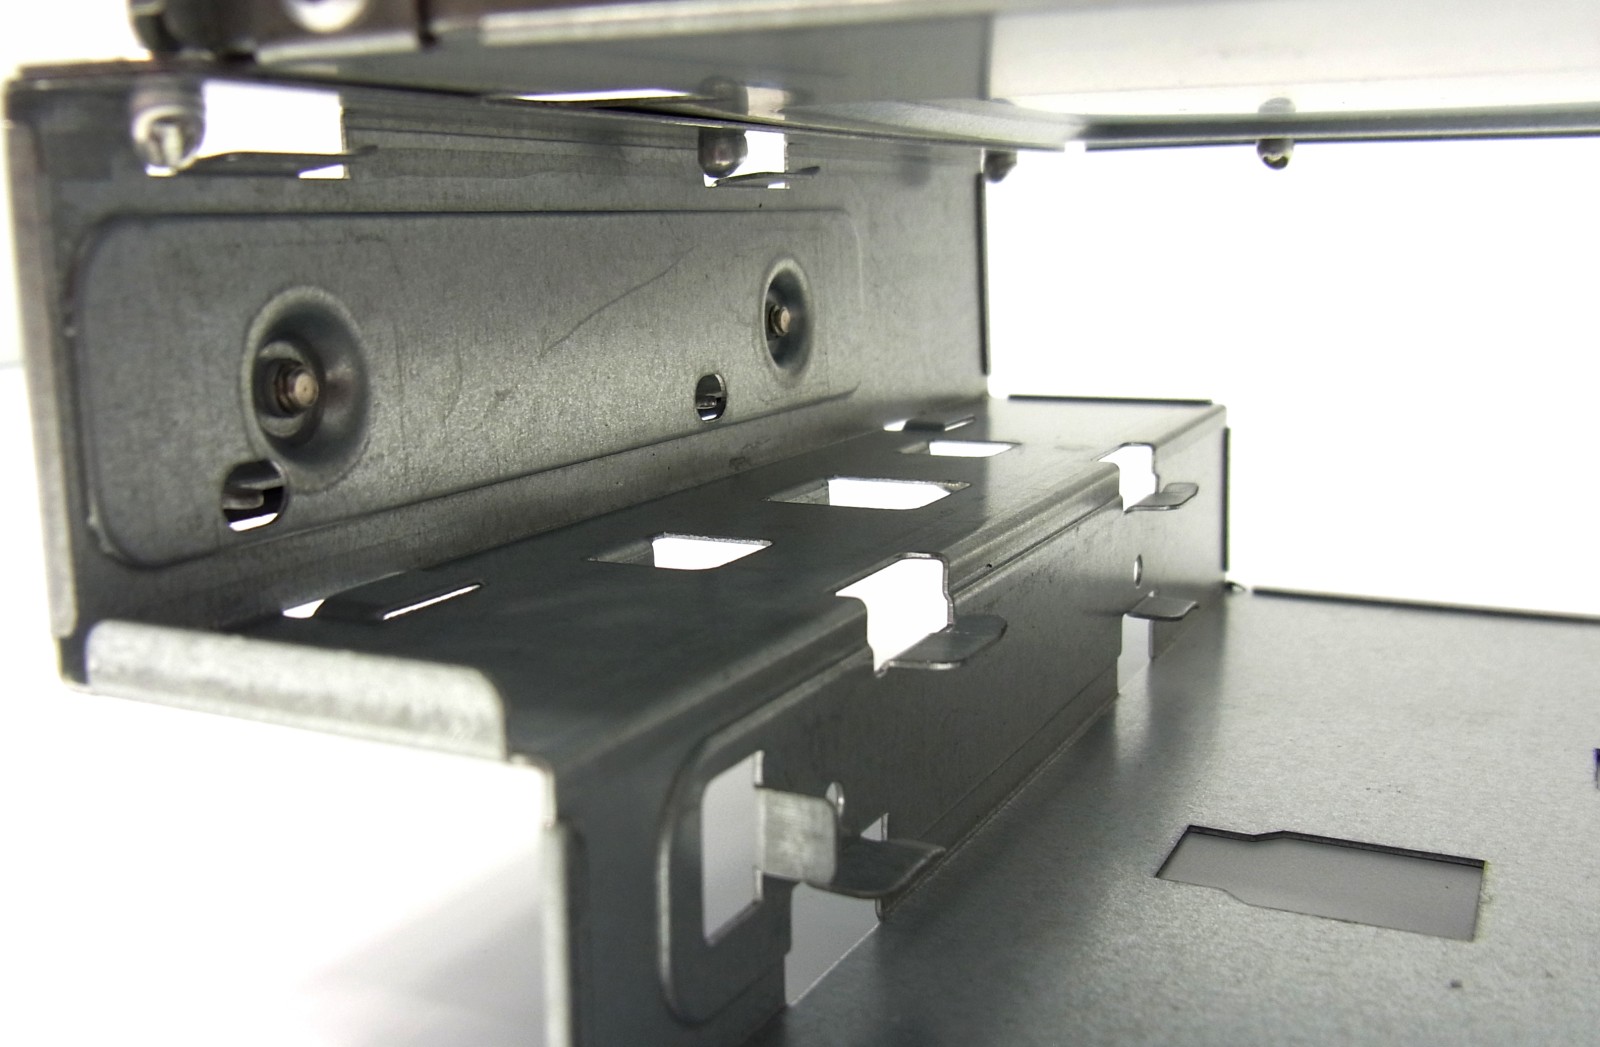
| Left: Thumbscrew |
Middle: Joint
Right: Small Lever
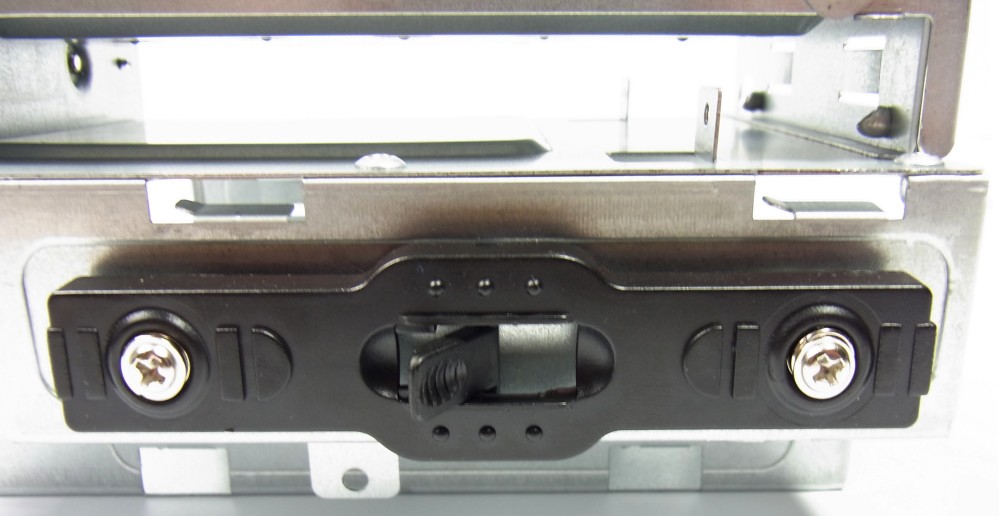
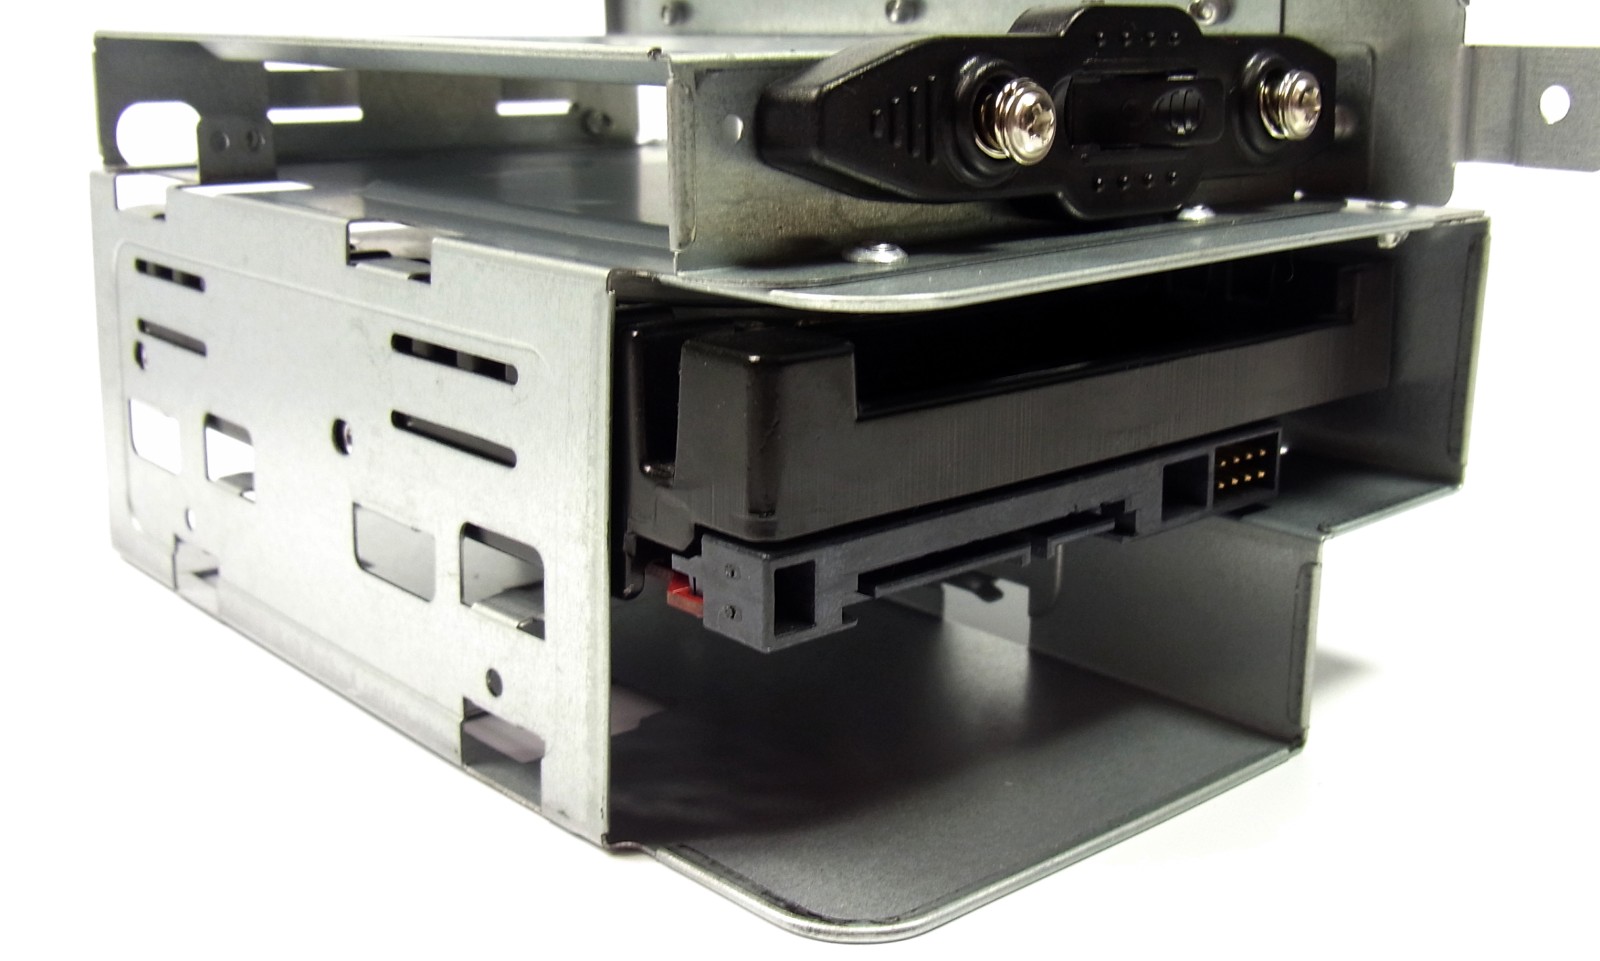
Installing the 3.5” Drive
You simply slide the 3.5” hard drive into place, and then fasten it with a quick-release mechanism. This makes installation easy. However, it doesn't decouple the disk from the chassis in any way.
Get Tom's Hardware's best news and in-depth reviews, straight to your inbox.
Fortunately, even though our storage device wasn't isolated, we couldn't hear the 300 GB Velociraptor spinning away. The fact that Chieftec's enclosure is built like a piece of WWII armor, and not like an aluminum can, really helps mitigate vibration.
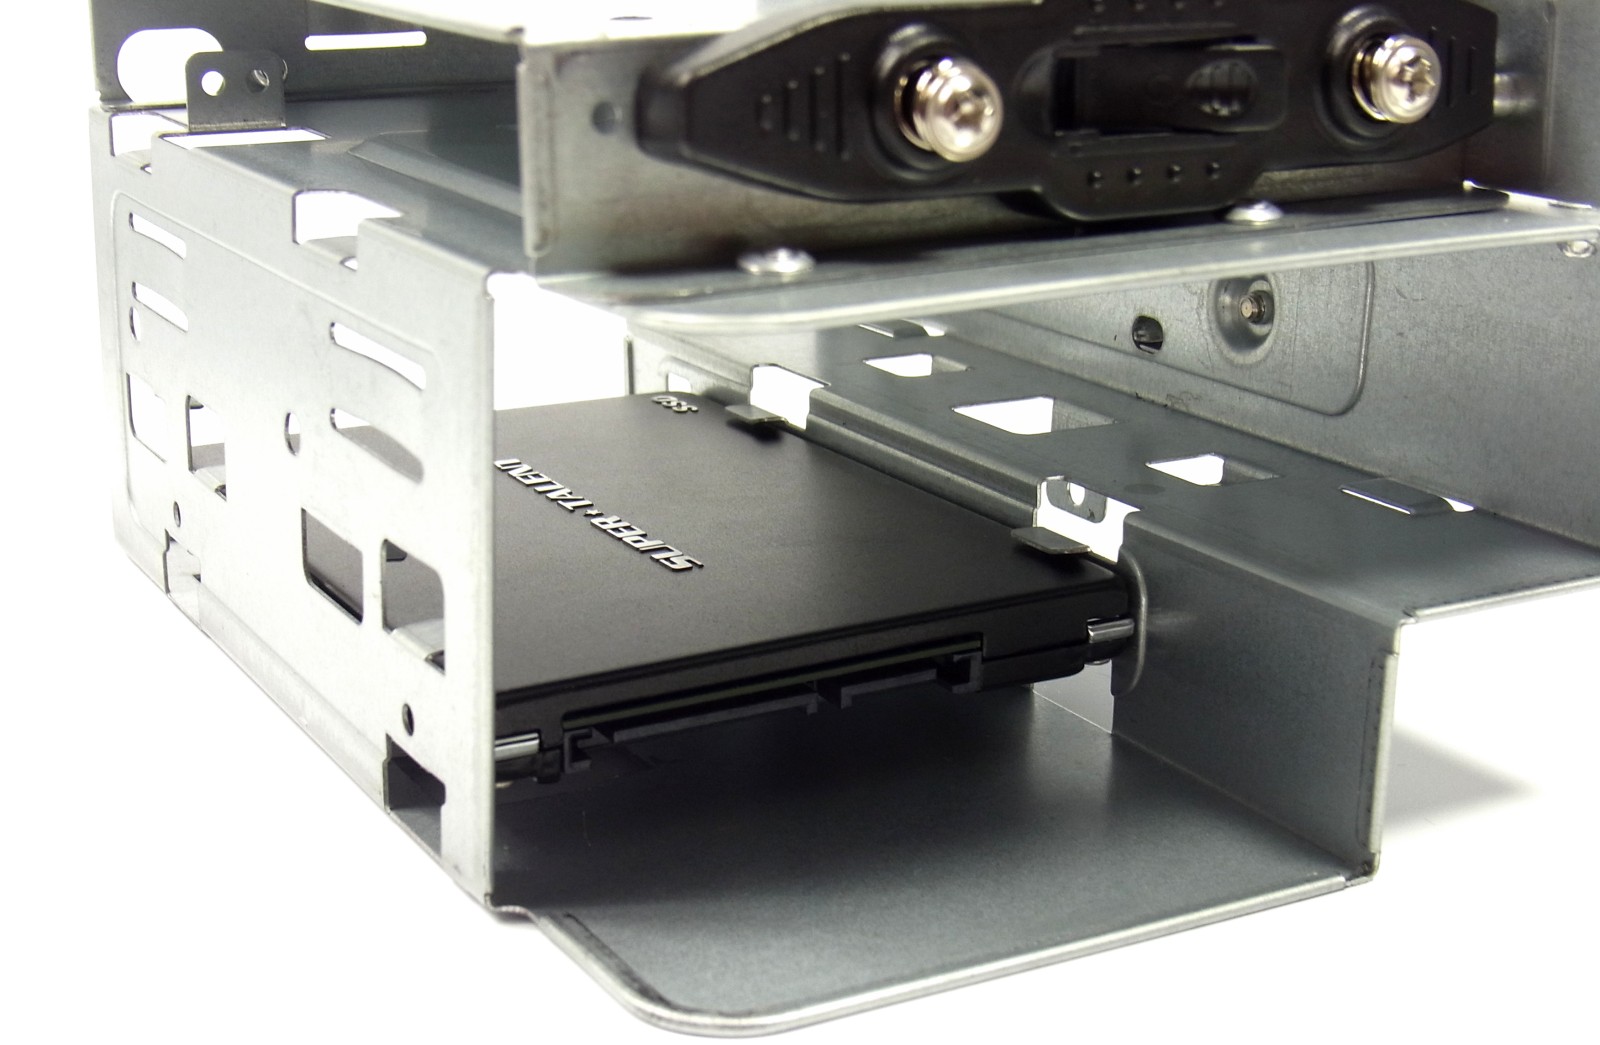
Installing the 2.5” Drive
The SSD is attached to the chassis by good old-fashioned screws, and getting to them is no problem with the removable drive cage.
SSD boot drive? Check. Hard drive for user data? Check. Now it’s time to deal with that slim optical drive.
Current page: Finger Exercises: The Hard Drive And SSD
Prev Page Cooling: Third-Party Or Intel's Bundled Heat Sink? Next Page Flat Like A Pancake: The Slim Optical Drive
Igor Wallossek wrote a wide variety of hardware articles for Tom's Hardware, with a strong focus on technical analysis and in-depth reviews. His contributions have spanned a broad spectrum of PC components, including GPUs, CPUs, workstations, and PC builds. His insightful articles provide readers with detailed knowledge to make informed decisions in the ever-evolving tech landscape
-
A Bad Day We have Mini-ITX gaming mobos that support OCing and 120mm closed loop water cooling...Reply
I demand a proper Mini-ITX case from the manufacturers! -
FormatC @xkm1948:Reply
I have a "Zero dB PC" as one of the next projects, complete based on a AMD APU (A10 5700). We should stay a little parity, all last Mini-PCs were AMDs ;)
@zooted:
The performance of a HD 7750 is wellknown and this little card is in the most cases the slower part. This is from the other project:
-
sempifi99 If I did not already have more desktops than I am currently using I would definitely consider building something like this...Reply -
Hando567 Wish you would have done a bitfenix Prodigy build with an i7 and GTX690, mini ITX machine that can play anything? Yes please!Reply
I would like to know why there is no real SFF love in the AMD camp for non APU's, I really want a new mATX mobo with 3 PCI-e slots, so I can do a tri-fire setup with LC in my mini P180, 2x7970's just are not enough. I also want to replace my aging 890gxm-g65 so I can OC my FX8350, this board has known issues with its power circuitry beyond stock (I would know, I have cooked 3 of them, 2 from trying to OC, and one from a long gaming session) -
itzsnypah It always seems like Toms put's out recommendation builds right after new hardware comes out. Also I think you failed to research enough, mITX H77 boards have been cheaper than mITX B75 boards for months while having better features.Reply -
photonboy Laptop instead?Reply
At the $500 price range, I've seen many laptops that perform similarly to builds like this.
The laptops also have the advantage of:
- screen (don't have to use)
- battery (for power outage)
- size
One disadvantage with gaming laptops is that under load the little fan tends to be annoying. It would be really cool if you could easily plug in an external cooling unit that bypasses that fan.
INTERESTING BUILD, though I would strongly disagree with the "good enough for an HDTV" comment about the graphics card. It's a gaming PC. Just because it's hooked up to an HDTV instead of a monitor doesn't make it "good enough"; Far Cry 3 still won't run great.
I'd like to see a little more CPU and GPU processing power while keeping noise in check. Let's see what can be done with $700? -
bak0n That was my basic setup until recently when I upgraded the cpu from a i3 2100 to an i5 3570k. The GPU from the 7750 to a 7870 and the case to a prodigy which supports larger cooling fans and dual slot GPU's. The lower frame rates or settings turned down wasn't cutting it for games like borderlands 2. But if you are into games like LoL the recommend build will be more than enough.Reply
