Tom's Hardware Verdict
Monoprice’s Voxel Pro is clearly aimed at beginners and students, yet has an outdated bed leveling system. The built-in camera, WiFi and easy-to-use menu system make up for the pain of manual leveling.
Pros
- +
Quality prints
- +
Helpful menu system
- +
WiFi
- +
Built-in Camera
- +
Enclosed
Cons
- -
Expensive
- -
Proprietary Nozzle
- -
Print surface too sticky
- -
Hybrid auto level
- -
Must use Monoprice slicer to access WiFi
Why you can trust Tom's Hardware
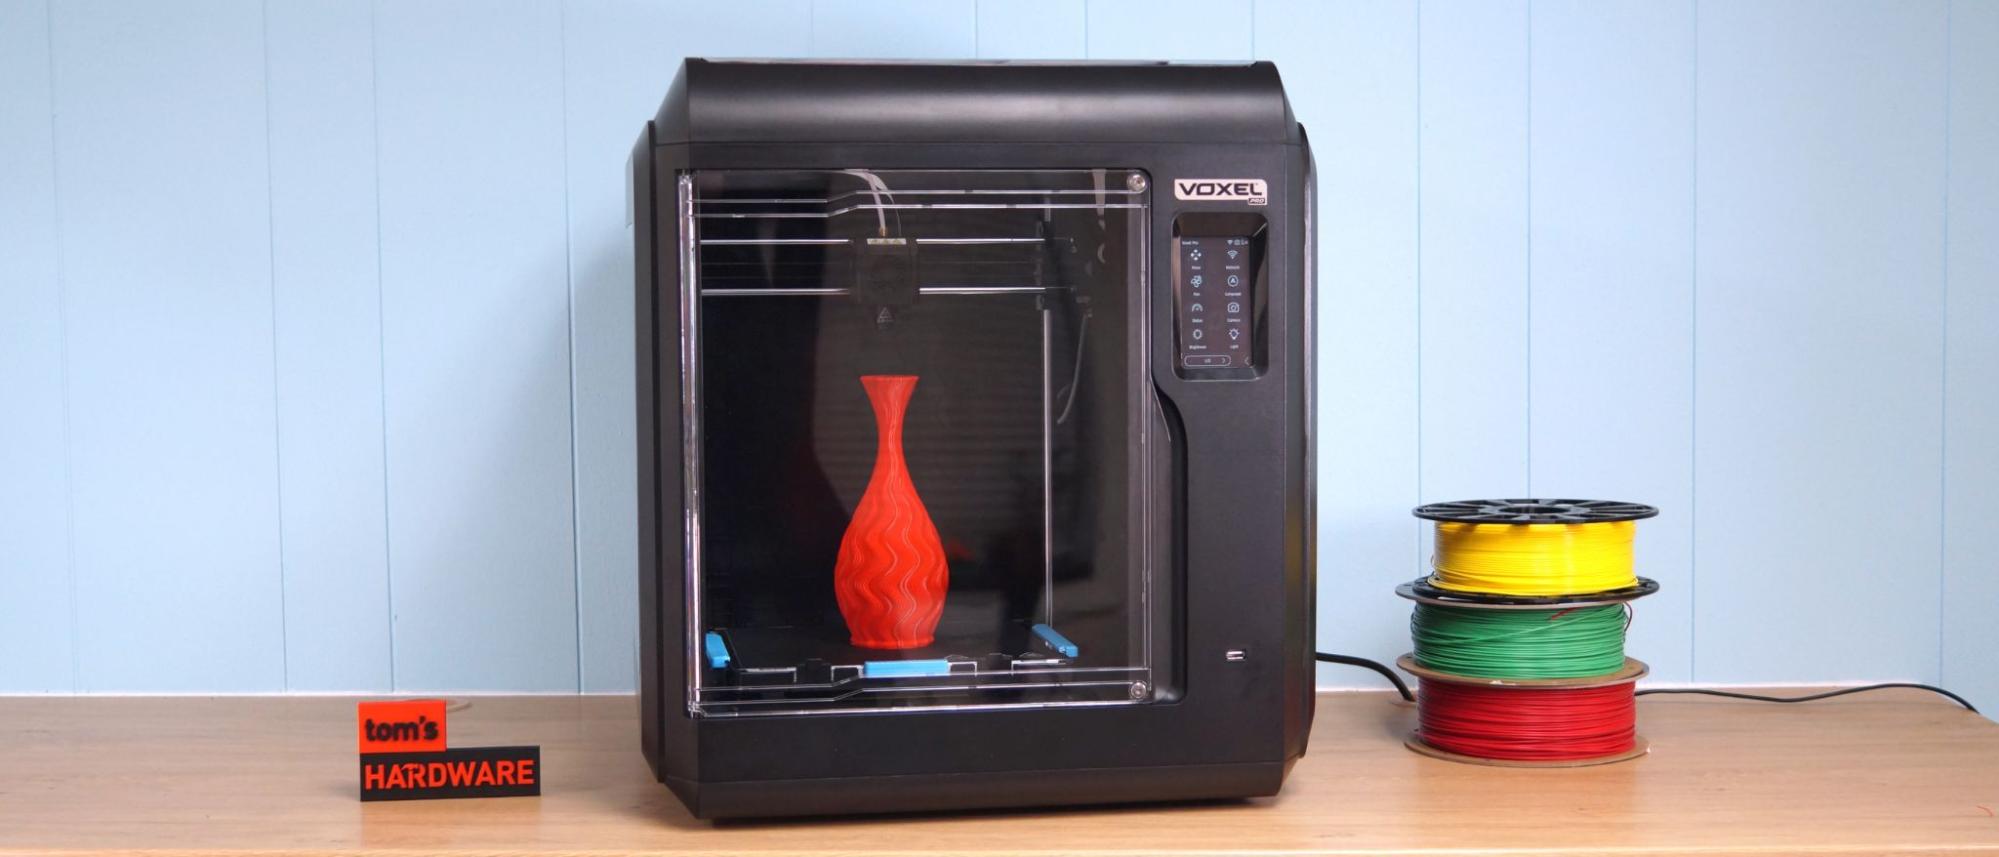
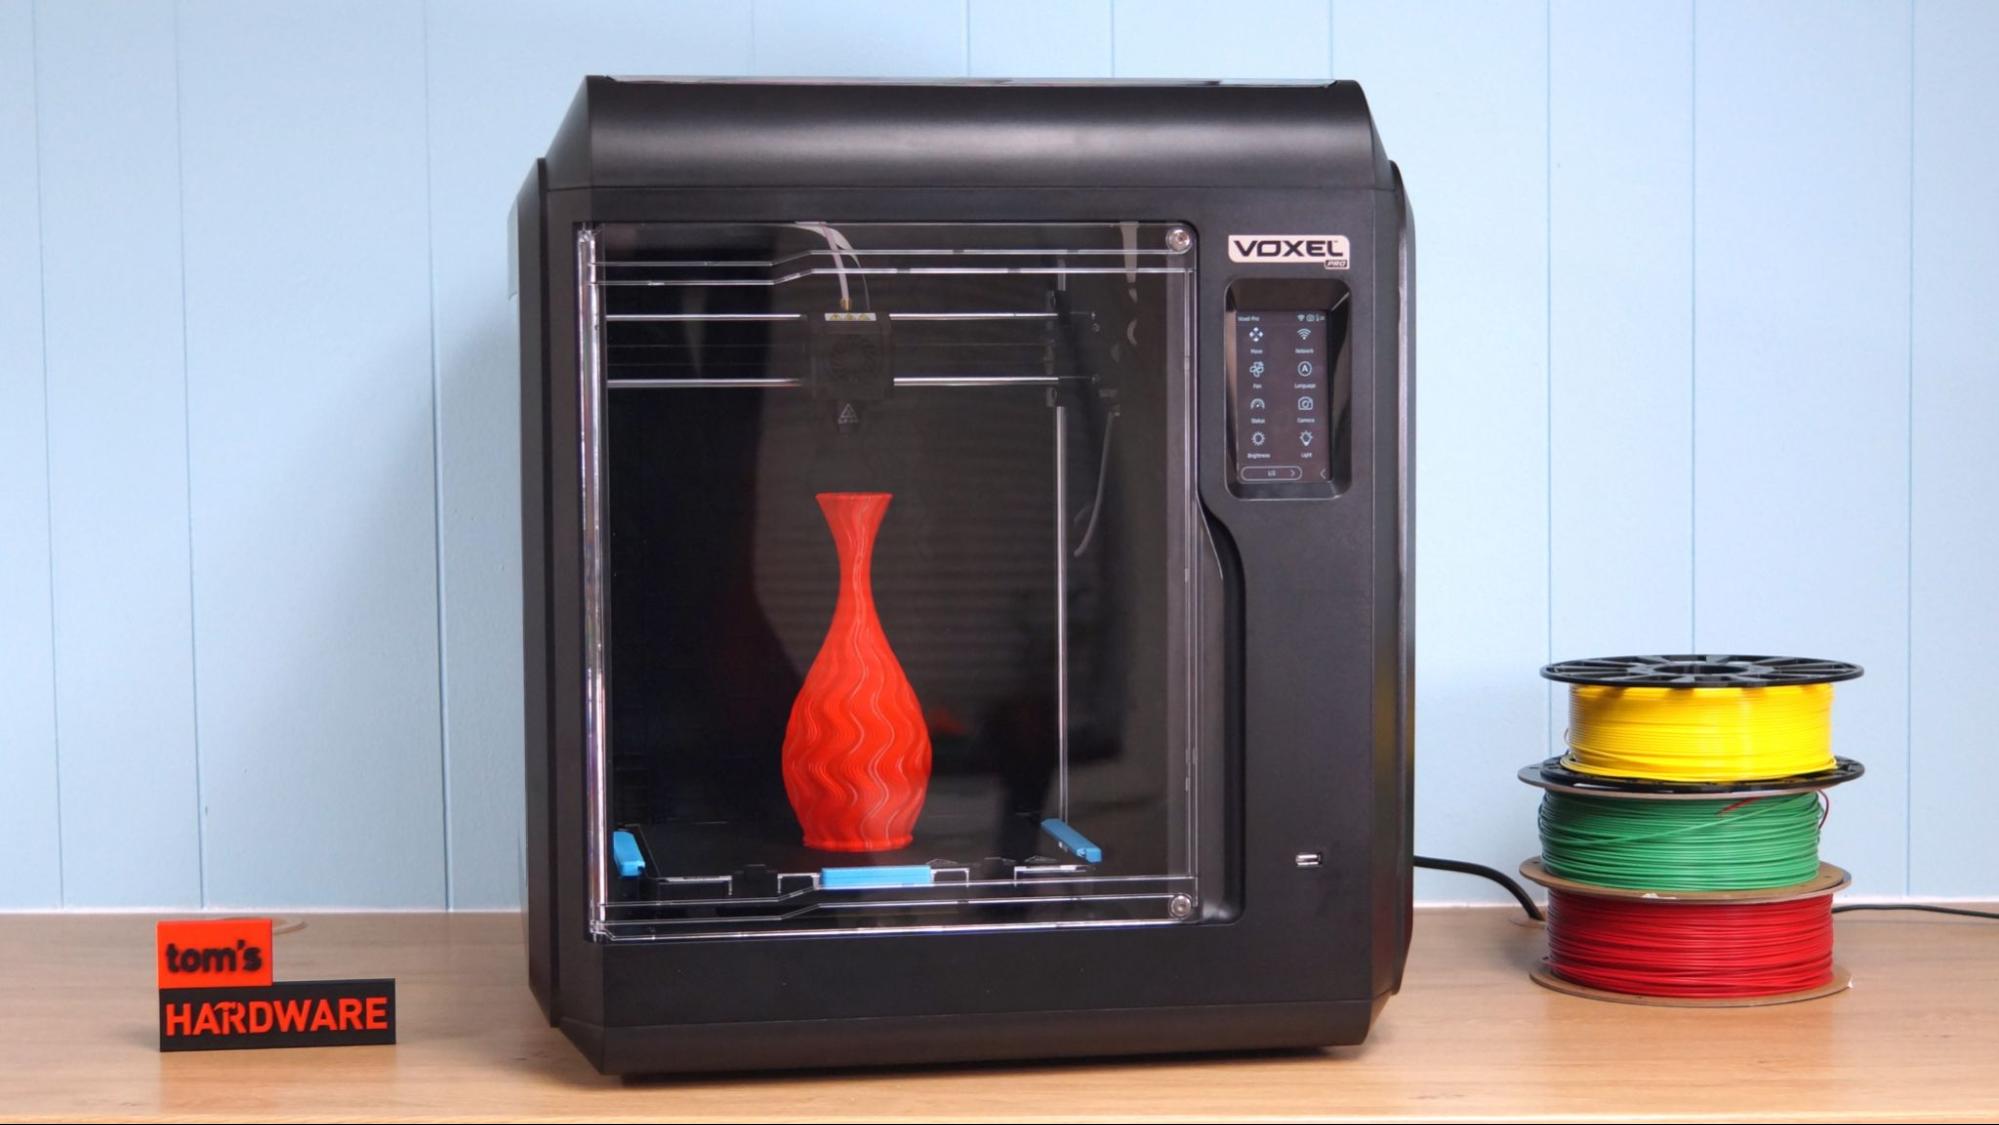
Monoprice’s Voxel Pro is clearly aimed at the beginner who wants a consumer-grade 3D printer or schools looking for easy to maintain machines. To serve those groups, it offers quick-change nozzles, an easy-to-use menu system, built-in WiFi and a camera to monitor prints.
The price tag is a bit steep at $899, especially when you realize that a $200 Anycubic Kobra Go, one of the best 3D printers, has the same quality with the addition of a bed leveling probe. Yes, the bait and switch on the Voxel Pro’s bed leveling system really soured me on this printer. It’s advertised as having “auto leveling” when it’s more of an auto assist. The critical part of getting the level just right – setting the Z height – is full on manual. However, the bed is hard mounted, so once you’ve won the leveling battle you won’t need to do it again until you need a nozzle change or move the printer.
The nozzles are another issue, as this machine takes rather pricey $25 cartridges. They don’t require any tools to swap out, but you will need to order them online.
It’s also worth noting that the Voxel Pro is a rebadge of the Flashforge Adventurer 4, a printer we reviewed last year and gave 3 stars. However, the quality of the software and reliability of the WiFi connectivity is clearly better on the Voxel Pro we tested, having improved since the Adventurer 4 launched.
Knowing that the Voxel Pro and Flashforge Adventurer 4 are largely the same printer can also help when searching for replacement parts. Monoprice only carries replacement nozzles, but Flashforge has nozzles, build plates, air filters, motherboards, fans and just about any part that could break or wear out.
Specifications: Monoprice Voxel Pro
| Machine Footprint | 500 x 470 x 540 mm (19.7 x 18.5 x 21.3 in) |
| Build Volume | 220 x 220 x 250 mm (8.7 x 8.7 x 9.8 in) |
| Material | PLA/PETG/ABS |
| Extruder Type | Type Bowden |
| Nozzle | 0.4mm (quick change cartridge) |
| Build Platform | PEI Spring Steel, Heated |
| Filament Runout Sensor | No |
| Bed Leveling | Inductive Auto Leveling |
| Connectivity | USB Flash drive/WiFi, Ethernet |
| Interface | 4.3-inch color touchscreen |
| Machine Weight | 27.2 kg (60 lbs) |
Included in the box: Monoprice Voxel Pro
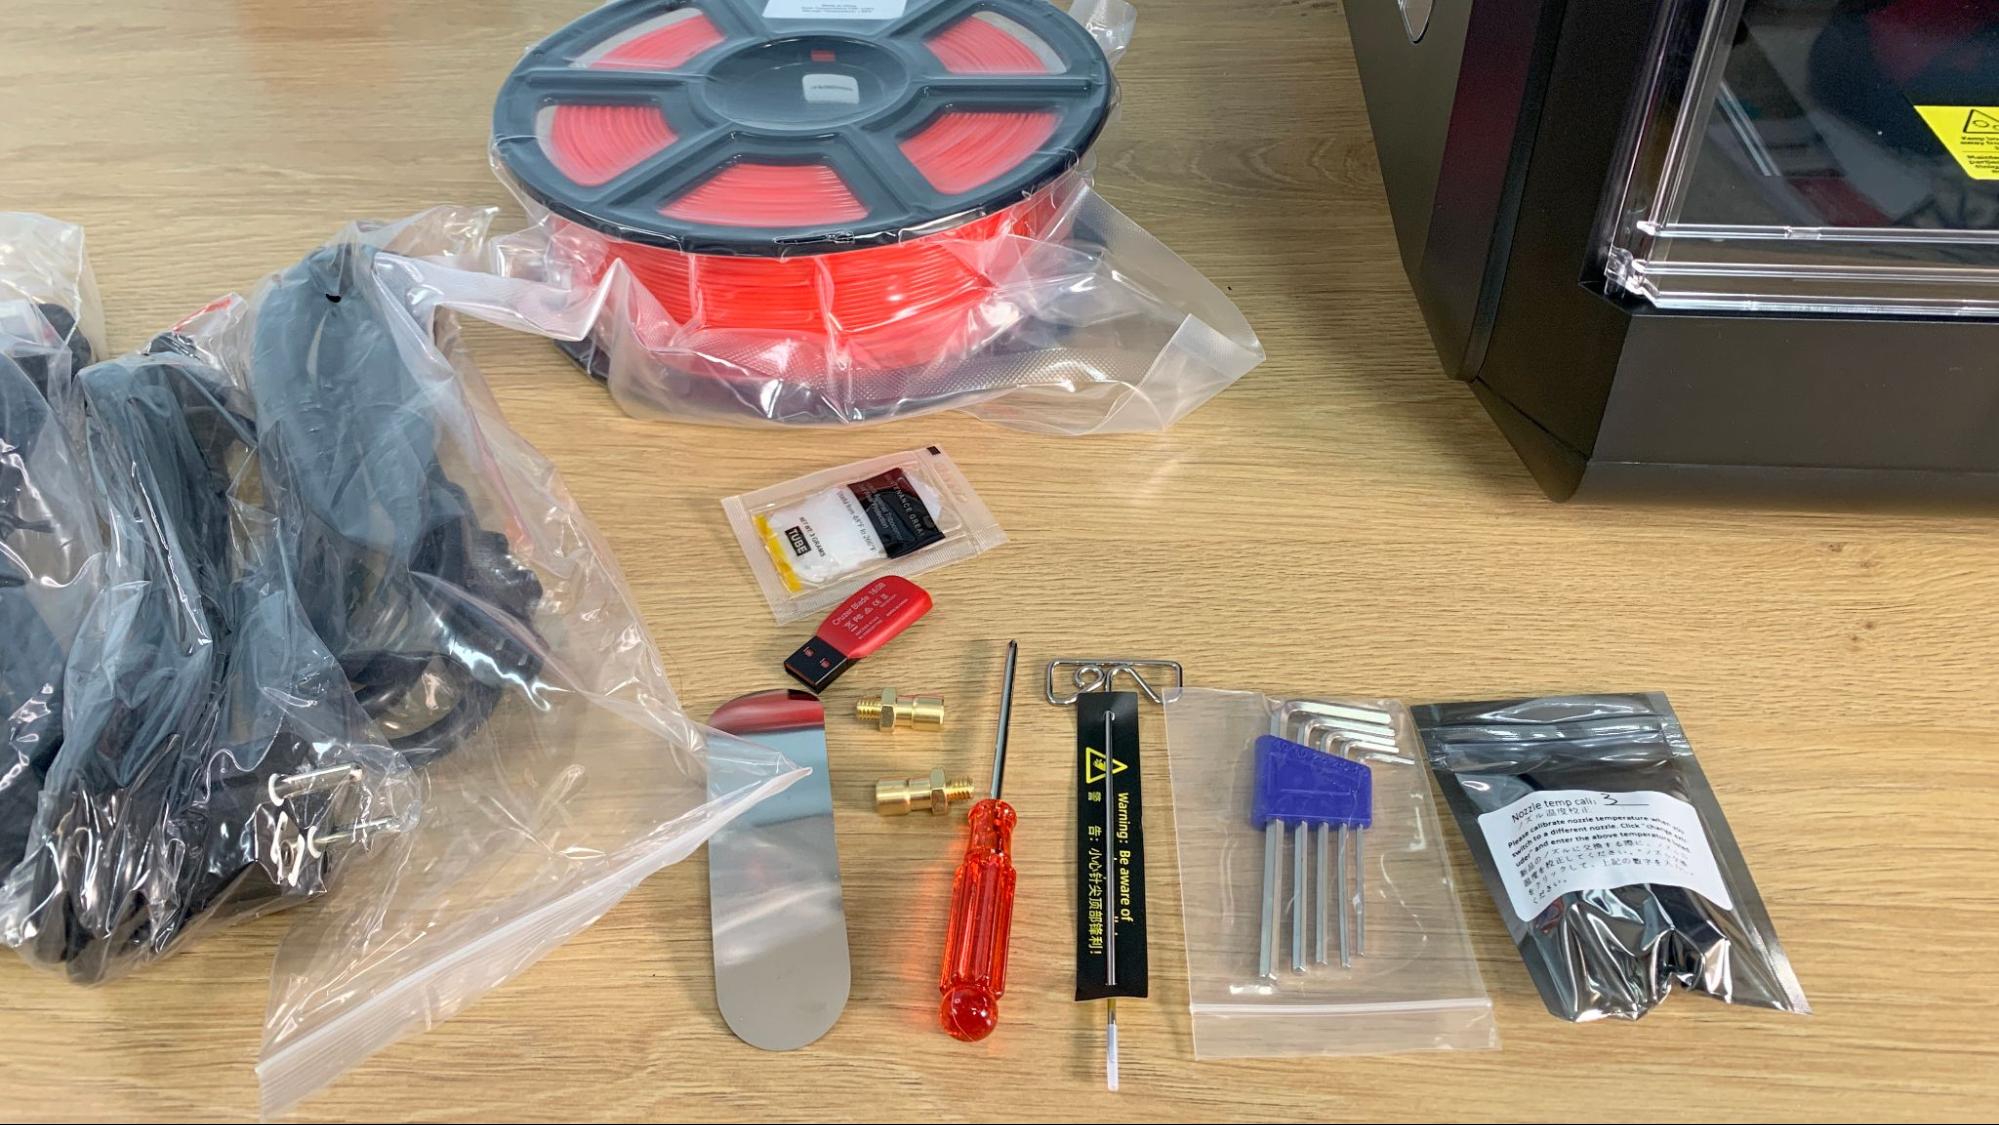
The Monoprice Voxel Pro comes with most everything you need to get started: tools to maintain the printer, a giant nozzle cleaner, grease and a USB flash drive. You also get a spare nozzle, spare couplers and an unlabeled piece of metal that is a leveling card.
To its credit, Monoprice included a full 1kg spool of red PLA. We’d love to see this more often.
Get Tom's Hardware's best news and in-depth reviews, straight to your inbox.
There’s a paper copy of the quick start guide to help you get set up. The USB flash drive has copies of Monoprice’s FlashPrint slicer for both Mac and Windows. Sample files are preloaded on the machine.
Assembling the Monoprice Voxel Pro
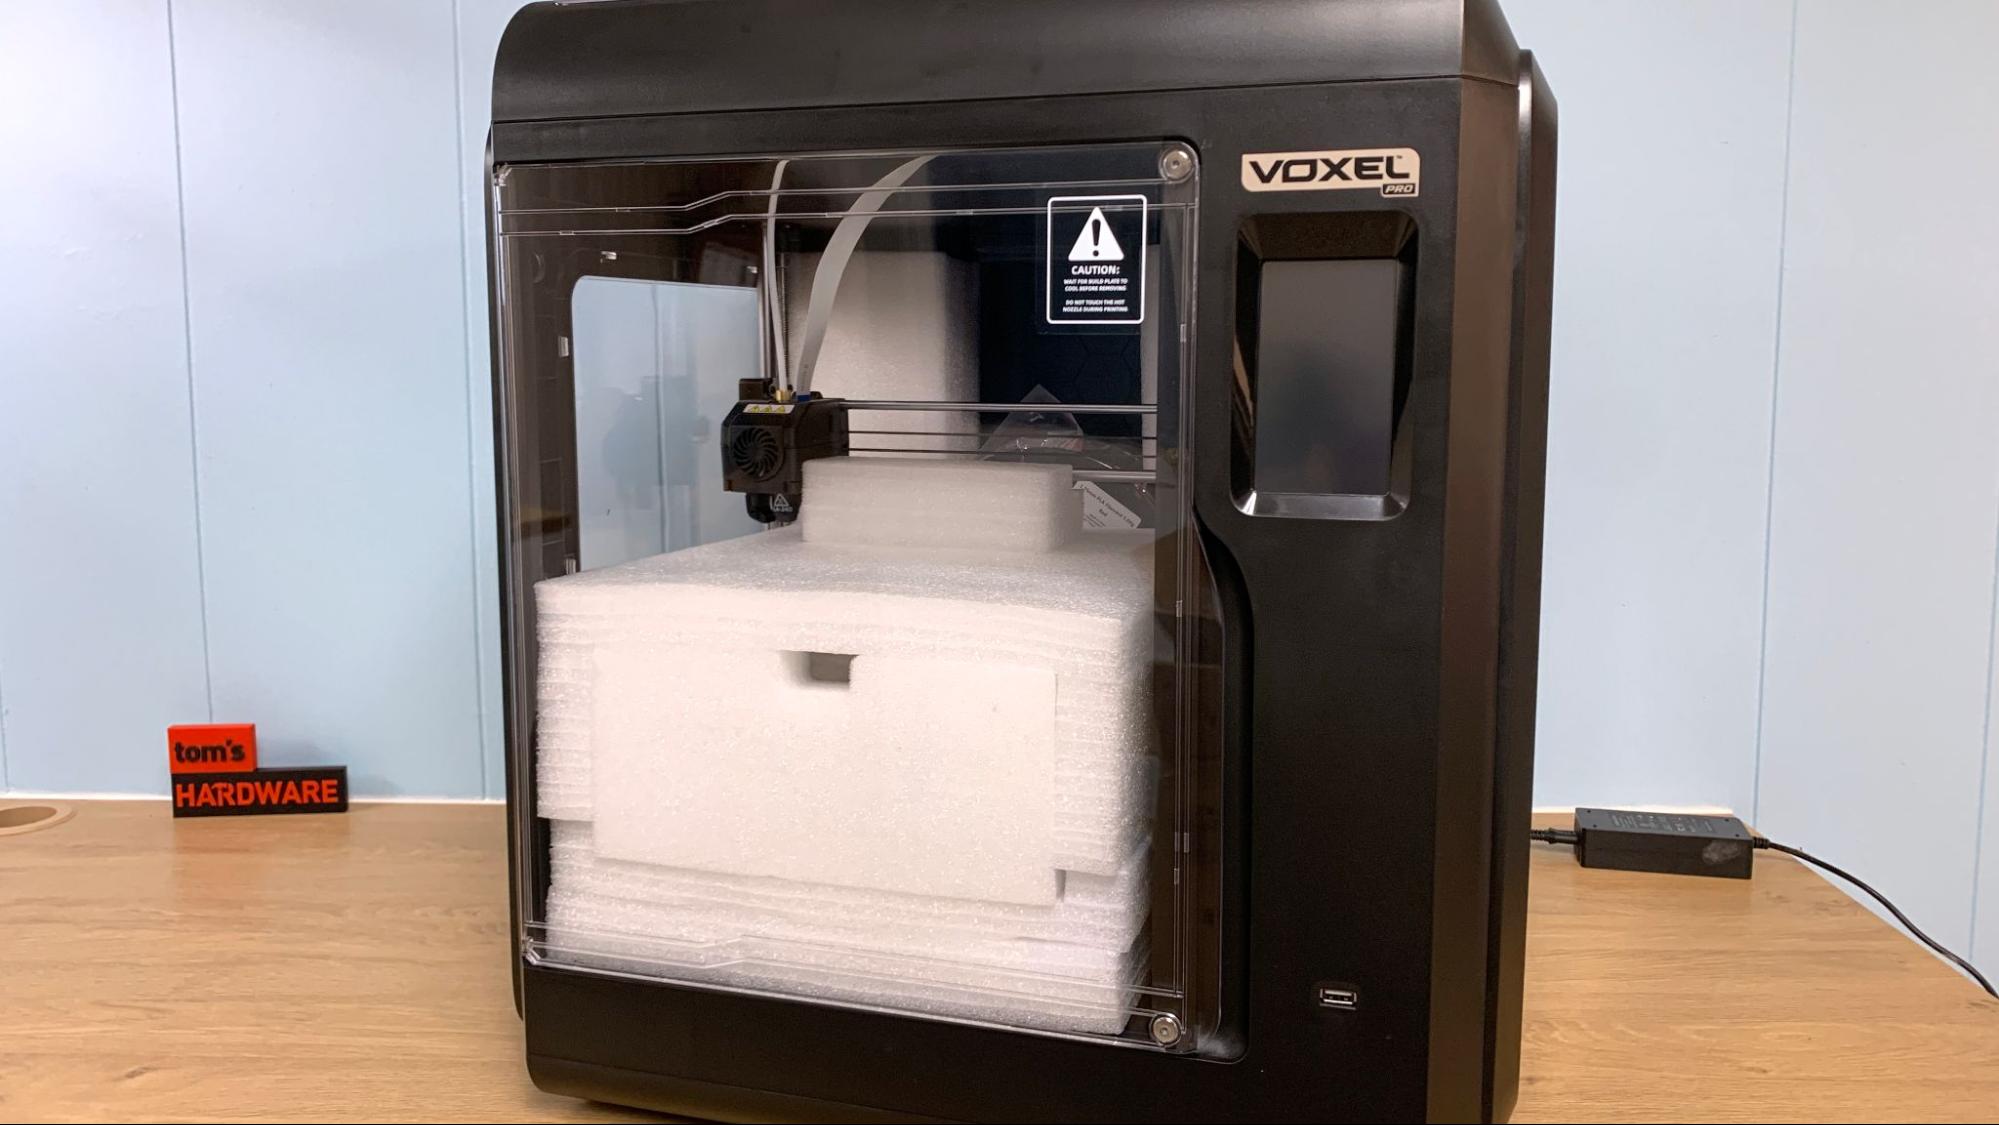
The Voxel Pro is fully assembled and only needs to be unpacked and plugged in.
Leveling the Monoprice Voxel Pro
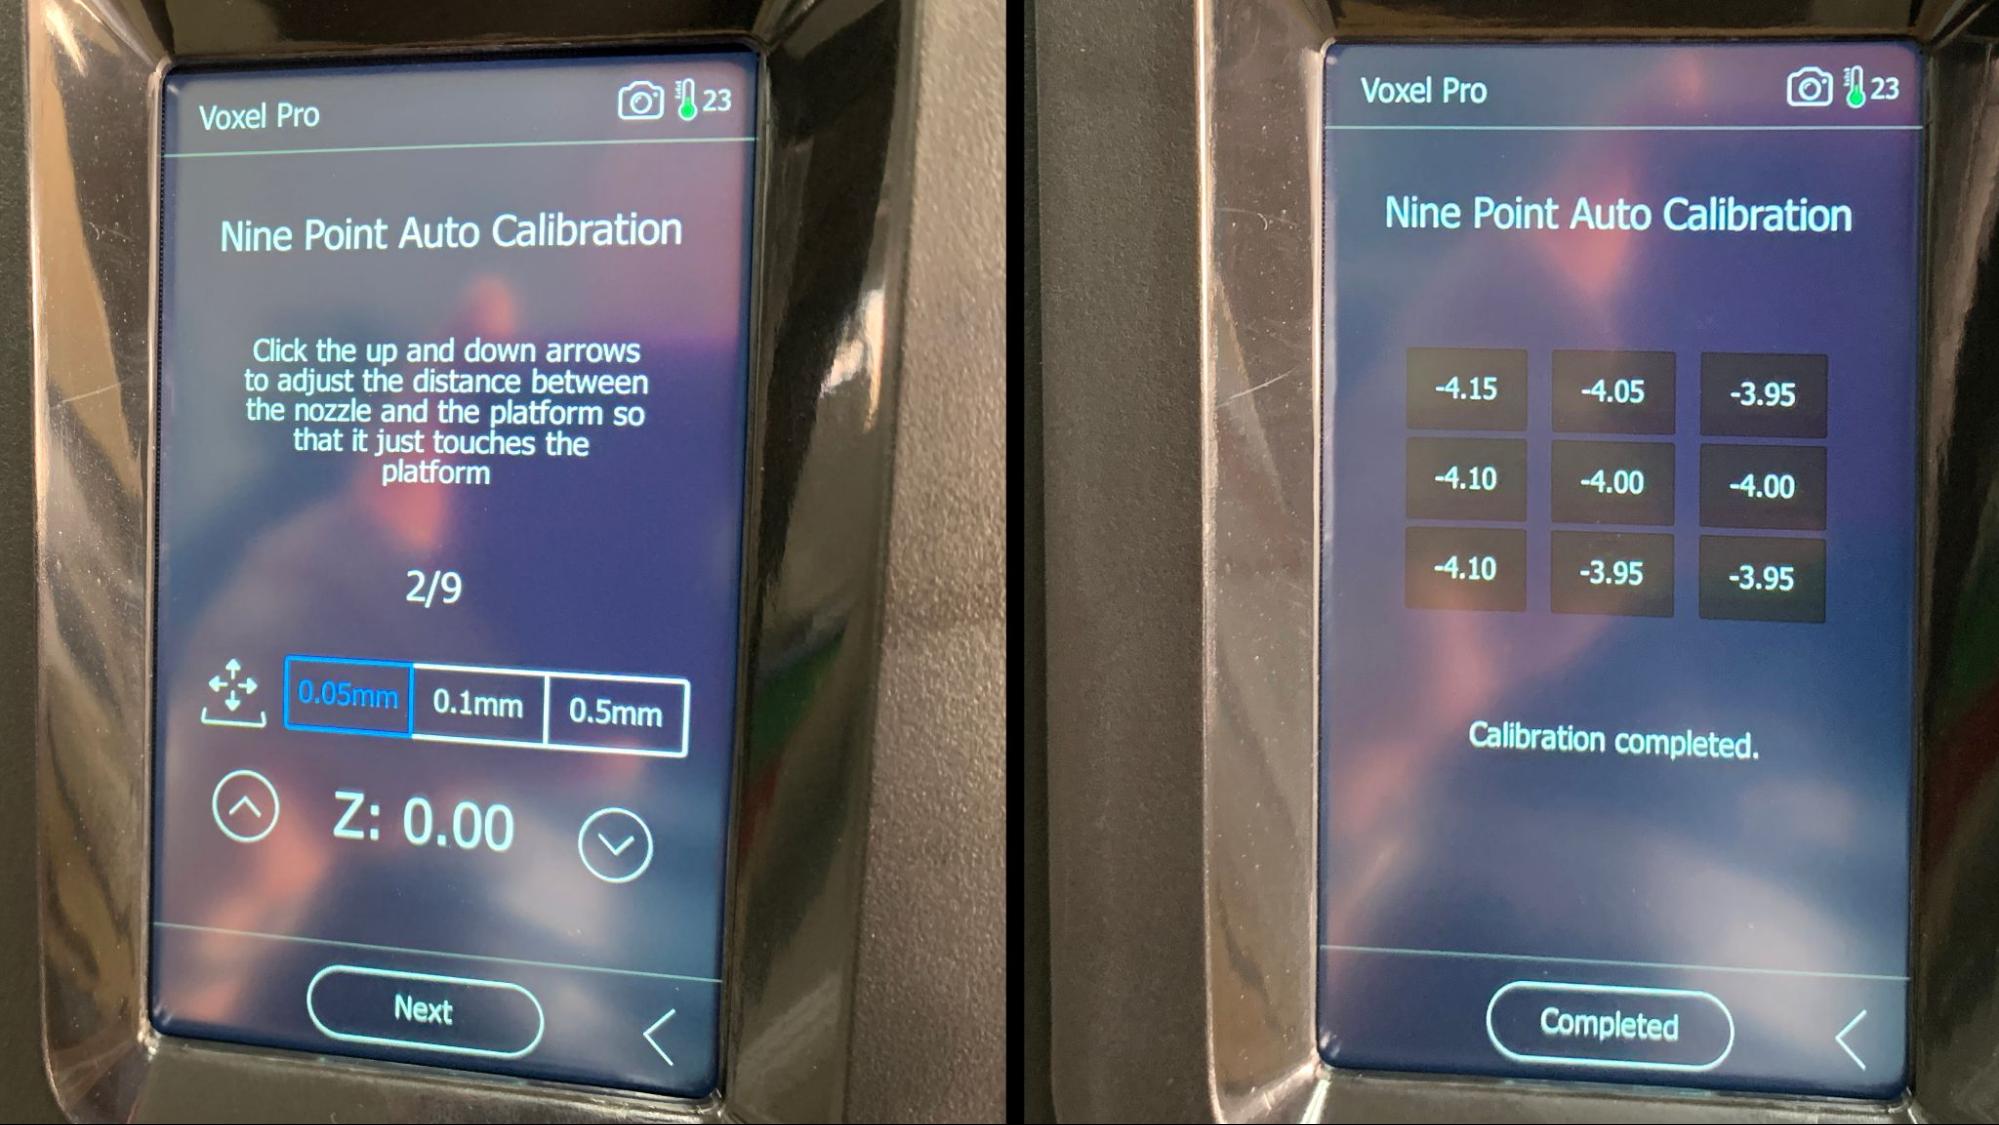
I have issues with the leveling system offered on the Voxel Pro. First, it’s advertised as having “auto bed leveling” which feels a little bait and switch. The machine “automatically” moves the tool head to nine points on the bed and then asks you to manually adjust the Z height. This is assisted leveling at best.
You also get to choose between Expert or Normal mode. Normal only calibrates a single point and assumes the rest of the bed is perfect. Although the bed is hard mounted, it seems ridiculous to assume it's entirely flat without checking.
A frustrating point with this system is that, if you didn’t nail the leveling on the first try, you have to start from scratch on your second attempt. For example, say the back left corner feels a bit low. When you run the bed leveling program again you are forced to start from zero.
Loading Filament in the Monoprice Voxel Pro
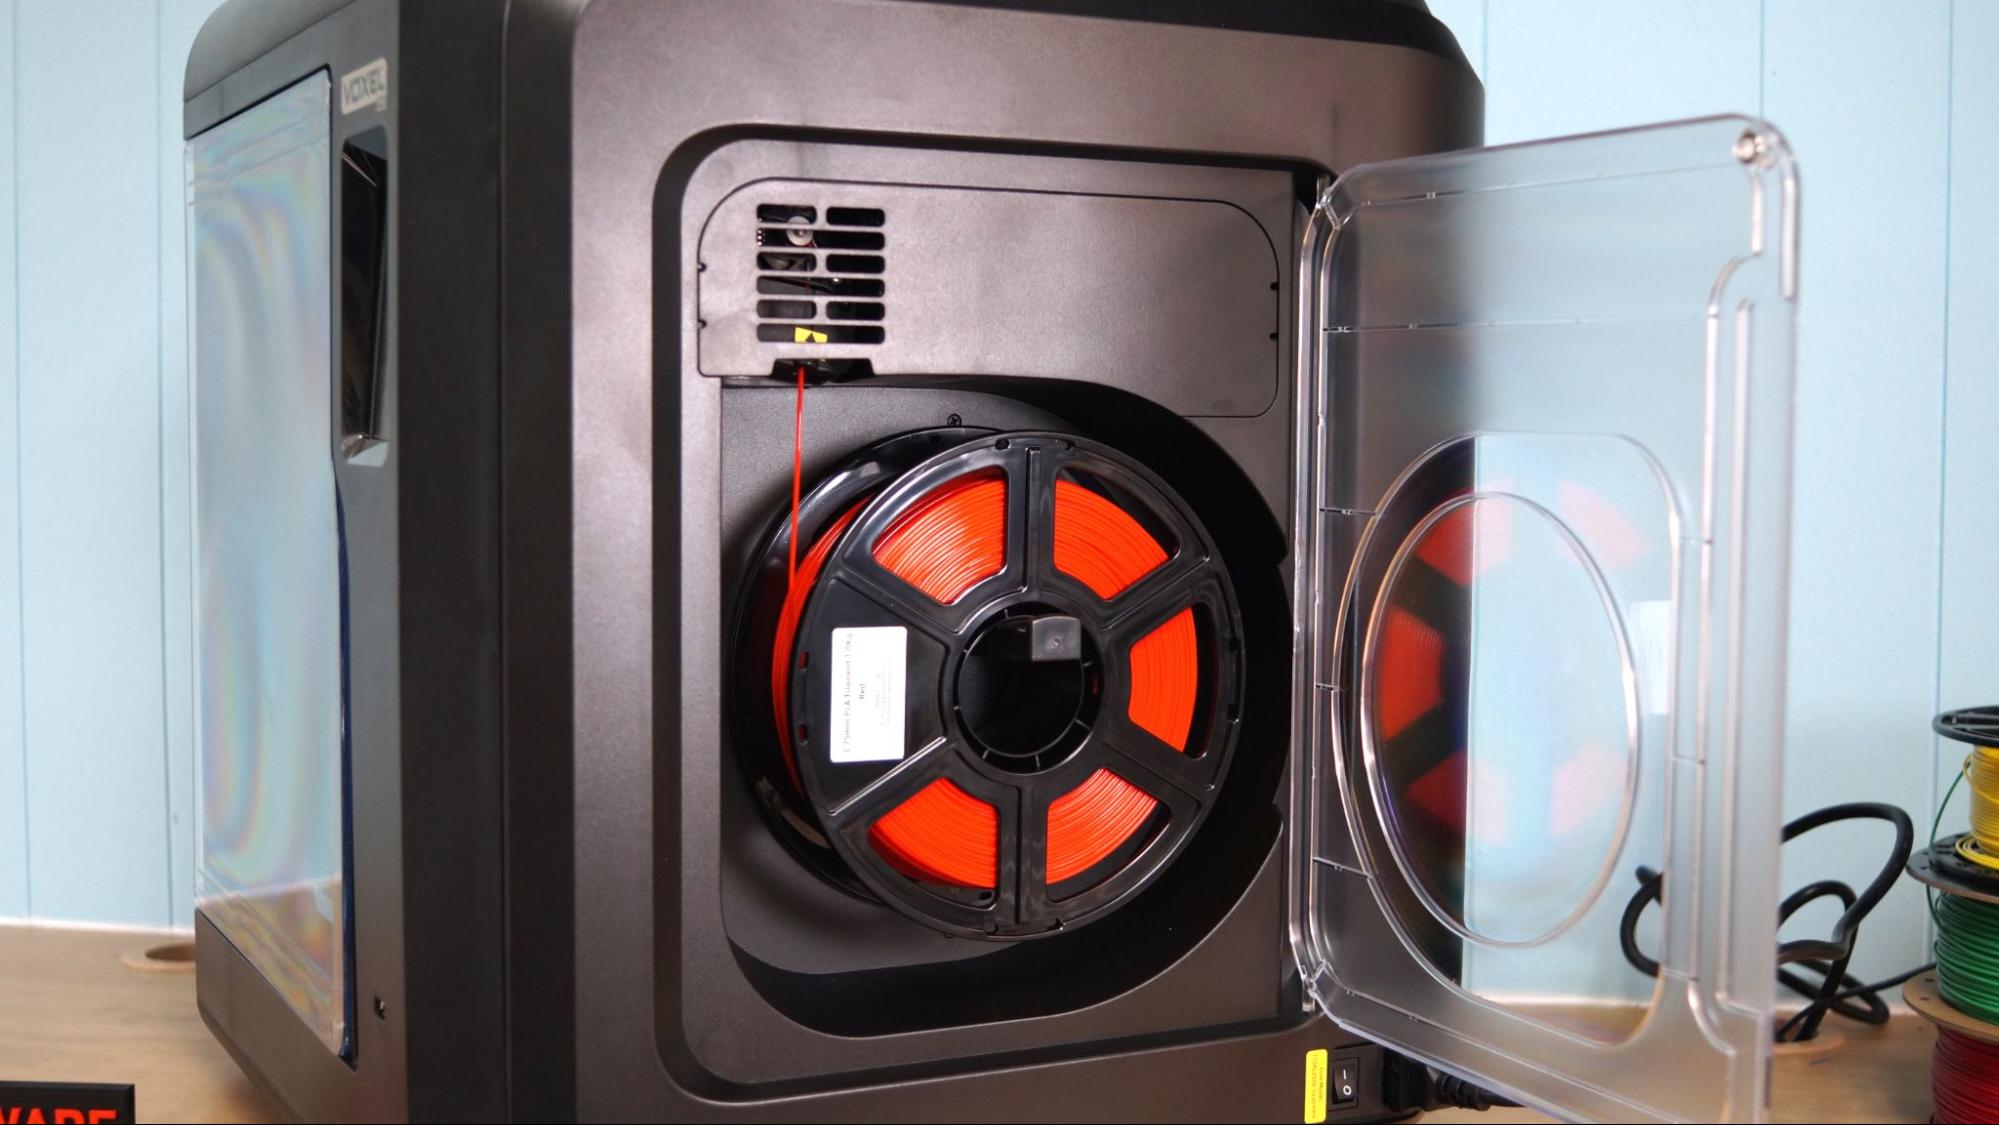
The Voxel Pro hides the filament behind a clear door. The chamber is large enough to hold every spool I tried and can even accommodate super thick 5kg spools.
Filament loading is handled quite well. Since this is a Bowden system the extruder is located on the side of the machine right above the spool. You only need to push the filament in a few millimeters, press load and the machine will pull the filament into the hotend. You need to stay nearby to turn it off, otherwise it will just keep going.
To access the filament loading program, press Prepare →Filament → Load. The screen will walk you through the steps.To unload you just reverse the process.
Design of the Monoprice Voxel Pro
When I first opened the Voxel Pro I was a bit disappointed to find a bed slinger in a box. Believe me, I have nothing against Ender style printers – some of my favorite machines have that classic Cartesian movement. But typically when a manufacturer goes to the trouble – and expense – of enclosing their printers they opt for a Core XY design. Core XY has a smaller footprint (the bed moves up and down) so there’s less real estate to enclose, and offers cleaner prints because there’s less movement on the plate.
The whole machine is very plasticky, which is probably good considering the size of it. However, the hollow box acts as a sounding board when it gets a jam, amplifying every click to a resounding clunk. This sounds like nitpicking, but when I encountered a jam on the Voxel Pro I thought something seriously terrible had happened considering the racket it was making. The jam was very easy to resolve with the giant needle plunger that comes in the box.
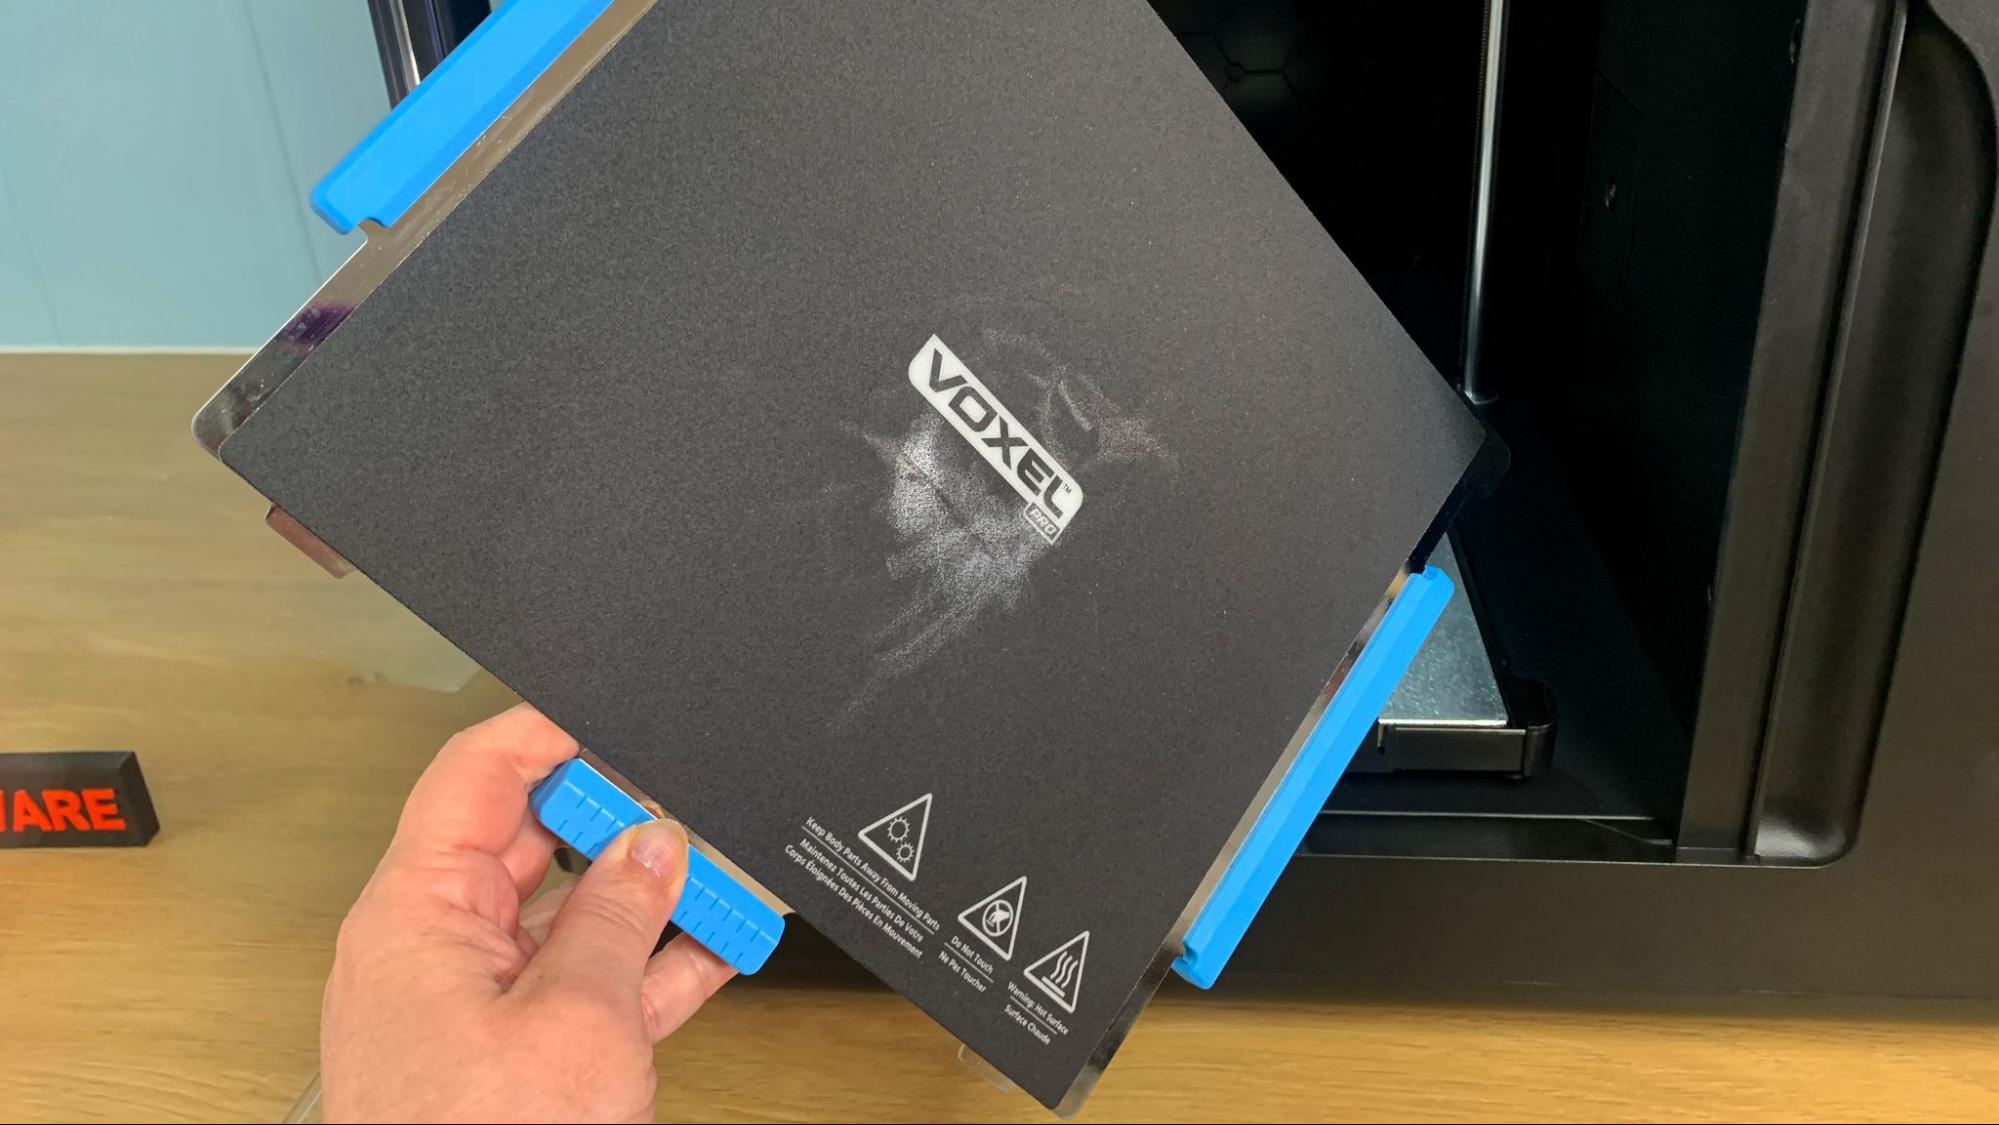
The removable built plate is flexible and coated with something rather like Buildtak – things pop off it when you manage to get the Z height perfect. Most of my models needed to be forcefully pried off due to my inability to come to terms with the leveling system. After I found where they hid the tuning functions, I was able to perfect the nozzle height and print removal became less difficult.
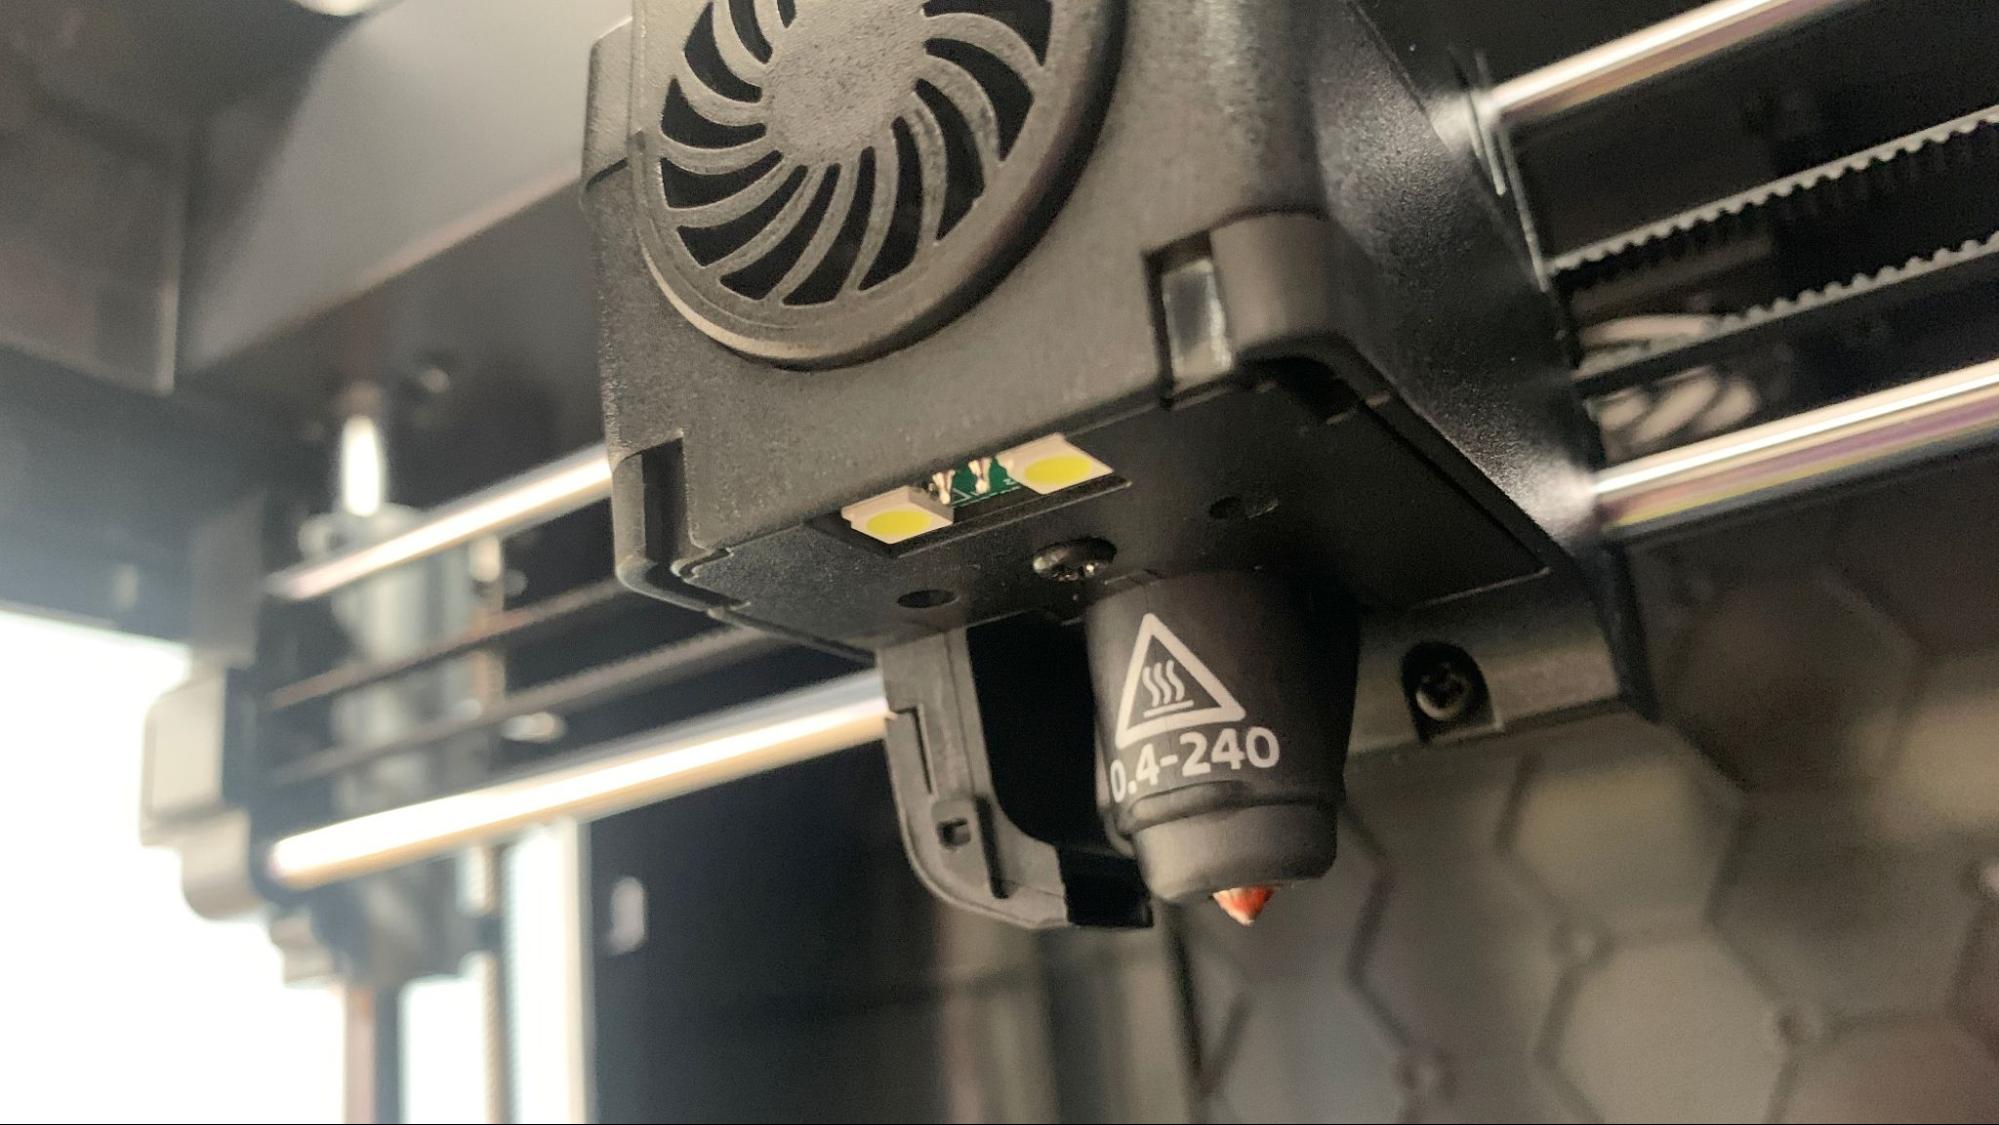
One last issue with the Voxel Pro is the quick change nozzle system. Monoprice doesn’t say what is included in the nozzle cartridge, but considering the size and a $25 price tag, I’m assuming it has the heat break, heater cartridge and thermistor. It works, brilliantly even, but this means when the nozzle wears down you’ll have to replace $25 worth of parts, only available directly from Monoprice.
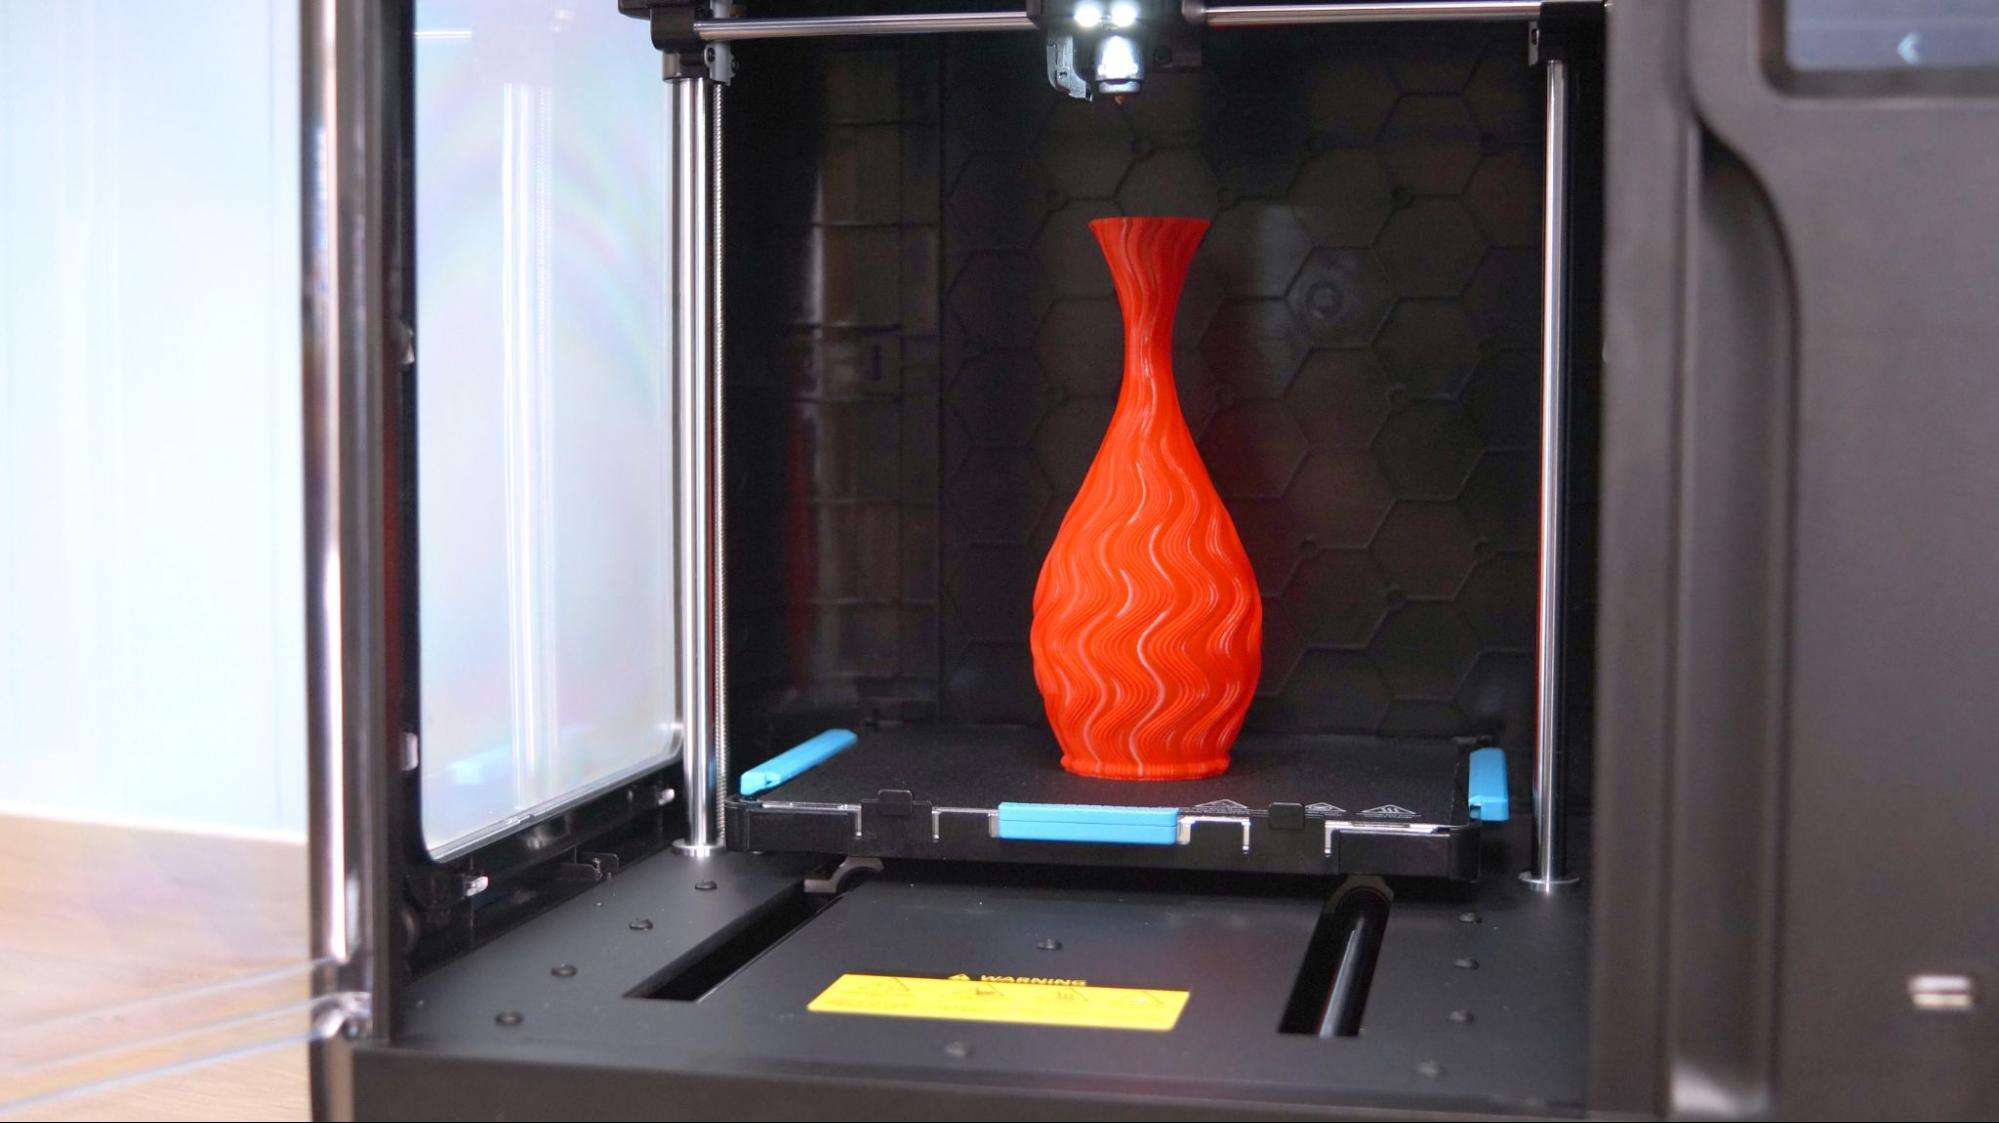
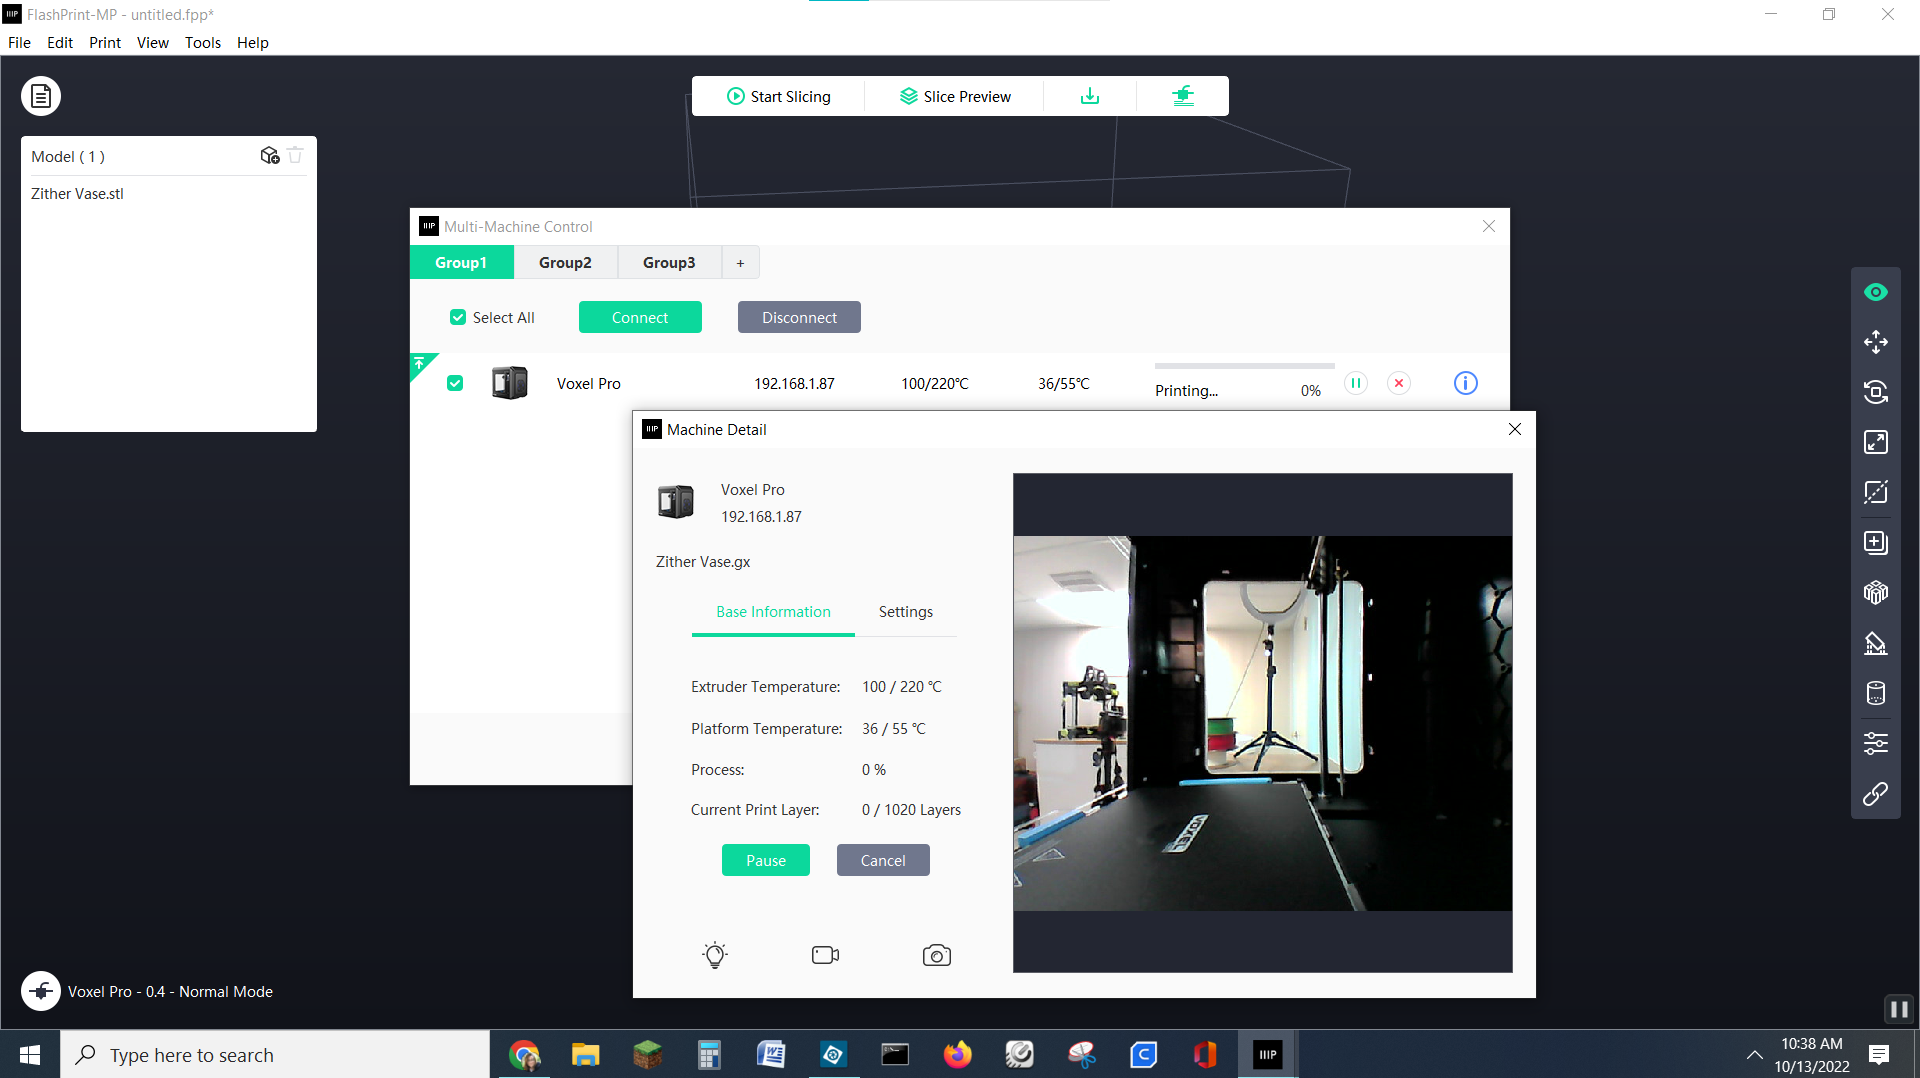
There are also several great things I can say about the Voxel Pro’s design. The built-in WiFi and internal camera are very nice extras. The enclosure is certainly a good selling point for anyone working in a drafty environment or who wants to tackle ABS. The machine comes with a HEPA filter to keep dust off your prints if you’re working in a garage or woodshop. It does not help with any fumes coming out of the machine.
The system of menus is easy to navigate and the built-in tutorials that walk you through basic operations is very visual and makes the machine excellent for beginners and students.
Preparing Files / Software
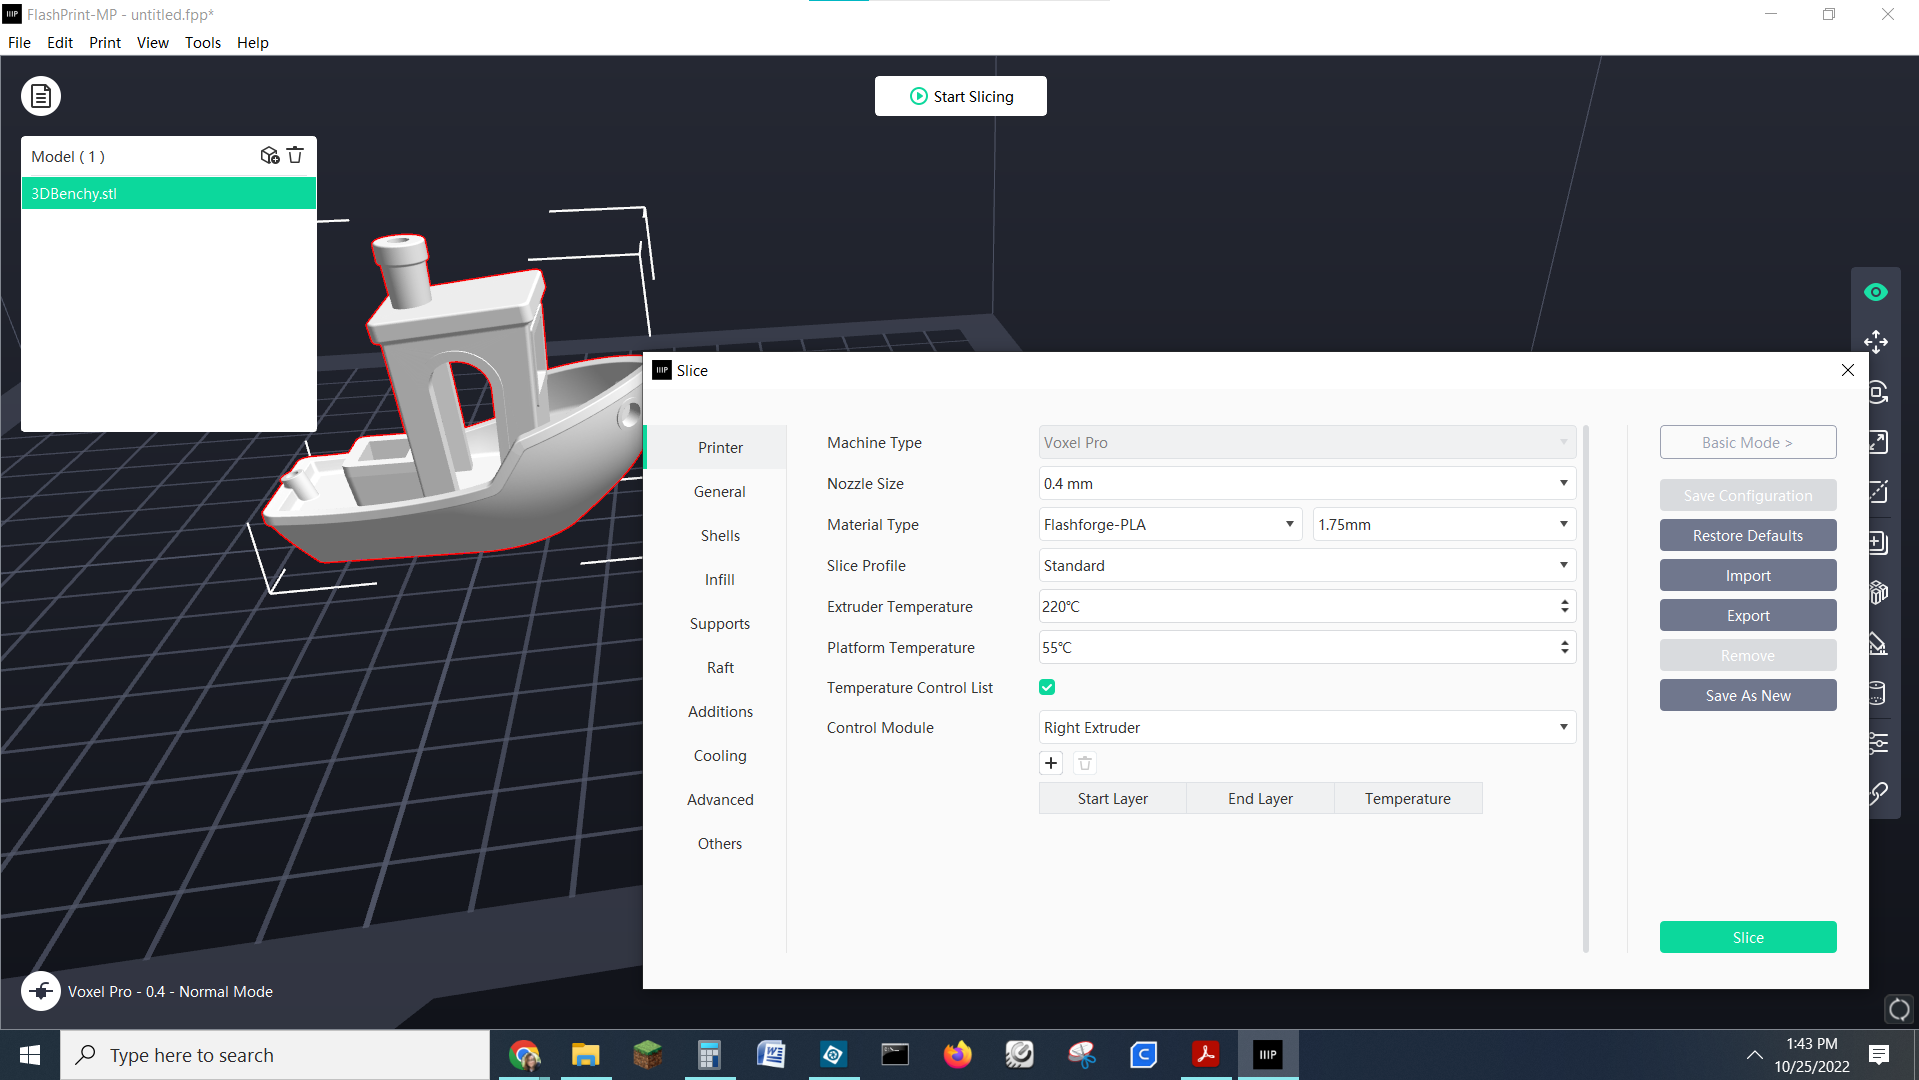
The Voxel Pro comes with a copy of FlashPrint-MP. This is the preferred slicer for the machine, and your only option to unlock all its features. WiFi and the onboard camera are only accessible through FlashPrint.
You could use Cura or PrusaSlicer if you like, but as there’s no default profiles available for 3rd party slicers you’ll have to wing it. Beneath the enclosure, the machine is basically an Ender clone and uses the same dimensions.
FlashPrint has both a basic and expert mode and includes several good material profiles. It’s also tuned for the machine it ships with, so set up is a breeze.
Printing on the Monoprice Voxel Pro
The Voxel Pro comes with a regular sized spool of PLA, but you’ll definitely need more before you know it. Check out our guide to the best filaments for 3D printing for examples of our favorite materials when you’re ready to add to your supply.
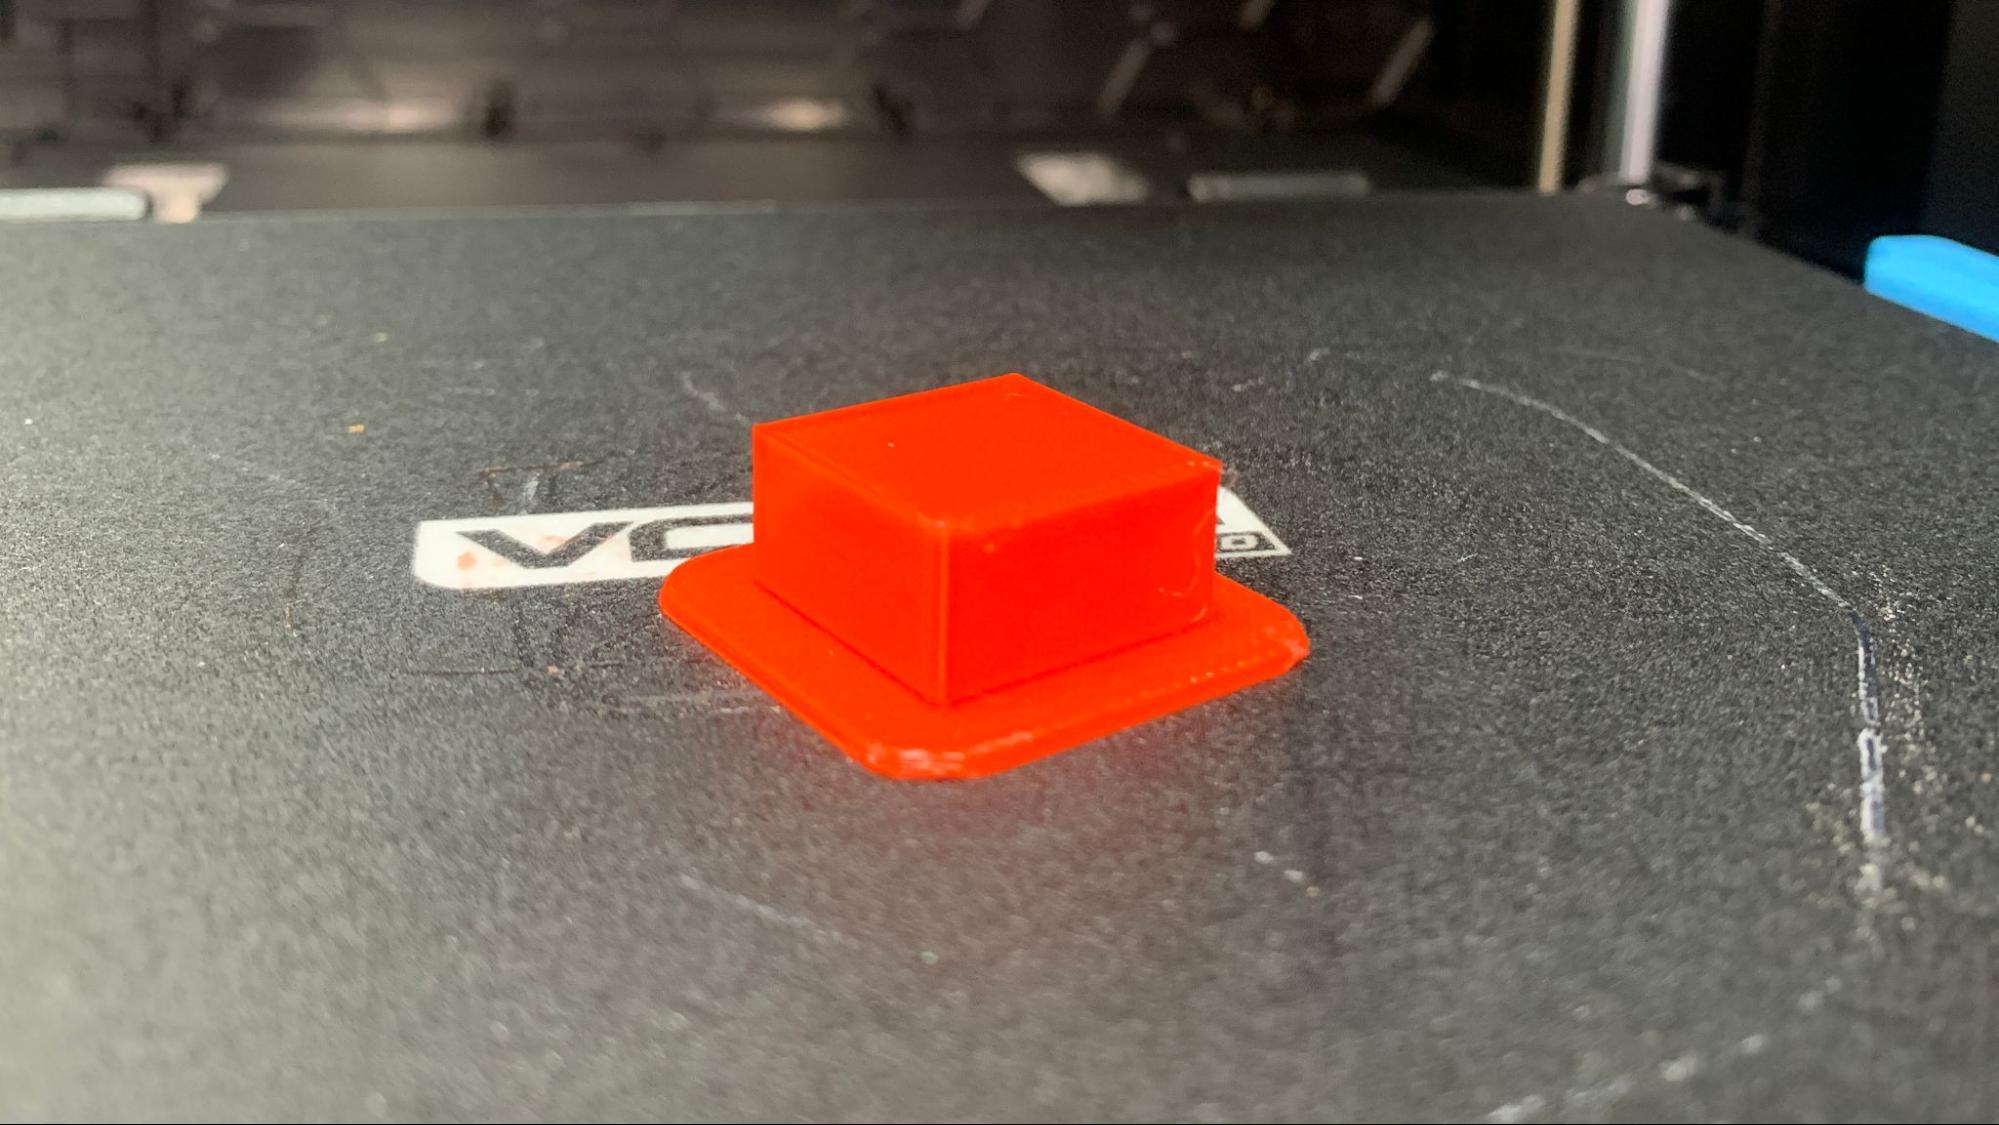
The first print I ran on the Voxel Pro was a pre-sliced square that came preloaded on the machine. I used the sample spool of red PLA and it printed without problem.
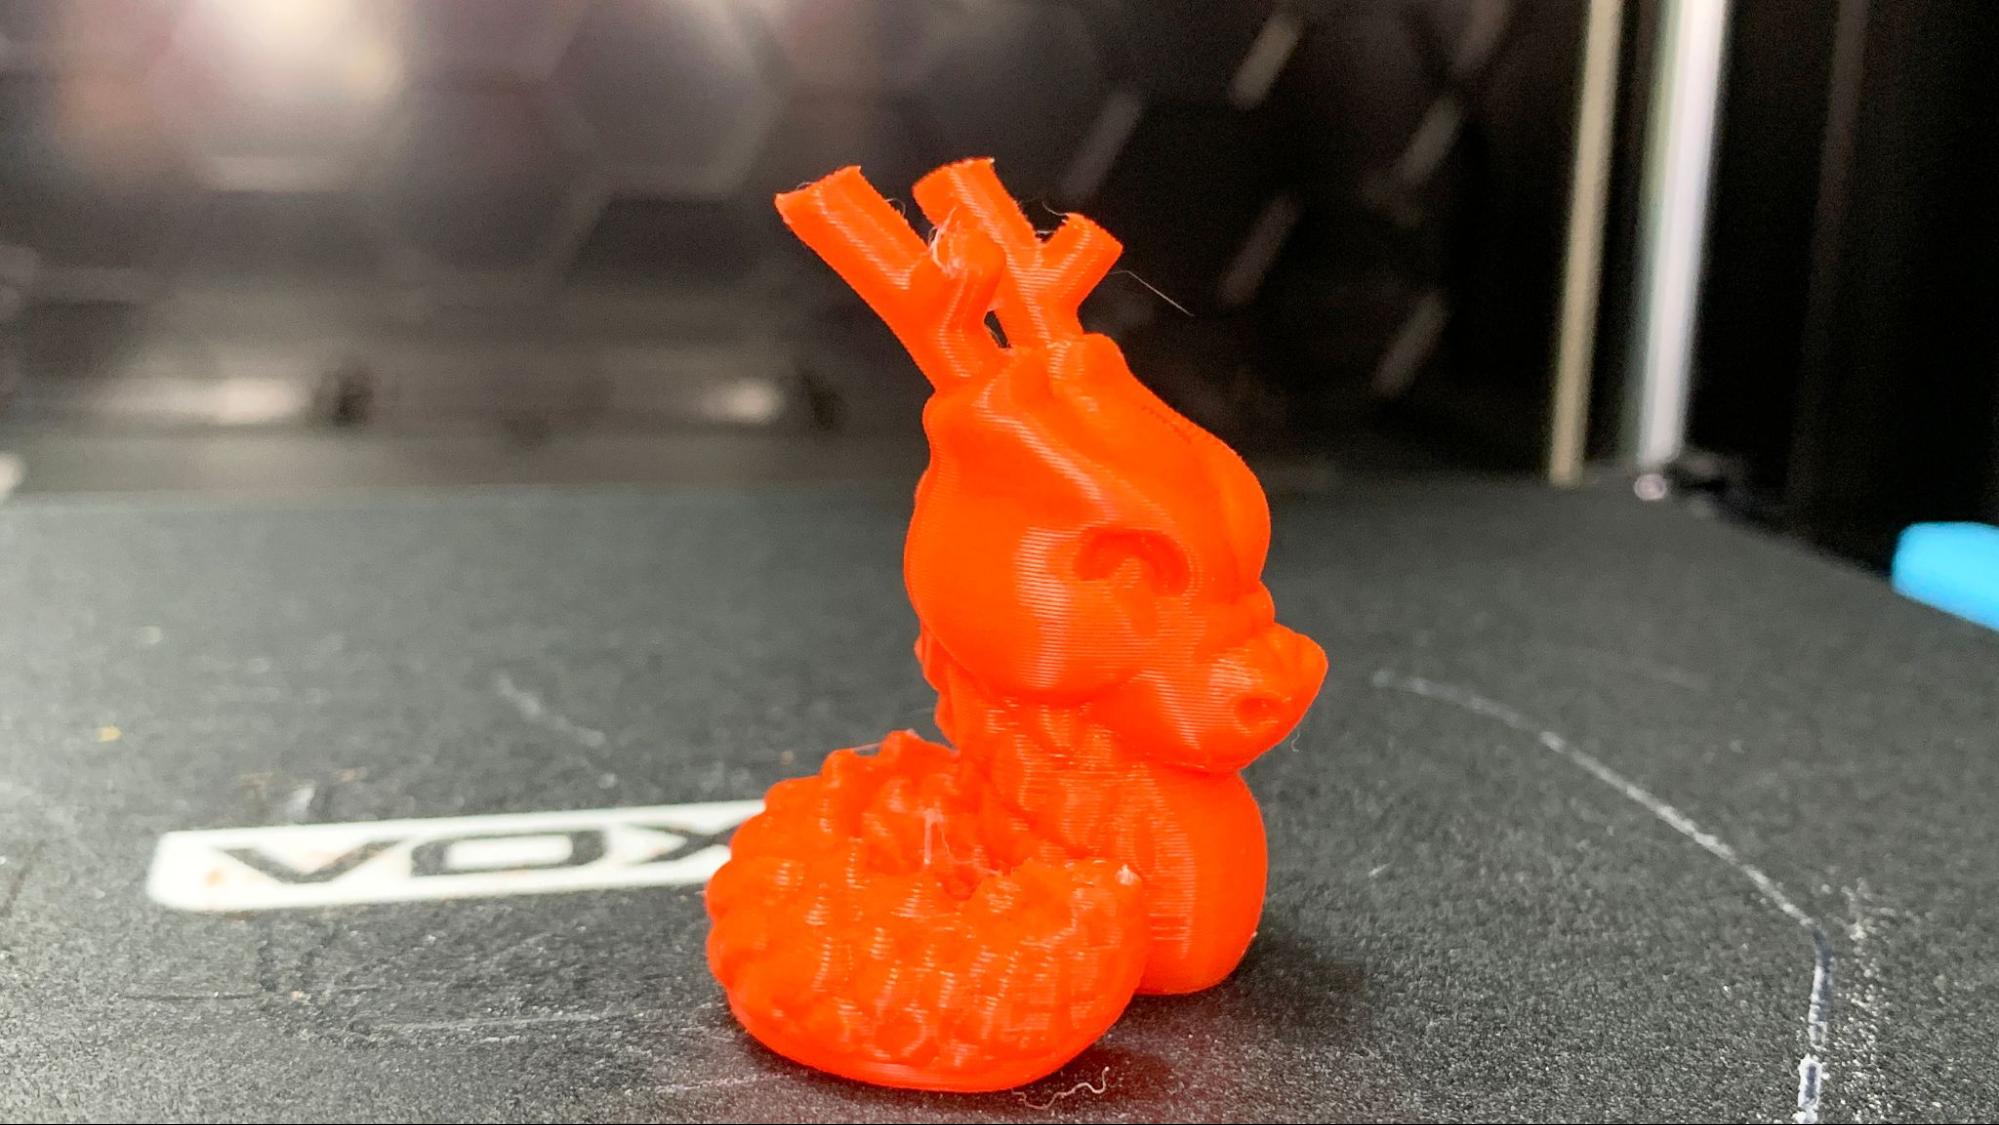
The block was a bit underwhelming, so I ran a Cali Dragon. I kept the sample PLA loaded and used FlashPrint’s default settings of .2 layer height and 50mm/s, taking 57 minutes to print. The results were quite good with just a bit of wisps around the antlers.
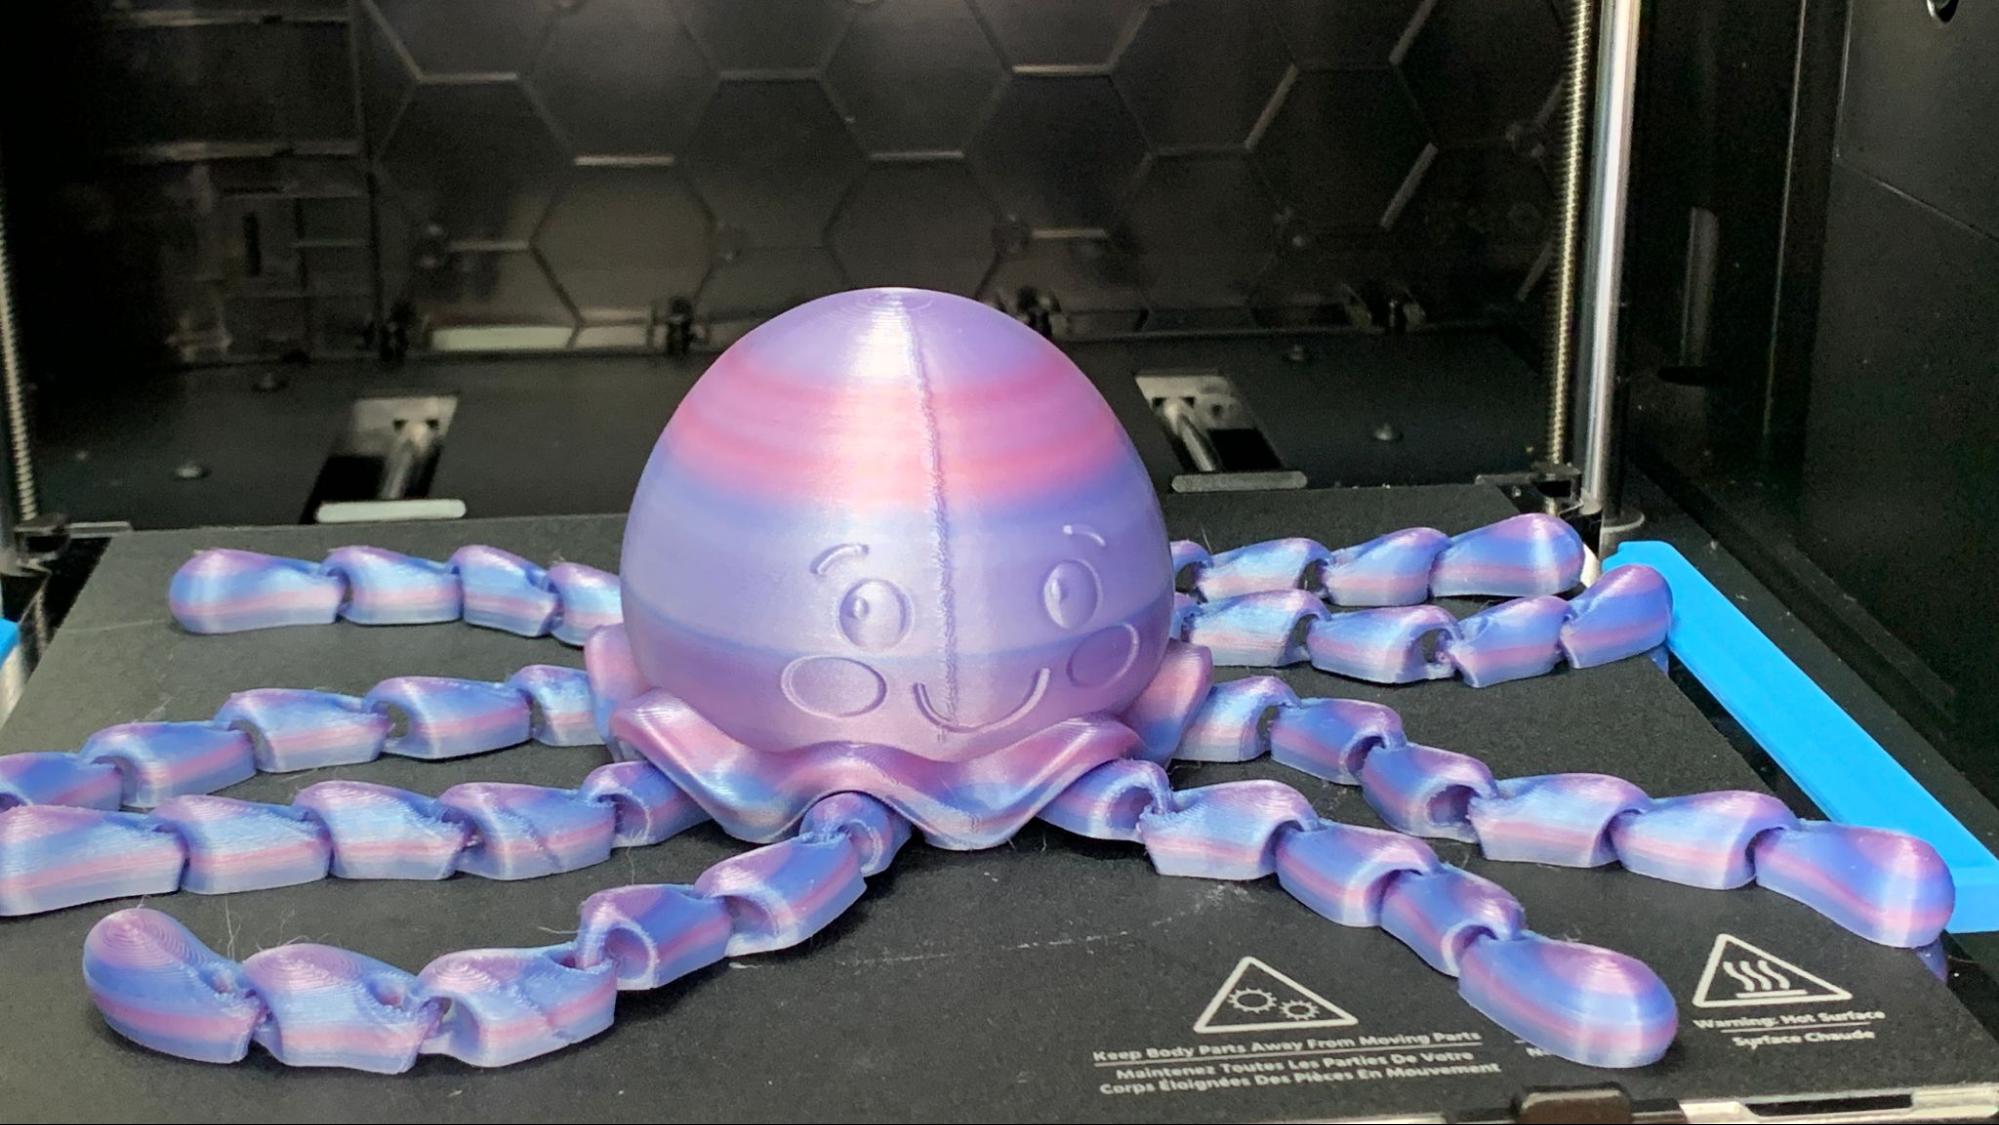
The red was pretty hard to photograph, so I switched colors and printed a jellyfish by ChaosCoreTech in Protopasta Cotton Candy Nebula PLA. I wasn’t going to publish this one due to the huge goof in letting the Z seam run down its face, but when I opened up FlashPrint to reslice it, I couldn’t find the Z seam in the preview.
In fact, Z seam isn’t even an option to adjust – instead there’s something called “Start Points” in Expert Mode. Start points can be placed in a “inner recess point,” in a specific point controlled by x and y coordinates or randomly. This feature is too important to hide and ruined an otherwise perfect 16 hour, 30 minute print, using the default settings.
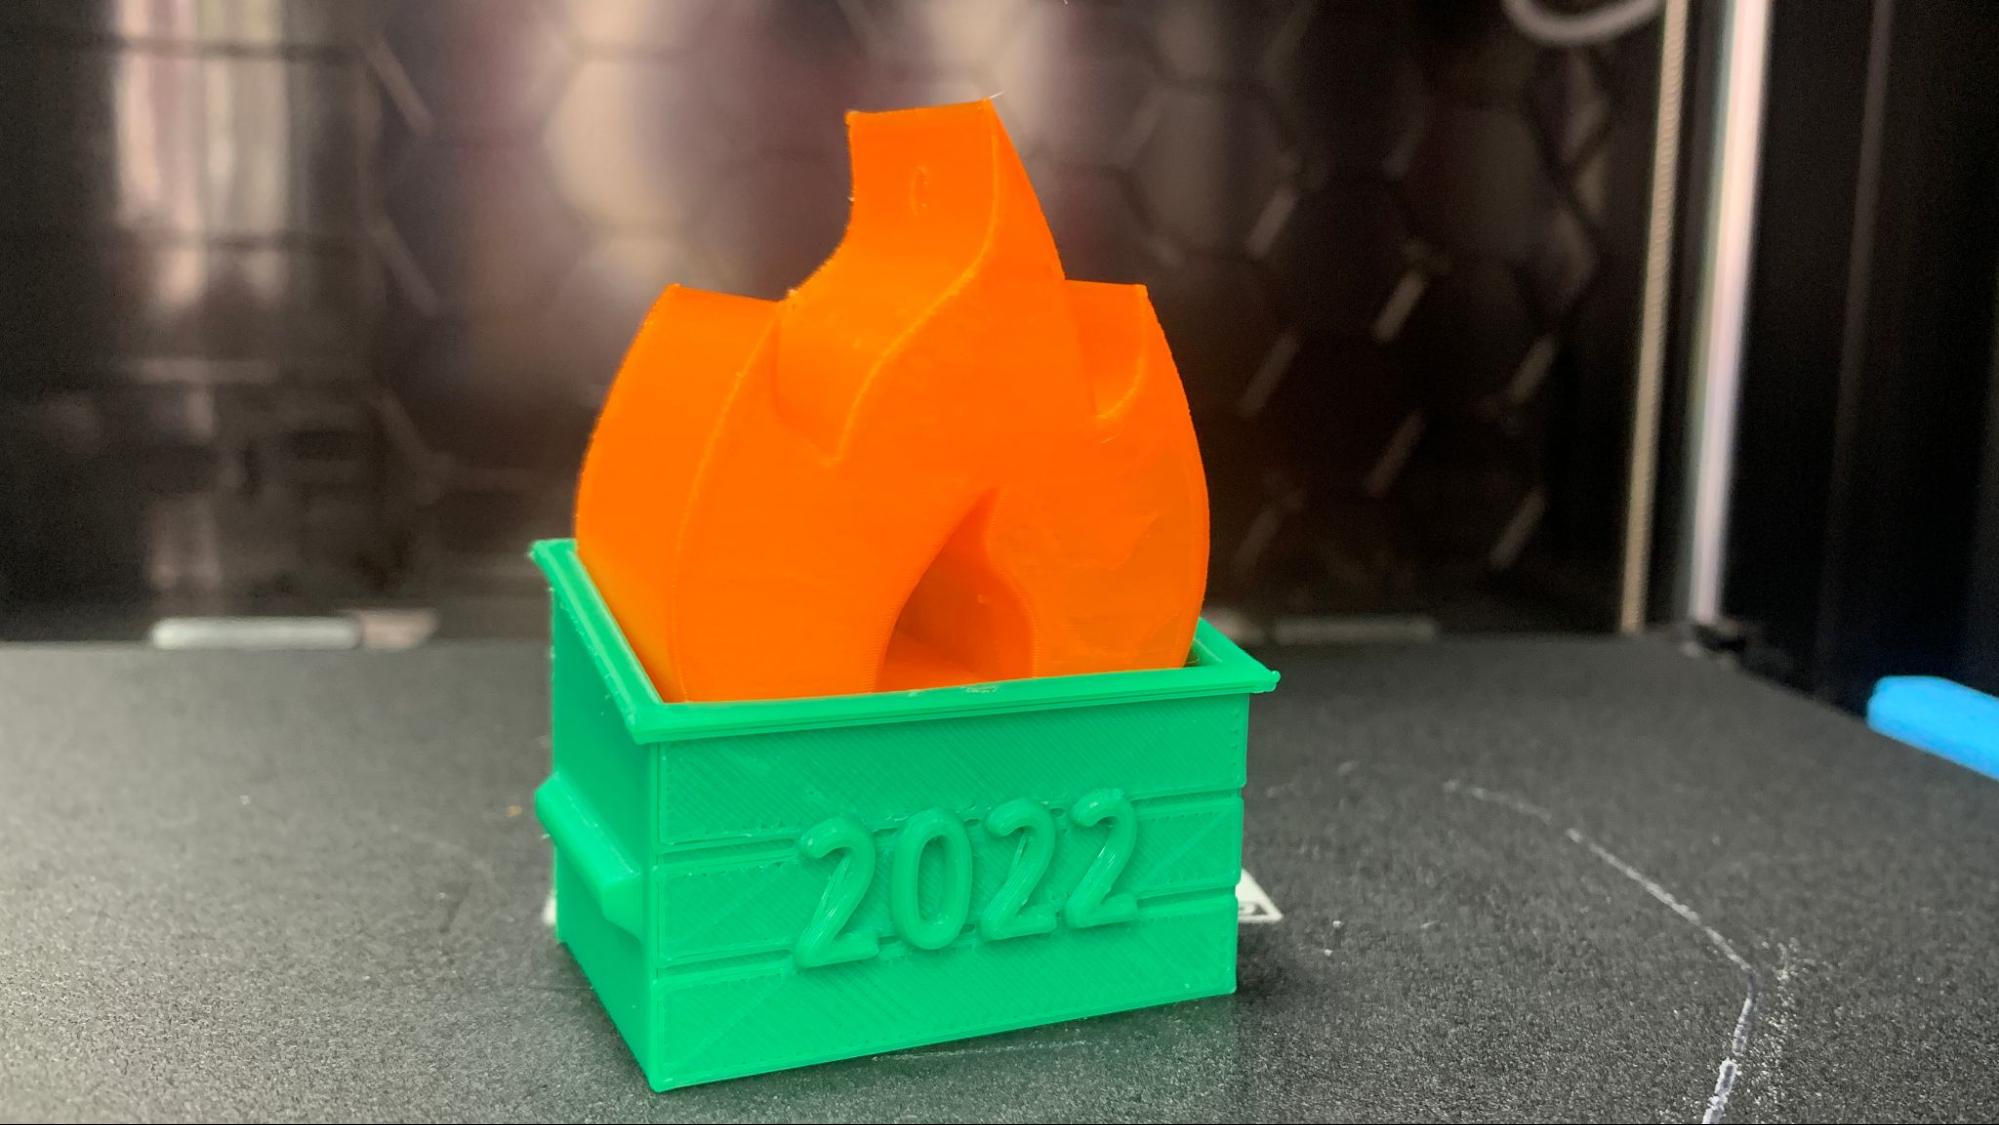
I wanted to see how the Voxel Pro handled PETG and printed my own design, a 2022 Dumpster Fire ornament I’ll be making this Christmas. The dumpster and flame are two separate prints made from Inland Green PETG and MH Build Translucent Orange PETG. The print turned out well, with just a few hairs to clean up and a little slop under the numbers. Both prints together took 2 hours and 13 minutes of print time, using the default settings.
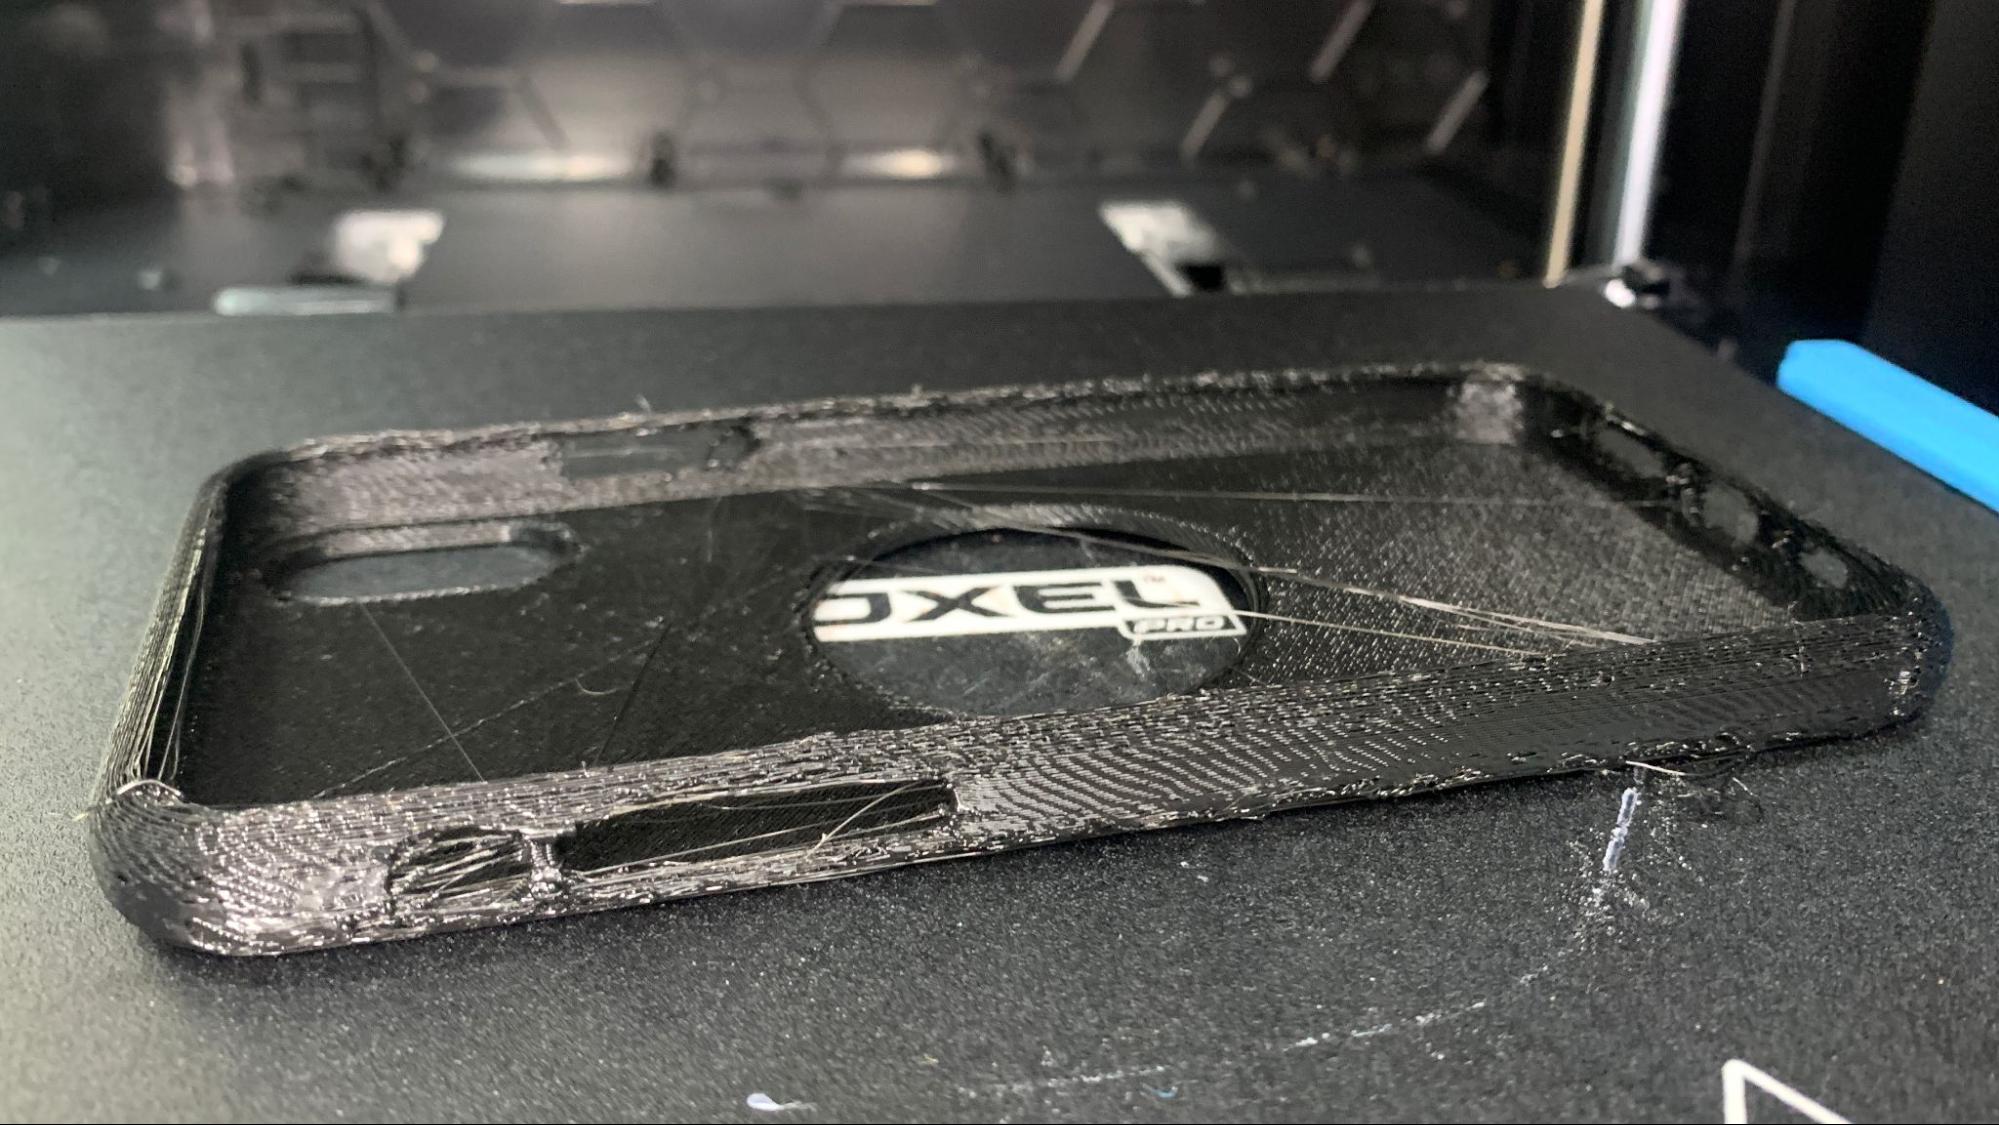
The Voxel Pro is a Bowden design, so I didn’t have a lot of hope for TPU, which Monoprice states is not supported by this machine. It printed rough and with more than the usual amount of strings. The phone case took 3 hours and 2 minutes at 40 mm/s, and was printed in Inland Black TPU.
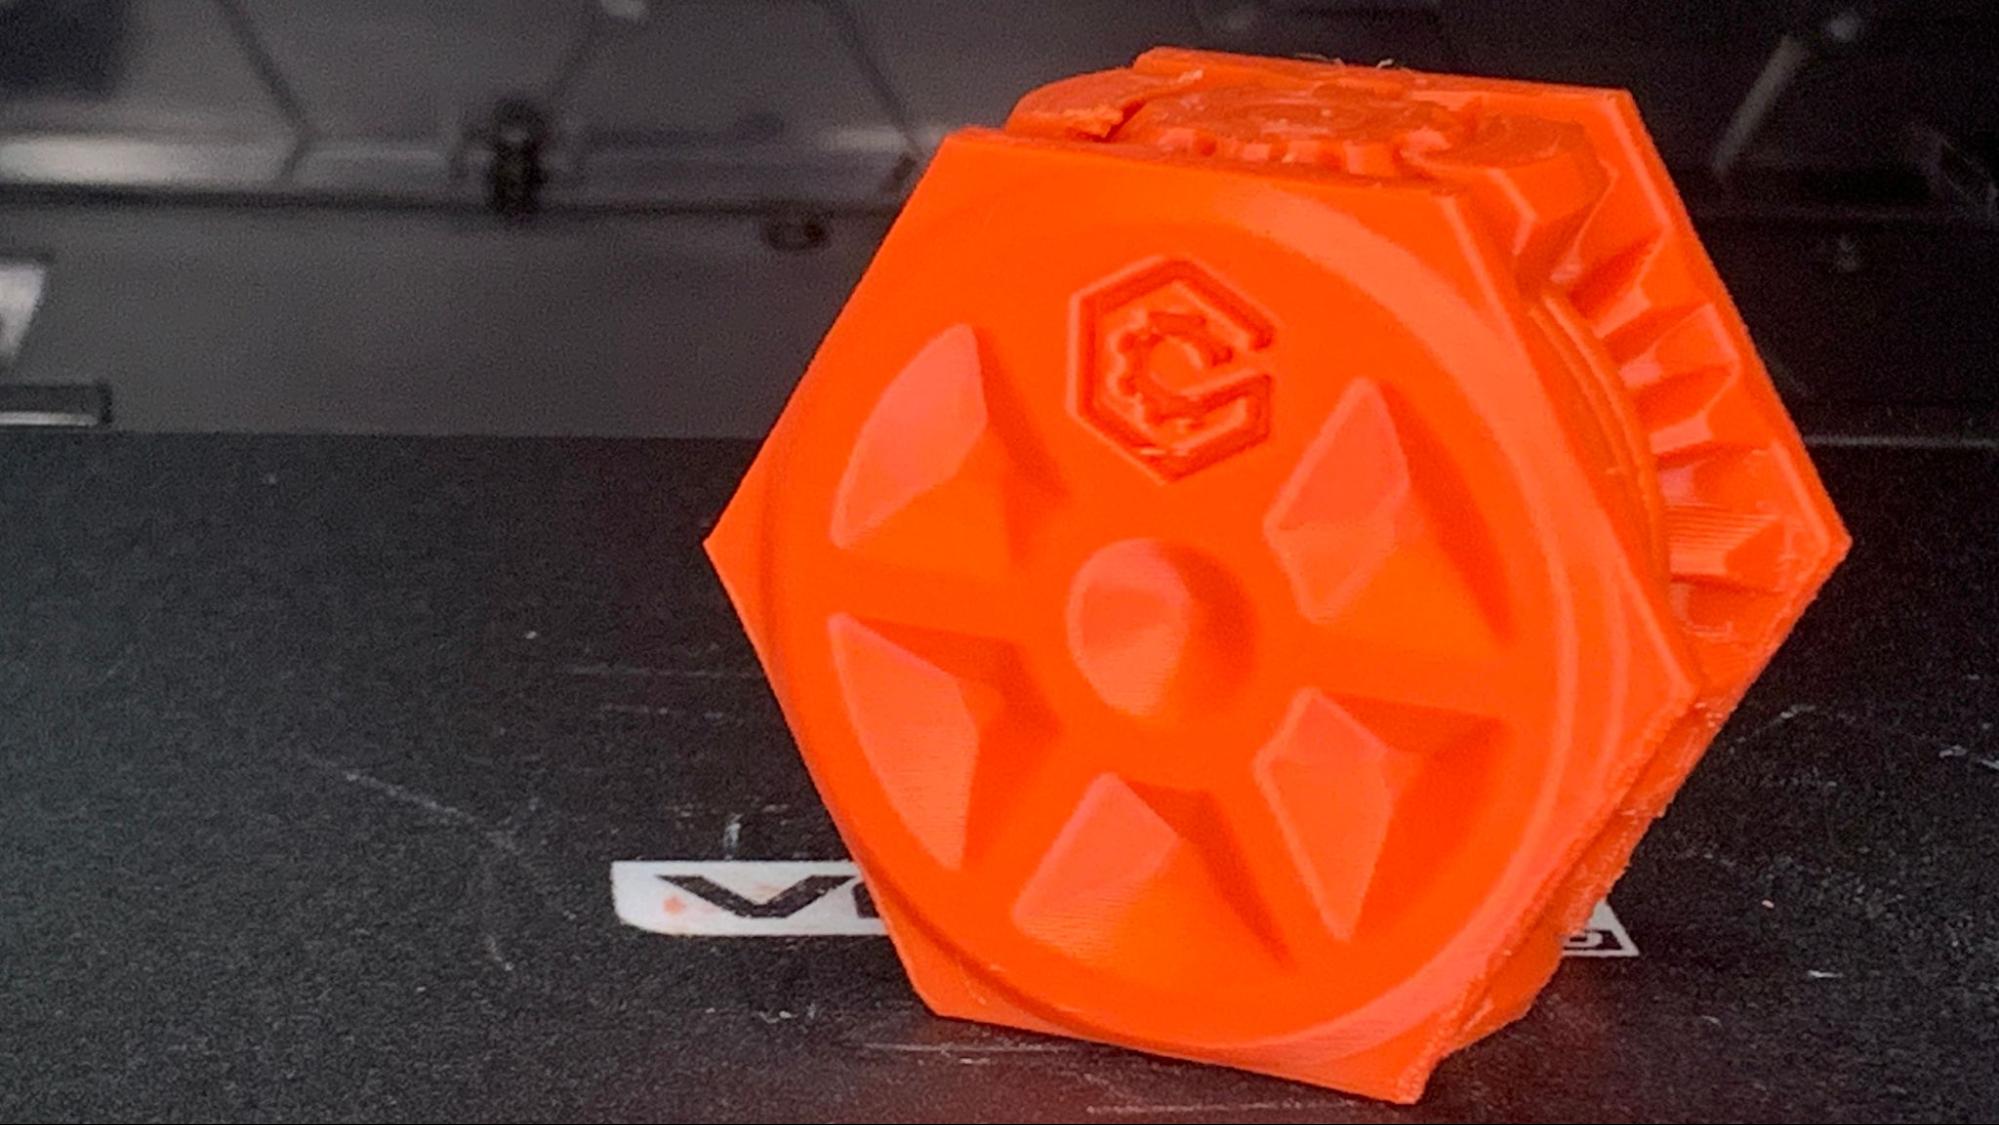
ABS printed well without warping or lifting due to the enclosure. I printed the Clockspring 3D Filament Fidget in Inland Red ABS, a cute print in place piece. The gears turned without fuss, but there were some rough spots on the lower edges. It printed in 5 hours and 32 minutes using the ABS profile and default settings.
Bottom Line
The Monoprice Voxel Pro is a mixed bag, a 3D printer with a lot of potential that fell a bit shy of the mark. Its ease-of-use, pre-assembled arrival and fantastic graphic menu system makes it a good match for beginners looking for a polished consumer product. But the leveling system – critical for successful prints – was not what I would expect in a $899 machine. The print surface is also difficult to tune in, and I’m never in favor of expensive nozzles that are made of quick wearing brass.
Being forced to use the Monoprice FlashPrint slicer is mildly annoying, but only because I am accustomed to using the latest version of Cura. However, the WiFi and built-in camera made up for the trouble and made the printer more enjoyable to use.
The Voxel Pro won’t make our list of best printers at this price point with this type of flawed leveling and build surface, especially when for $100 less you can get the blinding fast AnkerMake M5 with most of the same features or better. If you’re really set on an enclosed, beginner friendly printer, you should also check out the Creality Sermoon V1 for $359.
MORE: Best 3D Printers
MORE: Best Resin 3D Printers
MORE: Best Filaments for 3D Printing

Denise Bertacchi is a Contributing Writer for Tom’s Hardware US, covering 3D printing. Denise has been crafting with PCs since she discovered Print Shop had clip art on her Apple IIe. She loves reviewing 3D printers because she can mix all her passions: printing, photography, and writing.
