Tom's Hardware Verdict
AnkerMake’s first 3D printer is surprisingly fast, boldly modern, and can warn you of print failures too.
Pros
- +
AI print monitor
- +
Built-in camera
- +
Direct Drive
- +
Auto bed leveling
- +
PEI coated flexible build plate
Cons
- -
No SD card slots
- -
Noisy fans
- -
AI monitoring only works with native slicer
- -
Slicer is still being developed at time of delivery
- -
Proprietary nozzles
Why you can trust Tom's Hardware
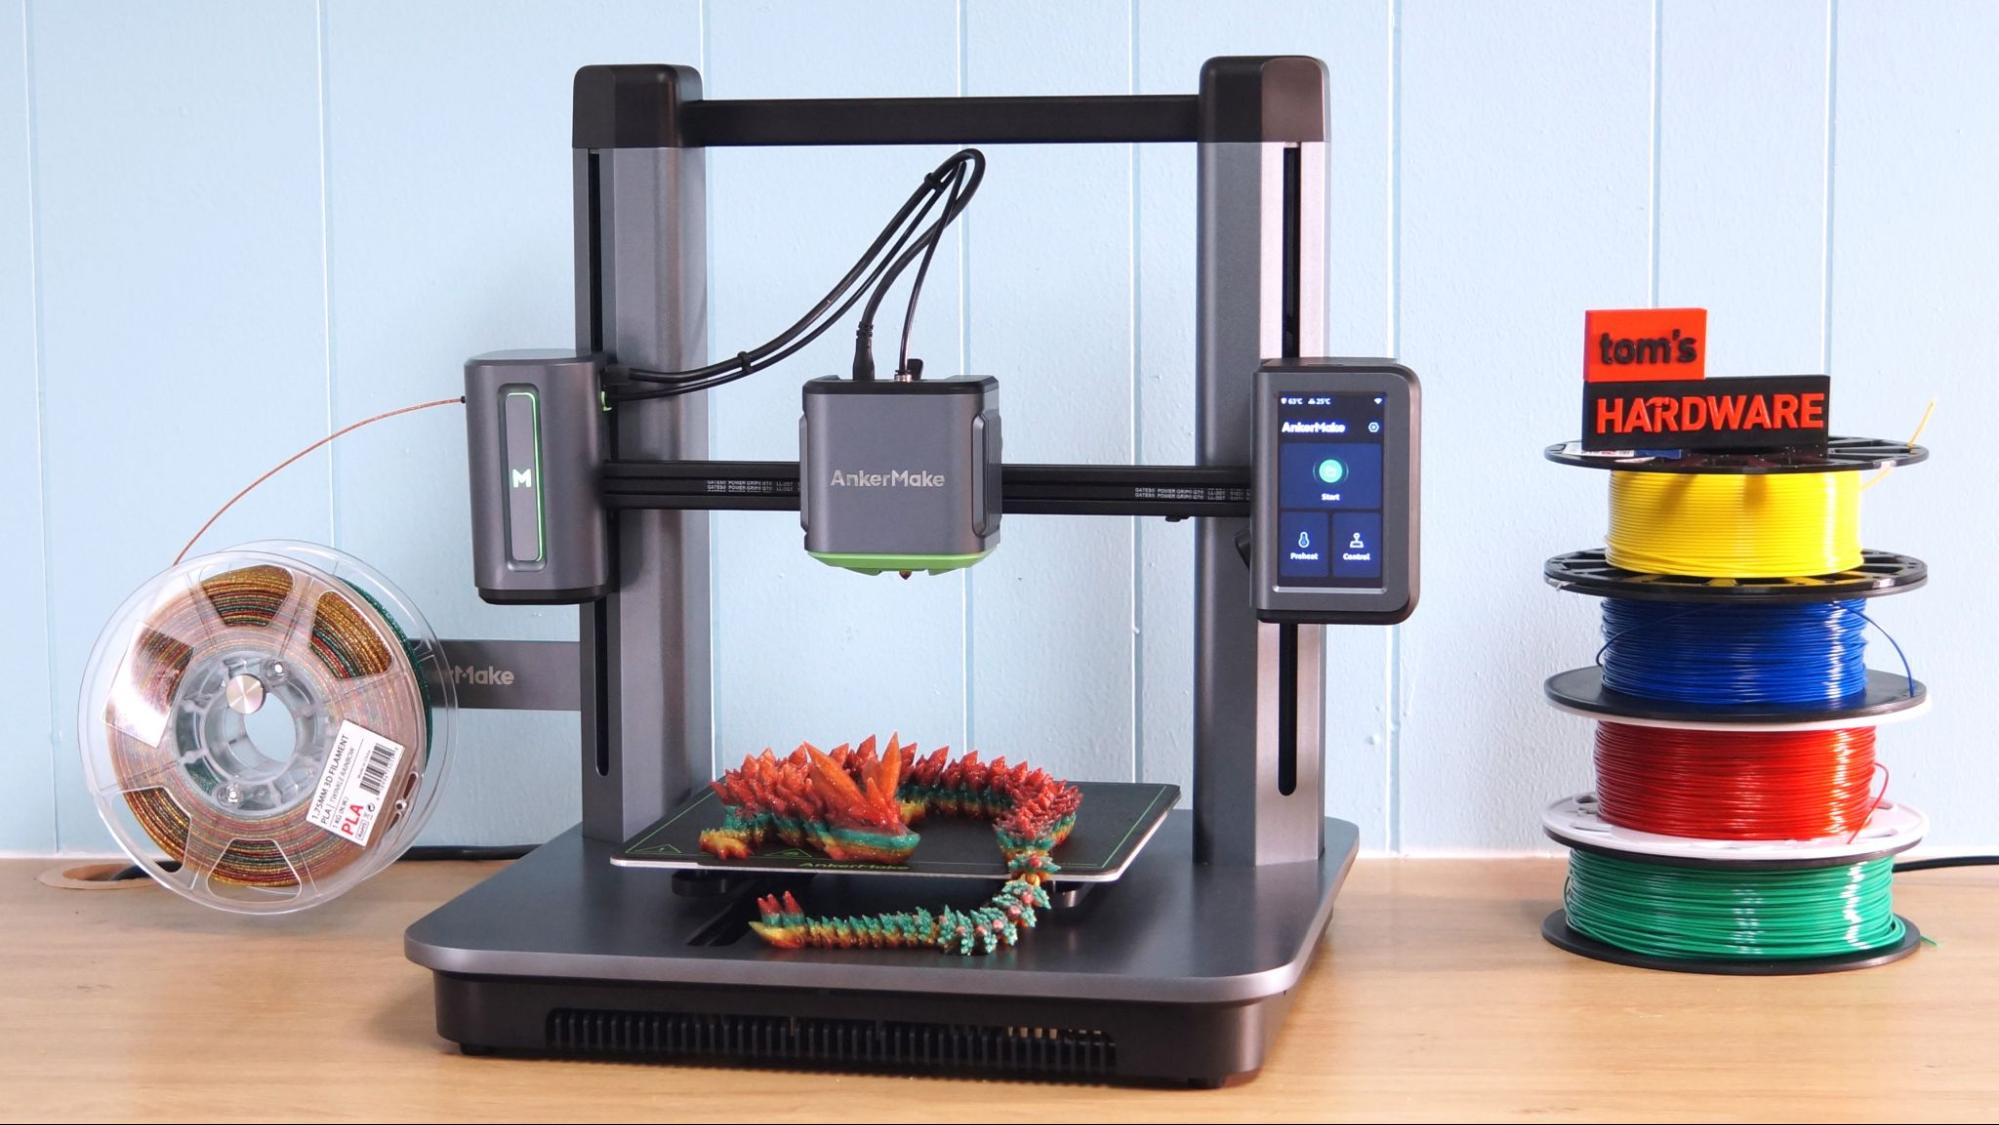
Earlier this year Anker, purveyors of power banks and phone cords, surprised everyone by entering the 3D printing market with the AnkerMake M5. Promising unheard of speeds for a bed slinger (that doesn’t have special Klipper firmware installed), the project launched on Kickstarter and was immediately backed by over 11,000 people. It is now available for pre-order for $799, with a December delivery date.
The AnkerMake M5 is a Cartesian type 3D printer, much like the popular Ender 3 S1 Pro. The Ender 3 produces its best quality around the 50-60 mm/s mark and can successfully top out at 150 mm/s if you don’t mind a little wobble in the details. The AnkerMake M5 lists its standard speed at 250 mm/s – much faster than ordinary printers of its kind and a bit faster than the Klipper-boosted FLSun V400 Delta, which has a recommended print speed of 150 mm/s.
It’s also a very modern machine aimed at today’s tech savvy consumer. The AnkerMake M5 has two CPUs – one for Marlin to handle the printing and another running Linux to monitor the results via camera and operate the WiFi. It has a free app for your smartphone which allows you to monitor and stop prints remotely. It comes with a flexible PEI coated steel plate, auto bed leveling, and a direct drive that tames TPU like nobody’s business.
Oh, and did I mention it has RGB lights?
We finally got our hands on an AnkerMake M5 and put it to the test. Our unit is from the same batch the Kickstarter backers received, and though the machine is exceptionally polished, the software still has a few minor missing features. More on that later. Because our unit is from the Kickstarter phase, it’s entirely possible that small improvements could be made before the next batch of retail machines are produced. However, even in its current state, the AnkerMake M5’s epic speed, ease-of-use, output quality and features make it one of the best 3D printers.
Specifications: AnkerMake M5
| Machine Footprint | 502 x 438 x 470 mm (19.7 x 17.2 x 18.5 mm) |
| Build Volume | 235×235×250 mm (9.25 x 9.25 x 9.8 in) |
| Material | PLA/PETG/TPU/ABS |
| Extruder Type | Direct Drive |
| Nozzle | 0.4mm (interchangeable) |
| Build Platform | Double sided PEI Spring Steel, Heated |
| Filament Runout Sensor | Yes |
| Bed Leveling | Auto Leveling |
| Interface | 4.3 inch color touch screen |
| Connectivity | Wi-Fi/USB-C |
Included in the box: AnkerMake M5
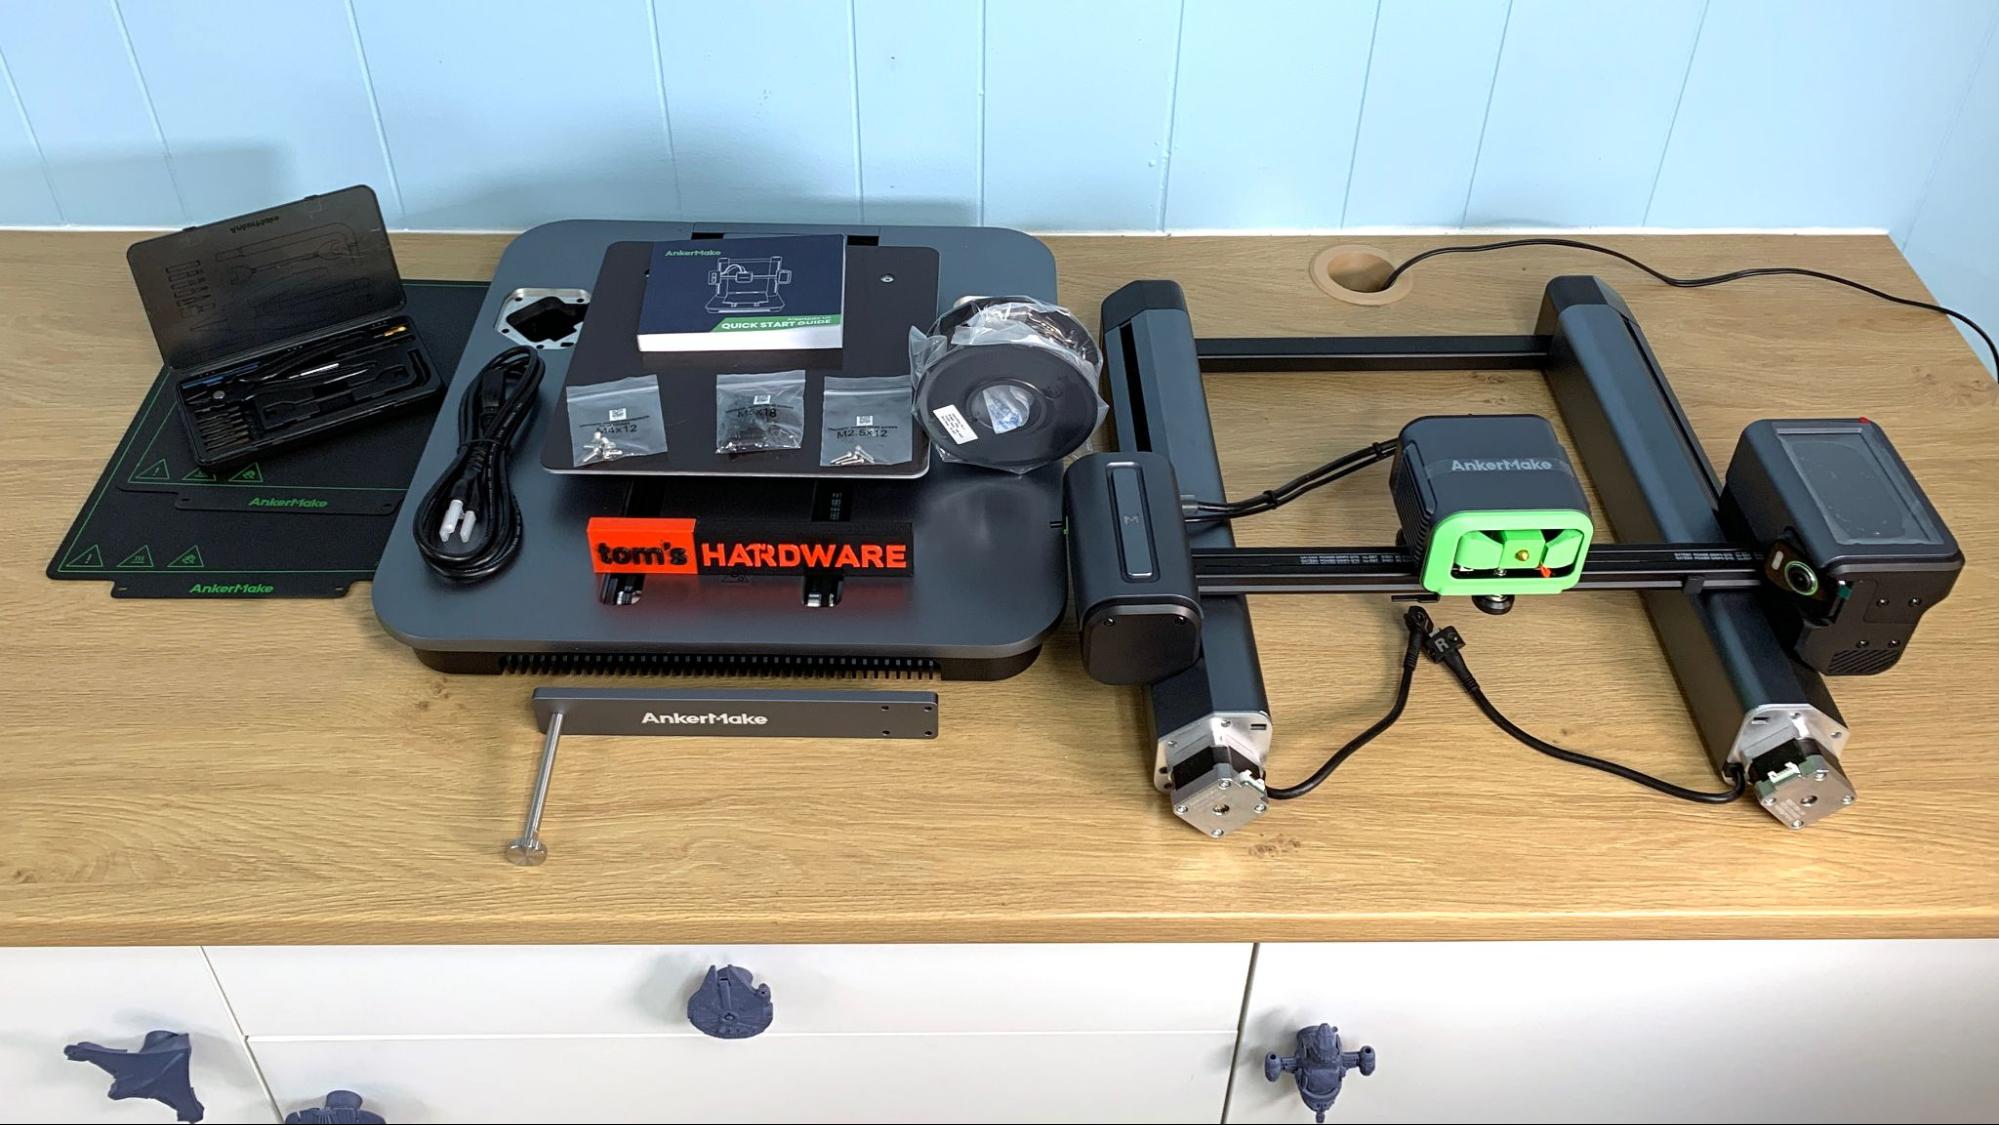
The AnkerMake M5 comes with everything you need to get started: tools in a handy kit to build and maintain the printer, side cutters, and nozzle cleaner. You also get a spare nozzle and small sample of PLA on a spool.
There’s a paper booklet with a quick start guide to help you build the printer. It’s rather thick because it is repeated in 10 languages. Two sample prints are stored on the printer’s internal memory, but the custom AnkerMake slicer needs to be downloaded from the company’s website.
Get Tom's Hardware's best news and in-depth reviews, straight to your inbox.
Because our unit was for reviewers, we also received an extra build plate and more spare nozzles.
Assembling the AnkerMake M5
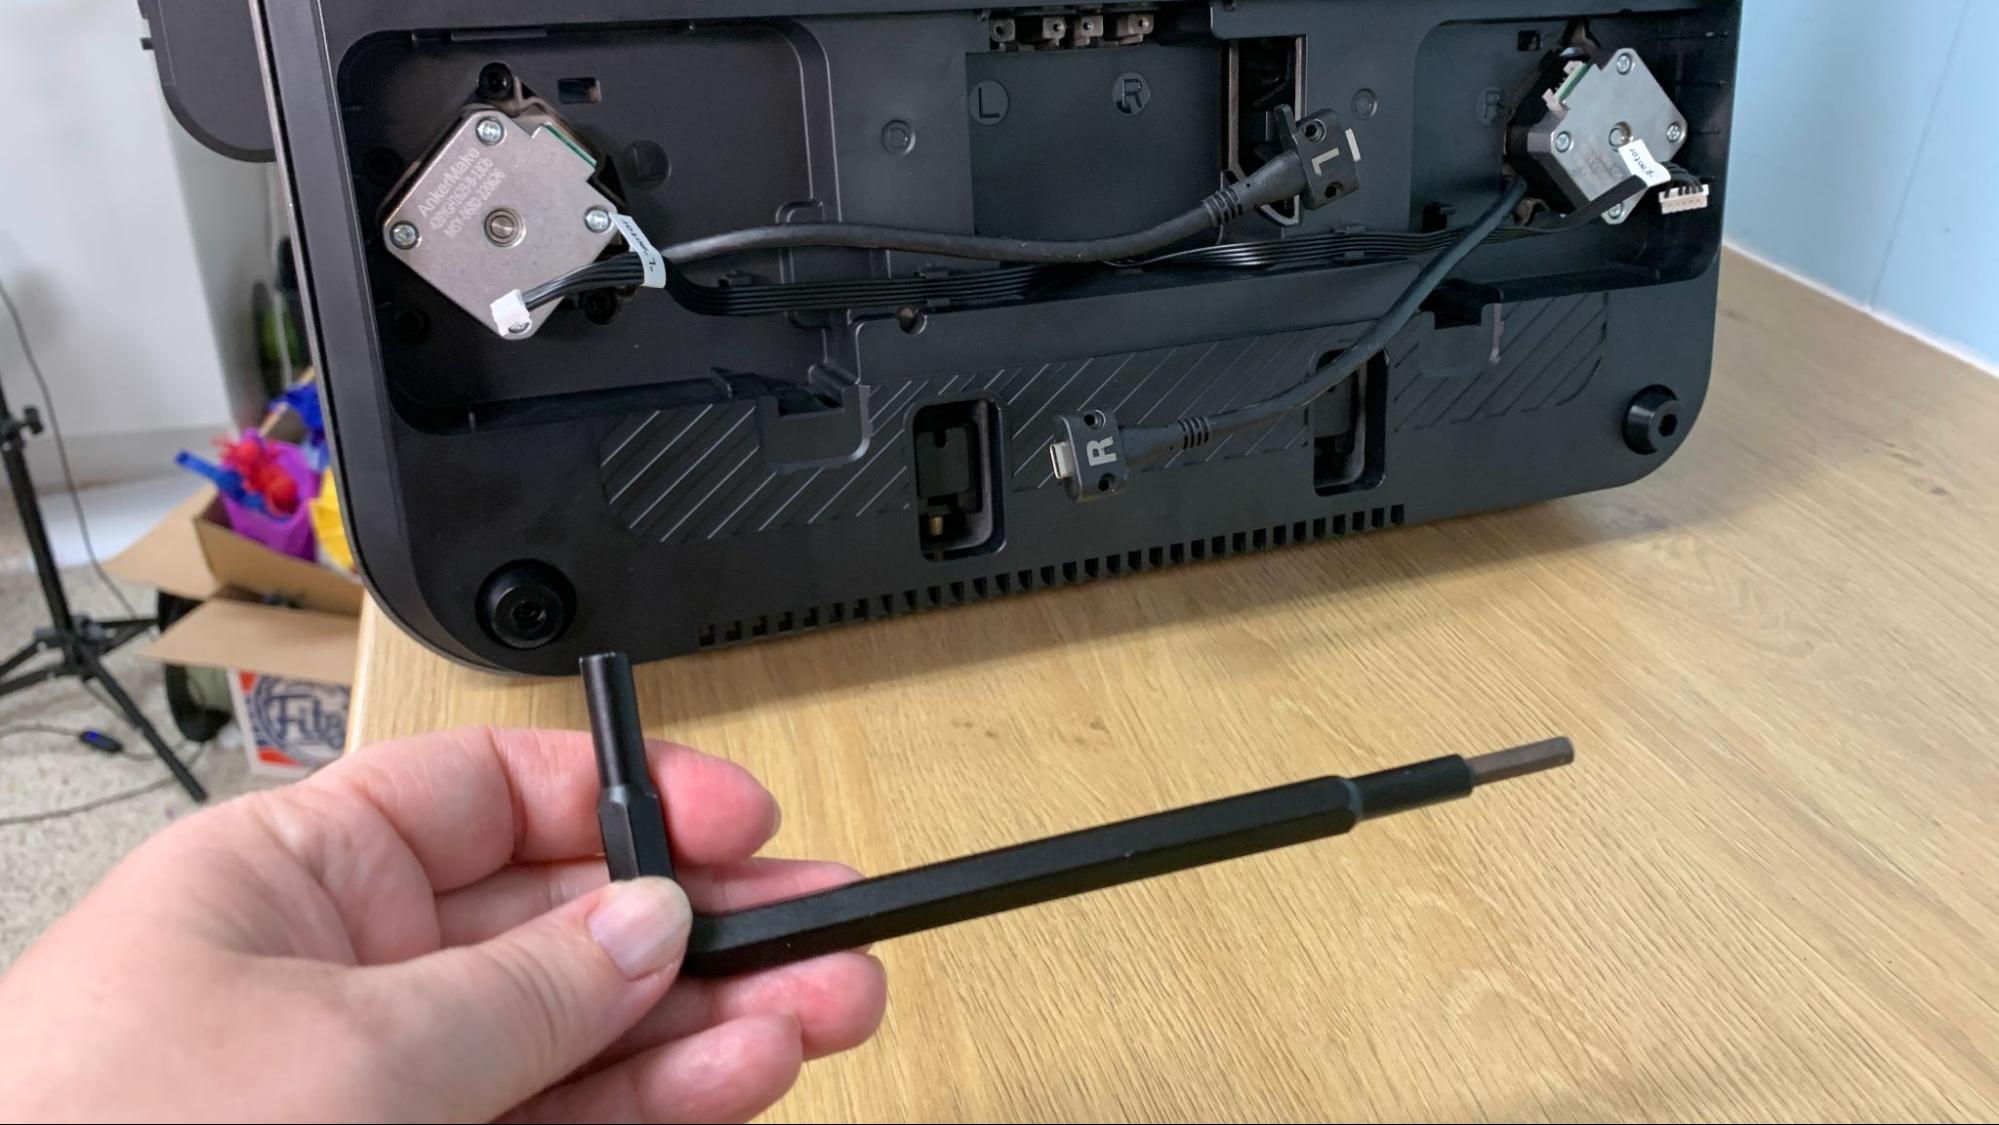
The AnkerMake M5 arrives mostly pre-assembled and only needs 8 bolts – four for each side – to put together. I got it assembled in about 20 minutes. The wiring is the easiest I’ve yet to deal with – two sets of wires for the stepper motors and a pair of USB-C cables which are screwed in securely.
Leveling the AnkerMake M5
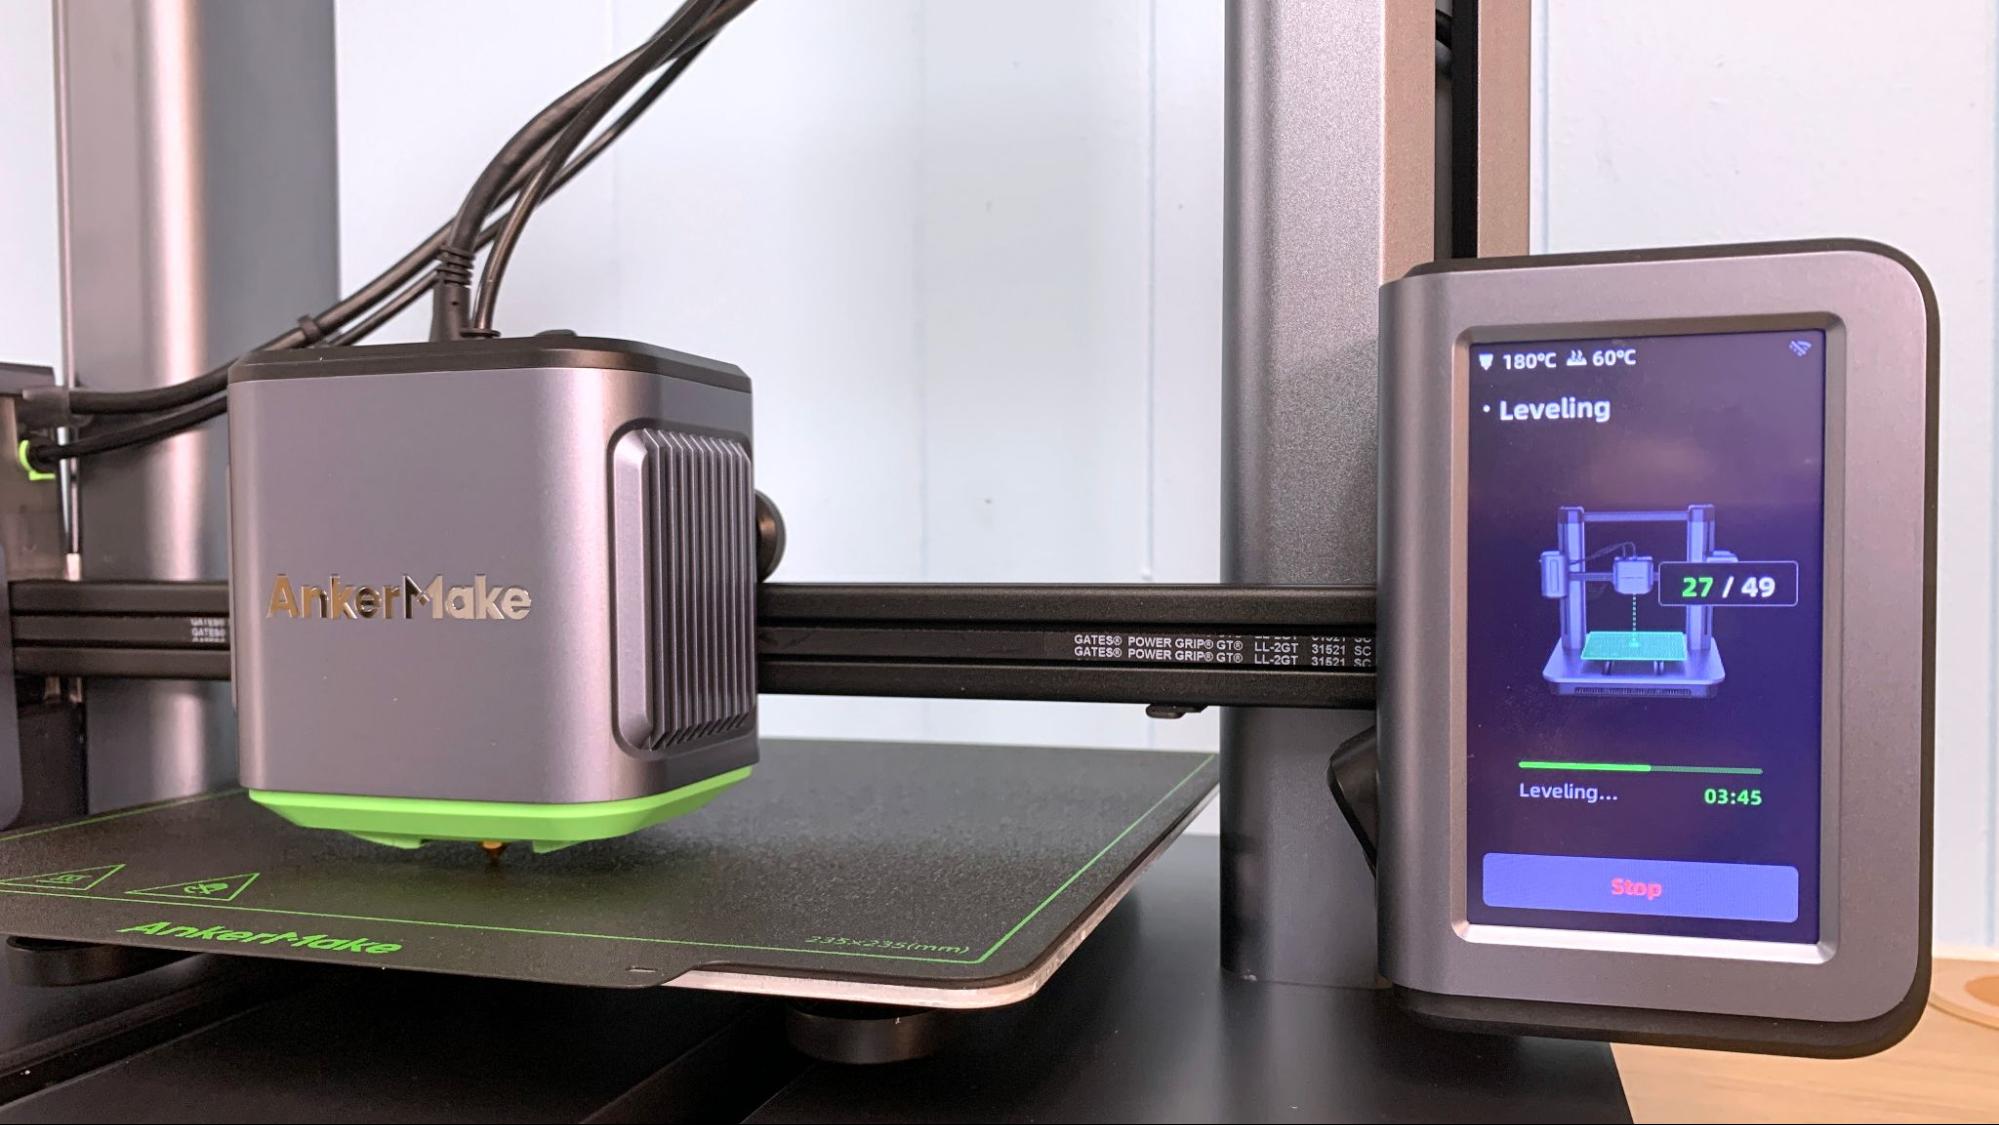
The AnkerMake M5 has a pressure sensor mechanism connected to the hotend for automatic bed leveling. This is my favorite method of bed leveling, as it physically taps the surface and often produces the best Z offset – in fact I didn’t need to change it at all.
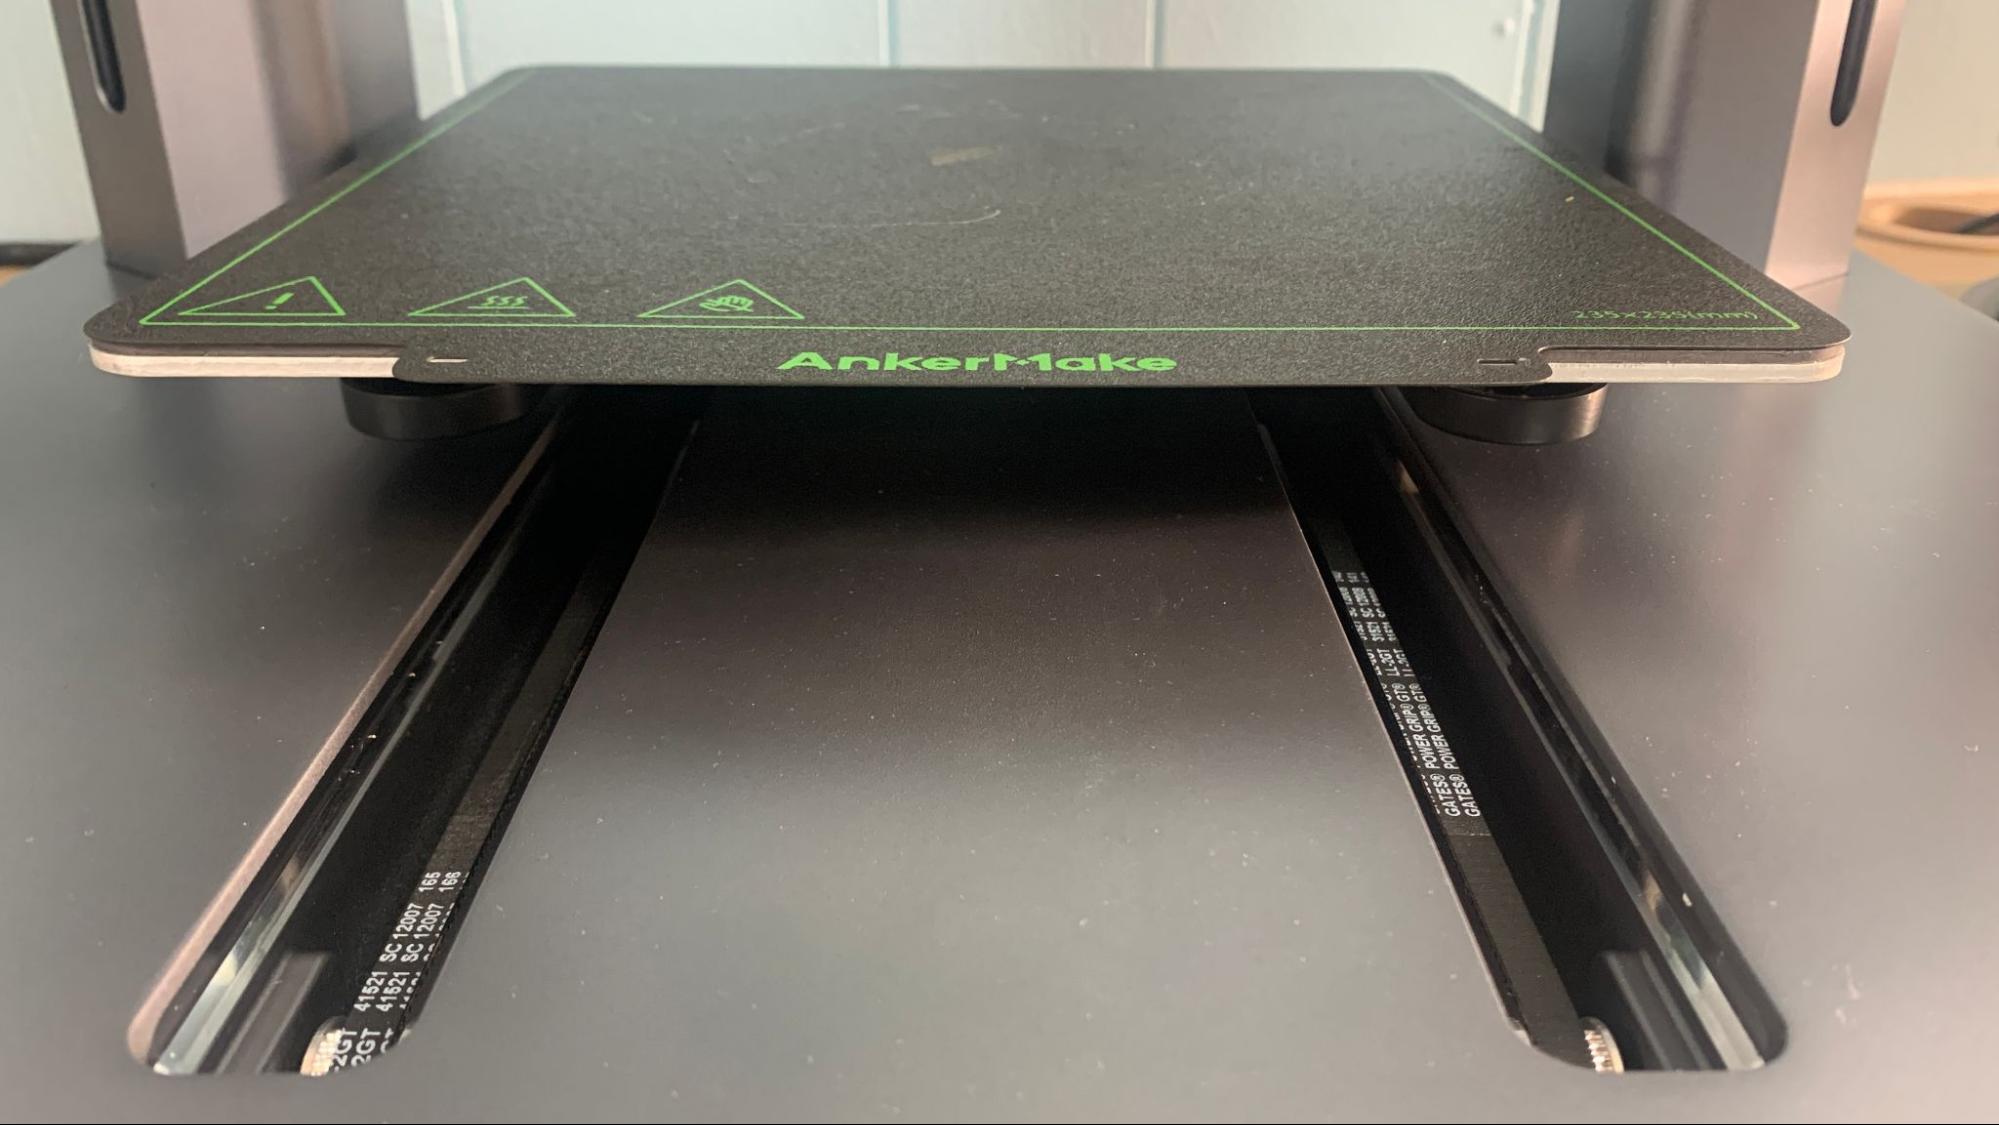
The build platform is hard mounted to the Y-Axis and there are no knobs for manual tramming. Everything is done through the printer’s touch screen.
To level the bed, select Control from the home screen. Then select Auto Leveling and the printer takes care of the rest. It will home the bed, heat up, then double tap 49 spots in a 7x7 in a grid across the bed surface.
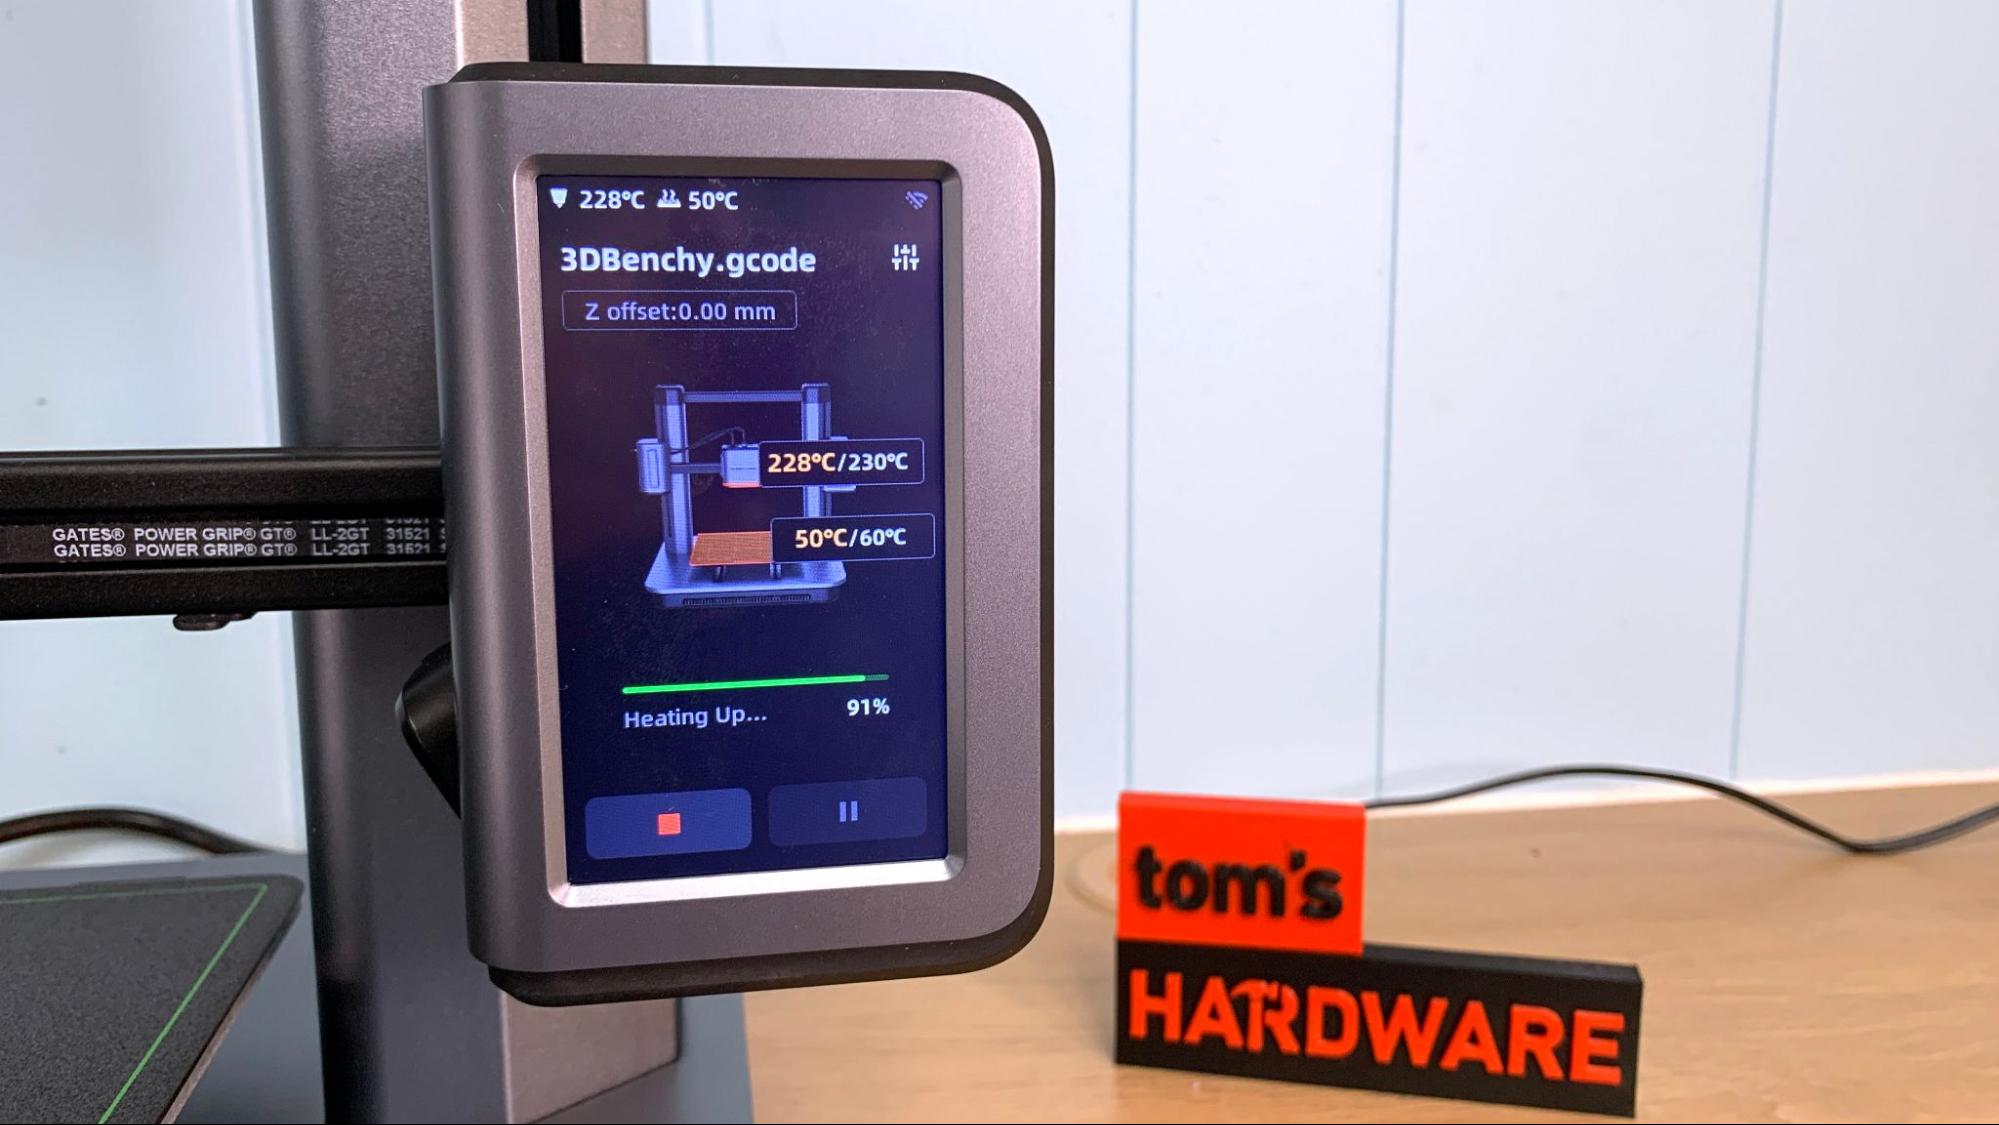
If you do need to adjust the Z offset – perhaps to accommodate a tricky filament – you can access the Z offset right from the print screen.
Loading Filament in the AnkerMake M5
The AnkerMake M5 has an extremely easy filament path and allows you to load materials without effort. The large box on the left-hand side holds the filament runout sensor. Filament is inserted through this box, into the Bowden tube and on to the extruder.
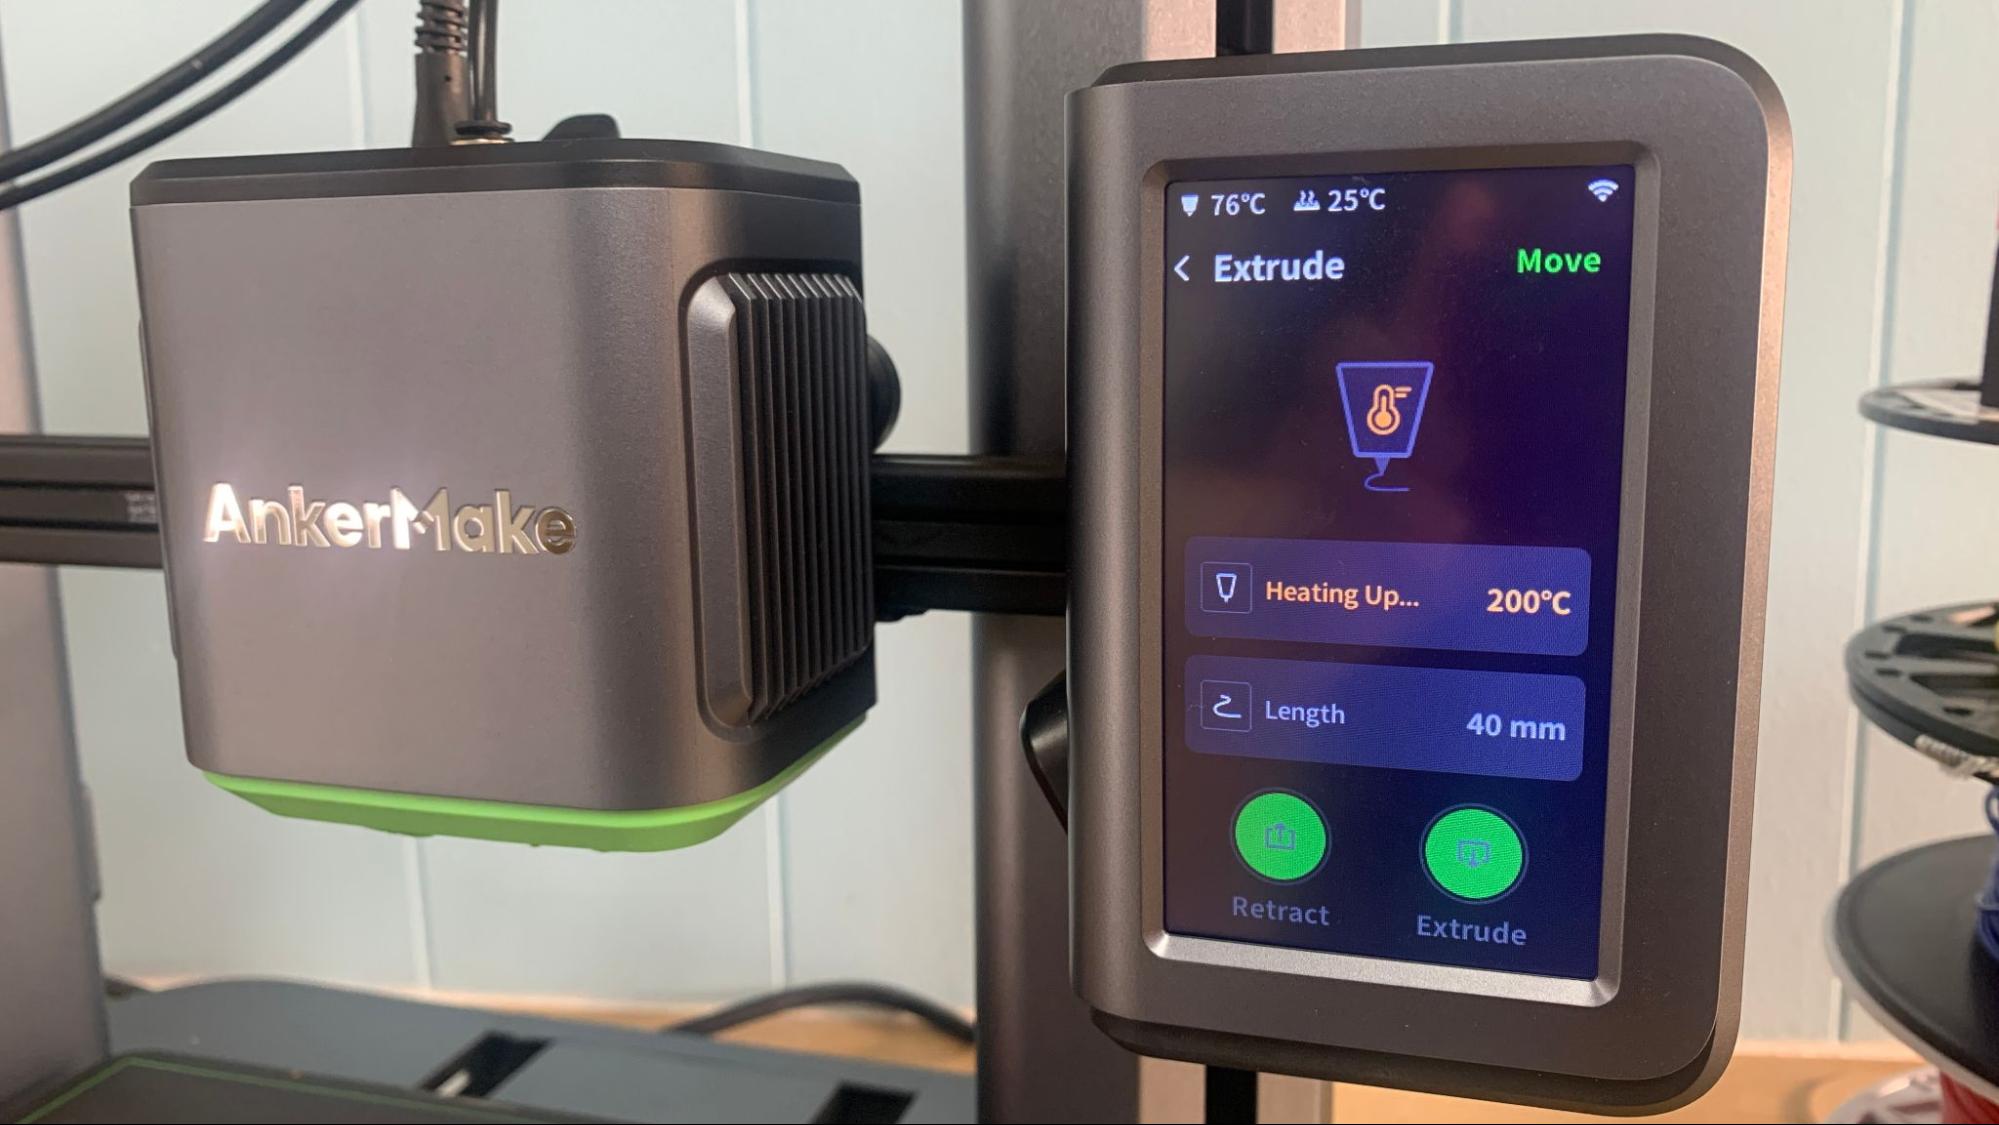
Tap Control →Extrude to warm up the hotend, then click extrude to load filament or retract to remove it. You can program exactly how much filament you want to advance from the touch screen so you don’t need to wait around for it.
Please note, this is a direct drive machine with a “reverse” Bowden tube used to protect the filament on its way to the extruder. If you need to replace filament on the fly you will need to gently push the plastic through the tube until it reaches the gears located at the hotend.
Design of the AnkerMake M5
The AnkerMake M5 is a Cartesian style printer with a polished, ready-for-prime-time appearance. This is not your kid’s science fair project, though it is easy enough to use that a child could run it without trouble. (Just make sure they know not to touch the nozzle when it’s hot.)
Everything about the AnkerMake’s chonky design helps to keep the machine steady during high speed printing. The structure is made of die-cast aluminum alloy, with a low center of gravity. The gantry towers are clad in wide sleeves to keep them sitting square, and the stepper motors are sunk deep into the base, not just bolted to the top of it.
Those wide towers also conceal the wires for the Z axis, and the hotend has a simple home appliance style cord connecting it to the side of the machine.
AnkerMake is not using Klipper to boost the speed of this printer. Instead, they’ve beefed up the Y-Axis with something they’re calling “PowerBoost.” All they’re saying is the Y-Axis has a more powerful stepper motor, a driveshaft with two belts and a stabilized motor algorithm to assist with high speed printing.
The direct drive is something AnkerMake cooked up themselves, and they’ve dubbed it the Ultra-Direct Extruder. It has a super short filament path, a high gear ratio and a large heating block to keep the filament flowing. The nozzle is also a custom length, longer than a standard Creality MK8, but not as long as E3D Volcano. Unfortunately, this means that you will need to get your spare nozzles directly from AnkerMake.
All that speed requires extra cooling, which the AnkerMake provides with twin 15,000 RPM cooling fans. They are regrettably quite noisy. But anything less and the prints won’t firm up, leaving you with sloppy walls. The stepper motors are dead quiet, not that you can tell.
The real star of the show is the camera, which can monitor in real time at 720p and produce timelapse videos of 1080p. It also has an infrared and a LED light for printing in a dark room. The timelapse videos aren’t that special due to the camera’s odd angle, and they’re not as clean as you might get with Octolapse. So why is the camera so important? AI, my friend.
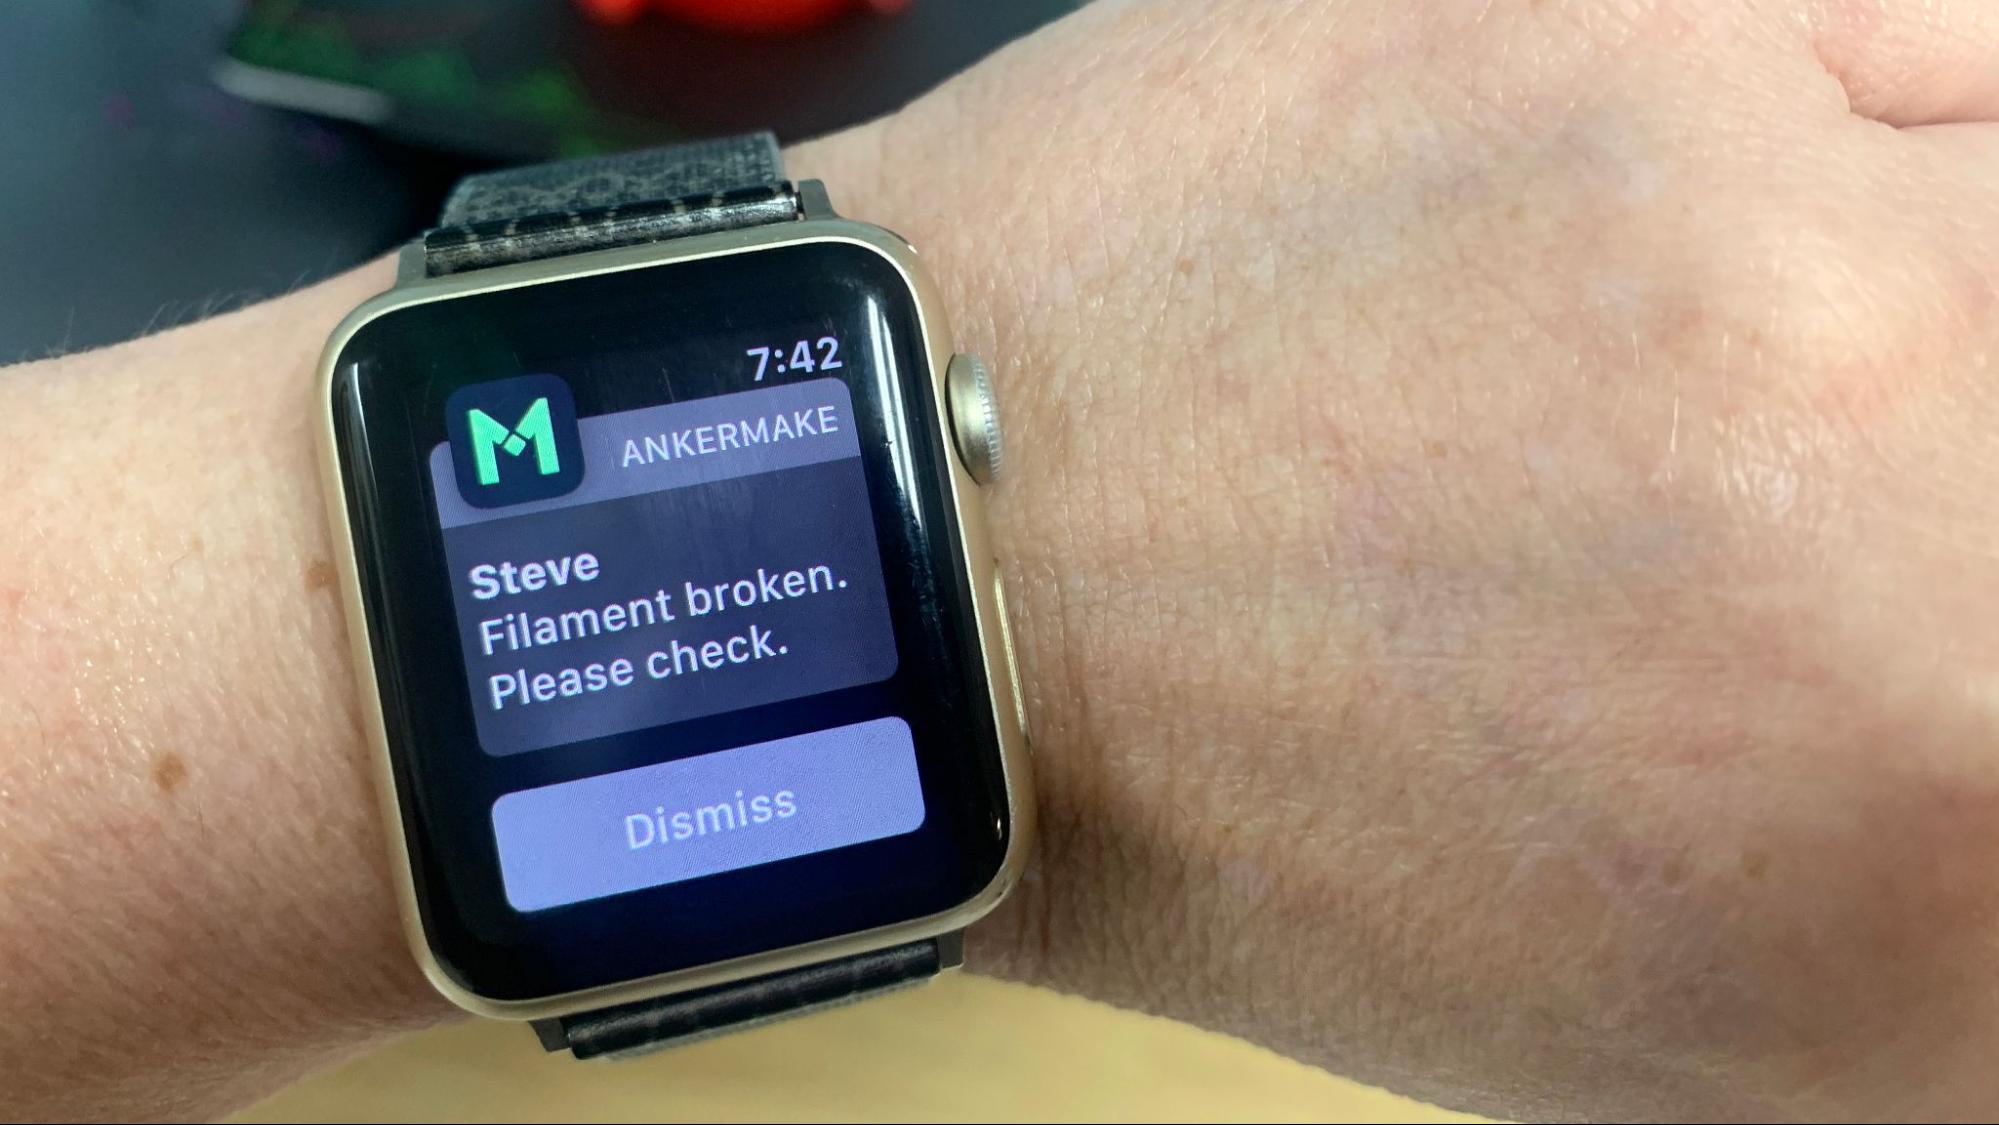
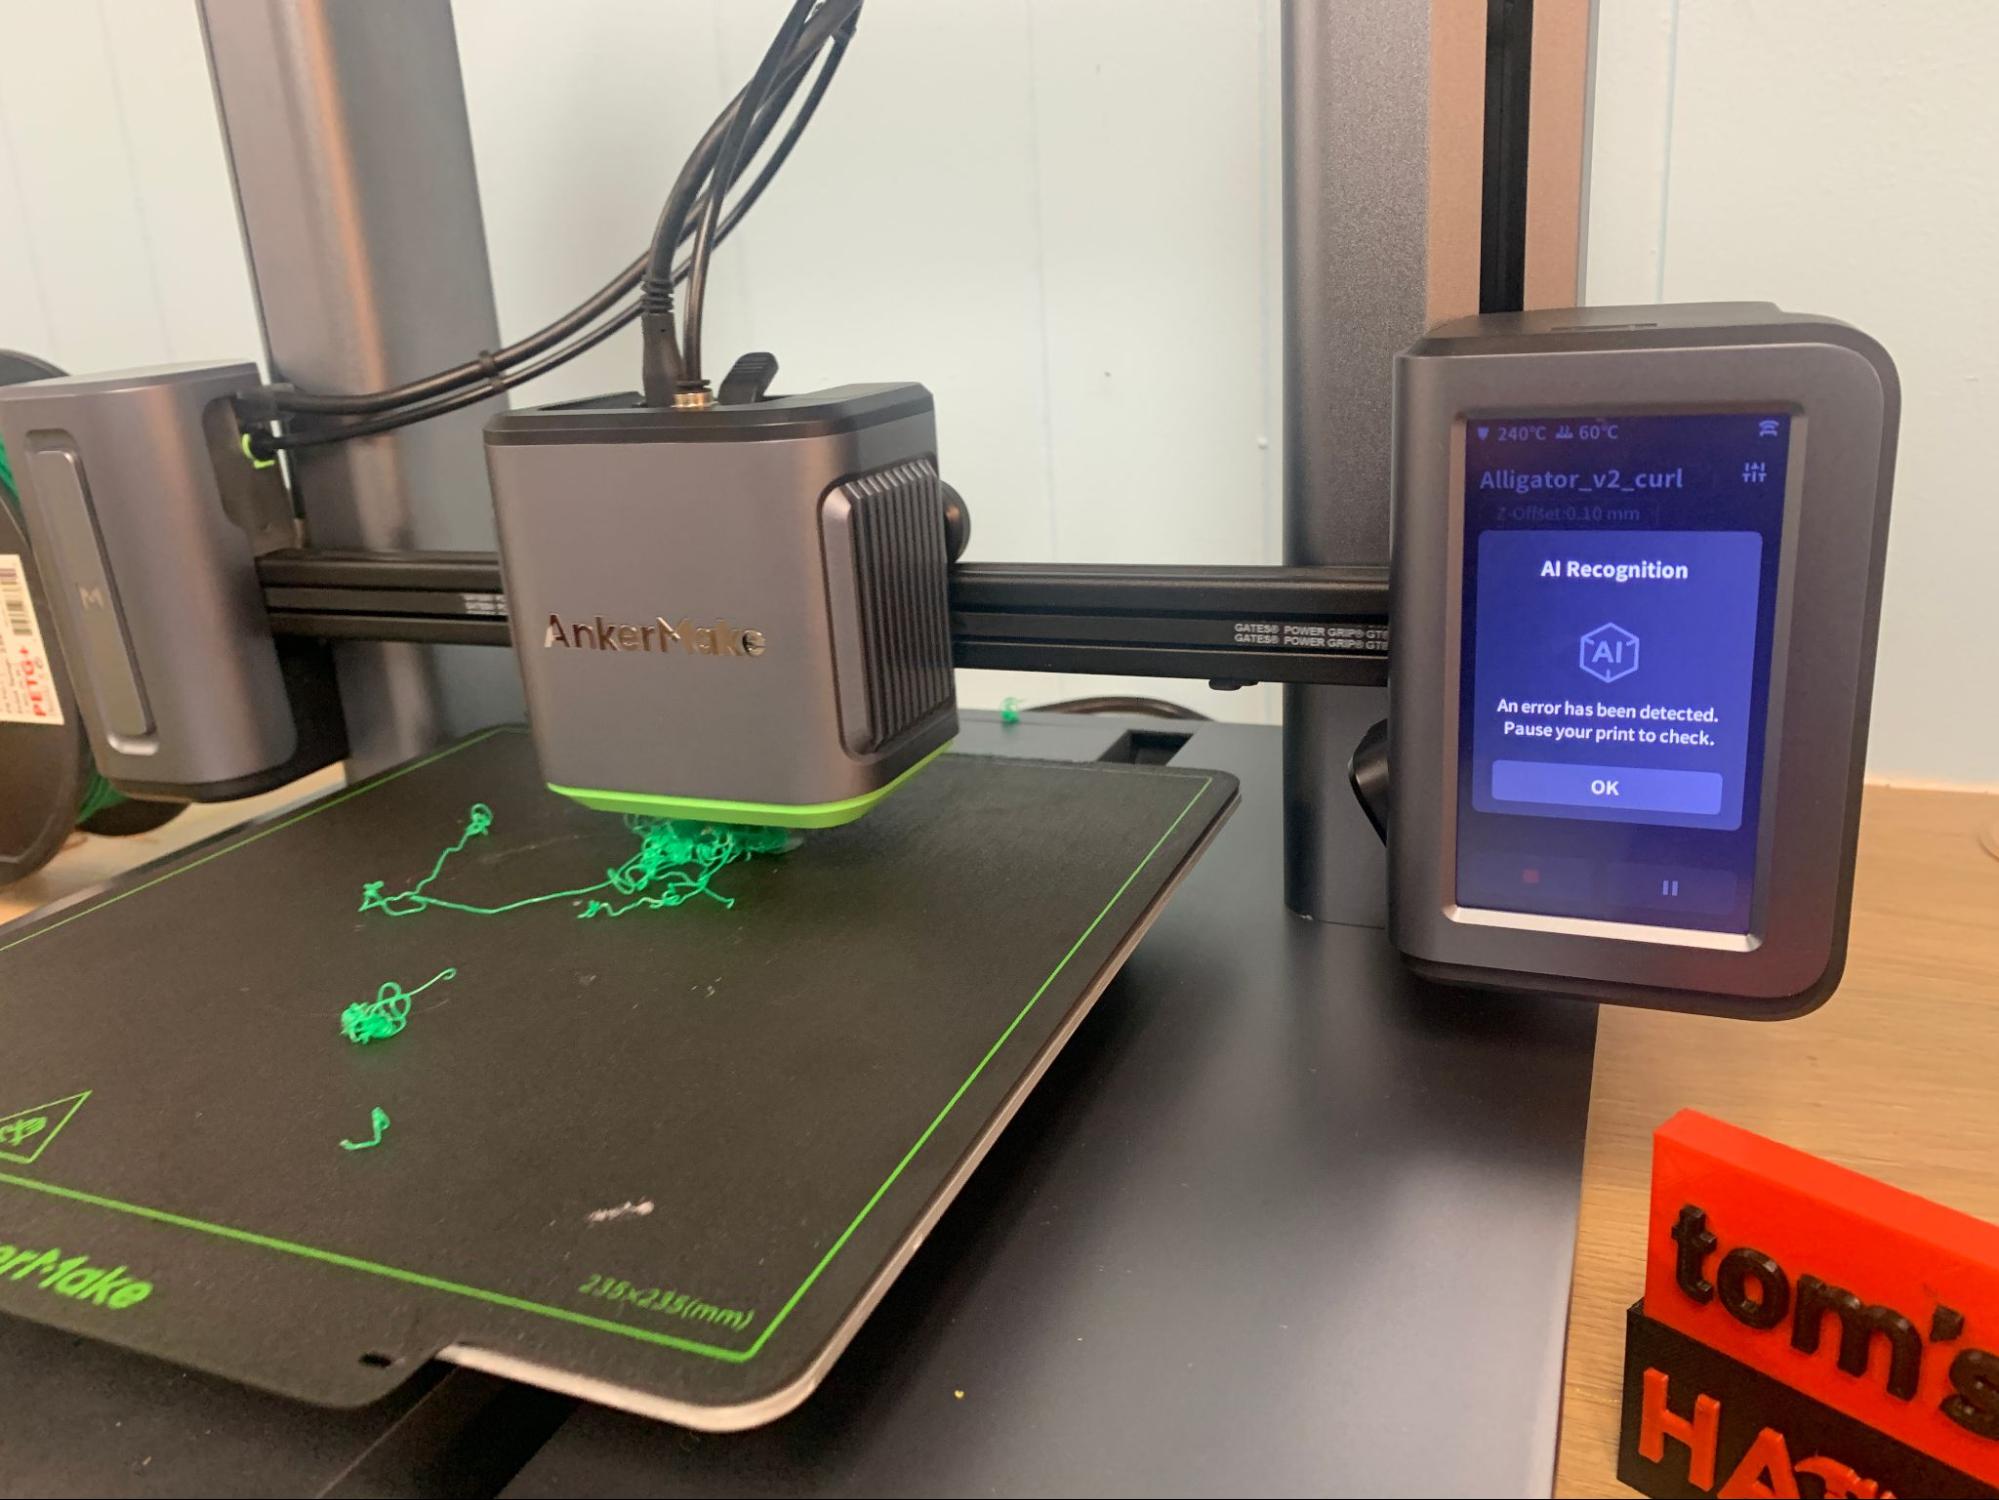
The AnkerMake has the ability to watch over your print and compare it to the sliced file (when you use the native slicer). When it deviates, the printer will alert you via the app and a loud beep. It won’t stop the print on its own – just in case it misread what it sees – but you can stop the print from your phone after looking at the live video. And because this information is going through an app, you can monitor your prints even while miles away.
The AnkerMake uses AES-128 data encryption technology to secure your privacy.
Fun fact, the AnkerMake had no failed prints during testing. In order to see the AI in action, I had to purposefully muck up a print to make it fail. This is the first time I’ve seen a print failure monitor included with a machine. The technology isn’t new – The Spaghetti Detective has been doing this for years, but it is a paid service you need to install on a Raspberry Pi alongside Octoprint.
I have one bone to pick with AnkerMake, and that’s the company’s choice of inputs for this printer. Although the Wi-Fi works beautifully to get prints from the slicer to the machine, I like knowing there’s a backup. There is no SD card slot or standard USB on the machine. Instead, you need a USB-C flash drive to plug into the machine directly. As it turns out, I don’t have a USB-C flash drive sitting in my desk drawer, and my local big box store – as well as Microcenter – are fresh out. It would be nice if AnkerMake would have included a flash drive if they were going to use something a bit off the wall like USB-C.
Preparing Files / Software
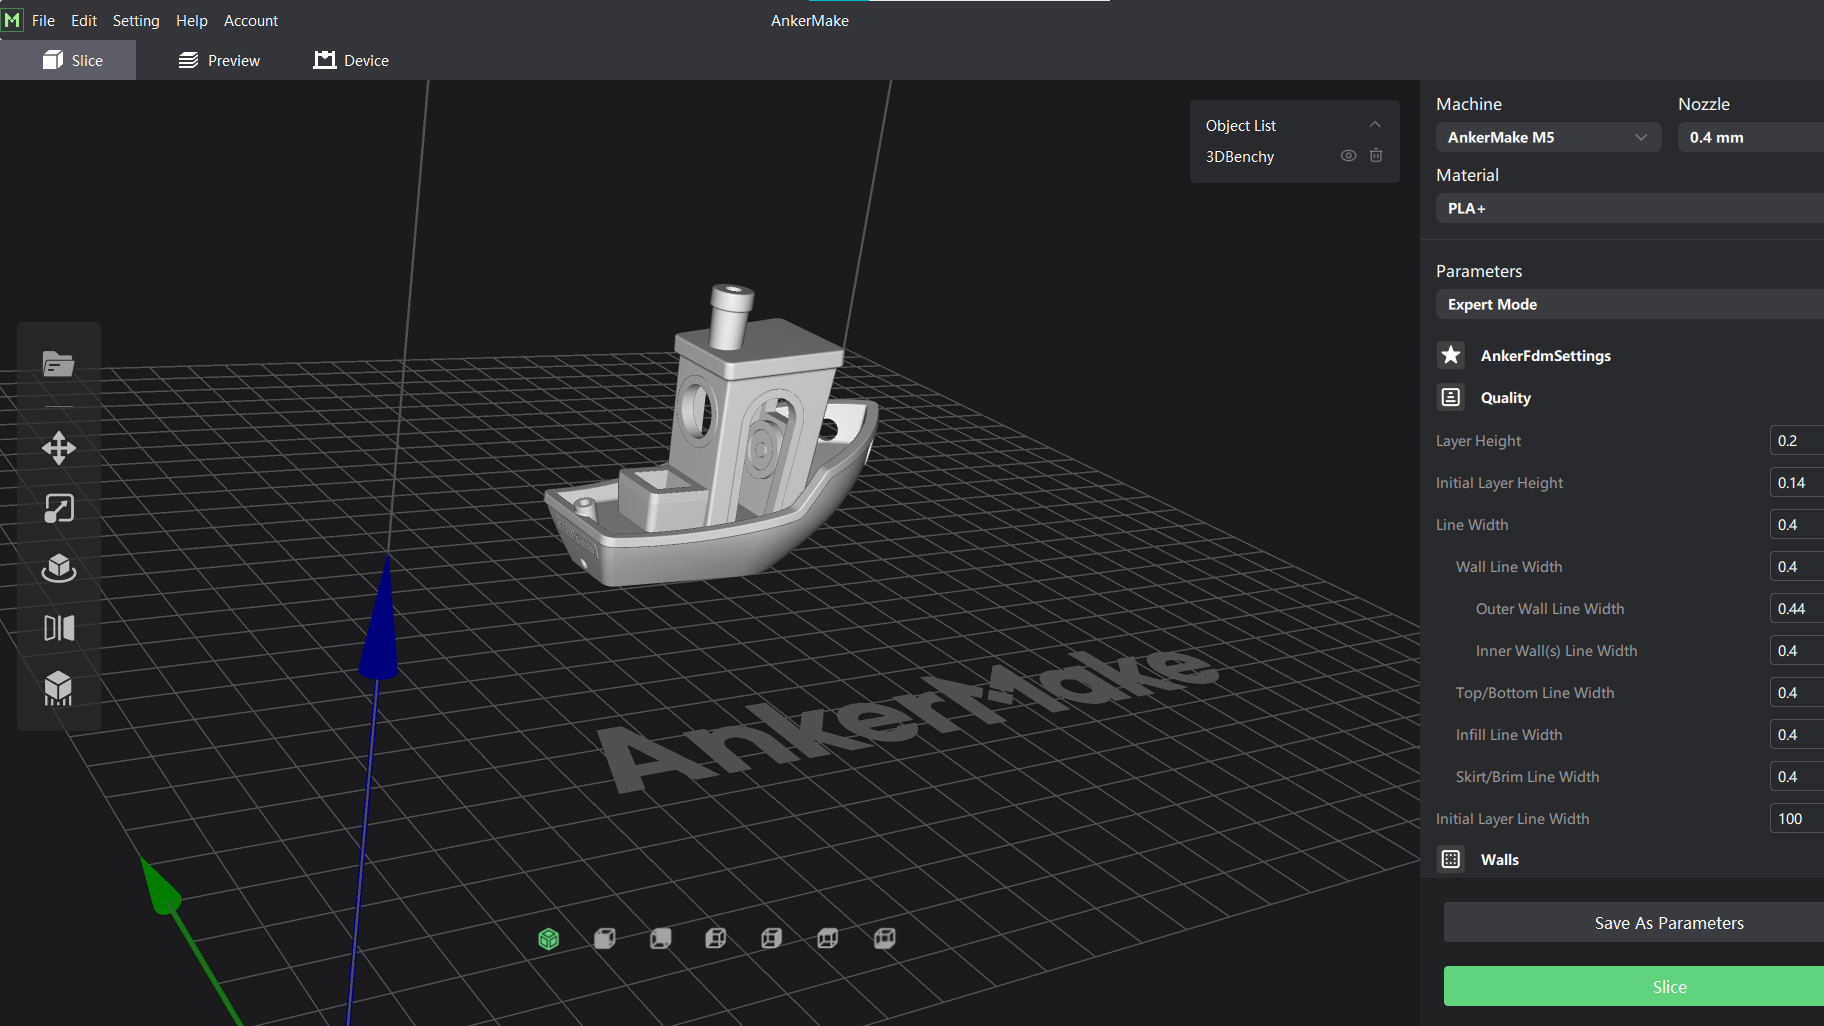
The AnkerMake M5 has its own custom slicer, and it’s in your best interest to figure it out. I generally loath printers that ask me to use their own slicers, because they usually don’t do anything better than my already installed Cura, which I keep constantly updated.
AnkerMake Slicer is a little different. It appears to be Cura under the hood– all the wording and most of the functions are the same. But the slicer is also the only way to transmit files via Wi-Fi, and most importantly, the only way the AI camera can tell if a print is failing. It needs information from this slicer to compare to the image it sees through the lens.
You could use Cura or PrusaSlicer if you like, but you will need to make your own profiles from scratch, and find a USB-C flash drive to transfer them.
As the AnkerMake M5 is just coming out of its Kickstarter phase, the software is somewhat incomplete as of this testing. It’s fully functional, but I could not find vase mode/spiralize contour, there’s no way to automatically lay a print flat on the surface, and there’s no automatic grouping or arranging multiple parts. Hopefully these will be added with later firmware updates.
Printing on the AnkerMake M5
The AnkerMake M5 can print at any speed up to 250mm/s and the manufacturer insists that 250 is not the top speed, but the STANDARD speed. In our testing, the overall quality of the prints was quite good, though in a few prints with smooth walls, you can detect some echos, or ringing from all the vibrations fast printing causes. I used AnkerMake Slicer and their standard settings for all the following prints, which have a .2mm layer height while running at 250mm/s.
I started with the pre-sliced test file that was included in the printer’s onboard memory and the sample sized spool of filament provided with the printer. The samples are just enough to get a few small test models printed, so you’ll definitely need to shop for some more. To see my favorite materials to use, check out our guide to the best filaments for 3D printing.
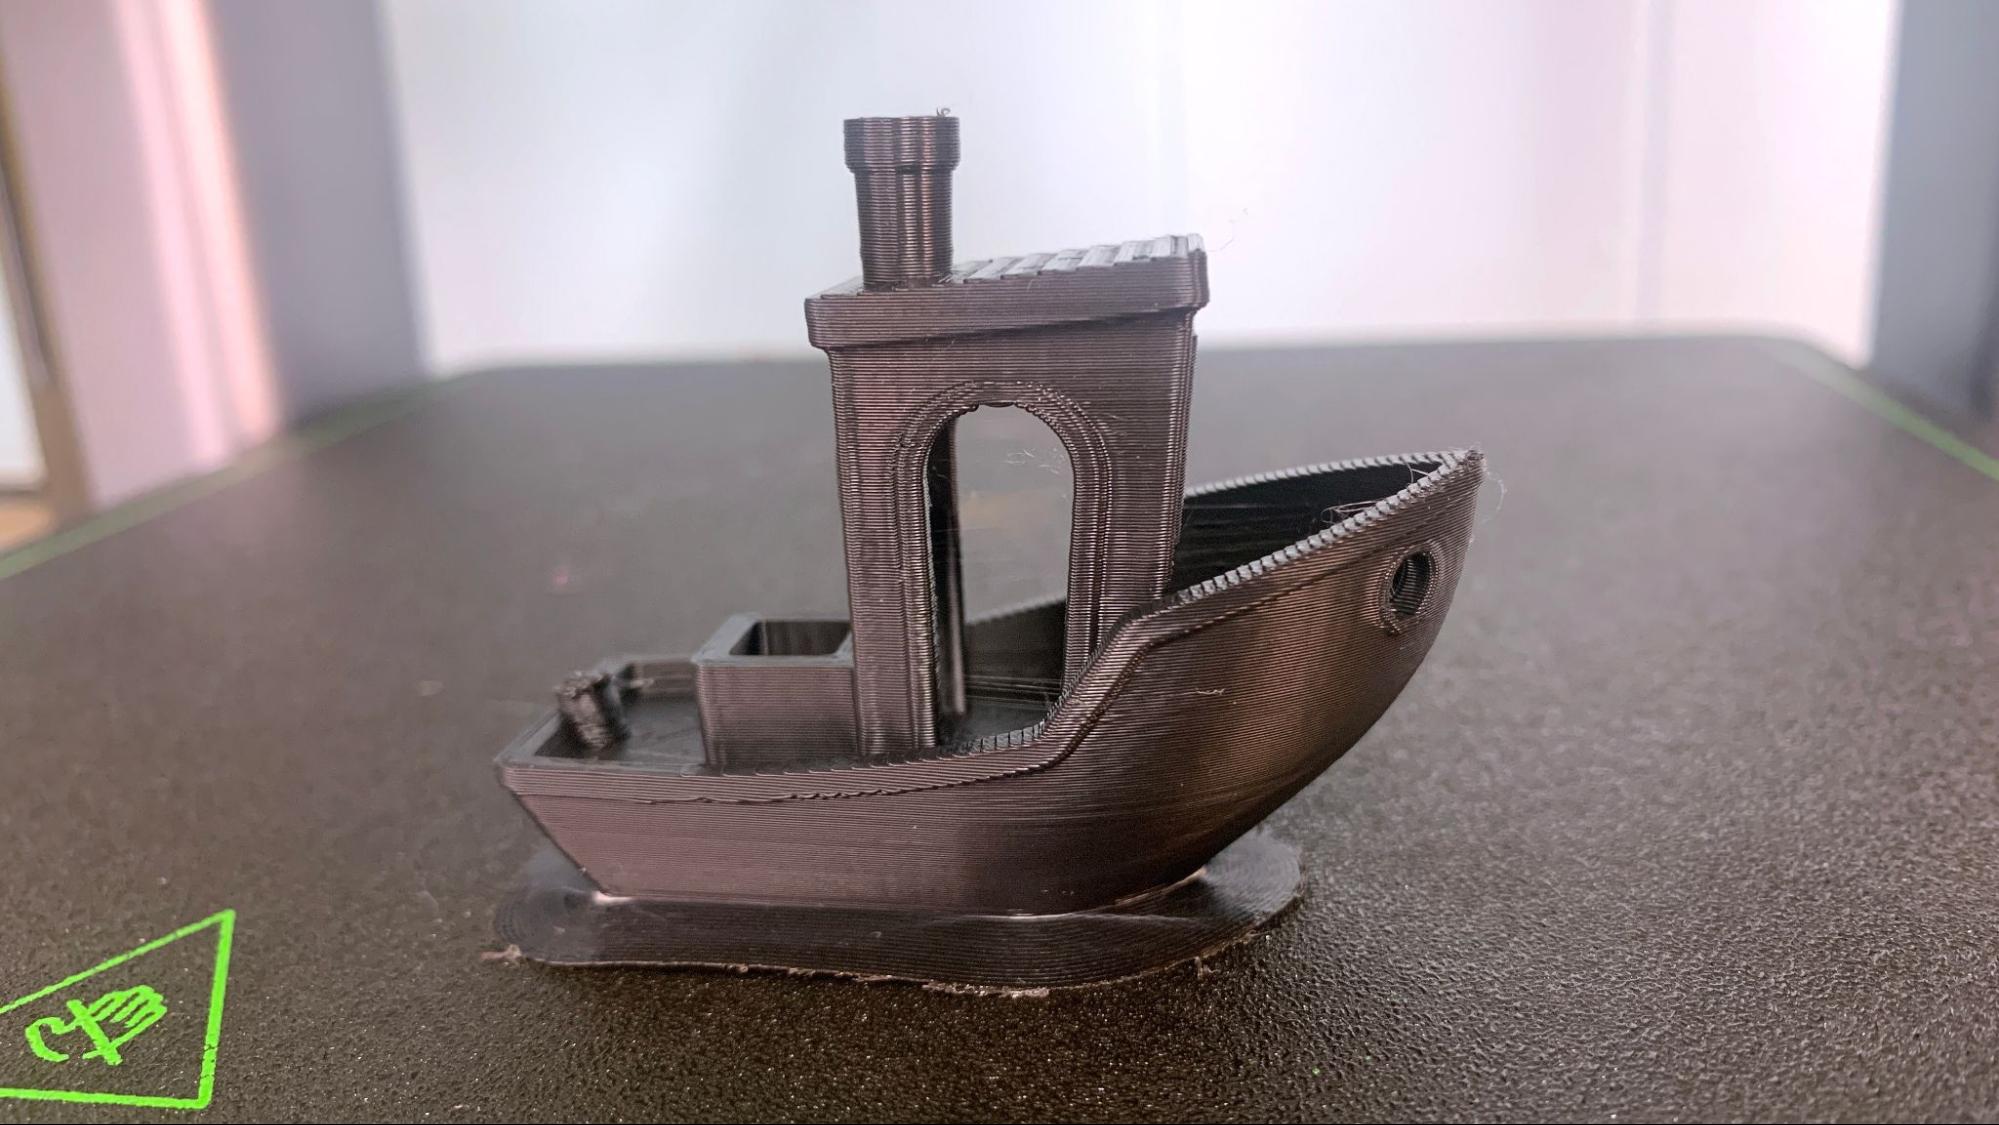
The test print was a Benchy, using a brim which seems like cheating because brims help with adhesion. The end results was perfectly fine, though you can detect a tiny bit of ringing at the porthole. This took 35 minutes and 56 seconds using AnkerMake’s standard settings. It would normally take an Ender 3 S1 one hour and 50 minutes running similar settings and Cura’s default speed of 50 mm/s.
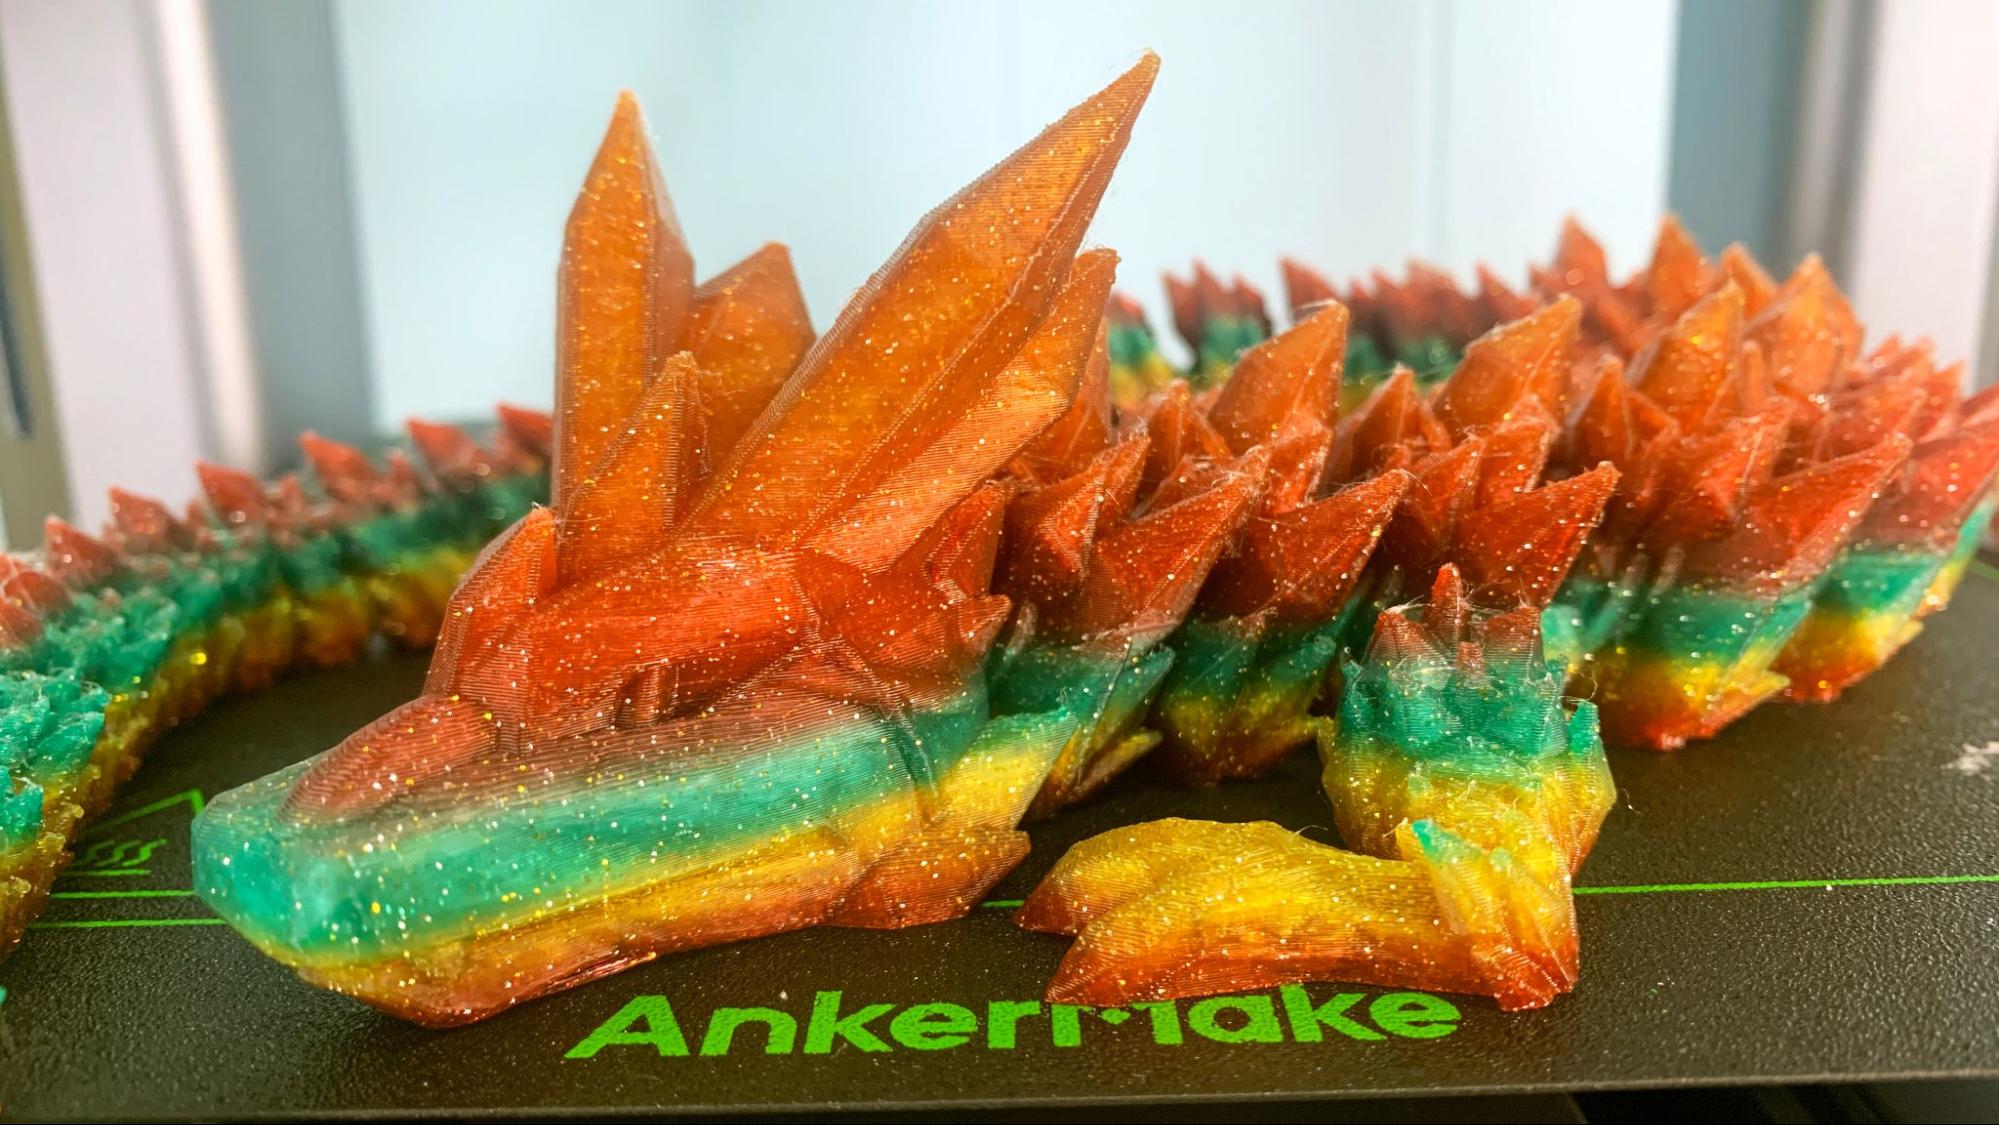
I wanted to print something more challenging, so I turned to Cinderwing3D’s Crystal dragon. This takes 1 day, 5 hours and 16 minutes to print on an Ender 3 S1 at a .2 layer height and 50 mm/s. The AnkerMake printed this rainbow dragon in 9 hours and 37 minutes – not exactly 5x faster, but it saved nearly a whole day. The print is crisp with just a touch of wisp and no flaws caused by high speed. This is printed in Inland Twinkling Rainbow PLA, a heavily glittered filament.
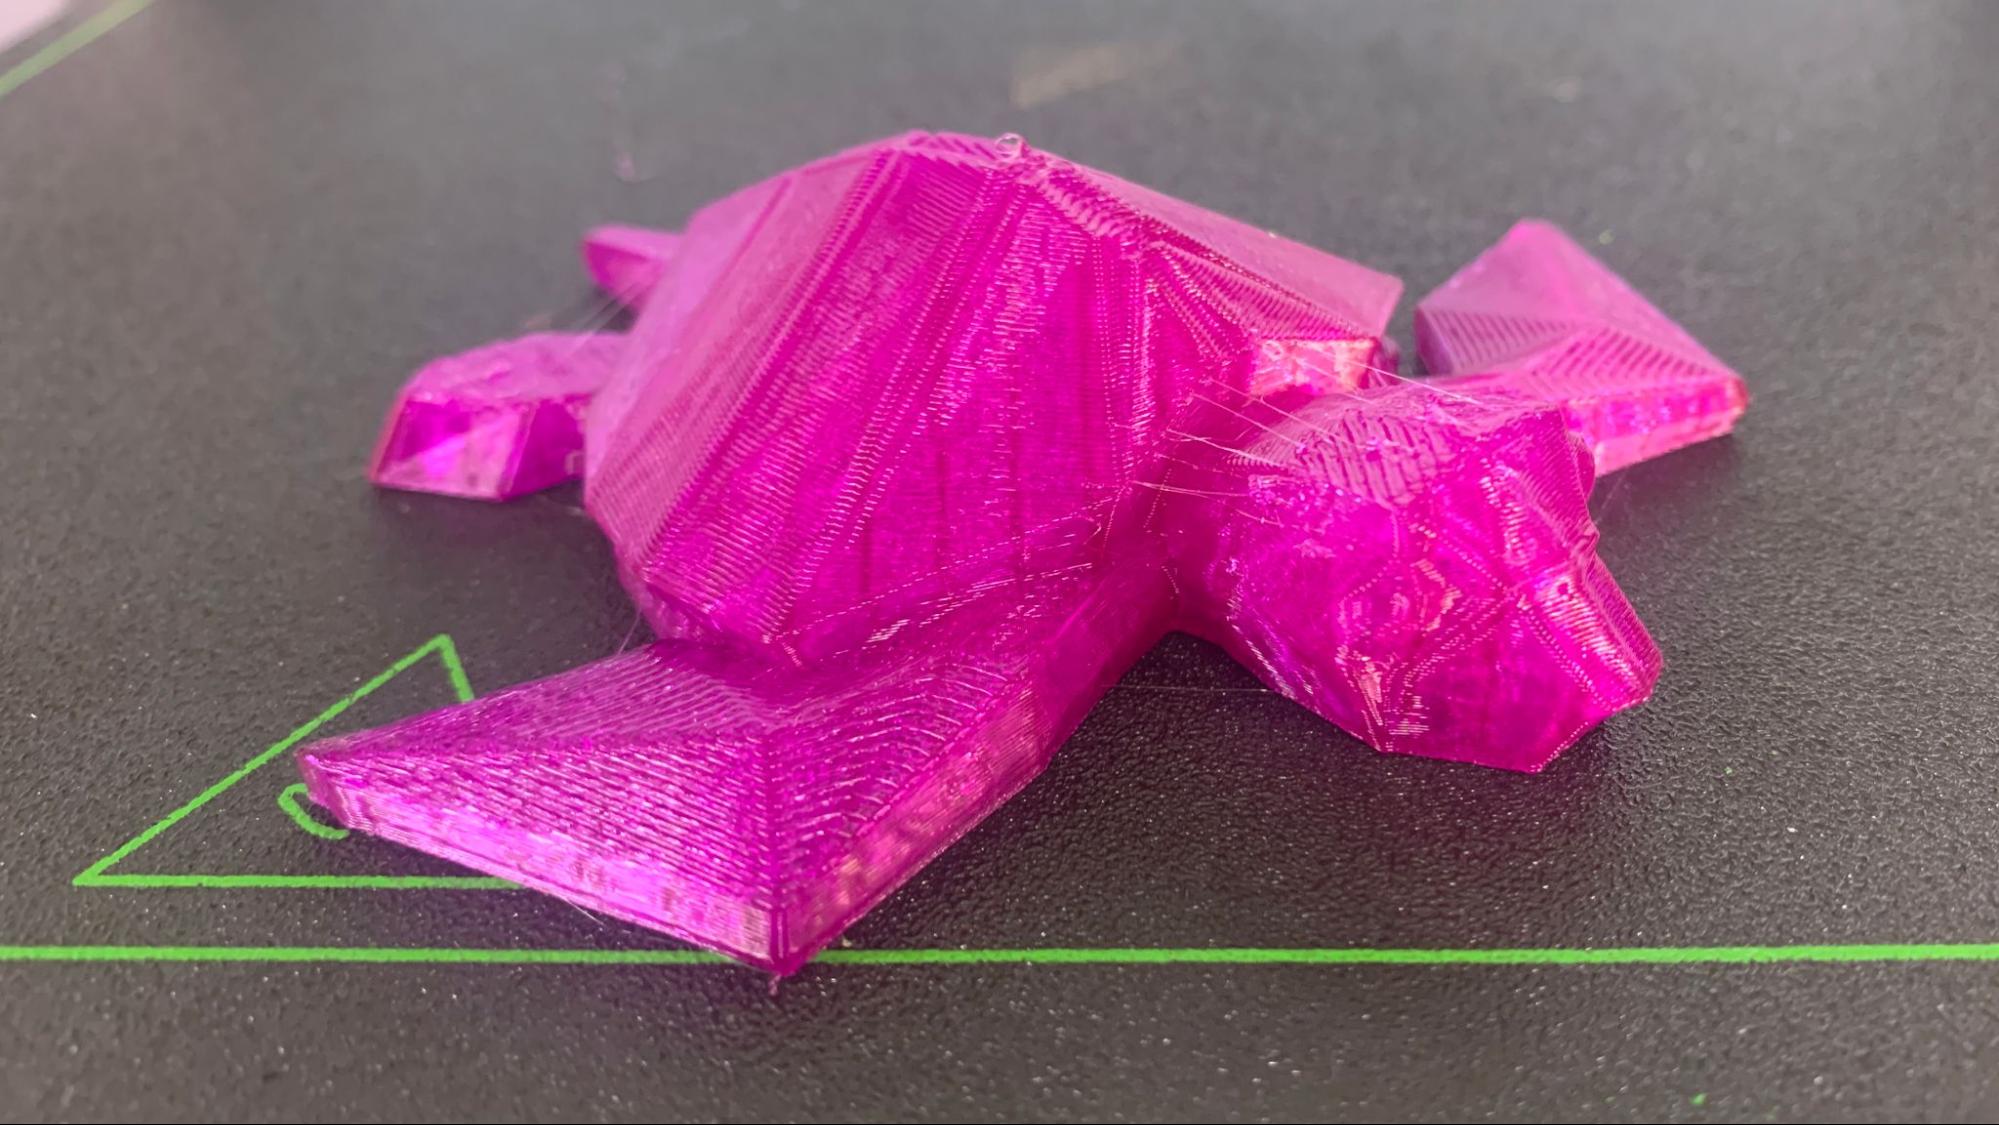
I don’t normally have a lot of luck with TPU, but the AnkerMake did a great job with this low poly dino turtle, printed in Matterhacker’s Build Series Translucent Purple TPU. This one is going to the 3D printed Toys for Tots drive, right after I clean up the strings – which aren’t many. Normally TPU has to be printed painfully slow. An Ender 3 S1 could print this in 2 hours and 43 seconds at 50 mm/s but it wouldn’t look nearly as good. This took 39 minutes and 29 seconds to print, going full out at 250 mm/s. Amazing.
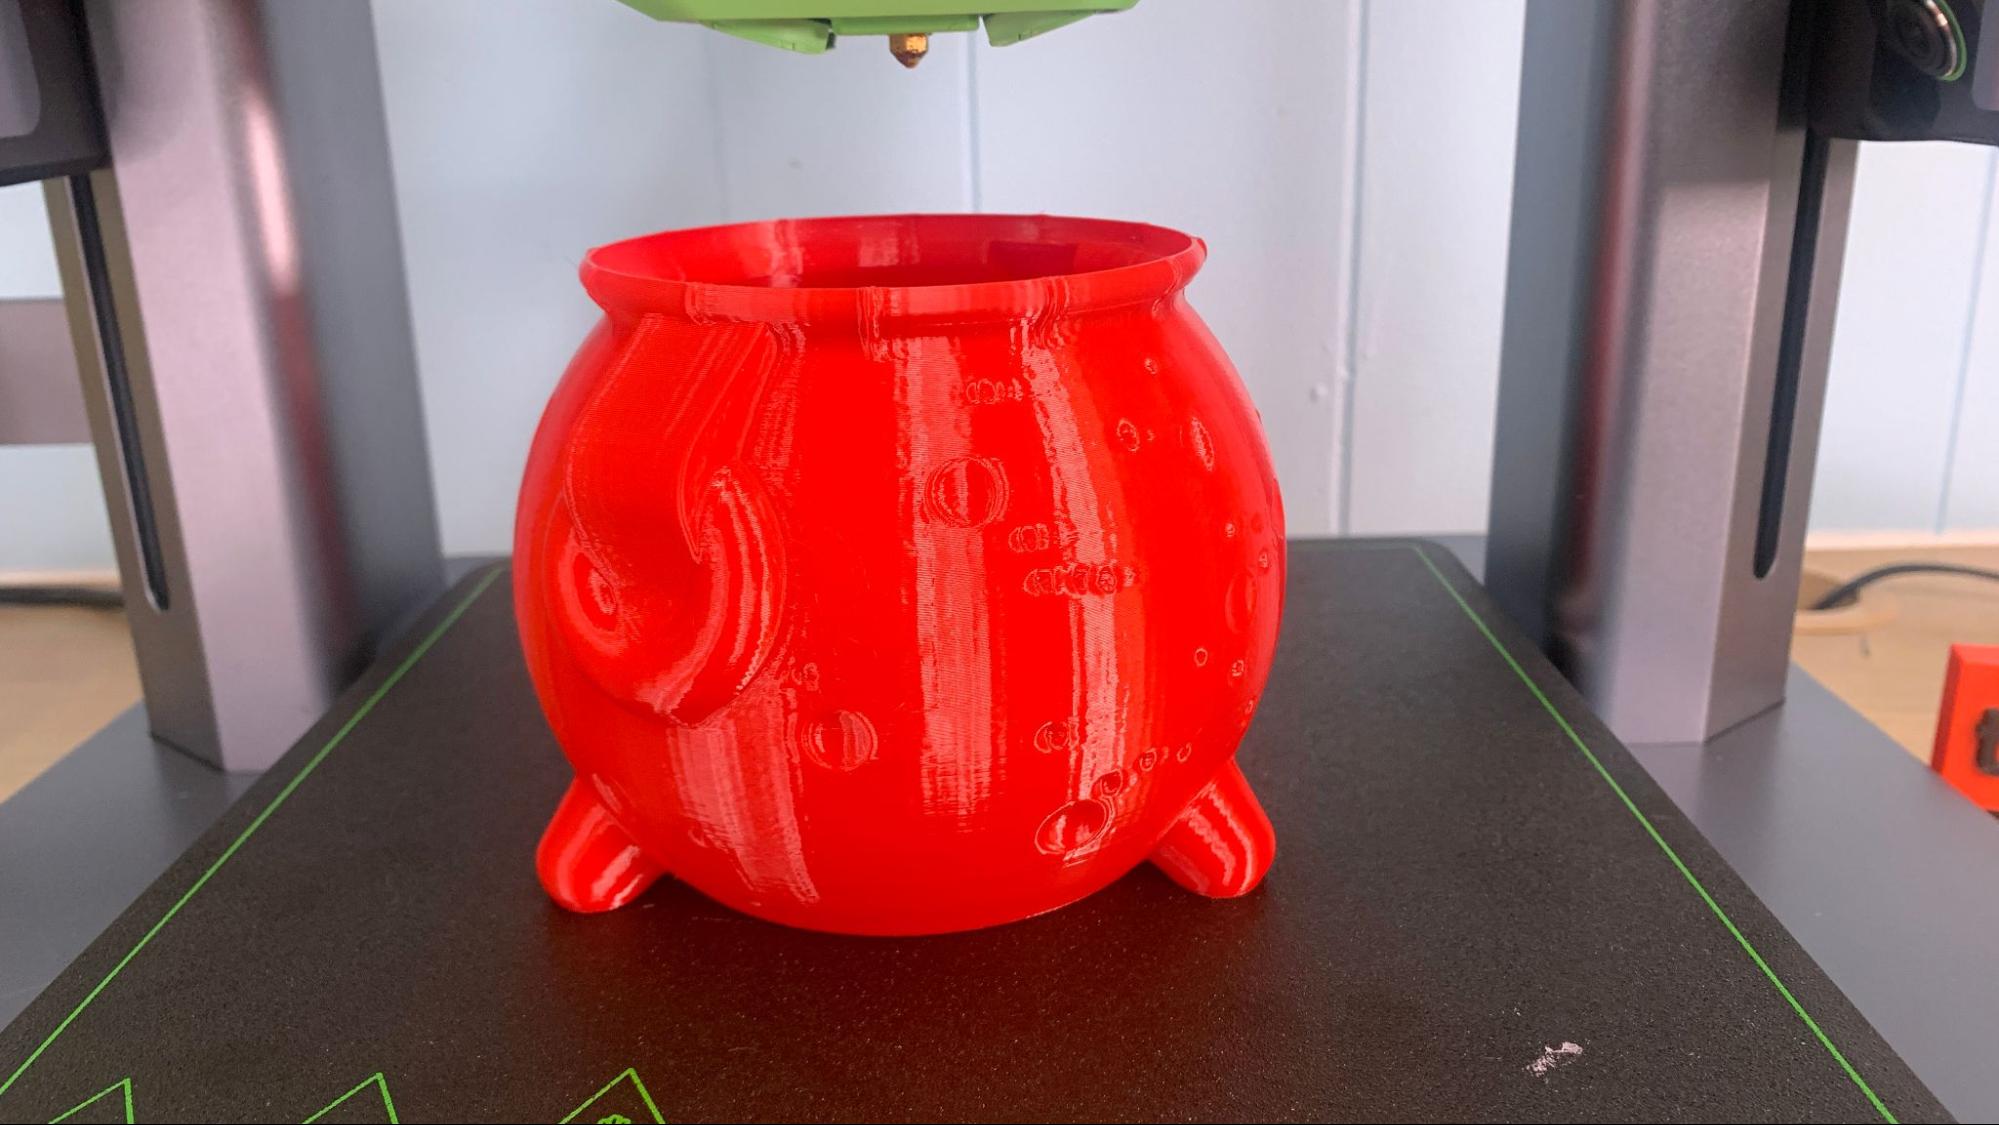
For PETG, I picked out this vase mode cauldron from Clockspring3D, then realized that AnkerMake Slicer didn’t have a vase mode. Instead of giving up, I printed it with 2 walls, no infill and no top layers. The print shows a little roughness from vibrations, but that is most likely because the print is so thin and has no support. Using the same method, an Ender 3 S1 could print this in 5 hours and 18 minutes, but the AnkerMake did it in 1 hour and 7 minutes. This was printed in CoEx Salsa Red PETG.
Bottom Line
The AnkerMake M5 isn’t just a fast 3D printer, it’s an easy printer, and one of our best 3D printers right now. This machine was quick to assemble, painless to level and immediately got to work without any headaches. It includes a few premium features unheard of in out of the box 3D printers – a built-in camera and print fail detector is simply amazing.
Anker fueled the recent interest in out of the box high speed 3D printers – although they were not the first to get a faster printer to market. 3D printing has always been considered a slow hobby, with those interested in speed relegated to building their own Voron machines from raw parts or, perhaps, hacking their commercially acquired machine with a Raspberry Pi, Klipper and copious amounts of swearing.
Retailing at $799, the AnkerMake M5 costs twice as much as an Ender 3 S1 and delivers similar overall quality and build volume. However, if you factor in the 1080p camera, the currently ridiculous price for a Raspberry Pi, a subscription to Spaghetti Detective and all the time you’ll save trying to write code to get Klipper to work…the price looks pretty reasonable.
Plus, It's good to know that AnkerMake is still working on the M5 project and will be introducing a six color MMU to work with this machine. Look for that in the spring.
If you’re interested in other speedy printers, check out the FLSun V400 Delta, a fun machine that takes the pain out of Klipper. Or if you want more bang for your buck, you could buy four Anycubic Kobra Gos, our pick for Best Budget printer, currently on sale for $189.
MORE: Best 3D Printers
MORE: Best Resin 3D Printers
MORE: Best Filaments for 3D Printing

Denise Bertacchi is a Contributing Writer for Tom’s Hardware US, covering 3D printing. Denise has been crafting with PCs since she discovered Print Shop had clip art on her Apple IIe. She loves reviewing 3D printers because she can mix all her passions: printing, photography, and writing.
-
darknate Can't wait for mine. I got confirmation it will be here between the 28th and the 4th.Reply -
tinnov I'm not terribly impressed with this review. When creating more complex pieces, the built-in slicer does not generate bridges when needed without intervention, the AI cannot properly identify problems, and by the way there's NO way to stop it from alerting you over and over when that happens. There's also no way to disable the insanely loud buzzer that your entire apartment will hear and time it's got something to say.Reply
If you need a 3D printer now, I recommend you get it from a company that has some experience in the matter and wait for the next version. -
czei The fit and finish of the printer are amazing for a first-time 3D printer design. Their engineers obviously are top-notch, and the hardware is the slickest I've seen for a first-time 3D printer owner.Reply
That being said, at least on the printer I received, the extruder calibration was off by 7%, which caused all of my parts to be seriously under-extruded. They have a beta feature in their app to allow the end user to fix this but have not provided instructions or a procedure to calibrate the machines.
Even once I figured out how to calibrate the extruder, the parts coming off of the printer were still incredibly brittle. If you're only making figurines, then it doesn't matter, but I make parts that are used in the real world.
The printer seems to have been calibrated to operate as quickly as possible regardless of need-- even when I back it down to the slowest setting, it still can mess up on complicated parts. While it's nice to have a fast printer, it's slower to print it three times because the print failed than to simply print it at a slower speed in the first place.
If the printer was able to print a single part that didn't fall apart, I'd probably keep it, but as it stands, I don't really want to spend time calibrating Anker's printer and software for them.
