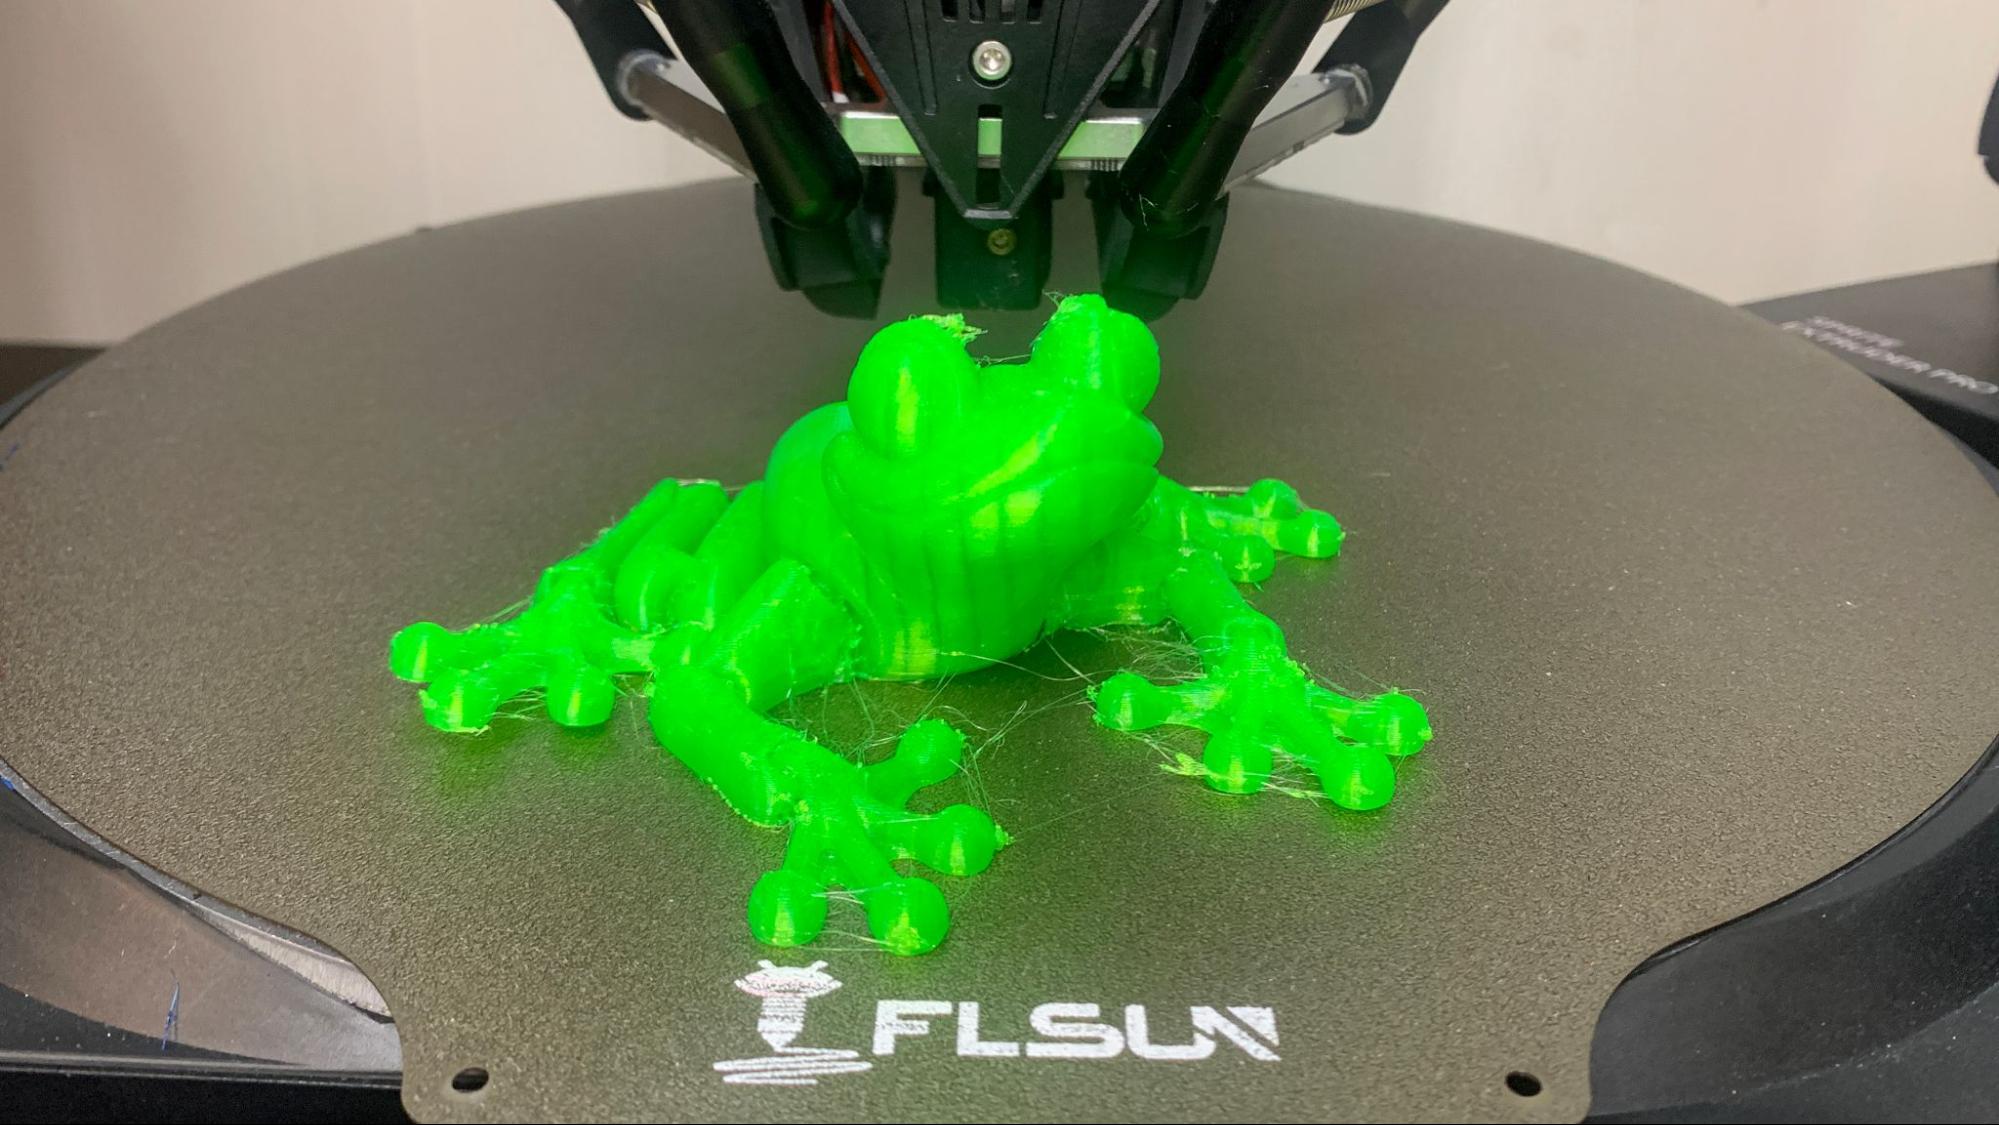
Tom's Hardware Verdict
FLSun’s V400 is a massive Delta printer that delivers excellent speedy prints with the help of Klipper.
Pros
- +
Klipper out of the box
- +
Insane speed
- +
Direct drive
- +
Fun to watch
Cons
- -
Massive height
- -
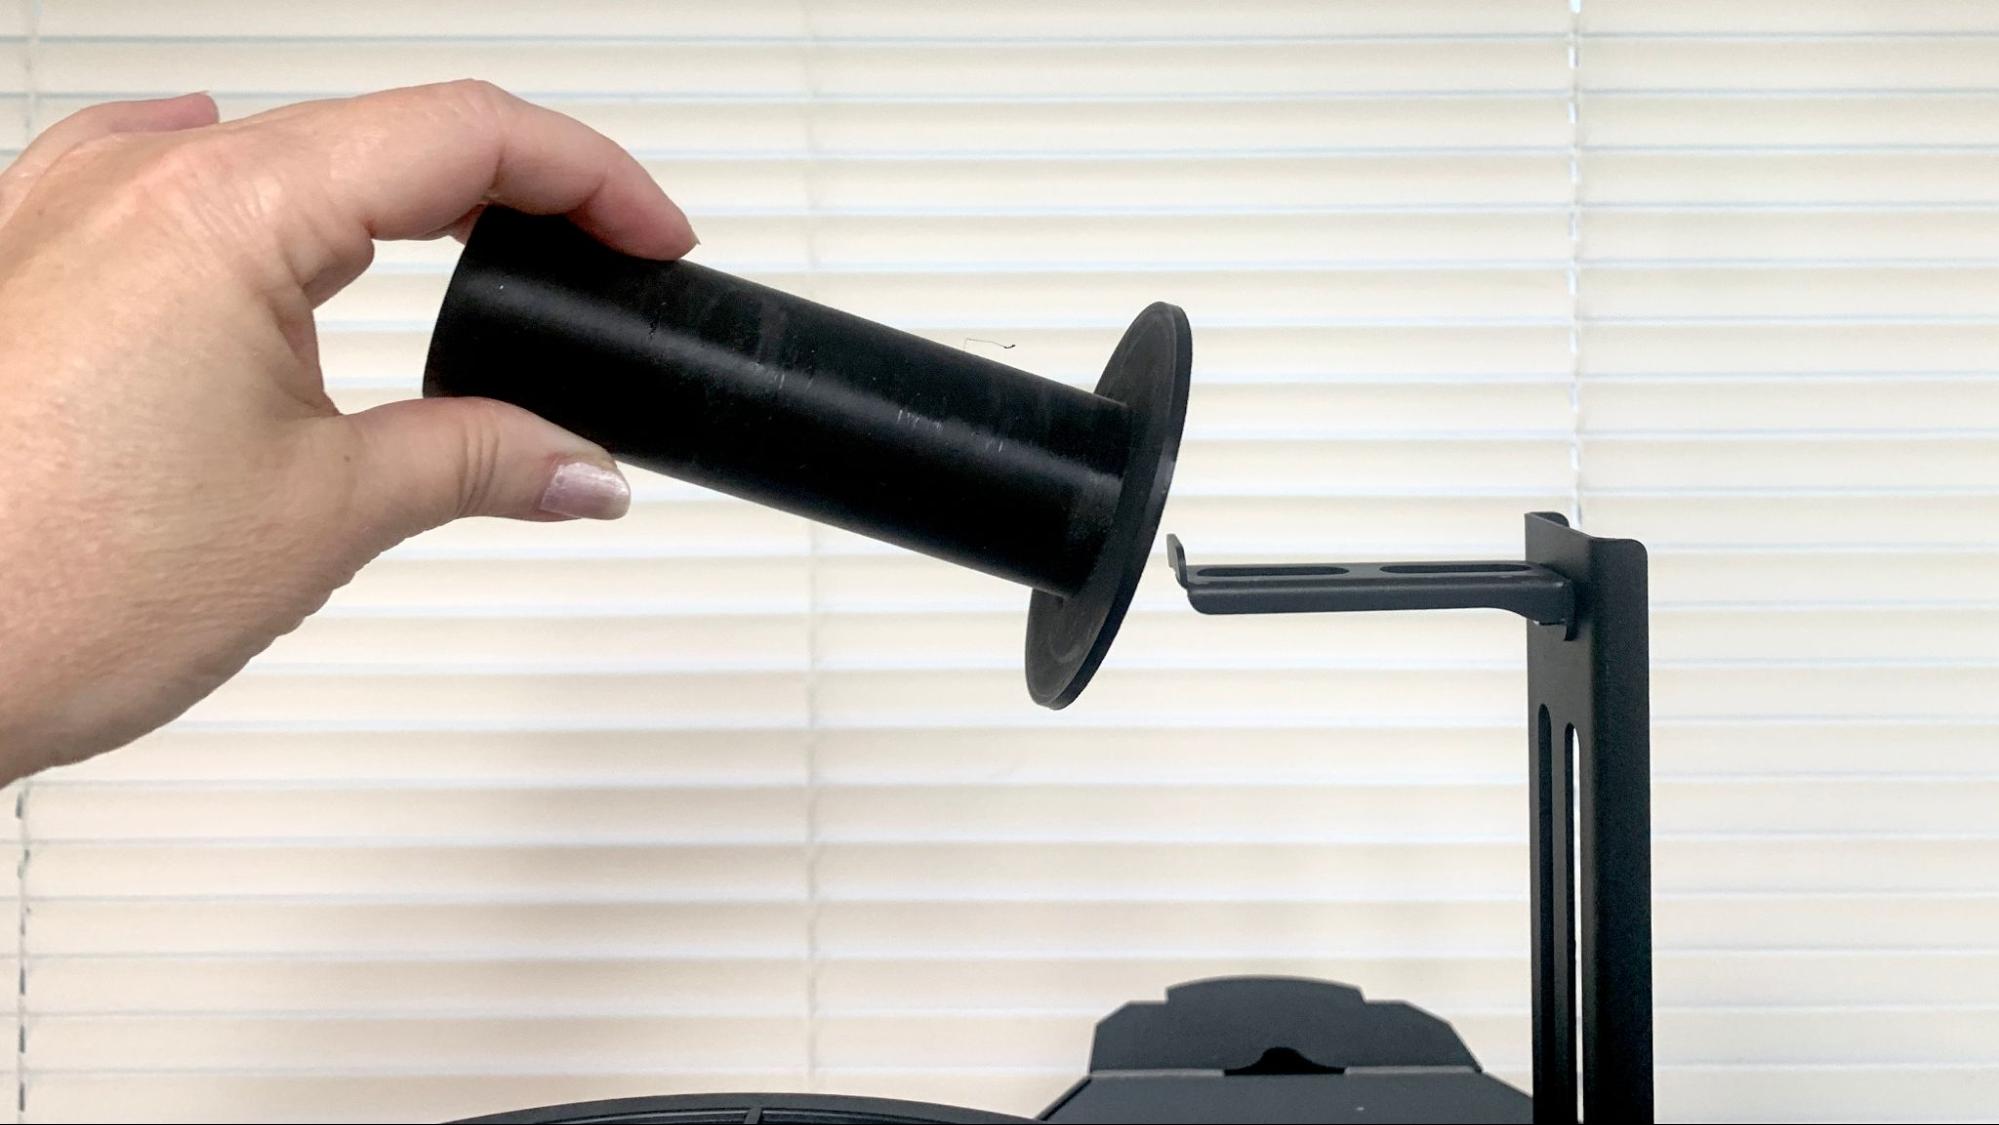
Poor spool holder design
- -
Expensive
Why you can trust Tom's Hardware
Delta printers are known for their speed, and the FLSun V400 doesn’t disappoint. Retailing at $849 the FLSun V400 is the perfect 3D printer for makers in a hurry, offering prints with both speed and quality. Its default print speed is 150 mm/s, easily three times faster than the average Cartesian style printer, like the Ender 3 S1 Pro. For example, it can print a perfect Benchy in 40 minutes using default settings – an Ender 3 running the same layer heights and infill would take 1 hour and 53 minutes at its own recommended speed of 50 mm/s.
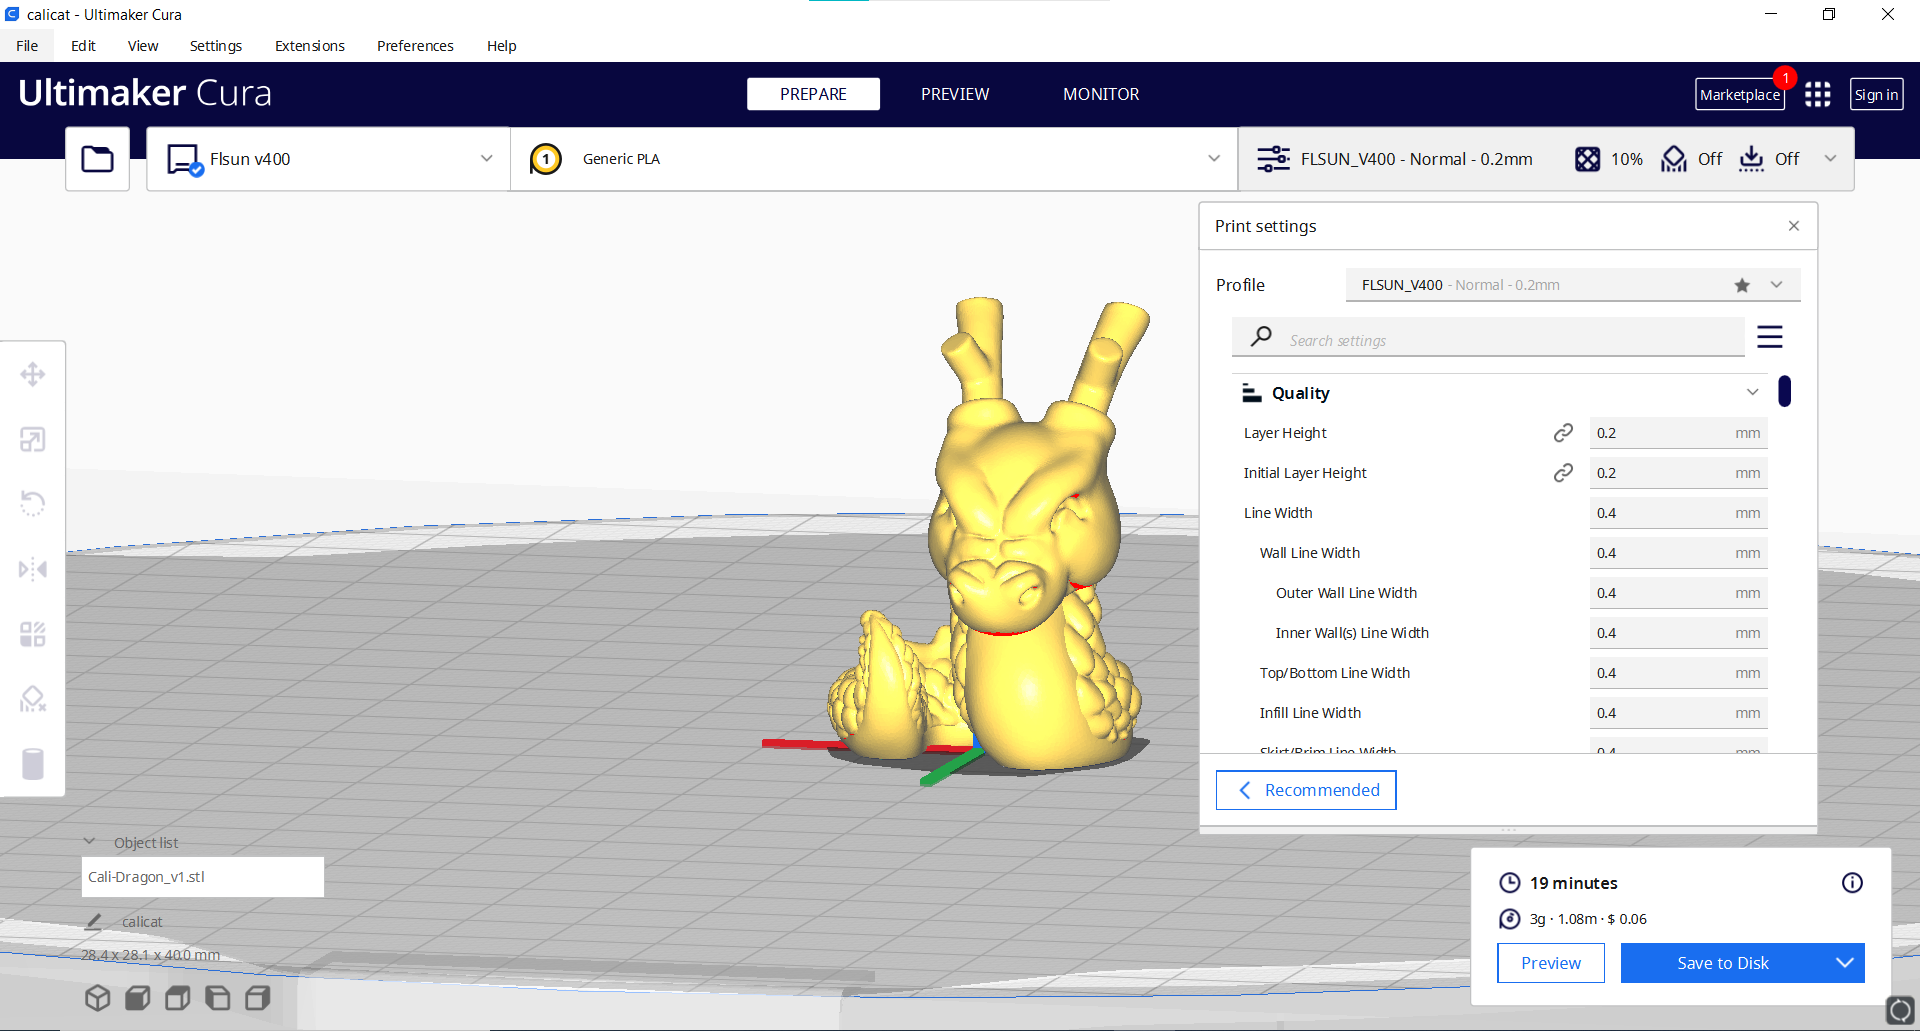
Its Cura profile can be tweaked to run even faster – I’ve easily printed a 20 minute Benchy using thicker layers, fewer walls and lightning infill. FLSun brags that the V400 can hit 400mm/s, but unfortunately the company declined to give us a Cura profile to achieve these results.
The 3D printer uses Klipper and a high flow Volcano style nozzle to achieve quality prints in less time than a typical printer. Klipper is an alternative firmware to Marlin, the standard for 3D printers today. It requires more computing power and is usually an aftermarket mod installed on a Raspberry Pi. The V400 is the first 3D printer I’ve seen that includes Klipper, when it comes straight from the factory.
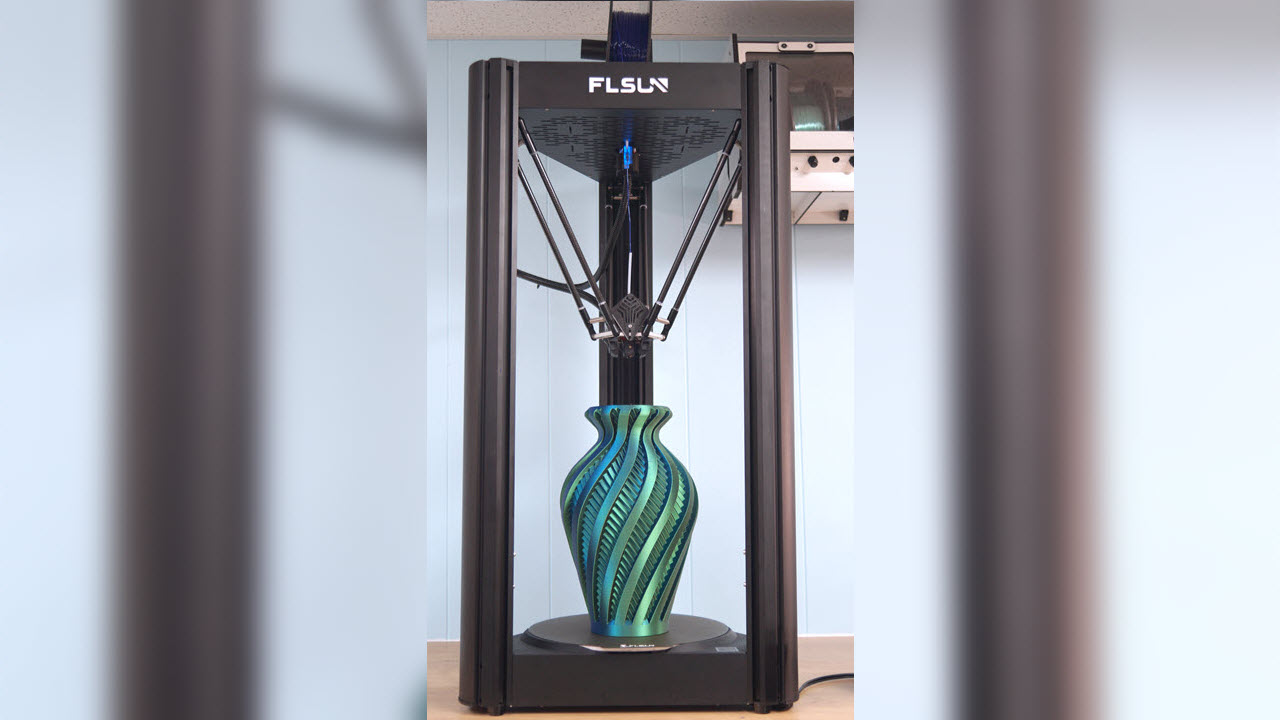
Delta printers are tall and skinny, and though they have a smaller footprint compared to their bed slinger cousins, they require a great deal of height to accommodate their unusual design. The V400 is bigger than most at 45 inches tall (including the spool holder), and has a roomy ⌀300 x 410 mm cylindrical build volume. That’s comparable to an Anycubic Kobra Plus or a Creality CR10.
The speed, ample build volume and ease of use makes this printer one of our Best 3D Printers right now.
Specifications: FLSun V400
| Machine Footprint | 482.6 x 406.4 x 1143 mm (19 x 16 x 45 inch) |
| Build Volume | ⌀300 x 410 mm (⌀11.8 x 16 in) |
| Weight | 16kg (35.2 lbs) |
| Material | PLA/PETG/TPU/ABS |
| Extruder Type | Direct Drive |
| Nozzle | .4mm Volcano style |
| Heat Break | Bi-Metal rated 300C |
| Build Platform | PEI Spring Steel, Heated |
| Filament Runout Sensor | Yes |
| Bed Leveling | Yes, detachable probe |
| Connectivity | USB Stick/WiFi |
| Interface | 7 inch Speeder Pad, with Klipper |
Included in the box: FLSun V400
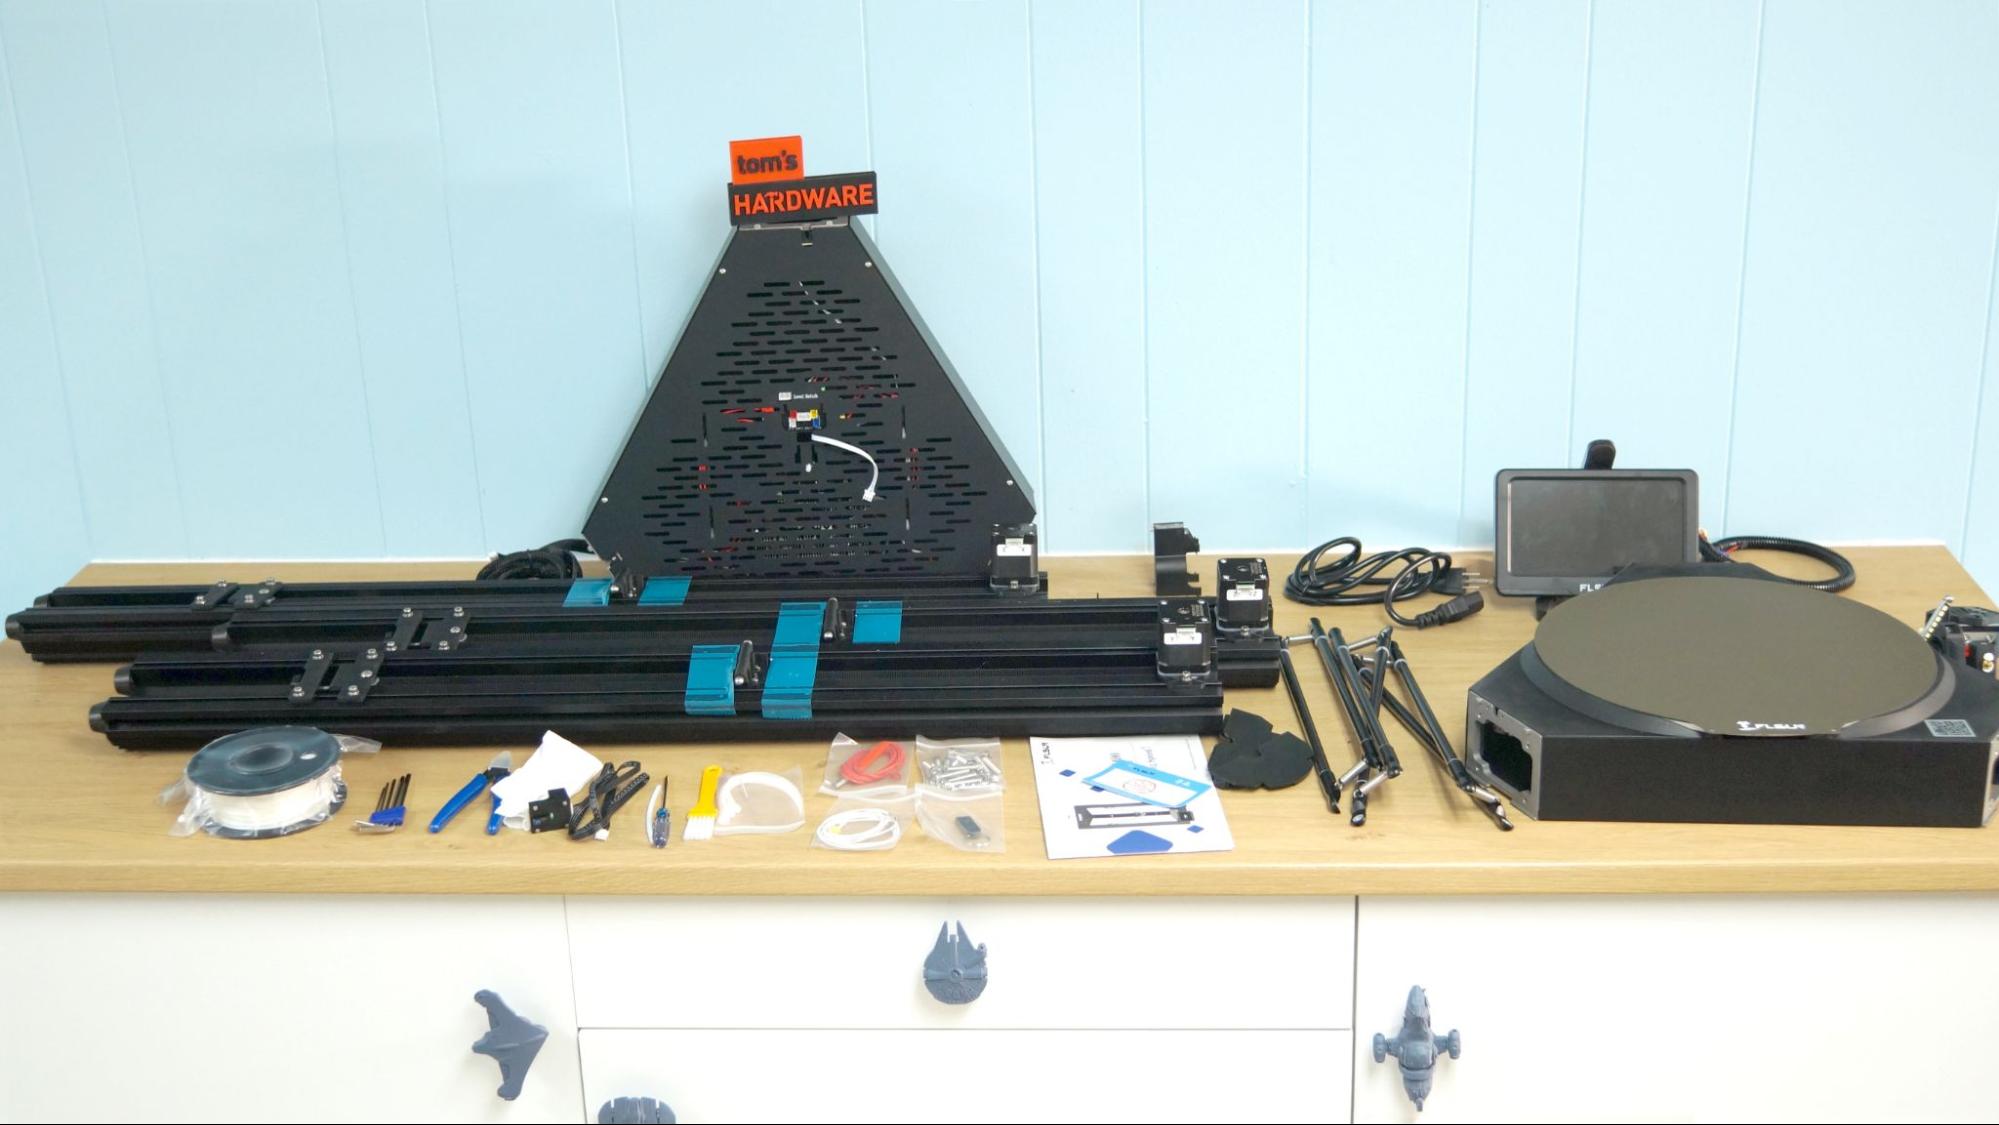
The FLSun V400 comes with everything you need to get started: tools to build and maintain the printer, side cutters, a nozzle cleaner, grease, a dusting brush, and a USB drive. You also get a spare thermistor, heating rod, short length of PTFE tube and 200g of filament on a small spool.
There’s a paper copy of the user manual and the USB drive has three video guides if you need additional help. The USB drive also has a copy of Cura 4.13.1, a standard profile and several pre-sliced models for testing.
Get Tom's Hardware's best news and in-depth reviews, straight to your inbox.
Note that the printer does not come with a replacement nozzle, which is a high flow .4mm volcano style brass nozzle. FLSun will have replacements available for sale on its site soon after launch.
Assembling the FLSun V400
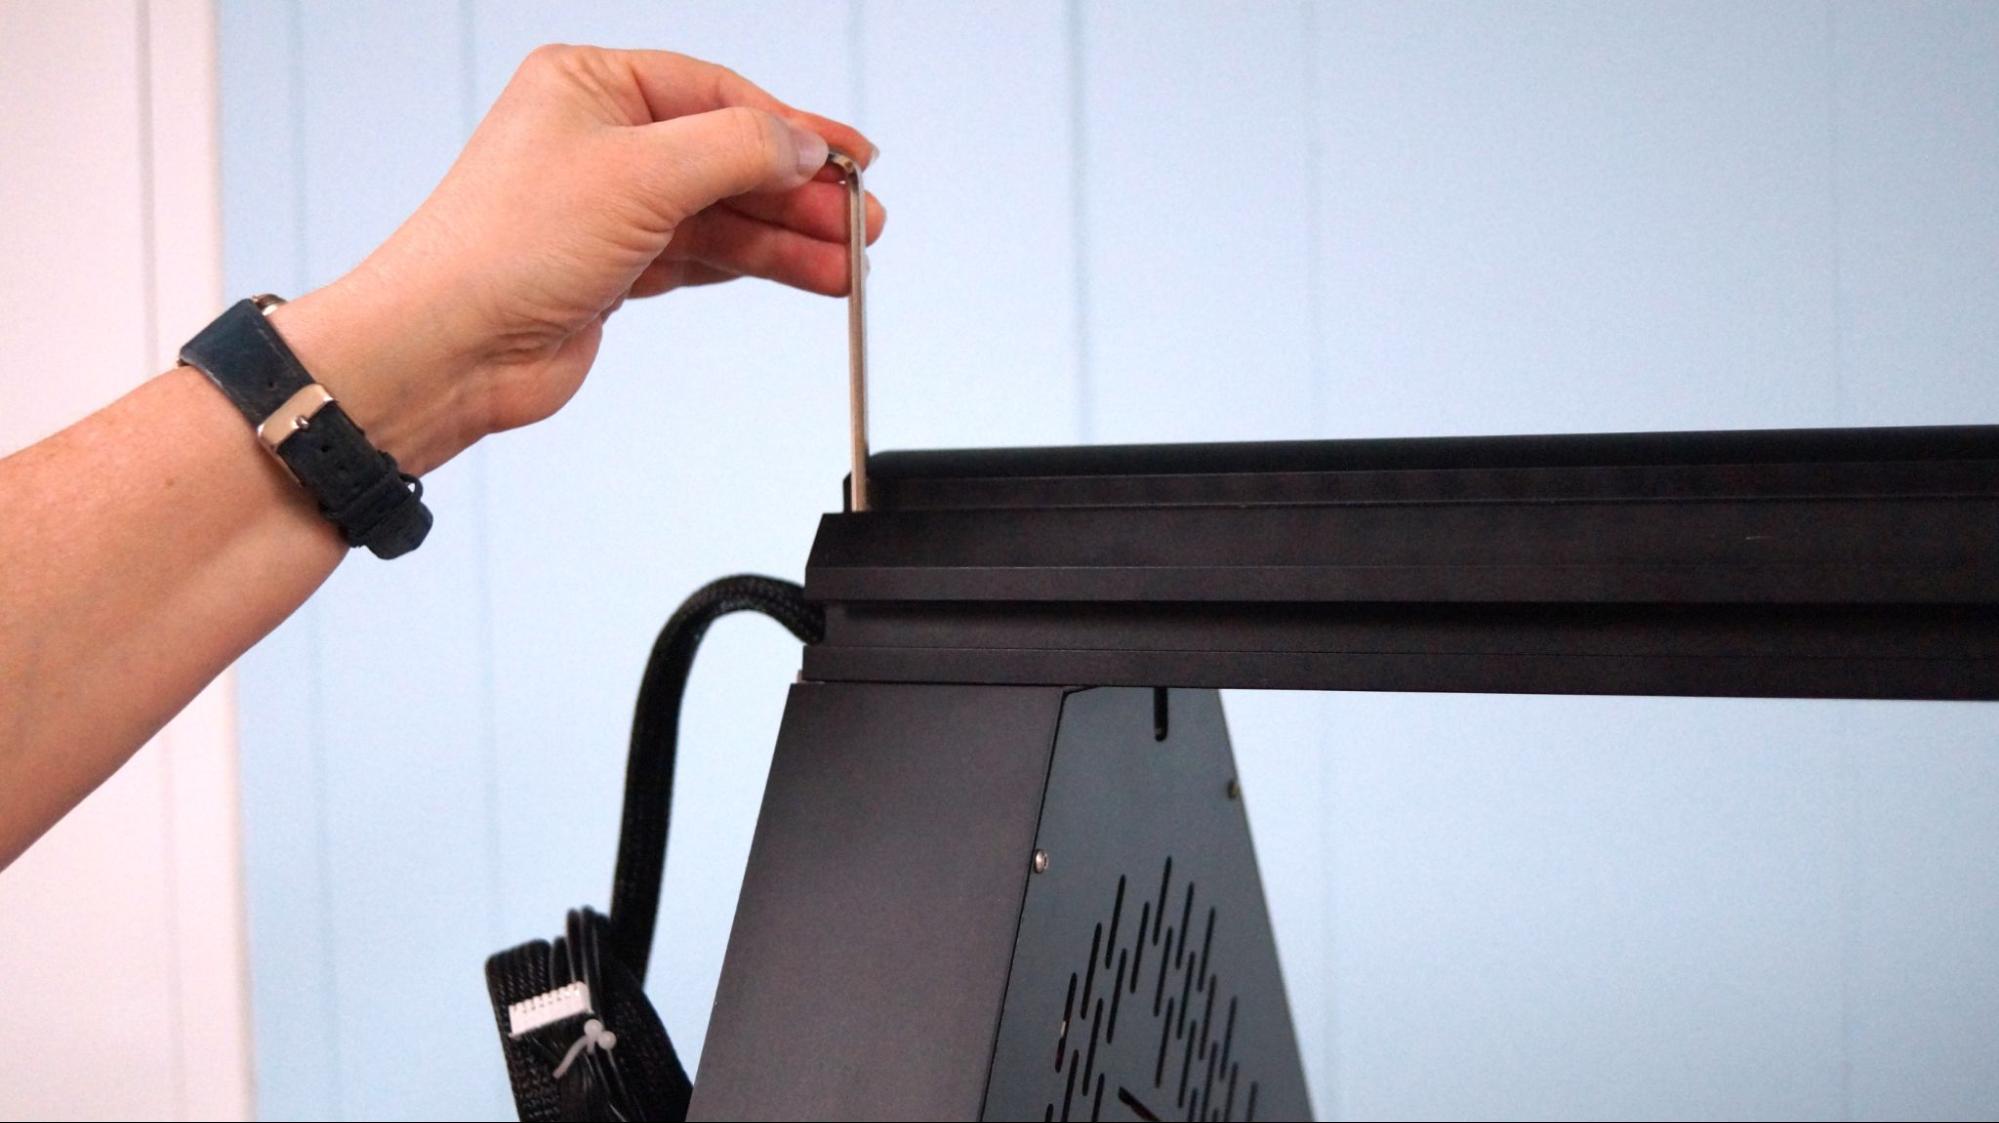
The FLSun V400 arrives in kit form and needs quite a bit of assembly. It took about an hour to put together. Due to its massive size – about 3 feet tall without the top mounted spool holder – you’ll need a large table to lay out the pieces.
You also might need to place it on the floor or get a stepladder if you’re on the shorter side of humanity. I was able to get most of it together while laying the printer sideways, then enlisted help to hoist it upright. Did I mention it’s also heavy? This 3D printer has very little plastic and weighs over 35 pounds.
Leveling the FLSun V400
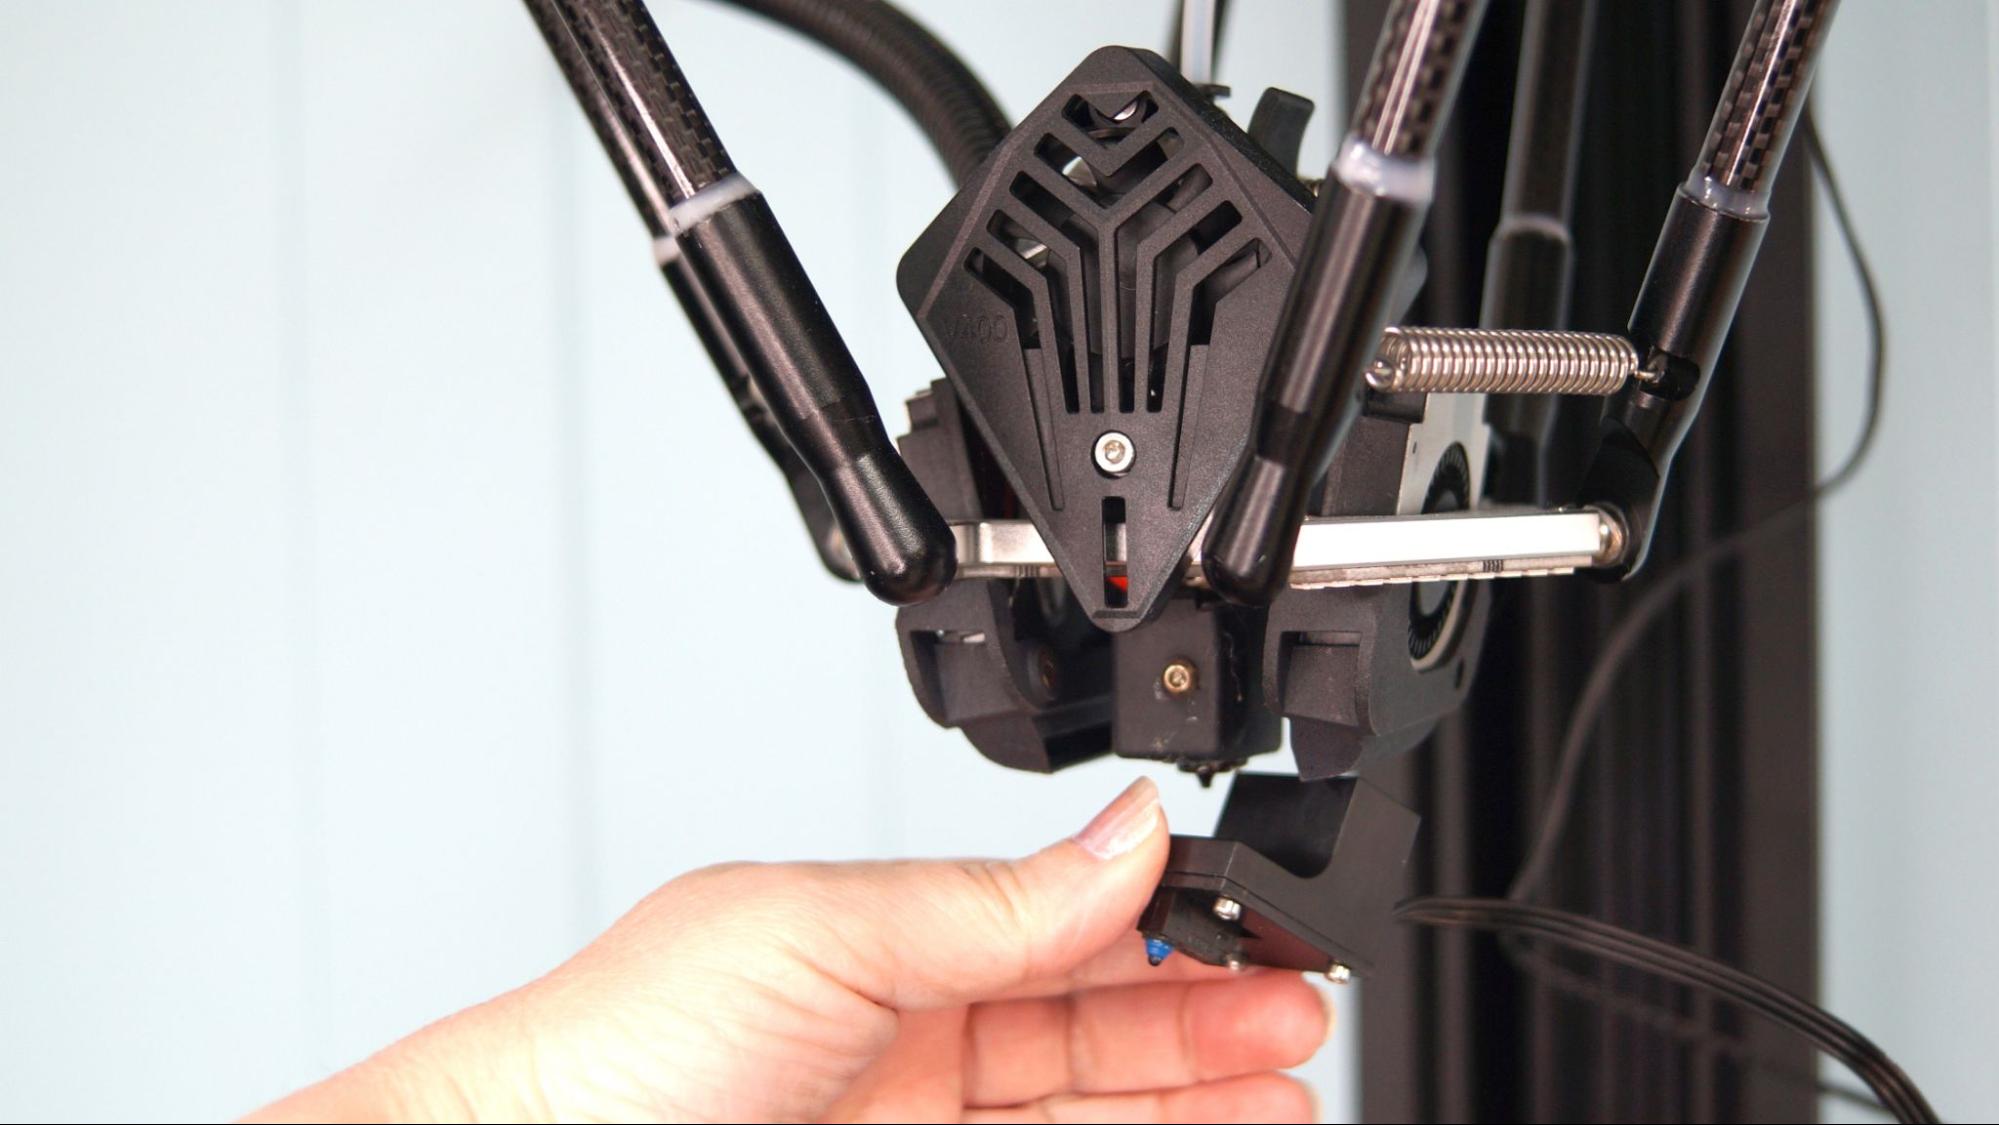
The FLSun V400 comes with a separate leveling “switch” that is attached magnetically to the hotend and plugged into a receptacle on the top shell of the printer. The printer has a hard mounted heated bed with no manual adjustments and all the leveling is done by computer.
After attaching the leveling switch, click Configuration on the touch screen, then Bed Level. The printer will tap the hotend across several points on the bed then save this data to memory. Next you’ll need to create a Bed Mesh, by selecting Configure→ Bed Mesh. The printer will collect 30 data points and save them. Now remove the switch, select Move Z0 and set the Z height. Place a piece of paper under the nozzle and lower the Z until the paper just scrapes the nozzle.
Place the switch in a safe spot. You won’t need to calibrate again unless you move the printer or change the nozzle.
Loading Filament in the FLSun V400
Loading filament in the FLSun V400 can be interesting due to the size of the machine. Filament enters through a hole at the top and is pulled through the center of the printer to the hotend. When the printer was placed on my workroom counter, I needed a step stool to load it. Of course, I’m only 5’2” – you may have an easier time of it.
Filament is passed from the top of the machine, through a run out sensor, then fed into a short piece of Bowden tube on the top of the direct drive hotend.
Click Actions→Extrude→Temperature on the touch screen and select a preset materials profile to warm up the machine. Once it hits the correct temperature, you can tap Extrude and the filament will be drawn into the hotend.
To change colors or remove the filament, simply reverse this process.
Design of the FLSun V400
The FLSun V400 is a delta printer with three slender carbon fiber arms that slide up and down on belt driven rails. It’s a very tall machine with a triangular frame and a cylindrical build area, but almost half of the height is consumed by the extruder’s arms.
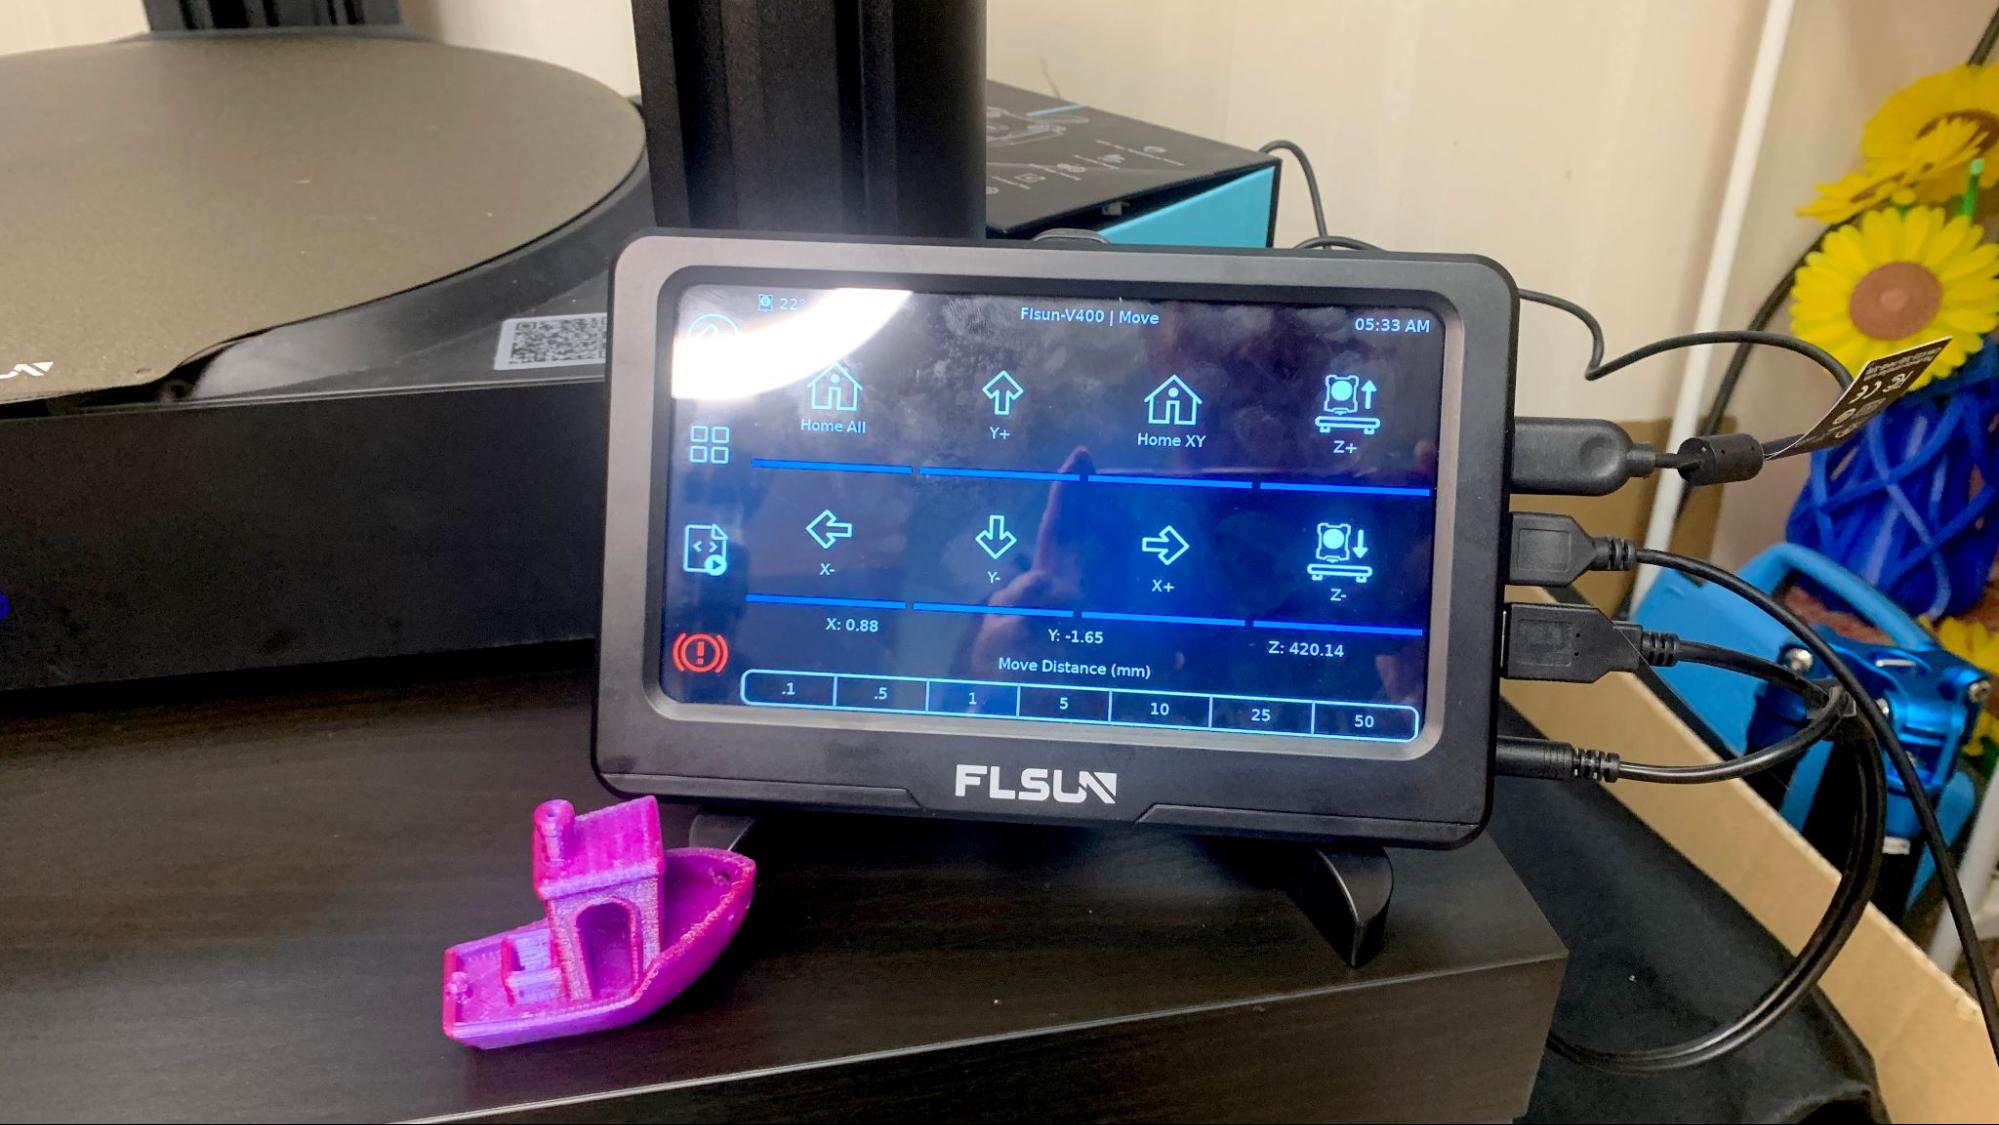
The open frame has a clean look without too many exposed screws. The rather beefy touch screen control pad, which FLSun calls a Speeder Pad, is tethered by a USB cord and rests in a separate easel. The cord is extremely short – only 20 inches, not long enough to store the pad on top of the machine.
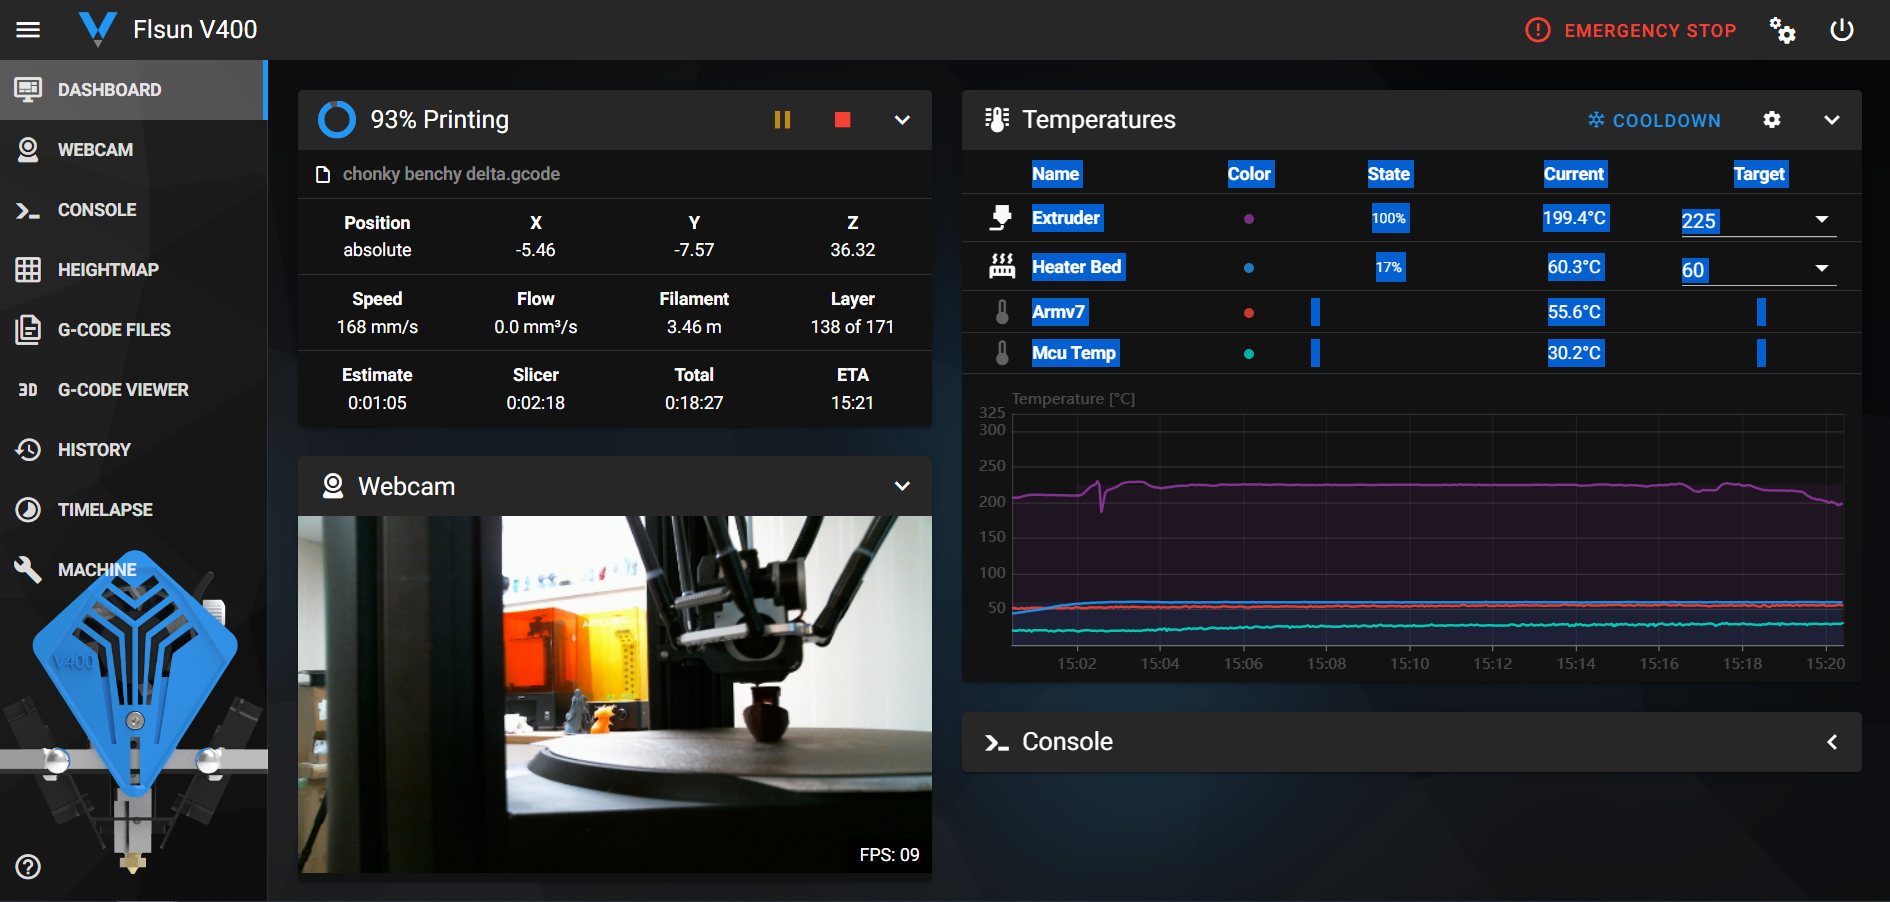
The 7-inch Speeder Pad is delightfully robust in more ways than one. It runs Mainsail, a beautiful and easy to understand Klipper interface. The printer can also be directly run by your PC using a Mainsail interface accessible from your browser, much the same way as Octoprint is used.
The Speeder Pad, which is a complete control system with 1GB of RAM and 16GB of memory, not only runs Klipper, but also keeps a record of all your prints and can handle timelapses. The printer does not come with a camera, but any webcam will do – it’s a plug and play system.
The pad has three USB ports, one to connect to the printer and two extras that can be used for cameras or lights. FLSun is also releasing the Speeder Pad as a stand alone item for $150 and can be used to run three printers with Klipper.
The FLSun V400 boasts prints speeds up to 400 mm/s, though curiously, it only comes with a 150mm/s profile.
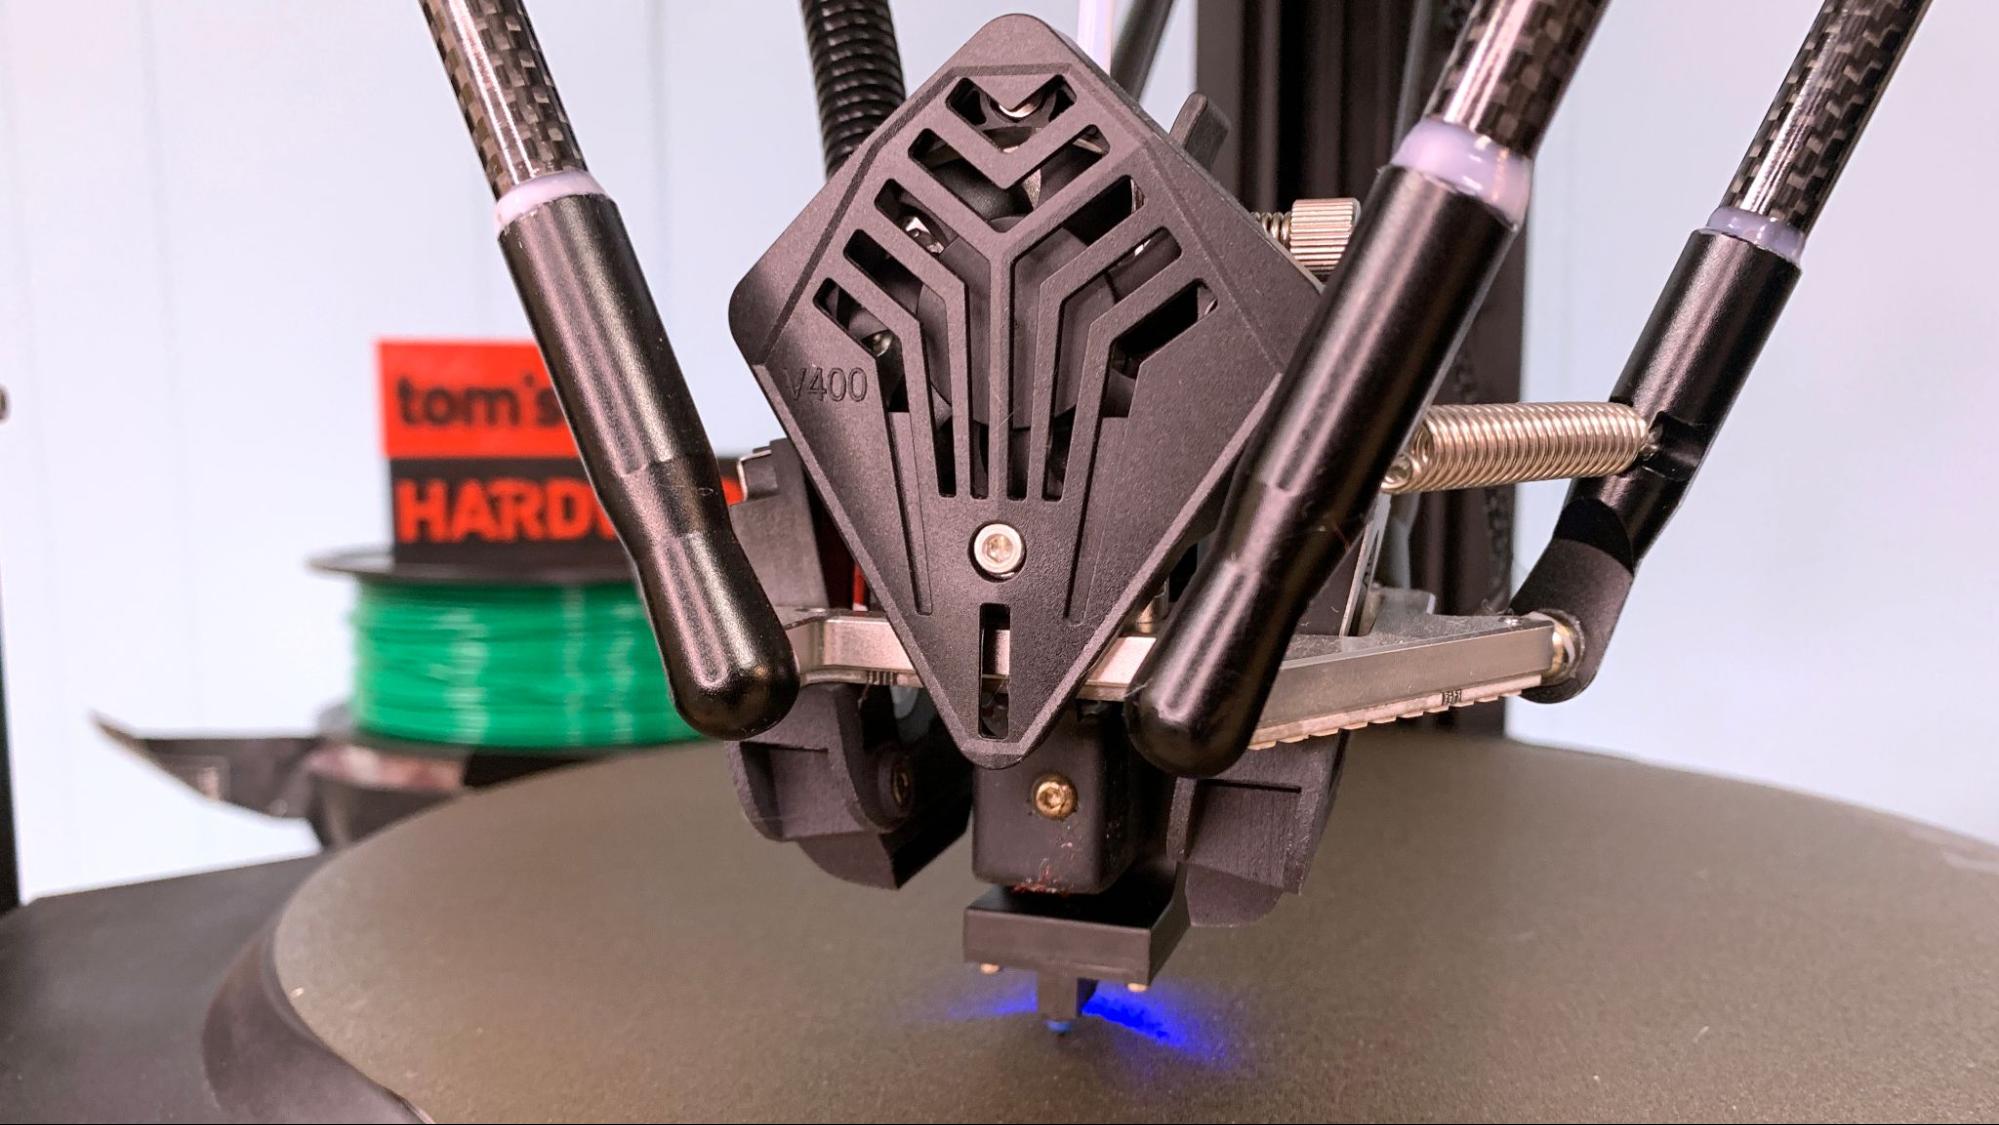
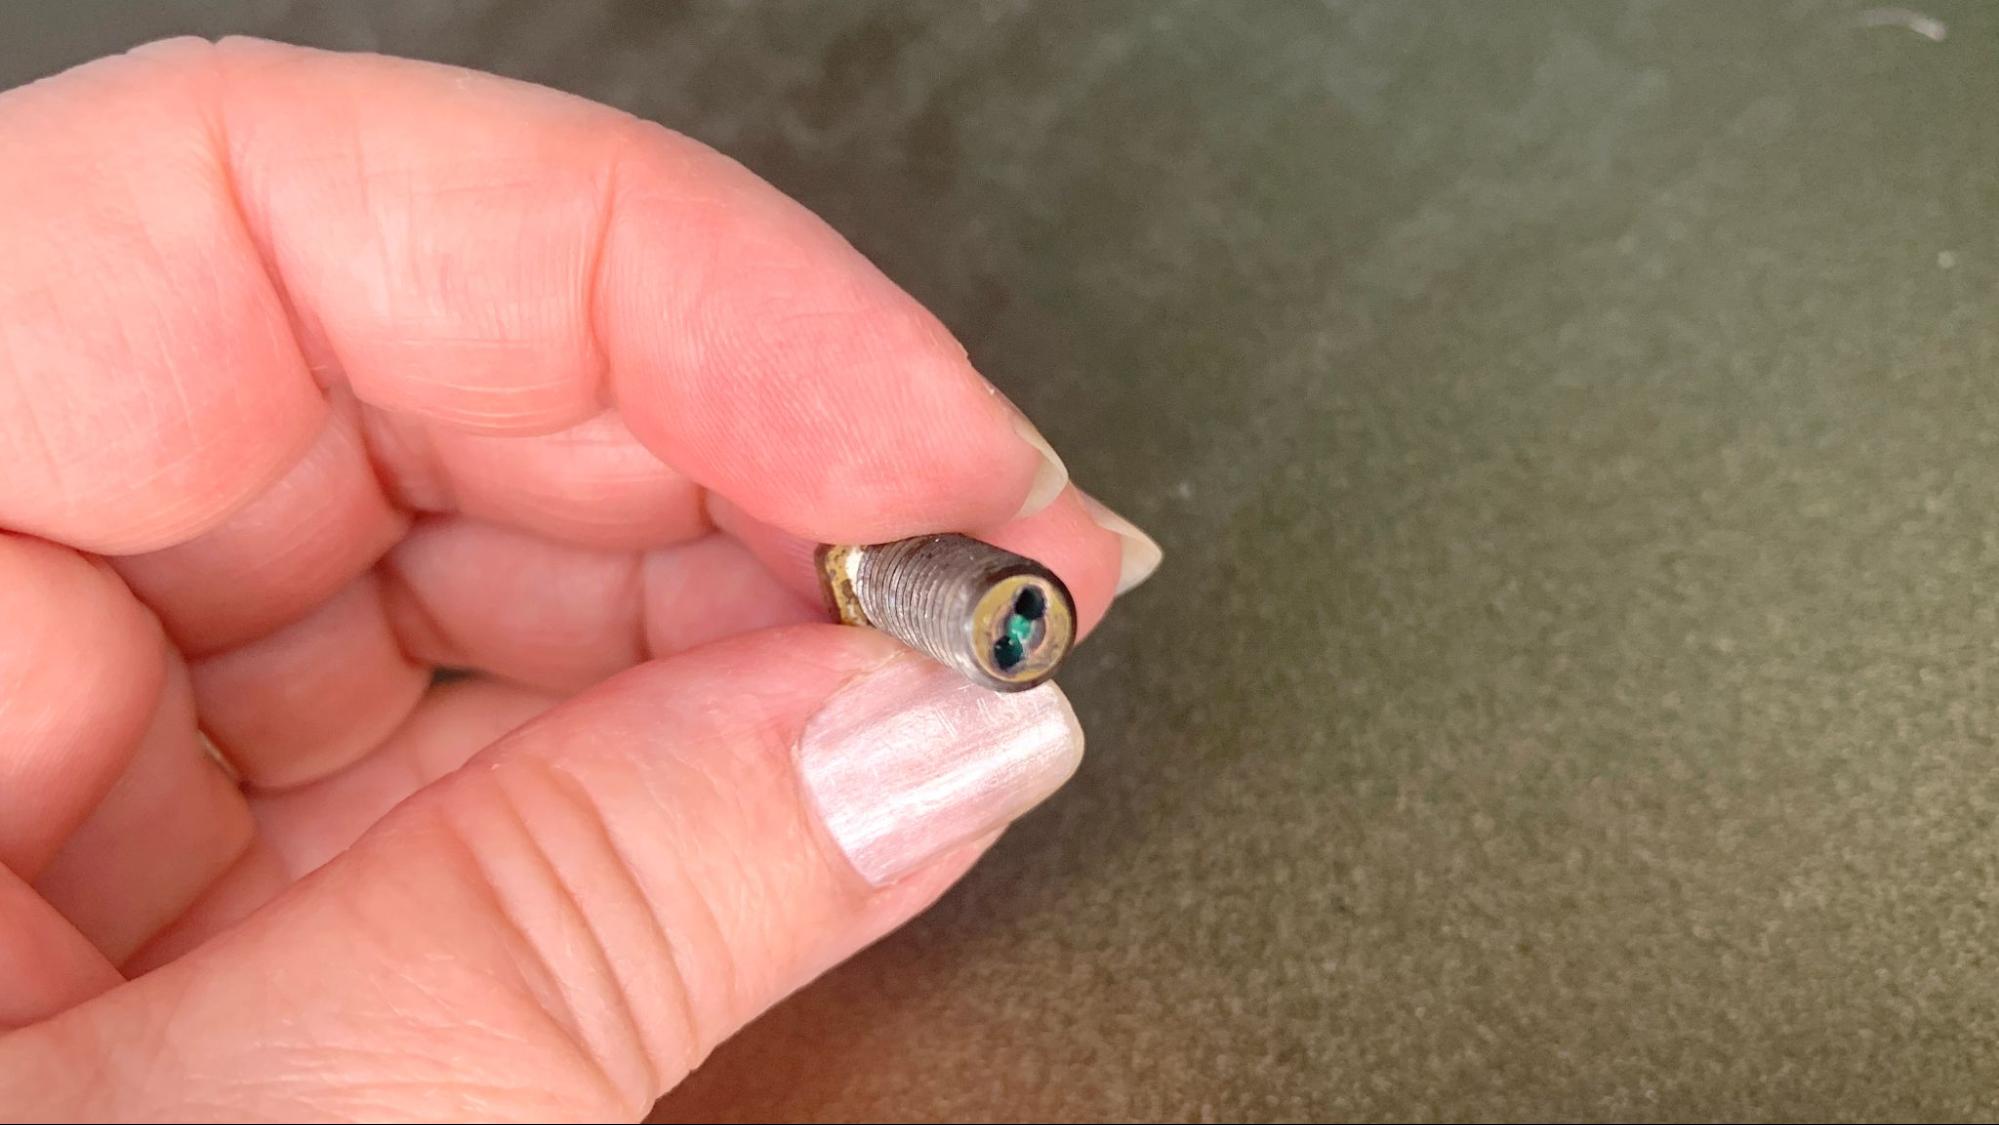
The V400 uses a lightweight direct drive with twin cooling fans. It has a bi-metal heat break and a longer Volcano style nozzle that combine to let filament heat up faster and hotter to keep up with the machine’s brisk print speeds. The nozzle features a dual melt zone that splits the plastic into two tunnels and increases the heated surface area for quicker melting.
The heated bed doesn’t move and comes equipped with a magnetic pad and PEI coated steel flex plate, my favorite build surface. Prints stick to the surface quite well when hot and require only a quick flex to remove.
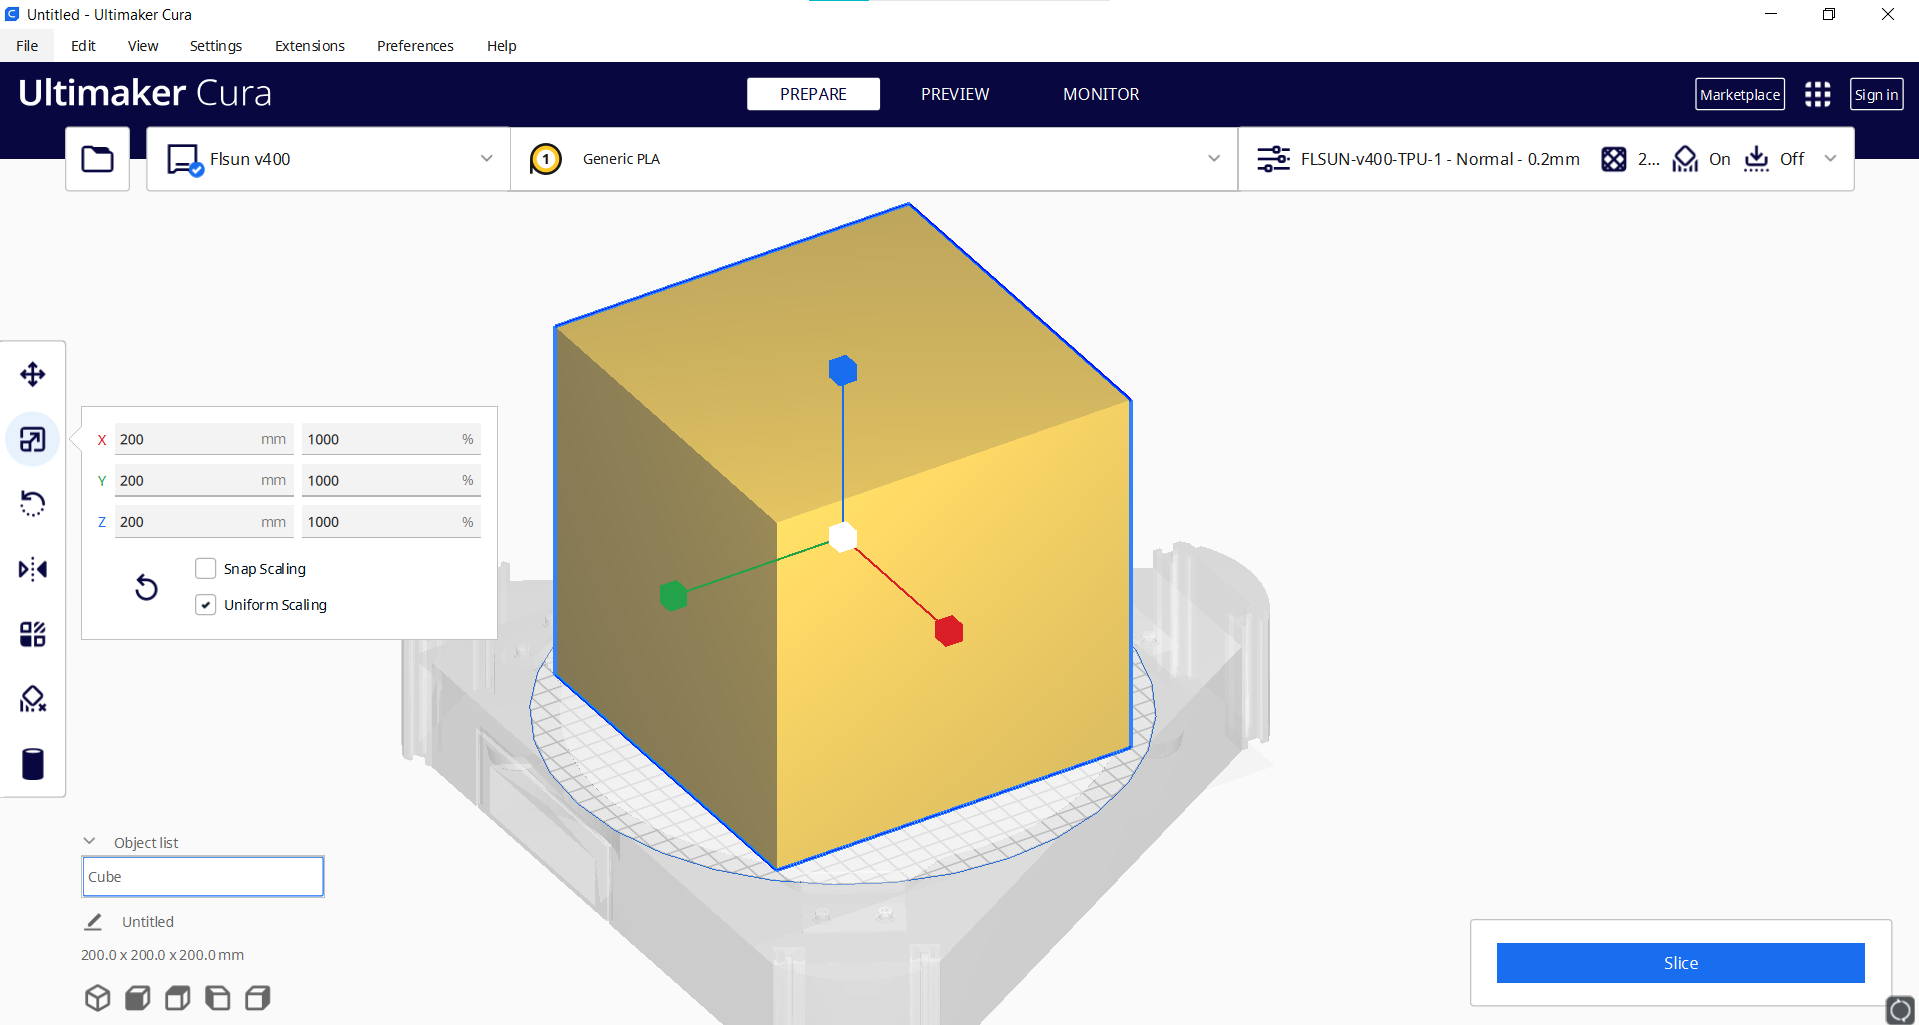
The huge cylindrical build volume is a bit misleading. The print surface is 300mm in diameter, which sounds quite large. But if you’re trying to fit a square model on the plate, you’re limited to 200mm square. It’s not a helmet printer – I tried, and a Stormtrooper helmet would not fit.
I have a few small issues with the FLSun V400’s build quality. Though the machine has remarkable engineering, the company cut corners when finishing the design. The top channel covers do not snap into place and the spool holder looks like something slapped together at the last moment. The harsh metal edge drags along the inside of a spool and puts a strain on the direct drive’s motors. I made a simple fix by printing an adapter I found on Thingiverse.
Preparing Files / Software
Our review copy of the FLSun V400 came with a copy of Ultimaker Cura 4.13.1 and one generic profile to get started. It also comes with the Moonraker plugin so it can connect the printer with your PC. The manual walks you through setting up the printer based on their previous model, the FLSun Super Racer.
FLSun only included directions for using Cura. Trying to set up PrusaSlicer with the start and end gcode included for Cura doesn’t appear to work.
Files are sliced in Cura just like any other printer, then are transferred to the V400 via the Moonraker plugin, dragging and dropping into Mainsail, or by using the supplied USB drive.
Printing on the FLSun V400
I started with the pre-sliced test files and the sample coil of white PLA provided with the printer. Sample coils are just enough to get one test model printed, so you’ll definitely need to shop for some more. To see my favorite materials to use, check out our guide to the Best Filaments for 3D Printing.
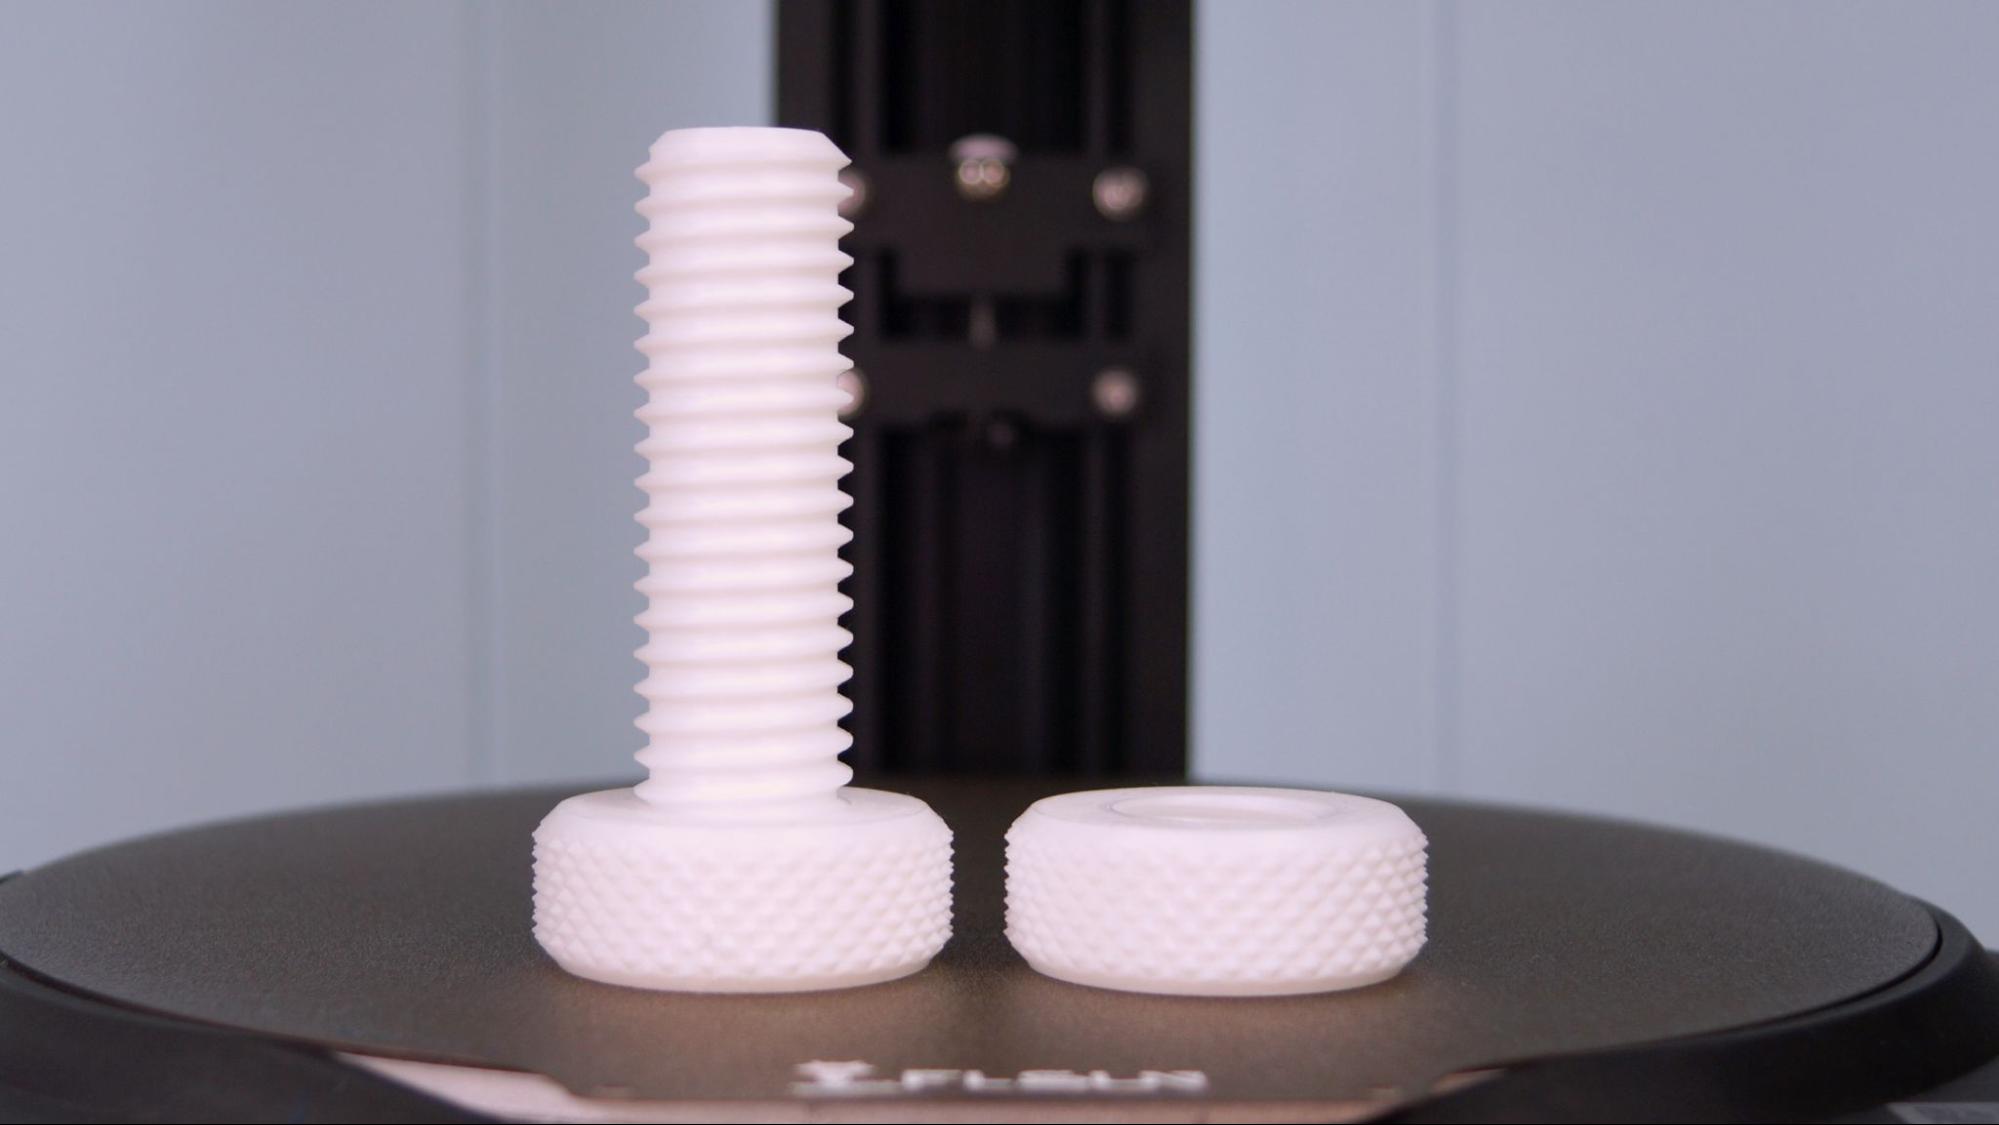
I printed the “knurling bolt and nut” from the provided pre-sliced test files and it printed clean, without stringing and at amazing speeds. Watching the display I could see the printer occasionally hit 400 mm/s. This printed in 1 hour and 45 minutes.
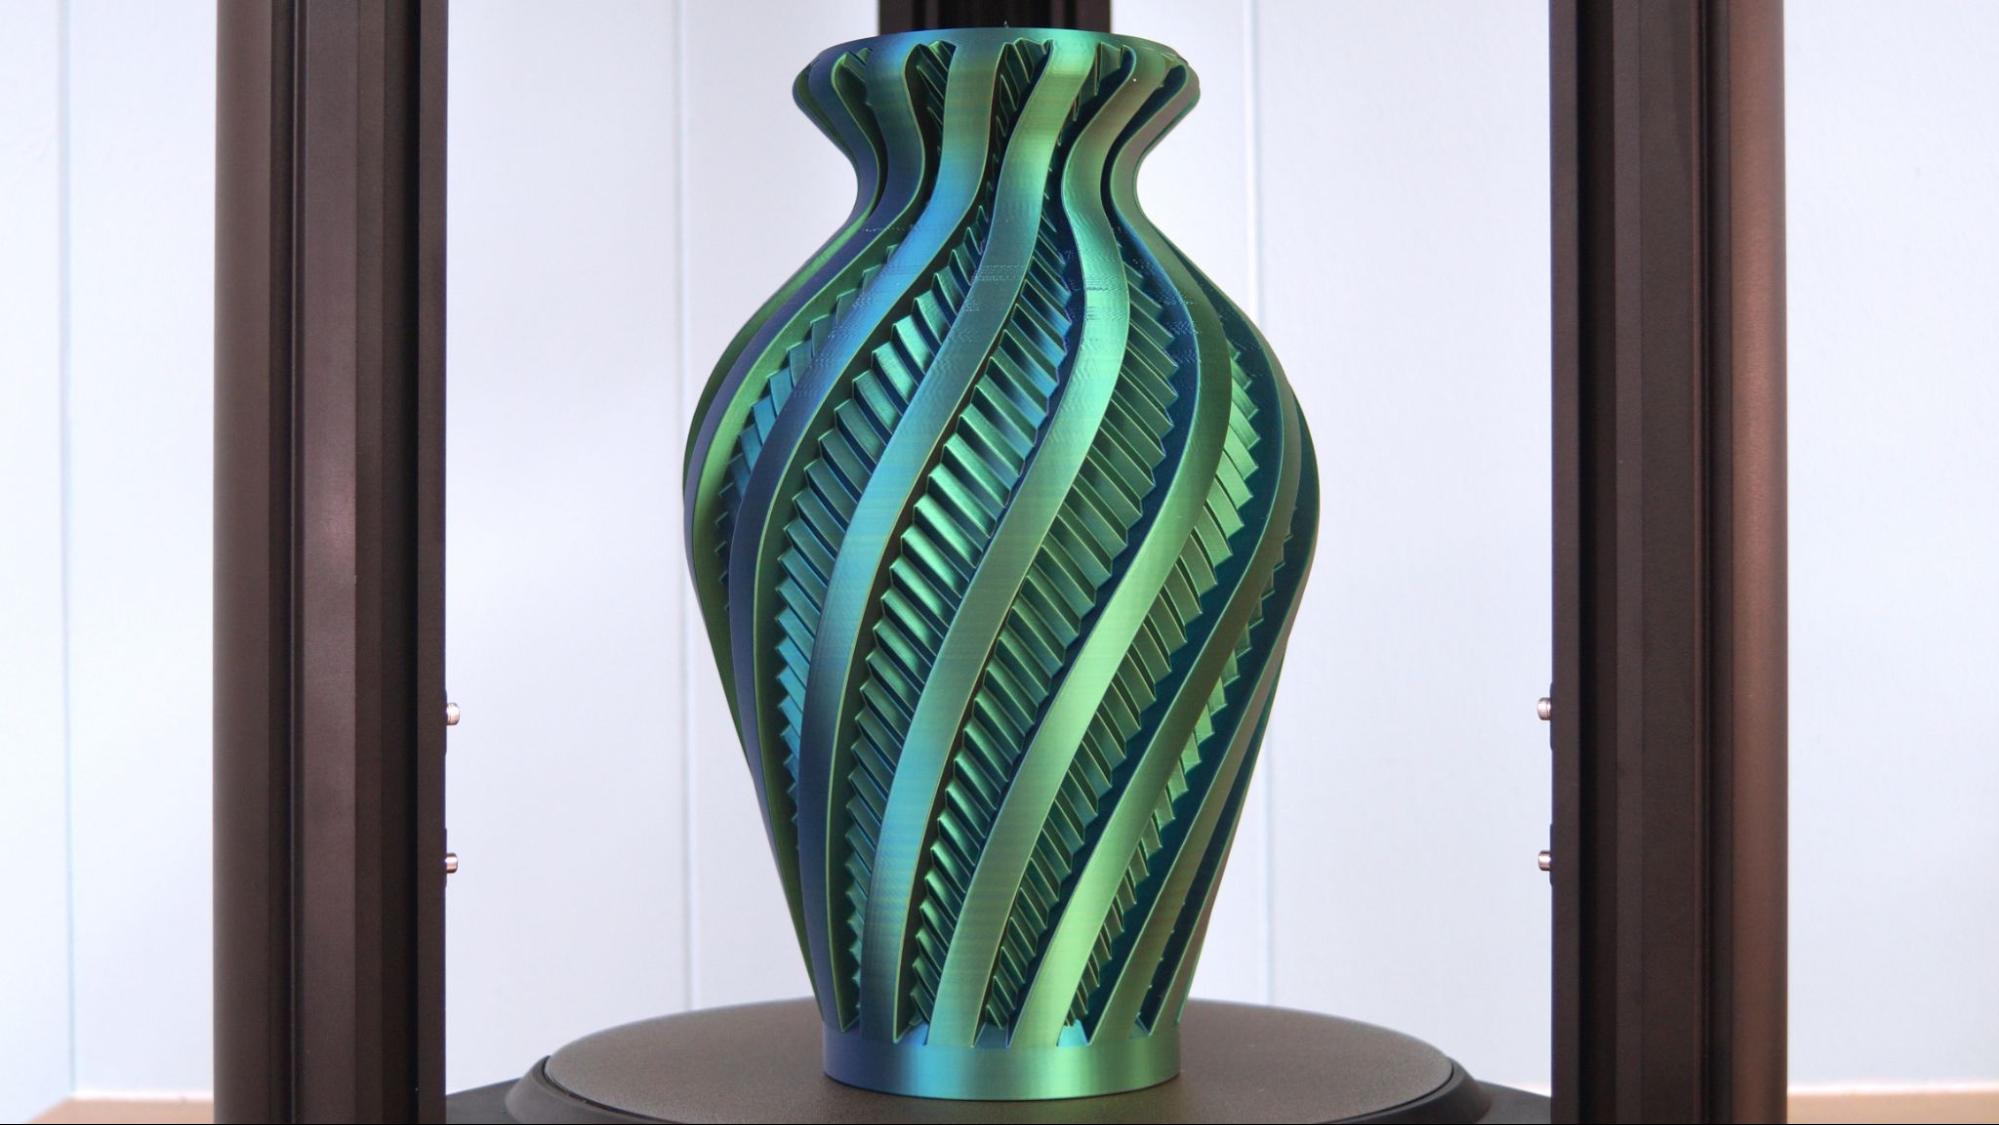
I printed this Clockspring vase at 200% to get a sense of how big an object it can print. This is 344mm tall, and still could go another 66mm taller. It’s printed in vase mode with a 2mm layer height and only took 5 hours and 49 minutes to print. For comparison, this print would take about 14 hours on the Anycubic Kobra Max running at its normal 65 mm/s speed. There’s some under extrusion errors from the print head moving faster than the silk filament could melt, since I was using the default 200C setting. I was able to correct this later by printing silk PLA about 15 degrees hotter. Over all, it’s a very nice, smooth print.
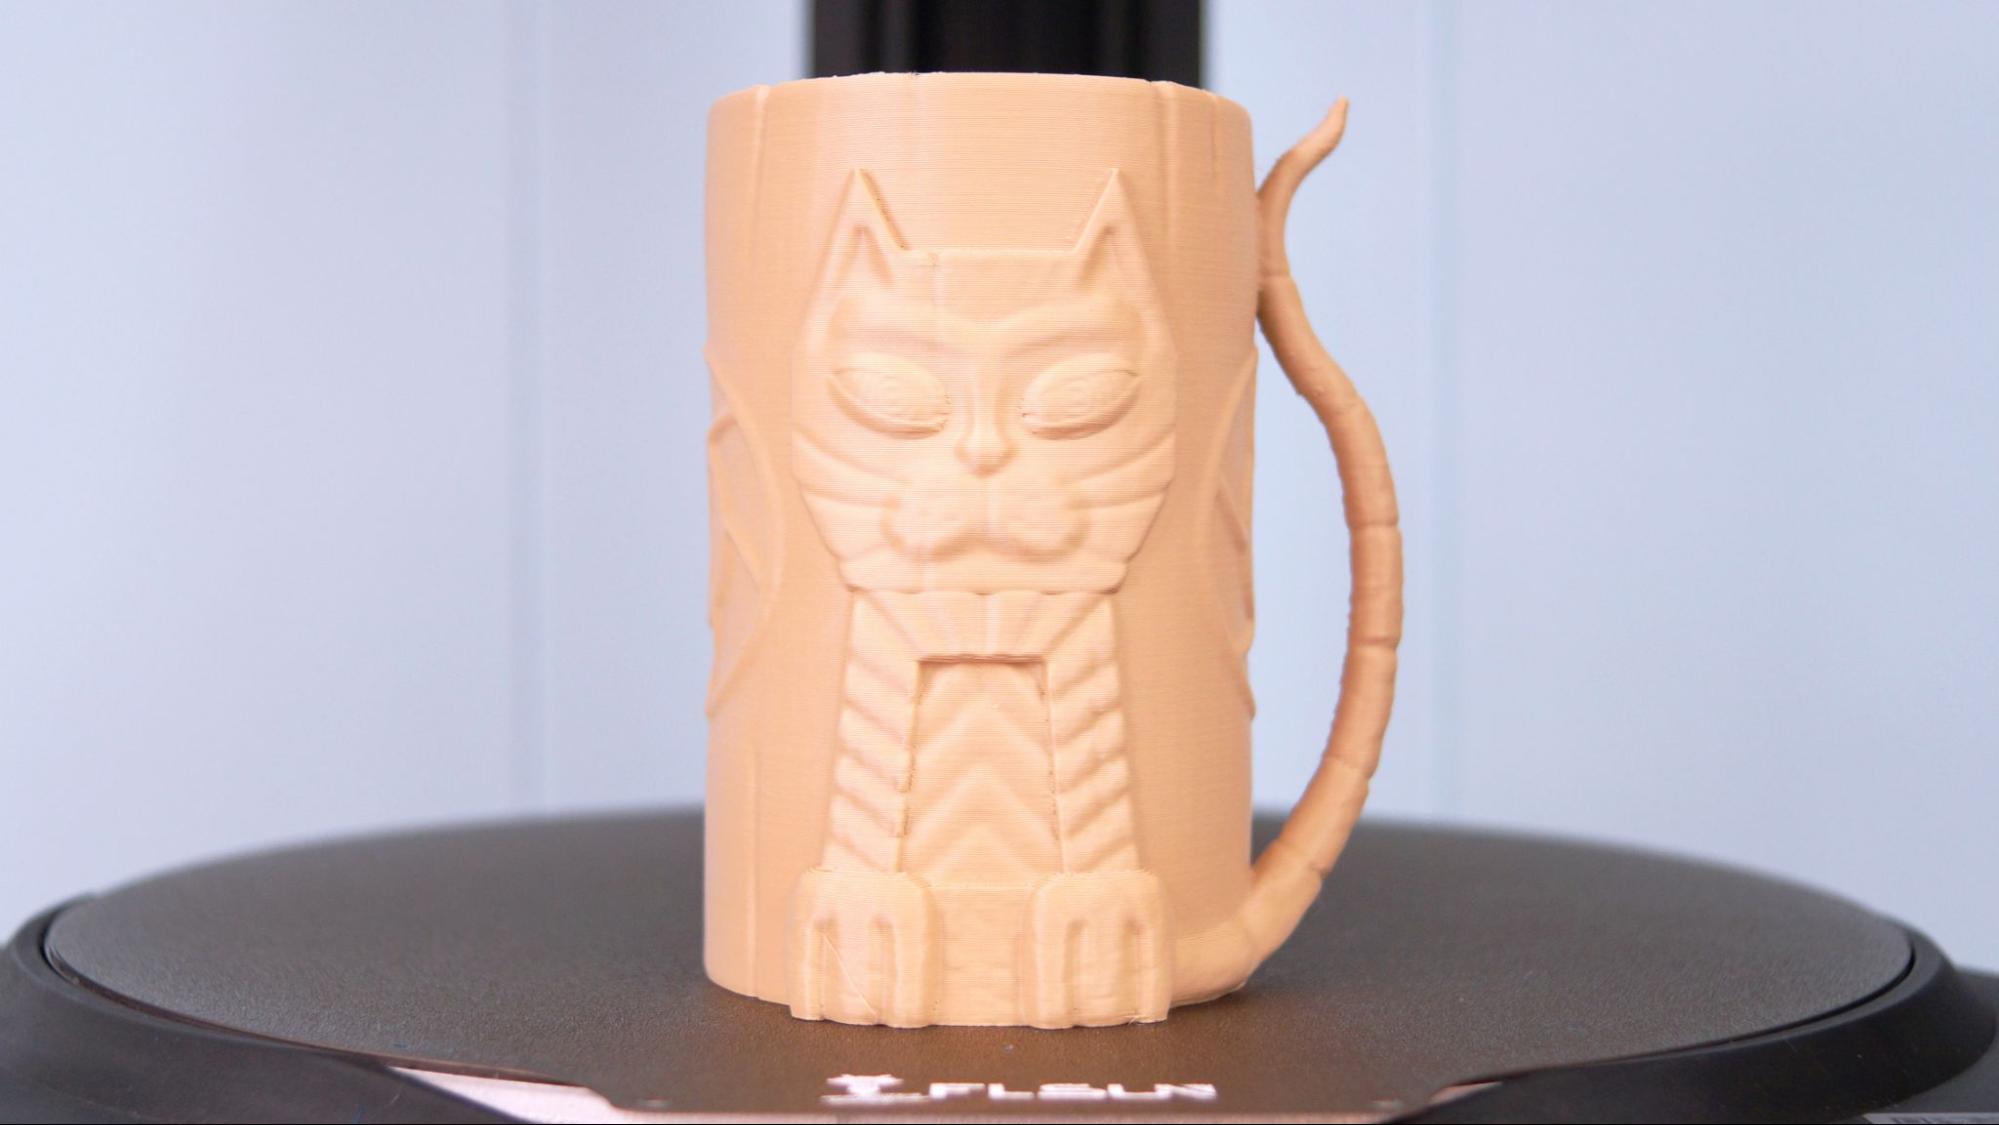
The FLSun V400 really shines when you need to print a model ridiculously fast. This can koozie mug was printed for a friend’s birthday in just 3 hours and 21 minutes, using a .28 layer height and the standard 150mm/s print speed. My Ender 3 Pro would have taken 10 hours and 49 minutes at 65 mm/s to print the same thing. Despite the thicker layers, this print turned out fantastically well without any stringing or need for supports.
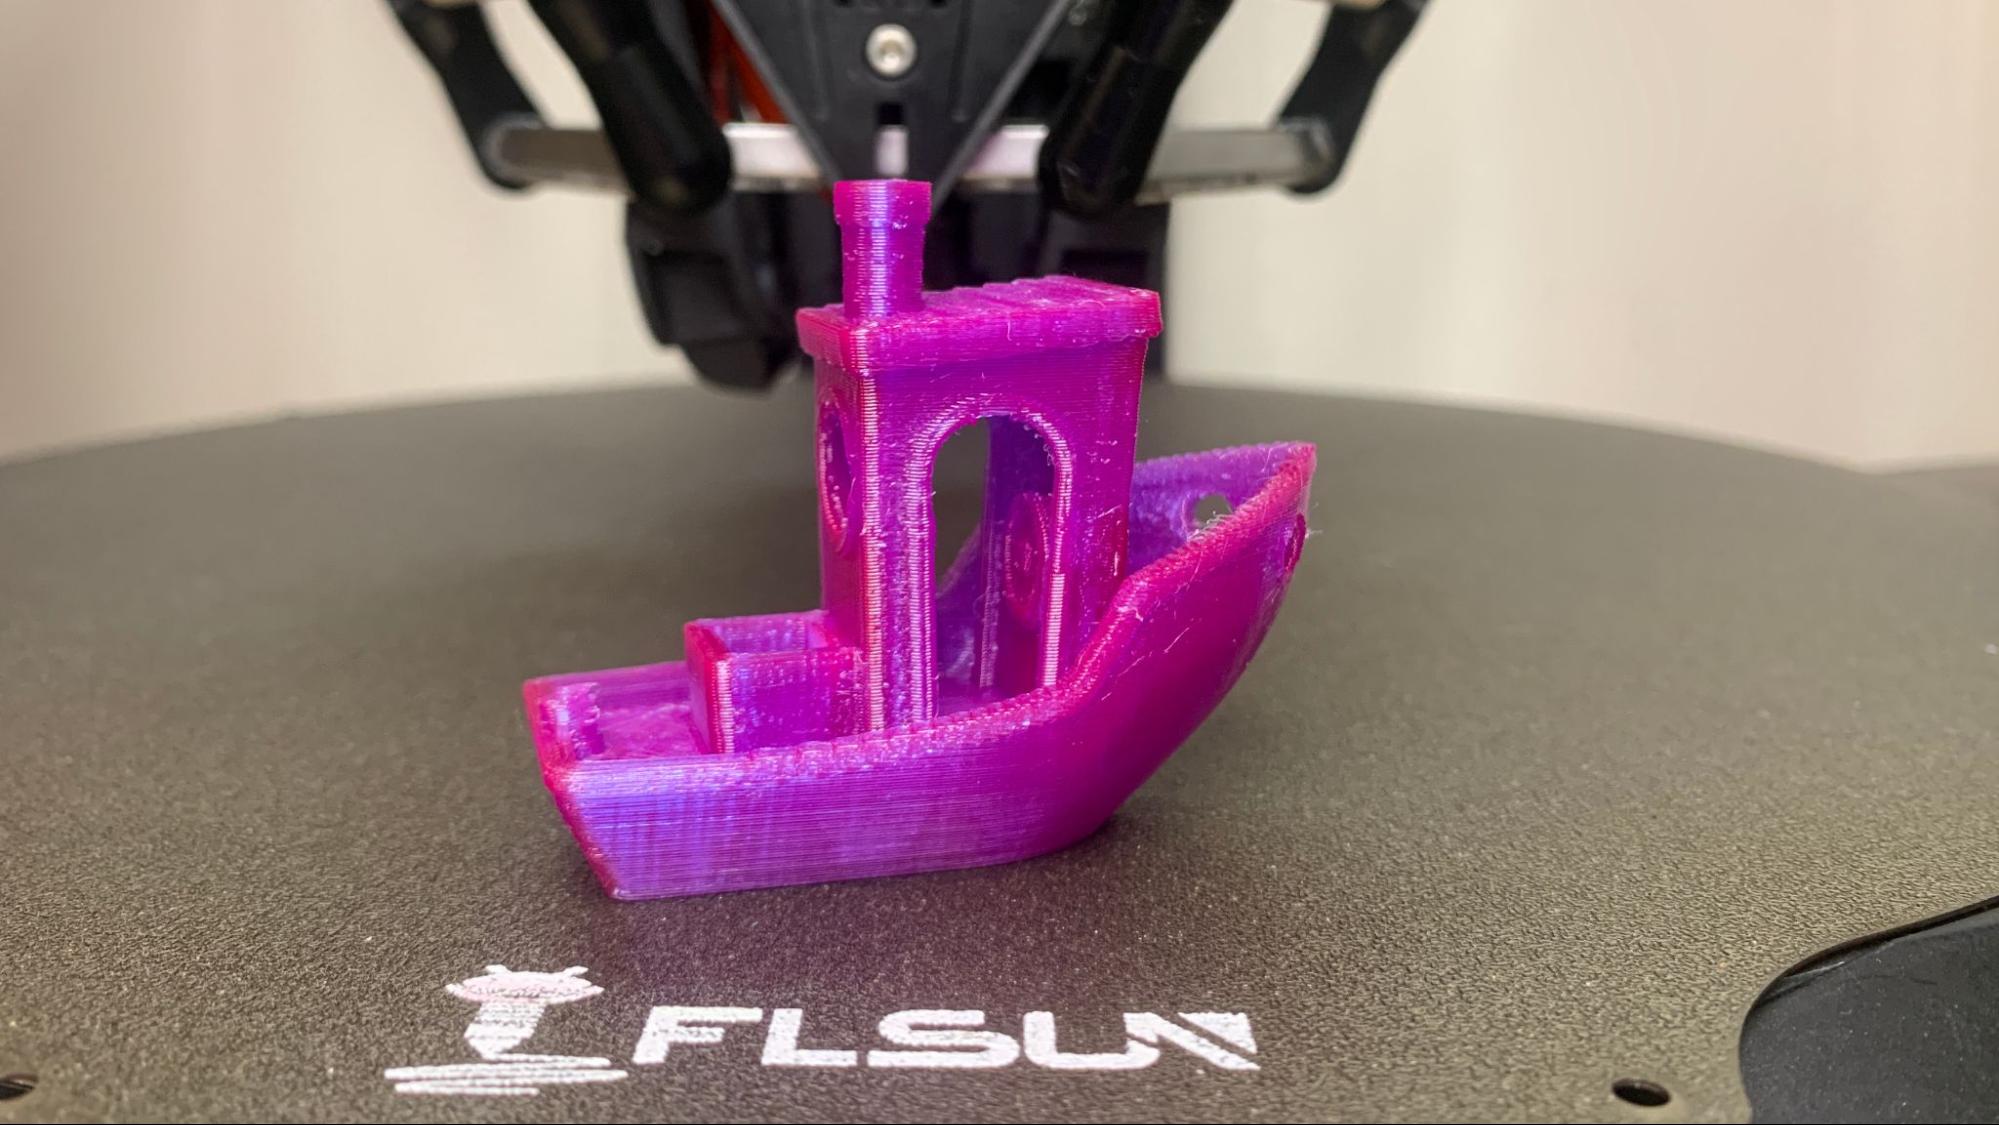
PETG is no problem for the FLSun V400. It has an all metal hotend that’s rated to 300C and can handle a wide range of engineering grade materials. This 3D Benchy was run in 40 minutes using its default speed of 150mm/s and a .2mm layer height. There’s just a little bit of wispiness on this very nice print.
TPU is not this printer’s strong point. It does have a direct drive, so with a little tuning I could probably get a better result. For this print, I slowed the printer down to a maddening 50 mm/s which seems like asking a race horse to plow a field. Even at a slower speed the TPU was stringy where it had to make travel moves. Still, this printed in 4 hours at .2mm layer height – an hour and 40 minutes faster than my Ender 3 Pro.
Bottom Line
The FLSun V400 is simple to use, fun to watch and can save you loads of time. I’ve used it a lot for prototyping parts for an RC car I’m building – in draft mode the printer can blaze through filament in a fraction of the time needed on a standard printer. The prints it produces at speed are still of excellent quality, so there’s no reason to limit it to only test prints.
I’m really impressed with this printer, but it’s not exactly perfect. For $850, I shouldn’t have to replace the disturbingly rough spool holder or glue down the caps. These are small things, but when you’re talking about a more expensive printer you’d hope the small things are covered.
You definitely want to measure your work surface before clicking the buy button on this one. It nearly scrapes my basement ceiling when placed on a counter and ended up parked on the floor until I found it an appropriate coffee table to call home.
If you’re interested in another great printer with a huge build volume, check out the Anycubic Kobra Max, one of the Best 3D Printers. Or if you want something with all the bells and whistles, try the Creality Ender 3 S1 Pro, our current pick for Best 3D Printer Overall.
MORE: Best 3D Printers
MORE: Best Resin 3D Printers
MORE: Best Filaments for 3D Printing

Denise Bertacchi is a Contributing Writer for Tom’s Hardware US, covering 3D printing. Denise has been crafting with PCs since she discovered Print Shop had clip art on her Apple IIe. She loves reviewing 3D printers because she can mix all her passions: printing, photography, and writing.
-
Phokeene This needs to be updated. The included Cura profile comes with 400mm/s speeds. Just got one this weekReply
