Why you can trust Tom's Hardware
We are using the following system for our case test bed:
| CPU | Intel Core i9-9600K |
| Motherboard | ASRock Z390 Phantom Gaming-ITX/WiFi |
| Memory | Corsair Vengeance LPX 3000 MHz, 16 GB (2x 8GB) |
| Graphics | Nvidia GeForce RTX 2070 Super Founder’s Edition |
| CPU Cooling | Phanteks Glacier One 240MP AIO |
| Row 5 - Cell 0 | Noctua NT-H2 Thermal Paste |
| Storage | Corsair Force Series MP600 NVMe SSD, 480GB |
| Power Supply | Corsair AMP 750W |
Because I don’t have a Micro-ATX board at my disposal, I’m resorting to a Mini-ITX board for testing this chassis, in which I have installed 16 GB of memory, a 500 GB SSD and Intel’s Core i5-9600K processor.
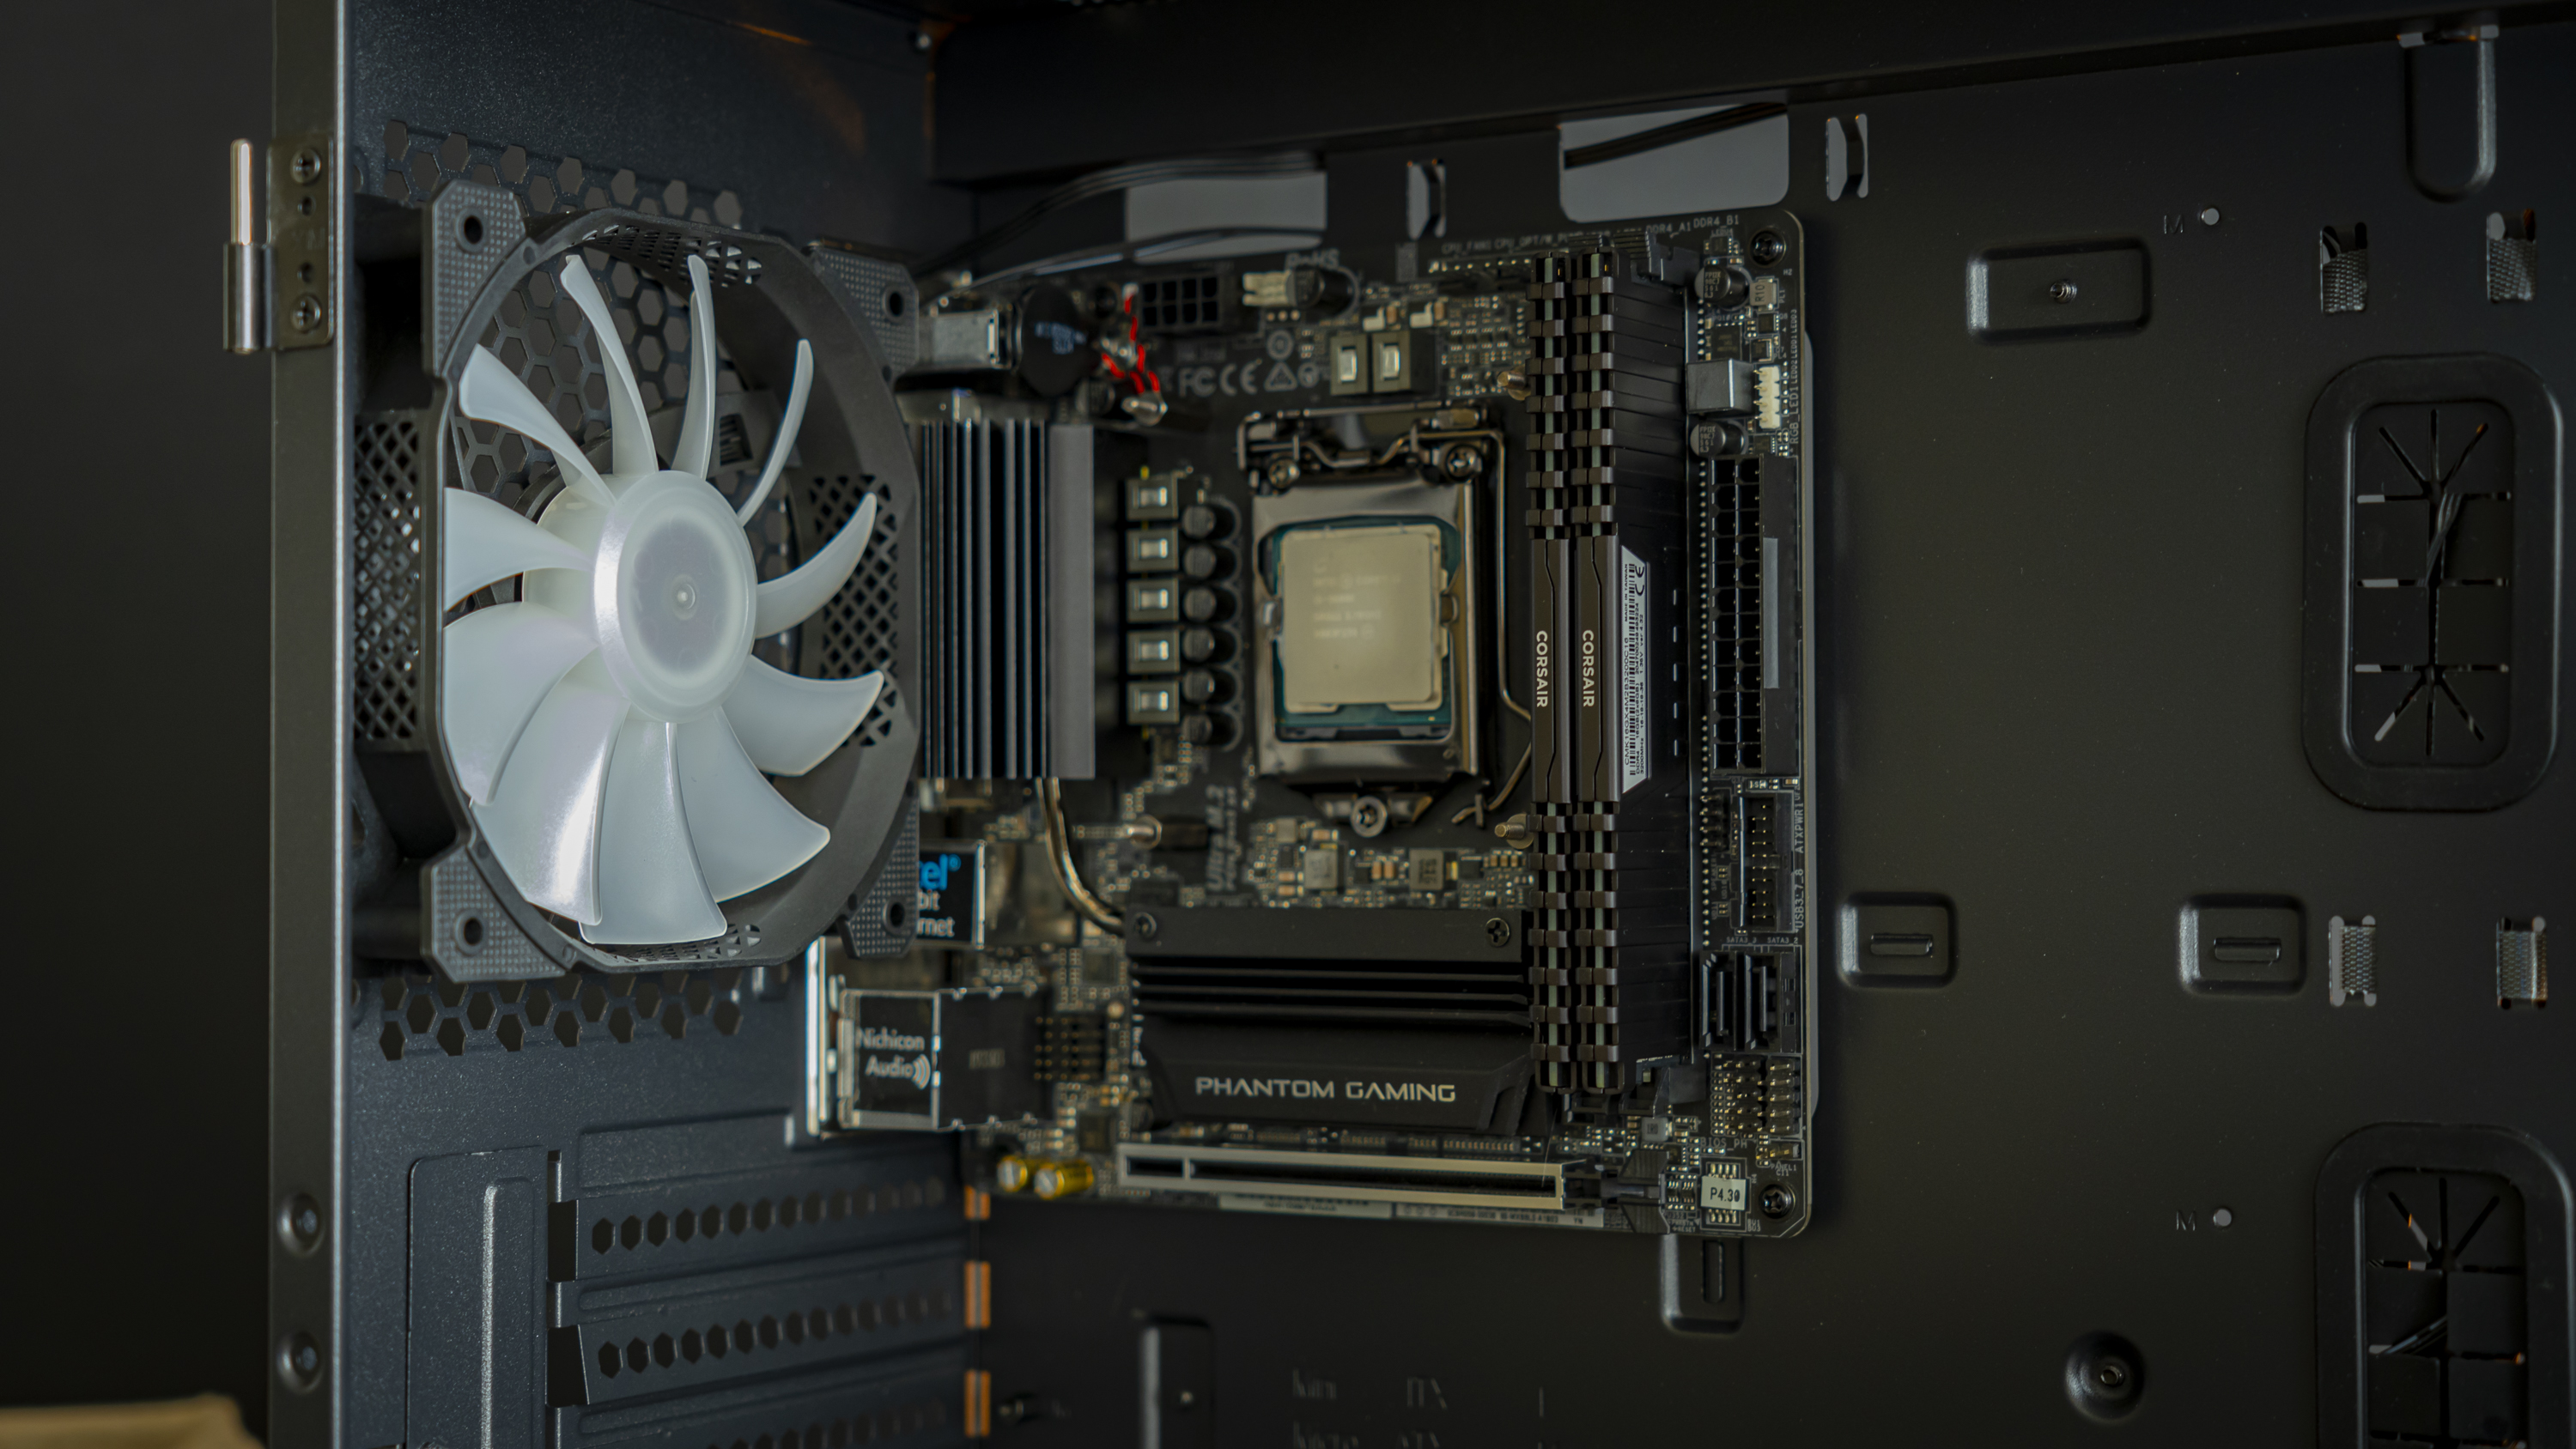
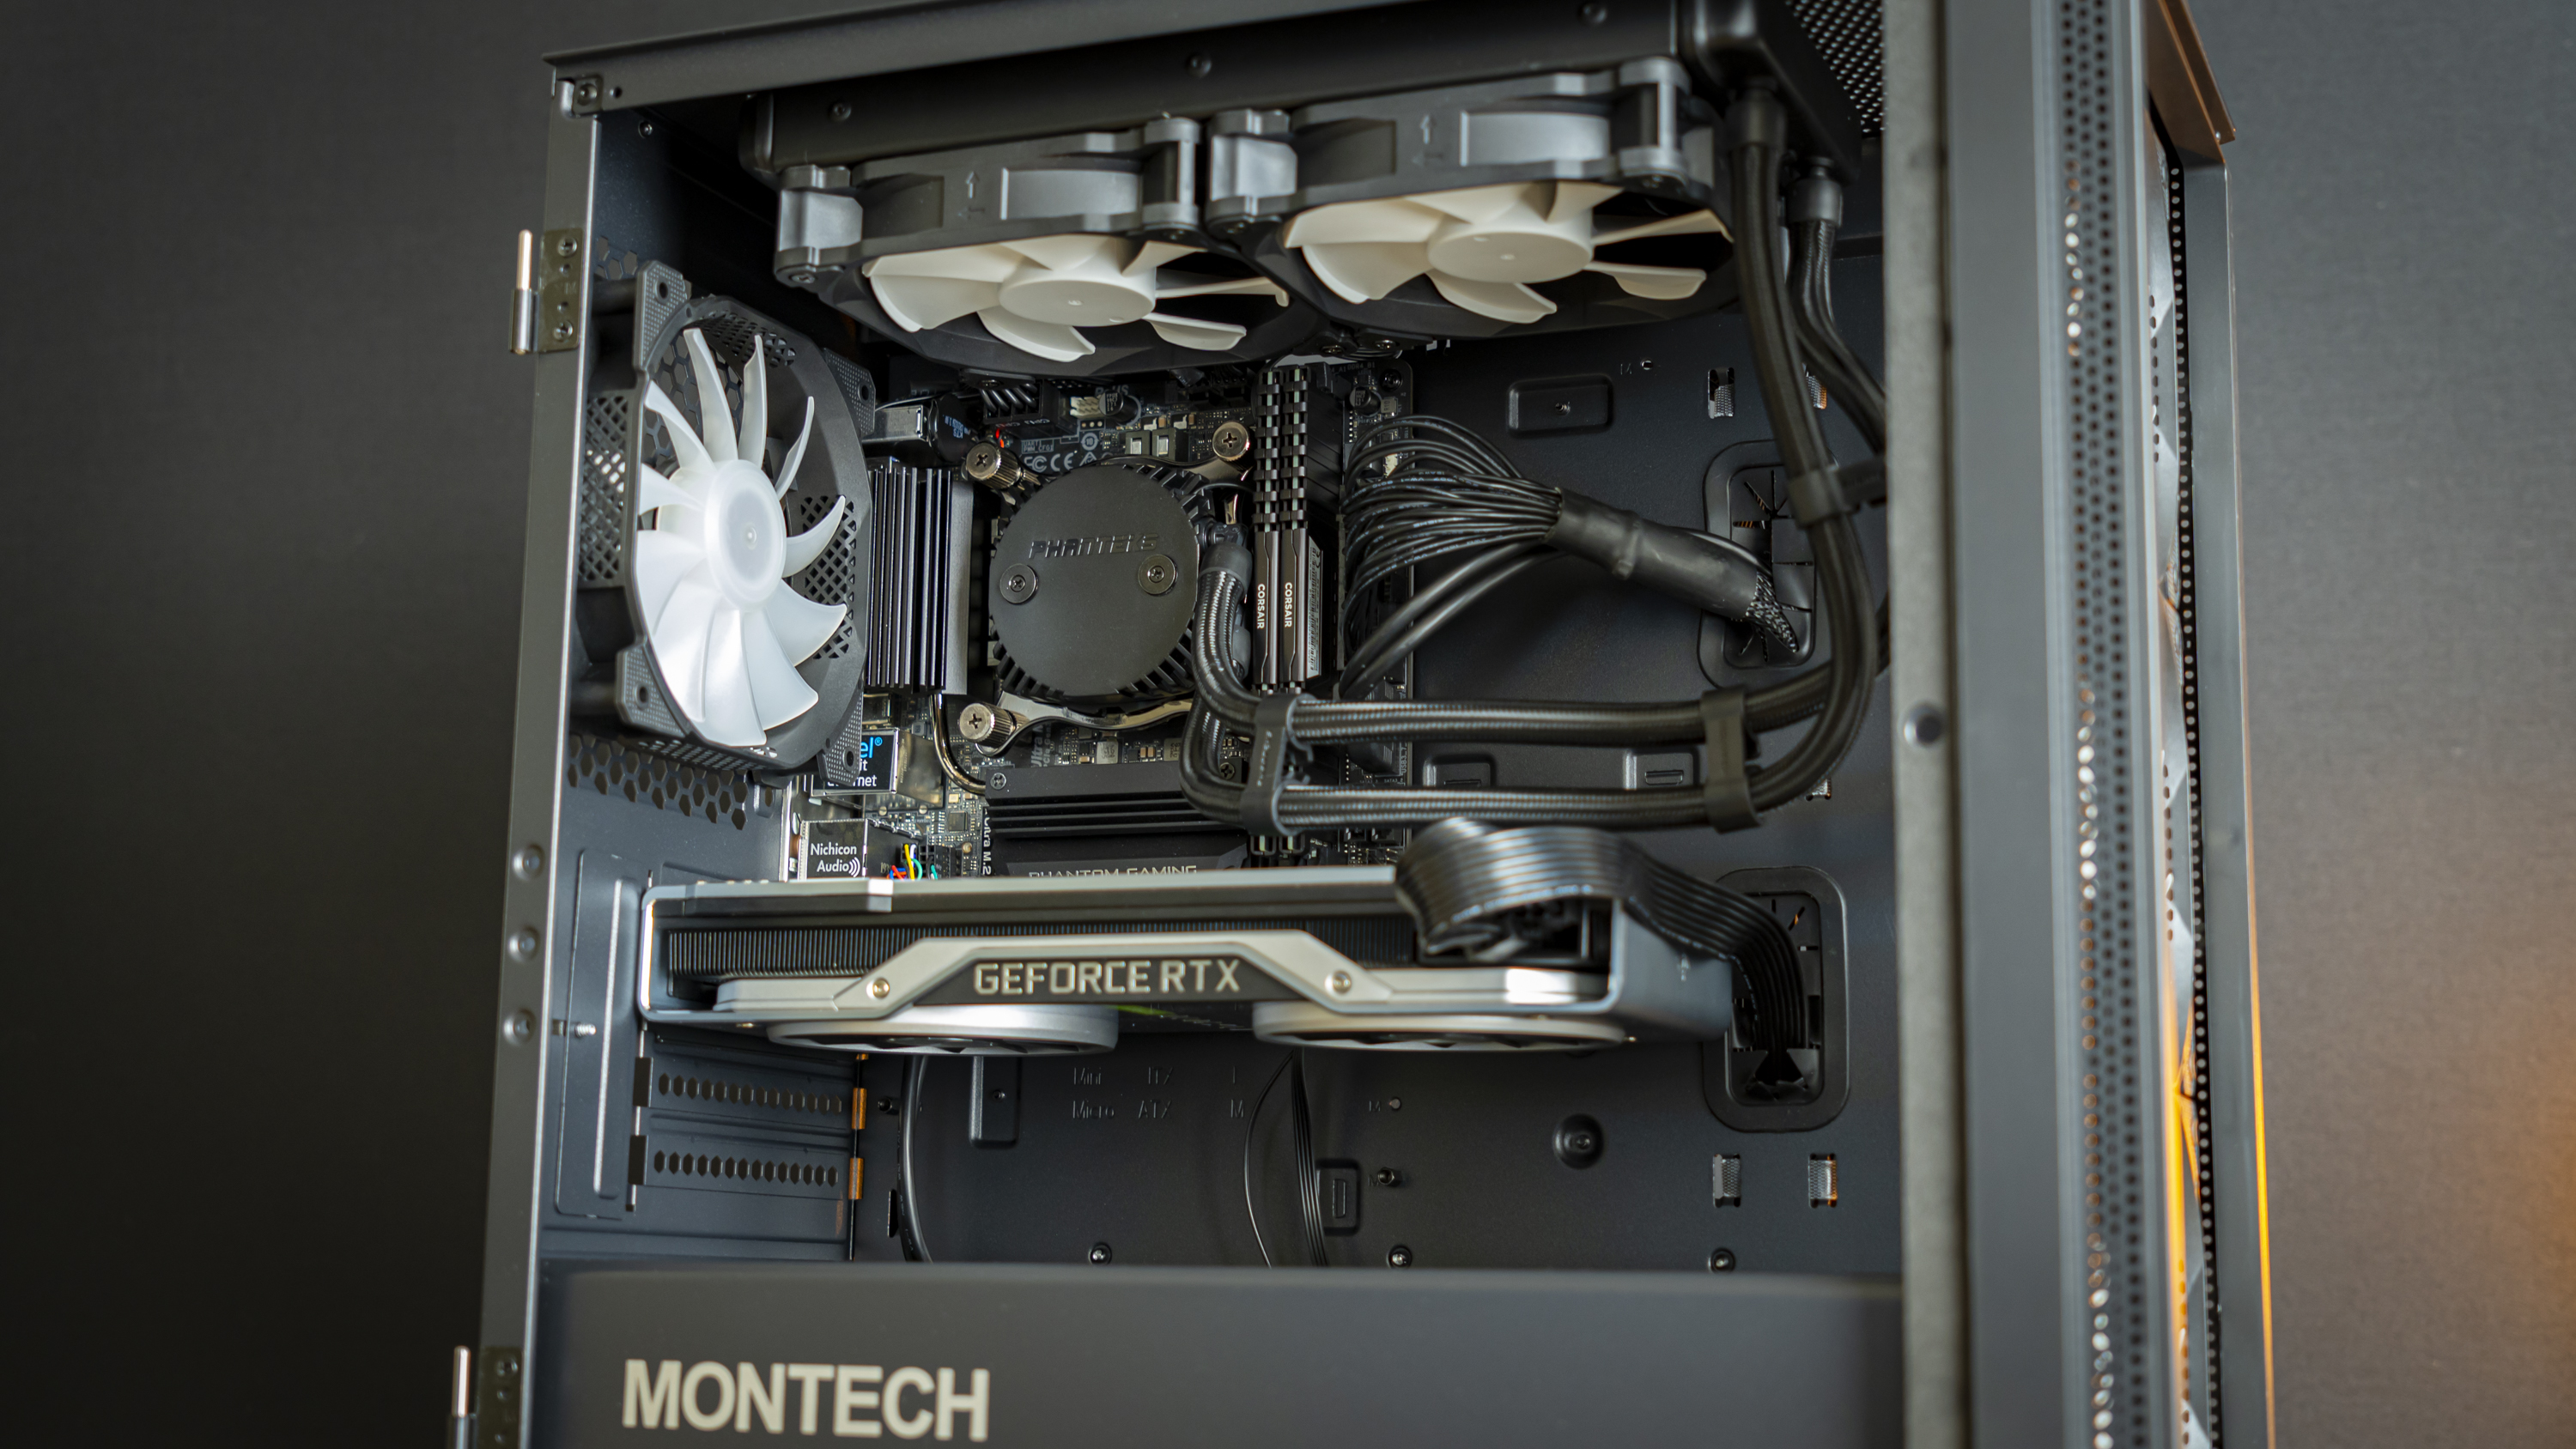
Step 1: Motherboard Install
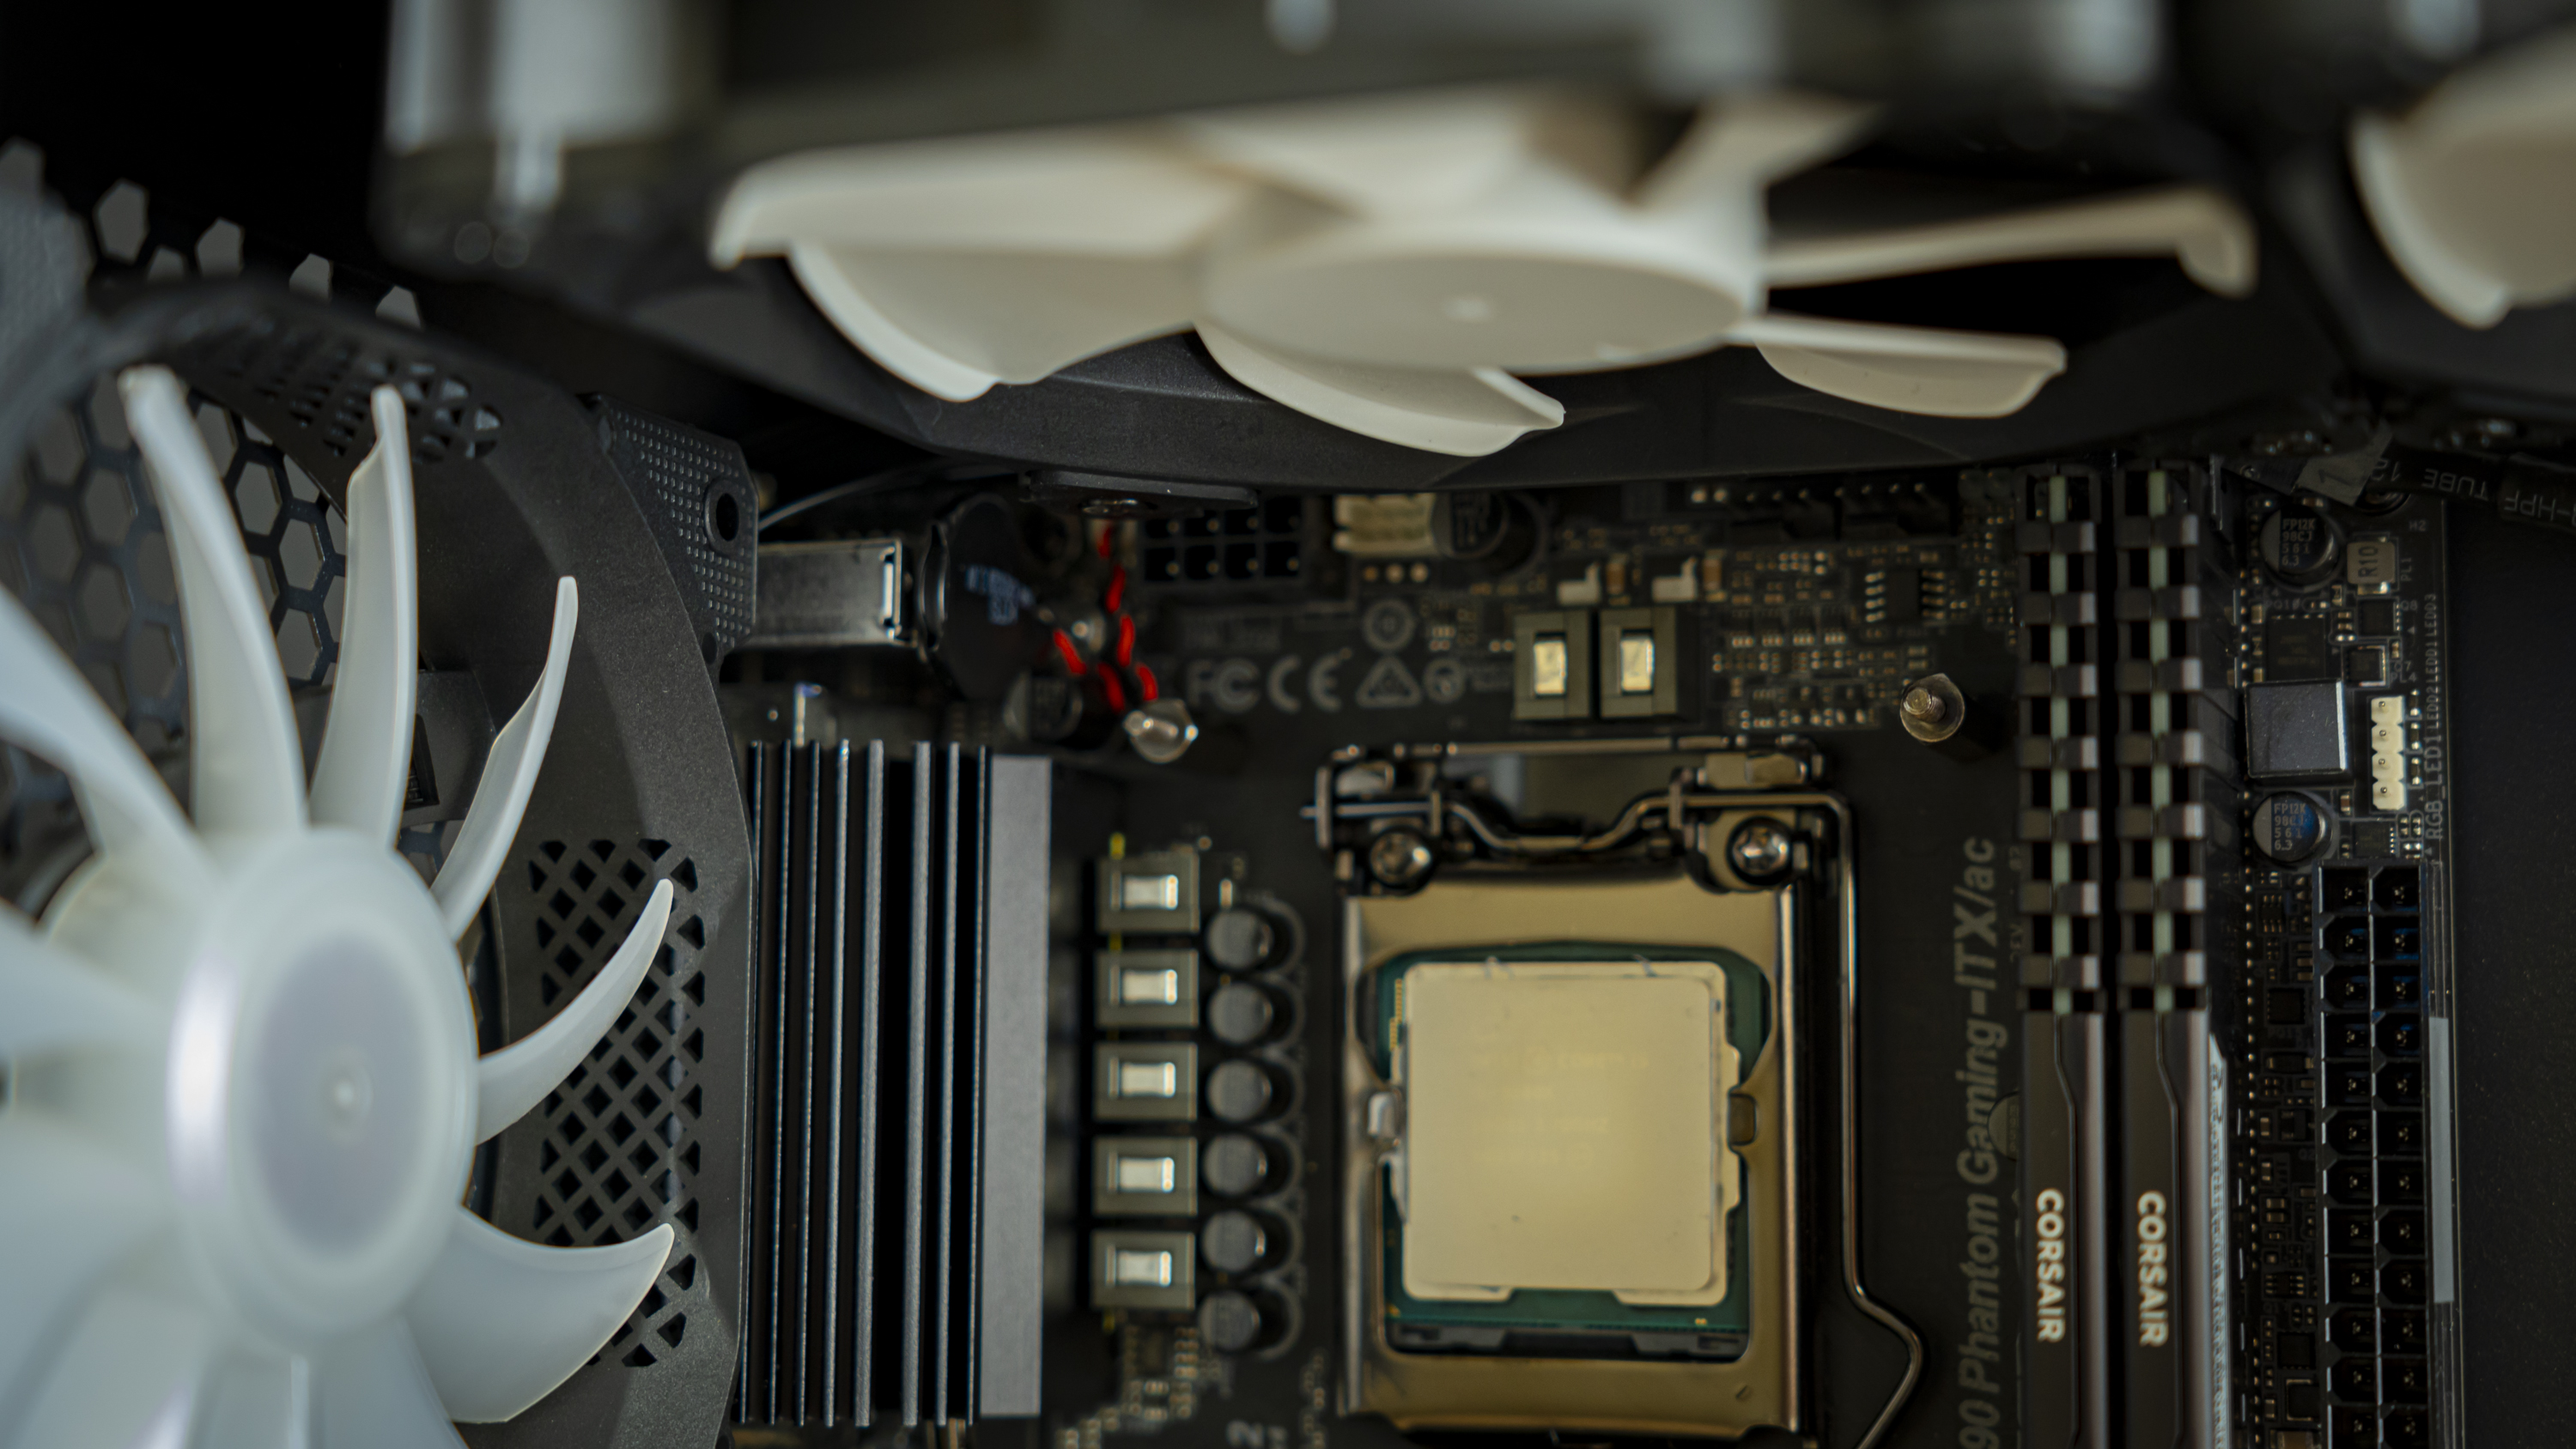
The motherboard drops right in for an easy install, though I did have to hold it up, as there is no pre-installed anchoring standoff to hold it in place while I secure it.
Maybe do the AIO Later
I thought about installing the AIO, but with the radiator held in place, as you can see above, it would be challenging to get to the power and fan headers – so I decided to get the PSU and cable management taken care of first and then install the AIO. This is a weird order of installation, but tight cases often call for this kind of thinking during the build process.
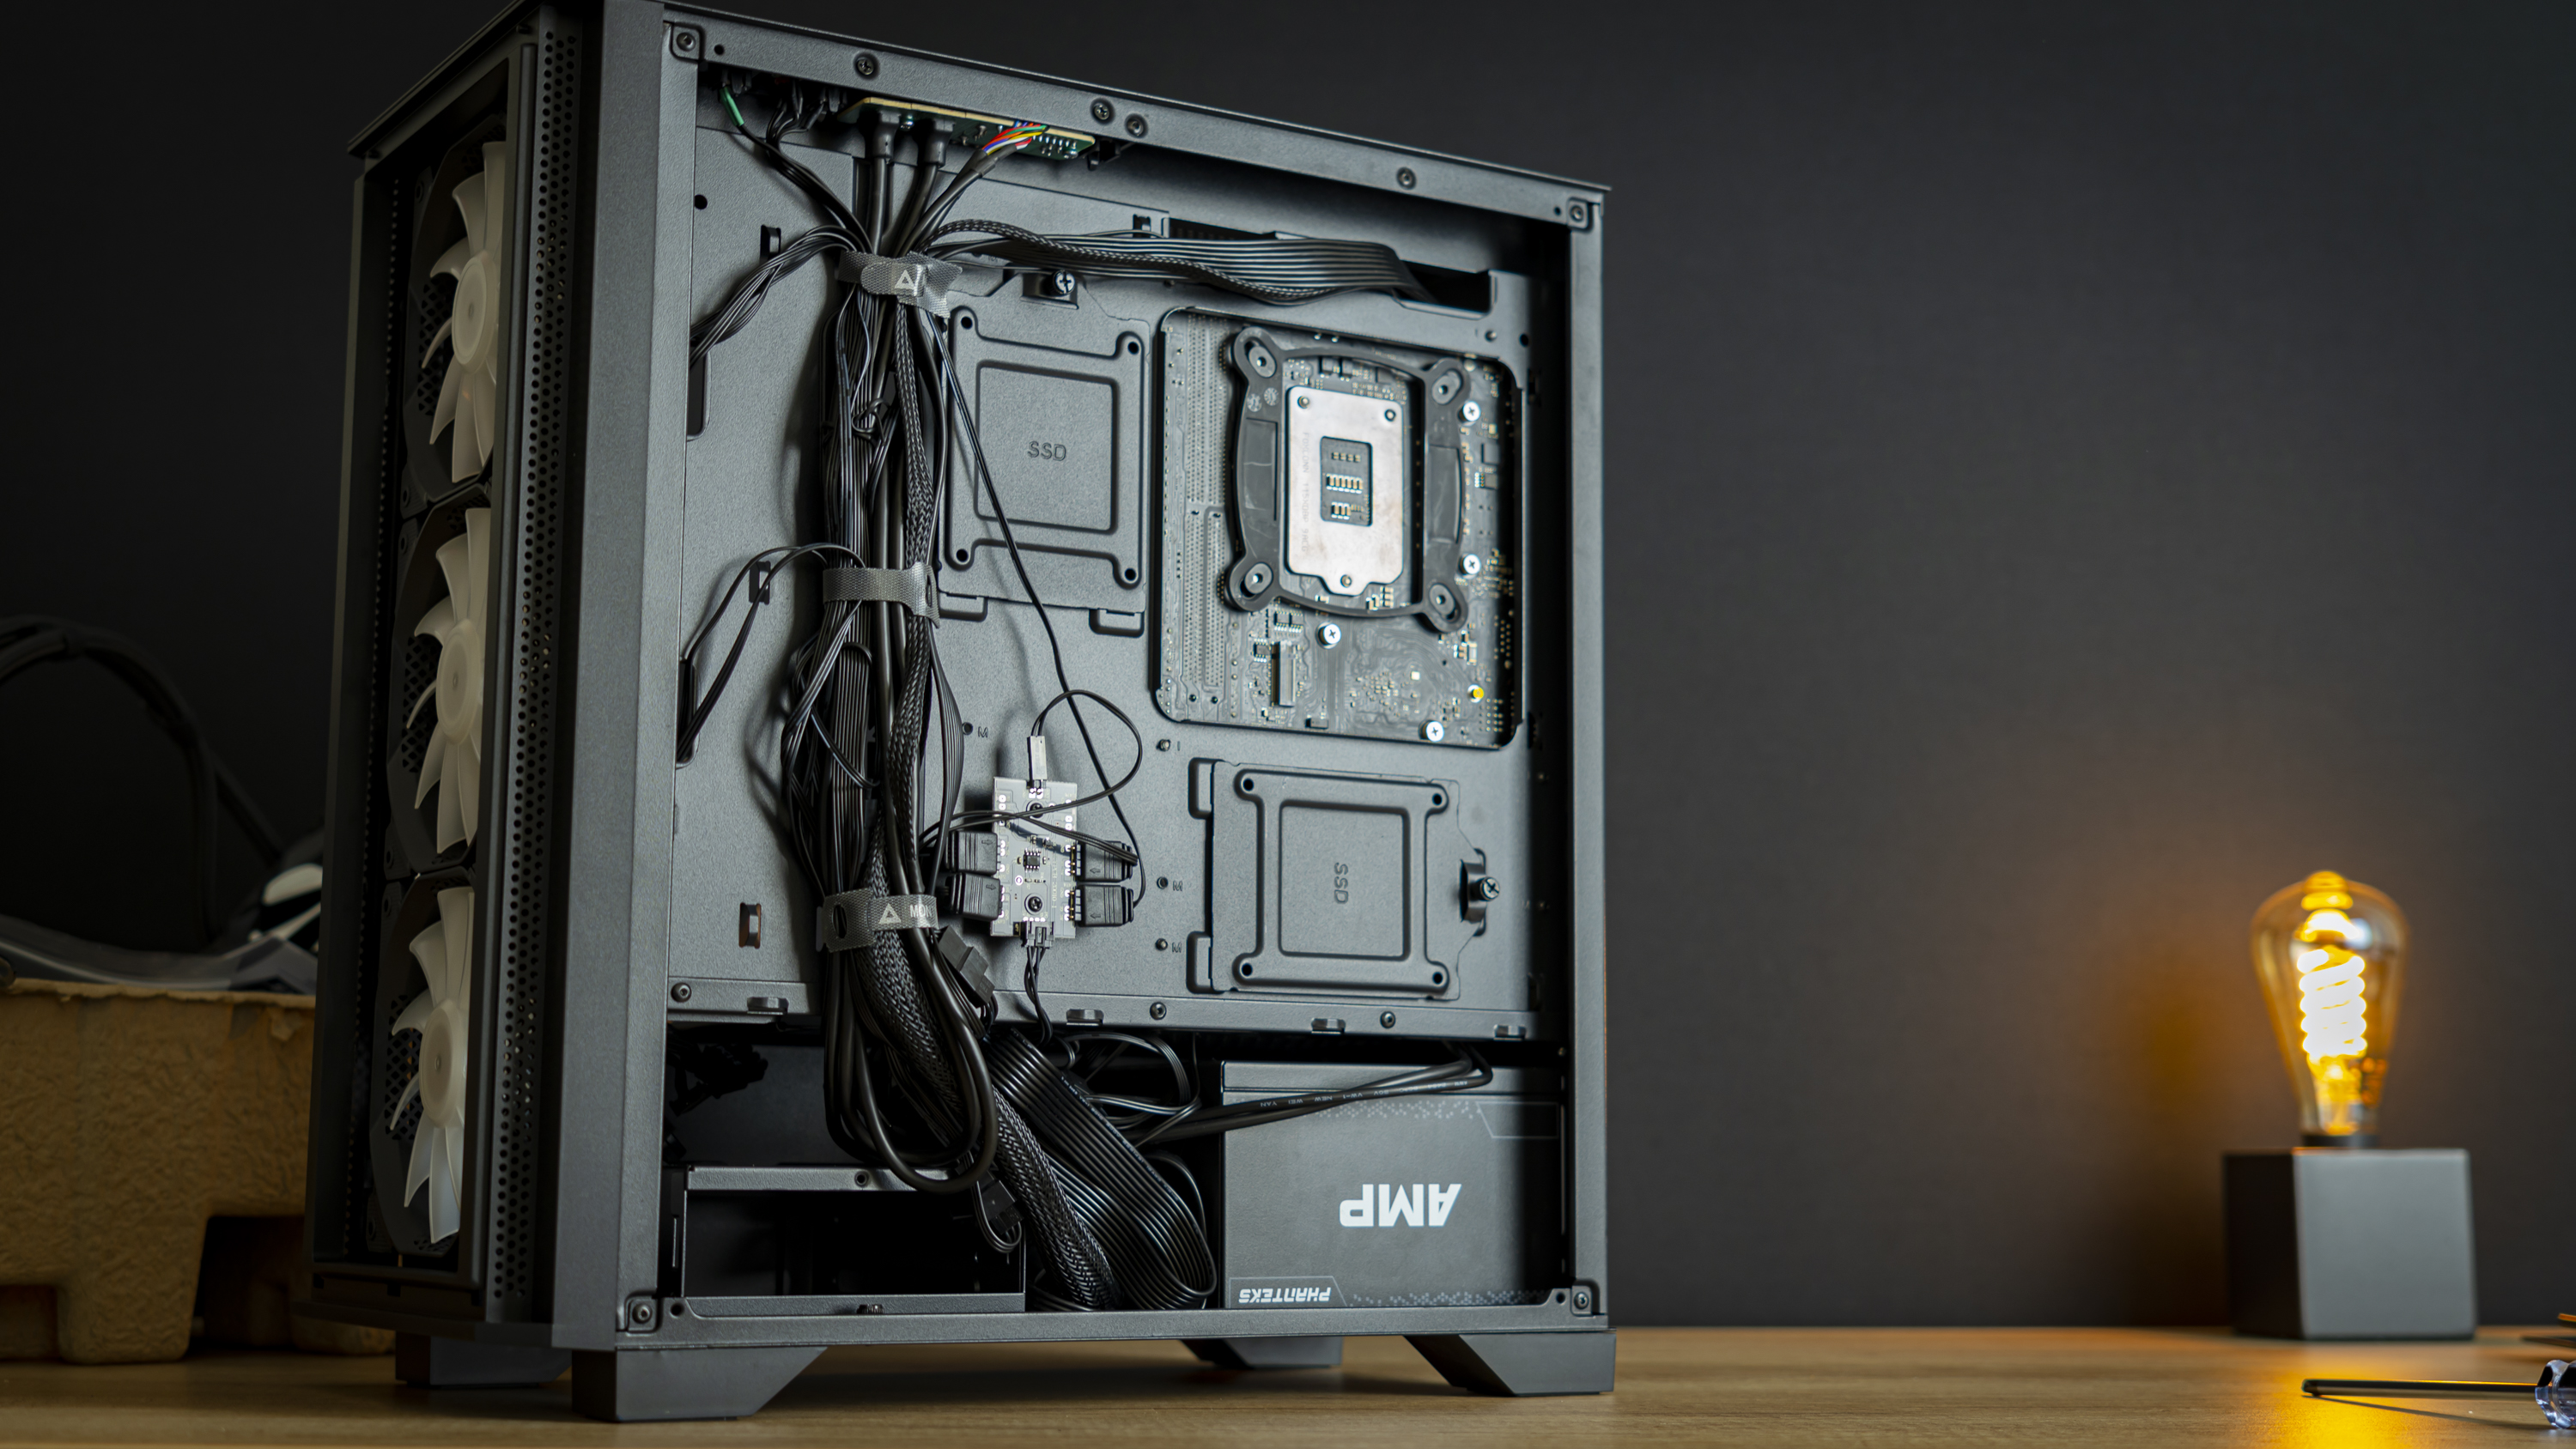
Step 2 PSU & Cable Management
Of course, the PSU slipped right in, and cable management was modestly doable. I appreciate that Montech includes three Velcro straps, as these always make cable management much more of a breeze, though I would have liked some extra depth to the cable area: To get the side panel back on, I did have to lay the case on its side and push on the panel to get it in place.
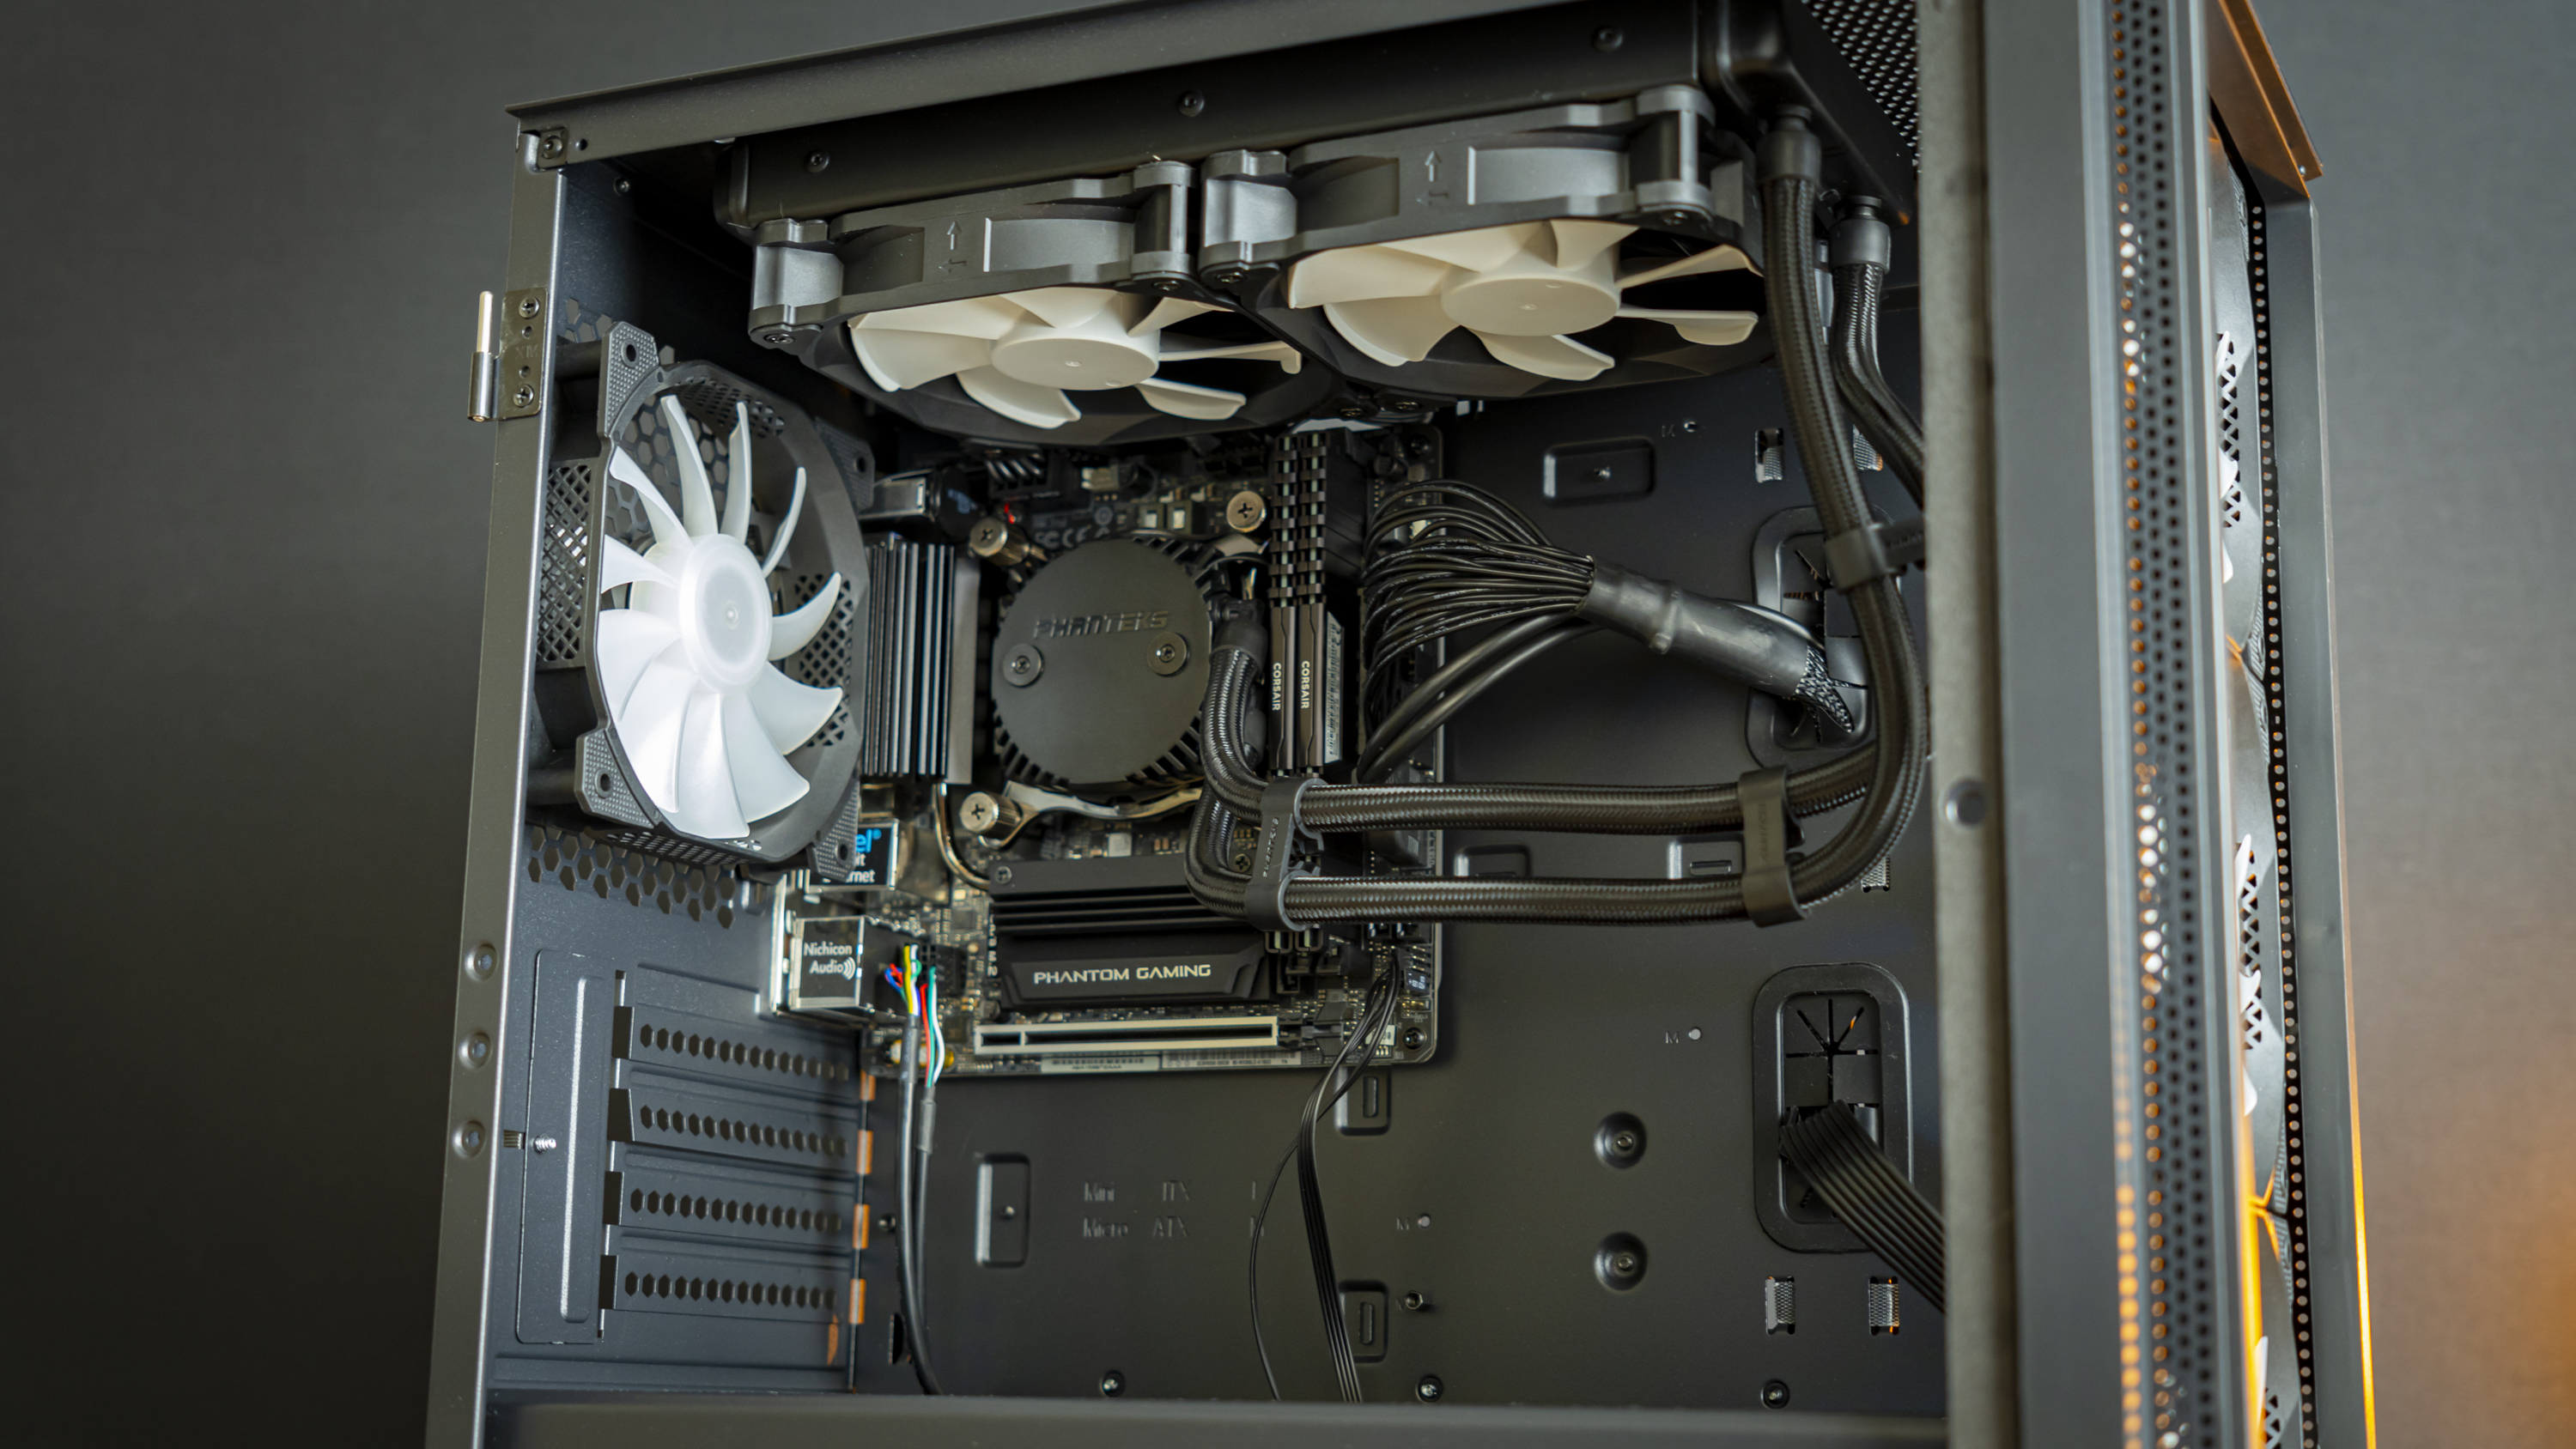
Step 3: AIO Install
Of course, with all the cable management done, the AIO installation was a breeze. The only thing I didn’t like about this step is how the top of the chassis looked afterward.
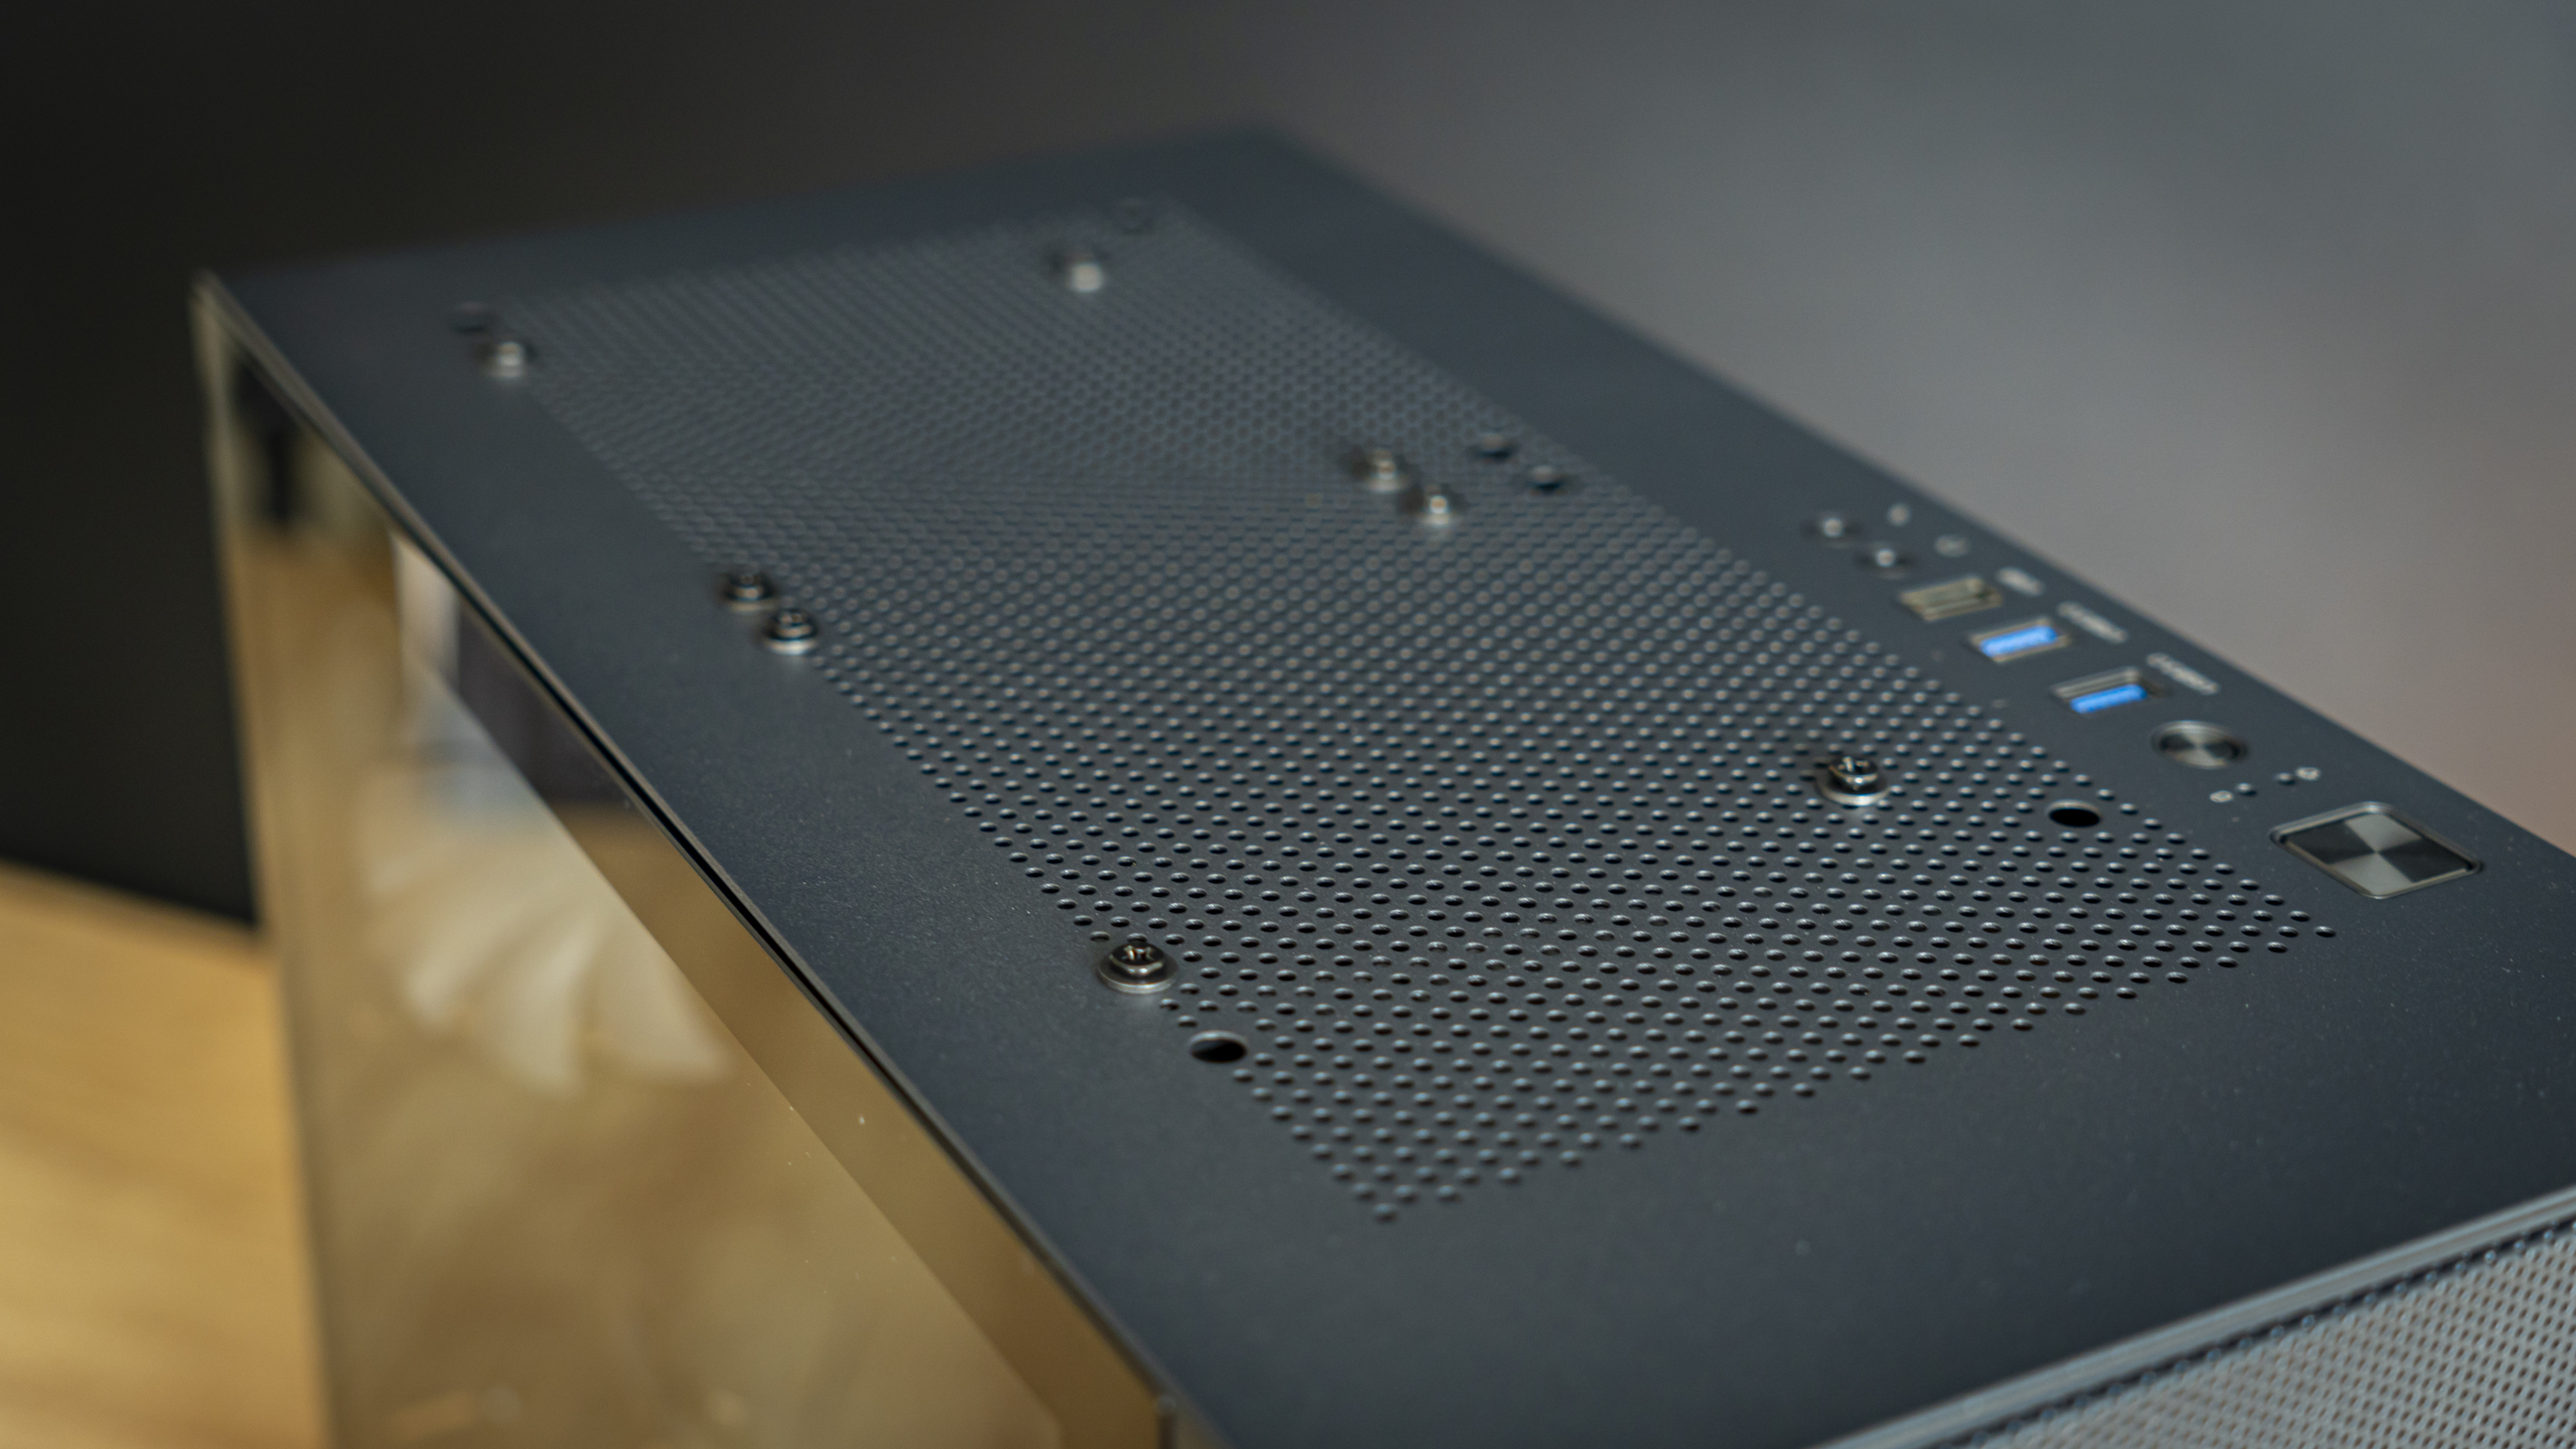
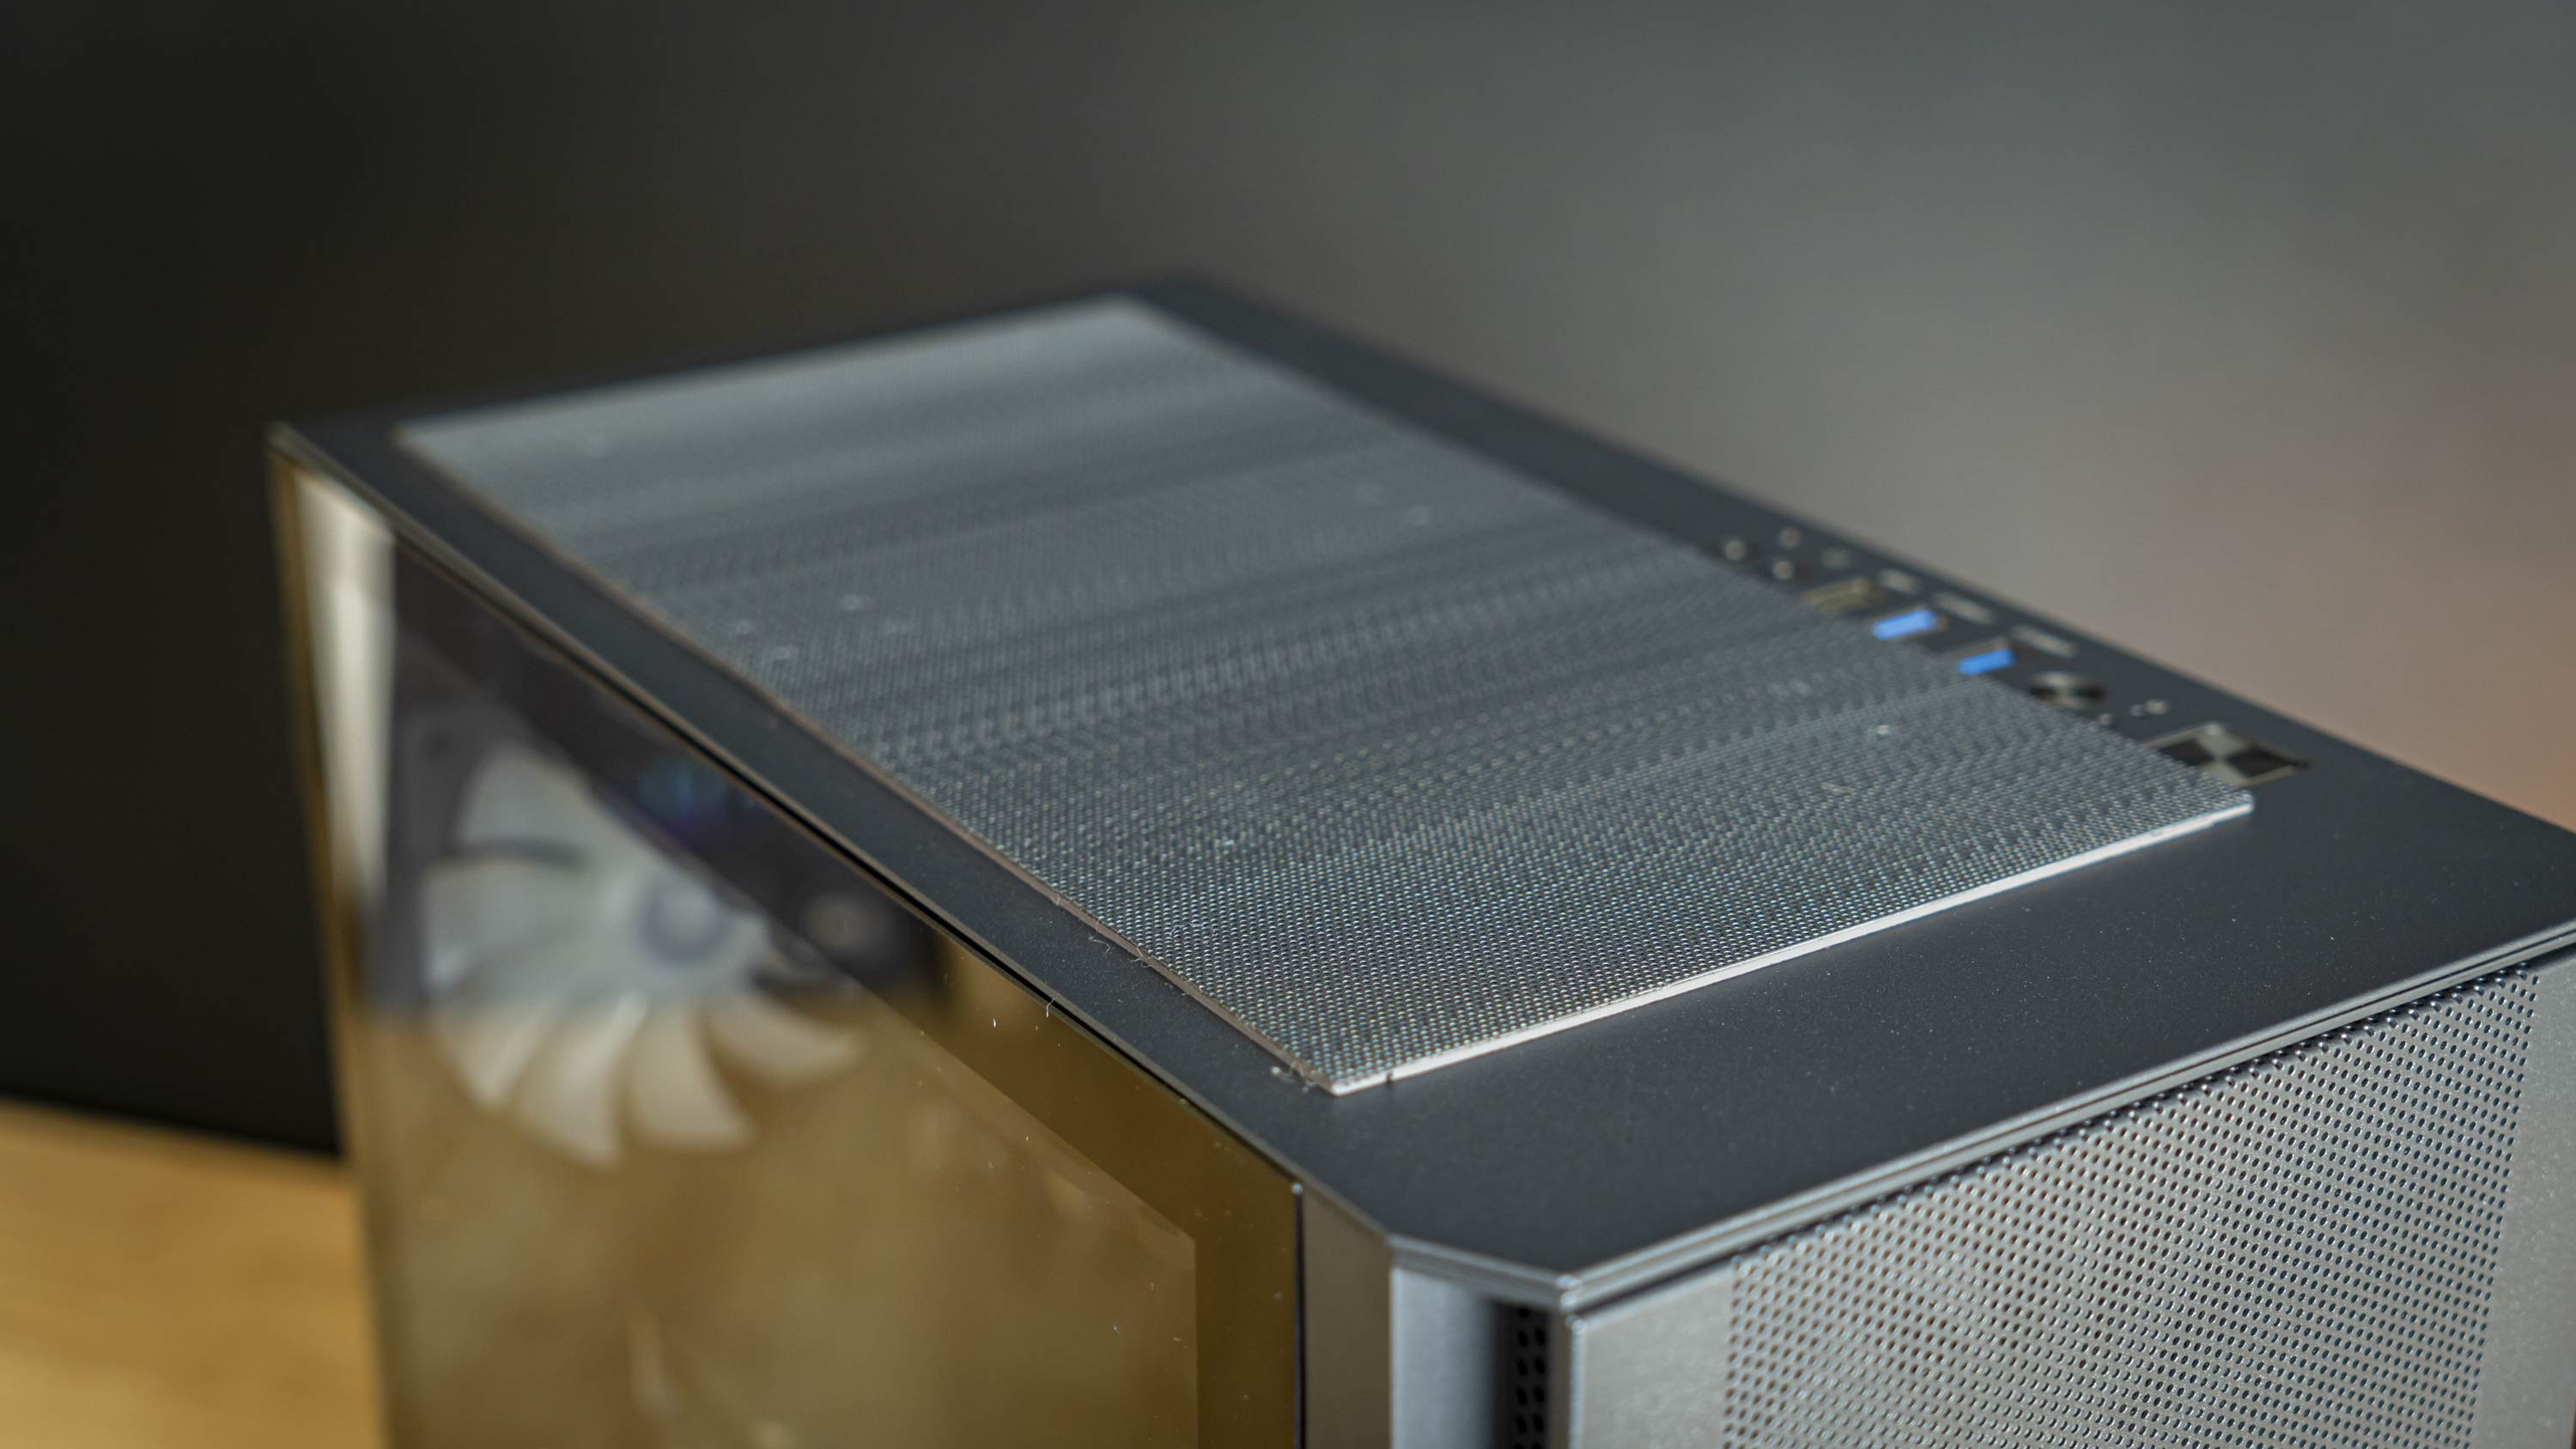
As you can see, the screws to hold the radiator in place stick out from the top, and although a filter is included to cover the top, it doesn’t look much better and is bound to reduce airflow. Recessing the screw holes would have resulted in a much cleaner look.
Get Tom's Hardware's best news and in-depth reviews, straight to your inbox.
Step 4: GPU Install
Our FE RTX 2070 Super installed easily. First, I bent two IO covers out of place and then dropped the GPU into place, securing it with two screws. Easy as can be, but keep in mind that the expansion slot covers, once removed, cannot be re-installed – so make sure you remove the right ones for your GPU and any other add-in cards.
Build Complete:
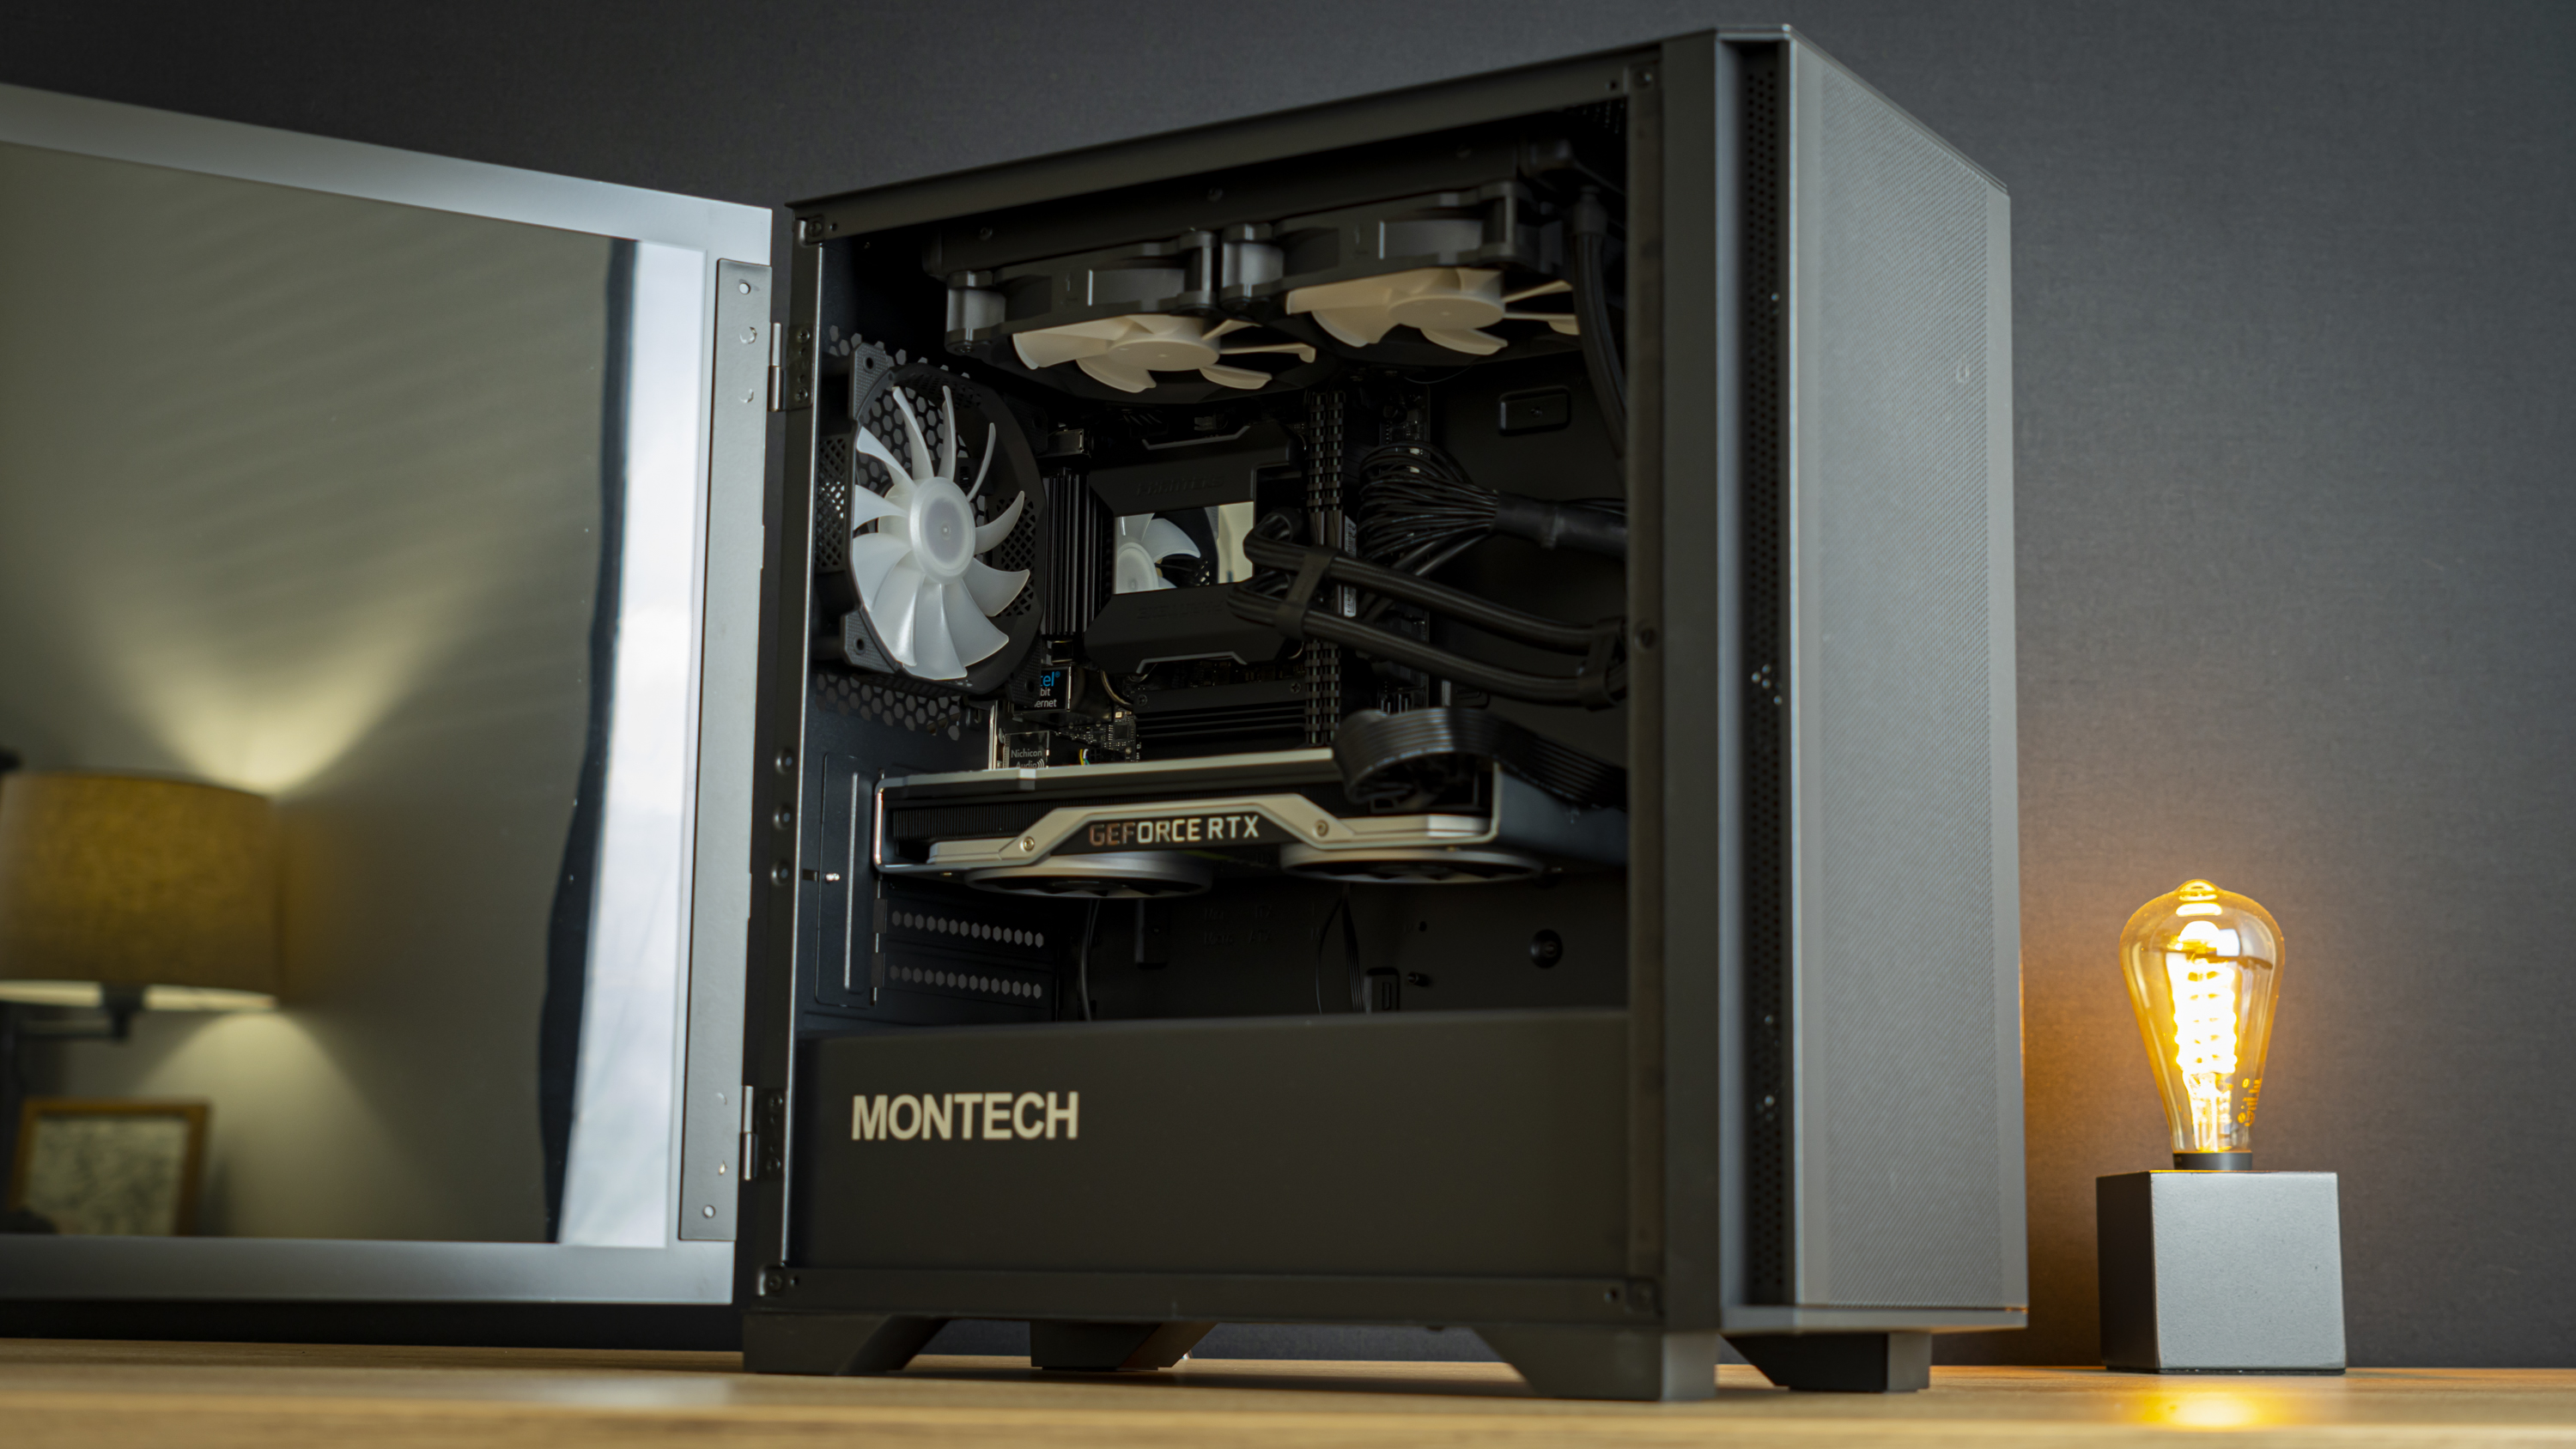
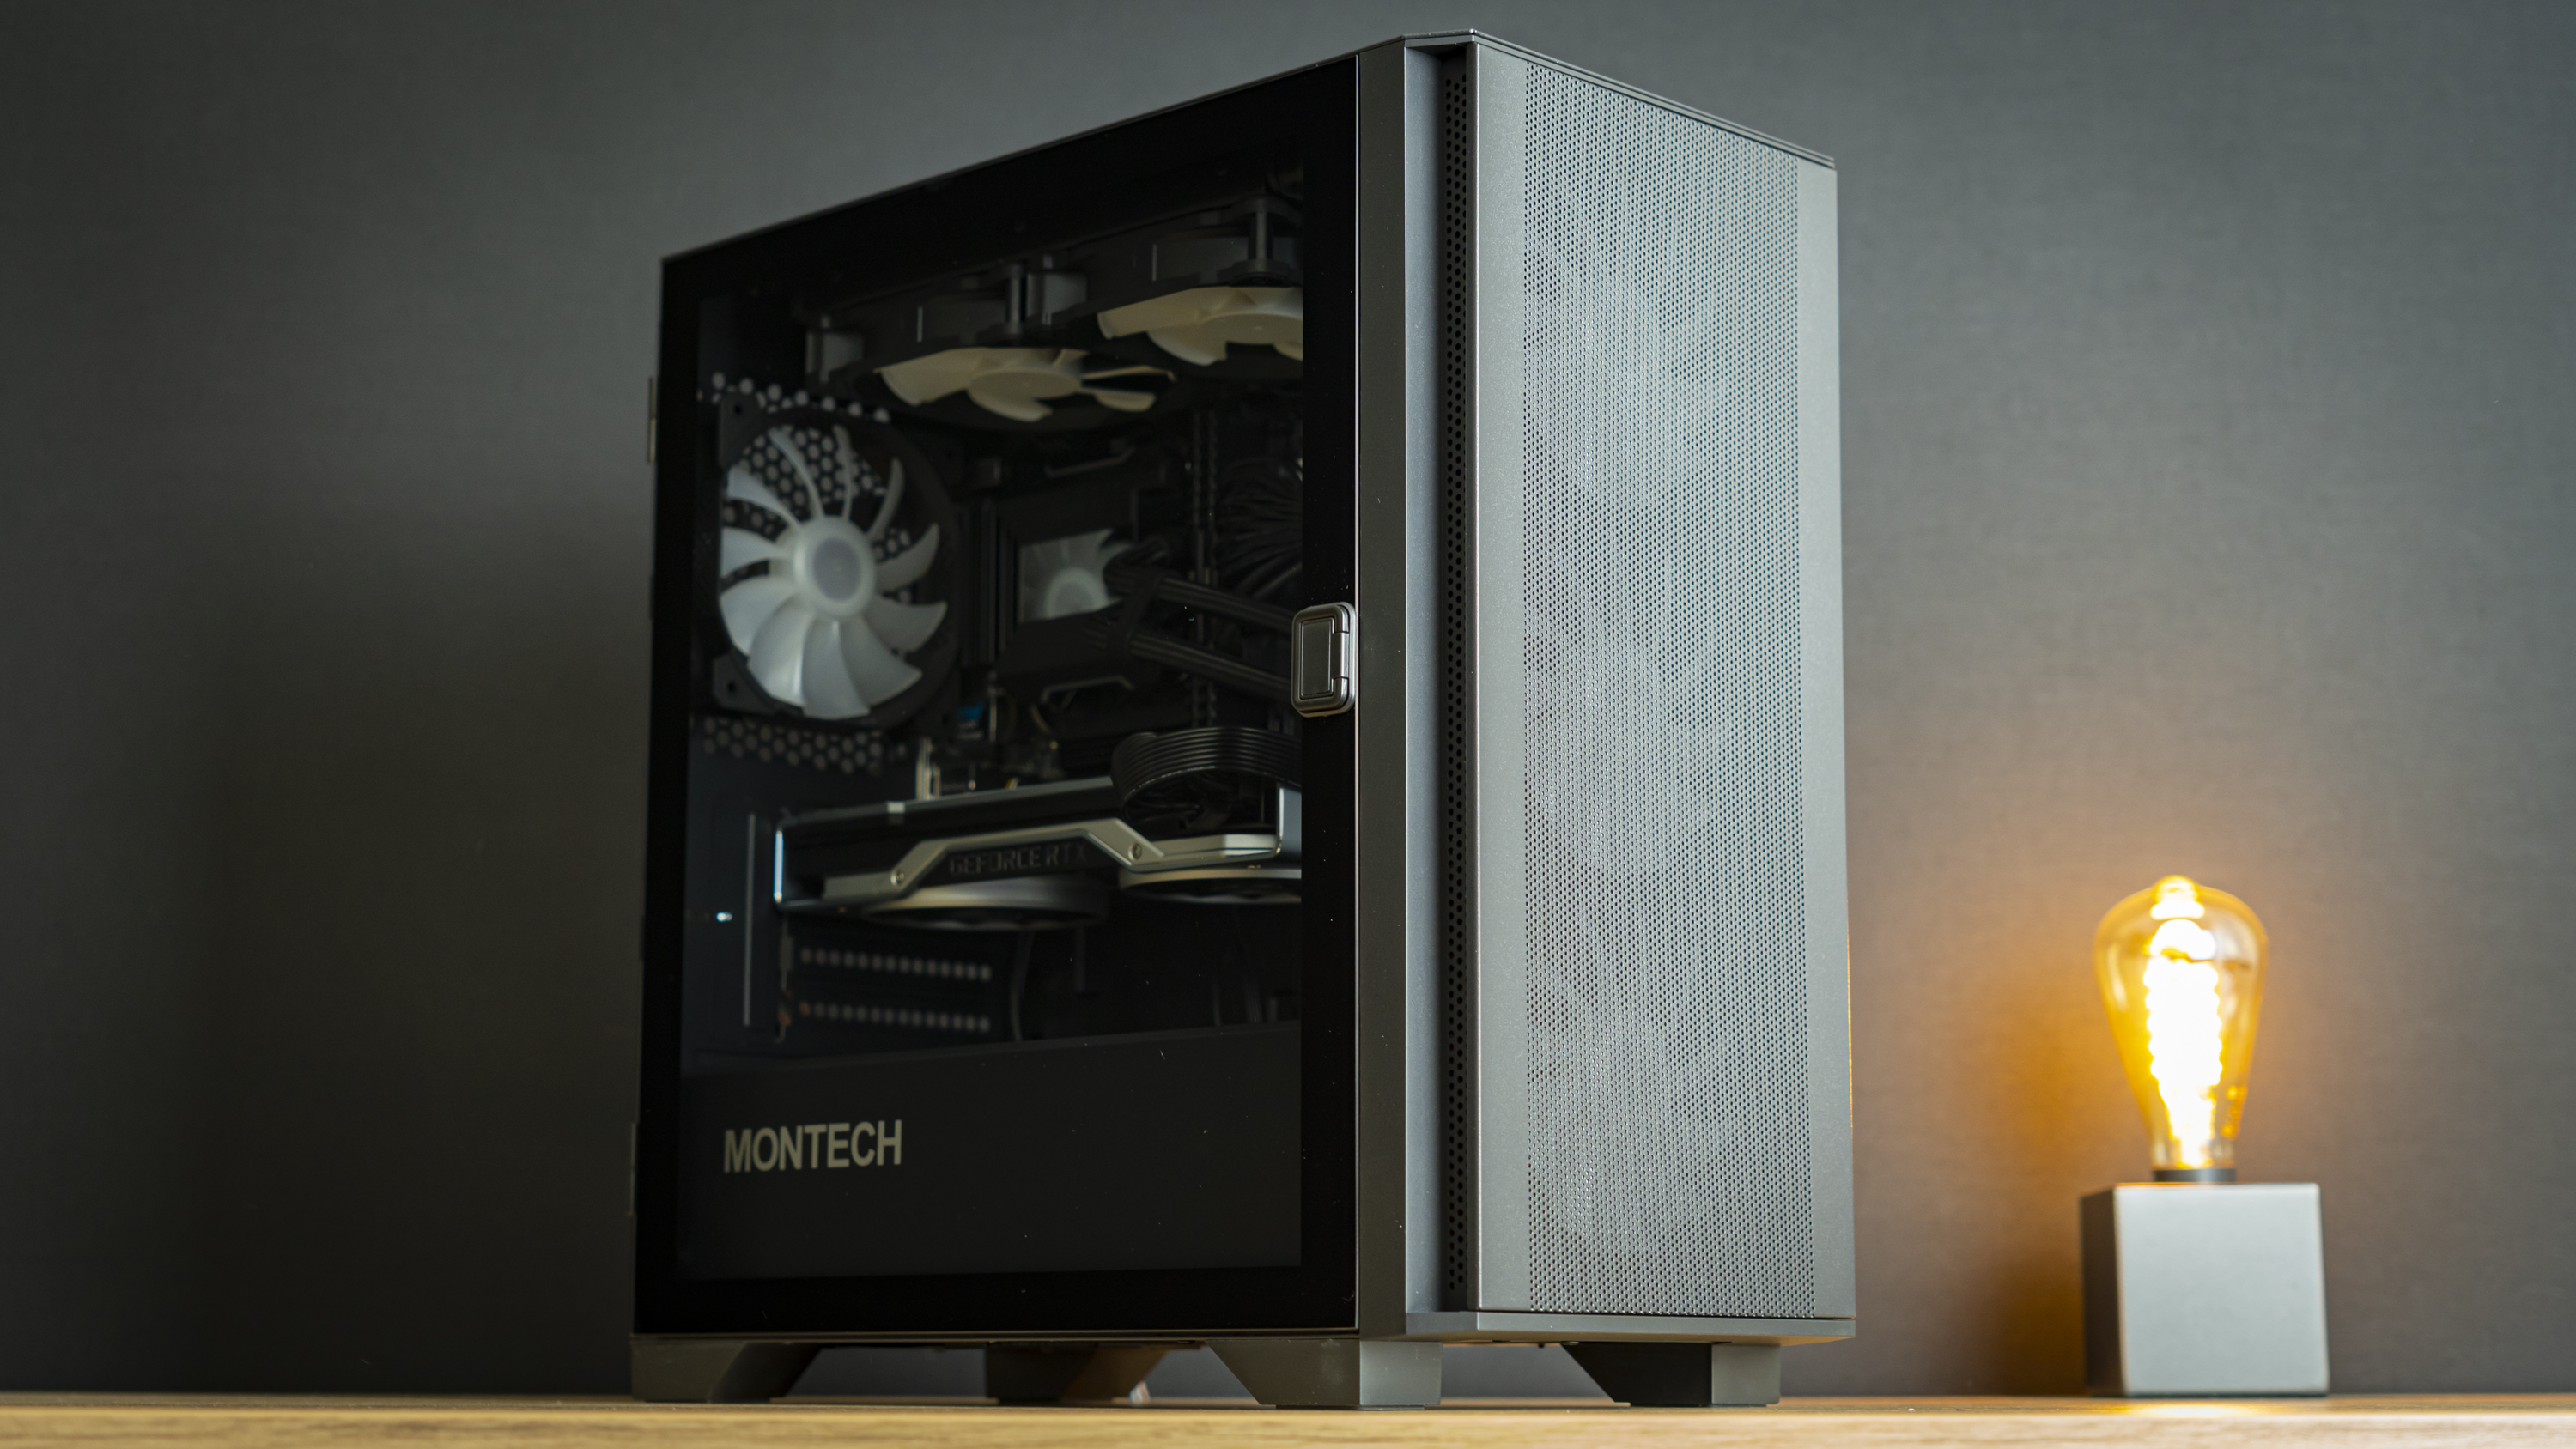
And shot with RGB
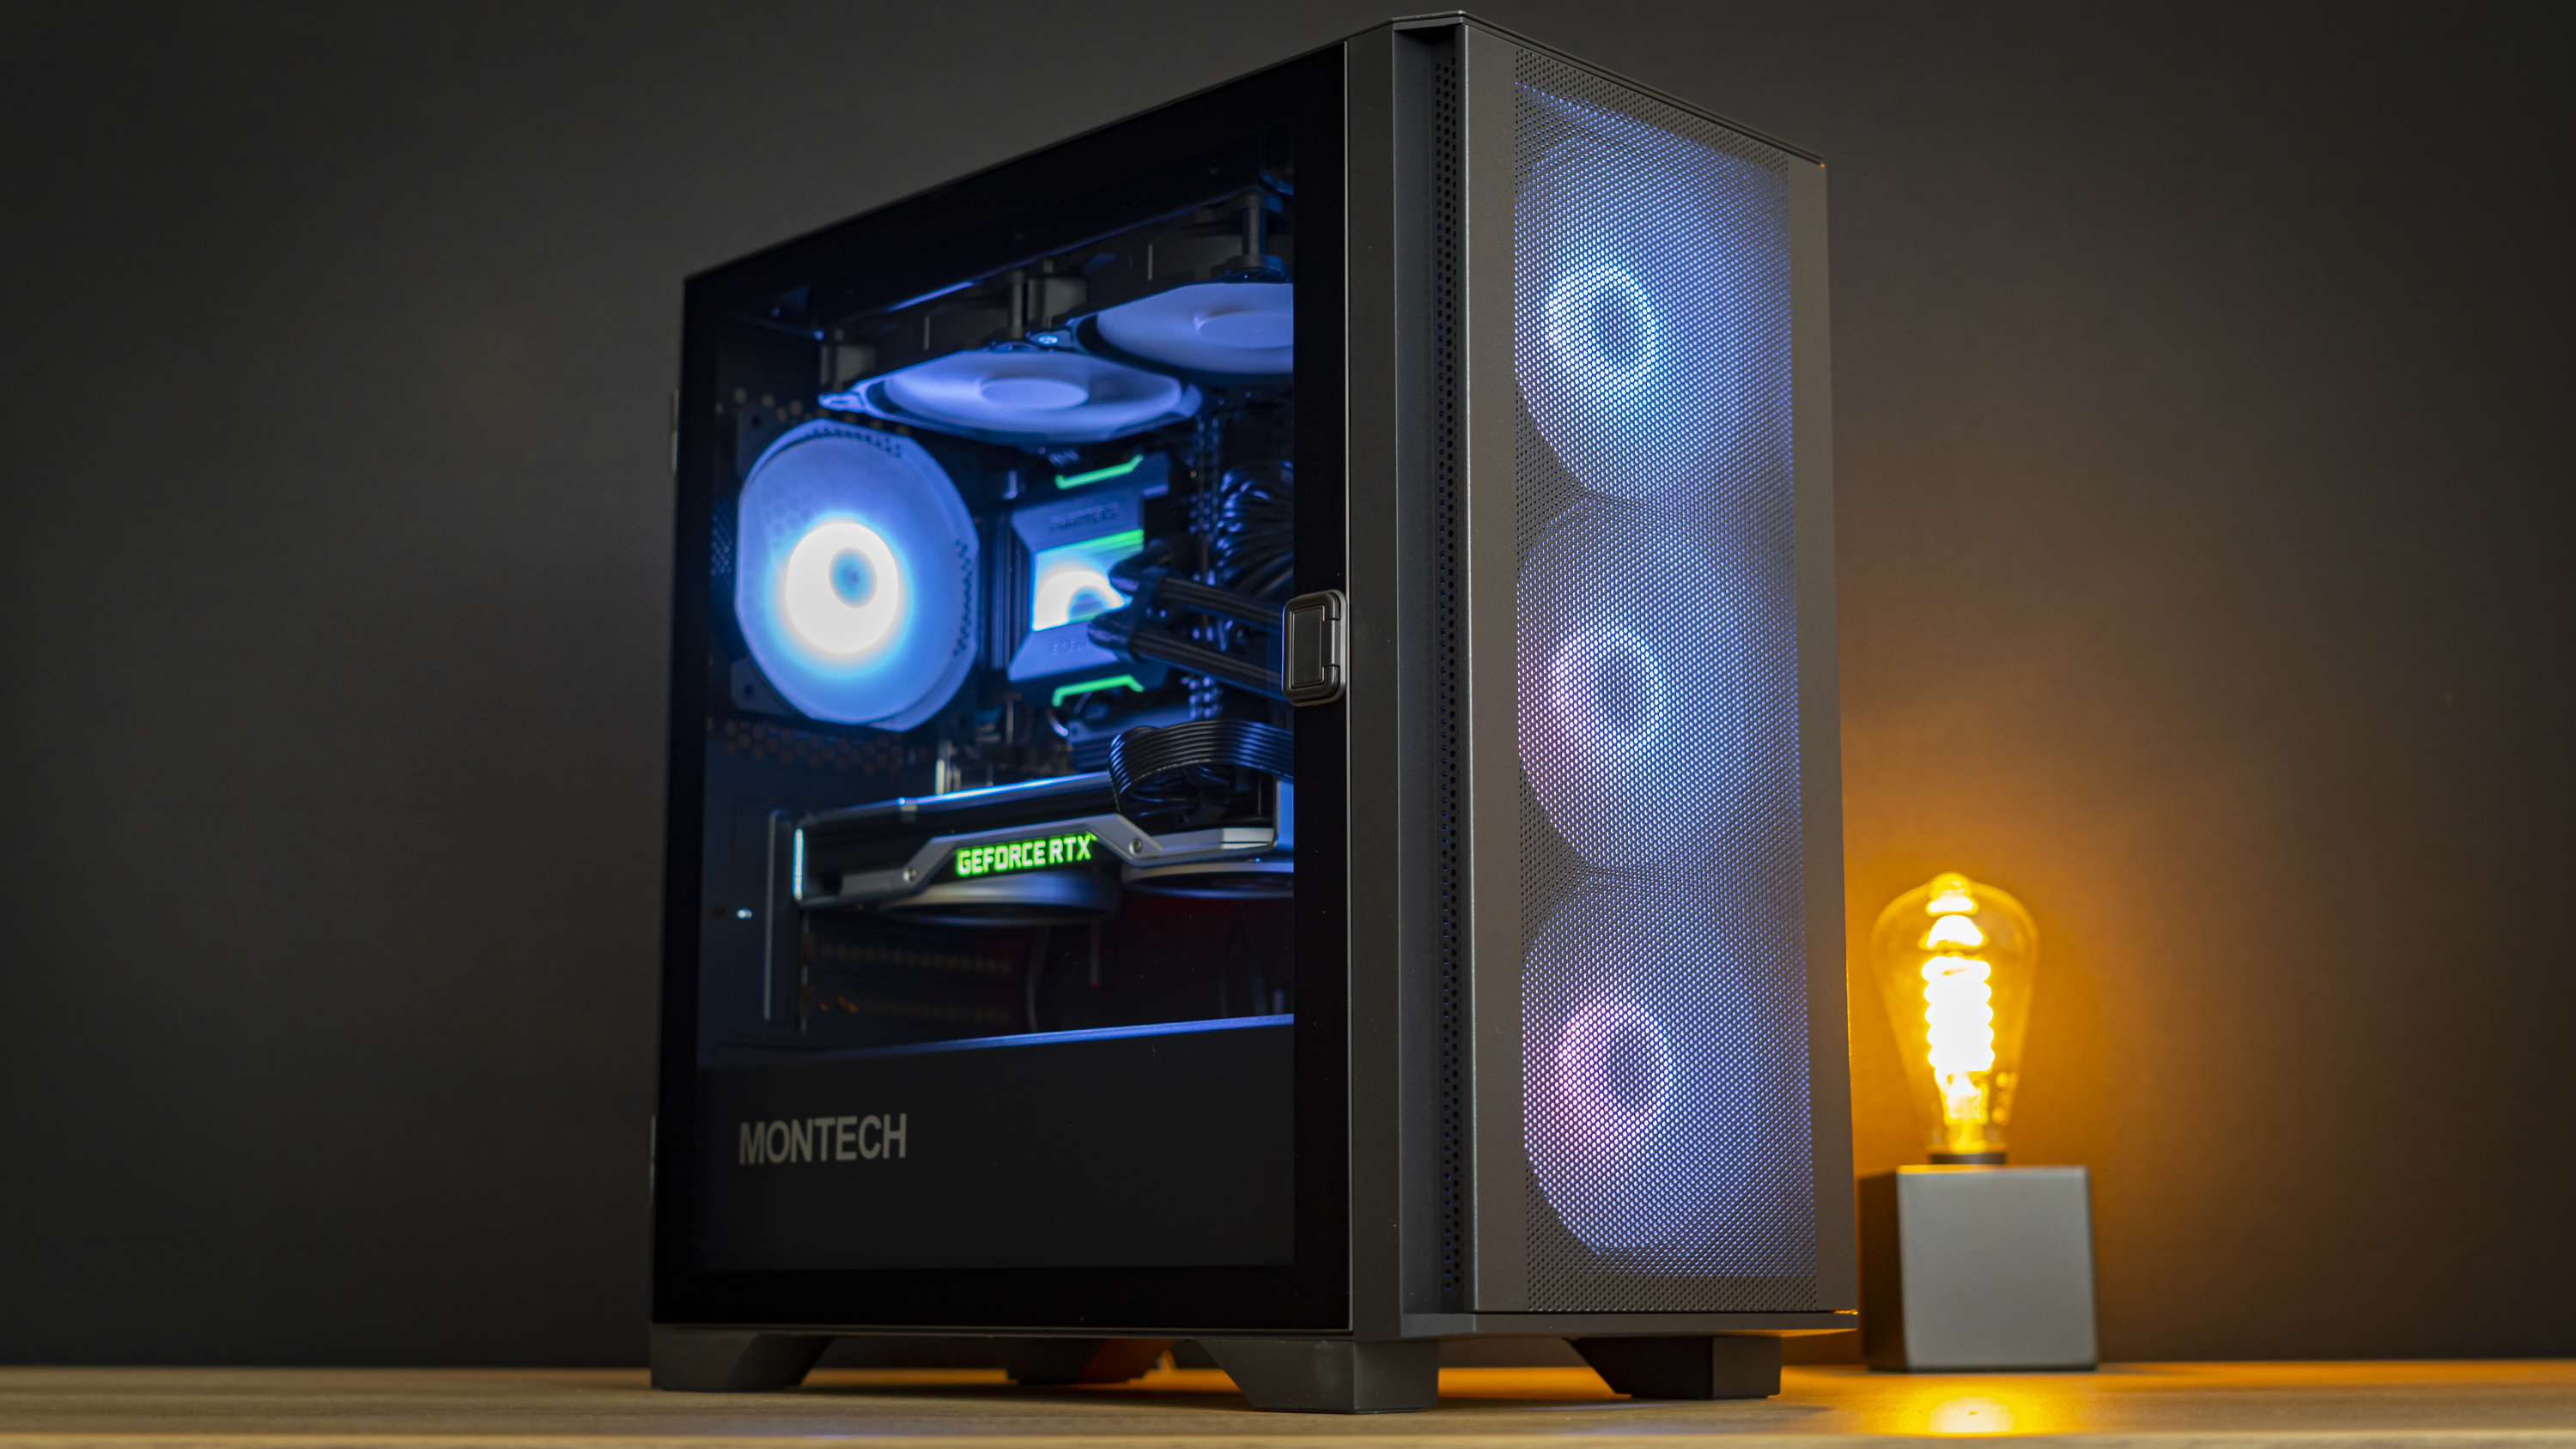
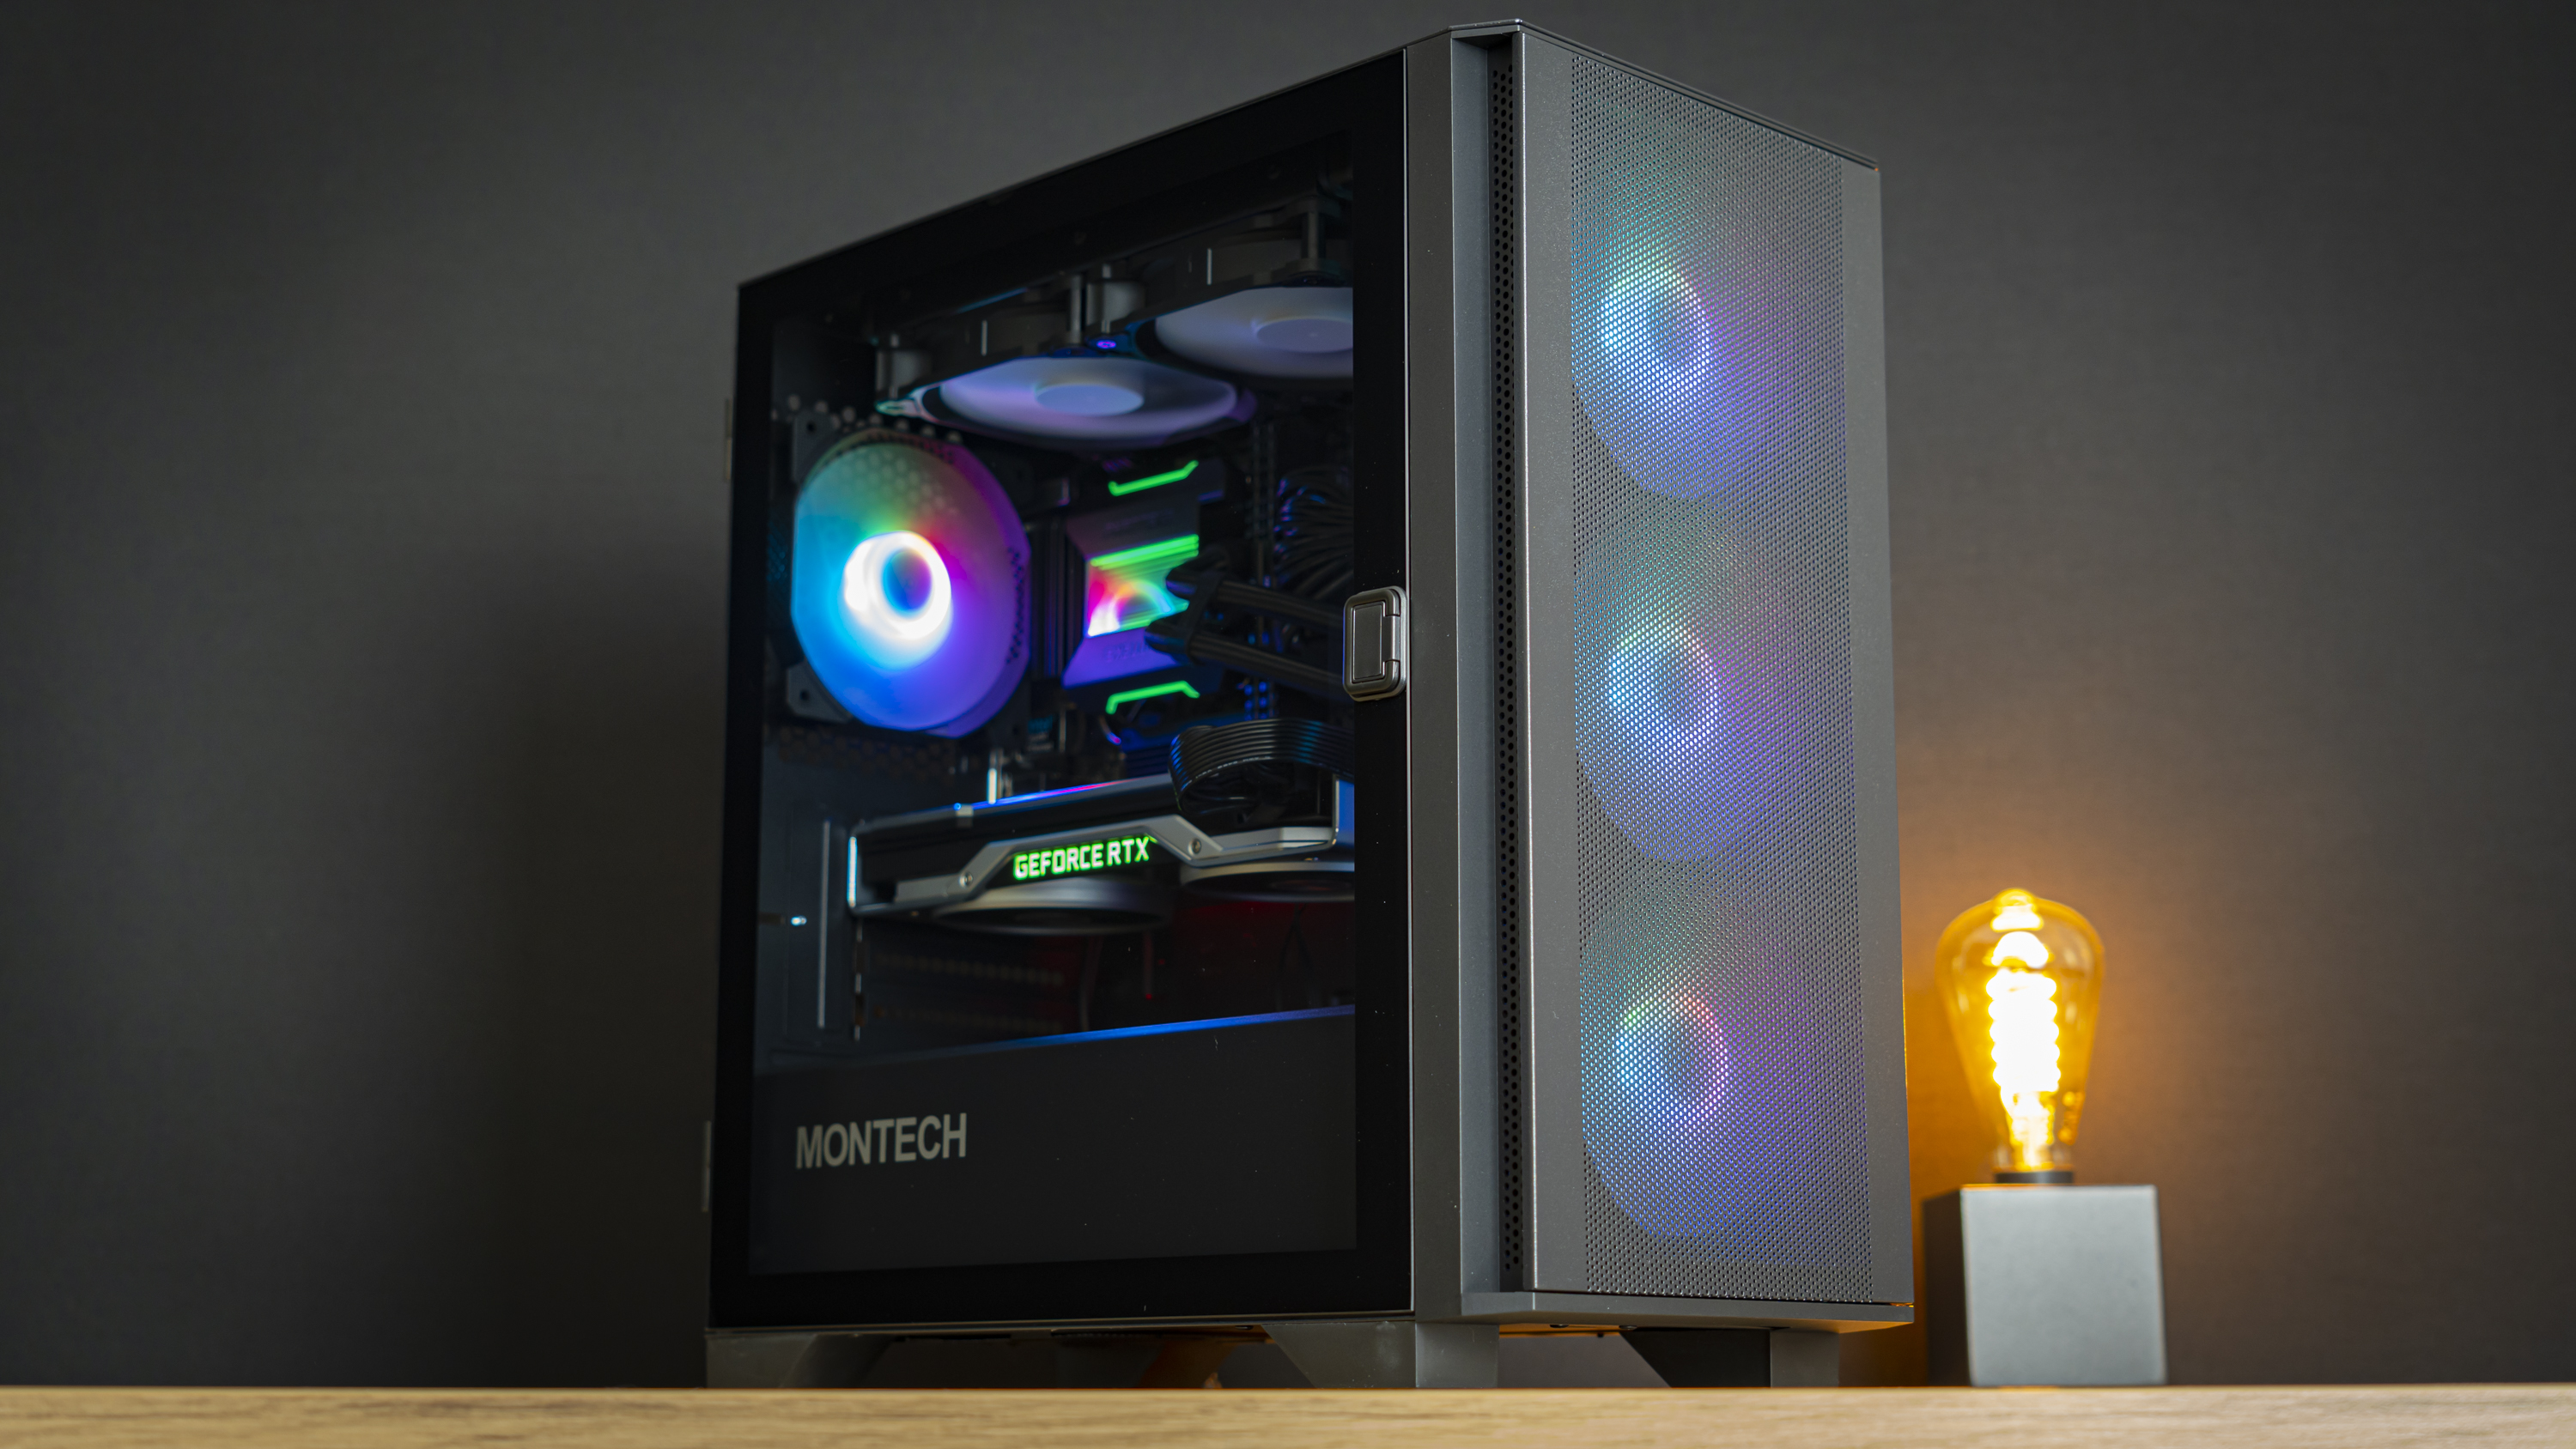
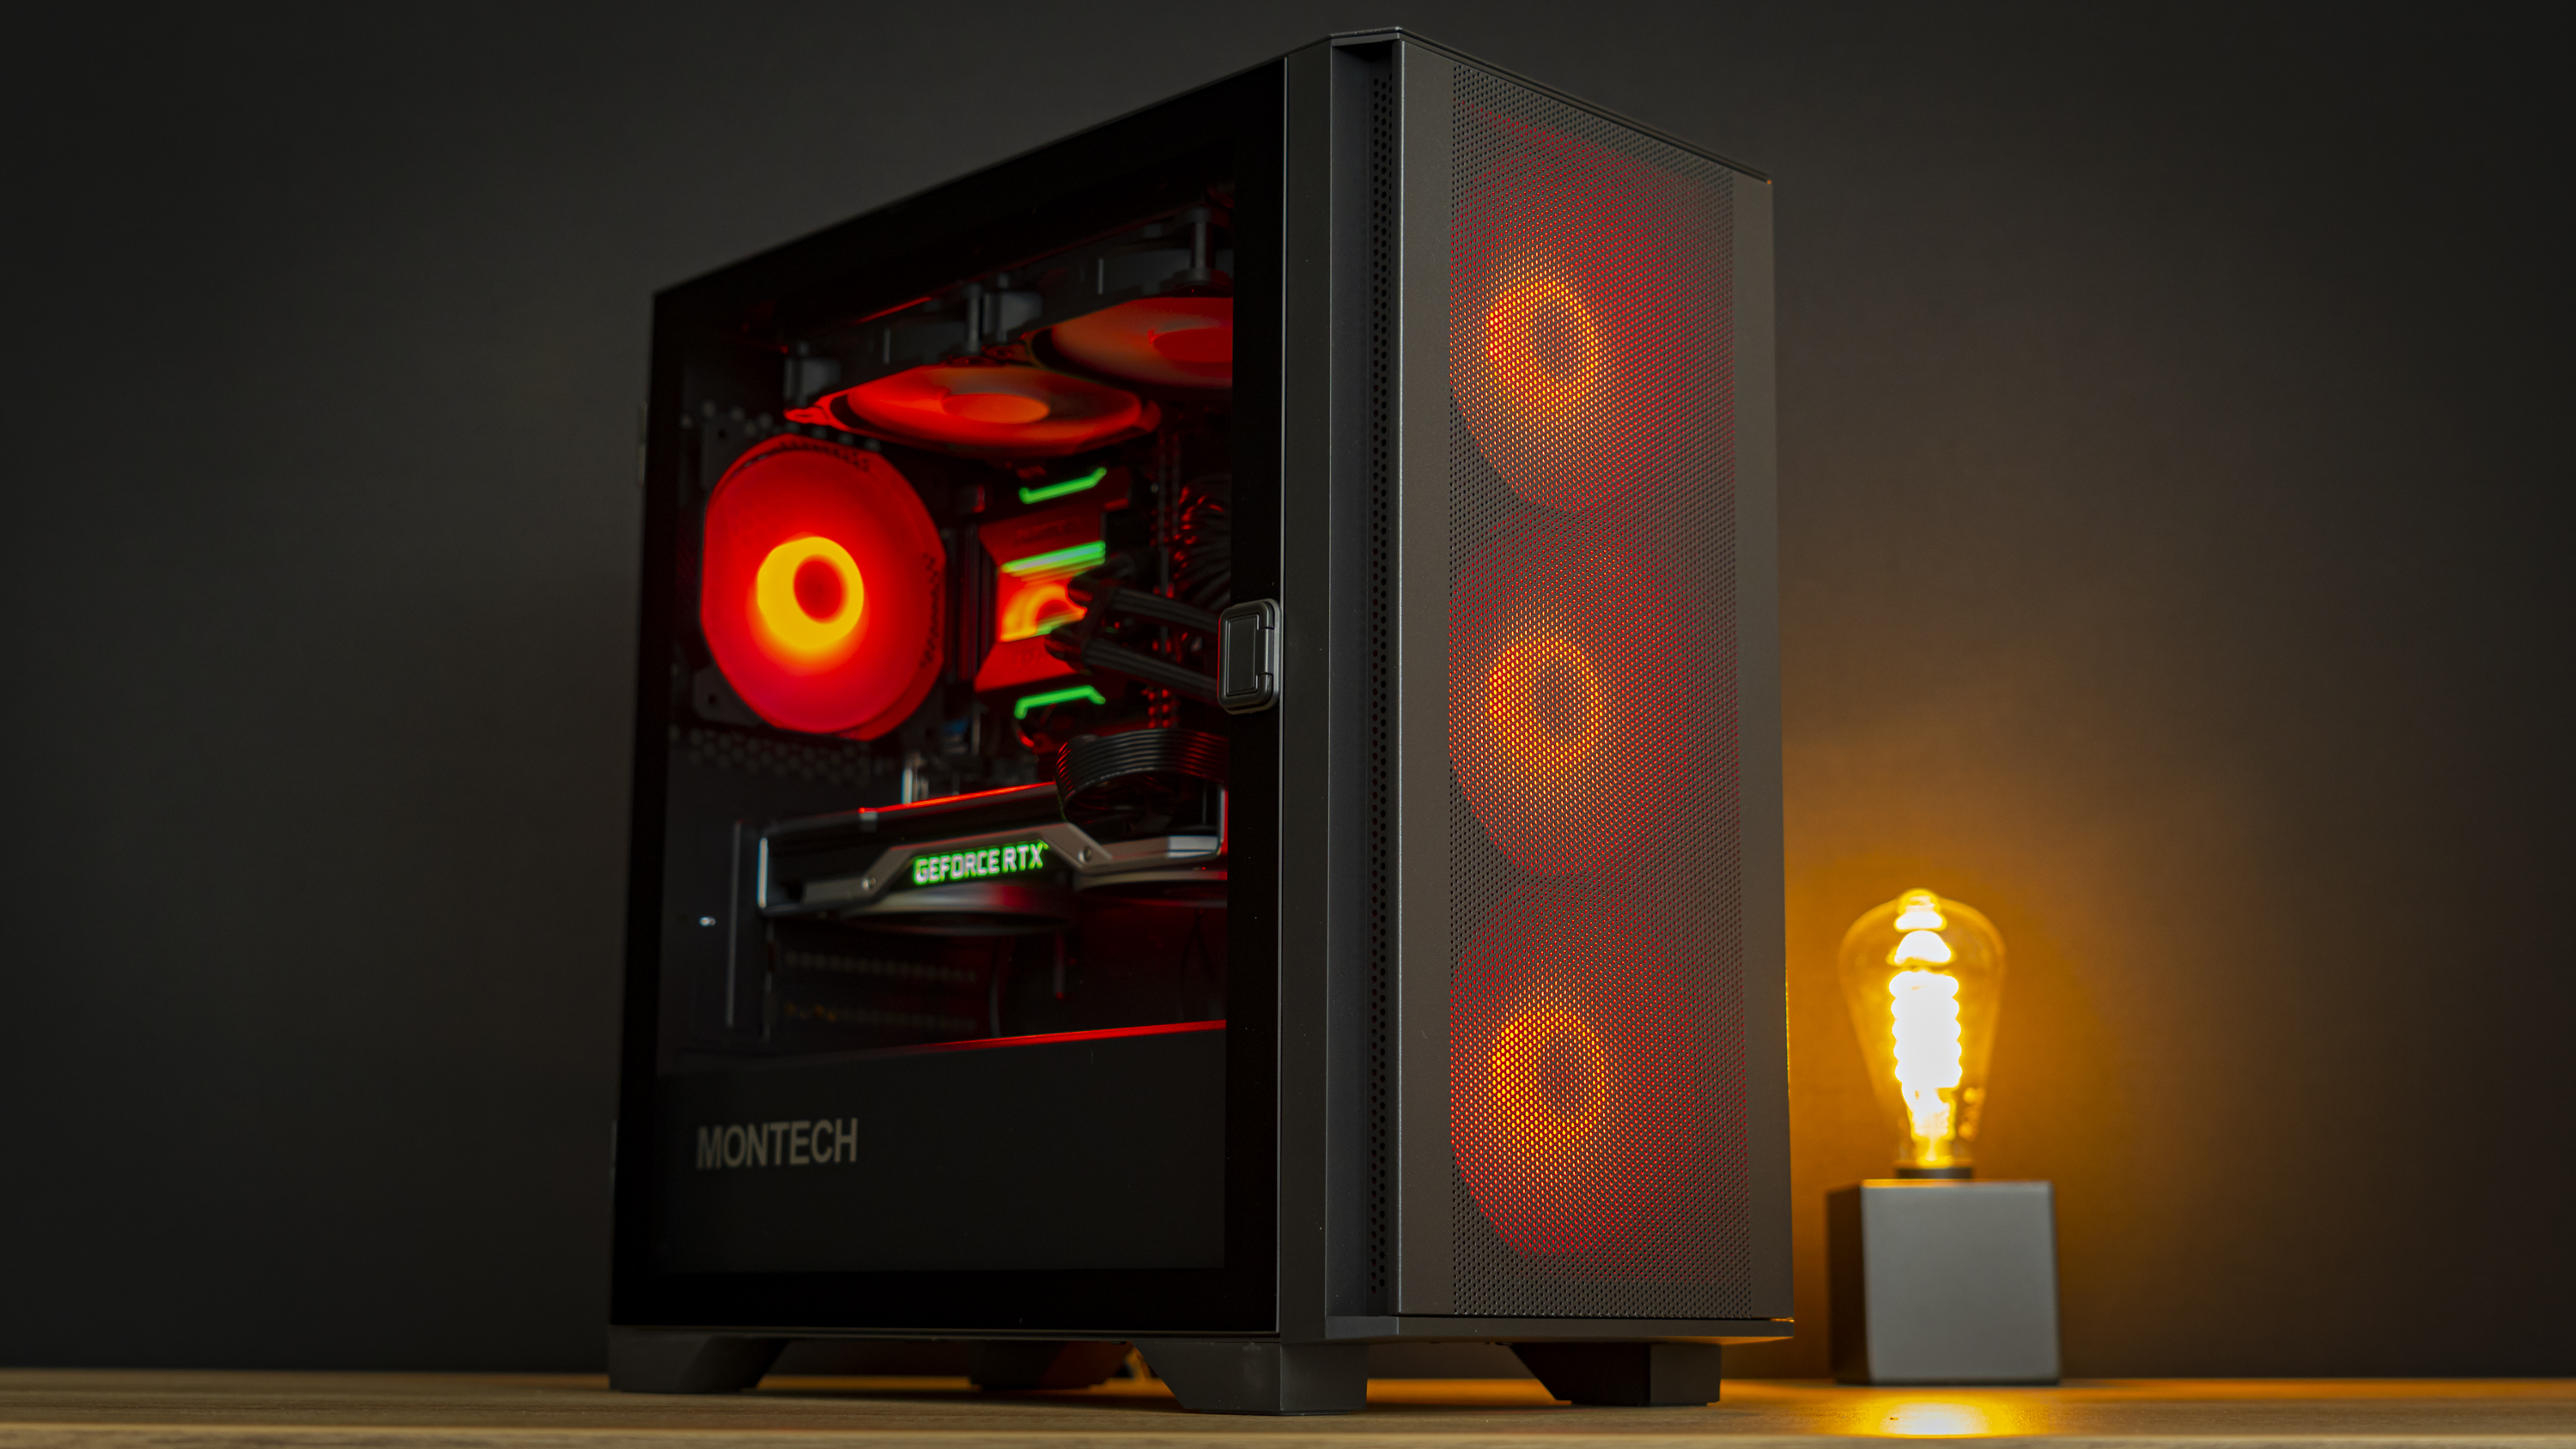
Current page: Hardware Installation
Prev Page Features and Specifications Next Page Testing and ConclusionNiels Broekhuijsen is a Contributing Writer for Tom's Hardware US. He reviews cases, water cooling and pc builds.
-
alceryes Anyone else see the problem with so many fans in a very small space?Reply
Last pic on second page says it all. The back case fan and the rad fan right next to it are literally trying to pull the exact same air. I would forgo the rear case fan when using a top-mount rad here. Of course, the pic wouldn't look as pretty. ;) -
Phaaze88 @alceryesShh, the secret must not be revealed! The world will collapse if too many discover that top and rear fan exhausts next to one another... REDUCES COOLING EFFICIENCY.Reply -
g-unit1111 Looks decent, but who's going to buy from a brand called Monotech when Corsair, Lian Li, and Phanteks exist?Reply -
tek3195 Replyg-unit1111 said:Looks decent, but who's going to buy from a brand called Monotech when Corsair, Lian Li, and Phanteks exist?
Me, and others with limited budget. A quick look at NewEgg for mATX case by the three manufacturers you listed has a price range of $125.64 ~ $199.99. The Montech Air 100 Lite that I just purchased was $52.99. That's a huge difference. -
g-unit1111 Replytek3195 said:Me, and others with limited budget. A quick look at NewEgg for mATX case by the three manufacturers you listed has a price range of $125.64 ~ $199.99. The Montech Air 100 Lite that I just purchased was $52.99. That's a huge difference.
Fractal Design Focus G- $62.99
https://pcpartpicker.com/product/vPp323/fractal-design-focus-g-mini-black-microatx-mini-tower-case-fd-ca-focus-mini-bk-w
Cooler Master Masterbox Lite - $52.99
https://www.newegg.com/black-cooler-master-masterbox-q300l-micro-atx/p/N82E16811119331?quicklink=true
Antec Dark Phantom - $59.99
https://www.newegg.com/black-antec-dark-phantom-micro-atx-tower/p/N82E16811129247
Any of those would be better choices. If you haven't heard of the brand, it's probably crap. -
tek3195 Replyg-unit1111 said:Fractal Design Focus G- $62.99
https://pcpartpicker.com/product/vPp323/fractal-design-focus-g-mini-black-microatx-mini-tower-case-fd-ca-focus-mini-bk-w
Cooler Master Masterbox Lite - $52.99
https://www.newegg.com/black-cooler-master-masterbox-q300l-micro-atx/p/N82E16811119331?quicklink=true
Antec Dark Phantom - $59.99
https://www.newegg.com/black-antec-dark-phantom-micro-atx-tower/p/N82E16811129247
Any of those would be better choices. If you haven't heard of the brand, it's probably crap.
I admit I didn't go shopping for best deals, I simply clicked on one website and did a quick search for a general idea. I also only looked for the brands you had mentioned in your first post. The examples you've given are not the same brands, but, I would imagine that at some point nobody had heard of them either. Before I bought the Montech case I looked at everything I could find about it, I did my homework. I also didn't buy one of several other better known brands because of cooler clearance, I had to have 160mm for new Frost Commander. The big new cooler was the reason for buying the new case. Even this review didn't call it out as a bad case. There were just a few reviews on you tube and they all seemed to be good. A couple of them raved about it with one calling it his new favorite mATX case. Sometimes you have to give new things a try. Simply never having heard a name before doesn't make for a piece of crap. I mean I've never heard of you before, but I still like you, you're on tom'sHardware.
Edit: Now that I've built in it, I don't know that there is a better choice at that price point. For the Lite model anyway, it's an awesome performer for $52.00. Yes, the holes for top fans need washers and removable expansion slots would have been nice to have, but airflow is ridiculous. I have the exact same thermals as I had with an open bench setup waiting for case to arrive. I run Linux and with GTKStressTest using Matrix:All methods with 8 workers it runs a max 76C with a 160W load according to powertop. Same hour long test repeated three times with same results. I didn't pay any attention to gpu as I don't play any games so it never occurs to me to really check temps. For me, keeping same cpu temps as an open bench seems pretty awesome. Especially with power limits turned up to prevent any throttling from i7-9700. It will run 4.5GHz all cores for an hour drawing 140W~160W load without a hiccup.
I did change the way they mount front fans. I moved fans to inside of chassis to increase distance from mesh and to allow use of side vent strips on front panel. I've got 3x Arctic Bionix P120 in front intake and the two Montech 120mm as top intake. I believe I'm going to remove the P120 that I have in rear exhaust spot and see what it does without it. It may as well be mounted to the rear of Frost Commander 140 and can't move as much air, so I don't know if its needed.
