MSI X370 Krait Gaming Motherboard Review
Why you can trust Tom's Hardware
Firmware & Overclocking
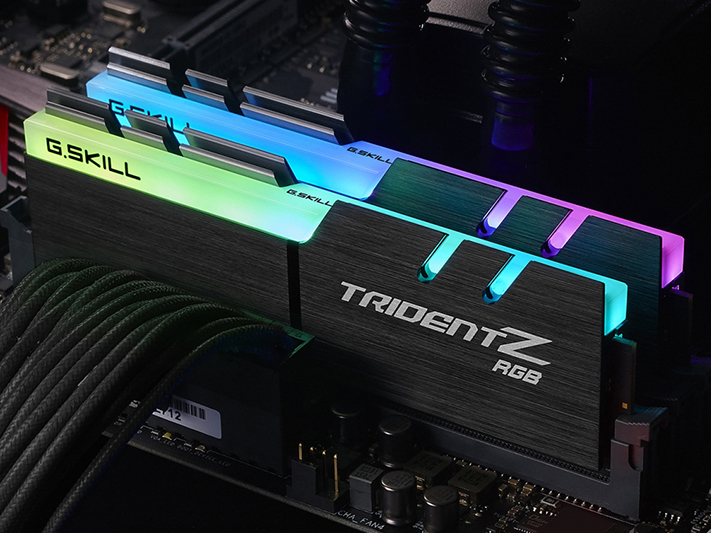
Speaking of user added flair, G.Skill provided two 2x8GB DDR4-3200MHz Trident Z RGB DIMM kits. By default, these DIMMs throw a fluid transition of RGB goodness inside the case. Different color pallets and flow patterns can be programmed using the G.Skill software.
Unfortunately, the software is beta and somehow our programmed scheme got lost while rebooting in the overclocking segment. Regardless, these things rock. The HyperX Predator RAM kits make a brief appearance in this review but only to confirm overclocking performance. This system doesn’t need any more black components!
Test System Configuration
| Sound | Integrated HD Audio |
|---|---|
| Network | Integrated Gigabit Networking |
| Graphics | NVIDIA |
| Chipset | AMD X370 |
UEFI – Stable From the Start
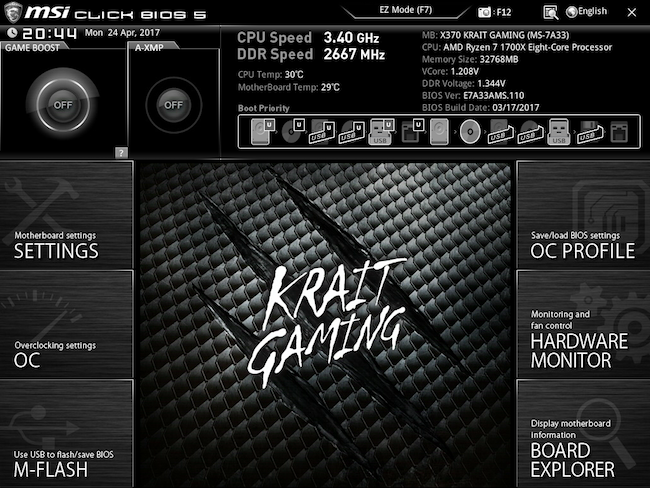
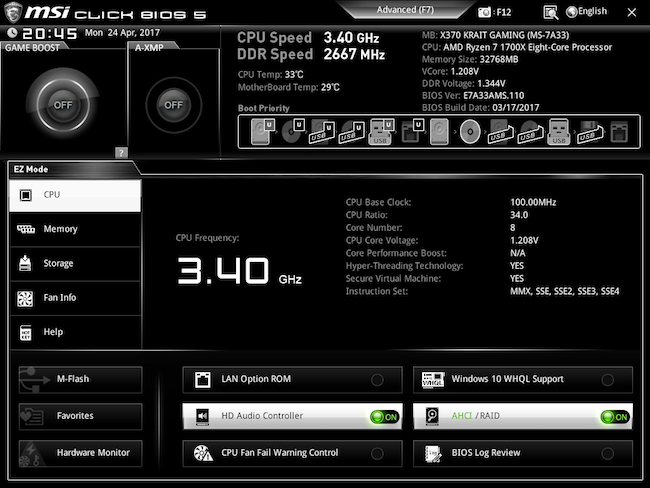
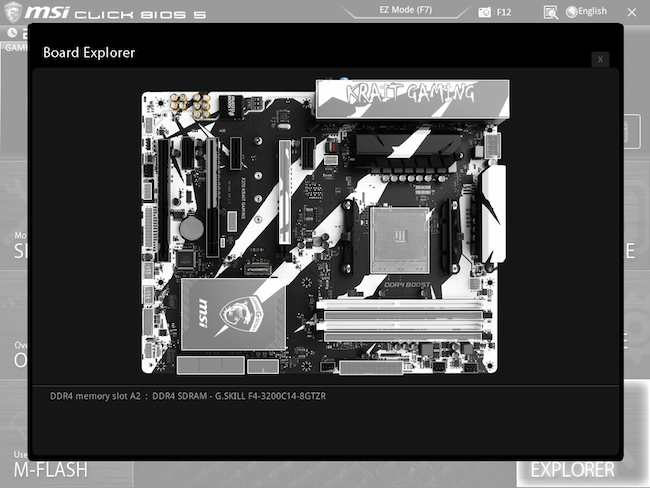
The standard MSI UEFI is black and white, to match the board, and has scales to match the product packaging. Spamming the delete key upon boot opens the UEFI to the Advanced Mode by default, which has access to motherboard and OC settings as well as links for the hardware monitor, BIOS profile menu, and board explorer. The EZ mode provides a cleaner interface, with basic information about the hardware configuration along with access to similar menus.
Jumping into the OC menu from Advanced Mode, the first option for either Expert or Normal only enables the CPU Memory Changed Detect option, which only informs you if the memory configuration changed.
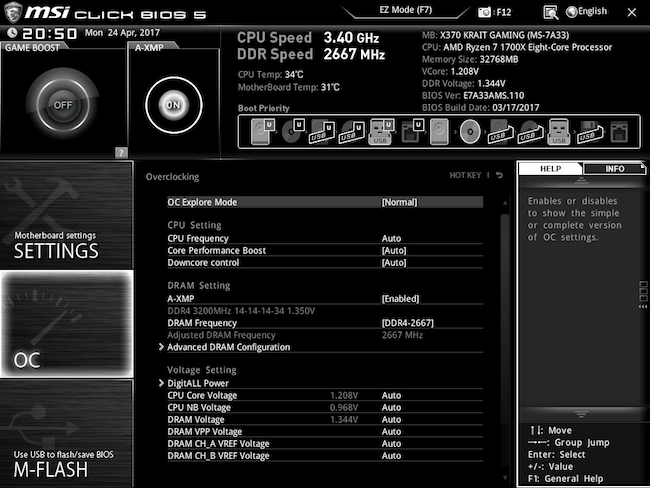
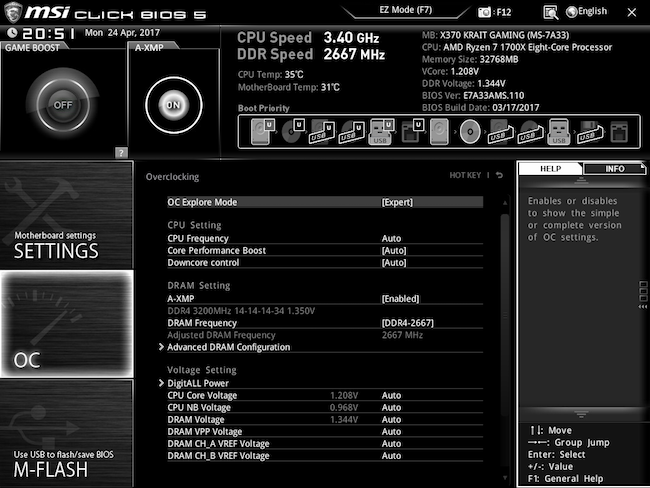
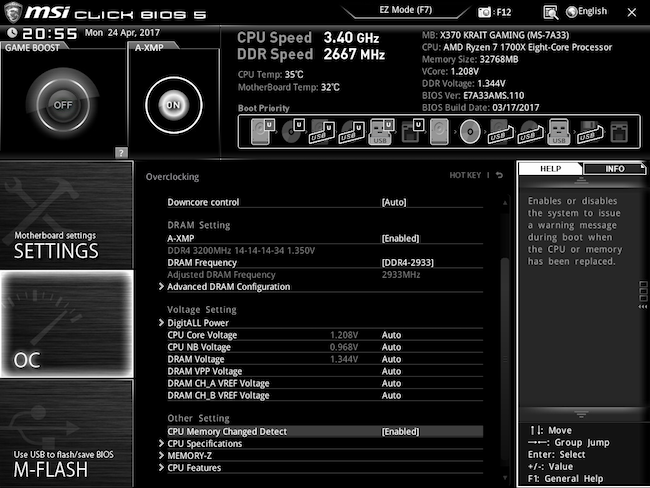
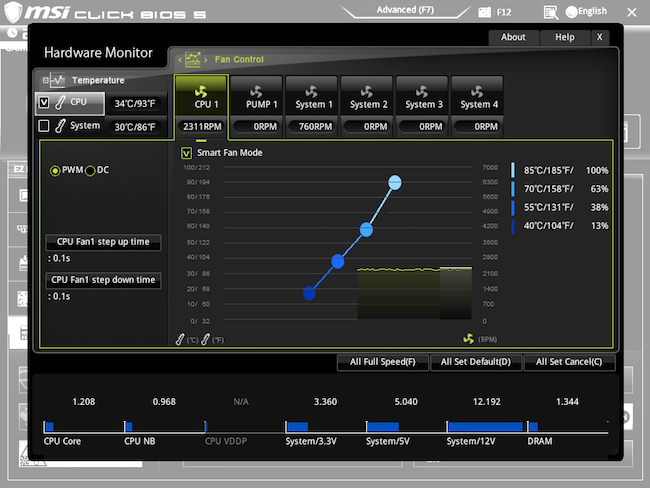
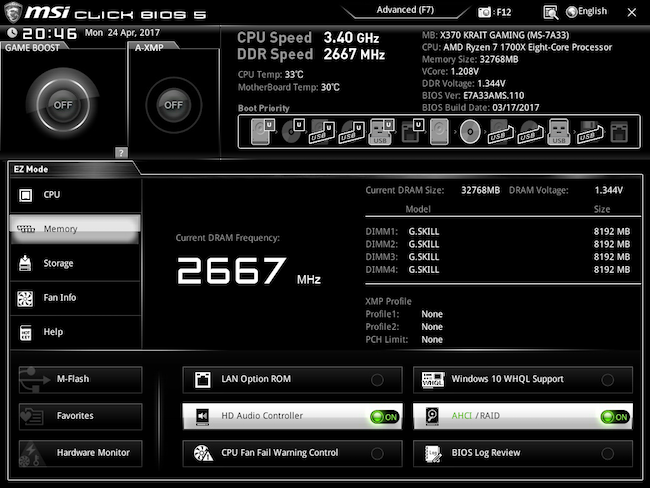
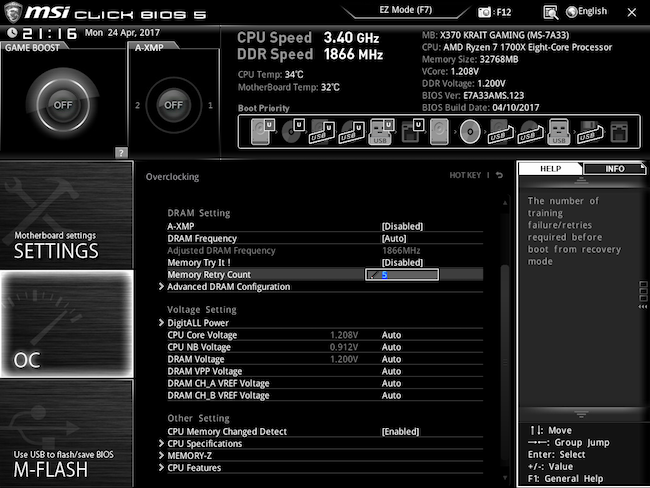
Moving down the menu, CPU frequencies increase in increments of 25MHz and max out at an impressive 6375MHz. For memory tweaking, you can either manually increase the DRAM frequency up to 3200MHz along with appropriate timing and voltage settings or use A-XMP to enable XMP profiles for DIMMs. For us, A-XMP worked as advertised.
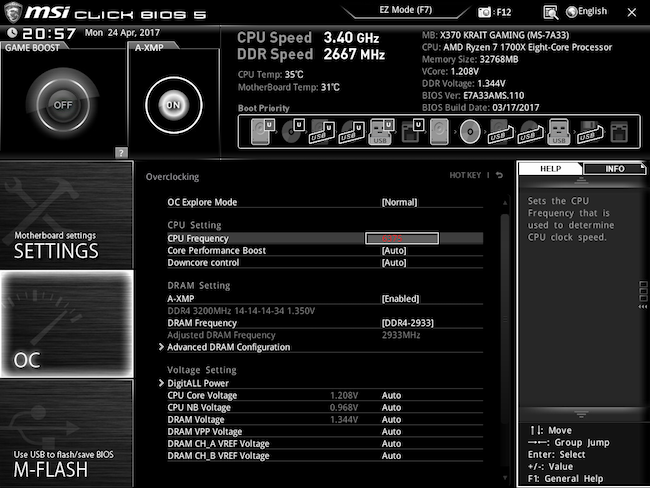
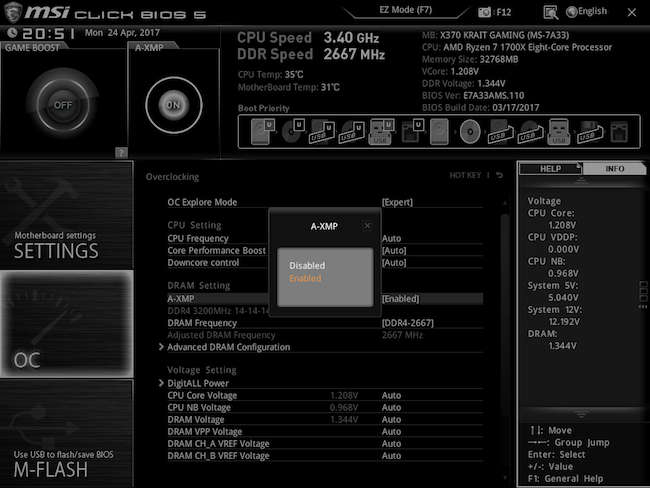
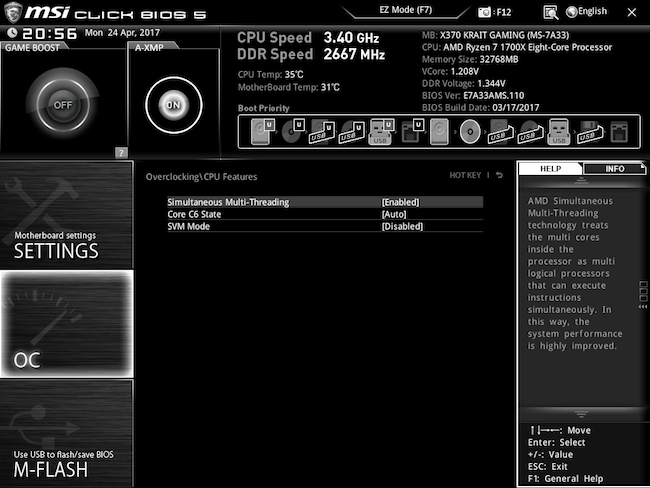
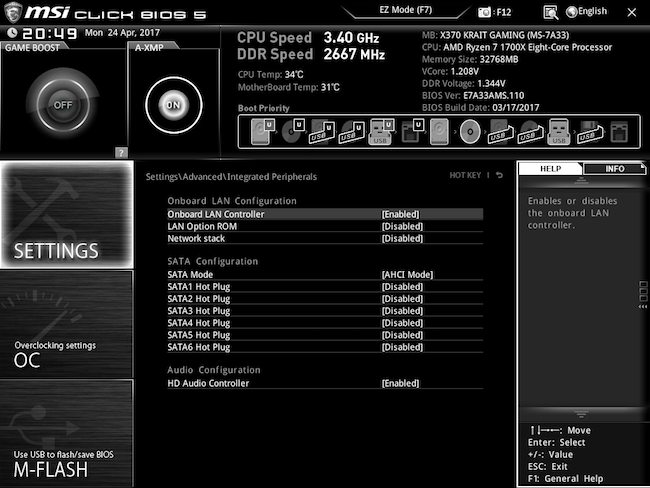
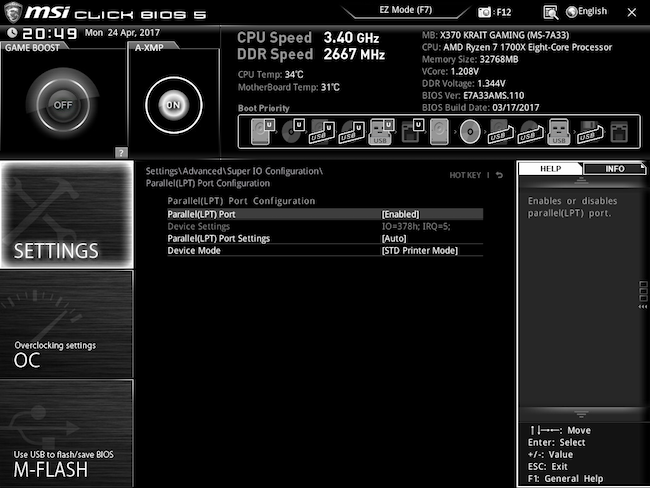
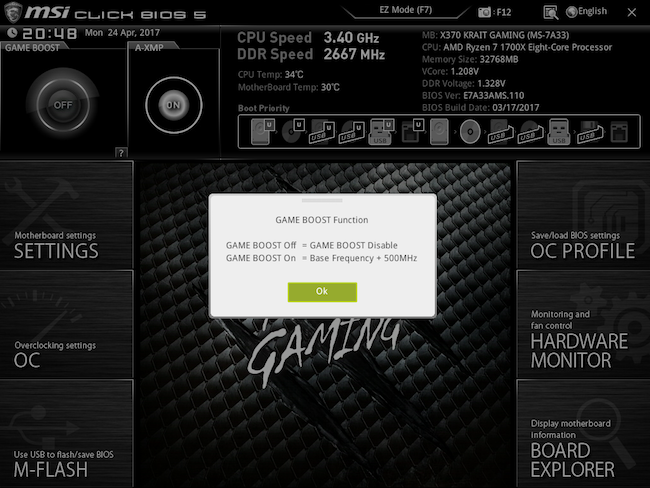
We did observe that when increasing the memory frequency manually, the DRAM voltage was increased to 1.35V by default. There are additional voltage controls, and the CPU features option directs us to the basic Ryzen-specific options. Beware of Game Boost; it'll increase processor clock rates by 500MHz, which may be unstable for any system.
Overclocking
On to the main event: overclocking. It comes as no surprise that the first step was to increase the processor multiplier to 38 and let Prime95 do its thing. This initial step was successful for all cores for extended runtimes. Bumping up to the 38.5 multiplier setting was also successful without any additional tweaking. Feeling comfortable with our temperatures at about 82°C, increasing the multiplier to 39 was successful for 19 minutes. Extended run times were obtained by setting the voltage to 1.375V through the UEFI. Still observing temperatures under 90°C, we increased the multiplier to 39.5 and unearthed the dreaded black screen.
Get Tom's Hardware's best news and in-depth reviews, straight to your inbox.
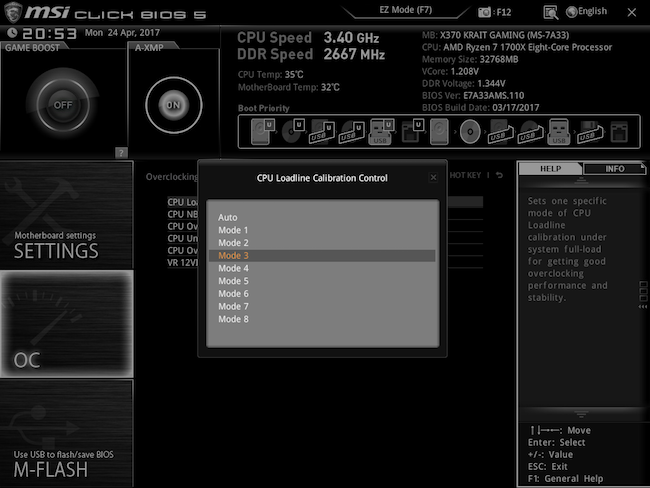
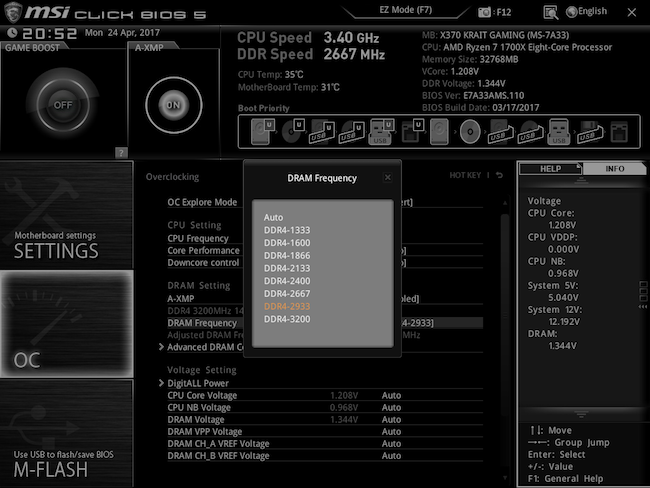
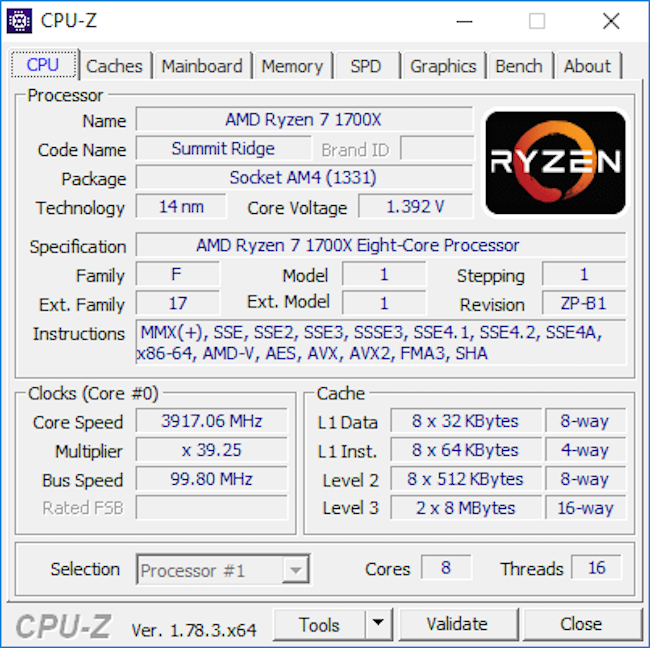
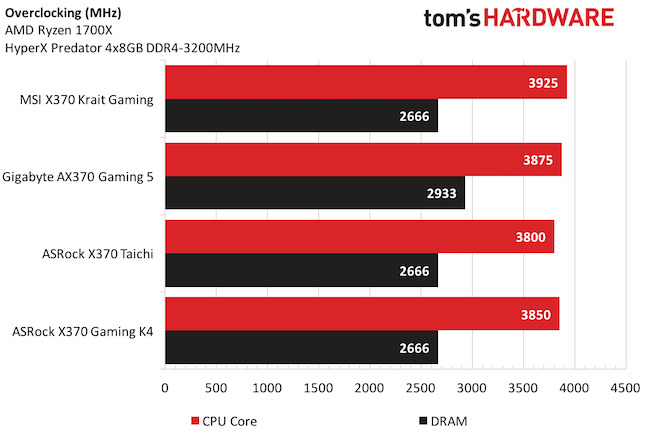
Changing the load line to Mode 3 increased stability slightly, but slowing down to 3925MHz as our final overclock allowed the system to run overnight successfully.
After receiving some clarity regarding load line settings from MSI, it appears that the MSI X370 Krait Gaming is running the processor at a higher voltage than intended, and generally, the lower Mode settings have lower Vdroop values (i.e., Mode 1 has less Vdroop than Mode 8). By default, overclocking sets the load line to Mode 3, so there must have been some variance boot-to-boot between my attempts. Net: Using load lines above Mode 4 will set your voltages higher than what you intended in the voltage setting. Of course, settings should only be compared against sensors and equipment that are proven accurate and calibrated, so use caution!
For the undercard, memory overclocking has some interesting twists, now that we have two different sets of high-end RAM. This platform is tested with all four DIMM slots installed, and that is how we performed initial overclocking.
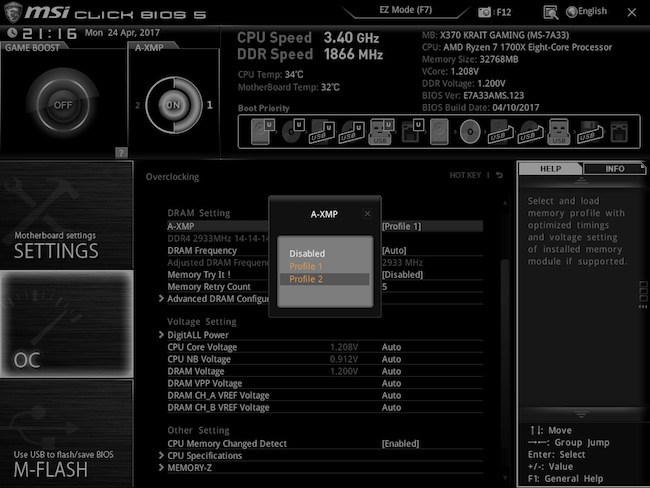
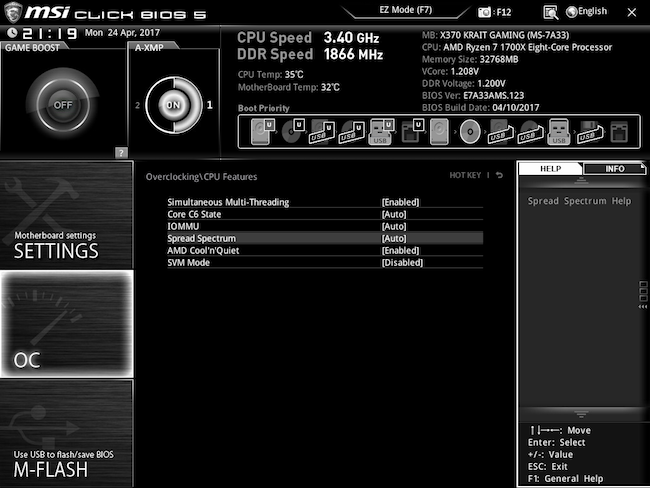
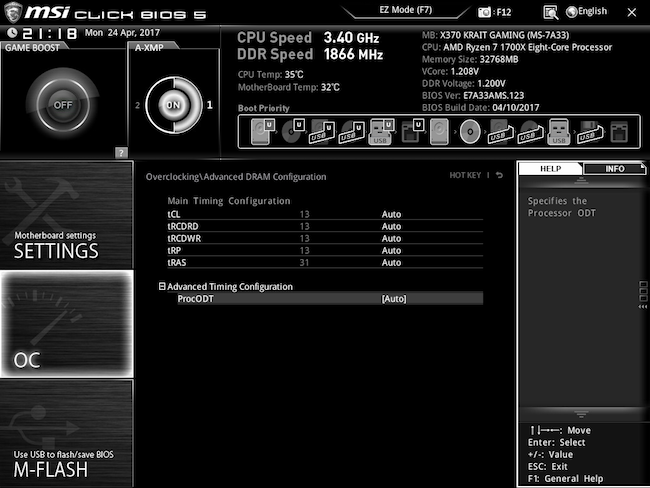
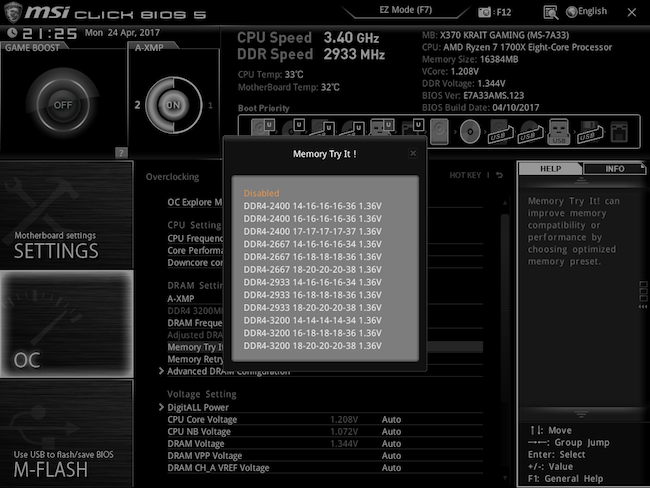
Compared against the MSI memory support matrix, there are no DIMMs listed that have been verified to run faster than DDR4-2667 in our configuration. We reached those confirmed levels with the Trident Z memory easily and attempts at DDR4-2933 were unfruitful. Upgrading to the latest official UEFI level 1.1 did not improve our results and nor did loading the beta version provided by MSI.
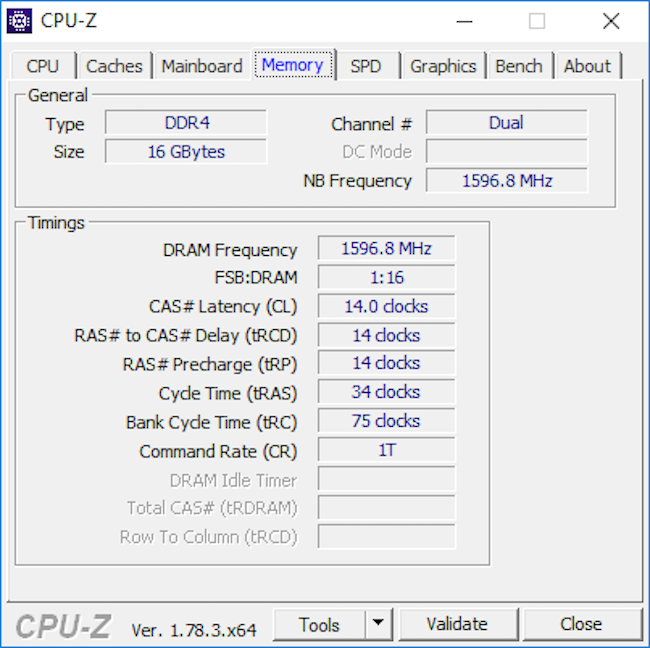
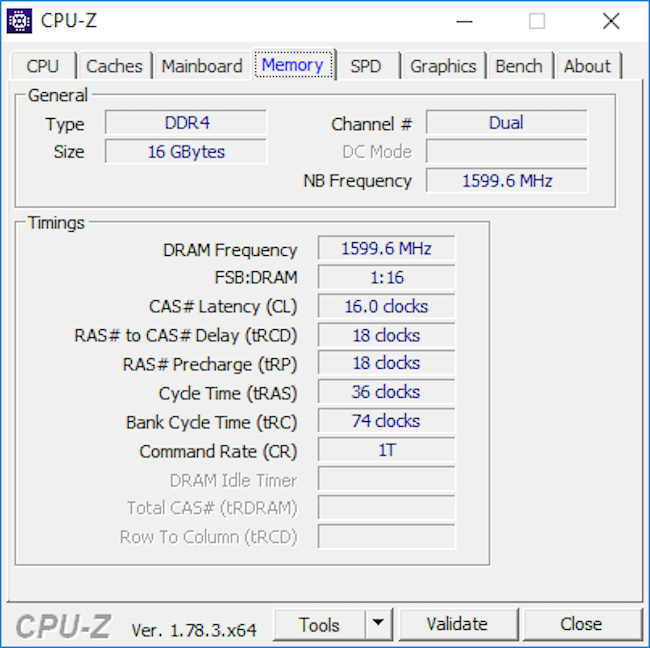
Upon removing DIMM 1 and DIMM 3, both the Kingston and HyperX memory kits had no problem reaching their advertised settings and timings at DDR4-3200MHz. We'll be revisiting our previously tested ASRock and Gigabyte boards with updated UEFIs for more memory OC goodness.
MORE: Best Motherboards
MORE: How To Choose A Motherboard
MORE: All Motherboard Content
Current page: Firmware & Overclocking
Prev Page Features & Specifications Next Page Benchmarks & Final Analysis