Plastic Surgery: Releasing The Athlon XP To Hit 2000+
A Second Masking: Applying Conductive Silver Lacquer To The L1 Contacts
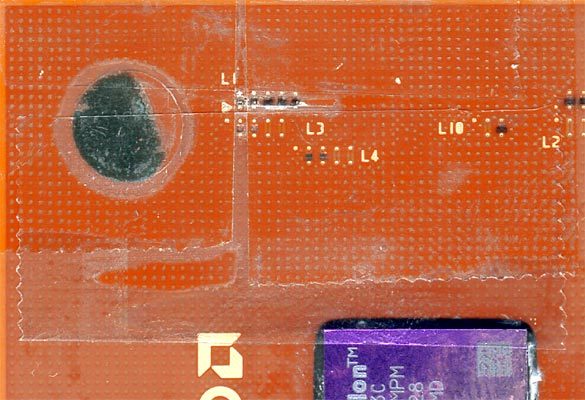
Now it's time to neatly connect the separate L1 contacts (the top one with the bottom one) using the conductive silver lacquer. You have to mask the contacts with scotch tape again for this procedure; otherwise, the connection won't be made properly. First, apply the tape lengthwise along each L1 contact (In the picture shown from top to bottom ). Then, make a masking window by applying the other two strips of scotch tape crosswise (shown in the picture, from left to right ). With a slew of failed attempts and destroyed processors under our belt, we would like to urge every user to follow our instructions!
Every individual contact group is taped off separately, so that the silver lacquer can be applied specifically. The picture above shows how precisely every contact needs to be taped off. Otherwise, it's impossible to connect the contacts adequately. Then, apply the conductive lacquer with a small brush.
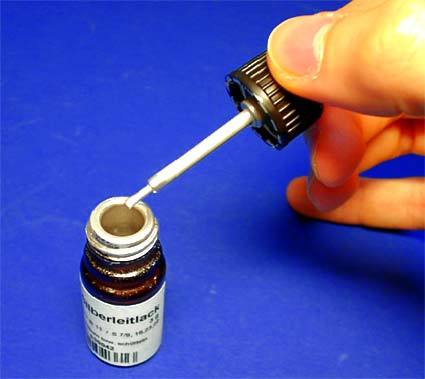
Conductive silver lacquer, which can be found at Conrad Electronic, or in any electronics store.
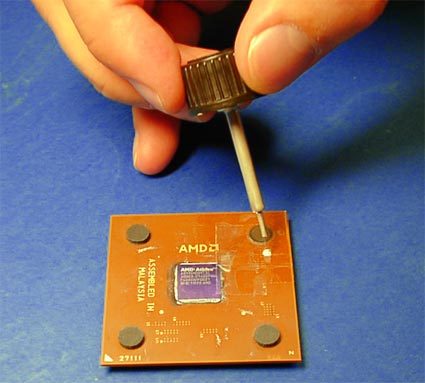
Applying the lacquer to the masked-off window. The window should literally be filled with the conductive lacquer.
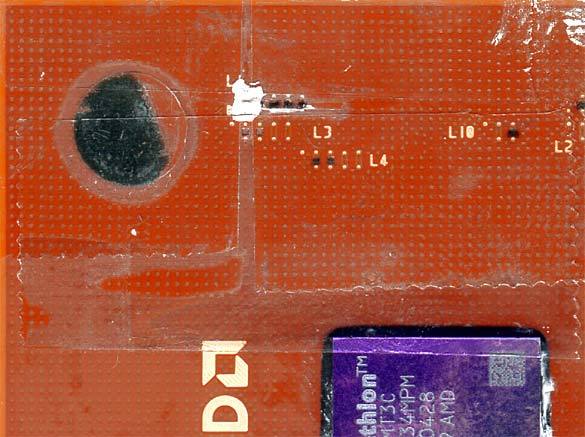
Close-up of the first contact connected with silver lacquer.
Now, all you have to do it remove the tape, and there you will have an L1 contact that has been connected relatively cleanly. Follow this procedure with all remaining contacts until all L1 bridges have been closed with the conductive lacquer. Now, test all the connections once through (bottom side with top side). The resistance should be at about 0 Ohms! You should also double-check that there aren't any cross-connections between the individual rows. If you discover a cross-connection, sever it carefully, using the scalpel or a razor blade. When measuring, make sure that you don't press down too hard with the test prods, or you might rub away the conductive lacquer. This procedure is also reversible. All you need to do is to remove the bridges using a stiff eraser, and, if desired, start again from the beginning.
Get Tom's Hardware's best news and in-depth reviews, straight to your inbox.
Current page: A Second Masking: Applying Conductive Silver Lacquer To The L1 Contacts
Prev Page Applying The Super Glue - Insulating The Laser Locks Next Page Test: Athlon XP 1900+ Overclocked At 2000+


