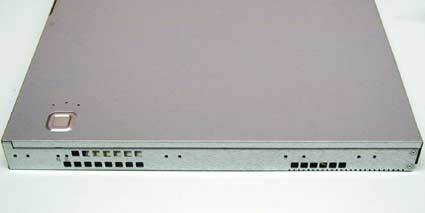
My Own Server Part 1: DIY 1U Rack Servers
Installation In The Rack
On the sides of the rack server, special power buses have to be installed for installation in the rack.
There is hardly a rack server in 19" format that can simply be screwed into the rack. Most providers deliver their products with special support rails that allow the server to be pulled out for maintenance - like a drawer.
That makes it possible, whenever necessary, to simply pull out a server, take off the upper case bracket and perform maintenance tasks. When numerous 1U servers in one rack are operating, this procedure saves lots of work, whether for swapping a hard disk or upgrading memory.
However, it is easy to do some things wrong during installation, to the point that beginners in particular may work themselves up to a slow boil. In principle, however, there is no secret to it - three components must be correctly used: For one, the smaller power bus that is screwed to the rack server. Then the outer power bus, which contains rollers or ball bearings to allow it to be pulled out as smoothly as possible. The last thing included in the package is holding plates.
Because not all rack servers have the same depth, the holding plates are divided in two for both sides. It is best to first measure the correct depth before you screw the holding plates to the pull-out rails.
Get Tom's Hardware's best news and in-depth reviews, straight to your inbox.
Current page: Installation In The Rack
Prev Page Hard Disks: Serial ATA As An Option Next Page Installation In The Rack, Continued
Patrick Schmid was the editor-in-chief for Tom's Hardware from 2005 to 2006. He wrote numerous articles on a wide range of hardware topics, including storage, CPUs, and system builds.
-
jameshk if i buy this 1U server, can i use it for video edit and play games at home??the speed good then normal desktop?Reply
