Why you can trust Tom's Hardware
System Configuration
We are using the following system for our case test bed:
| CPU | Intel Core i9-9900K |
|---|---|
| Motherboard | Asus Maximus XI Hero WiFi |
| Memory | Corsair Vengeance LPX 3000 MHz, 16 GB (2x 8GB) |
| Graphics | Nvidia GeForce RTX 2070 Super Founder's Edition |
| CPU Cooling | Noctua NH-U12S Chromax Black |
| Thermal Paste | Noctua NT-H2 Thermal Paste |
| Storage | Corsair Force Series MP510 NVMe SSD, 480GB |
| Power Supply | Corsair HX750i |
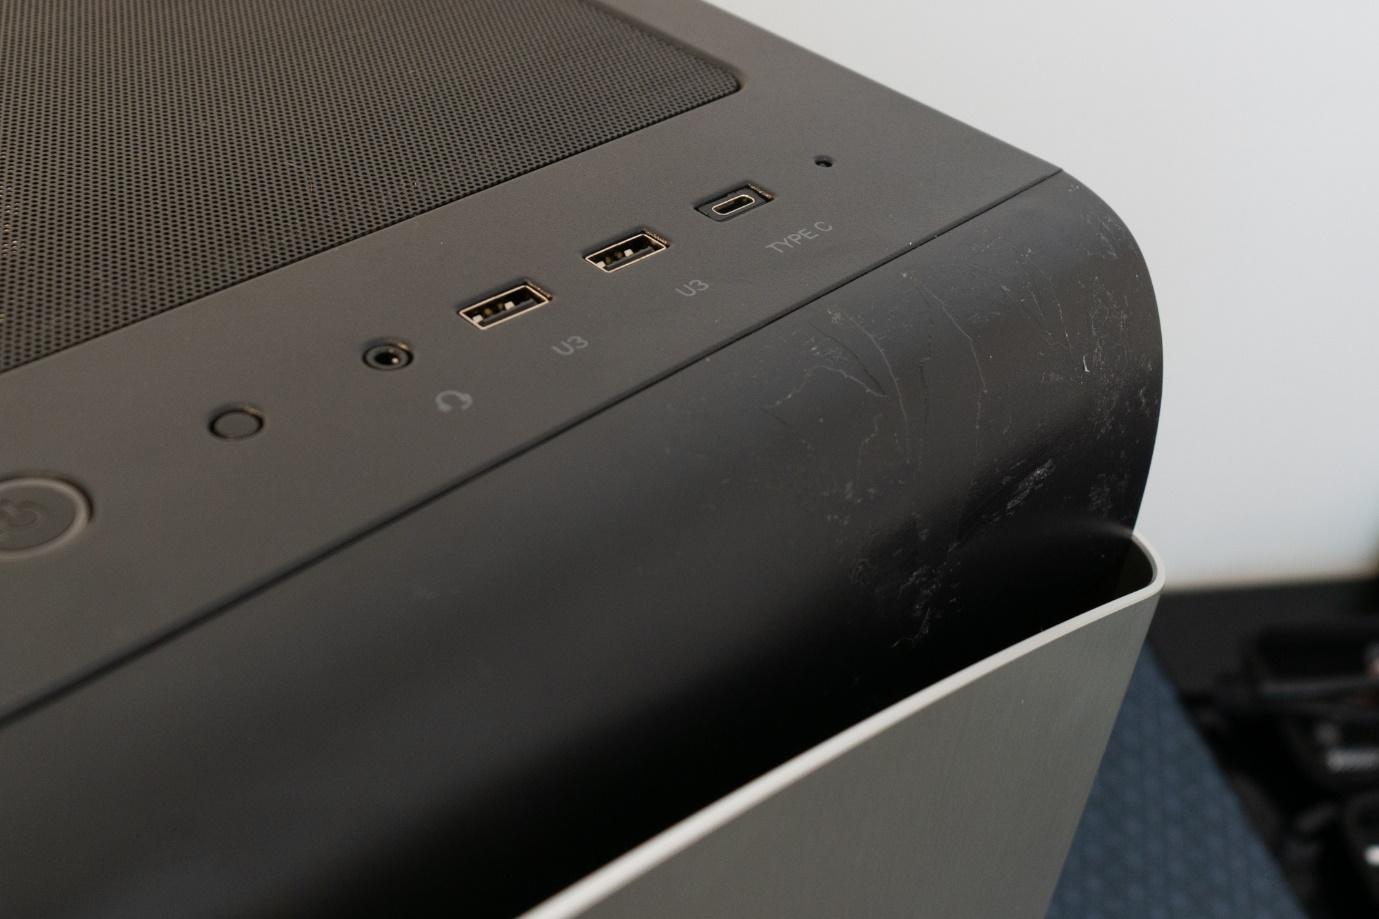
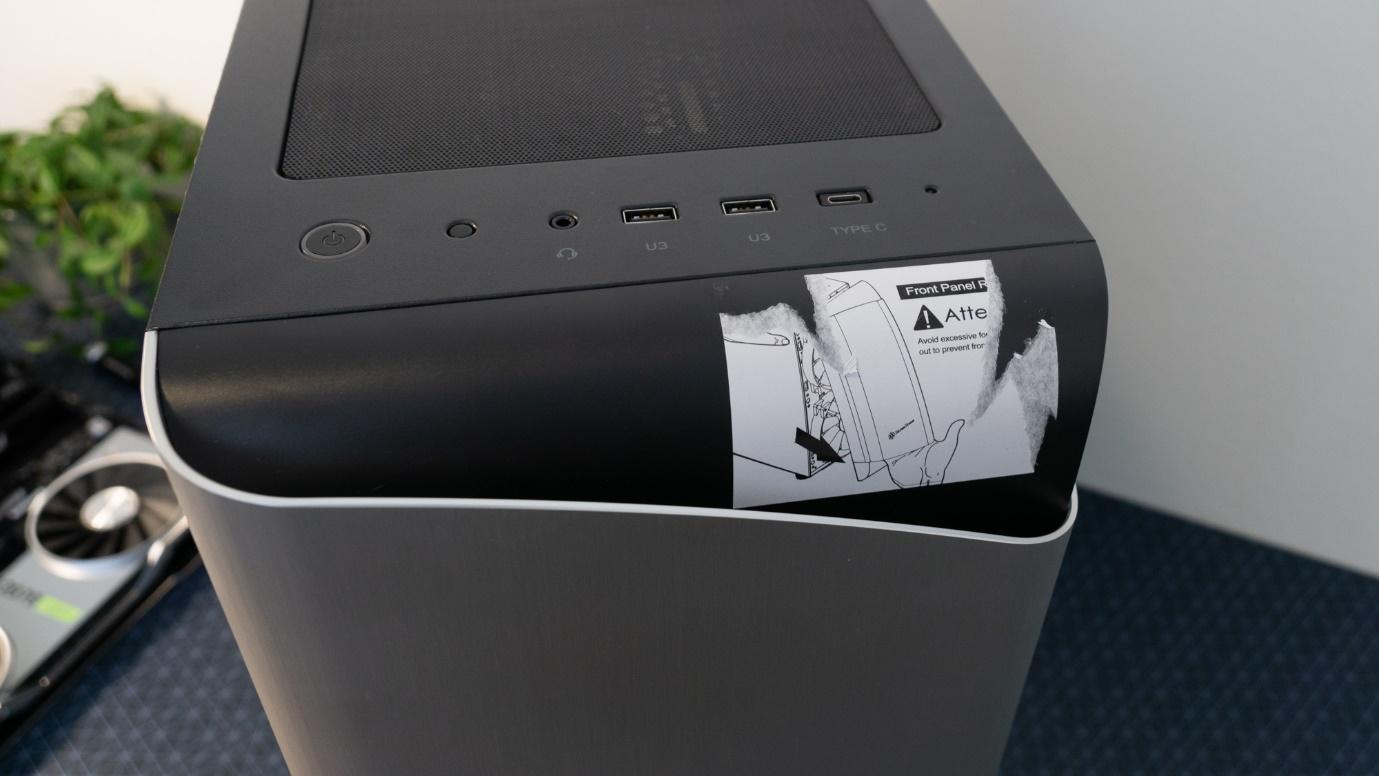
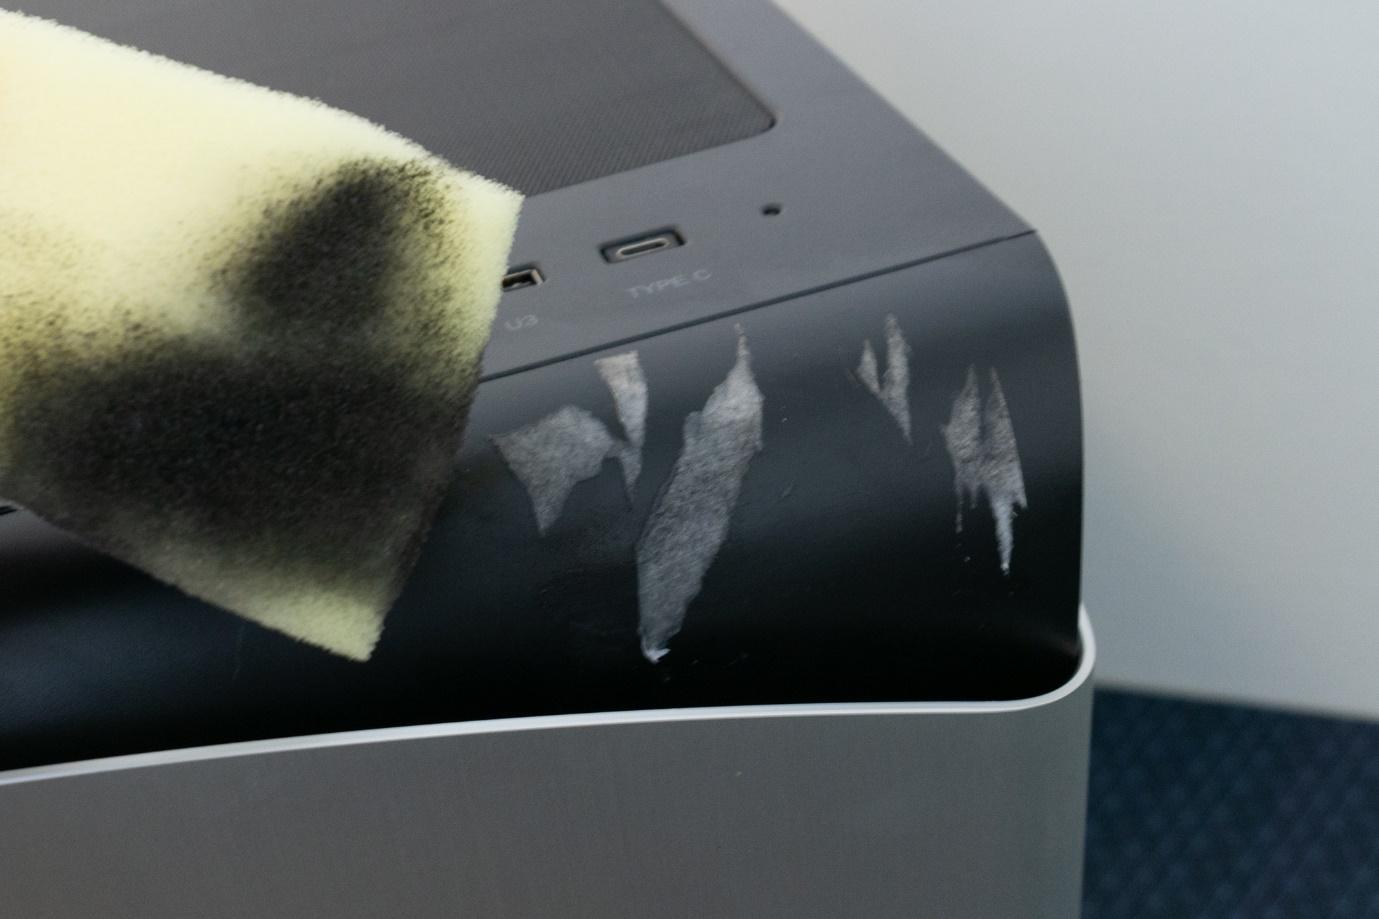
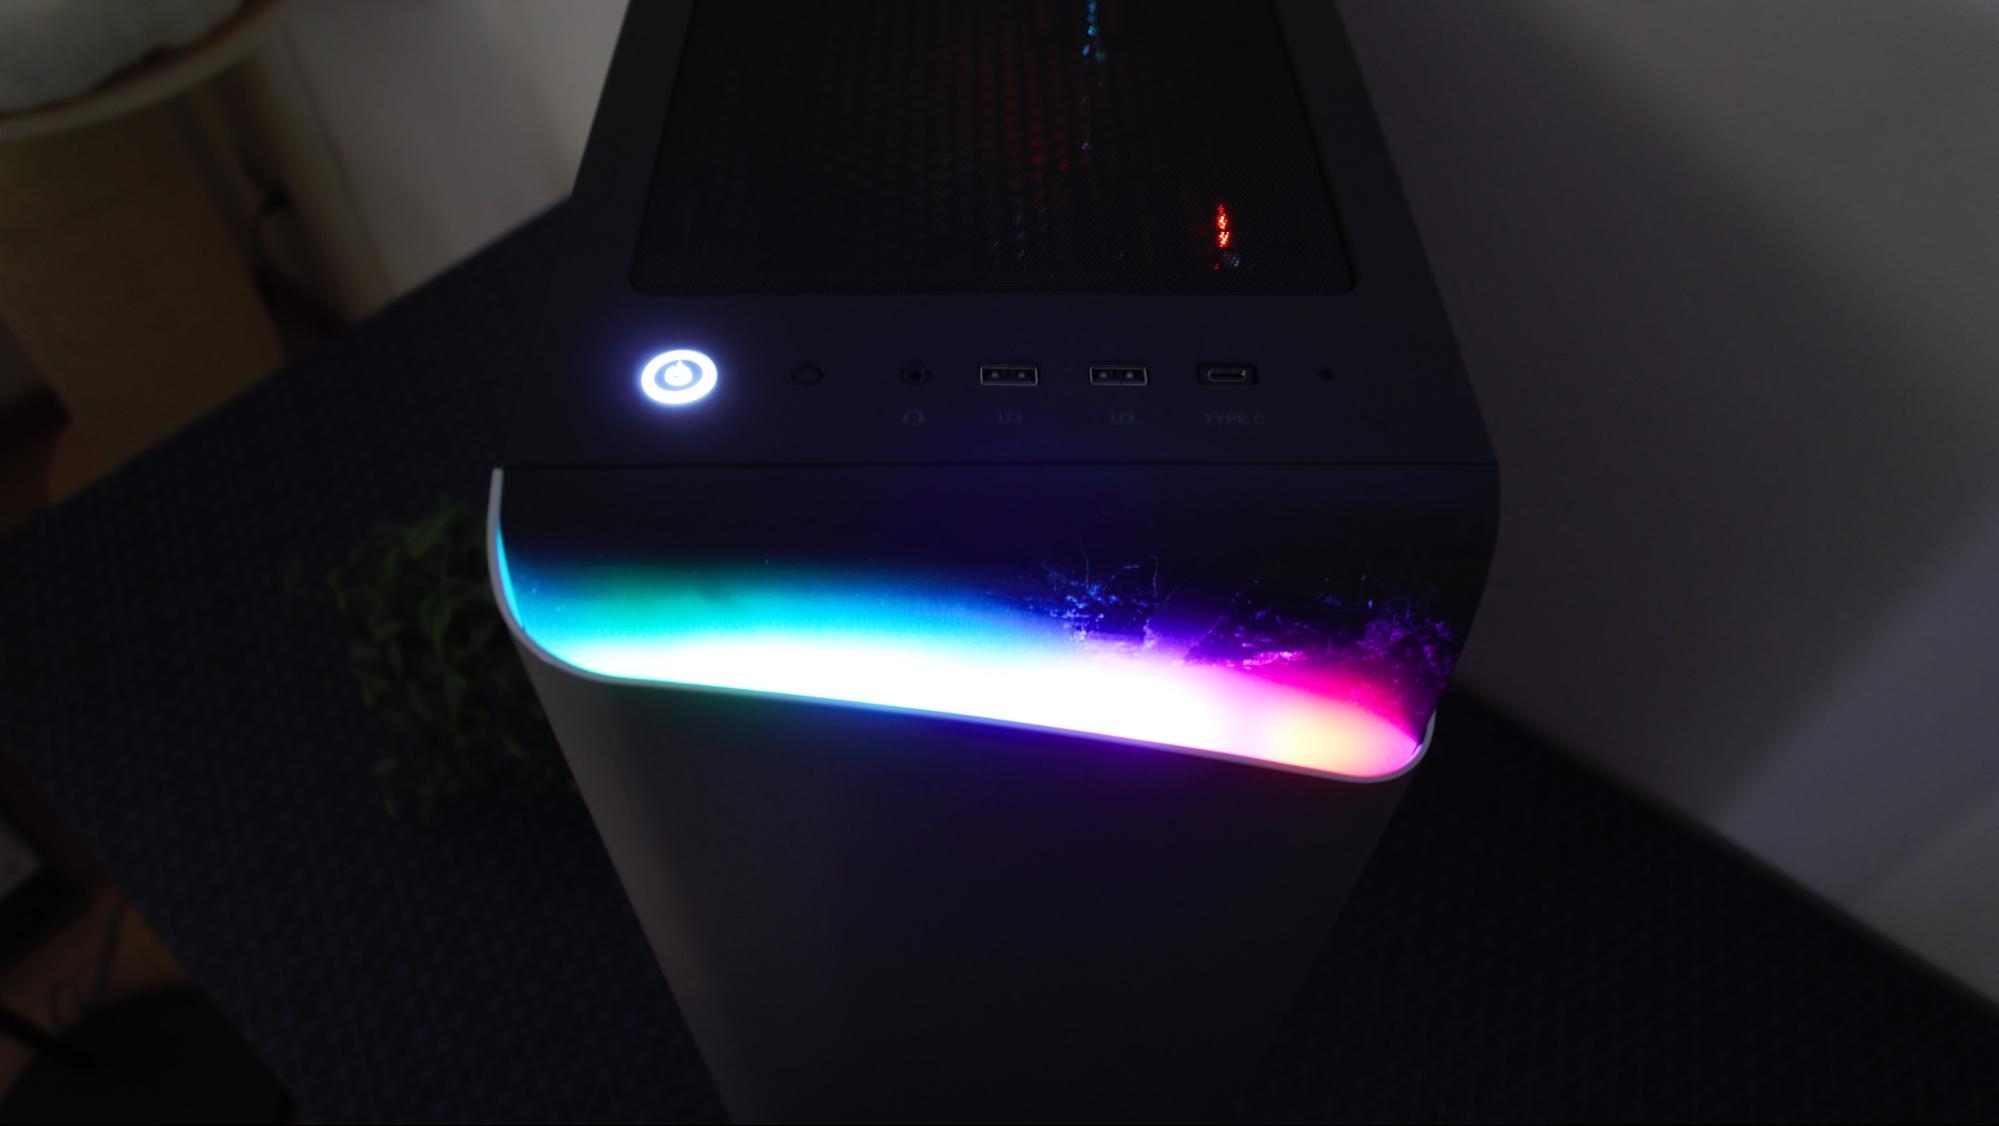
As you might have noticed in the pictures so far, the case has a ghastly scar at the top of the front panel. This is because of the “be careful when removing the front panel” warning sticker that Silverstone placed here. It was applied with glue so strong that it was very difficult to remove. I first resorted to soapy water, but this didn’t help. Rubbing alcohol also didn’t do the trick, so I turned to sticker remover, which was a huge mistake. Immediately, my sponge became black as I realized that I had just stripped away the matte coating. Of course, it’s my mistake for not testing the sticker remover on a less visible spot, but I’m still upset that the warning sticker was so stubborn to remove. A quick search on the internet revealed that I’m not the only reviewer with this problem. Silverstone has been around for nearly 20 years. The company should know better than to put a hard-to-remove sticker on a surface that isn’t chemically resistant.
Getting over that and on with it, installation of the motherboard was simple. Six of the nine ATX standoffs came pre-installed, so I installed the remaining three and secured the board in. Two of the pre-installed standoffs also work as anchors, keeping the board in place while I secured the rest of the attachment points.
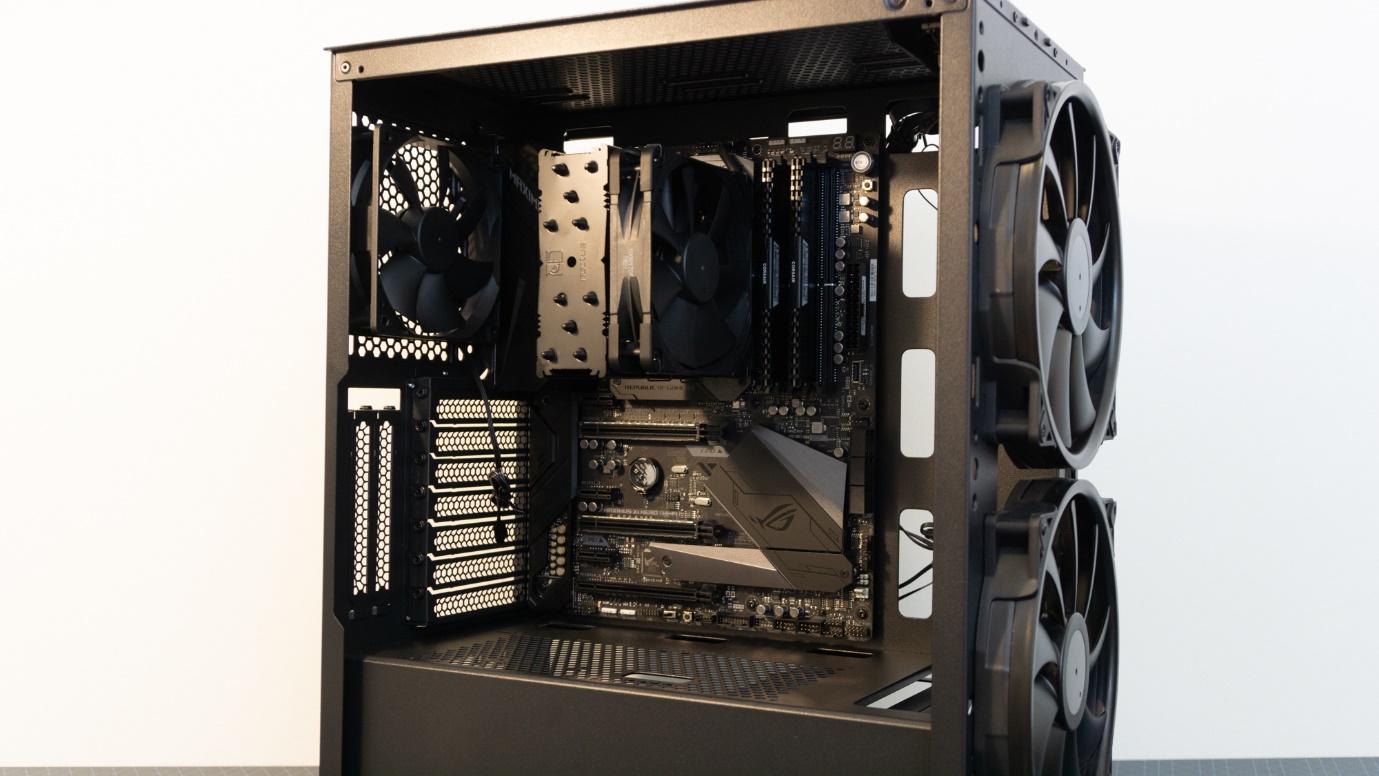
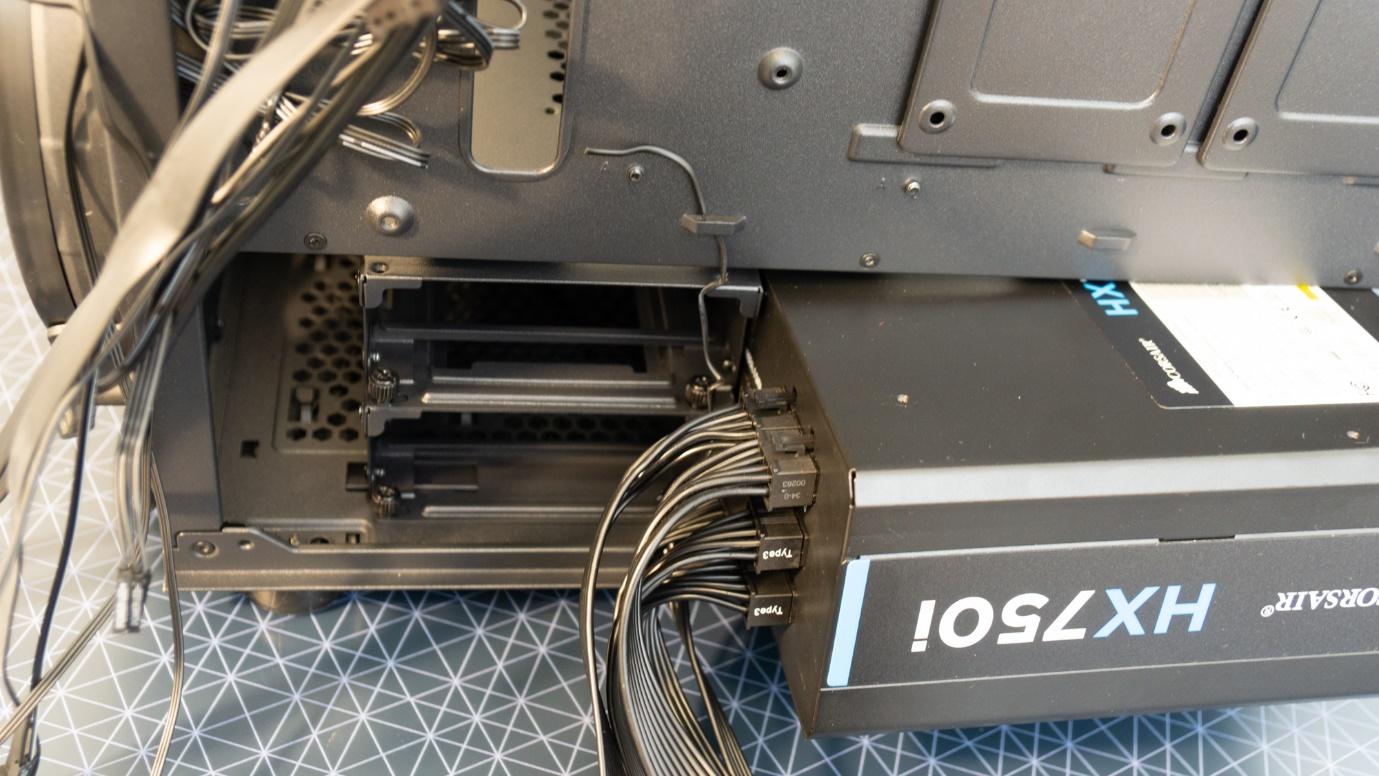
Installing the power supply was less straightforward. Our Corsair HX750i that we use in our standard test system did not fit with the modular cables attached, so we had to remove the hard drive cage to get it to fit.
Cable Management
The rear of the motherboard only has 18 mm (0.7 inches) of space for cable management, which is not enough for thick cables. So you may have to use a PSU with flat cables to make this work. Thankfully, our power supply has these.
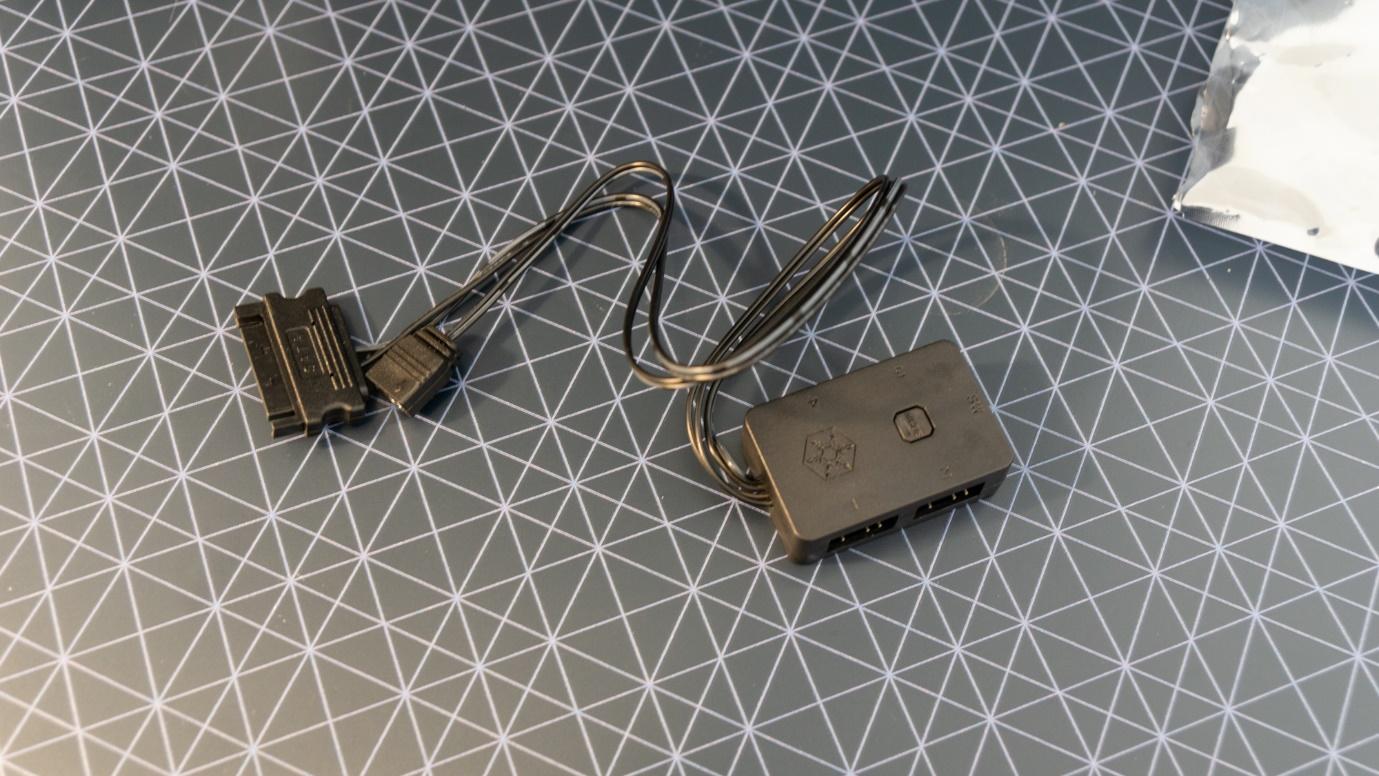
One neat inclusion with the SETA A1 is the RGB controller. Of course, you can attach the addressable-RGB strips directly to your motherboard with a single connector, but the controller takes some of the trouble out of configuring the lighting. It even has a pair of pins labelled “Switch,” which fit the pins for the reset switch at the top of the chassis perfectly. The reset switch is also unlabeled at the top, so now it’s our RGB switch. Despite being a small detail, this is very thoughtful. The RGB lighting is very dim though, and hardly visible in daylight, as you can see by how dark we needed to make the room to be able to capture the RGB lighting on photo.
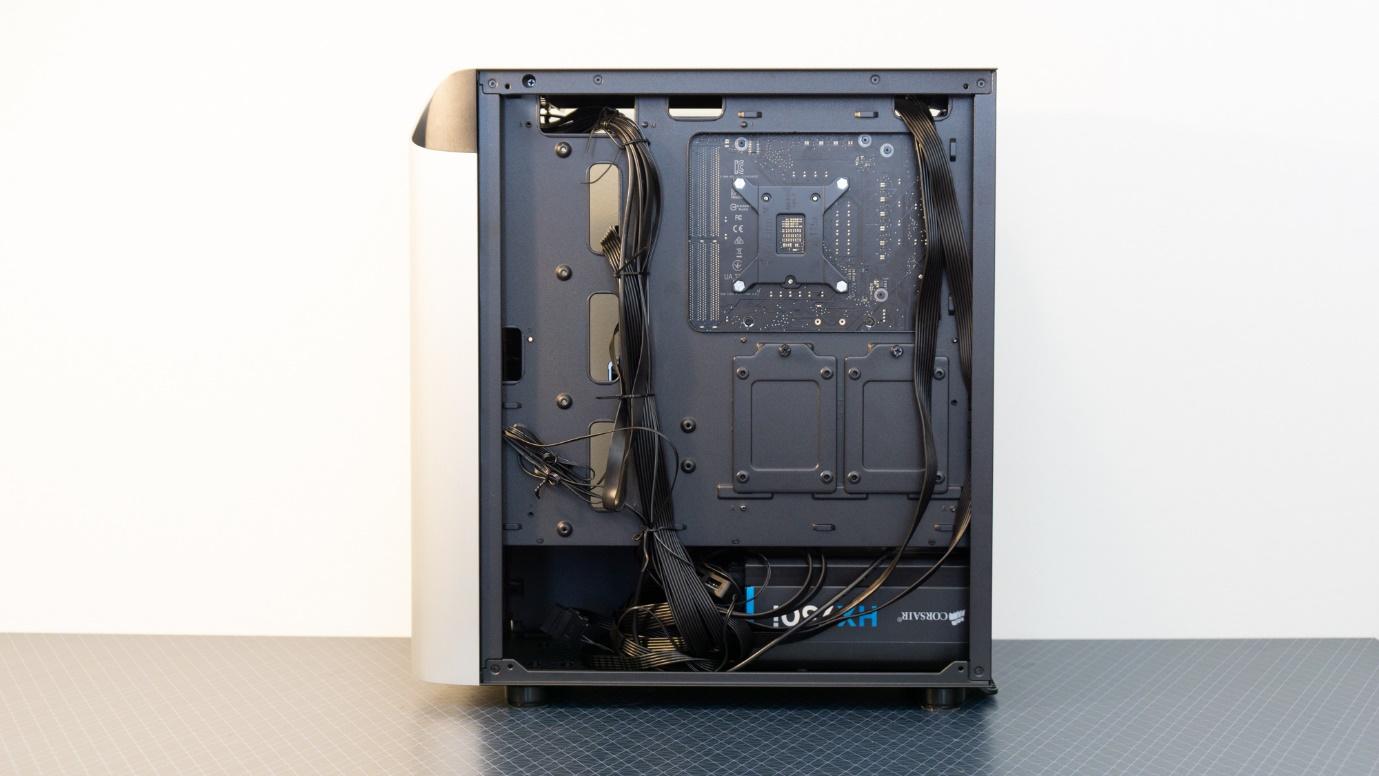
However, managing the cables was less pleasant than we would expect from a $130 case. There were no Velcro straps, just some tie-wraps and included zip ties. This technically works, but feels dated and cheap and makes corrections or later hardware changes more tedious than they need to be. We would also have expected a better design for hiding cables coming toward the motherboard, such as a rubber grommet that seals the hole in the motherboard tray or at least a shroud that covers the holes.
Get Tom's Hardware's best news and in-depth reviews, straight to your inbox.
Current page: Hardware Installation
Prev Page Features and Specifications Next Page Testing and ConclusionNiels Broekhuijsen is a Contributing Writer for Tom's Hardware US. He reviews cases, water cooling and pc builds.
-
Colif A silverstone in normal layout.. yawnReply
Hard to impress someone with an FT02 though :)
those fans are the newer version of the ones in my case. -
Sinitik Pretty generic case. It doesn't offer anything outside of that front RGB and even then it's nothing special. They should focus on their Raven series, they're not going to compete against NZXT and Enthoo like this.Reply -
Colif well, they are, but this is low end..Reply
They just haven't released it yet, its not on their website
47__YGaIZX8
