Tom's Hardware Verdict
The Toybox is a fun “toy factory” that uses a simple 3d printer with its own library of G rated models and one button slicing to introduce kids to 3D printing.
Pros
- +
Direct drive
- +
Simple to use
- +
One button slicer
- +
Curated library of G rated prints
Cons
- -
Pricey
- -
Does not work without internet
- -
Unheated bed
Why you can trust Tom's Hardware
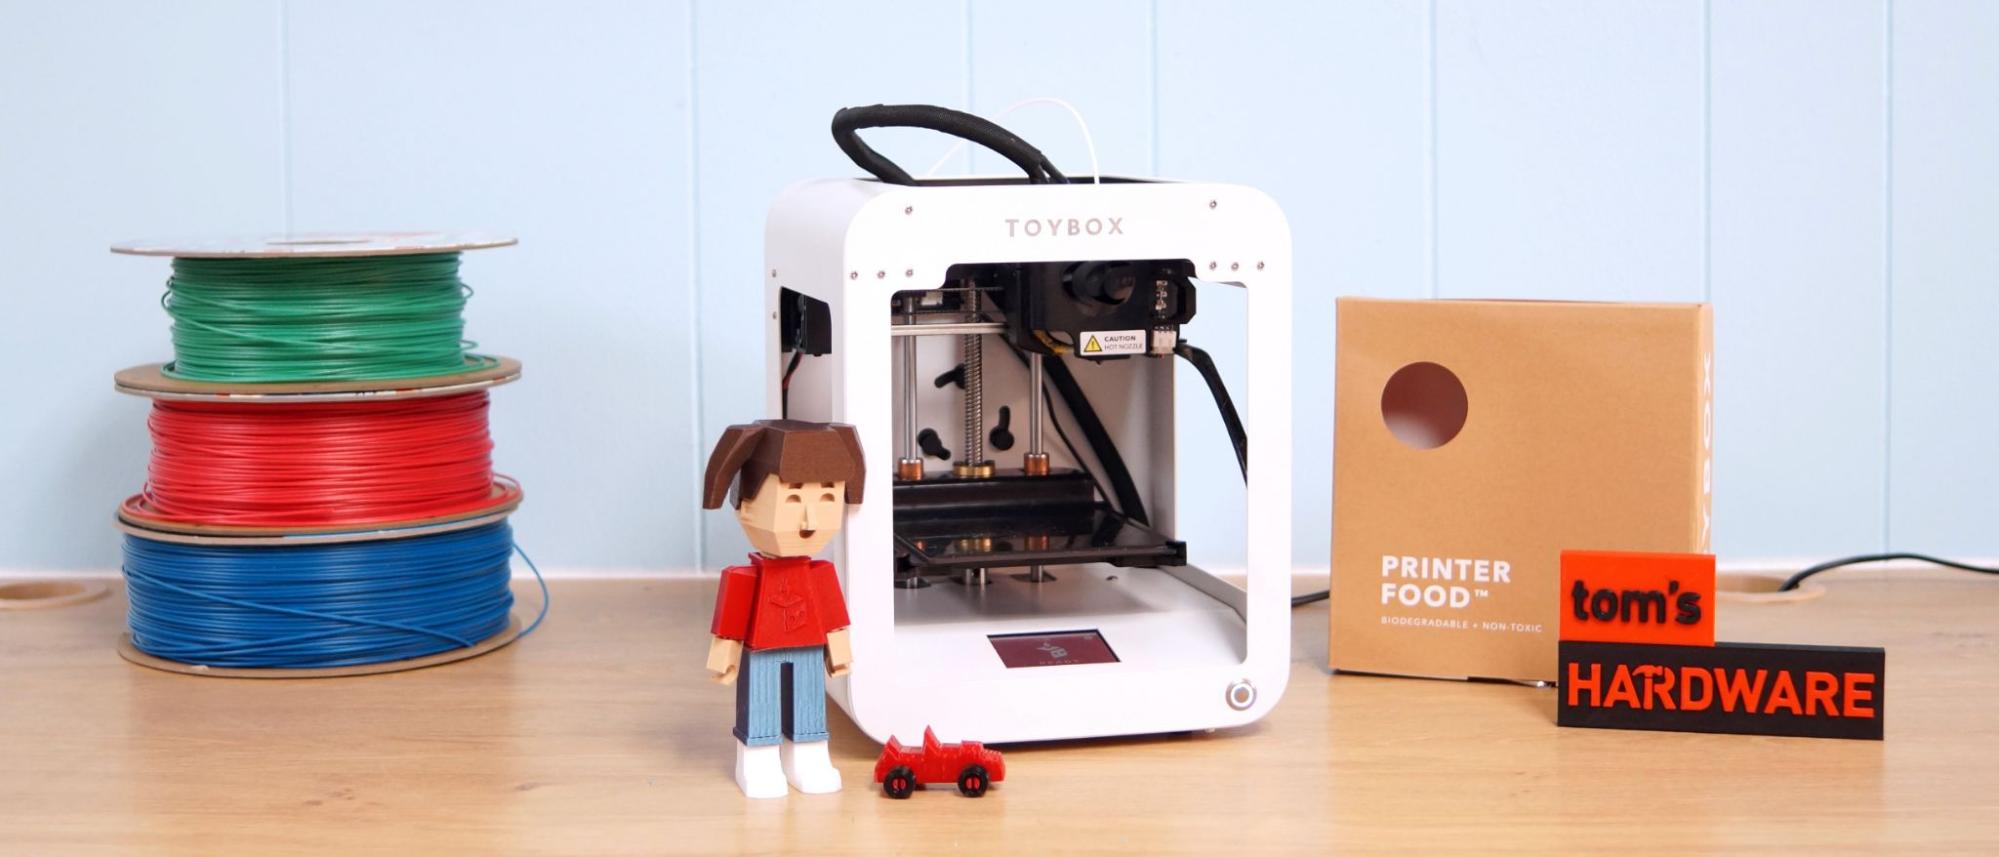
The Toybox printer is the Easy Bake Oven of 3D printing, a junior sized introduction to a grown up hobby. Everything about the Toybox is made with younger children in mind. Its all-metal frame is tough with rounded edges, there are very few exposed parts and the printer can be controlled from a tablet or smartphone. Terminology regarding the printer’s use is fun and silly: you “feed” the printer “food” such as Lemon, Bubblegum, Sugarplum and Coconut plastics. The tiny spools of filament are small enough for kids to handle easily – with a smaller price tag to make it easier to buy several colors.
The printer is as bulletproof as a company can make a machine and the native slicer is pre-programmed to one setting. But what Toybox is selling for a hefty retail price of $419 – more than many of the best 3D printers – isn’t so much a 3D printer, but a child-friendly toy building experience that happens to use a 3D printer. The printer pulls files from a curated library of family friendly prints – every upload claims to be human approved, G-rated and compatible with the printing abilities of the Toybox. The company has licensing agreements with DC Comics, Cartoon Network and a few other studios, making this the one place you can print an approved comic book character action figure.
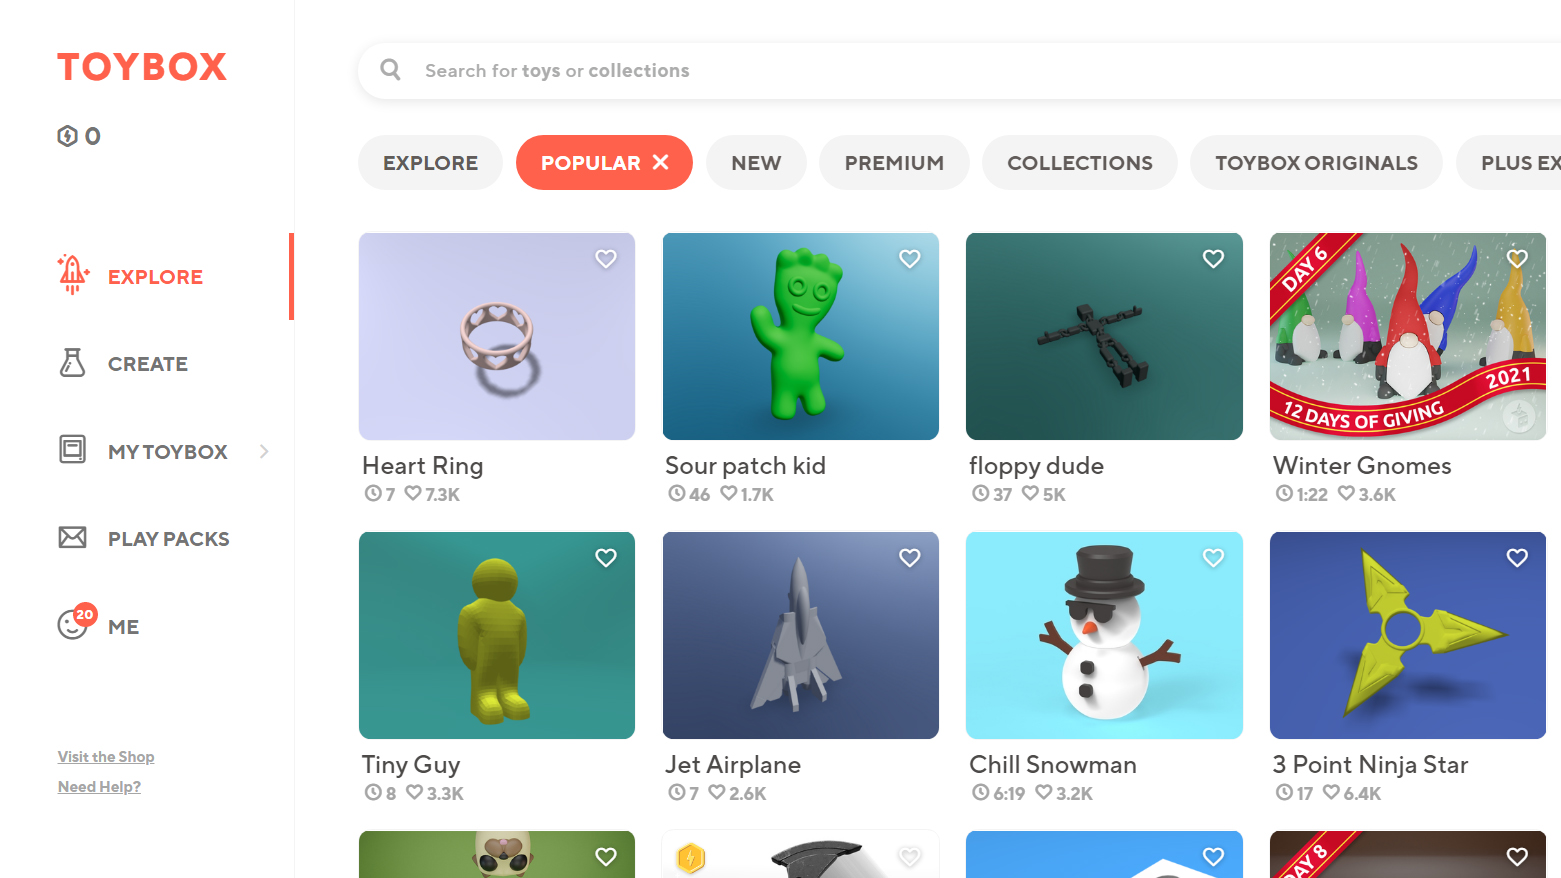
The Toybox website is the central hub of the experience. This is where kids access curated models, a simple slicer and a handful of very clever apps to create custom models. One app lets you build a “block buddy” from assorted body parts, while another lets you design a car.
This machine is squarely aimed at families who are not experienced with 3D printing. Serious limits have been put in place to make it easy to use. There are no settings to adjust, so everything is printed at a .2 layer height and 60mm/s speed. To prevent clogging Toybox simply makes 3rd party filament illegal – Protopasta will literally void your warranty.
Specifications: Toybox
| Build Volume | 70 x 80 x 90 mm (2.75 x 3.14 x 3.5 inches) |
| Material | PLA |
| Extruder Type Bowden | Direct Drive |
| Nozzle .4mm MK8 | .5mm V6 |
| Build Platform | Easy Peel Magnetic, unheated |
| Bed Leveling | None |
| Filament Runout Sensor | No |
| Connectivity | WiFi |
| Interface | LED touch screen, Web App, smartphone |
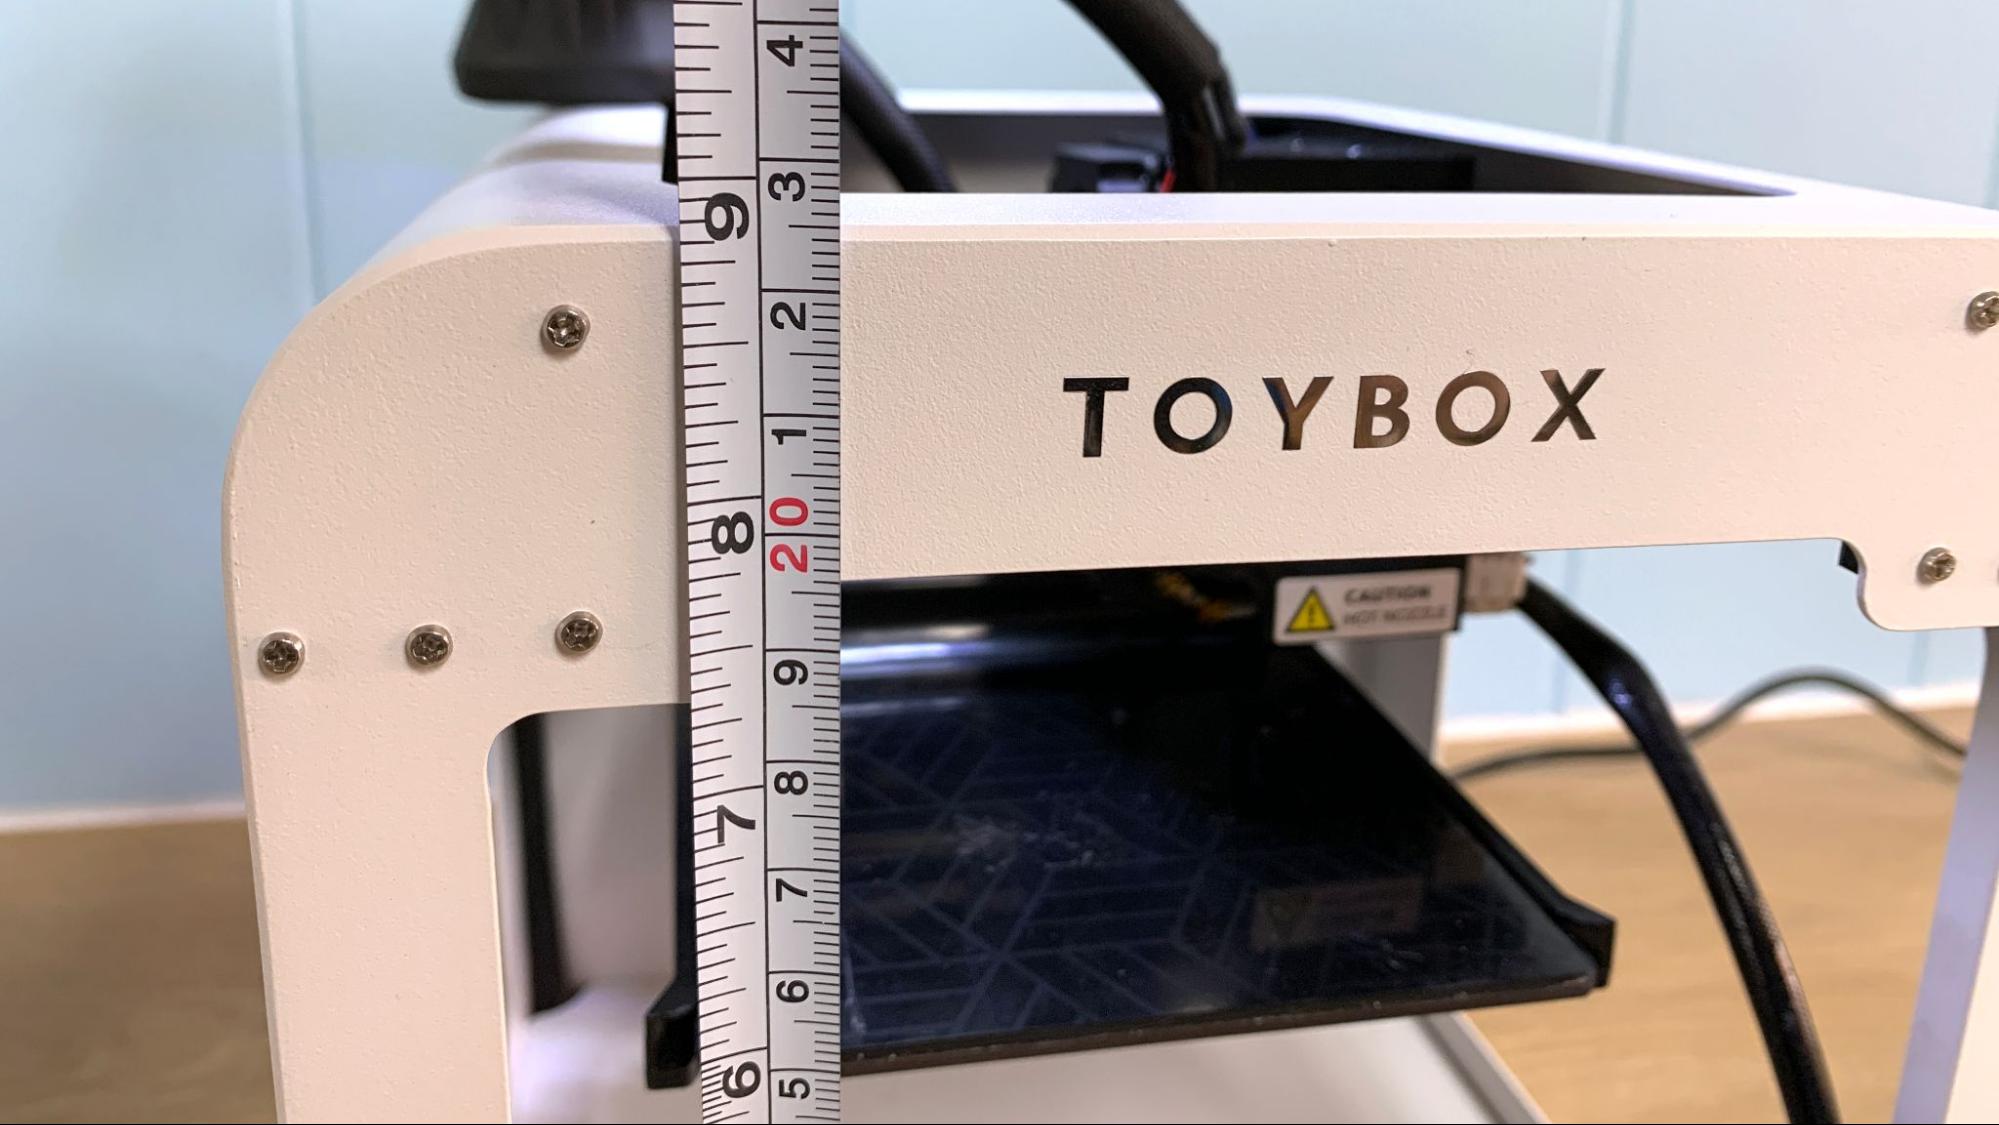
| Machine Footprint | 190 x 190 x 230 mm (7.4 x 7.4 x 9.05 inches) |
| Machine Weight | 3 KG (6.6 lbs) |
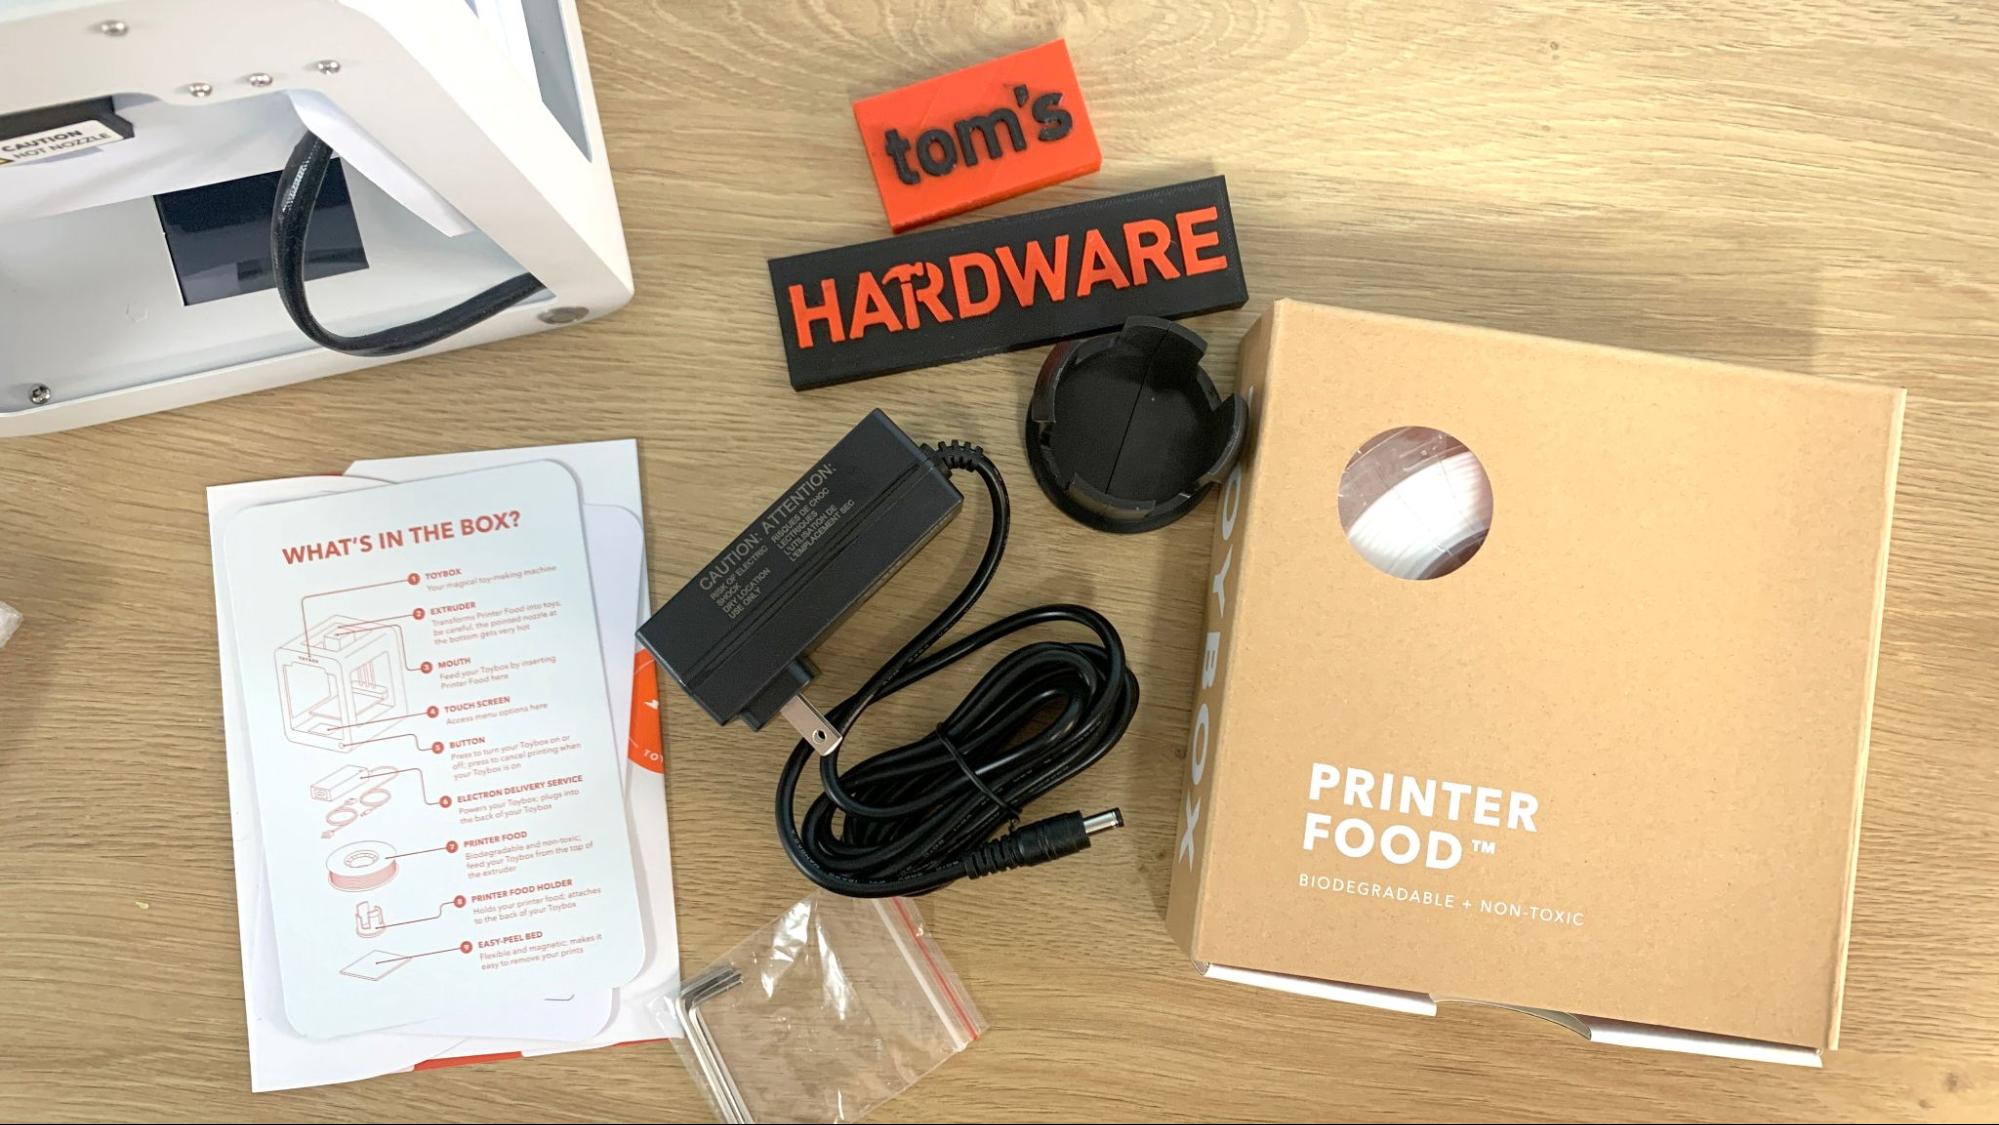
Toybox: Included in the Box
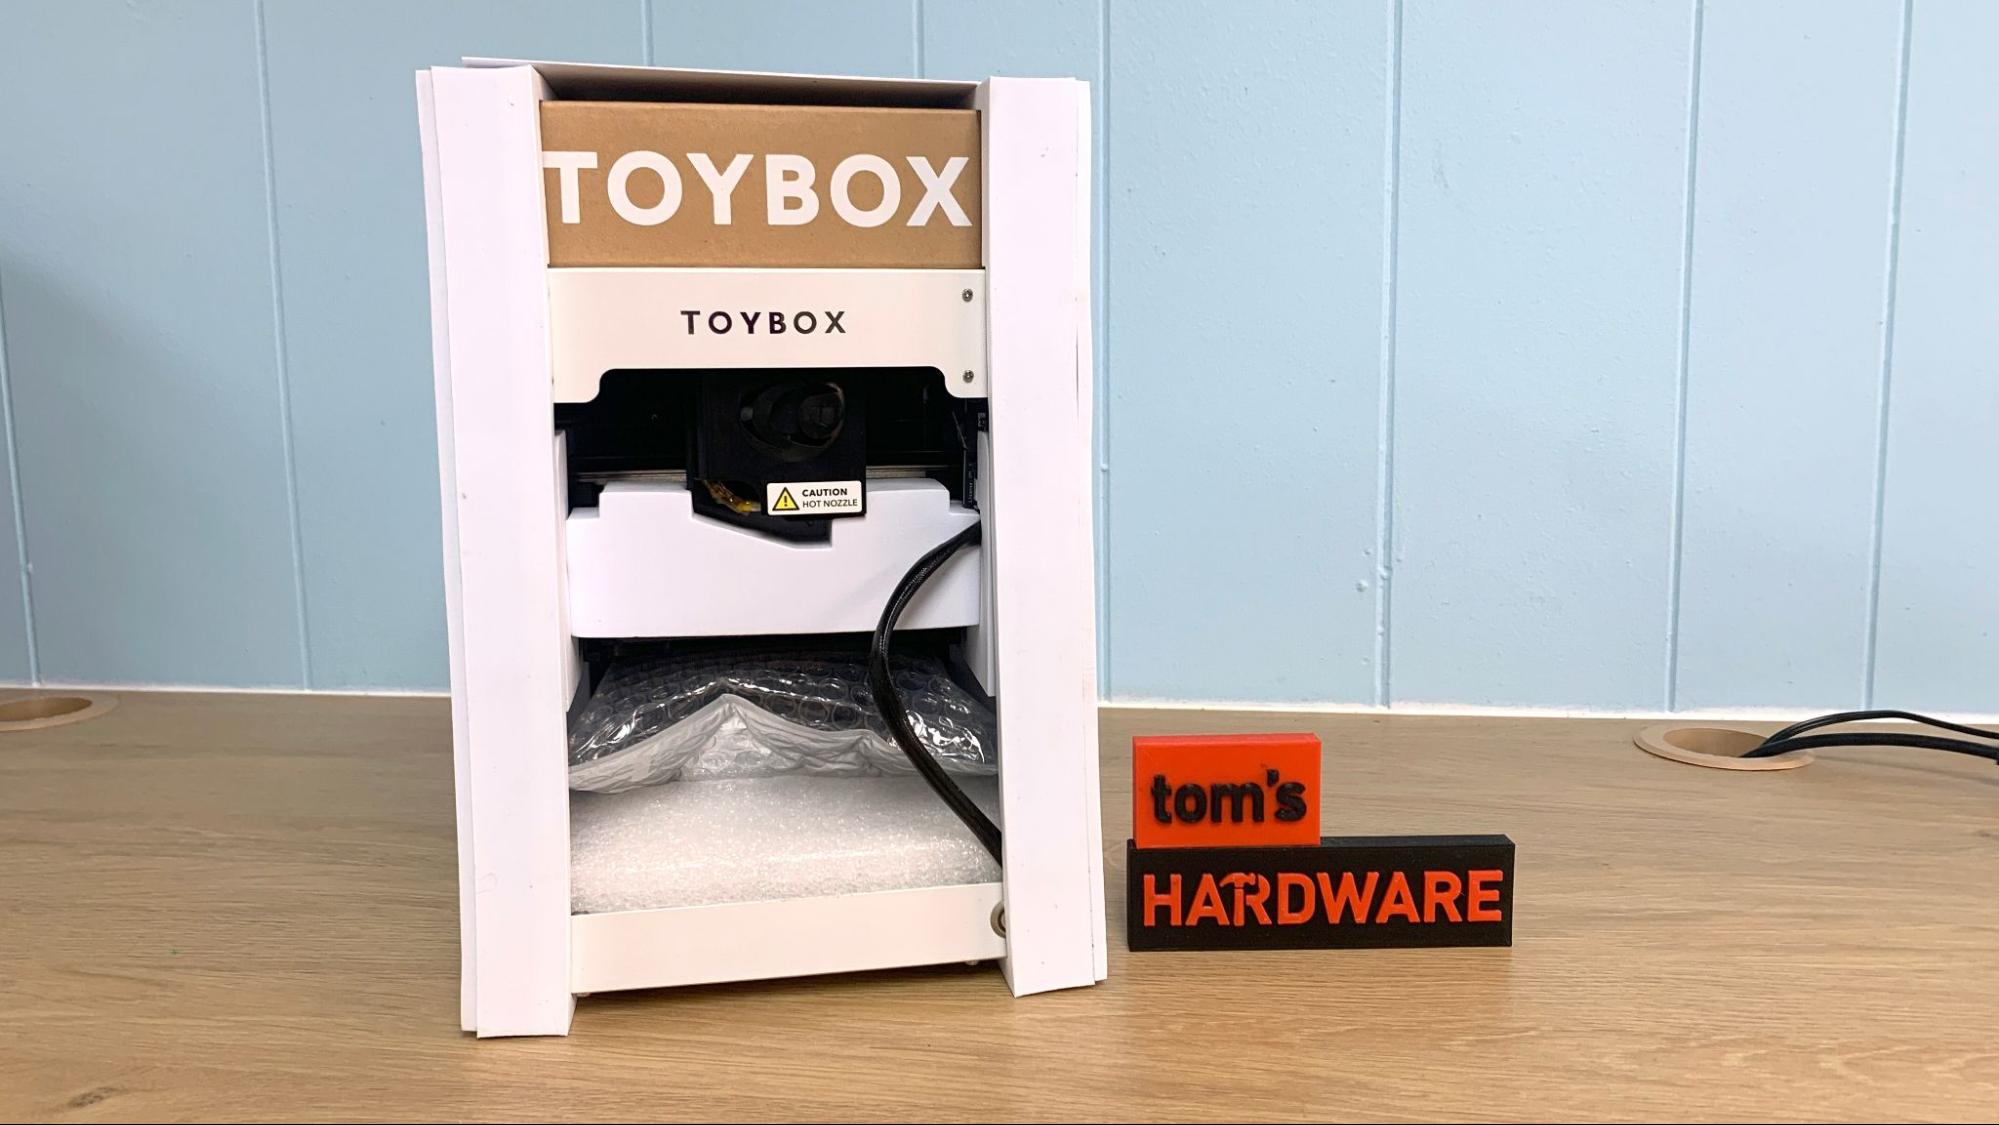
The Toybox comes with a set of hex wrenches, a small spool of filament and a cord. Software is located online.
Design of the Toybox
The Toybox 3D printer is made for kids, but it doesn’t look childish. It has an open frame design made of smooth metal with a white powdered coated surface. Every edge is rounded and smooth. The printer has only one button – to turn it off – and a touch screen to warm up the hotend to a preset 210 degrees and advance/retract the filament.
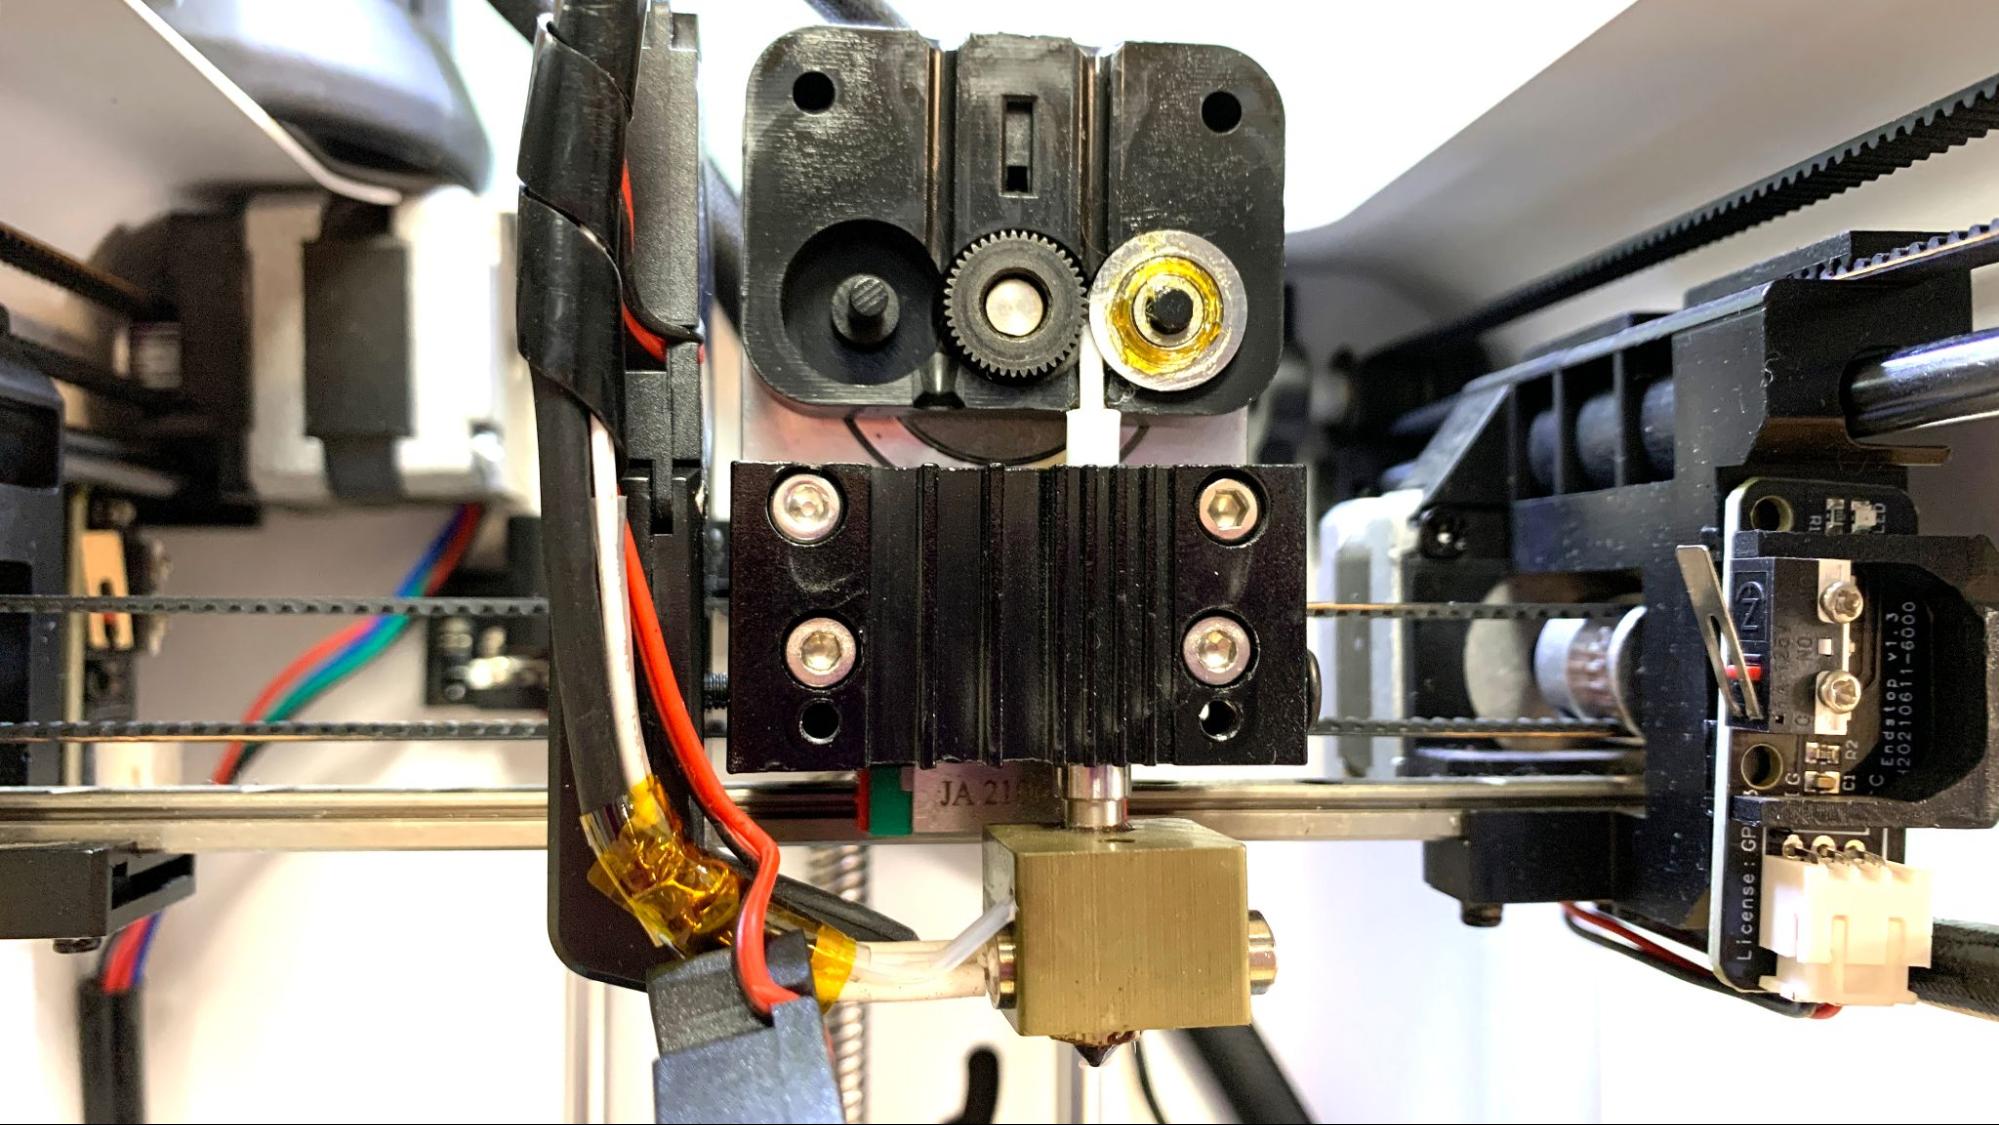
The Toybox is a direct drive machine with linear rails and a Z axis that slides up and down on a center screw. All the wires are nicely wrapped and secure. The mechanical parts are tucked into the sides of the machine where you can watch it run, but kids will have to really work at it to damage the machine or their fingers. I would still advise long hair to be pulled back if your child is curious about the belts and stepper motors in action.
Get Tom's Hardware's best news and in-depth reviews, straight to your inbox.
The spool holder is located on the back, but on a 6 pound machine smaller than the average coffee maker, it's not a big deal. What is a big deal is the size of the spool, which is purposefully sized to only hold petite Toybox Printer Food rolls. Printer Food comes in ½ pound spools, about a quarter the size of a typical 1KG spool of filament. If you want to use ordinary filament you’ll have to make a table-top spool holder and risk voiding your warranty. Yes, using non-Toybox filament is a dealbreaker as anything with too much glitter or the wrong print temperature can clog the machine or wear out the nozzle.
The nozzle situation is rather interesting. The nozzle and hotend are not listed as replaceable, though combing through the help forum I did find advice to use a .5mm E3D V6. If the nozzle is truly worn out, a Toybox rep said it could be mailed in for a warranty replacement – as long as you didn’t wear it out with abrasive non-Toybox filament. I popped off the cover and didn’t find anything unusual about the hotend, which leaves me to believe Toybox doesn’t think their average customer wants to pick up a wrench. Or that no kid could possibly burn through enough Printer Food to wear out the machine before asking Santa for a Prusa.
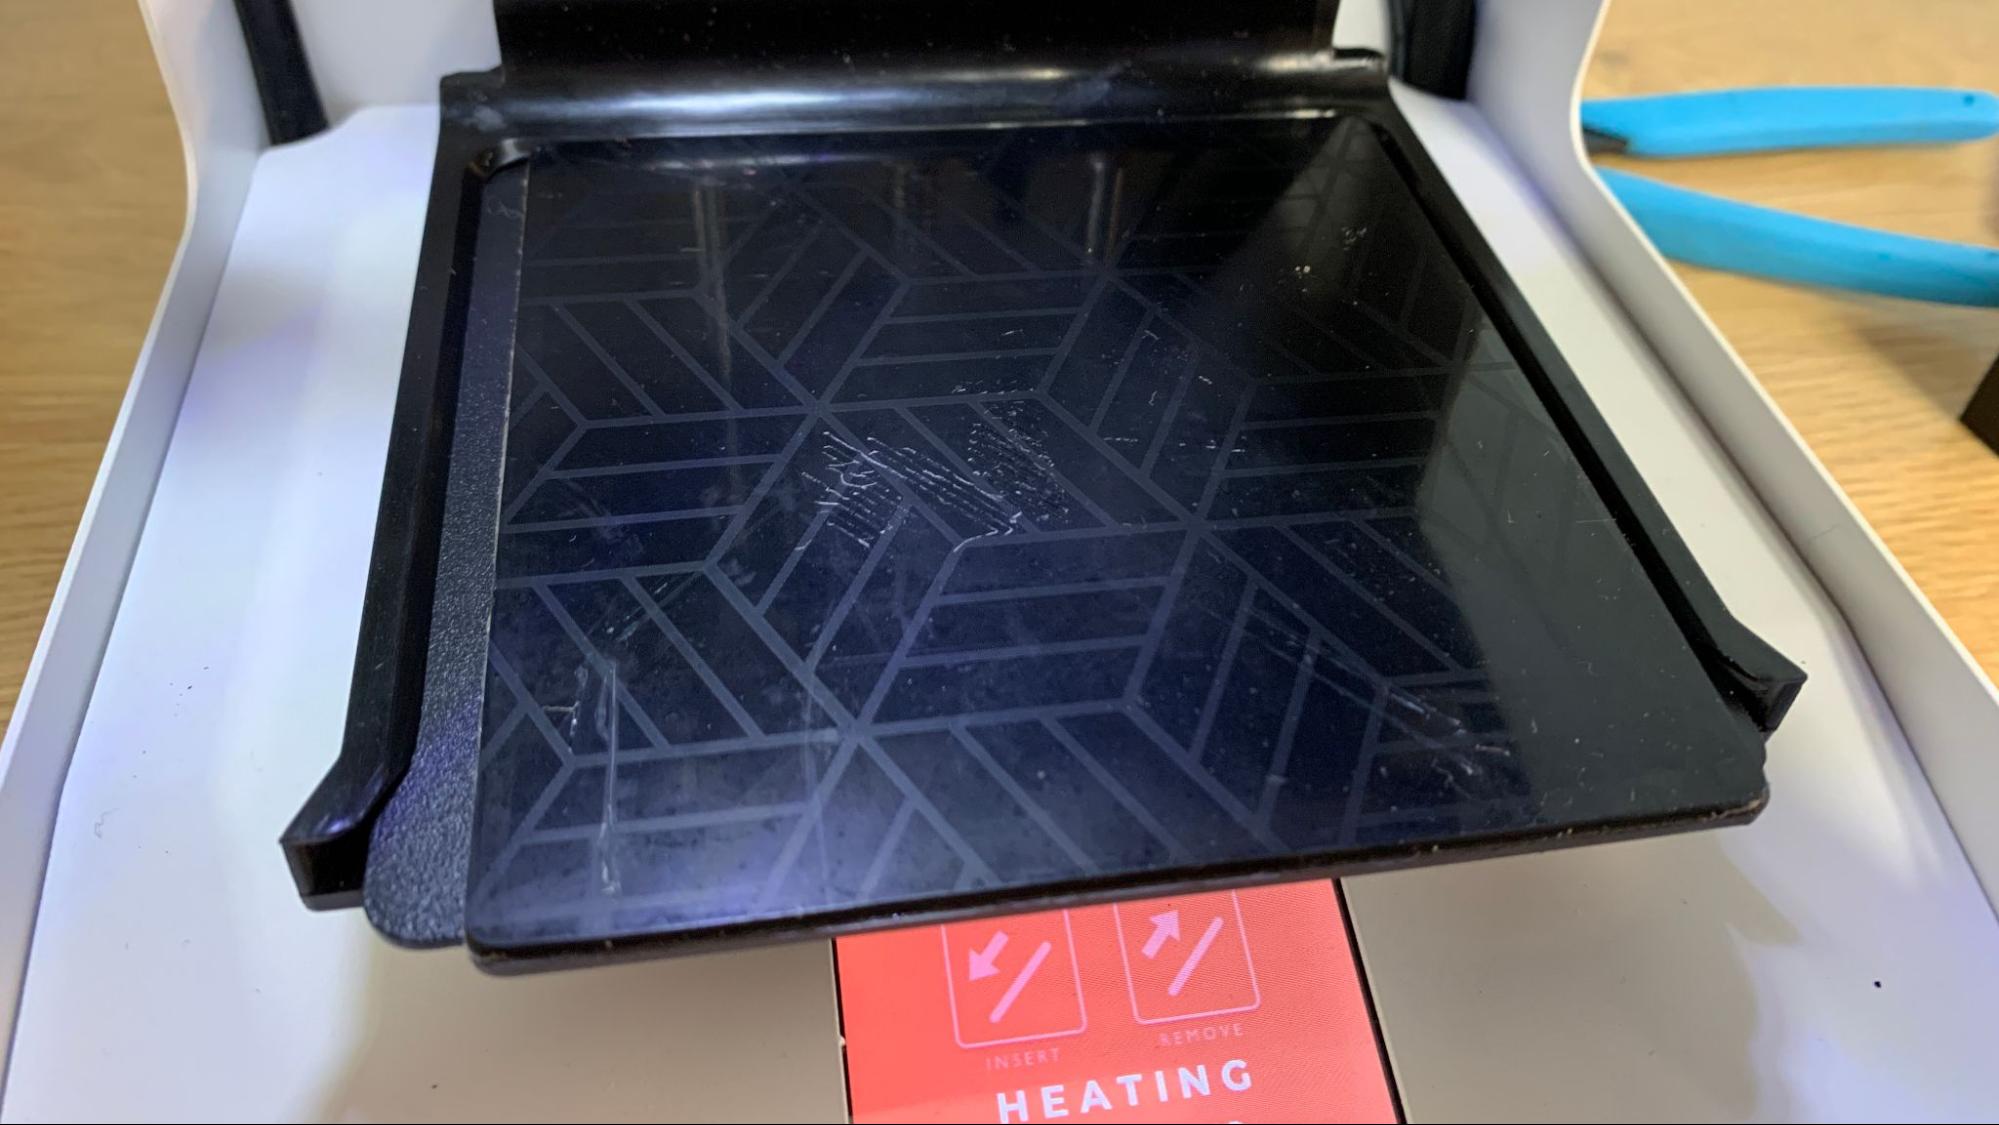
The print bed is unheated and uses a thick rubbery magnet pad. The surface is tacky while warmed by the hotend and holds on to prints remarkably well. The lack of a heated bed is inconsequential, as the machine is ordinarily locked into one heat setting and meant to only process PLA. The build plate is cleverly designed to be larger than the magnet pad, which in turn is a good 30mm wider than the build volume. Kids don’t need to worry about getting it straight or centered, there’s enough leeway that the prints won’t fall off the edge.
Assembling the Toybox
The Toybox ships fully assembled and only needs to be unpacked and plugged in. The printer relies on a phone app to run, so most of the printer’s setup is getting the printer on your home WiFi and hooked up with the web app.
It’s helpful to have the Toybox in the same room as your PC, otherwise you’ll be walking back and forth a lot. It’s also possible to set up the printer from your device.
Leveling the Toybox
There is no need – or way – to level the Toybox print bed. It is super small, so factory leveling is good enough.
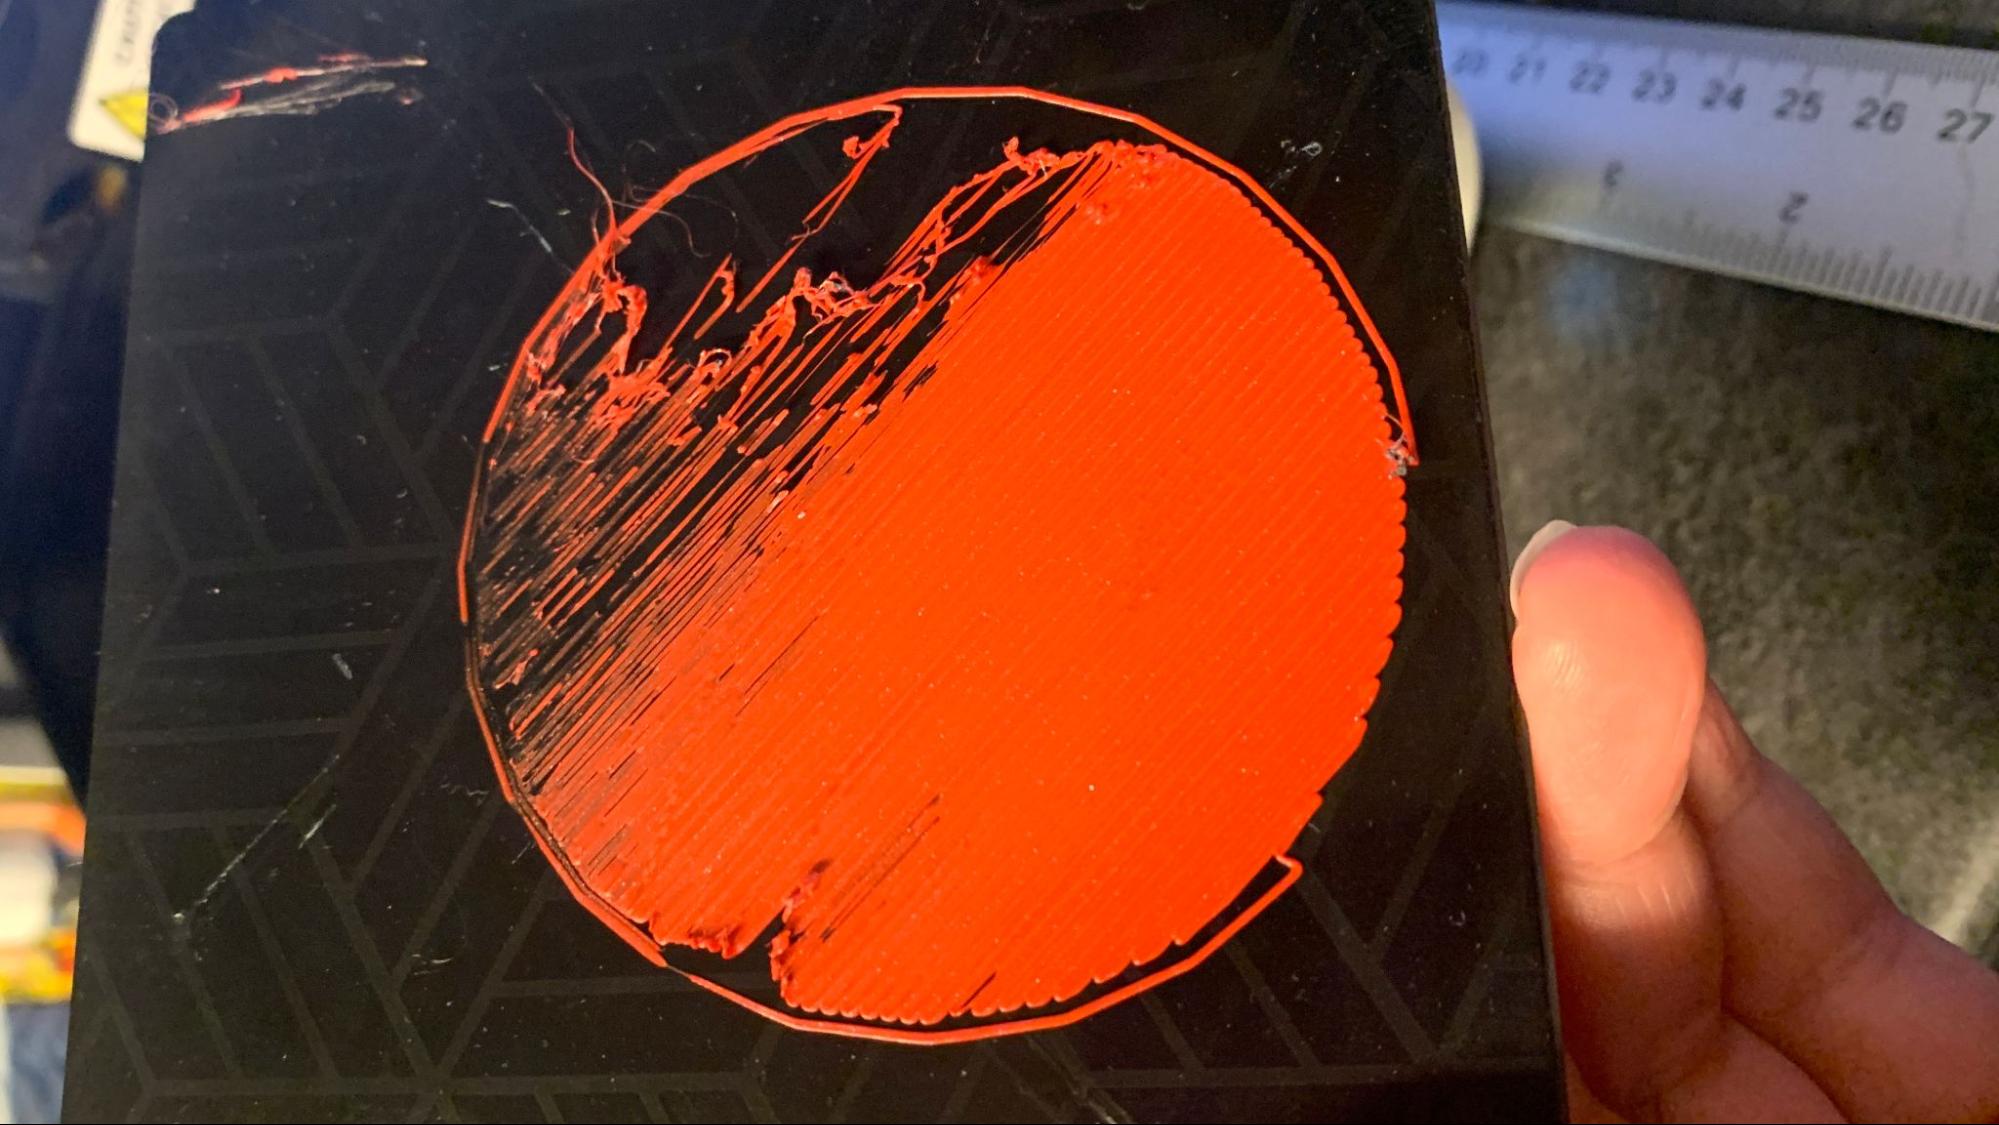
After setup is complete, the website suggests running a calibration test. This is a circle loaded to your Toybox from the website which you compare to photos to see if you need to adjust the Z height. A helpful video accompanies the calibration test to explain what a good nozzle distance looks like. The nozzle height is adjusted with a hex wrench on a hidden screw on the tool head.
Loading Filament on the Toybox
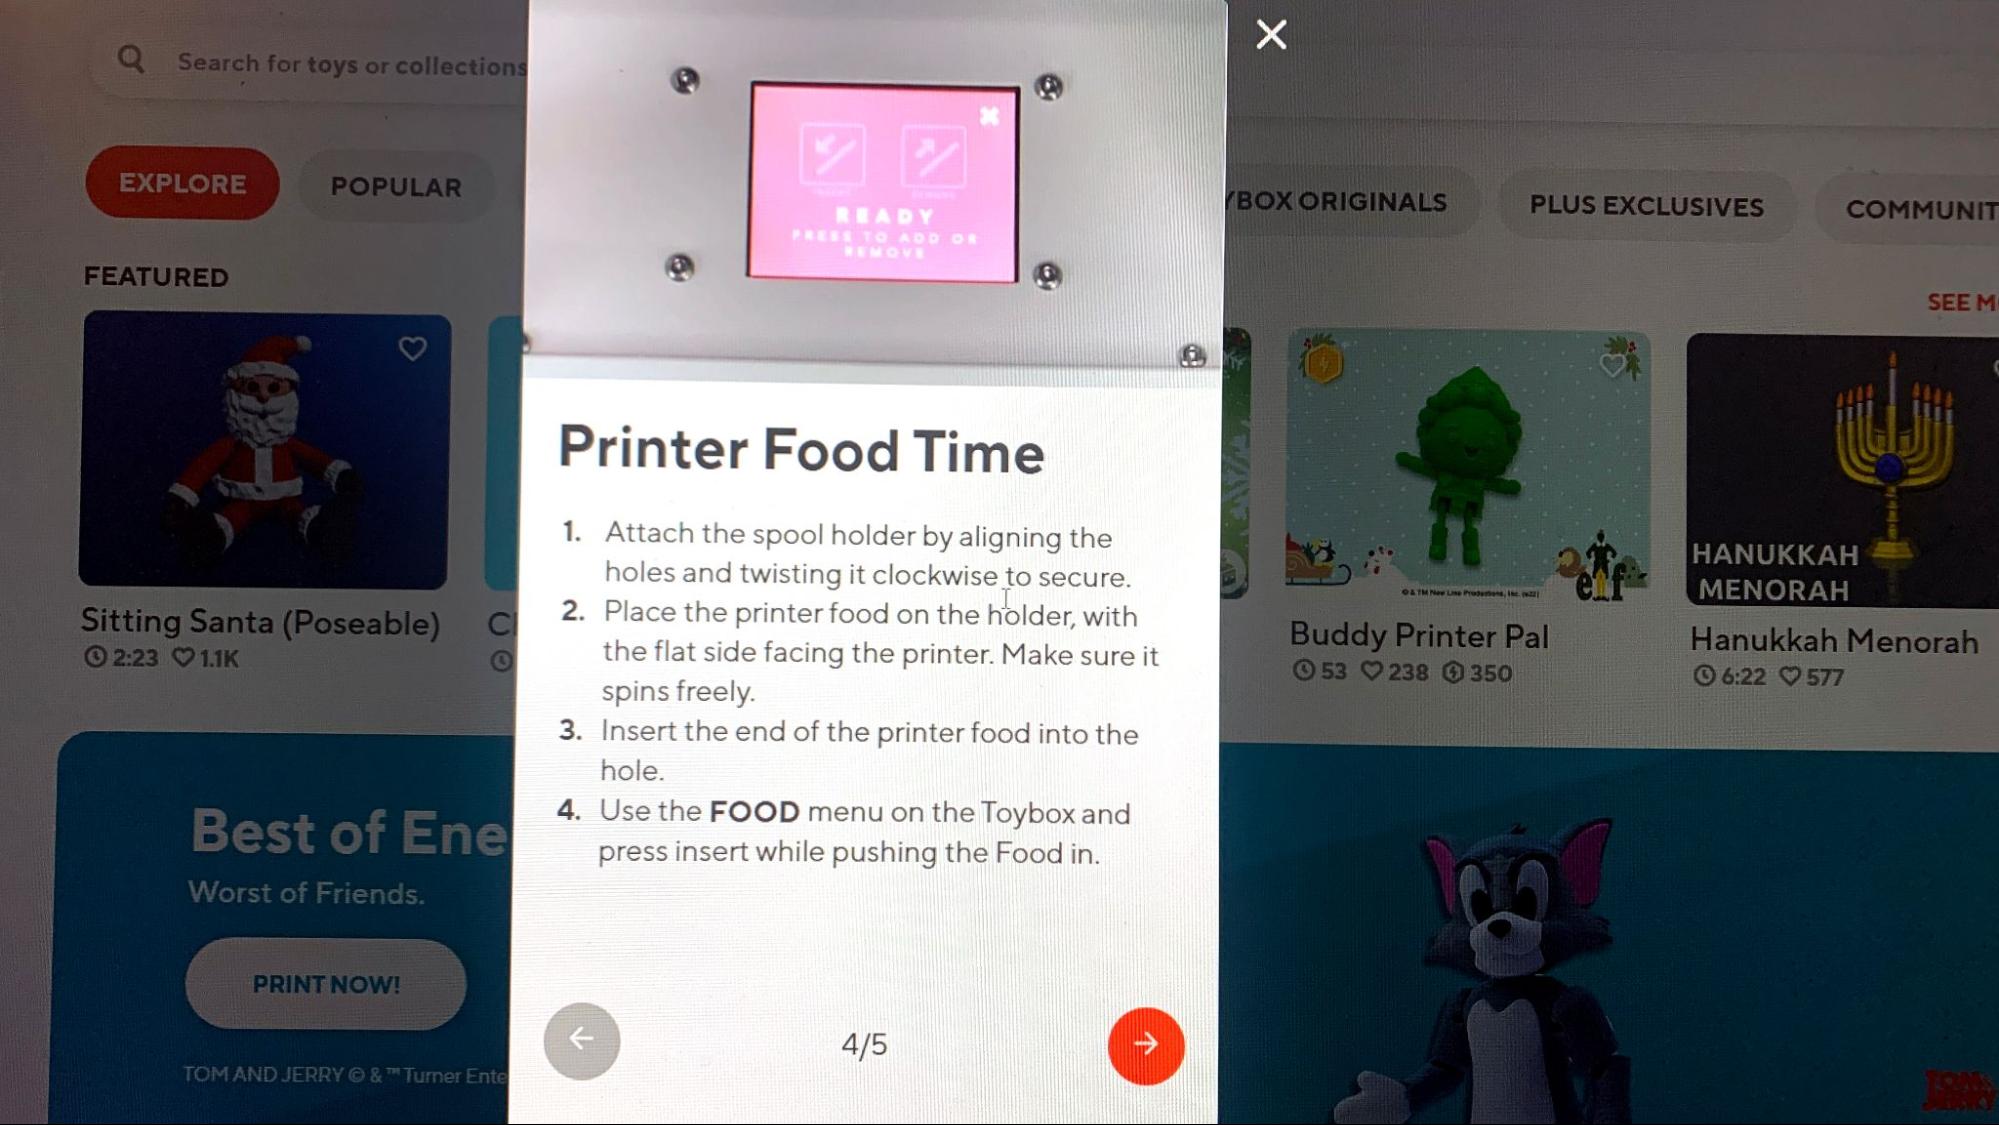
The Toybox has an extremely simple-to-use direct drive tool head. There are no levers or adjustments, just a hole to slide in the “printer food.” The first time you load filament, the Toybox website shows you exactly what to do with short video clips.
You warm up the printer by pressing the “food” button on the main menu. The machine automatically warms up to 210 degrees. Then press the “insert” button and the machine feeds a small amount of filament. On a mobile device, you are instructed to add printer food or remove it. You’ll need to press this button several times until the filament comes out of the hotend.
To unload or change colors, simply reverse the process.
Preparing Files / Software for Toybox
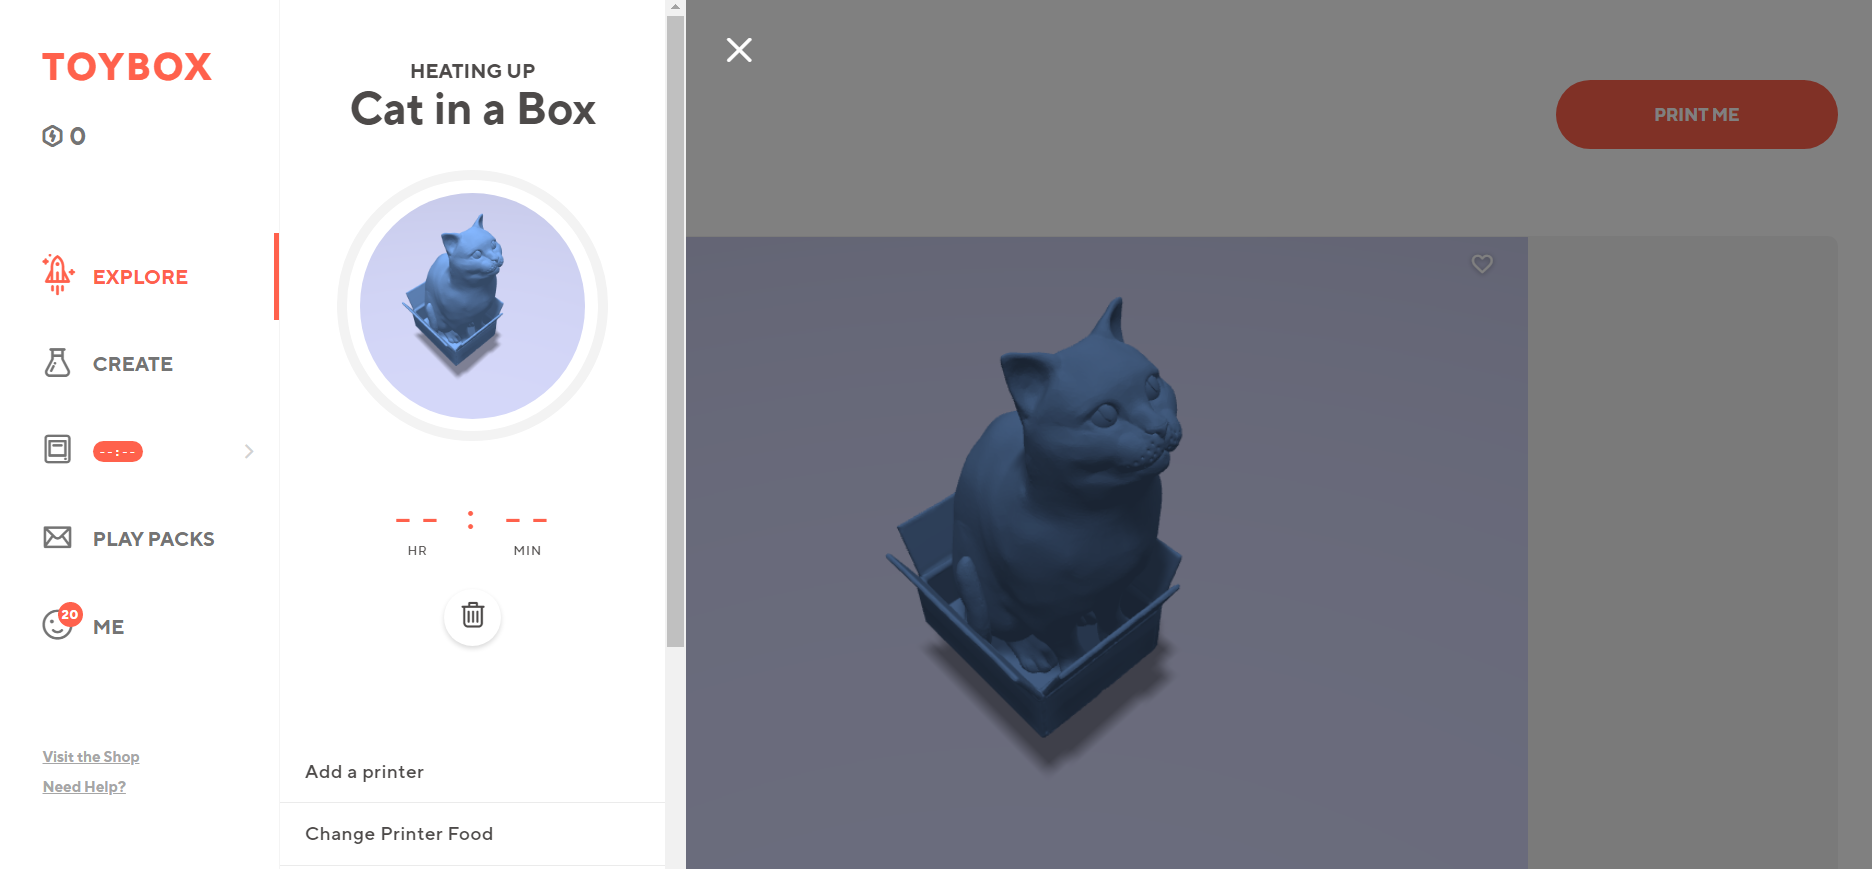
The Toybox printer is designed to use the Toybox slicer, which is baked into the whole Toybox experience. This is a blessing and a curse – the slicer is severely limited to scaling your print, adding supports and picking a speed. However, these same limitations are what make the printer easy enough for a young child to use.
There is a somewhat hidden way to load gcode into the printer using the Import function, meaning you can slice your own files. However, I would use caution as no profiles are given for this machine and you’ll have to make your best guess on what speeds it can handle. Personally, I set up a Cura profile based on the Creality Sermoon V1 – which has a similar Z axis – and sized the bed down to 100x100mm. This allows room for the Toybox’s 70x80x90 print volume without running into Cura’s boundaries.
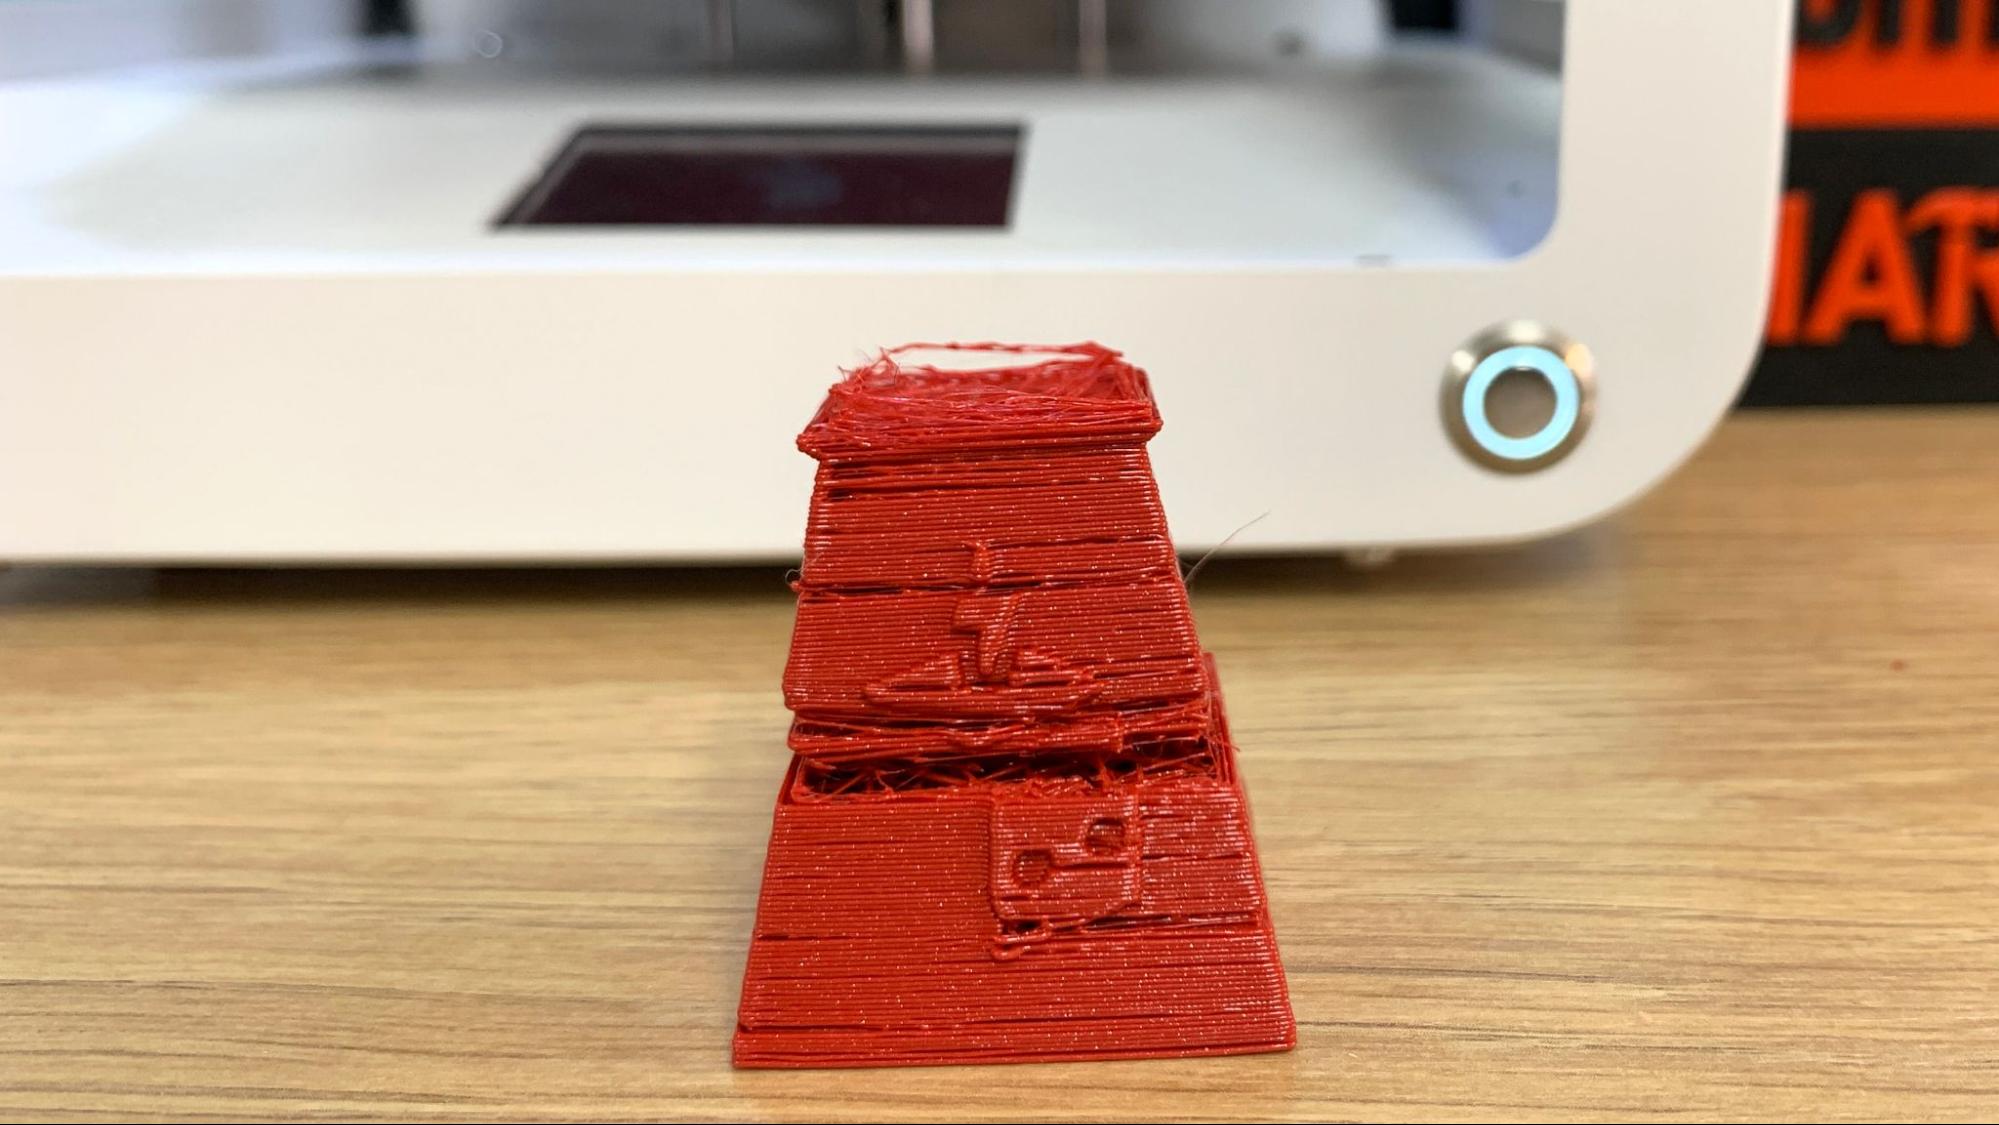
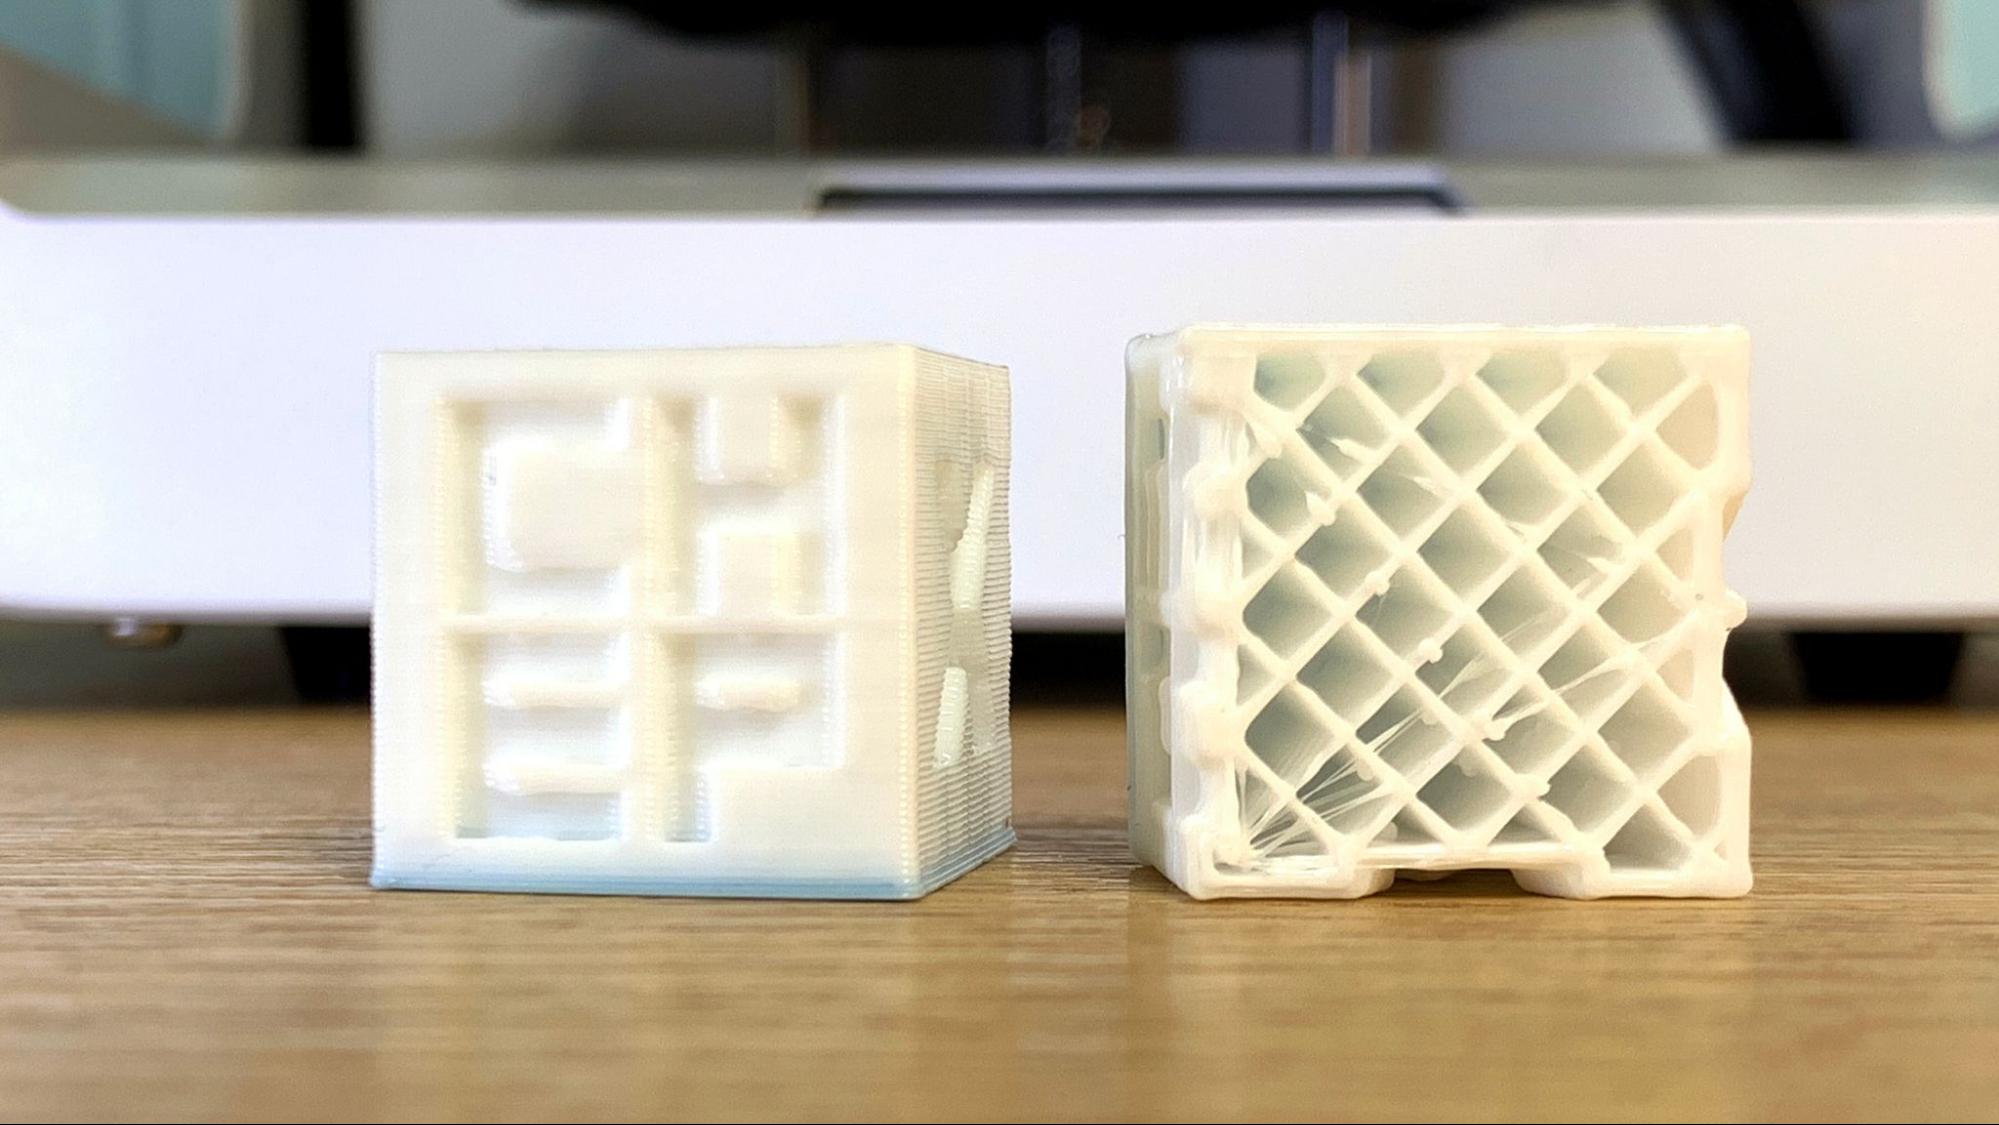
In case you’re curious, I printed a CHEP cube using the Toybox slicer and reproduced it in Cura as best I could. The settings Toybox uses is a 3mm layer height with about a .5mm line width. The website says it runs at 60mm/s and the help forum says it’s a .5mm nozzle. It only uses 2 walls, which helps keep it speedy, but the infill is a sturdy 35% grid. This results in a print that is fairly fast while also tough enough for play.
All the files you can find in the Toybox library are verified by moderators. The models are family friendly, print support free and multicolor files are guaranteed to fit together. You can import files you’ve made yourself on Tinkercad or found on other libraries, then run them through the Toybox slicer. Files can not be saved to outside media or sent to non-Toybox printers.
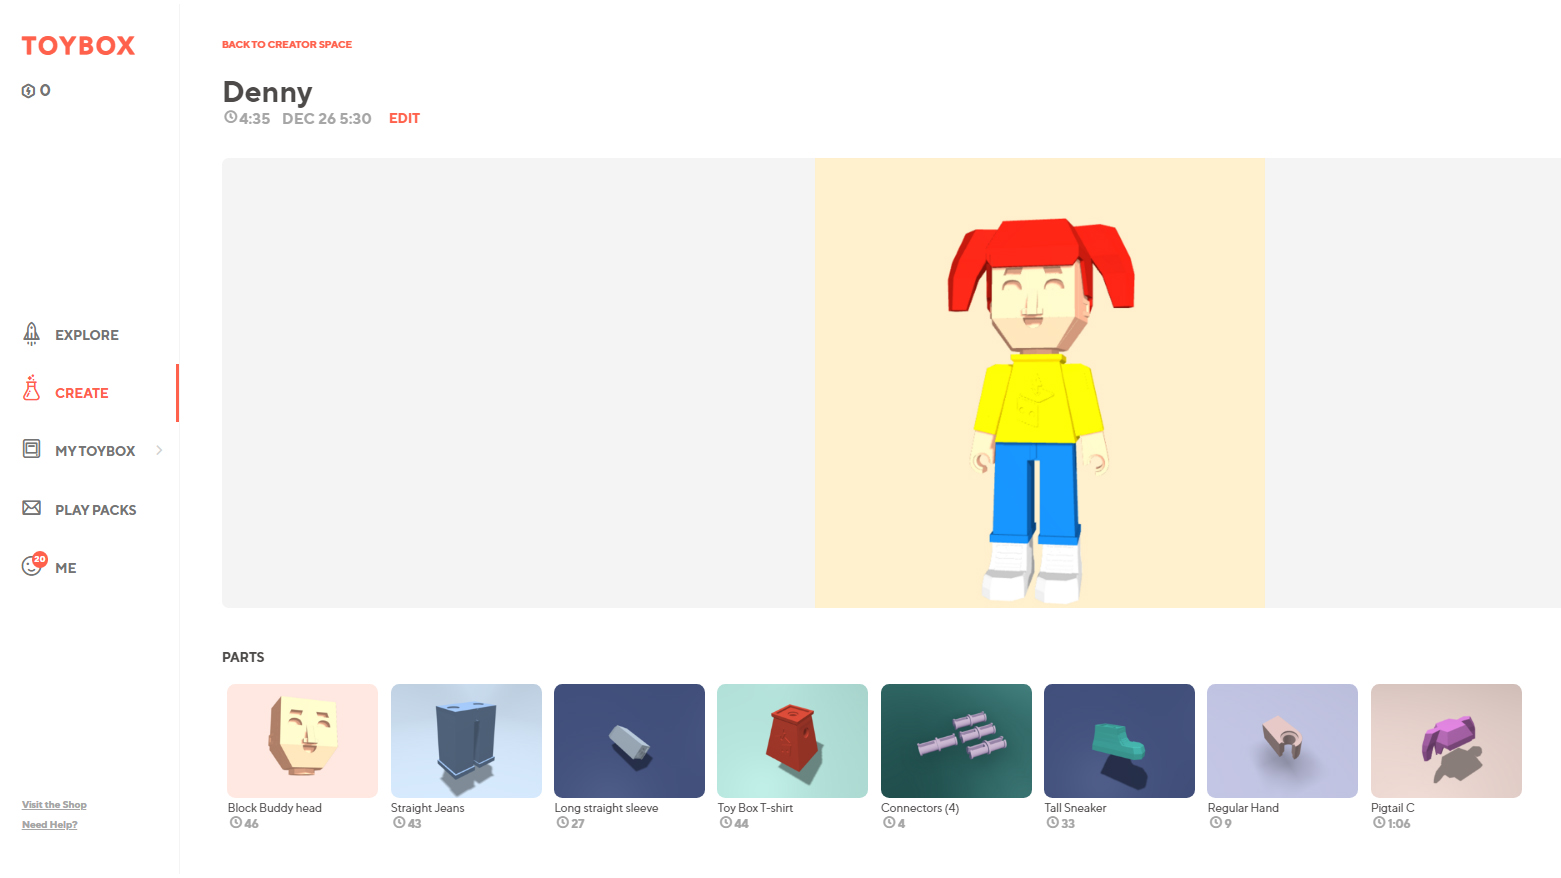
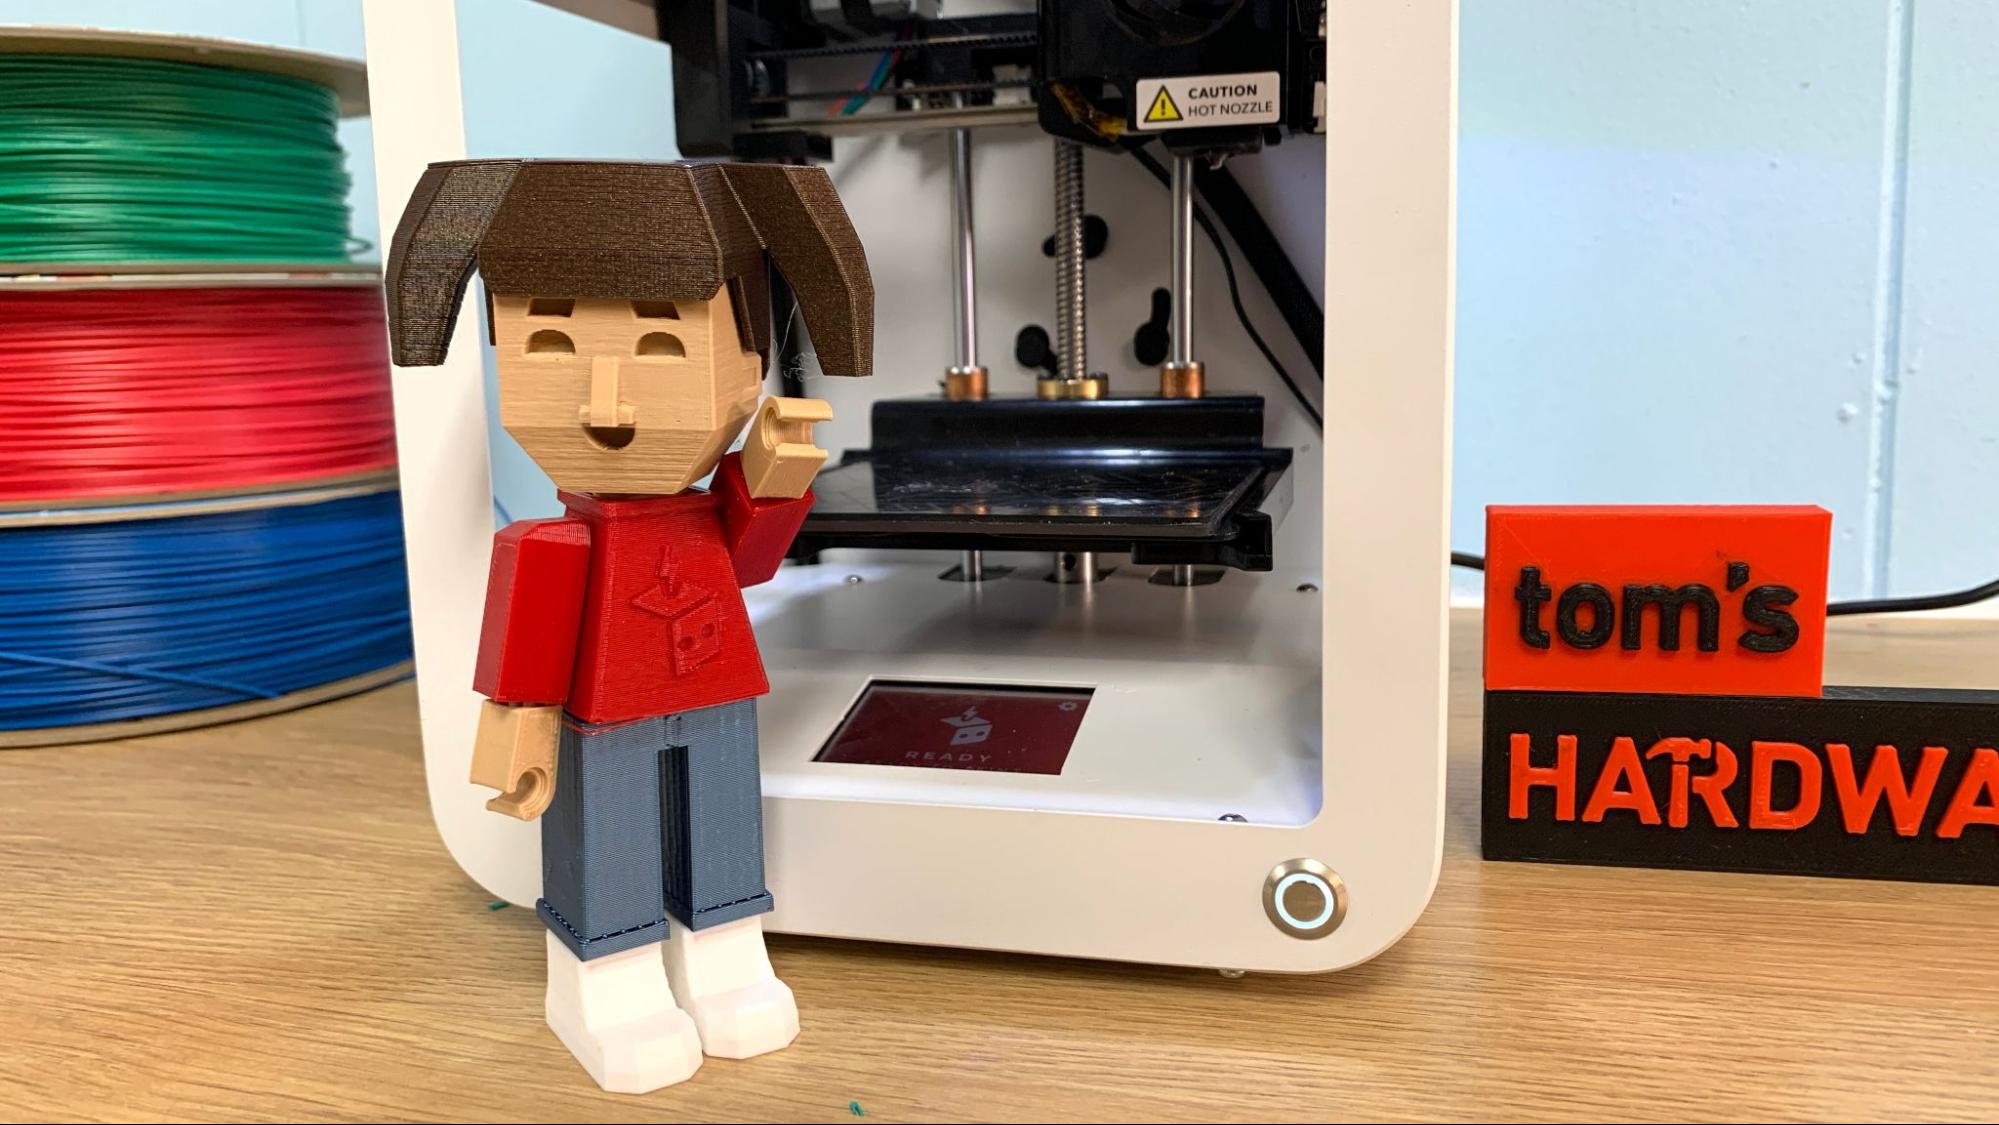
The Toybox website includes a couple very clever apps that allow kids to easily make custom toys. One is the Block Buddy, which allows you to create an action figure with various facial expressions, hairstyles and clothing. The pieces are printed separately, allowing for color changes, and assembled with pegs.
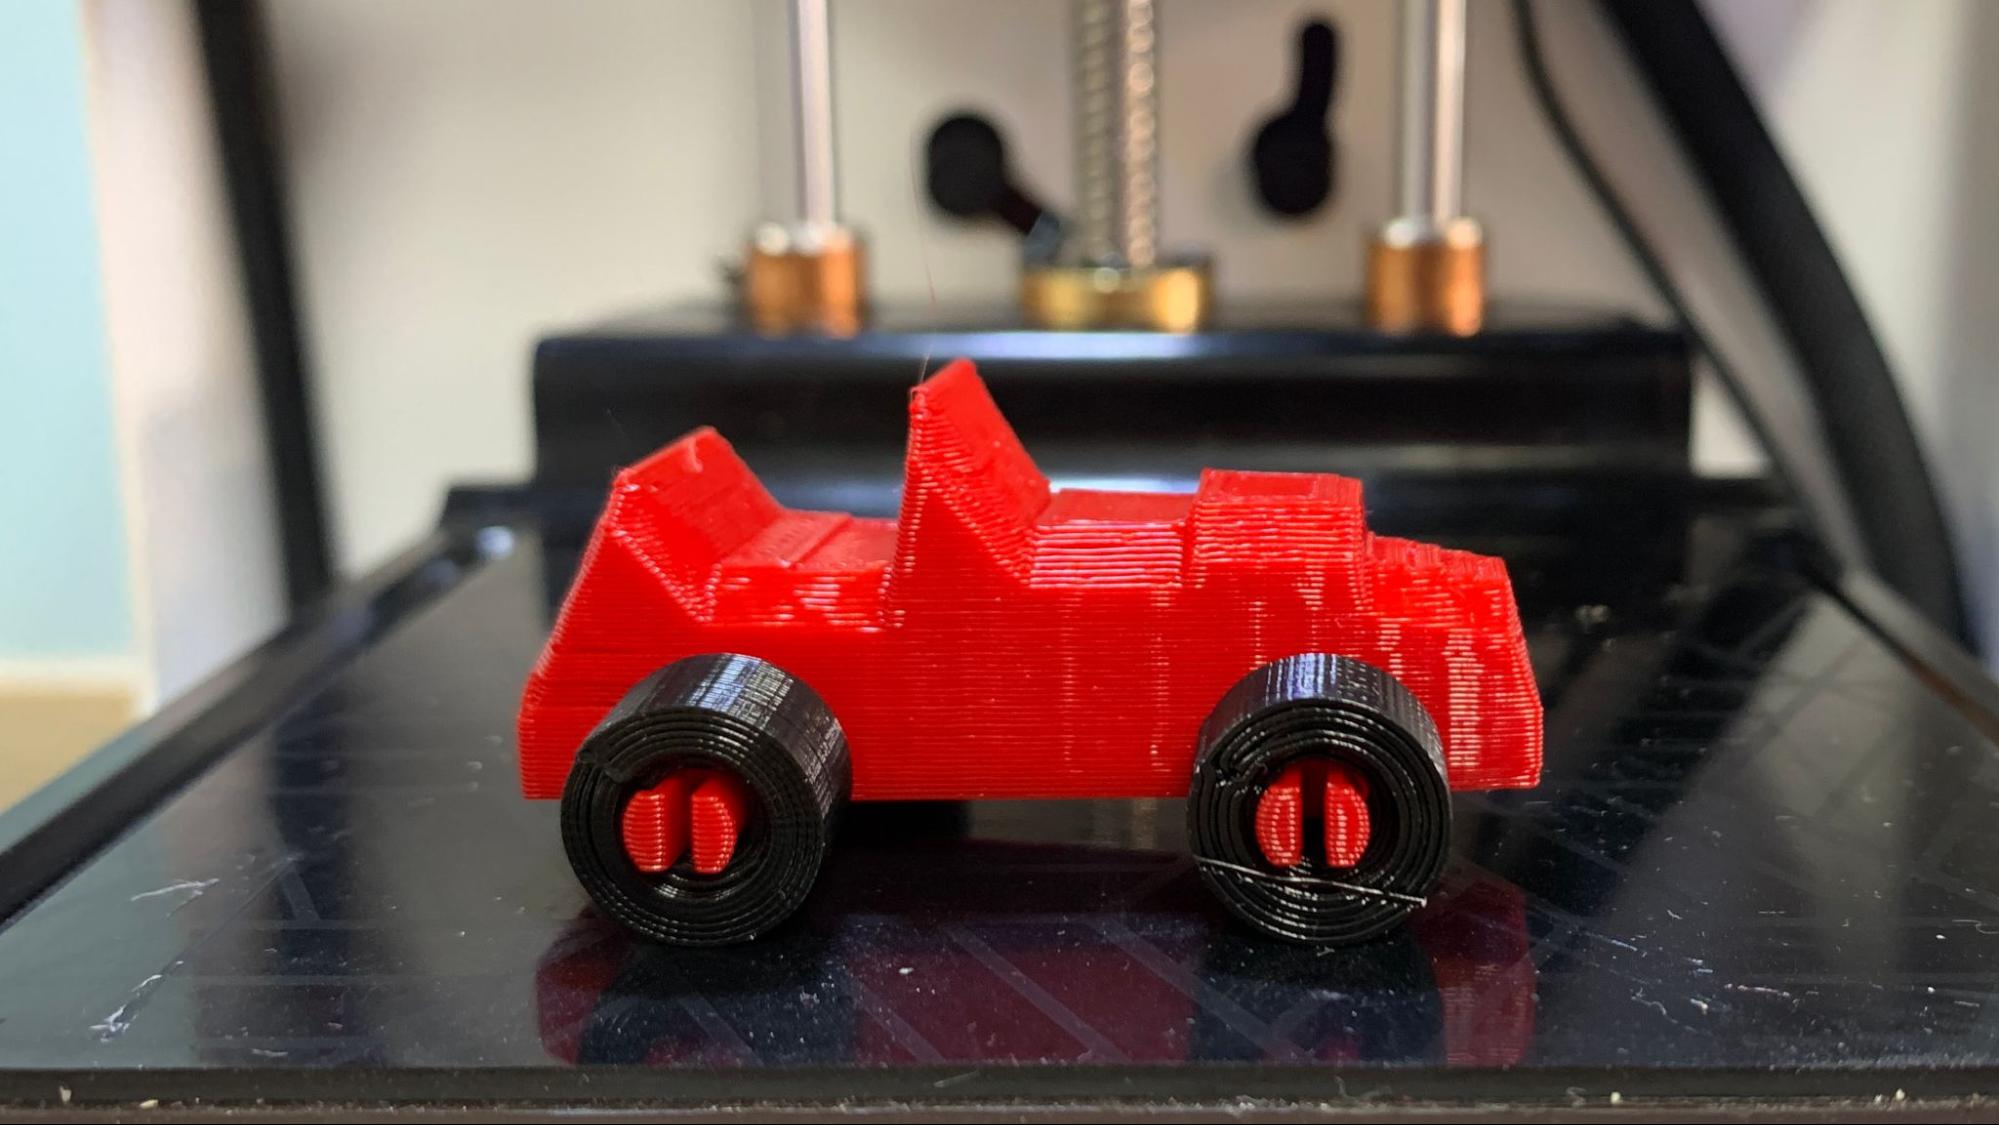
Another app lets you build a car, boat or train. As with the Block Buddy, you can pick out a chassis, body and wheels. But this time you squiggle a line on the screen to produce your car’s outline.
Printing on the Toybox
The Toybox comes with a roll of Coconut (plain white) filament and a whole library of prints to access. More Toybox filament can be picked from the website or Amazon. 3rd party filament will need a special spool holder and will void your warranty, but if you stick to basic PLA you can get more variety from our favorite filaments for 3D printing.
Because the Toybox printer only uses its default settings, all test prints are done at a .3 layer height and 60mms speed.
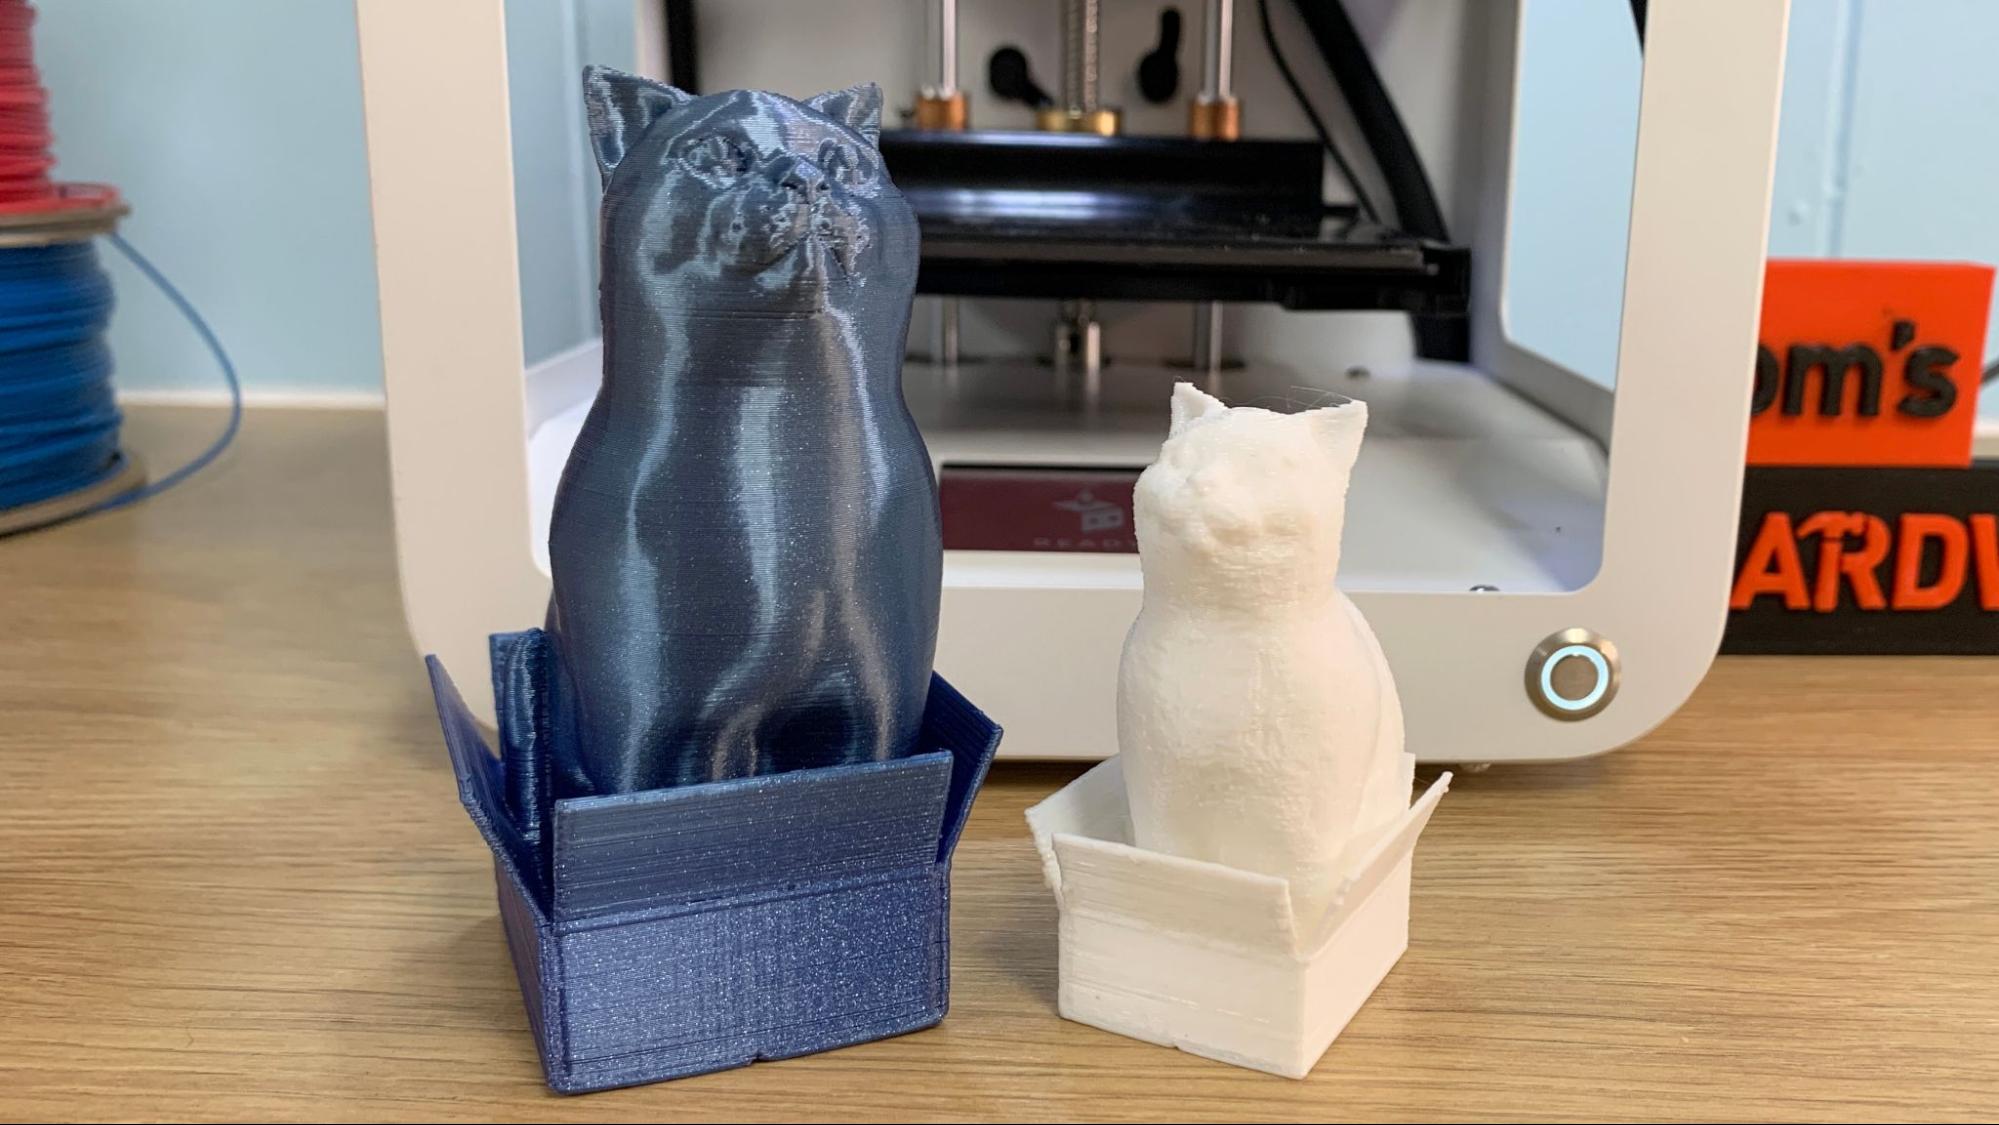
There are no test prints for the Toybox and users are encouraged to jump right into the library. Scrolling through the library I noticed many familiar models imported from Thingiverse. Toybox is filled with these prints – which are linked back to the original – and moderators check to make sure prints are family-friendly and can print without supports.
The blue cat is the original Thingiverse file, printed on a Kobra Neo in Amolen Silk Blue with a .2 layer height at 60mm/s. This file is too tall for the Toybox at 100mm. The imported version in Coconut was printed on the Toybox in 2 hours and 47 minutes using its default .3 layer height.
Toybox has a few apps that allow kids to create custom toys, like this Block Buddy. You can pick different hairstyles, facial expressions and clothes. Each part is printed separately and takes 4 hours and 35 minutes to print. As Toybox only sent one sample color, I experimented with filament I had on hand. Plain filament, as well as premium Protopasta worked well, though a filament with a little glitter jammed the printer. This print used Protopasta Double Espresso Metallic Brown, Inland PLA Light Brown, Voxel PLA+ Fire Engine Red, Anycubic PLA Silk Blue and Toybox Coconut. Some of these brands are on our list of the best filaments for 3D printing
Another custom toy creation tool in the Toybox is Build a Car. As with the Block Buddy, you can choose what kind of vehicle (car, boat or train), what kind of wheels and best of all you design the chassis by drawing the outline. This is about the size of a Hot Wheel and only took 40 minutes to print. This is printed in Voxel PLA+ Fire Engine Red and Inland PLA+ Black.
Bottom Line
The Toybox printer is incredibly clever, especially when taken as a whole with its supporting website. It’s truly a machine that you could hand to an elementary school student and allow them to run with minimal supervision.
Retailing at $419, the Toybox is a hard sell for experienced makers who could guide their children through the pitfalls of Thingiverse and Cura. For half the price, you could get a much larger Elego Neptune 3 Pro and a giant stack of filament. It would be nice if Toybox offered its web tool as a stand-alone product that could deliver files to a variety of printers.
It’s disappointing there isn’t an expert mode for the slicer, or that nozzles are not offered so you could print with finer detail. You would think a machine of this price could include a swappable hotend.
However, the notion of a truly kid-friendly printer is worth exploring. Half the battle of printing is finding suitable models and figuring out how to slice them. The Toybox printer is the most plug and play machine I’ve reviewed, with an experience that doesn’t stop with the hardware. When you consider the entire ecosystem placed at your child’s fingertips, the Toybox printer is the best kid-friendly printer around right now.
If you’re looking for a bigger 3D printer that’s simple to use with adult supervision, check out the Elegoo Neptune 3 Pro, currently on sale for $230 and our favorite printer to recommend for beginners. If you want a kid-friendly printer with superior quality that’s fully enclosed – and don’t mind helping with the slicer – check out the Creality Sermoon V1 Pro, retailing at $519.
MORE: Best 3D Printers
MORE: Best Resin 3D Printers
MORE: Best Filaments for 3D Printing

Denise Bertacchi is a Contributing Writer for Tom’s Hardware US, covering 3D printing. Denise has been crafting with PCs since she discovered Print Shop had clip art on her Apple IIe. She loves reviewing 3D printers because she can mix all her passions: printing, photography, and writing.
-
criticaloftom Ah yes the smell of burning plastic... that's what timmy needs for healthy brain development. /s :PReply
