Zalman ZM-K700M Mechanical Keyboard Review
Teardown
The first step in the teardown process was removing the four Phillips screws on the underside of the keyboard. Something to note is that one of the screws is hidden behind the QC sticker, and breaking this sticker will void your warranty. Once the four screws are out, you can flip the keyboard back over and pop out the plastic clips holding the case halves together. To do this, I simply used a tiny flathead screwdriver and a little patience. There are two clips on either side and four clips at the back of the case.
After the two case halves are separated, you must remove two more Phillips screws, between the F-Row and Number row, as well as the larger Phillips screw holding the grounding cable in place above the arrow cluster.
With all of these screws safely removed, you will be able to lift the plate and PCB out of the bottom half of the chassis. This should be done carefully, because the attached cable is still connected to the bottom of the PCB. With the PCB out of the way, you can unclip the cable, freeing up all parts of the keyboard.
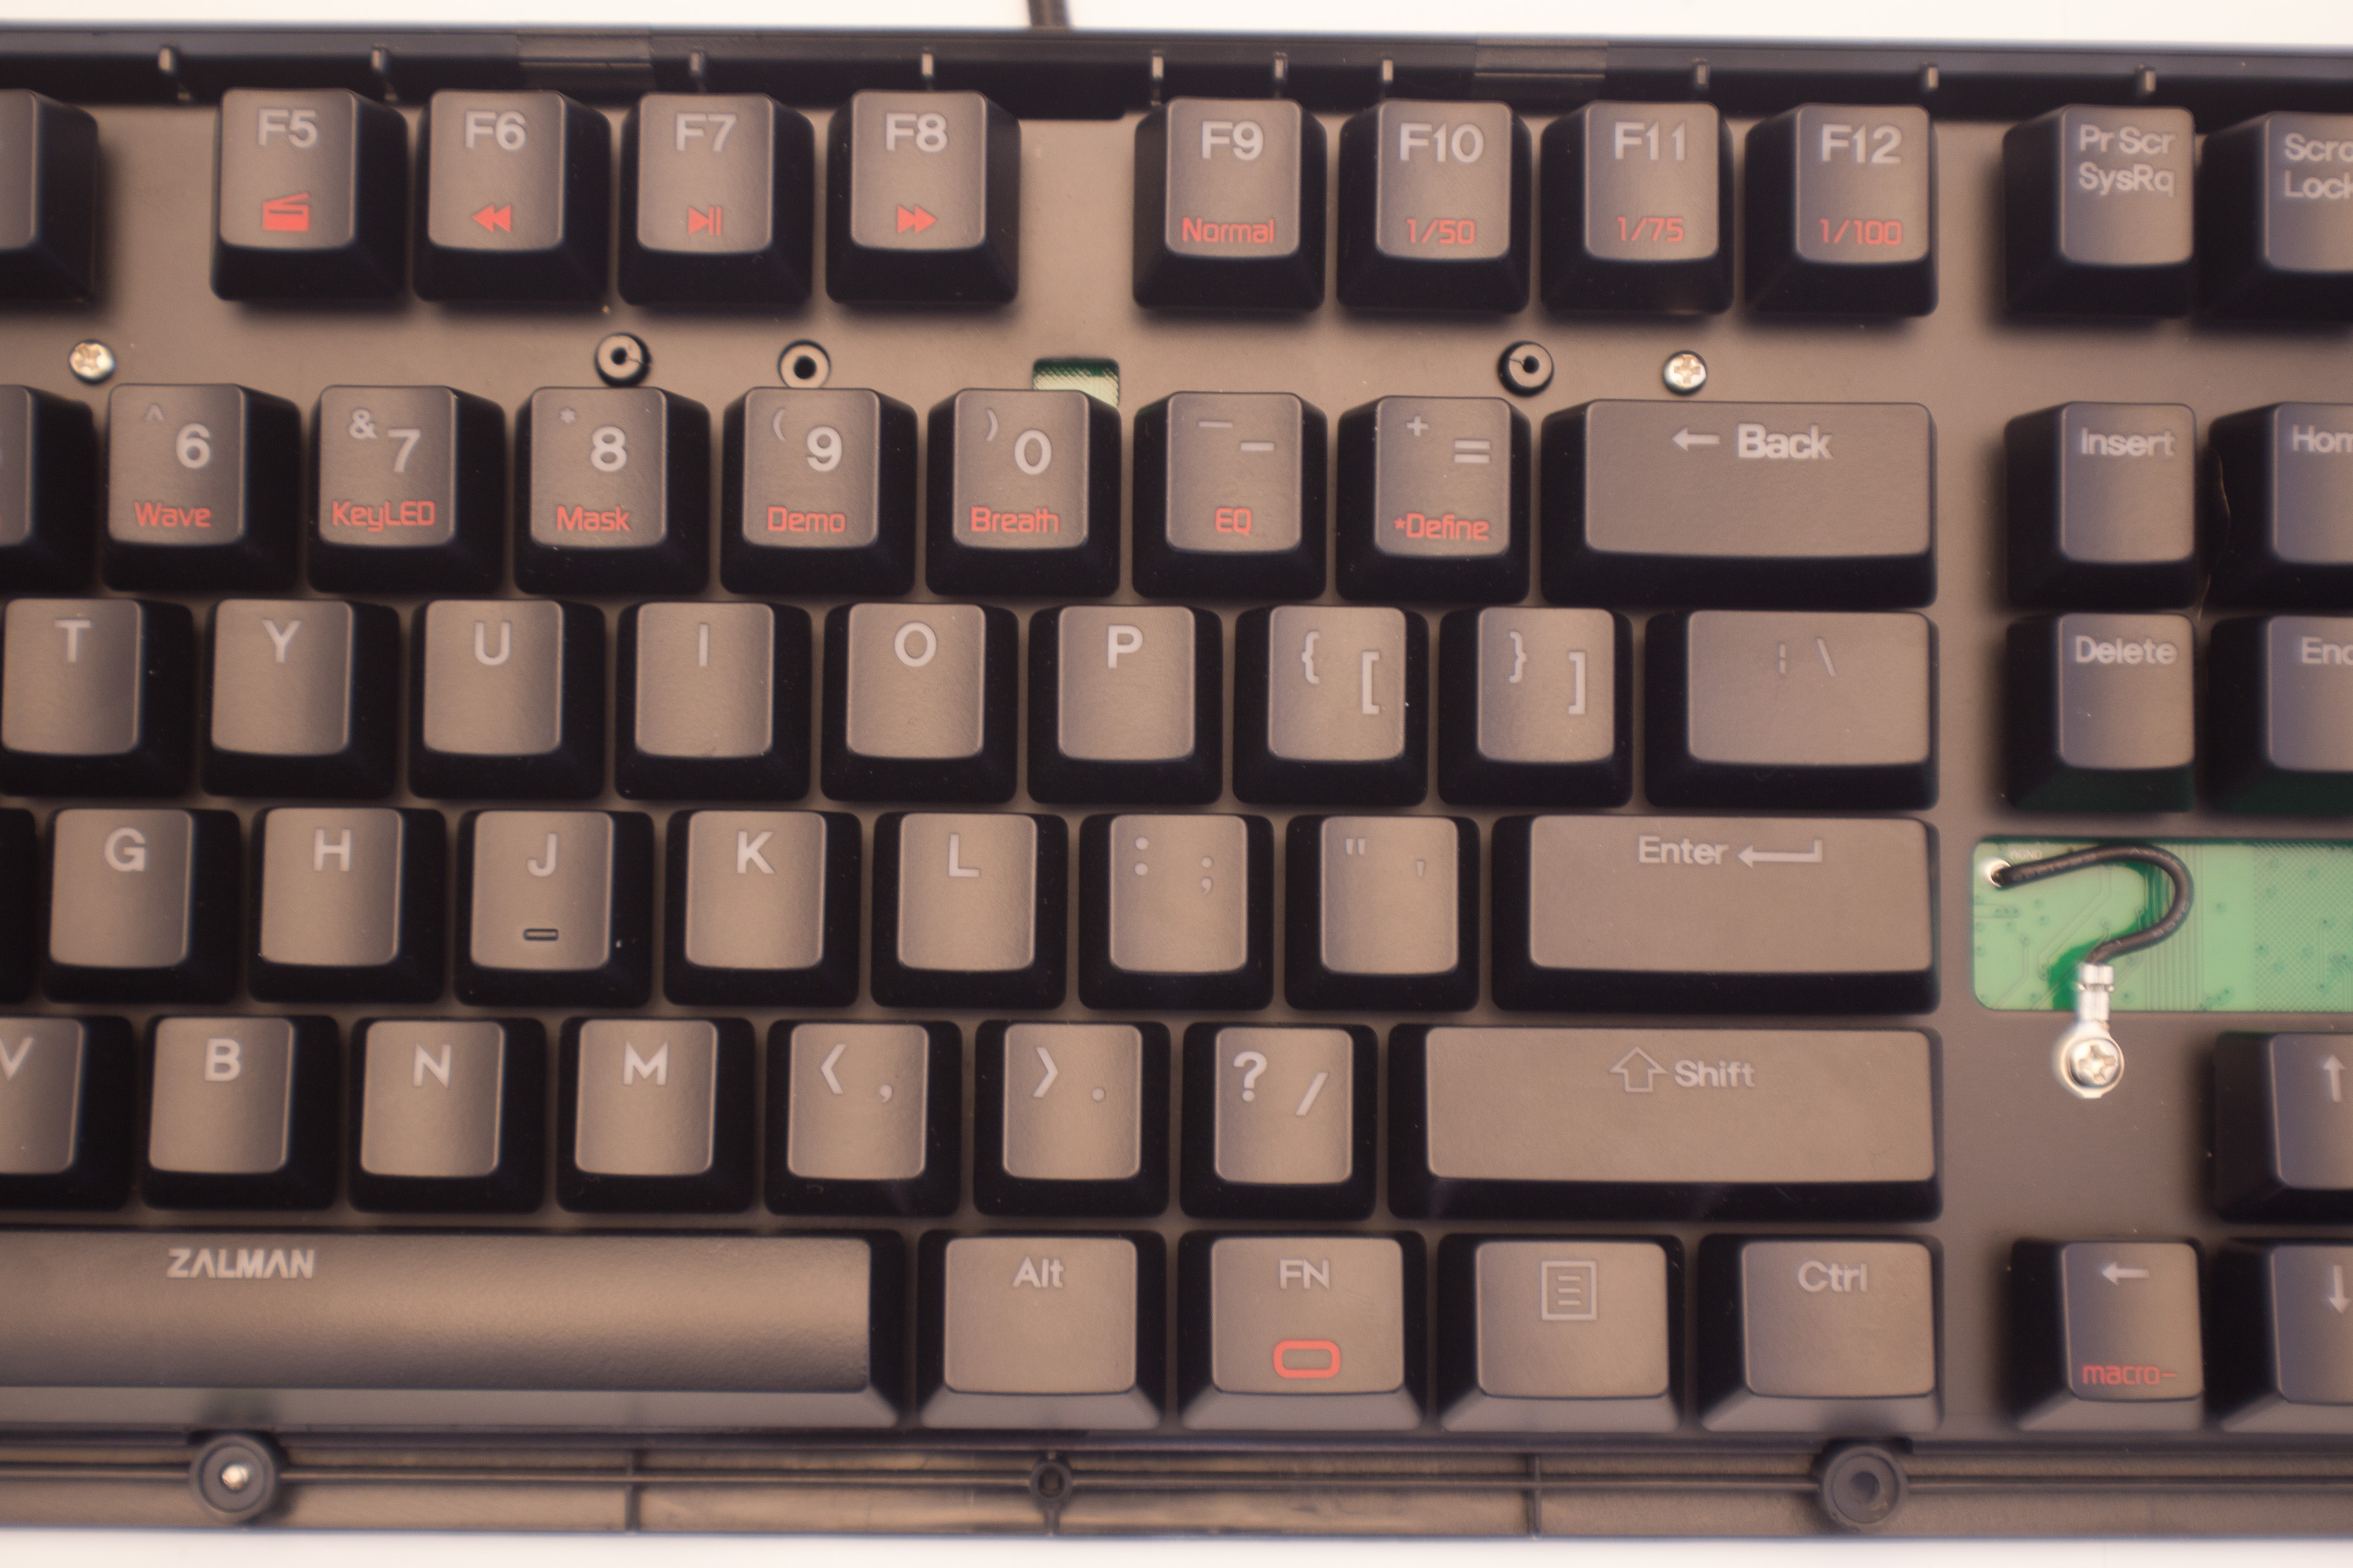
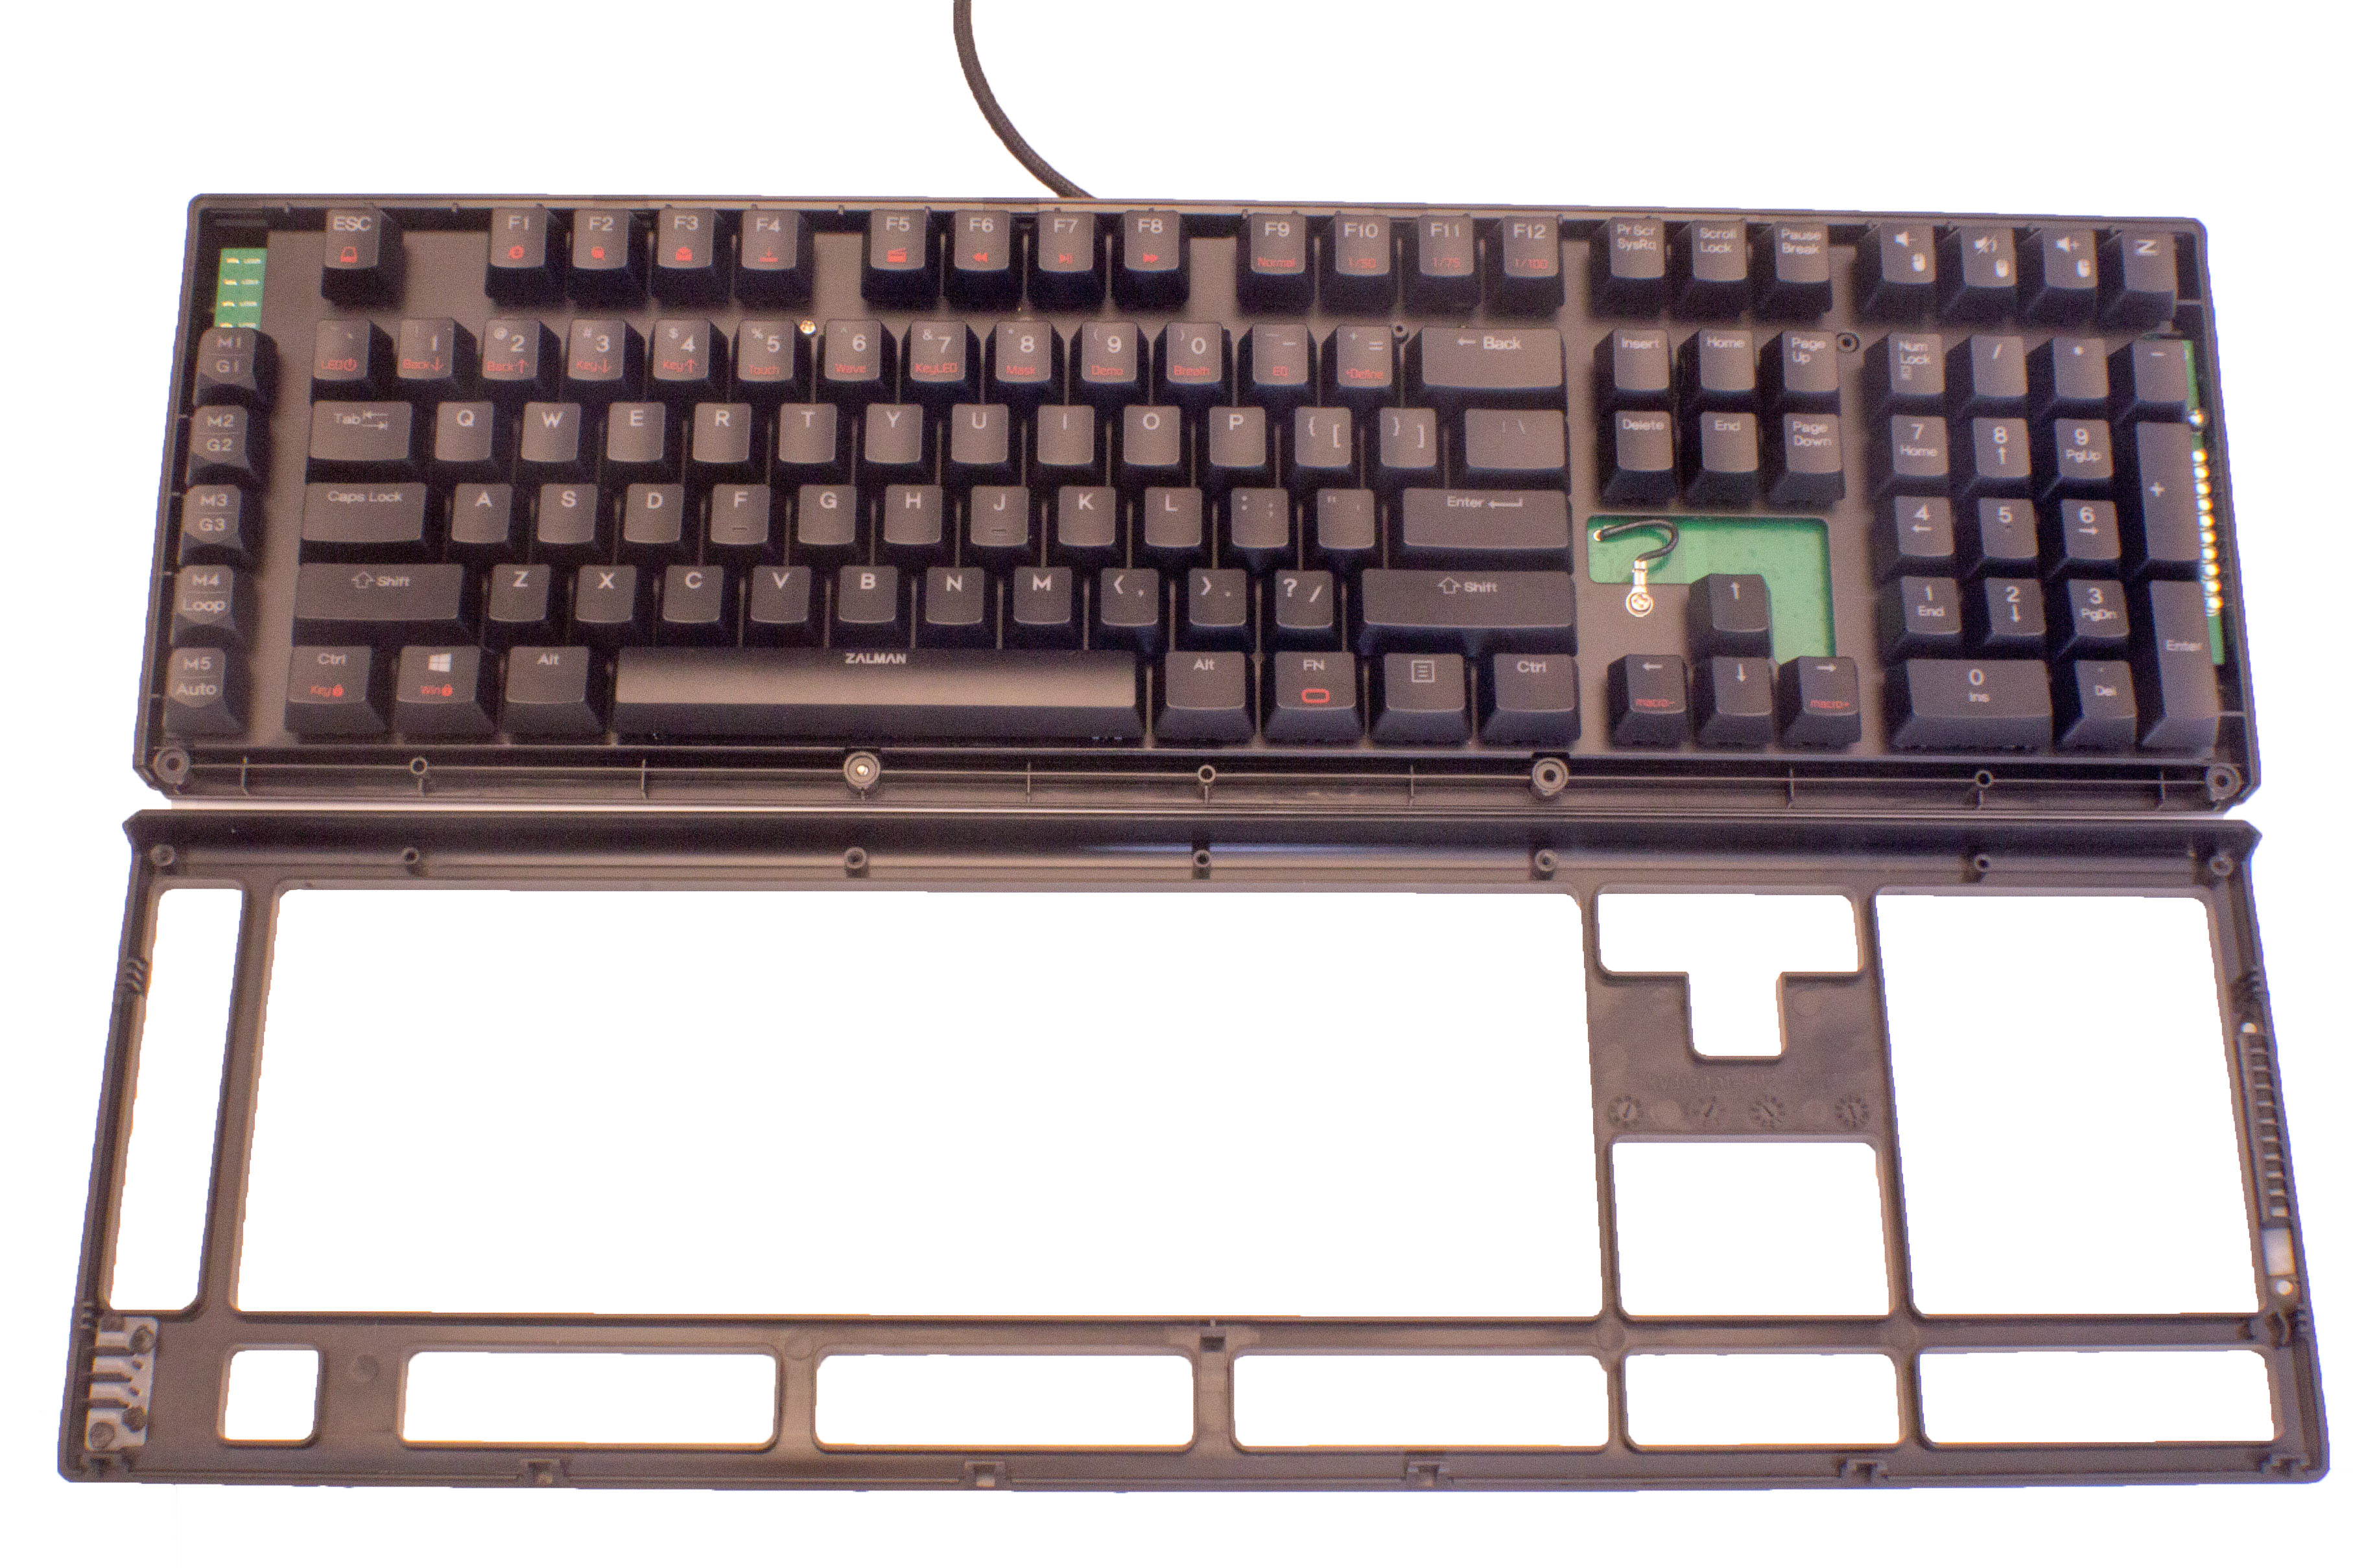
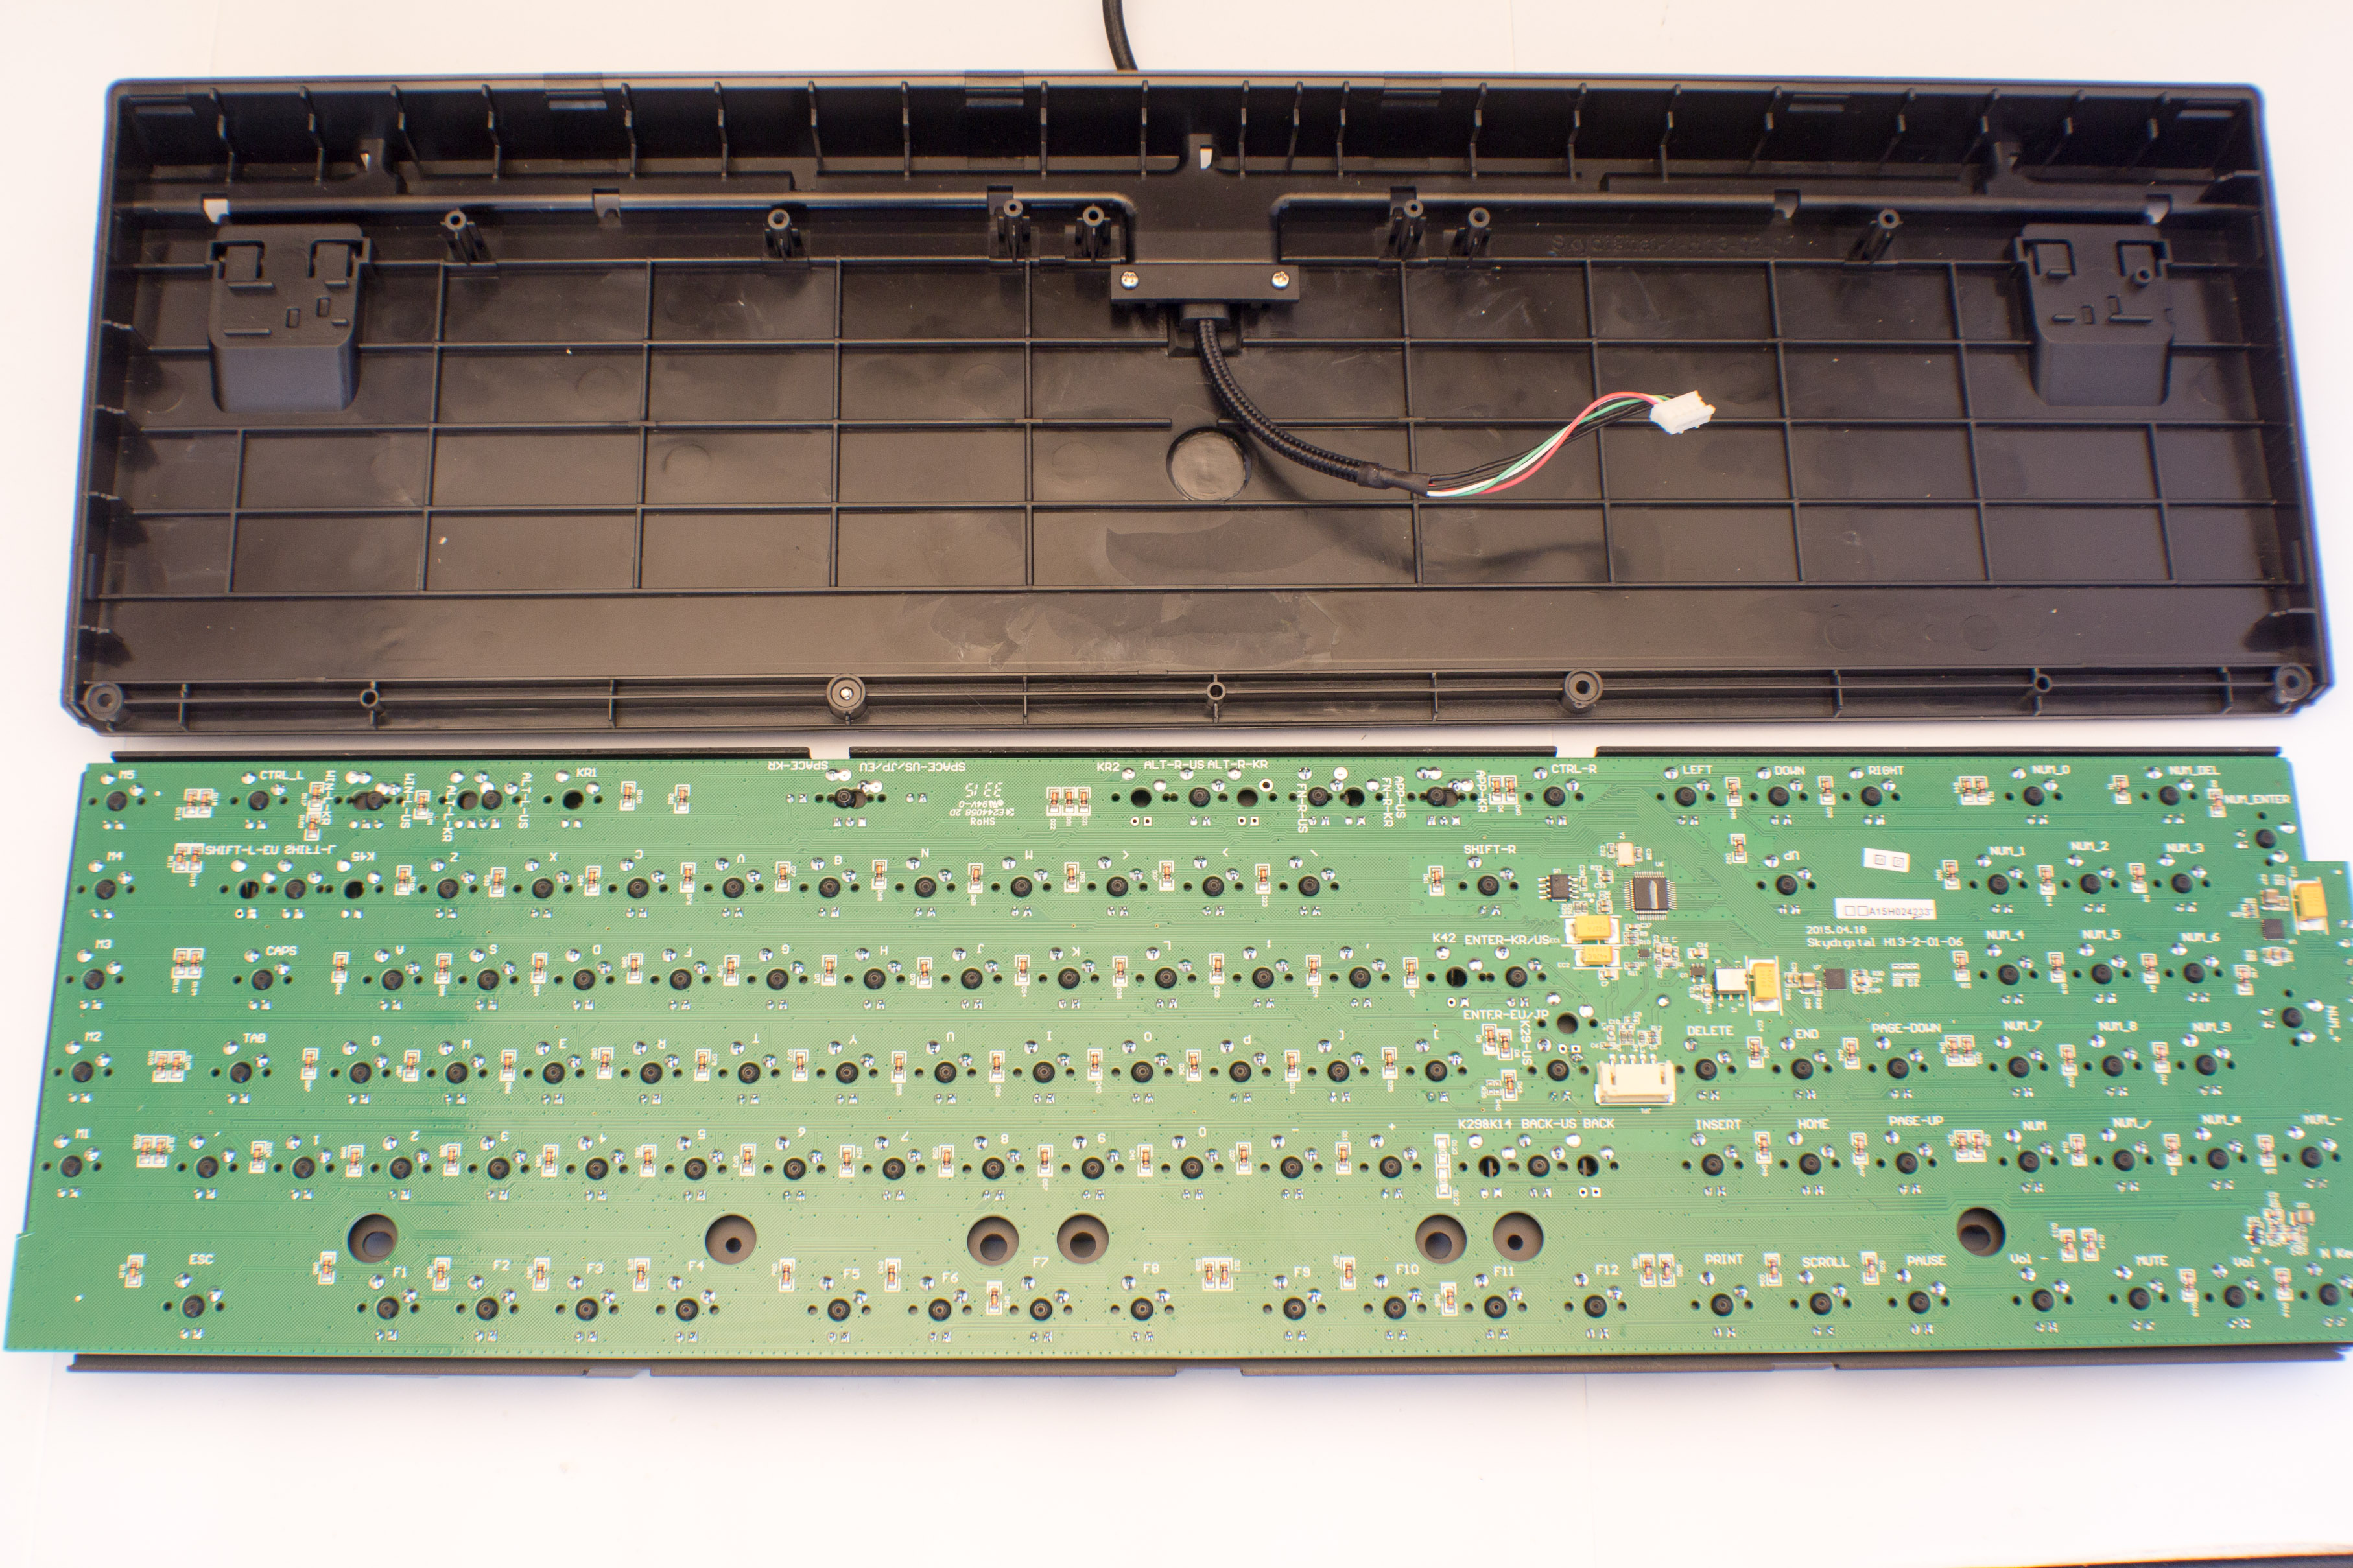
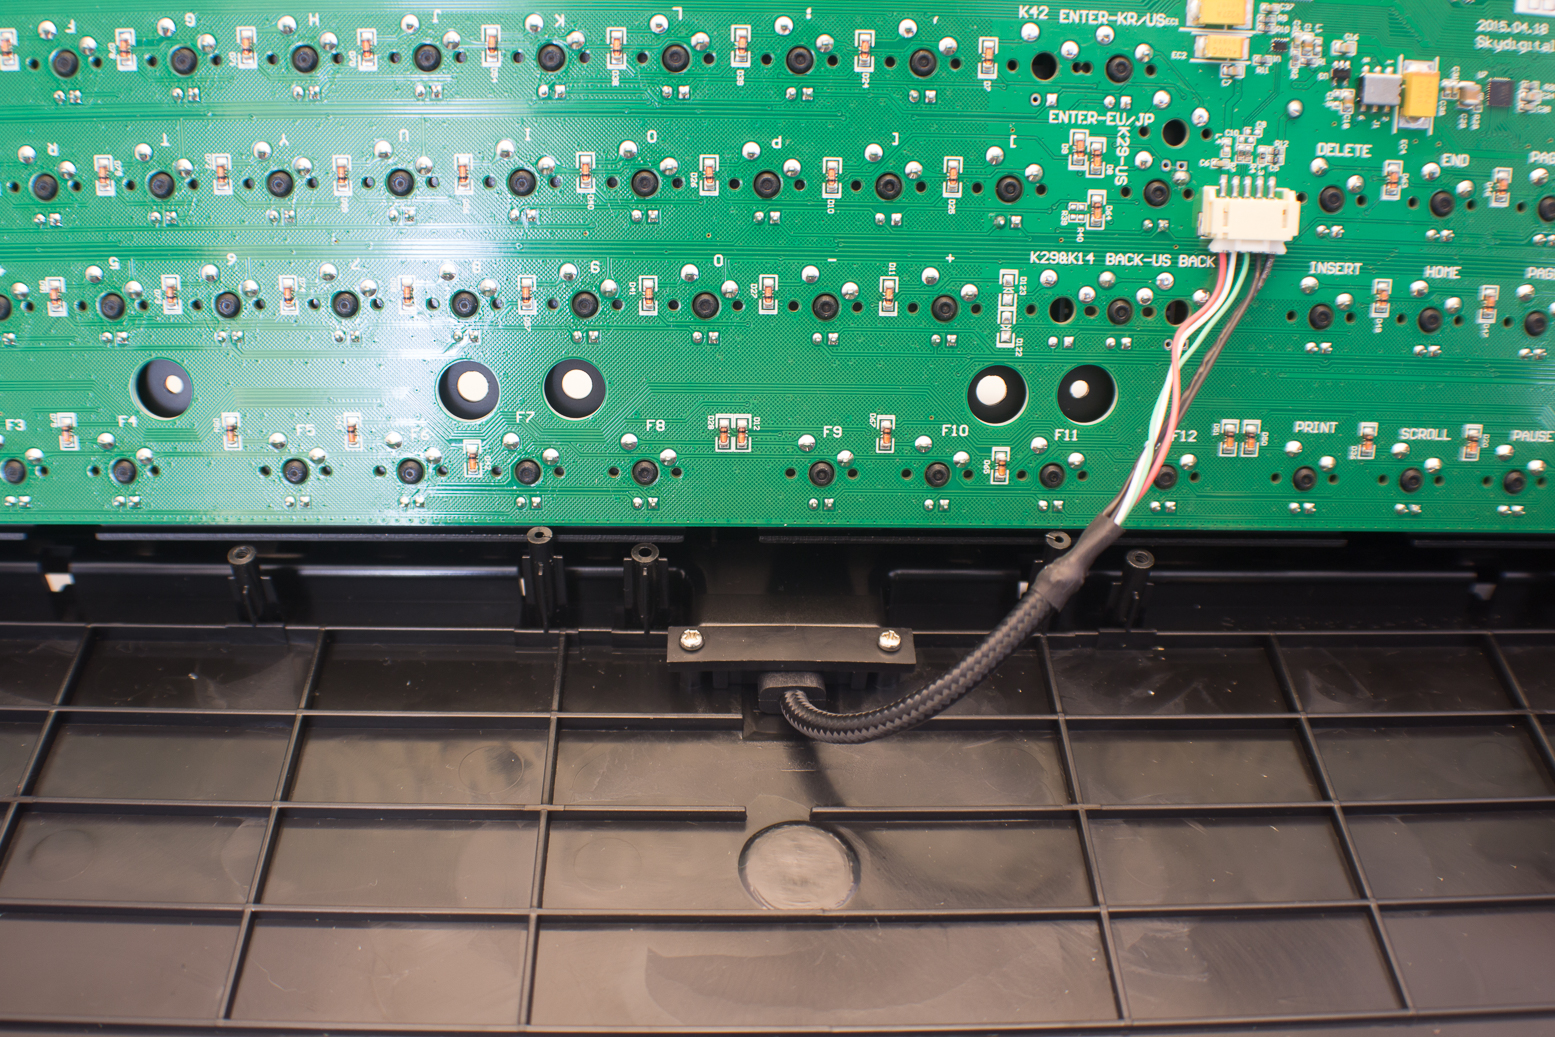
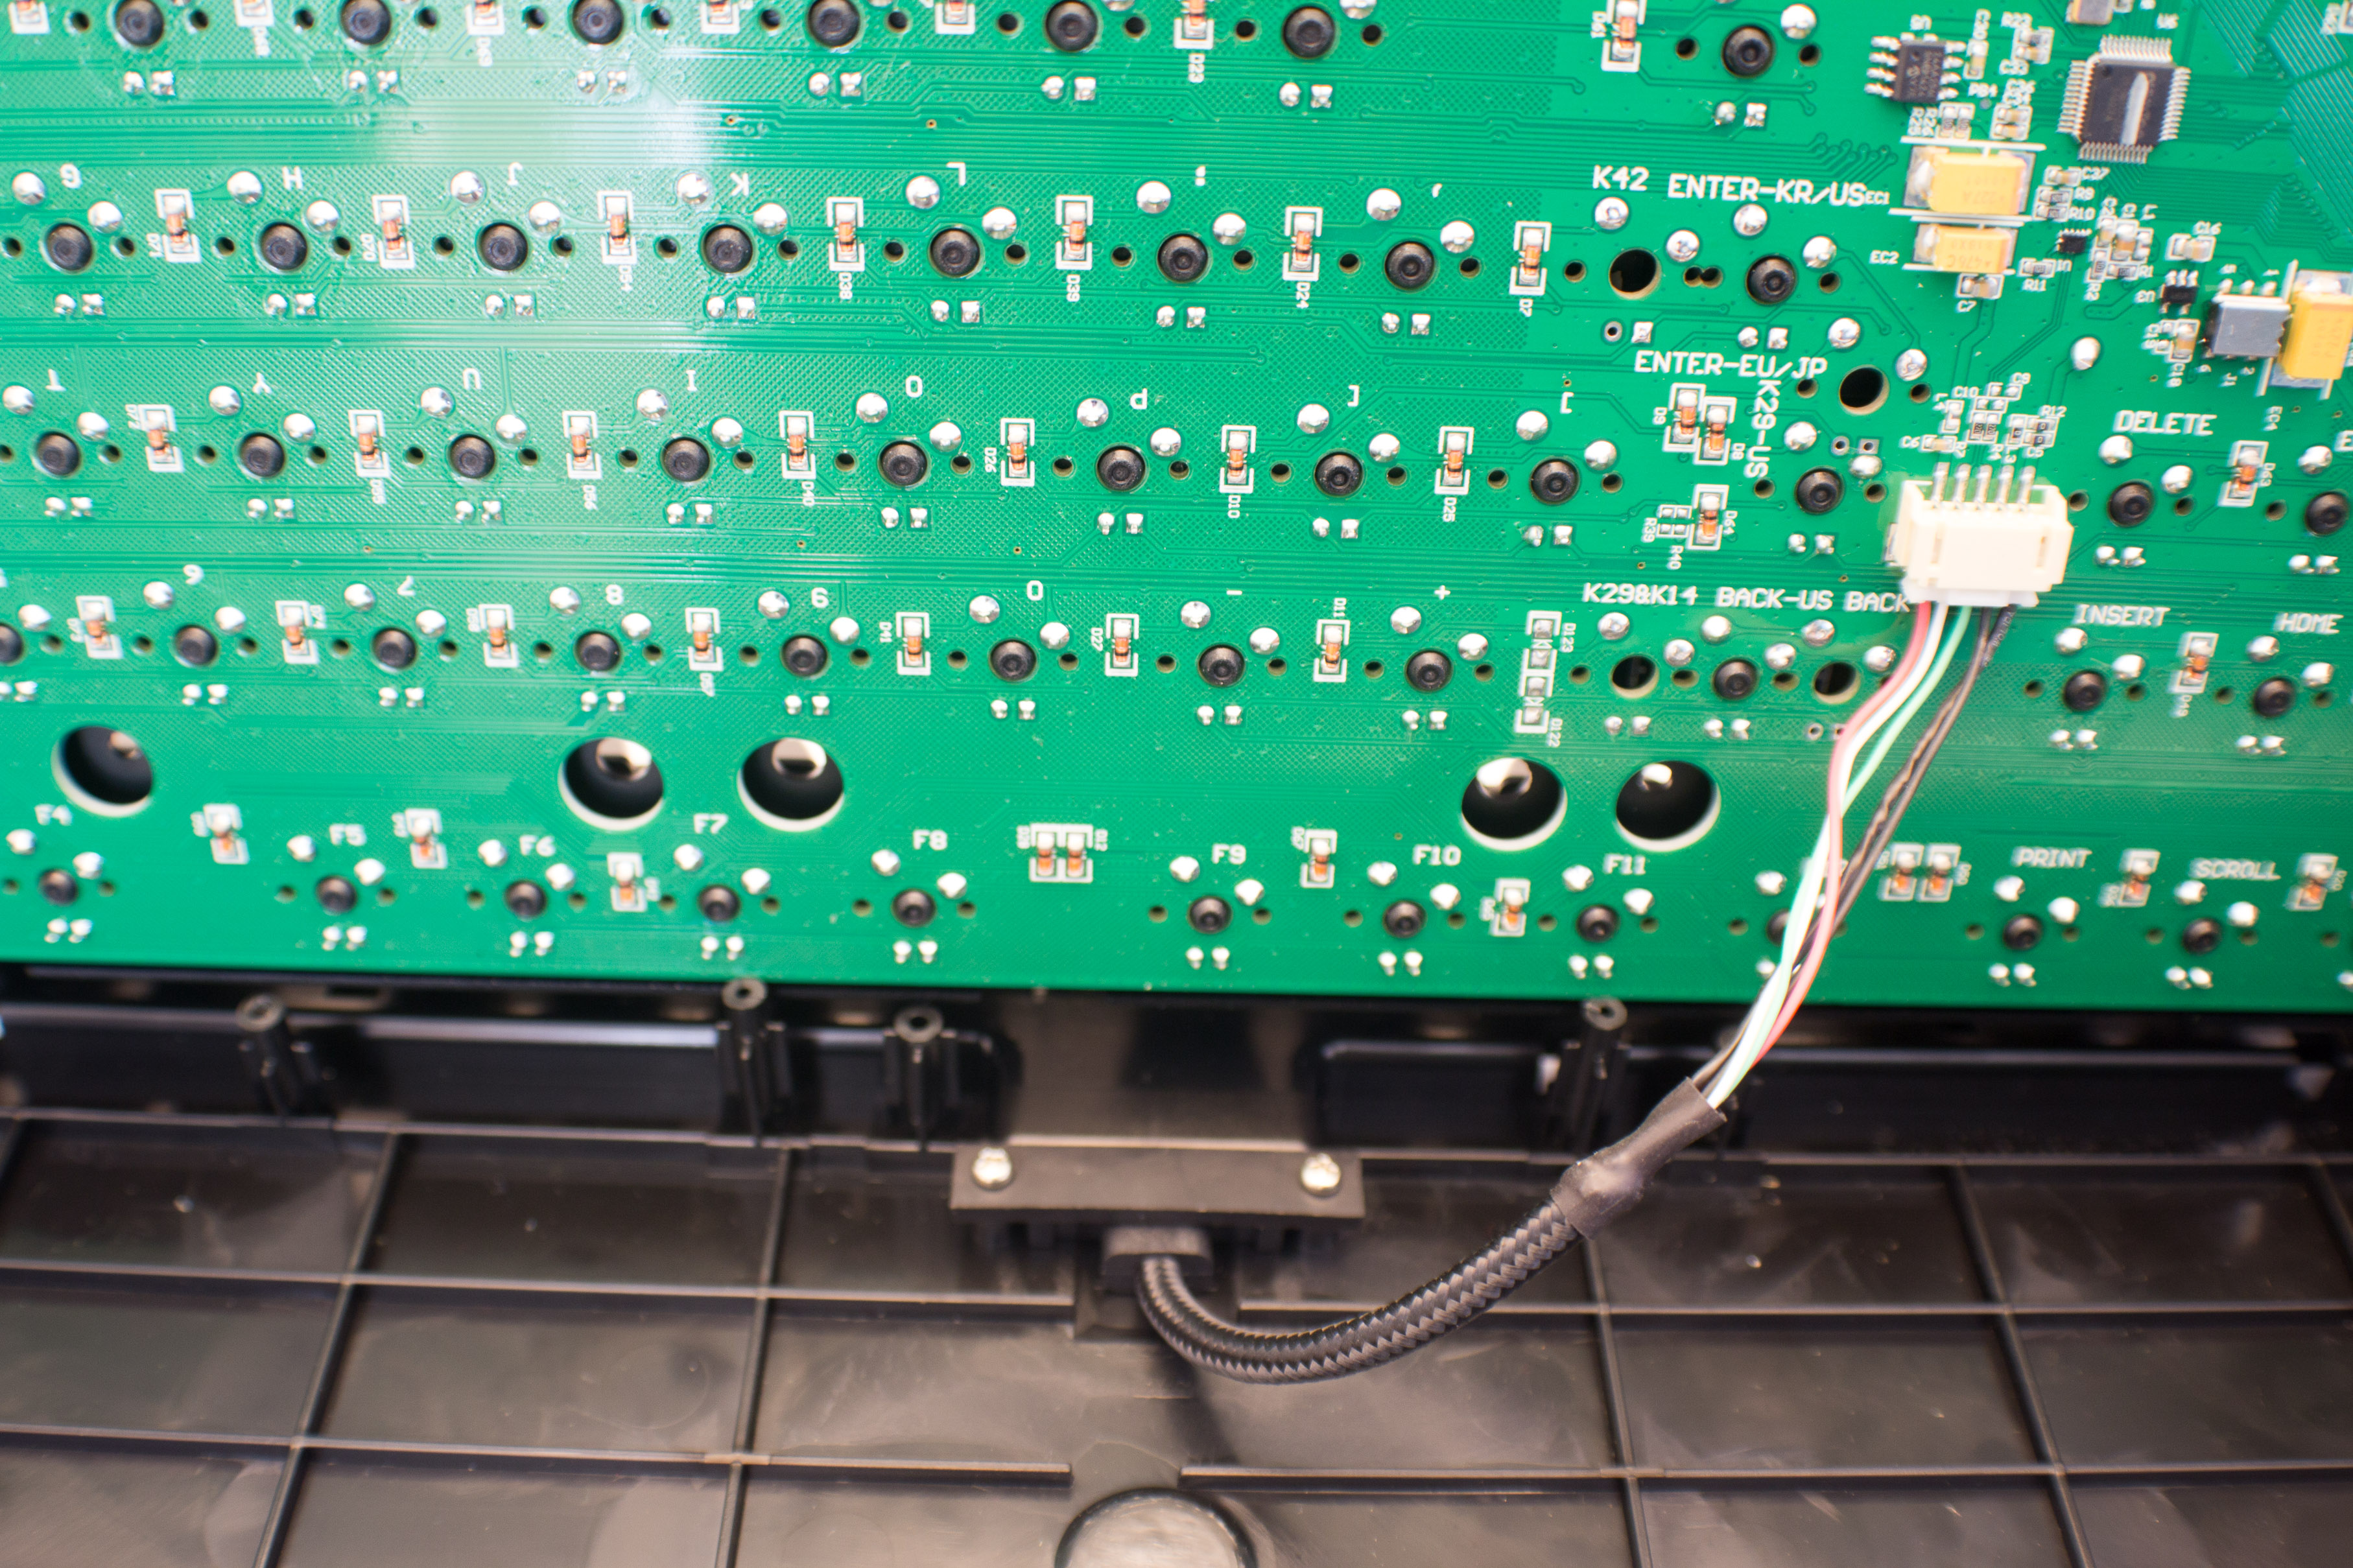
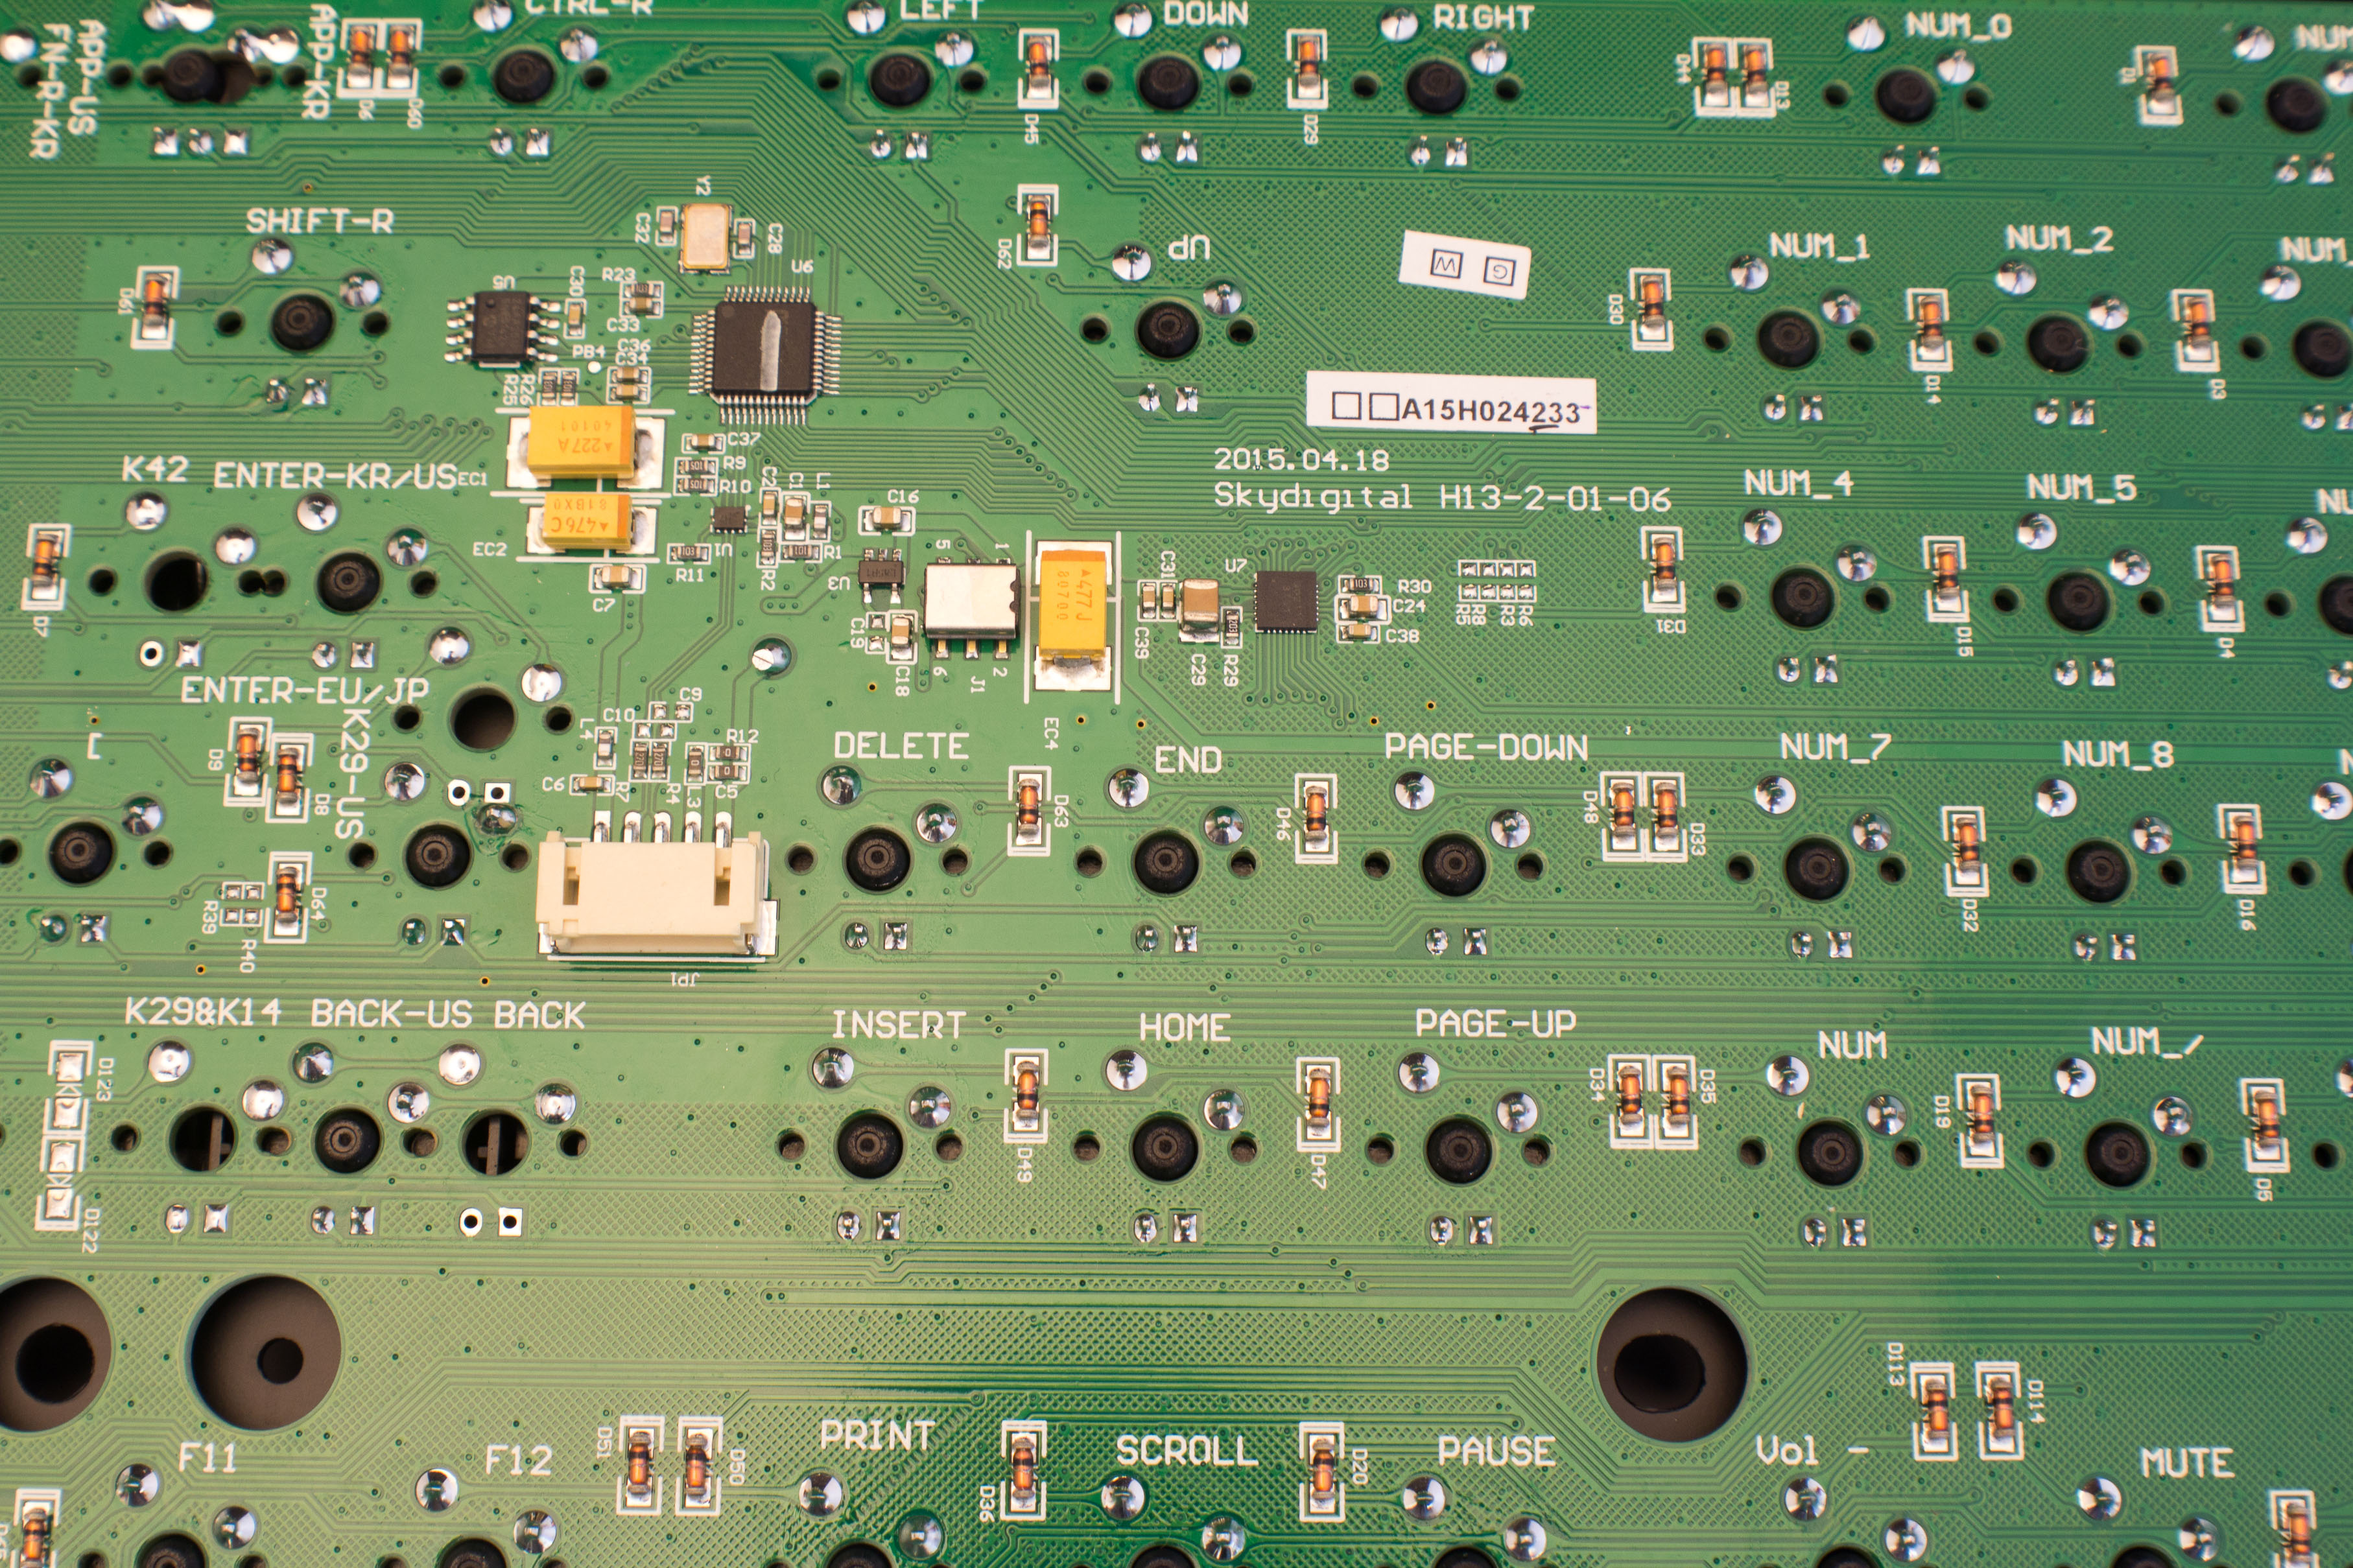
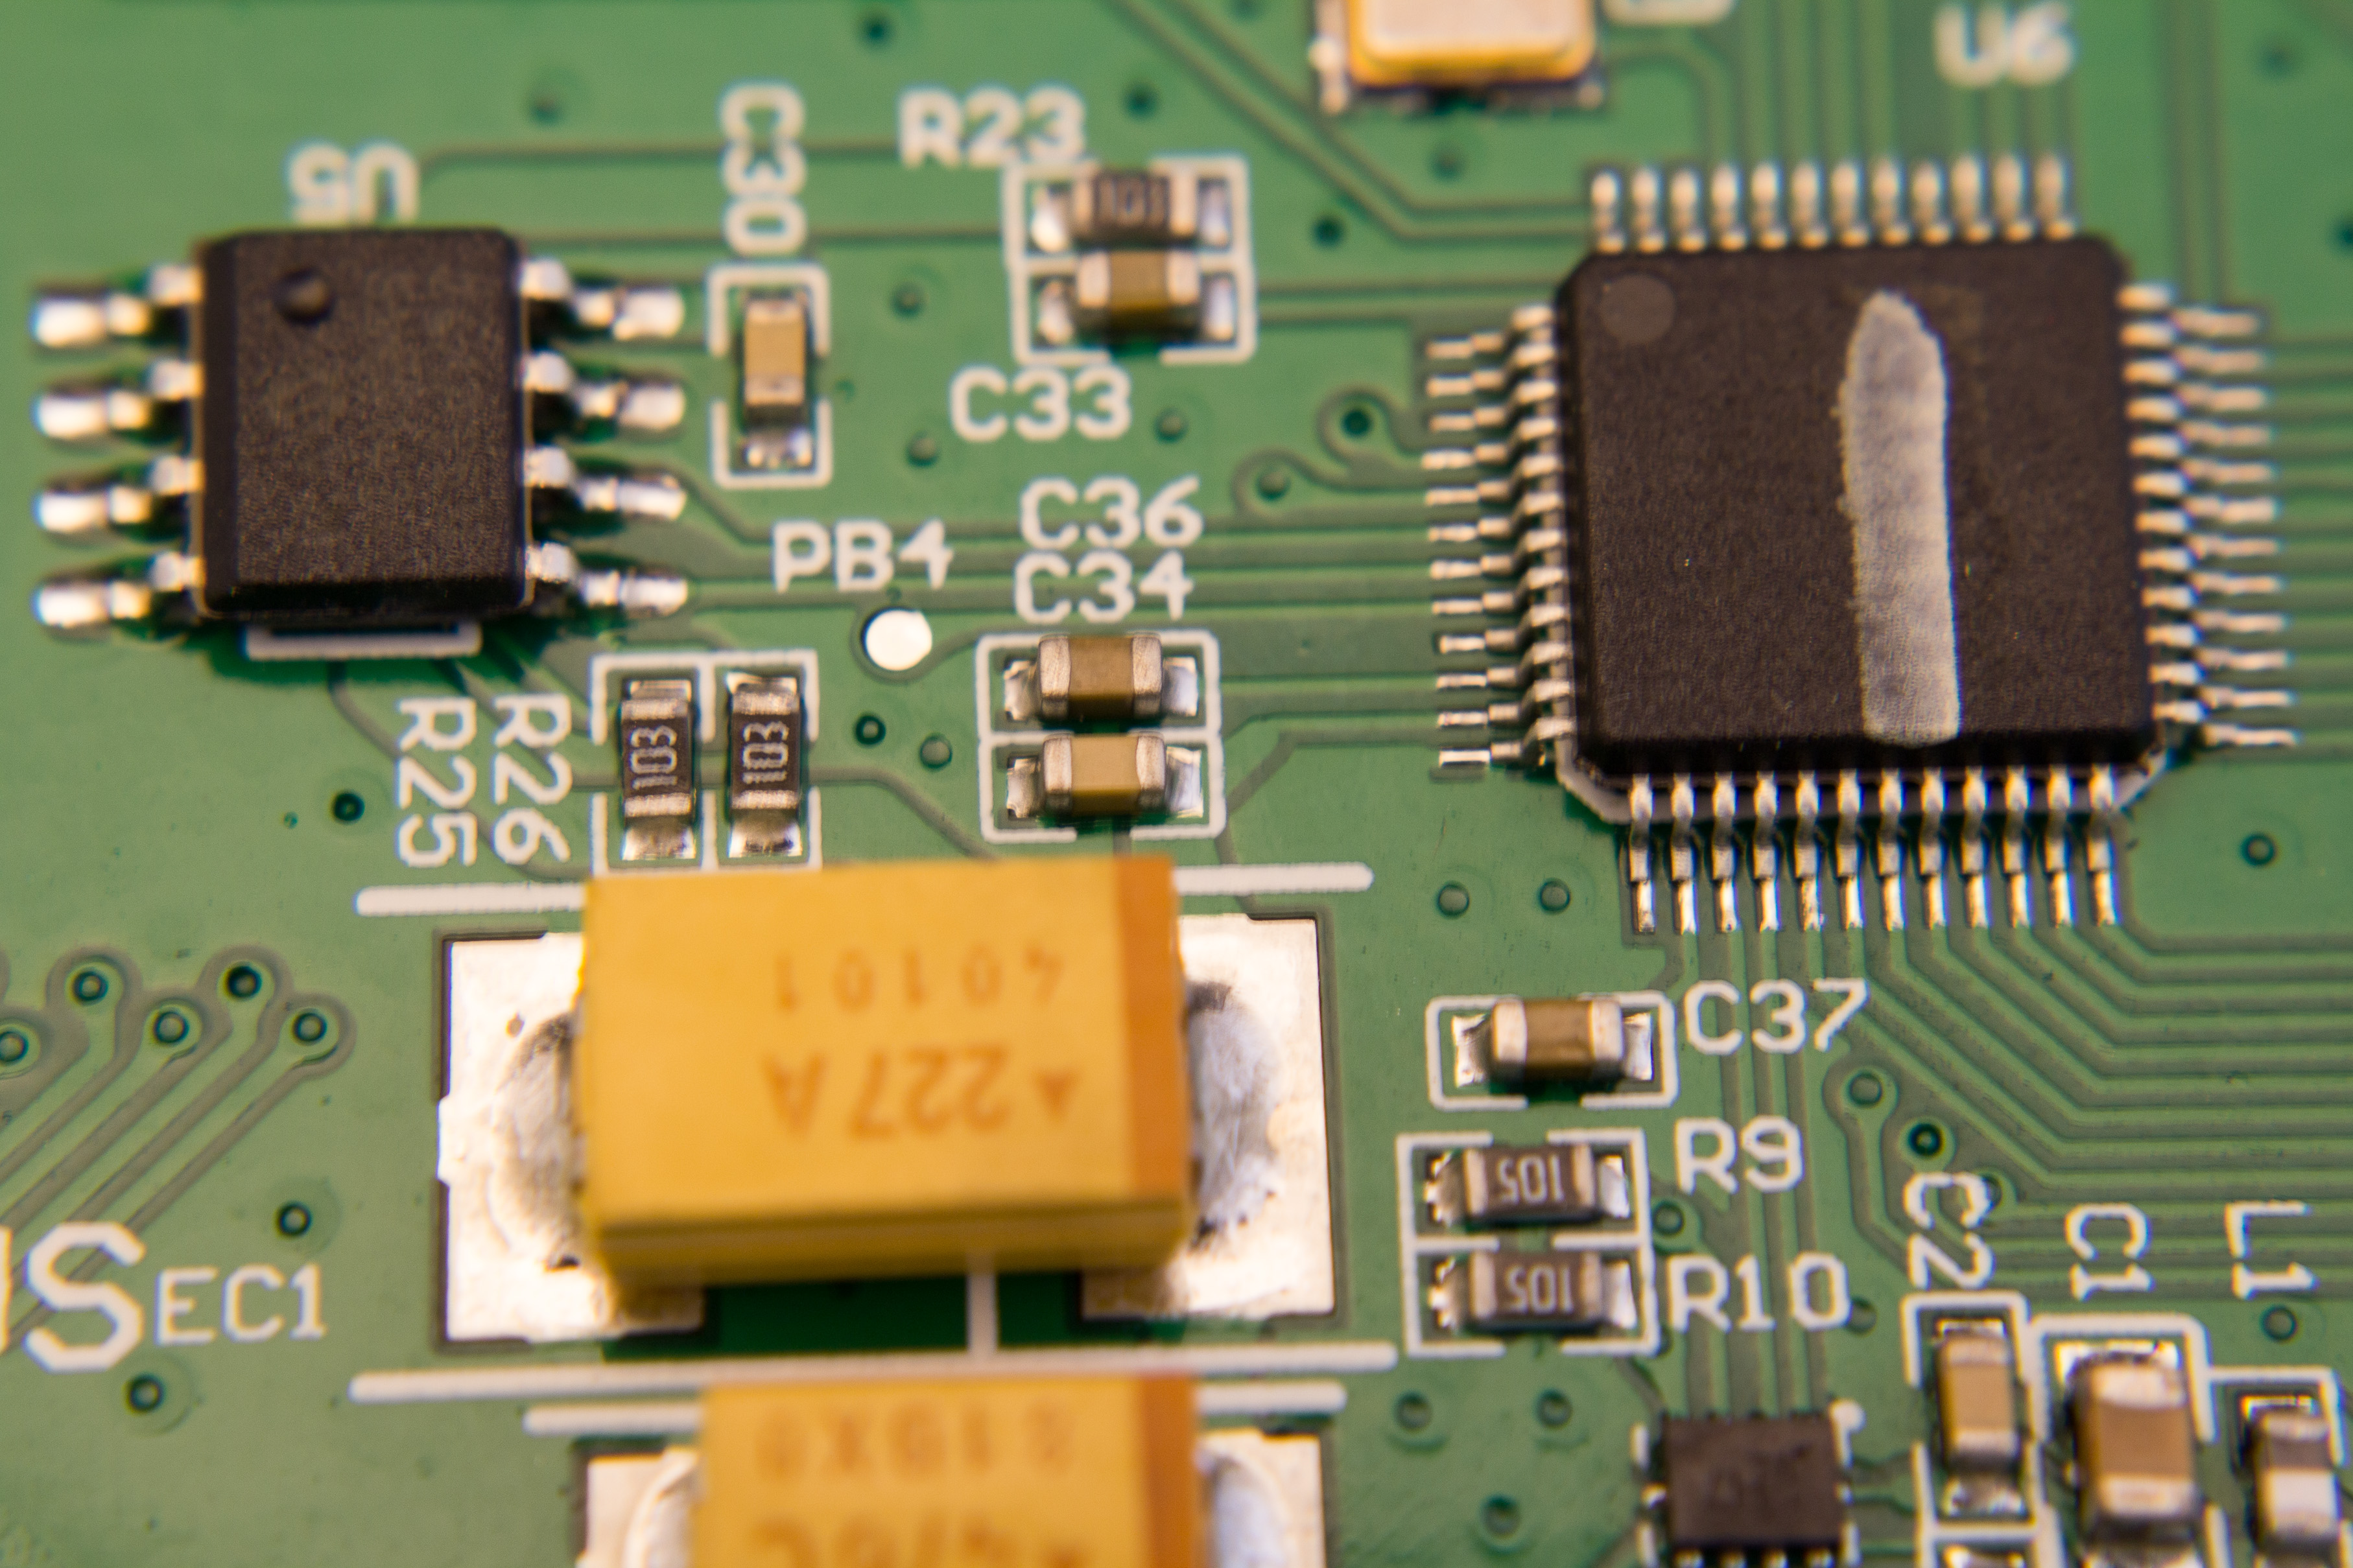
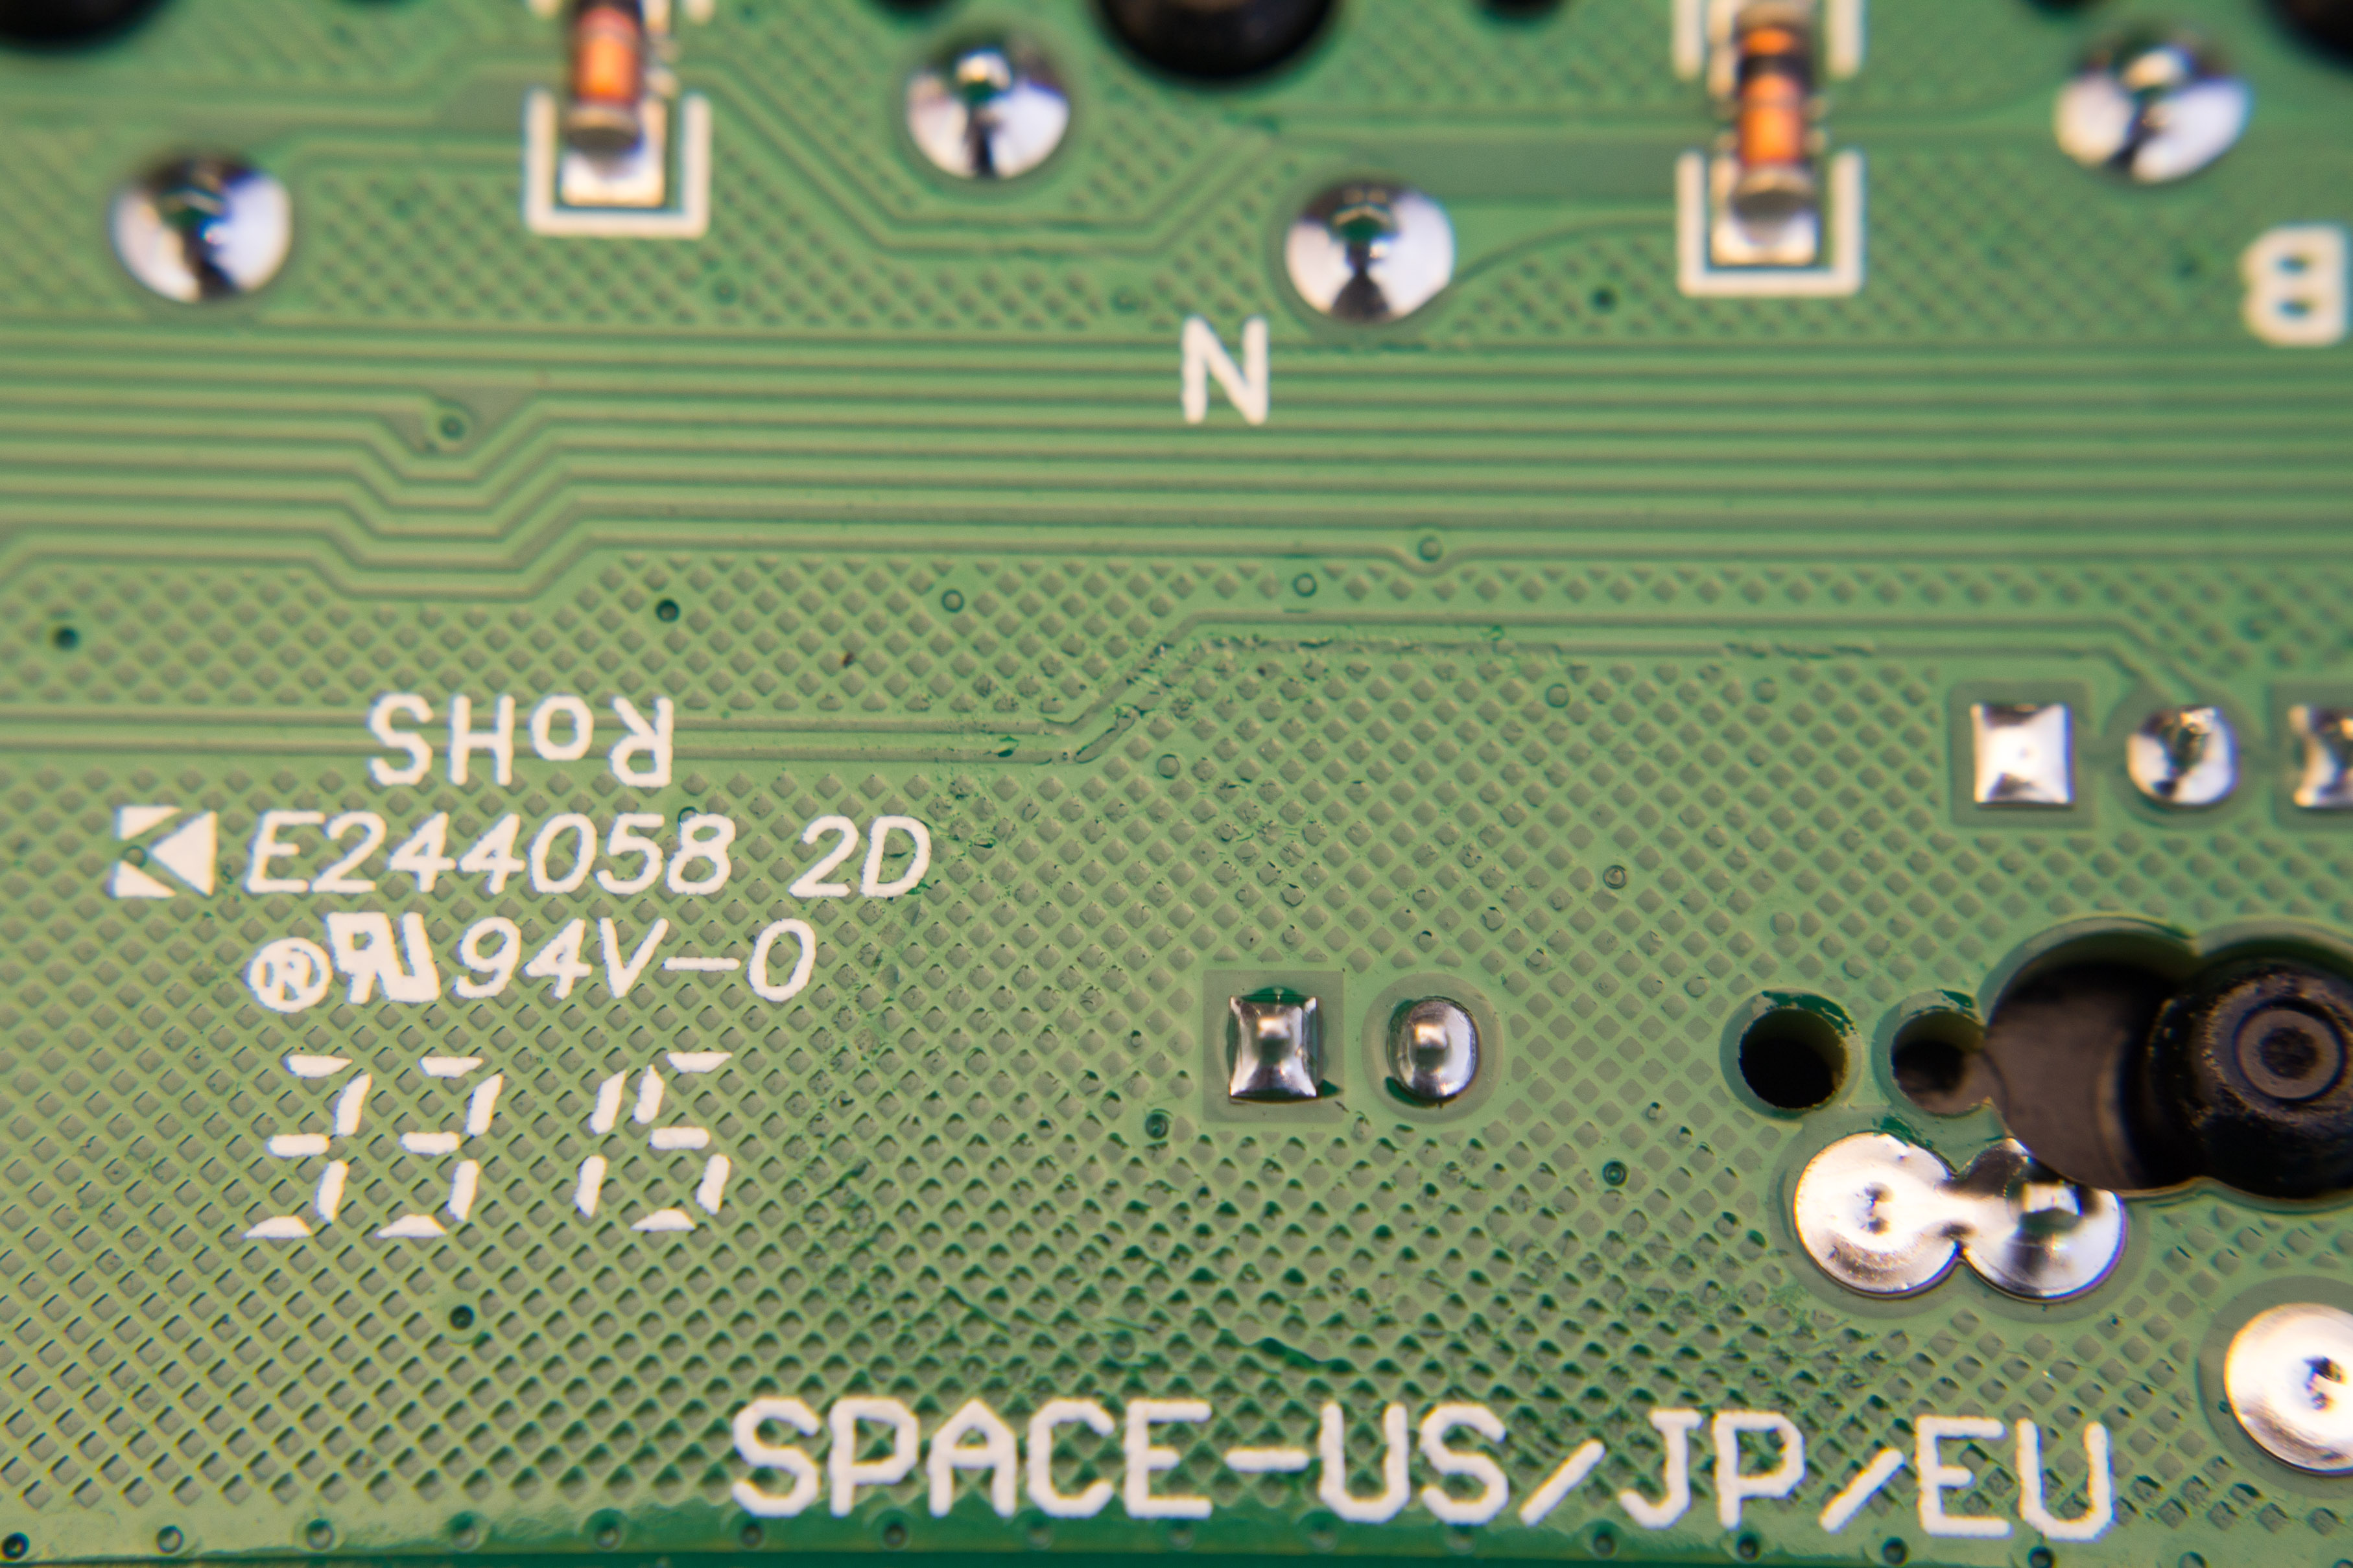
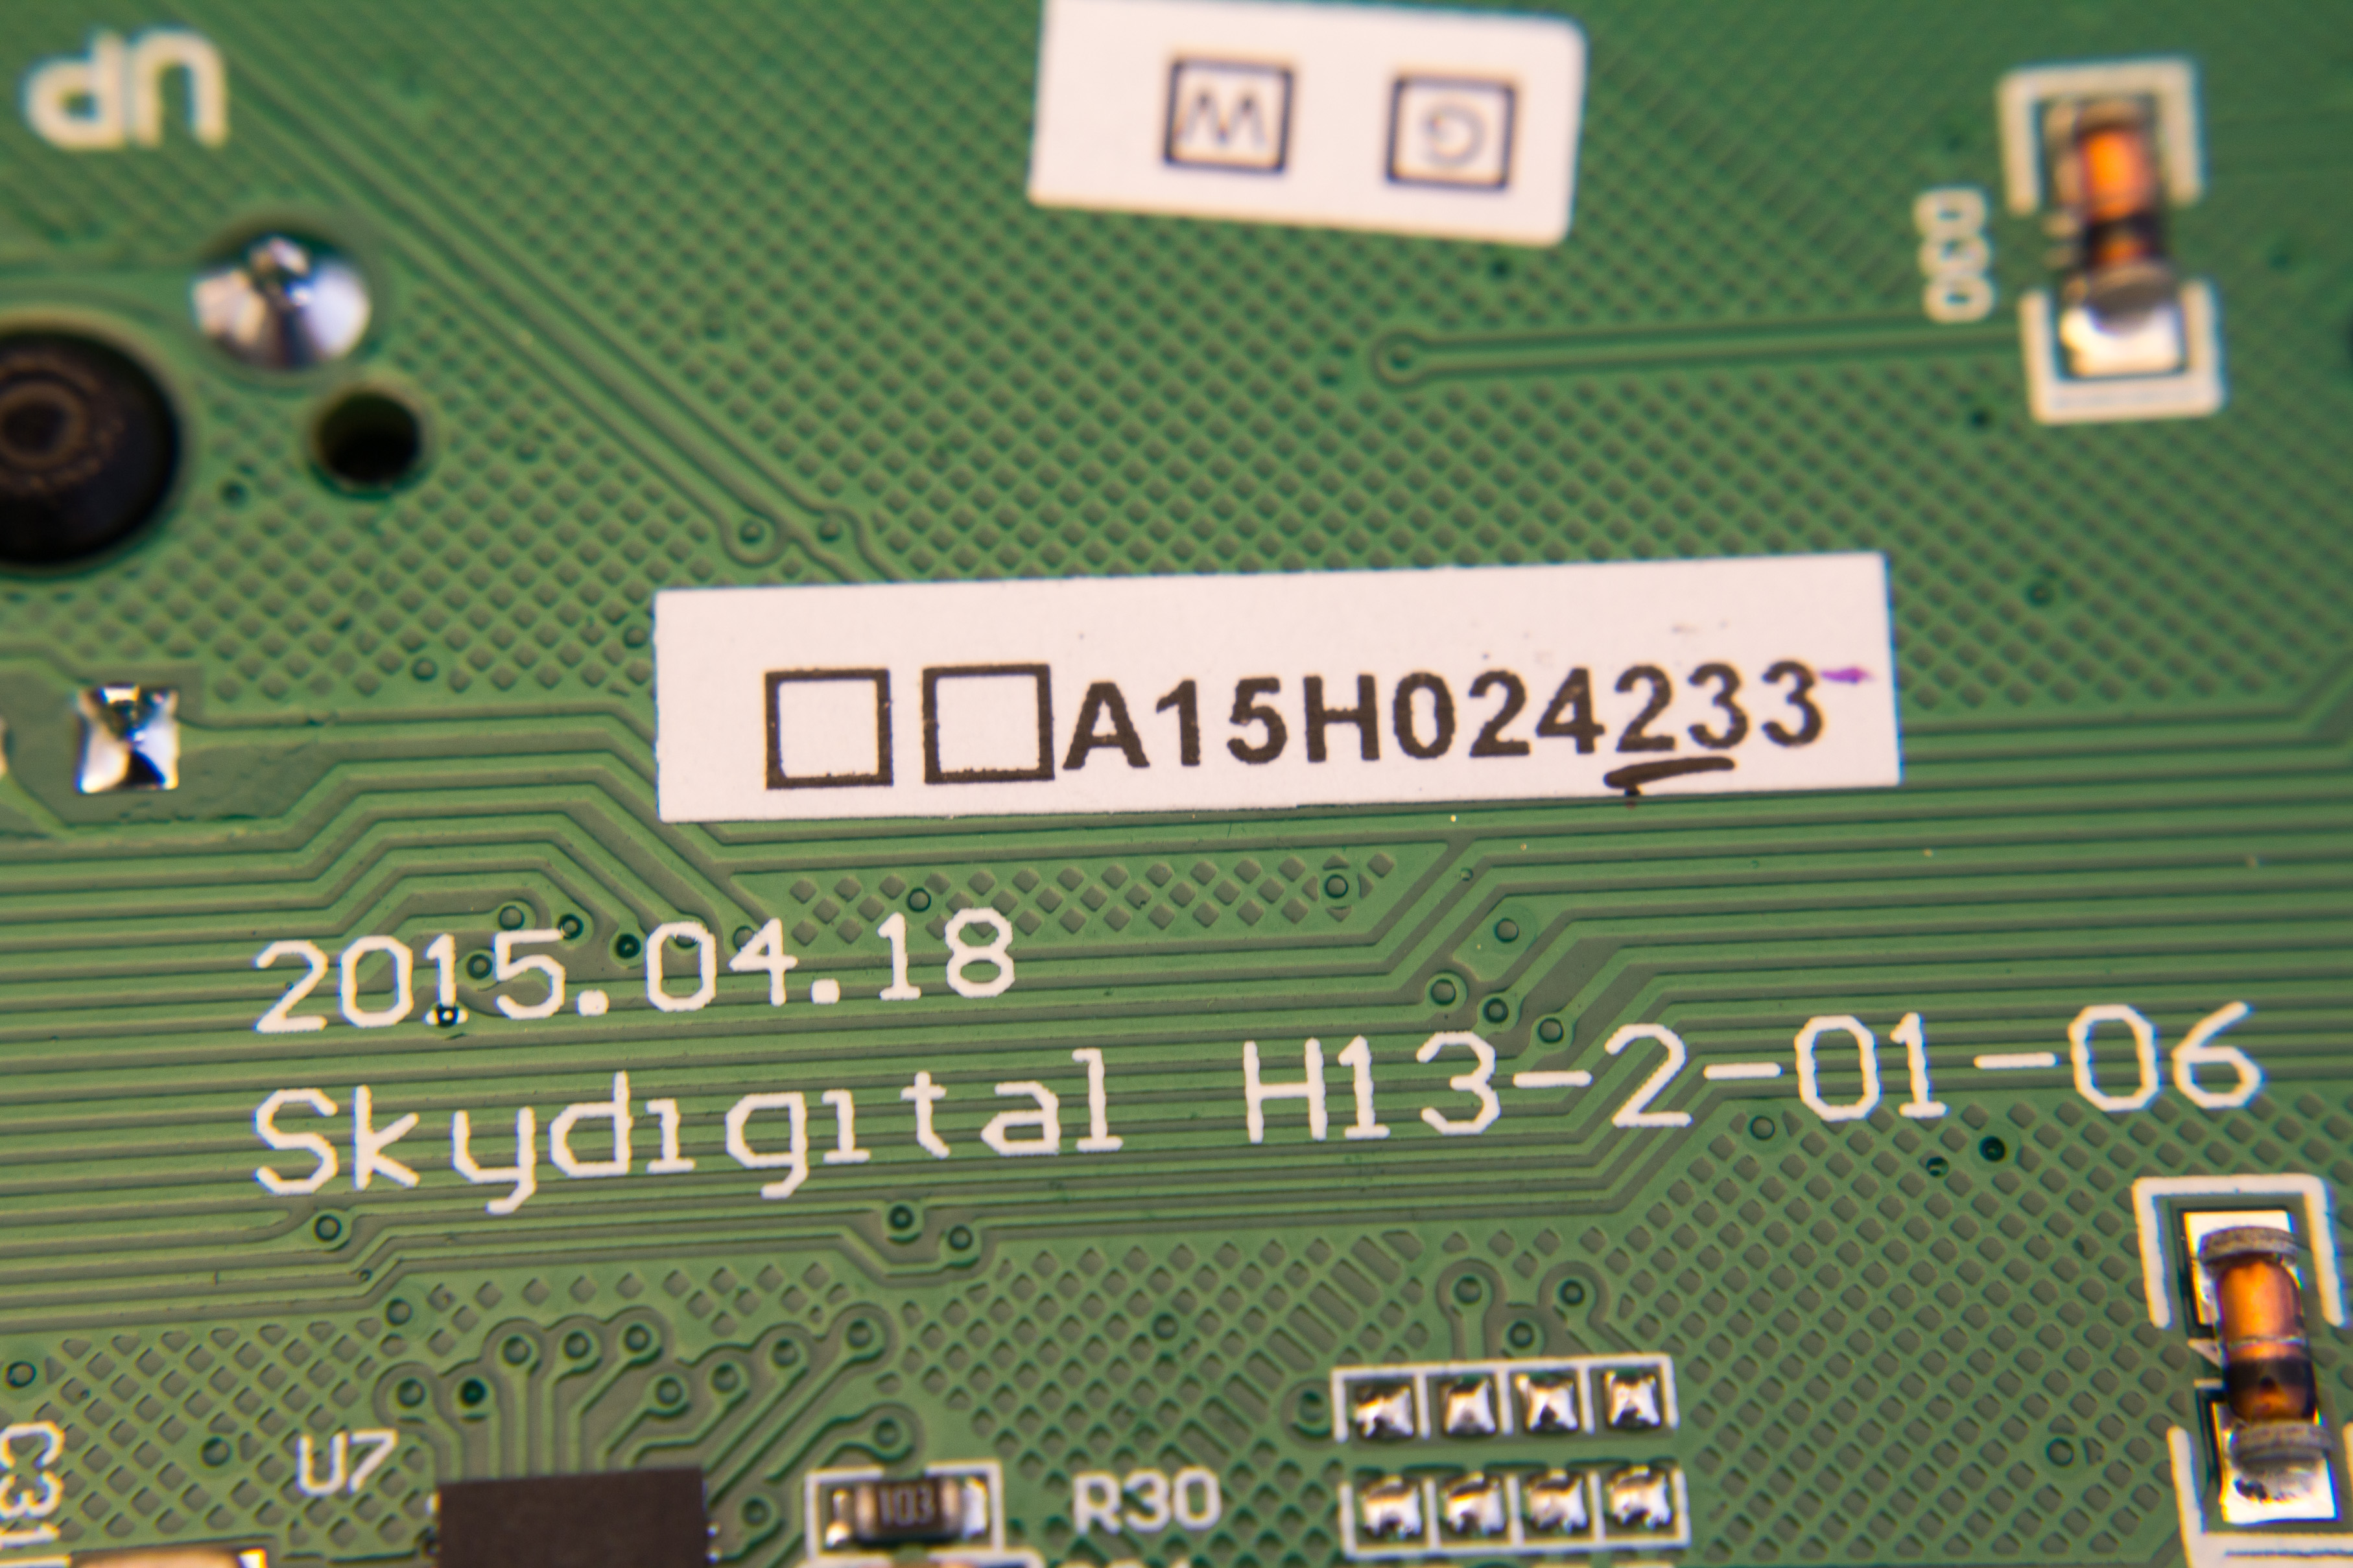
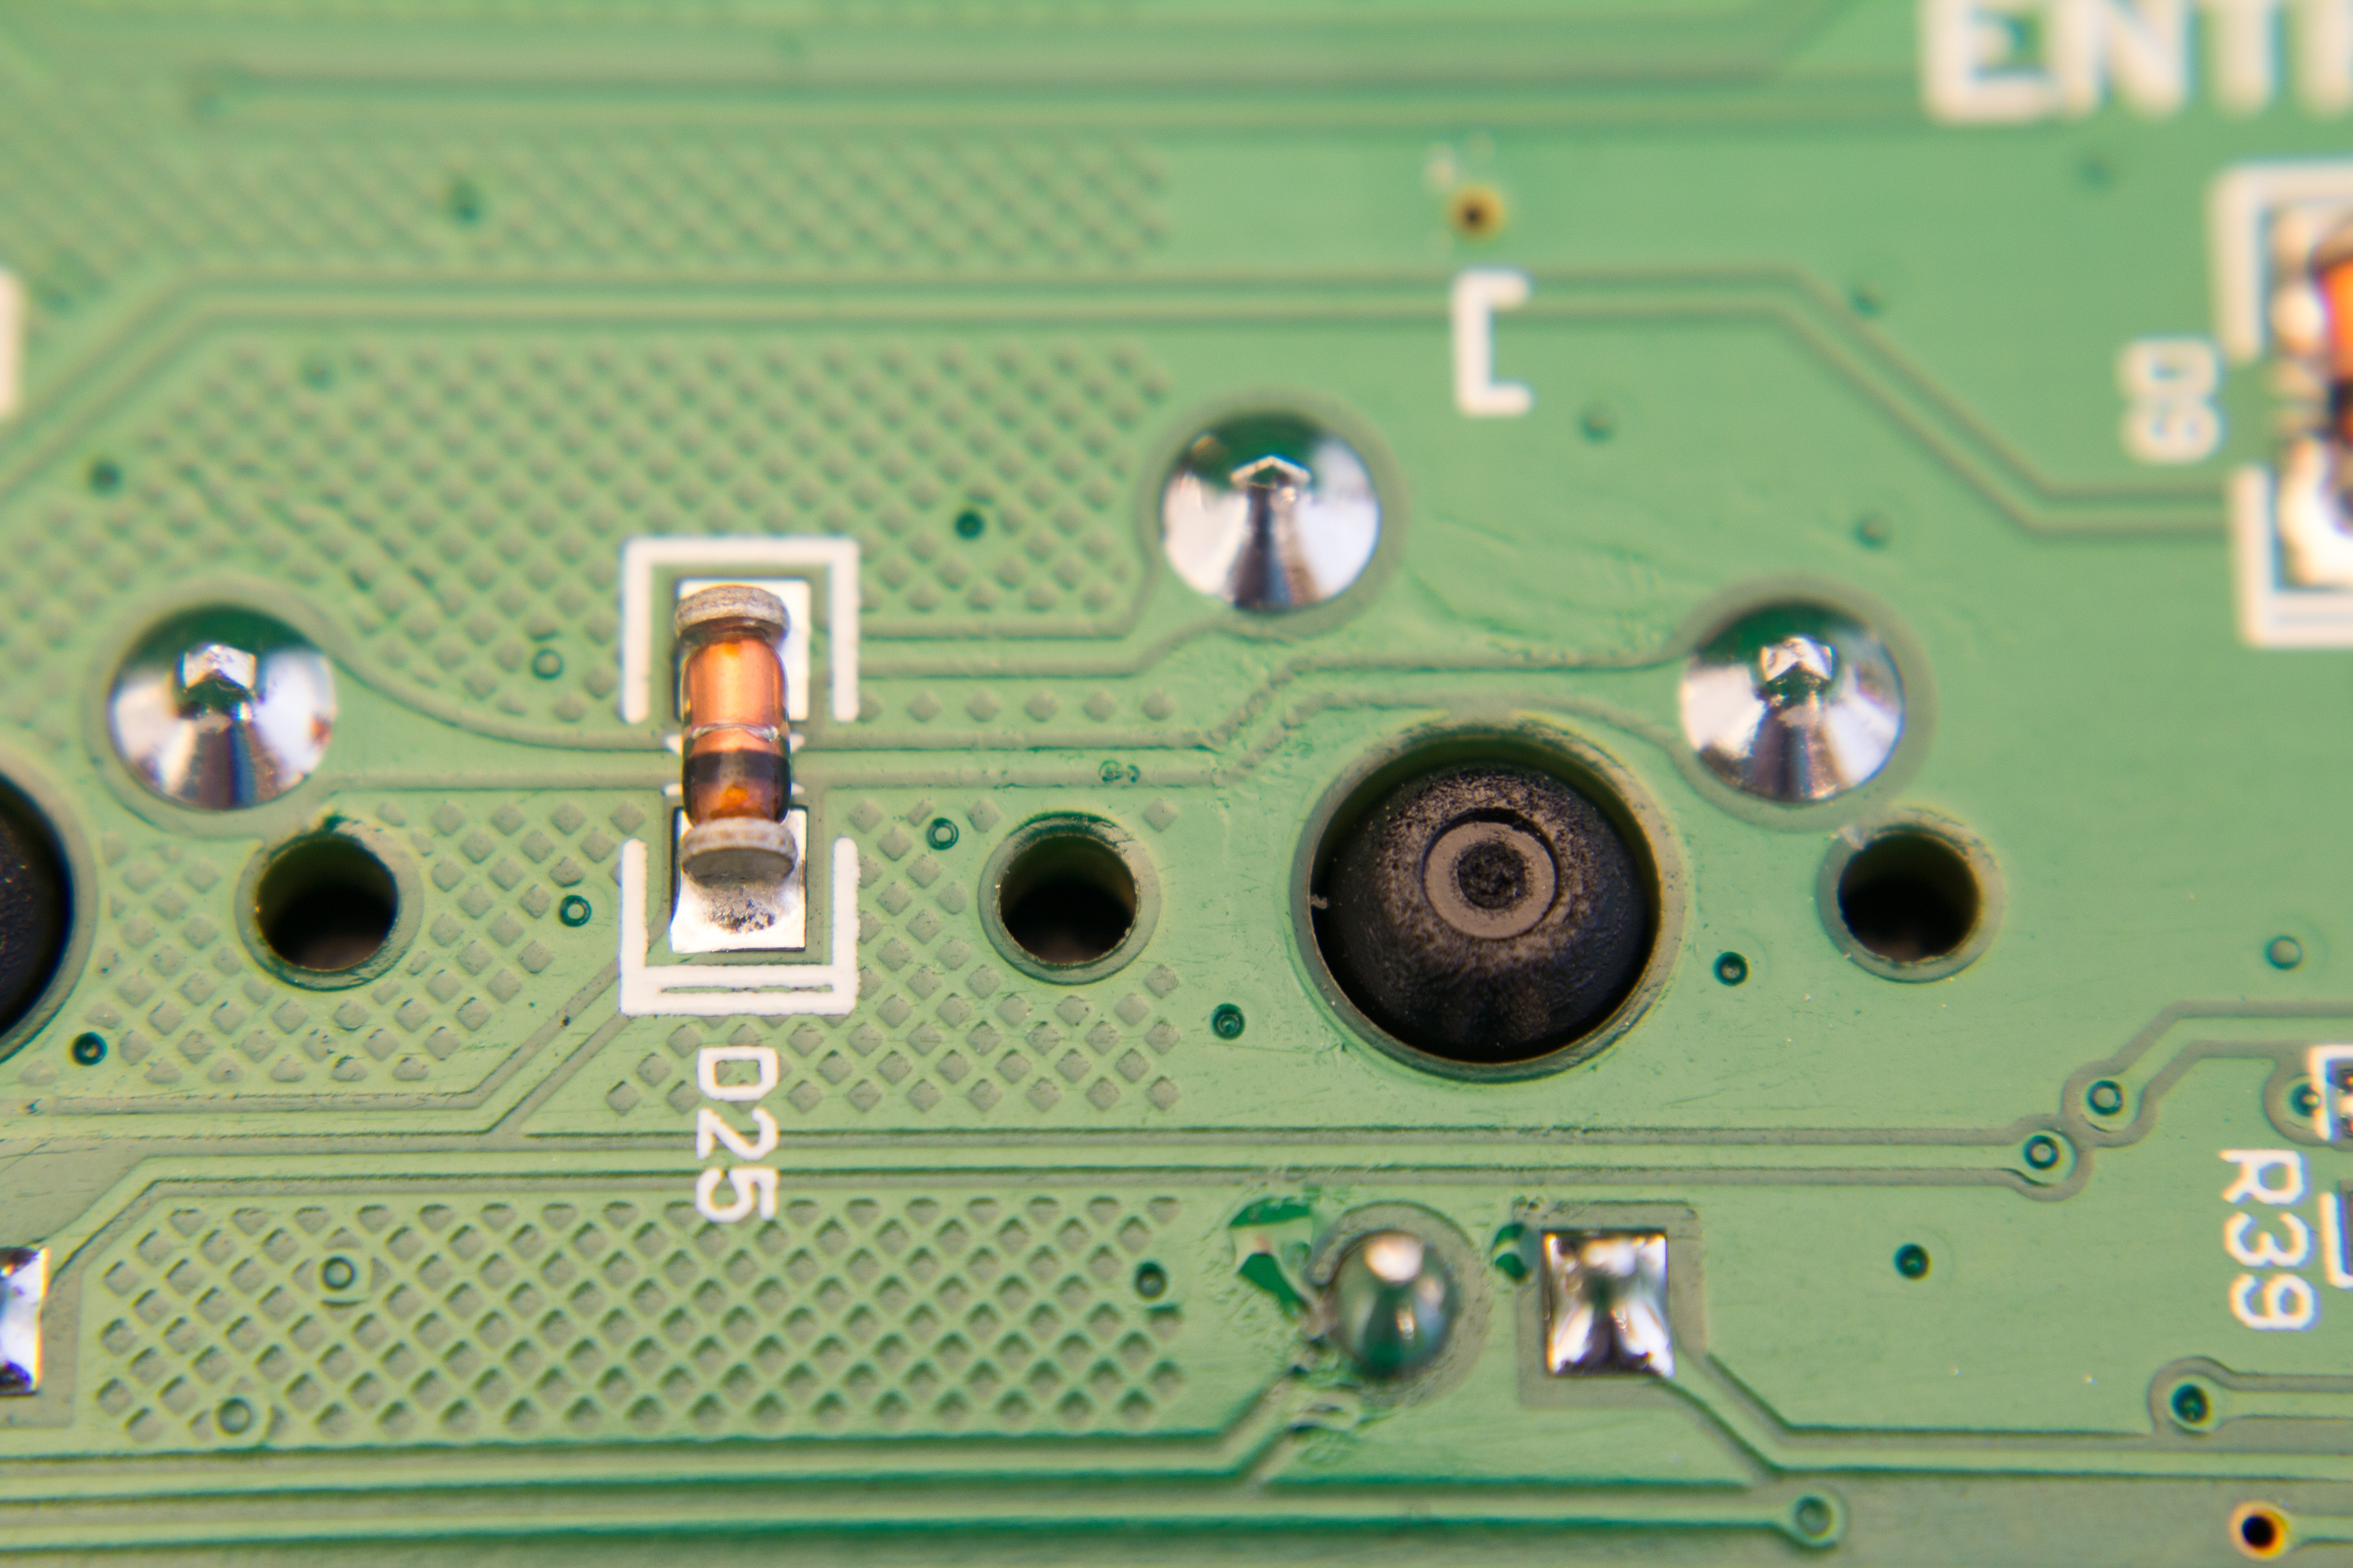
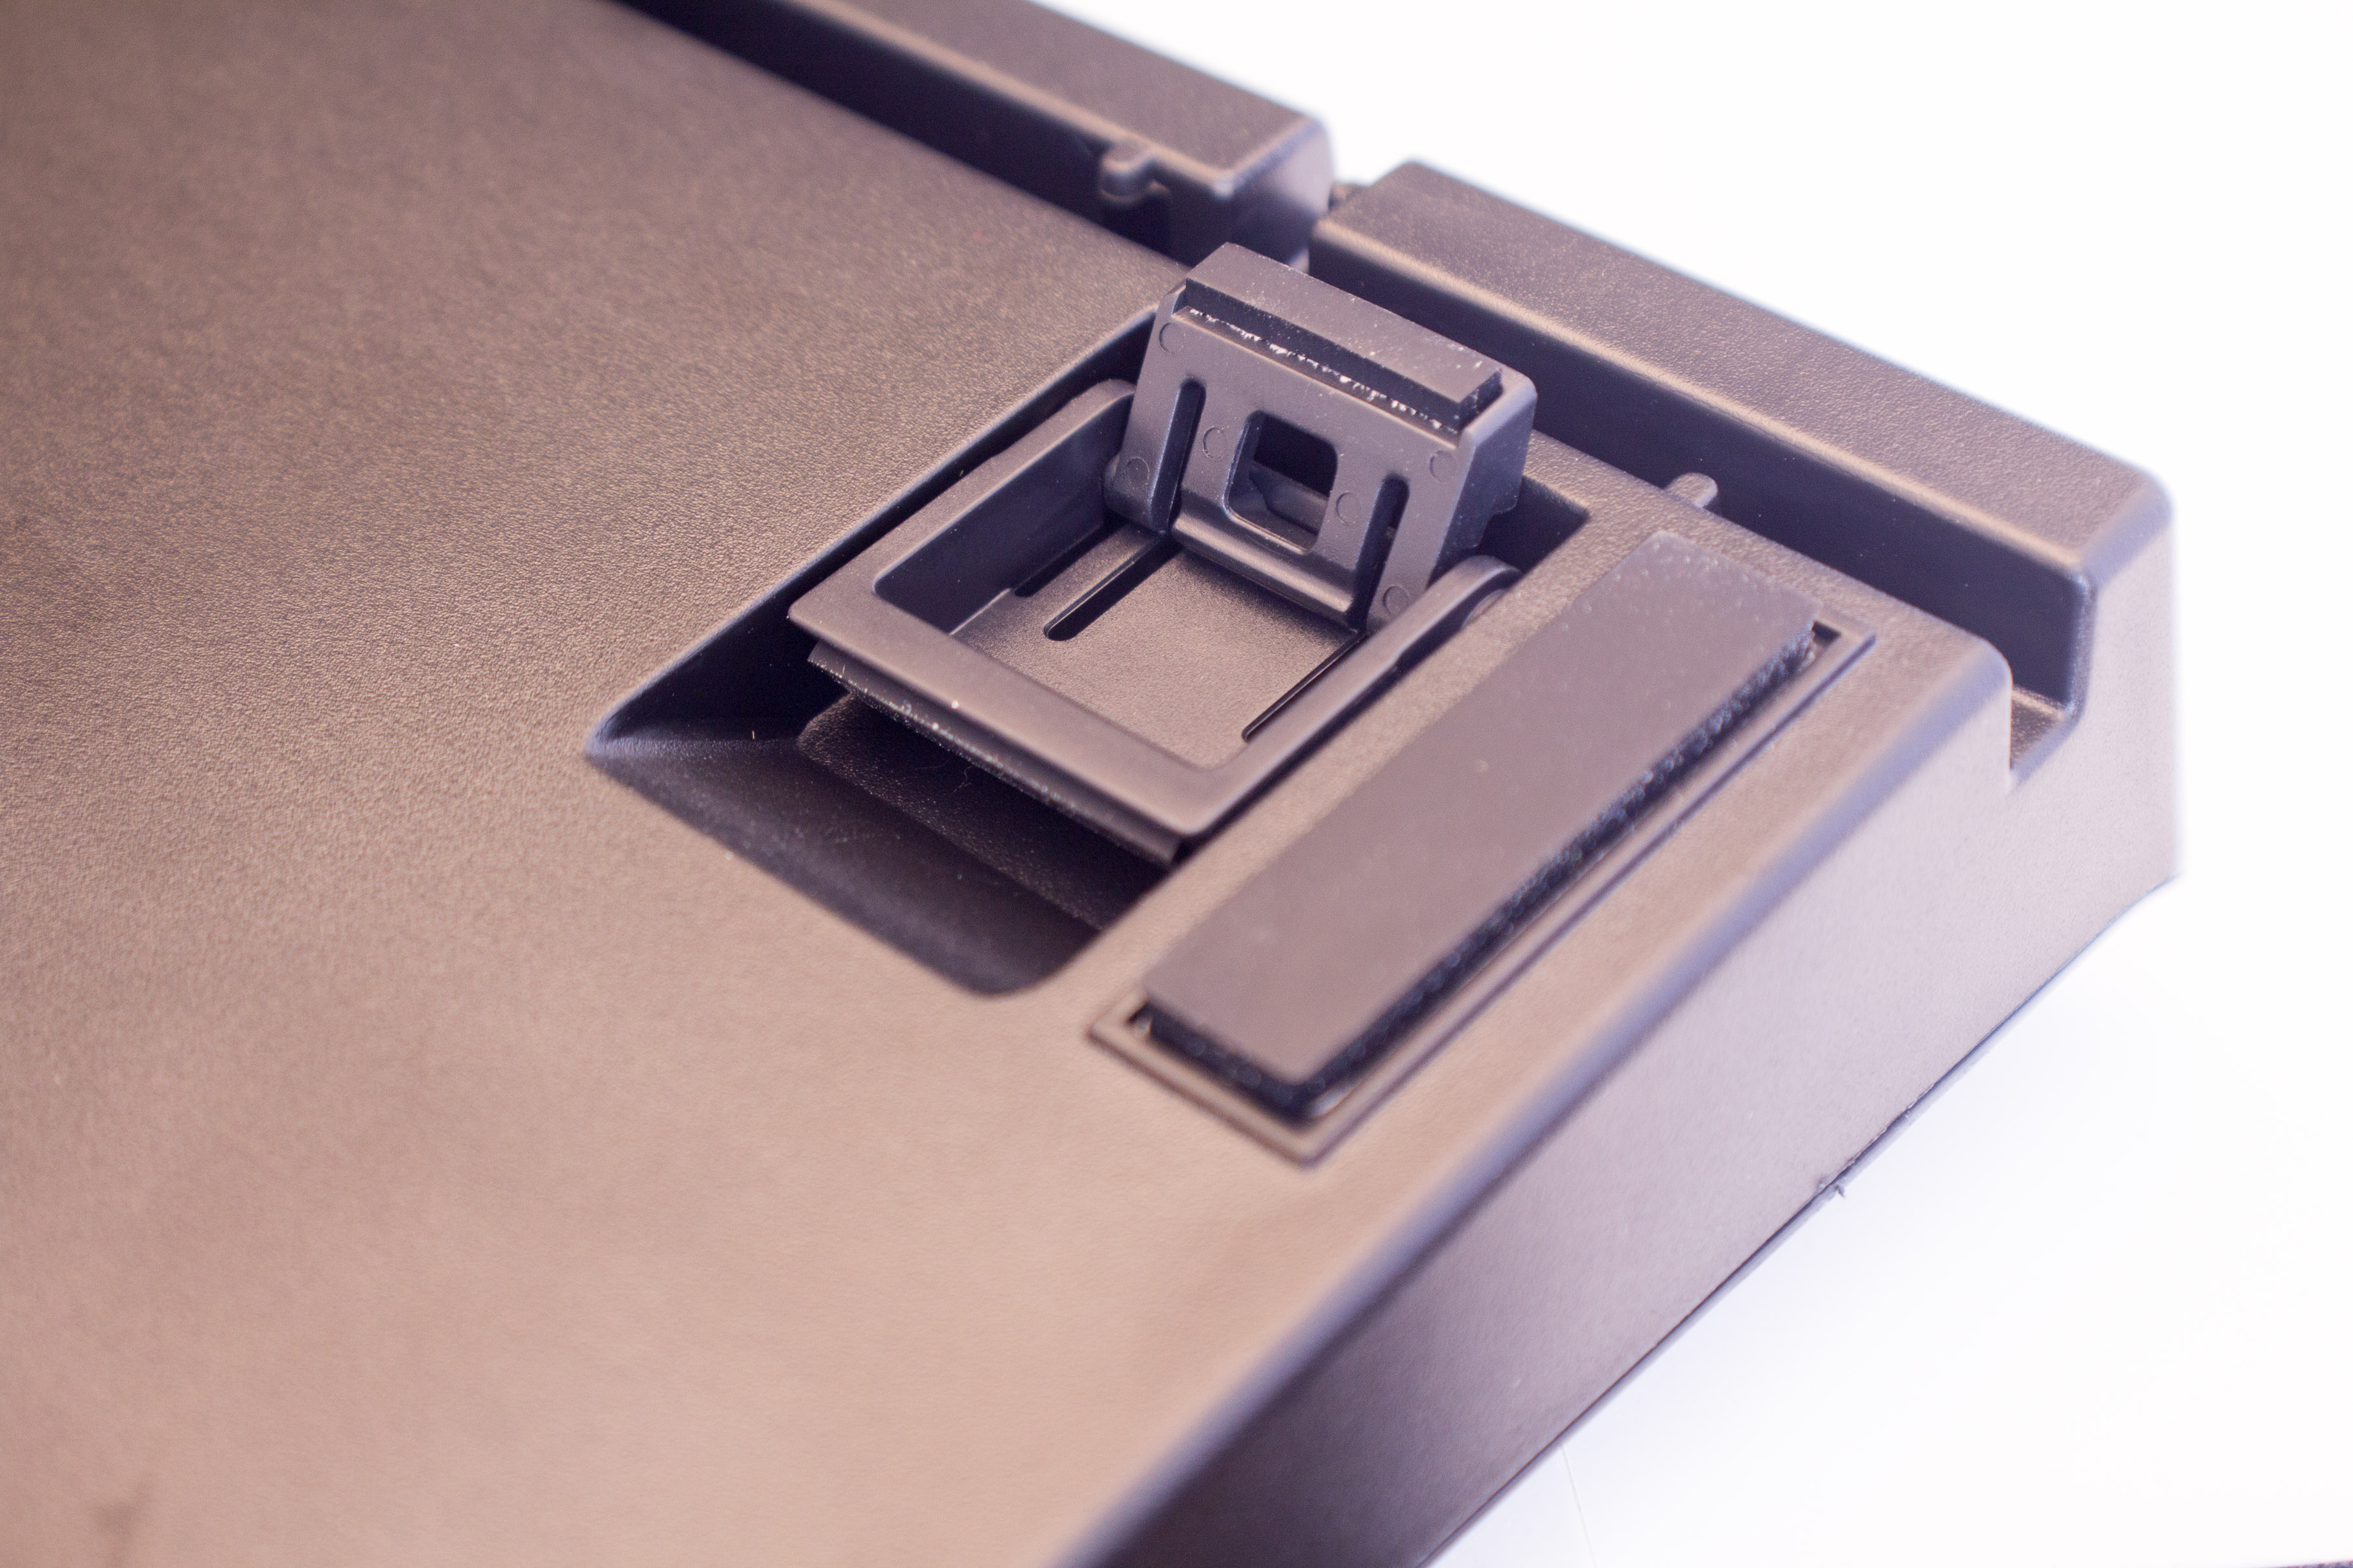
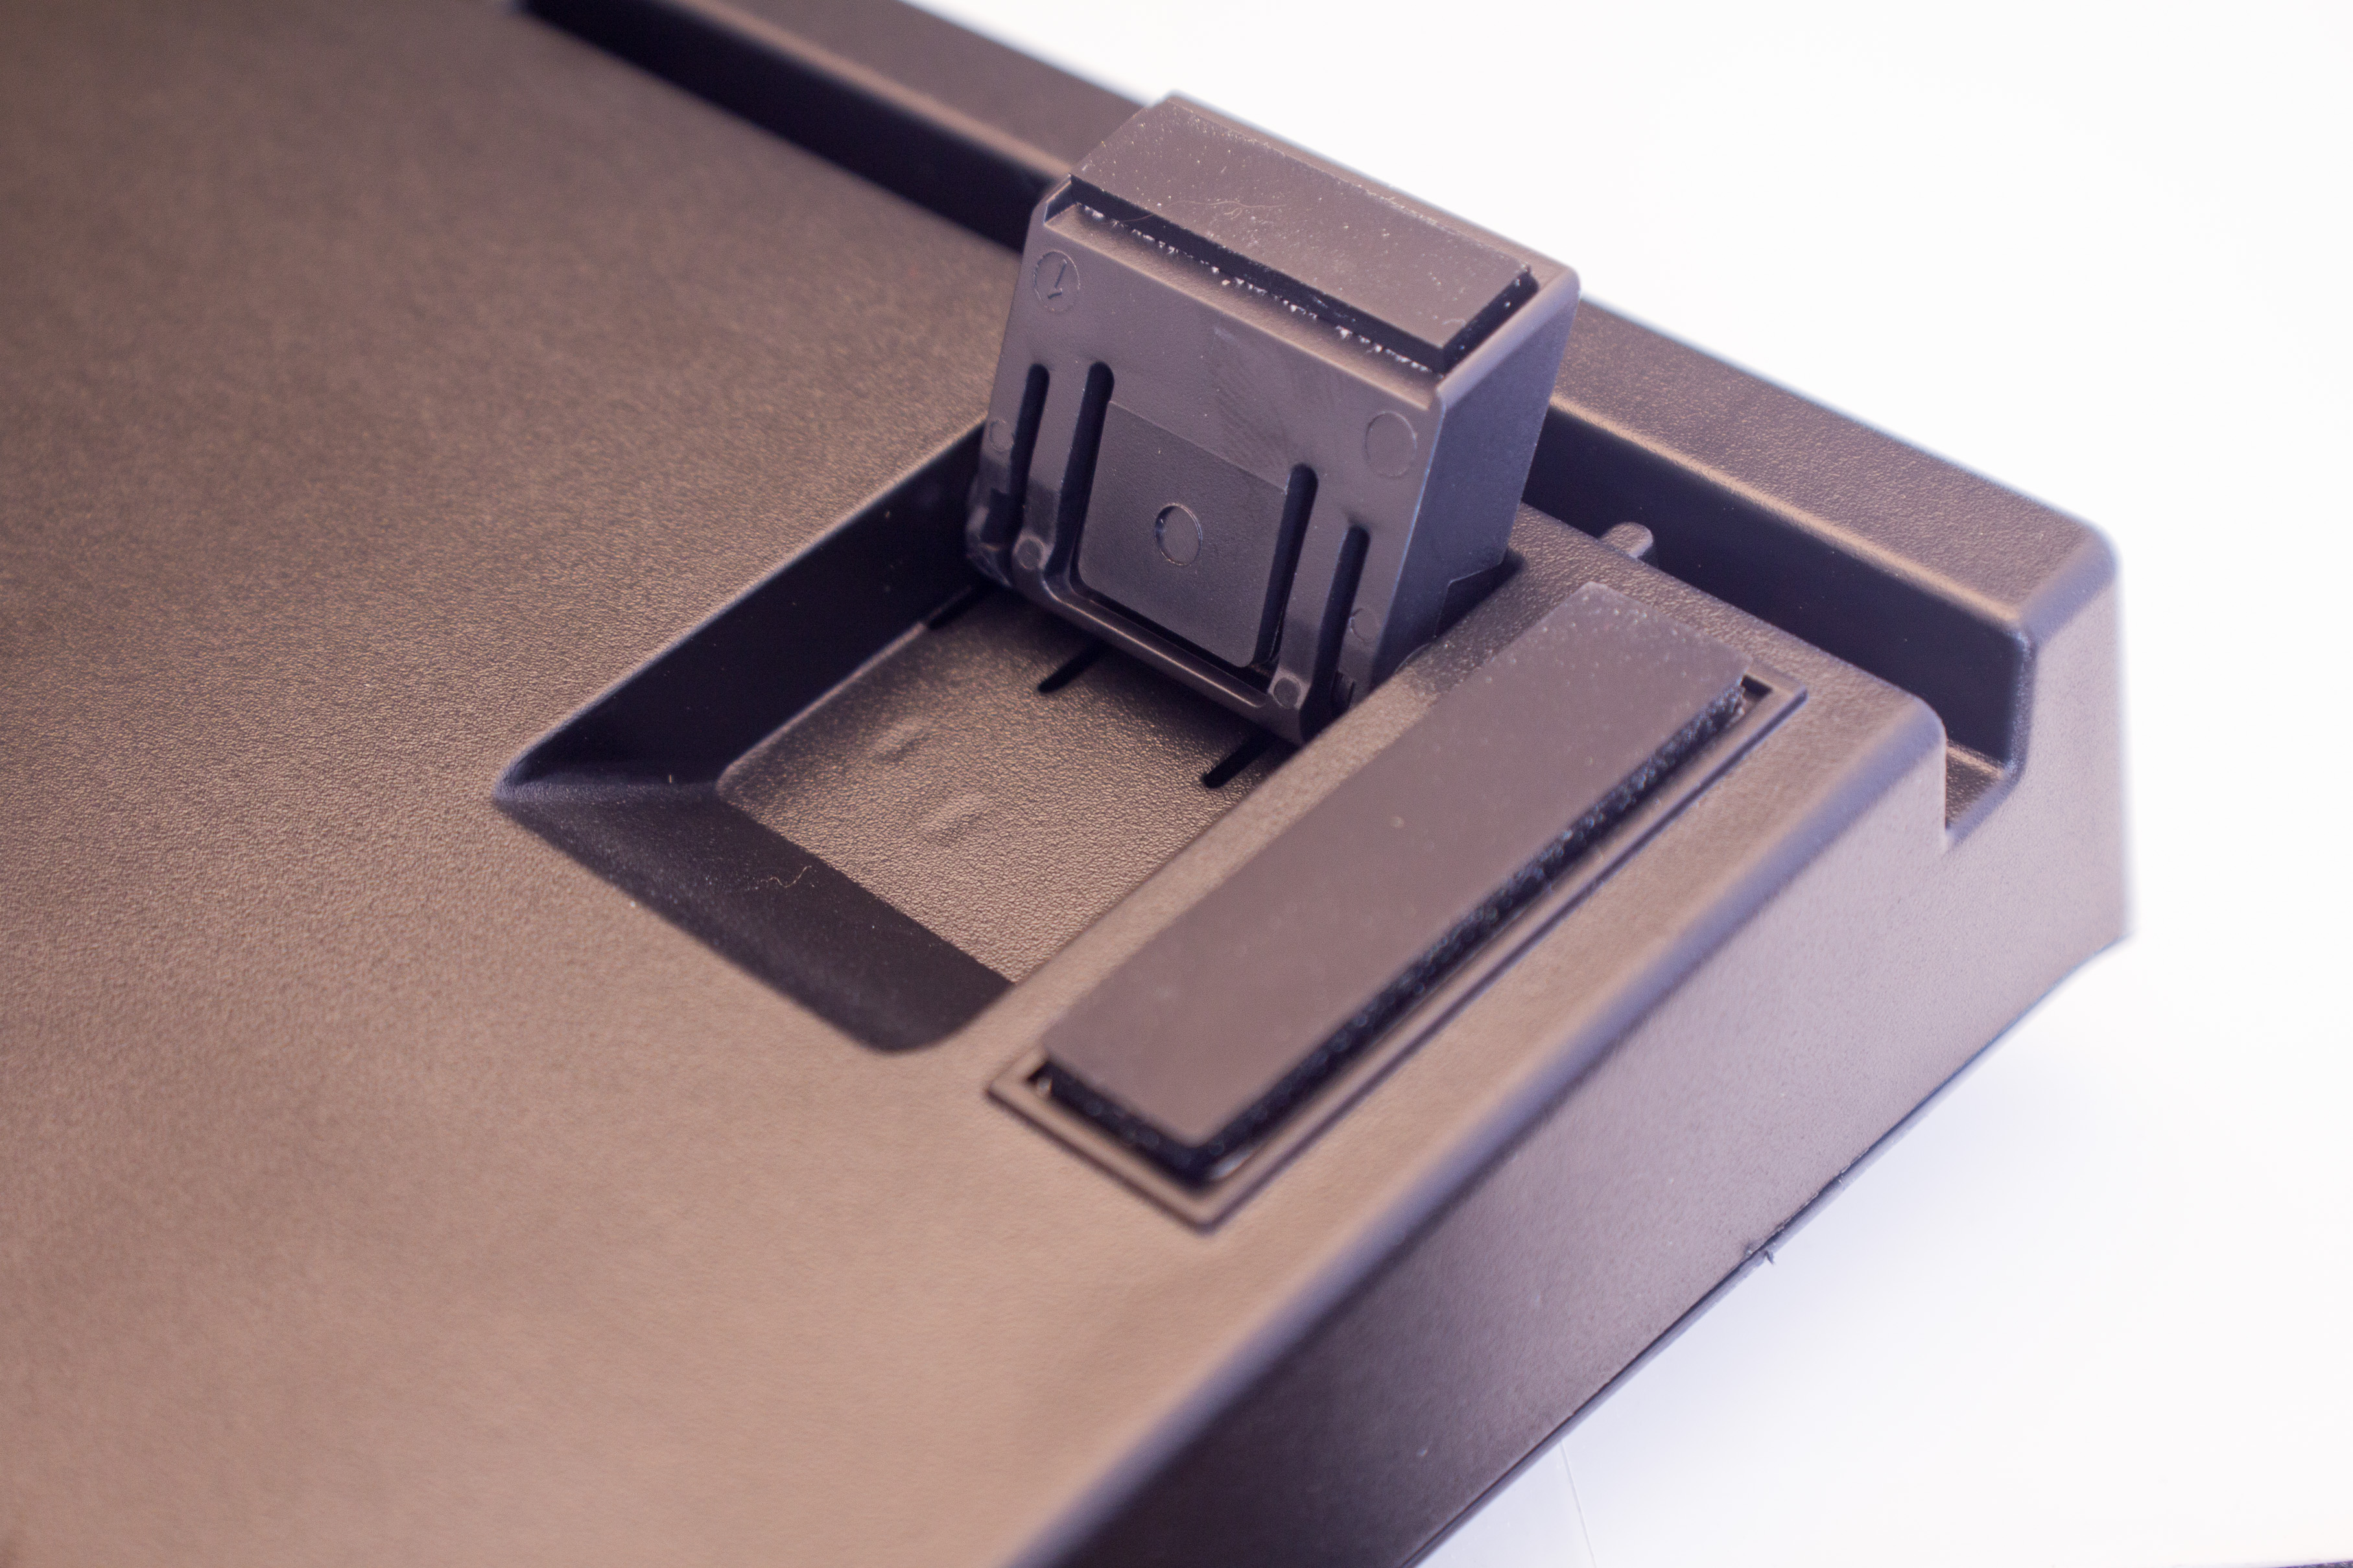
The switch and component soldering on the PCB are nice and clean. The braided cable is clamped down to the bottom case where it enters. Having the cable clamped to the case will help prevent any tugging on the exterior cable from pulling on the fragile clip where the cable connects to the PCB. After closely inspecting the internal build of the keyboard, I saw no red flags that would lead me to worry about the keyboard's lifespan.
Get Tom's Hardware's best news and in-depth reviews, straight to your inbox.