Tom's Hardware Verdict
Razer's Core V2 is an attractive option for users who want to turn their ultrabooks into gaming rigs, but you'll pay a hefty premium for the convenience.
Pros
- +
Excellent build quality and aesthetics
- +
Easy to use
Cons
- -
Expensive
- -
Not as fast as a gaming laptop with built-in GPU
Why you can trust Tom's Hardware Our expert reviewers spend hours testing and comparing products and services so you can choose the best for you. Find out more about how we test.
Introduction and Product Tour
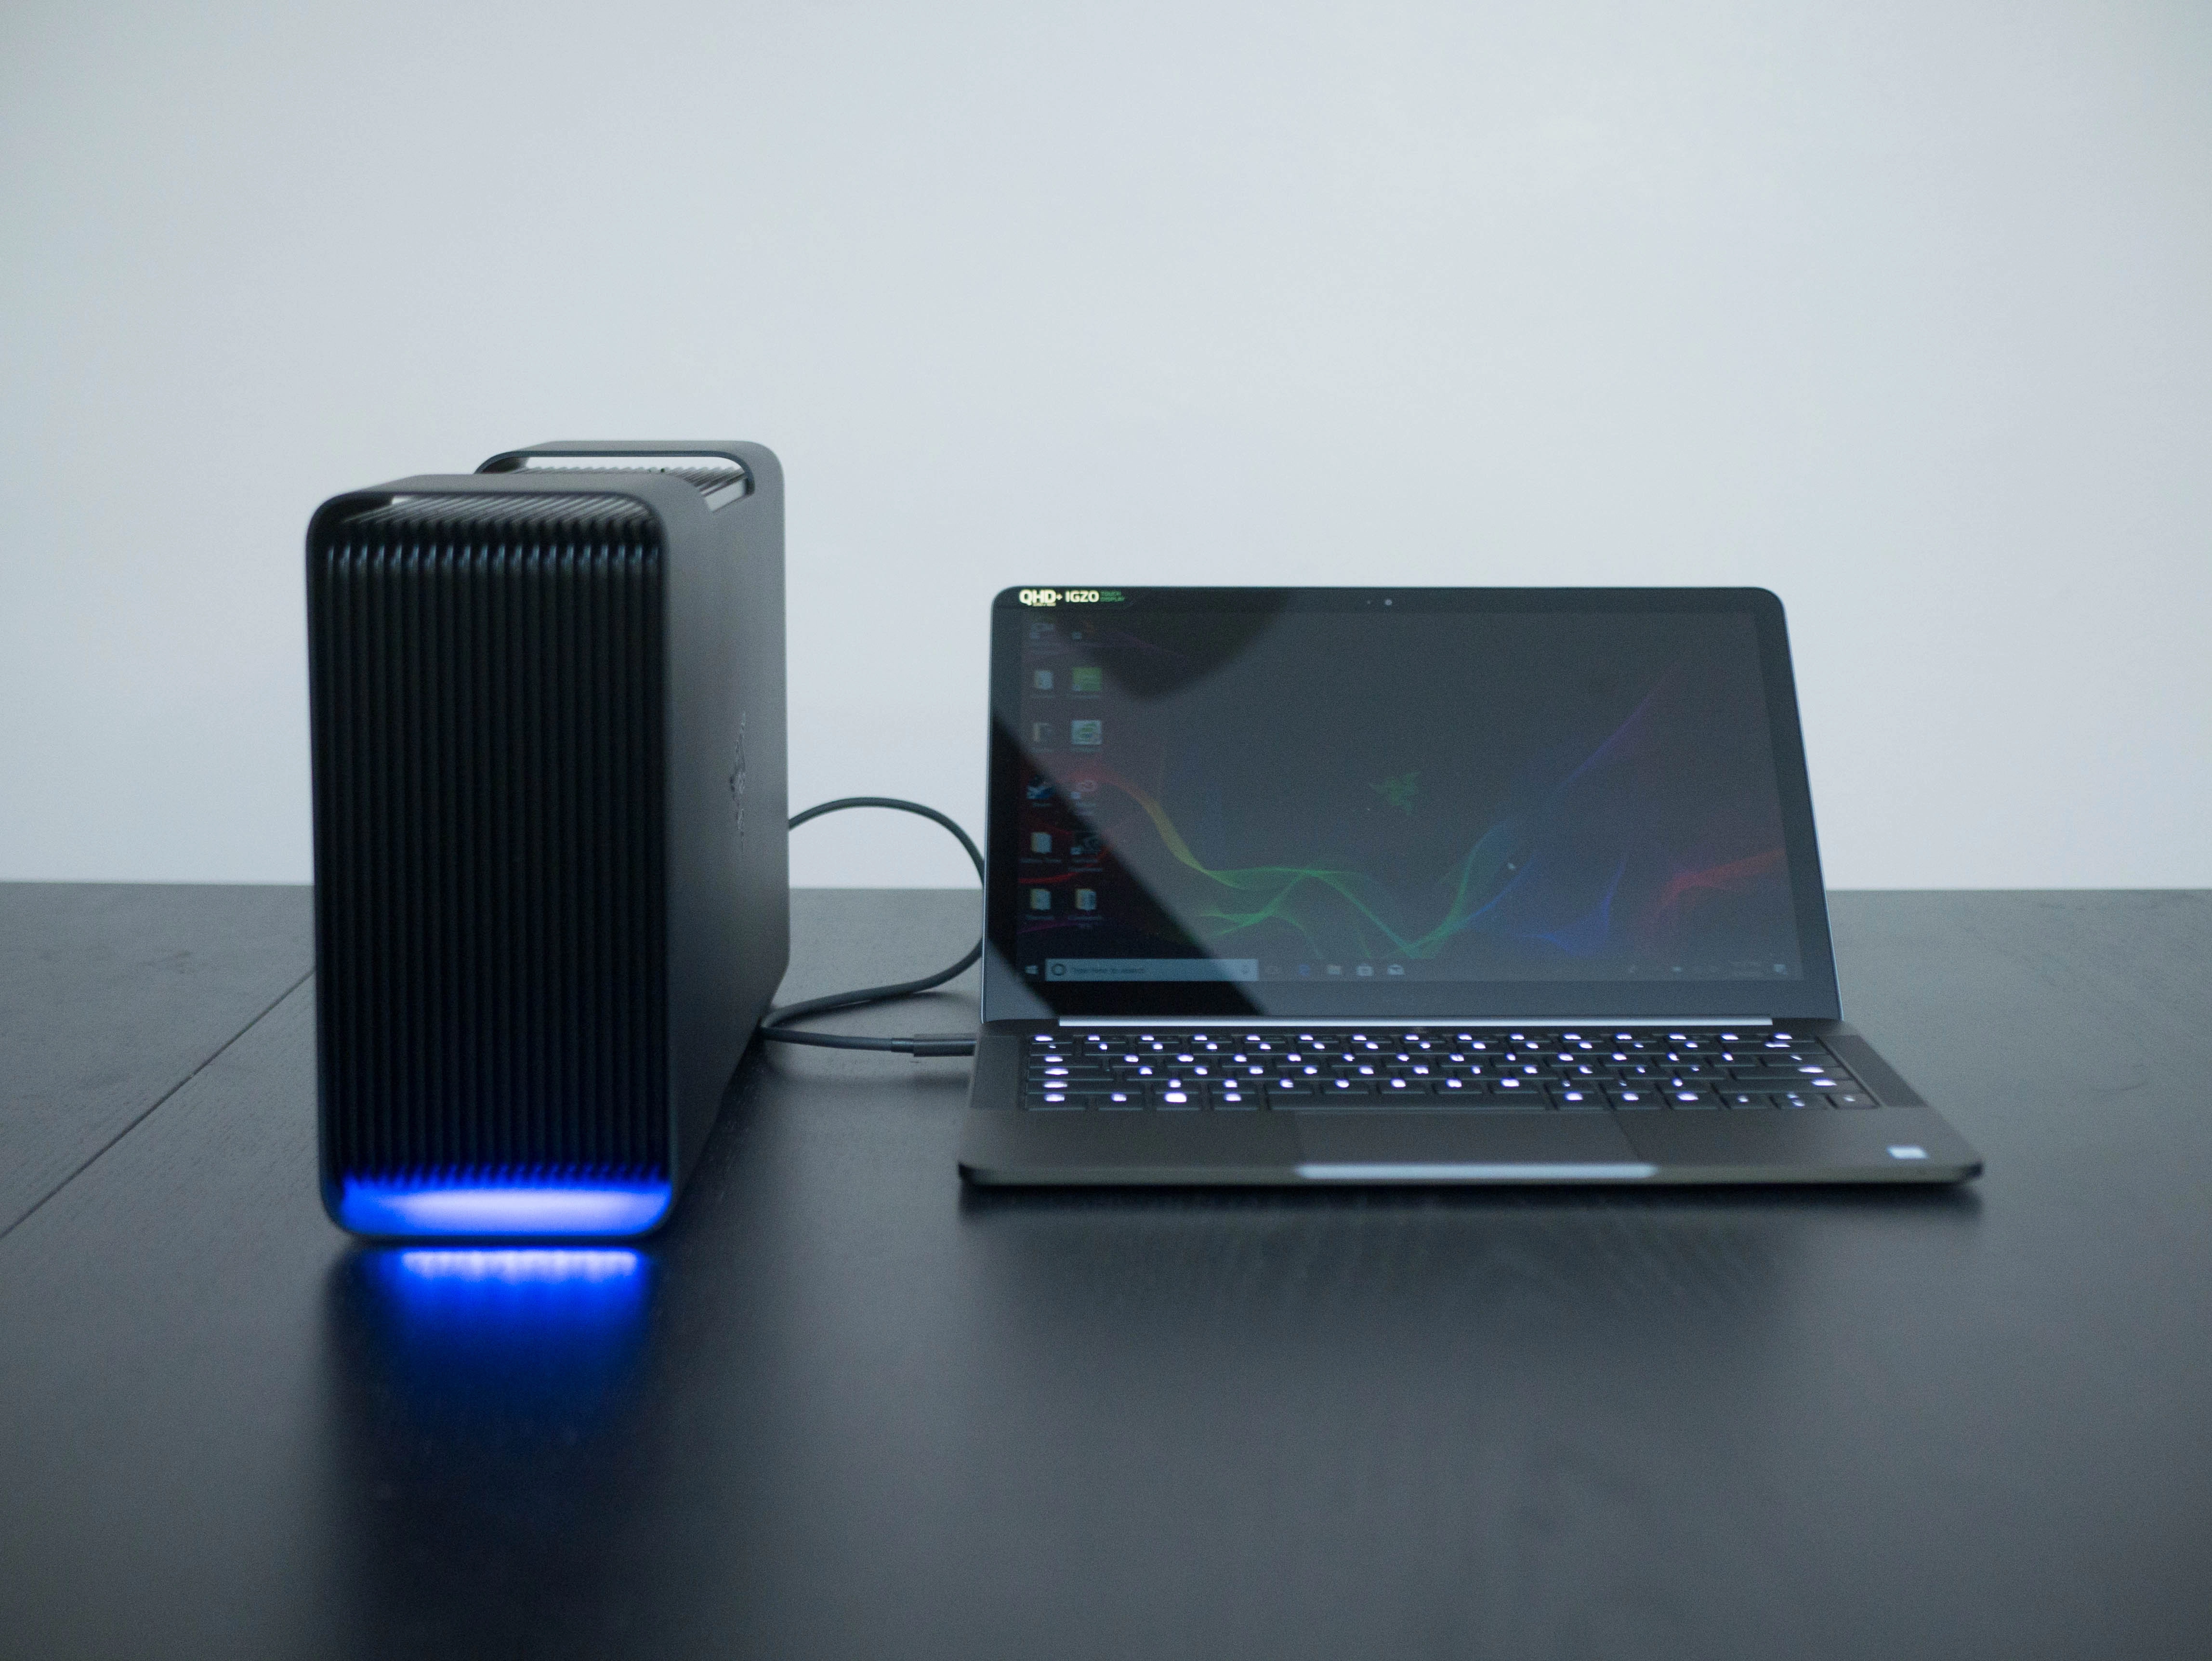
eGPUs (external GPU enclosures) promise the best of both worlds, allowing you to carry a thin-and-light laptop while you're on the road and then turn it into a gaming behemoth when you're at your desk. $499 (GPU not included), the Razer Core V2 can turn Thunderbolt 3-enabled laptops into bonafide gaming PCs, but competitors are significantly cheaper.
Specifications
| Input & Output | (4) USB 3.0, (1) Gigabit Ethernet 10/100/1000, (1) Thunderbolt 3 via Type-C |
| PC Requirements | Windows 10 64-bit with Thunderbolt 3 port |
| GPU Type | Single double-wide, full-length, PCI-Express x16 |
| Internal Power Supply | 500W |
| GPU Max Power Support | 375W |
| Dimensions (WxDxH) | 4.13 x 13.38 x 8.6 inches |
| Max Inner Dimensions | Length: 11.81 inches, Height*: 5.71 inches, Width: 1.69 inches |
| Weight | 7.7 lbs |
| Included Cables | Power Cable, Thunderbolt 3 cable |
* Height measured from top of PCIe connector to bottom of locking pin ramps
Exterior


Razer’s minimalist aesthetic and premium build quality are the Core V2’s highlights. The case is built out of solid aluminum with a matte, anodized finish. The aluminum is quite thick and hefty, and is wrapped into a single rectangular piece with soft corners. The left side features a cutout and a mesh grille, allowing your GPU fans to suck cool air. The opposite side features an engraving of Razer's company logo.


The top of the Core V2 features a wide cutout for additional airflow. The top grille consists of two layers; the top layer features thick, slotted vents, while the bottom layer has a honeycomb vent cut from a thinner piece of metal. The front of the Core V2 features a solid metal shroud with a slotted design complimenting the top vent. The bottom of the slotted front shroud has small openings to allow the Core V2’s RGB lighting to peer through. Finally, the bottom of the Core V2 features two large rubber feet to keep the chassis stable.
Interior


Accessing the interior GPU dock is as simple as can be. The rear folding handle acts as a locking mechanism; pulling the handle out releases the lock, allowing you to pull the GPU dock out. The handle is made of solid metal, and every bit as hefty as the rest of the Core V2. However, the finish isn’t as refined as the anodized aluminum exterior.


The first time you release the Core V2’s GPU dock, you’ll be presented with a thick, GPU-sized foam pad featuring a GPU sizing guide with simple installation instructions. For reference, your graphics card must be 11.81 x 5.71 x 1.69 inches at most, including the amount of space needed for the 8-pin power cords. Removing the foam pad reveals a small motherboard, which contains the PCIe x16 slot.


The bulk of the Core V2’s internal space is taken up by the 500W Enhance Electronics power supply. The rear of the power supply has an AC power cord leading to the rear I/O ports. Two 8-pin PCIe power cords connect from the power supply to the motherboard, providing power to the Core V2 and the connected GPU. Additionally, whichever laptop you pair with the Core V2 will receive power via Thunderbolt 3.

The Razer Core V2’s rear I/O ports consist of a Type-C port supporting Thunderbolt 3, four USB 3.0 ports, one gigabit Ethernet port, and an AC power input. Additional video ports will be dependent on your graphics card.


The bottom of the interior dock features a slotted vent similar to the top and front of the Core V2’s exterior chassis. The vent contains three fans to keep the motherboard cool.


To the left of the motherboard you’ll find an aluminum shield shield secured by a hand screw; you’ll need to remove this before installing your GPU.


Two additional 8-pin PCIe power cables extend from the right of the motherboard and wrap upward. There are two velcro strips near the end of the power supply to keep the PCIe cables stable.

If you want to remove your GPU, you’ll have to flip the GPU release lock, which can be accessed from behind the power supply.
Software
The Razer Core V2 is compatible with all Razer laptops out of the box, but it will support any Thunderbolt 3-enabled laptop with external graphics support. Furthermore, your laptop must have all of the latest Thunderbolt 3 drivers, up-to-date graphics drivers, and Windows 10. If your laptop has a discrete graphics card, you’ll need to download the GPU Switcher software from Razer’s website to allow the dock to work seamlessly.


The Core V2 has two RGB LED lighting strips: one beneath the front shroud and one next to the GPU. If you have Razer Synapse installed on your laptop, you can adjust the Core V2’s lighting effects. Effects include spectrum cycling, breathing, wave, and static light. If you have Razer peripherals such as a Chroma V2 keyboard or Naga Epic mouse, the lighting can be synced via Razer Chroma. Attaching a Chroma supported Razer laptop such as the Blade or black Blade Stealth will sync the RGB keyboard with Core V2's lighting.
MORE: Best Graphics Cards
MORE: Desktop GPU Performance Hierarchy Table
MORE: Best Gaming Laptops