Supermicro Gaming S5 ATX Case Review
Supermicro isn't typically associated with gaming products. However, the company's Gaming S5 ATX is riding a reputation for solid construction in the server business, hoping to attract enthusiast customers as well.
Why you can trust Tom's Hardware
Interior Tour And Building
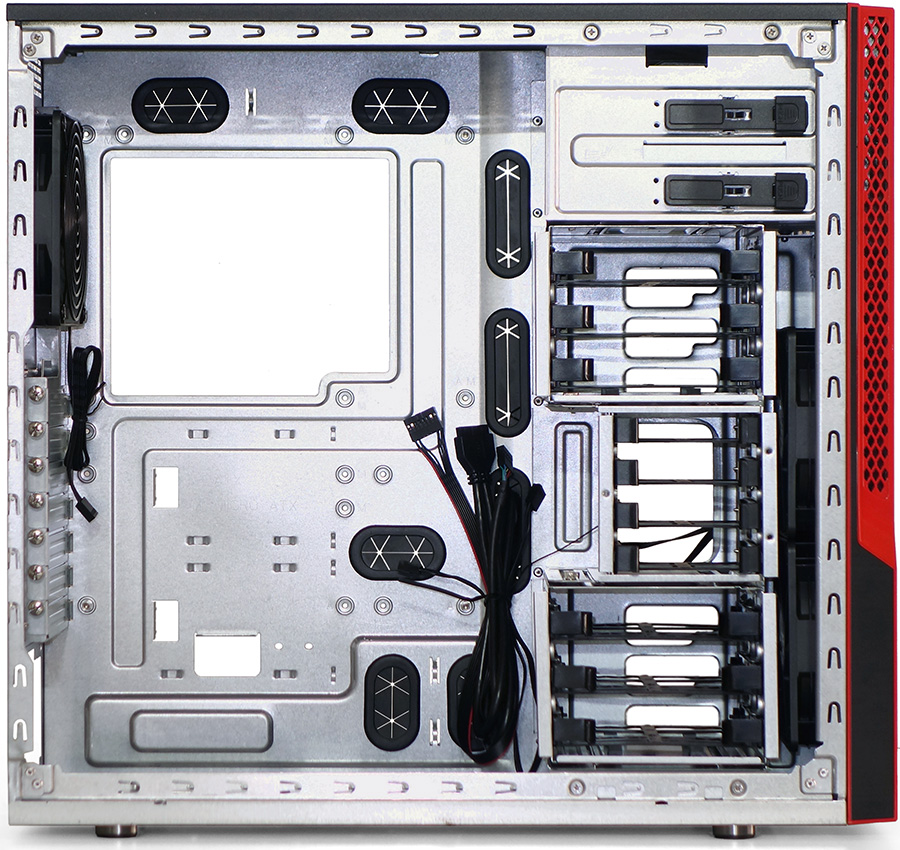
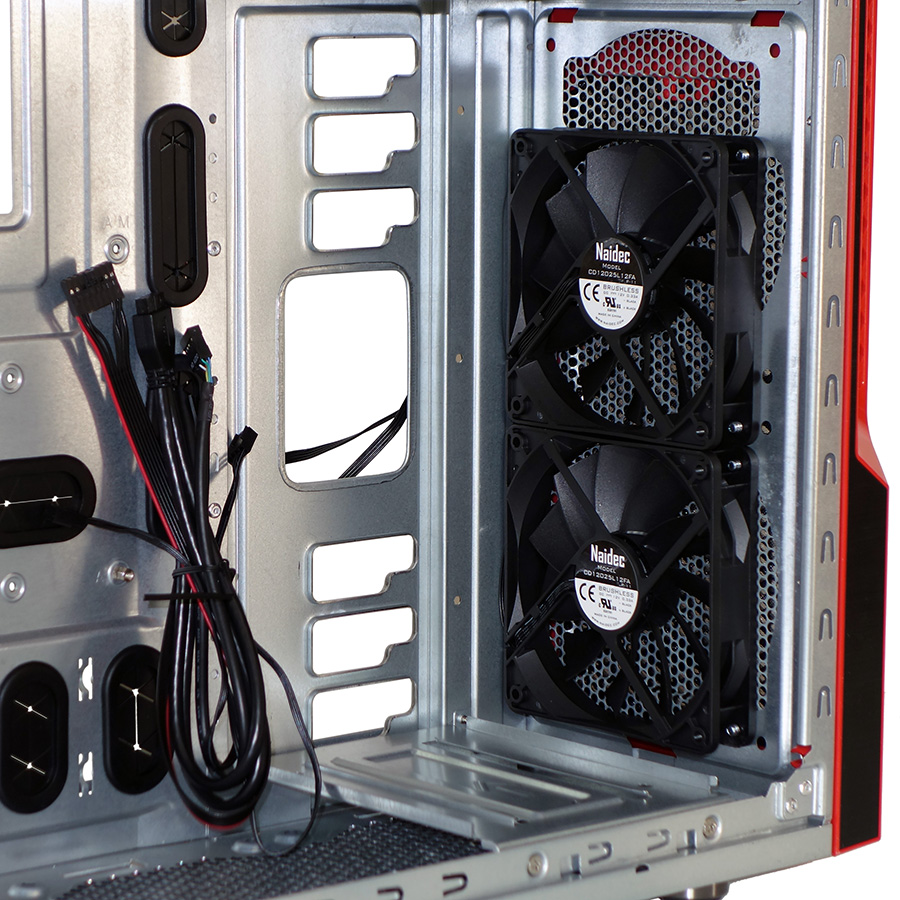
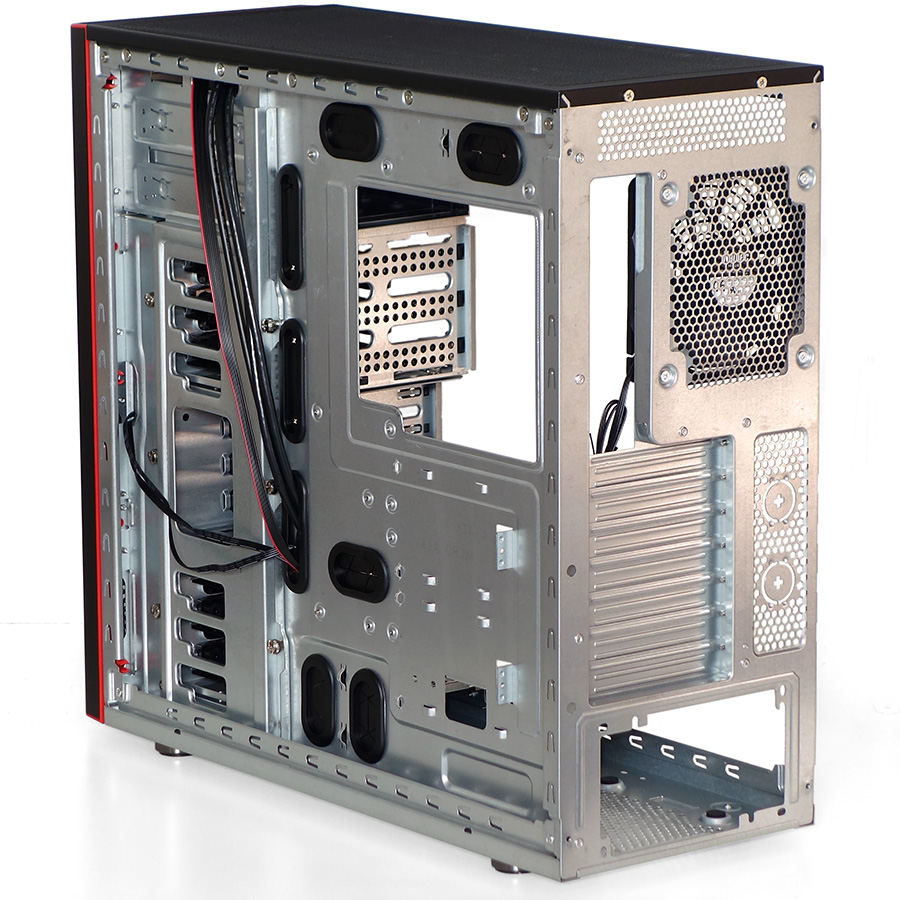
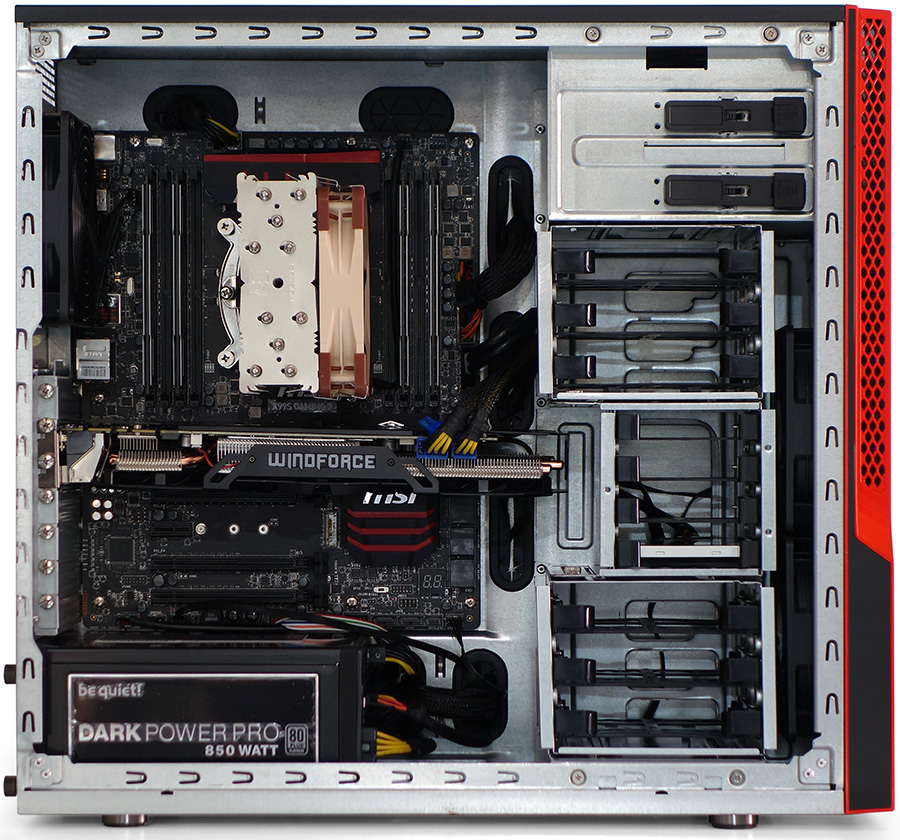
The Gaming S5 officially supports motherboards up to 10” wide behind its three modular drive cages. Grommets dress up cable passage holes above, in front of and below the motherboard, and an extra hole behind an ATX-sized board allows cleaner cable management on microATX boards.
By default, the 2.5” drive cage is centered between 3.5” cages. Though that fact doesn’t fit neatly into the previous page's dimensions table, it allows the placement of expansion cards up to 12.6”-long in slots two through five. That is, until you move things around.
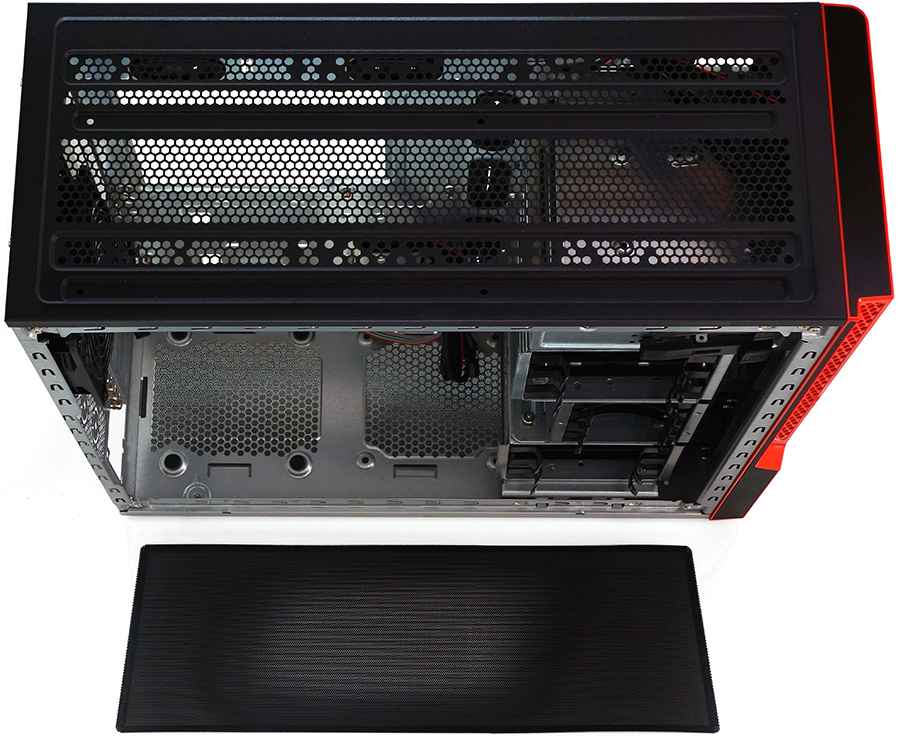
Covered by a magnetically-attached mesh sheet, the S5's top panel supports multiple spacing options for up to three 140mm or 120mm fans. Though you won’t find space for the end caps of radiators with three 140mm fans, a 3x120mm configuration fits down the center thanks partly to the top panel’s two inches of motherboard clearance. Thicker radiators can be offset to the left side, though upper drive bays limit this location to a 2x120mm length.
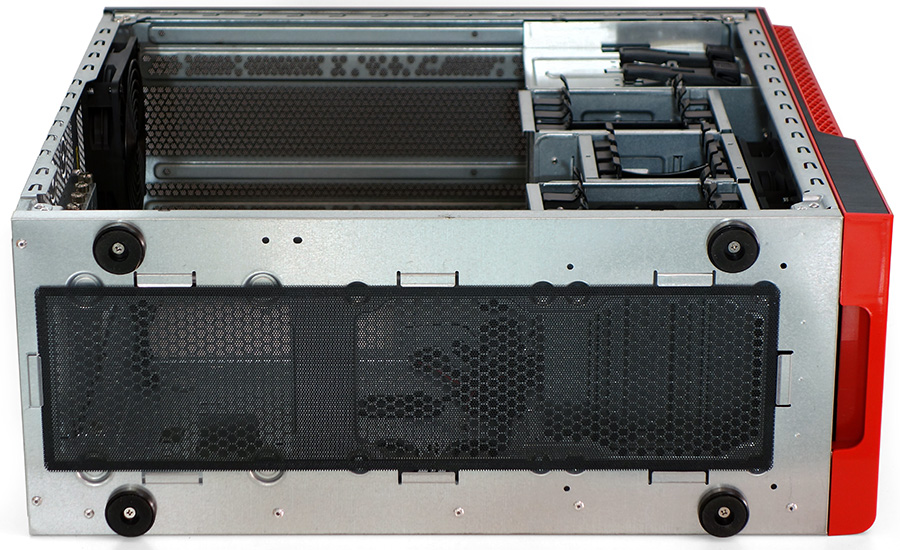
The same type of mesh that covers top-panel vents also filters dust at the power supply and lower fan inlets. Users with standard-sized power supplies (PS2 form factor) could potentially put a 2x120mm radiator here, though most high-capacity power units are too long to allow this.
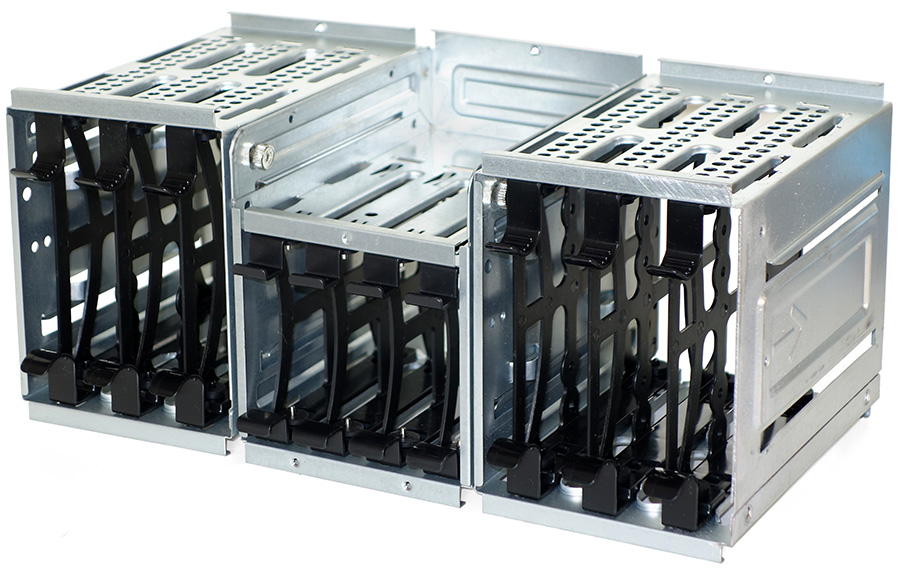
Removing a drive cage extends maximum card length to 16.5”. A modular design allows these to be stacked any way you wish. Using slide tabs, a single cage can be hung from the top or secured to the base, and a screw at the front of each cage prevents it from sliding out.
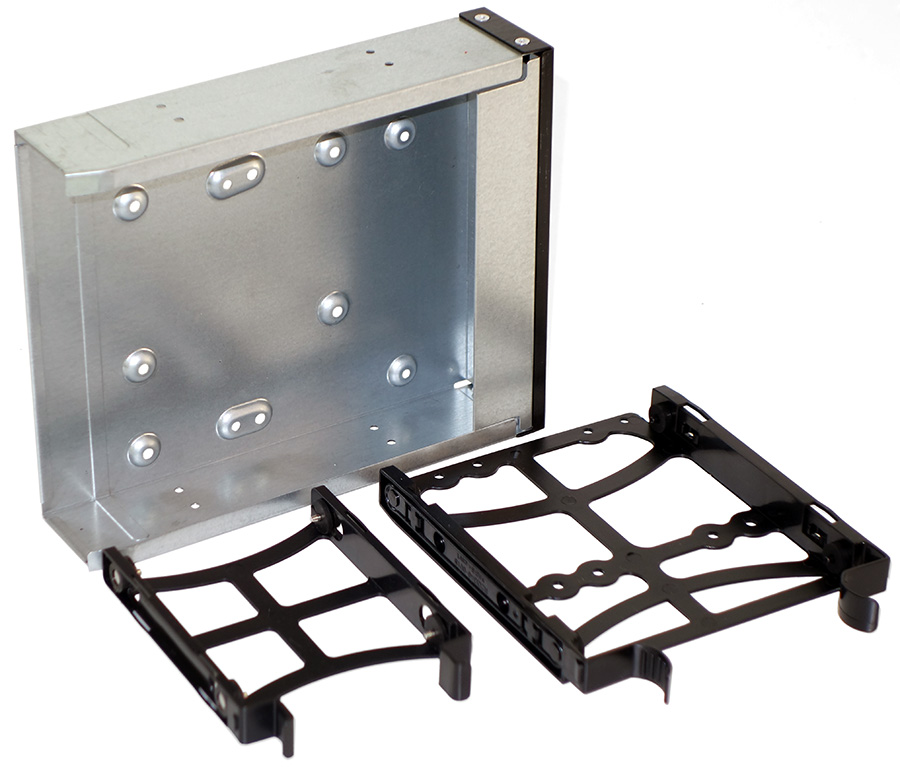
Slides for the lowest drive cage engage a screw-in tray. Removing the tray provides access to the forward bottom-panel fan mount, and is required for fitment of a front-panel radiator. Users who don’t need any of the drive cages and can use a relatively short power supply will find room for up to three radiators!
Front-panel bay adapters make it possible for some builds, especially gaming machines, to get by without the drive cages. Mounting patterns for 3.5” and 2.5” drives are found behind the black-anodized brushed-aluminum face plate.
Get Tom's Hardware's best news and in-depth reviews, straight to your inbox.
Screw-free mounting pins are found on both 3.5” and 2.5” trays, and additional 2.5” drives can be screwed onto 3.5” trays.
The Gaming S5 has enough space behind its motherboard tray to accommodate an ATX/EPS main power lead, along with other cables. But its access holes are very small. We found it necessary to remove the grommet if we wanted to route a 24-pin connector behind the tray. Fortunately, the grommet can be stretched around that connector once it's removed.
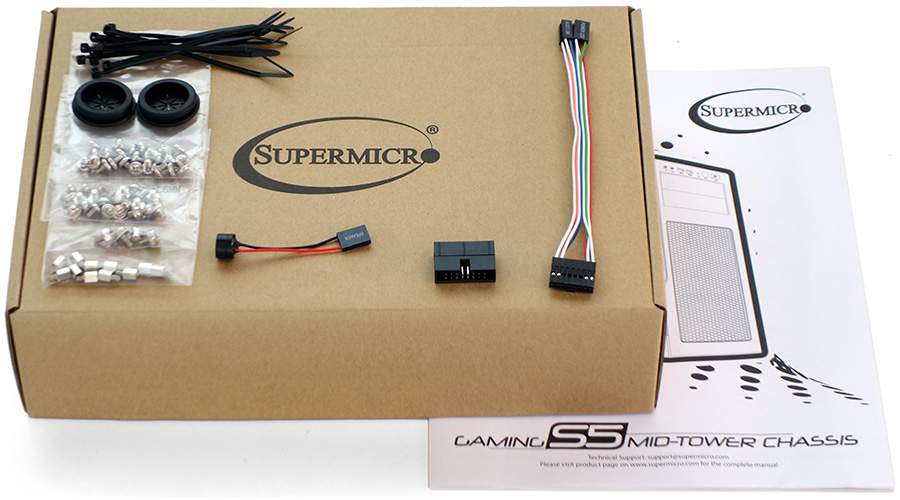
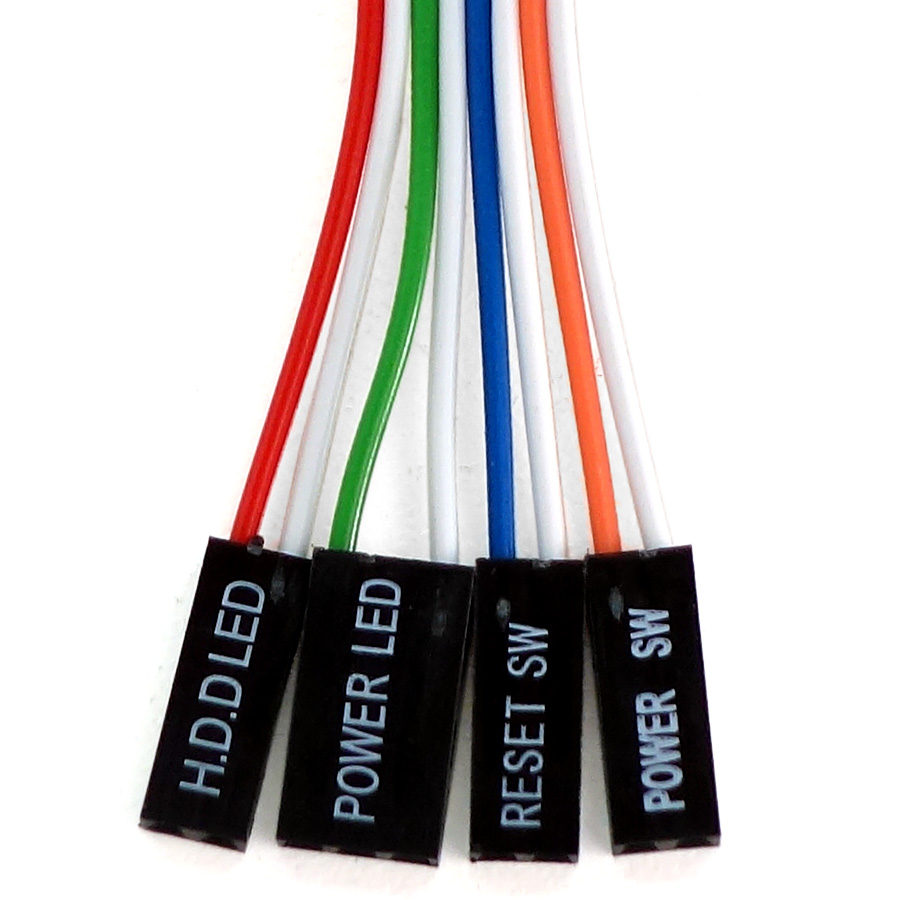
In addition to the expected screw kit and grommets to replace the two rear-panel knock-outs, Supermicro adds a front-panel header adapter for motherboards from other vendors. That's because the case’s stock cable is designed exclusively for Supermicro platforms.
Most motherboards (apart from Asus and Supermicro) use the Intel-specified nine-pin front-panel LED/switch header, which places power LED wires adjacently. Carried over from the old AT form factor and retained by Asus, Supermicro’s adapter spaces these pins three positions apart. Splitting the connector allows it to fit both standard and Asus front-panel headers.
An ATX motherboard (12” x 9.6”) fits nicely, but oversized platforms like the 12” x 10.7” MSI X99S XPower AC I like to use would block access to cable passages along the front edge. That could be a big deal for many high-end builders, since a lot of enthusiast-oriented motherboards are similarly oversized.
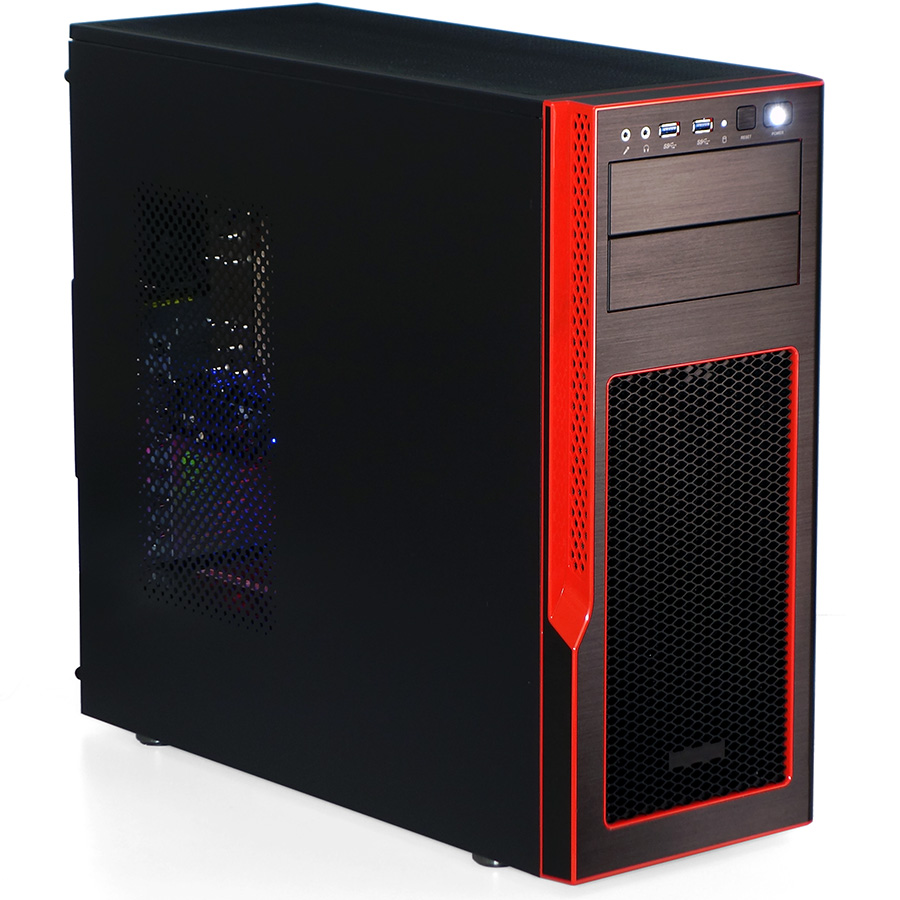
The finished build looks clean and stylish. But the side-panel vent is a little worrisome concerning noise. Let’s find out if Gaming S5 results can overcome those worries!
-
someguynamedmatt It makes me happy to see SuperMicro getting into the consumer chassis market! I'm a huge fan of their other hardware, and this has some potential... let's hope to see some more refined updates in the future! First-gen products are always with their issues.Reply
Thoughts:
Paint the interior black instead of zinc'ing it (this isn't a server or a Dell from 2004), sleeve the front panel connections or at least make them black, widen the access holes, offer other colors for the front bezel other than red (silver/maybe gunmetal). Cut the top drive cage in half and engineer up some way to include a 2x2.5" drive cage under the 5.25" bays for an SSD/HDD when all of the cages are removed for watercooling; it would easily fit with those two 120mm fans being used. Maybe add a windowed side panel option or at least a better mounting mechanism on those thin panels. Maybe put sound dampening material in a few locations? The right panel isn't typically a serious offender, but thin-gauge sheets are really going to be prone to passing through any noise. These are all just a few things I think could be done to make this a better product; not saying they SHOULD be done, but it's just an idea. Constructive criticism! -
Crashman Reply
LOL, I love bright interiors because they let me see what I'm doing more easily. I love color-coded cables because they let me see what I'm doing more easily. Practicality says that everyone in the case modding community is wrong because they are :p15751713 said:It makes me happy to see SuperMicro getting into the consumer chassis market! I'm a huge fan of their other hardware, and this has some potential... let's hope to see some more refined updates in the future! First-gen products are always with their issues.
Thoughts:
Paint the interior black instead of zinc'ing it (this isn't a server or a Dell from 2004), sleeve the front panel connections or at least make them black, widen the access holes, offer other colors for the front bezel other than red (silver/maybe gunmetal)...Constructive criticism!
We see the same thing in the car community with tires that have such short sidewalls that the wheels hop at every bump, and smash the rims at any medium-sized pothole. A "performance enthusiast" would say no, if he really were a "performance enthusiast" :D
Cable sleeves work though, since they let me see the color at the end of the cable. People used to say that sleeves were necessary to keep the wires from flopping around loosely and getting snagged on things, but those same people now demand individually-sleeved wires because (drumrole please) they're wrong. Having said that, I'd accept an arctic white interior and a single white sleeve over each cable bunch to match the interior, as long as the little bit of cable sticking out of the end is still properly color-coded :)
Perhaps I'm being too practical. -
shrapnel_indie ReplyMaybe you won’t put a $400 board in a sub-$100 case, but I’m sure someone will try.
Talk about resellers up pricing products from MSRP.... Sub $100 case? the provided Amazon links (as of when I type this) show a price practically double that "sub" mark. ($199.99)
Oh yeah... makes it look like you get a bigger discount when they do drop the prices a Jefferson, Lincoln, Hamilton, or Jackson below MSRP as a "sale" price. -
Crashman Reply
Our link system isn't always practical is it? I found this one for $94 at Newegg.15751819 said:Maybe you won’t put a $400 board in a sub-$100 case, but I’m sure someone will try.
Talk about resellers up pricing products from MSRP.... Sub $100 case? the provided Amazon links (as of when I type this) show a price practically double that "sub" mark. ($199.99)
Oh yeah... makes it look like you get a bigger discount when they do drop the prices a Jefferson, Lincoln, Hamilton, or Jackson below MSRP as a "sale" price.
-
synphul The $200 pricetag is way over the top. Even at $94, that puts it right in line with the enthoo pro at $99. That's the first thing I thought of when I saw this case, right down to the included 'extras' box and hdd sleds which look almost identical. Except the enthoo is painted inside and out, comes with a psu cover (windowed version), comes with nicer dust filters etc. I agree, granted it's not a windowed case so less of an issue but no paint inside it looks like something from dell circa 1990's. At $94 it might be for some folks, at $200 they get blown out of the water by a lot of nicer cases.Reply -
Crashman Reply
http://www.newegg.com/Product/Product.aspx?Item=N82E16811152588Now at $95. I can't talk about the Enthoo anything because they never sent one.15752298 said:The $200 pricetag is way over the top. Even at $94, that puts it right in line with the enthoo pro at $99.
-
jimmysmitty Reply15751734 said:
LOL, I love bright interiors because they let me see what I'm doing more easily. I love color-coded cables because they let me see what I'm doing more easily. Practicality says that everyone in the case modding community is wrong because they are :p15751713 said:It makes me happy to see SuperMicro getting into the consumer chassis market! I'm a huge fan of their other hardware, and this has some potential... let's hope to see some more refined updates in the future! First-gen products are always with their issues.
Thoughts:
Paint the interior black instead of zinc'ing it (this isn't a server or a Dell from 2004), sleeve the front panel connections or at least make them black, widen the access holes, offer other colors for the front bezel other than red (silver/maybe gunmetal)...Constructive criticism!
We see the same thing in the car community with tires that have such short sidewalls that the wheels hop at every bump, and smash the rims at any medium-sized pothole. A "performance enthusiast" would say no, if he really were a "performance enthusiast" :D
Cable sleeves work though, since they let me see the color at the end of the cable. People used to say that sleeves were necessary to keep the wires from flopping around loosely and getting snagged on things, but those same people now demand individually-sleeved wires because (drumrole please) they're wrong. Having said that, I'd accept an arctic white interior and a single white sleeve over each cable bunch to match the interior, as long as the little bit of cable sticking out of the end is still properly color-coded :)
Perhaps I'm being too practical.
Everyone has a preference. I personally cannot do a case without a black interior because it just doesn't look as clean to me in the end.
I have also come to notice that even when black, the front panel connectors are the same layout. If the writing is on the front it will face downwards.
I guess I just love my 500R. It is probably the best case I have ever bought. I just hope they make a 500R V2 with a few improvements to layout. -
firefoxx04 " Now at $95. I can't talk about the Enthoo anything because they never sent one.'Reply
You dont have to talk about it, everyone else already covered it.. and it smokes all cases at $100... At least when it comes to almost full tower size. -
Dark Lord of Tech I own the Enthoo Pro , got mine from newegg for $89.00 when they were first released , fantastic value.Reply
