How to Fix Ghosting in 3D Prints
Avoid duplicate details and shadows in 3D prints
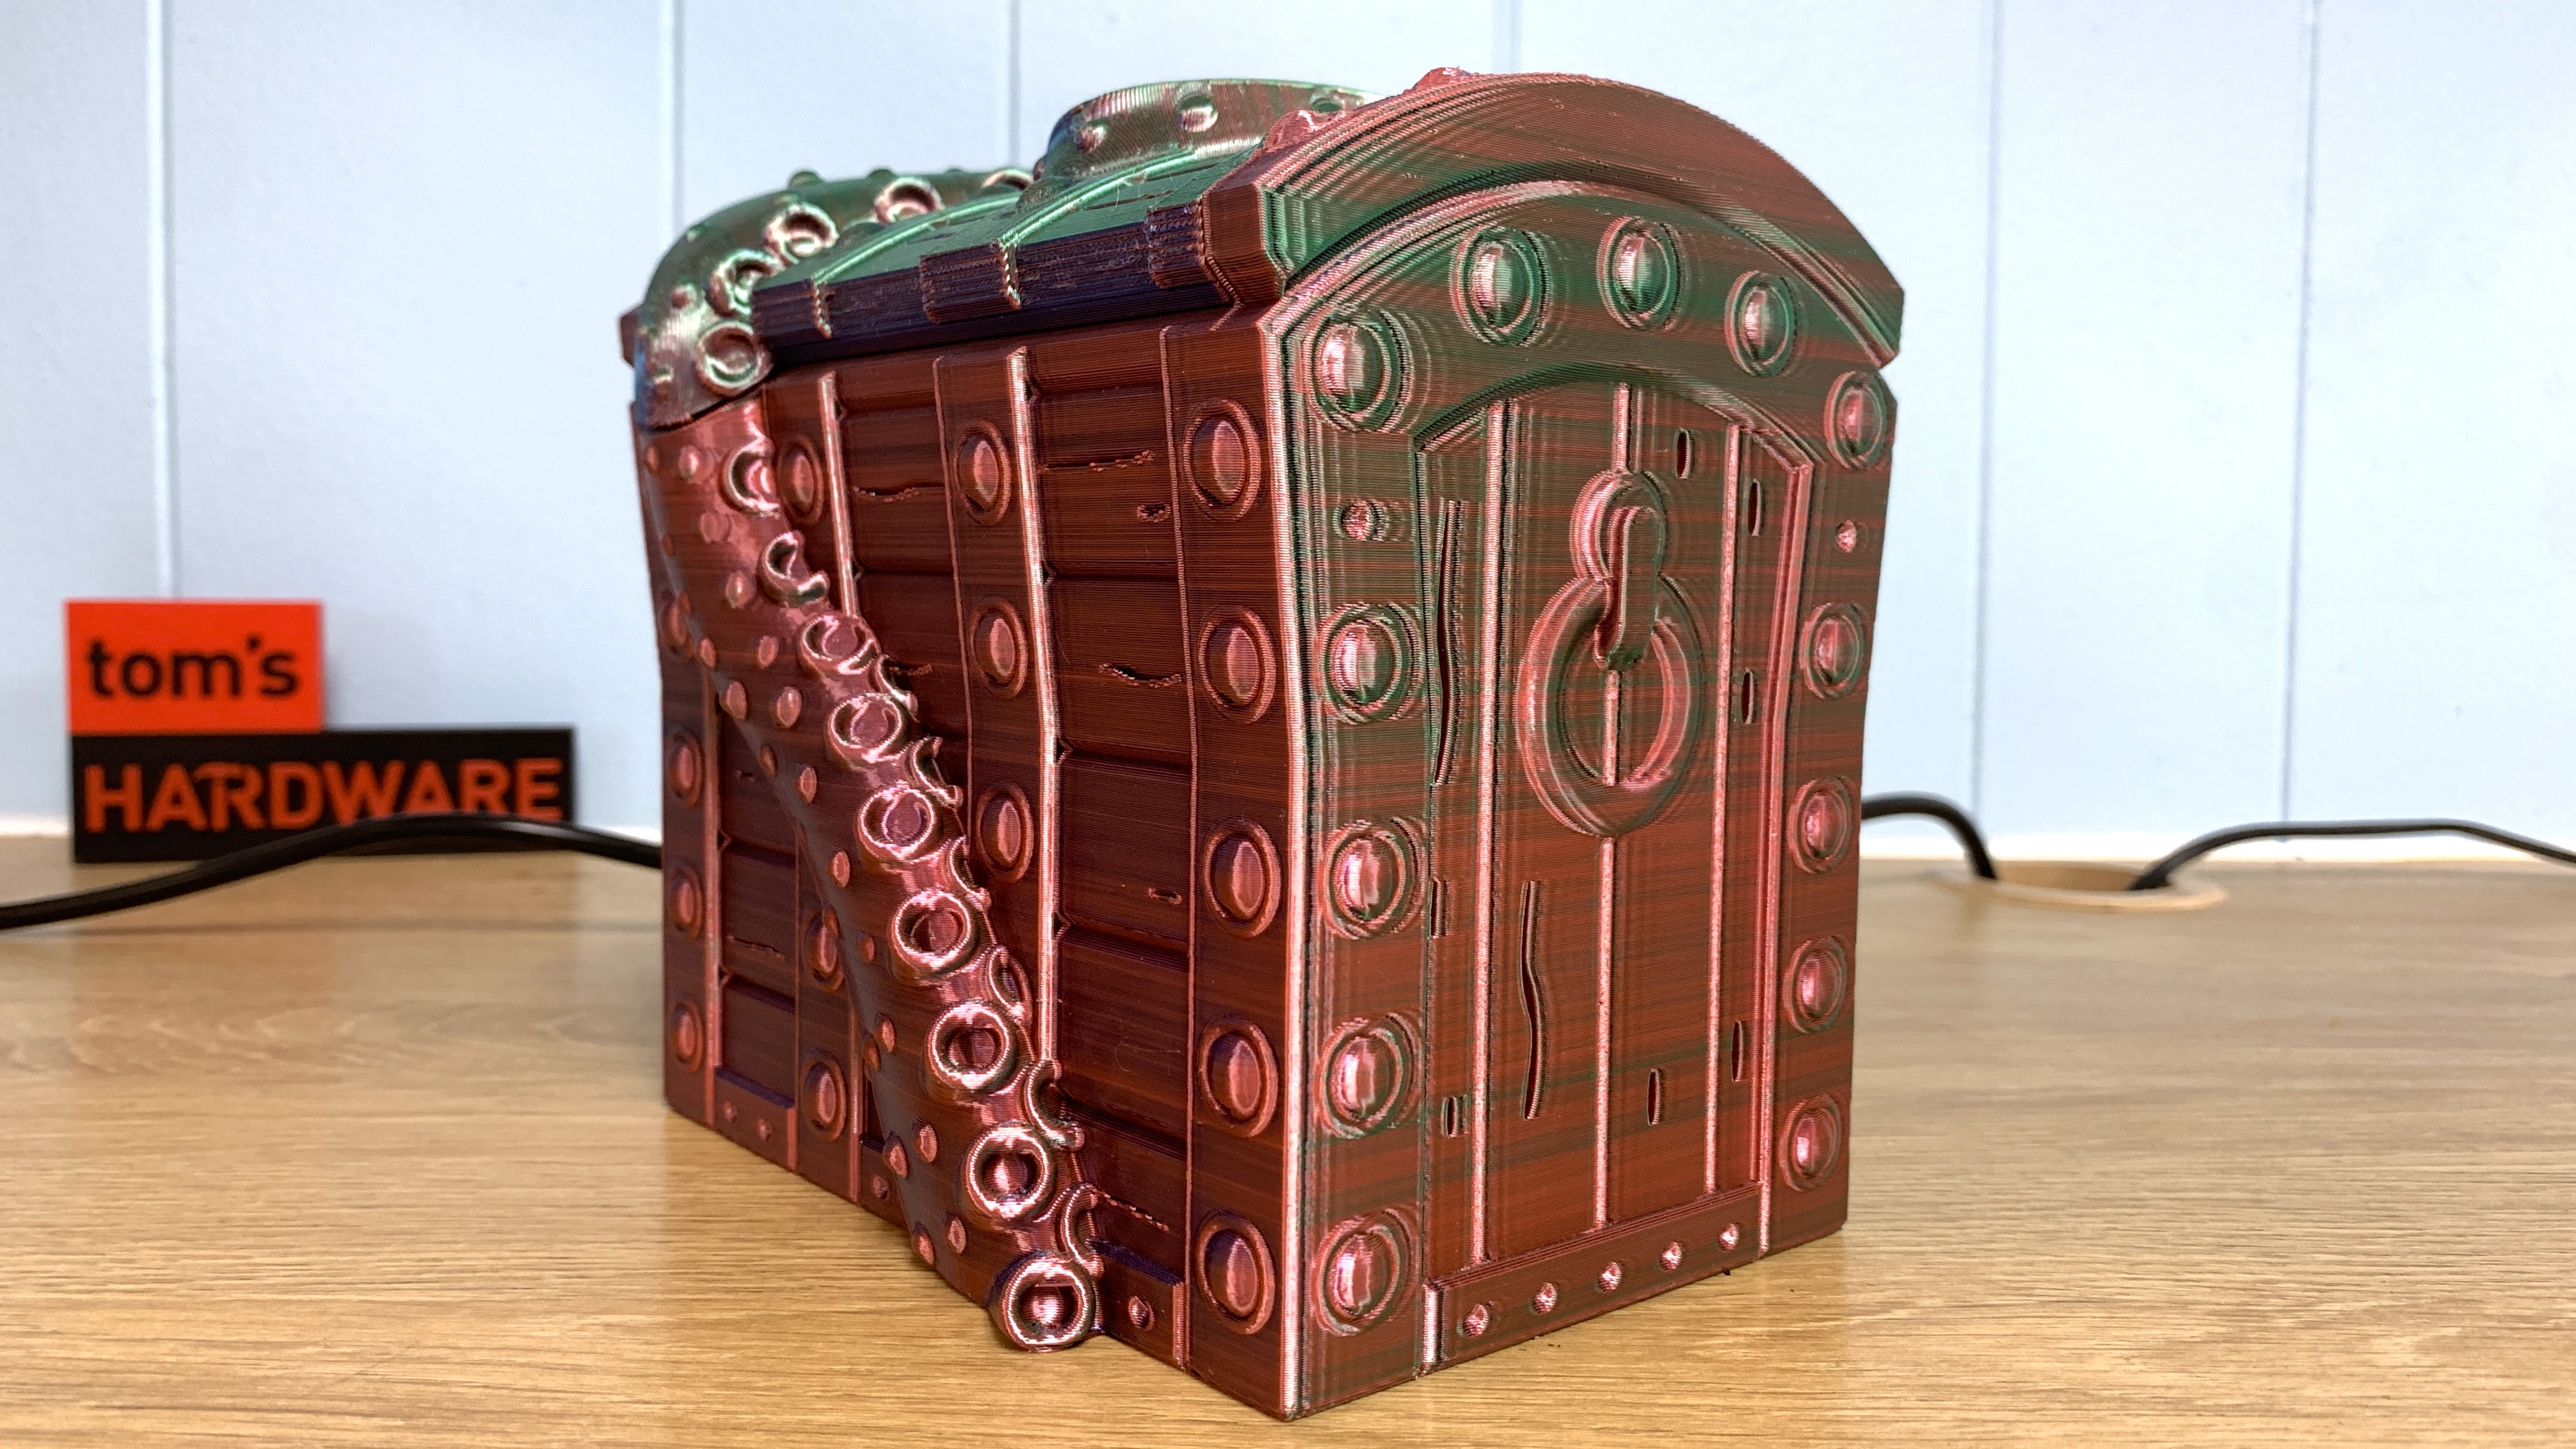
If you see wavy patterns or shadow-like lines in your print sections, it might have suffered from ghosting. Ghosting or ringing affects the visual appearance of the design as blurred or duplicated lines may appear on the edges, faces, or even corners, making it harder to achieve a smooth and uniform surface finish.
The issue can result from many factors, and one of the leading causes is vibrations as the printhead moves from one place to another, especially when it pauses and resumes and changes direction. Loose frames, belts, and bolts can also result in the issue, as slight movement can make the printhead lose direction. High 3D printing speed and acceleration settings can also result in the issue, and below, we describe the key things you need to consider to address the issue.
1. Reduce the Printing Speed
Even though using fast printing speeds can help you finish the process quickly, they can also cause the moving parts of the 3D printer to experience vibrations. When you reduce the speed, these vibrations are minimized, and you have smoother and more controlled movements.
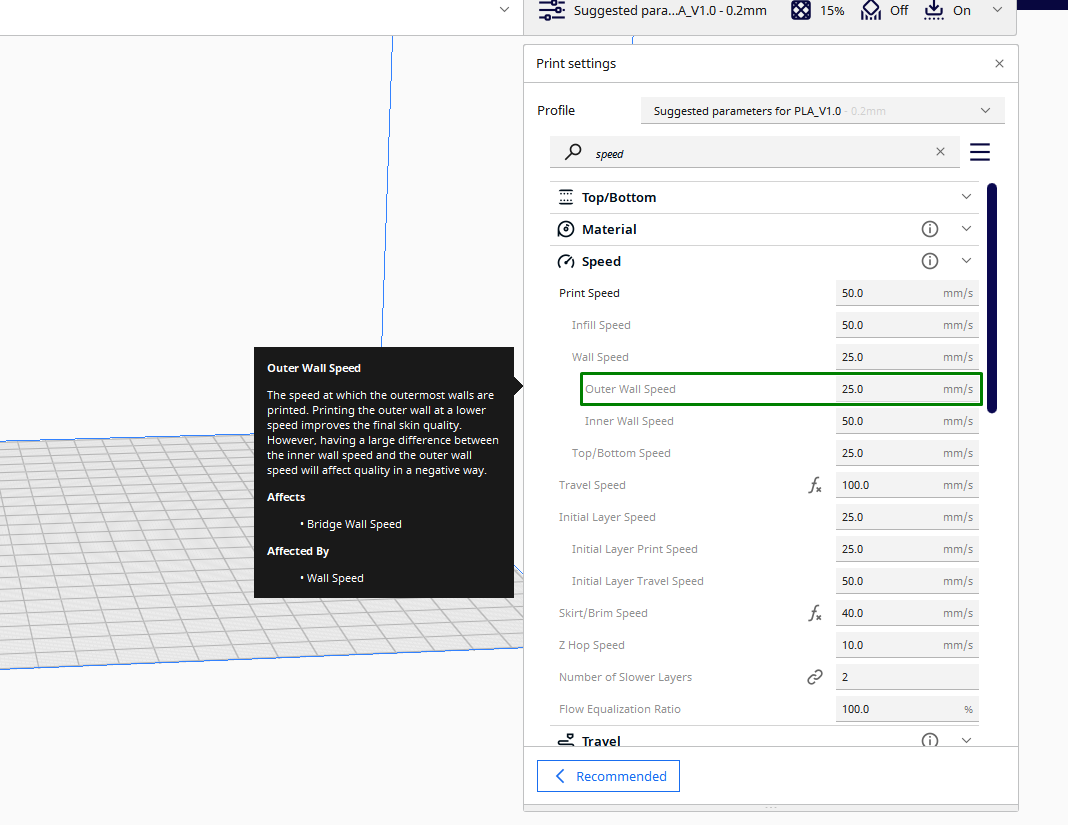
Most of the best 3D printers allow you to control the speed in the 3D printer slicer. The speed settings that you need to adjust are the printing speed and the outer wall speed. The optimal printing speed is usually between 50-60mm/s, and beyond that, it can result in issues.
If you are 3D printing at that speed and you face the issue, you can reduce it in small increments until you achieve the perfect value. The outer perimeter speed, on the other hand, is the speed at which the 3D printer moves when printing the outermost perimeter of the object.
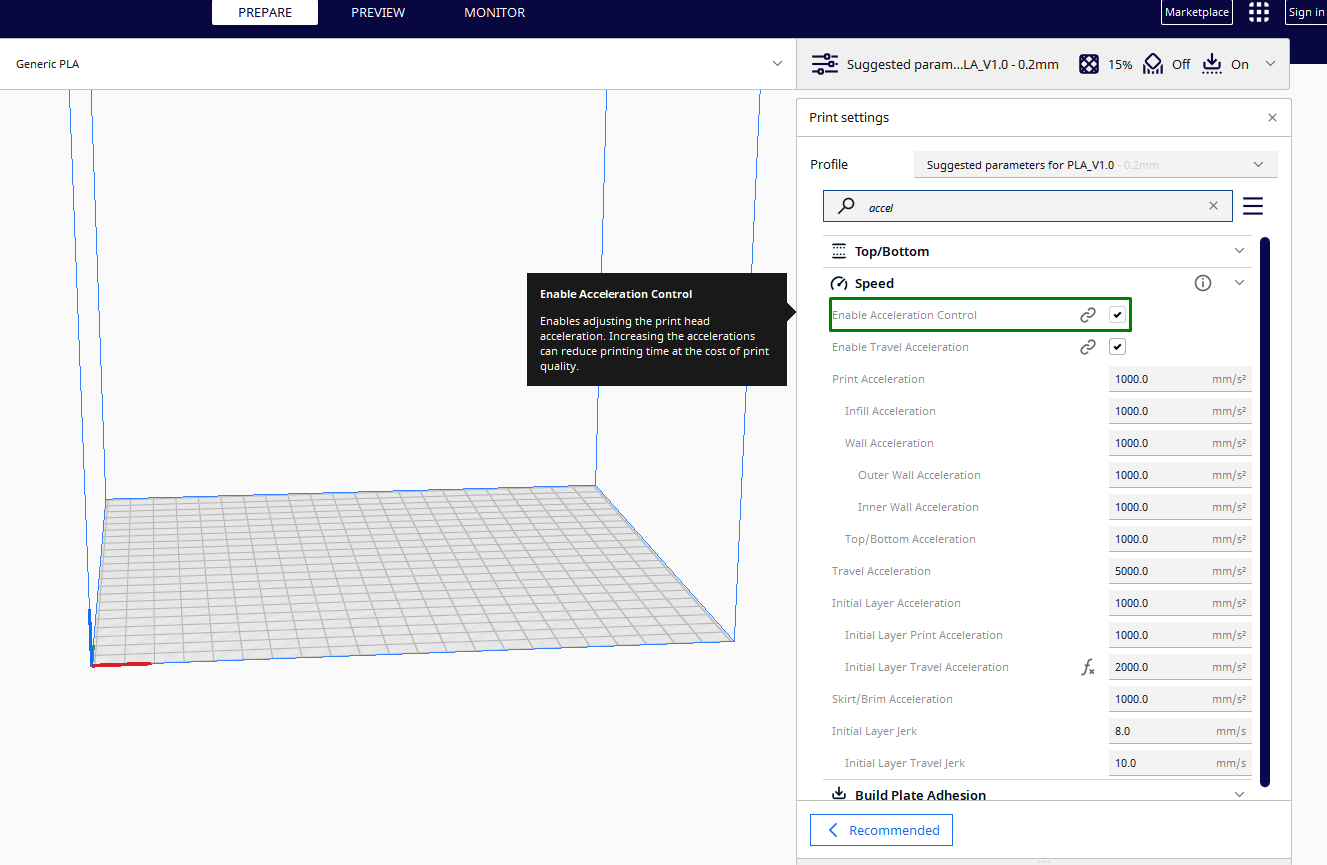
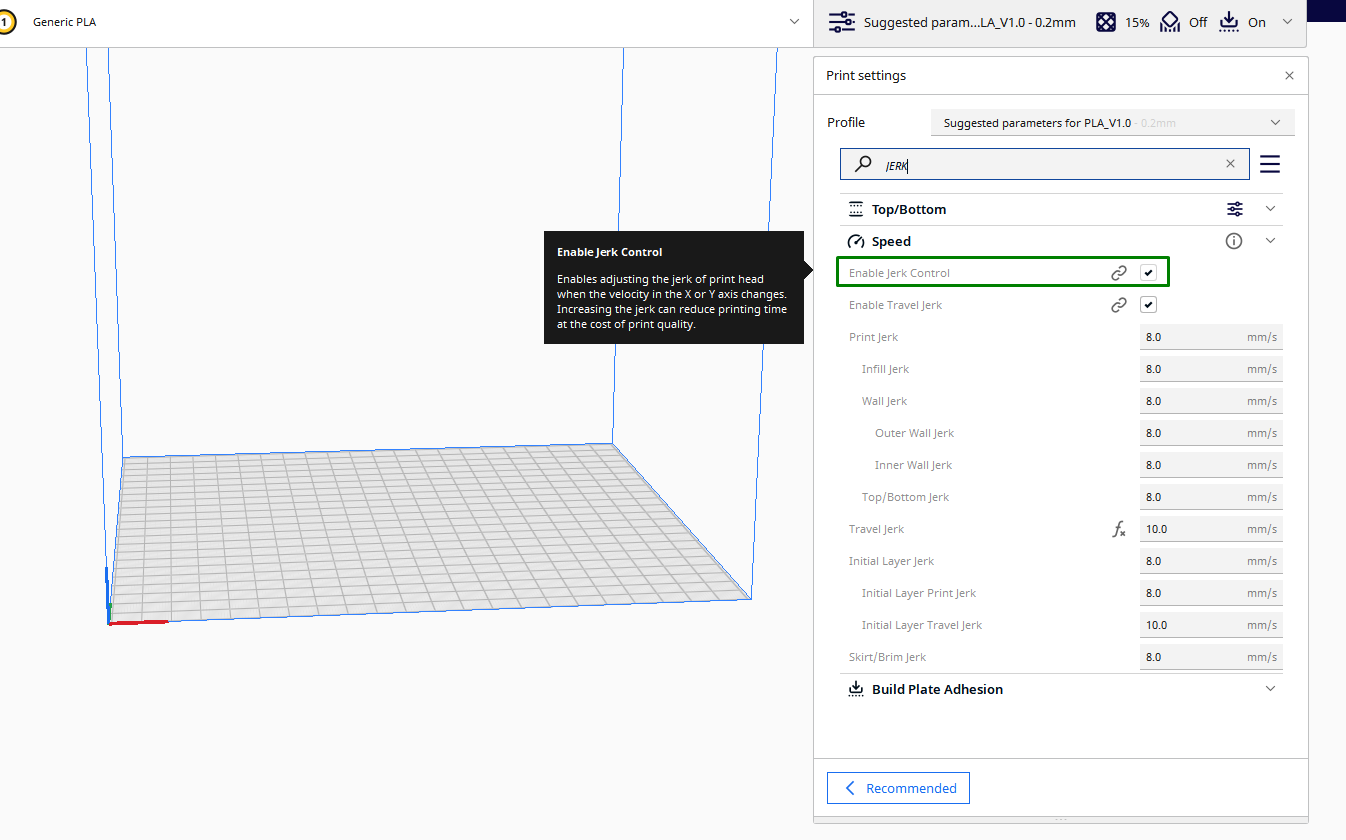
The outer perimeter is one of the places that is usually susceptible to ghosting, and by reducing the speed, you will decrease the vibrations that contribute to the issue. In addition to general 3D printing speed and outer wall speed, you should also enable and lower acceleration and jerk settings. These settings determine how quickly the printer accelerates and decelerates when changing the direction during the printing process. If it moves or changes direction quickly, it might cause vibrations. Check the Enable Acceleration Control box in the speed section to enable acceleration.
The default print acceleration is 1000mm/s, and you can reduce it to around 900 and see if it solves the issue. You can enable jerk settings by checking the Enable Jerk Control box.
Get Tom's Hardware's best news and in-depth reviews, straight to your inbox.
You can adjust it gradually too, until you achieve the optimal value.
2. Properly Tighten the Frame, Belt, Bolts, and Nuts
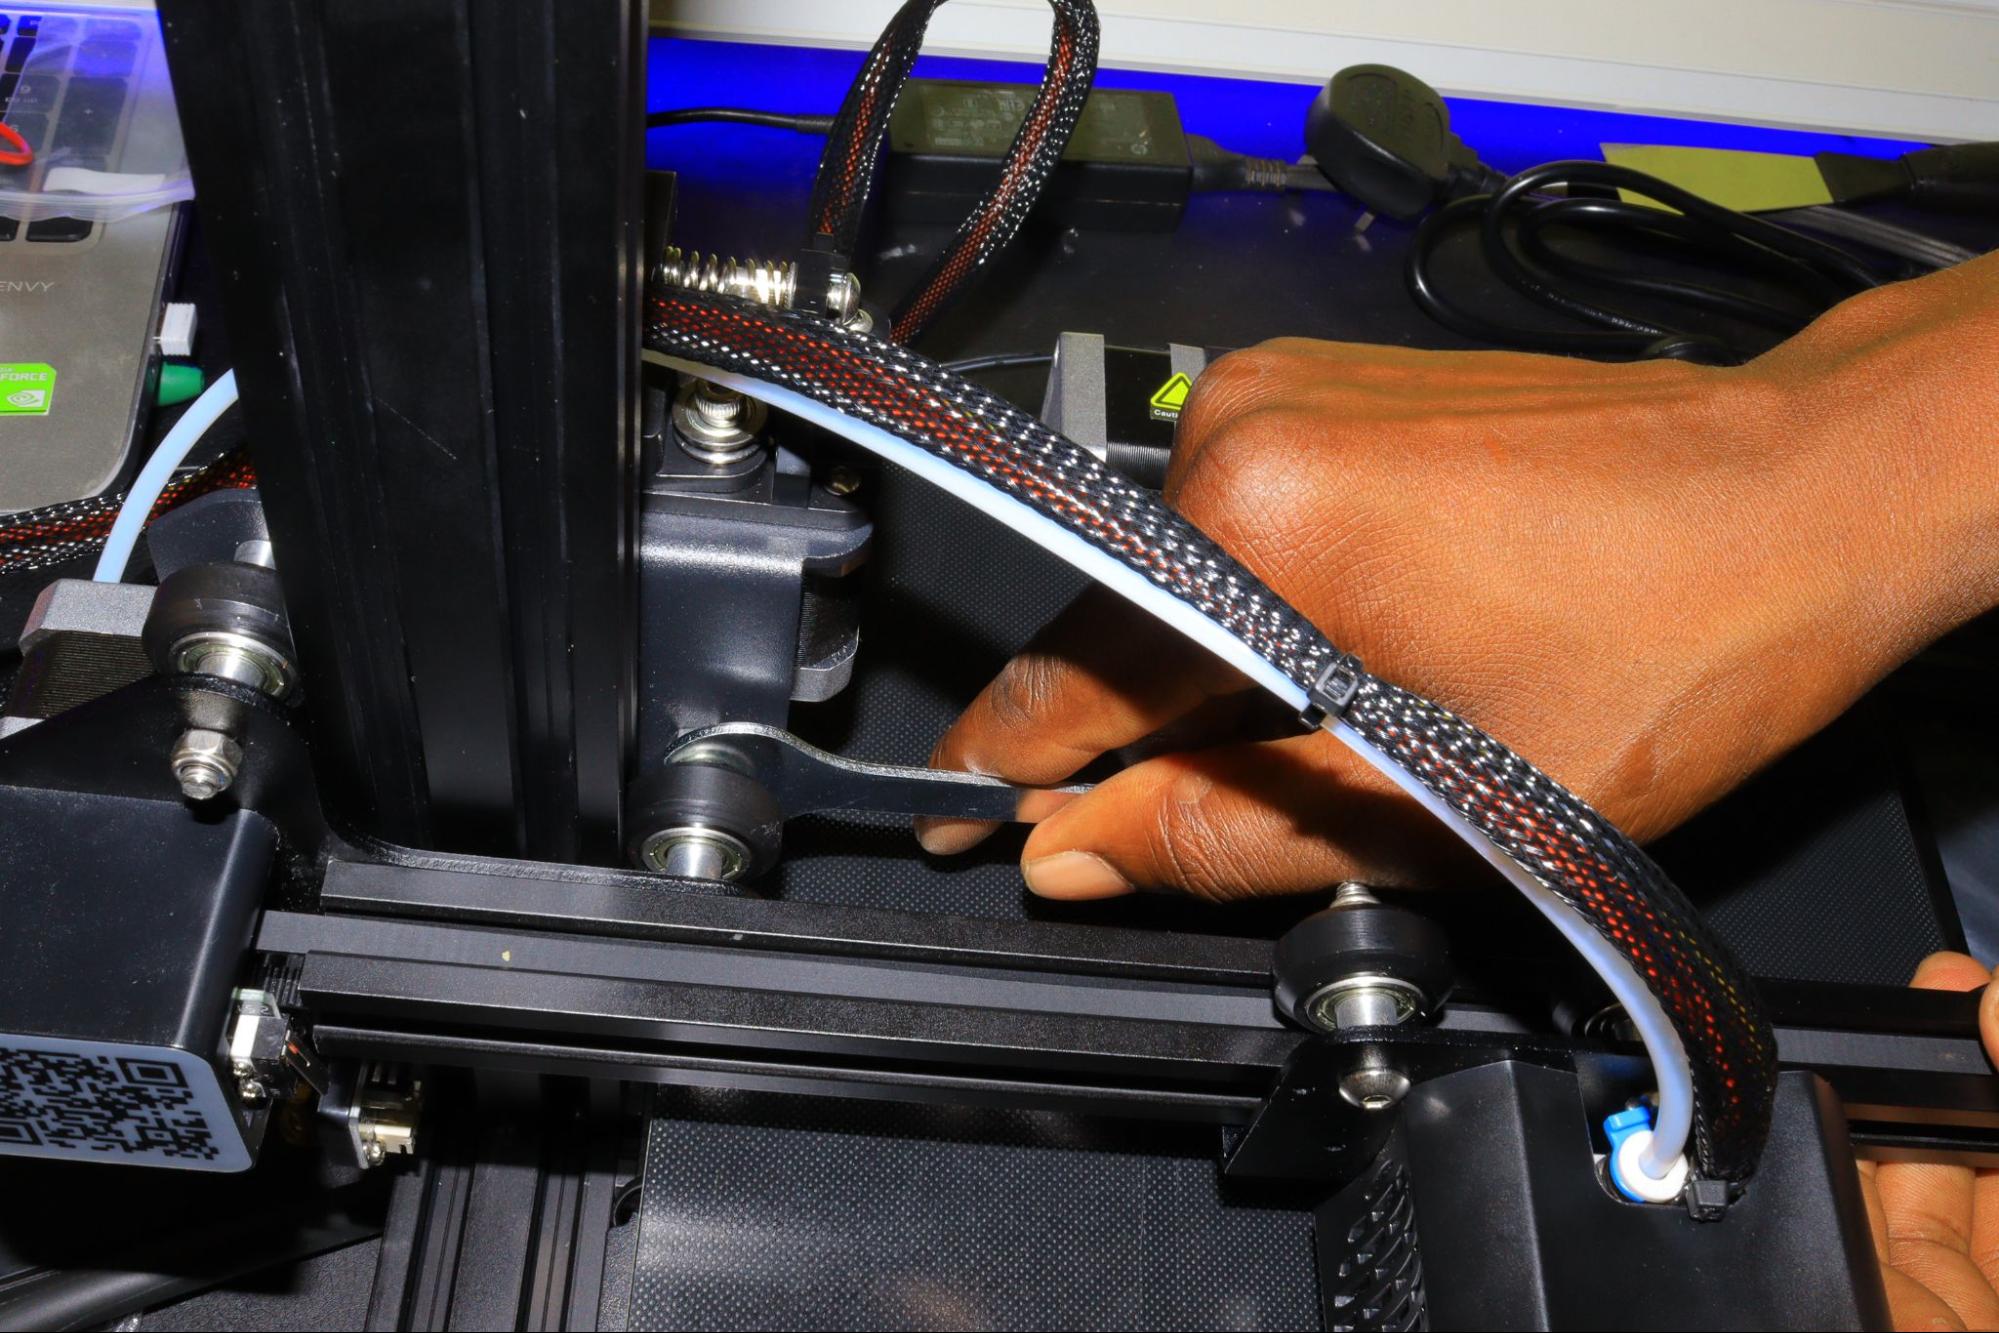
Loose or improperly tightened frames can introduce vibrations in the entire 3D printer, which leads to issues, and hence you need to ensure that you properly tighten it in place using nuts and bolts. The frame provides the structural support necessary for stable movement. When not adequately secured, it can become susceptible to vibrations generated by the print head and other moving parts, leading to issues. You should also check the belt and ensure that it’s moderately tightened, not too loose or too tight.
Check the moving components frequently and ensure that they are not worn out; if they are, you can replace them.
3. Use a Sturdy Table and Rubbers to Stabilize the 3D Printer
Placing the printer on a sturdy table helps ensure that it doesn’t vibrate during 3D printing and that the frames remain strong during the process. You can also install rubbers to help absorb vibrations from the moving parts like the motors. Most 3D printers have them, but in case yours doesn’t have them, you can place them strategically, like in the corners, so that it can distribute support evenly.
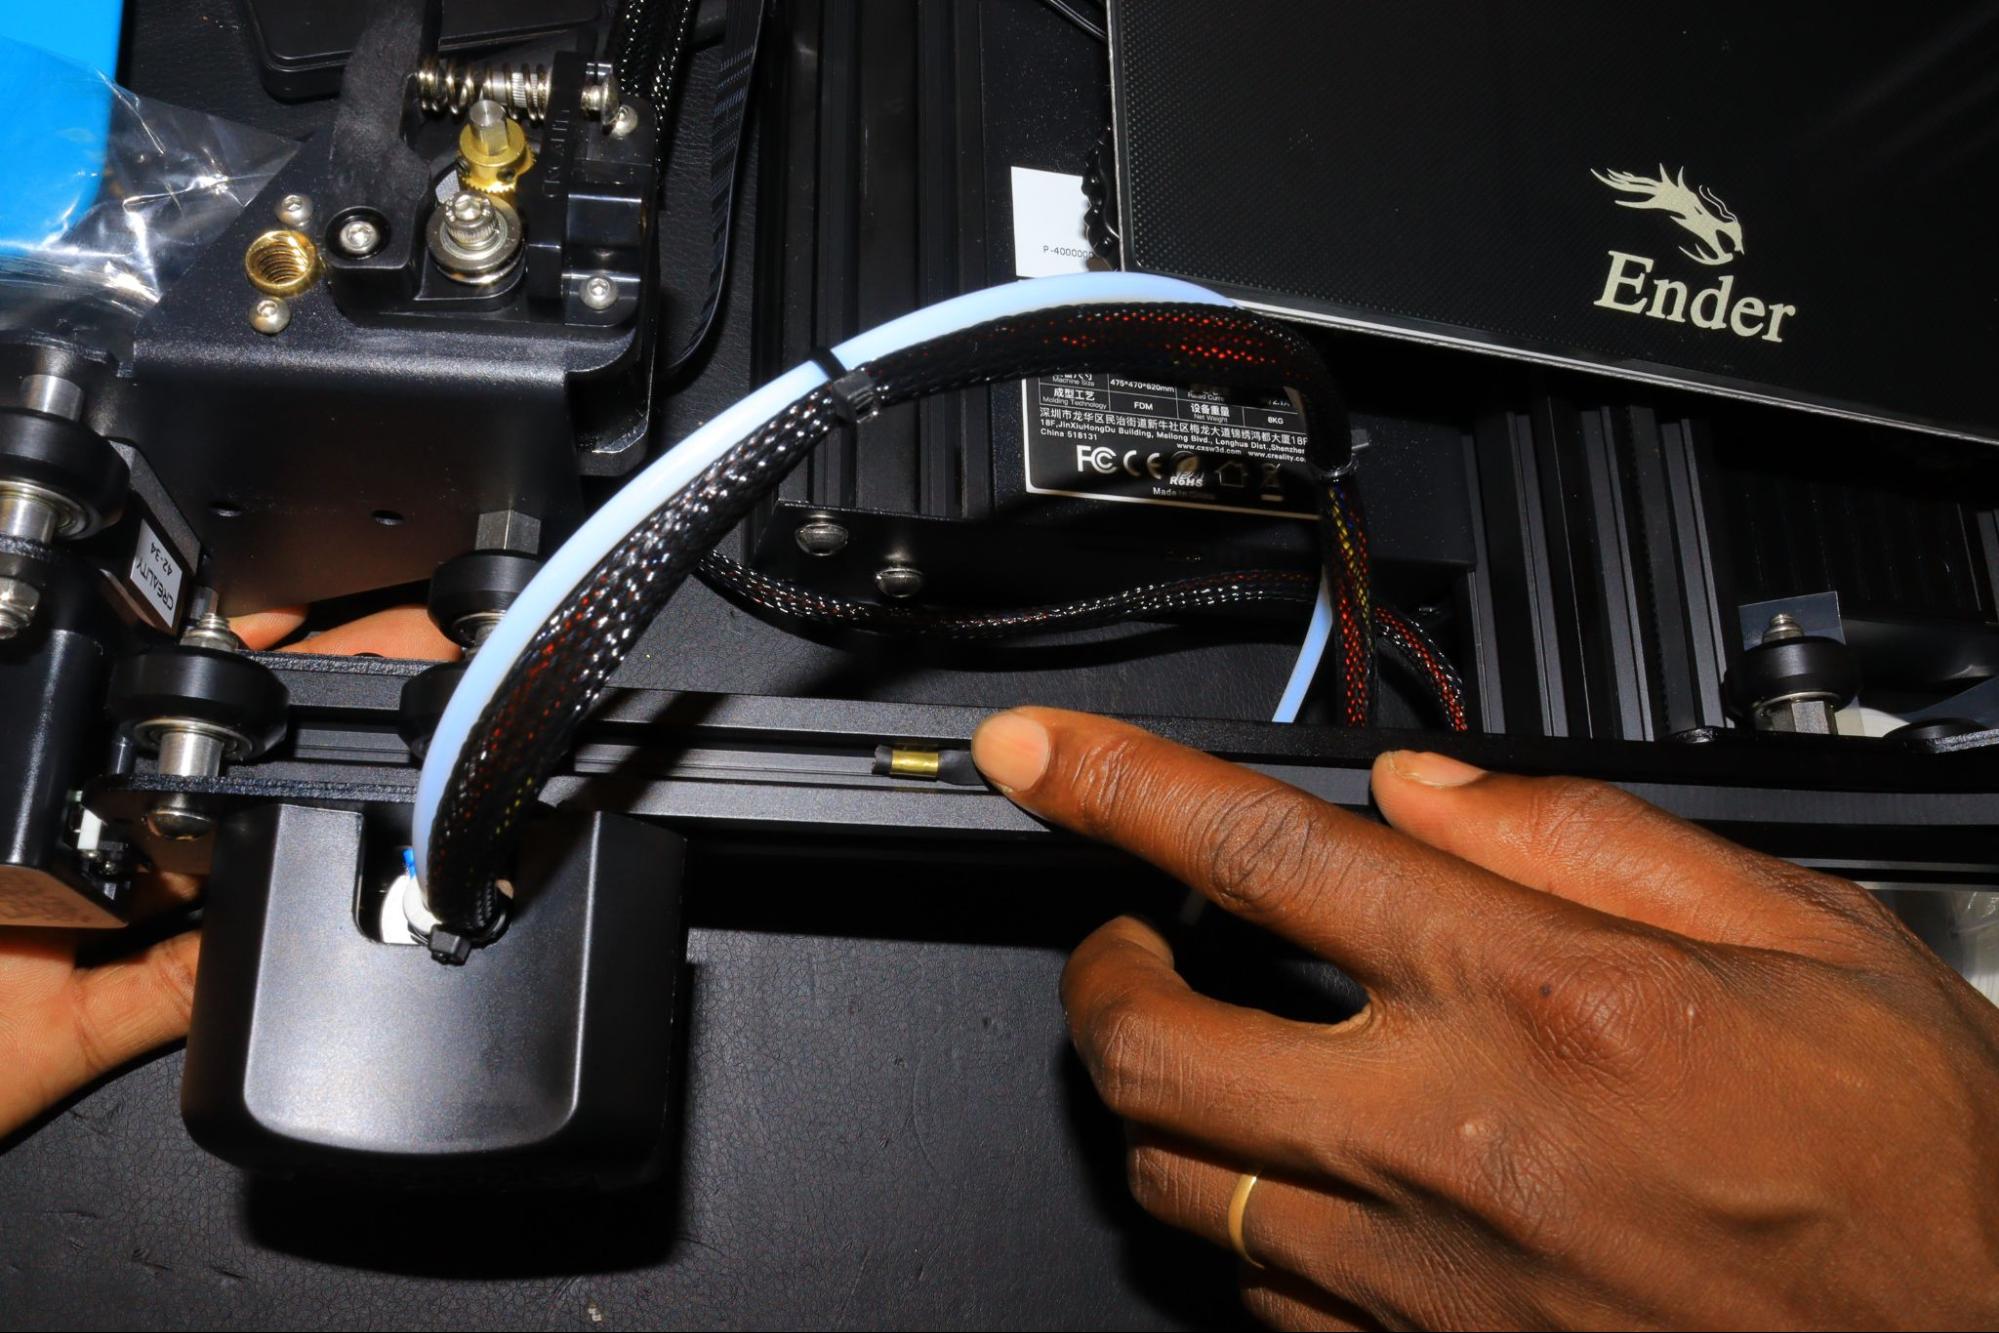
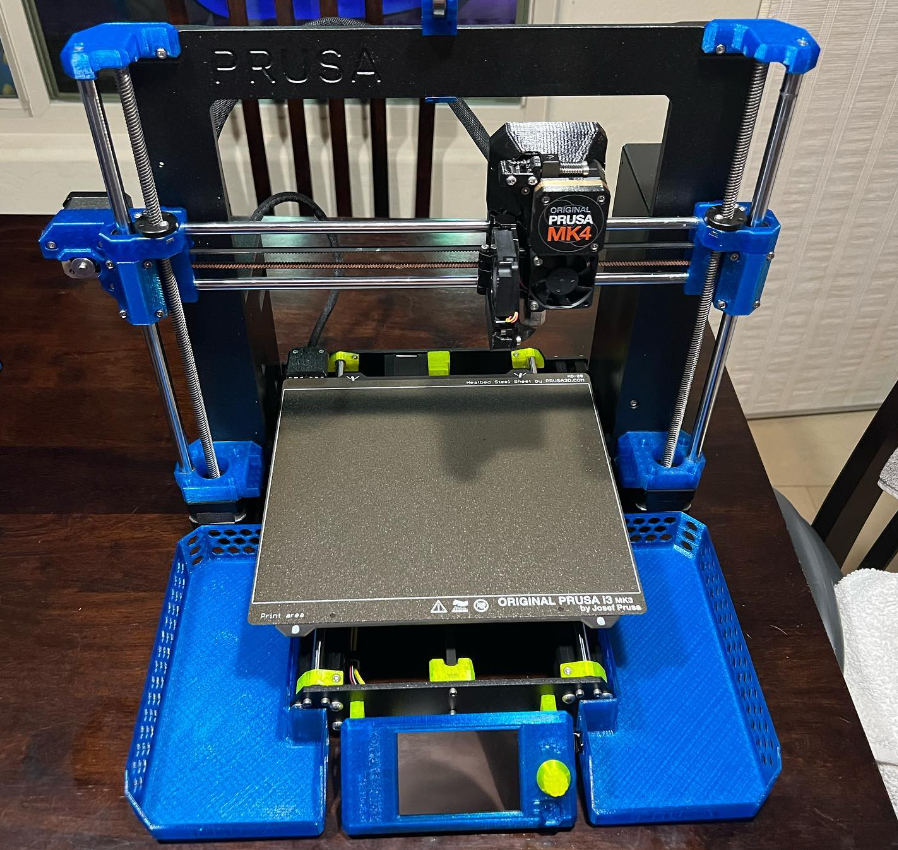
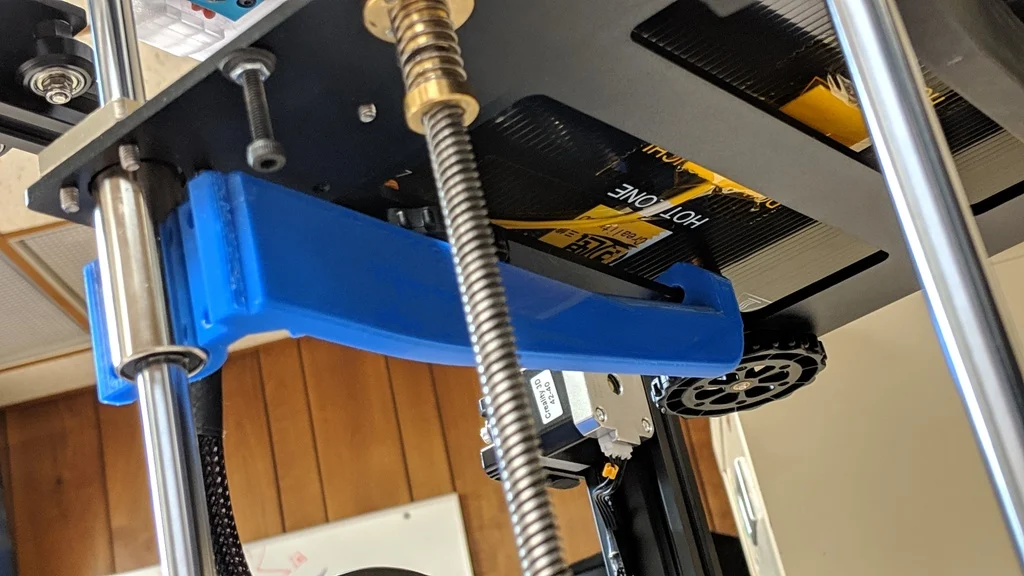
You can buy steel and rubber stepper motor vibration dampers from Amazon that come with screws too to help you secure it easily. If you own a Prusa i3 Mk3, you can download and 3D print the thicker and sturdier vibration damper from Thingiverse and install it. As you install dampers, ensure that the rubbers are the same size to avoid having one area of the printer tilted towards one side, which can cause other issues. If you are using an Ender 5, you can download and 3D print a bed support upgrade from Thingiverse to help hold the bed in place and help avoid any vibrations from the bed.
4. Properly Optimize Your 3D Model
You need to optimize the 3D model in such a way that it has smooth curves and gradual transitions. Sharp angles and sudden changes in direction can contribute to ghosting because the printer may struggle to maintain smooth movements and can cause vibrations.
When the design is well optimized, the printer will have smooth motion, and it won’t struggle much as it moves through the areas requiring sudden changes in direction. You can adjust your design in any CAD software.
5. Use a Consistent Hotend Temperature
If the hotend temperature is not consistent, there might not be a uniform flow of the filament from the nozzle, and this will lead to variations in extrusion which will later result in ghosting. You should consider performing PID tuning. PID stands for proportional, integral, and derivative which are the control algorithm helpful in achieving precise and consistent temperature by minimizing the difference between the actual hotend temperature and the set temperature.
The proportional term responds to the current temperature error, the integral term addresses all the past errors, and the derivative term deals with the future errors. When all the factors are considered, the PID controller fine-tunes the heating system to respond to temperature changes, preventing fluctuations.
You can send G-code commands to the firmware using a terminal like OctoPrint. When you heat your 3D printer, P, I, and D values are auto-generated, and you can input your target temperature (the one matching your printing temperature) and the number of repetitions for the printer to heat the elements.
After tuning, you can input the calculated values back, and the process continues. When you finish, you save the settings. Some 3D printers like Prusa have a PID tuning option on the LCD screen and you can tune it easily.
After trying the above, you can test your 3D printer by downloading and 3D printing this ghosting test print to see if the problem is resolved before you 3D print your model. You can test using different materials and temperatures until you get the correct design.
Related 3D Printing Tutorials
More: 5 Ways Fix Z Banding in 3D Printing
More: How to Use FreeCAD for 3D Printing
More: How to Convert OBJ Files to STL Files for 3D Printing
More: How to Use PrusaSlicer: A Beginners Guide
Sammy Ekaran is a freelancer writer for Tom's Hardware. He specializes in writing about 3D printing tutorials and guides. You can find more of his work on various publications, including Makeuseof, All3dp, and 3Dsourced.
-
F4zedMotion Not a bad writeup, useful in describing how to fix things. Could do with examples of ghosting - with before and after images. Ideally it would provide examples of ghosting caused by the remedies suggested, so people have a more reliable approach to figure out what's the root cause.Reply
