Tom's Hardware Verdict
Two Trees’s SK1 is a familiar looking open frame Core XY 3D printer that uses vanilla Klipper for quality prints at remarkable speeds. The hardware is well-built, but there are typos in the control screen and documentation is sparse.
Pros
- +
Klipper
- +
Auto bed leveling
- +
Easy assembly
- +
Direct drive
- +
Linear Rails
- +
Doesn’t require the Cloud
Cons
- -
Documentation is hard to find
- -
Screen has typos
- -
Fans stay on all the time
Why you can trust Tom's Hardware
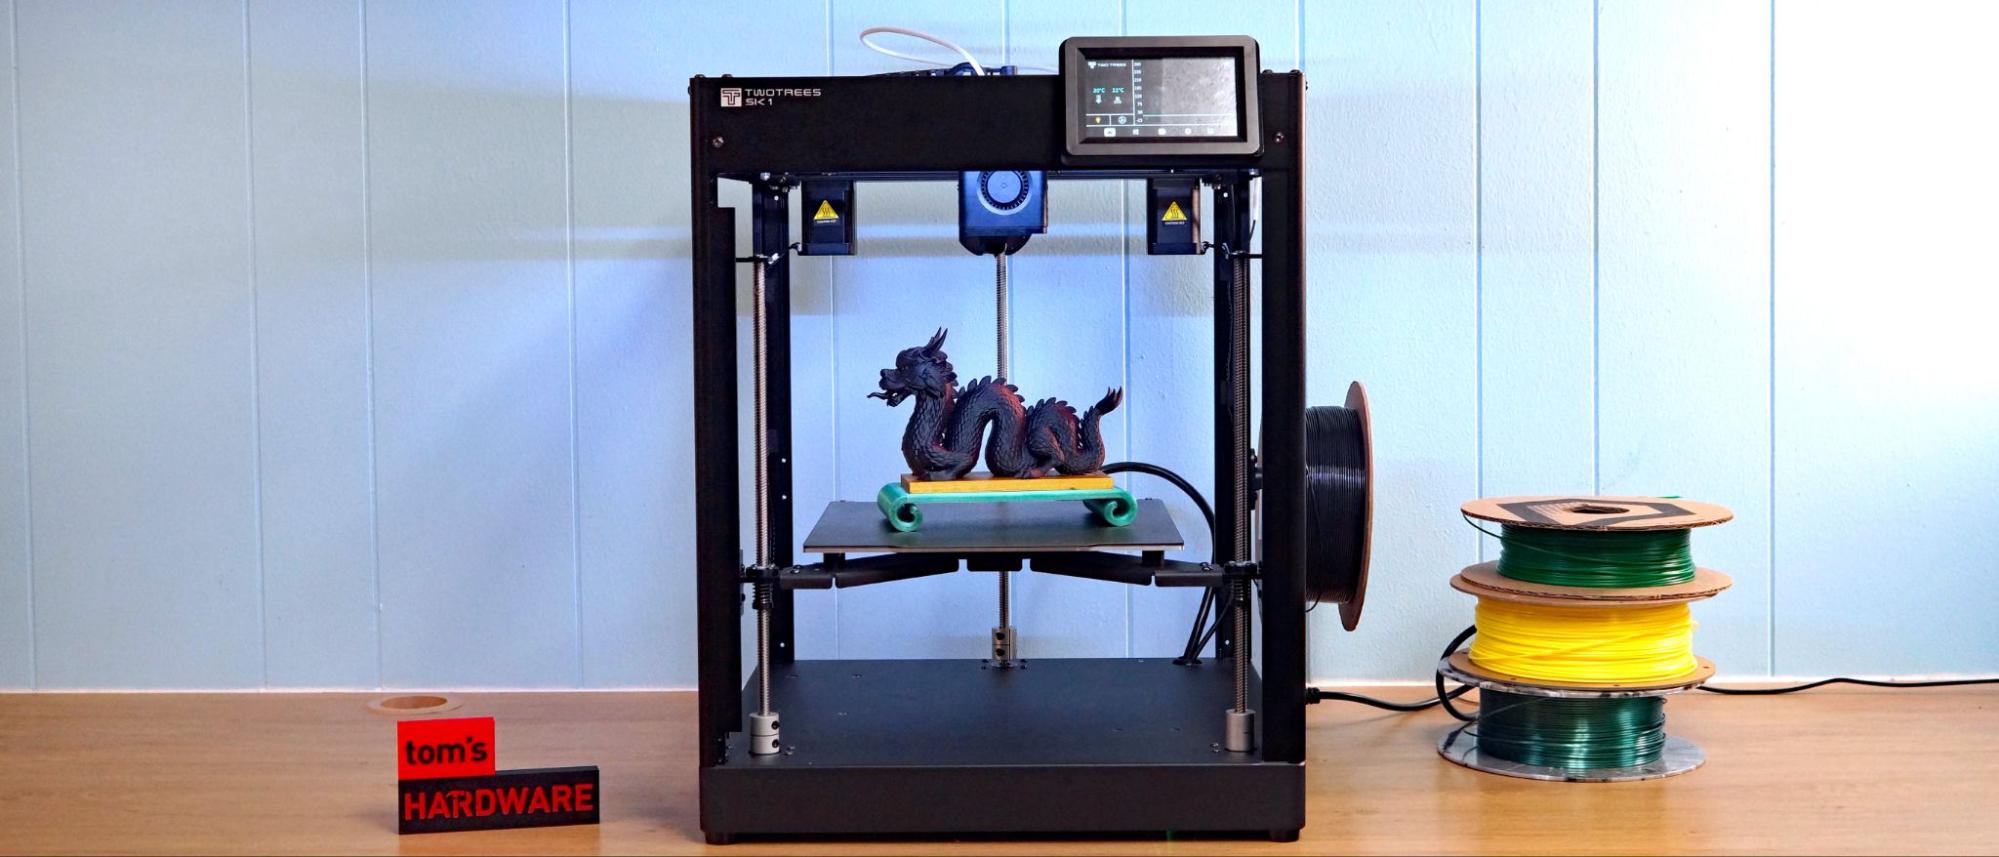
The Two Trees SK1 is a good 3D printer, though not a perfect 3D printer. It’s open source, runs Klipper, has smooth linear rails and a nice sturdy build made entirely of metal. It’s a Core XY printer in the style of the Voron Trident, with three independently driven Z screws and the ability to “Z tilt” its way to a trammed bed.
Clones are nothing new in the 3D printing world, and I had to take a moment to figure out what makes this one unique. The Two Trees SK1 is essentially a Voron Trident with a bit of Bambu Lab flavor thrown in for good measure. Its 256 x 256 build plate is the same size, if not the same shape, as a Bambu Lab, and it’s using a Bambu clone hotend. Remarkably, Two Trees does not sell either component, though they can be found on AliExpress.
The SK1 is not a beginner printer, but rather a lazy man’s Voron: a machine for someone who wants the open source freedom of Klipper, but doesn’t have the time to build on from scratch.
The printer has a few flaws that aren’t major hurdles for someone with experience. The documentation that comes with the machine stops abruptly after the printer is assembled. There are a treasure trove of video tutorials for the SK1, but they’re tucked away on the company website under “support” and not included with the printer or referenced in the manual.
I only found them after searching the internet for the SK1’s mystery nozzle. I also found a few spots where the touchscreen’s menu used the wrong language, which makes me fear there are other, more important, quality control issues.
Retailing at $599, and currently on sale for $499, the Two Trees SK1 competes directly with a single color Bambu Lab P1P or perhaps the slightly smaller Creality K1. Its advantage over these two printers is that it is Open Source. If you want a fast Core XY printer to mod and tinker, this is it. However, the scattered documentation, noisy fans and lack of easily found parts keeps the SK1 off our list of the very best 3D printers.
Specifications: Two Trees SK1
| Build Volume | 256 x 256 x 256 mm (10 x 10 x 10 inches) |
| Material | PLA/PETG/TPU (up to 300 degrees) |
| Extruder Type | Direct Drive |
| Nozzle | .4mm hardened steel Bambu Clone |
| Build Platform | PEI spring steel sheet, heated |
| Bed Leveling | Automatic |
| Filament Runout Sensor | Yes |
| Connectivity | USB, Ethernet, Wi-Fi |
| Interface | 4.3” touch screen |
| Machine Footprint | 400 x 400x 530mm (15.7 x 15.7 x 20.8 in) |
| Machine Weight | 13.3 KG (29.3 lbs) |
Two Trees SK1: Included in the box
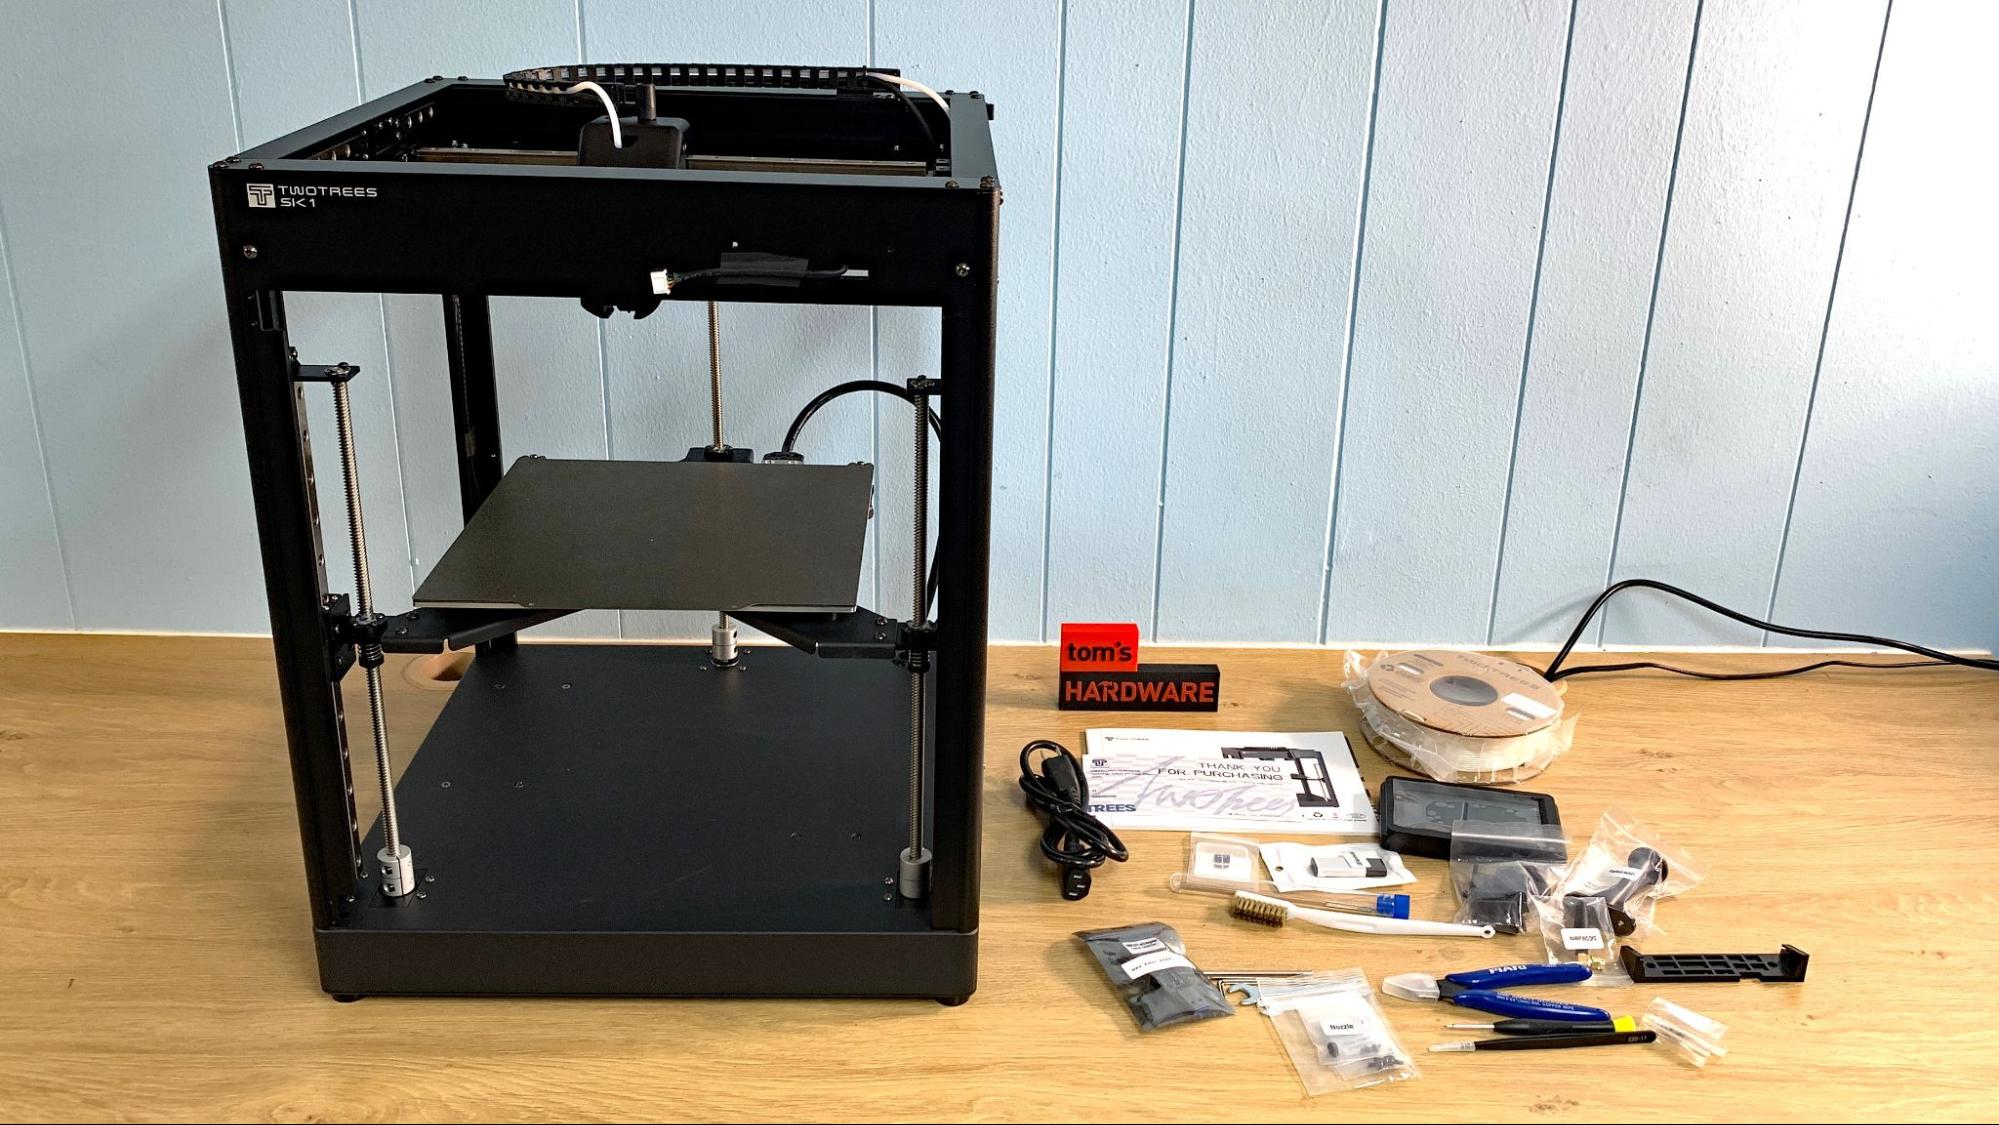
The Two Trees SK1 comes with everything you need to get your printer set up. You get tools to set up and maintain the printer, side cutters, a nozzle cleaning kit, a spare nozzle, and a USB thumb drive. You also get a small spool of white PLA to print your first model.
Get Tom's Hardware's best news and in-depth reviews, straight to your inbox.
The included USB Flash drive has a PDF copy of the manual and test files. There are also a copy of both Cura and Prusa Slicer, with configuration files for both.
Design of the Two Trees SK1
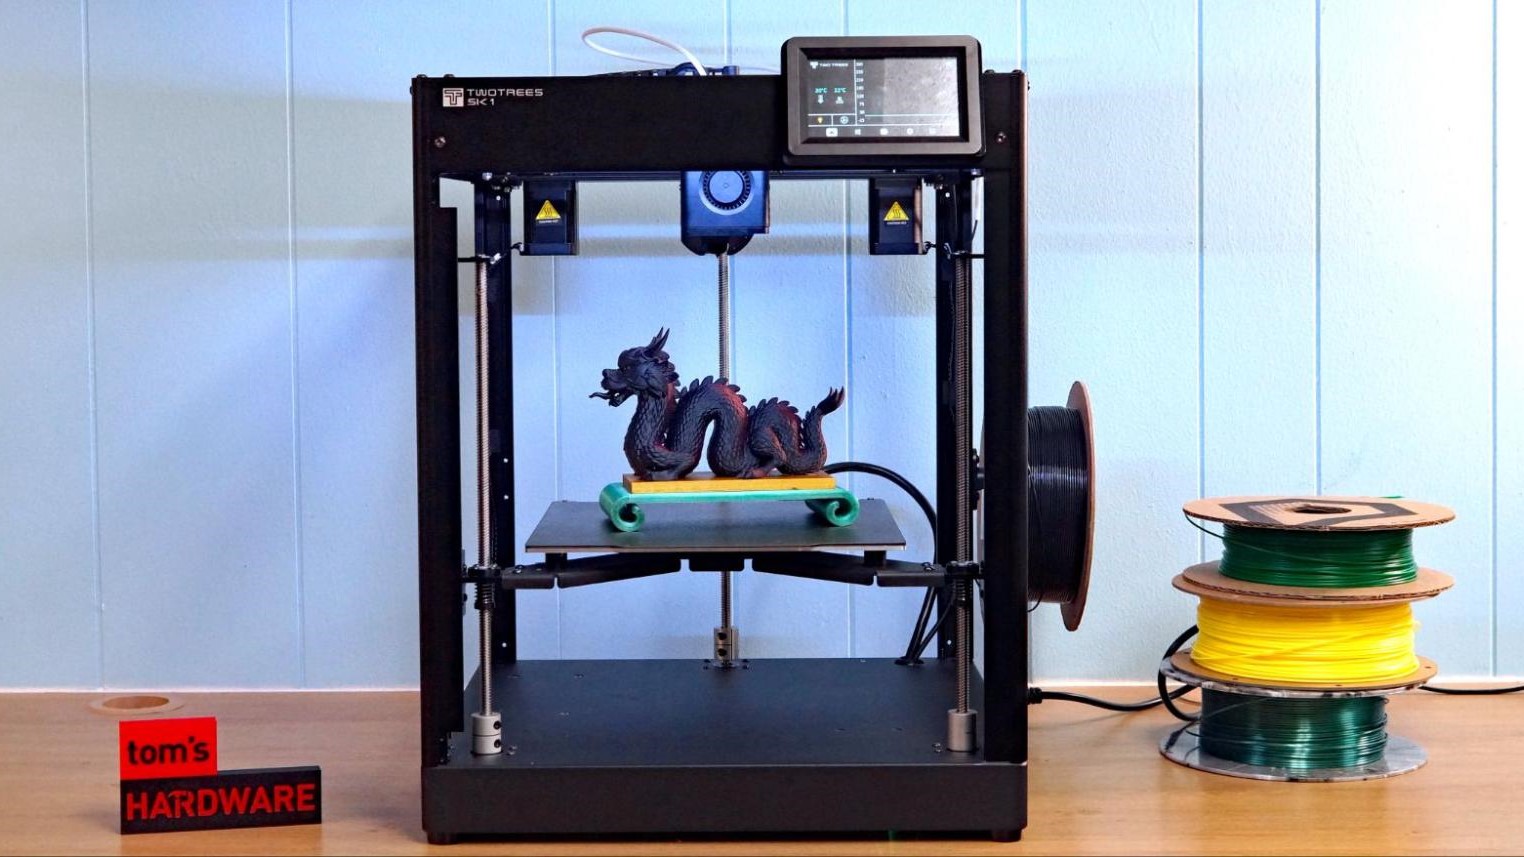
The Two Trees SK1 is a basic open frame Core XY with a solid all metal construction. There are holes and slots left open for adding an enclosure later, but these are subtle, and the frame still manages to look finished. The branding is a low-key “Two Trees” printed on one corner. It comes with a few nice touches, like a hidden LED light and an easy to access side mounted spool holder.
It borrows from Voron’s Trident design, with three independently driven Z screws, but comes equipped with a clone of Bambu Lab’s hotend. I was initially baffled by the printer’s tiny spare nozzle, until I figured out someone had copied Bambu’s style of hotend, but made the nozzle a separate piece. The hotend is all metal and capable of handling 300 C. Two Trees doesn’t list any stats on the nozzle itself, which by its color, seems to be long lasting hardened steel.
One problem with the tool head I ran into was the shroud, which is impossible to remove without taking out the tension screw for the extruder. This gave me some difficultly when resembling, especially when I forgot to take note of how tight to reinstall it.
The printer is loaded with sensors for both leveling the bed and performing input shaping. There’s no manual leveling, but it can do a “Z tilt” where it will automatically adjust each Z axis to tram the bed on its own. You’ll still need to use a piece of paper to set the nozzle’s final Z height.
The firmware is pure Klipper, and Two Trees says it can reach speeds of 700 mm/s with an acceleration of 20,000. This is remarkably fast, but in practicality, the slicer slows it to a more reasonable 200-300mm/s. I’ve seen this kind of speed discrepancy a lot in fast 3D printers, where marketing makes bolder statements than the tech team can hold up.
The SK1 use of vanilla Klippers gives the user easy access to files and settings from a computer, and allows you to easily send files over your home Wi-Fi network. You can also send files via a USB flash drive. There is no need to talk to a Cloud or sync a phone app, which is refreshing.
Because the SK1 uses Klipper it should be simple to add a webcam to the printer for monitoring and recording prints. Directions are not included, but a quick Google should point the way.
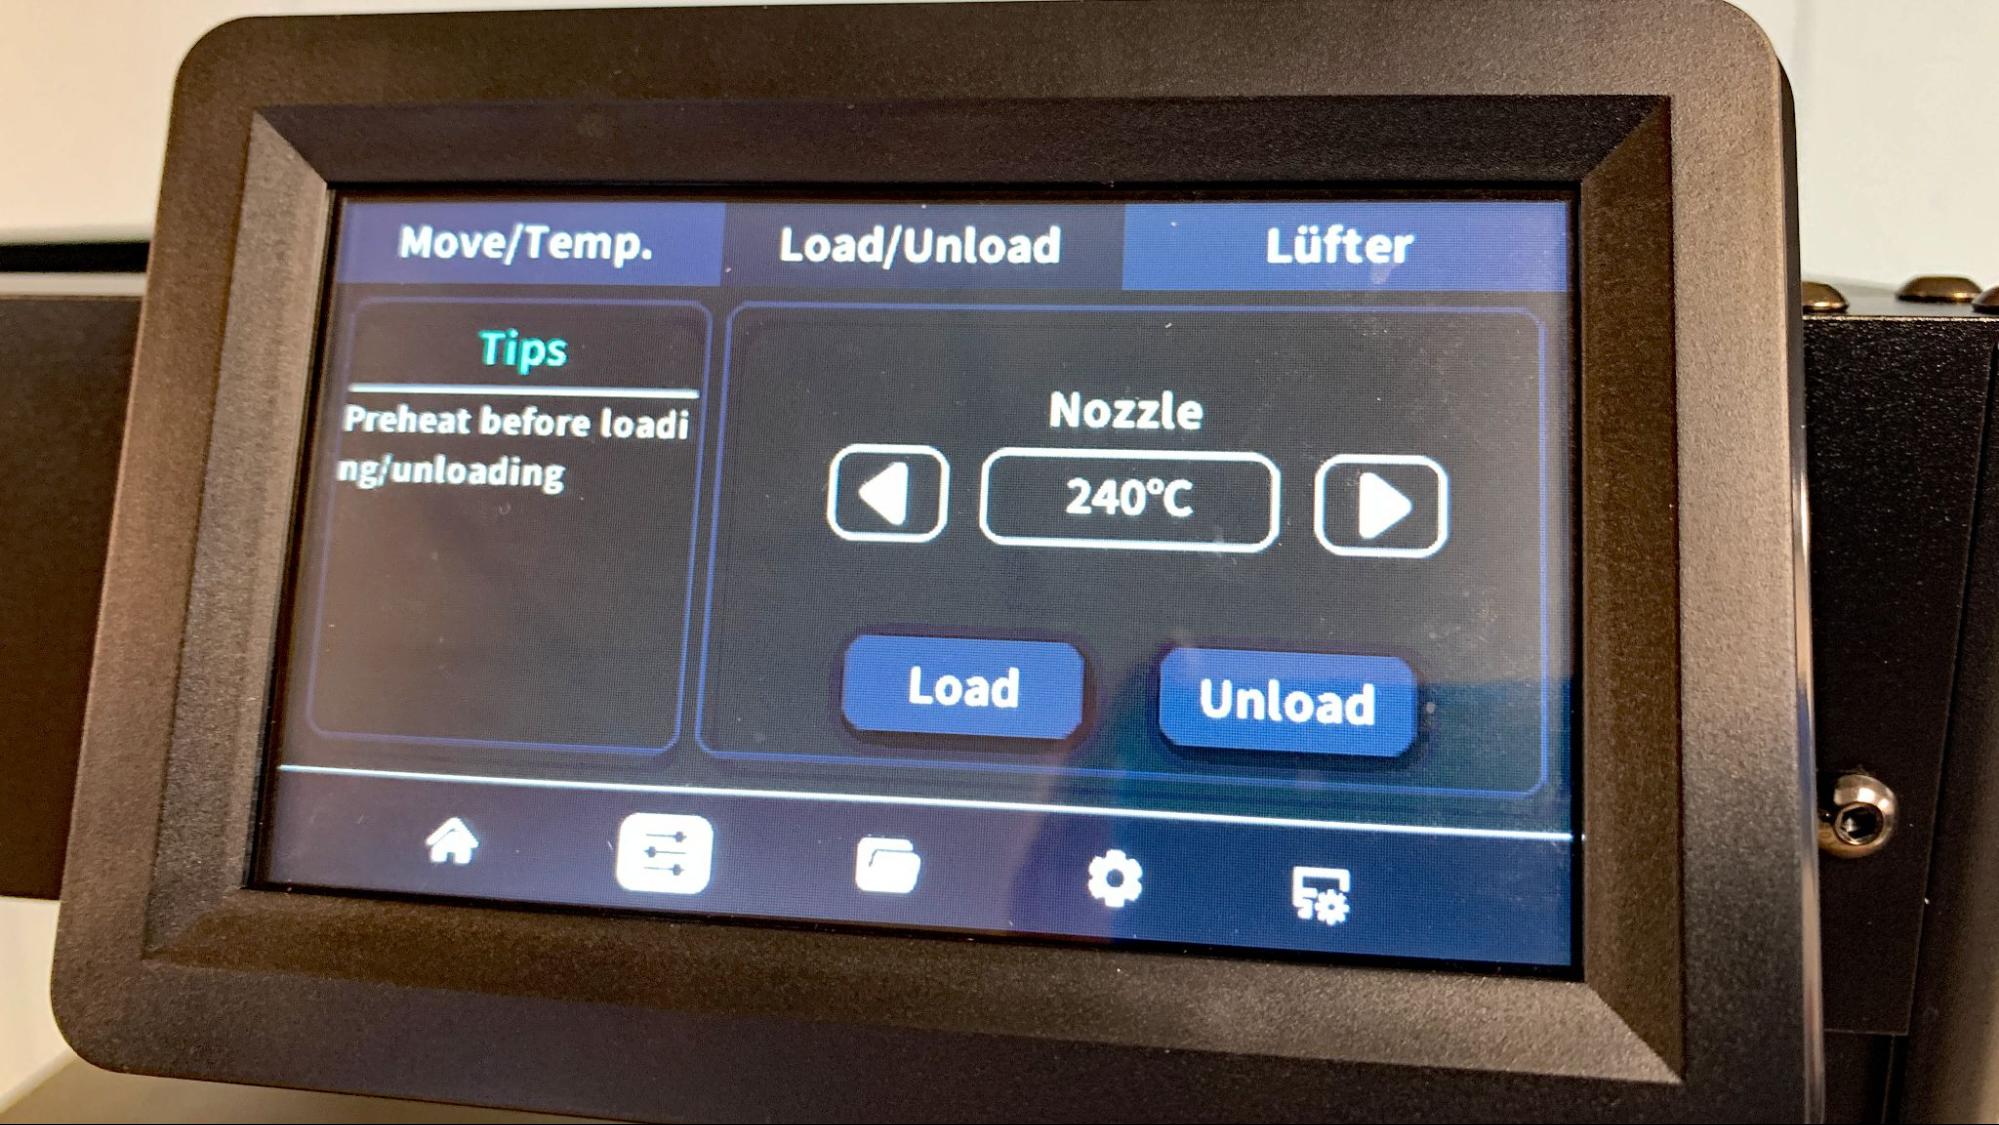
The touch screen has a custom Two Trees interface that does what it needs too, but has a few typos where words show up in German and Chinese. It didn’t stop me from operating the printer, but did make me concerned that other quality control issues could be present.
Assembling the Two Trees SK1
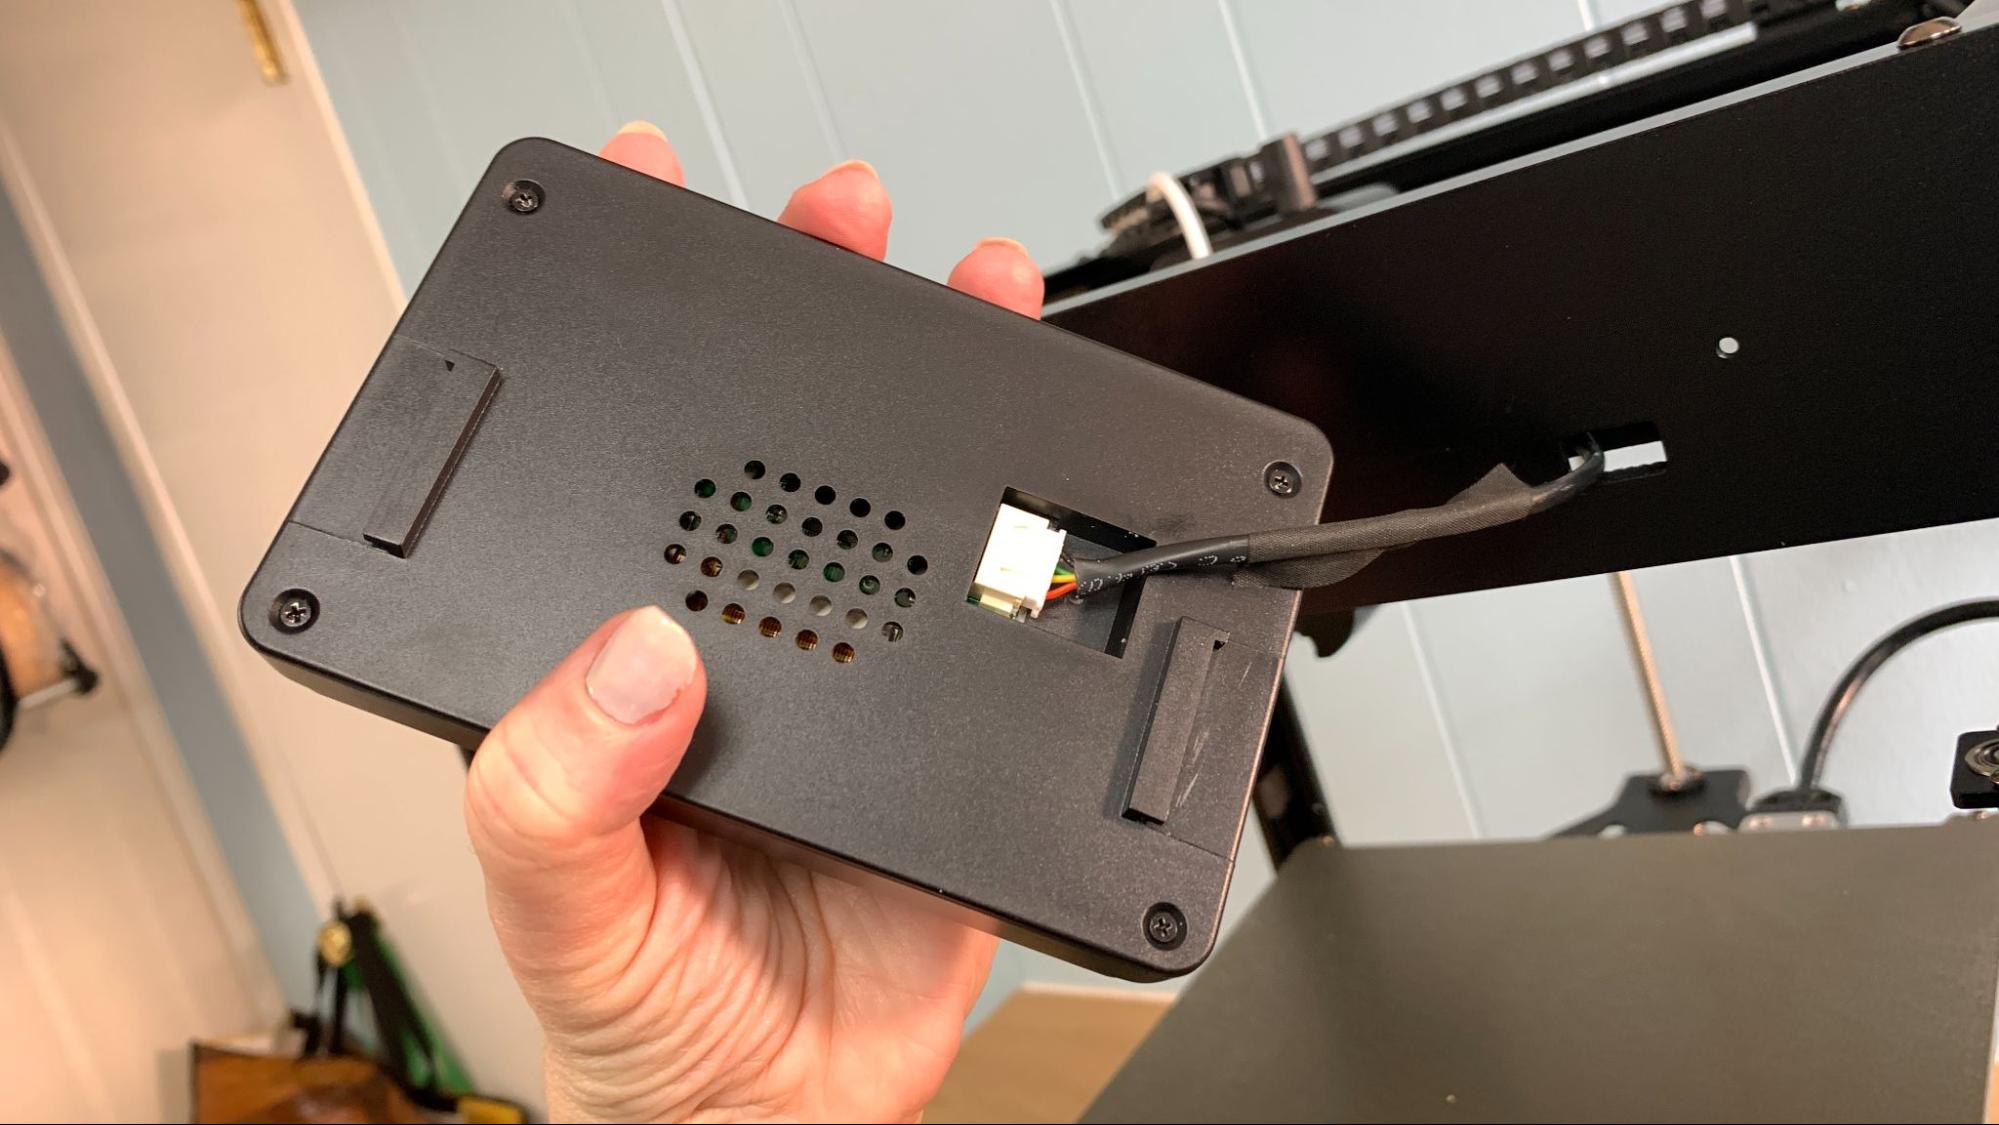
The Two Trees SK1 is mostly pre-assembled and only needs to have the screen and spool holder installed before you’re ready to switch it on.
You’ll need to flip the power supply switch to match your main household electric, which is 115V in the U.S.
Leveling the Two Trees SK1
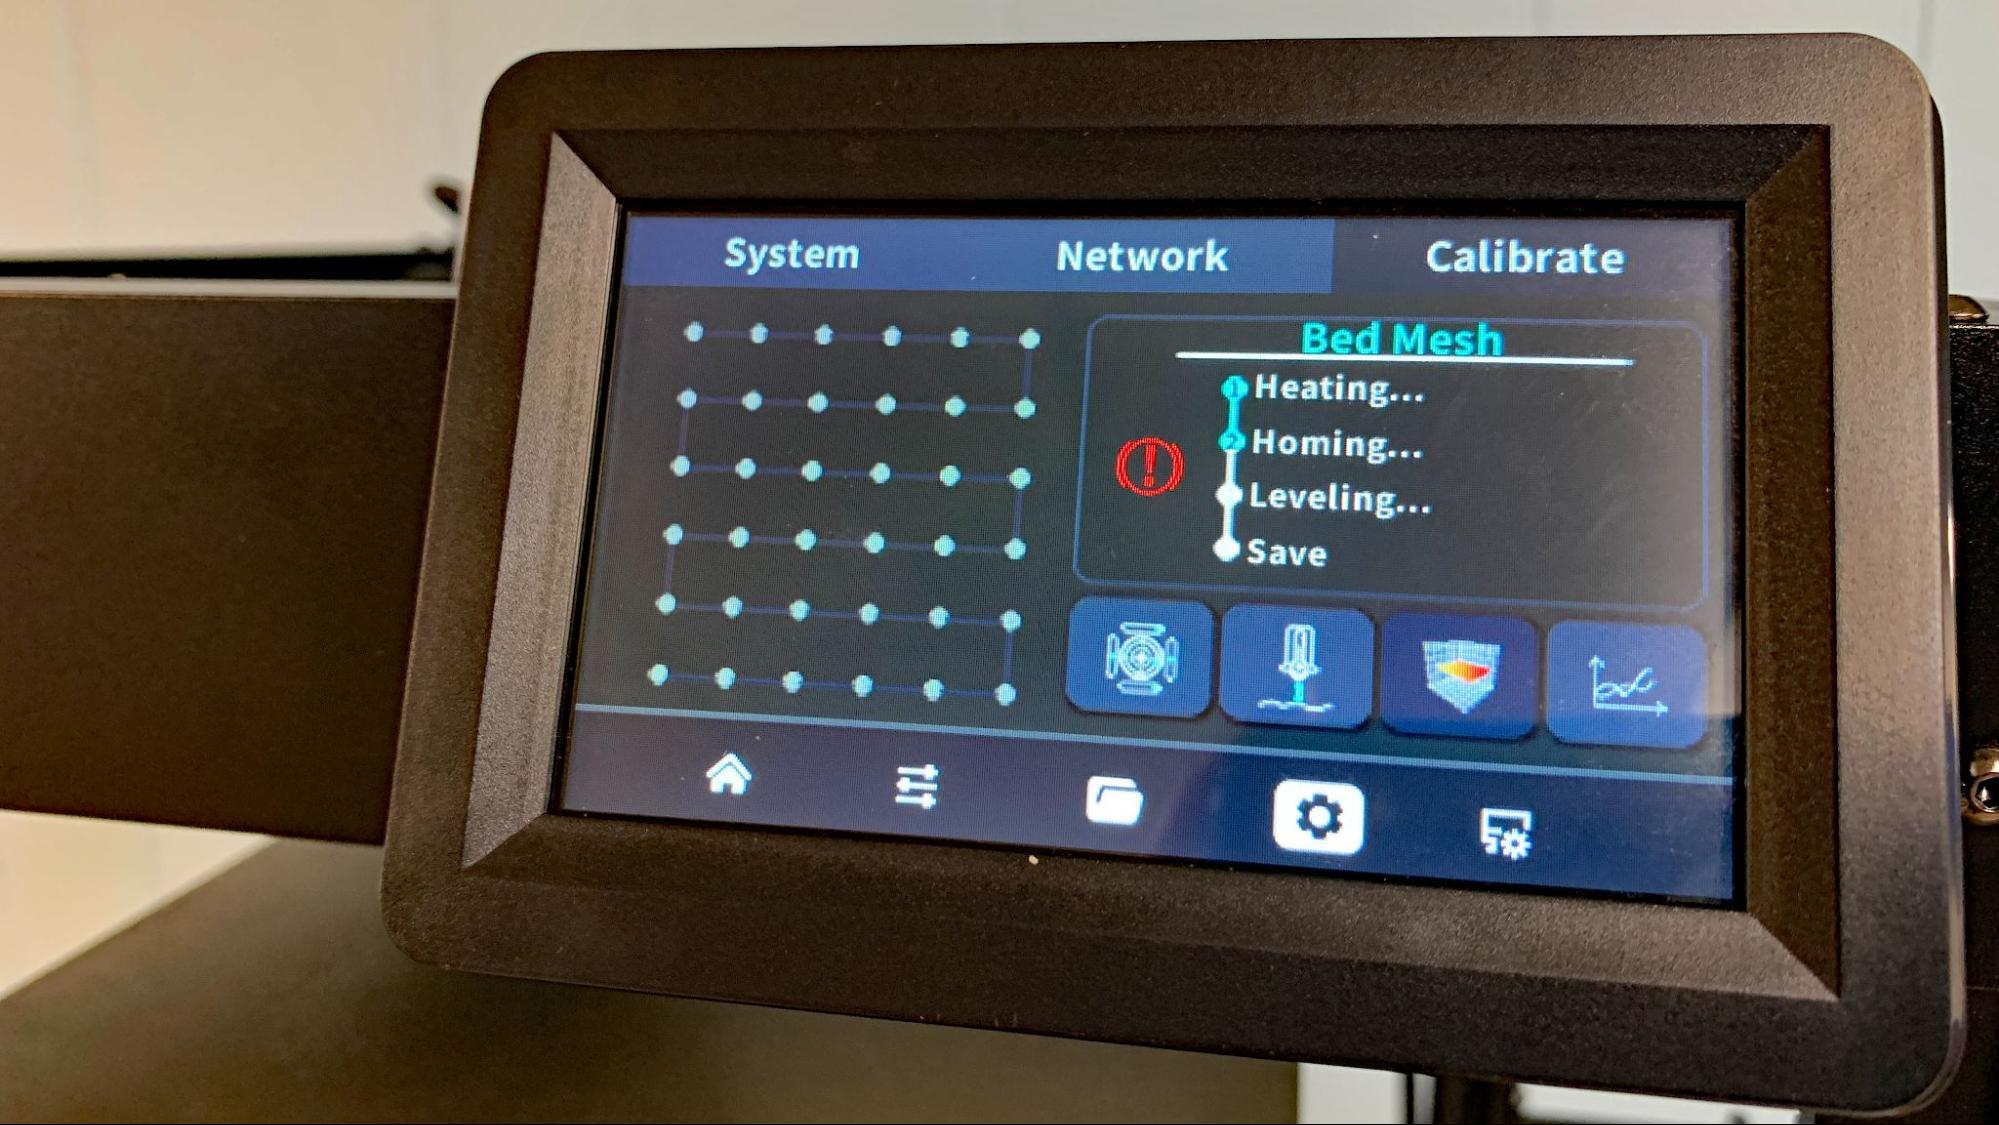
The Two Trees SK1 has built-in sensors installed and performs a 36 point leveling routine automatically. You’ll need to set the Z height with a piece of paper, but the machine walks you through this process during set up and is very simple to follow.
The bed is hard mounted, so there are no manual adjustment wheels. I didn’t have any issue with getting the Two Trees SK1 level.
Loading Filament on the Two Trees SK1
To load filament, trim the filament flat and push it through the Bowden tube near the spool holder all the way to the tool head. Give it an extra nudge until it can’t go any further. The SK1’s observation light will flash when you’re in place.
Click the horizontal lines icon on the bottom of the main menu. Press Load/Unload on the top menu. Click Load or Unload as you need. The printer will warm up and feed the filament automatically.
Preparing Files / Software for Two Trees SK1
The Two Trees SK1 comes with a copy of both Cura and PrusaSlicer, along with the start & end gcode and several config files for both programs. The directions for installing the software and creating the printing profiles are located on Two Trees website. It would be better if the directions were included with the printer, as they use a newer “drag and drop” system that is unfamiliar to beginners.
Printing on the Two Trees SK1
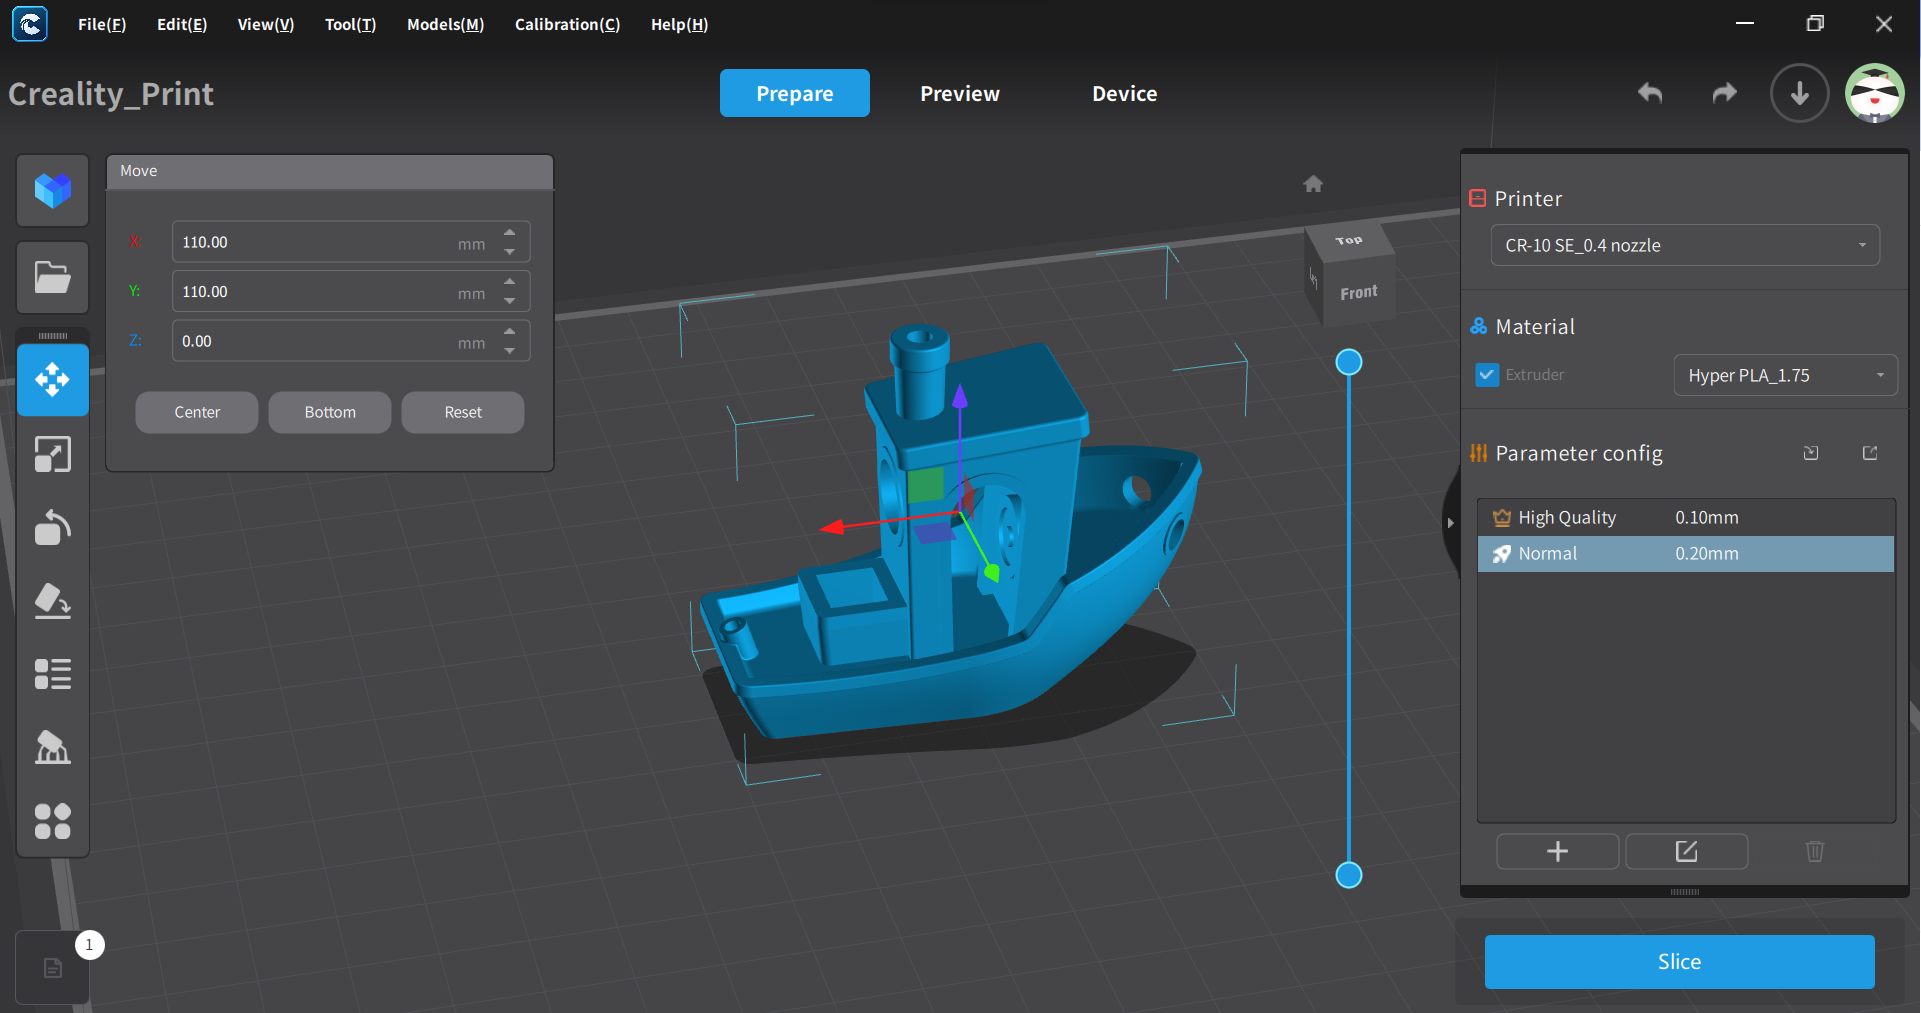
The Two Trees SK1 printed great right out of the box. My first print was a Benchy that I sliced myself, then I moved on to a Speed Benchy. The small sample spool was more generous than most, but you’ll still want to buy a full sized spool right away. Check out our list of the best filaments for 3D printing here.
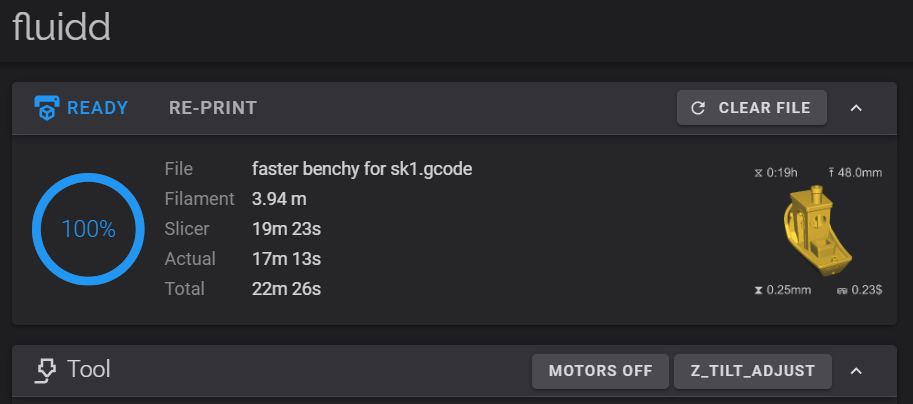
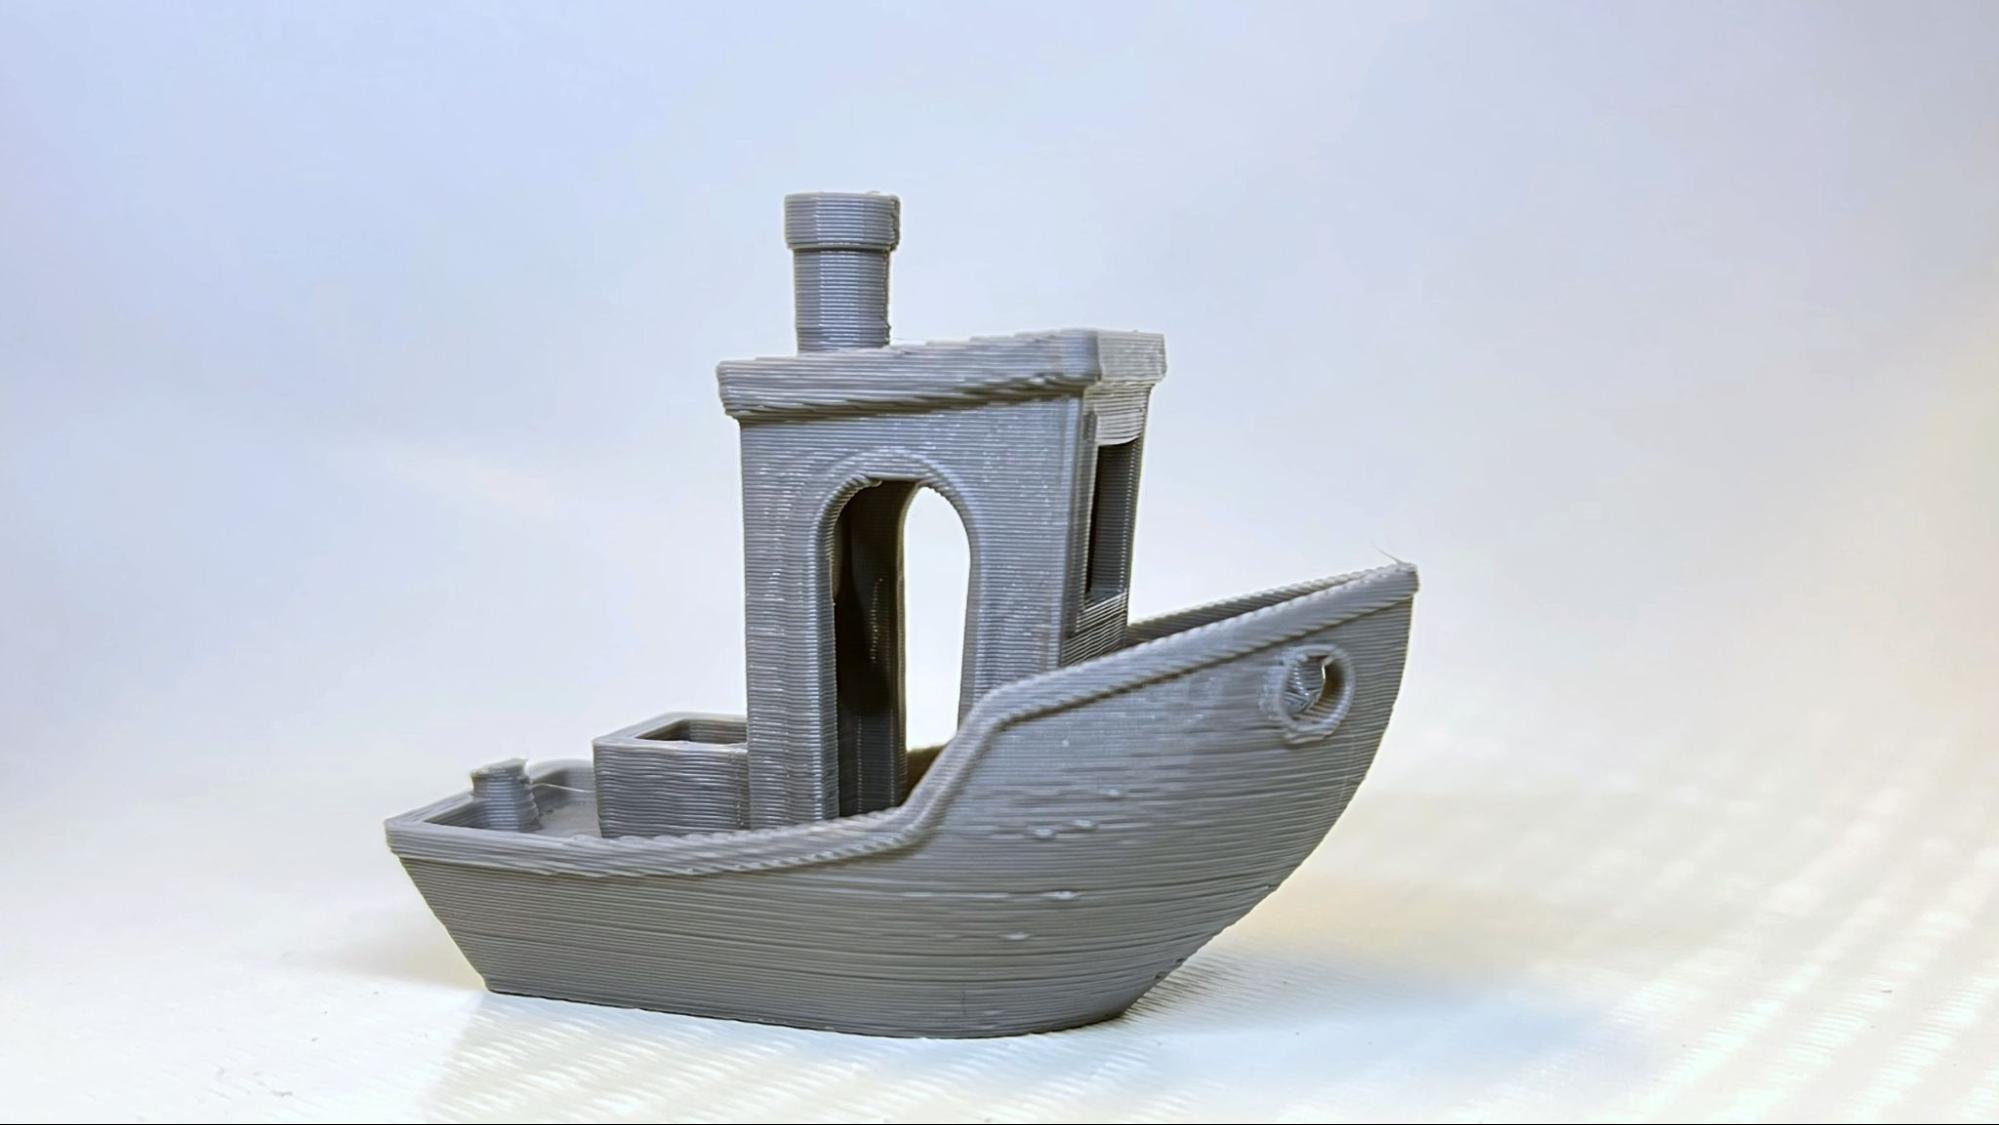
A Speed Benchy needs to follow certain rules: 2 walls, 3 top and bottom layers, 10 % grid infill, a .25 layer height and .5 layer width, and also our treacherous Tom’s Hardware speed settings of 200-300 on the walls and flat out on acceleration.It won’t top our list of the fastest 3D printers,, but it did place in the top five with a clean 17 minute and 13 second boat.
This boat had some odd bumps, but the hull was beautifully sharp with no cooling issues, no ringing and nice overhangs. This is one of the best speed boats I’ve printed. Remember – when racing a 3D Printer, it's more about printing a “Benchy Shaped Object” than real quality. This was printed in ordinary gray Inland PLA, so none of the defects are hidden.
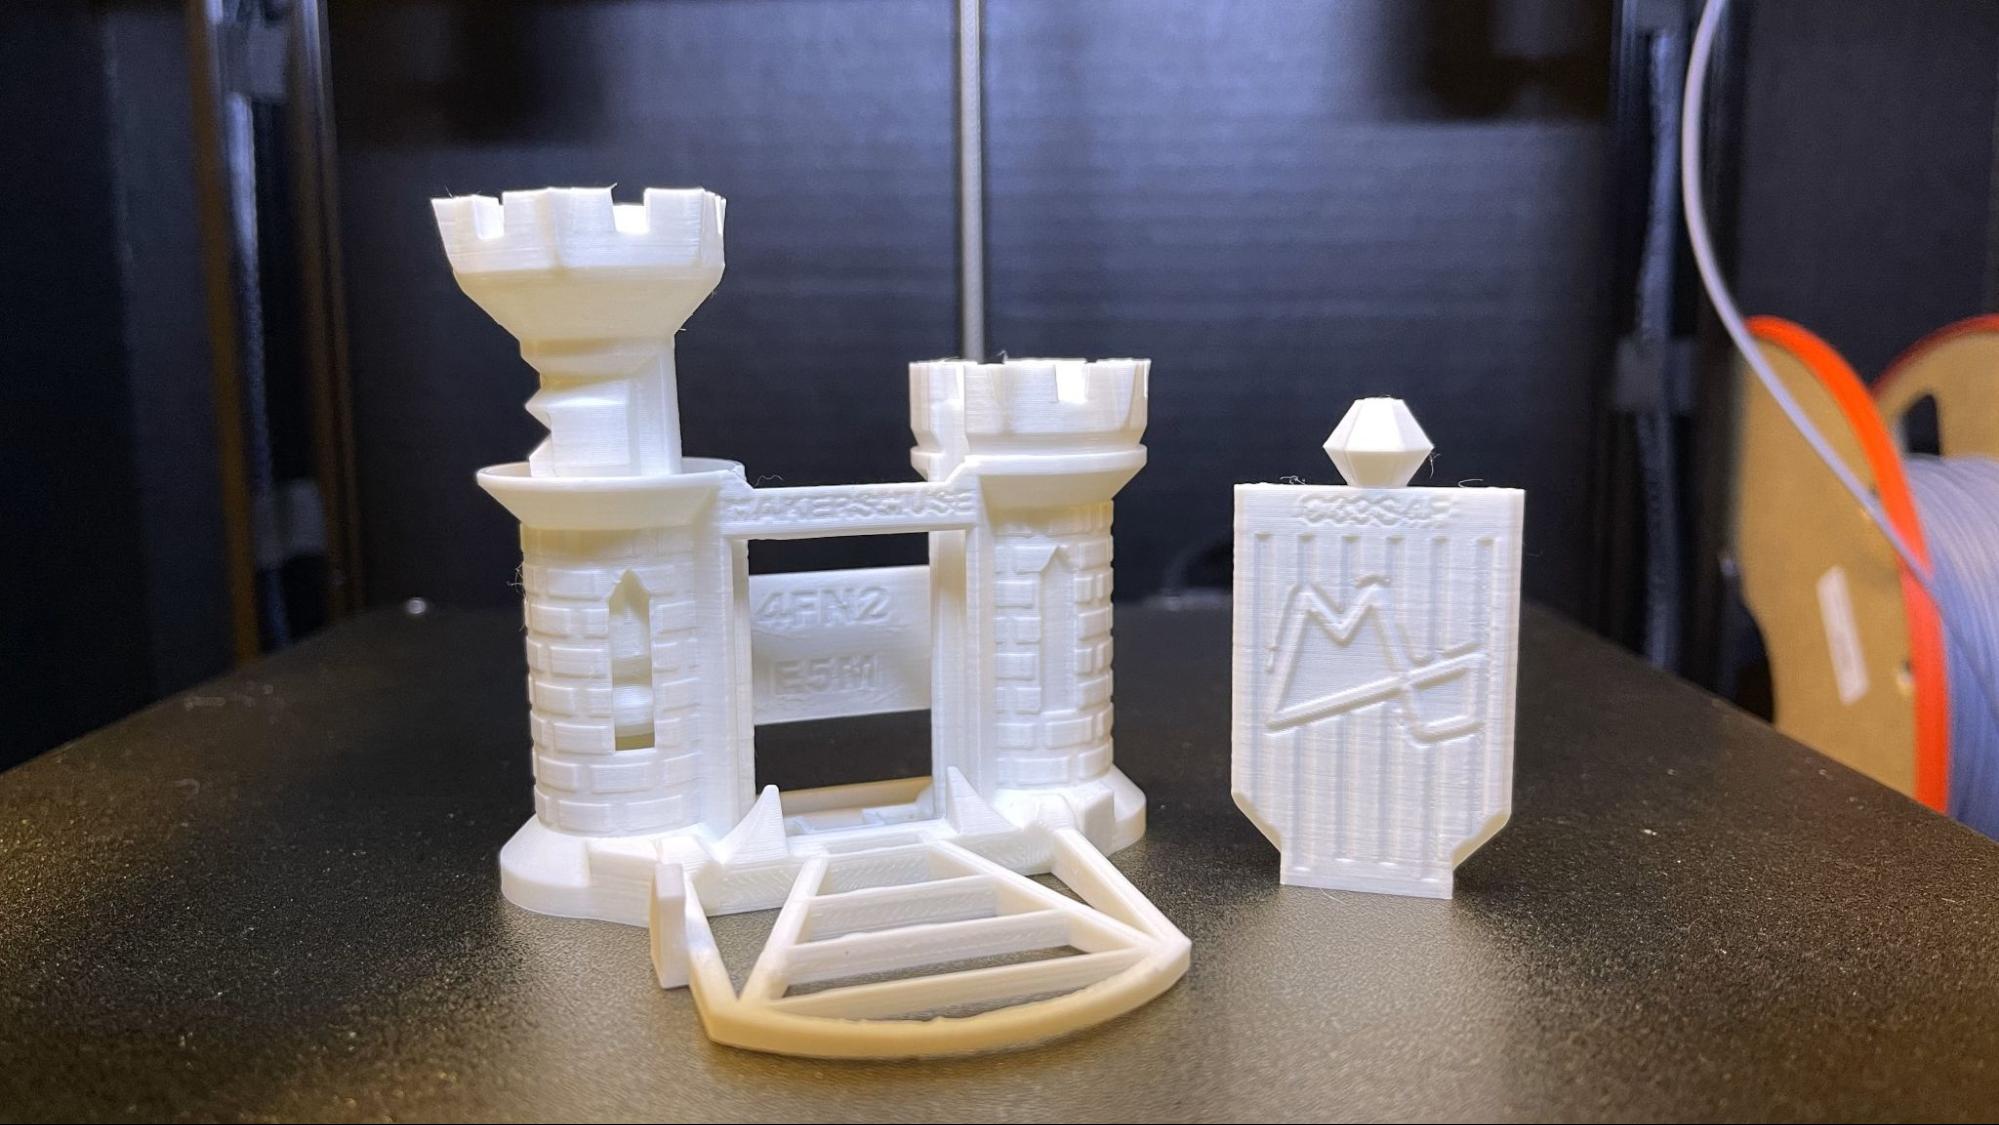
I also sliced the Maker’s Muse Calibration Castle. I skipped the sample PLA and used a roll of Creality’s Hyper Series PLA, which is formulated for high speed printing. The Castle turned out very good, with excellent bridging and slightly rough layers. This printed in one hour and 47 minutes, using a .2mm layer height and default settings around 200 mm/s.
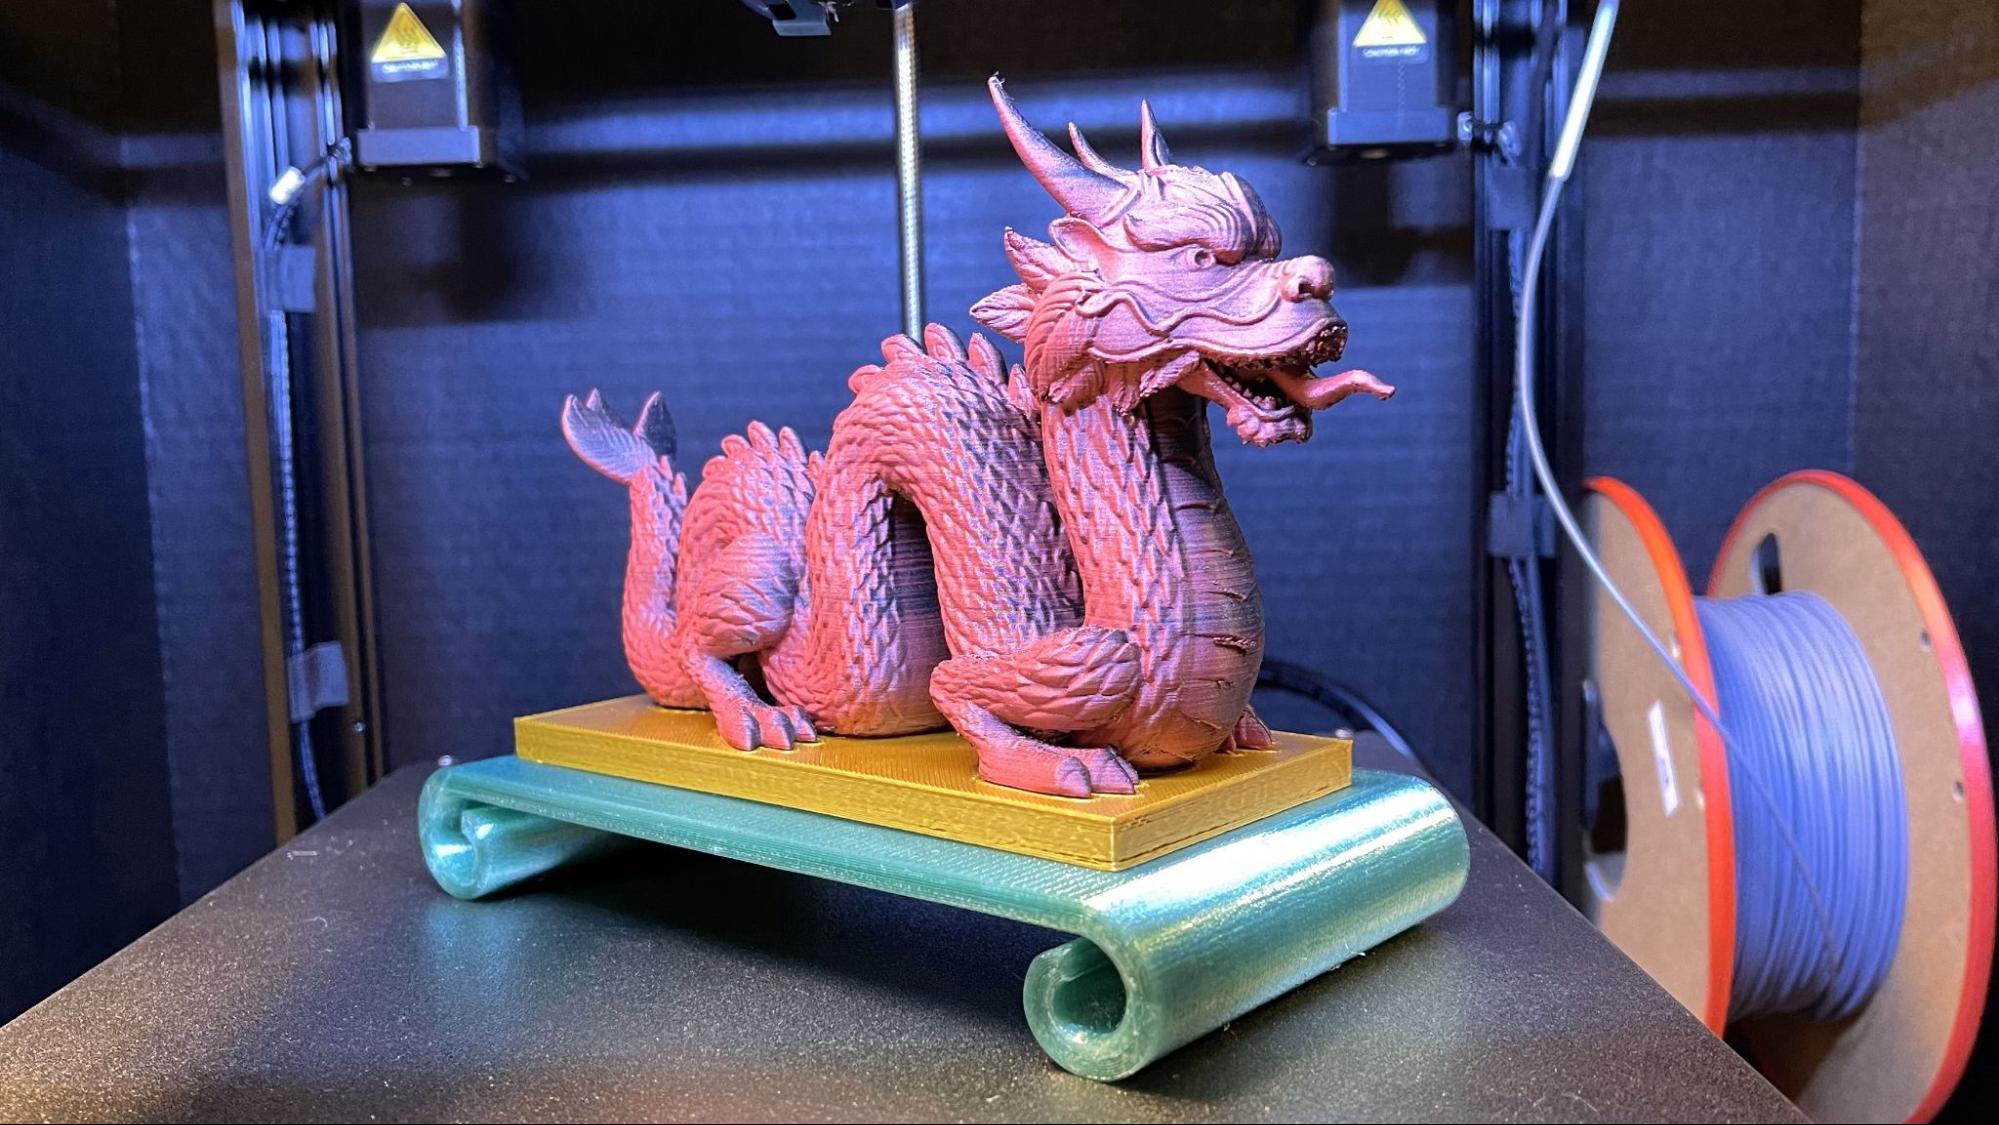
For its feature print, I gave it something a bit tough: Chelsey Creates Things’ Chinese Dragon. This is a three-part print that required a ton of supports. Any scraps of supports left on the print are more about my slicing than the printer’s ability.
The dragon was printed in a matte finish red/black dual color PLA from Polymaker. It may not have been the best choice, as it easily highlighted the layer lines. This part printed in 4 hours and 17 minutes using the default setting for a .2mm layer height, with a 270 mm/s inner wall and 60mm/s outer wall.
The golden slab is Polymaker PLA Pro in Gold. This was printed in with a .16 layer height to try and reveal the details on the edge, but didn’t. This took 2 hours and 18 minutes and showed a bit of layer separation due to the default high speed.
The “jade” pedestal is Greengate 3D recycled PETG in Emerald. This took 5 hours and 10 minutes to print using a fine .16 mm layer height and a slower 60mm/s speed. This slower print was flawless, proving that sometimes speed isn’t everything.
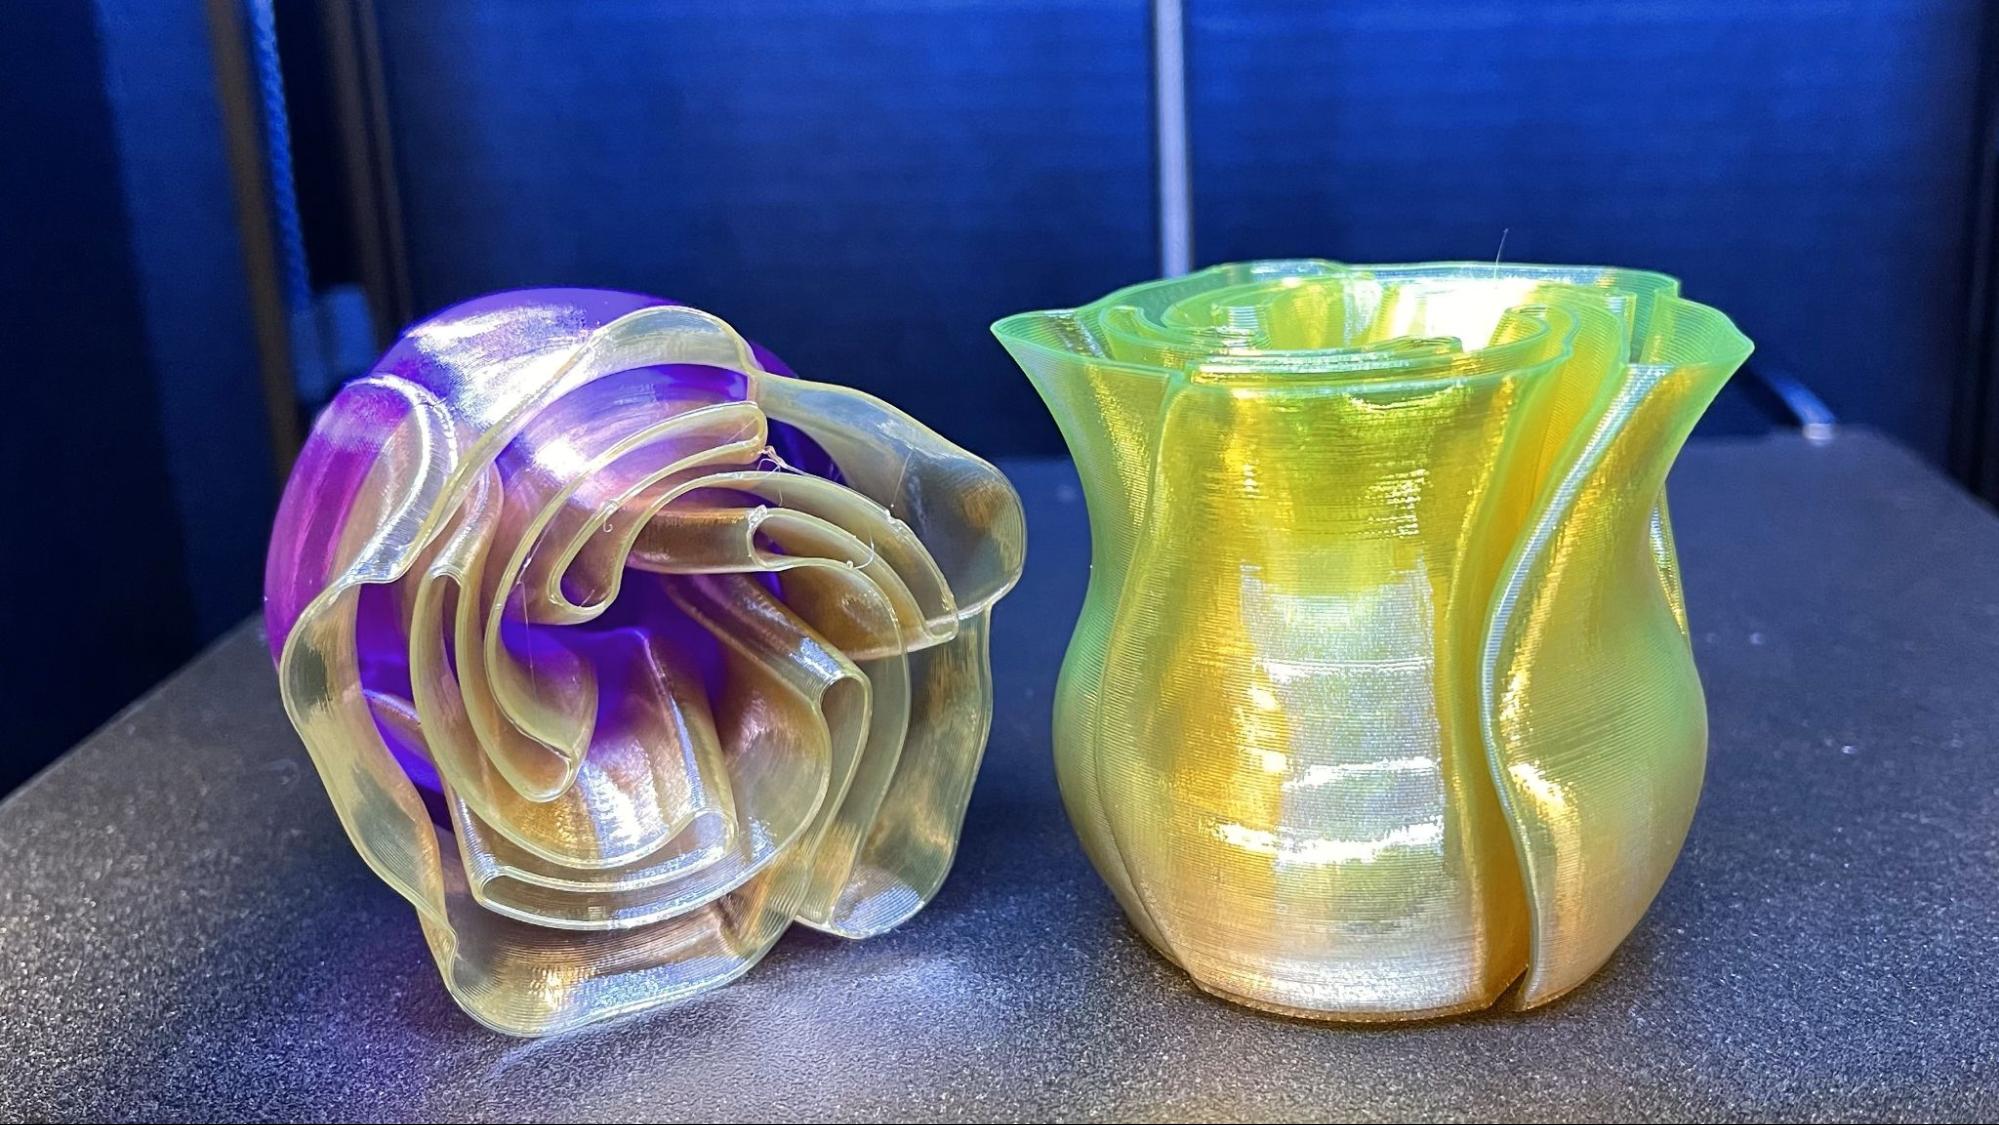
For TPU, I printed a spiral vase mode rose, using a chunky .28 layer height and a slow 60mm/s print speed. The flowers really worked well, with nice smooth layers. This is printed in Inland’s rainbow TPU.
Bottom Line
The Two Trees SK1 is an open-frame Core XY 3D printer running speedy Klipper firmware. Its 256 x 256mm build plate gives it a little more wiggle room than your average Ender 3 sized machine, but its AliExpress parts make finding replacements an adventure. It would be better if Two Trees stocked nozzles and hotends on their own storefront to make inevitable replacements easier to find.
The SK1 is truly fast and capable of producing excellent quality, however it still boils down to having good slicer settings. Like a lot of fast 3D printers, the top advertising speed is strictly for travel moves, not while it’s laying down plastic. We found it to be a little faster than the Bambu machines we’ve tested, but the Creality K1 Max still beat it on the speedboat challenge. Still, it gave its best quality out when allowed to run a bit slower.
Retailing at $599, and currently on sale for $499, the Two Trees SK1 is a good choice for someone looking for a true Klipper printer that isn’t beholden to a Cloud server or proprietary software. This machine can be tinkered with and modded to your heart’s content.
If you’re looking for a superfast budget 3D printer with Klipper pre-installed, you can also check out the Sovol SV07, retailing for $339. If you want a fully enclosed Core XY printer, and don’t mind the Creality fork of Klipper, go with the Creality K1 for $499.

Denise Bertacchi is a Contributing Writer for Tom’s Hardware US, covering 3D printing. Denise has been crafting with PCs since she discovered Print Shop had clip art on her Apple IIe. She loves reviewing 3D printers because she can mix all her passions: printing, photography, and writing.
-
printech66 Hi i have the printer and i am absoluly OK with your test but i would’like just add its impossible to add à webcam. I had contact support for this and they confirm its not possible because its not official. So they doesnt OK for give the ssh password then no webcam for surveillance of print and no timelapseReply
Hello
This is R&D information and we cannot provide it.
We cannot provide warranty if machine failure is caused by using unofficial kits
Regards -
airheadbit Here are the reasons NOT to purchase the Twotrees SK1 printer:Reply
Extruder with built in filament detector, when it detects a filament break it tries to unload what is left jamming the extruder gears resulting is disassembly of the print head to get to the extruder gears. Or with firmware update it lets you insert new filament then tries to grab the filament as it feeds the rest of the old filament, sometimes it works.
Nozzle + Heat sink are clones of another printer with a modification to the heatsink body, at this time you cannot buy one, over a month waiting on a replacement due to filament plug.
Z axes motors internally support the Z axes bed weight, lack of bearing load carriers shortens the motors life considerably.
Heat bed is a DC (24 volt) model that takes 4 minutes to heat up with a top temperature of 105°C, it is unique, there are no 'third party' AC (110 volt) heat pads to fix this.
At this time there is no documentation so it is impossible to determine if there is a thermistor for the chamber, without a thermistor there is no means to regulate the chamber temperature, printing ABS or other high temperature filaments becomes a joke.
Dealing with Twotrees Customer Support: Two weeks of emails, images, videos and still waiting on a tracking number for a $10 nozzle, meanwhile the printer is collecting dust.
Noise: I lost some hearing in Vietnam so load printers generally don't bother me, this printer with three always on high RPM fans is insane, to Twotrees credit they used a power supply with a 60mm fan that only comes on with heat but the other three fans are insane whine level!
The Display, what can I say about a Nexton serial display besides it sucks, the machines controller lacks a HDMI port so you can't add a cheap Klipper Screen, you have to purchase a stand-alone computer with a HDMI display to add a decent display that doesn't lockup interminably .
On the subject of the machine’s controller, the 'disk' is a 8GB emmc device with 953.5MB of memory, 35% used at idle. The Klipper Load hits 113% during bed mesh. A 32GB emmc module is $4~$12 AliExpress. The OS is Debian Buster which was replace with Bullseye in 2021 and currently at Bookworm in 2023, there is no upgrade for the OS or Klipper as shipped, all update managers are disabled.
Customer Support would not give out the root password, I found it at MakerBase as their default User/Password for any controller they sell. They (Customer Support) did threaten me for posting the user/password then they apologized, said I miss-understood what they said.
If you need to burn $500~$650 but this printer!
