Building a $2,000 1440p Gaming PC
Combining some of NZXT’s finest RGB to create a 60fps 1440p Gaming PC
1. Case Strip-down
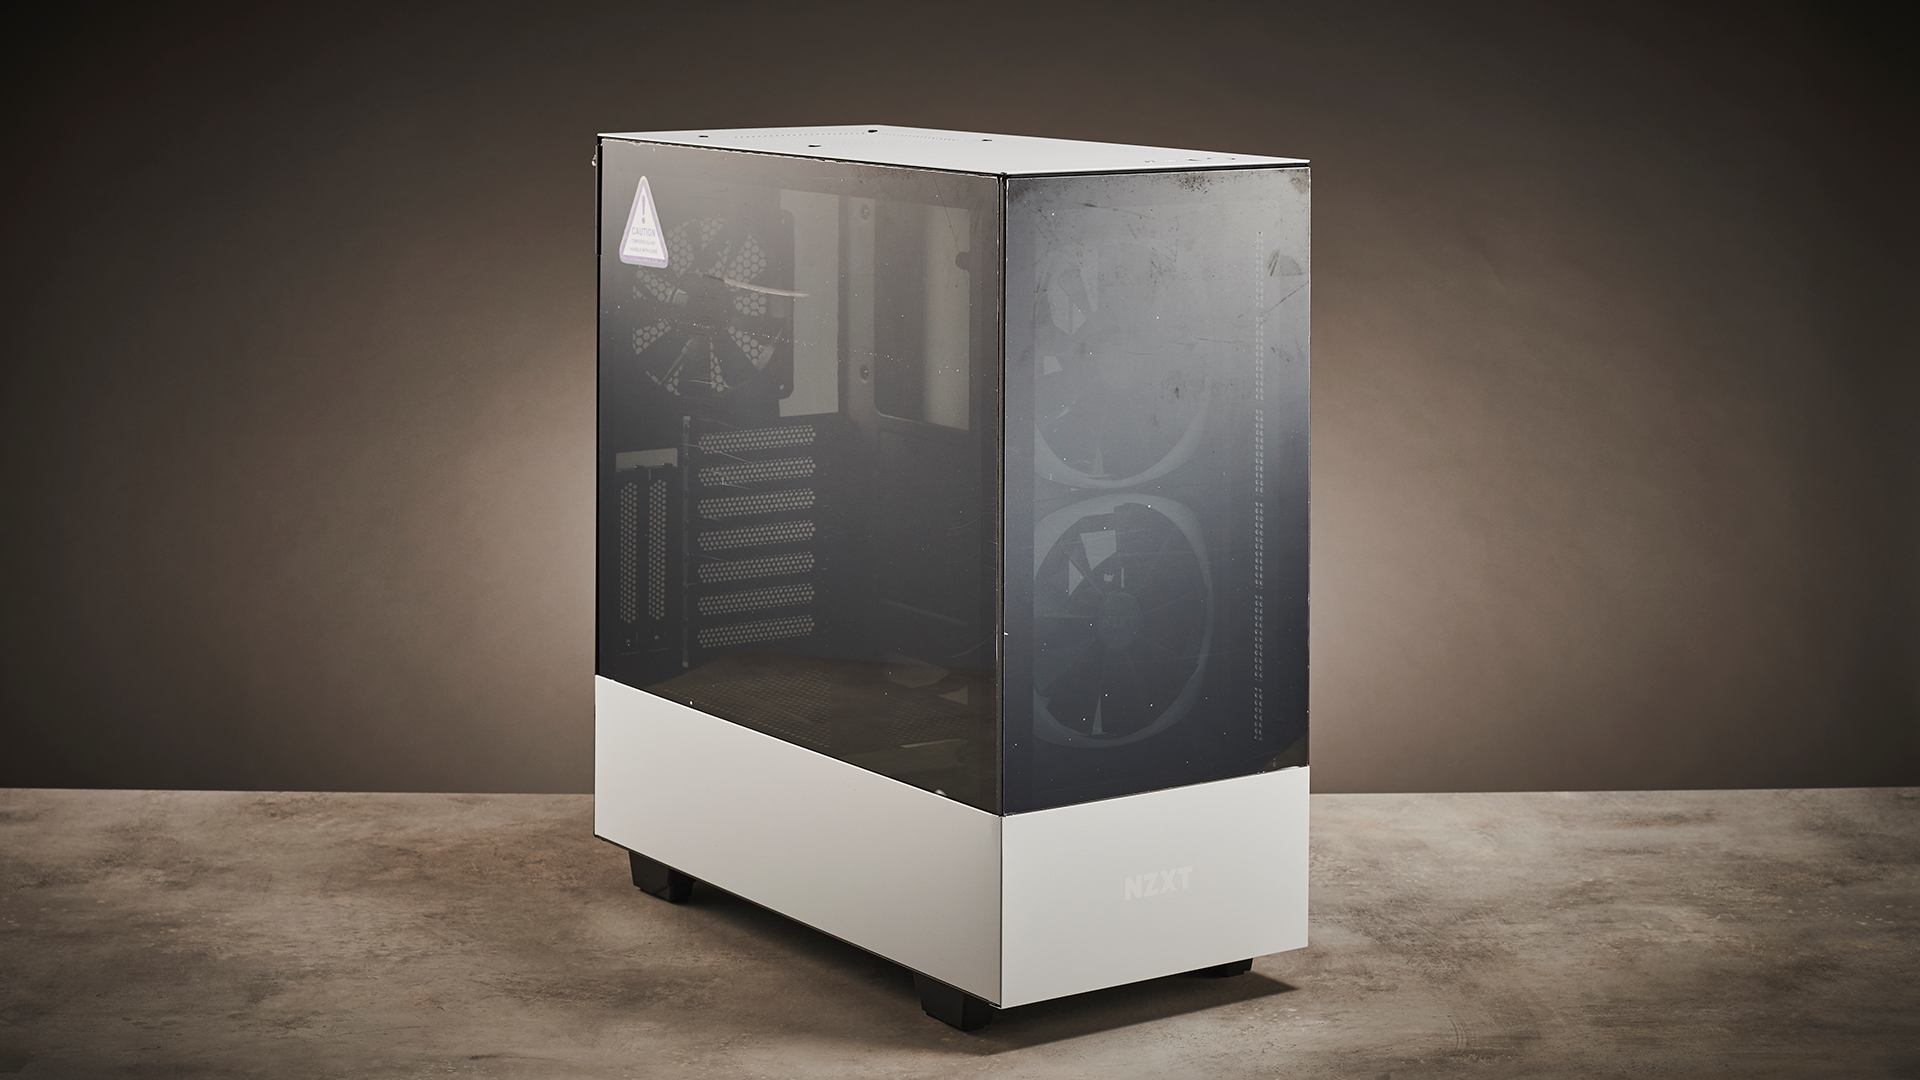
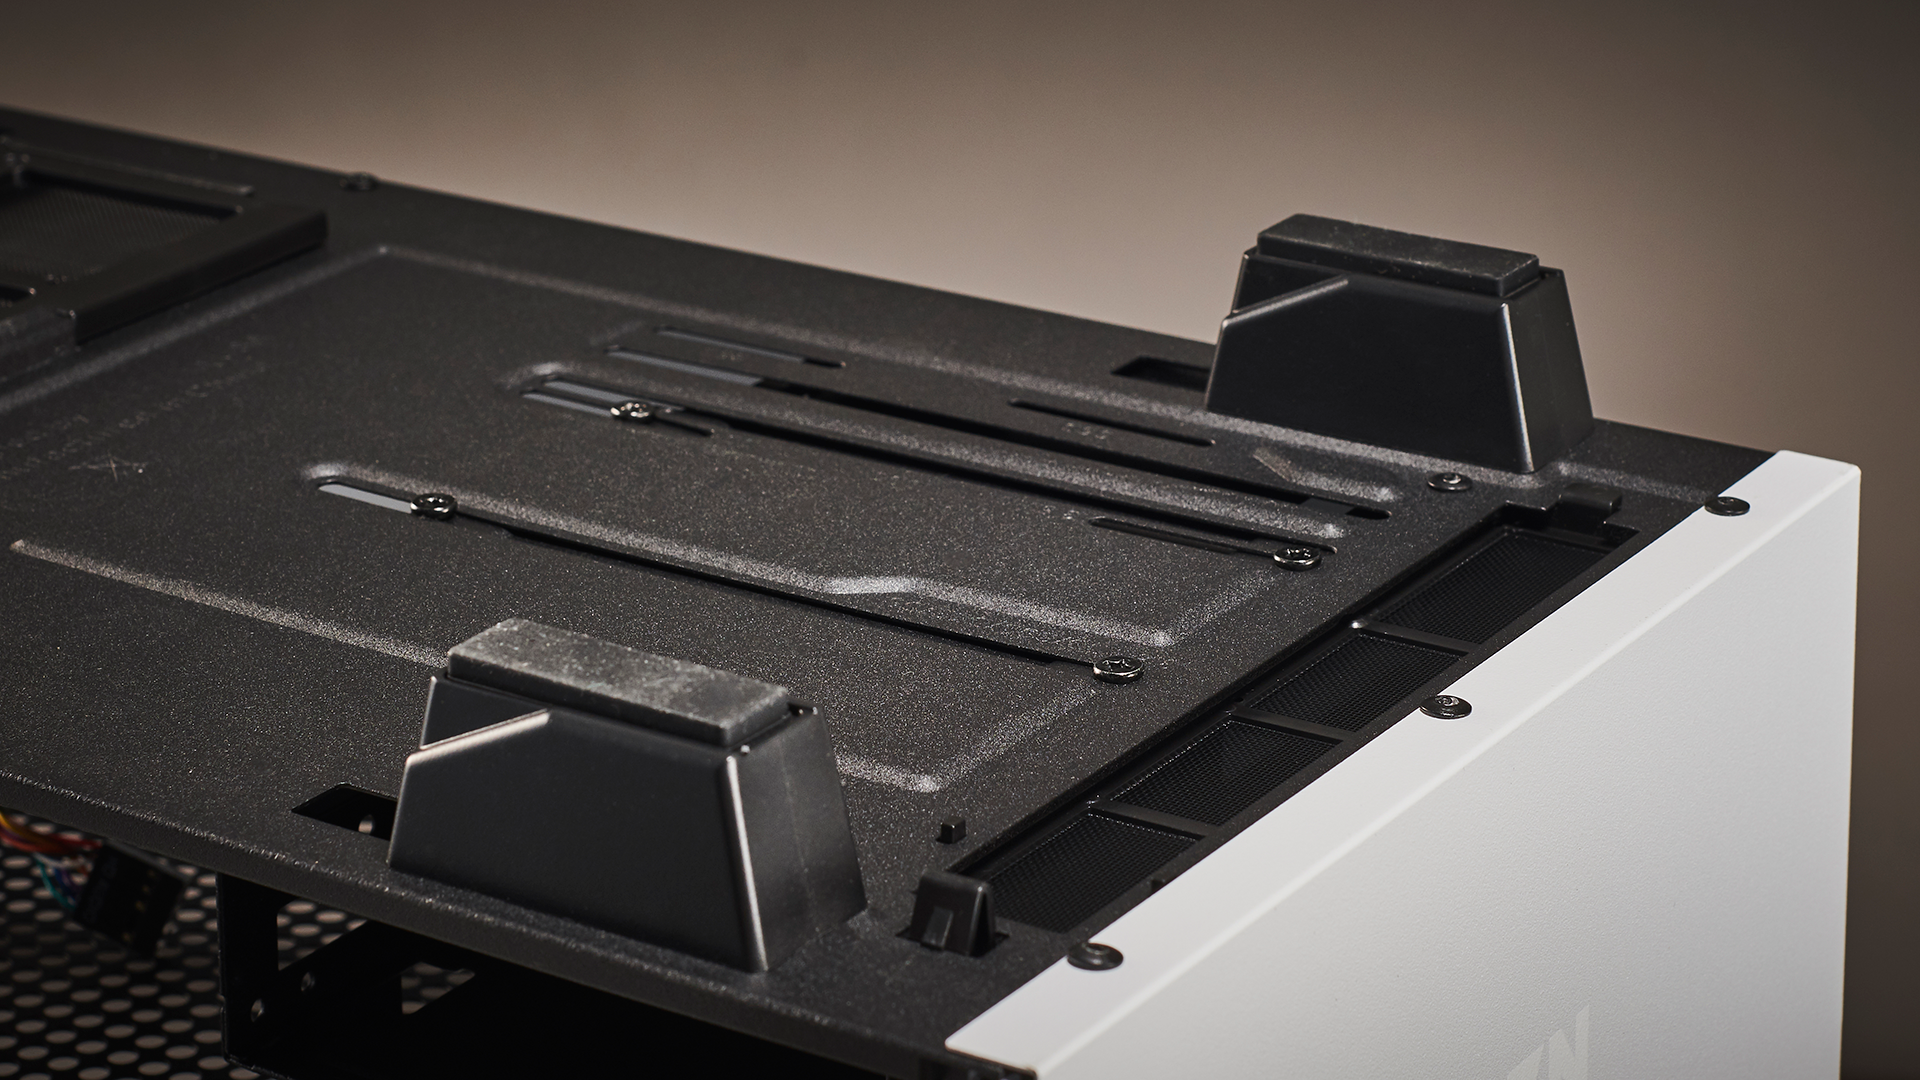
When it comes to PC building, we always recommend you start with a case strip-down. Remove as many panels as you can and identify internal features that you want to keep, and the ones you want to toss to the side. This makes the chassis lighter, easier to work in, and also ensures you won’t damage any of the external panels.
In our case, we’ll be removing the hard-drive cage located in the bottom power supply section. This gives us more room to hide those excess PSU cables. You can always keep these parts in storage for if you want to add a 3.5-inch drive later. To remove the HDD cage from the H510 Elite, simply remove the screws located at the bottom of the chassis next to the feet, and one on the back of the motherboard tray, and slide the cage out.
2. Installing the Processor
When installing your processor, it’s always a good move to do this with the motherboard outside of the chassis. First, place your mobo down on a non-conductive surface, such as the cardboard box it came in. Make sure you don’t place it on top of the anti-static bag it ships in, as the bag’s exterior is actually conductive.
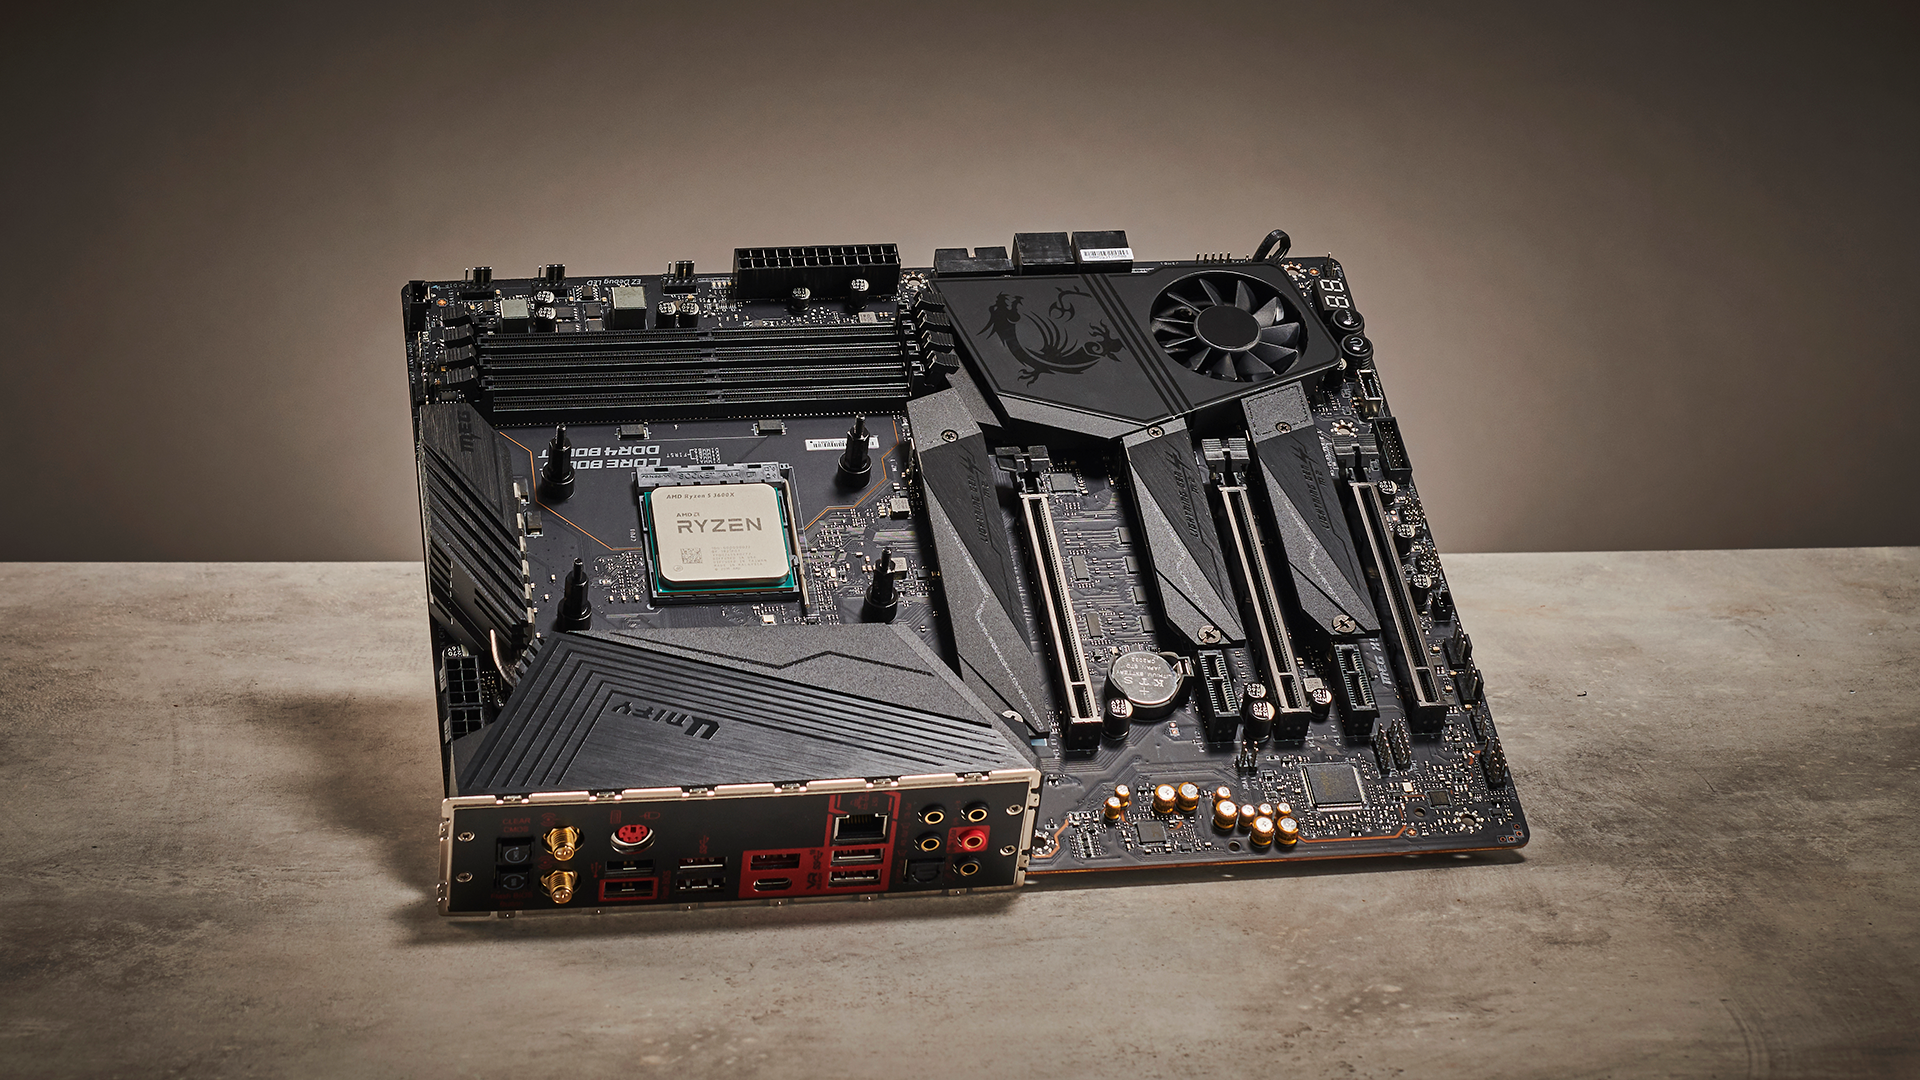
For our AMD Ryzen processor, you lift up the retention arm on the socket, identify the golden triangle on the corner of the processor, line the chip up with the triangle on the socket, gently place it into position, then move the arm back down to secure it in place.
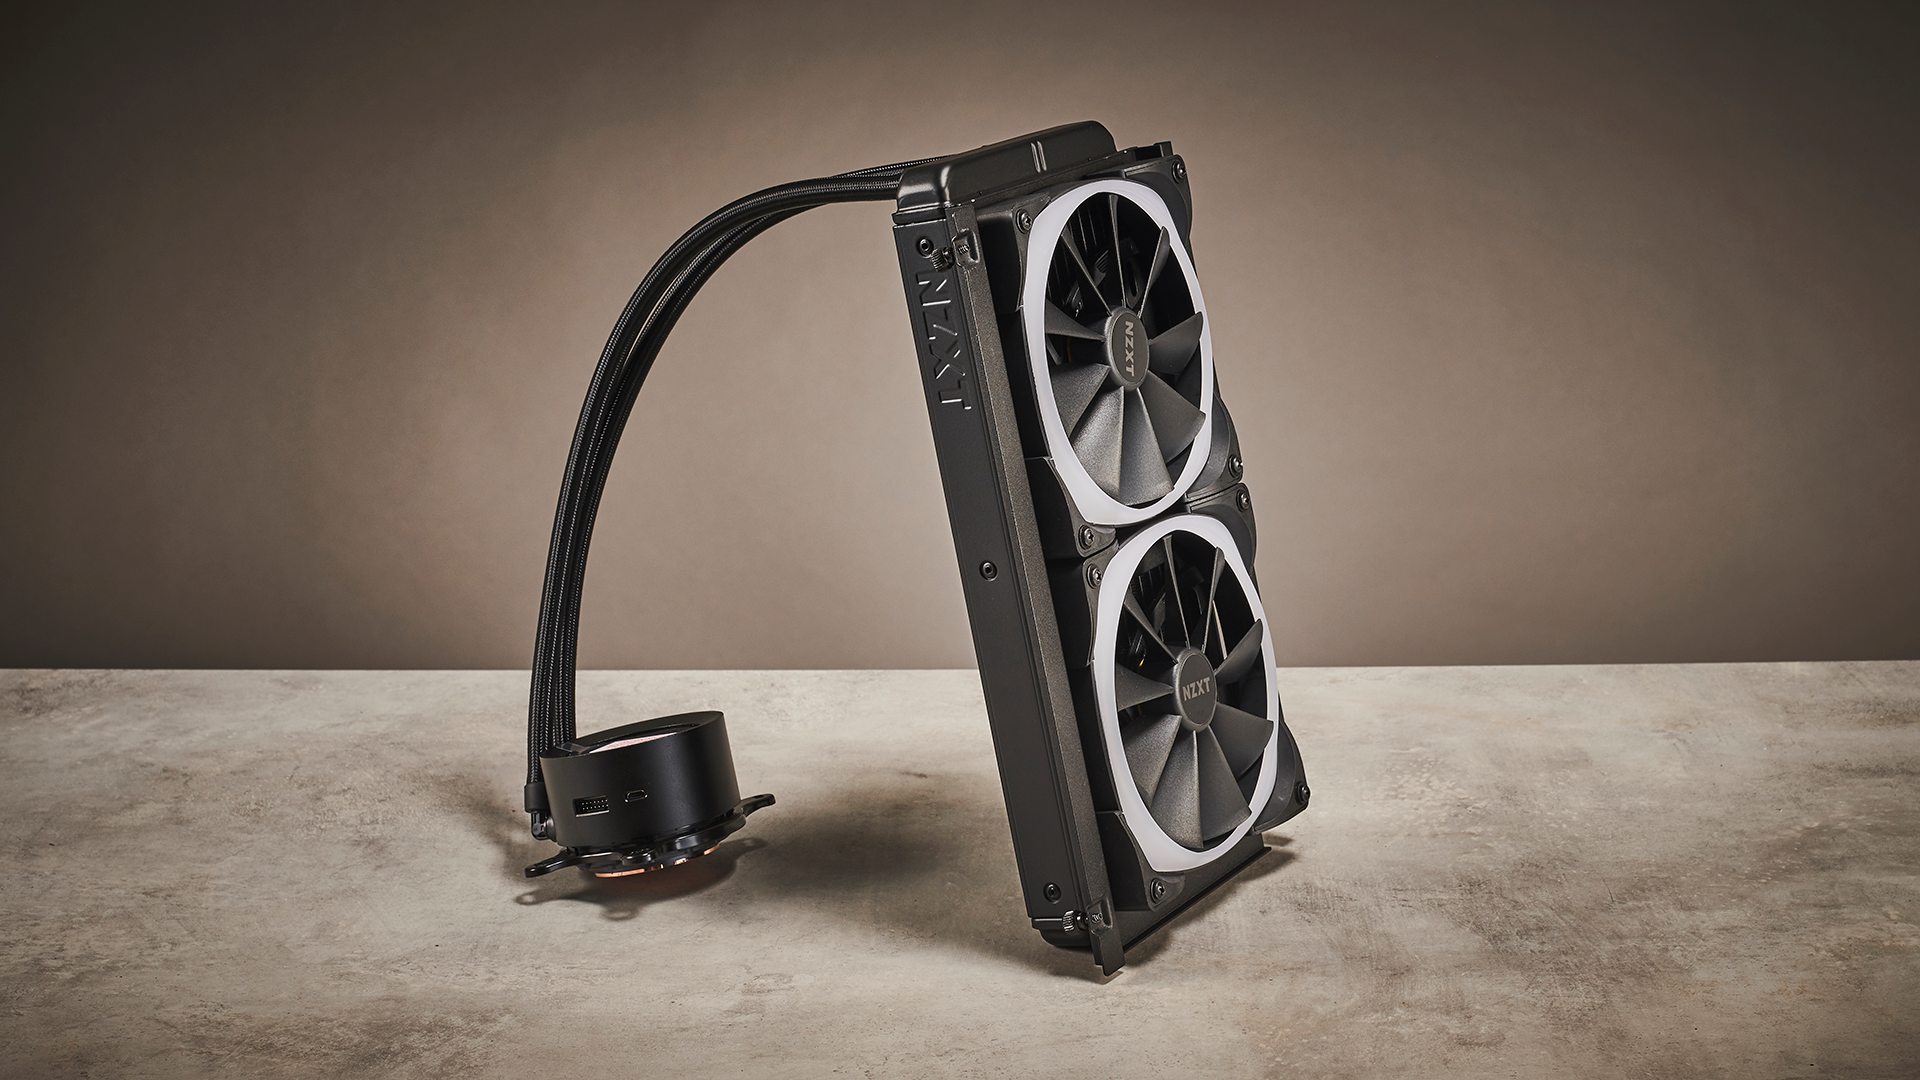
We’ve also taken the opportunity to pre-emptively install the CPU cooler’s stand-offs. This process will vary depending on manufacturer, but with our NZXT Kraken you simply unscrew the stock plastic brackets that sit on top of the motherboard (the ones that support AMD’s reference Wraith coolers), retain the included backplate that’s already there, and then install the AM4 stand-offs included with the cooler.
To install our M.2 drives, we used a small Phillips screwdriver, unsecured two of the heatsinks located above the first and second PCIe slots, and then slotted our M.2 drives into position. Then it was just a case of reinstalling the heatsinks, making sure to remove the sticker from the thermal pad underneath.
3. Dropping the Motherboard Into the Chassis
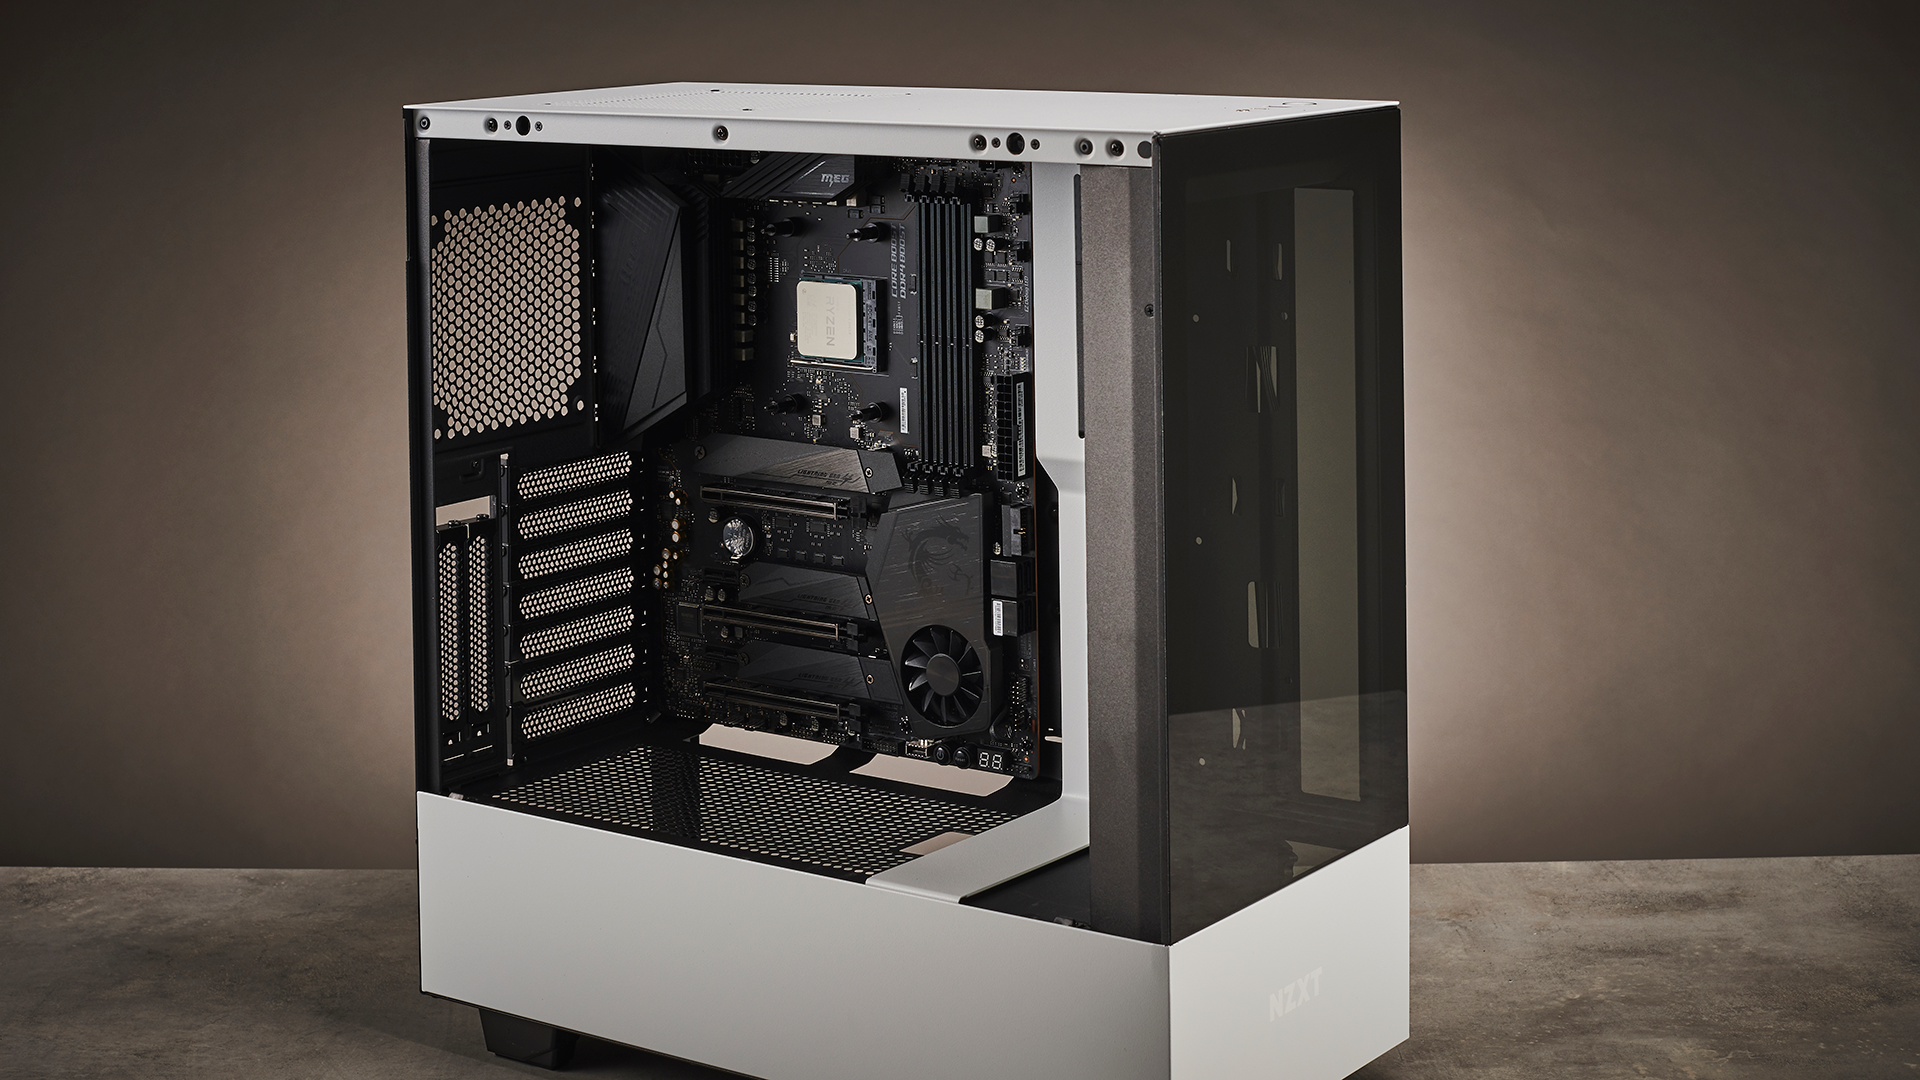
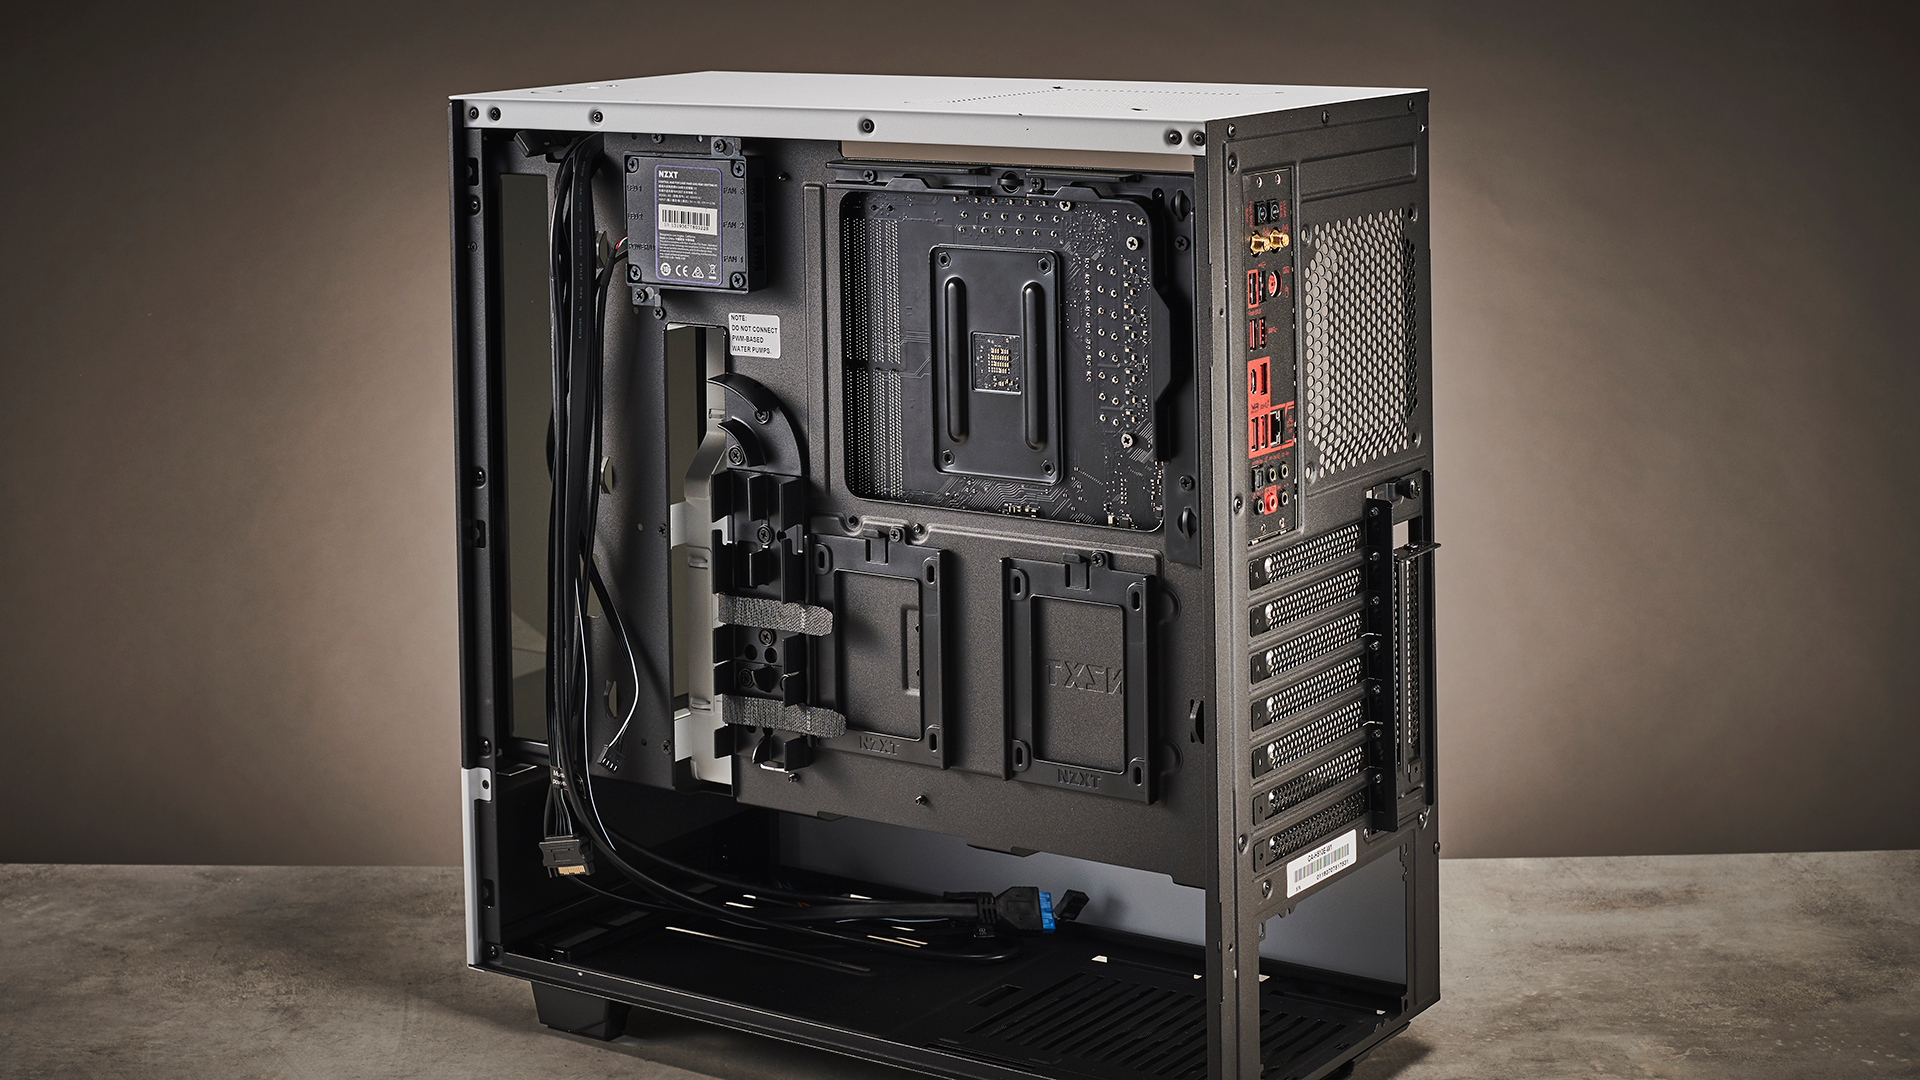
One thing to note when installing your motherboard, is whether your model comes with an integrated rear I/O plate or not. If it doesn’t you’ll find the plate in the motherboard box. To install it, push it into position from the inside making sure to align the holes for the I/O ports with the correct orientation of your motherboard. If it’s integrated onto the board like ours, simply align the board with the rear I/O slot and the motherboard standoffs.
Get Tom's Hardware's best news and in-depth reviews, straight to your inbox.
We suggest you do this with your chassis laying flat. Then make sure to use the correct screws to secure the motherboard. You’ll find these in the included accessory box found in one of the hard drive caddies. To identify which ones are correct for your stand-offs, refer to the case manual.
It’s worth noting if you haven’t installed your CPU cooler stand-offs just yet, it’s easy to do this with the NZXT H510 Elite, as there’s a huge CPU cooler cutout in the back of the motherboard tray.
4. Preparing the CPU Cooler
The NZXT H510 Elite comes with a removable front radiator bracket. We carefully removed the fan cables from the fan controller, then simply loosened the thumb screws closest to the window, and removed the bracket from the chassis.
After this, we removed the fans from the bracket, then lined it up with the radiator, and used the long radiator screws included with the AIO, with a washer attached, to secure the fans into place. This effectively pinches the removable bracket in between the fan and the radiator.
Be careful here, as most AIO coolers will have a plastic cover on the bottom of the CPU block that’s protecting its included thermal paste, which is easy to knock off. You can use that paste, however if you’re a veteran building, we recommend you do your own application for peace of mind. Simply remove the plastic cover and wipe off the thermal paste with a microfiber cloth and isopropyl alcohol.
5. Install the CPU Cooler
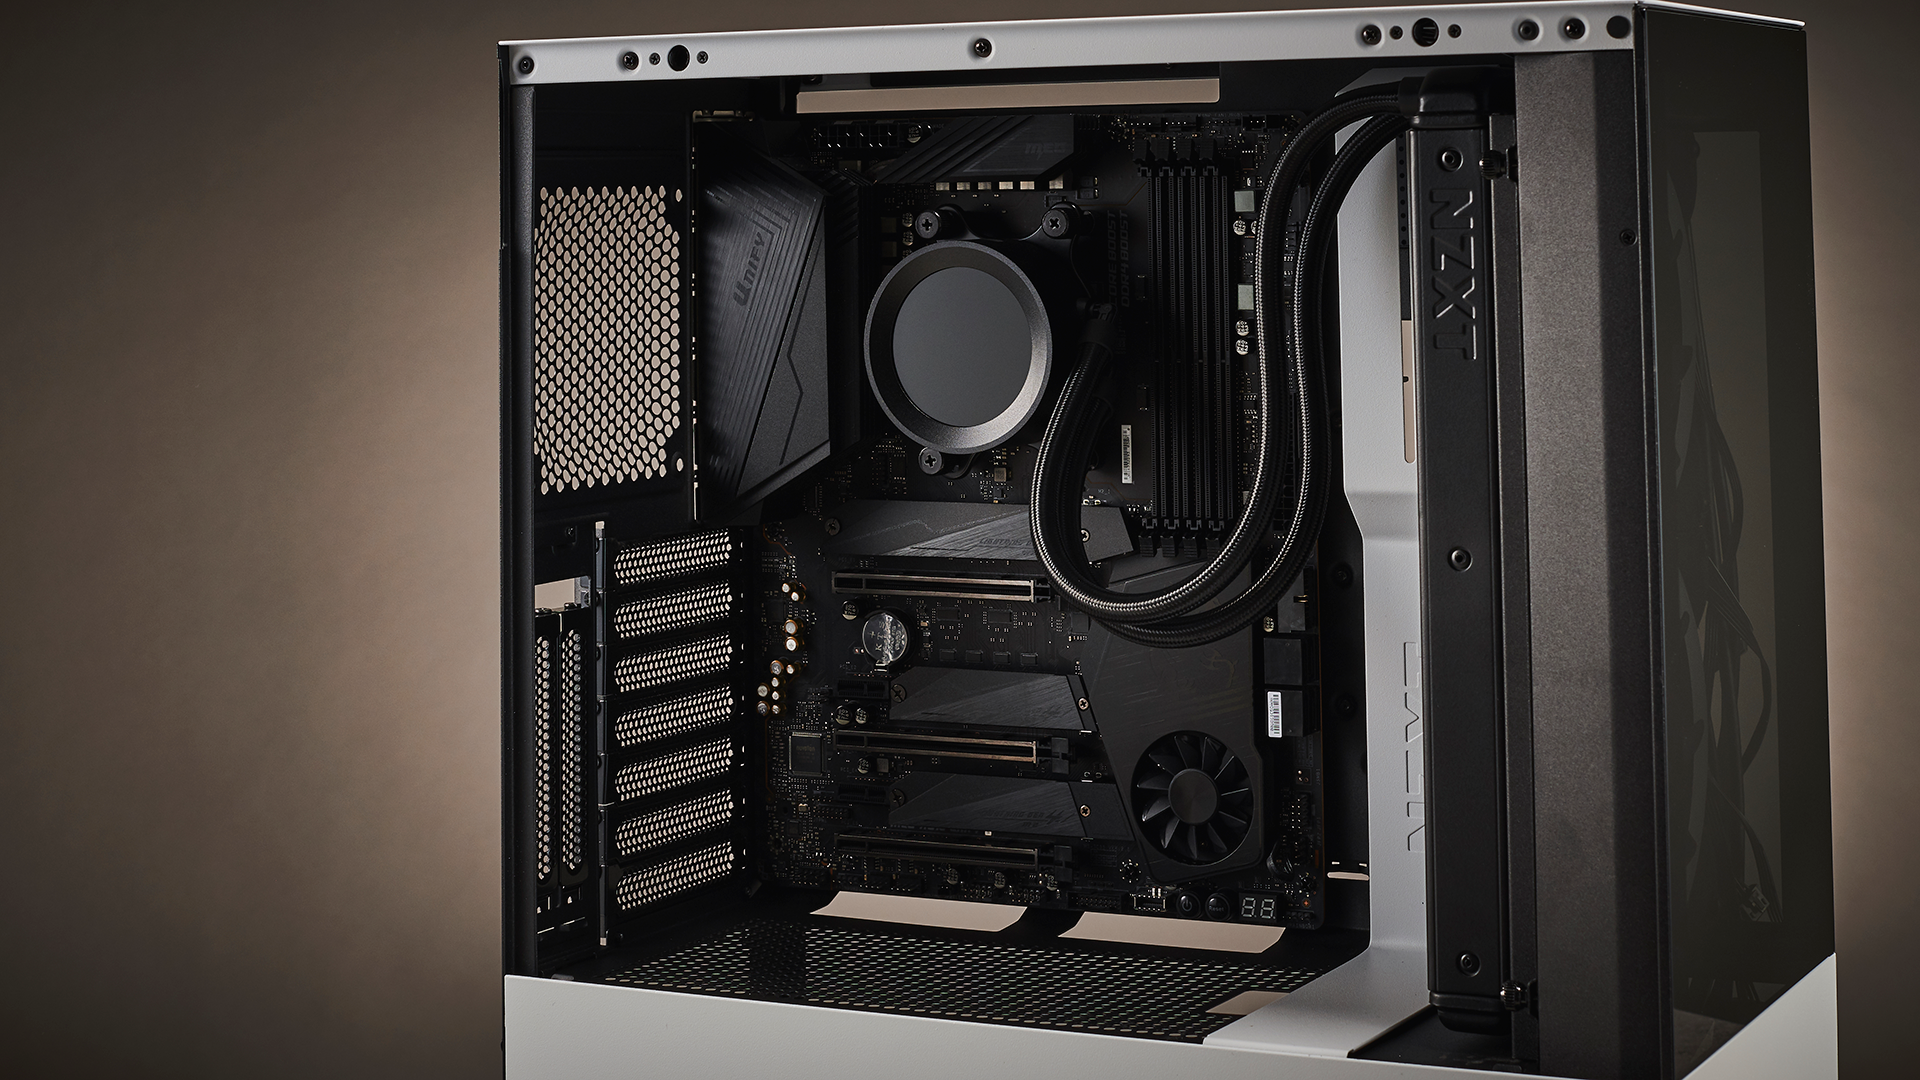
Reinstalling the bracket was tricky. The removable radiator bracket has notches in the side closest to the motherboard tray. We had to line those up with the cutouts in the panel and carefully slot it in position with the radiator and fans intact making sure not to trap any fan cables in the process. Once that’s done, we simply secured the bracket in place with those retainable thumbscrews.
Then it was time to install the CPU block to the processor. We applied our own thermal paste using a small pea-sized dot in the middle of the chip then carefully aligned the AIO’s CPU block with the stand-offs, securing it down with the included thumb screws in a star/diagonal pattern. Make sure you use a screwdriver for this, and only tighten the thumbscrew to the end of its thread.
After that, we also installed our memory. To do this we simply lifted up the latches, then aligned the notches on the DIMMs with the slot on the motherboard. If you’re only using two sticks, refer to the motherboard manual to identify which slots to install them in.
6. Power Supply Installation
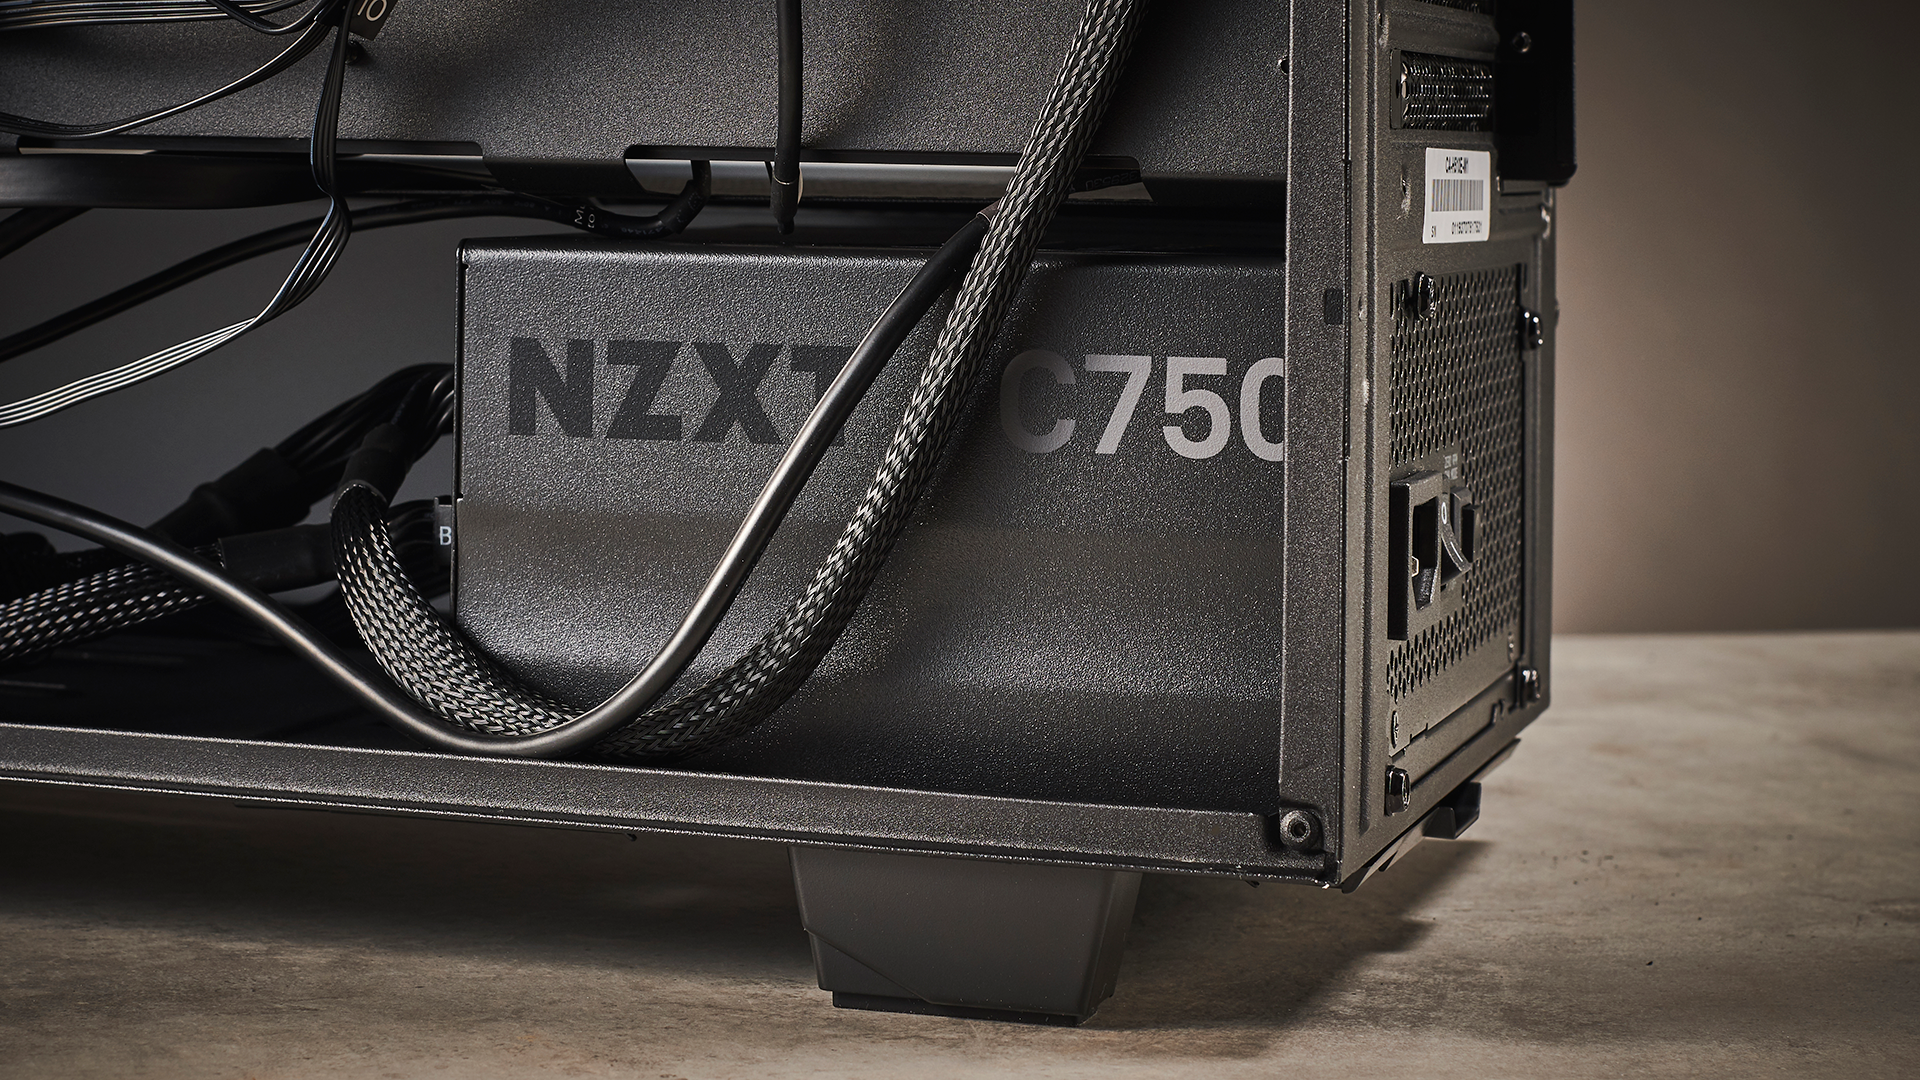
Installing the power supply was fairly straightforward. We always recommend you Install the cables you need to the power supply first, then slide it into the side of your chassis and secure it using the correct screws in the rear of the case.
One thing to note: The NZXT C750 only comes with a single 8-pin EPS/CPU connector. But our motherboard has support for two 8-pin EPS connectors. A single 8-pin EPS will support around 235W of continuous voltage, which will be more than enough to supply power to our processor. In fact, even the 16-core Ryzen 9 3950X 16 core processor when overclocked drew a maximum of around 155W in our testing.
7. Cables and Front Panel I/O
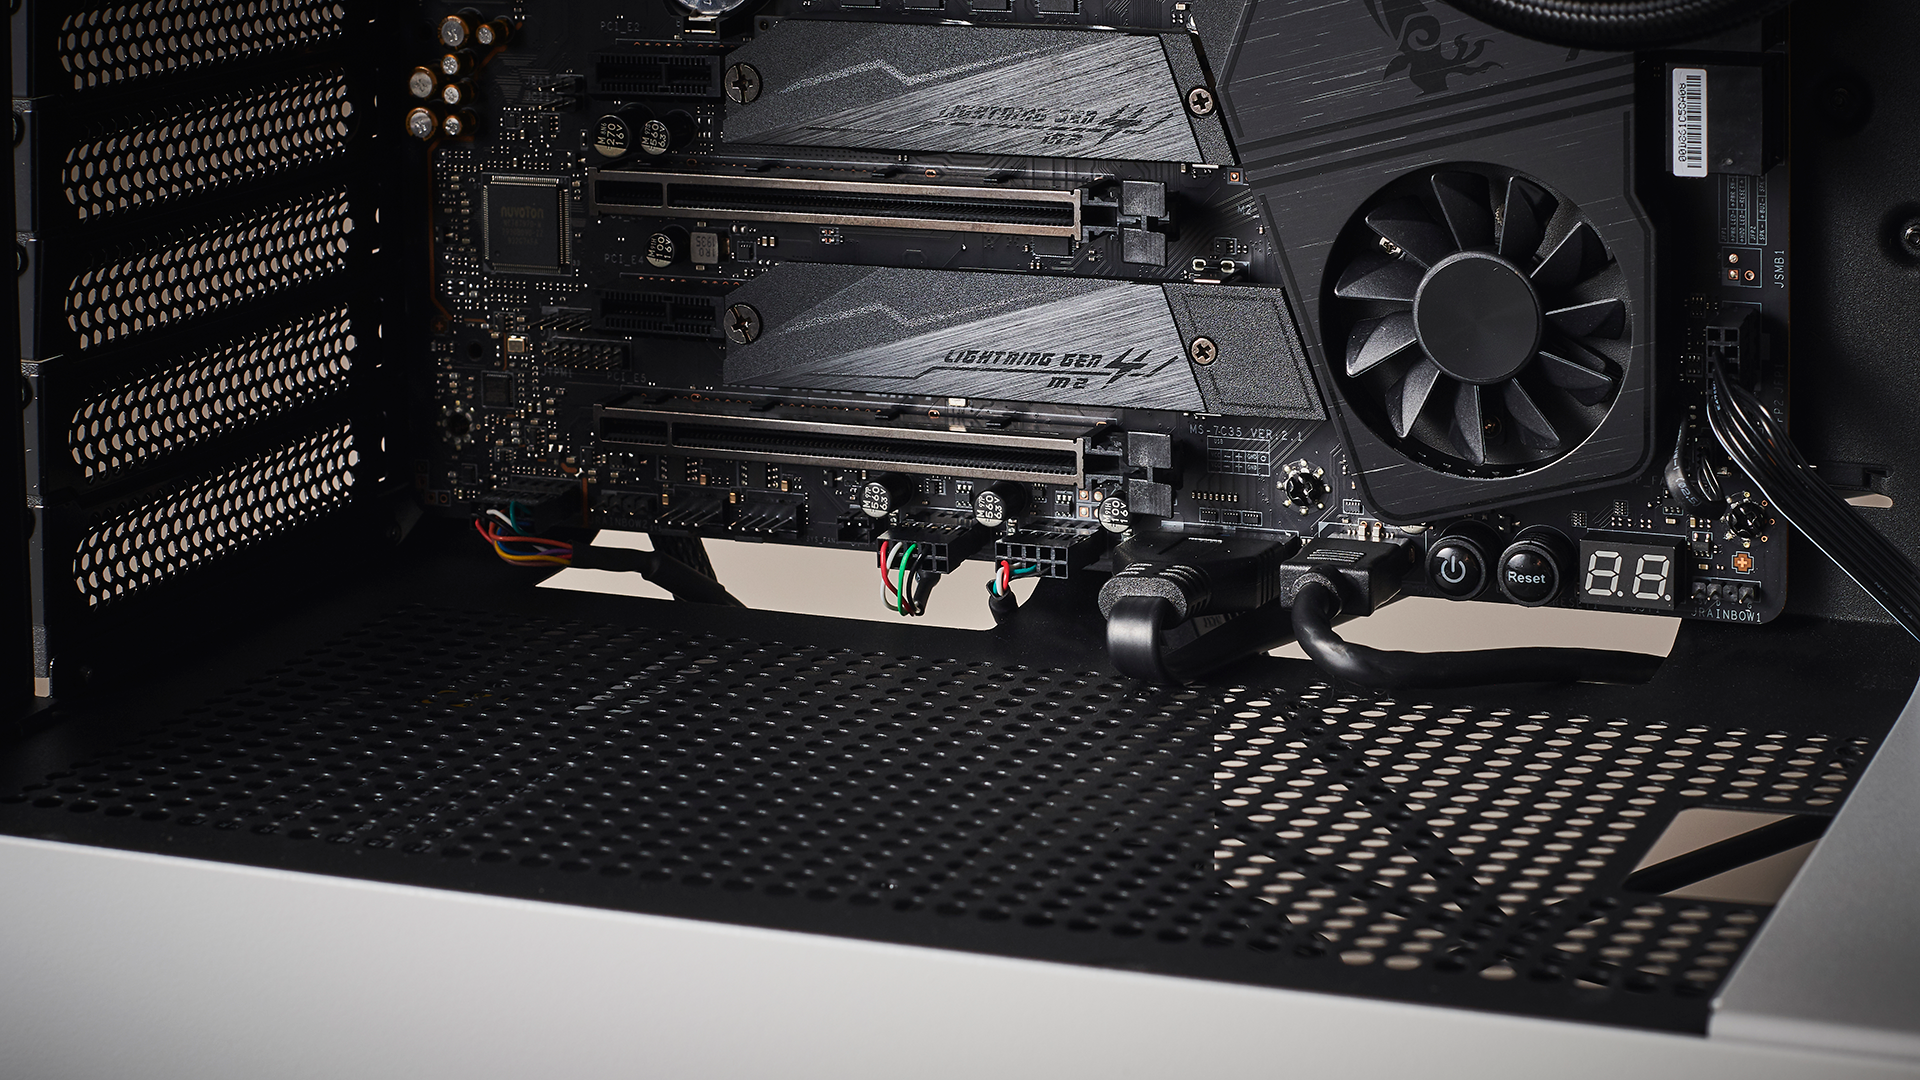
Once our power supply was secured, we installed the 24-pin ATX cable and the 8-pin CPU power cable, and left the PCIe power out the back for the time being. Next we installed all of our front panel cables, fan controller, and fan cables.
NZXT’s H510 Elite comes with a solid front I/O (power button, HDD LED) header that’s shaped like a USB 2.0 header, specifically designed for easy fitting with Asus, Asrock and MSI motherboards. For Gigabyte motherboards--which have spread out front I/O pins--NZXT also includes a front panel adapter to split the pins up. On top of that, we also installed the USB 3.1 Type A header, the USB 3.1 Type C header, our NZXT CAM fan controller’s USB 2.0 header, and the HD audio-passthrough header down here as well. They’re all labelled; simply look at which pin holes are on what, line them up and install into the correct port.
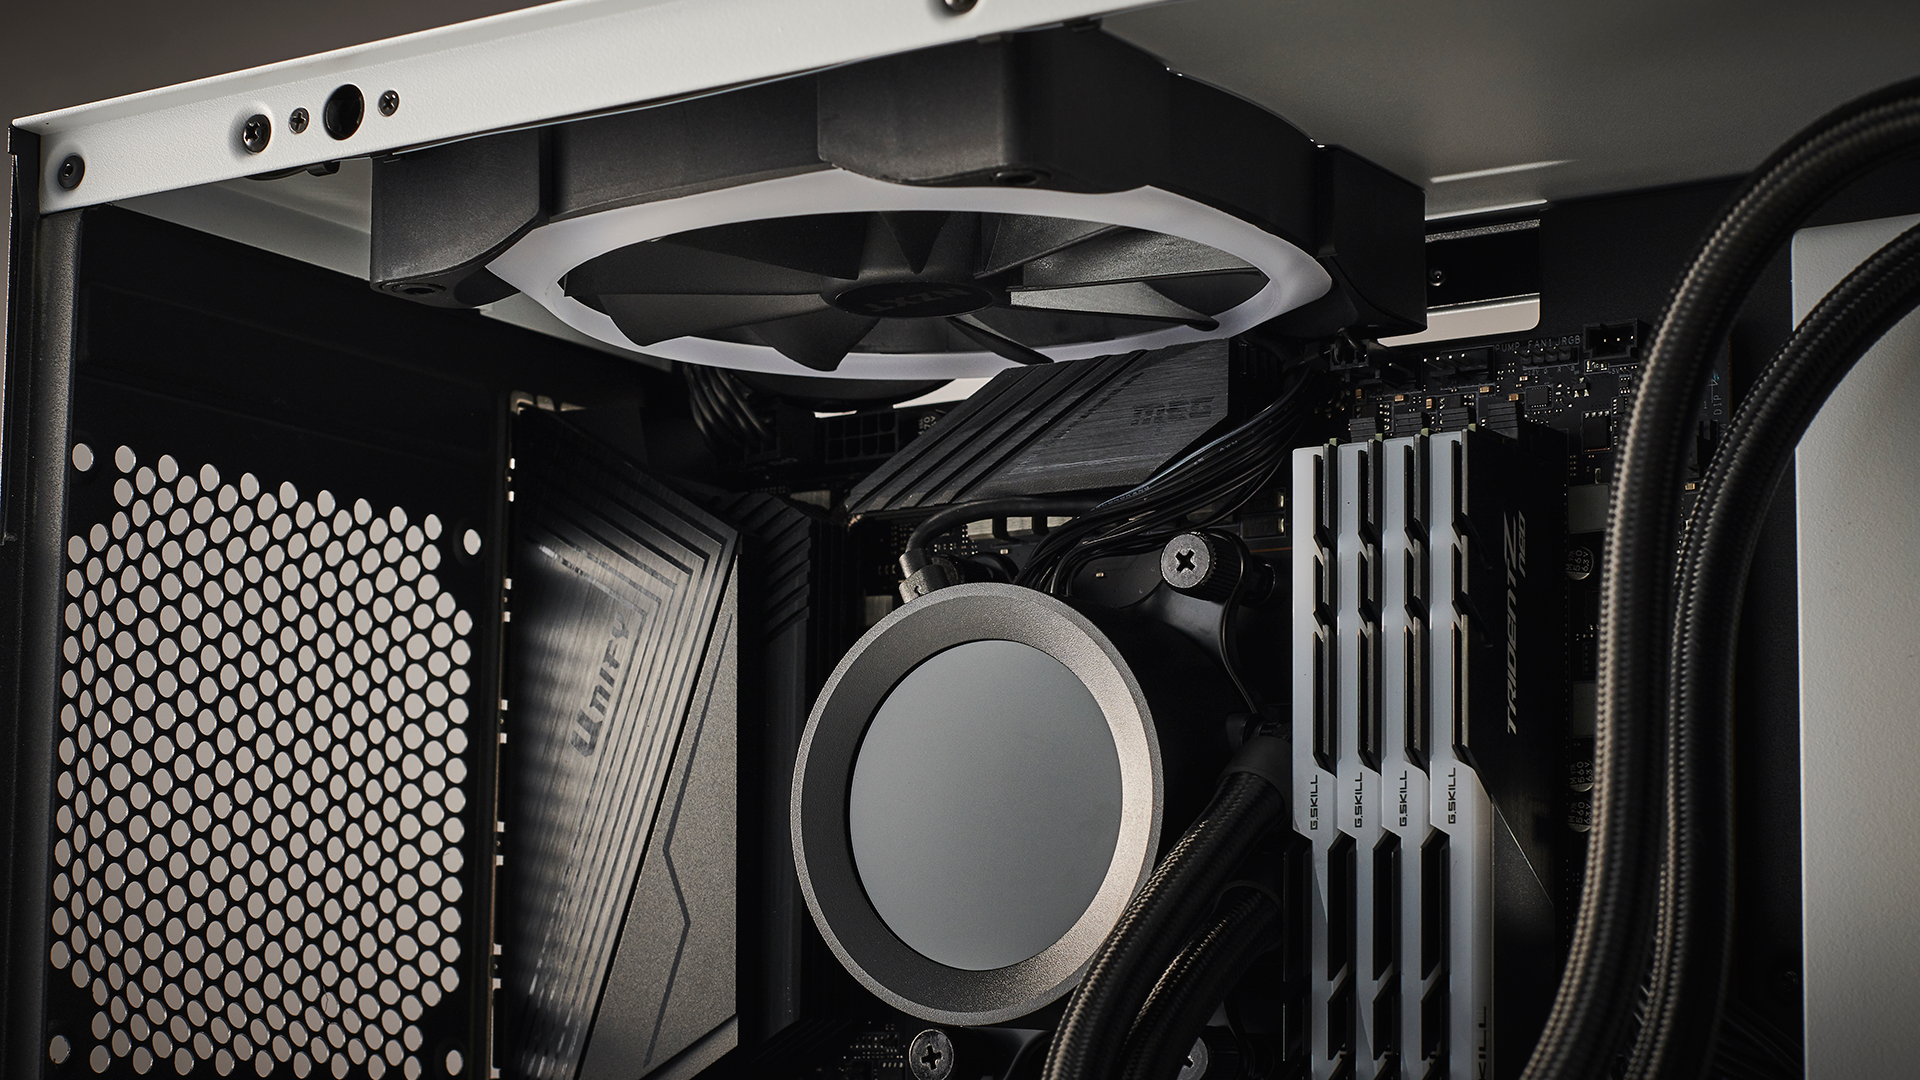
Lastly, we installed our CPU cooler cables. To do this, we simply connected them to the CPU block, connected the pump header to a fan header on the motherboard, the Micro-USB cable to a SATA power, and the USB 2.0 header onto another 2.0 port on the motherboard.
After all that, we installed our last AER RGB 2 fan, and connected it to the NZXT CAM fan controller. It’s easiest to do this last, as the cables are far more difficult to install with the fan in place.
8. Installing the Graphics Card
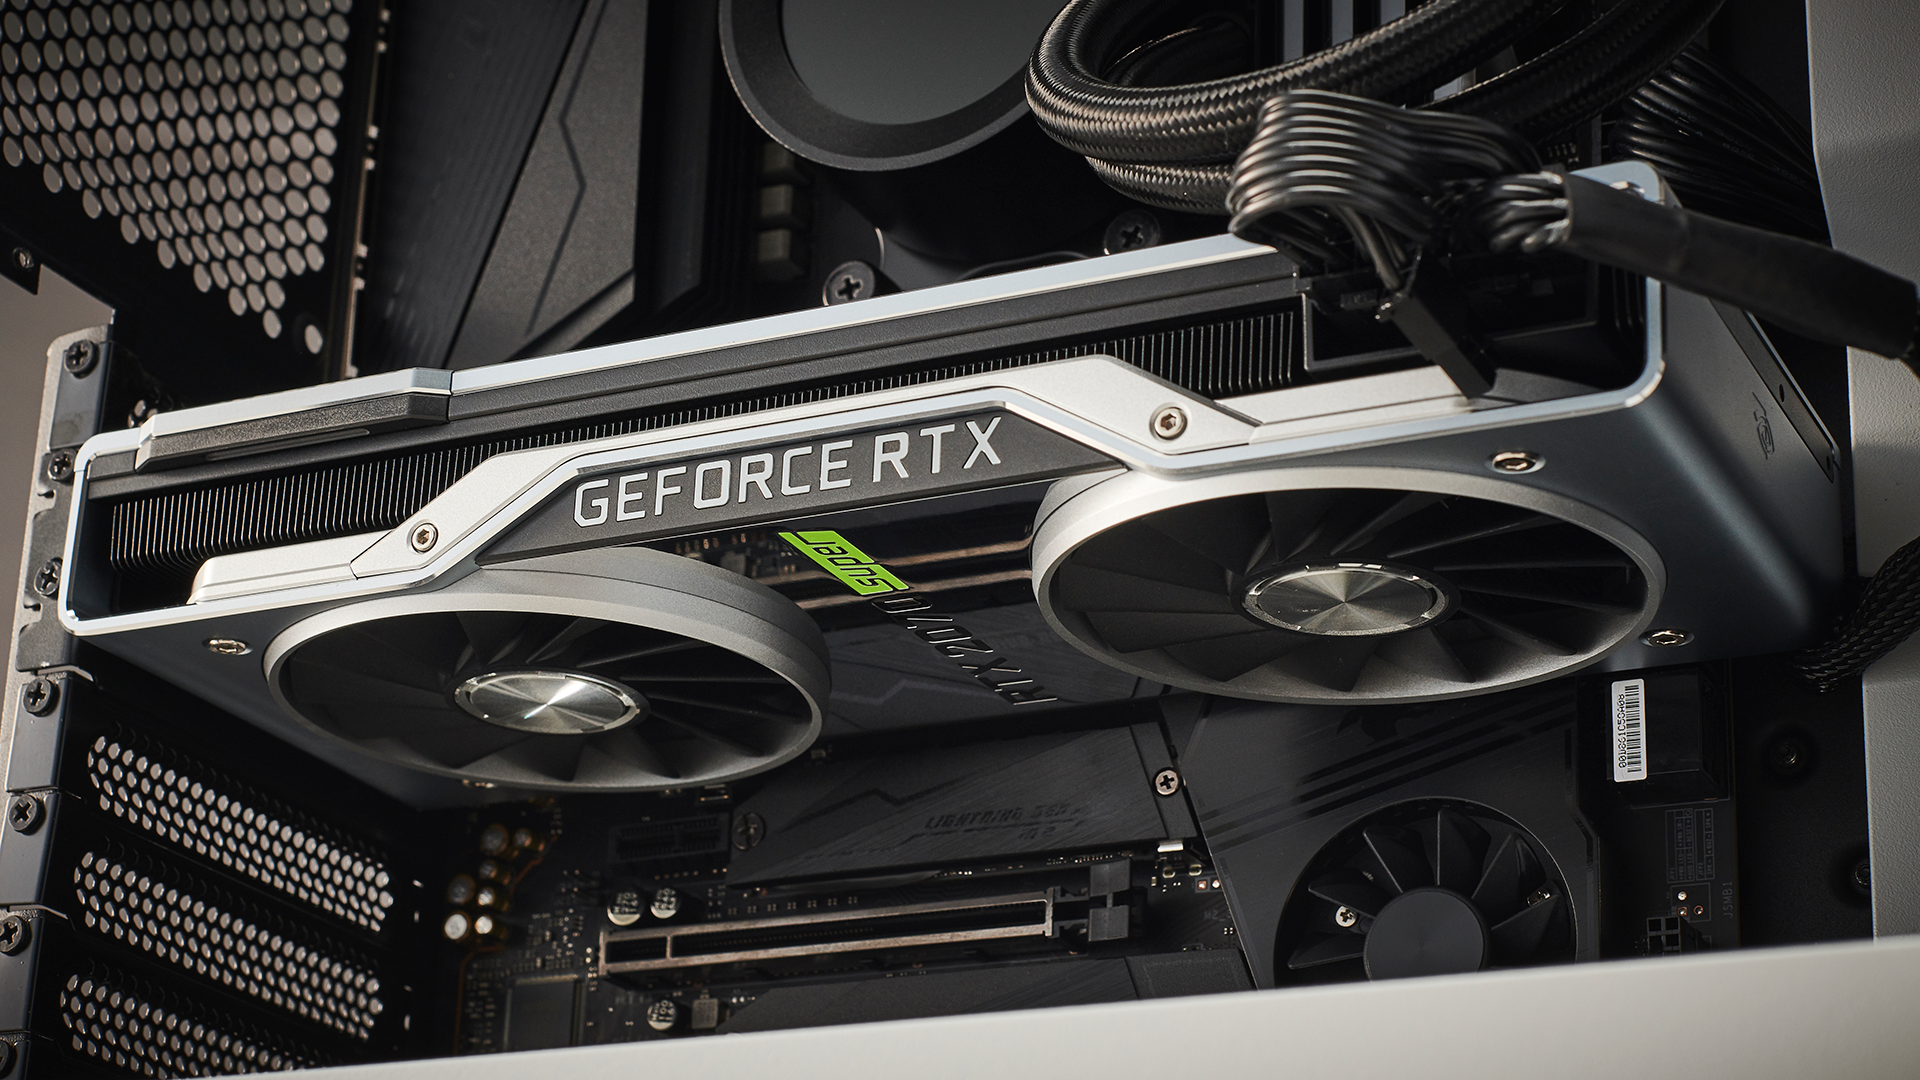
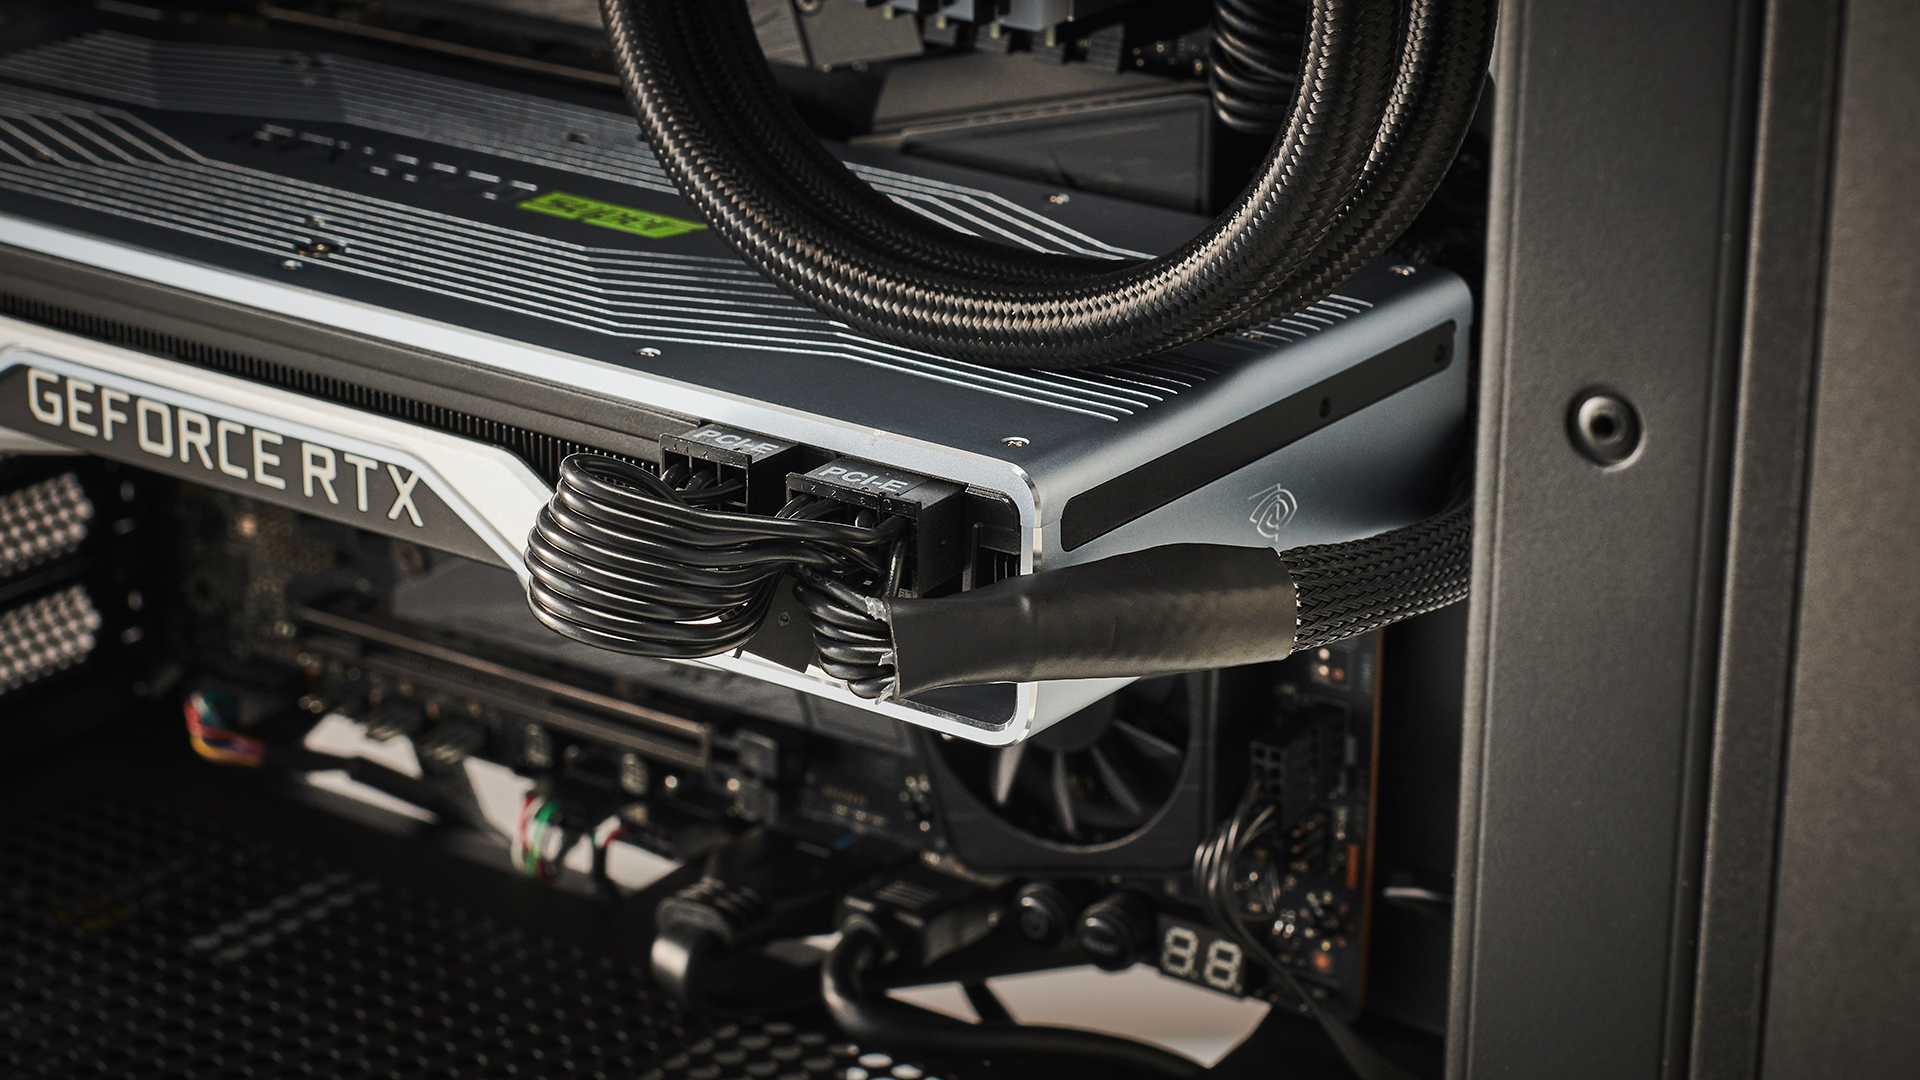
Finally, we installed the graphics card. We removed the rear PCIe bracket guard and the two PCIe slot covers of the top most PCIe slot on the motherboard, and then carefully slotted our RTX 2070 Super into position. After that, we secured it in place with the screws removed from the covers, and put the guard back as well.
For the PCIe power, instead of running it through the cutout on the PSU cover, we actually threaded it behind the GPU through the side of the cable bar. This looks a bit cleaner than running it straight up, although it was a bit fiddly. This build really could use some custom sleeved cables if we’re honest. But that would push us over our build budget.
MORE: Best Gaming Desktops
MORE: How To Build A PC
MORE: All PC Builds Content

As Associate Editor of Tom's Hardware's prestigous British division, Zak specializes in system building, case reviews and peripherals, and has a particular penchant for liquid-cooling. He's also a lover of all things Viking/Scandinavian (thus the poor attempt at a beard).
-
logainofhades What a horrible way to spend $2000. Making it pretty, vs performance, is simply never a good idea. Far superior streaming, and gaming performance.Reply
PCPartPicker Part List
CPU: AMD Ryzen 9 3900X 3.8 GHz 12-Core Processor ($418.95 @ Amazon)
CPU Cooler: EVGA CLC 280 113.5 CFM Liquid CPU Cooler ($109.99 @ Amazon)
Motherboard: MSI B450 TOMAHAWK MAX ATX AM4 Motherboard ($114.89 @ B&H)
Memory: G.Skill Ripjaws V 32 GB (2 x 16 GB) DDR4-3600 Memory ($159.99 @ Newegg)
Storage: Intel 660p 512 GB M.2-2280 NVME Solid State Drive ($62.99 @ Newegg)
Storage: Crucial MX500 2 TB 2.5" Solid State Drive ($229.99 @ Amazon)
Video Card: EVGA GeForce RTX 2080 SUPER 8 GB BLACK GAMING Video Card ($699.99 @ Amazon)
Case: NZXT H510 ATX Mid Tower Case ($69.98 @ Amazon)
Power Supply: SeaSonic FOCUS Plus Gold 750 W 80+ Gold Certified Fully Modular ATX Power Supply ($114.99 @ B&H)
Total: $1981.76
Prices include shipping, taxes, and discounts when available
Generated by PCPartPicker 2020-03-13 10:58 EDT-0400 -
gfg Choosing the B450 chipset for the Ryzen 3900 is not a smart choice either. Mandatory X570.Reply -
logainofhades Replygfg said:Choosing the B450 chipset for the Ryzen 3900 is not a smart choice either. Mandatory X570.
The B450 Tomahawk max VRM's can handle a 3900x. An x570 is not mandatory. Some x570's actually have worse VRM's than that board. -
AnimeMania Do you really need 32 GB of RAM? I would get 16 GB of RAM take the 70 or so dollars and get a 3 to 4 GB mechanical HardDrive to store old games.Reply -
logainofhades ReplyAnimeMania said:Do you really need 32 GB of RAM? I would get 16 GB of RAM take the 70 or so dollars and get a 3 to 4 GB mechanical HardDrive to store old games.
For a streaming rig, 32gb isn't exactly a bad idea, to give you a bit of headroom, as games start using more ram. -
gfg In my opinion, it is best to look for a balance of components and not be tied to a figure as exact as U$D 2000. You can spend +/- 200 will not change the concept of purchase.Reply
Ryzen 7 3700X,
good x570 motherboard (for future updates CPU)
RTX 2070
2x16 GB Ram
1TB PCE 3.0 SSD / optional 2TB conventional disk
dedicated CPU cooler
good power supply
and finely cabinet aesthetics. -
SirCrono Reply
I was thinking the same while reading this article. What good is the pretty case if I'm getting 50 fps in a game?logainofhades said:What a horrible way to spend $2000. Making it pretty, vs performance, is simply never a good idea. Far superior streaming, and gaming performance.
PCPartPicker Part List
CPU: AMD Ryzen 9 3900X 3.8 GHz 12-Core Processor ($418.95 @ Amazon)
CPU Cooler: EVGA CLC 280 113.5 CFM Liquid CPU Cooler ($109.99 @ Amazon)
Motherboard: MSI B450 TOMAHAWK MAX ATX AM4 Motherboard ($114.89 @ B&H)
Memory: G.Skill Ripjaws V 32 GB (2 x 16 GB) DDR4-3600 Memory ($159.99 @ Newegg)
Storage: Intel 660p 512 GB M.2-2280 NVME Solid State Drive ($62.99 @ Newegg)
Storage: Crucial MX500 2 TB 2.5" Solid State Drive ($229.99 @ Amazon)
Video Card: EVGA GeForce RTX 2080 SUPER 8 GB BLACK GAMING Video Card ($699.99 @ Amazon)
Case: NZXT H510 ATX Mid Tower Case ($69.98 @ Amazon)
Power Supply: SeaSonic FOCUS Plus Gold 750 W 80+ Gold Certified Fully Modular ATX Power Supply ($114.99 @ B&H)
Total: $1981.76
Prices include shipping, taxes, and discounts when available
Generated by PCPartPicker 2020-03-13 10:58 EDT-0400
Your build is much much better. -
Gurg TH AMD processor reviews all tell us what a wonderful deal the cheap AMD Wraith Spire CPU cooler is. Why did you then waste money on a $234 NZXT AIO (a very good AIO) rather than just using the cheap AMD enclosed cooler that limits the CPU overclocking ability and system performance? LOLReply -
sizzling This build is like buying a Ferrari at full price and then sticking a 200bhp engine in it and running cheap tyres. Might look good but performance sucks.Reply -
chill1221 GTX 1080 tiReply
https://www.ebay.com/itm/EVGA-GeForce-GTX-1080-Ti-SC-Black-Edition-GAMING-11GB-GDDR5X-Graphics-Card/124089956485?hash=item1ce4567885:g:K9oAAOSwXc1eOwp6
Just saying...
