Out of the Box 3D Printer Tips for Beginners
Make the most of your new 3D printer.
Get Tom's Hardware's best news and in-depth reviews, straight to your inbox.
You are now subscribed
Your newsletter sign-up was successful
You’ve unboxed your new 3D printer, put it together and installed any included software on your computer. Perhaps you’ve even printed a sample model from the manufacturer, just to make sure everything works.
However, even if you have one of the best 3D printers, you need more than optimism to make the most of it. Below, we’ve listed six tips for 3D printer fans who are just getting started with a new FDM printer.
1. Level your print bed.
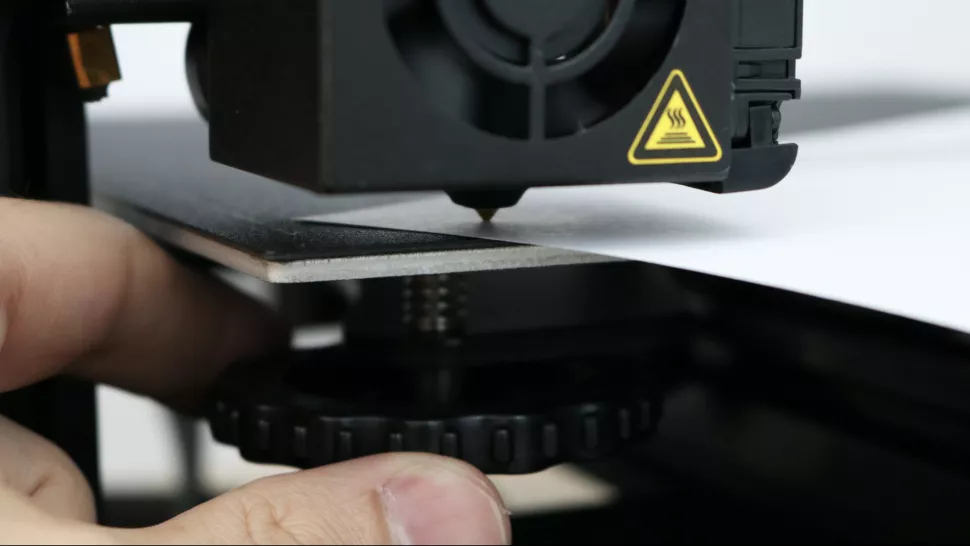
First, when we talk about “leveling the bed” understand that what we really mean is tramming the print surface. 3D printers have been tacked to the walls or flipped upside down and still work fine. Being level to a table has nothing to do with their ability to print.
When you level the bed on a 3D printer, you’re making sure that the nozzle is at the same height across the entire print surface. This allows the printer to lay down a perfect first layer and the foundation for a good print.
If your printer didn’t come with a probe to auto level the bed for you, have no fear. It’s really not that hard.
First, heat the nozzle and bed as if you’re setting up a print. Metal expands slightly when warm, so never calibrate a cold machine. Allow the printer to warm up for a few minutes.
Next, home your printer. This takes it to the 0,0,0 position.
Get Tom's Hardware's best news and in-depth reviews, straight to your inbox.
Check your printer controls for something called Bed Leveling, Level Corners or Bed Tramming. This option will move the printer around the four corners of the bed while you adjust the springs underneath.
If you lack this option as well (basic Ender 3s don’t come with any leveling aids installed), it’s ok. Look for the “disable steppers” option, which turns off the stepper motors and allows you to push the print head by hand.
Slide the print head (or let the printer do it) to the first corner, centered more or less over the adjustment knob under the bed. Slip an ordinary piece of paper under the nozzle. Raise or lower the nozzle until it barely touches the paper.
Do this for all four corners and the center. Then do it again. Leveling the bed is indeed a balancing act and adjusting one corner can throw off the opposite corner.
2. Clean your print bed and make it sticky.

Your print surface can be perfectly flat and level, but plastic won’t stick to it if it’s not clean. It’s a gross fact of life, but traces of skin oil from your hands can interfere with first layer adhesion. On top of that, a lot of PLA is made with gooey additives for extra shine and sparkle. These secret ingredients can leave a slick residue on your print bed.
91% isopropyl alcohol from the first aid aisle is the perfect cleaning agent. Wipe the print surface with alcohol and a paper towel after each print to keep it squeaky clean.
If you’re still having trouble getting that first layer to hold, it’s ok to use a little glue stick. Smear an even coating of washable glue stick – the purple kind is the best – on your warm print surface. The layer of glue gives it that extra bit of grab to hold down your prints.
3. Use rafts to increase your success rate.
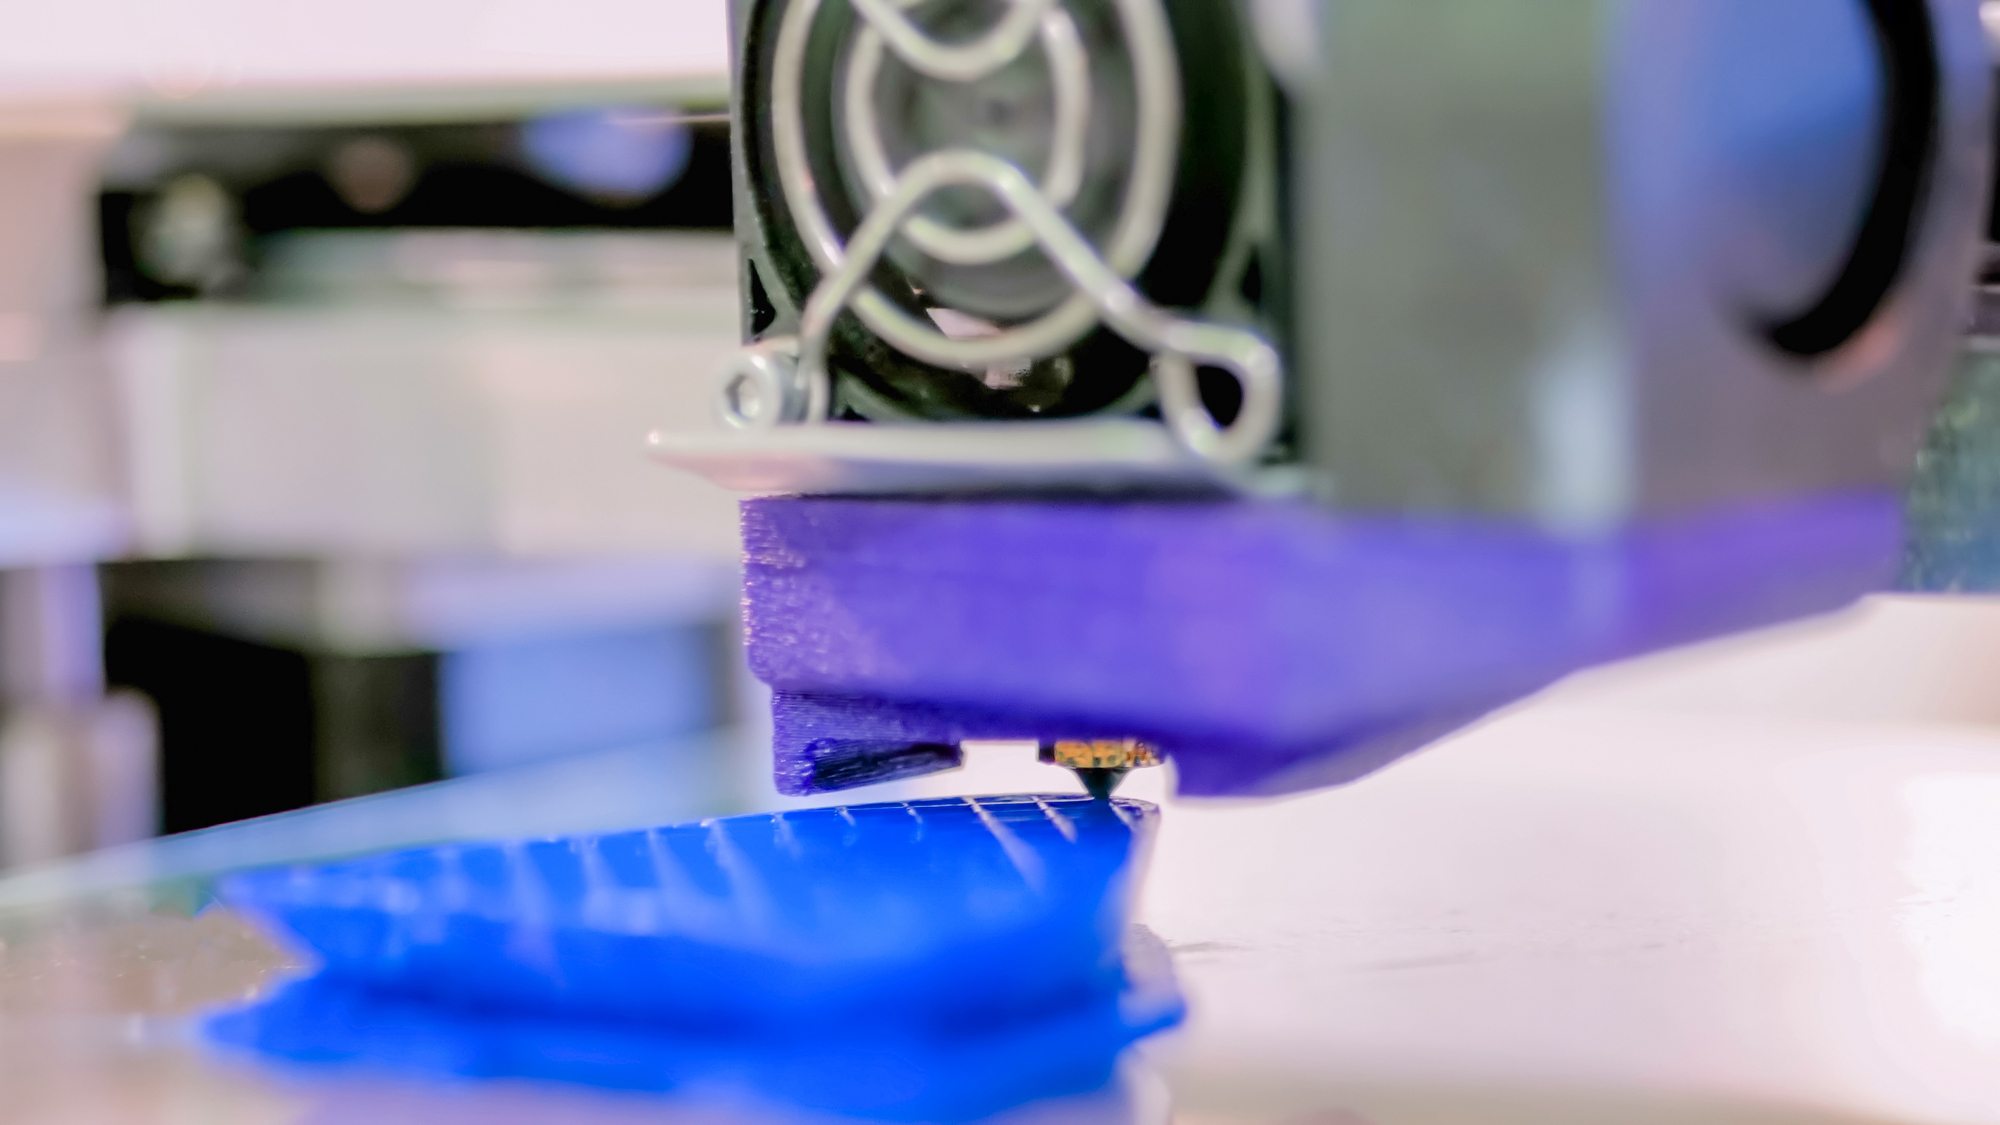
There are people who’d rather stick a fork in their eye than admit to using a raft. Rafts are exactly what they sound like – a chunky first layer that your model sits on. These adhesion helpers somehow defy uneven and dirty beds and practically guarantee a successful print.
You’ll find rafts under Build Plate Adhesion in Cura and under Support Material in PrusaSlicer. Other slicers have their raft options in other menus.
I still use a raft when printing tiny objects, like eyes or buttons for small models.
So why not use rafts all the time? The downside to rafts is they create a rough bottom on your print while wasting a bit of time and material. Believe me, they’re still worth it for new people just getting started.
4. Keep your nozzle clean and buy spares.
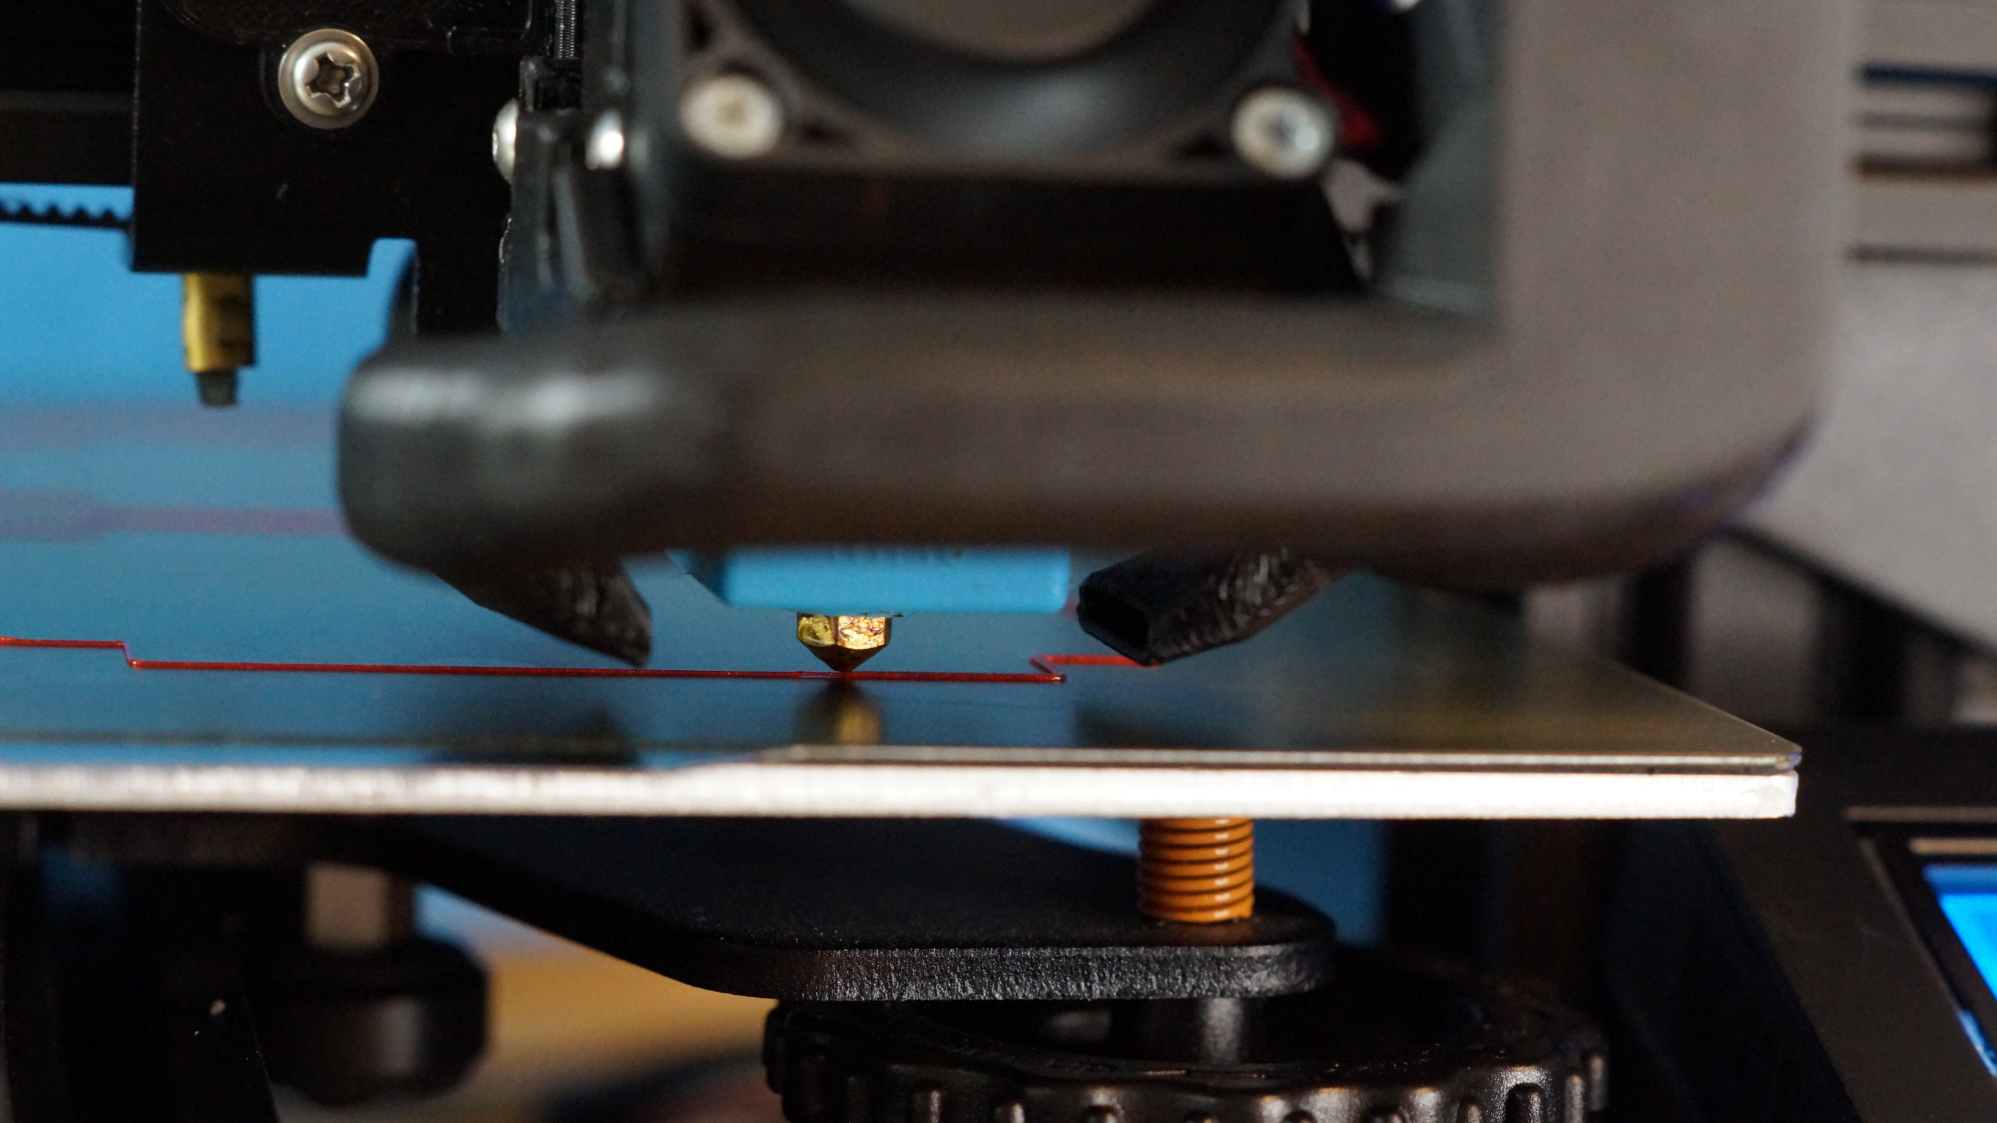
Your new printer may have come with two nozzles, one installed on the hotend and a spare. Most FDM 3D printers rely on brass nozzles that wear out from use, especially if you're running filament with abrasive glitter or fibers.
If your printer uses them, the first thing you want to buy is more nozzles. For as little as 25 cents a piece, brass nozzles are the cheapest part of your printer. And the most critical.
Enclosed printers such as the Flashforge Adventurer 3 Lite and Voxel Aries use their own, proprietary hot ends that cost significantly more and presumably last a lot longer than the brass nozzles on popular, open-air printers such as the Creality Ender 3 Pro.
When the nozzle wears down, the opening becomes wider and throws off your carefully calculated print calibrations. Even worse, bits of grit and overcooked plastic can clog up the insides of your hotend.
You can spot a nozzle going bad when you have tiny gaps in the print or too much stringing. Run a 100mm of filament through your hotend – if it makes crazy curlicues instead of pouring straight down, your nozzle is dirty and you can replace it.
Keep the outside of your nozzle clean as well. Stray wisps of filament will collect on a hot nozzle and later drip on your print. Clean the outside of the nozzle while it’s hot by scraping it with a wooden craft stick or a brass brush.
5. Keep your filament fresh and tight.
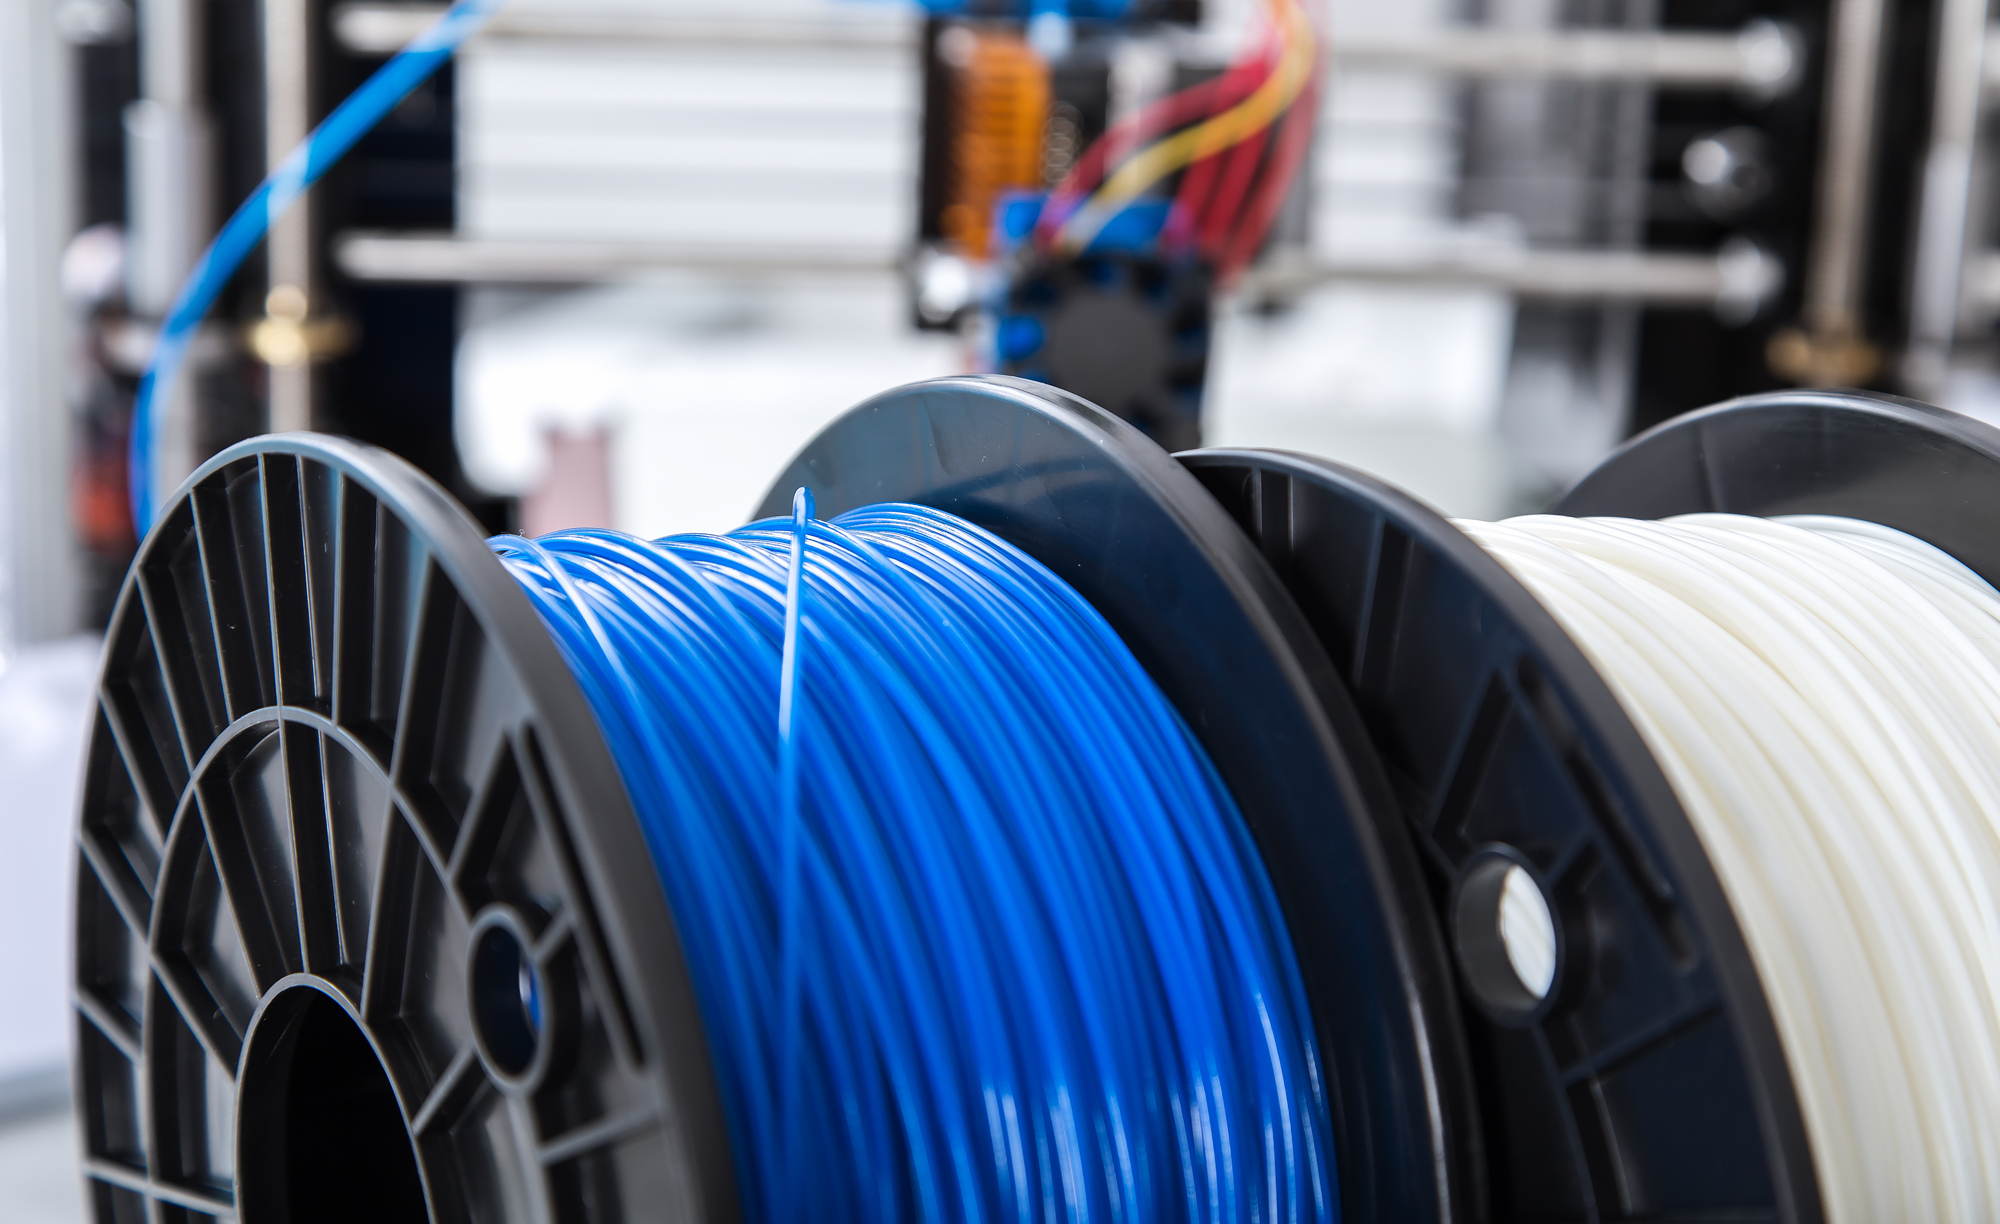
PLA is the most popular filament for 3D printing because it’s the easiest to work with and comes in a massive variety of colors. It does not readily absorb moisture, so you don’t need to worry about keeping it sealed in airtight containers.
That doesn’t mean you can throw it on the floor like your old collection of 90s CDs. The biggest problem for filament is dust and tangles. This is why proper spool handling is key to successful printing.
You can prevent dust and grit from clogging your printer by using a dusting sponge. Simply attach a small piece of sponge with a binder clip to the filament before it enters the extruder. Add a drop of olive oil to the sponge to lubricate the hotend and prevent stringing.
Want something more elegant? Print this universal filament filter from Creative Tools, the same people who made the 3D Benchy.
Tangles in your spool are even worse. If your spool develops a knot, the filament will stop feeding through the printer and cause a fail. Prevent tangles by never allowing the spool to uncoil. This means keeping one hand on the spooled filament at all times, and keeping it neatly wound by taping the filament in place.
I use masking tape since it’s easier to remove and doesn’t leave a sticky residue.
6. Find and download free files.
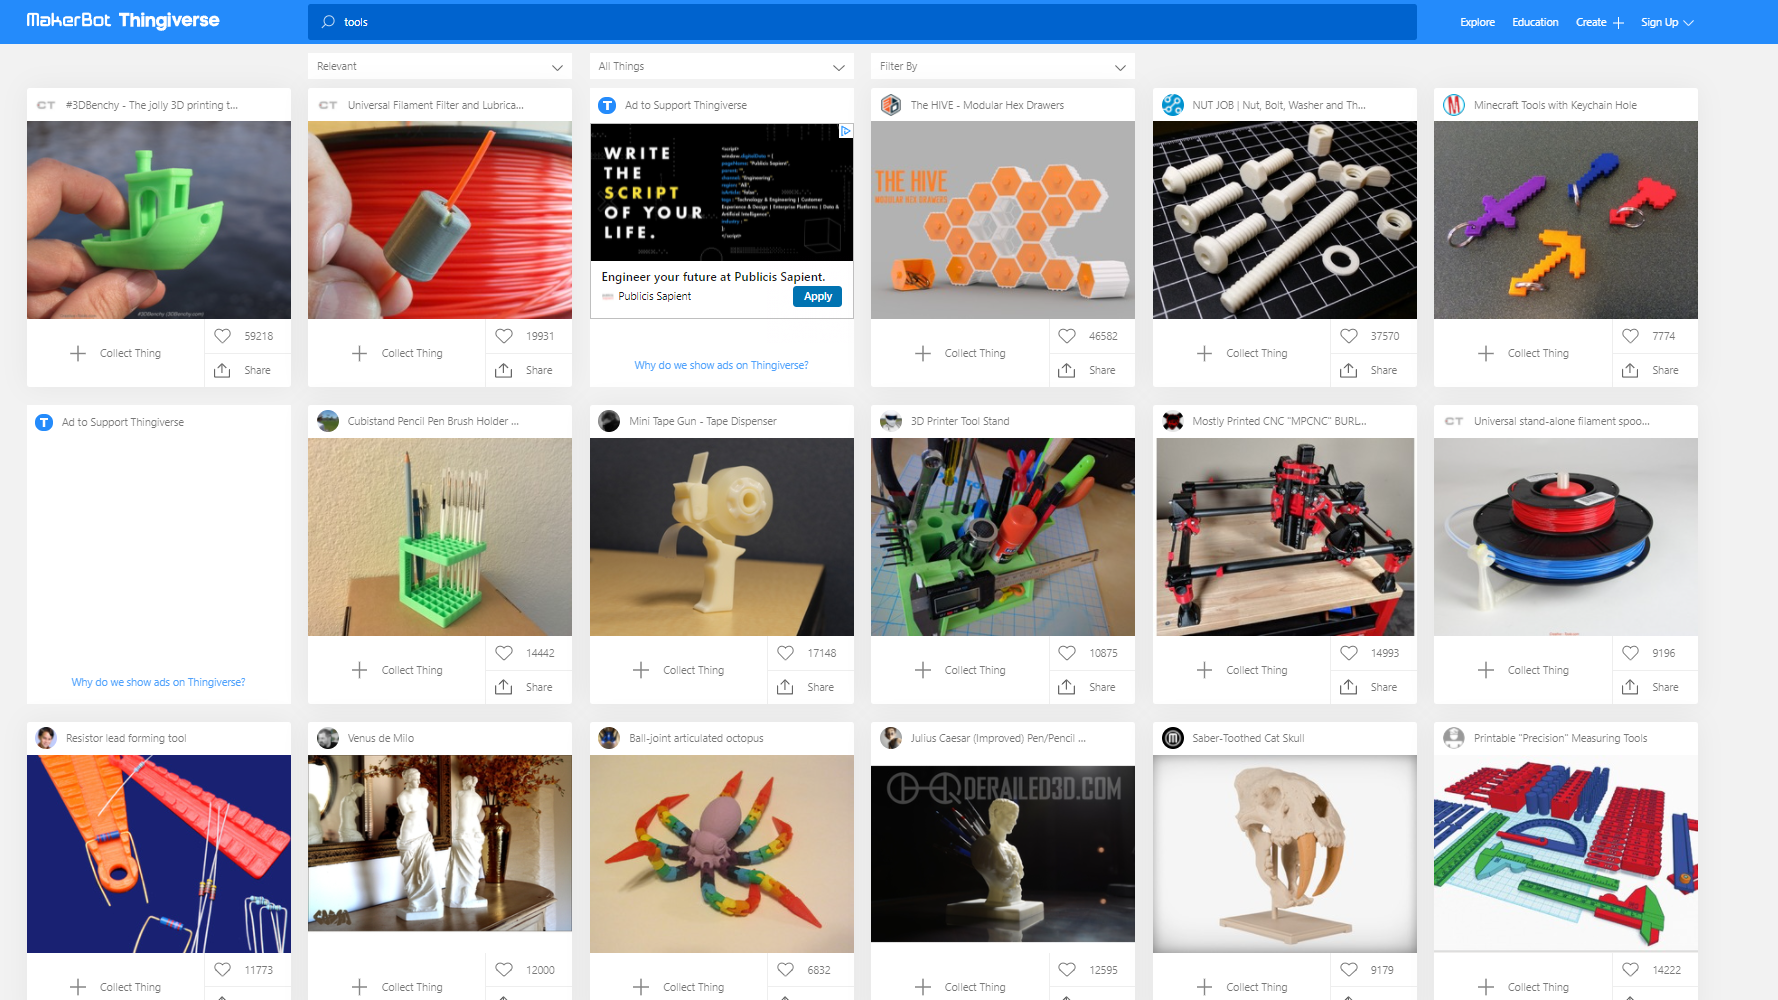
The final piece to the 3D printing puzzle is finding the right models to print. Unless you’re an artist and know CAD, you need ready-made files. Lucky for you, there are literally millions of free files waiting for you to download.
The most popular file repositories are Thingiverse, Thangs and PrusaPrinters. All three of these websites allow you to download STL files for free.
- Thingiverse is the most widely-known file storage site and very popular, especially with students. Because of this, be wary of files without photos – they may have been uploaded by a 5th grader and never tested.
- Thangs is the newest file website and rapidly growing. Looking for a trendy print making the rounds on Tic Tok? It’s probably on Thangs.
- PrusaPrinters is the home of Prusa manufacturing, but they also sell filament and store free files that any brand of machine can use. They recently launched a reward program where you earn free filament by uploading files and submitting photos of your finished prints.

Denise Bertacchi is a Contributing Writer for Tom’s Hardware US, covering 3D printing. Denise has been crafting with PCs since she discovered Print Shop had clip art on her Apple IIe. She loves reviewing 3D printers because she can mix all her passions: printing, photography, and writing.
-
mobilebyrd DO NOT ADD OIL TO YOUR FILAMENT, EVER!Reply
I am honestly shocked that Tom's hardware would allow something so stupid to be posted on their website. Please, do not let this person post anything related to 3D printing and please edit their OP to remove their suggestion of adding a drop of olive oil to your filament to make it print better. -
janseta Reply
sure?mobilebyrd said:DO NOT ADD OIL TO YOUR FILAMENT, EVER!
I am honestly shocked that Tom's hardware would allow something so stupid to be posted on their website. Please, do not let this person post anything related to 3D printing and please edit their OP to remove their suggestion of adding a drop of olive oil to your filament to make it print better.
yY7ZrVE8eksView: https://www.youtube.com/watch?v=yY7ZrVE8eks
https://groups.google.com/g/makerbot/c/3xq5Z4E8o6Uhttps://www.thingiverse.com/thing:492067.... -
USAFRet Reply
"ordinary household mineral oil "janseta said:https://www.thingiverse.com/thing:492067
Which is vastly different than olive oil as suggested.
The google groups link is 9 years old. Things have changed.