Tom's Hardware Verdict
The Voxelab Aries is a well-engineered 3D printer that includes several features typically not seen in printers in this price range as well as a smooth, tinkering-free printing experience.
Pros
- +
+ Fast and reliable Wi-Fi connection
- +
+ Simple three-poit bed leveling
- +
+ Partially-enclosed frame keeps fingers away from moving parts
- +
+ Sturdy, well-built motion system
Cons
- -
Hot end cooling fan is noisy
- -
VoxelMaker software has limited preset profiles
Why you can trust Tom's Hardware
Beneath the playful plastic shell of the Voxelab Aries is a rock-solid X/Y/Z motion system, a fast-heating 350W power supply, and a leveling system that makes a normally tedious calibration process fast and painless. The Aries is advertised as a printer for “STEM”, but it far outpaces other beginner machines in this price range like the Monoprice Cadet thanks to an impressive spec sheet and a simple, easy-to-use slicer app.
With a design that has been clearly influenced by the $1,299 Makerbot Replicator Mini+ (a classroom staple), the $299 Aries will no doubt be a popular choice in classrooms, libraries, makerspaces, and anywhere else where reliability is favored over technical features. That being said, the stationary build platform and rigid motion system of the Aries gives the printer a surprising edge when compared with other machines in this price range. These features, combined with the ease-of-use of the printer thanks to the bright and colorful touchscreen LCD and built-in Wi-Fi, make this one of the best 3D printers you can buy in 2021.
Specifications of Voxelab Aries
| Machine Footprint | 15.9 x 16.7 x 18.5 inches (406mm x 424 x 469mm) |
| Build Volume | 7.9 x 7.9 x 7.9 inches (200mm x 200mm x 200mm) |
| Material | 1.75mm PLA, PLA+, ABS |
| Nozzle | .4mm |
| Build Platform | Heated Removable Glass Platform |
| Connectivity | USB, Wi-Fi |
| Interface | 4.3" Color LCD |
Unpacking and Assembling Voxelab Aries
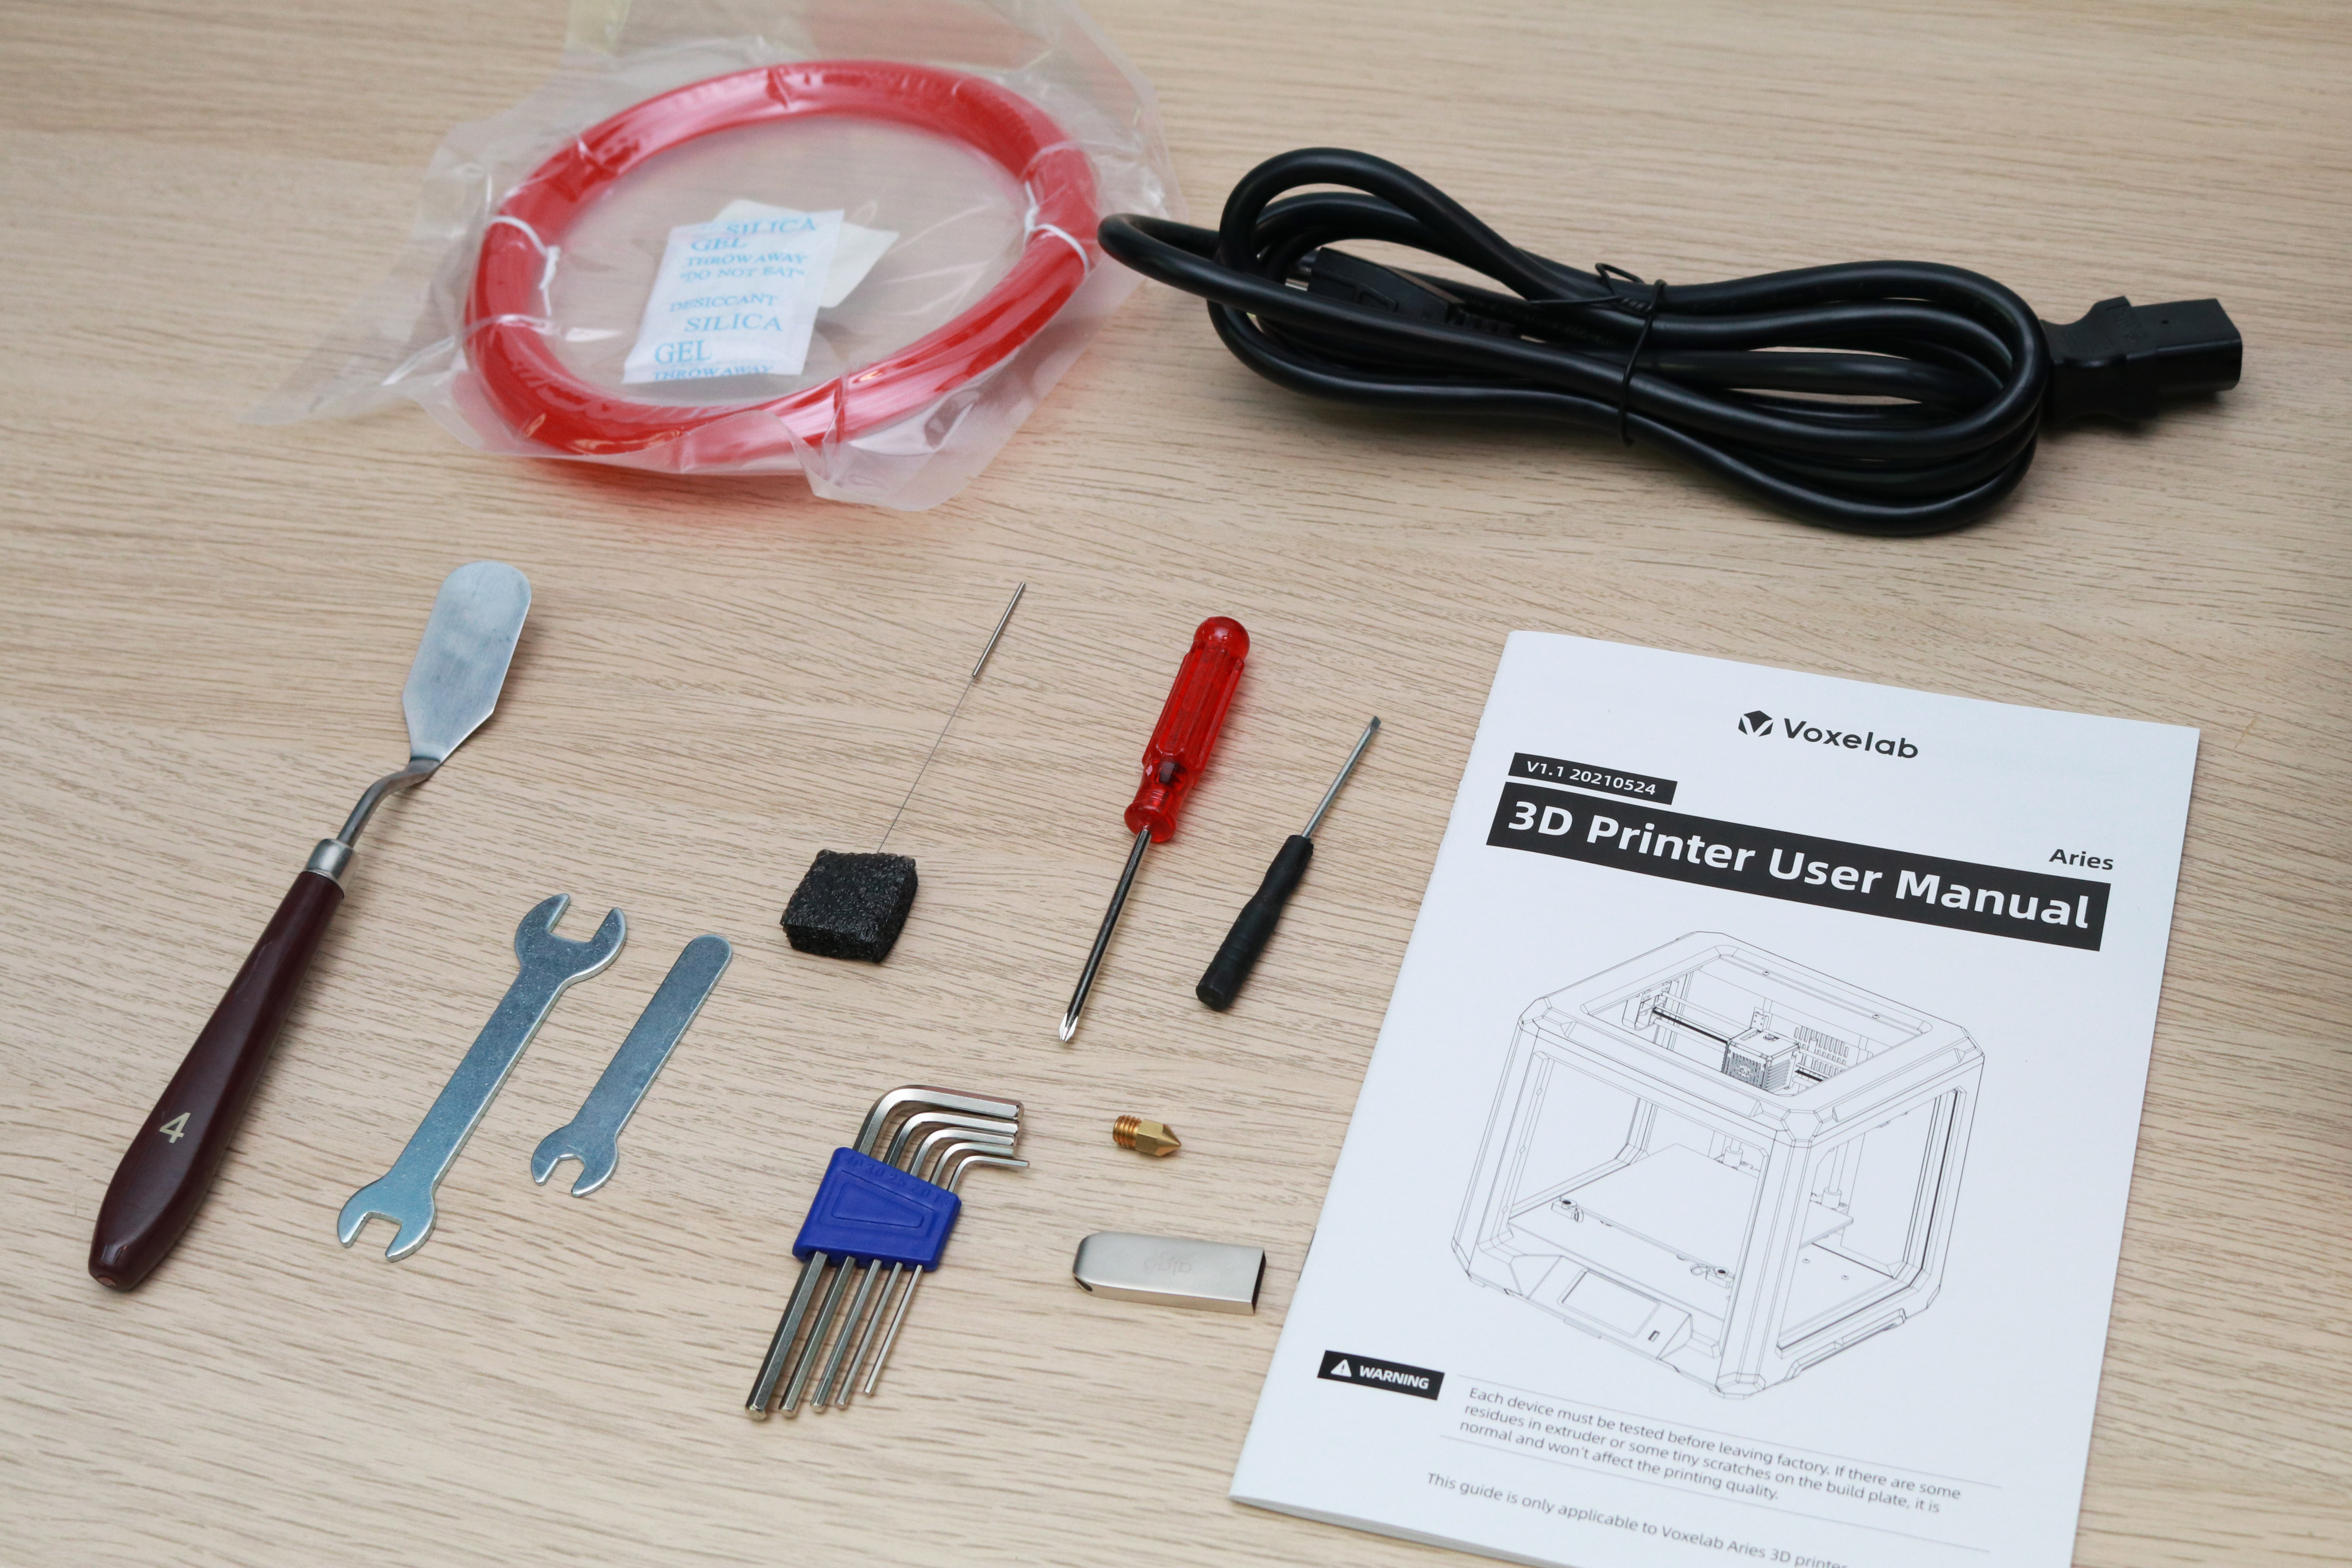
The Voxelab Aries is a fully assembled printer, and it ships in a ready-to-print state that only requires about 10 minutes of preparation to get up and running. The Aries includes a set of Allen keys, a pair of screwdrivers, an extra nozzle, a printed manual, and a USB thumb drive that includes all the required software as well as a digital version of the user manual.
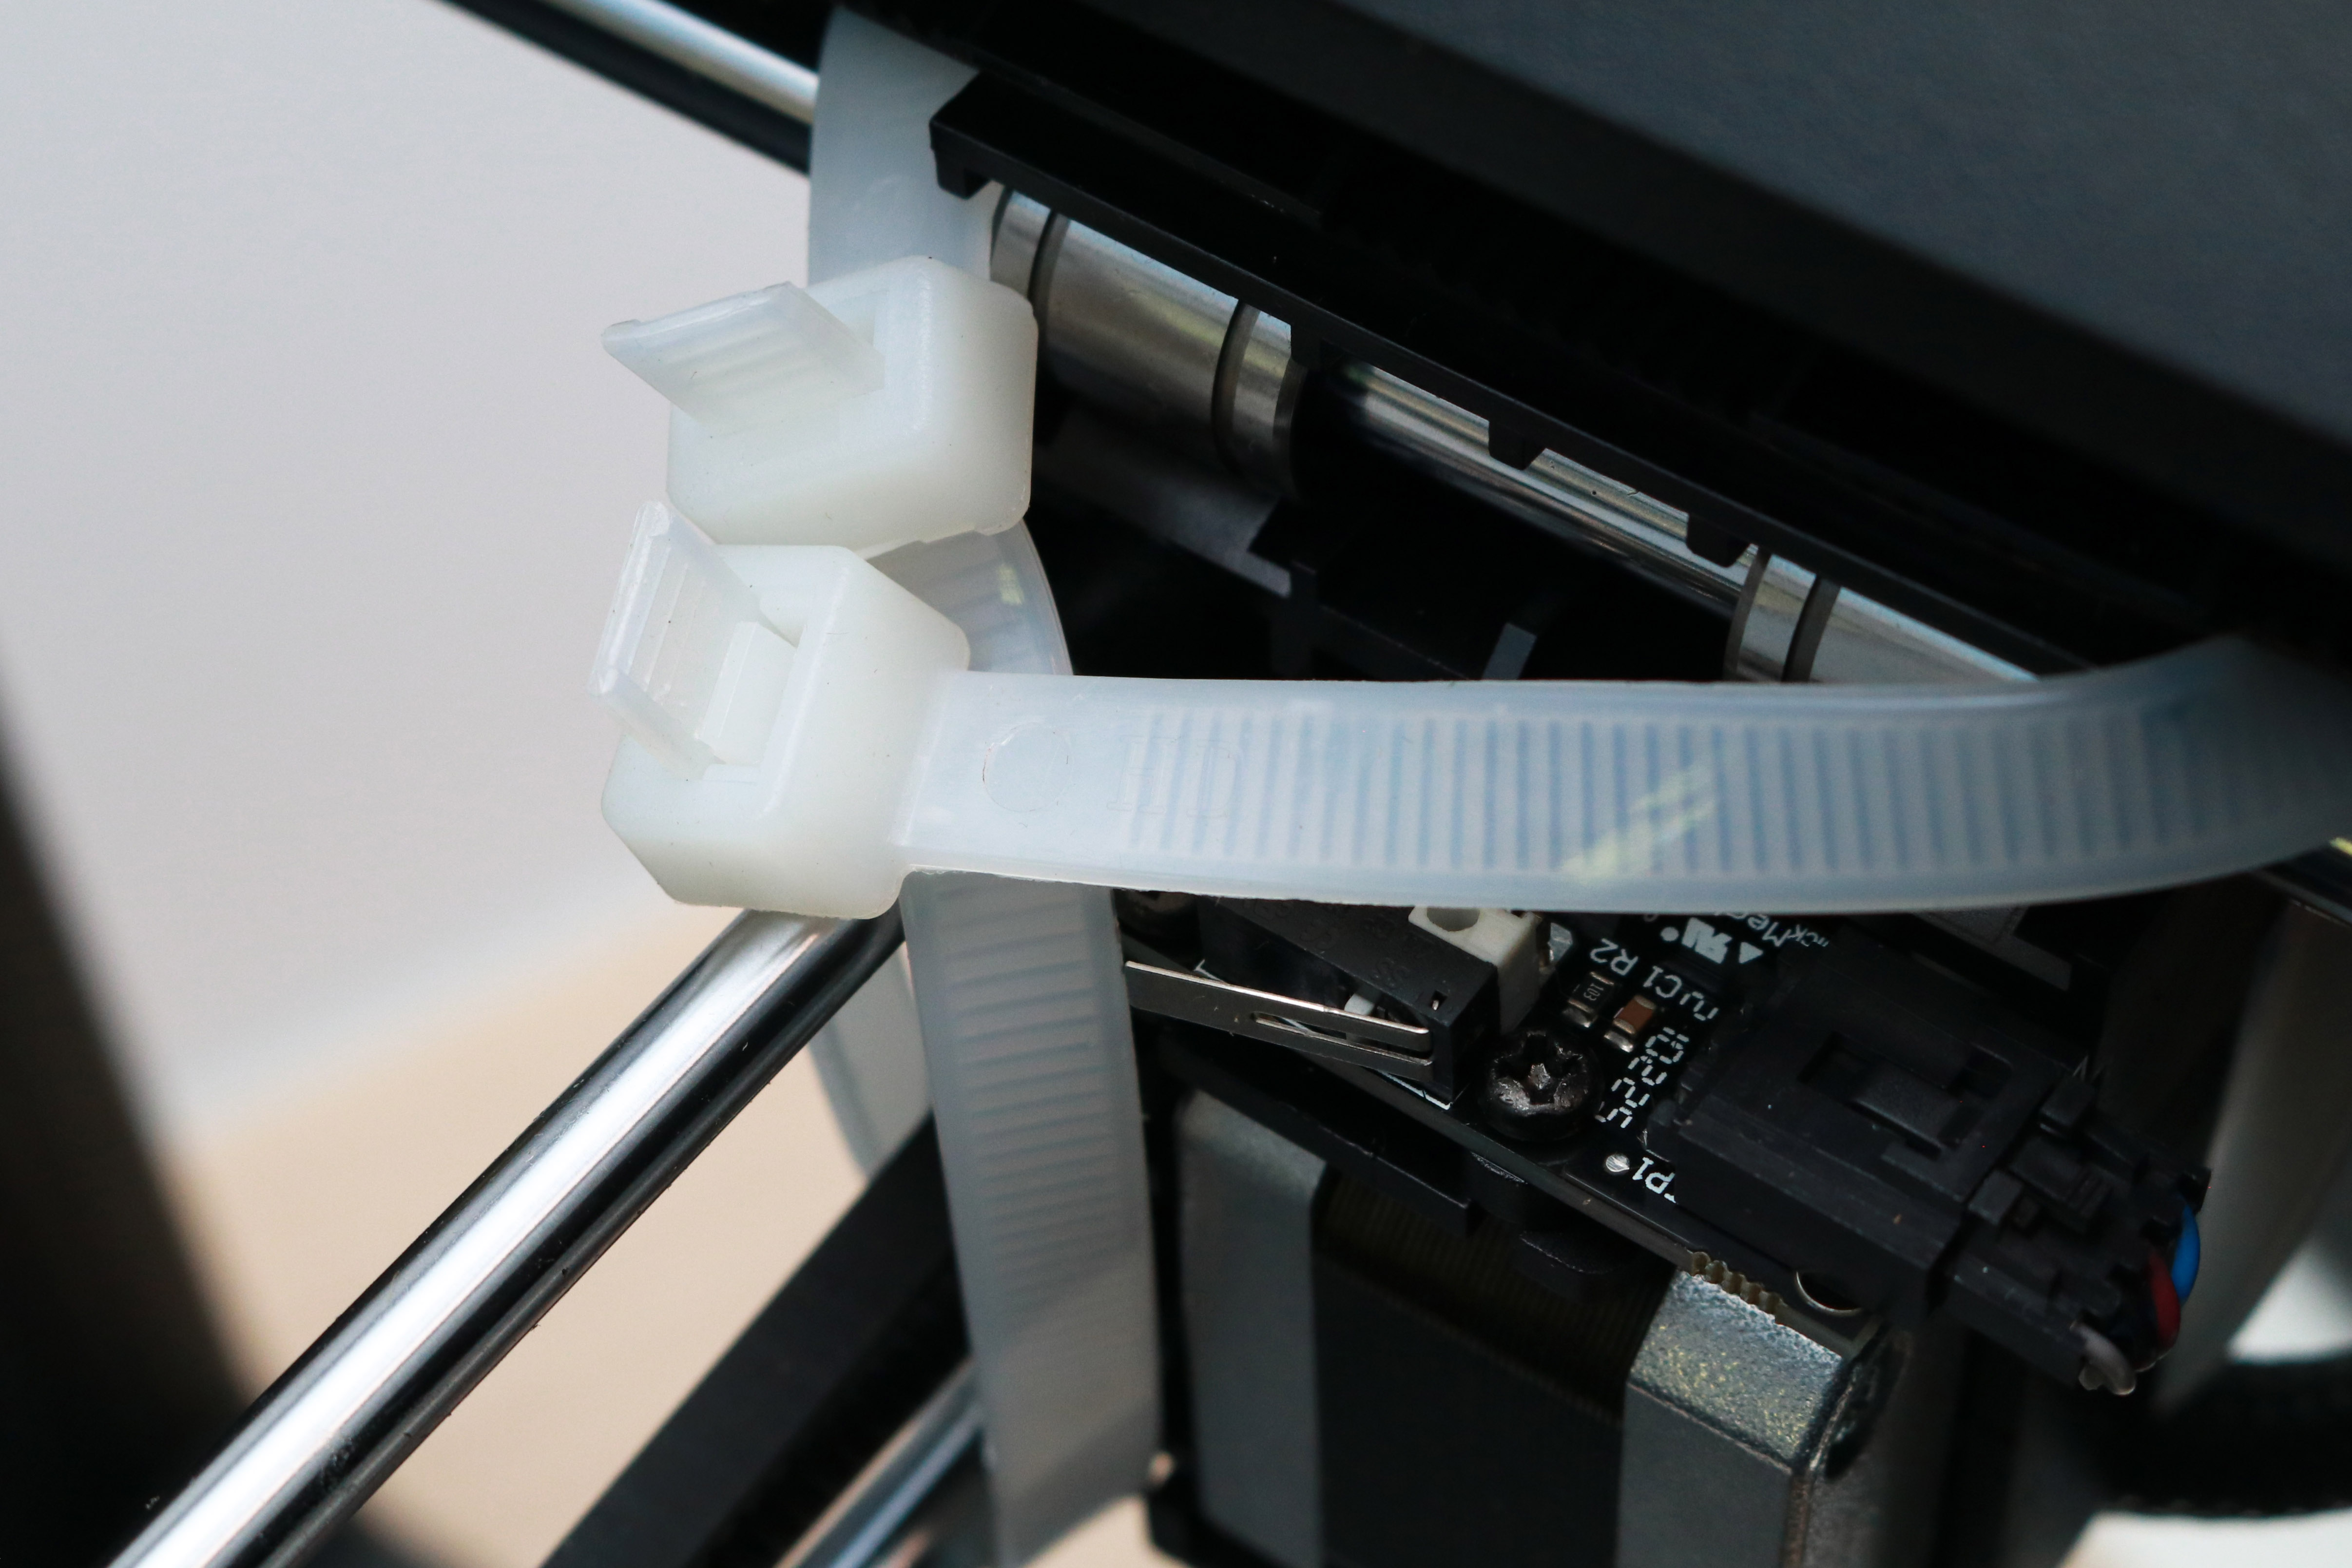
The motion system of the Aries is fully assembled, and Voxelab has shipped the printer with zip ties on the brackets to prevent them from moving during shipping. These zip ties worked perfectly, and removing them is quick and easy. The printed user manual includes a list of all the zip ties that have been attached to the printer, so you can get it up and running without worrying about accidentally leaving one of the axes constrained.
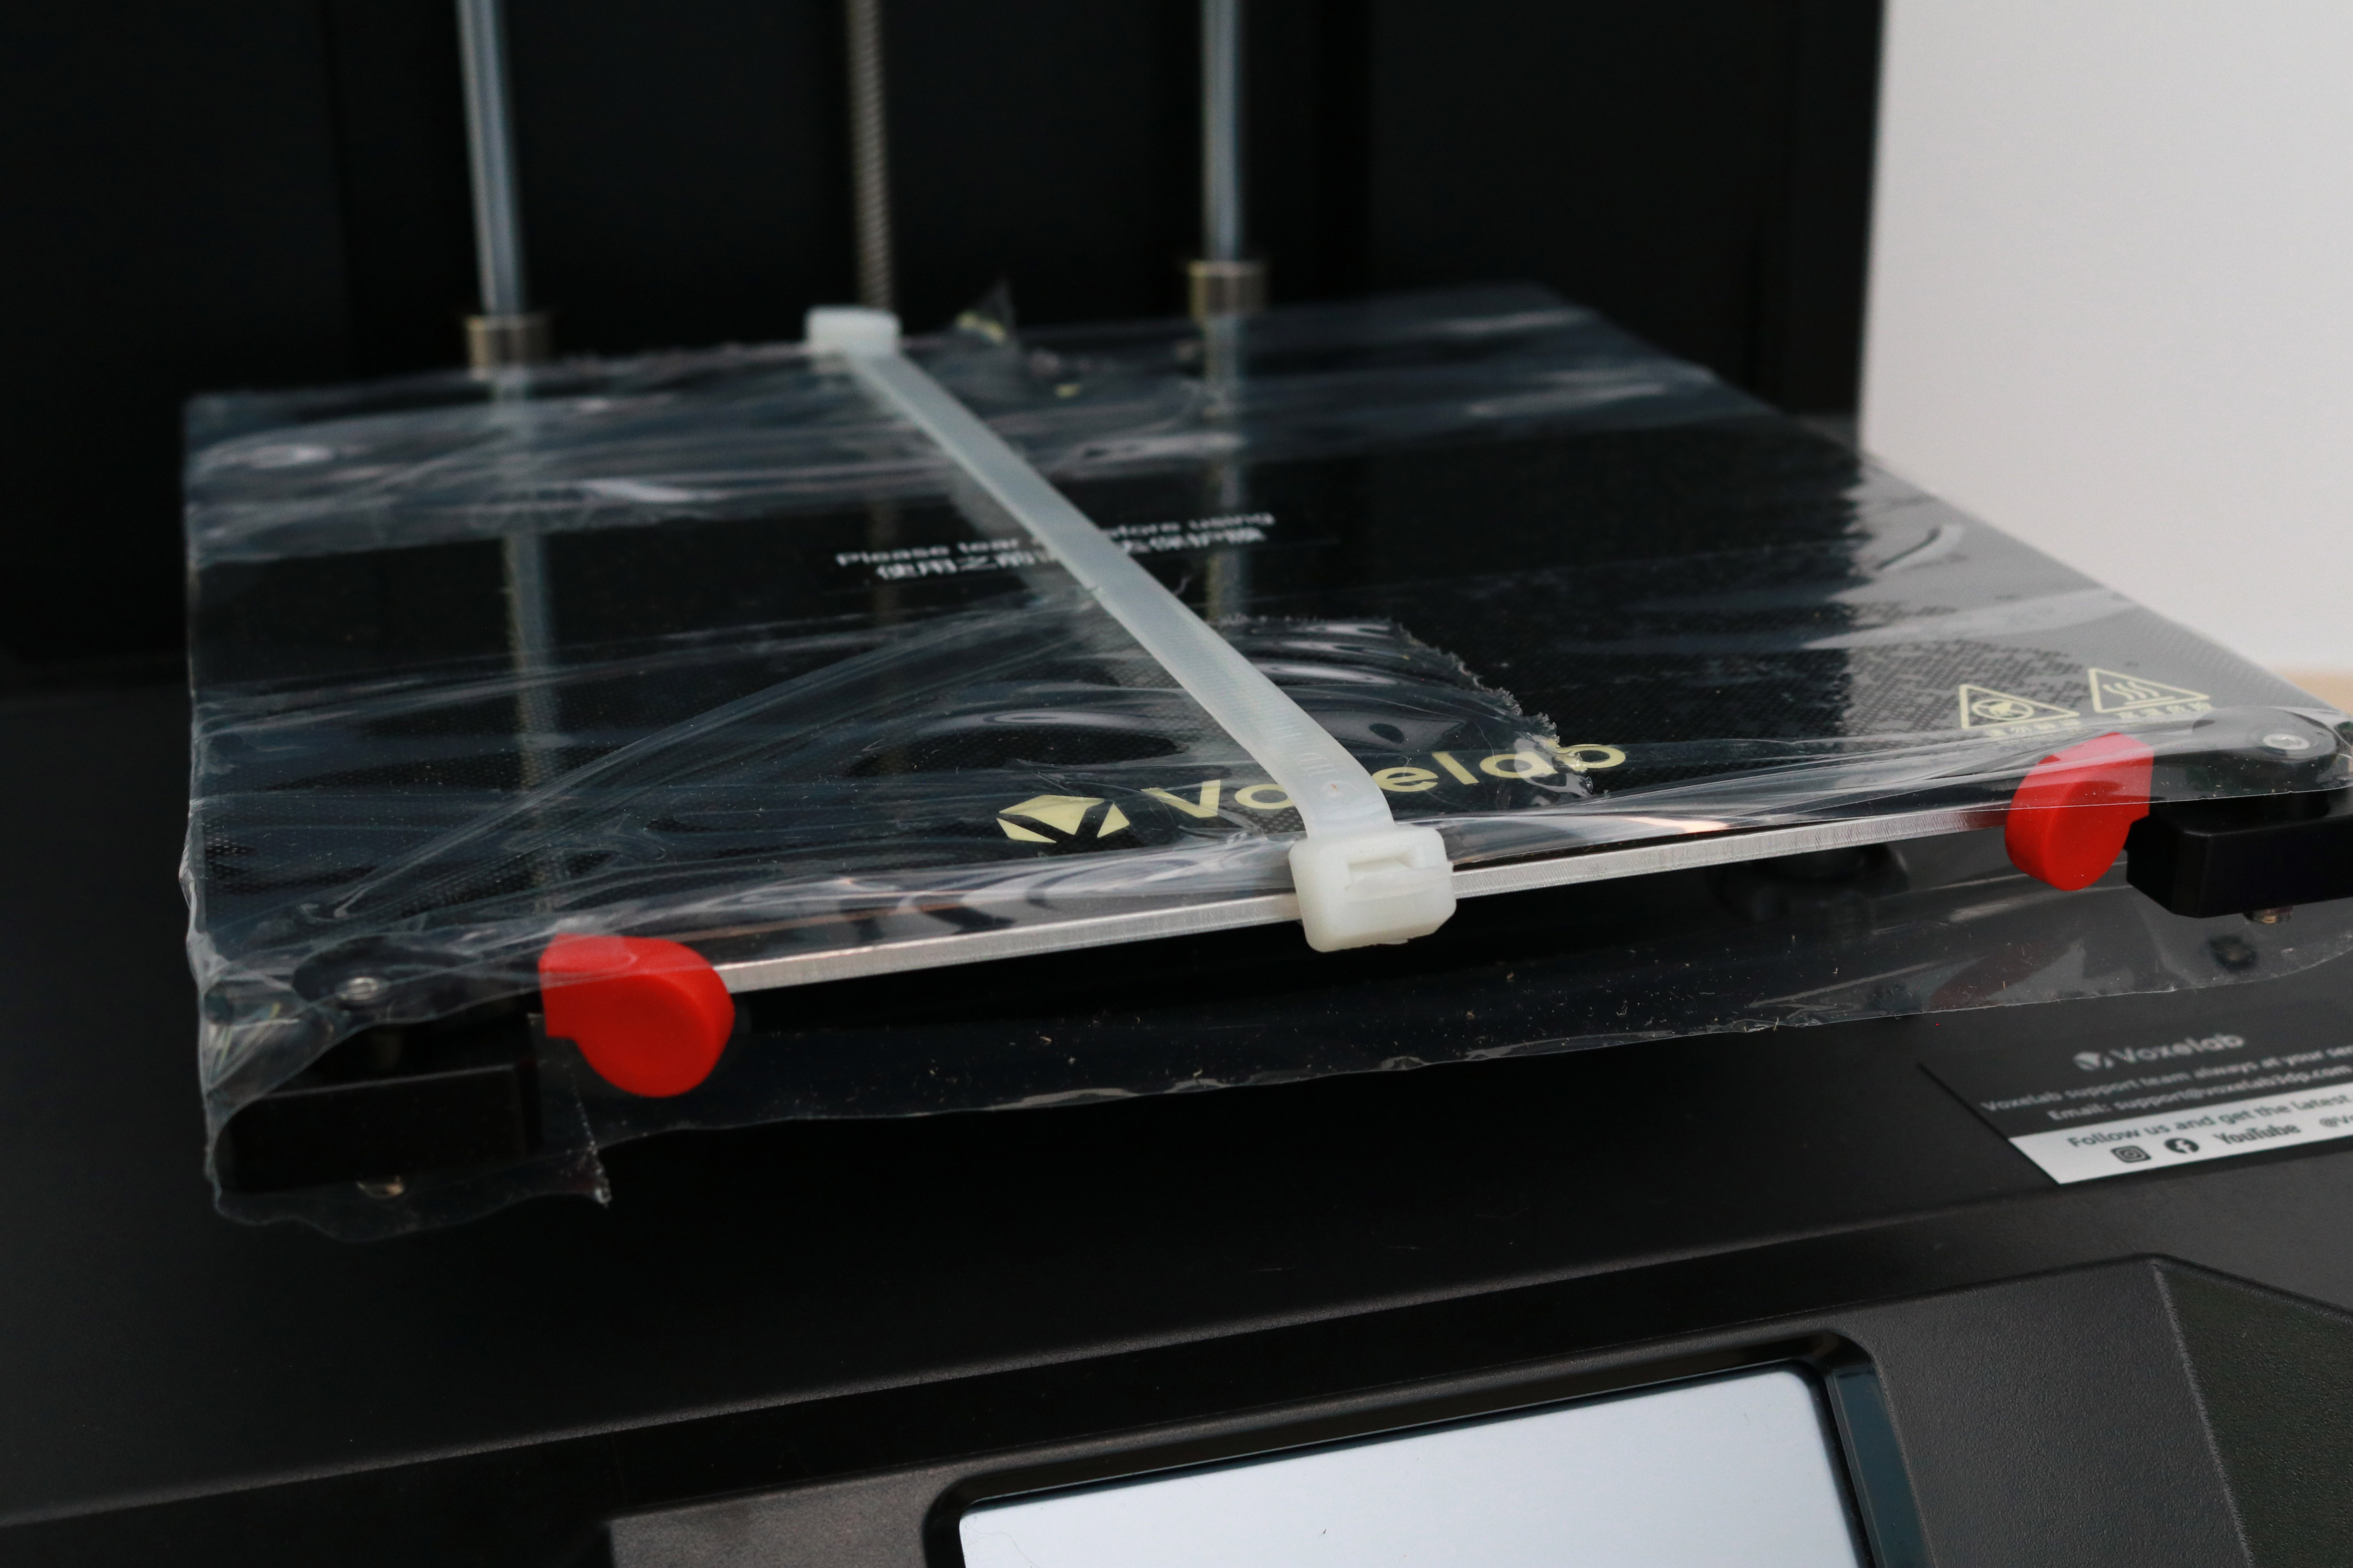
The build platform has an adhesive sticker attached to it to prevent the coated glass from getting scratched during shipping. Once I removed the zip tie that held the platform down, I peeled off the sticker and replaced the platform. I was initially concerned that the sticker would leave a residue on the platform, but it peeled off without any problems.
Design of Voxelab Aries
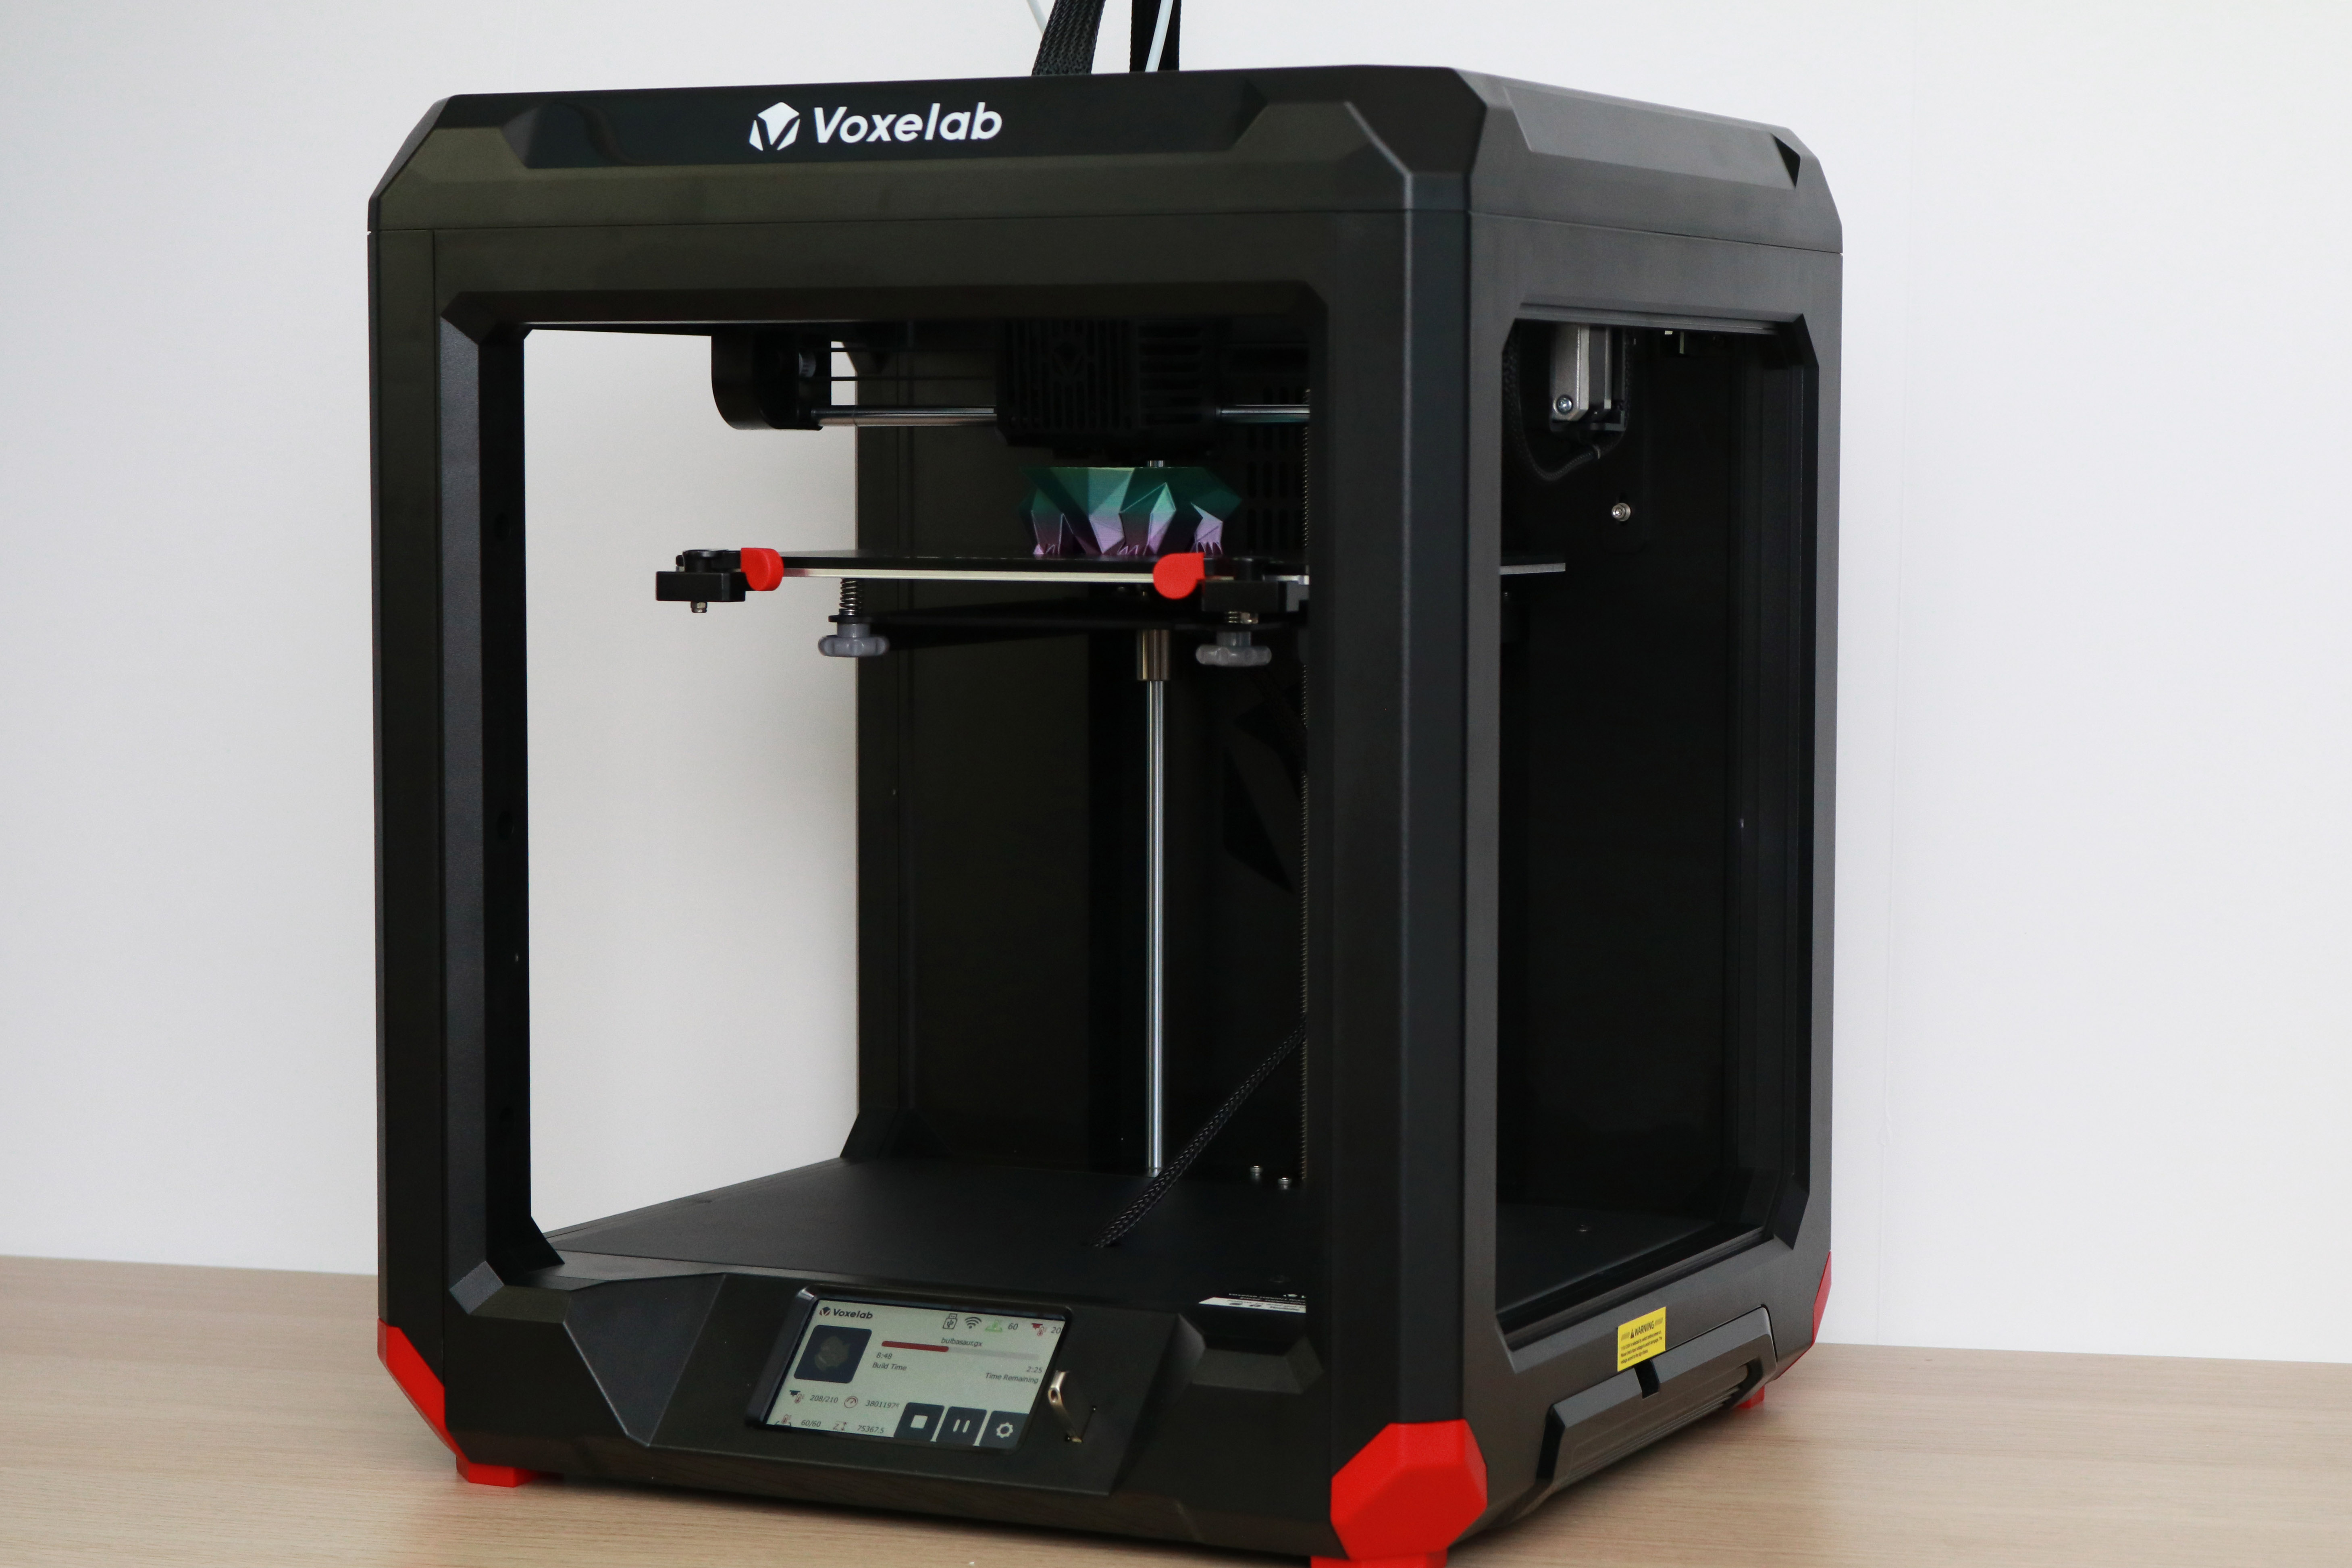
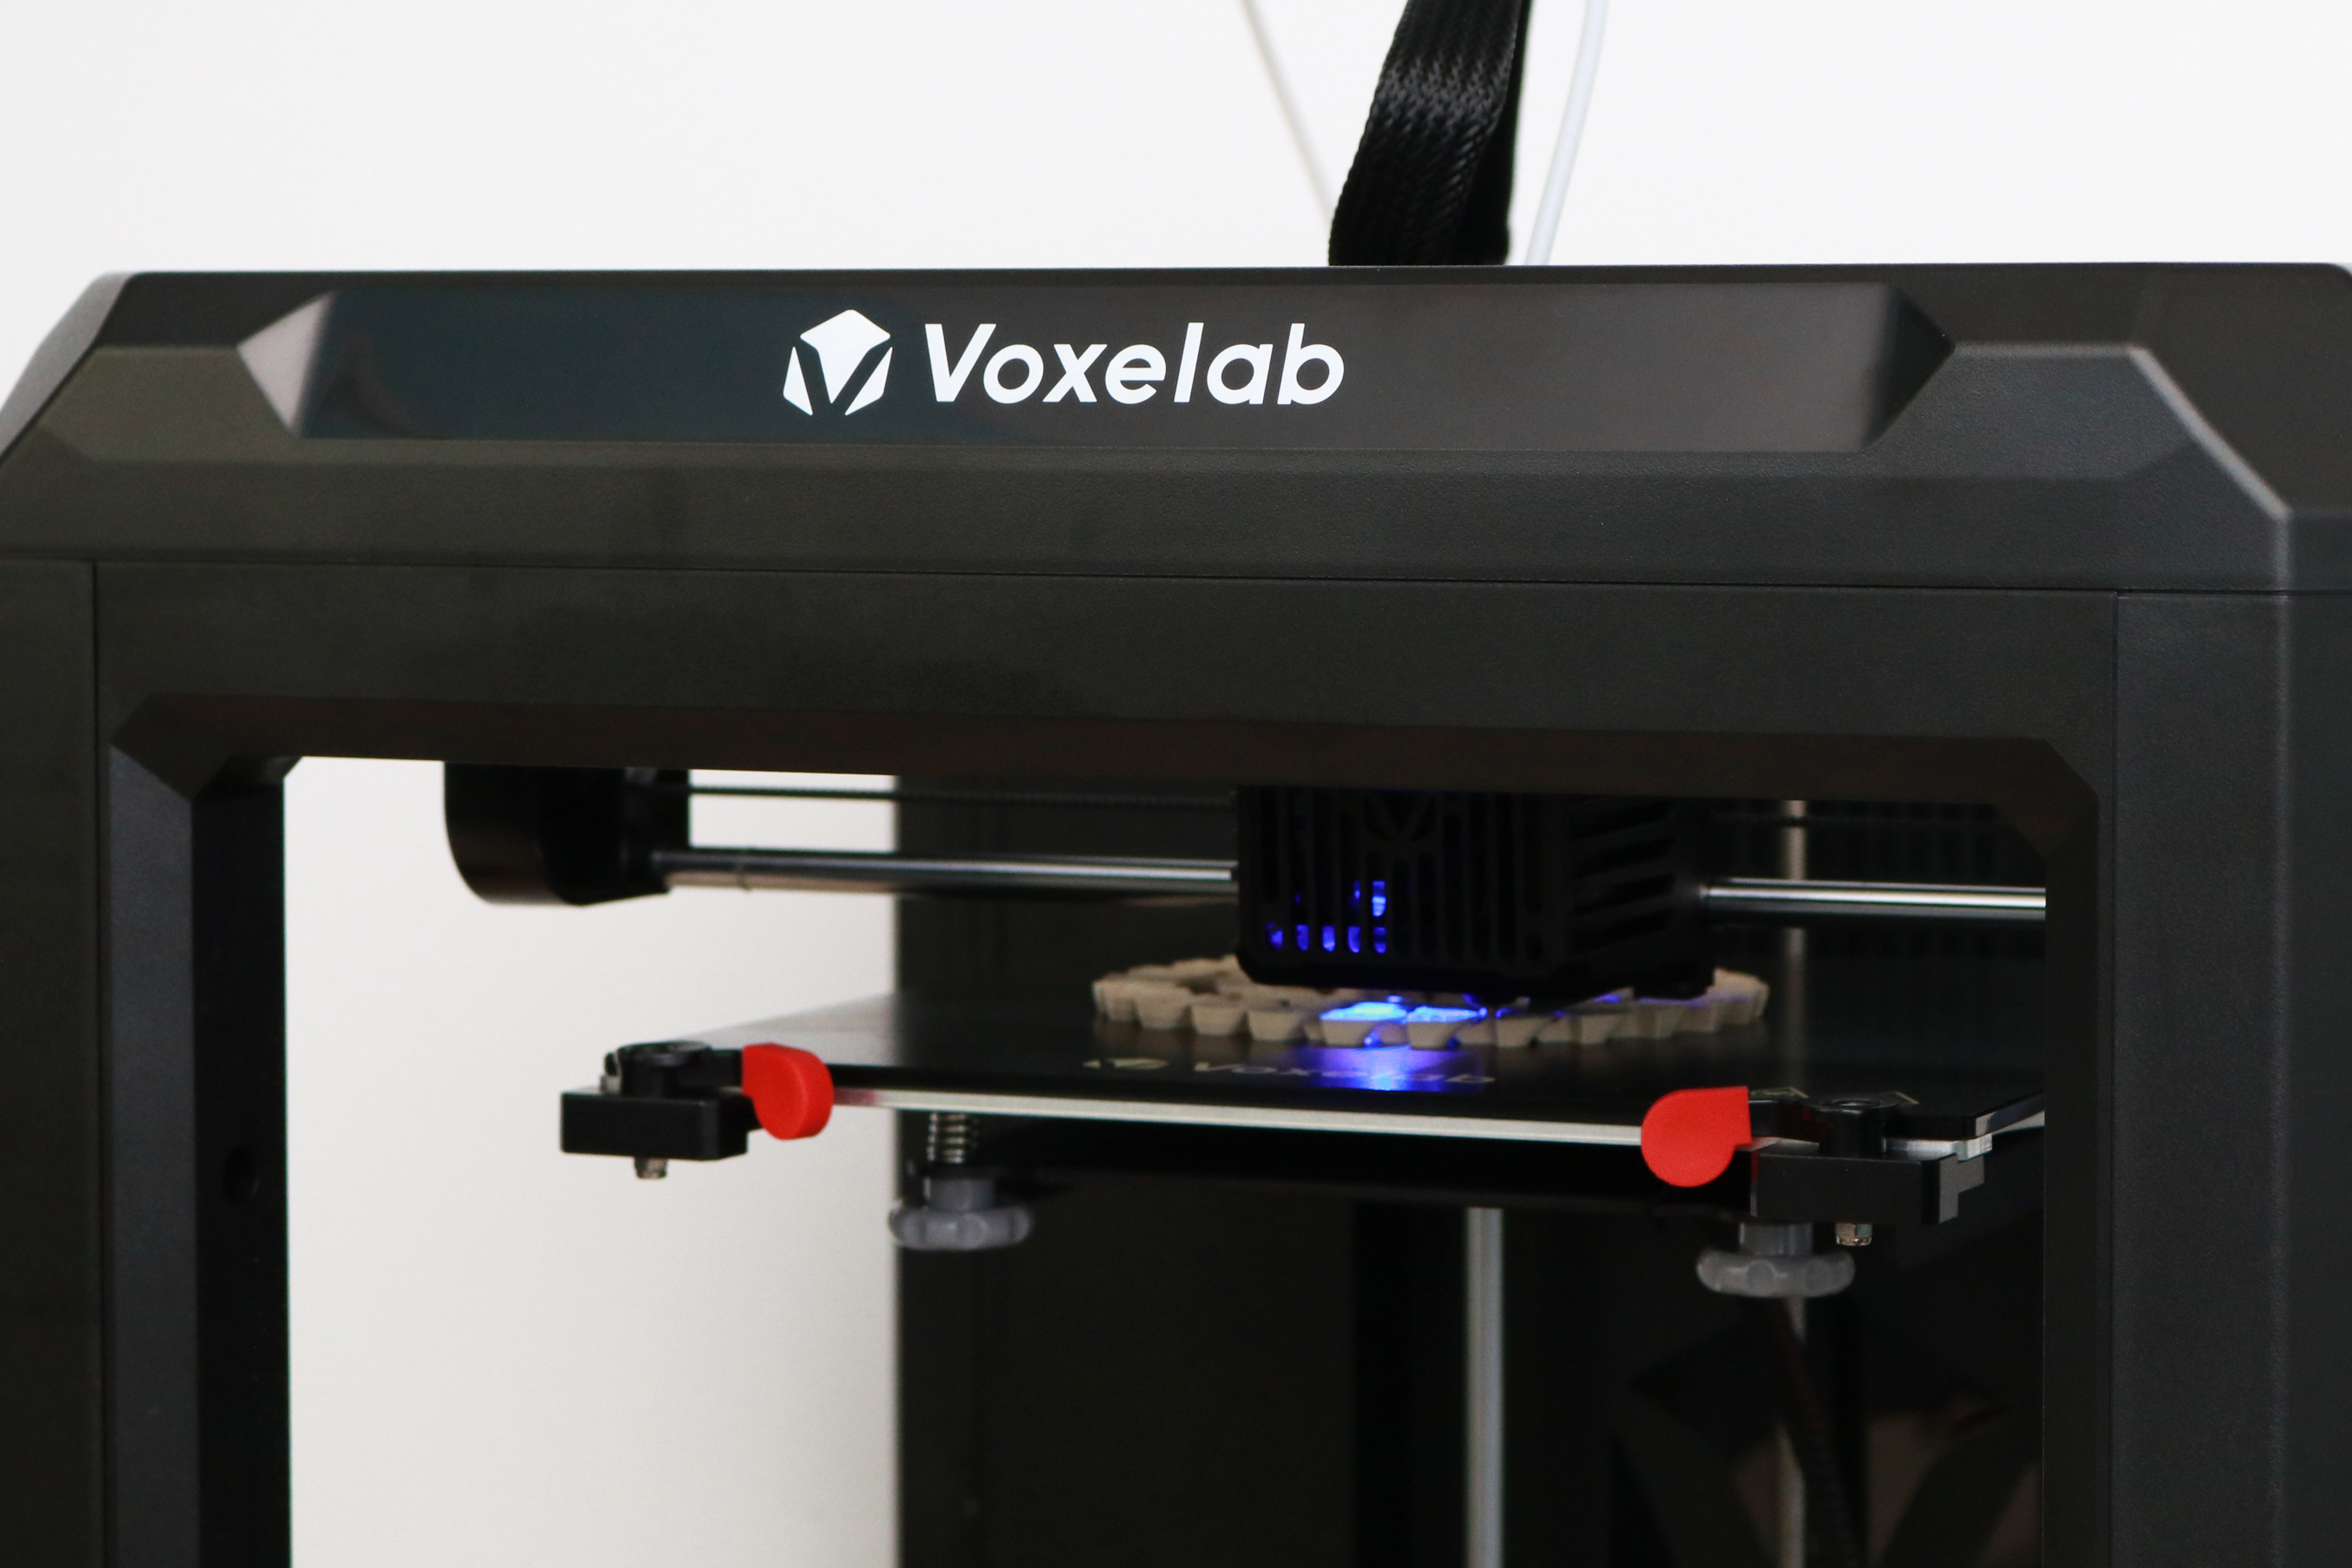
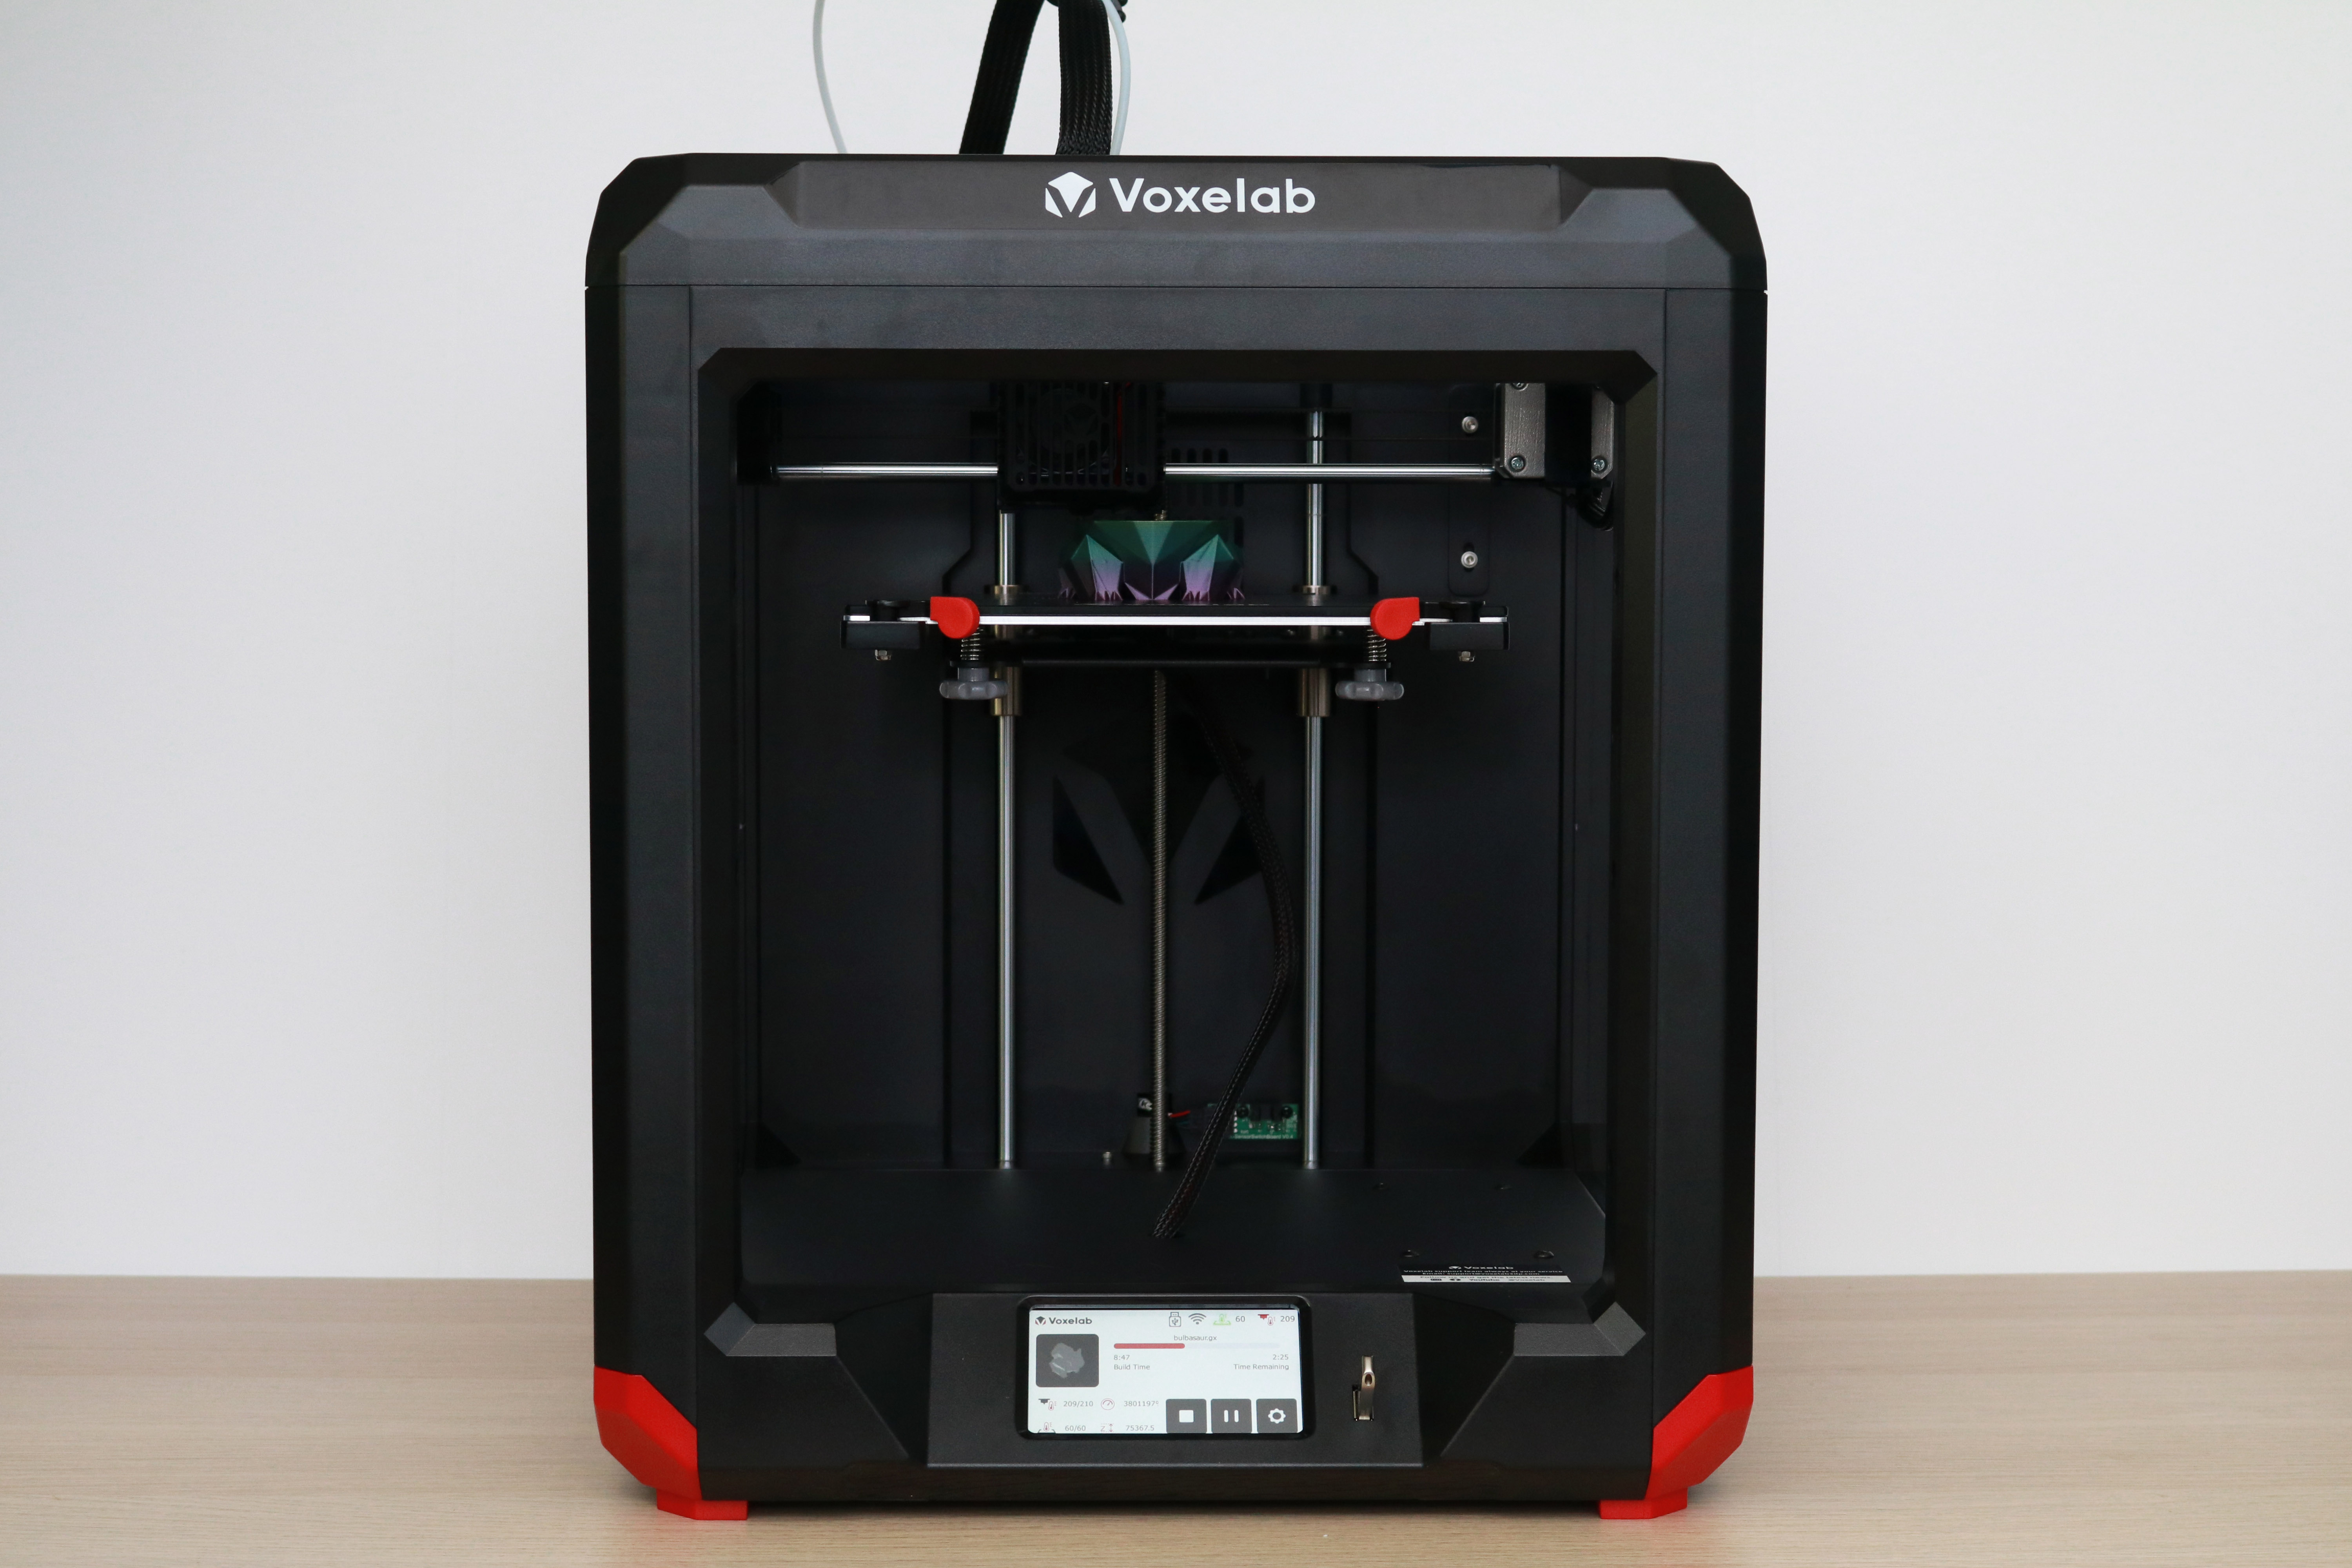
The partially-enclosed frame of the Voxelab Aries and the colorful red accents at the bottom of the machine clearly communicate that this printer was designed to function as a ready-to-deploy 3D printer, and not a DIY kit that requires assembly. The Aries looks like it would be right at home in a library or classroom sitting between a color copier and a laptop computer, and during testing it proved to be a reliable and easy-to-use 3D printer. The plastic enclosure is sturdy and robust, and the motion system is kept partially hidden to prevent anyone from touching it during operation.
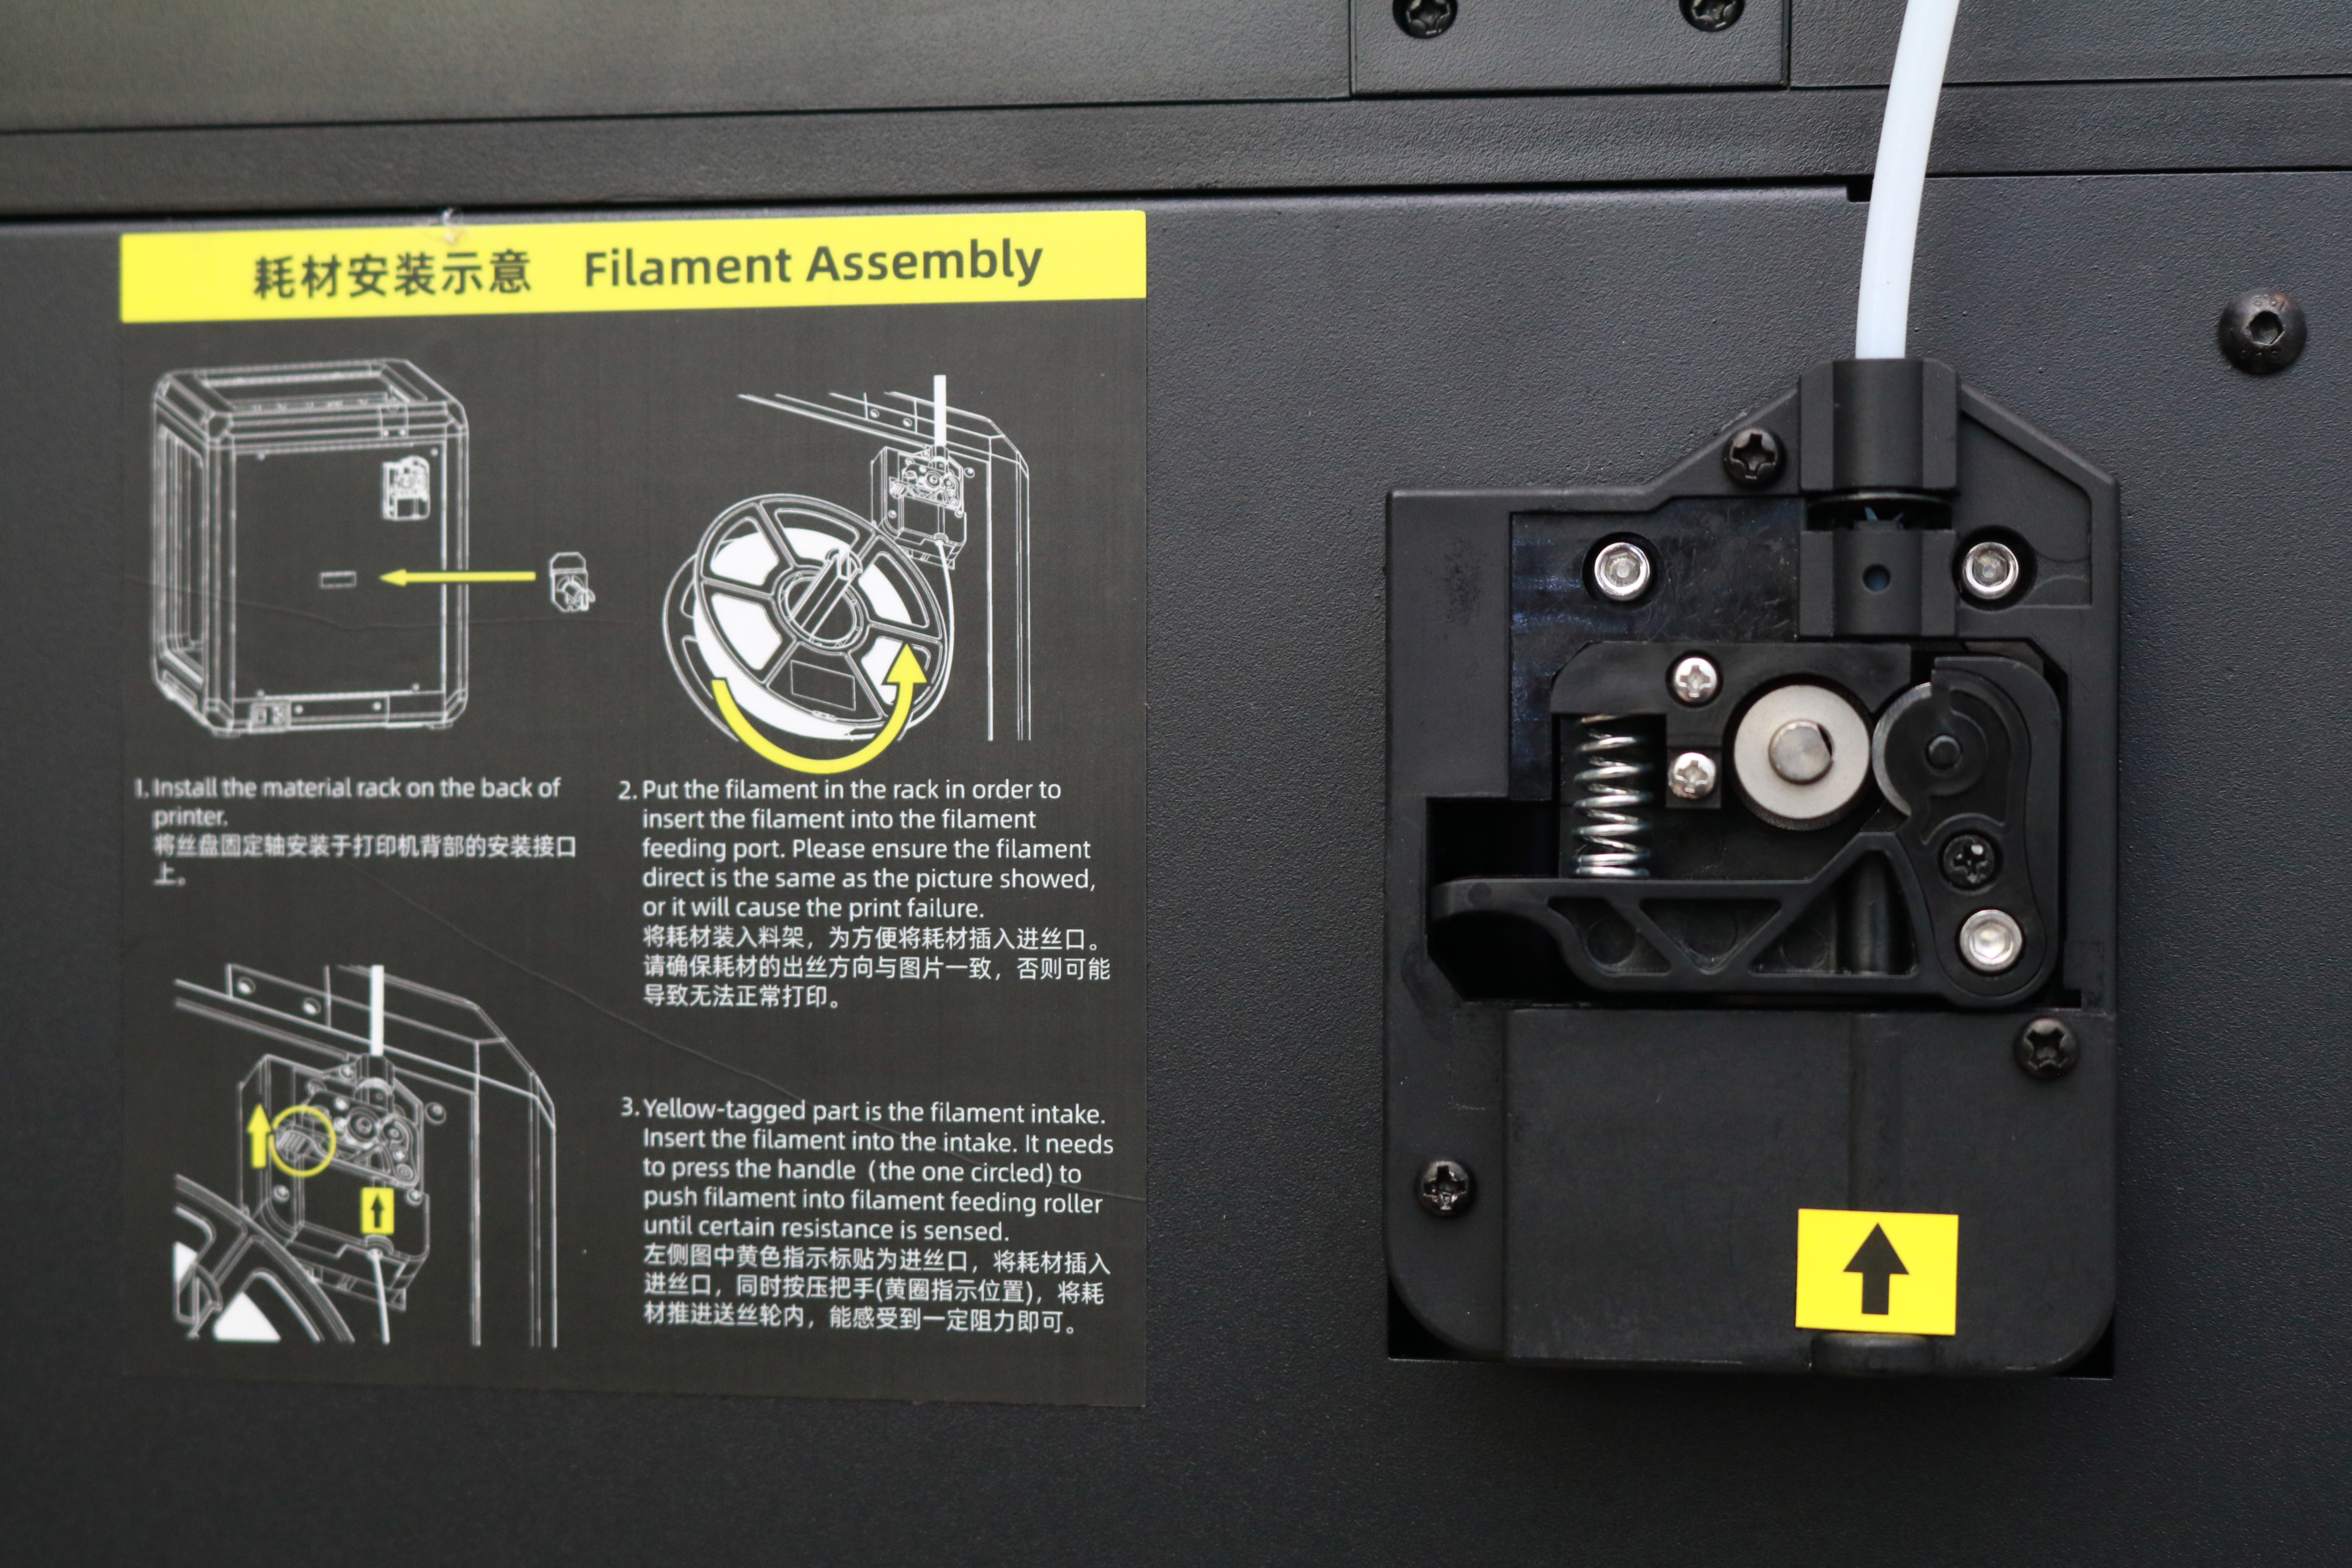
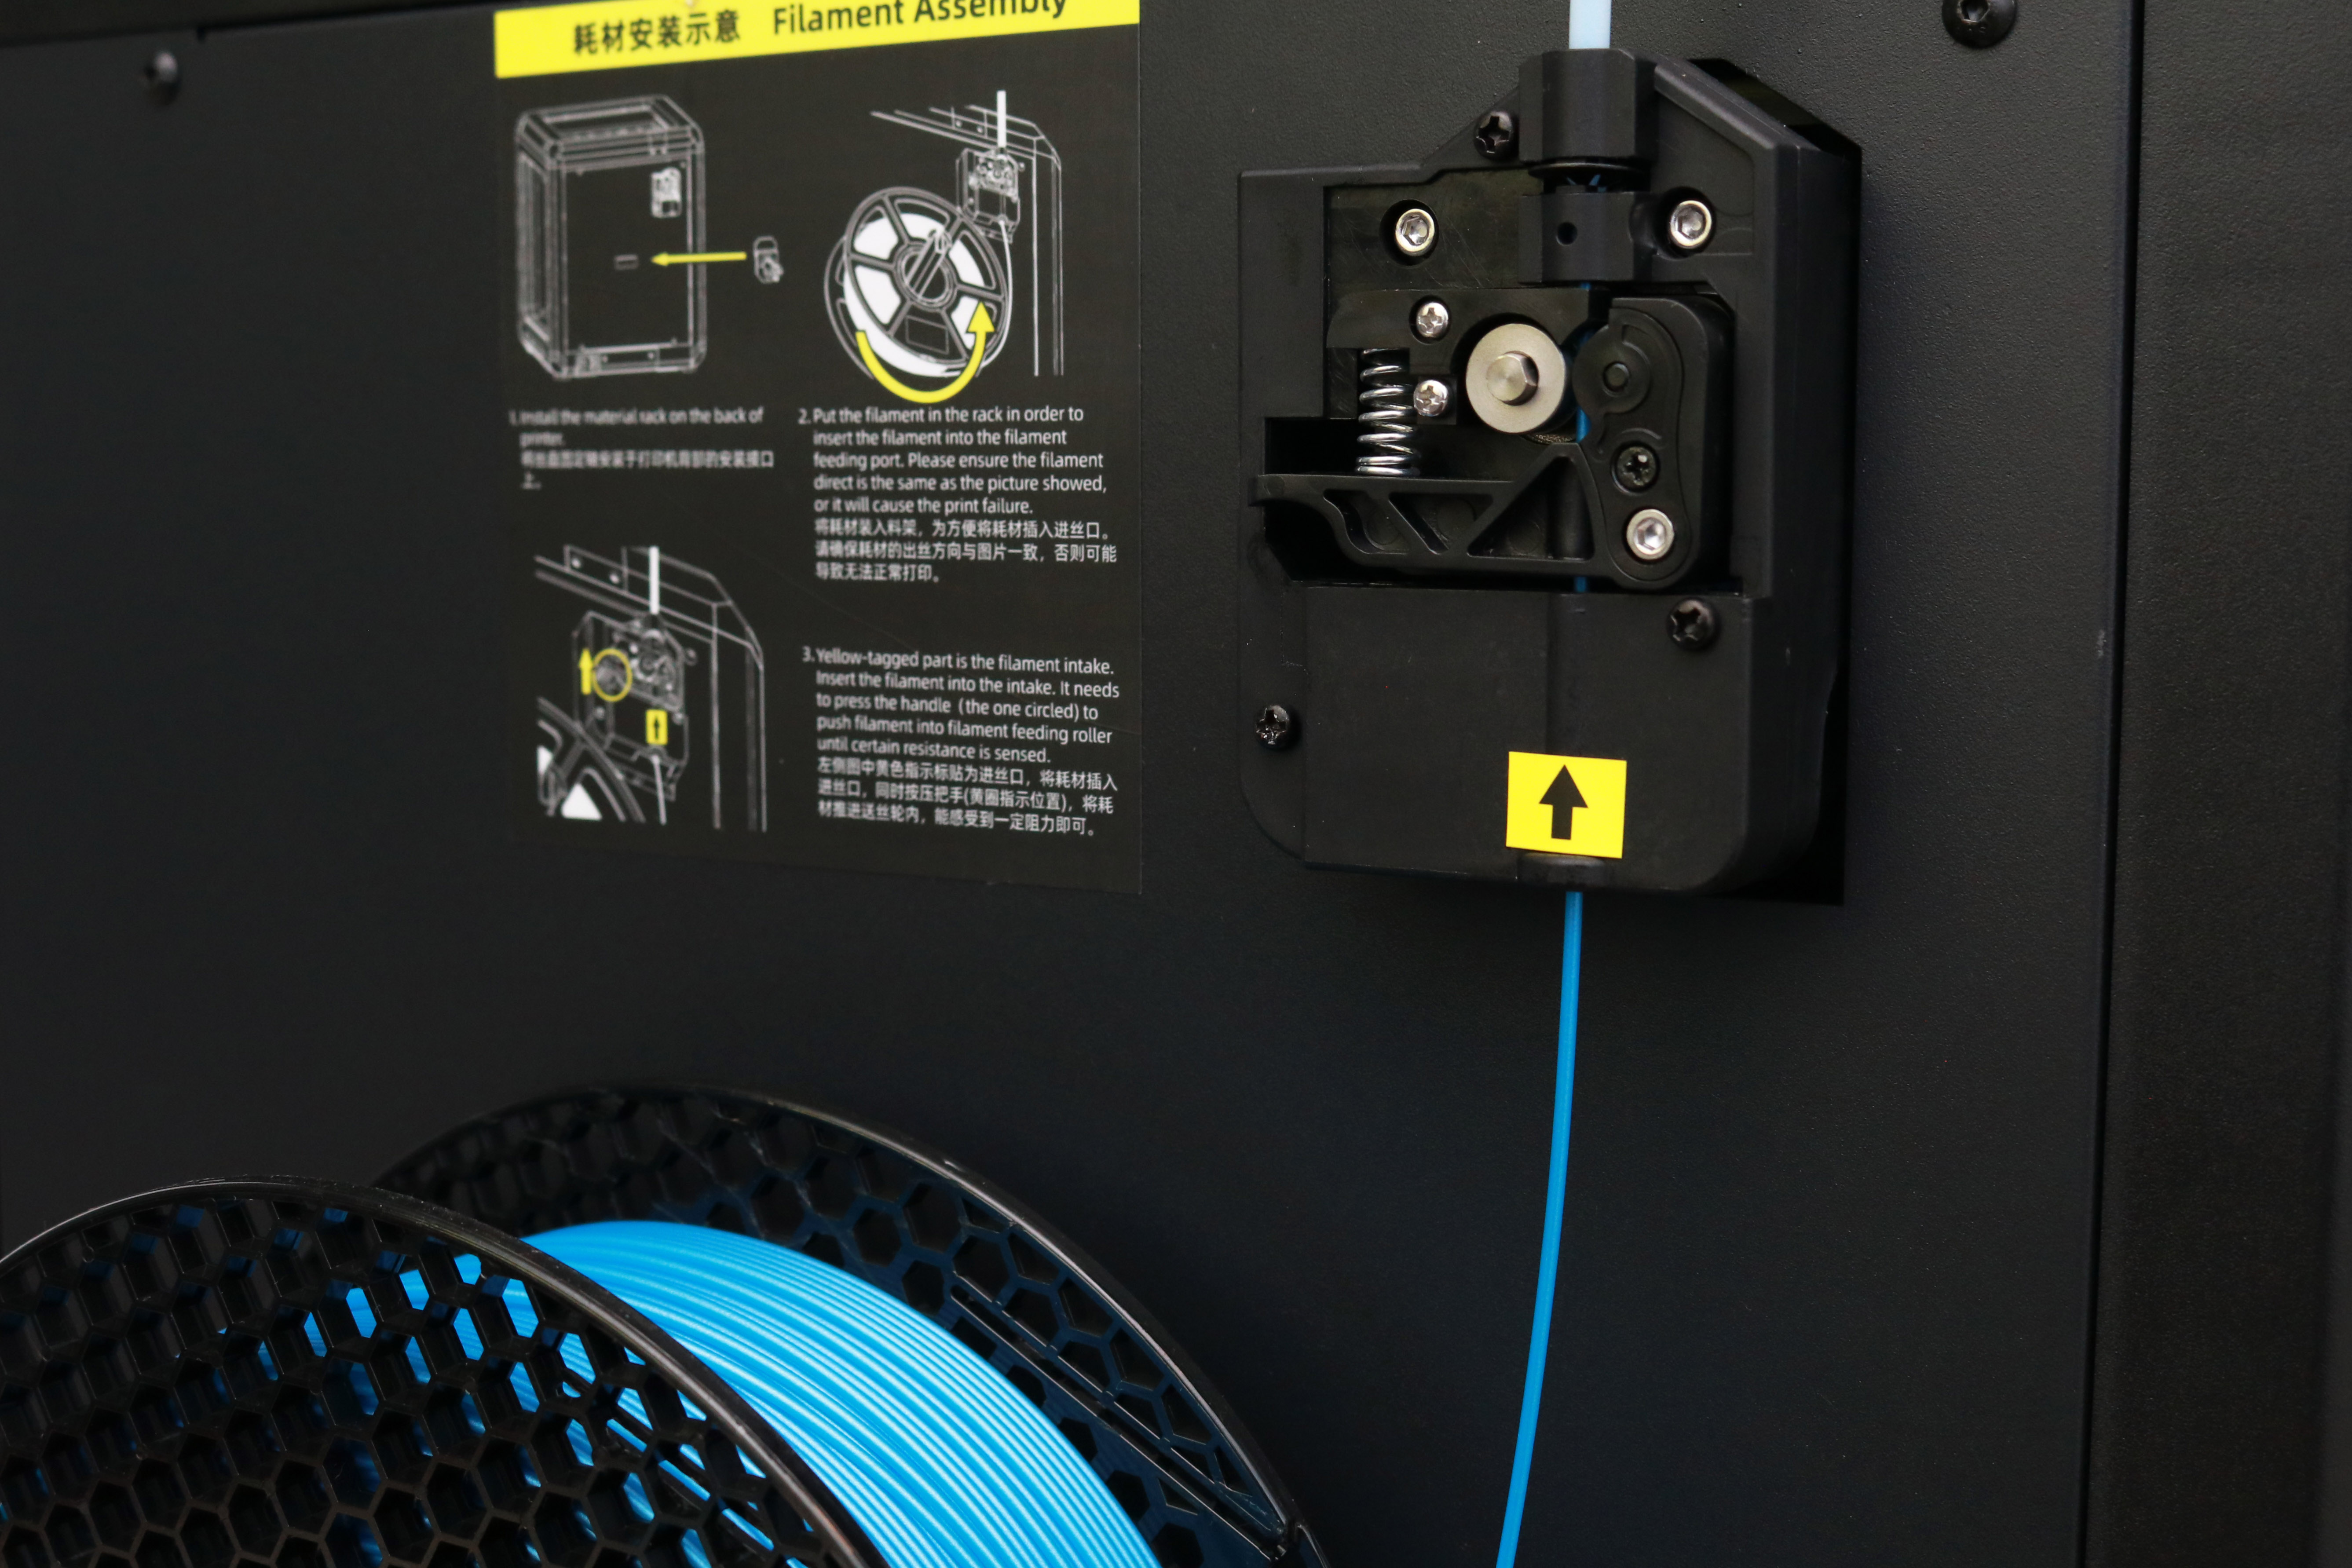
The Bowden extruder on the Aries is located on the back of the printer, and filament is fed from the extruder module through a PTFE tube that connects directly to the hot end. This extruder is well-designed, with a colorful diagram explaining how it works as well as an exposed lever for pushing/pulling filament should the need arise. By exposing the extruder module on the back of the printer like this, Voxelab has enabled users to easily diagnose and solve extruder-related issues as they are able to clearly see whether or not filament is being fed into the tube. This extruder is similar to the one used on the Flashforge Adventurer 3 Lite, but I prefer the placement of the module on the Aries.
Get Tom's Hardware's best news and in-depth reviews, straight to your inbox.
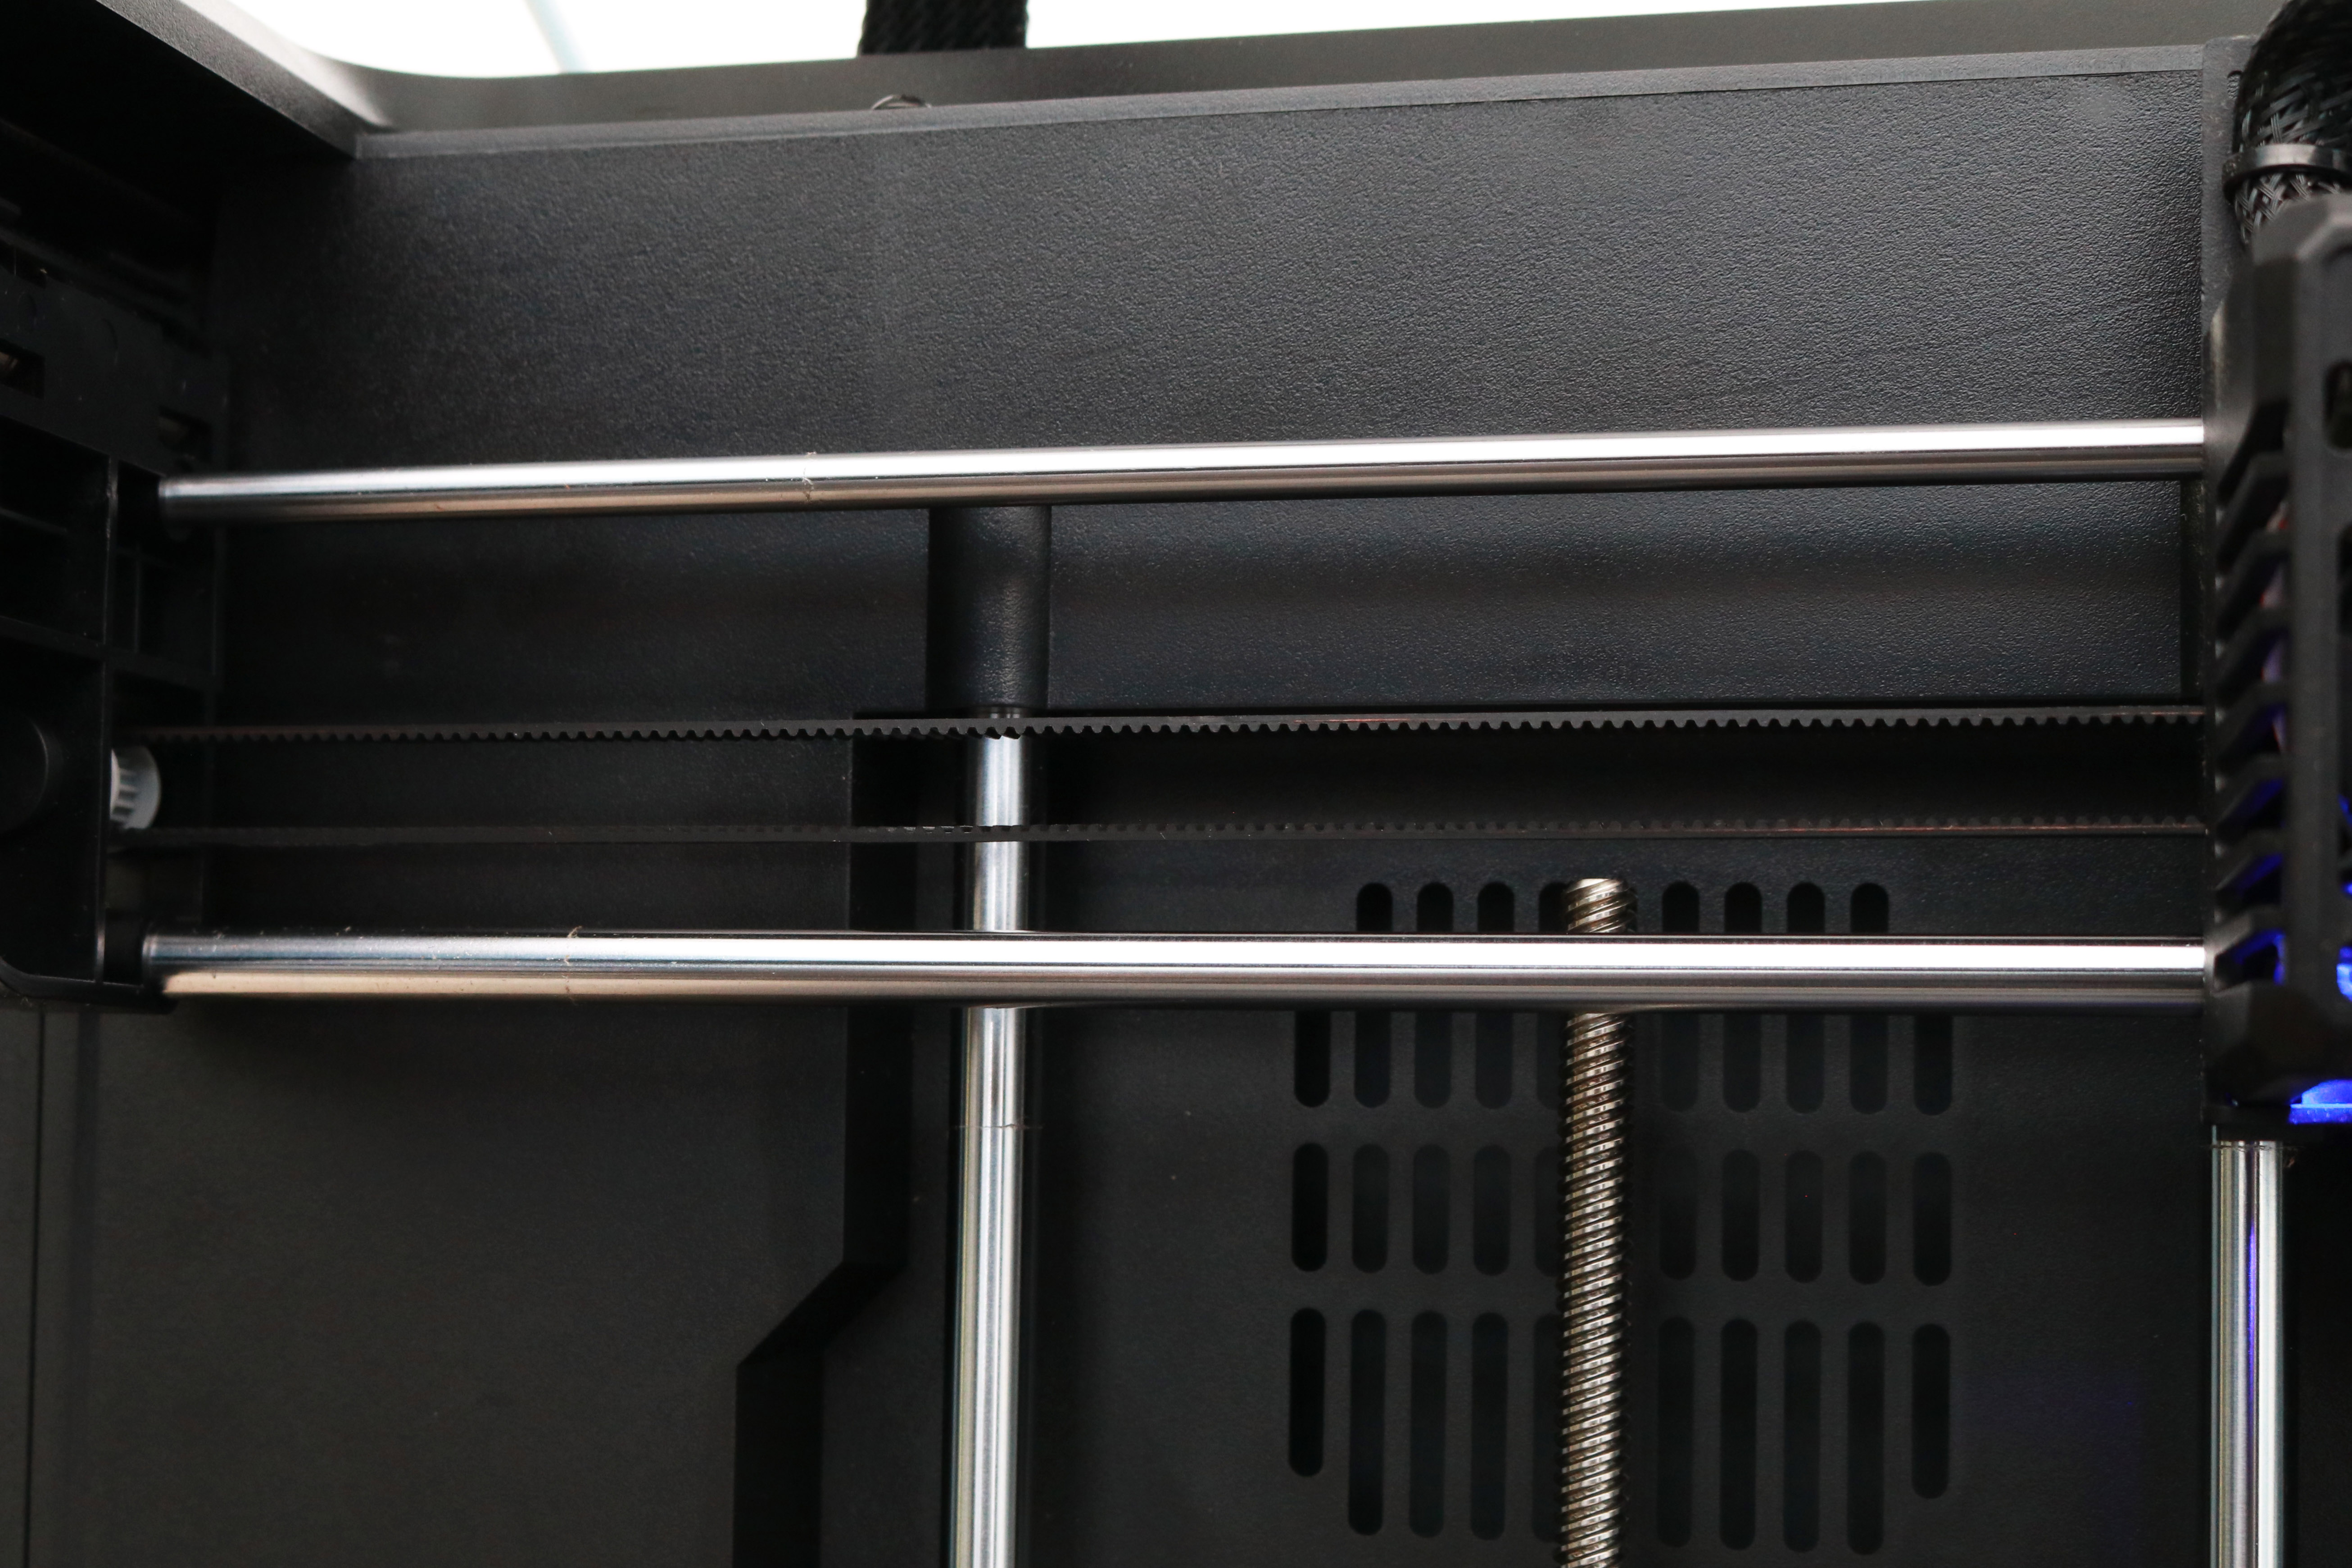
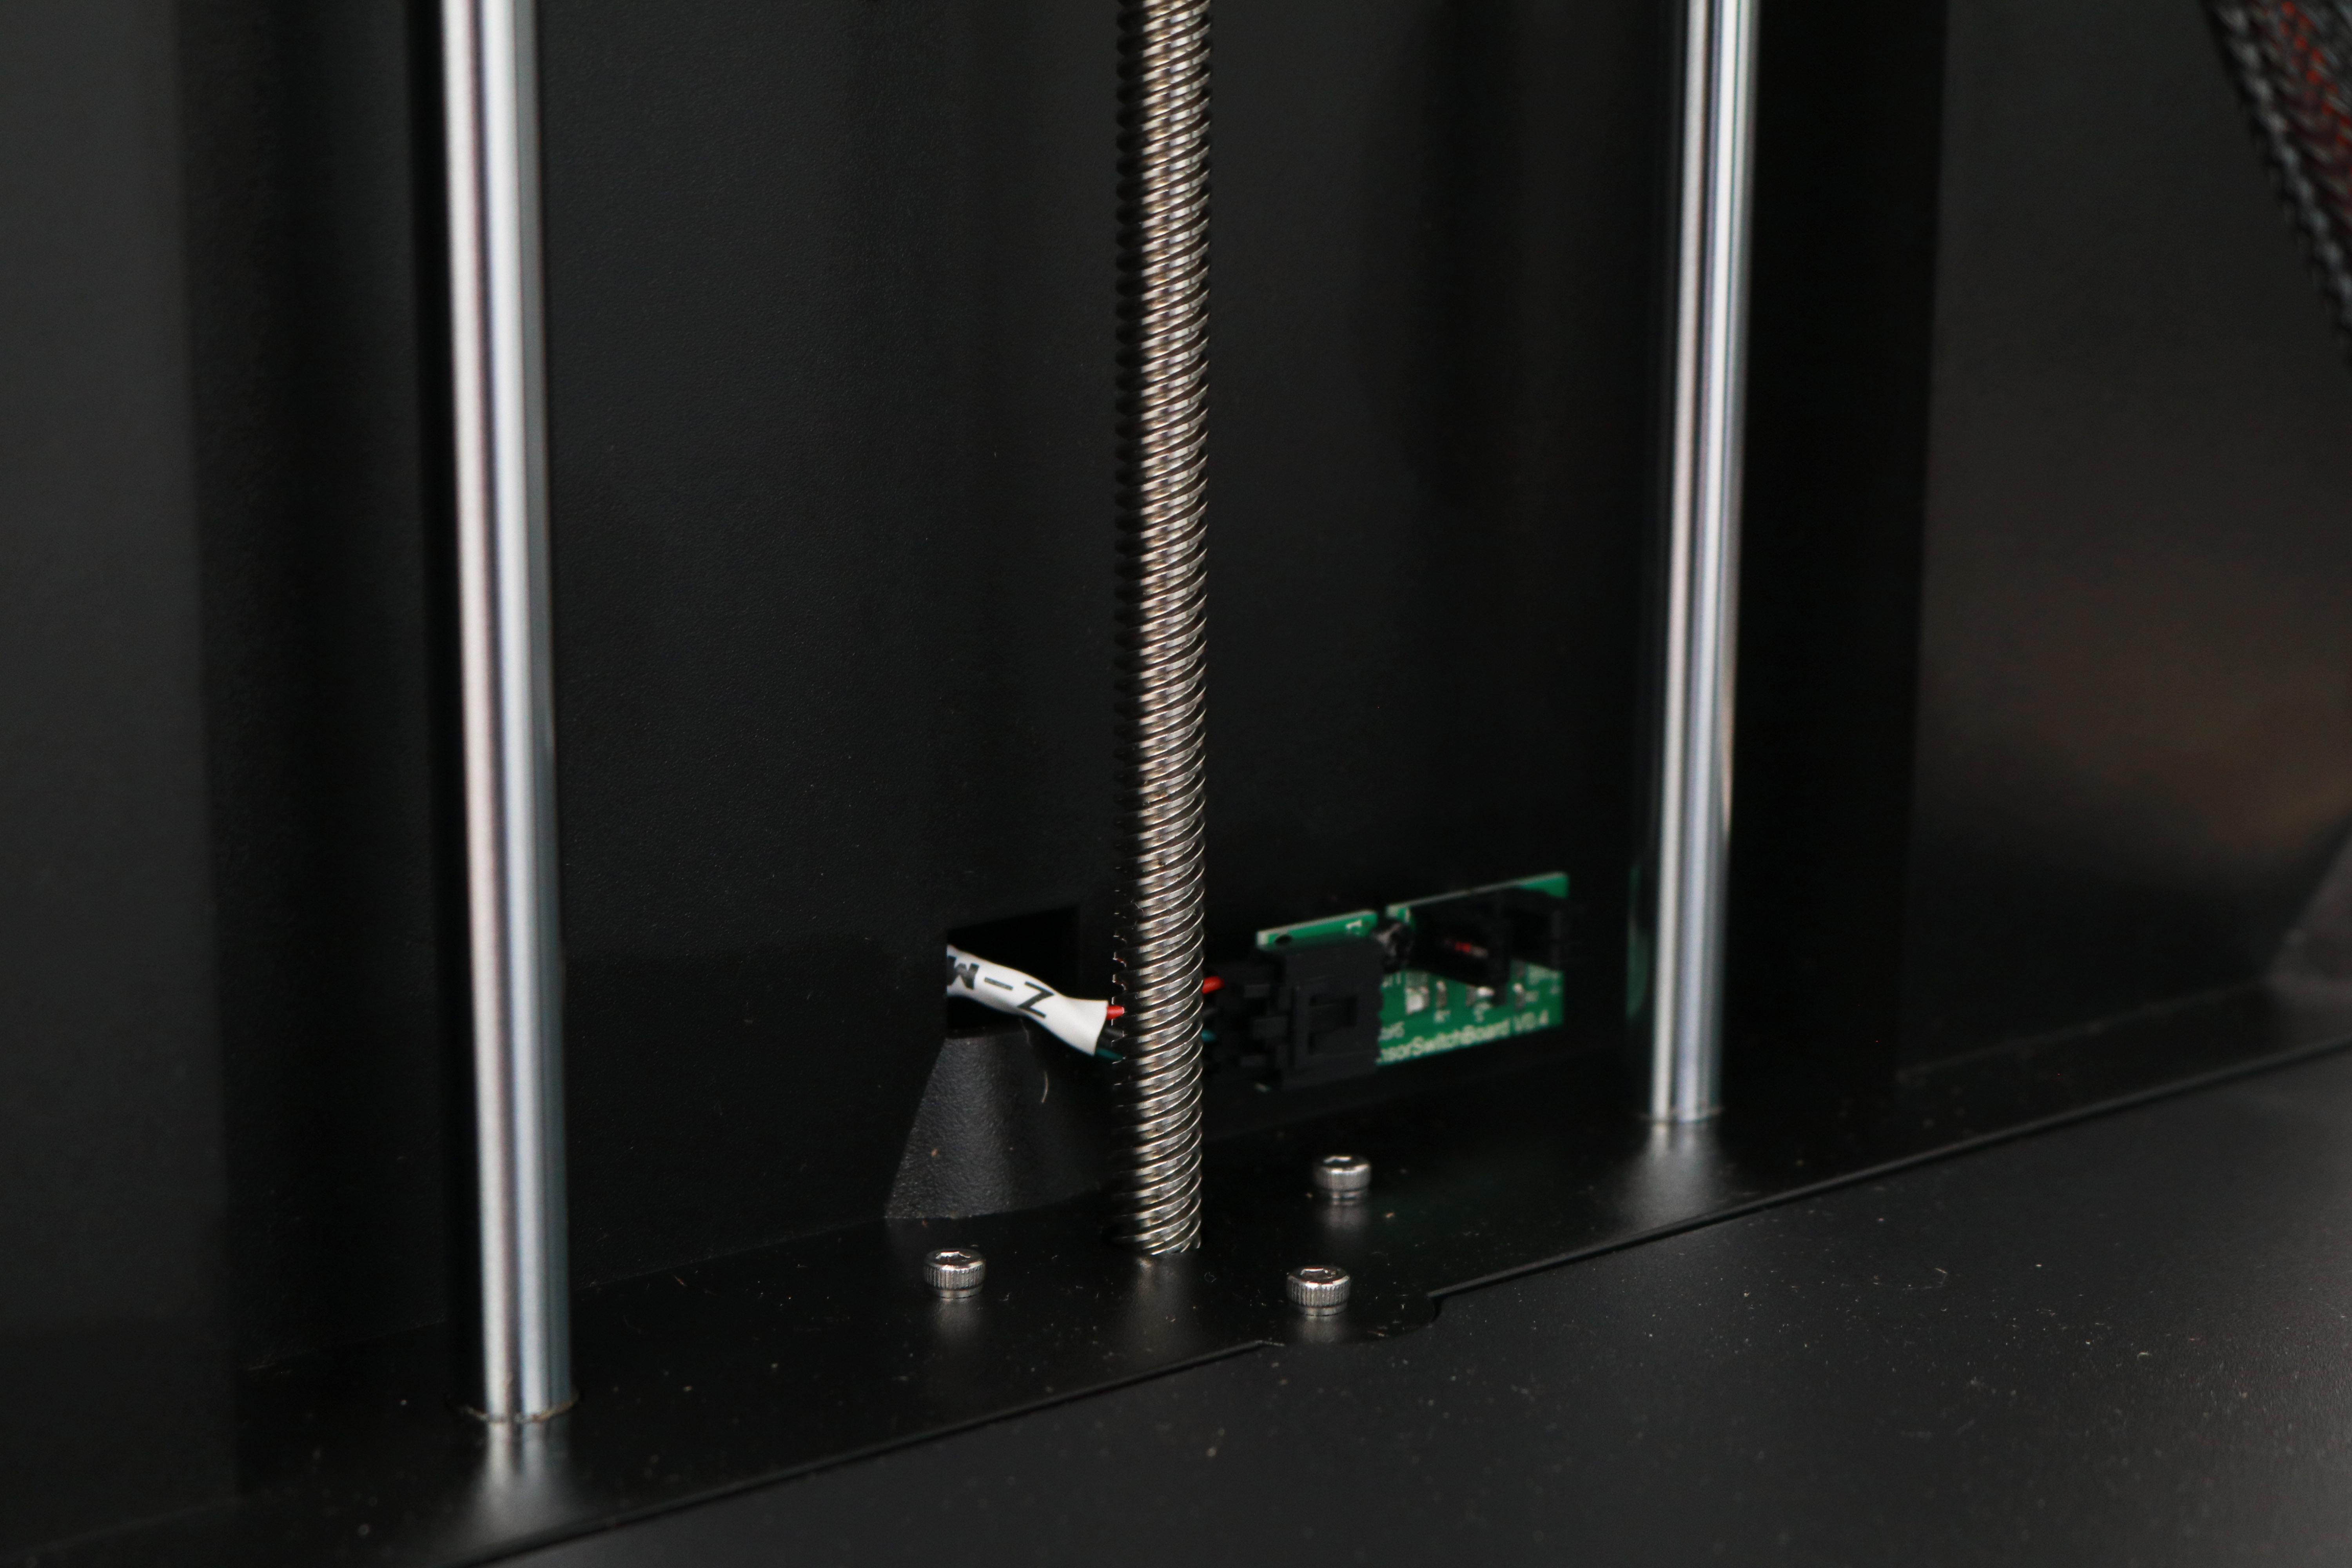
The motion system on the Aries is a little unusual to see in this price range; the hot end moves in the X and Y but remains fixed in Z, which allows the build platform to remain stationary during printing, and it slowly lowers during printing with each layer change. The dual linear rods on the X and Z axis make for smooth motion during printing, and the pair of linear rods on the Y axis complete the rigid motion system on the Aries. This is one of the most impressive features of this printer, and it allowed me to make some surprisingly tall parts without wobble during testing.
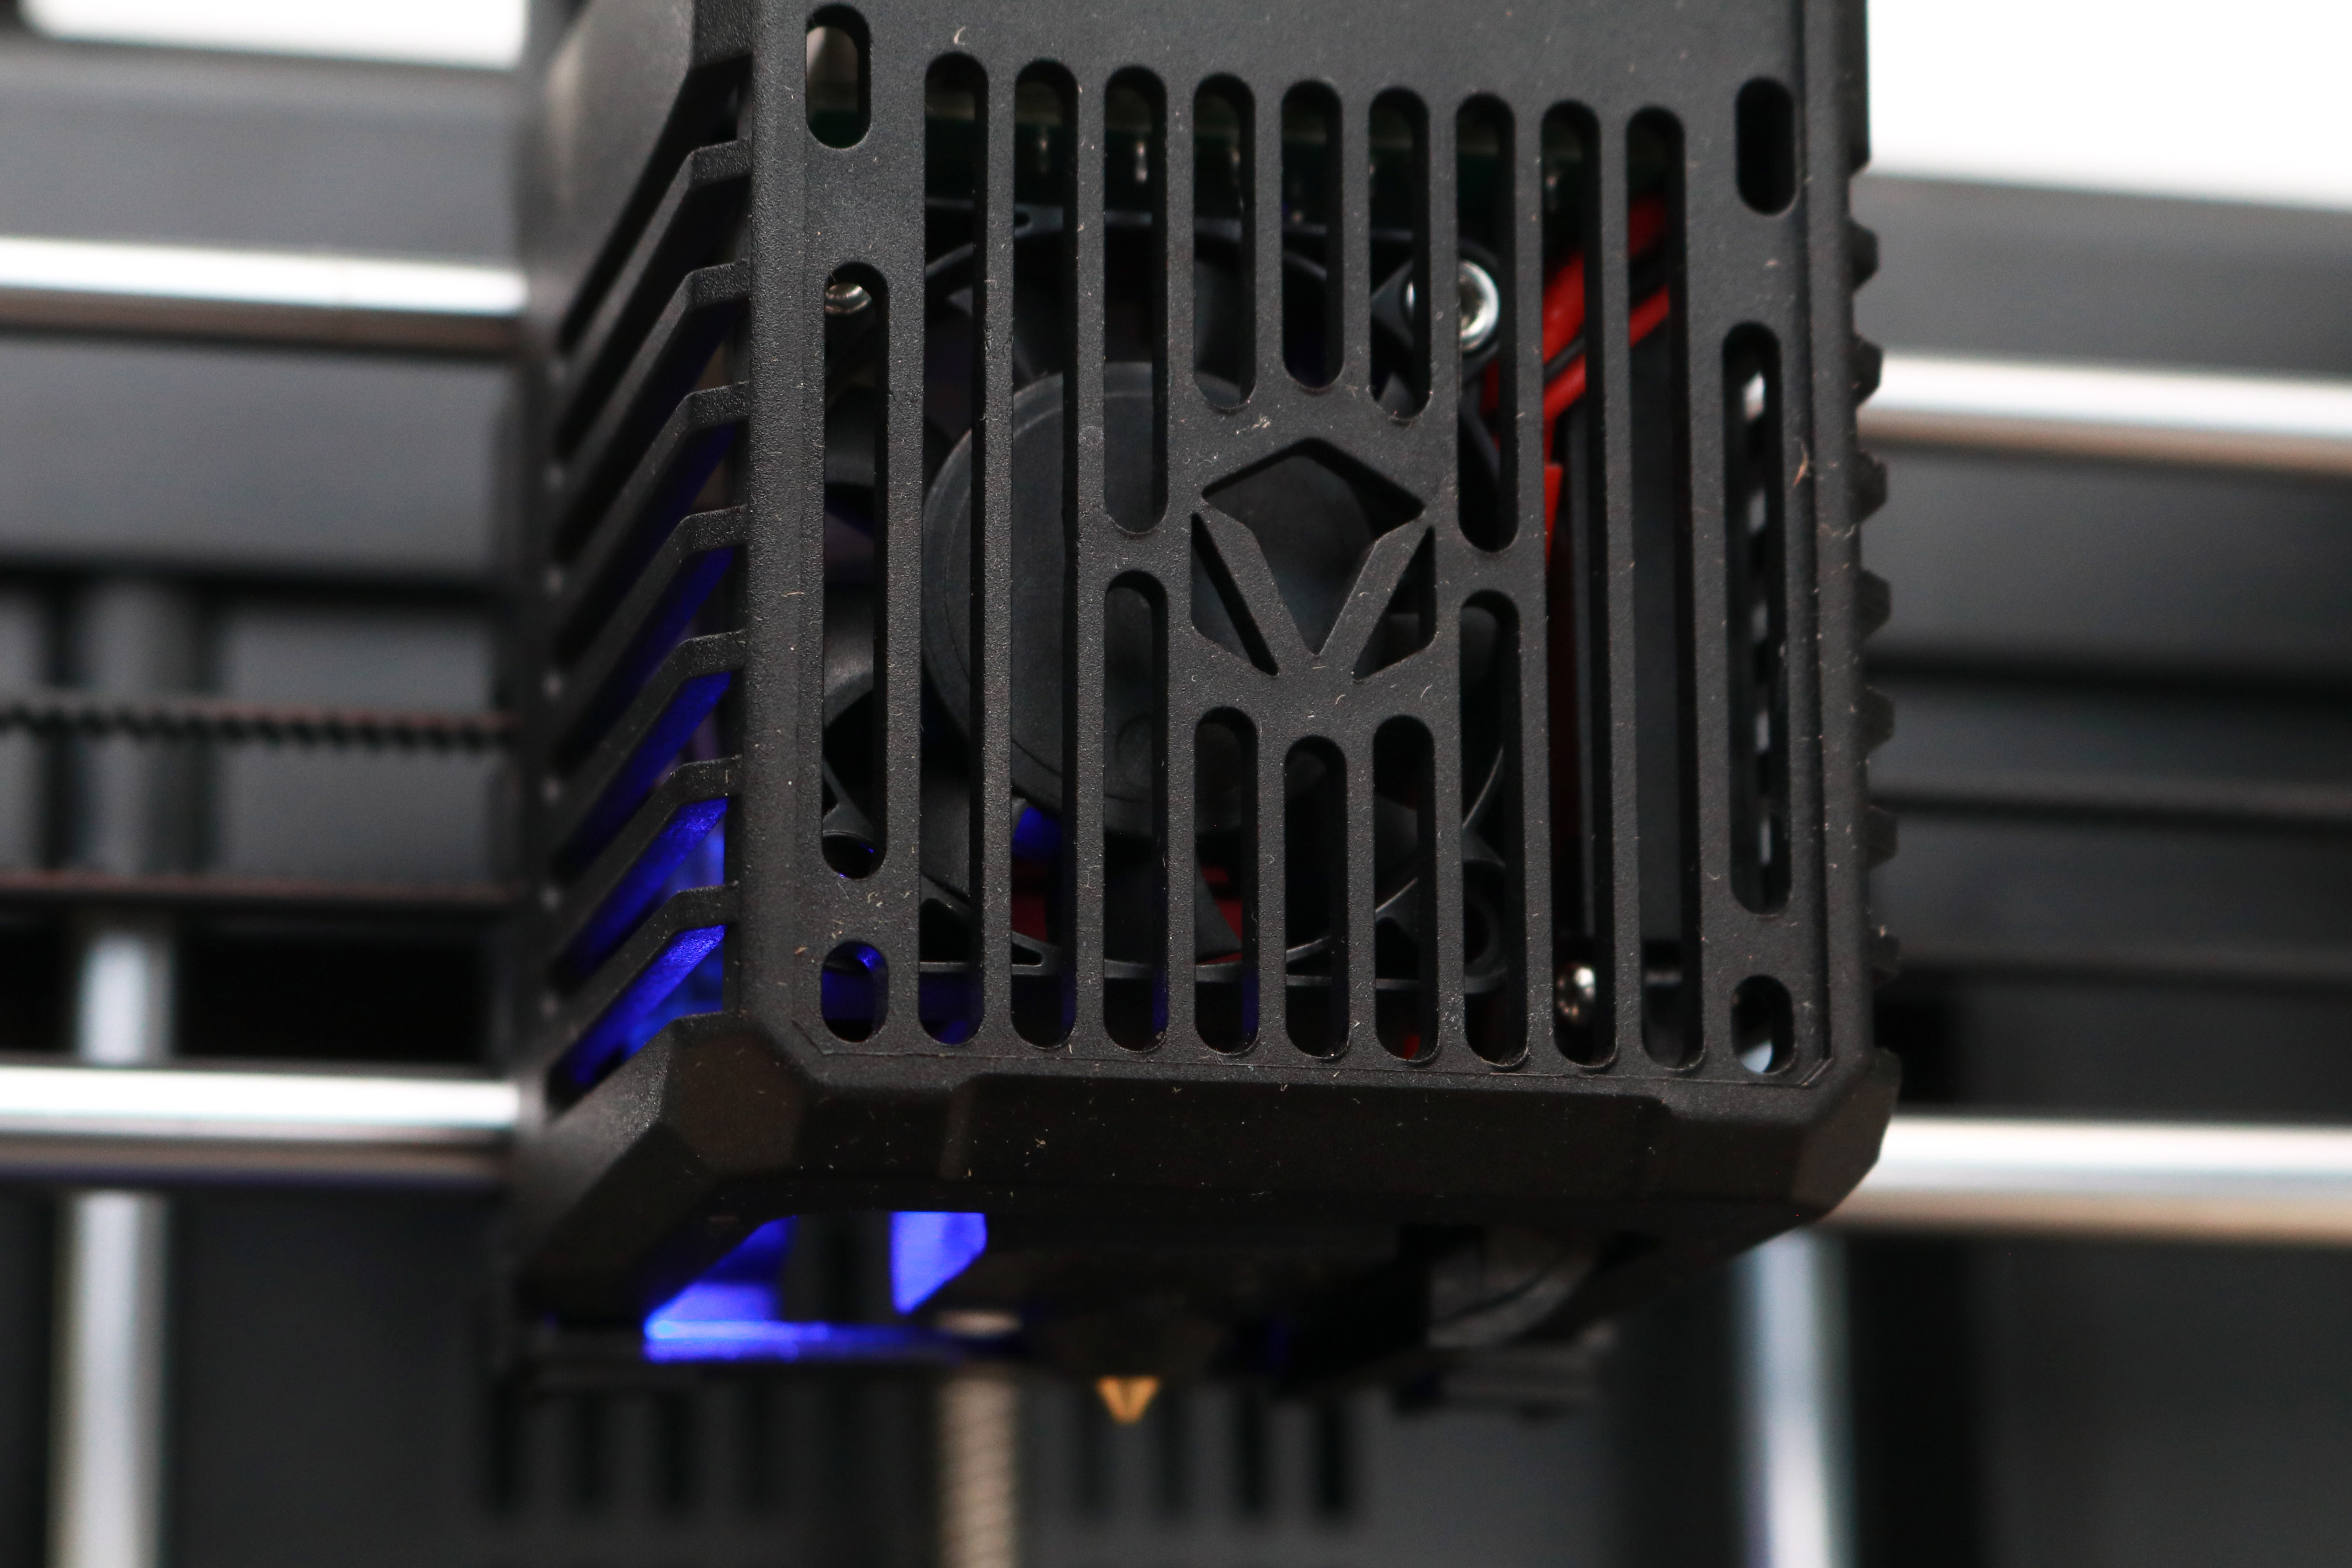
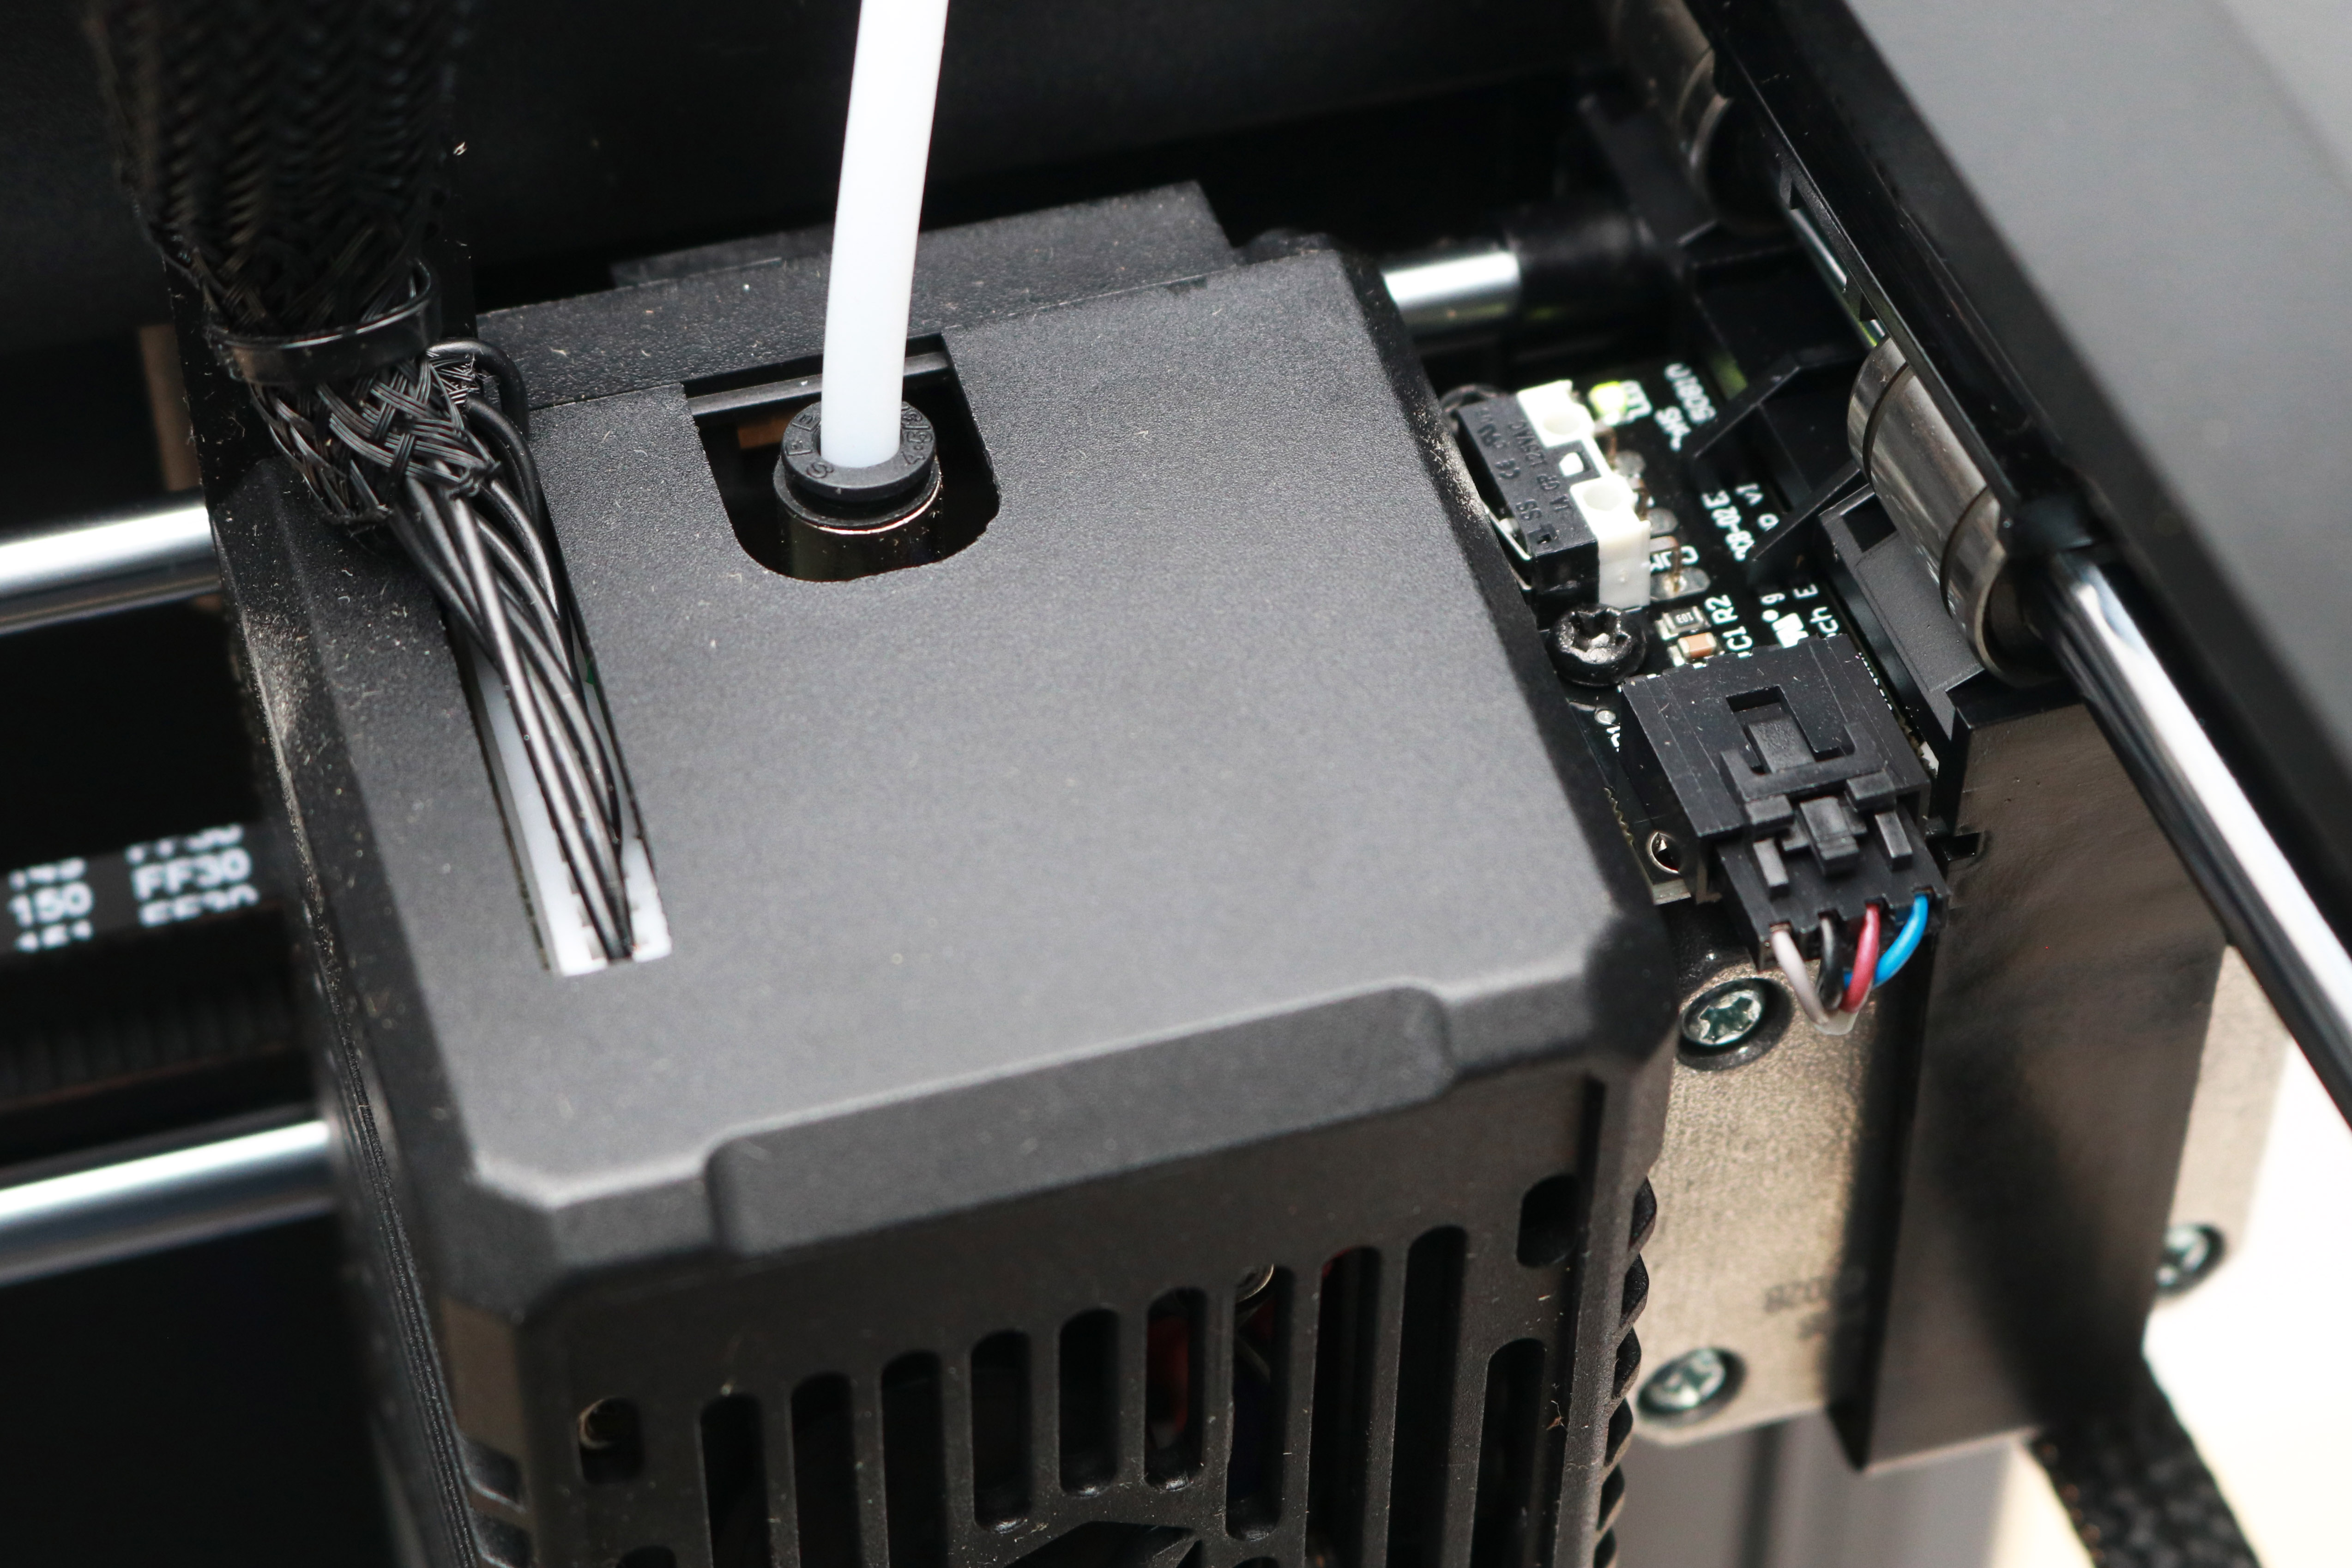
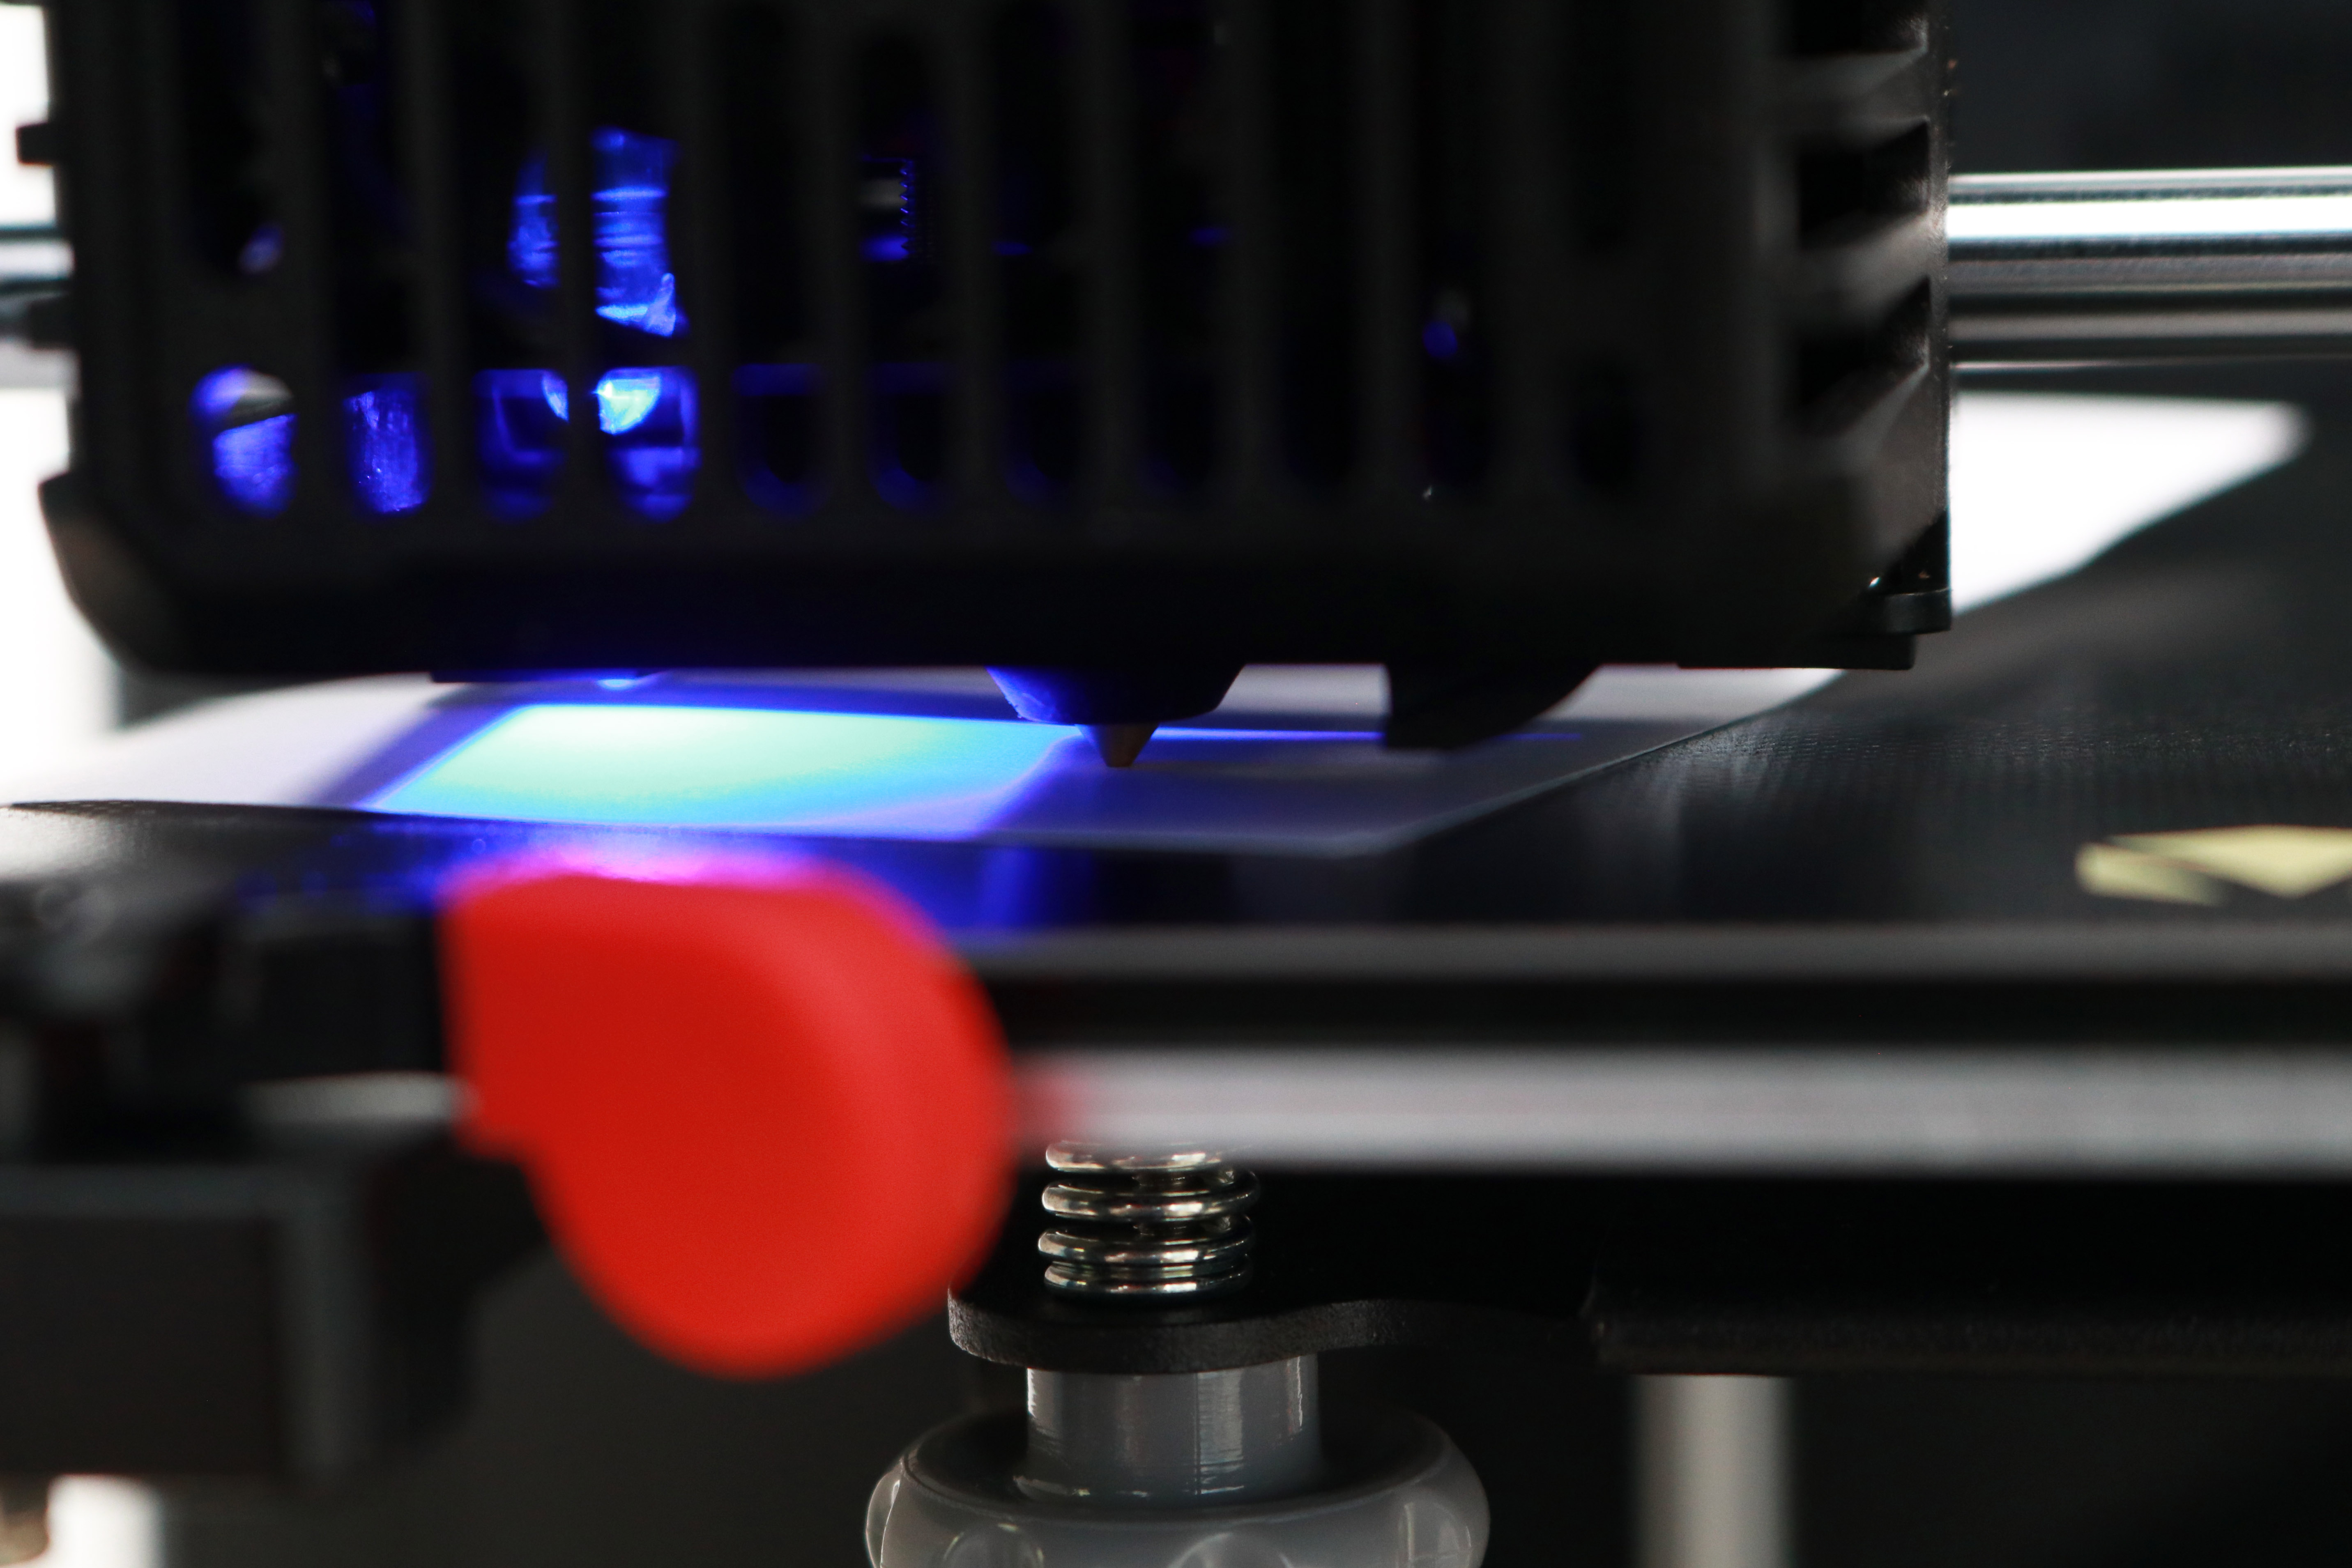
The hot end module contains a pair of fans: one for cooling the plastic filament as it is extruded, and another to cool the heat break attached to the heating element. Both of these fans are protected with a plastic enclosure that is also used to trigger the X endstop. The .4mm nozzle on the Aries is perfect for general printing purposes, and the 350W power supply is able to heat both the nozzle and heated bed quickly and reliably.
User Interface on Voxelab Aries
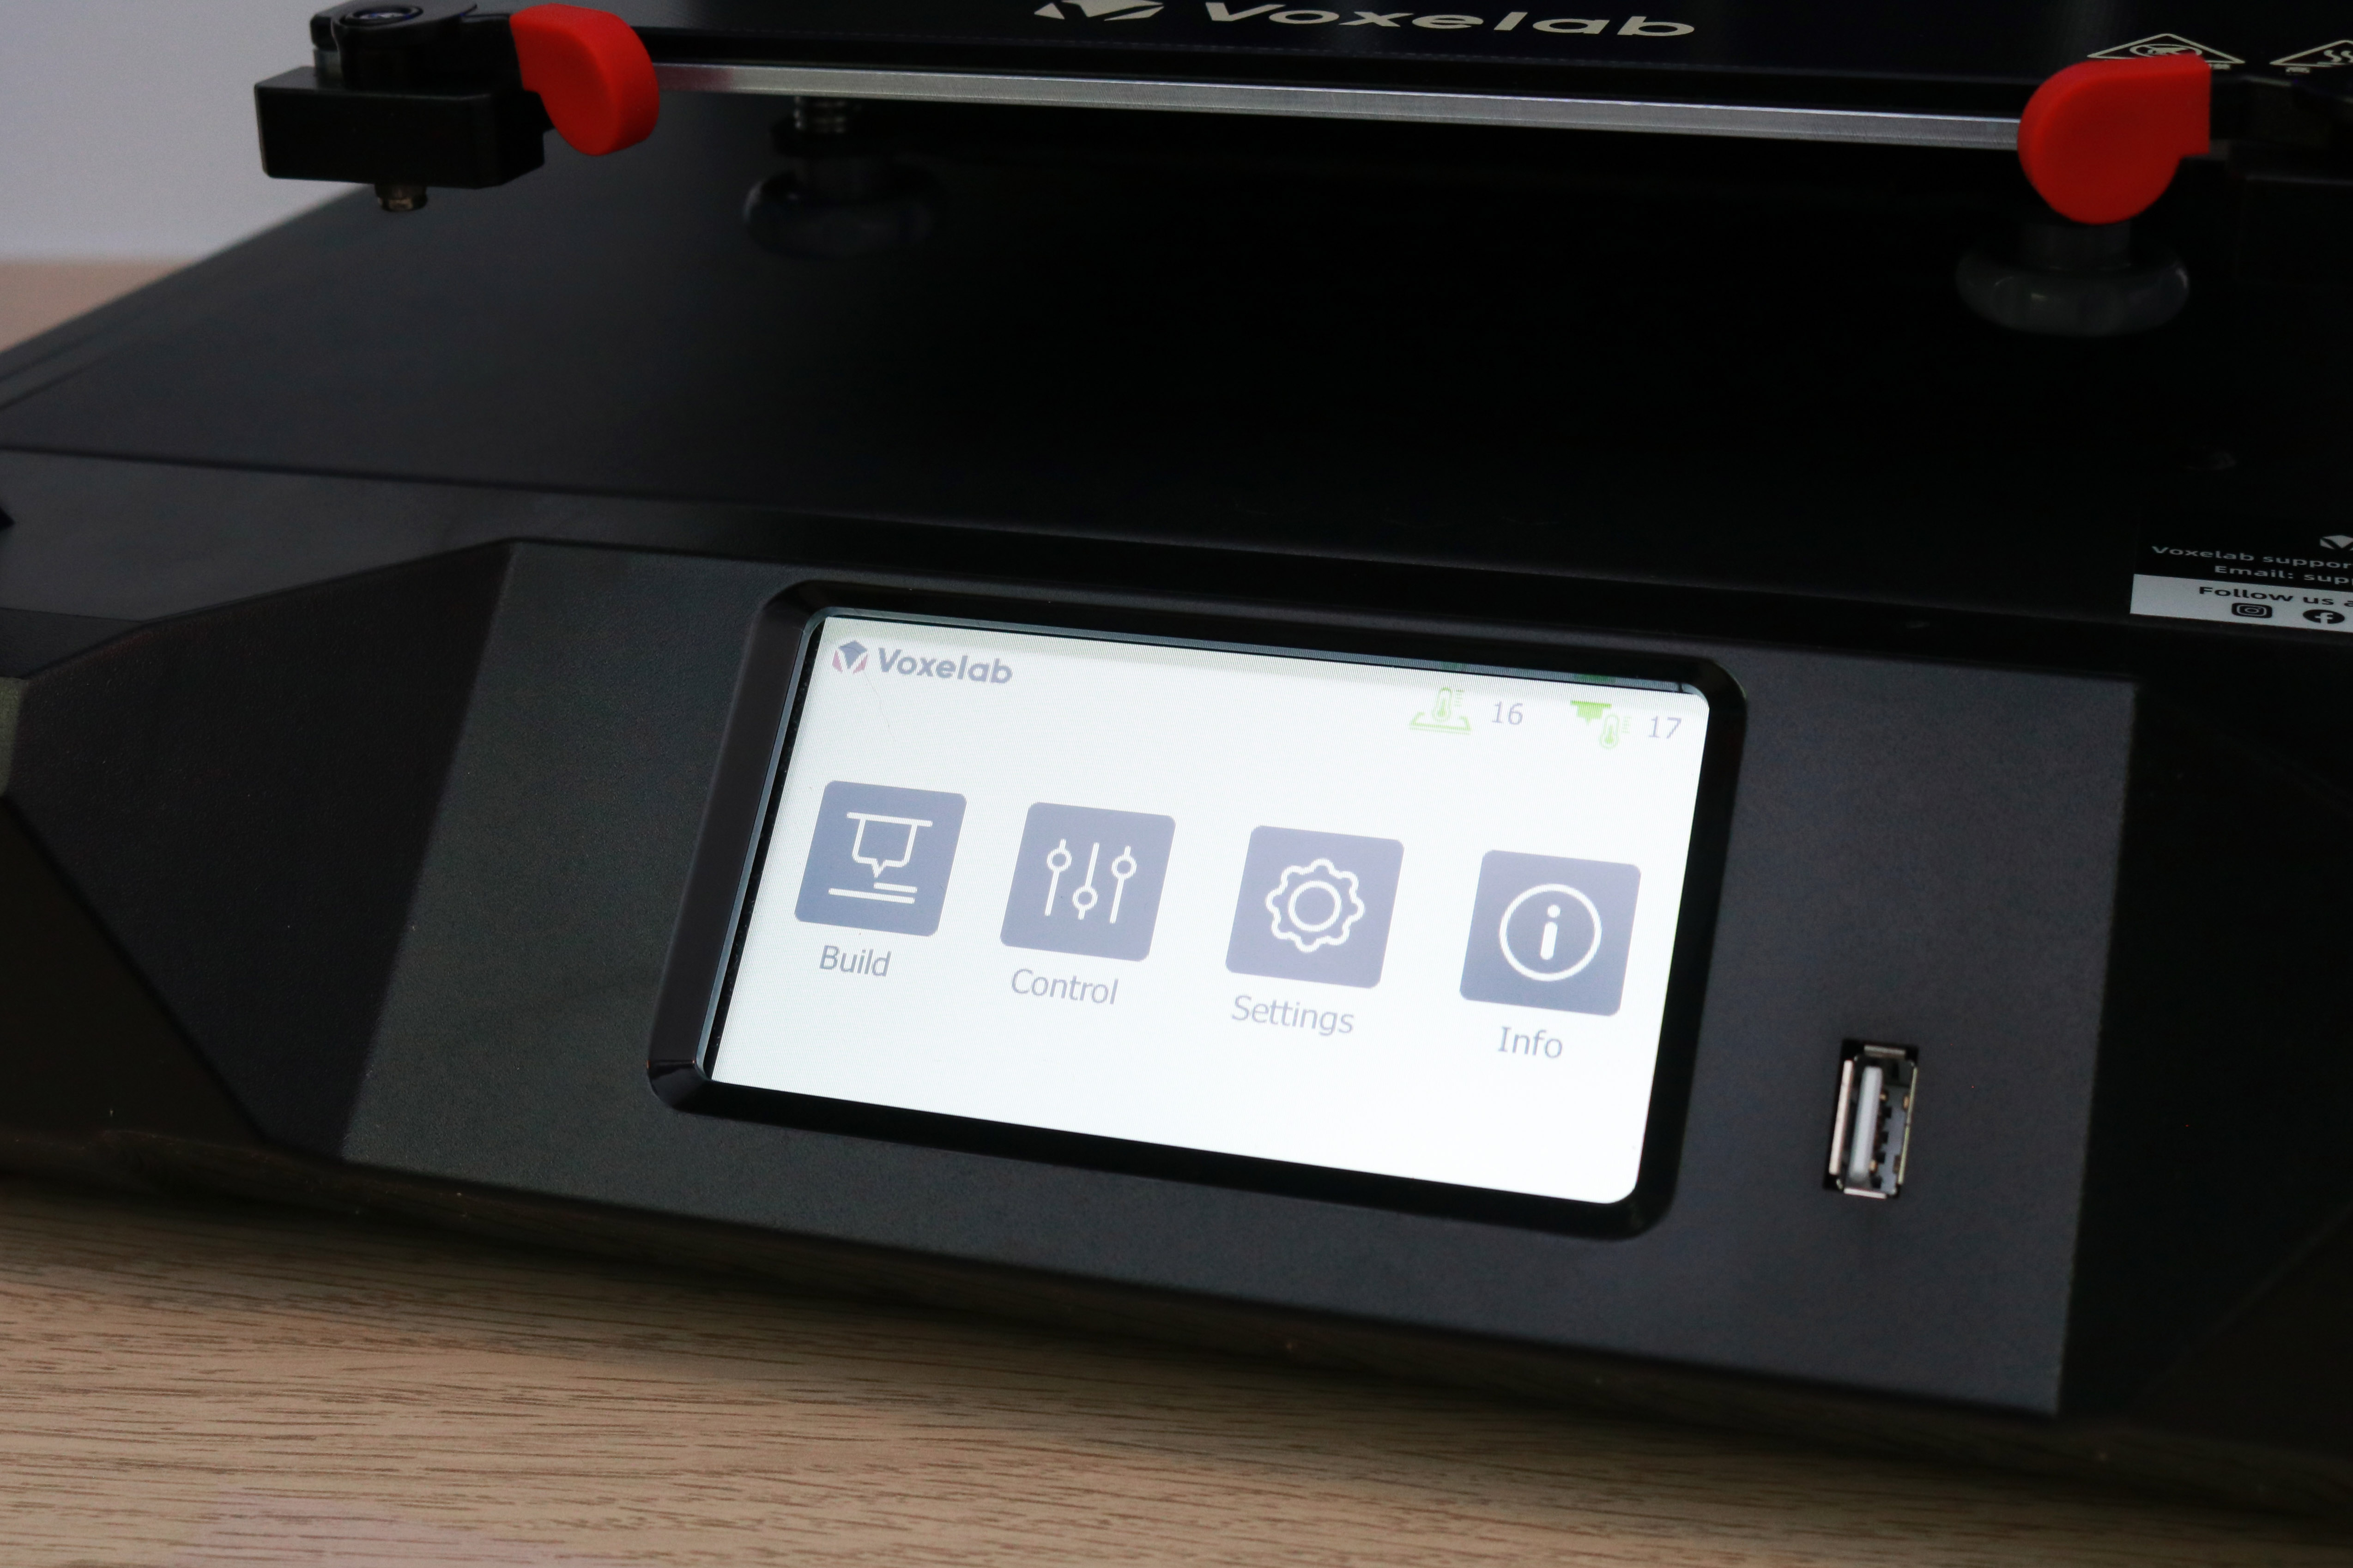
The Voxelab Aries features a 4.3-inch color LCD touchscreen which is bright, responsive, and well-laid out. The interface is clean and readable, with the various menu options all clearly labeled. The screen is located at the bottom of the printer and is angled upwards slightly, making it easily accessible during printing. Considering the target audience of the Aries, an easy-to-read interface like this is a perfect fit for this printer.
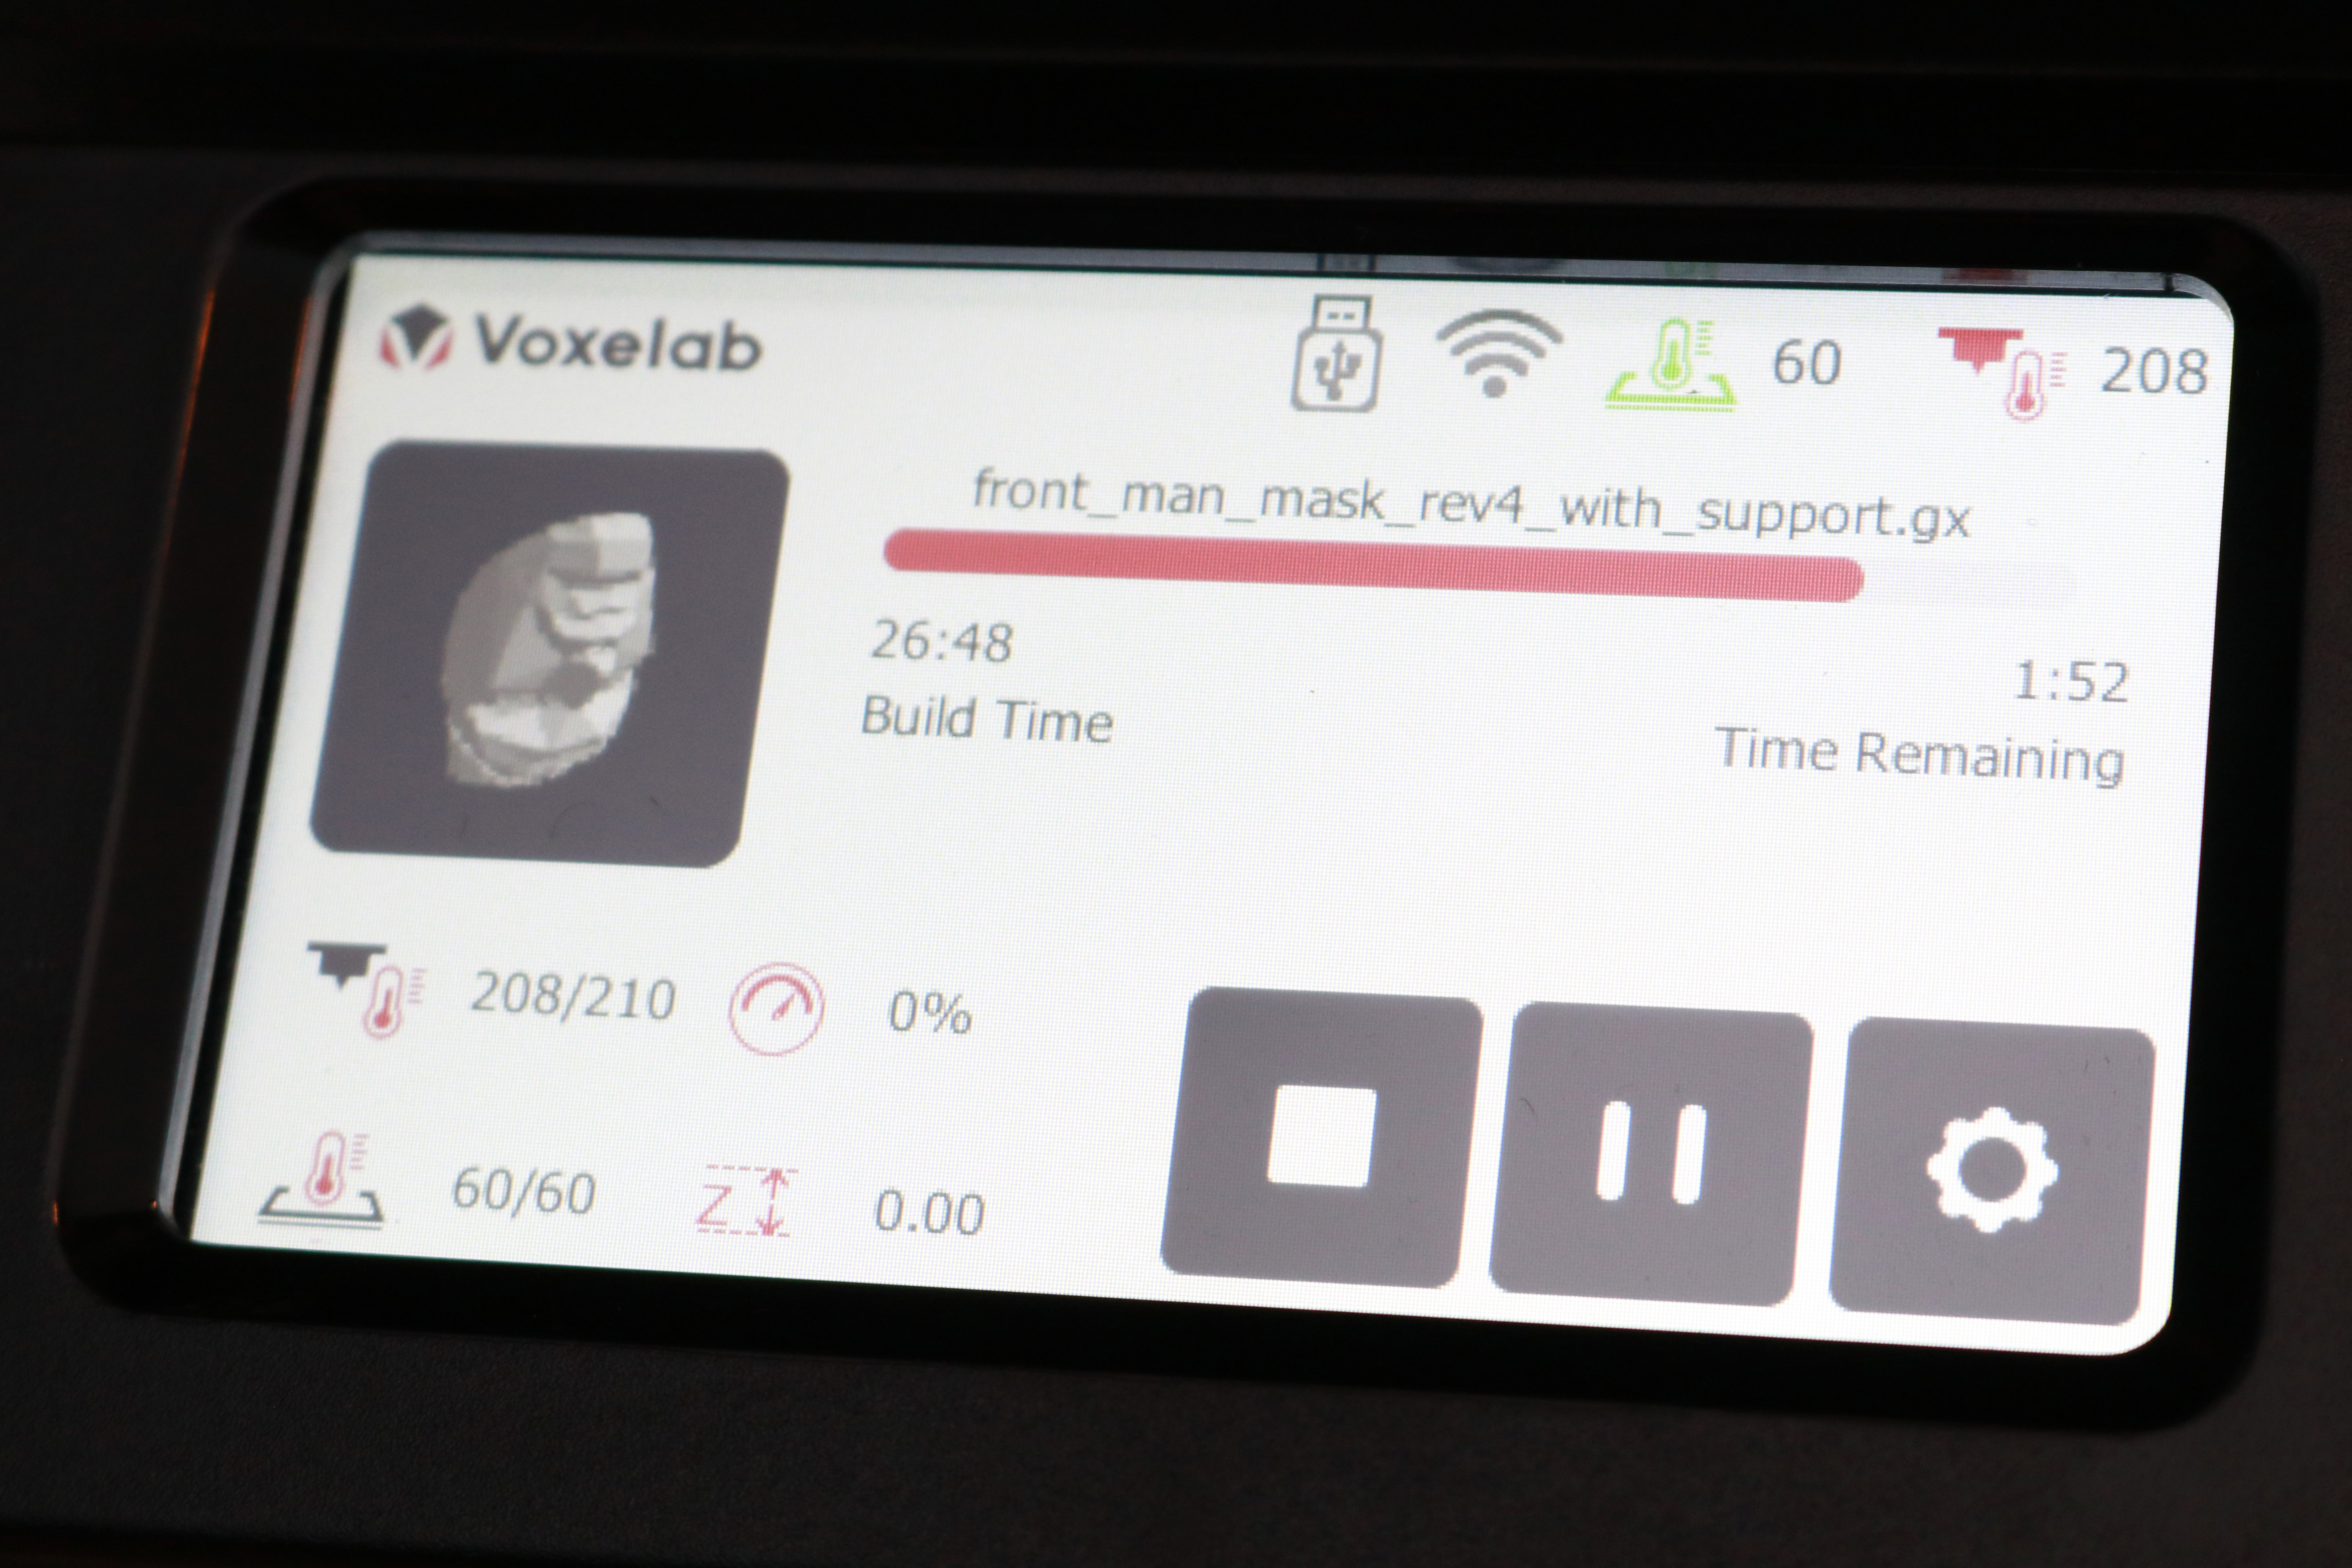
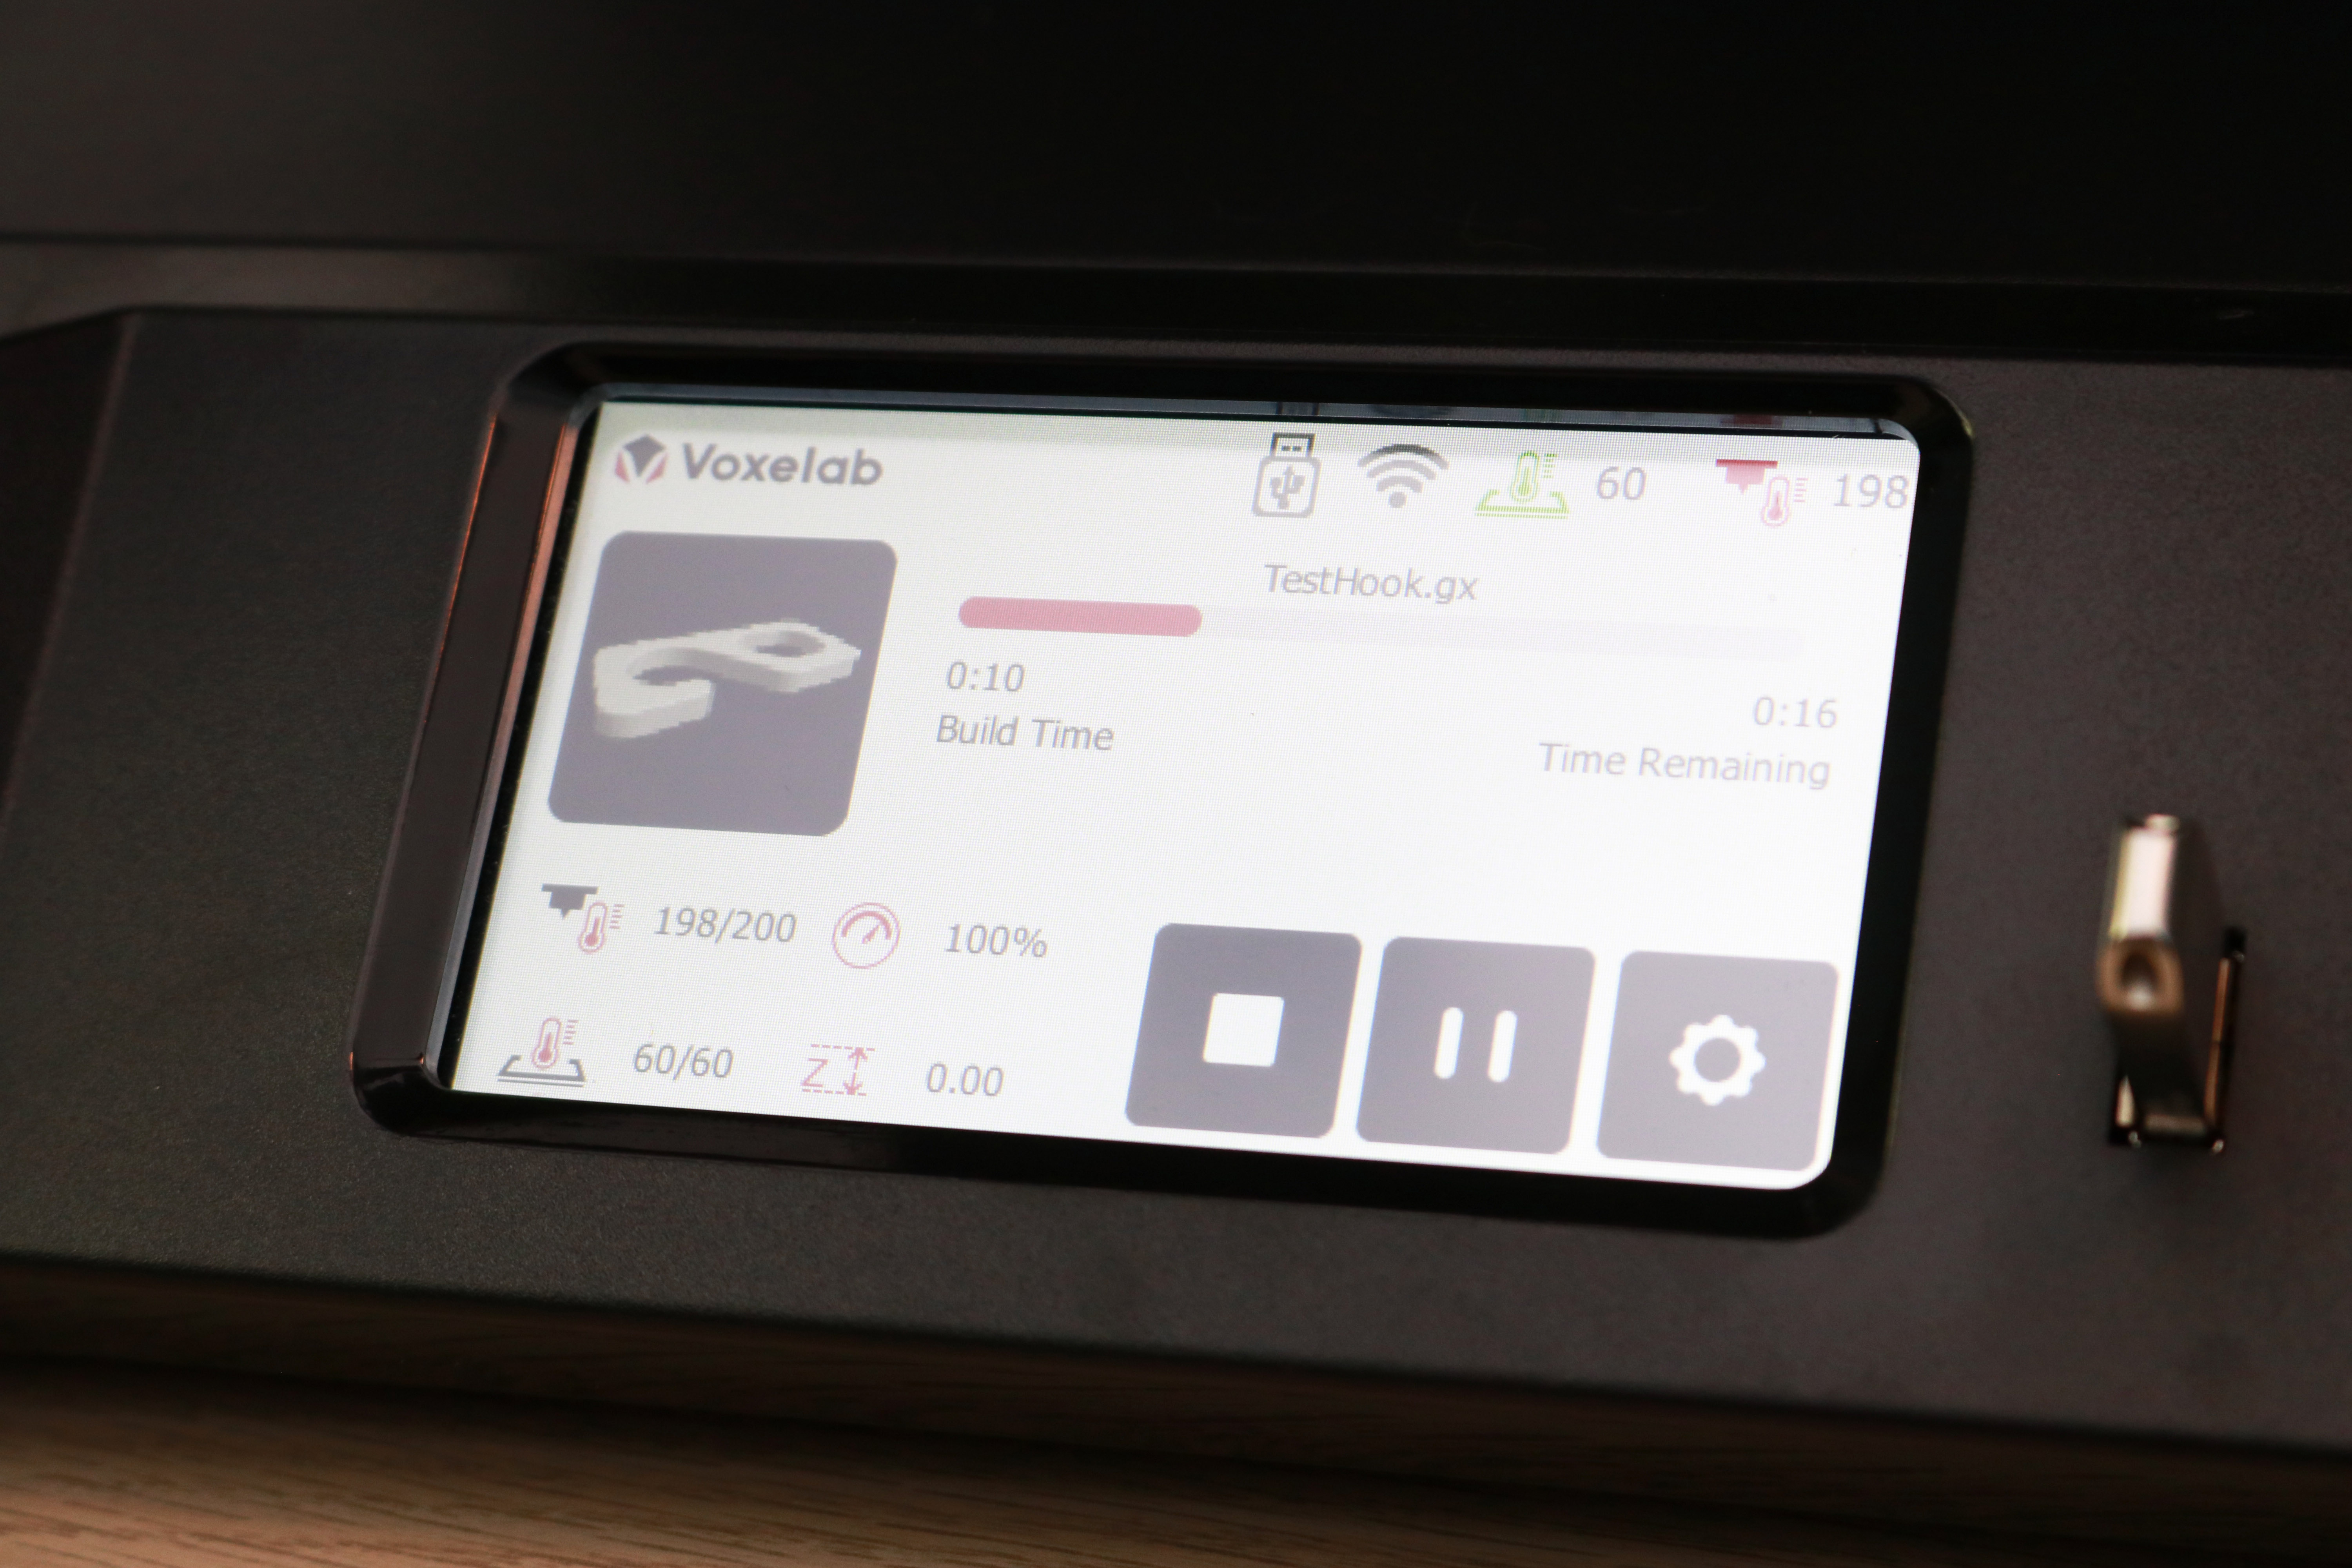
During printing, the interface shows the current and target temperature for the hot end and nozzle, the print speed, Z height, and build time as well as an estimate of time remaining. Touching the gear icon brings up the advanced settings, including toggling the light on and off, switching filament colors, and adjusting print speed and temperature. This interface shows just enough information to be useful without being overwhelming, and I really appreciate the ability to make adjustments to the printer during printing.
Calibrating and Leveling Voxelab Aries
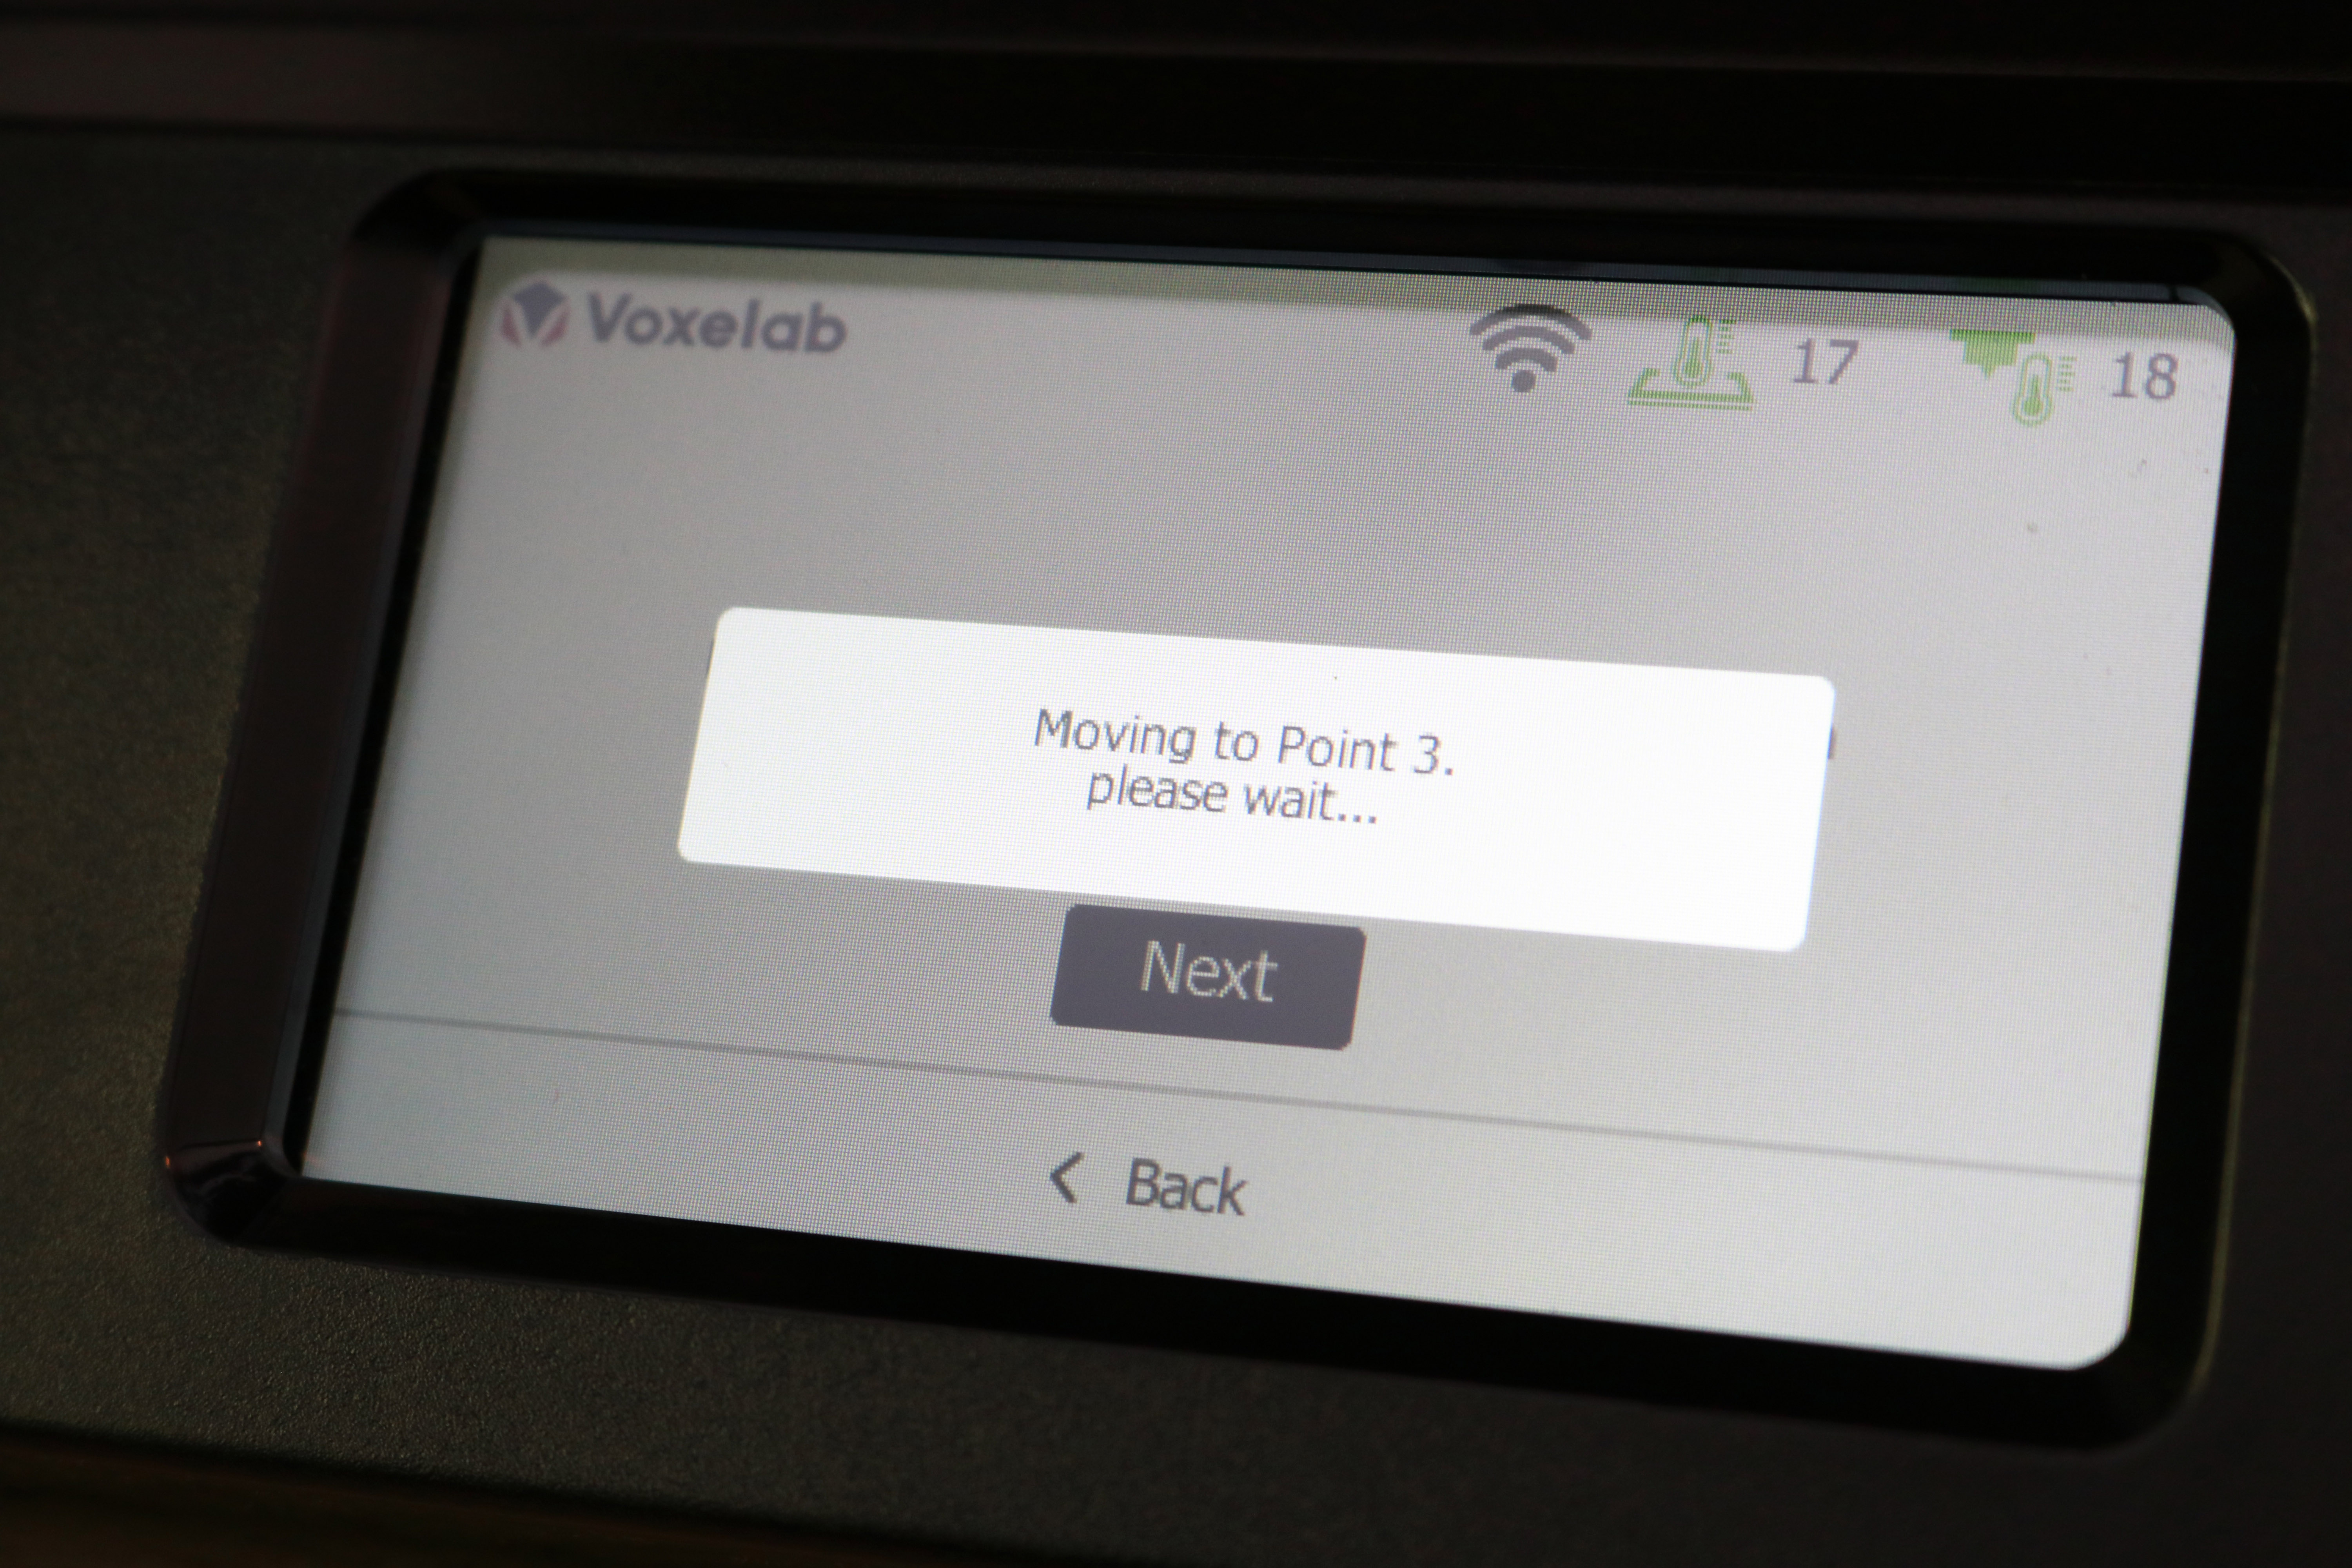
The Voxelab Aries uses a simplified bed leveling process that is perfect for beginners, and I was impressed with how well thought out it was. The calibration process is semi-automated, and the LCD interface guides users through the process with a series of simple and easy-to-understand prompts. The Aries has been designed for classroom and STEM use, so seeing this simplified process gives me confidence that even a first-time 3D printer user would have no issues calibrating the bed.
The Aries has two adjustable thumbscrews; one under each of the front-facing corners of the build platform. When starting the guided calibration process from the LCD, the Aries brings the nozzle to the middle rear of the platform, and prompts the user to increase or decrease the bed height in increments of .1mm. This adjustment sets the overall Z-height, which is the global offset between the bed and the nozzle. Following this, the Aries brings the nozzle over the front right and left corners respectively and prompts the user to set the height by adjusting the thumbscrews. This simple three-point process is fast, easy, and accurate, which makes me wonder why it’s not common on other machines at this price range.
Build Platform on Voxelab Aries
Just like the Voxelab Aquila X2, the Voxelab Aries uses a Carborundum glass build platform that offers excellent adhesion when heated and allows parts to pop off without much effort once cooled. This style of bed is typically seen as a premium upgrade over the flexible magnetic mats seen on less expensive 3D printers like the Creality Ender 3 Pro. I’m typically not a fan of these platforms, as printed parts can sometimes adhere very tightly against the bed, and it’s easy to damage the part, platform, or printer while trying to remove it.
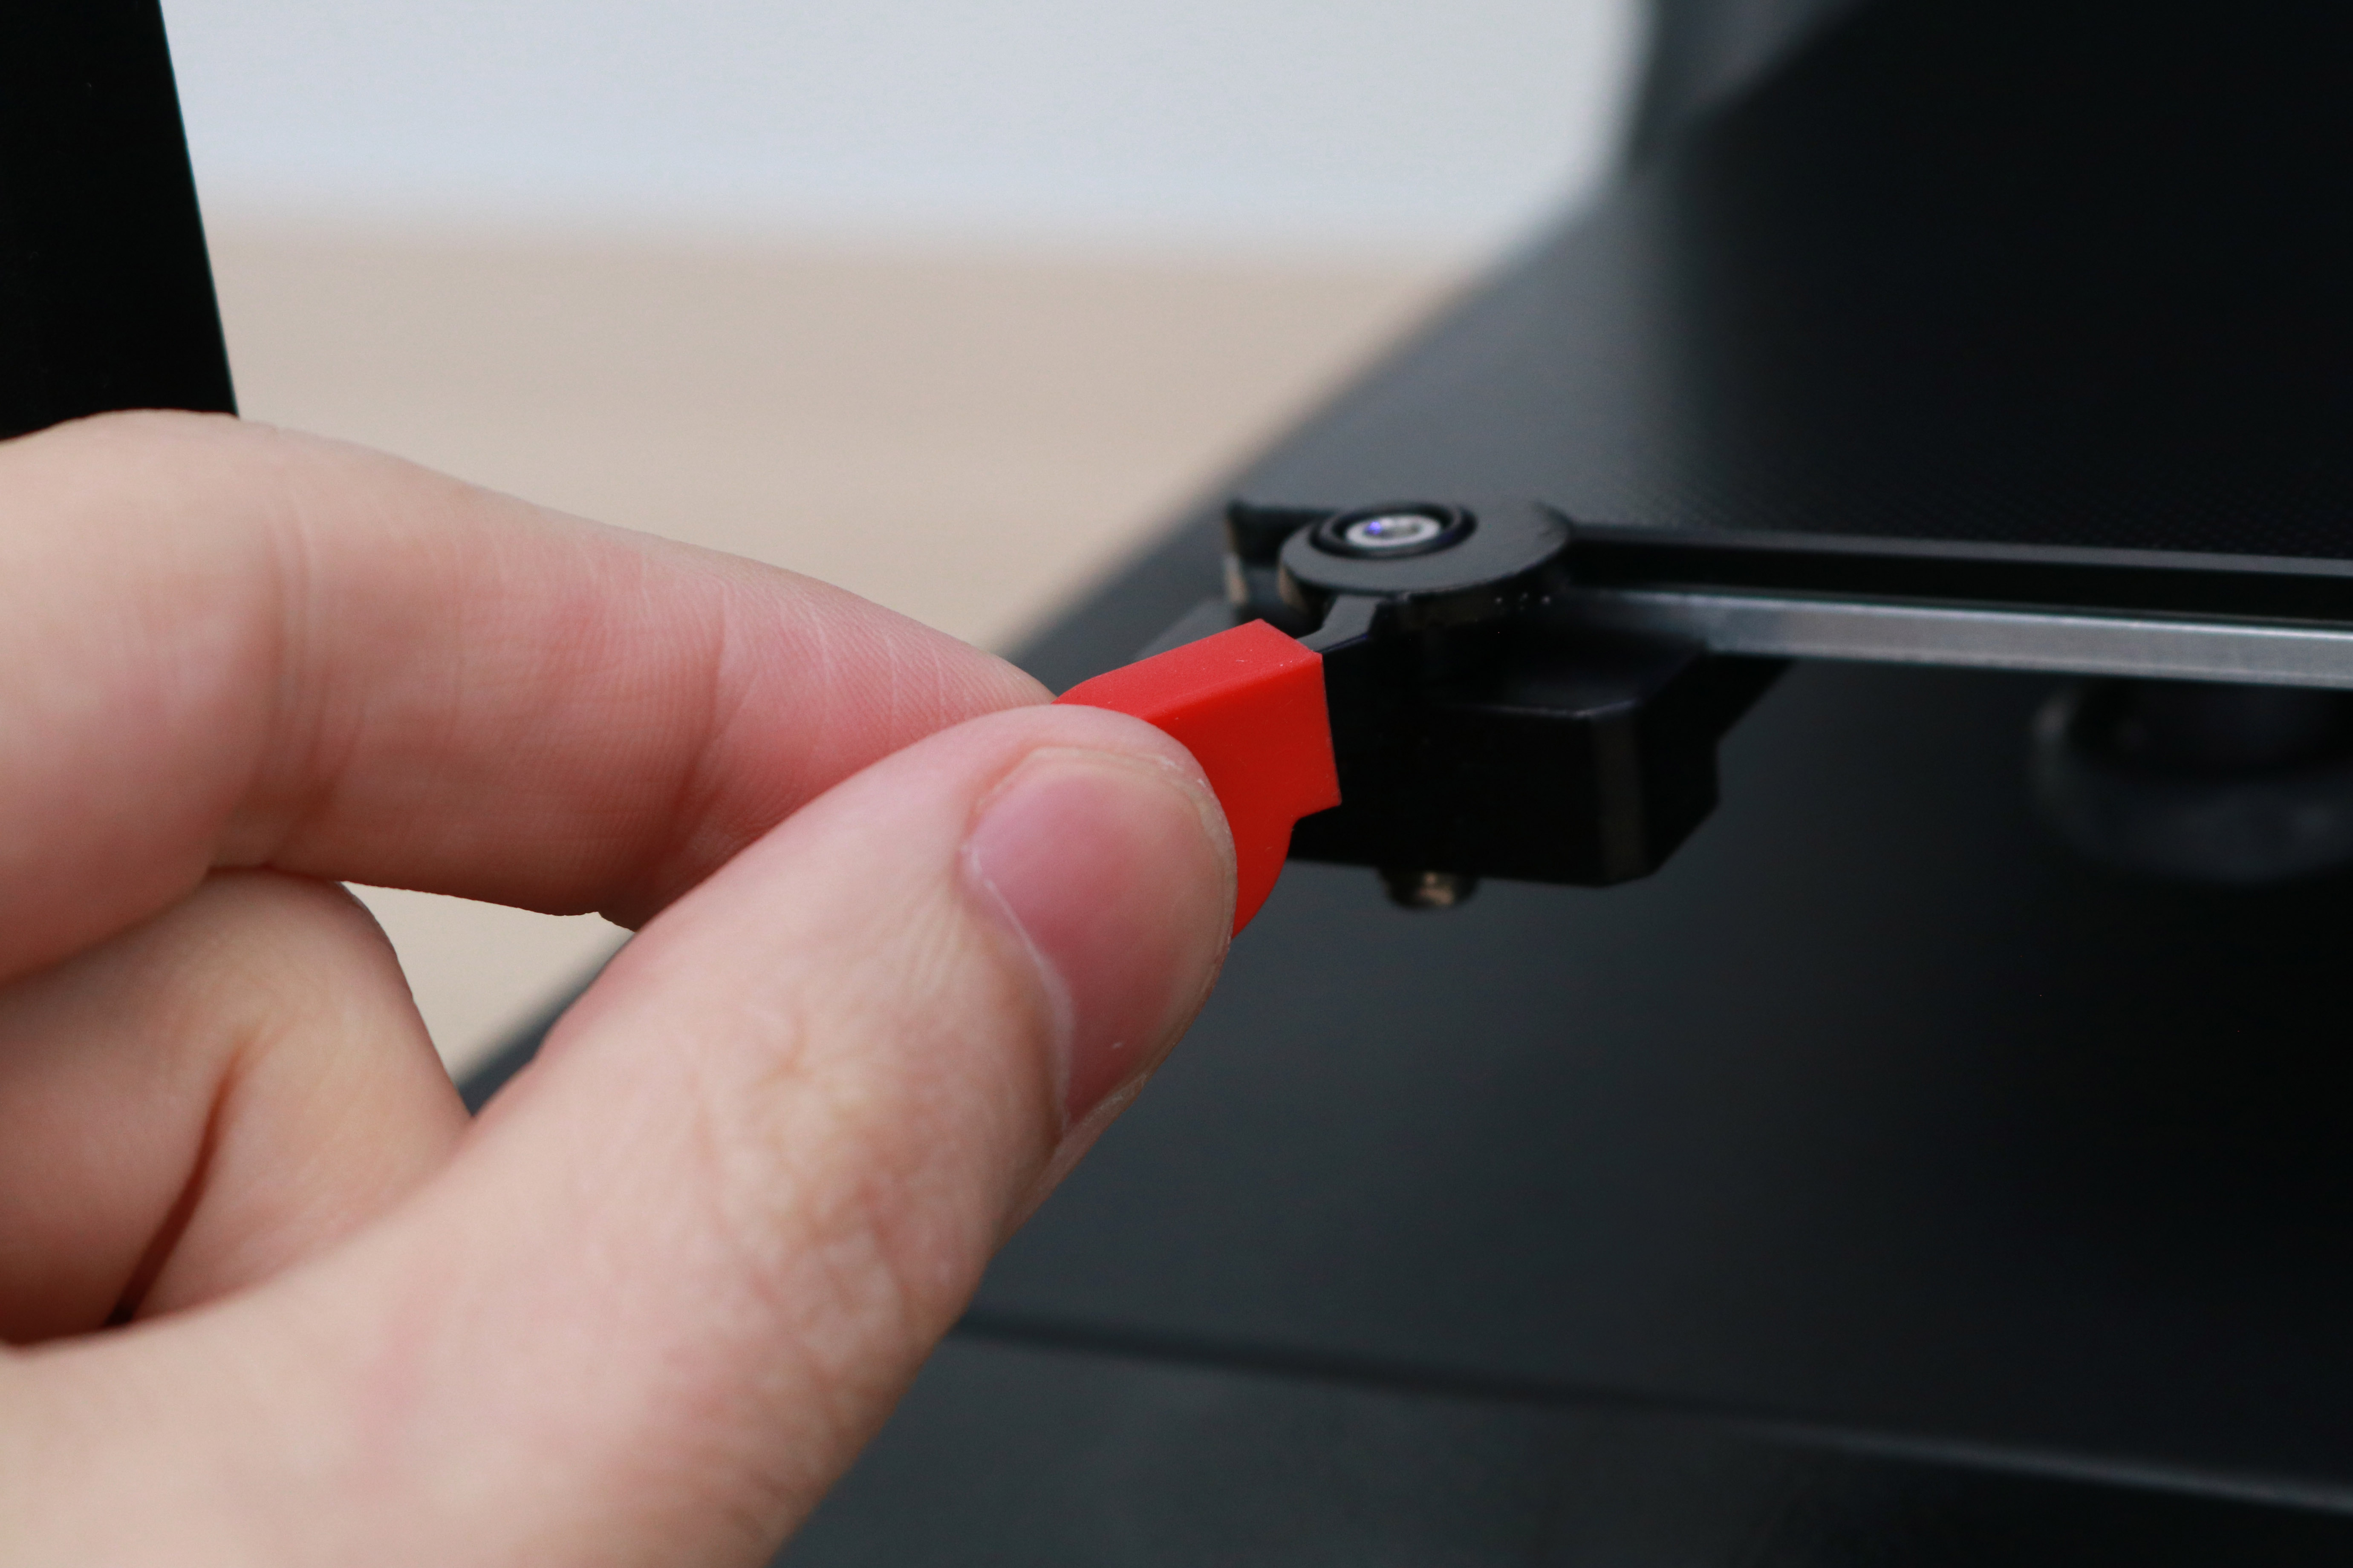
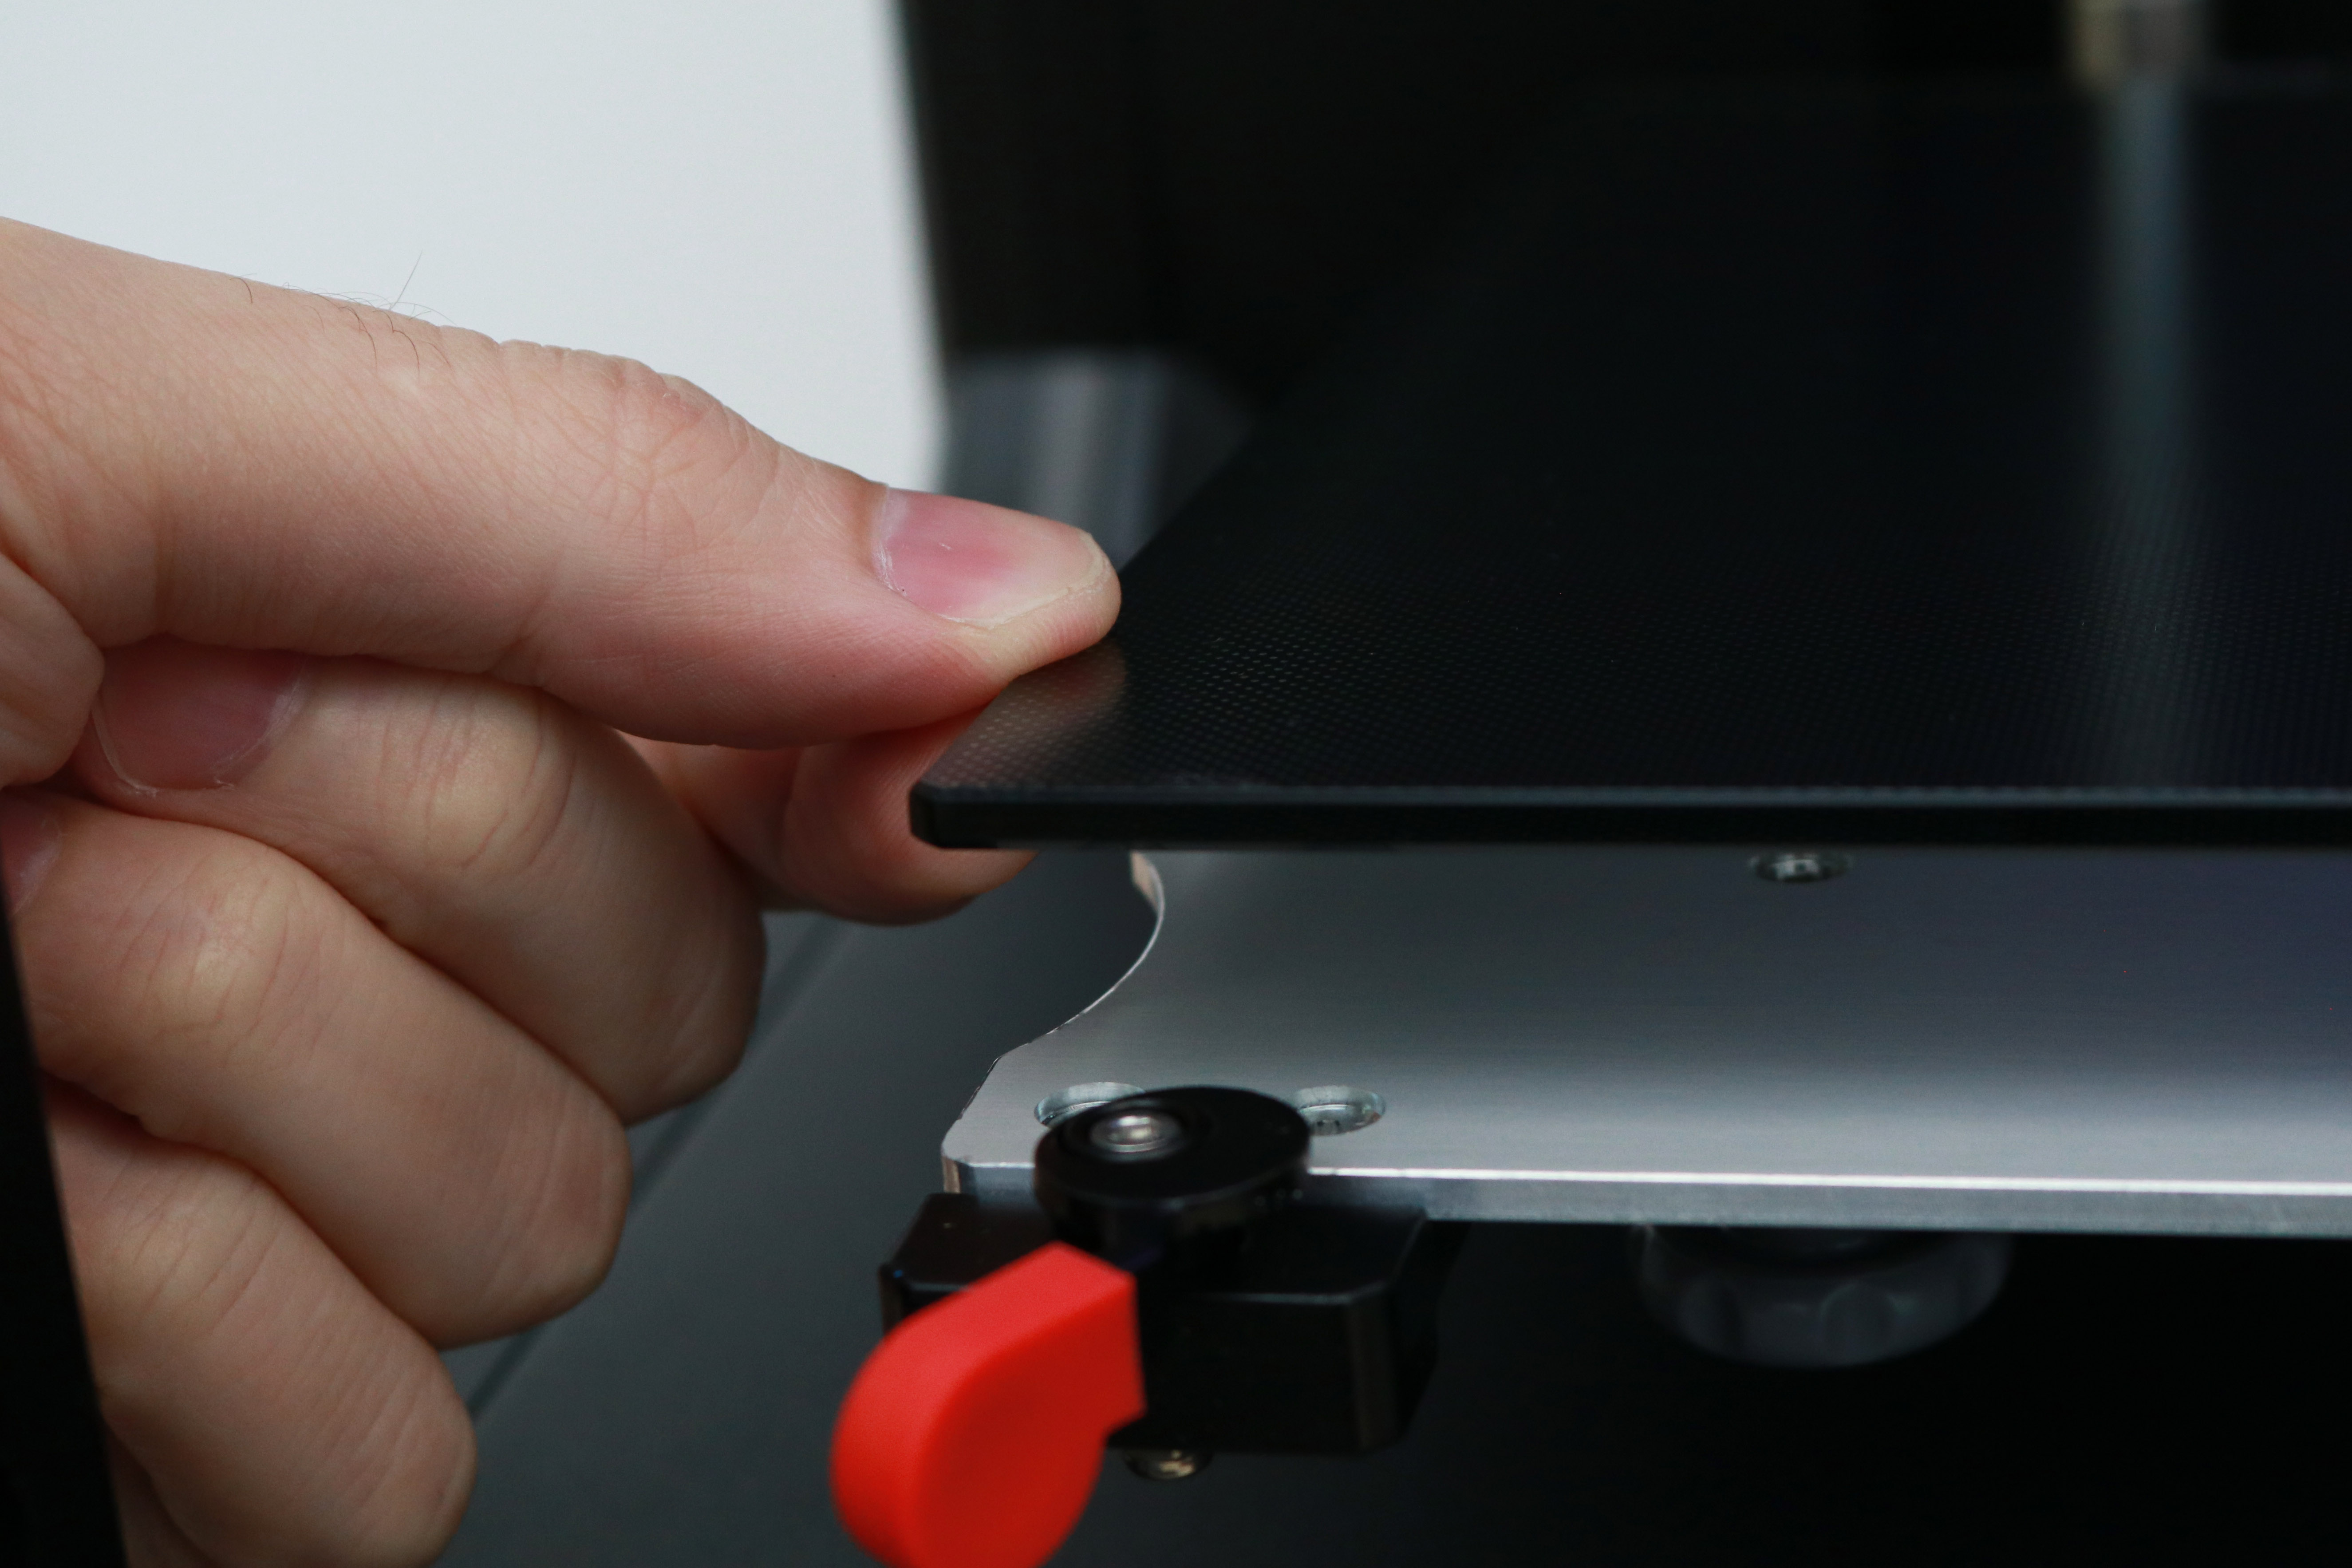
Voxelab has come up with an interesting solution to this problem by adding a pair of actuating levers to the front of the platform that allow it to be removed easily after printing. By turning both levers, the glass bed can be easily removed from the heated platform and allowed to cool much more rapidly by placing it on an unheated surface. This rapid cooldown causes the parts to pop off the bed without any issue, and this tool-free approach to part removal makes this printer an ideal choice for young students or anyone concerned about using sharp tools.
Wi-Fi on Voxelab Aries
Using Wi-Fi on most consumer printers is typically a disappointing experience; between connection issues, disconnections halting the print, and difficulty during set-up, it’s usually easier to just transfer files manually or use a wired connection. However, the Wi-Fi connection on the Voxelab Aries was an impressive exception to this rule, and I wouldn’t hesitate to recommend using the Wi-Fi on this machine. The printer can connect to Wi-Fi using the built-in LCD interface, and once connected, the printer will automatically search for, download, and give the option to install the latest firmware.
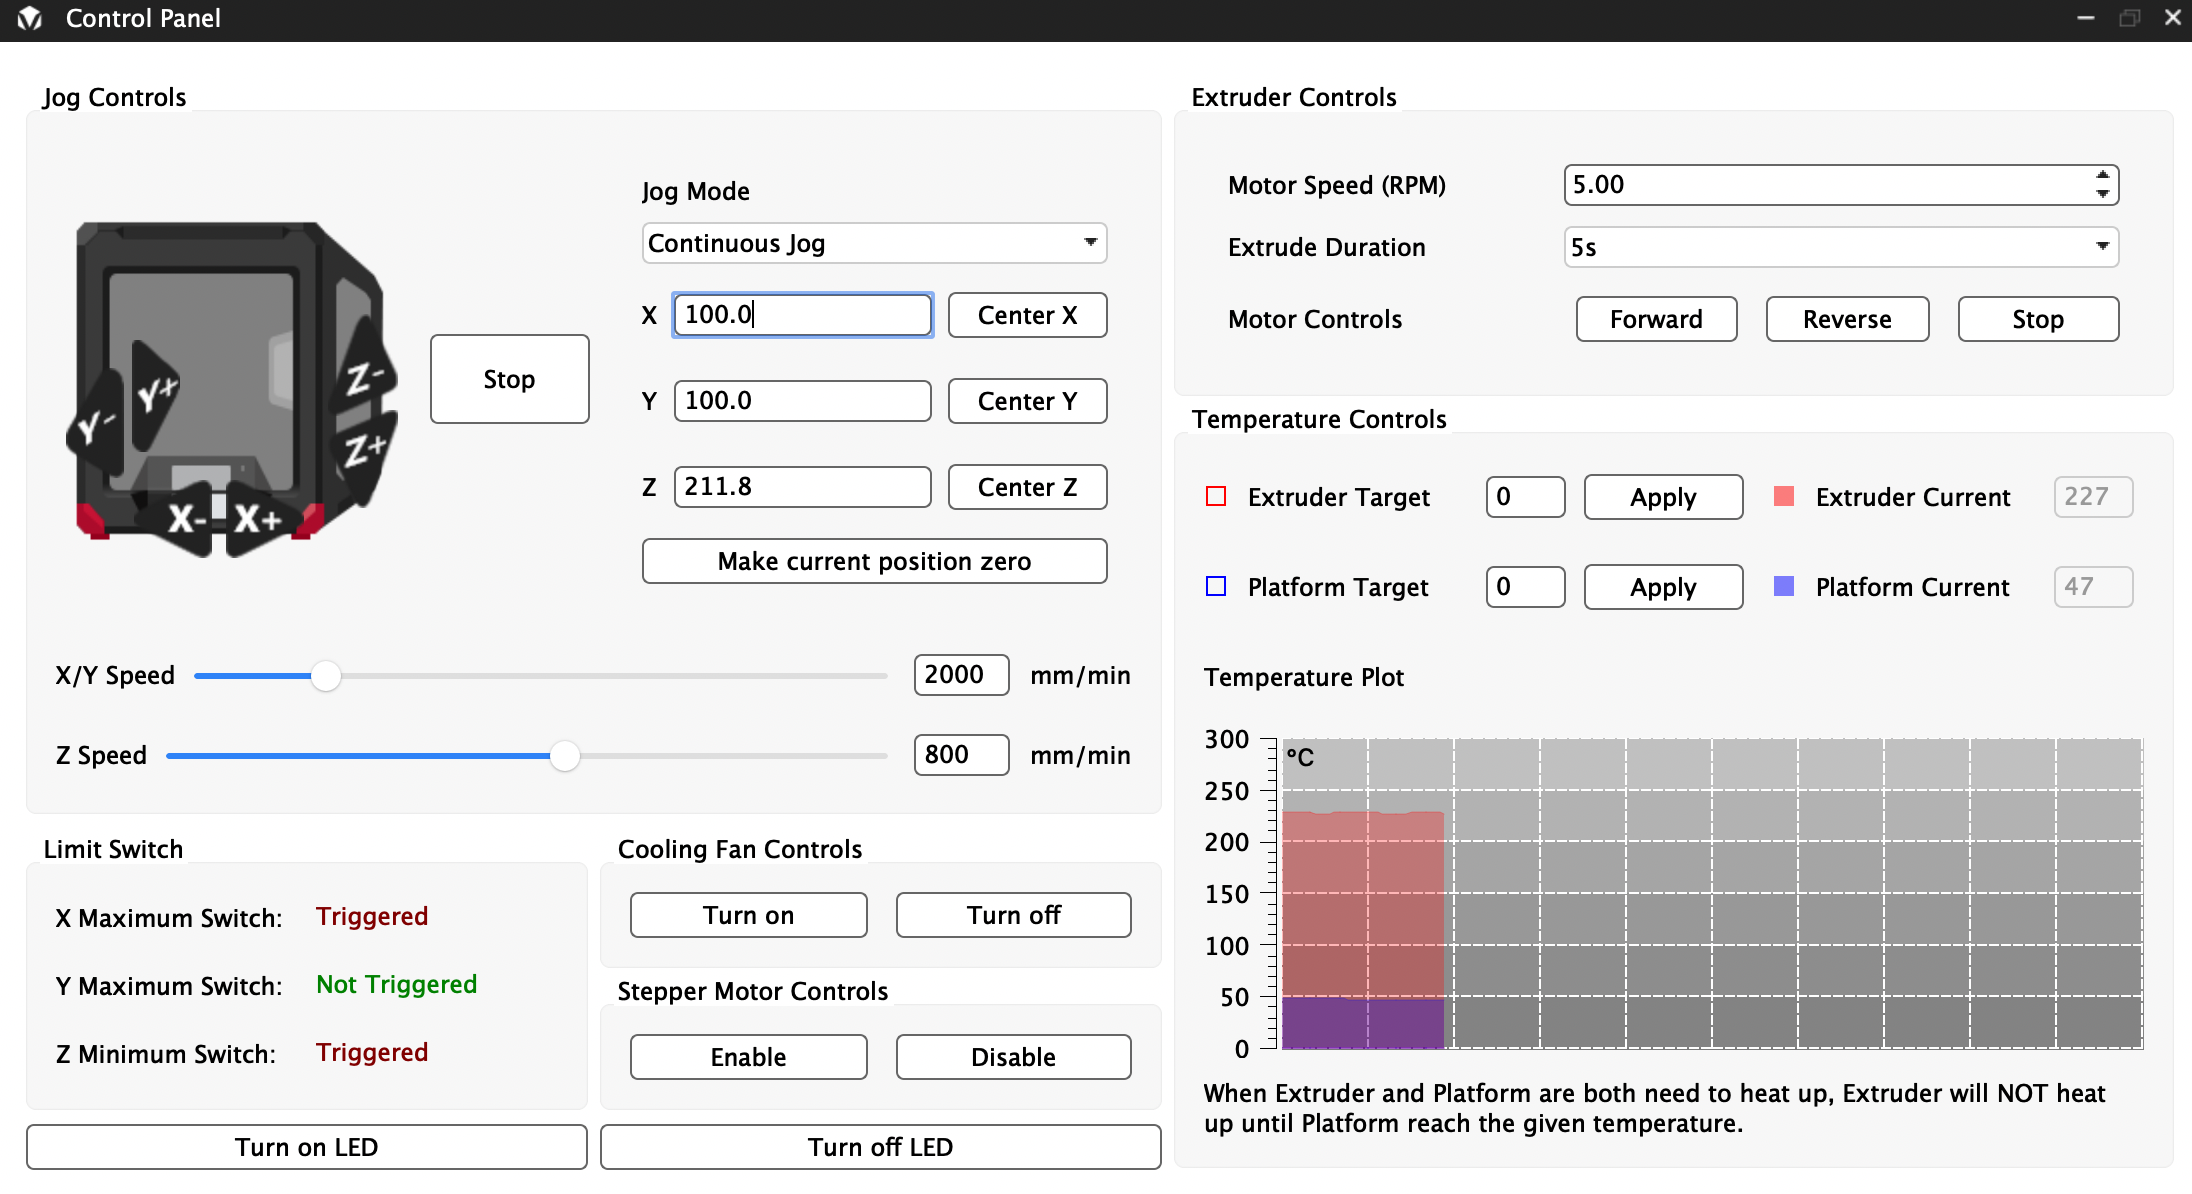
VoxelMaker features a Control Panel which allows for full control of a Wi-Fi connected machine, including remotely moving the various axes, preheating the bed or nozzle, activating the LED on the nozzle, and more directly from the software. In addition, the software automatically generates a temperature plot to show the nozzle and bed temperature over time, in case you want to monitor this information for preheating or diagnostic purposes.
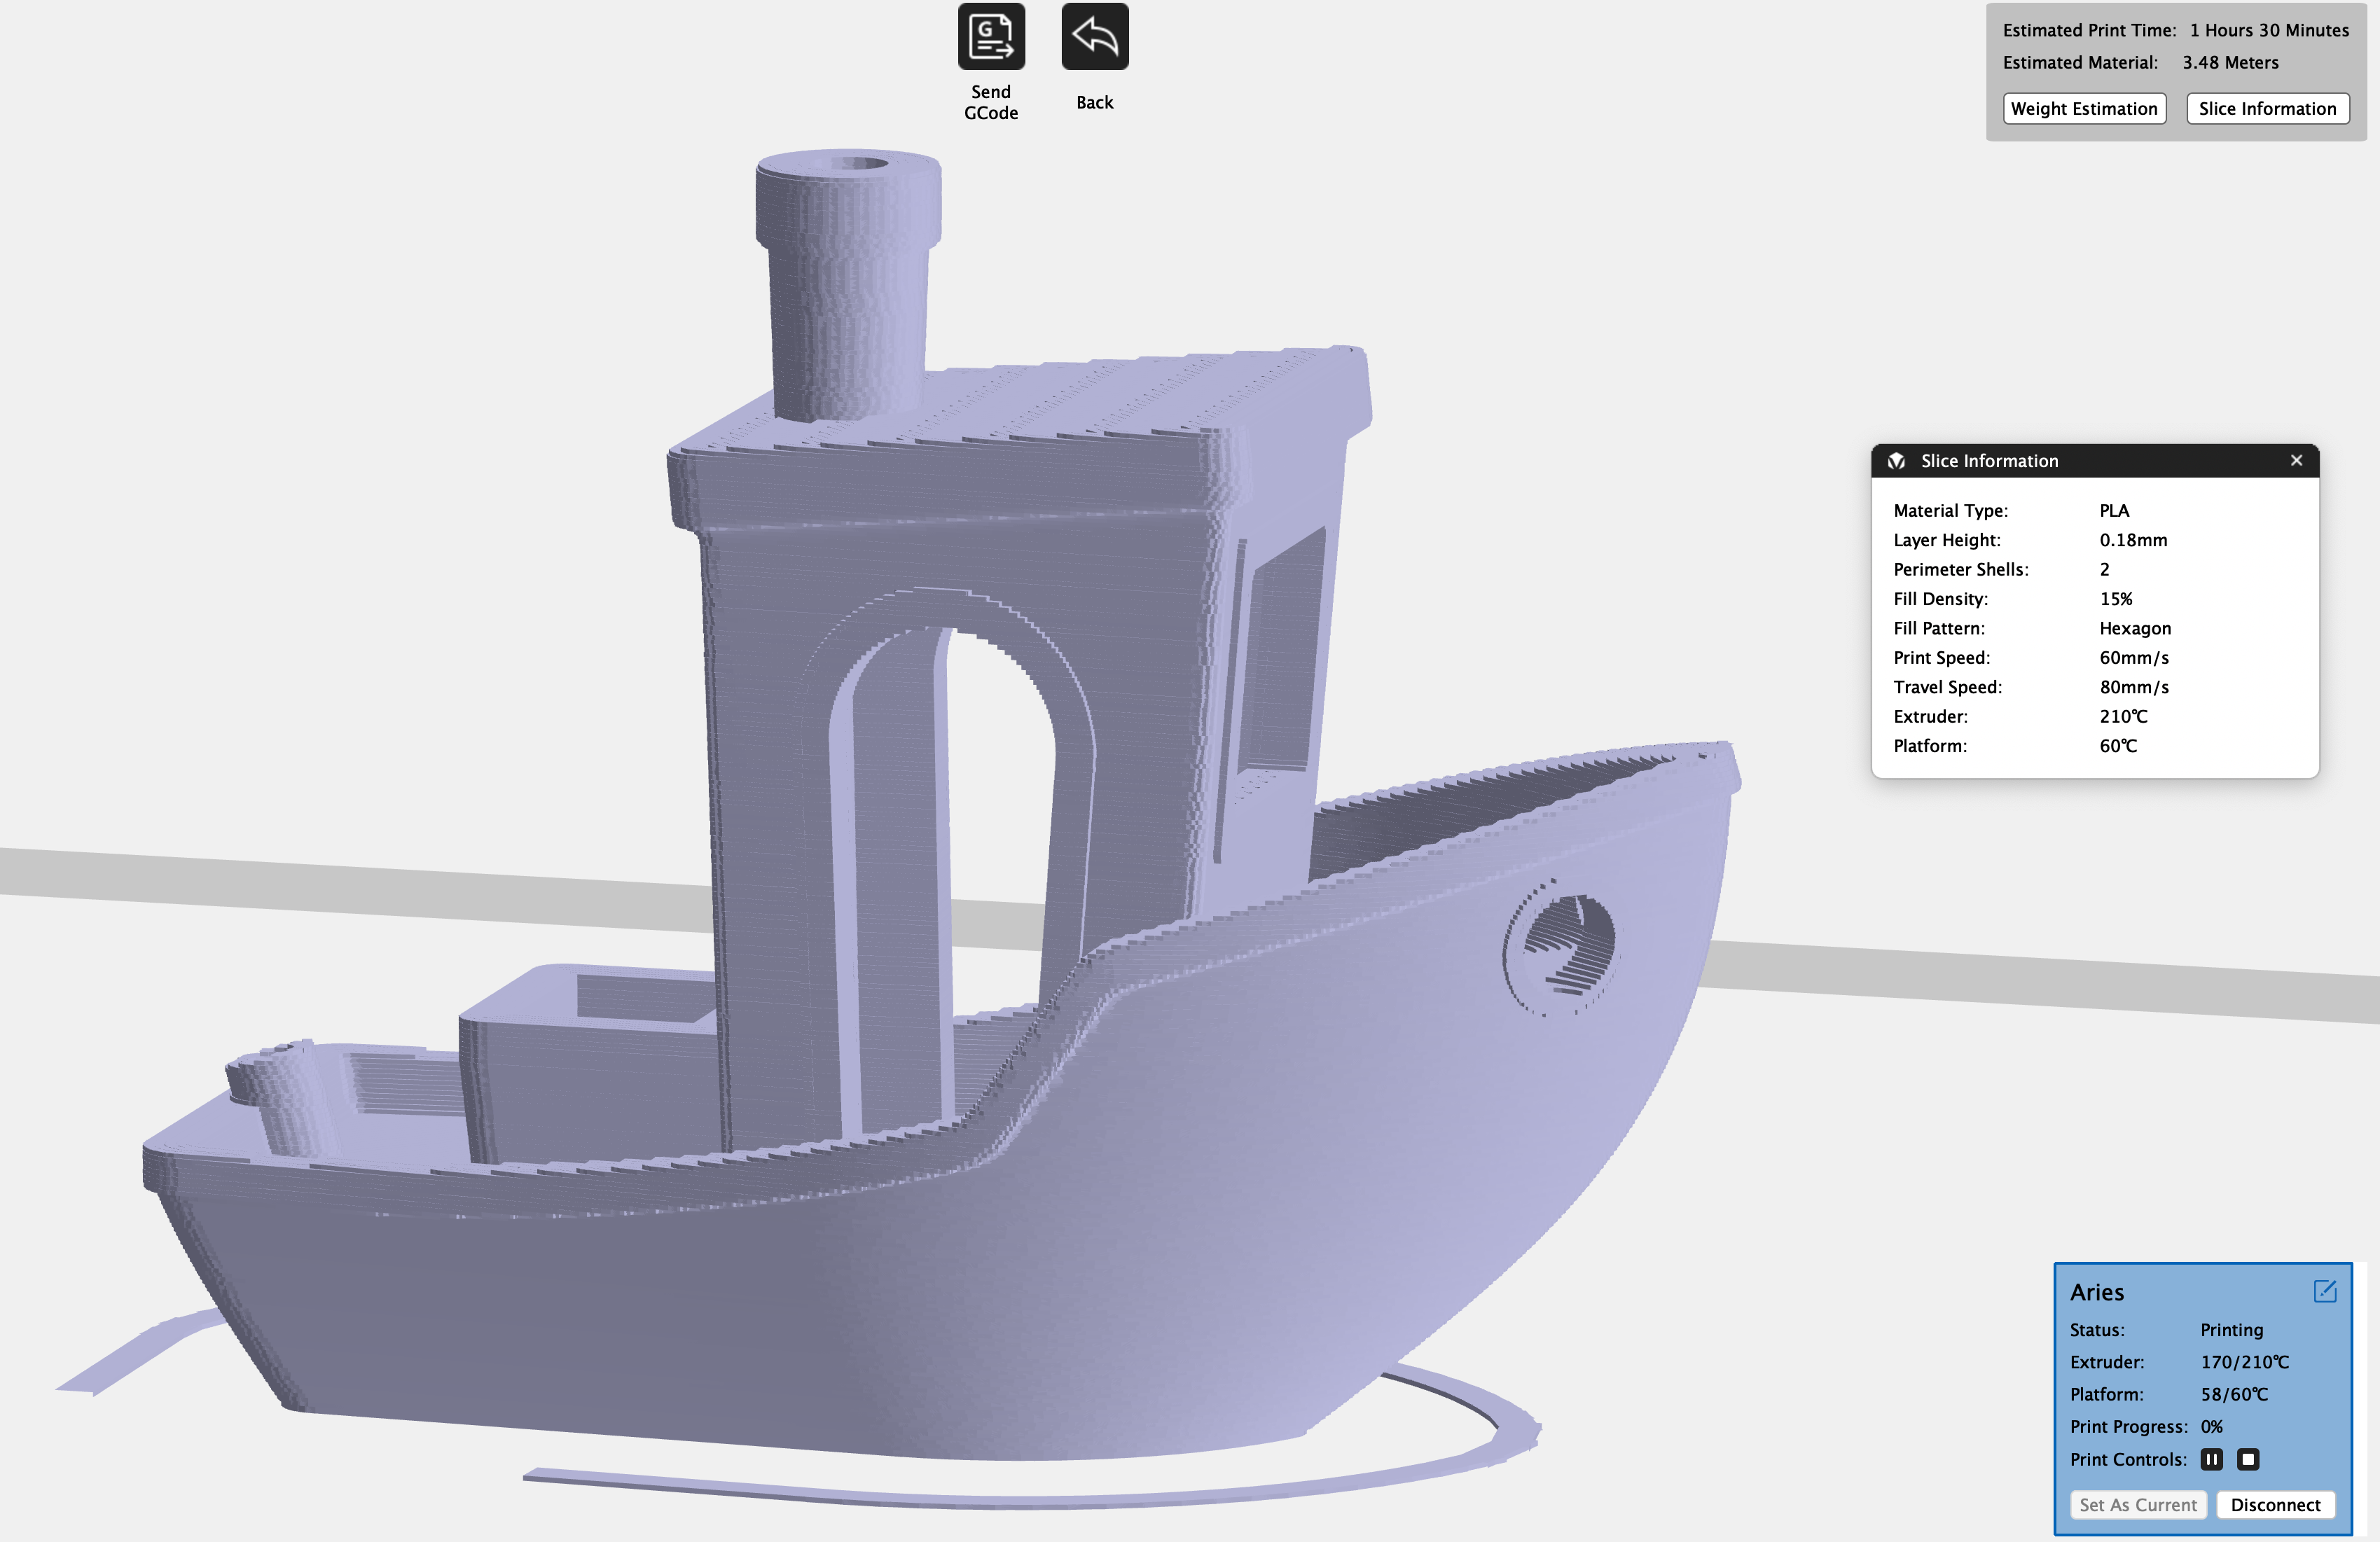
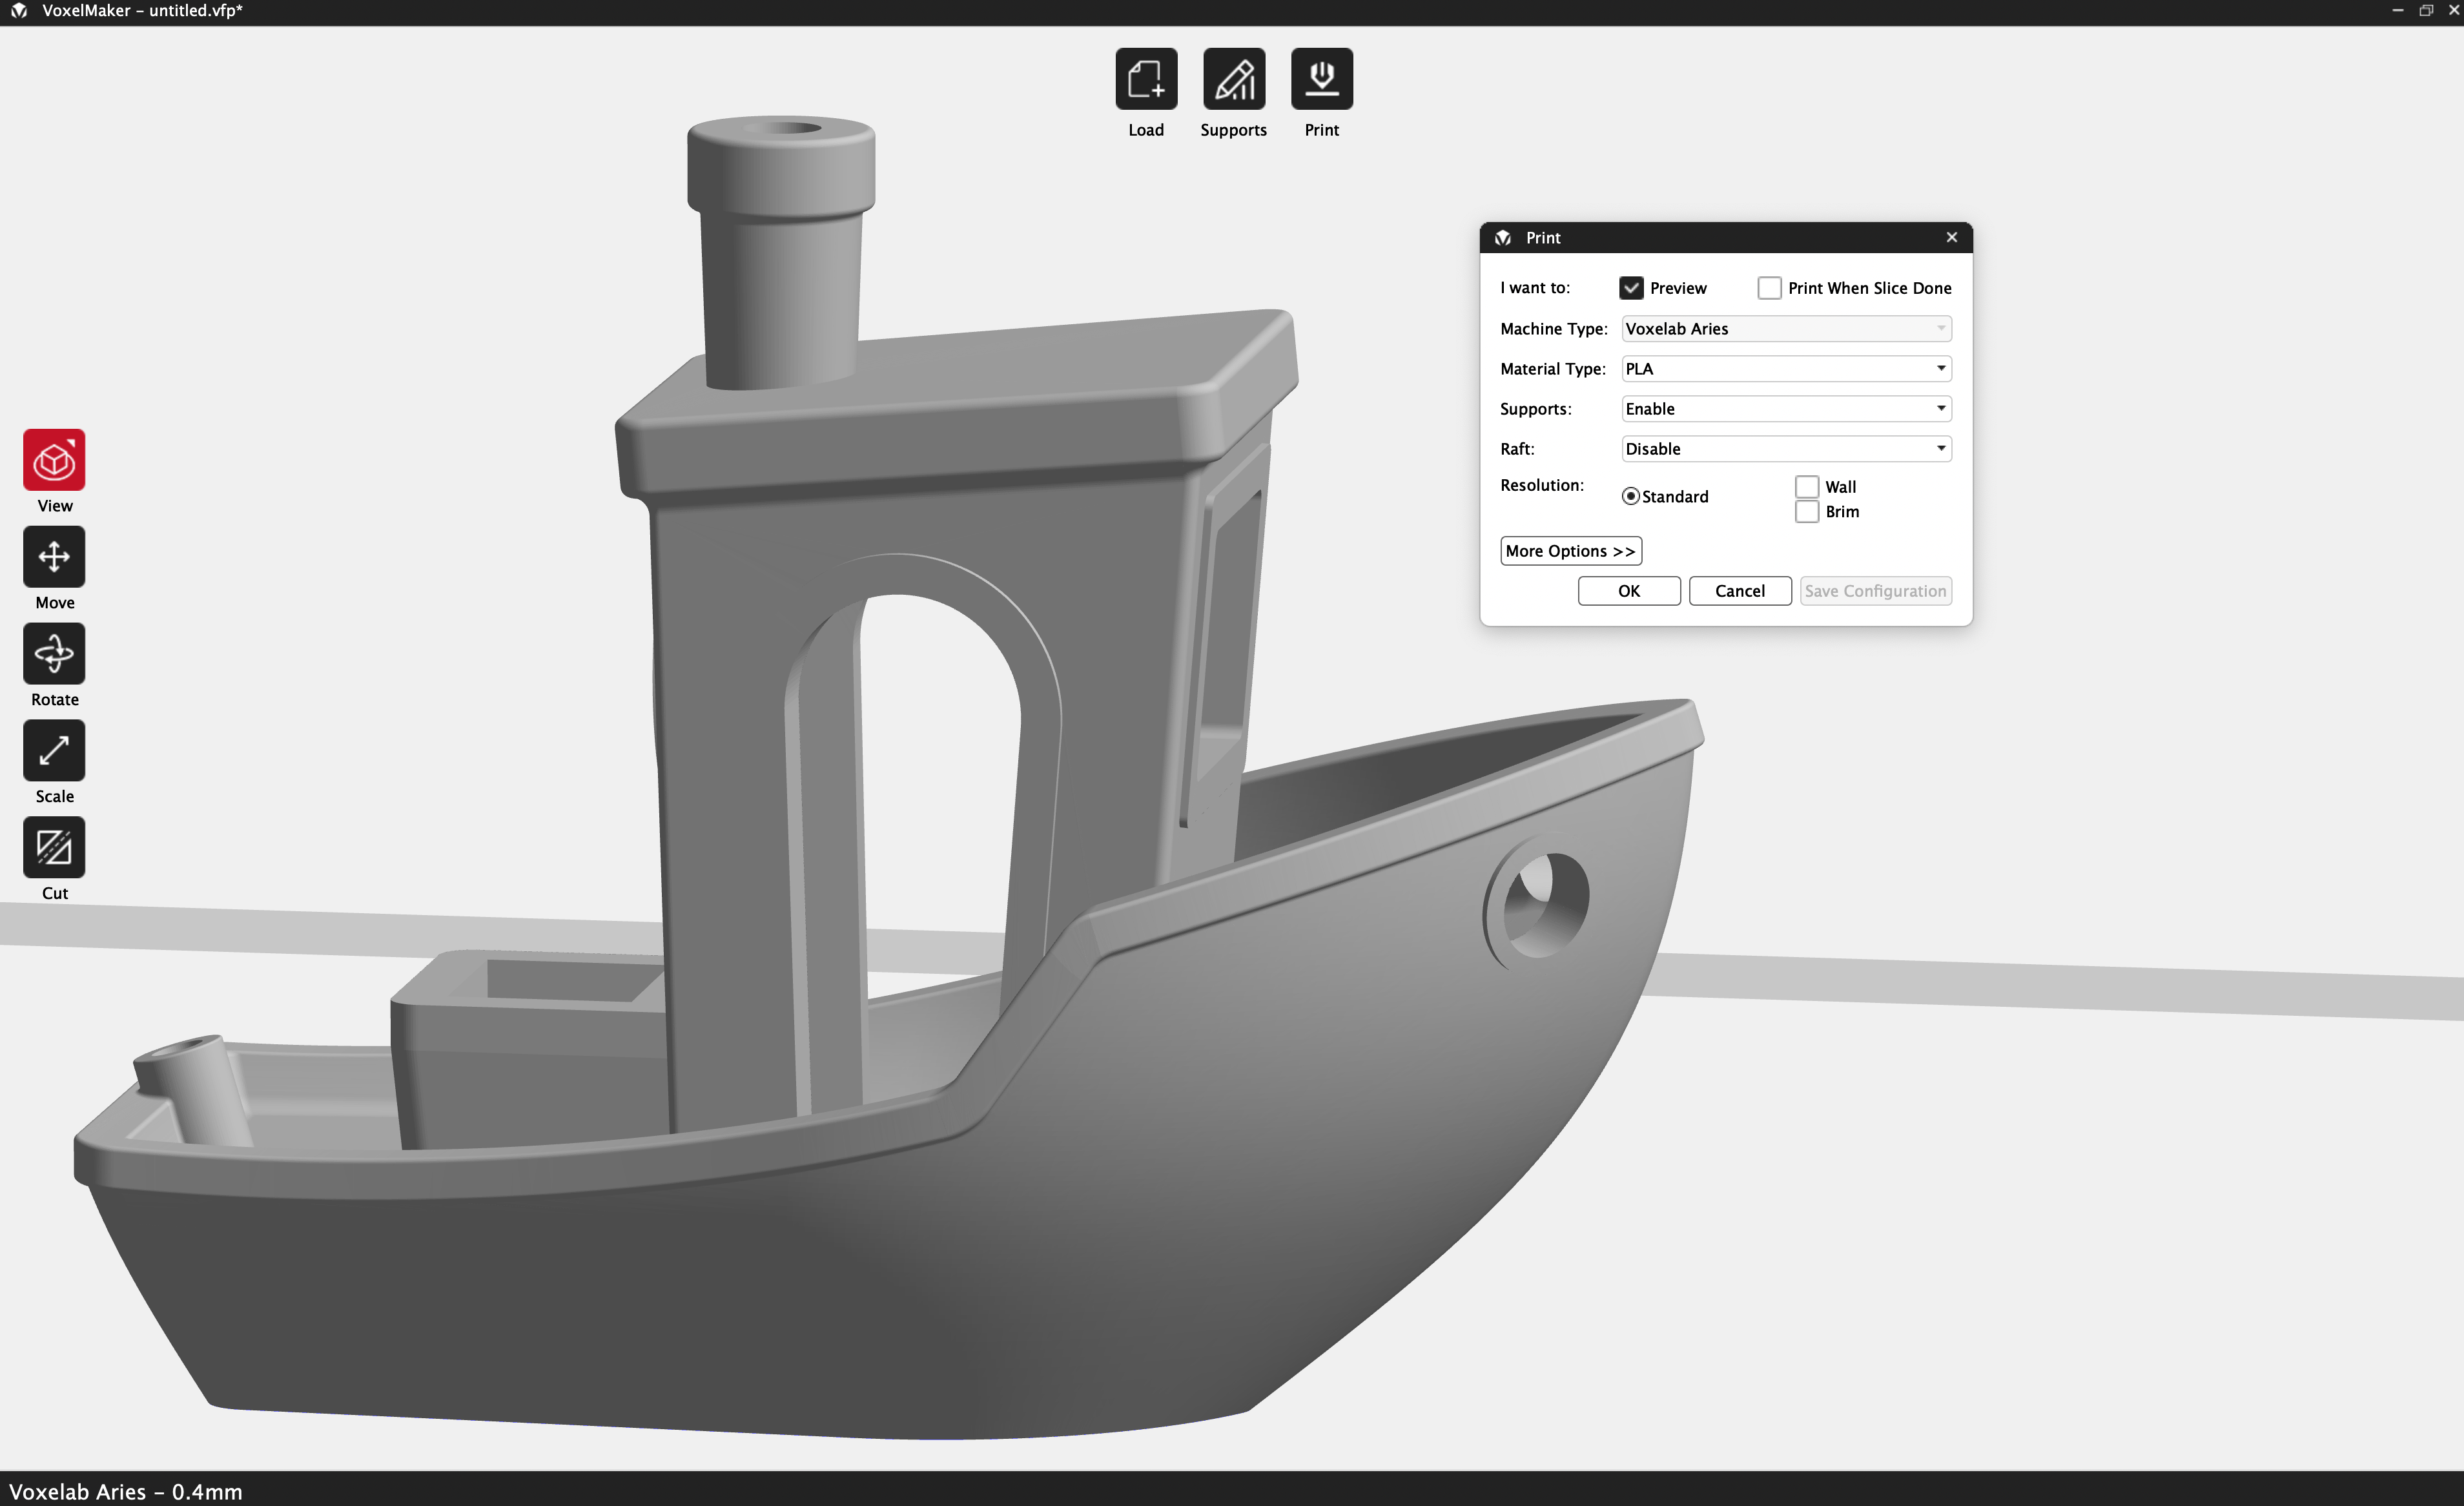
Once a model has been sliced in VoxelMaker, it can be sent directly to the printer over Wi-Fi as a one-click operation. I tested this out by slicing the ever-popular 3DBenchy model using the default settings and started the print over Wi-Fi. It took about a minute to send the file from the computer to the printer, and it automatically started the print once completed. The model printed without any issues, and I was relieved to discover the printer was capable of continuing the print job even after my computer went to sleep.
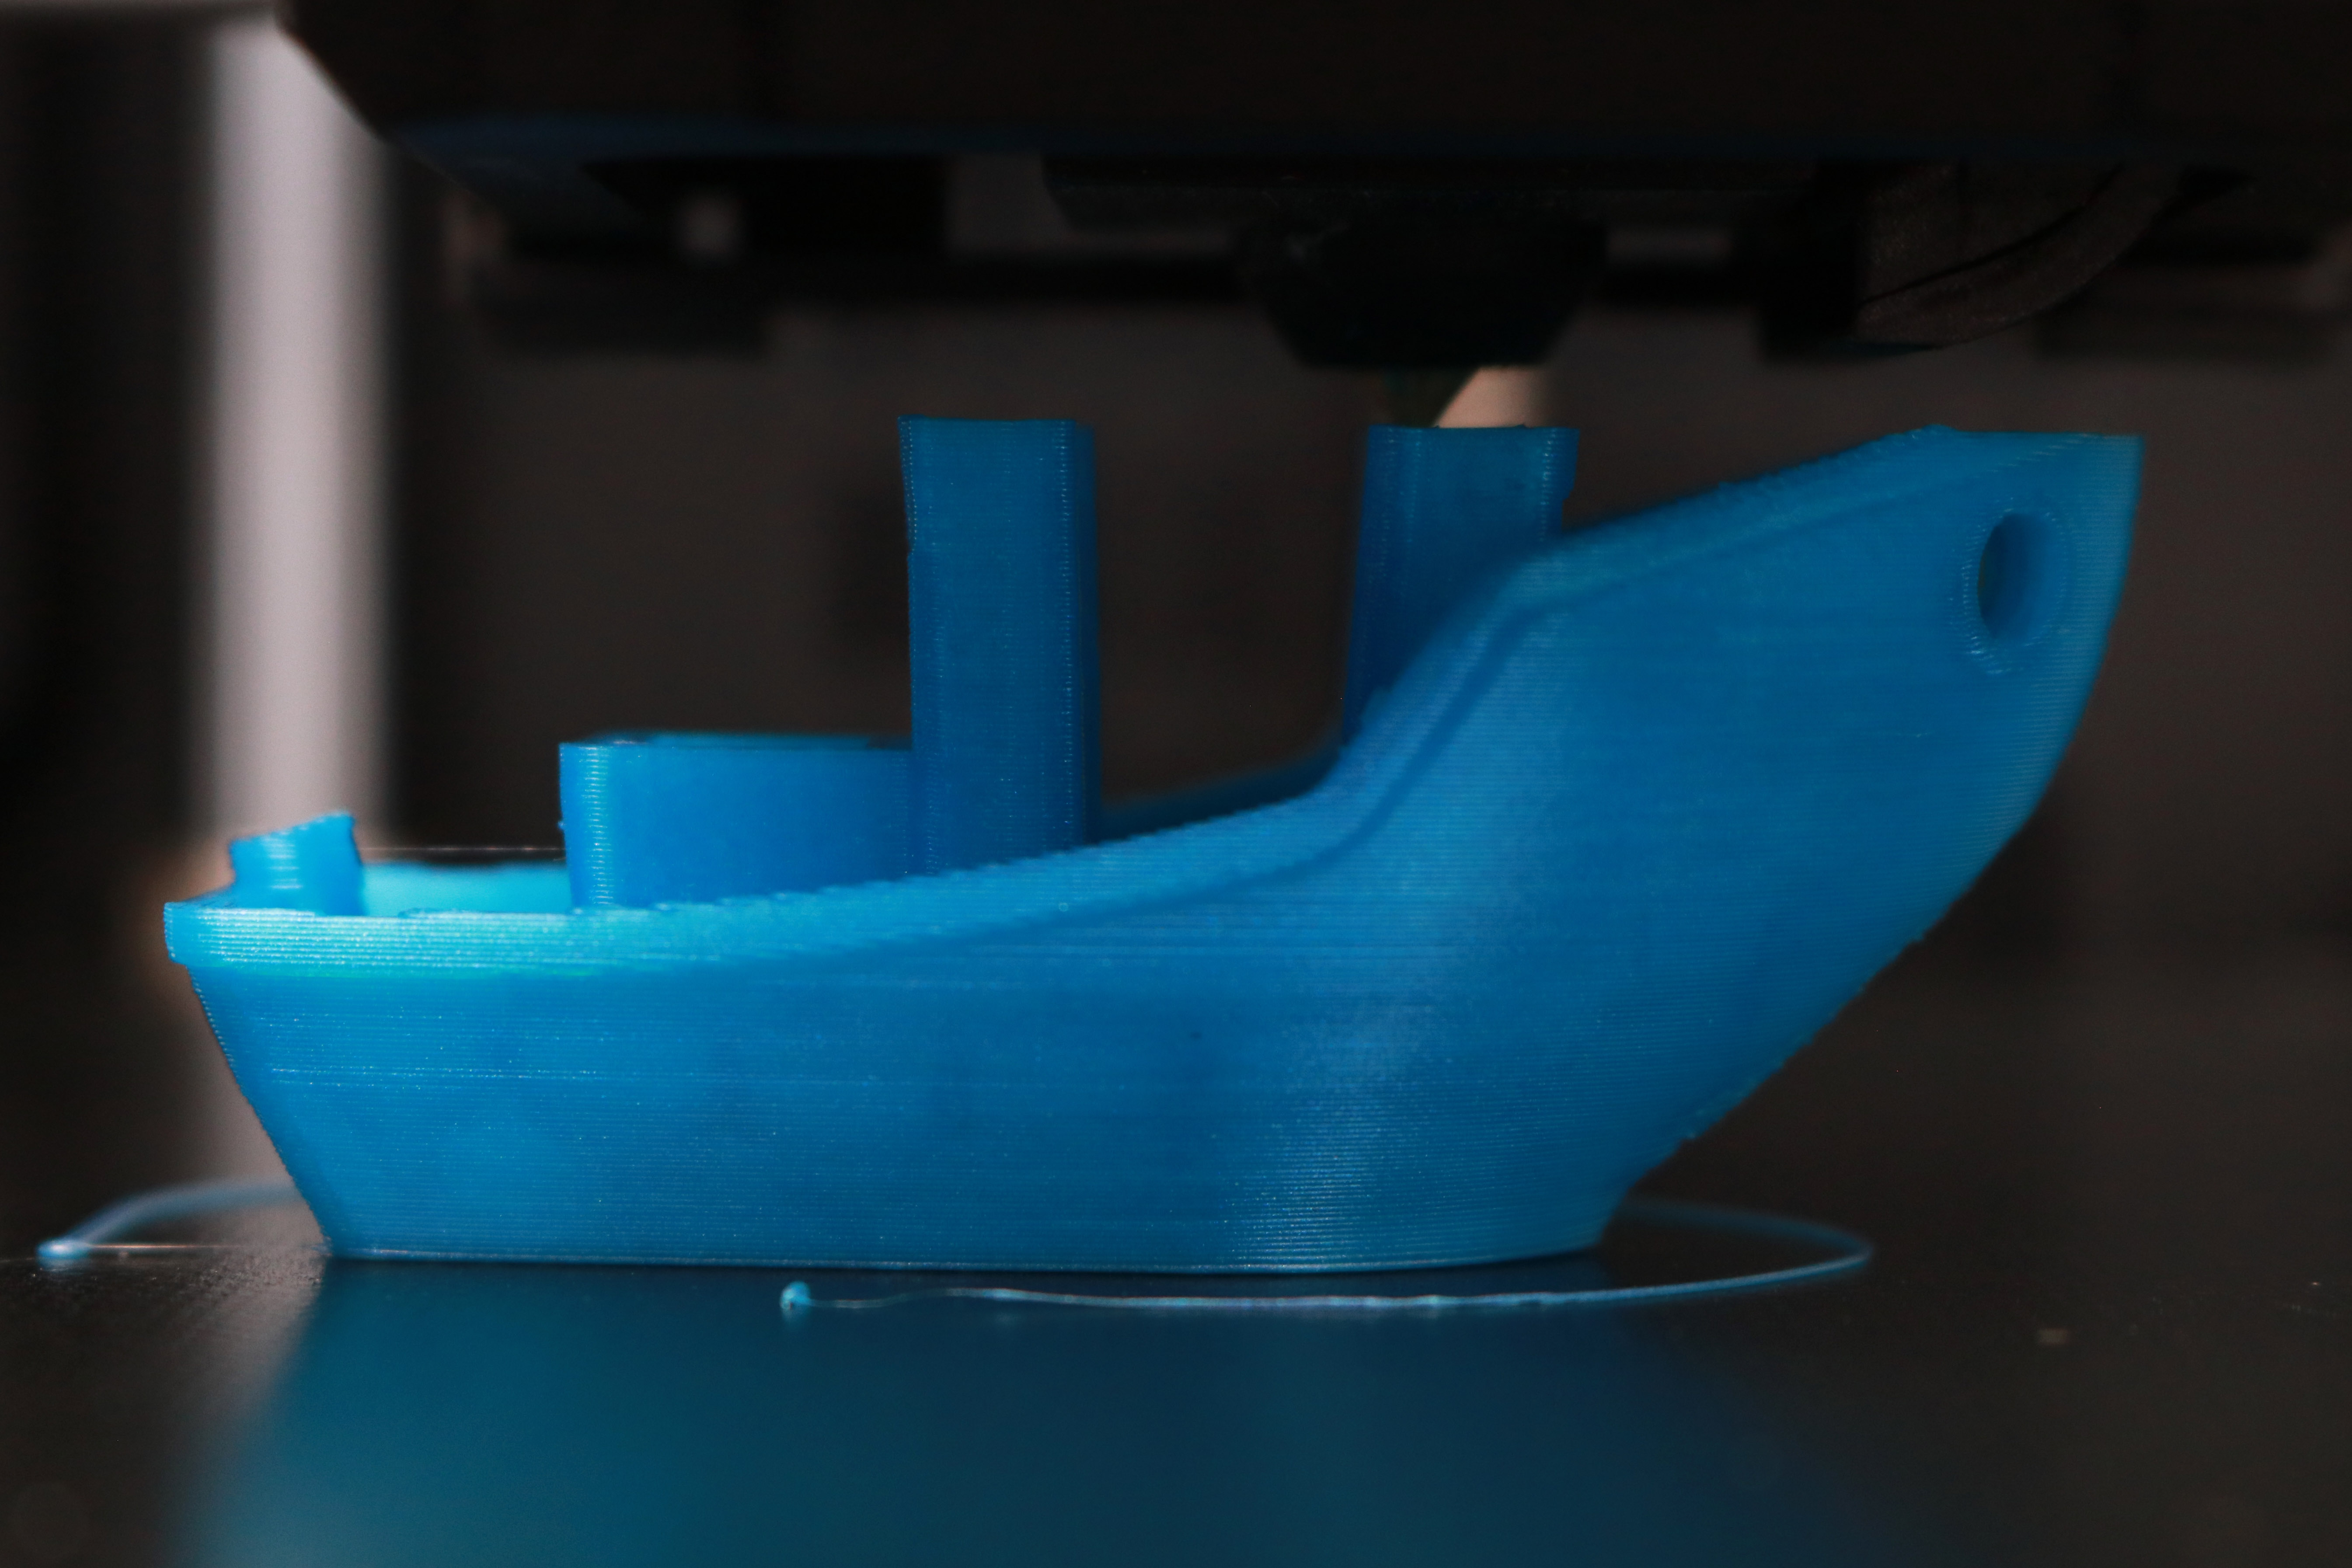
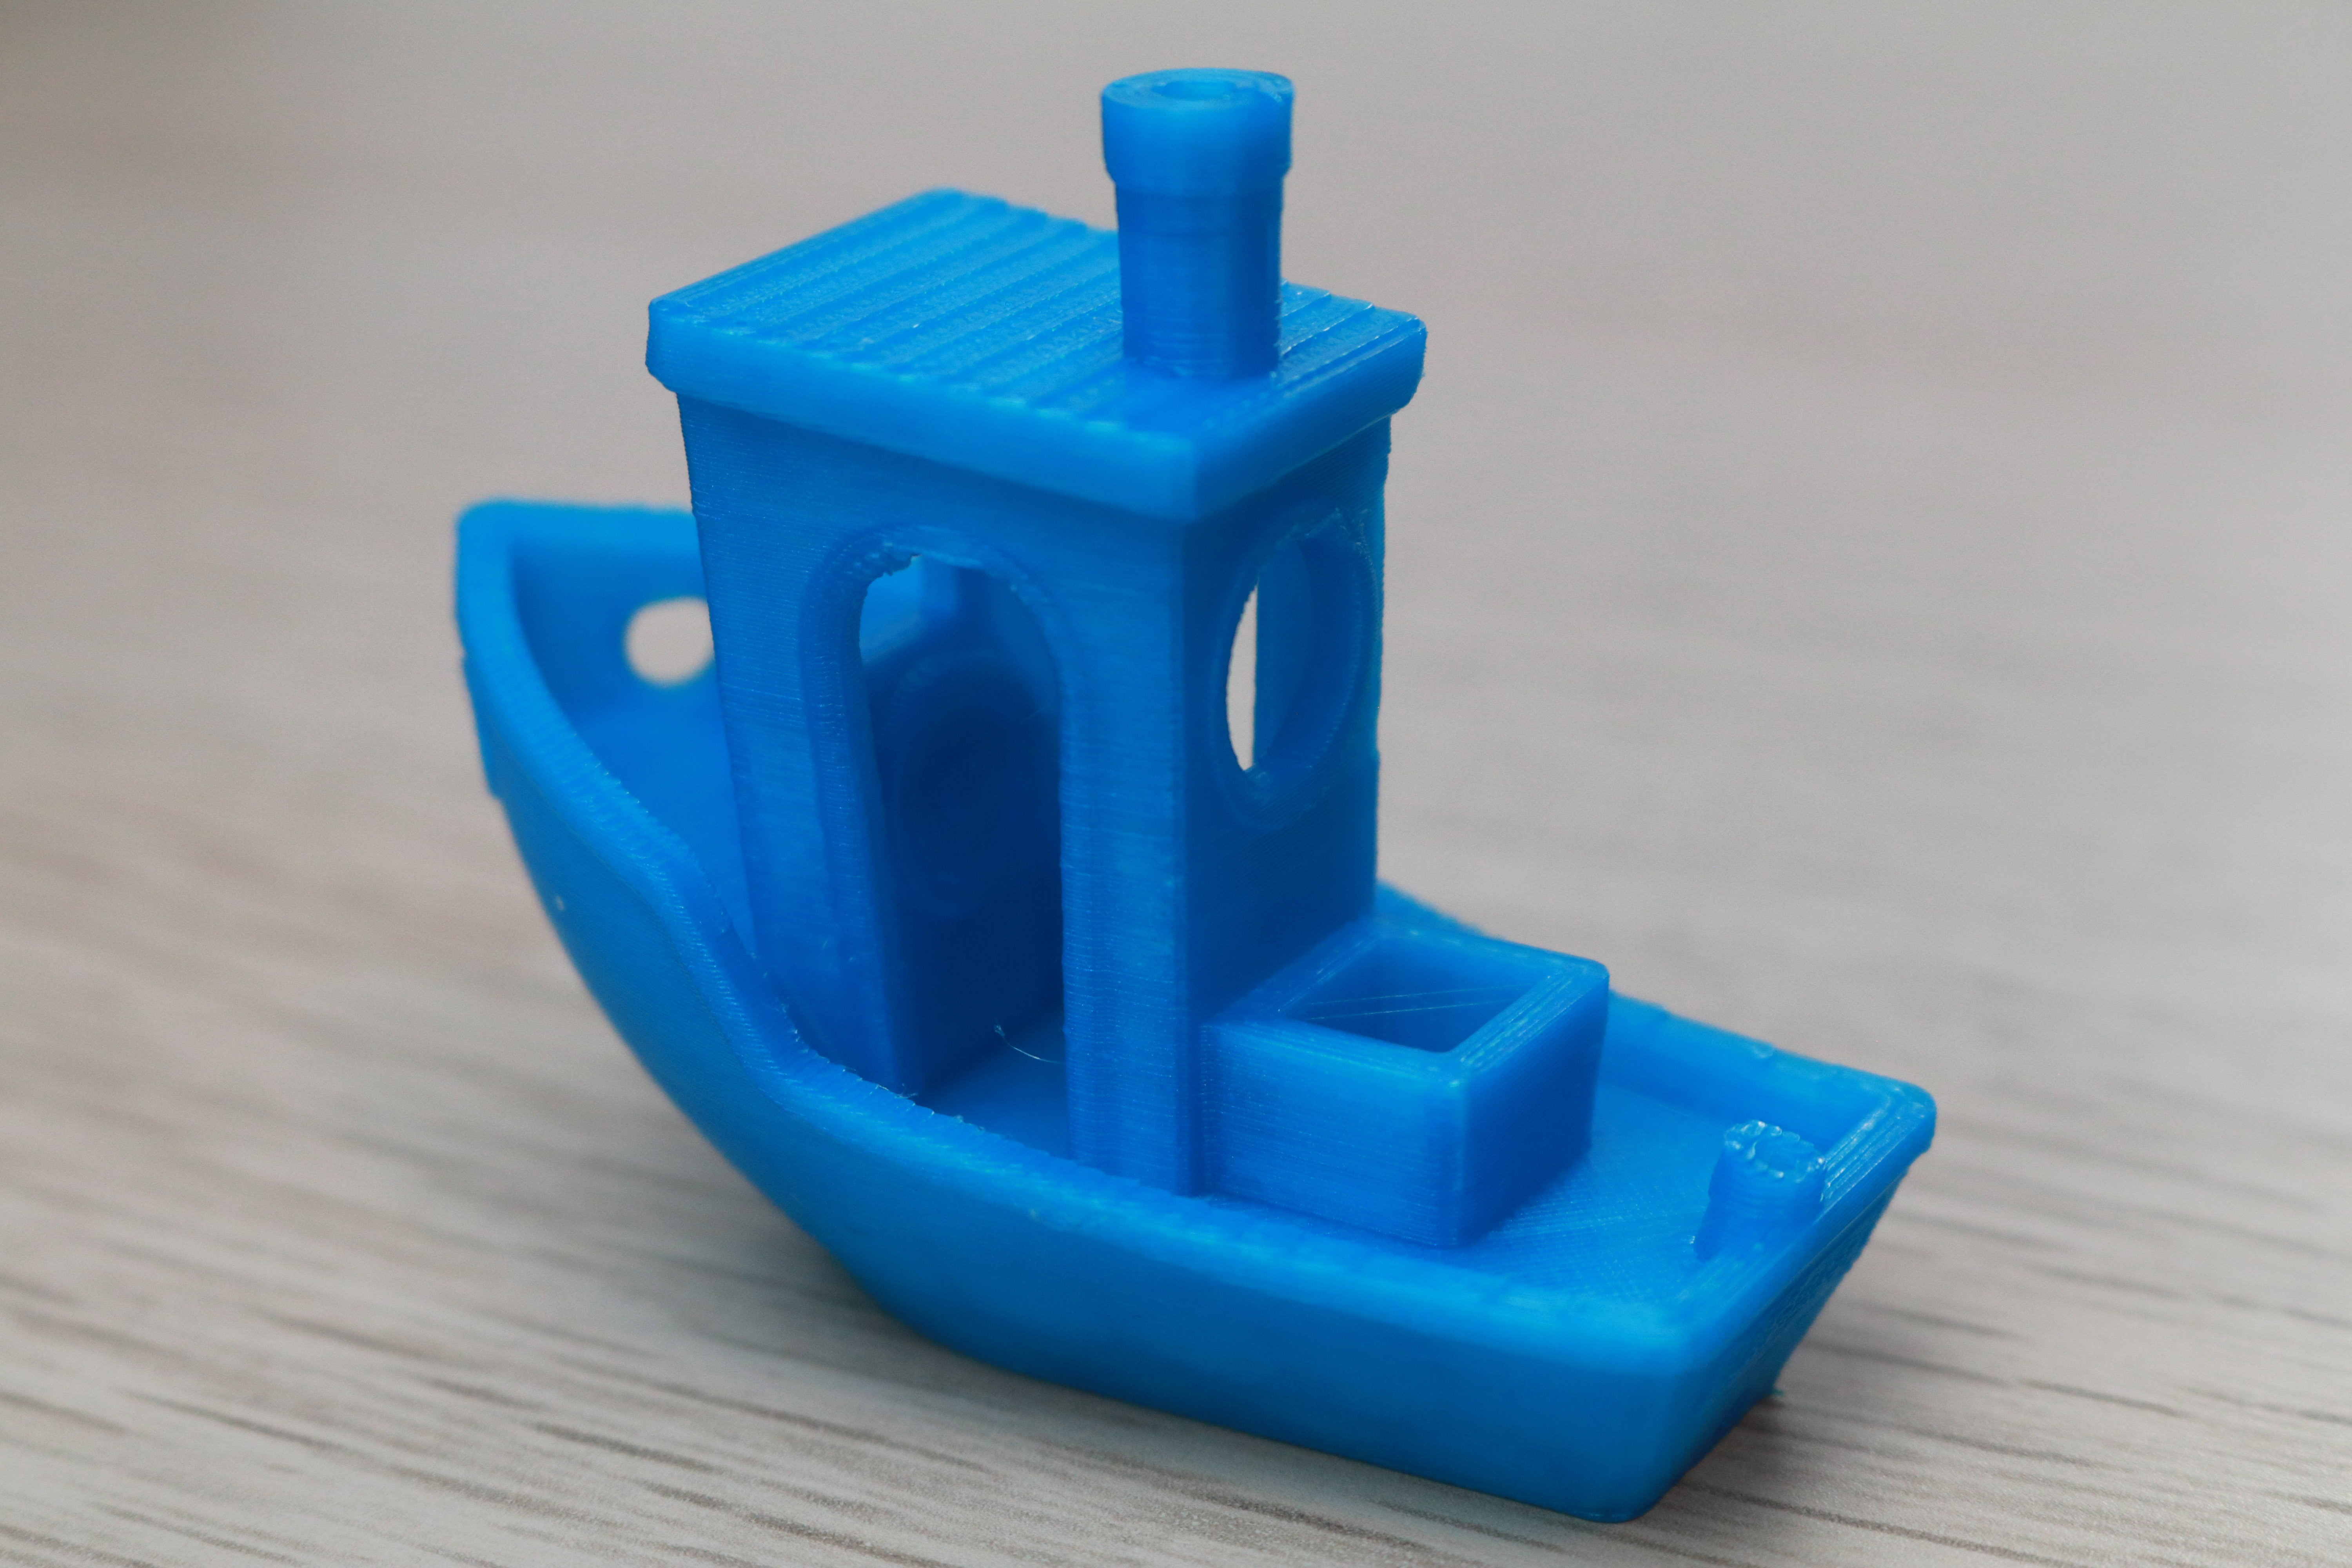
The Benchy looked fantastic, and I didn’t see any quality-related issues on the model. However, I noticed that the LCD interface on the printer doesn’t show build time, estimated remaining time, Z height, or print speed for prints sent over Wi-Fi. This was a persistent issue that I had with all models sent over Wi-Fi, and the inability to see how much longer a print will take to complete could be an issue when trying to schedule printer usage for a classroom full of students.
Printing on the Voxelab Aries
The USB thumb drive included with the Voxelab Aries contains three test prints: a hook, a plate with various features designed to be a torture test, and a rotating planetary gear bearing. These prints are all relatively quick (under two hours) and use only a small amount of material.
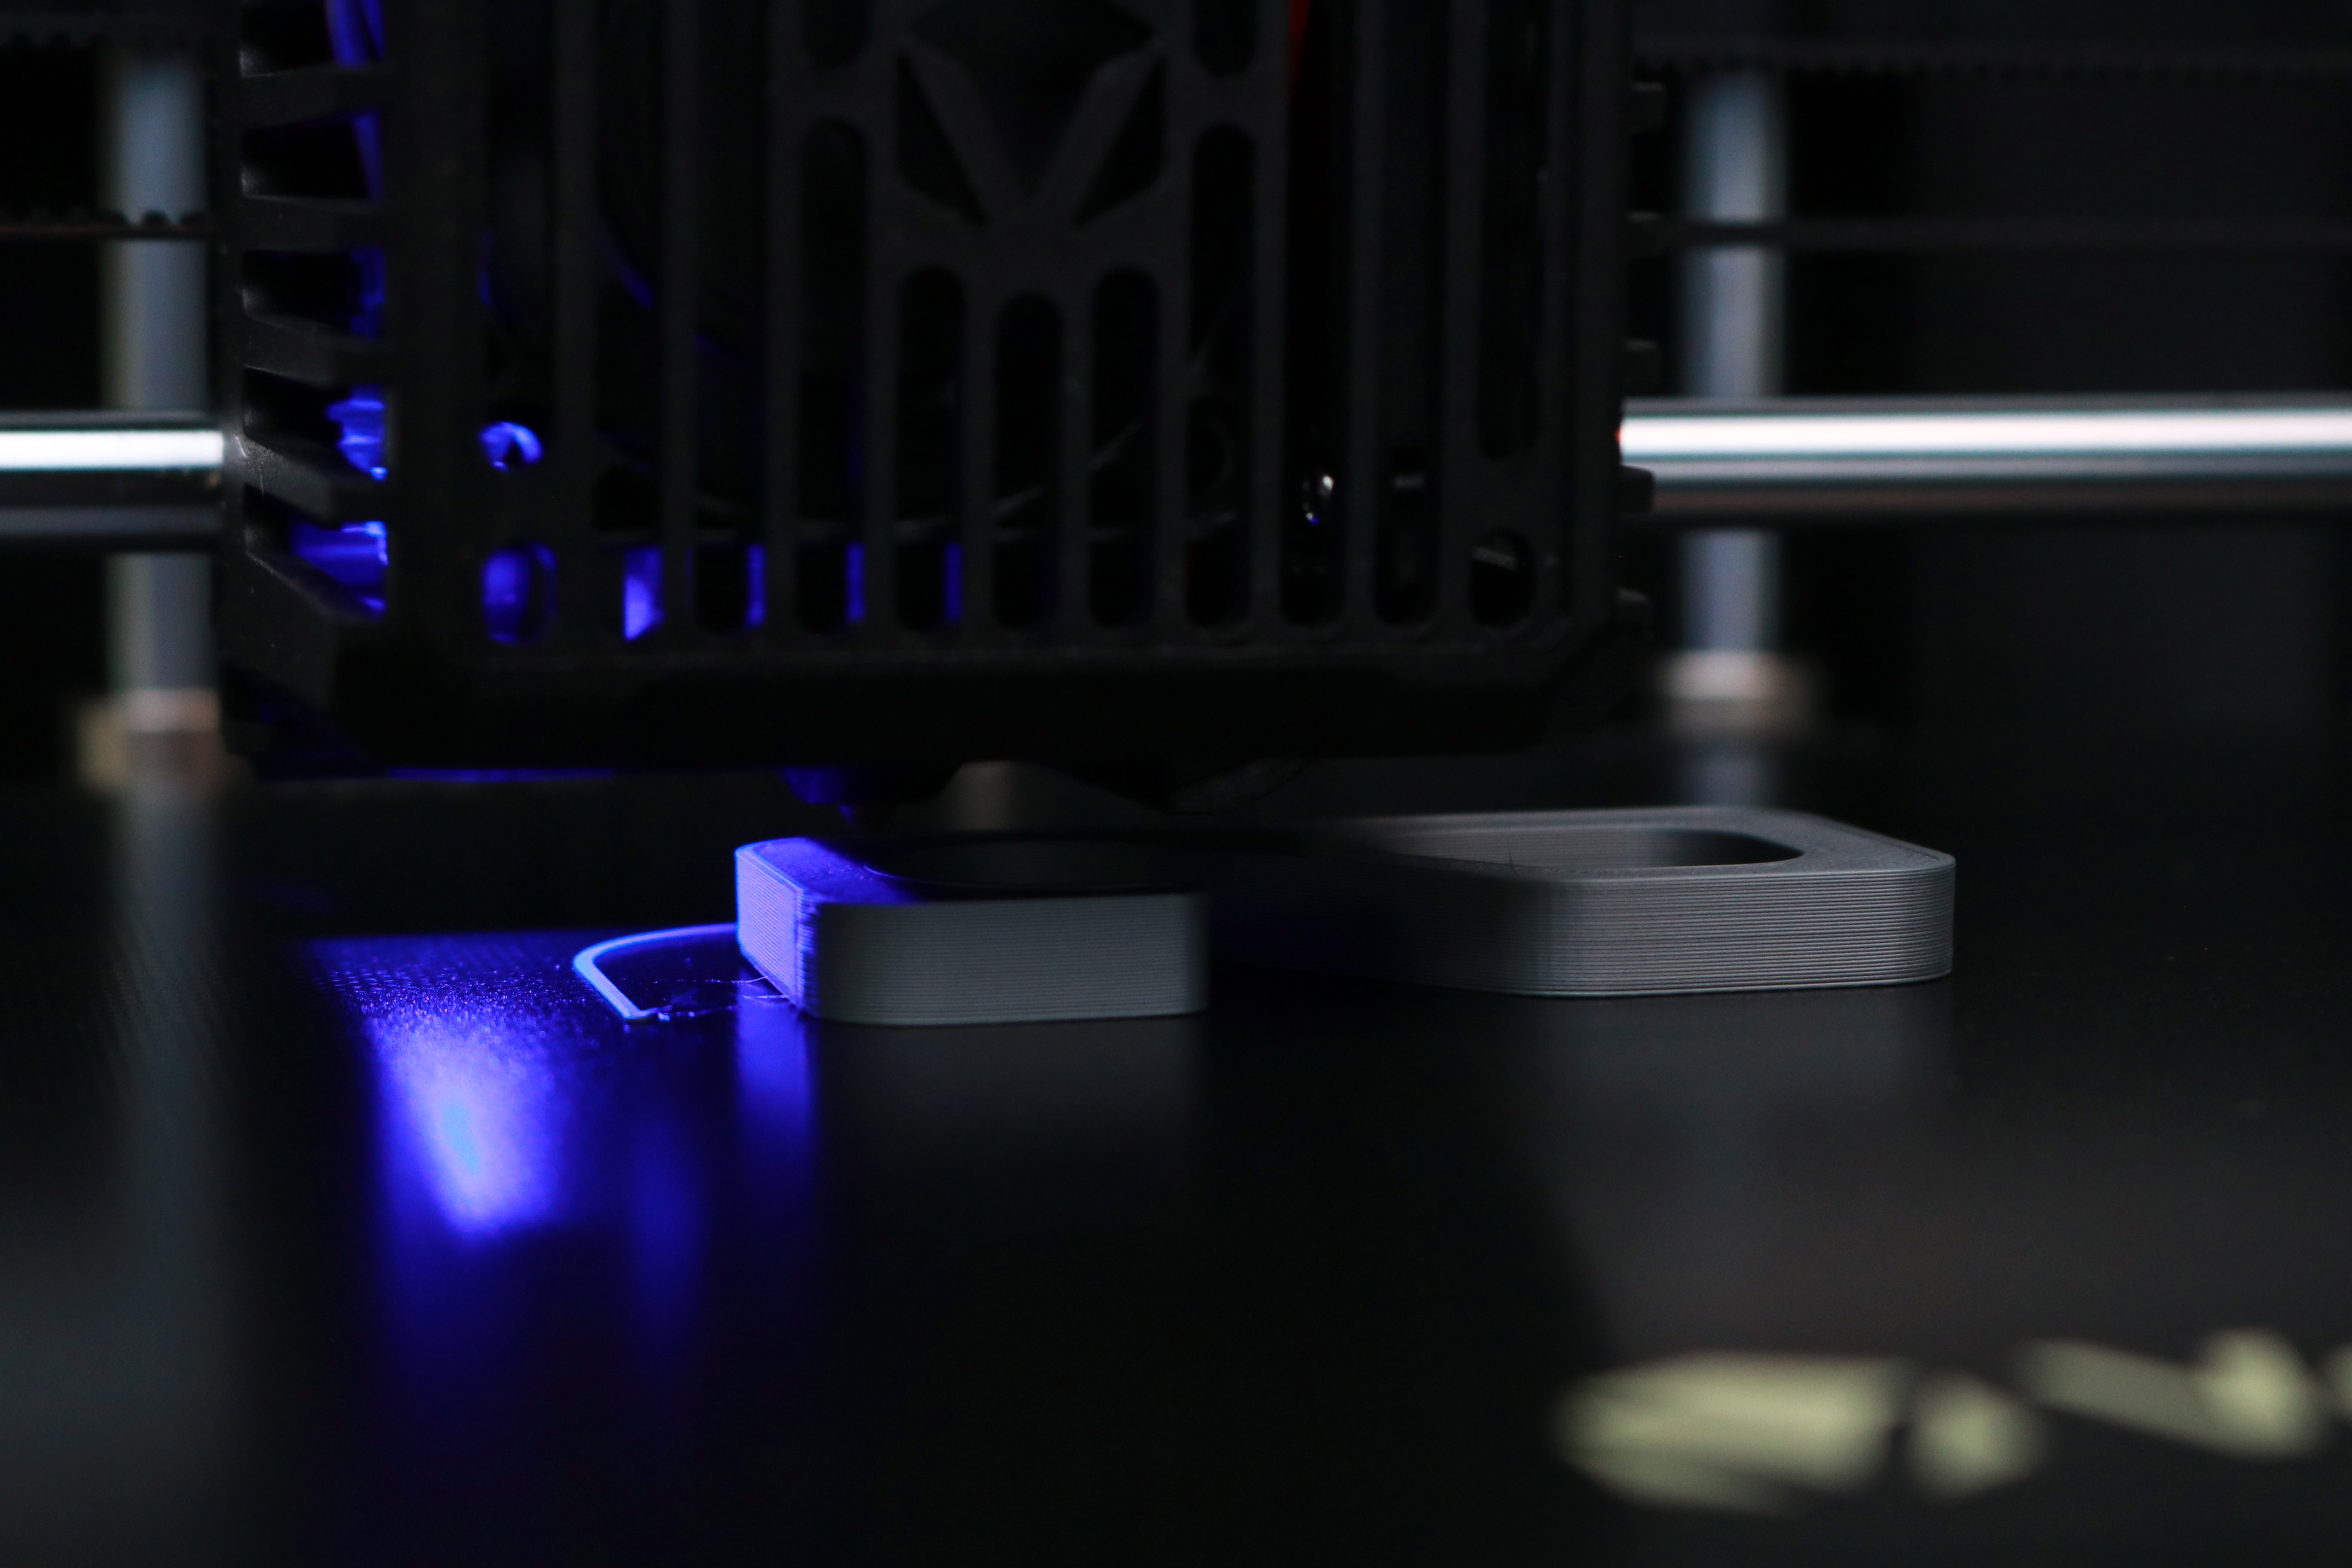
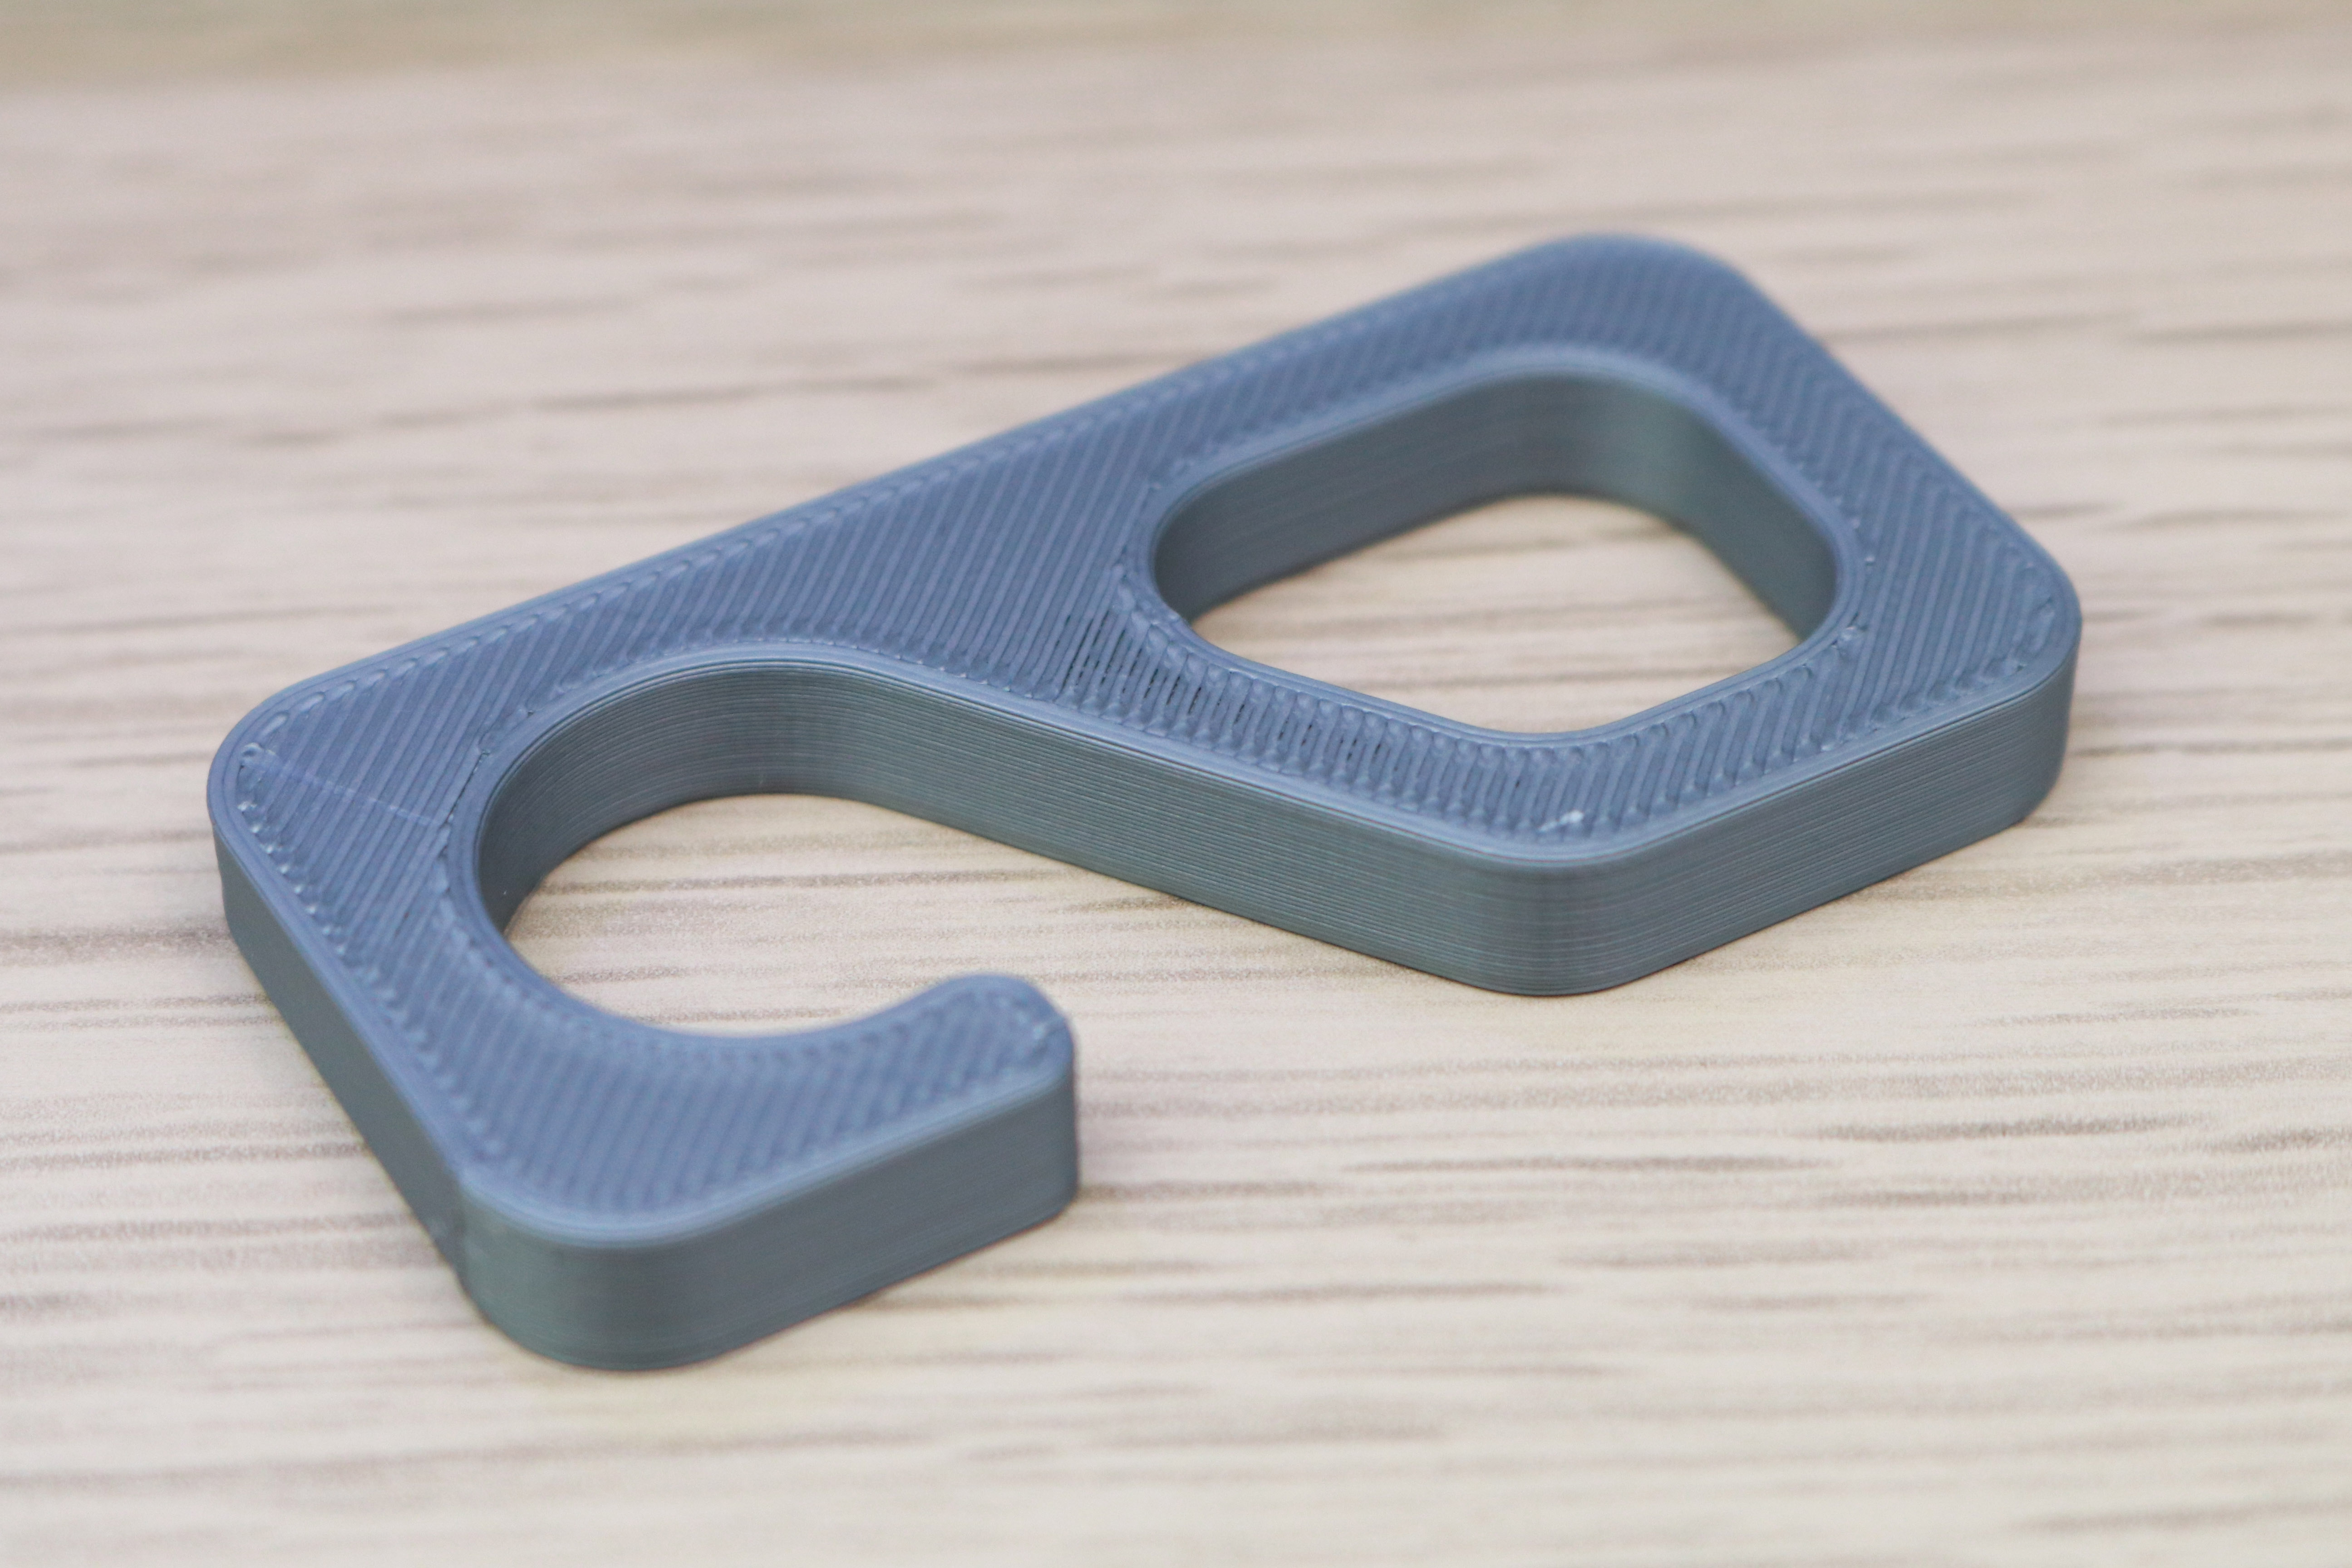
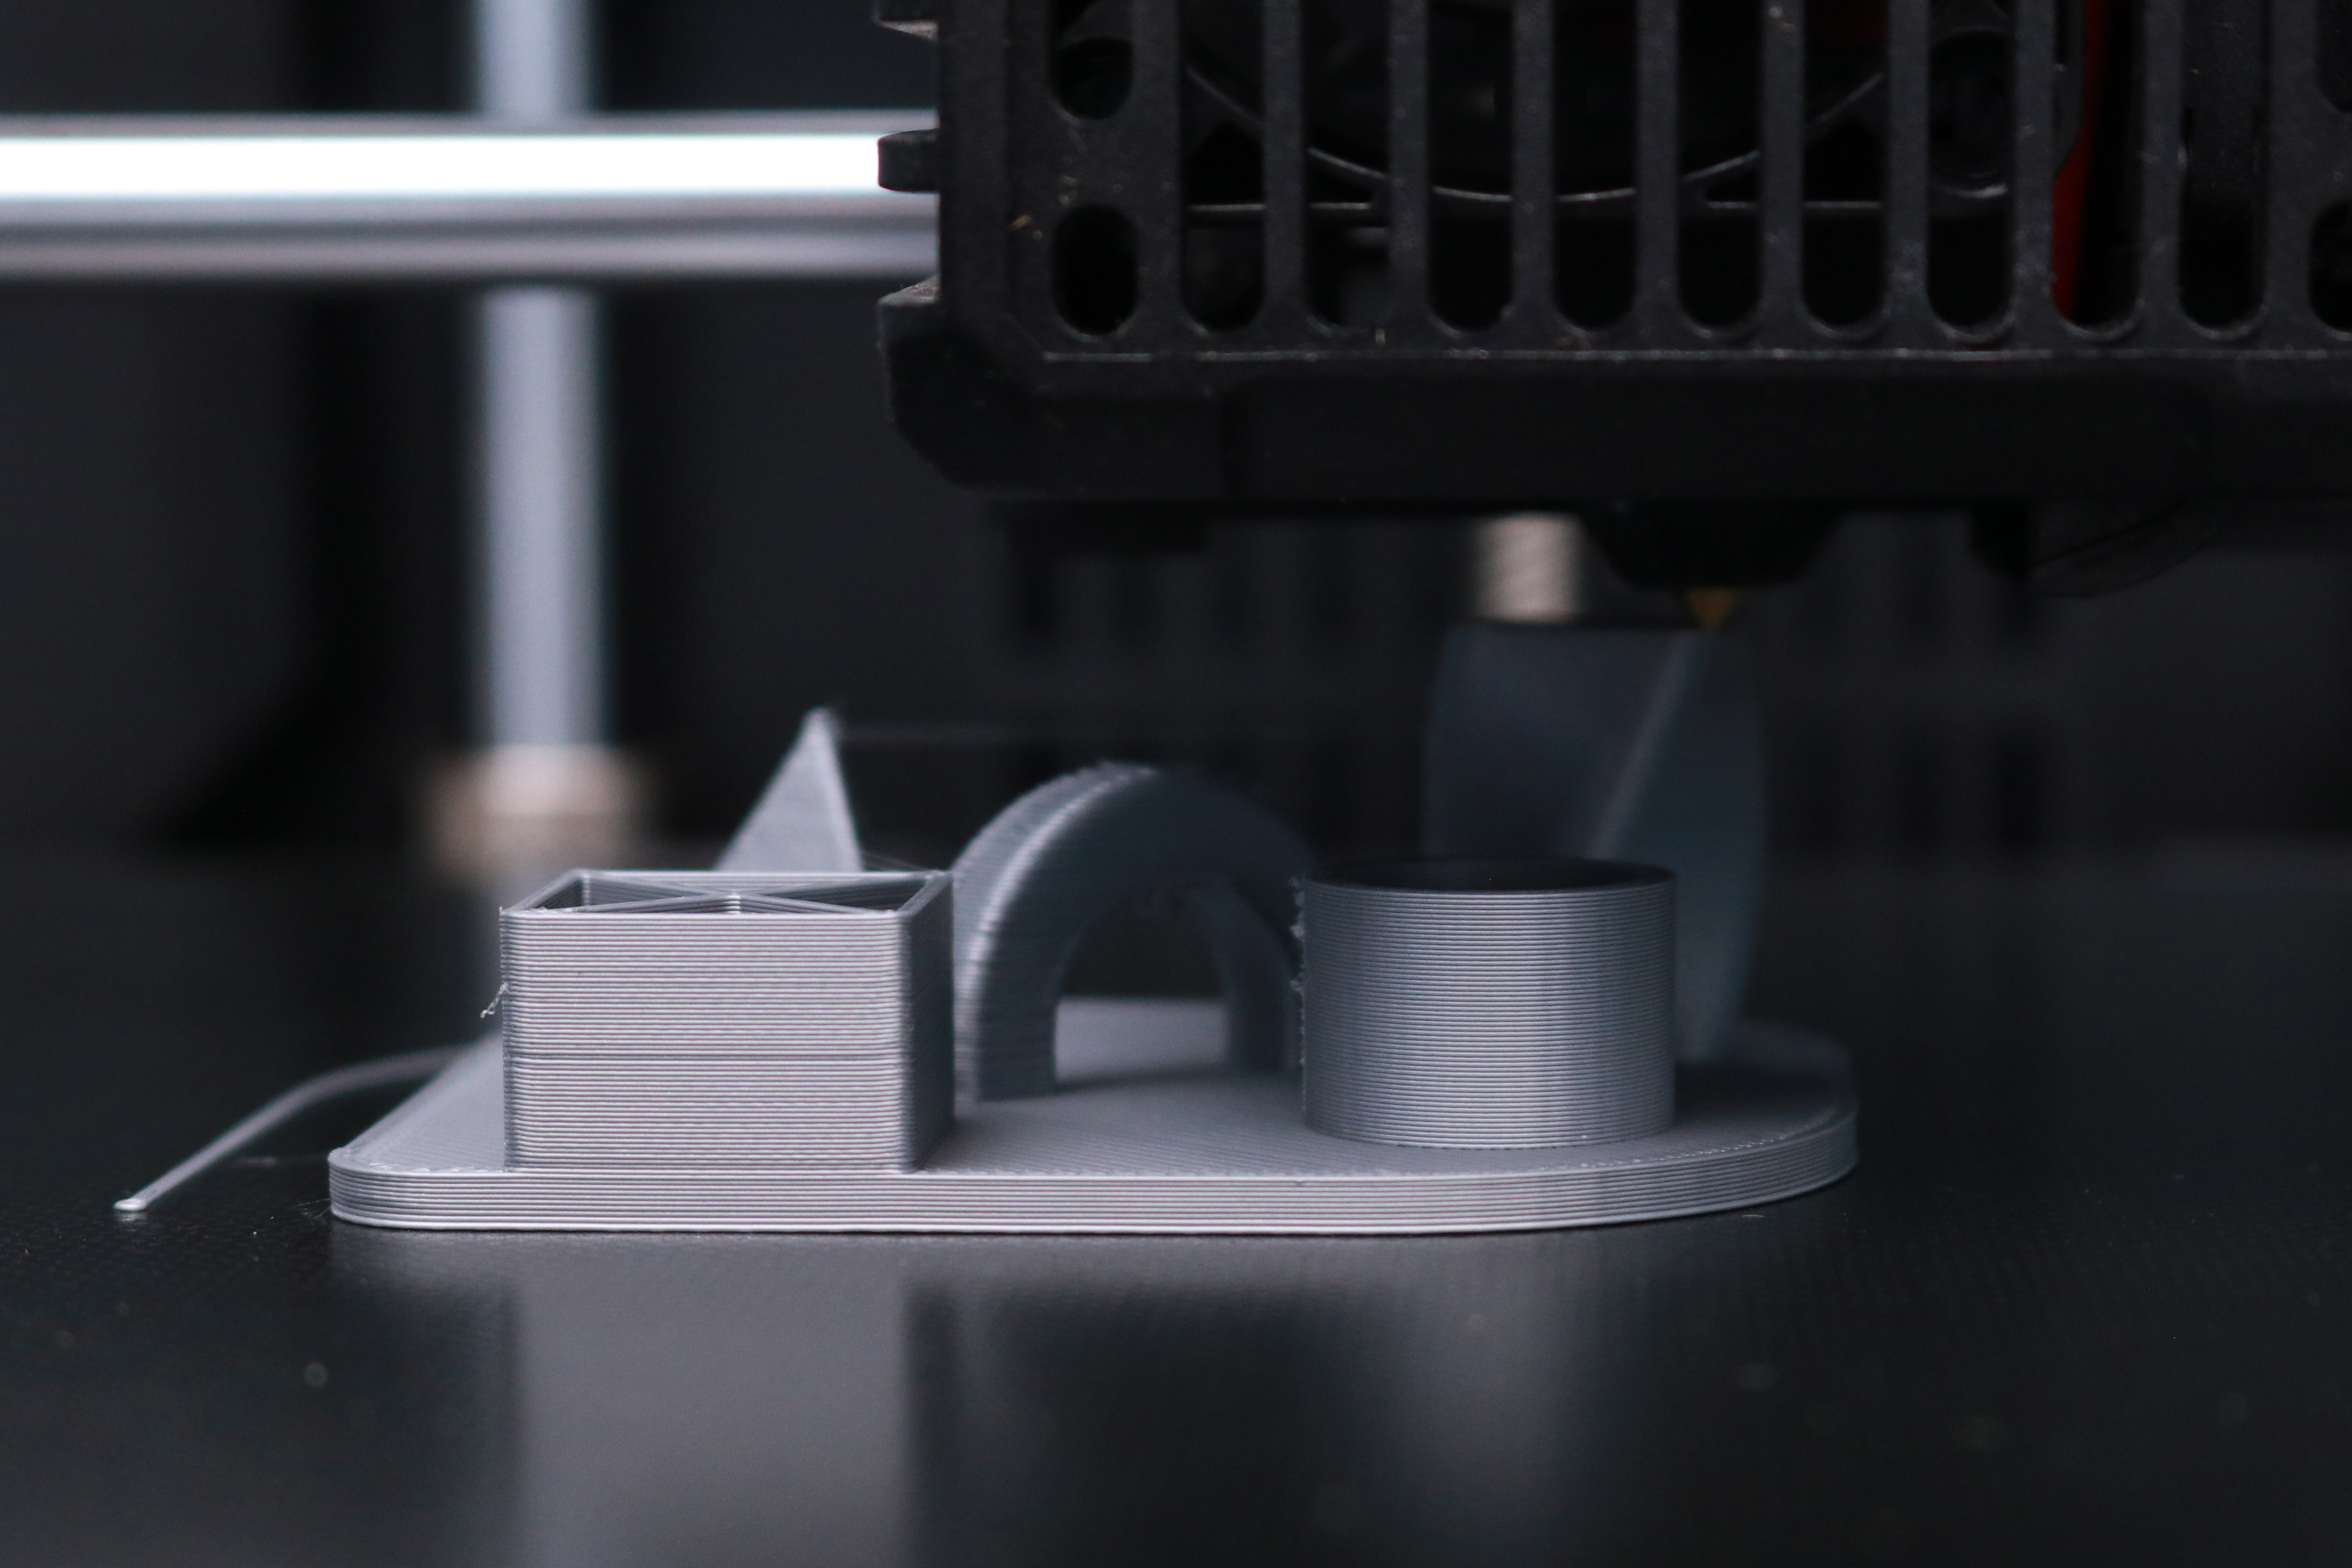
The hook printed out without any issues, and the quality of this model was encouraging for a first print. The sidewalls were consistent, and the top and bottom surfaces were evenly extruded giving the hook a quality finish. The torture test printed similarly, and the various features were evenly resolved, each demonstrating an aspect of the printing process (thin walls, consistent cylindricity, etc.)
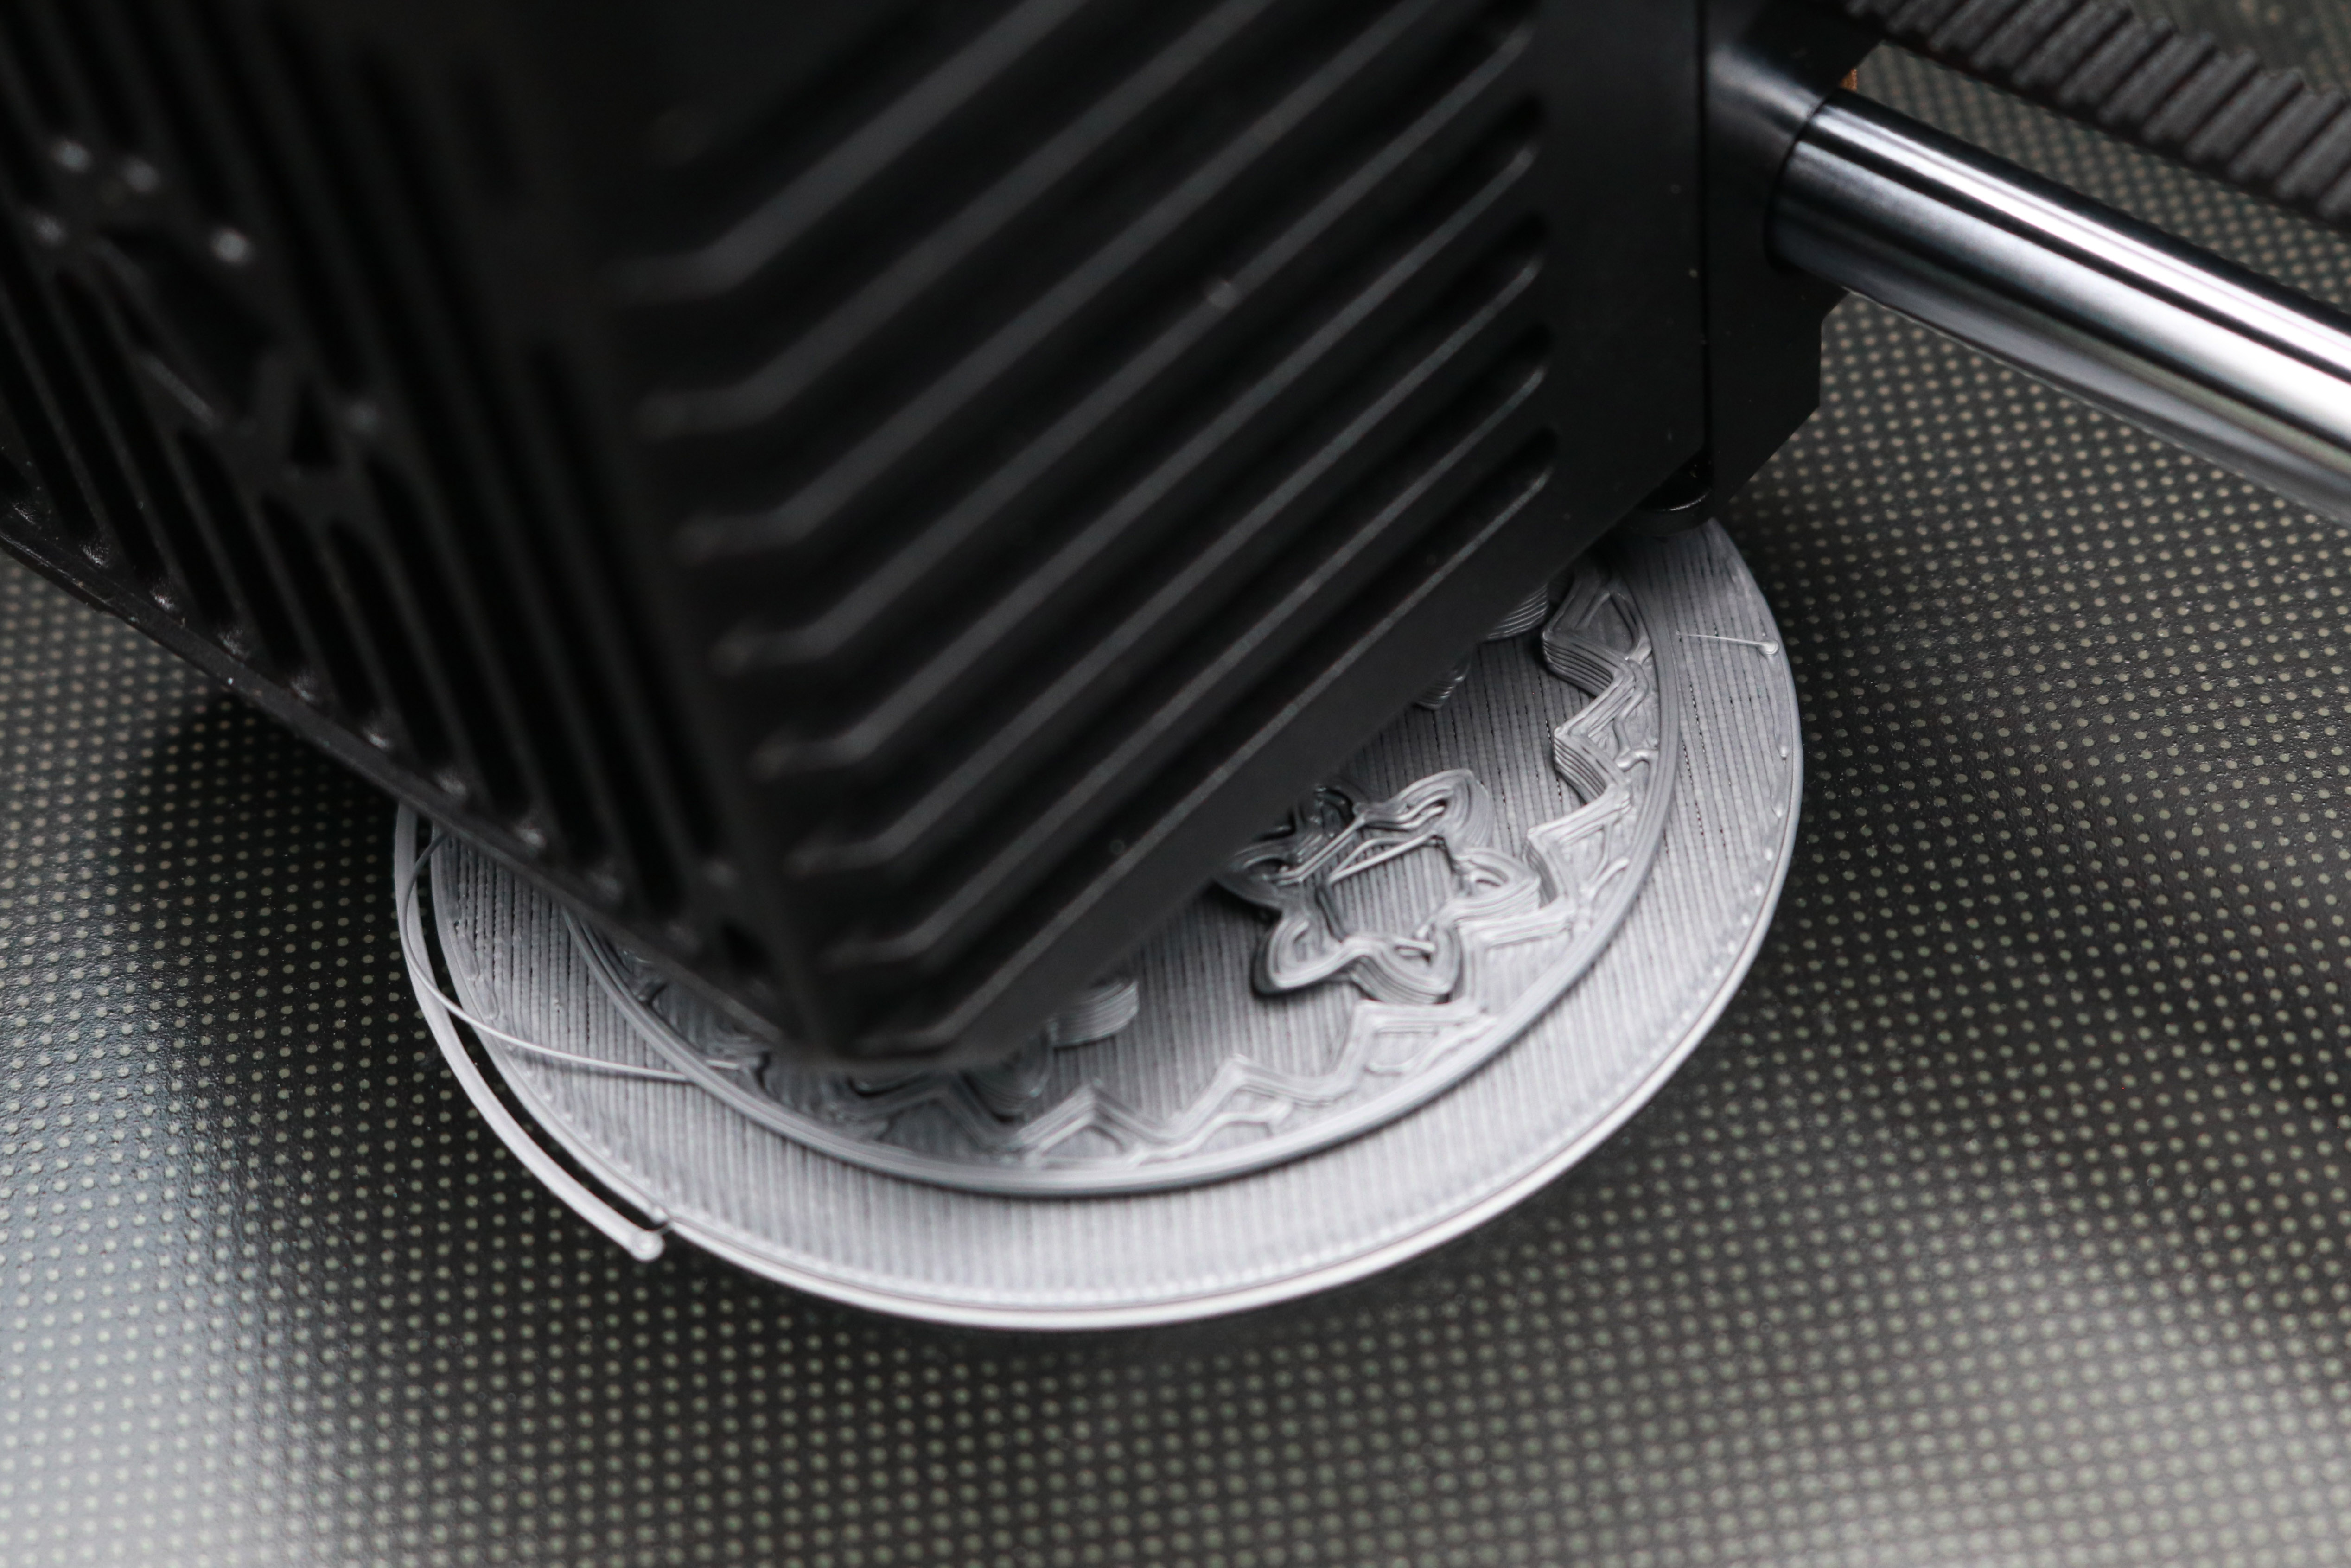
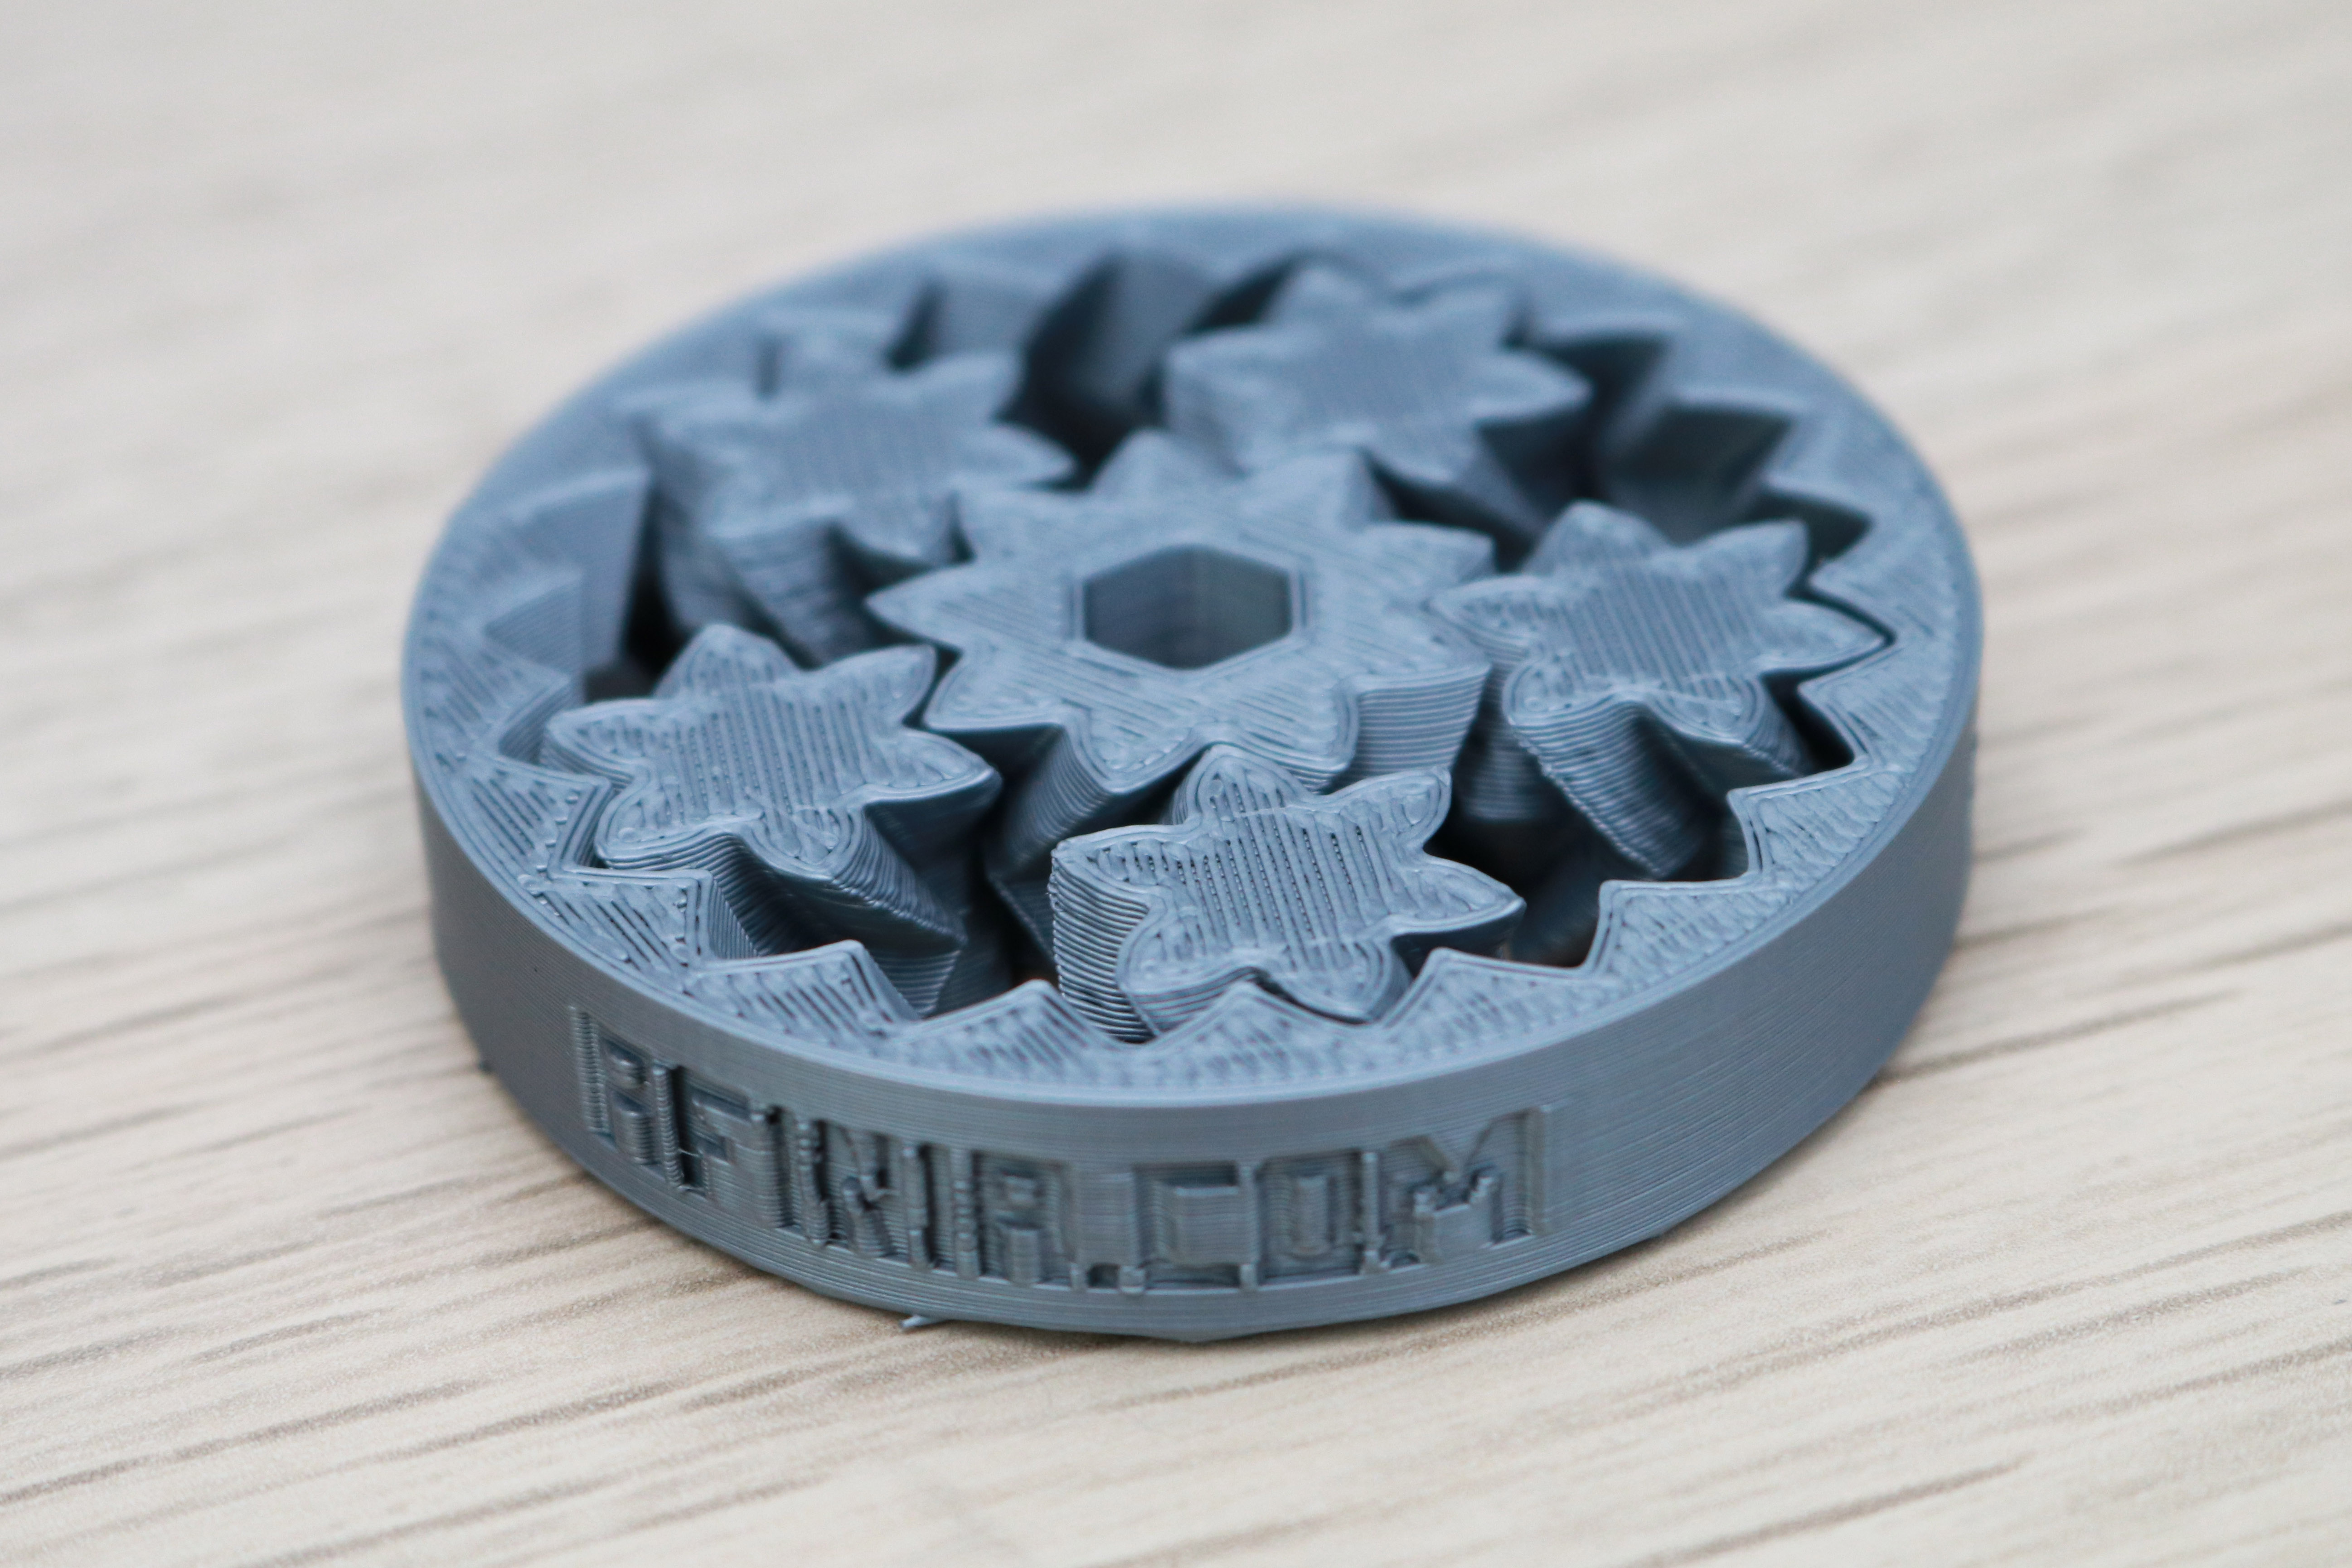
The gear bearing print was prepared using a raft, and the settings used caused the printer to heavily over-extrude the first few layers and the quality of the model was far below the other two prints. Oddly enough, the gear bearing is stamped with “AFINIA.COM”, which is the website of competing STEM printer manufacturer Afinia. It’s not clear if this is an oversight on the part of Voxelab or an intentional inclusion of a competitor's logo on a sub-par part, but it immediately lowered my expectations for the machine.
Slicing Software for Voxelab Aries
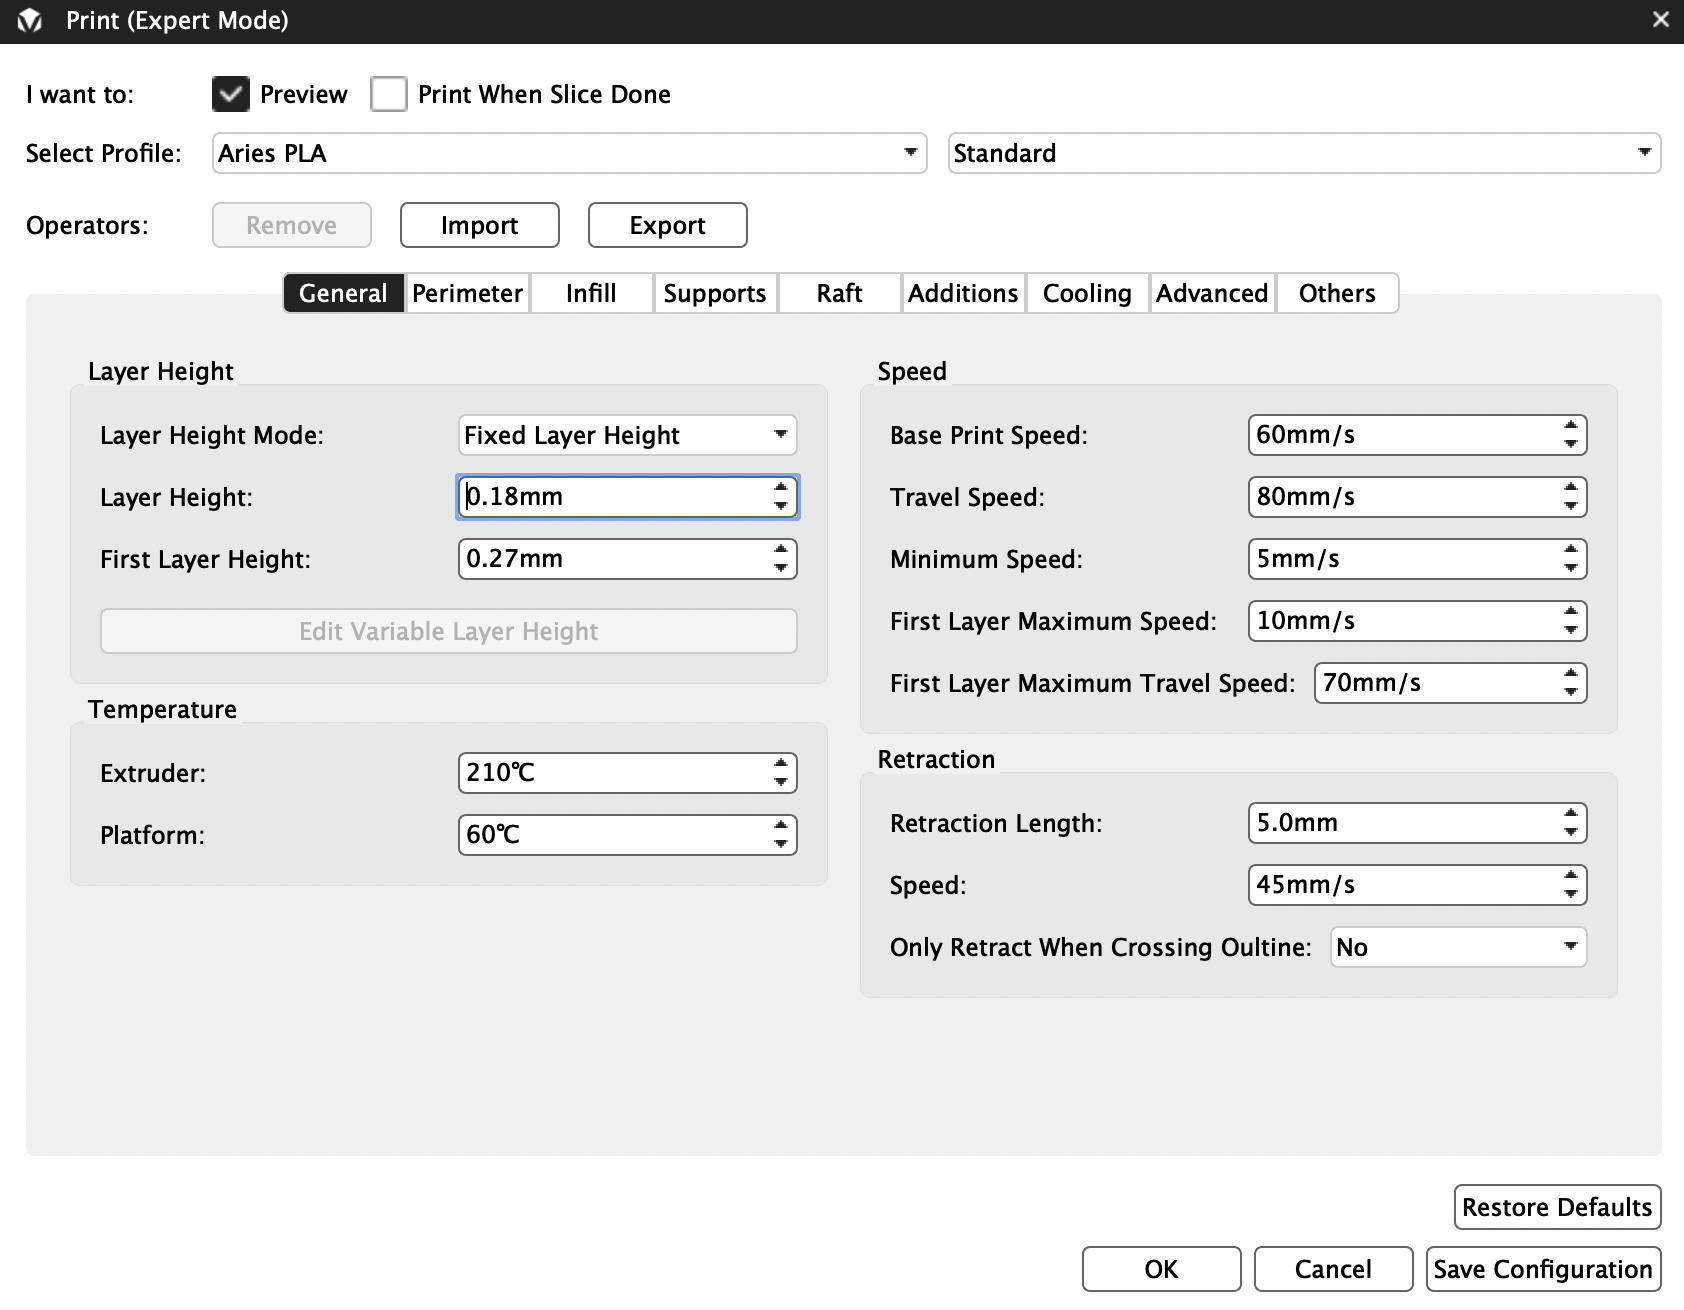
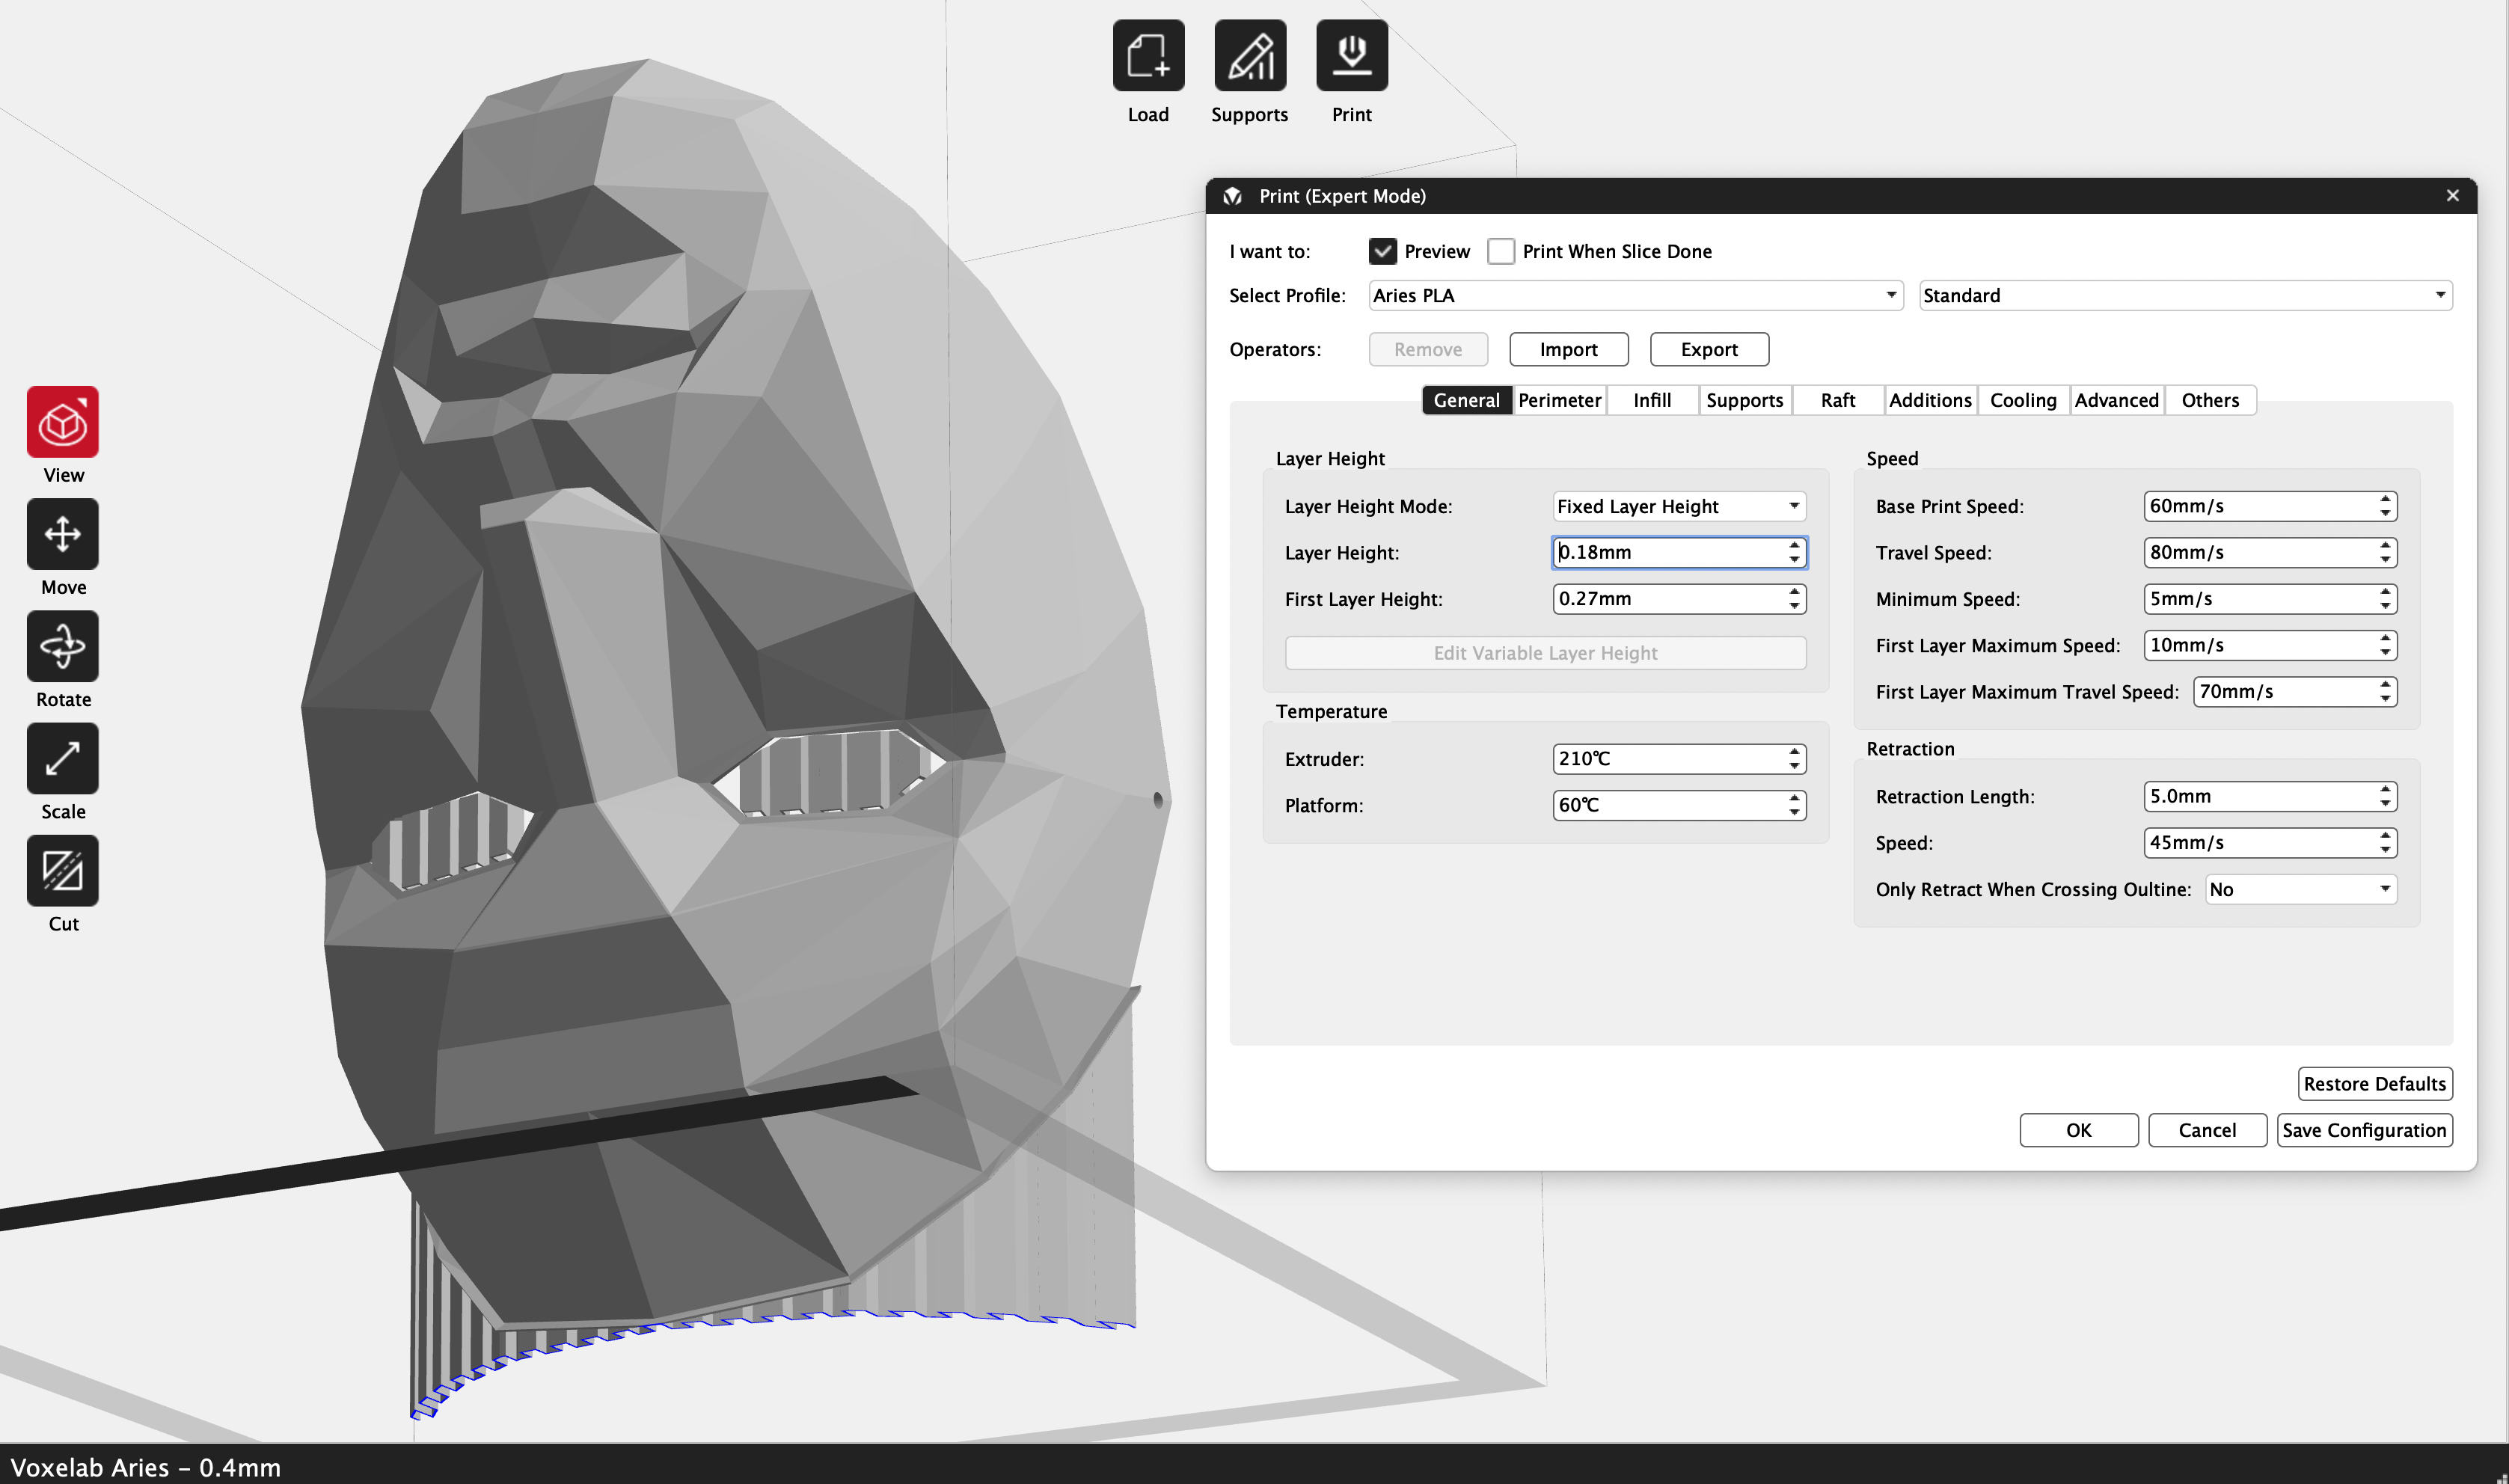
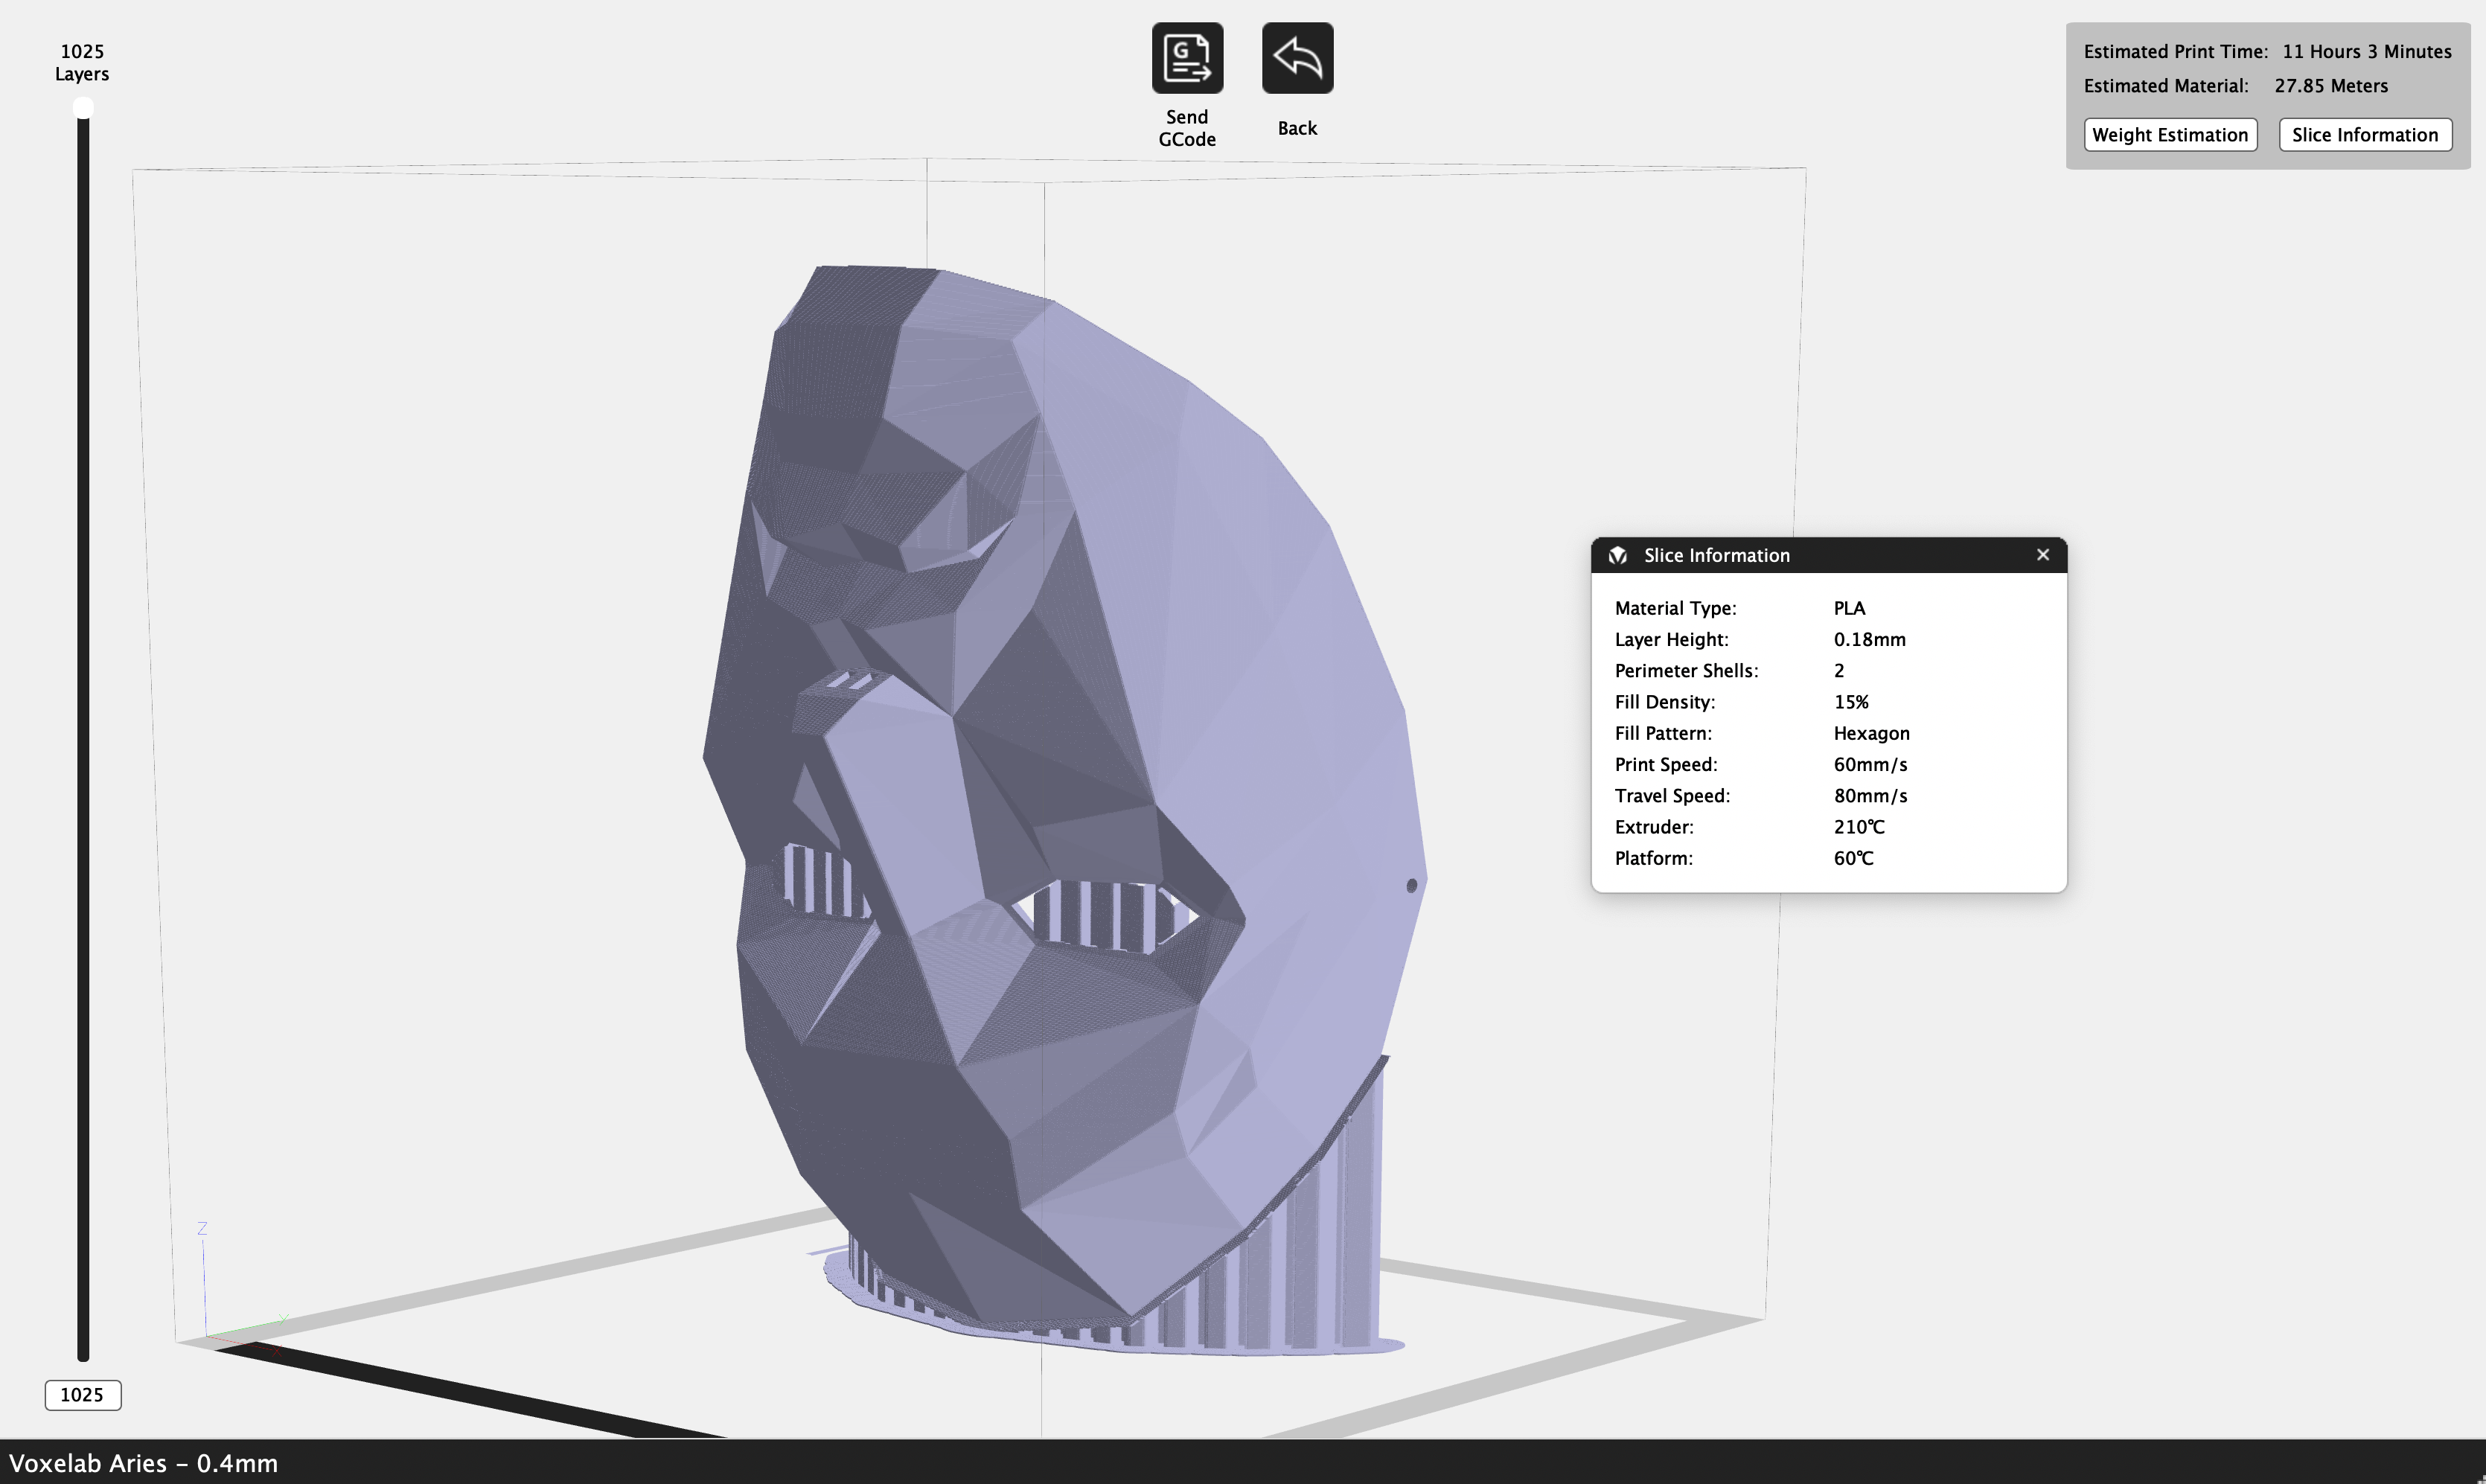
Opening the ‘Expert’ dialog reveals a multitude of options for changing the print speed, quality, additions, and other parameters. Typically in a slicer app, multiple profiles are provided that are each designed to provide application-specific settings, such as a profile designed to print a large, blocky model quickly or print a small, detailed model with thin, slow layers. Unfortunately, the VoxelMaker app includes only a single “Standard” profile, which prints using a .18mm layer height, 60mm/s print speed, and a 15% hexagonal infill. For comparison, the PrusaSlicer app designed to work the Prusa MK3S+ includes 8 profiles, including “.07mm ULTRADETAIL” for small models with high levels of detail and “.3mm DRAFT” for printing large models quickly.
The thumb drive that ships with the Voxelab Aries includes a copy of VoxelMaker, the proprietary slicer app developed by Voxelab for their FDM 3D printers such as the Aries and Aquila series of machines. I’ve used VoxelMaker in the past with the Voxelab Aquila X2, and was left underwhelmed by the lack of available slicer profiles included with the printer. Unfortunately, this limitation is persistent with the Aries, so it’s worth investigating why this is such a problem for beginners. If you’re just interested in reading about the VoxelMaker software, you can see my thoughts on the Aquila X2 review.
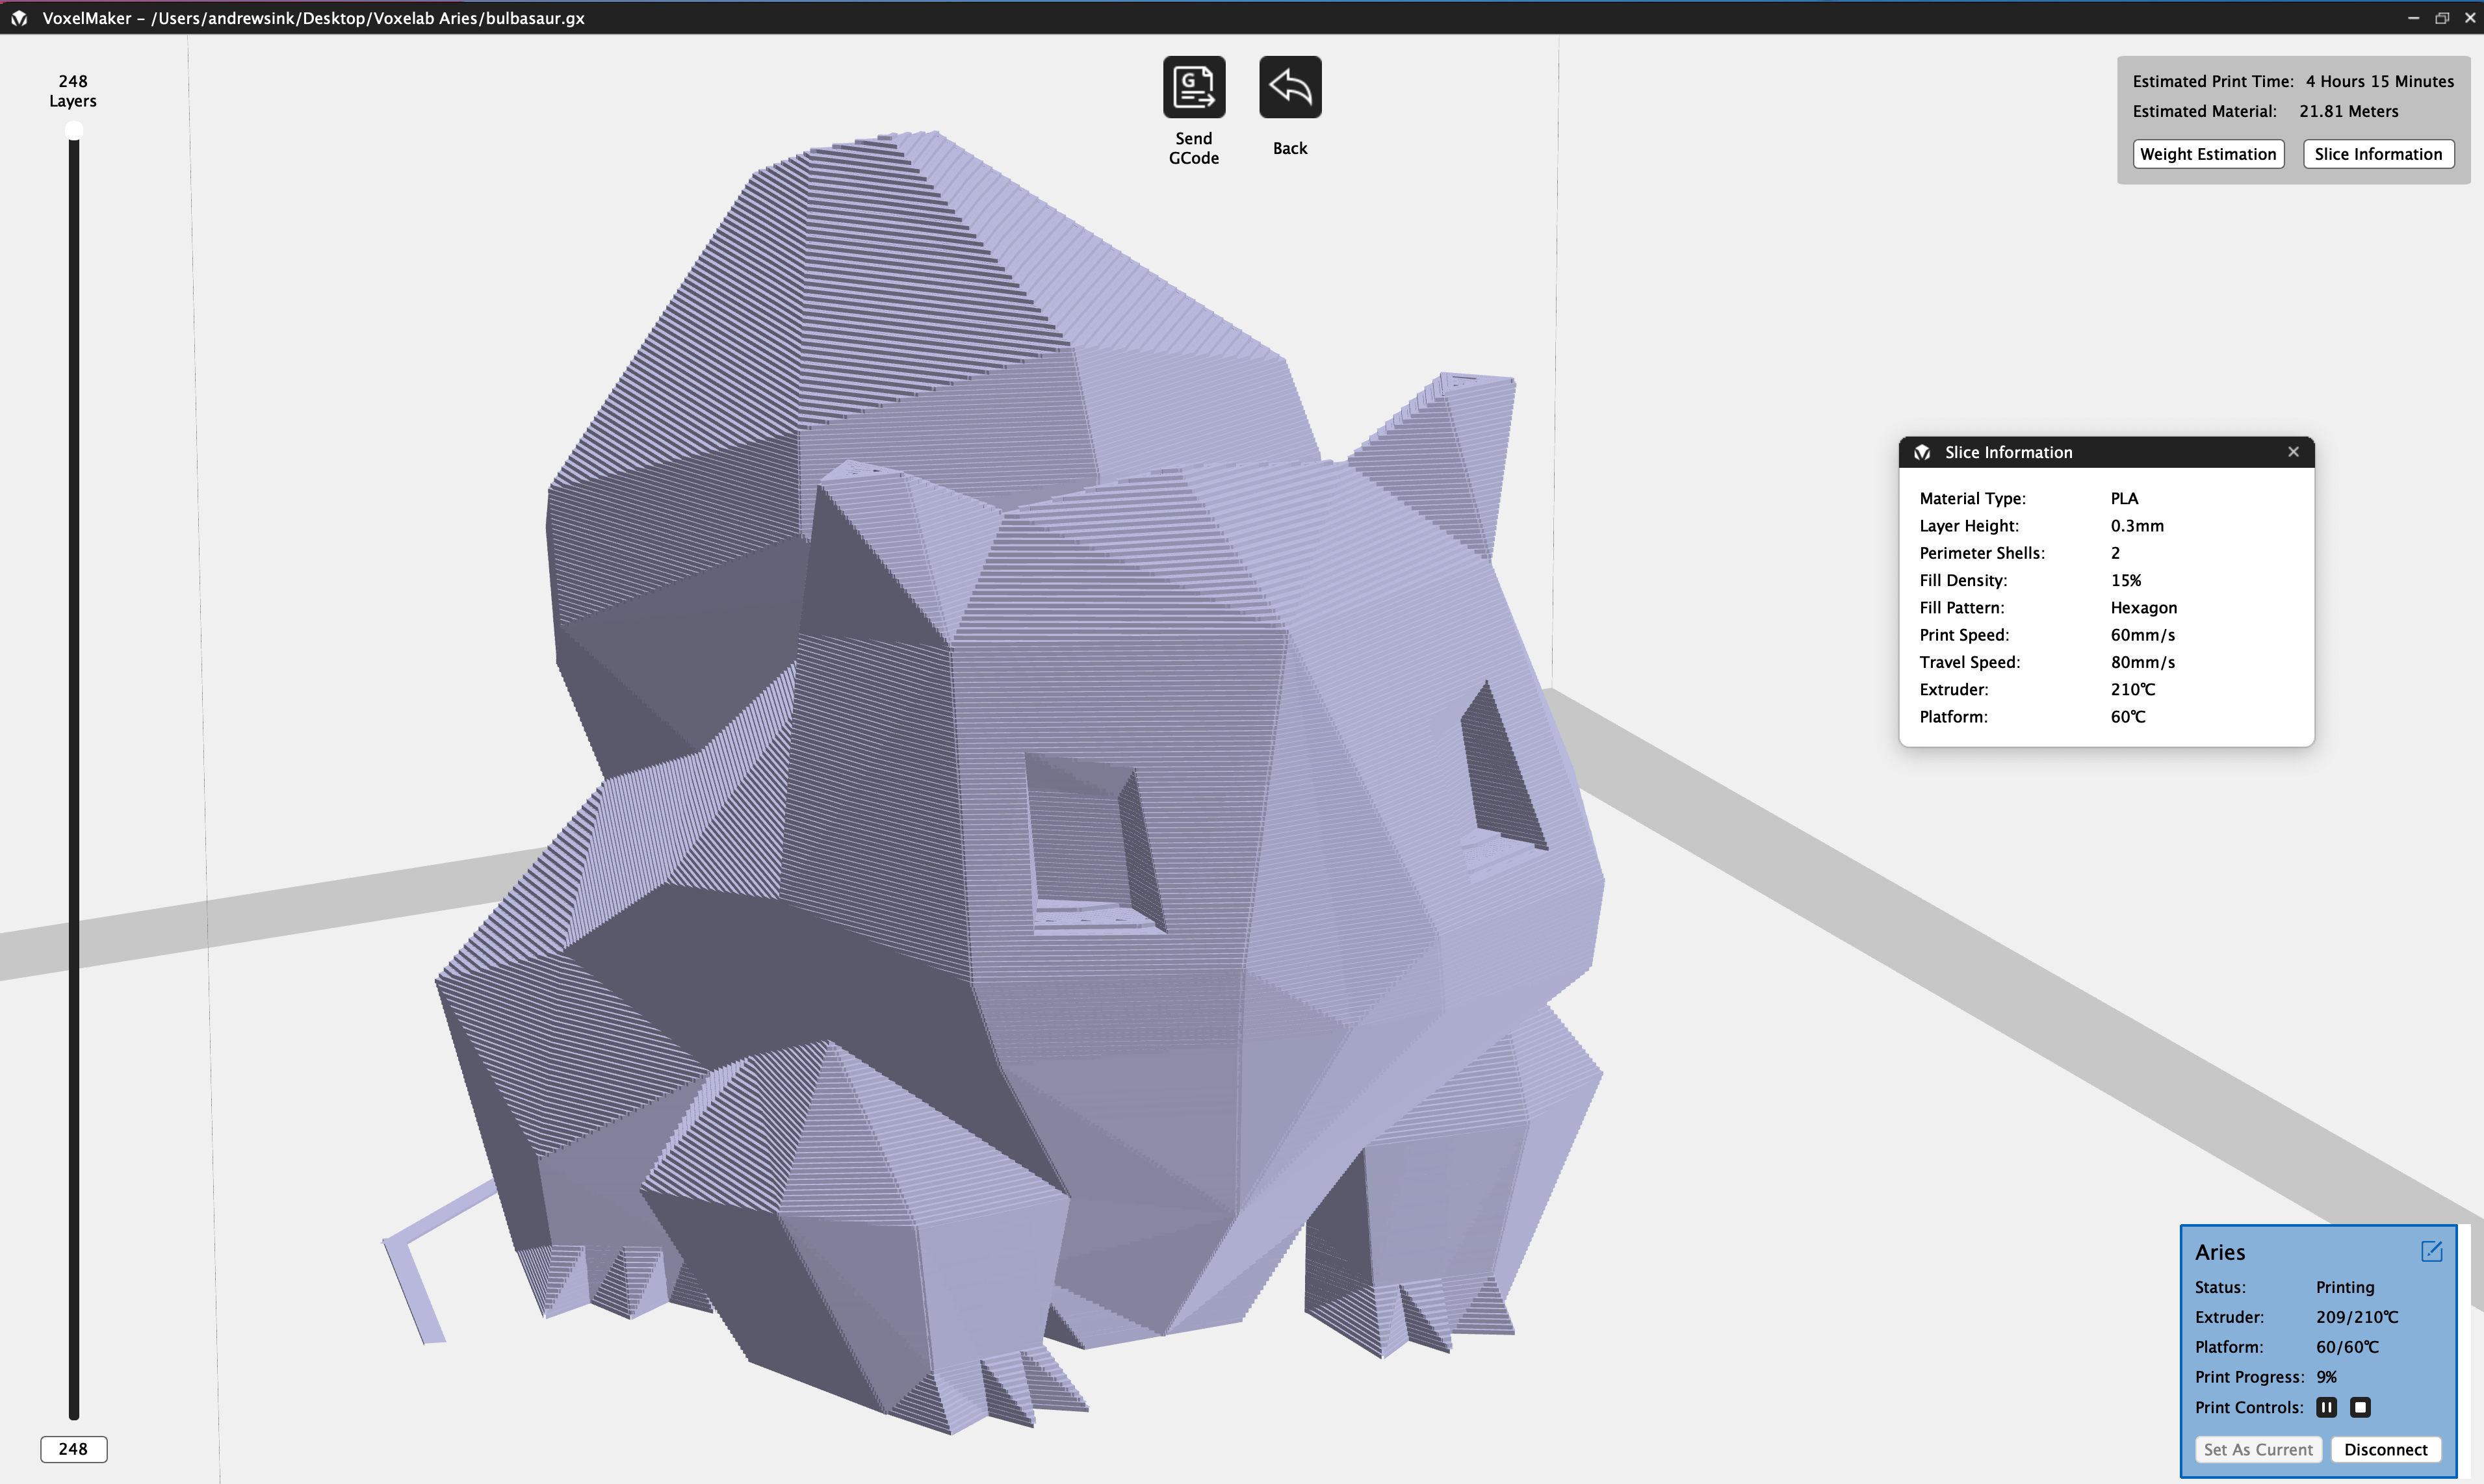
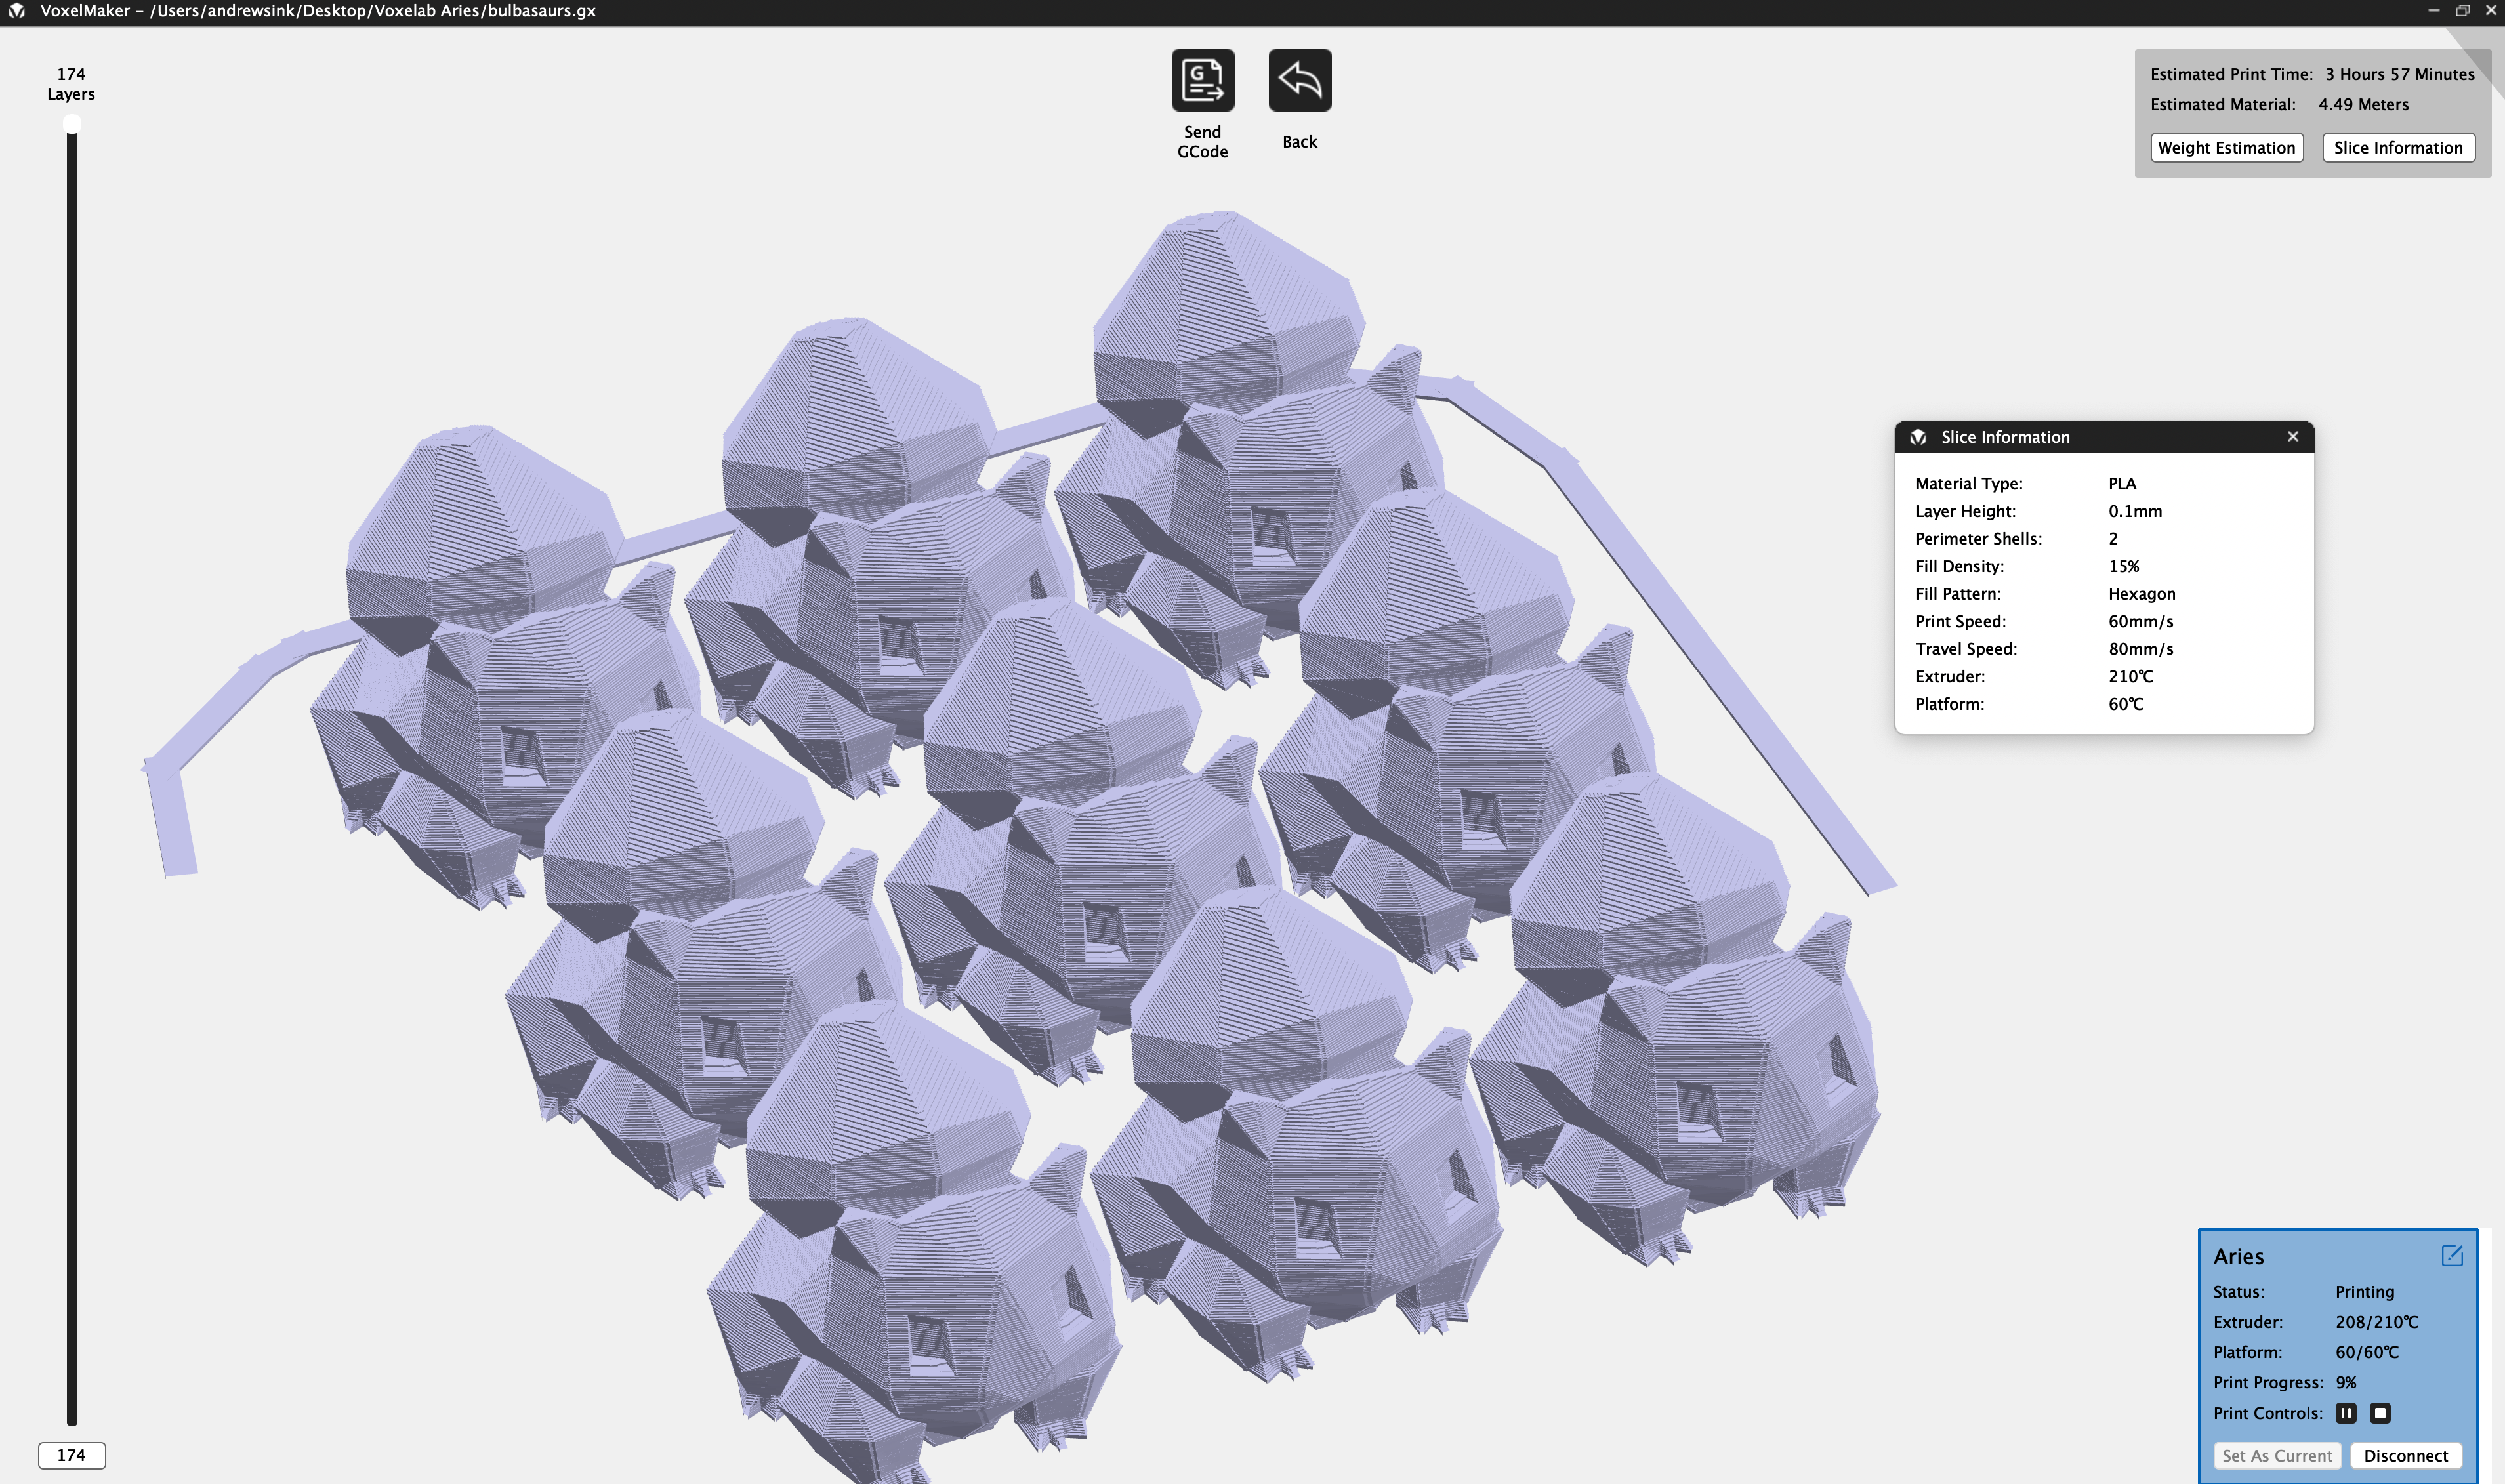
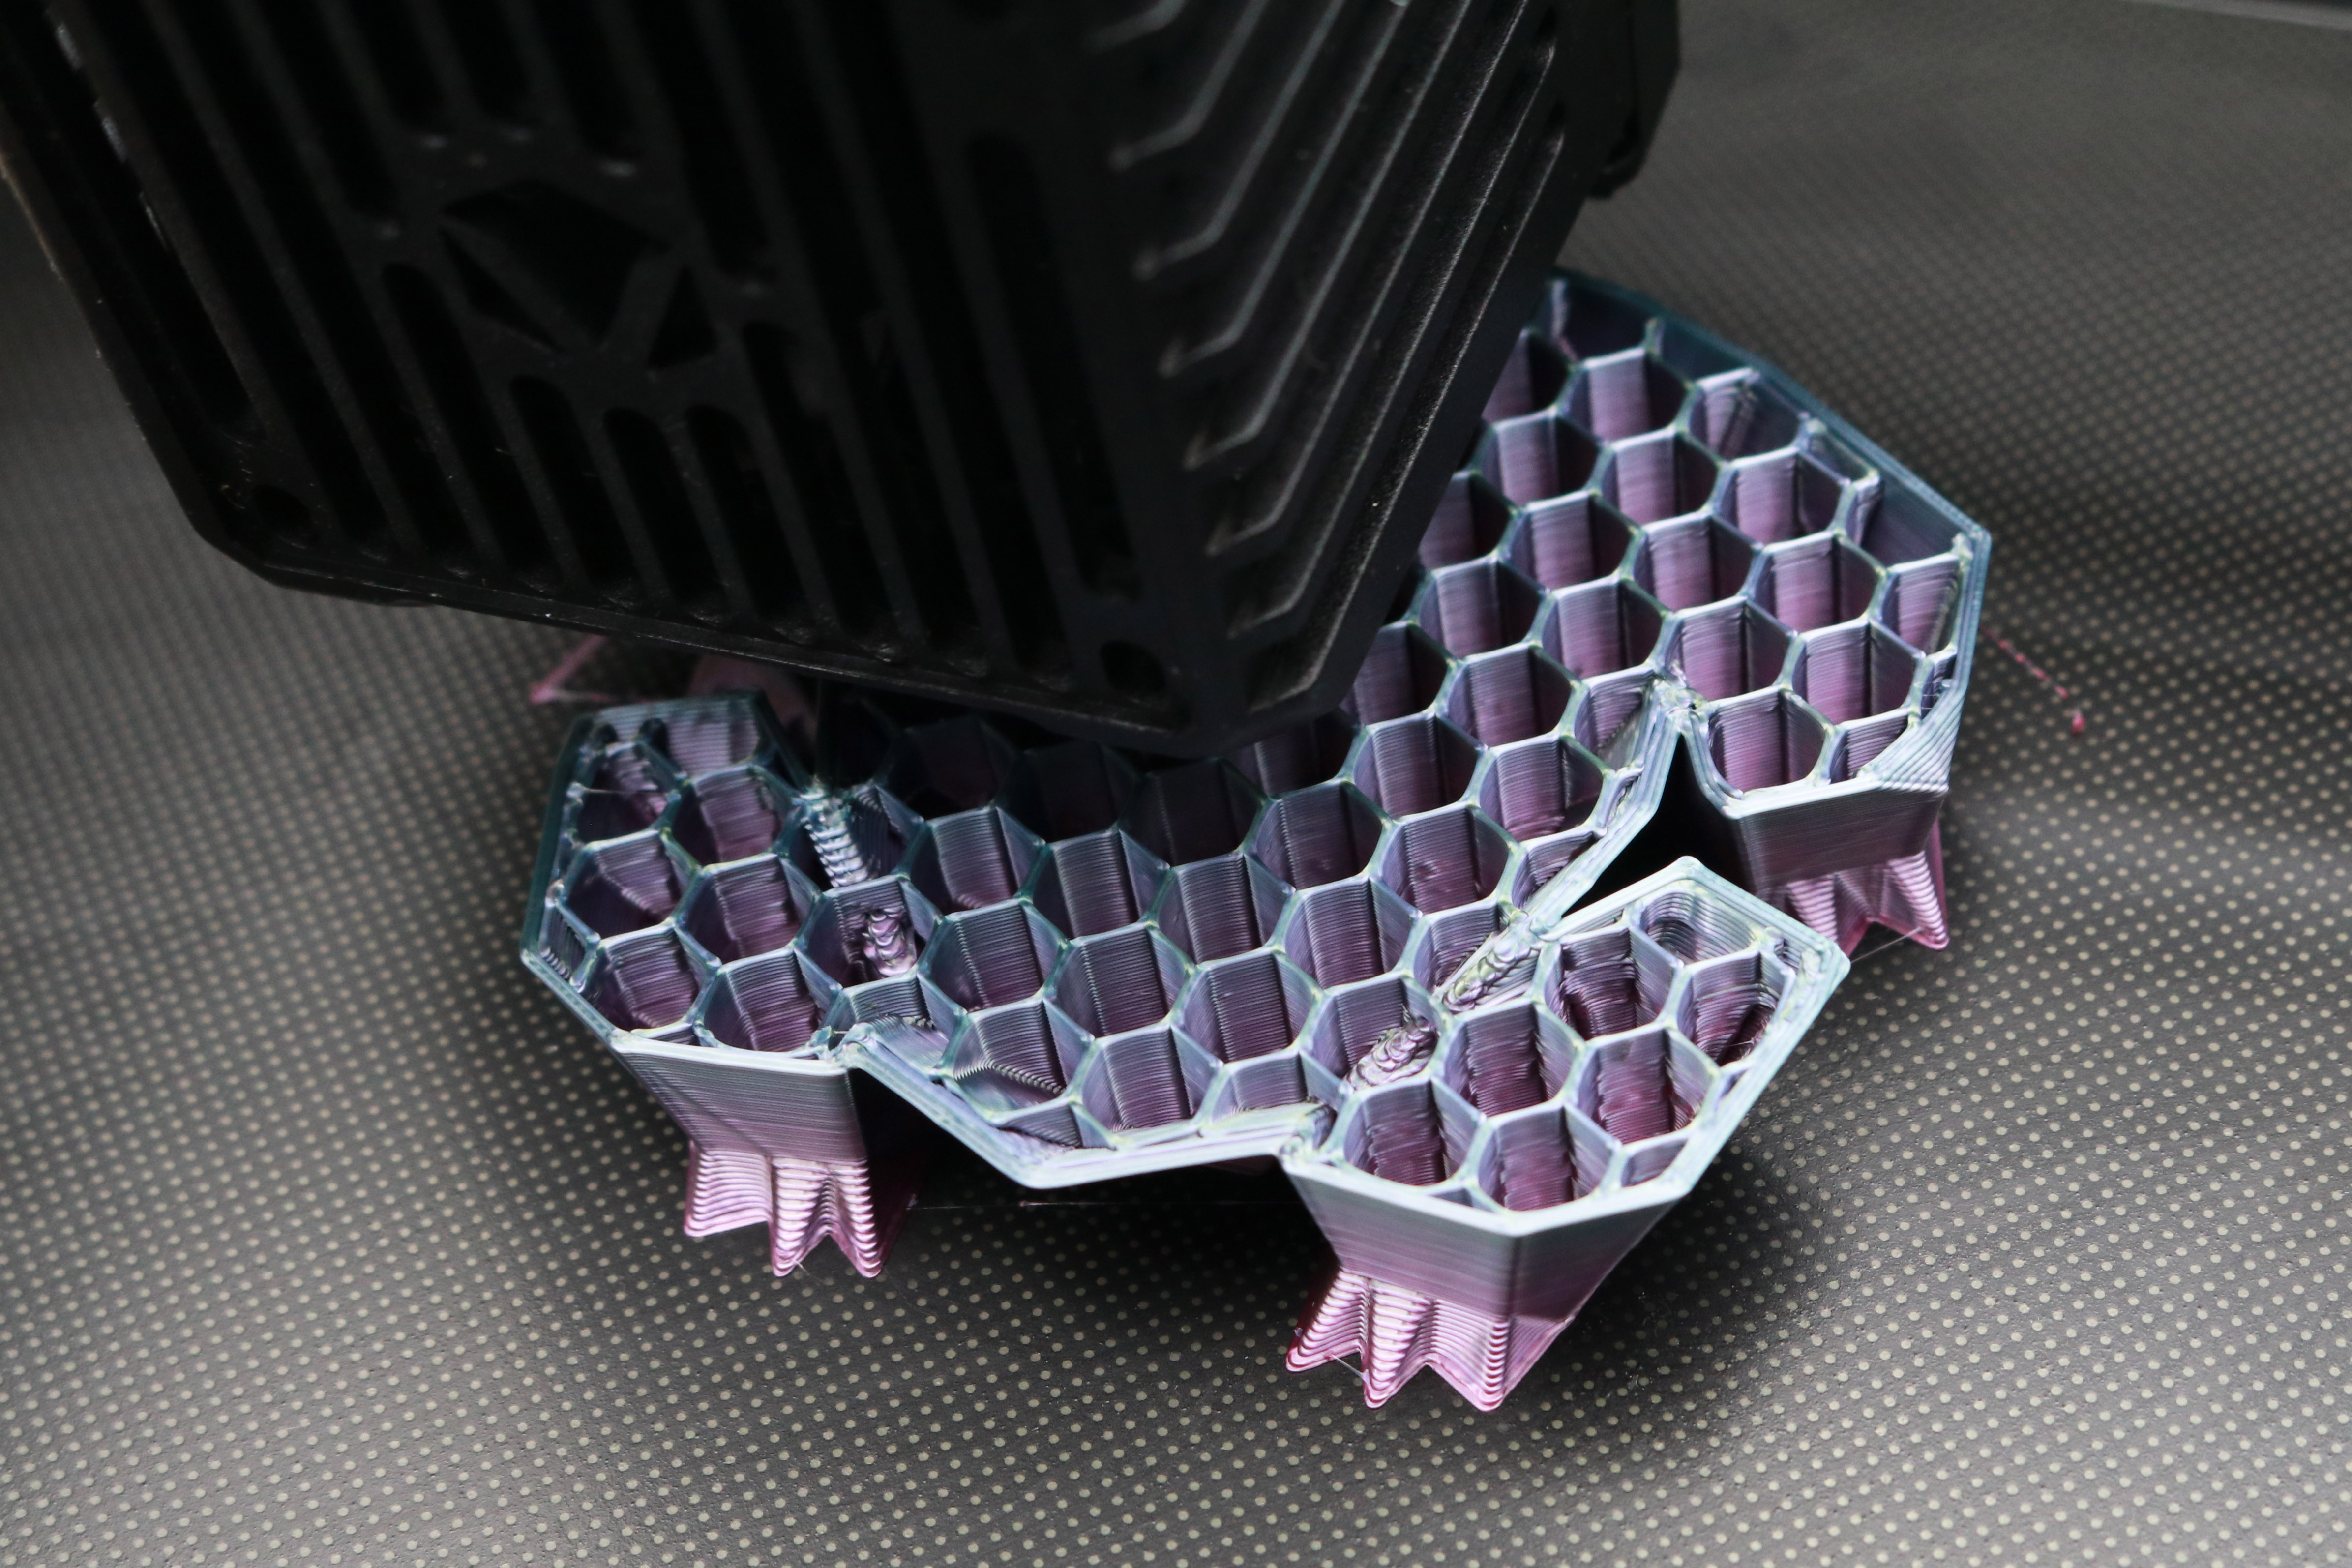
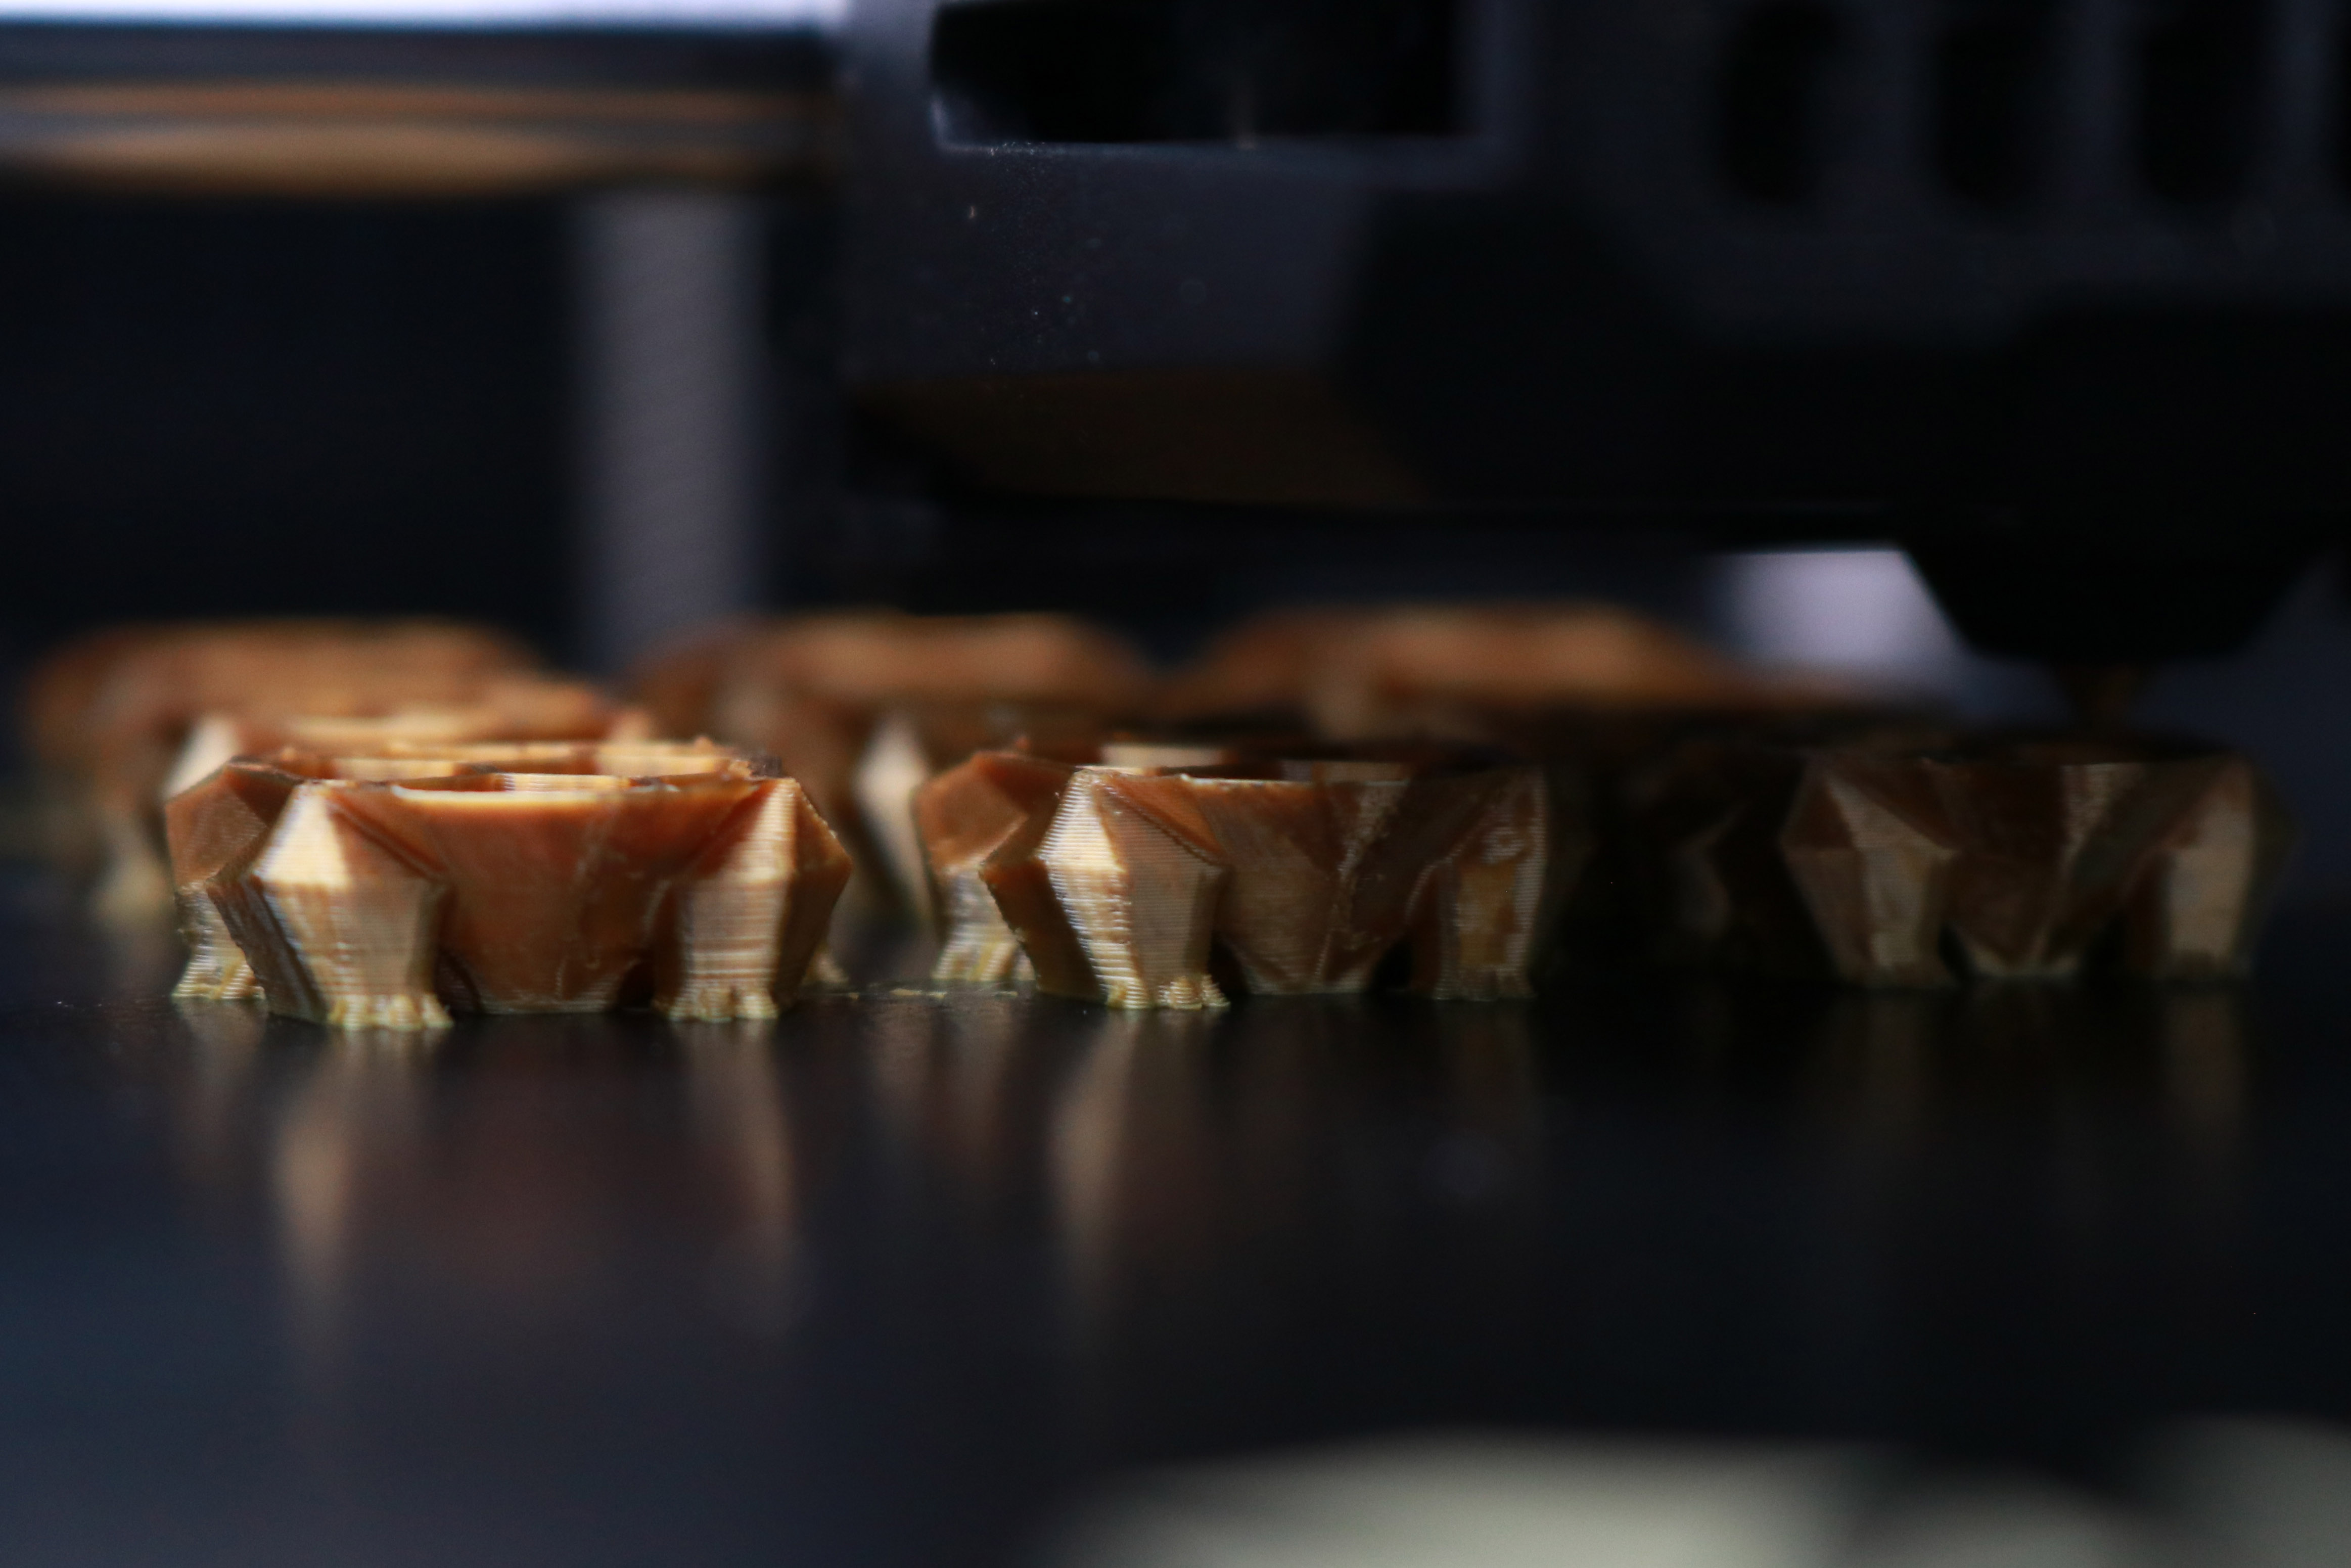
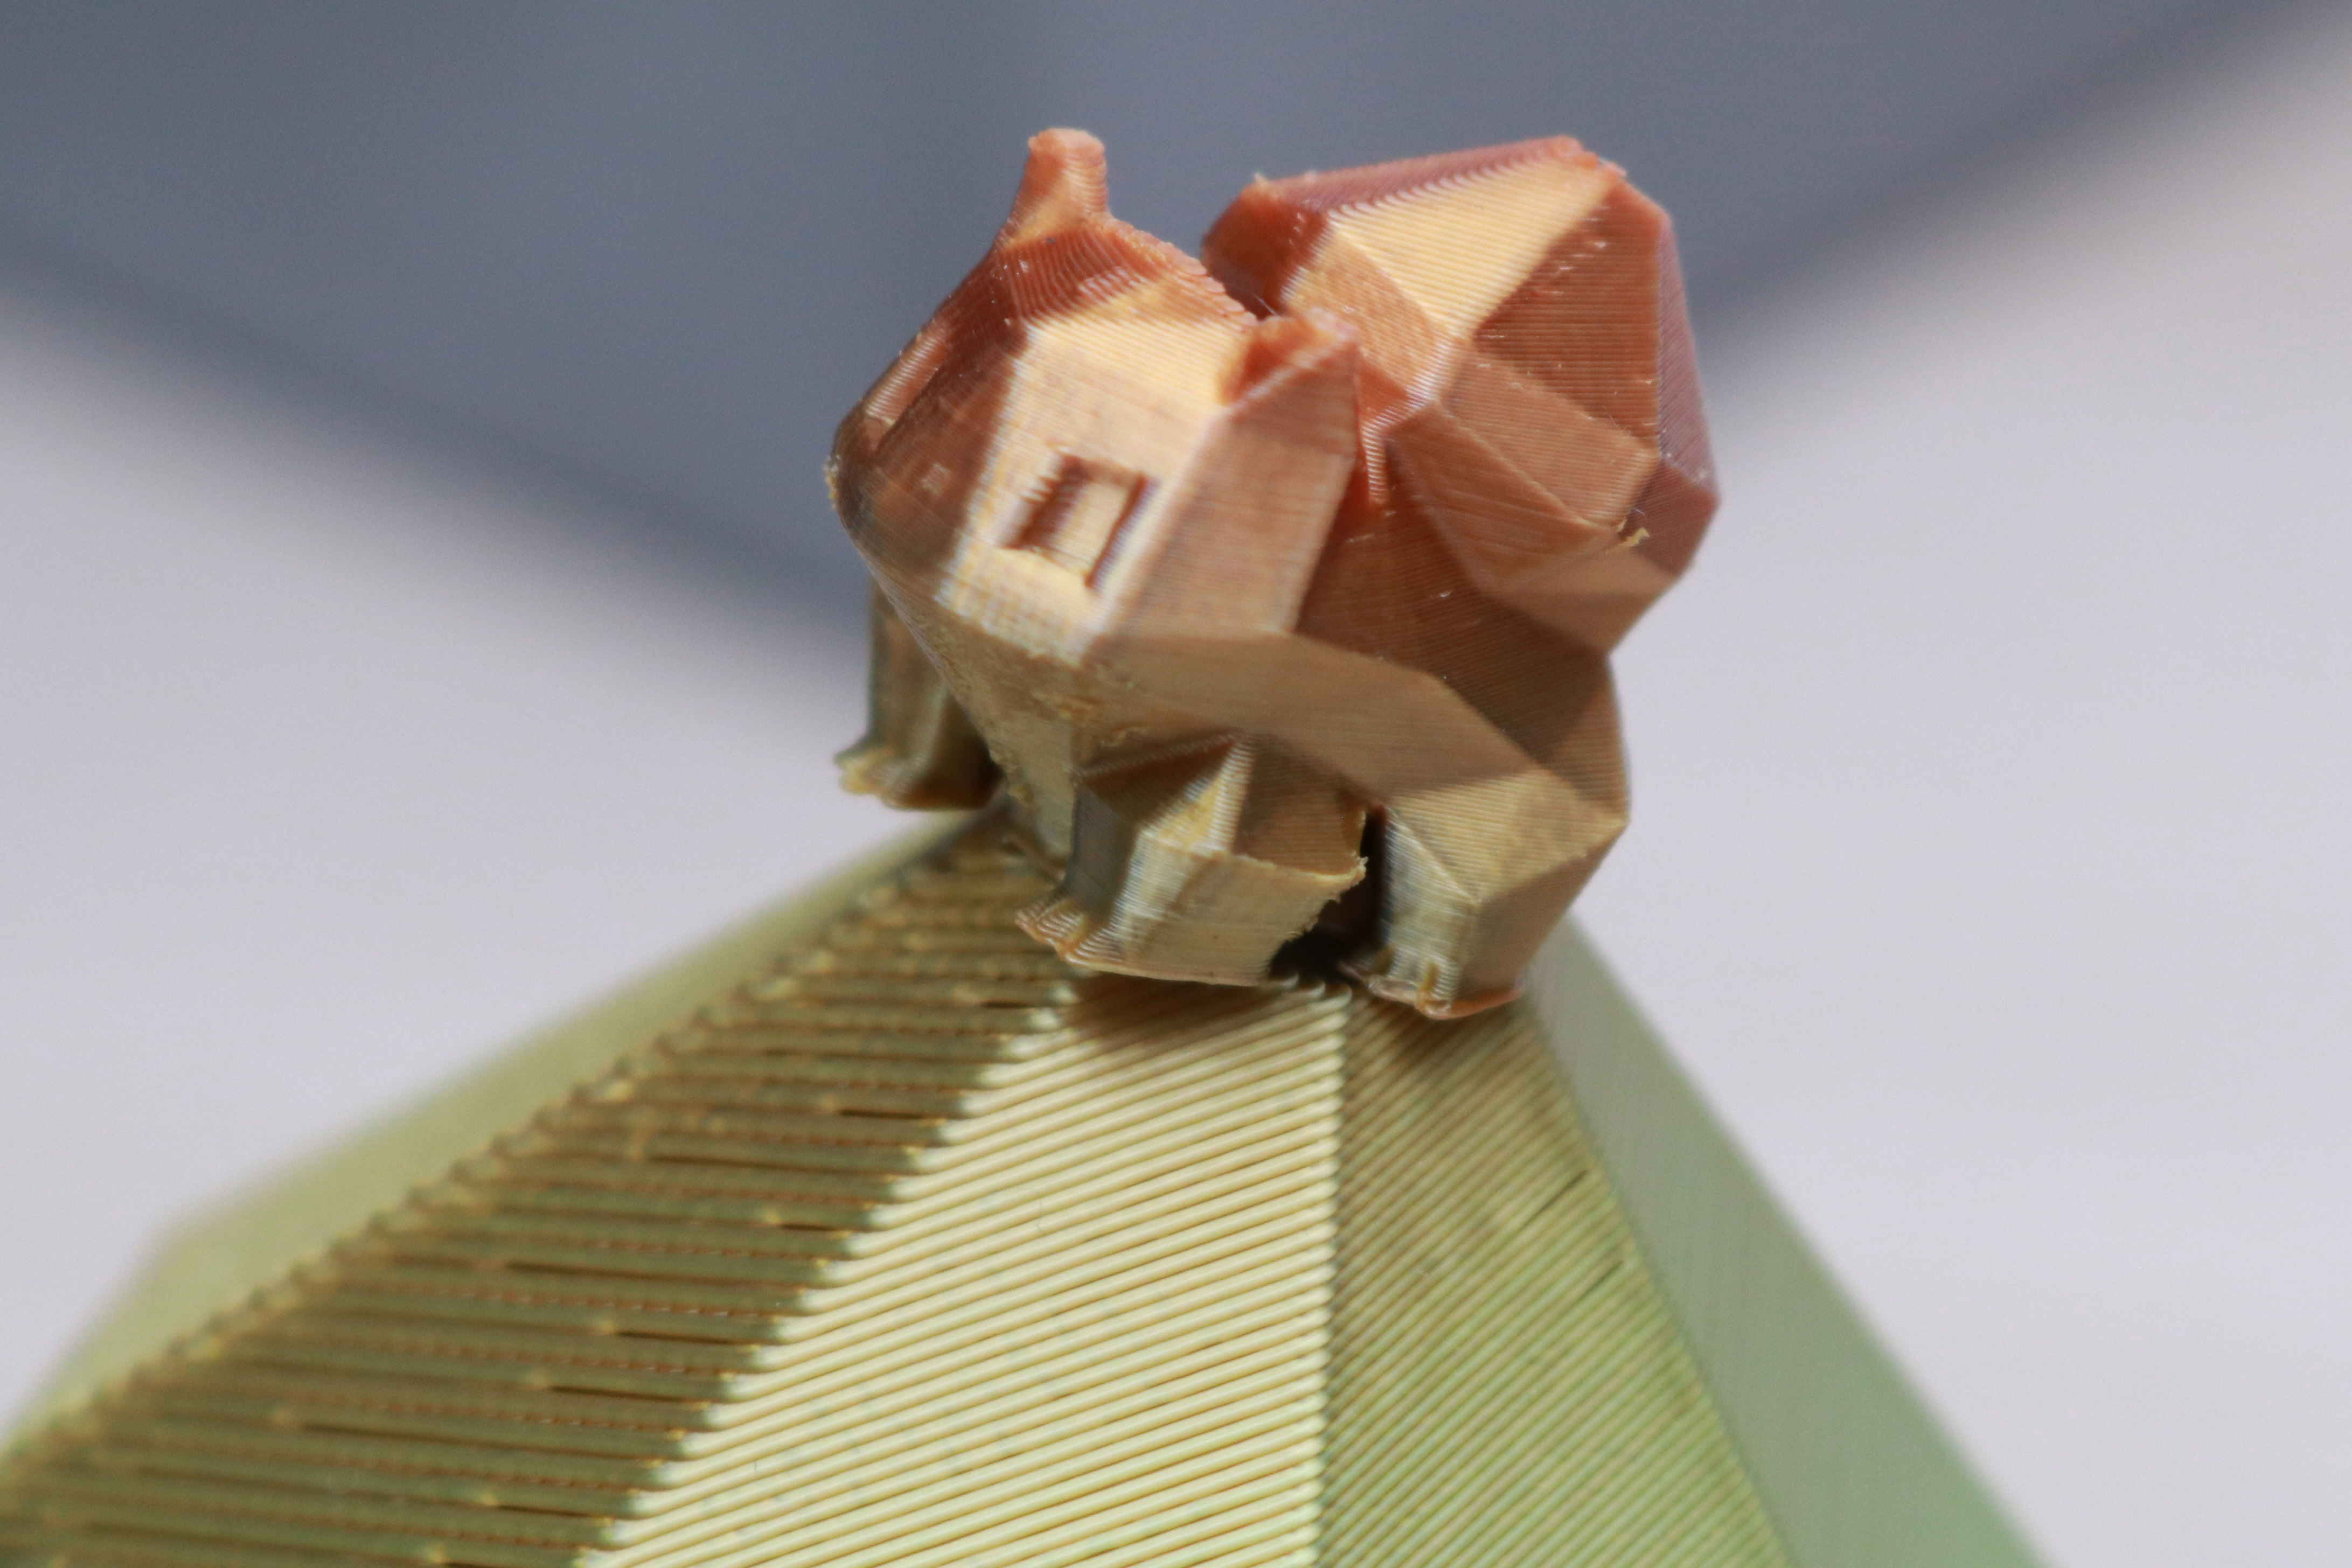
For example, when printing one large model, the typical workflow involves a larger layer height, additional shell layers, and a potentially sparser infill. The Low-Poly Bulbasaur by Agustin Flowalistik in the above pictures was sliced a .3mm layer height for the large model, and a .1mm layer height for the plate with nine small models printed simultaneously. These prints take a similar amount of time (4 Hours and 15 Minutes for the large model, 3 Hours and 57 Minutes for the small ones), due to the smaller models being printed with a much finer layer height.
Typically when changing the layer height, other parameters including the width of the toolpath and speed of extrusion should be adjusted as well. However, in VoxelMaker, these settings don’t automatically update. This means that in order to create a new profile, multiple parameters need to be adjusted and VoxelMaker offers no guidance in how to go about this process.
I simply adjusted the layer height between these two prints, which meant that the overall extrusion height was altered, but parameters like print speed, extrusion width, and other important variables were unchanged. While this technically worked, the overall quality of both models could have been greatly improved with more attention given to the settings, something that I don’t feel is realistic to expect a student or beginner to know how to do themselves.
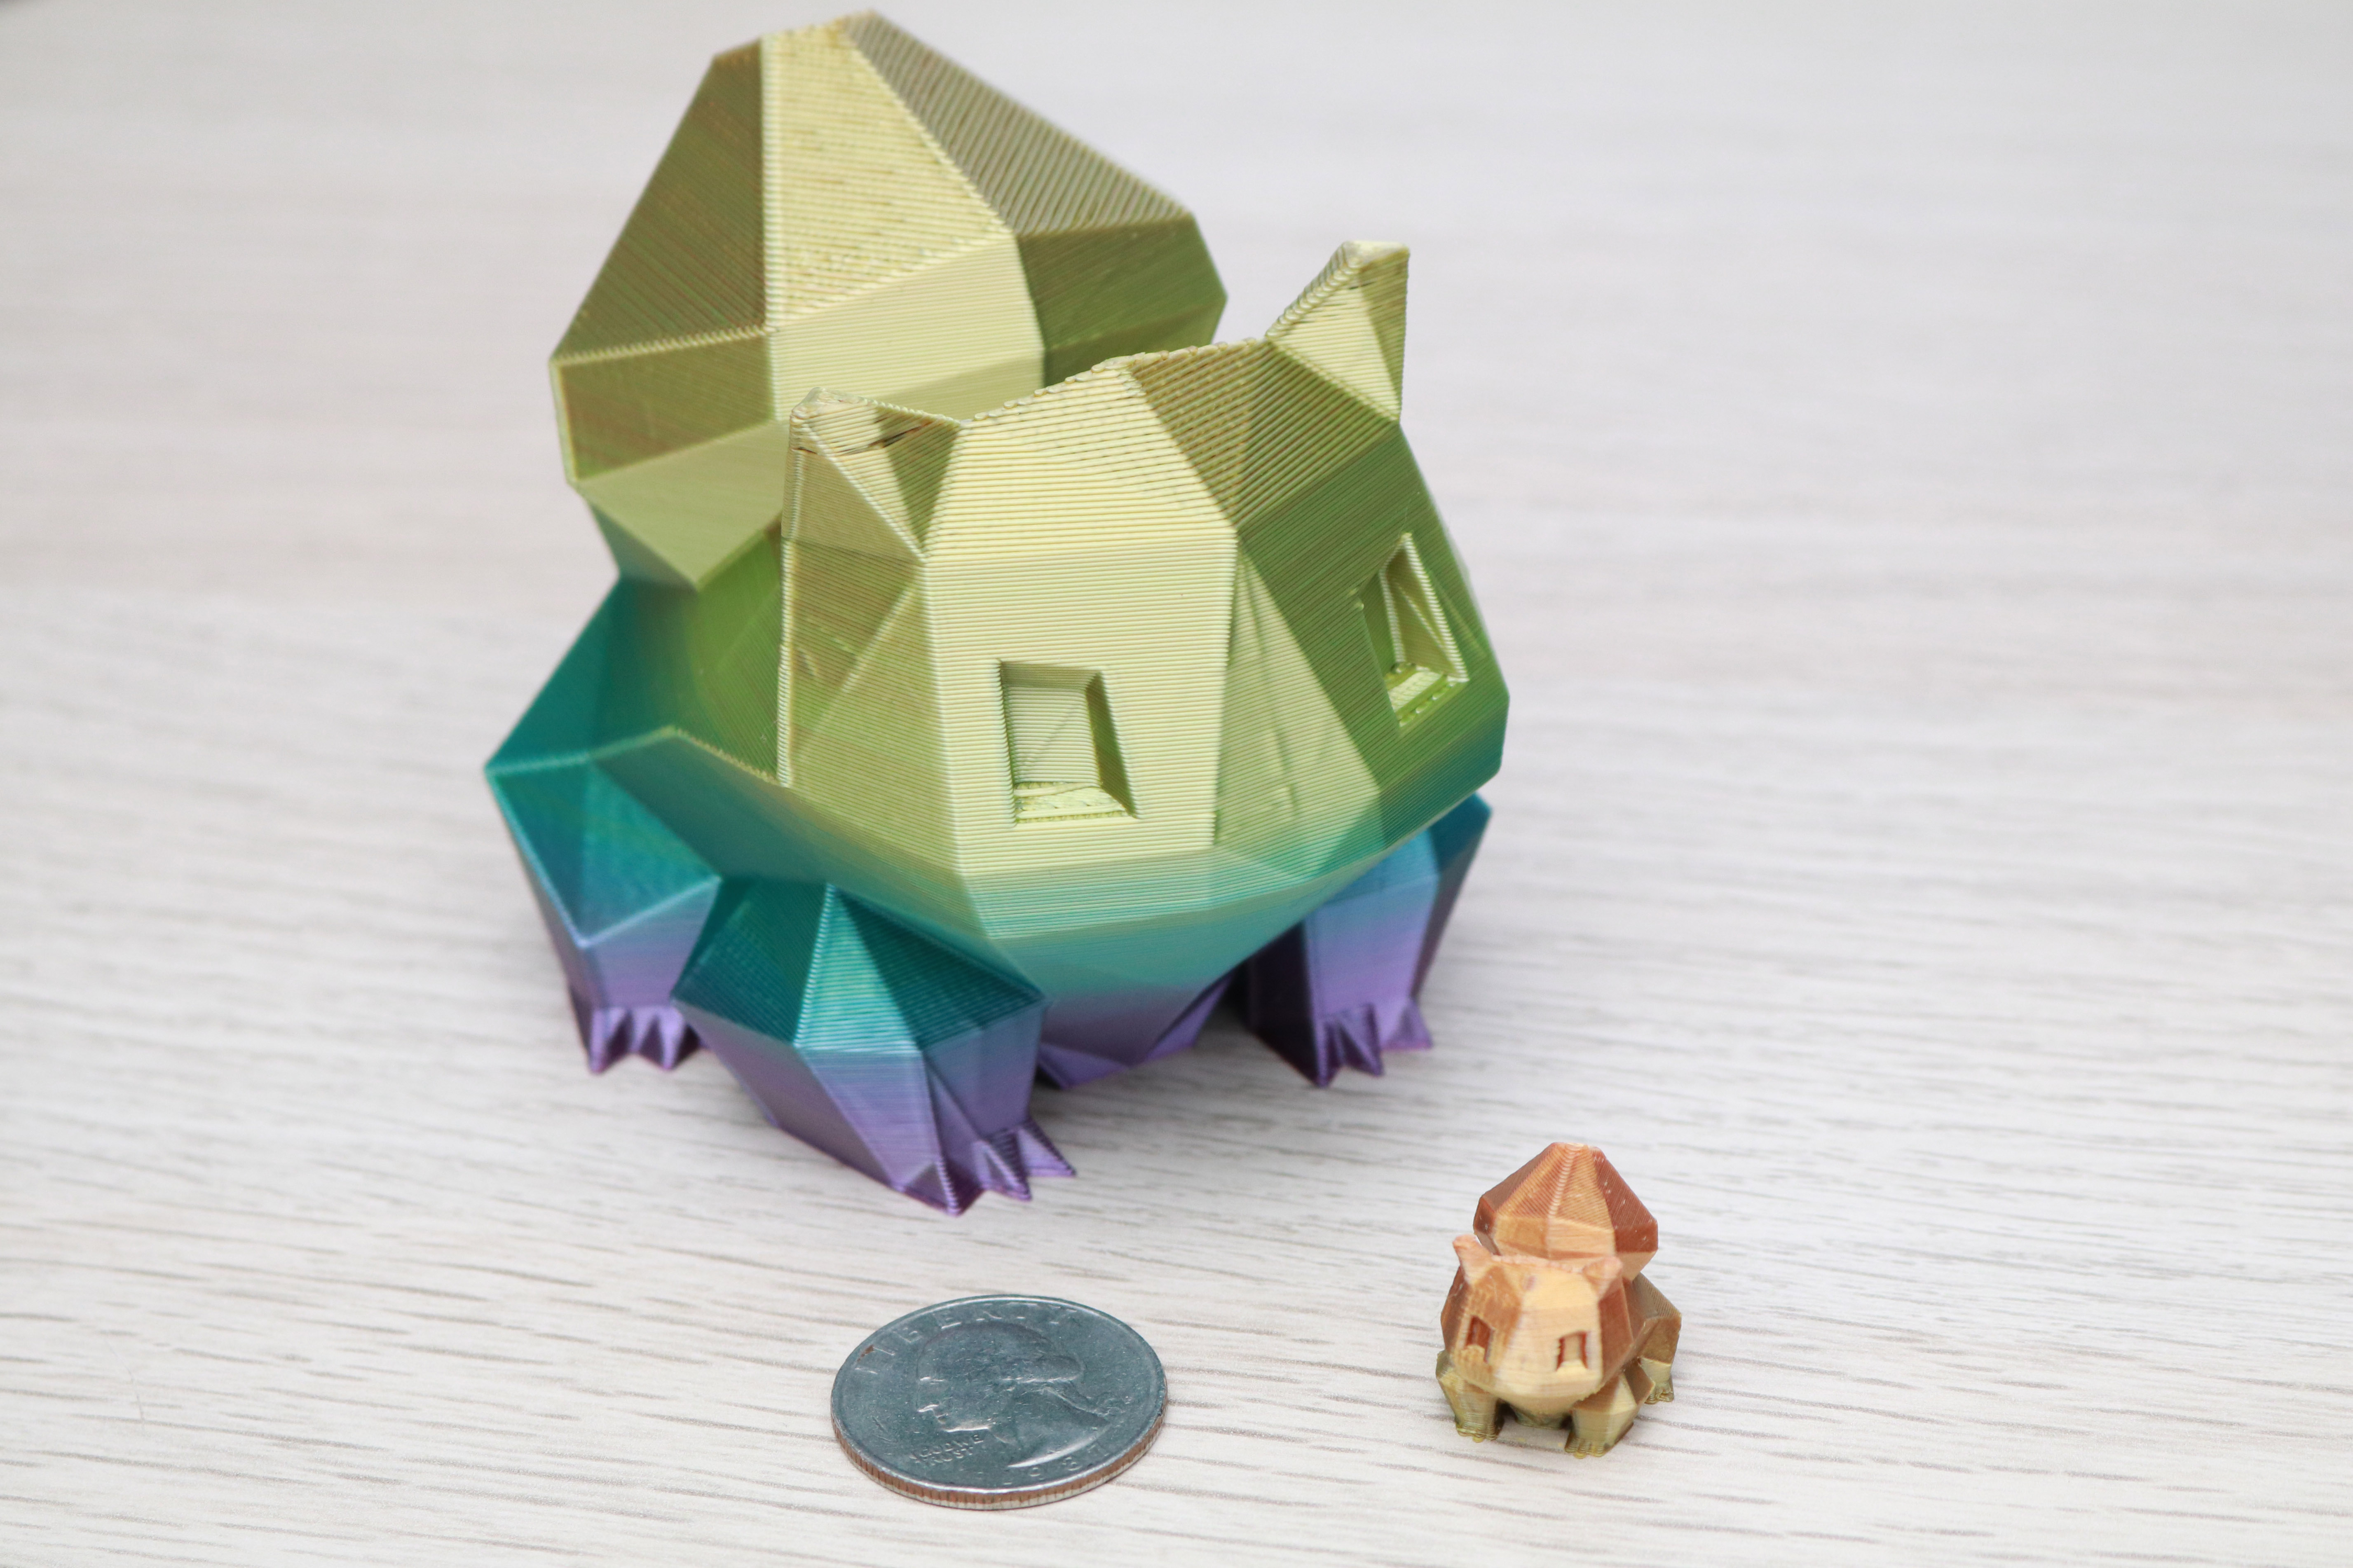
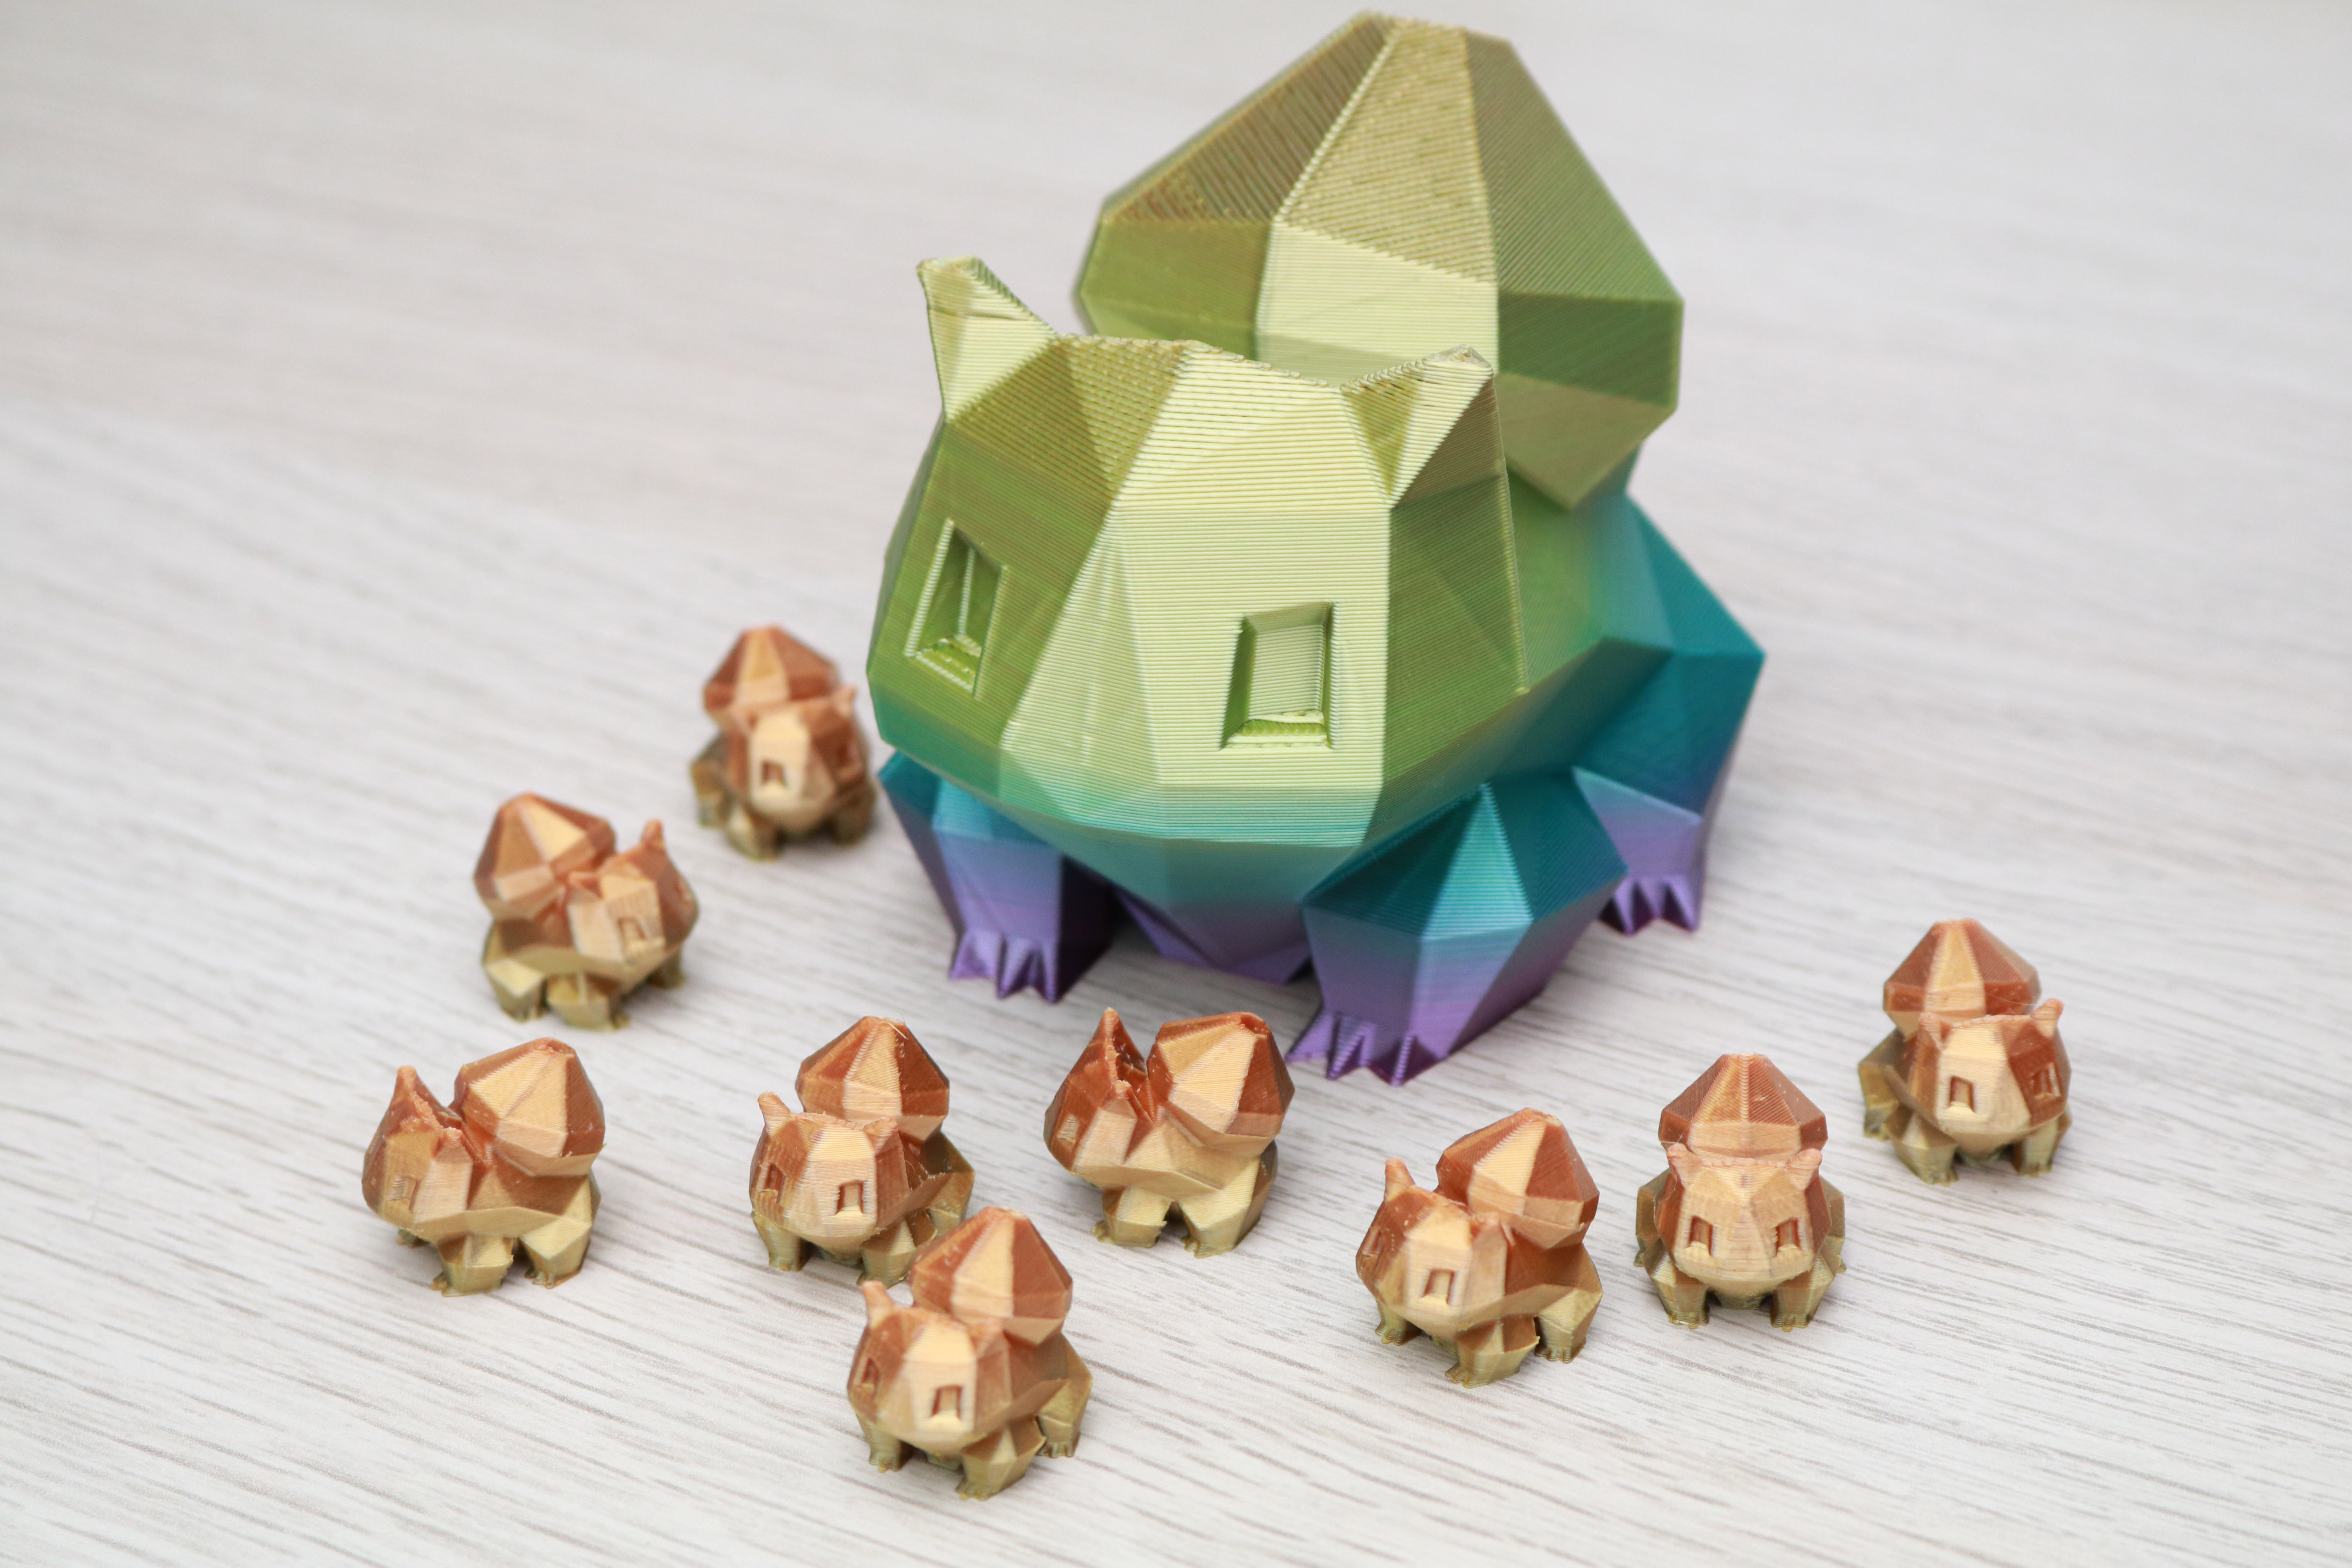
The models printed with no issues, but you can see some slight over extrusion on the feet of the small model, and the top layers on the large model didn’t fully laminate as the part increased in height. This could be due to a variety of factors, but additional outer and top layers would have likely resulted in a more evenly extruded part.
VoxelMaker Standard Settings for Voxelab Aries
| Layer Height | 0.18mm |
| Infill Percentage | 15%, Hexagon |
| Print Speed | 60mm/second |
| Extruder Temperature | 210 degrees Celsius (410 degrees Fahrenheit) |
| Heated Bed Temp | 60 degrees Celsius (140 degrees Fahrenheit) |
| Print Time | 11 Hours, 3 Minutes |
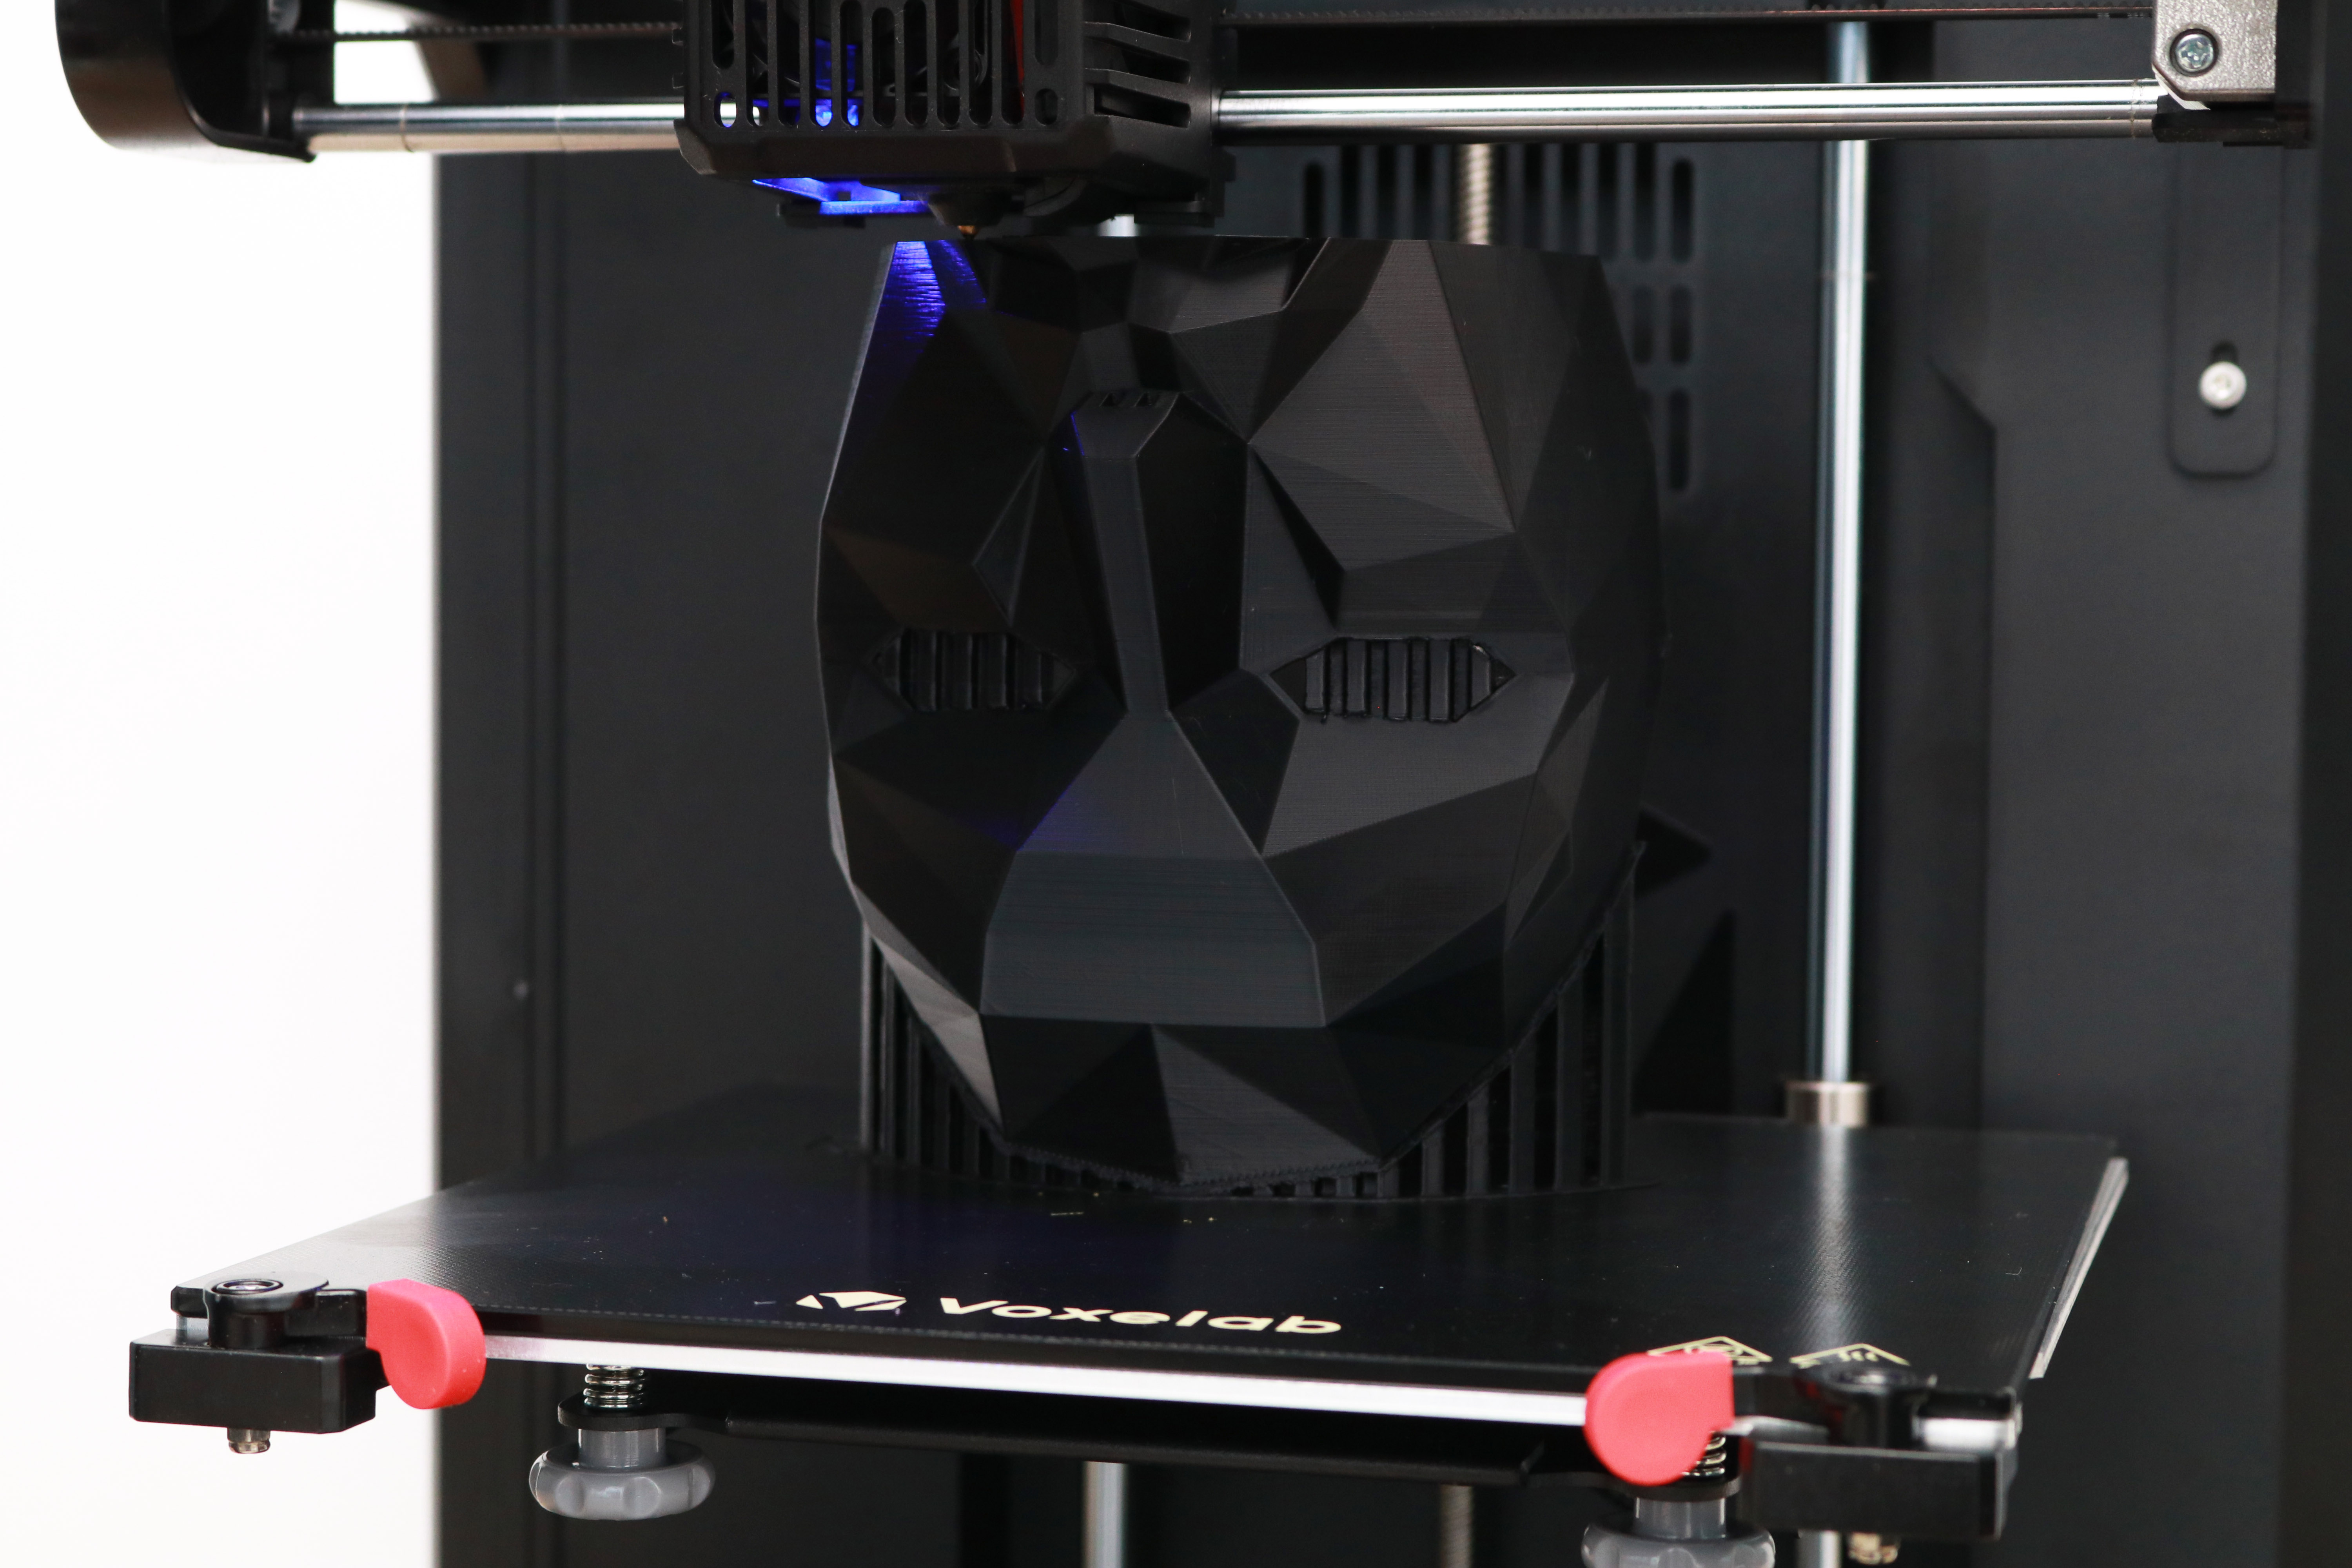
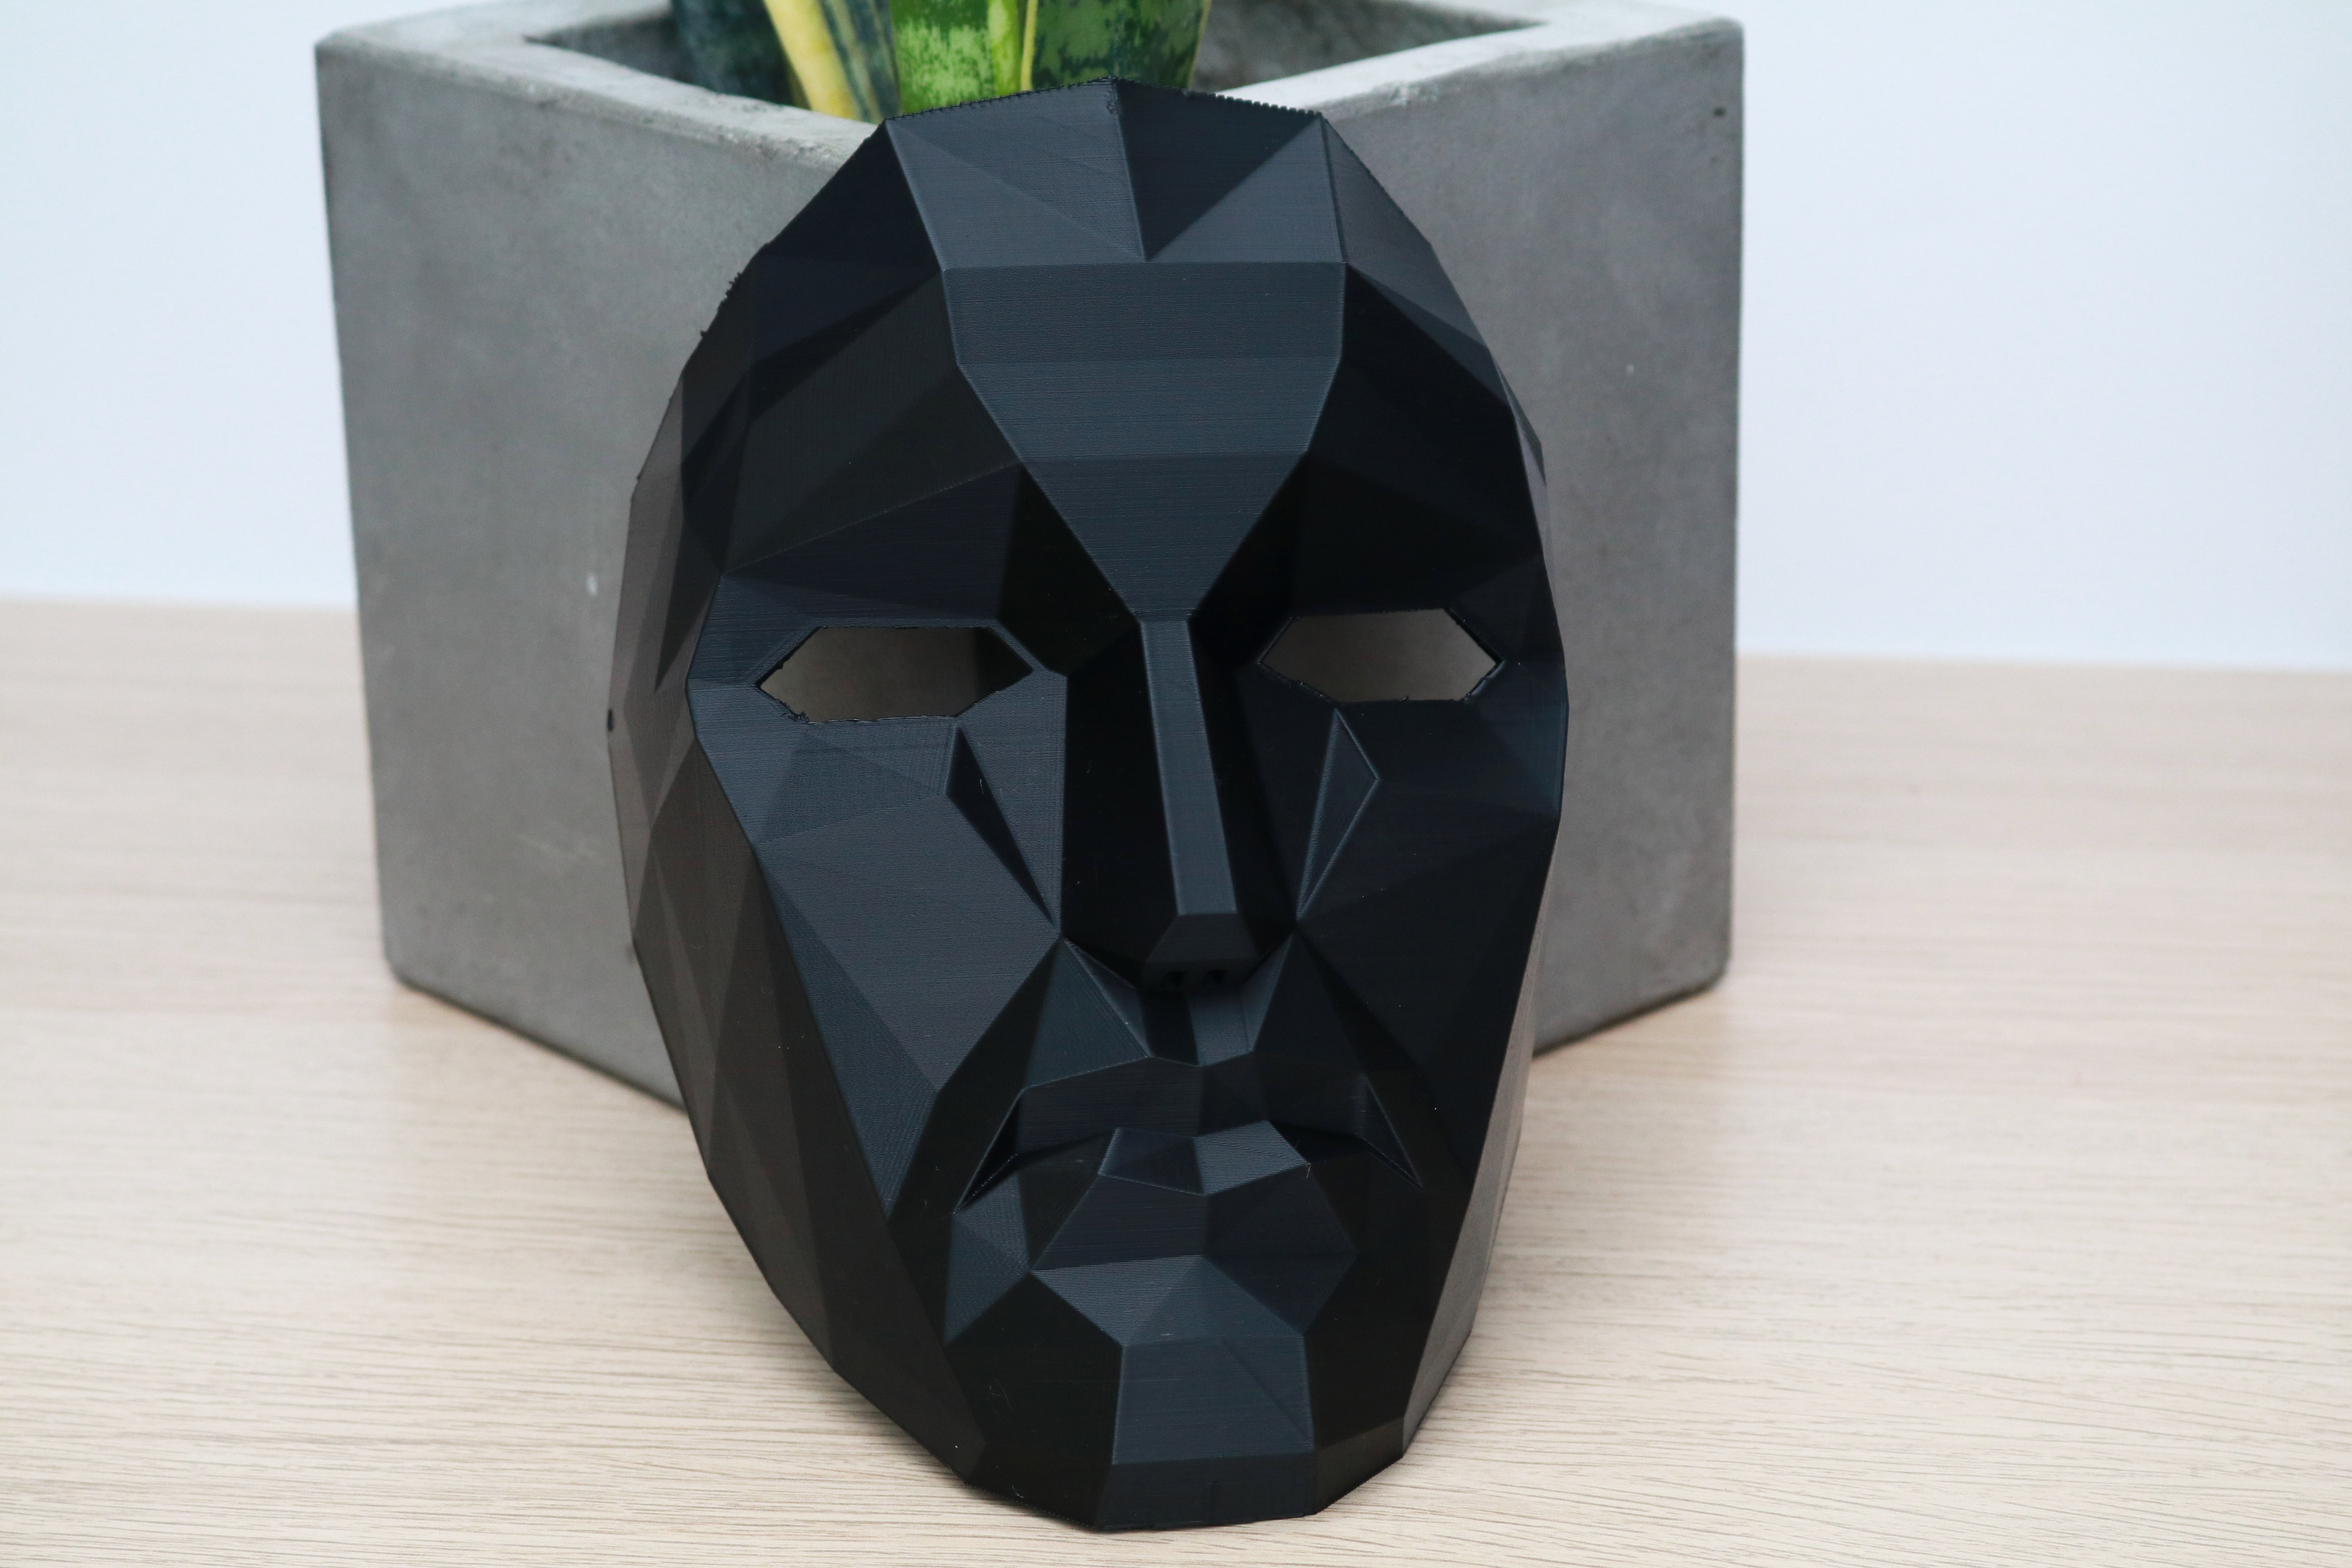
The stationary bed of the Voxelab Aries makes it possible to print tall, thin parts without the wobble associated with machines that move the bed back and forth during printing. This wobble can result in banding, or ripples, in tall parts that are rapidly moved as they increase in height. I printed the Front Man mask from the Netflix show Squid Game, modeled by Thingiverse user kimgooni, to test out the ability of the Aries to print tall, thin parts. The mask itself has an average thickness of 2.5mm when printed at 80% scale, so it was ideal for testing out this capability.
I added a thin brim in VoxelMaker to keep the mask firmly attached to the build platform during printing, and was pleased to see that the print completed with my wobbling or any other motion-related artifacts. The thin, tall mask printed out in just over 11 hours and the Prusa Jet Black PLA gave it a deep, saturated appearance. The model is designed to be deliberately low-poly, so when printed at a relatively fine layer height (.18mm), it looked chunky and textured without the appearance of layer lines that would indicate the model was 3D printed.
VoxelMaker Support Structure Settings for Voxelab Aries
| Layer Height | 0.18mm |
| Infill Percentage | 15%, Hexagon |
| Print Speed | 50mm/second |
| Extruder Temperature | 210 degrees Celsius (410 degrees Fahrenheit) |
| Heated Bed Temp | 60 degrees Celsius (140 degrees Fahrenheit) |
| Print Time | 5 Hours, 31 Minutes |
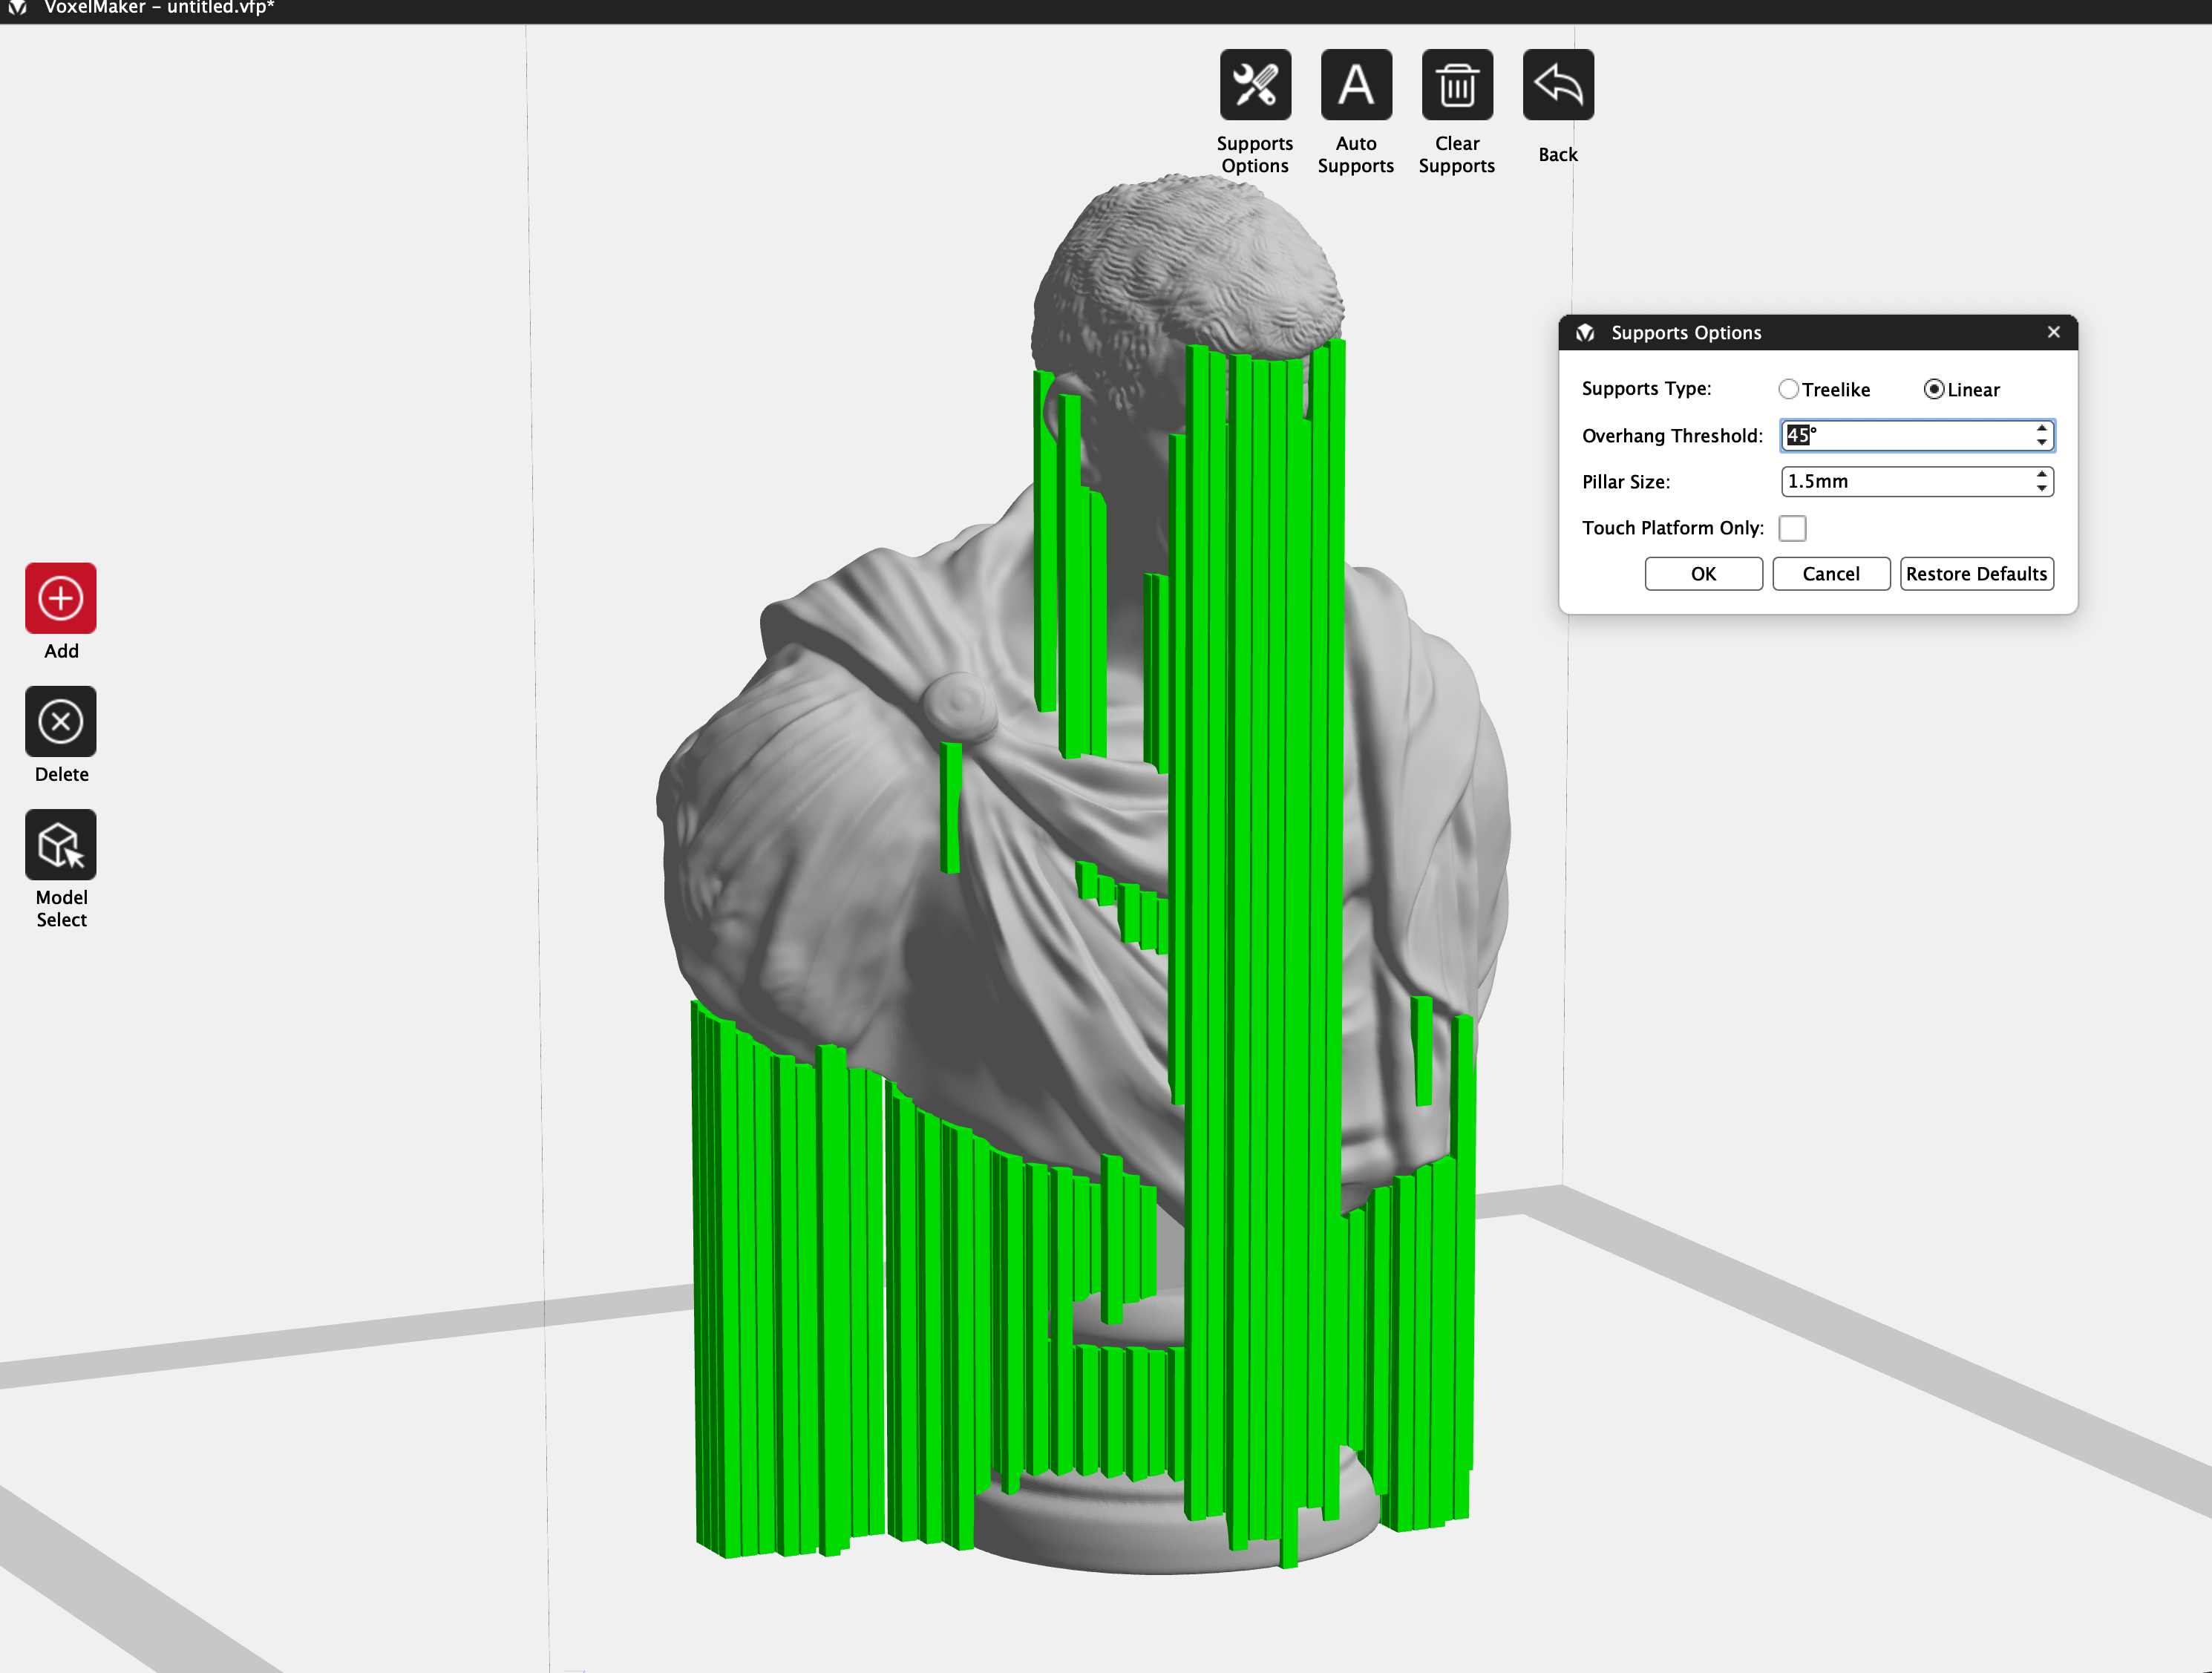
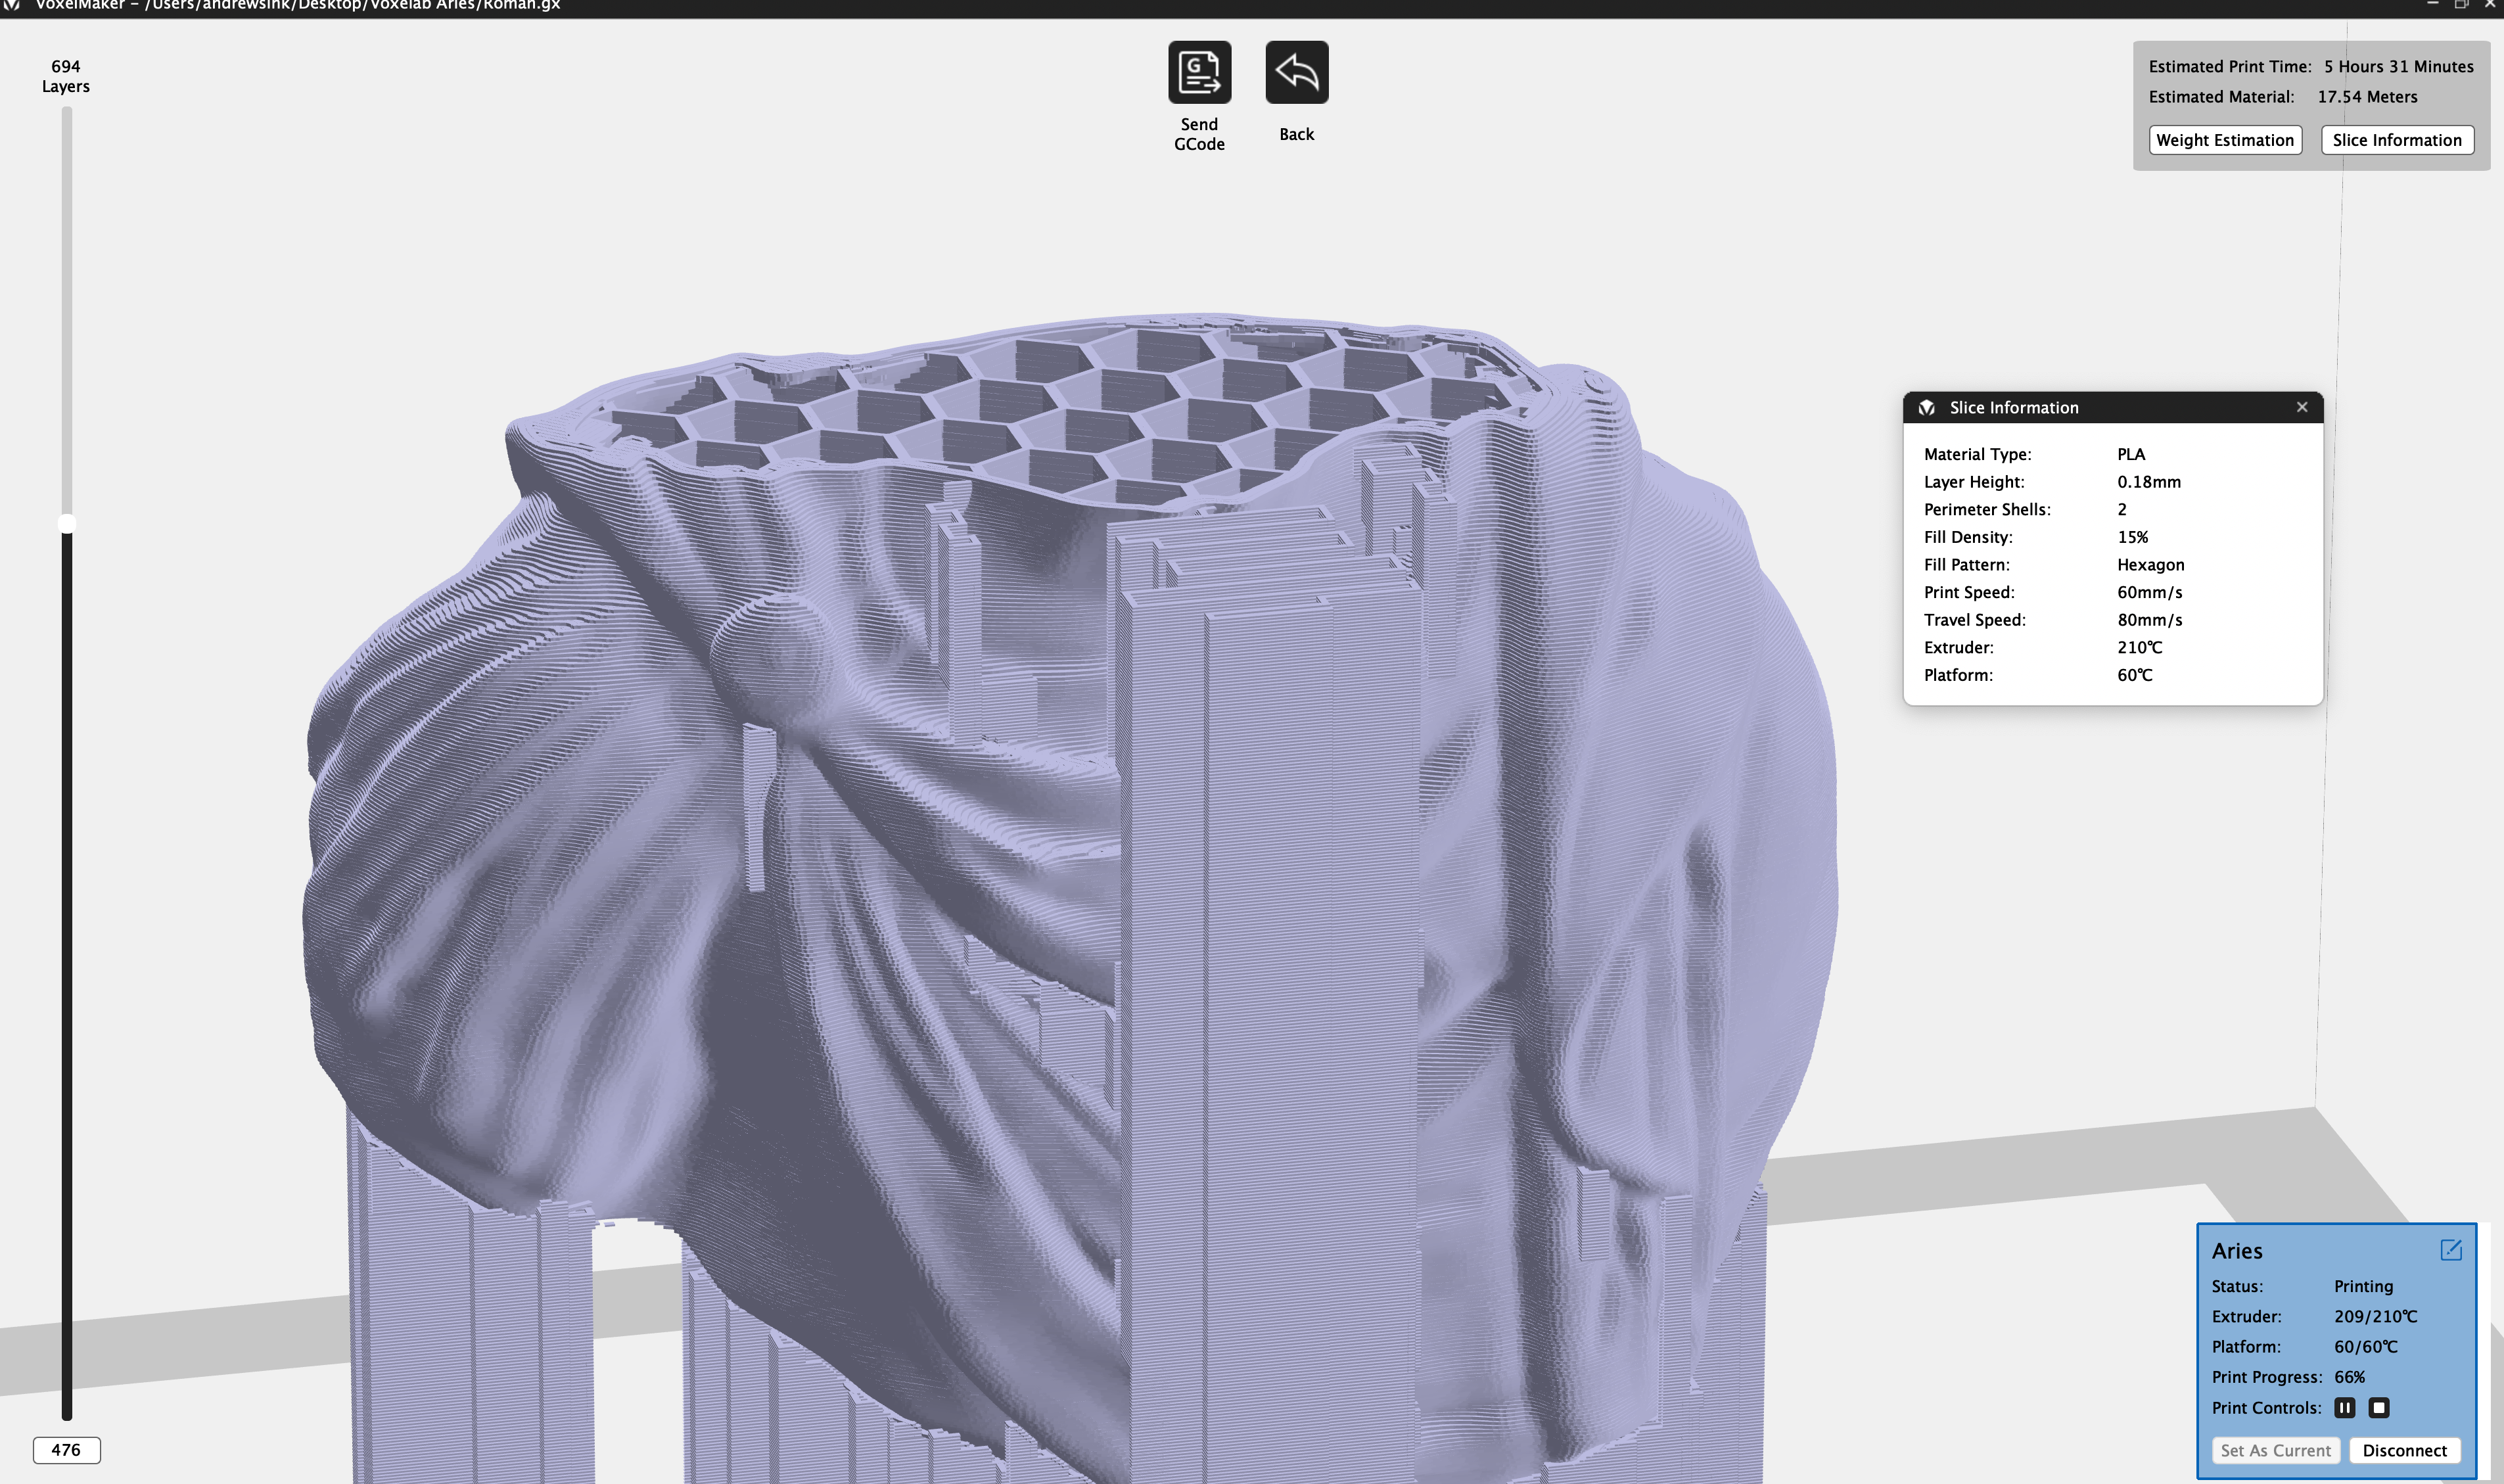
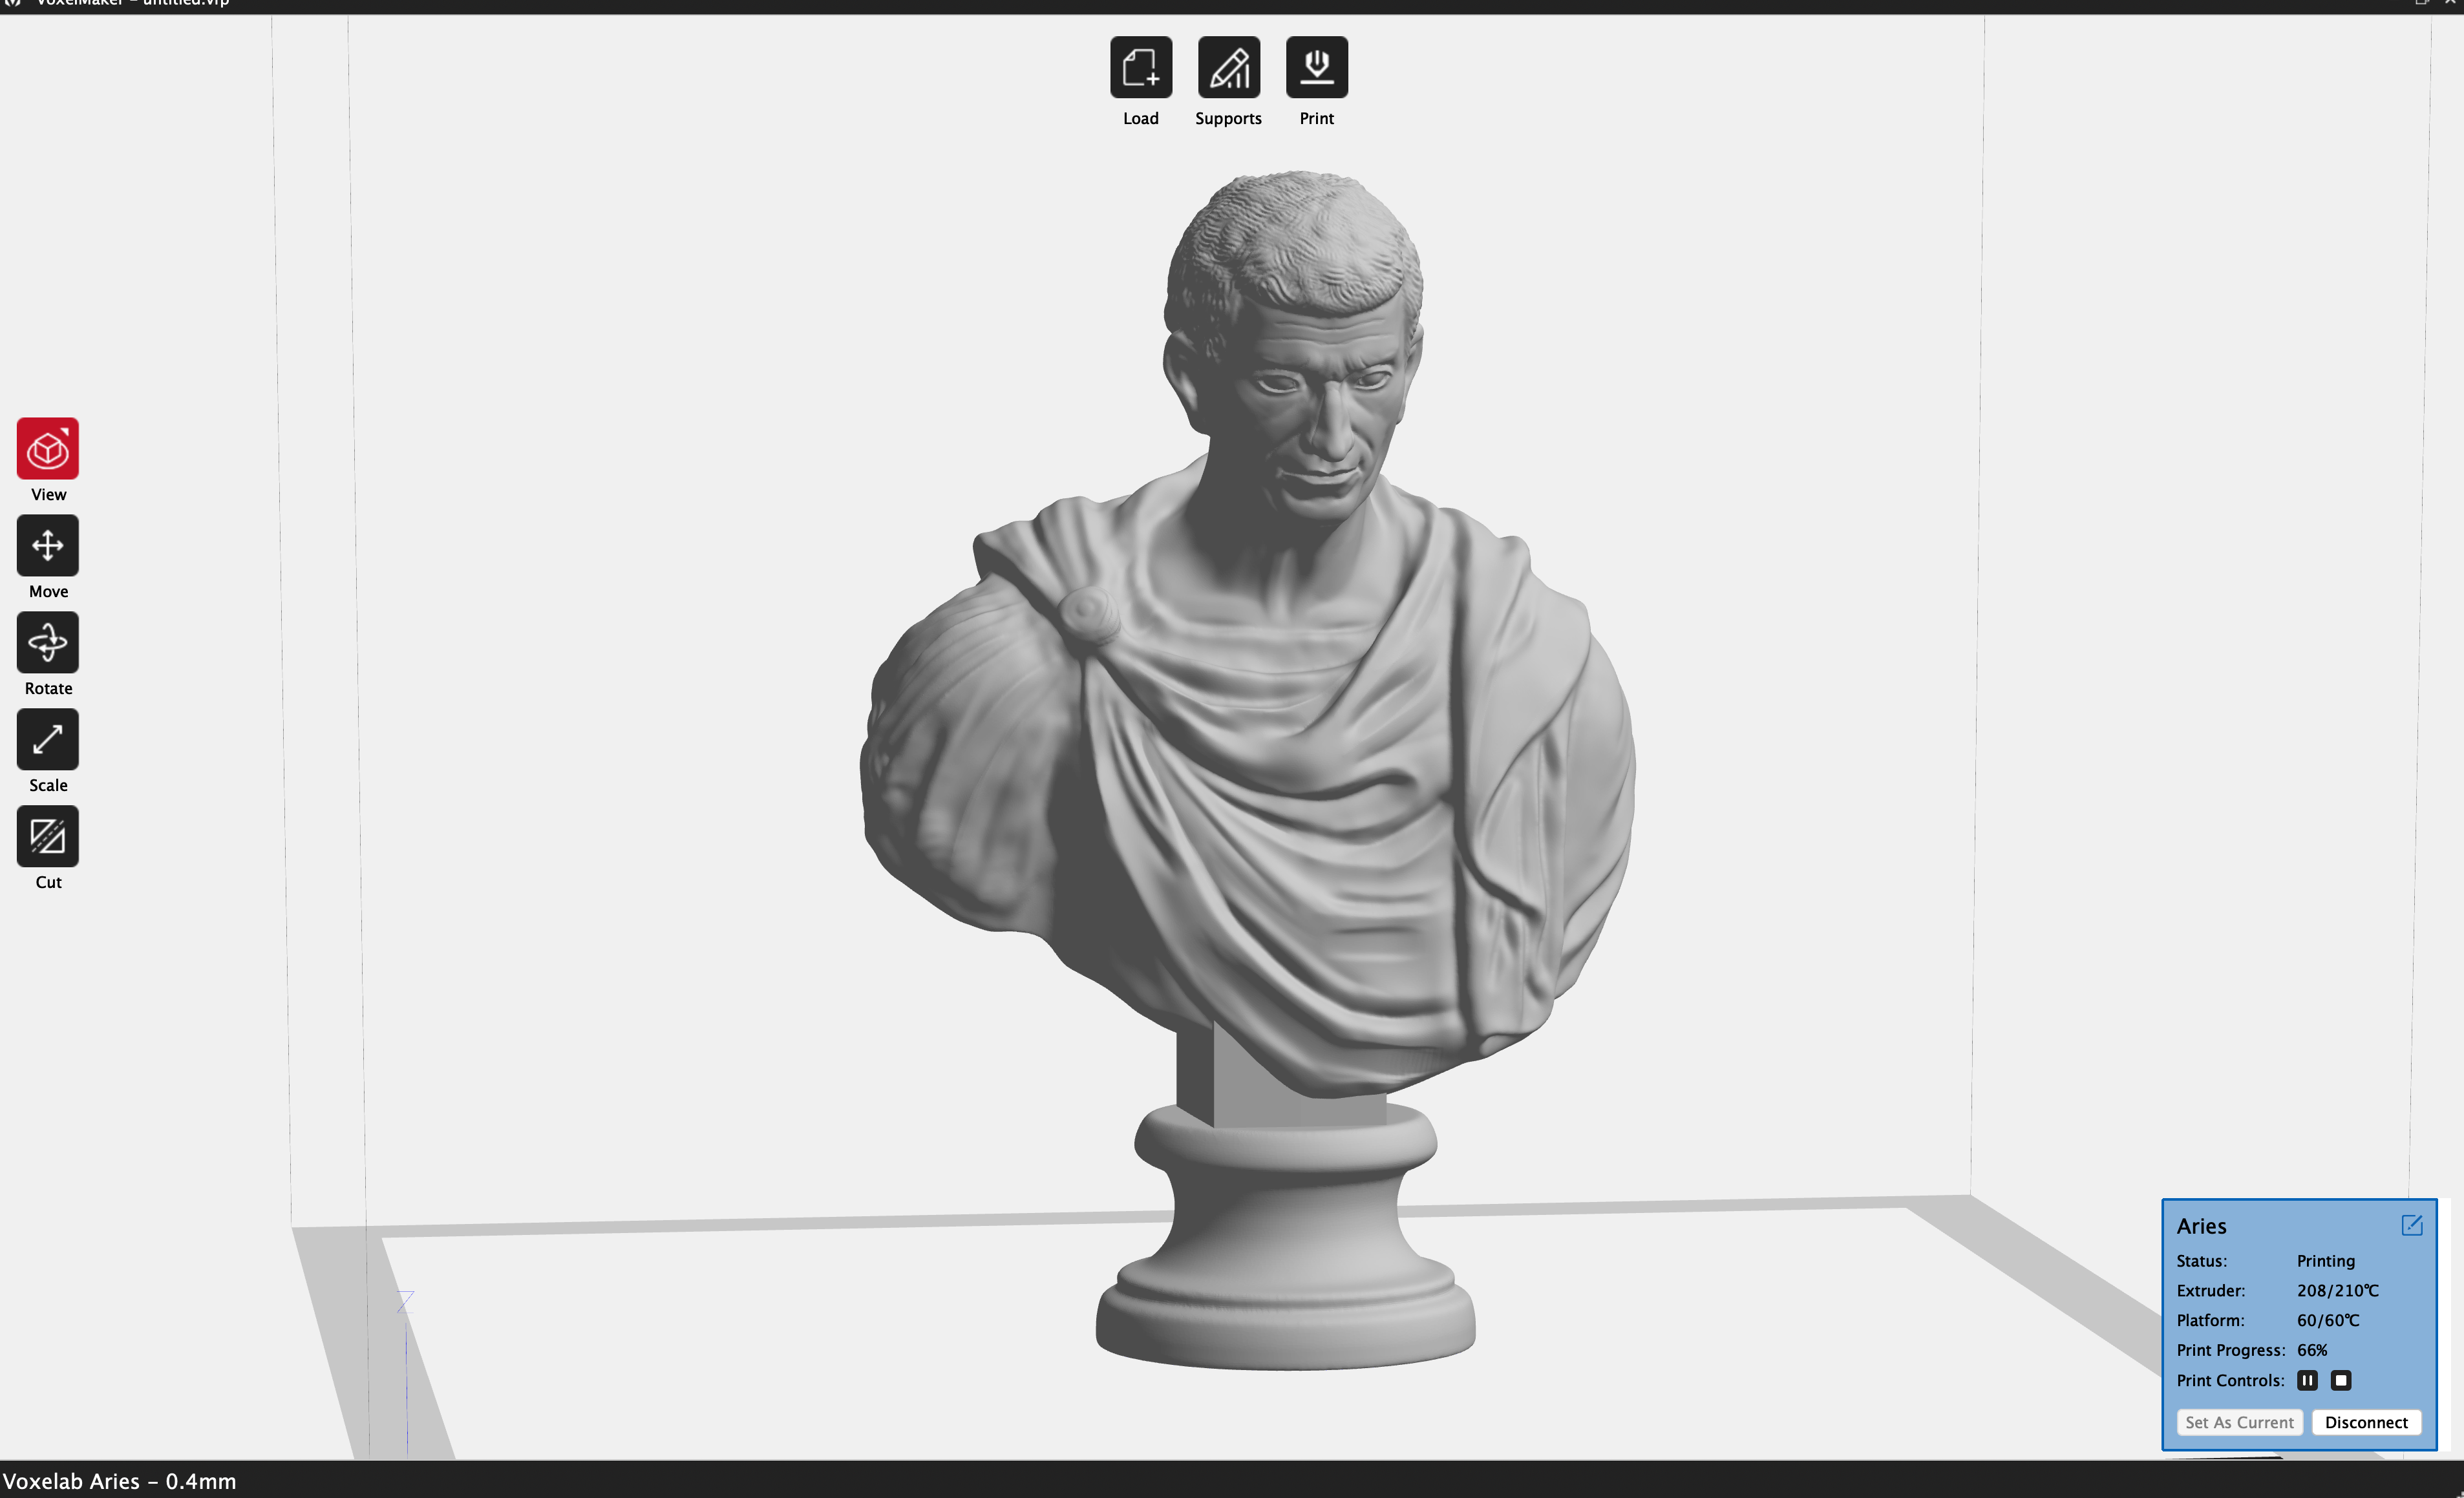
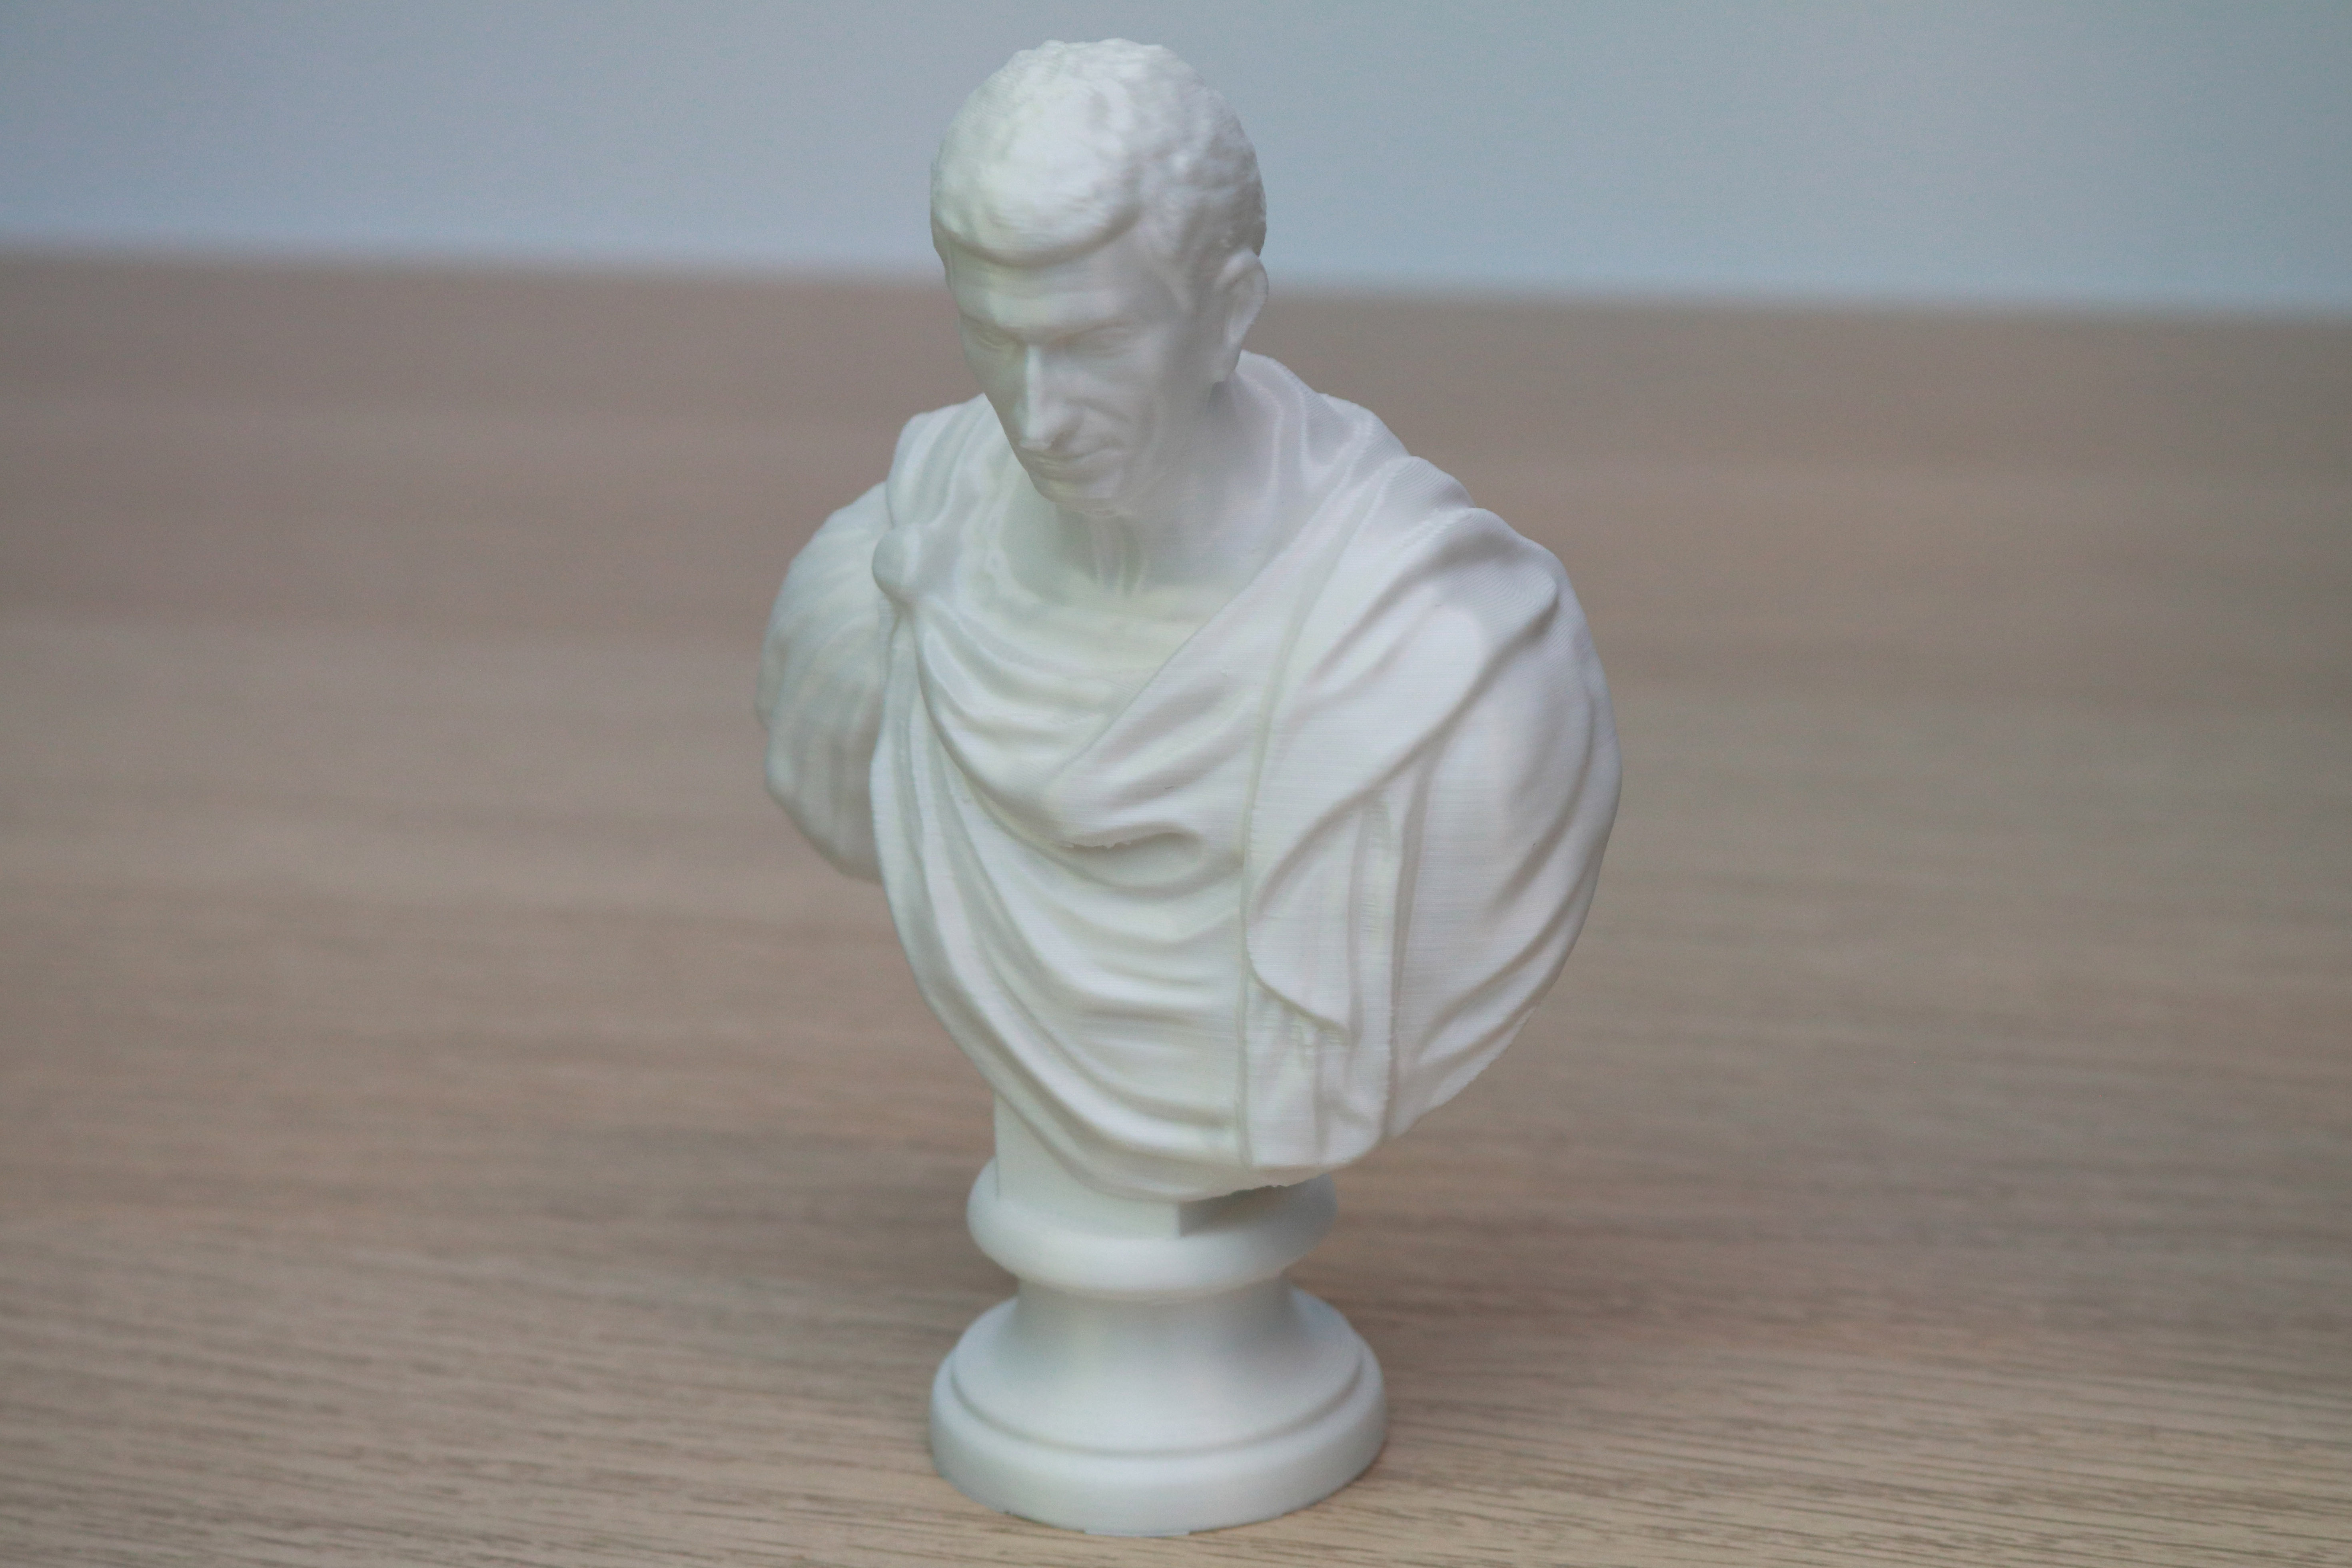
VoxelMaker has the ability to create custom support structures, and they can be edited directly in the software to provide scaffolding for any overhanging material that may be present in a 3D model. Support material can be tricky to generate, as it needs to be sturdy enough to provide support to the model, but also needs to be delicate enough to be broken off without causing any damage. To test this feature in VoxelMaker, I used the Bust of an Old Roman 3D model from the Scan the World collection, which features large sweeping organic curves and high levels of detail.
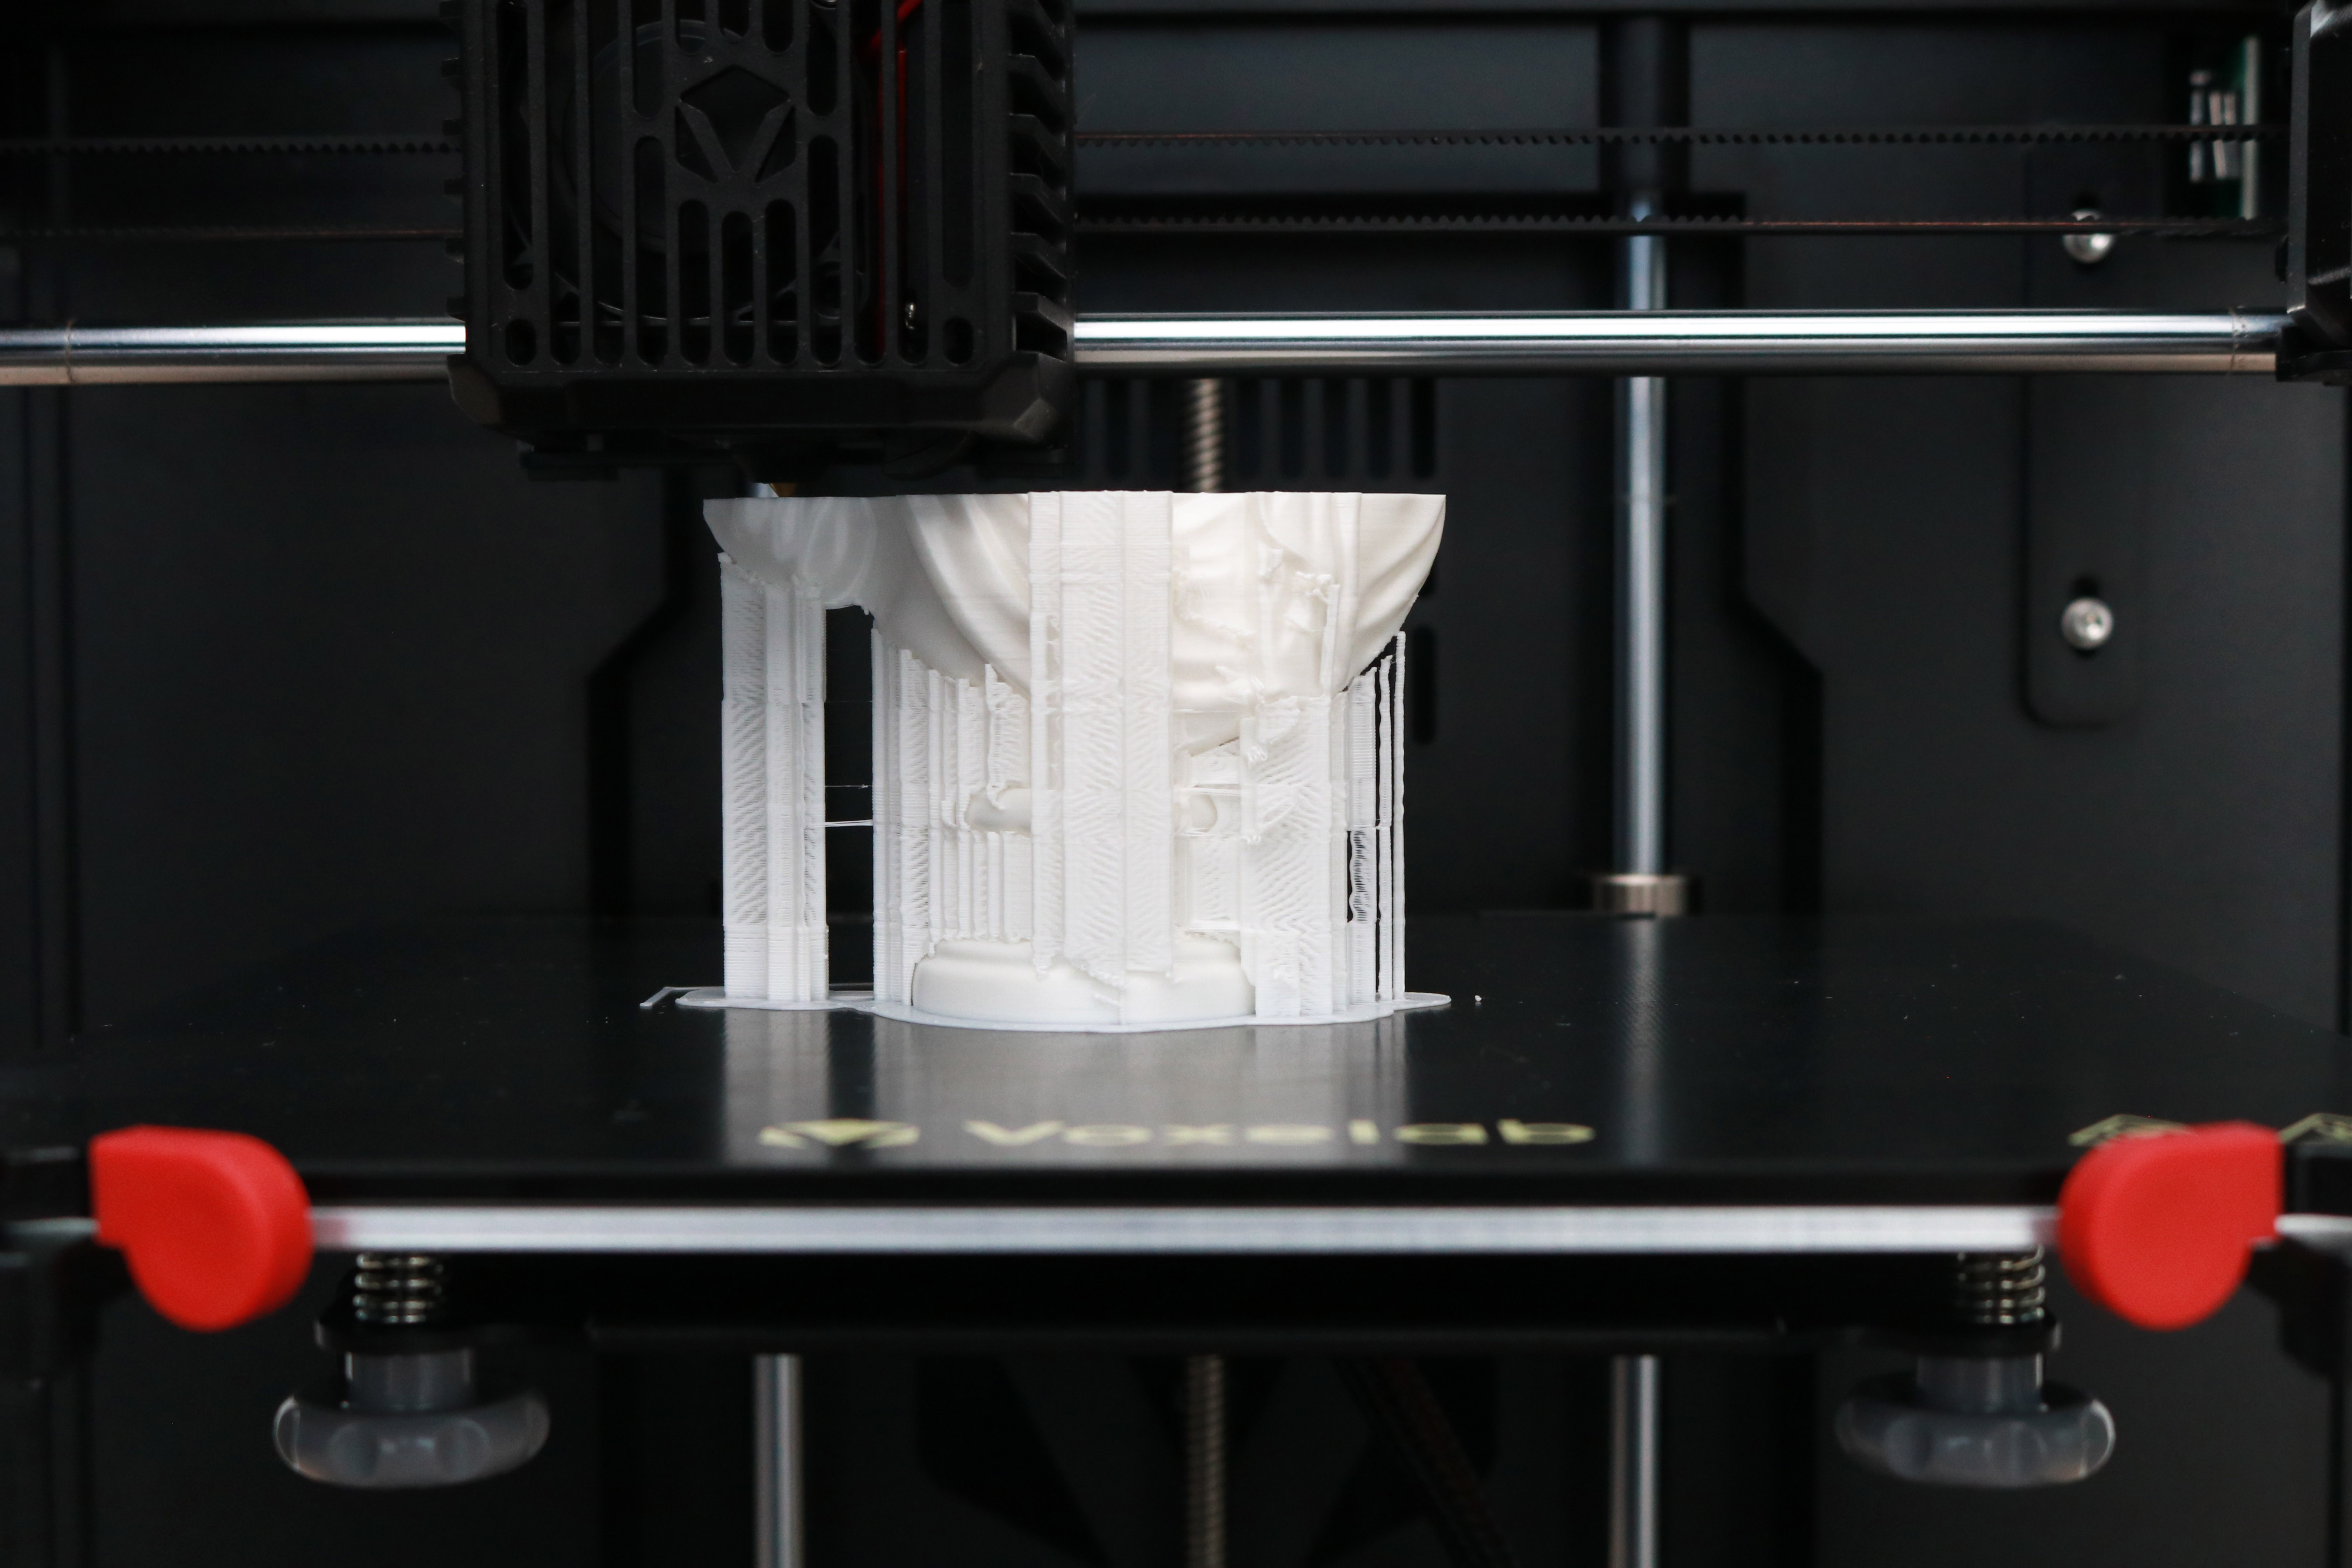
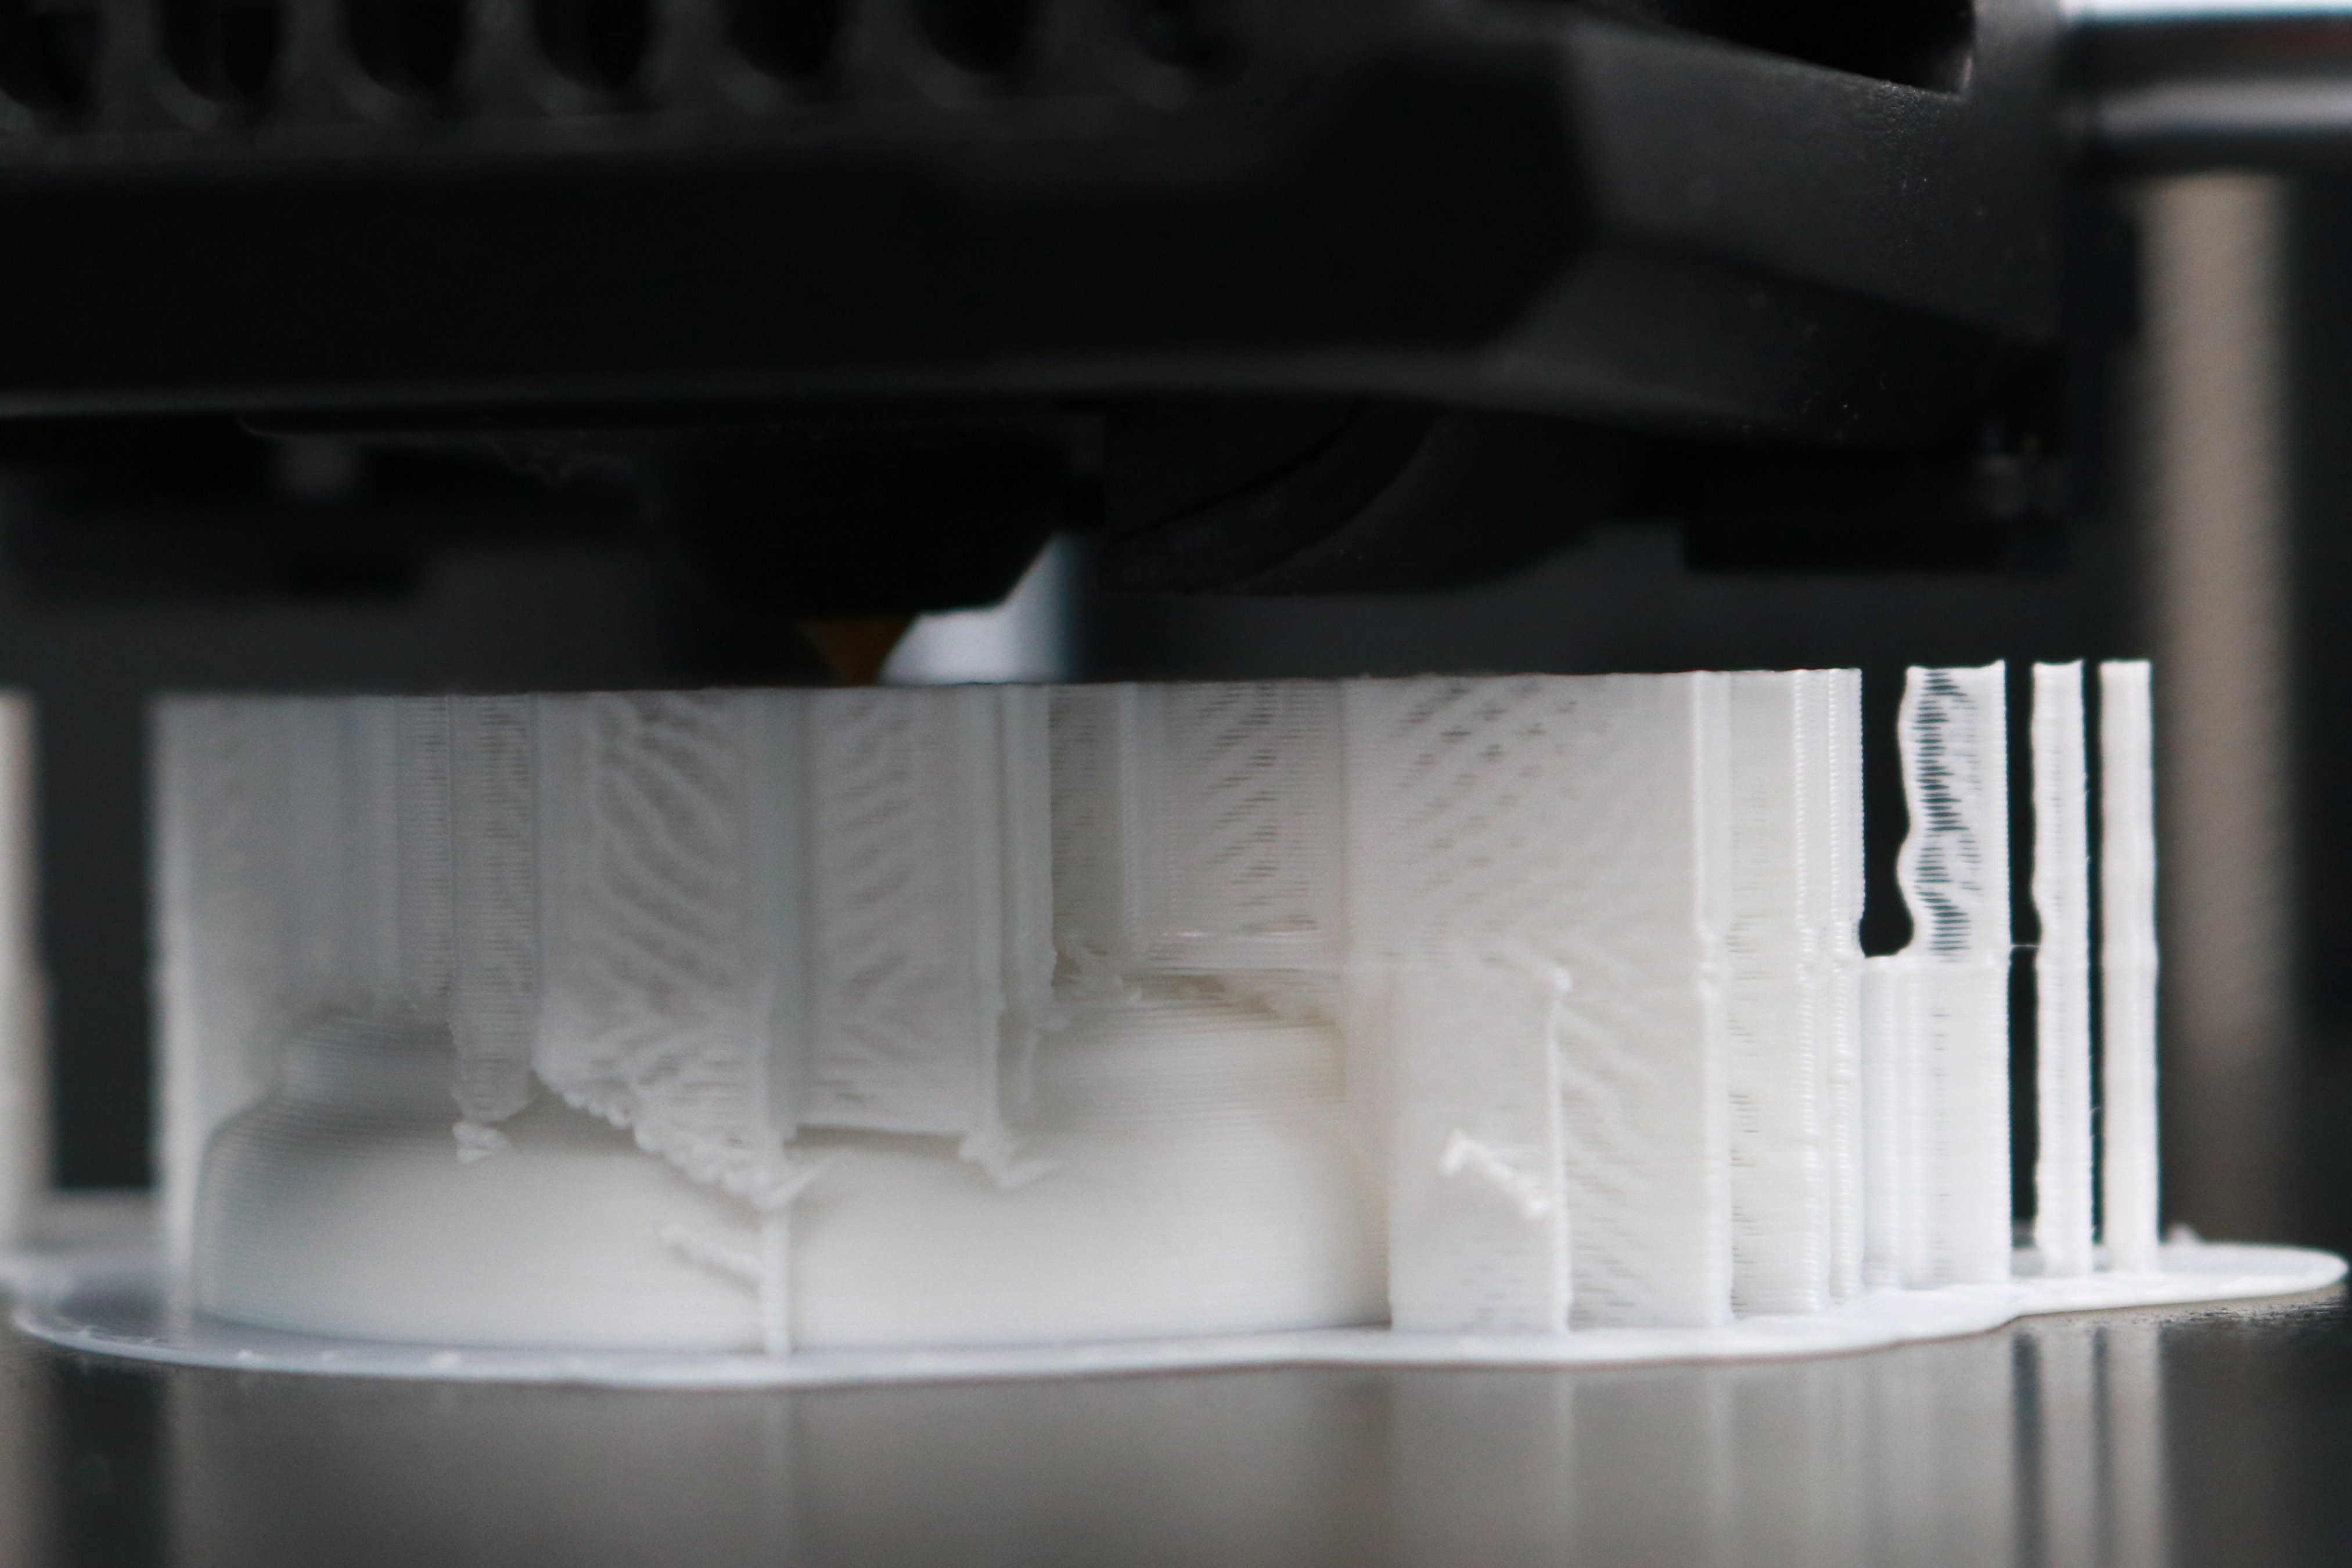
The model printed without a single failure of even the most delicate support structure, and you see the tall thin columns under the right shoulder of the model printed without toppling or snapping off. This is largely due to the stationary build platform of the Voxelab Aries, which is able to print these fine details without knocking them over due to the motion of the model during printing.
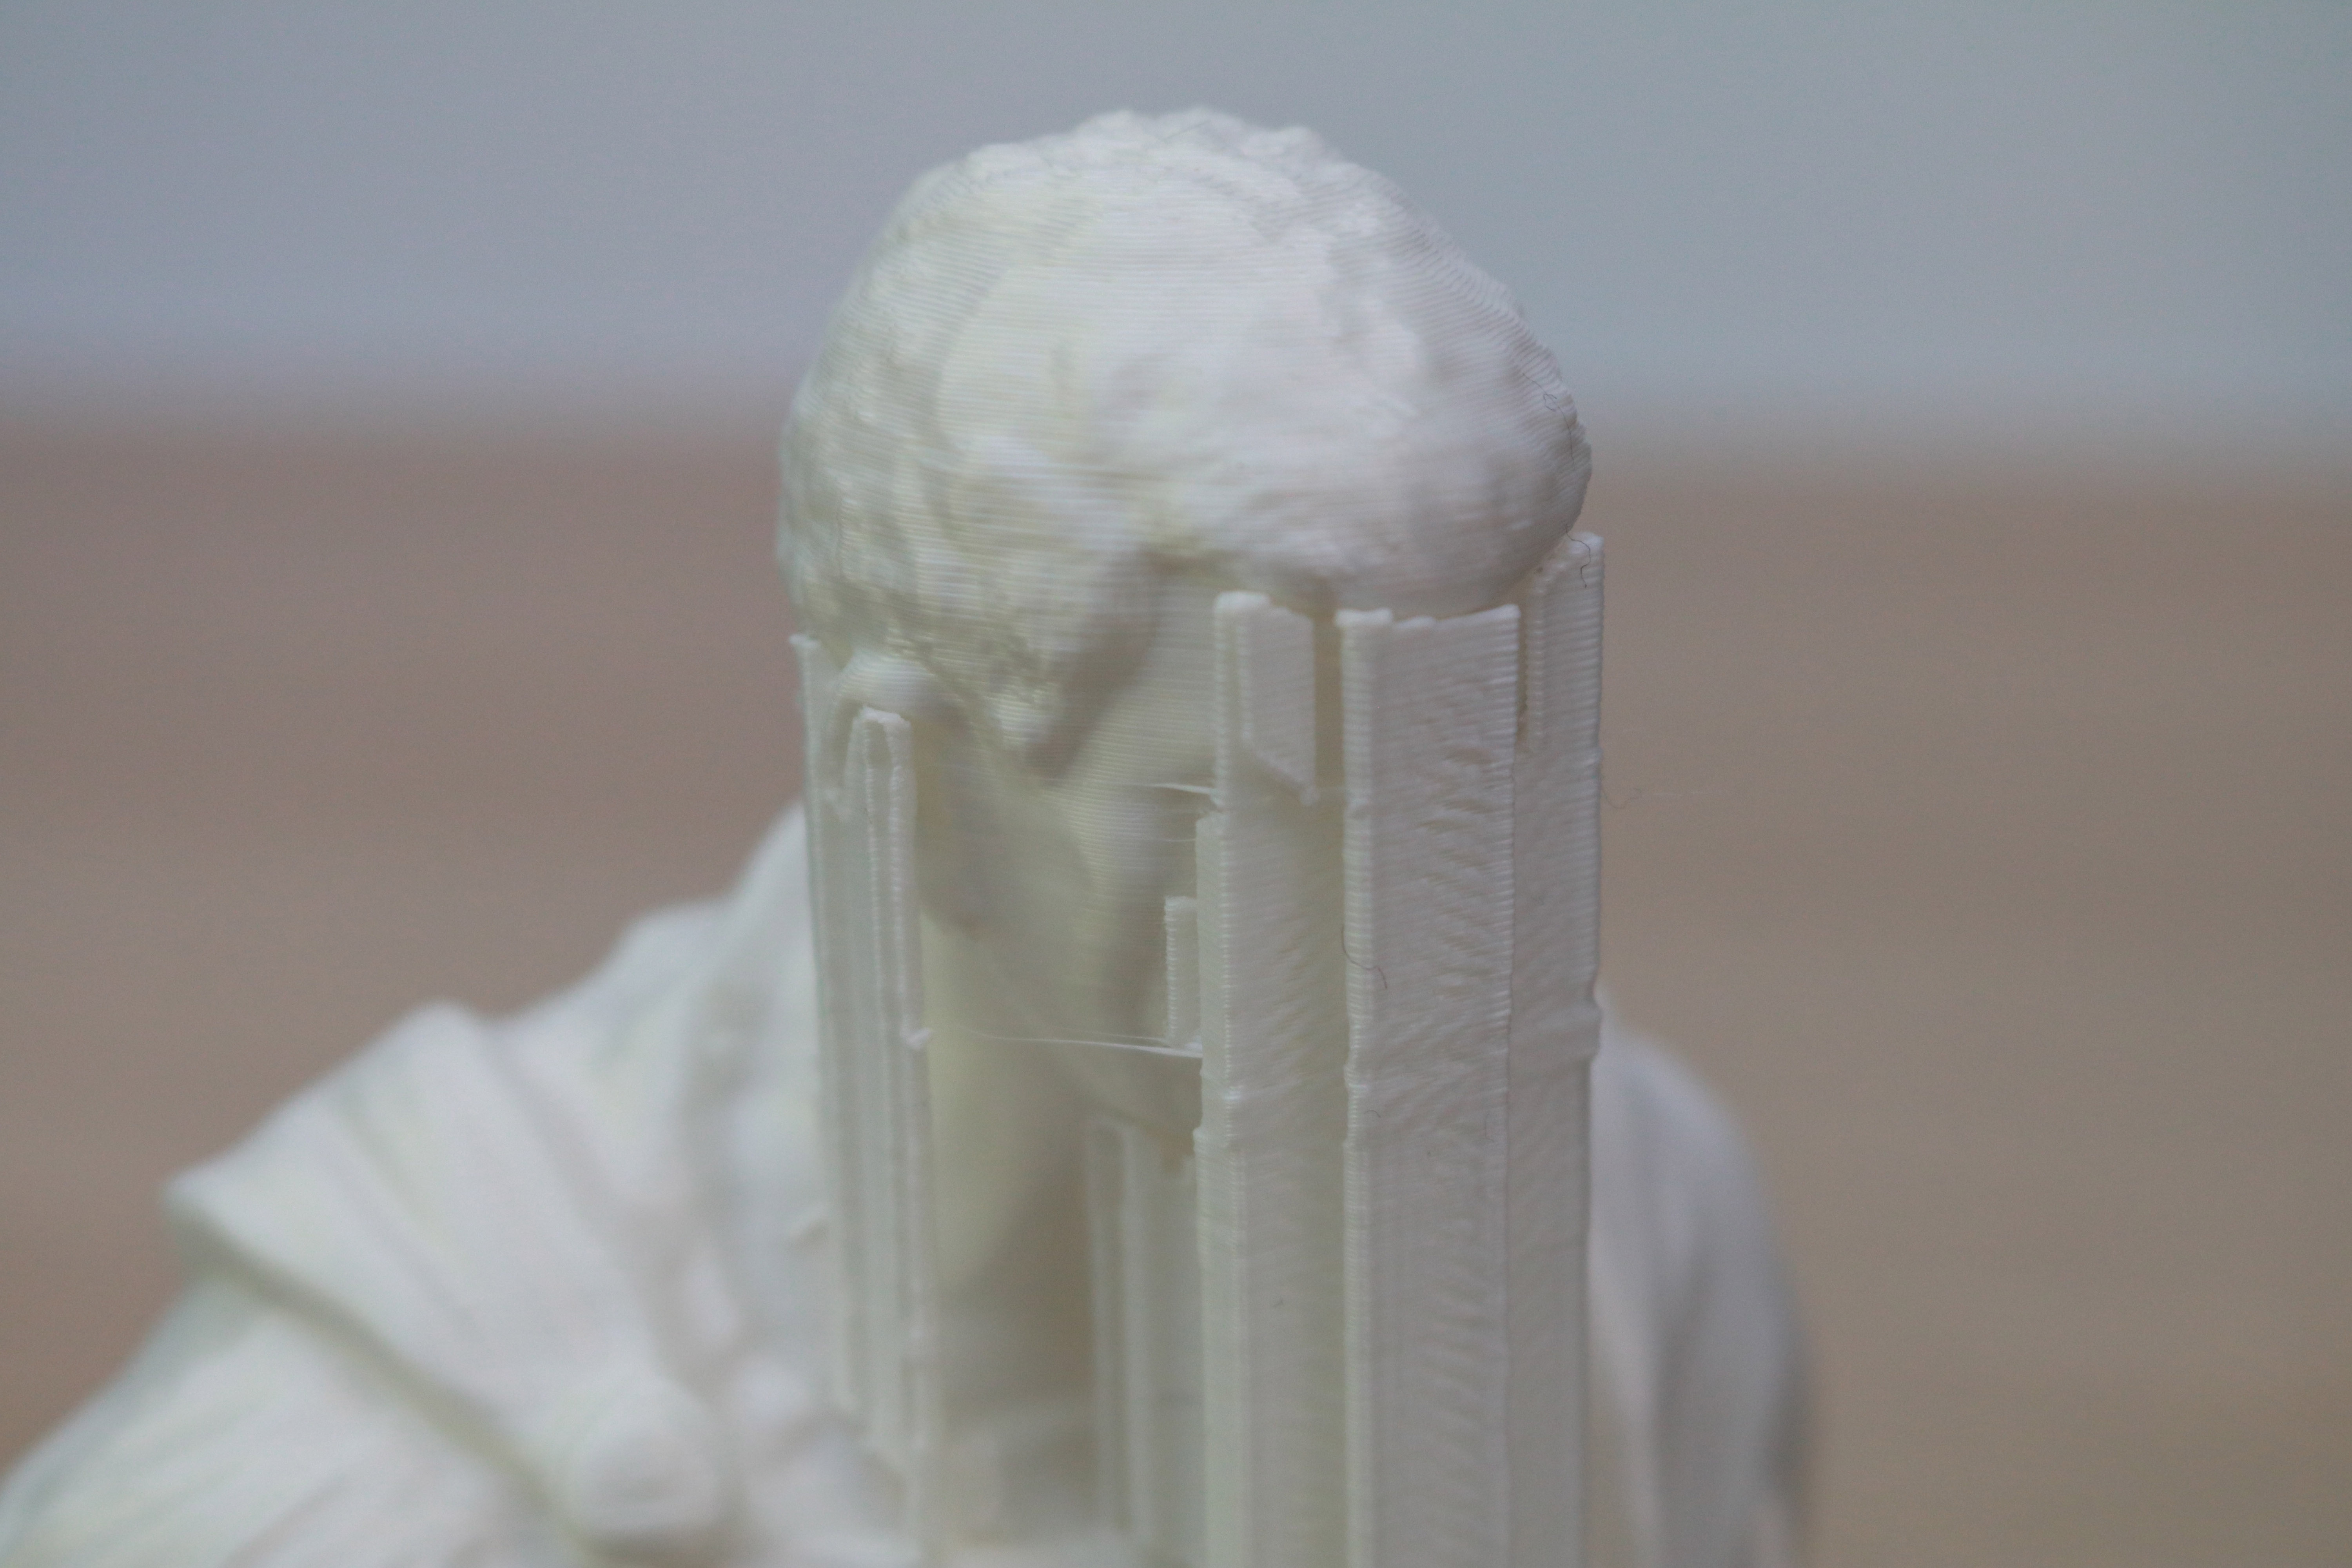
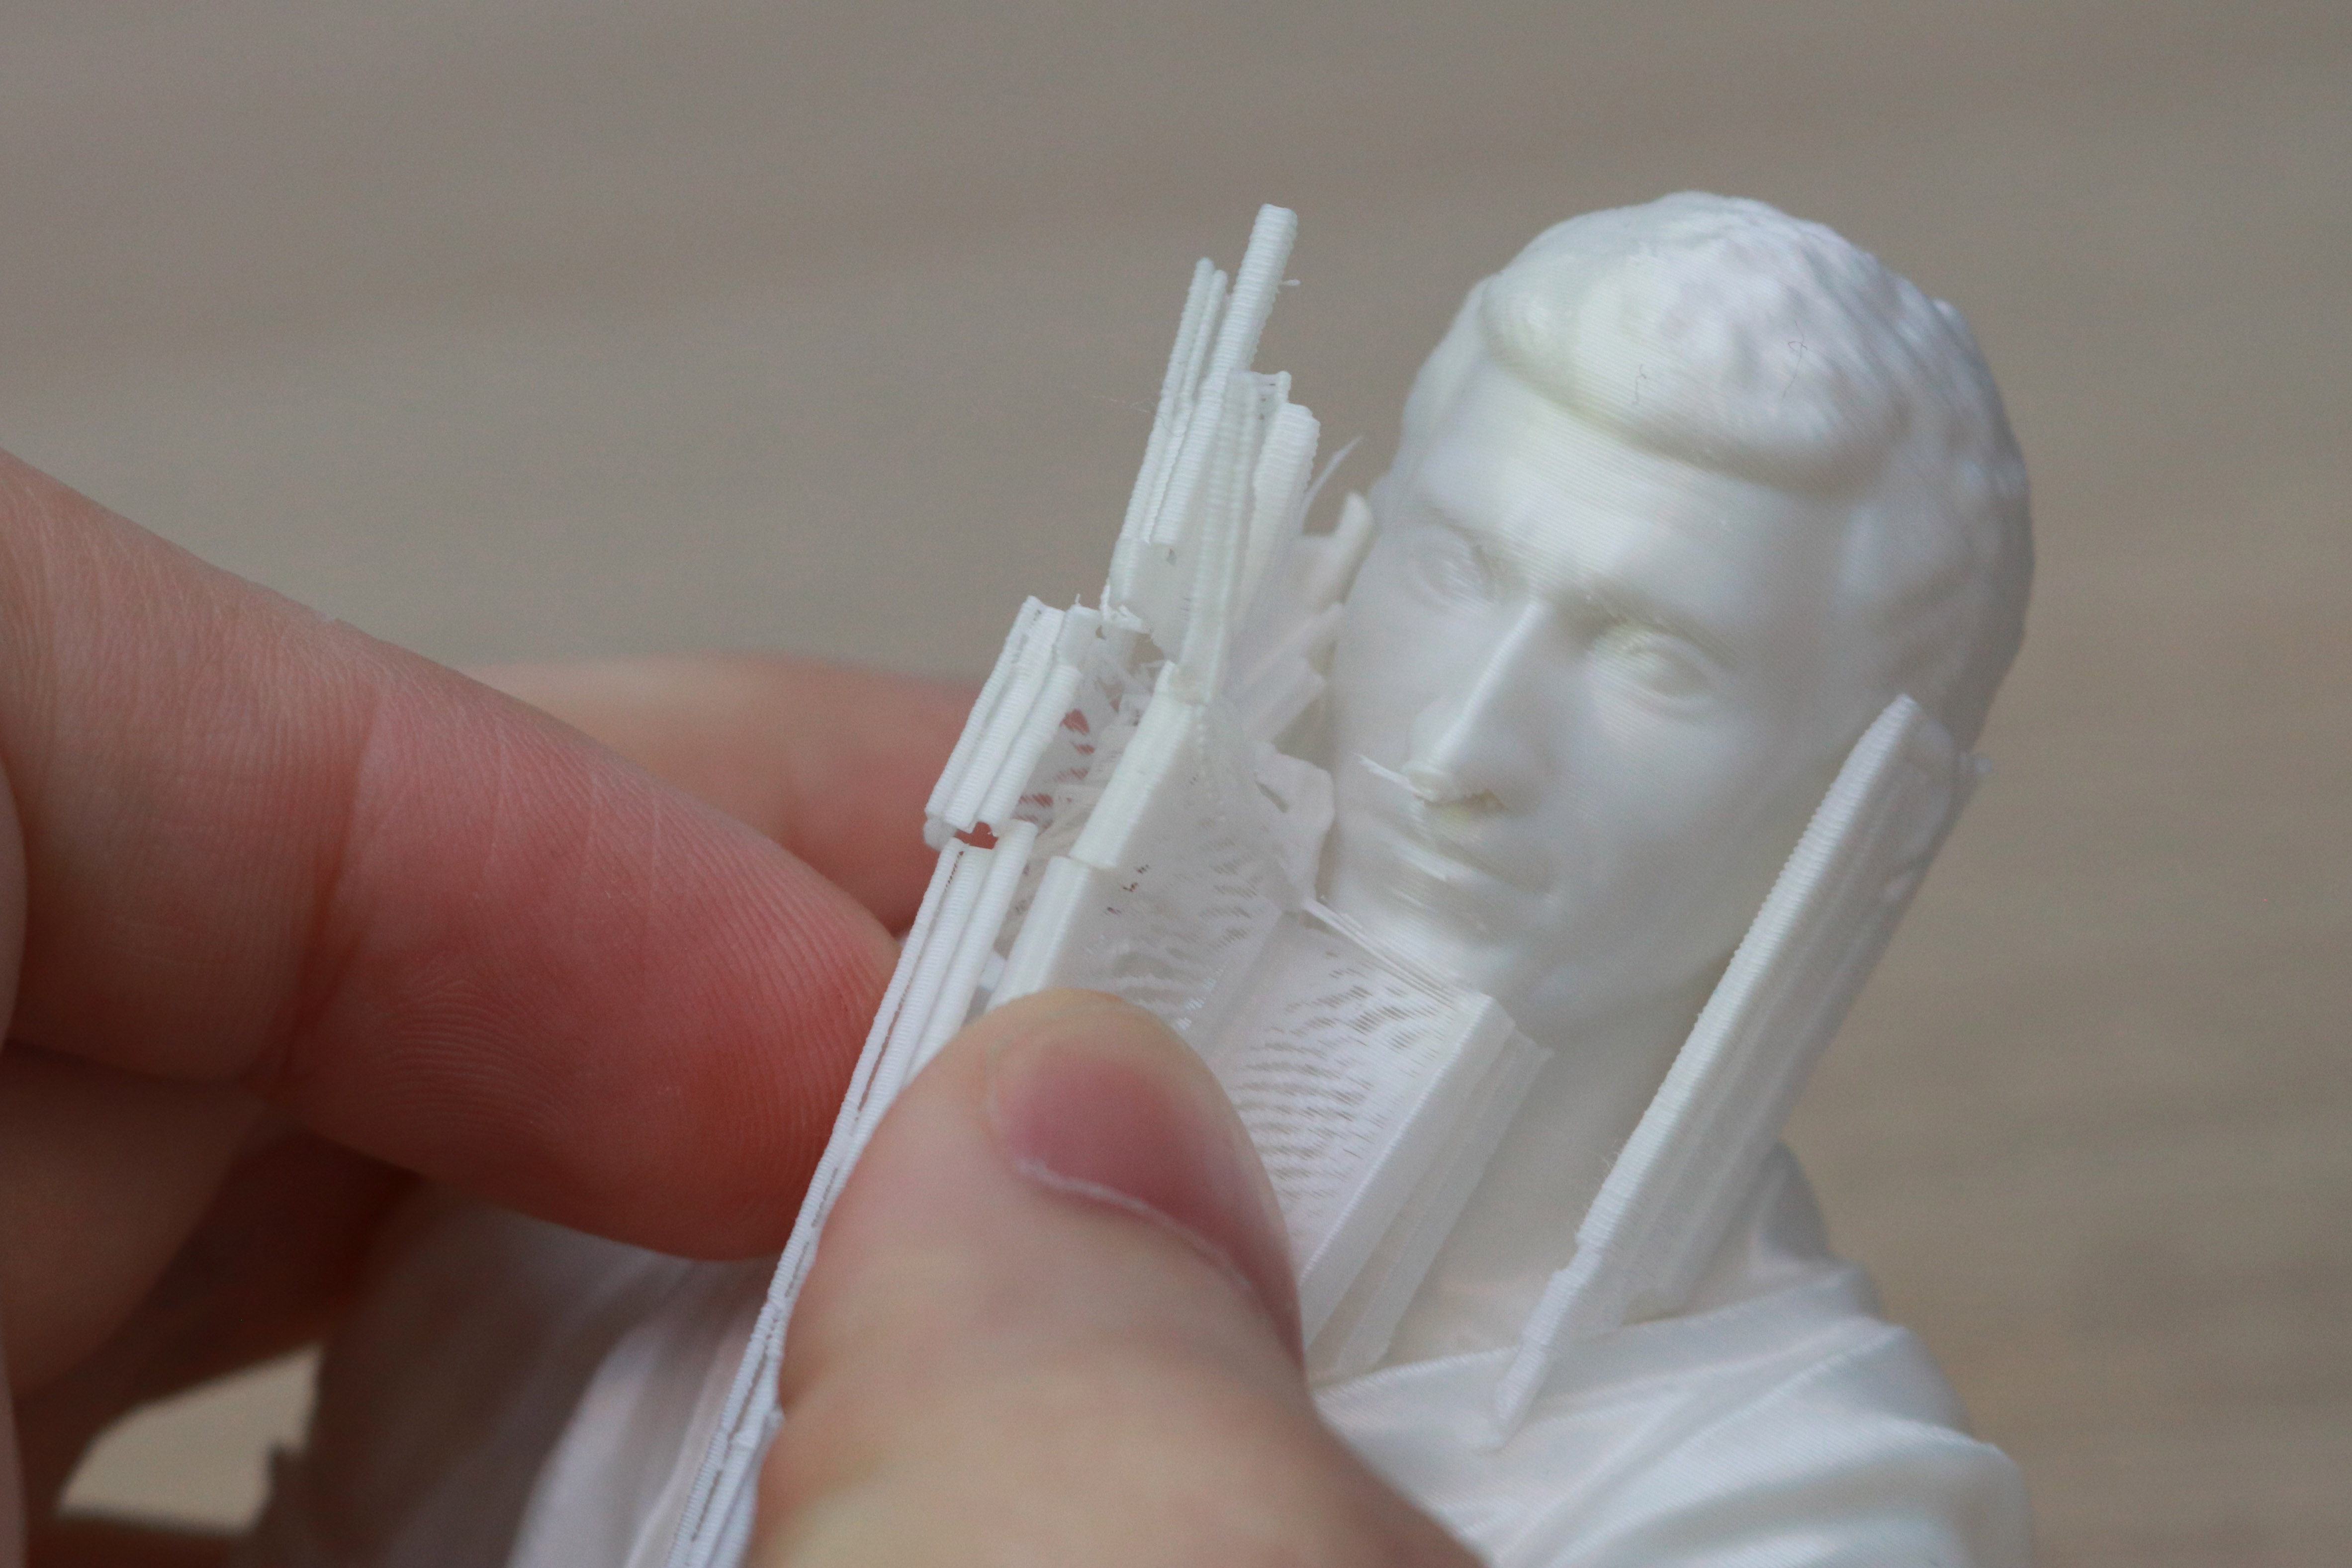
The support structure detached easily, and the features of the model were not damaged during the support removal process. I was able to remove the majority of the material with just my fingers, and only used the filament cutters to remove some small bits that had become attached at the base. VoxelMaker is an easy-to-use program, and the ability to generate custom support structures like the one used on this model is a feature that will be appreciated by beginners and experts alike.
Bottom Line
The Voxelab Aries is a well-designed 3D printer that is clearly targeted at the educational market (the printer is called “Voxelab Aries STEM FDM 3D Printer” on their site), and it absolutely proved that is is up for that task during testing. I didn’t have a single part failure during testing, and getting the printer unboxed, calibrated, connected to Wi-Fi, and printing all took well under an hour in total, meaning a busy teacher or librarian could get the Aries up and running with little difficulty. Frankly, anyone who is just starting with 3D printing -- student or not -- will find a lot to like about this printer.
The Aries is currently priced at $315 from the Voxelab direct site, or $299 with shipping included on Amazon. At this price, the Aries directly competes with the Flashforge Adventurer 3 Lite ($299), which is an odd choice given that the two machines are manufactured by the same company (Voxelab is a sub-brand of Flashforge). The Aries has a larger platform, a more rigid motion system, 1kg spool support and a better user interface, making it the clear choice between the two.
The Aries will appeal to most users who are interested in a “plug and play” 3D printer that doesn’t require a lot of tinkering, and instead offers reliable printing straight out of the box. Unfortunately, the lack of slicer profiles means anyone not interested in making adjustments to the slicer parameters will likely be stuck with the .18mm layer height “Standard” profile. If you are interested in a less expensive machine that offers more of a DIY experience, the $160 Elegoo Neptune 2 may be the machine for you.

Andrew Sink first used a 3D printer in 2012, and has been enthusiastically involved in the 3D printing industry ever since. Having printed everything from a scan of his own brain to a peanut butter and jelly sandwich, he continues to dive ever more deeply into the endless applications of additive technology. He is always working on new experiments, designs, and reviews and sharing his results on Tom's Hardware, YouTube, and more.
